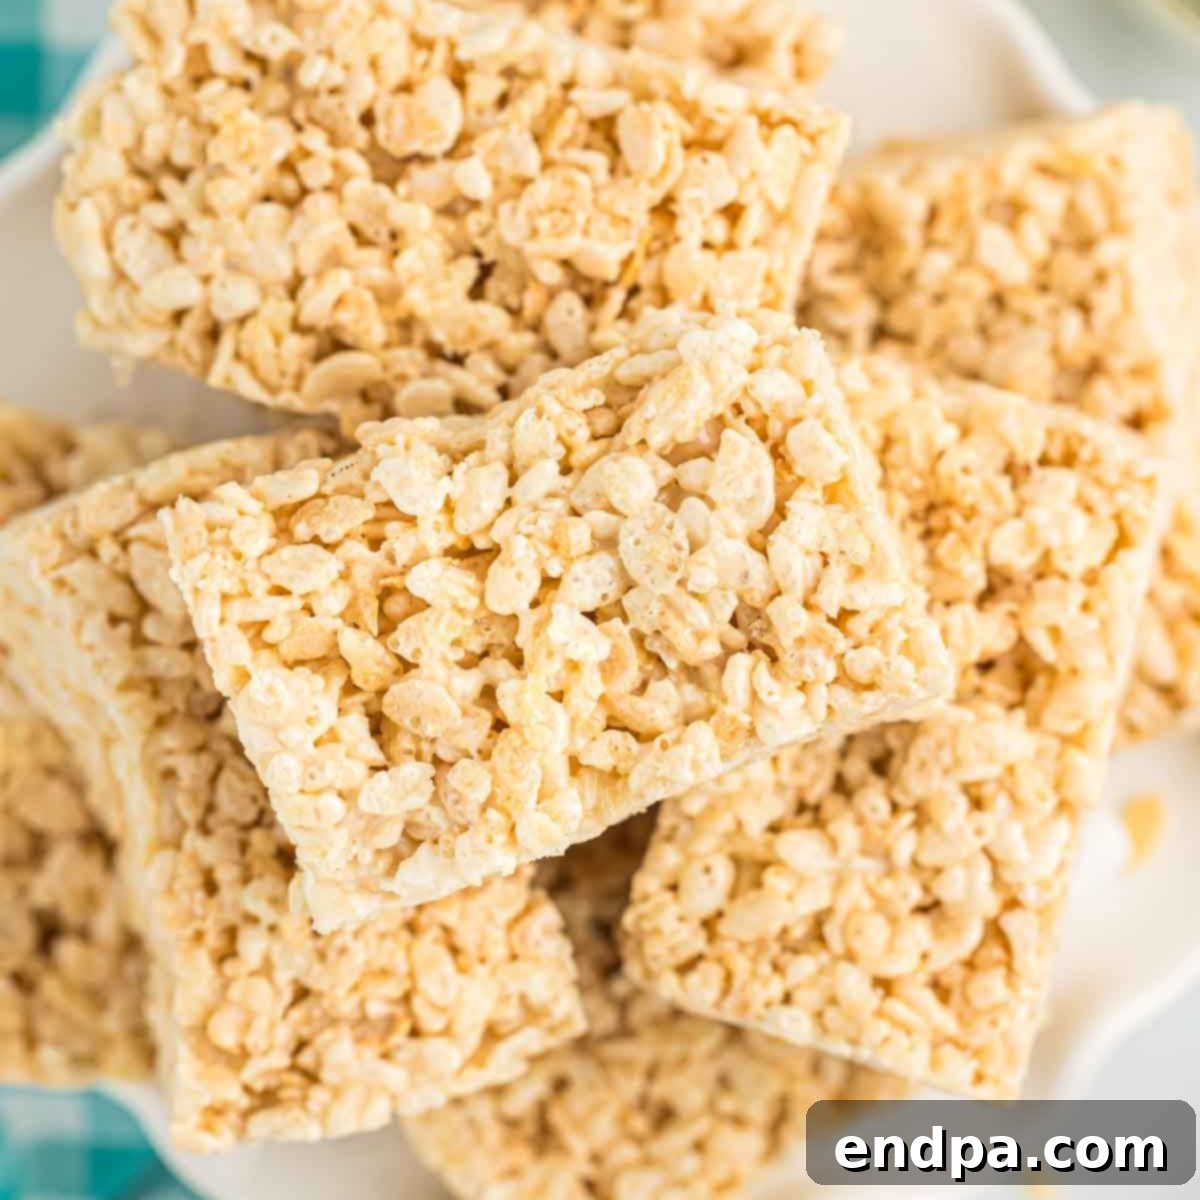
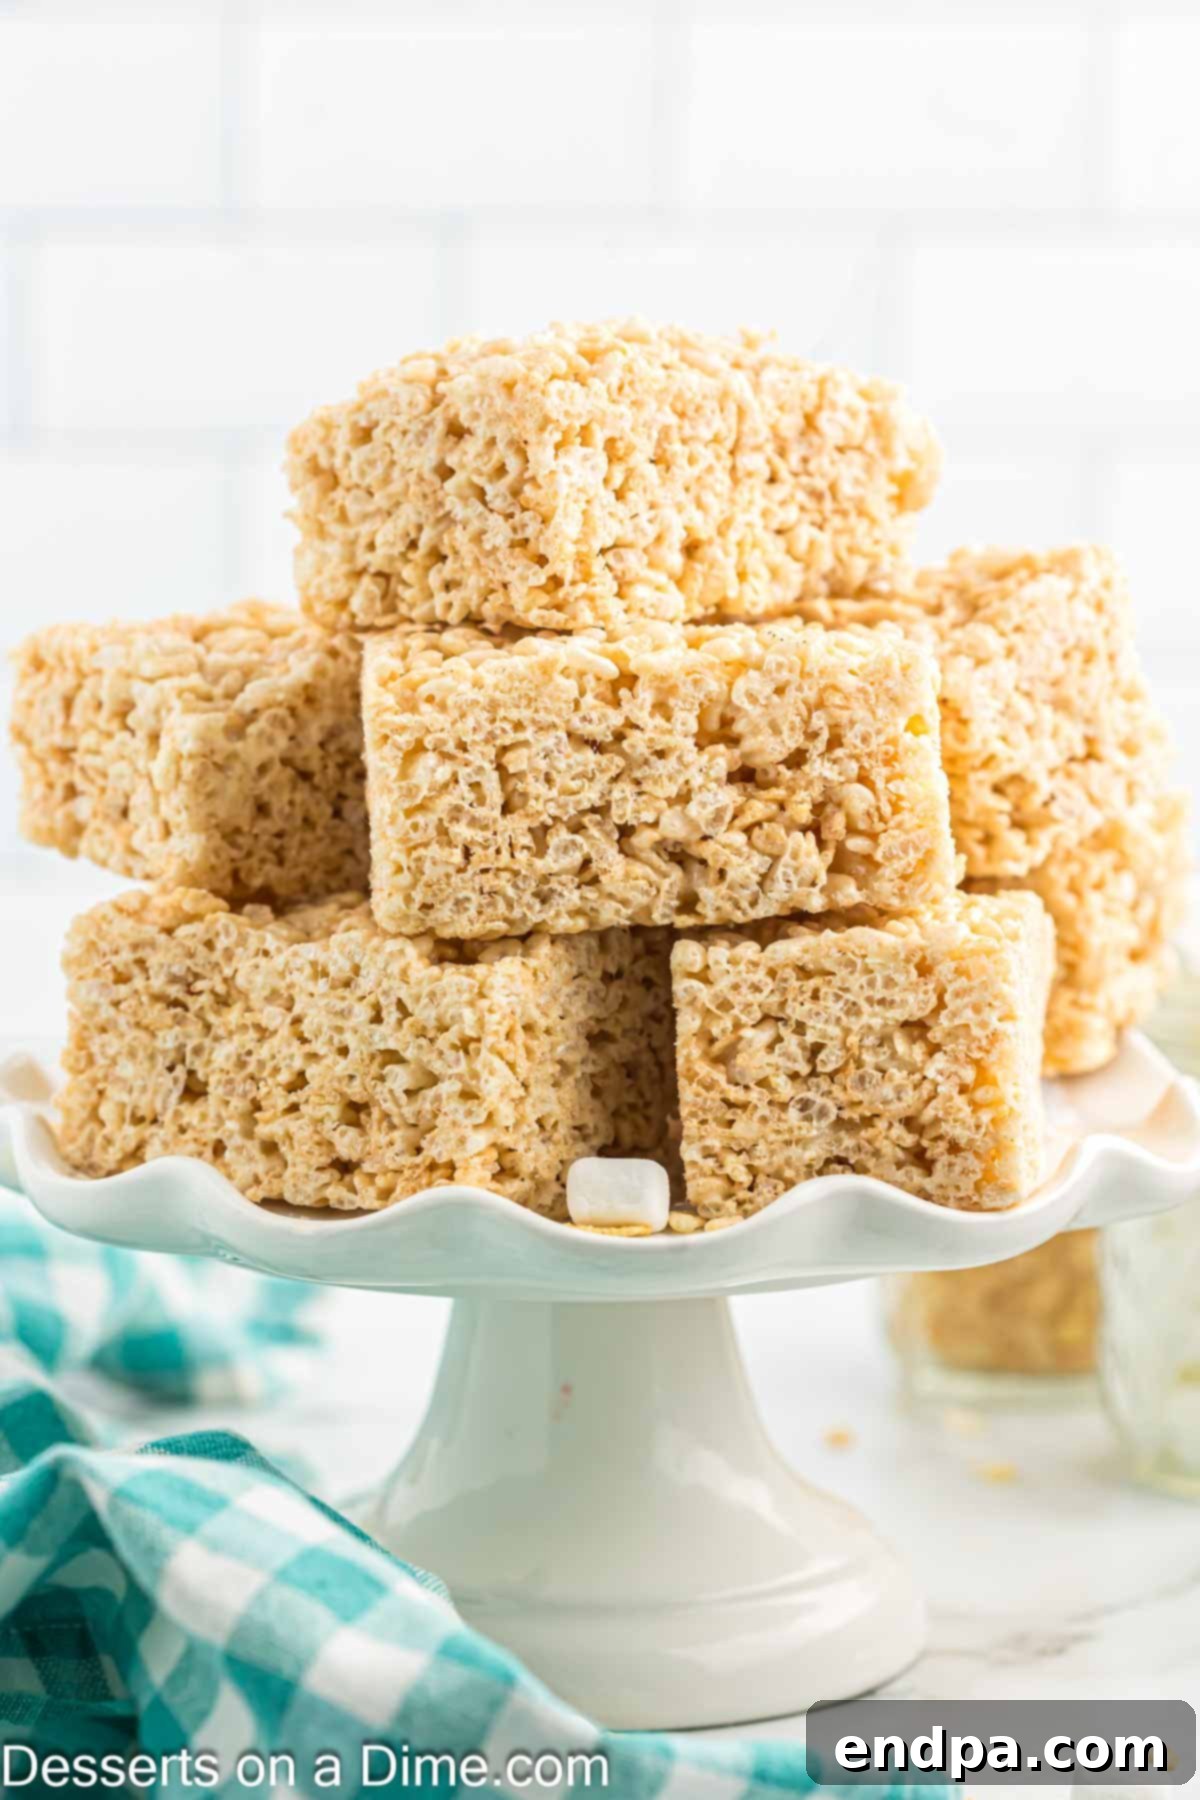
Unlock the secret to crafting the best homemade Rice Krispie Treats you’ll ever taste. Forget those bland, stiff store-bought versions; this recipe promises an irresistibly gooey, perfectly chewy, and wonderfully crispy delight that will become your family’s favorite. This classic dessert is not only incredibly easy and remarkably frugal to make, but it’s also a fantastic project to involve the kids. Watch their eyes light up as they help create these magical marshmallow squares, only to see them disappear just as quickly!
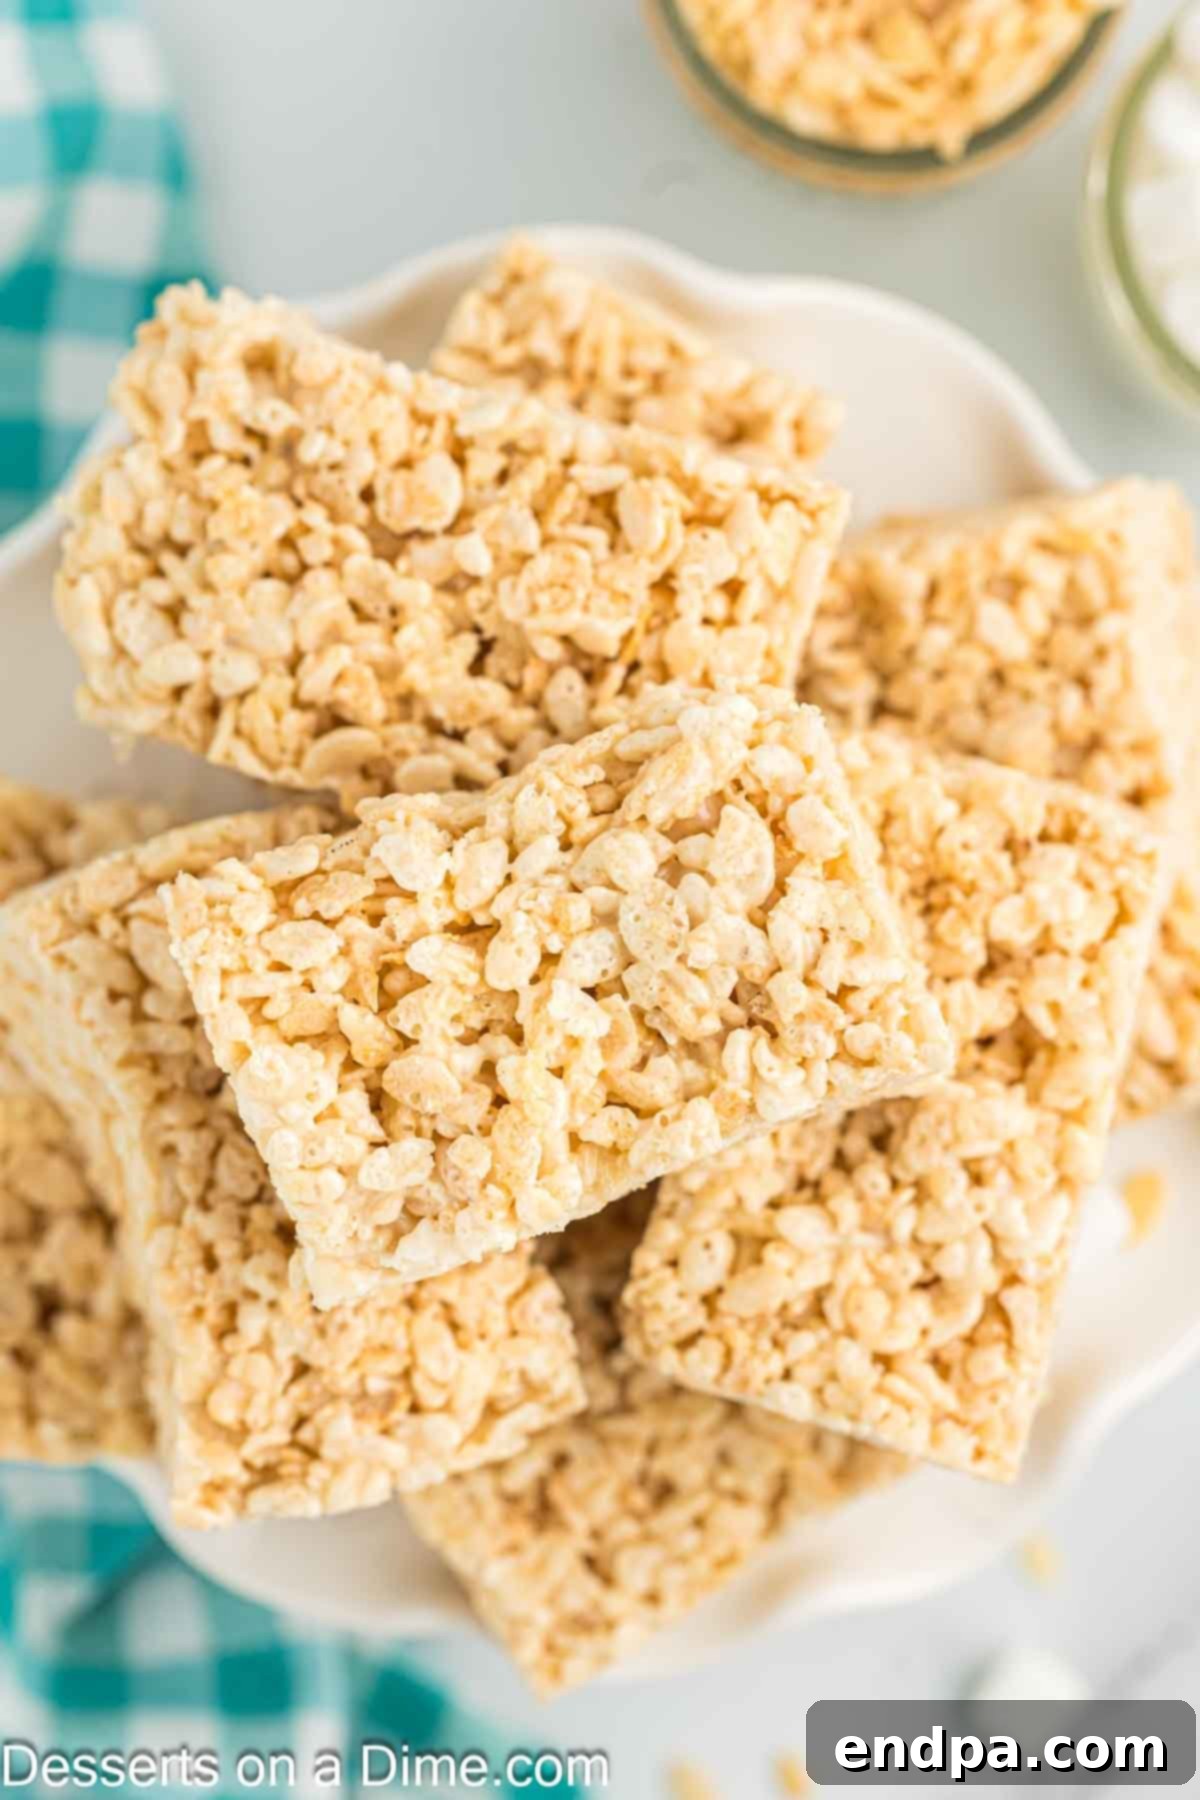
Rice Krispie Treats hold a special place in the hearts of many, evoking a sense of childhood nostalgia with every sweet bite. As a busy parent, I can attest to their convenience and charm; they’re the ultimate quick snack or dessert that comes together in minutes. Beyond the traditional recipe, the versatility of these crispy cereal bars is truly astounding. I love experimenting with different flavors, from rich Peanut Butter Rice Krispie Treats to decadent Cookie Butter Rice Krispie Treats, and even a spiced Snickerdoodle variation. The creative possibilities for this delightful no-bake dessert are genuinely endless, ensuring there’s a perfect crispy treat for every occasion and craving.
Table of Contents
- Why We Absolutely Love This Recipe
- Essential Ingredients for Perfect Treats
- Creative Variations to Elevate Your Treats
- Step-by-Step: How to Make Rice Krispie Treats
- Frequently Asked Questions (FAQs)
- Expert Tips for Success
- More Irresistible Rice Krispie Treats to Try
Why We Absolutely Love This Recipe
There are countless reasons why these homemade Rice Krispie Treats have earned a permanent spot in our dessert rotation. First and foremost, this recipe is incredibly budget-friendly, requiring just a handful of staple ingredients that won’t break the bank. It’s the ideal treat when you need something delicious without much fuss or expense. Anyone, regardless of their baking experience, can easily whip up a large pan of these with minimal effort, making it perfect for last-minute gatherings, school events, or simply satisfying a sweet craving.
The magic truly happens with the texture. Each bite delivers that iconic combination of gooey, stretchy marshmallow binding crispy cereal, creating a luscious dessert that’s utterly satisfying. The contrast between the soft, chewy interior and the delightful crunch of the puffed rice cereal is simply irresistible. This isn’t just a dessert; it’s a comforting experience that brings smiles to faces of all ages. Plus, it pairs wonderfully with other treats, such as a rich Chocolate Fondue, for an extra special indulgence.
Essential Ingredients for Perfect Treats
The beauty of classic Rice Krispie Treats lies in their simplicity. You only need three core ingredients to create this beloved no-bake dessert, each playing a crucial role in achieving that perfect balance of sweetness and crunch. Quality ingredients make a noticeable difference, so choose them wisely for the best results.
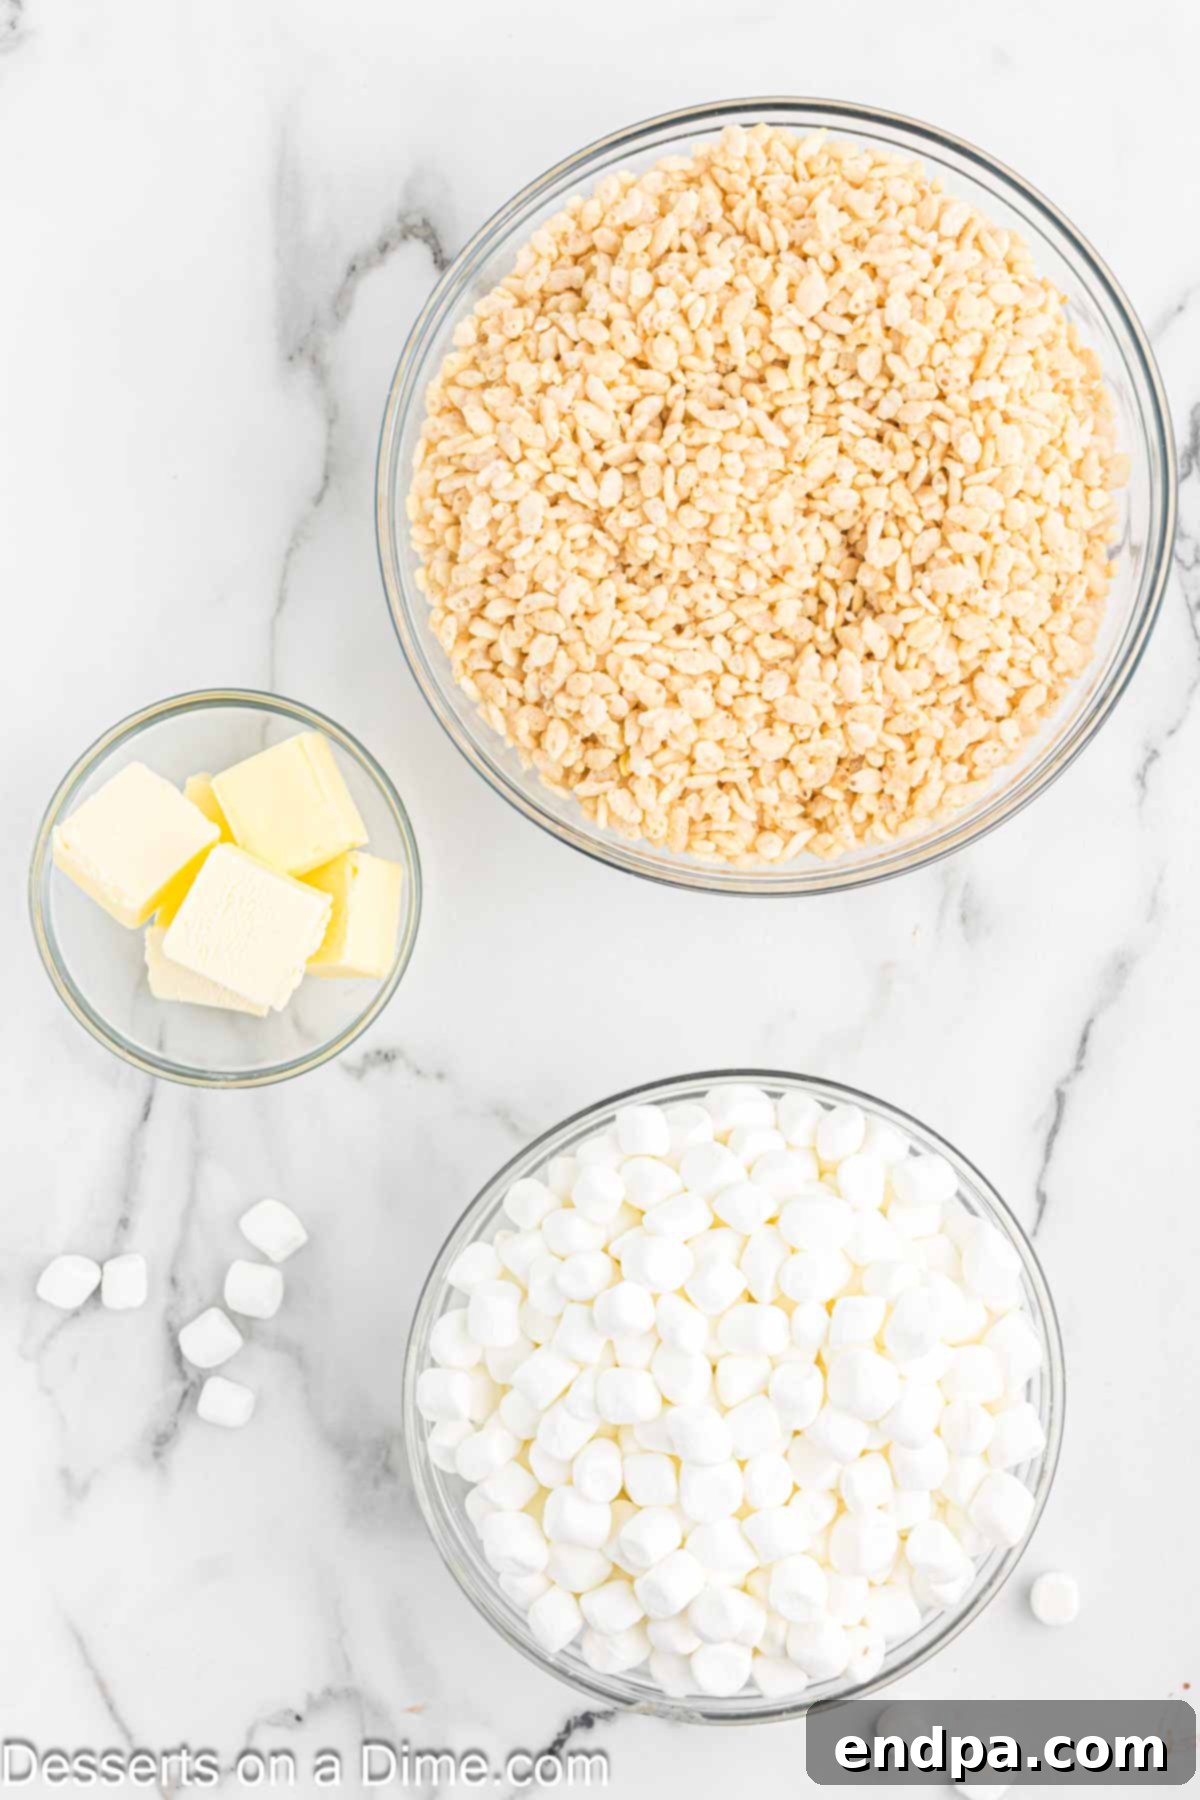
- Rice Krispie Cereal: The star of the show! This classic puffed rice cereal provides the essential crispy texture. Using fresh cereal ensures maximum crunch.
- Butter: High-quality butter adds a rich, creamy flavor and helps to create that perfectly gooey marshmallow base. It also prevents the treats from sticking to the pan.
- Marshmallows: The binding agent that makes these treats wonderfully soft and chewy. Fresh, fluffy marshmallows melt down beautifully to coat every piece of cereal.
For the precise measurements and detailed instructions, you’ll find the complete recipe list conveniently located at the bottom of this page in our printable recipe card.
Creative Variations to Elevate Your Treats
While the classic Rice Krispie Treat recipe is undeniably perfect on its own, its true magic lies in its incredible adaptability. The possibilities for customizing these delicious bars are truly endless, allowing you to easily modify them for any season, holiday, birthday celebration, or even just to suit a particular craving. Unleash your creativity and transform these simple treats into something uniquely yours!
We’ve even tailored them to show team spirit by incorporating colors for our favorite sports teams. Don’t be afraid to experiment and discover your new go-to variation. Here are some fantastic ideas to get you started:
- Sprinkle Sensation: Add a generous amount of colorful sprinkles to the top while the mixture is still warm. Choose holiday-themed sprinkles for festive occasions, birthday sprinkles for celebrations, or simply your favorite colors for everyday fun.
- Vibrant Hues: Incorporate food coloring into the melted marshmallow mixture to create treats in various shades. This is a brilliant idea for baby showers, themed parties, school events, or even just adding a pop of color to your dessert table.
- Chocolatey Twist: Swap out half or all of the classic Rice Krispie cereal for Cocoa Krispies to create a rich, chocolate-flavored crispy treat. You can also mix in chocolate chips for an extra cocoa boost.
- Marshmallow Medley: Experiment with different colored or flavored marshmallows. You can find pastel marshmallows for spring, mini fruit-flavored ones, or even gourmet vanilla bean marshmallows to jazz things up.
- Mix-ins Galore: Fold in a variety of delicious additions to the mixture before pressing it into the pan. Consider chocolate chips (milk, dark, or white), peanut butter morsels, toffee bits, mini M&M’s, or even chopped nuts for added texture and flavor.
- Elegant Drizzles: Once the treats have cooled, drizzle melted chocolate (milk, dark, or white), caramel sauce, or even a colorful icing over the top for an elegant finish and an extra layer of flavor.
- Flavor Extracts: A touch of vanilla extract is a game-changer, but why stop there? Try almond, peppermint (especially for holidays), or even a hint of citrus extract to add a unique flavor profile.
- Cereal Swaps: While Rice Krispies are classic, don’t hesitate to try other cereals like Fruity Pebbles for a colorful, sweet twist, or Chex cereal for a different kind of crunch.
With so many fantastic ideas, you can create a unique and delightful treat every time!
Step-by-Step: How to Make Rice Krispie Treats
Crafting these classic crispy treats is incredibly straightforward, making it a perfect activity for home cooks of all ages. Follow these simple steps to ensure your Rice Krispie Treats turn out perfectly gooey, chewy, and crispy every time.
- Step 1. Prepare Your Pan: Begin by lightly coating a 9×13 inch baking pan with a non-stick cooking spray. Alternatively, you can line the pan with parchment paper, leaving an overhang on the sides, which makes lifting and cutting the treats incredibly easy later.
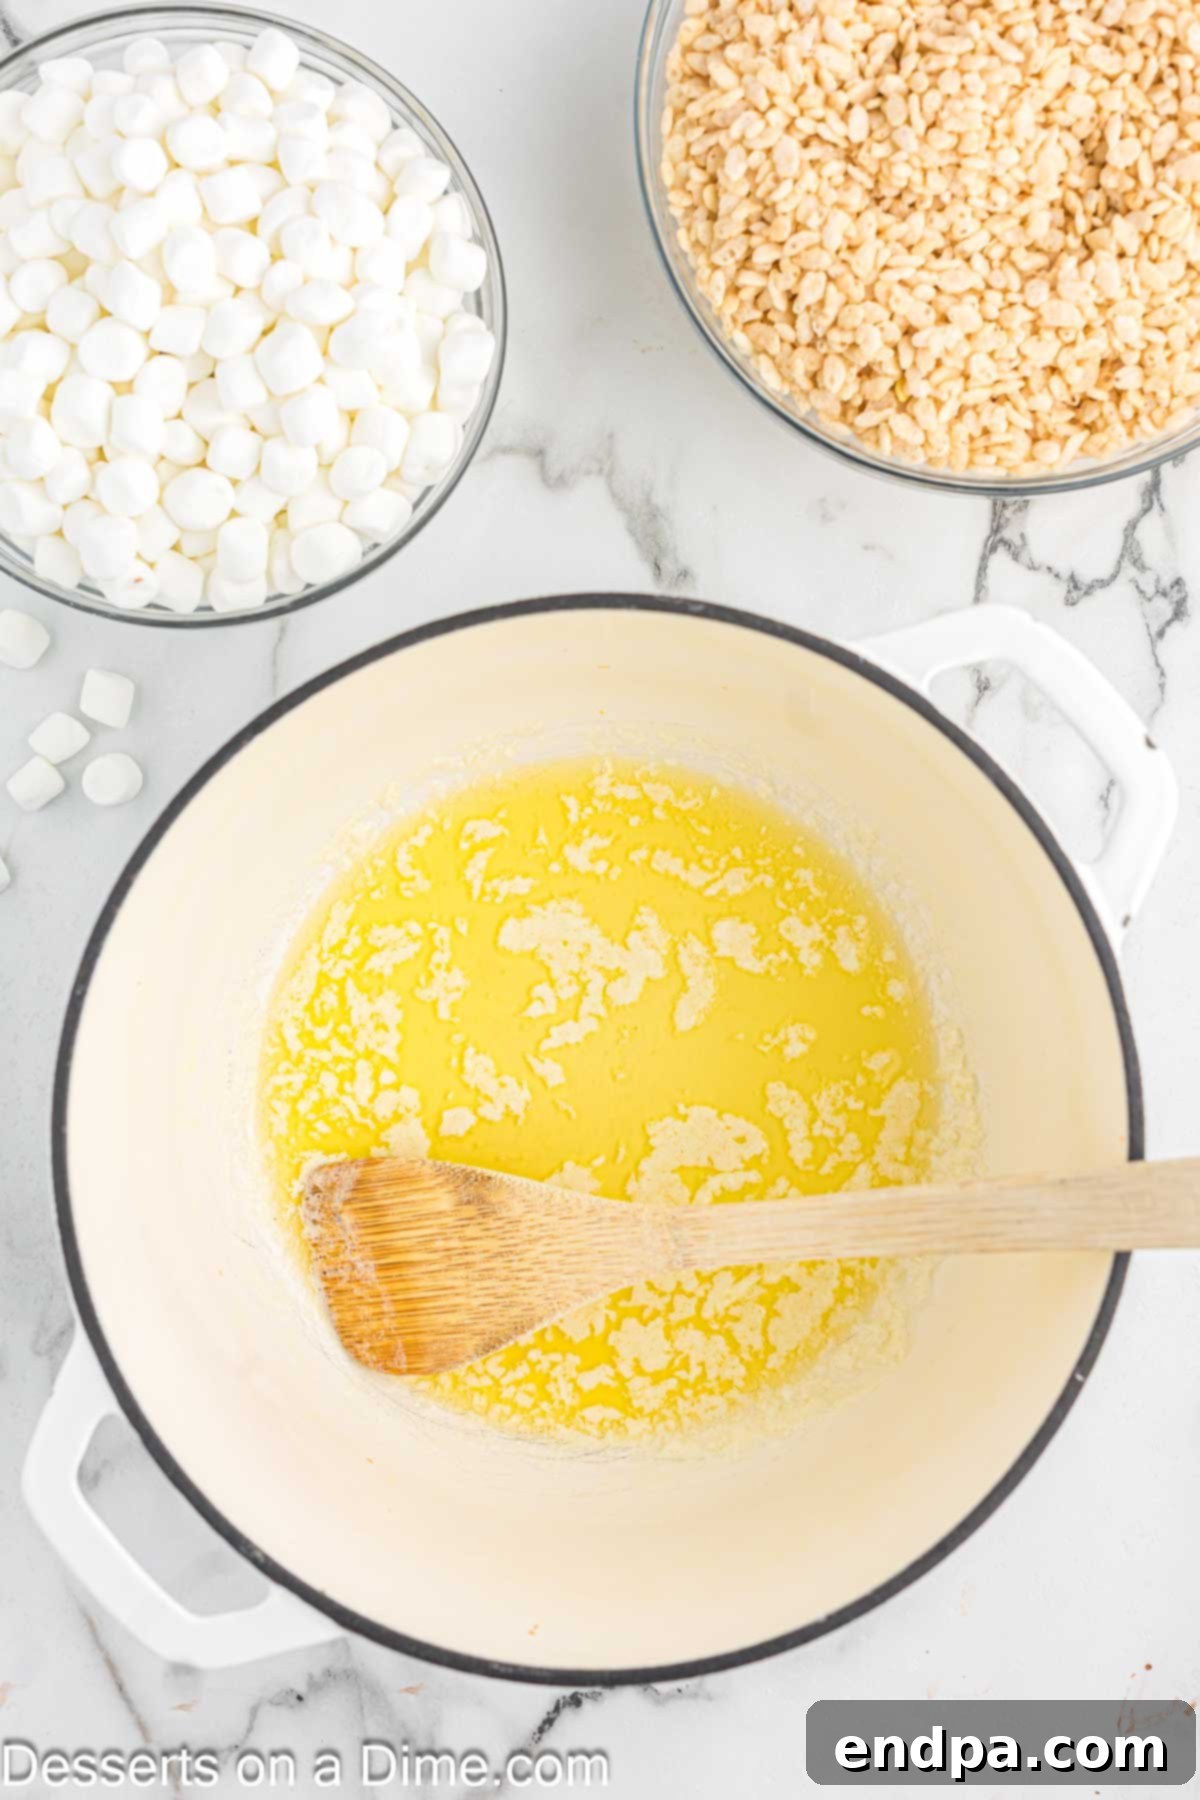
Step 2. Melt the Butter: In a large, heavy-bottomed saucepan, melt the butter over low to medium heat. The key here is low heat to prevent the butter from browning too quickly, which can alter the flavor of your treats.
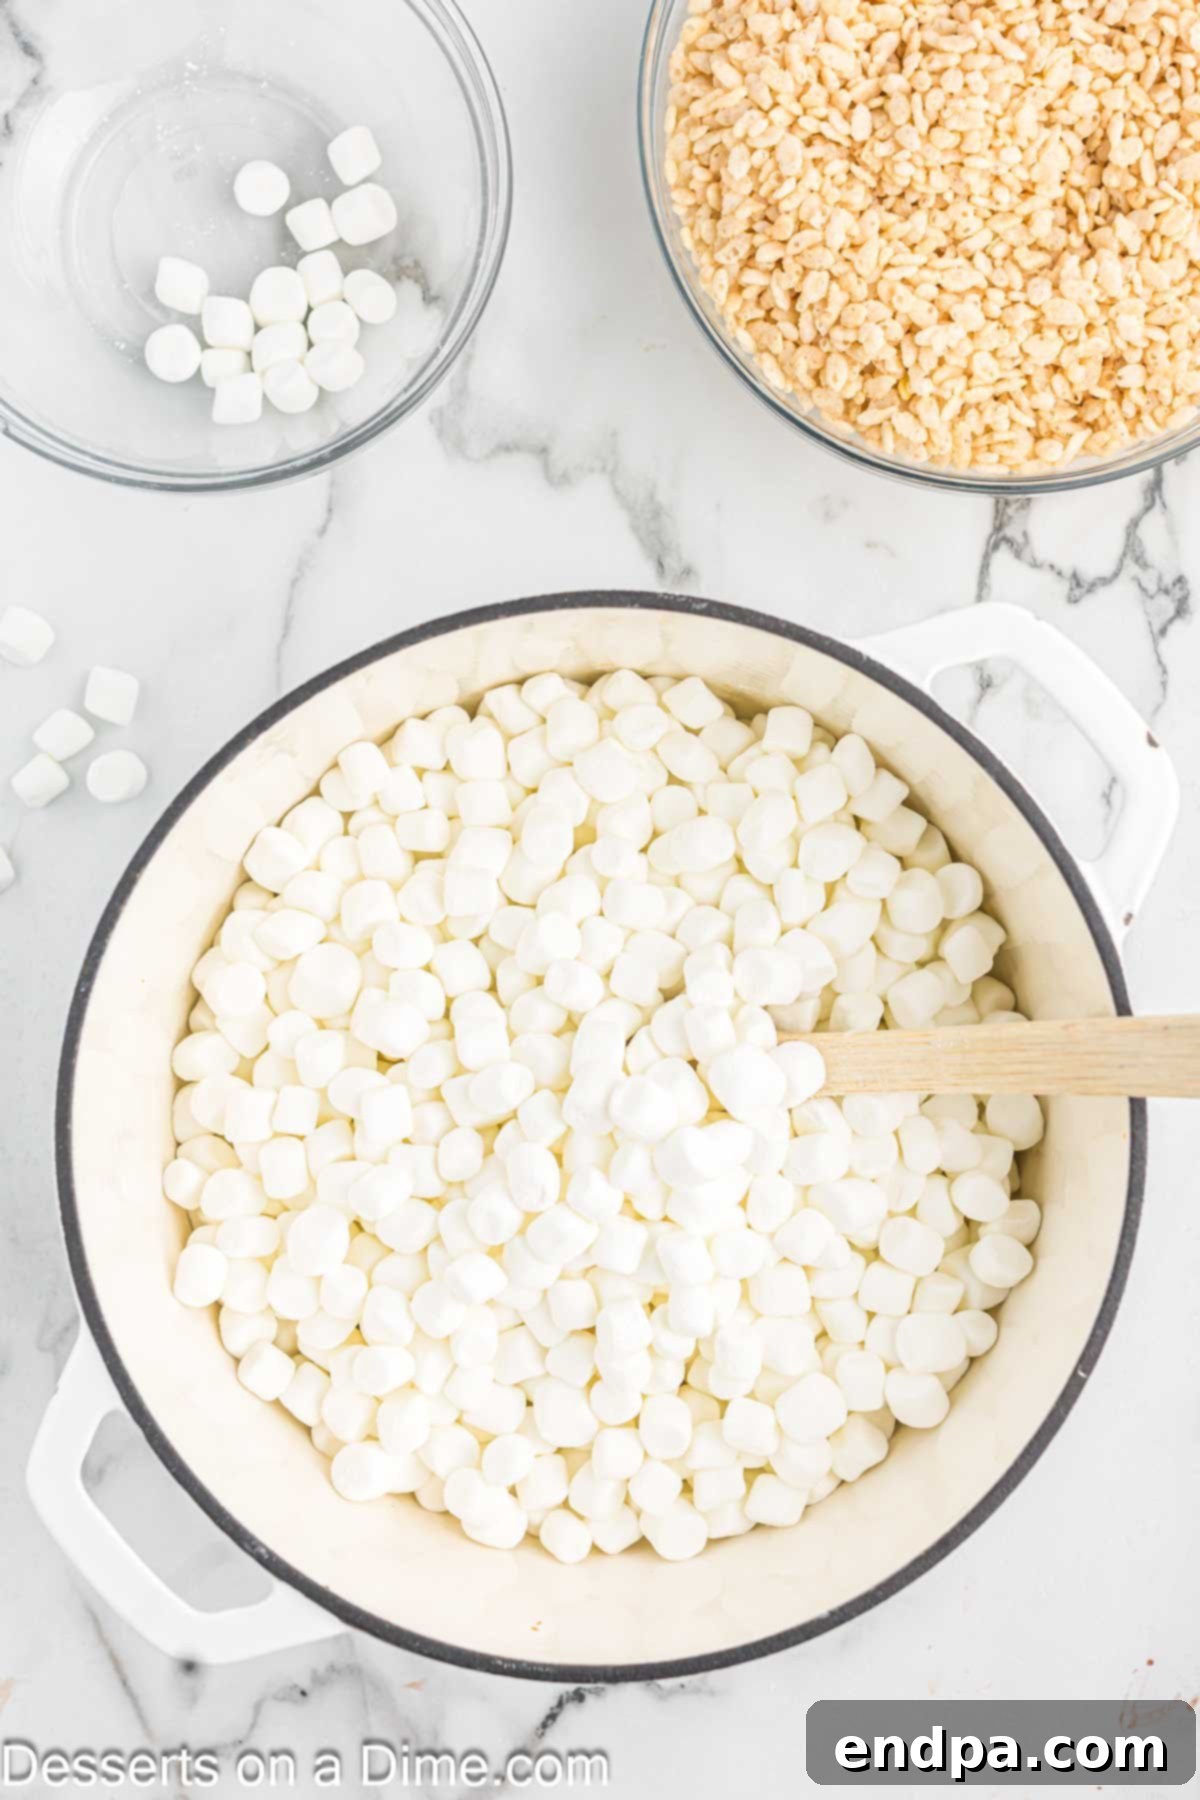
Step 3. Add Marshmallows: Once the butter is fully melted, add all of your marshmallows to the saucepan. Continue to stir them gently with the melted butter, ensuring even melting.
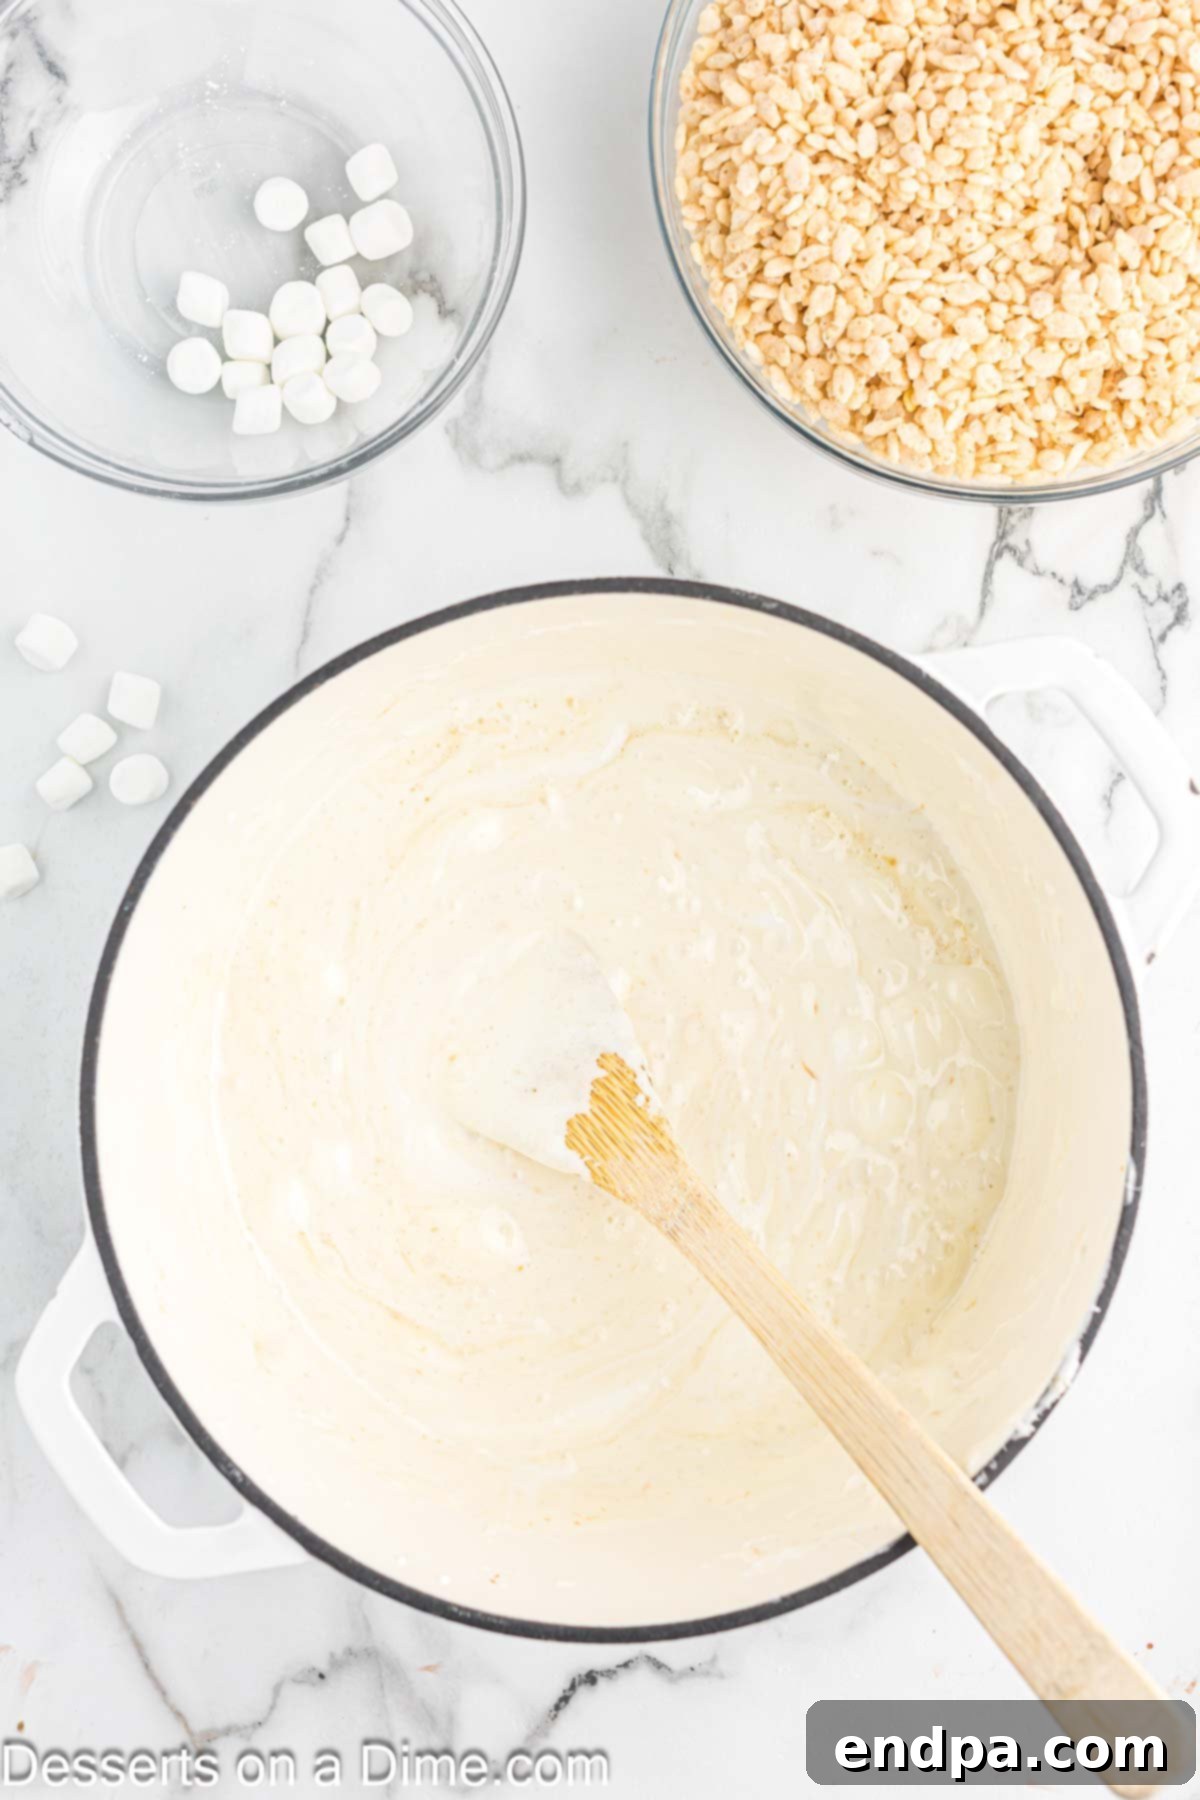
Step 4. Fully Melt Marshmallows: Keep the heat low and continue to stir the mixture until the marshmallows are completely melted and smooth. Overheating can make your treats hard, so be patient and keep stirring.
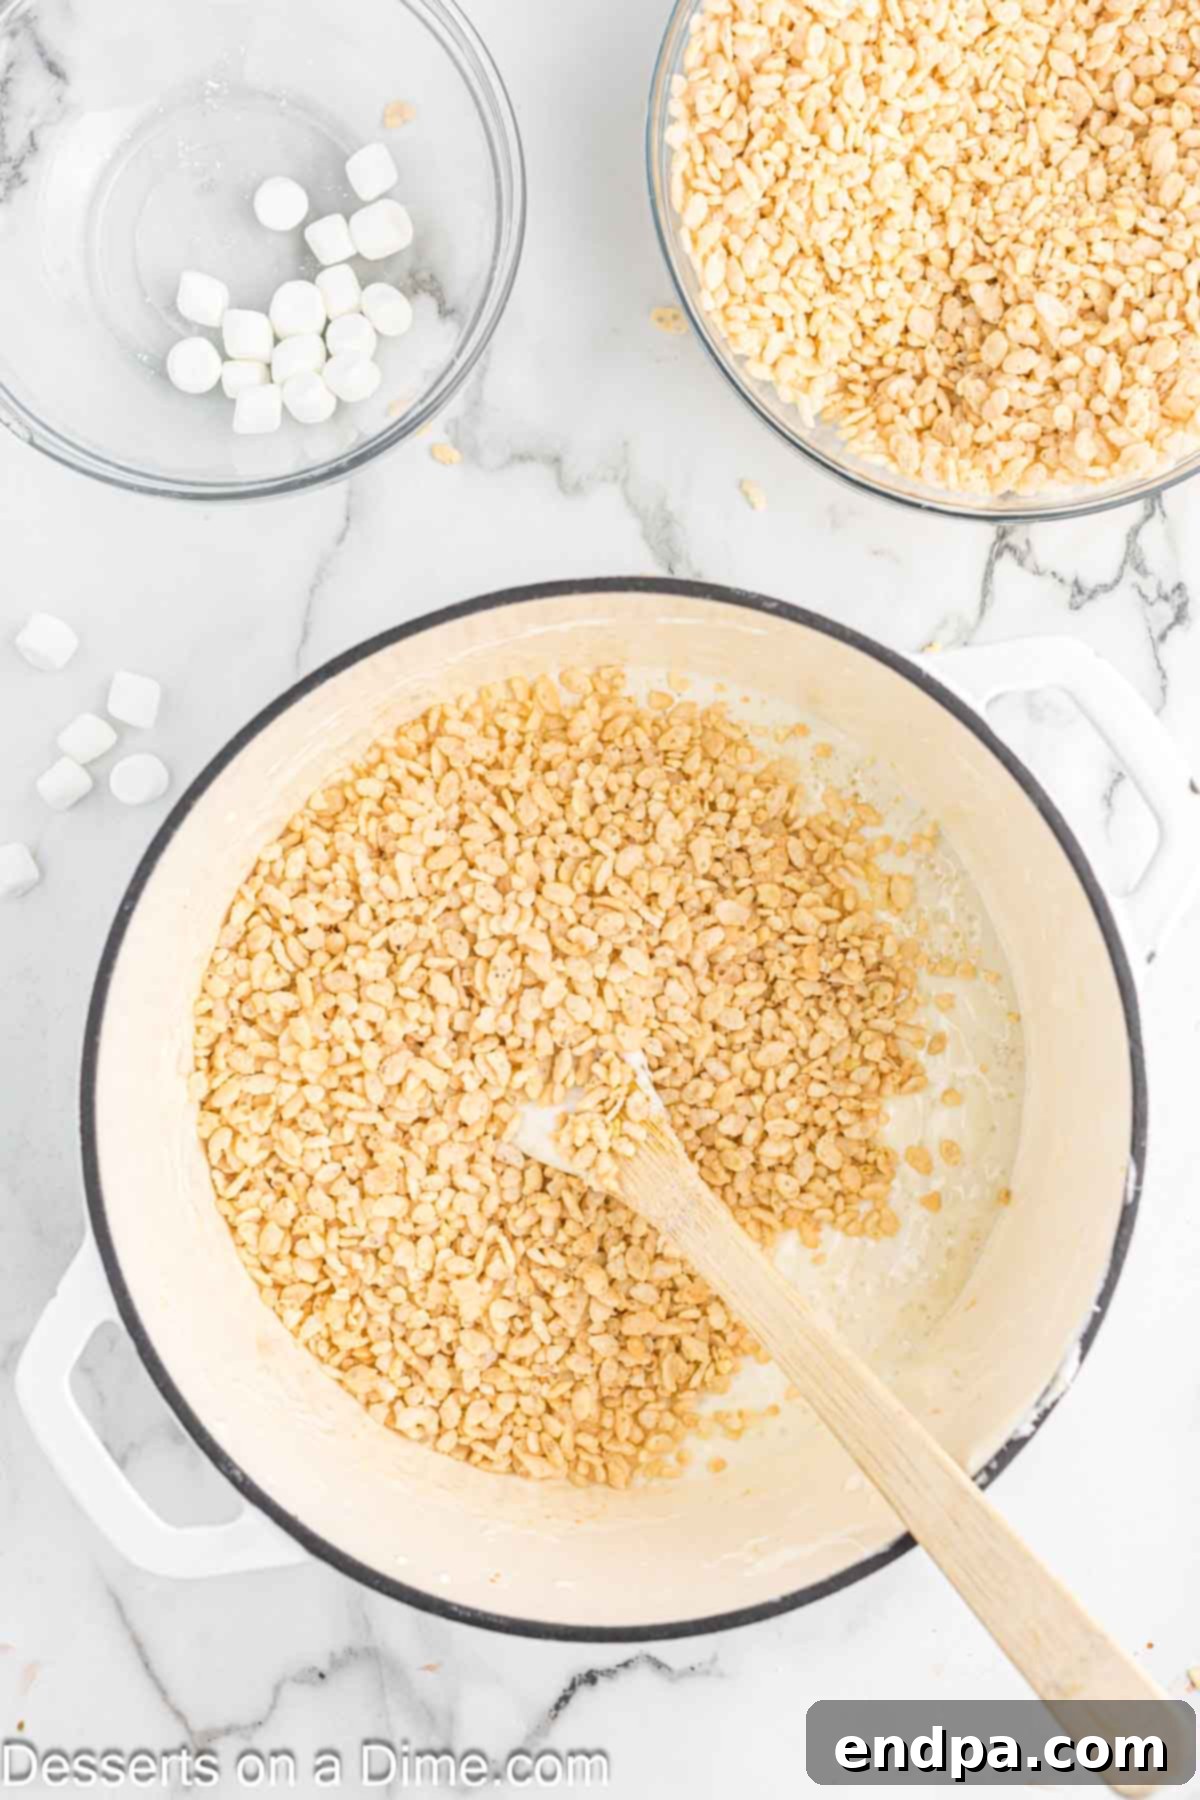
Step 5. Incorporate Cereal: Immediately remove the saucepan from the heat. Gradually add in your Rice Krispie cereal, pouring it into the warm marshmallow mixture. Working quickly is key here to ensure even coating.
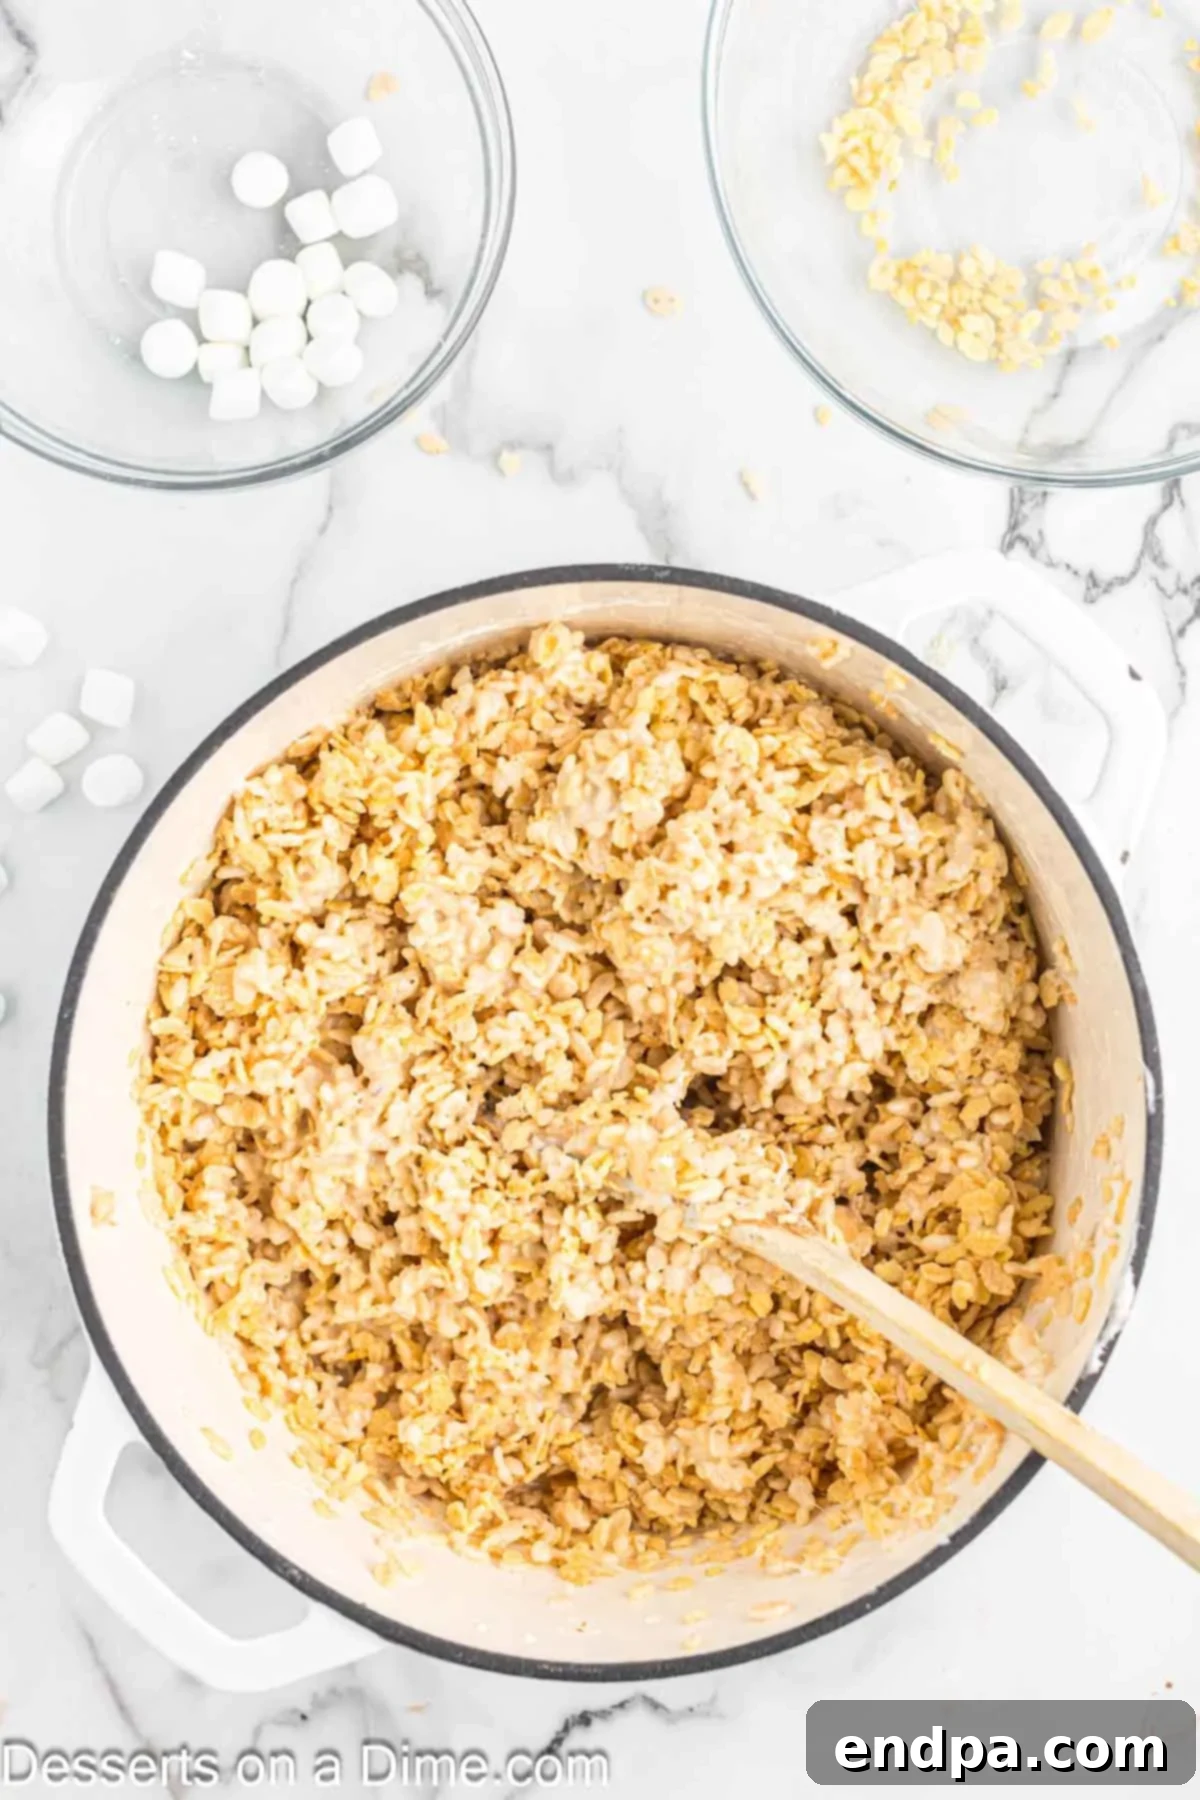
Step 6. Mix Until Coated: Using a rubber spatula or a wooden spoon, gently mix the cereal until every single piece is thoroughly coated in the gooey marshmallow mixture. Be sure to scrape the bottom and sides of the pan.
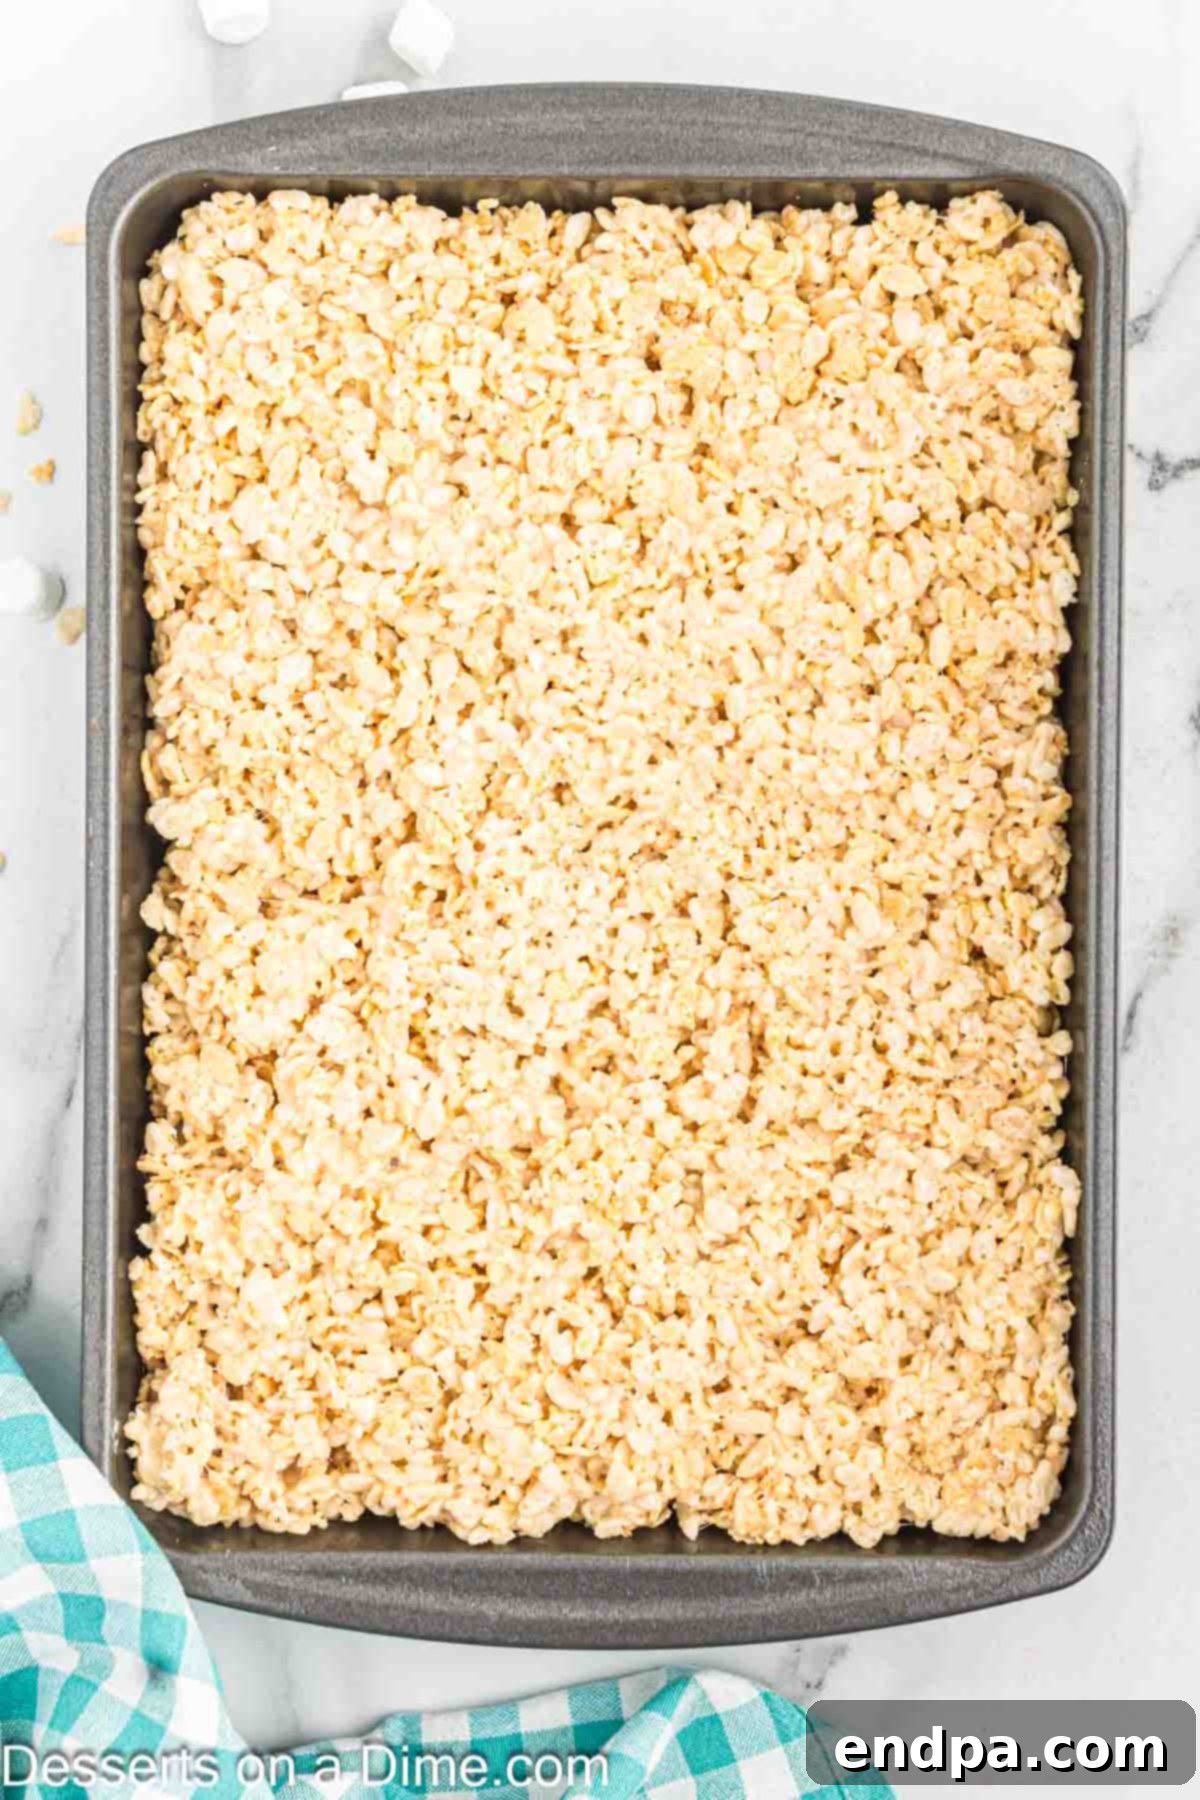
Step 7. Press into Pan: Transfer the entire cereal and marshmallow mixture into your prepared pan. Use a rubber spatula, slightly dampened hands (or sprayed with non-stick spray), or even a piece of wax paper to gently and evenly press the mixture into the pan. Avoid pressing too hard, as this can make your treats dense and tough.
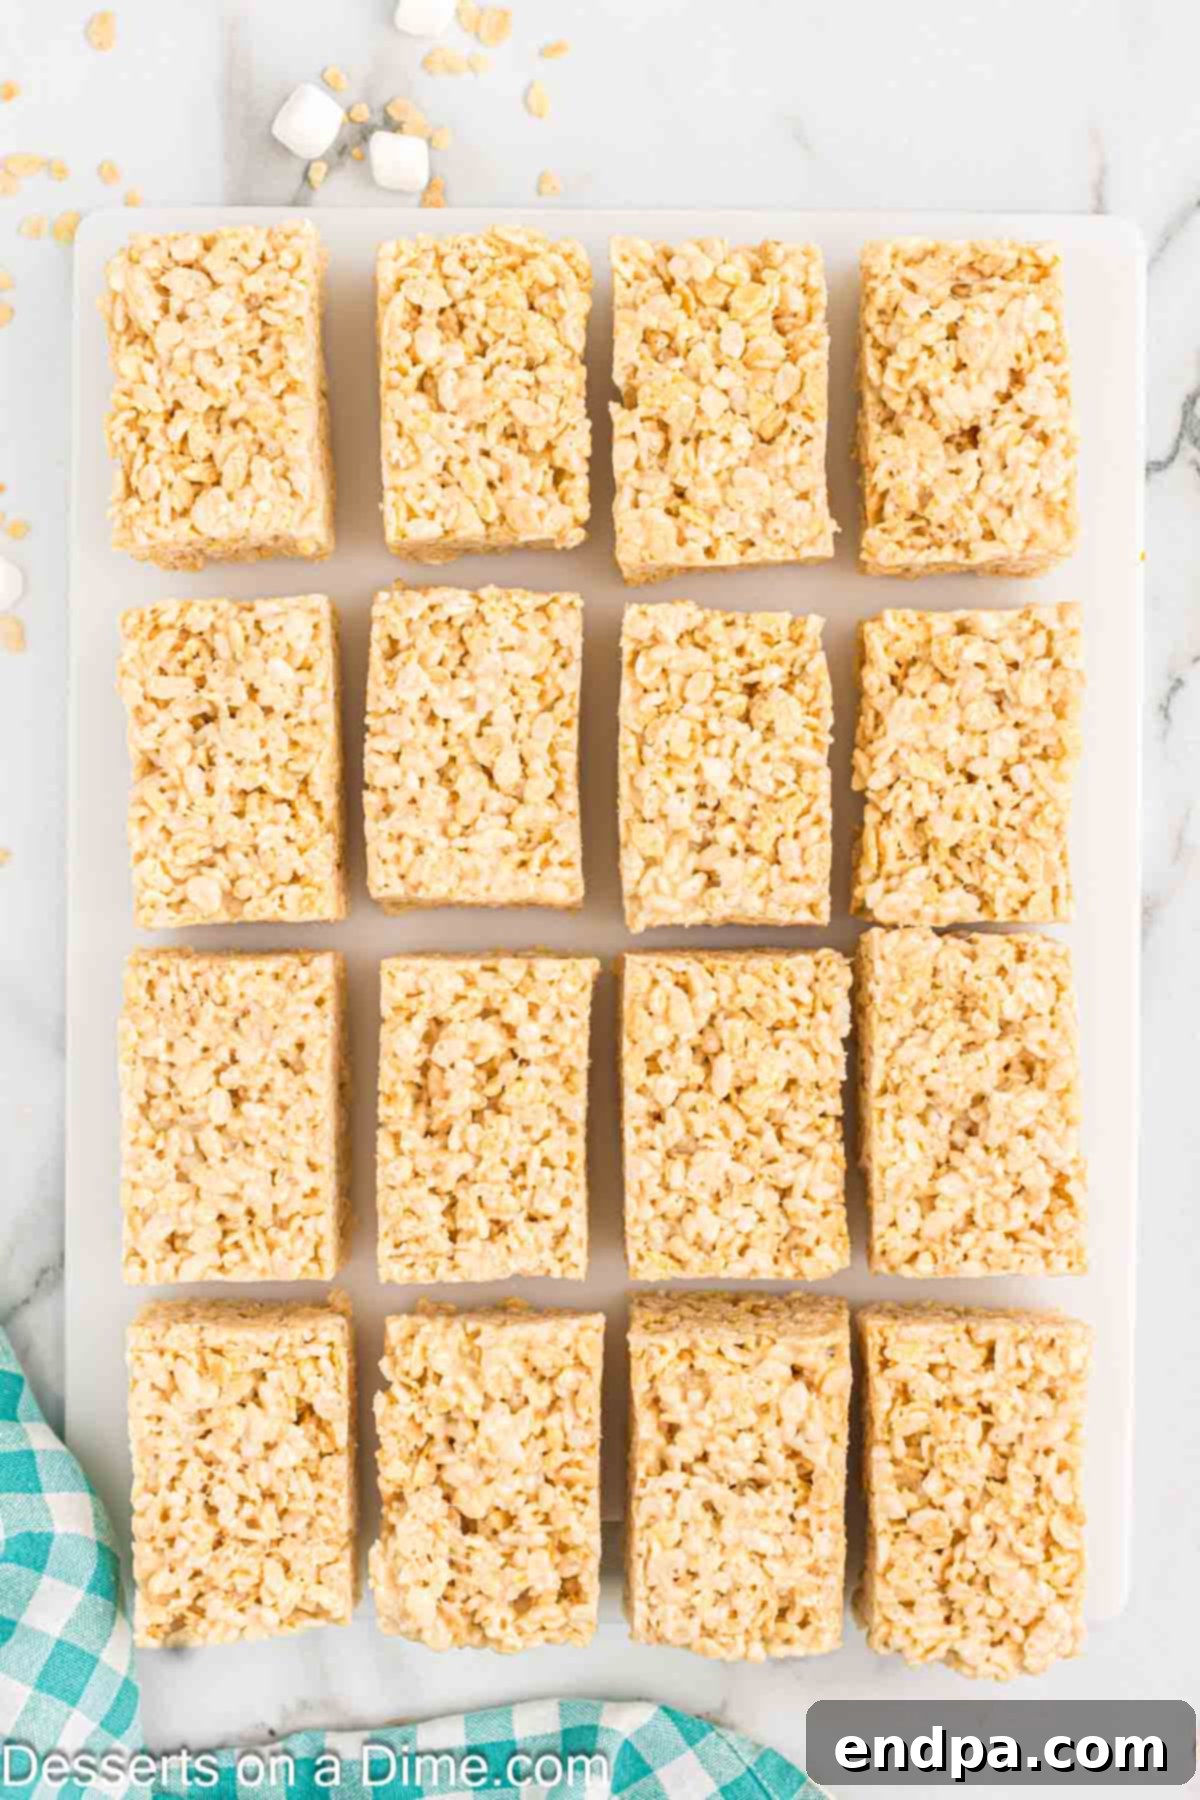
Step 8. Cool and Cut: Allow the treats to cool completely at room temperature for at least 30 minutes. Once firm, use a sharp, greased knife to cut them into squares. If you used parchment paper, you can lift the entire block out for easier cutting.
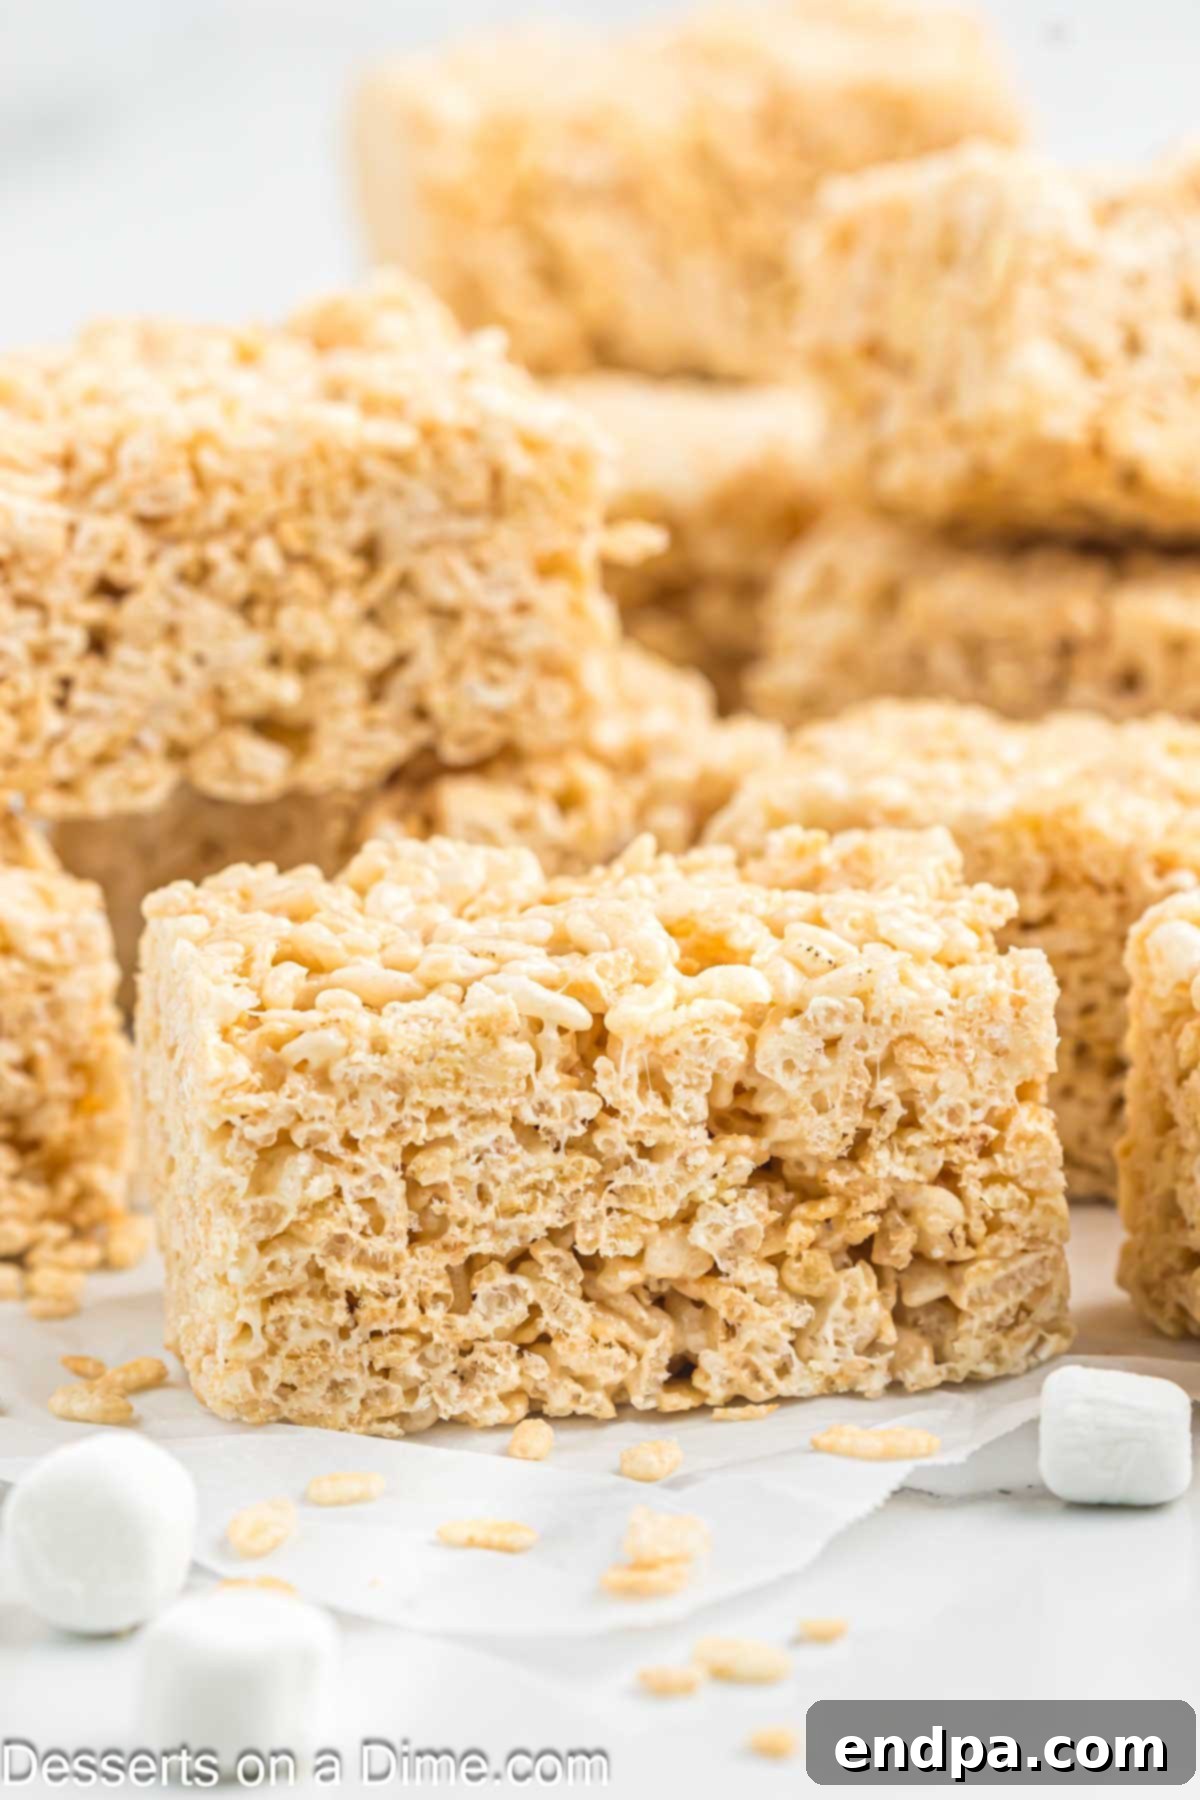
Step 9. Serve and Enjoy: Arrange your freshly cut Rice Krispie Treats on a platter and serve immediately. Prepare for them to disappear quickly!
Frequently Asked Questions (FAQs)
Here are answers to some of the most common questions about making and storing Rice Krispie Treats:
The most common culprit for hard or tough Rice Krispie Treats is overheating the marshmallow mixture. Make sure to cook this over a consistently low heat. Increasing the heat to speed up the melting process can cause the sugar in the marshmallows to crystallize, resulting in treats that are hard instead of delightfully soft and chewy.
Another factor could be over-compressing the mixture when spreading it into the pan. Instead of firmly pressing down, use a gentle hand or a lightly greased spatula to spread the cereal mixture evenly. A light touch will help maintain the airy, soft texture that makes these treats so enjoyable.
No, quite the opposite! Storing Rice Krispie Treats in the refrigerator can actually cause them to harden and lose their signature gooey texture. They are best left to cool and stored at room temperature in an airtight container. This allows them to retain their perfect chewiness and delicious flavor for several days.
When stored properly in an airtight container at room temperature, homemade Rice Krispie Treats will remain fresh, soft, and delicious for about 3-4 days. While they might last a little longer, their quality is at its peak within the first few days. To prevent them from sticking together in the container, you can layer them with sheets of wax paper or parchment paper. In our household, they rarely last longer than a day or two because they’re simply too good to resist!
Traditionally, classic Rice Krispie Treats are not gluten-free. The popular Rice Krispies cereal contains malt flavor, which is derived from barley, a grain that contains gluten. Therefore, if you are looking for a gluten-free option, the standard recipe won’t suffice.
However, you can easily adapt this recipe to be gluten-free by purchasing a certified gluten-free crispy rice cereal. Many brands now offer excellent gluten-free alternatives that will allow you to enjoy these treats without worry.
While technically possible, we generally do not recommend freezing Rice Krispie Treats. Freezing can alter the texture of the marshmallows, making them less gooey and more brittle upon thawing. They are truly best enjoyed fresh. For more detailed information on this topic, you can refer to our guide on Can You Freeze Rice Krispie Treats.
Yes, absolutely! Making Rice Krispie Treats in the microwave is a fantastic option for an even quicker preparation. Simply combine the butter and marshmallows in a large, microwave-safe bowl. Heat on high in 30-second intervals, stirring well after each interval, until the mixture is completely melted and smooth. This typically takes about 1.5 to 3 minutes, but microwave wattages can vary, so keep a close eye on it. Once melted, proceed with adding the cereal as described in Step 5.
Tips for Success
Achieving truly perfect, irresistibly soft, and chewy Rice Krispie Treats is simple when you follow a few key tips. These expert suggestions will help you avoid common pitfalls and ensure your homemade treats are always a hit:
- Parchment Paper is Your Best Friend: For the easiest removal and cleanest cuts, always line your baking pan with parchment paper, allowing some to overhang on the sides. Once the treats have cooled, you can simply lift the entire block out of the pan, making slicing effortless and mess-free.
- Always Use Fresh Ingredients: The quality of your ingredients significantly impacts the final outcome. Always use fresh, soft marshmallows and a new box of crispy rice cereal. Stale cereal can result in tougher treats, and old marshmallows won’t melt as smoothly or yield that desired gooey texture.
- Don’t Skimp on Marshmallows: If you love an extra gooey and soft treat, consider adding an additional cup of mini marshmallows when you’re mixing the treats together (after removing from heat). These will partially melt into the mixture, creating pockets of soft marshmallow throughout and intensifying that beloved flavor.
- A Touch of Vanilla Extract: A splash of pure vanilla extract (about 1 teaspoon) stirred into the melted marshmallow mixture just before adding the cereal can elevate the flavor profile dramatically. It adds a subtle warmth and depth that complements the sweetness beautifully.
- Gentle Pressing is Key: When spreading the mixture into the prepared pan, resist the urge to press down too firmly. Using lightly buttered hands, a lightly greased spatula, or even a piece of wax paper, gently press the mixture just enough to fill the pan evenly. Over-compressing the treats will make them dense and hard, rather than light and chewy.
- Low Heat is Crucial: When melting the butter and marshmallows, always use low heat. High heat can scorch the marshmallows, giving them a slightly burnt flavor, or cause the sugar to crystallize, which leads to hard, brittle treats instead of soft, gooey ones. Patience here pays off!
- Work Quickly: Once the marshmallows are melted and you’ve added the cereal, work quickly to mix and press the treats into the pan. The marshmallow mixture will start to set as it cools, making it harder to work with.
More Irresistible Rice Krispie Treats to Try
If you’ve fallen in love with making homemade Rice Krispie Treats, you’re in for a treat! The world of crispy cereal bars extends far beyond the classic recipe. Here are some fantastic variations to spark your culinary creativity and delight your taste buds:
- Rice Krispie Treats with Marshmallow Fluff: For an even gooier, melt-in-your-mouth texture, try replacing some or all of the traditional marshmallows with fluffy marshmallow cream.
- Monster Rice Krispie Treats: Packed with colorful candies, chocolate chips, and often a hint of peanut butter, these fun and festive treats are perfect for parties or a playful snack.
- Strawberry Rice Krispie Treats Recipe: Infuse your treats with a burst of fruity flavor by adding strawberry gelatin or freeze-dried strawberries for a delightful pink hue and sweet tang.
- Butterscotch Rice Krispie Treats: A rich and buttery twist, these treats incorporate butterscotch chips for a warm, caramel-like flavor that’s utterly comforting.
- Chocolate Chip Rice Krispie Treats: A simple yet satisfying addition, chocolate chips (milk, dark, or white) stirred into the mixture take these classic bars to a new level of indulgence.
- Neapolitan Rice Krispie Treats: Recreate the beloved ice cream flavor with layers of chocolate, vanilla, and strawberry crispy treats for a visually stunning and delicious dessert.
We hope you’re inspired to make these incredibly satisfying homemade Rice Krispie Treats today. Once you’ve tried them, please consider leaving a star recipe rating and sharing your experience!
Pin
How to make Rice Krispie treats
Ingredients
- 12 cups Rice Krispie Cereal
- 6 Tablespoons Butter
- (2) 10 ounce package of Marshmallows
Instructions
- Spray a 9X13 pan with a non-stick cooking spray.
- Melt the butter on low heat in a large saucepan.
- Add the marshmallows and stir until completely melted.
- Remove from heat and gradually add in the rice krispies cereal. Mix until completely coated.
- Spread evenly in prepared pan.
- Allow to cool completely before serving.
- *You can make half of this batch for thinner rice krispie treats. We love thick rice krispie treats!
- *Do not store in the refrigerator. They are best left to cool at room temperature so that the remain gooey and delicious!
Nutrition Facts
Pin This Now to Remember It Later
Pin Recipe
