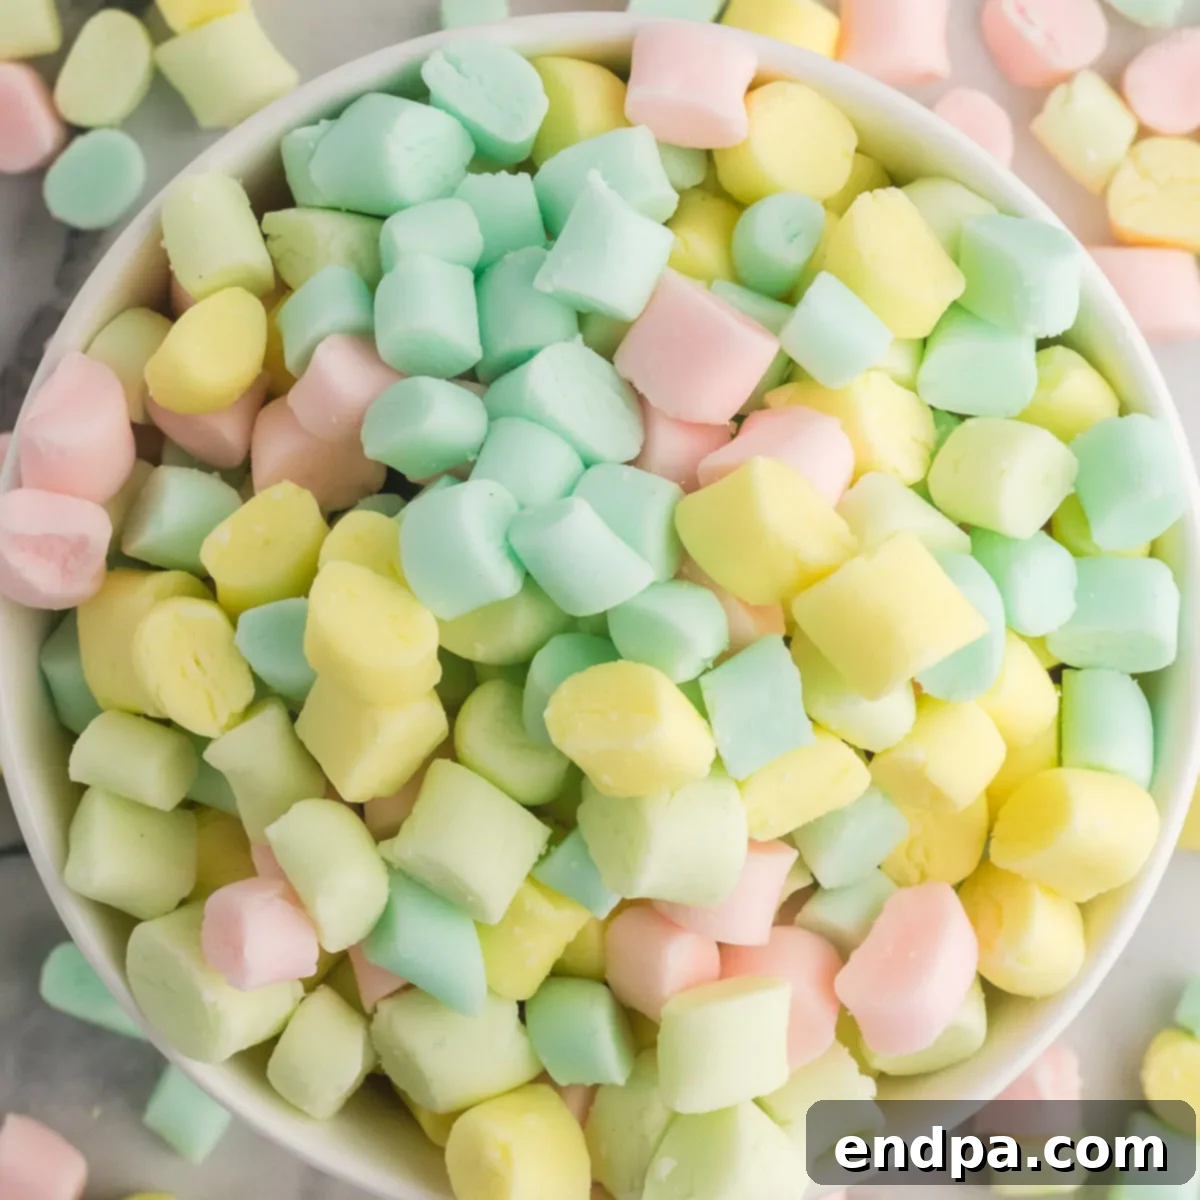
Delightful Homemade Butter Mints: A Melt-in-Your-Mouth Recipe for Every Occasion
There’s something truly enchanting about a perfectly crafted butter mint. These creamy, delicate confections have a unique ability to literally melt in your mouth, leaving behind a delightful burst of sweet peppermint flavor. Far from being just a simple treat, homemade butter mints are a beloved tradition, gracing dessert tables at everything from elegant wedding receptions to joyous baby showers and festive holiday gatherings. Their pastel hues and irresistible texture make them a staple for any celebration, adding a touch of nostalgic charm and simple elegance.
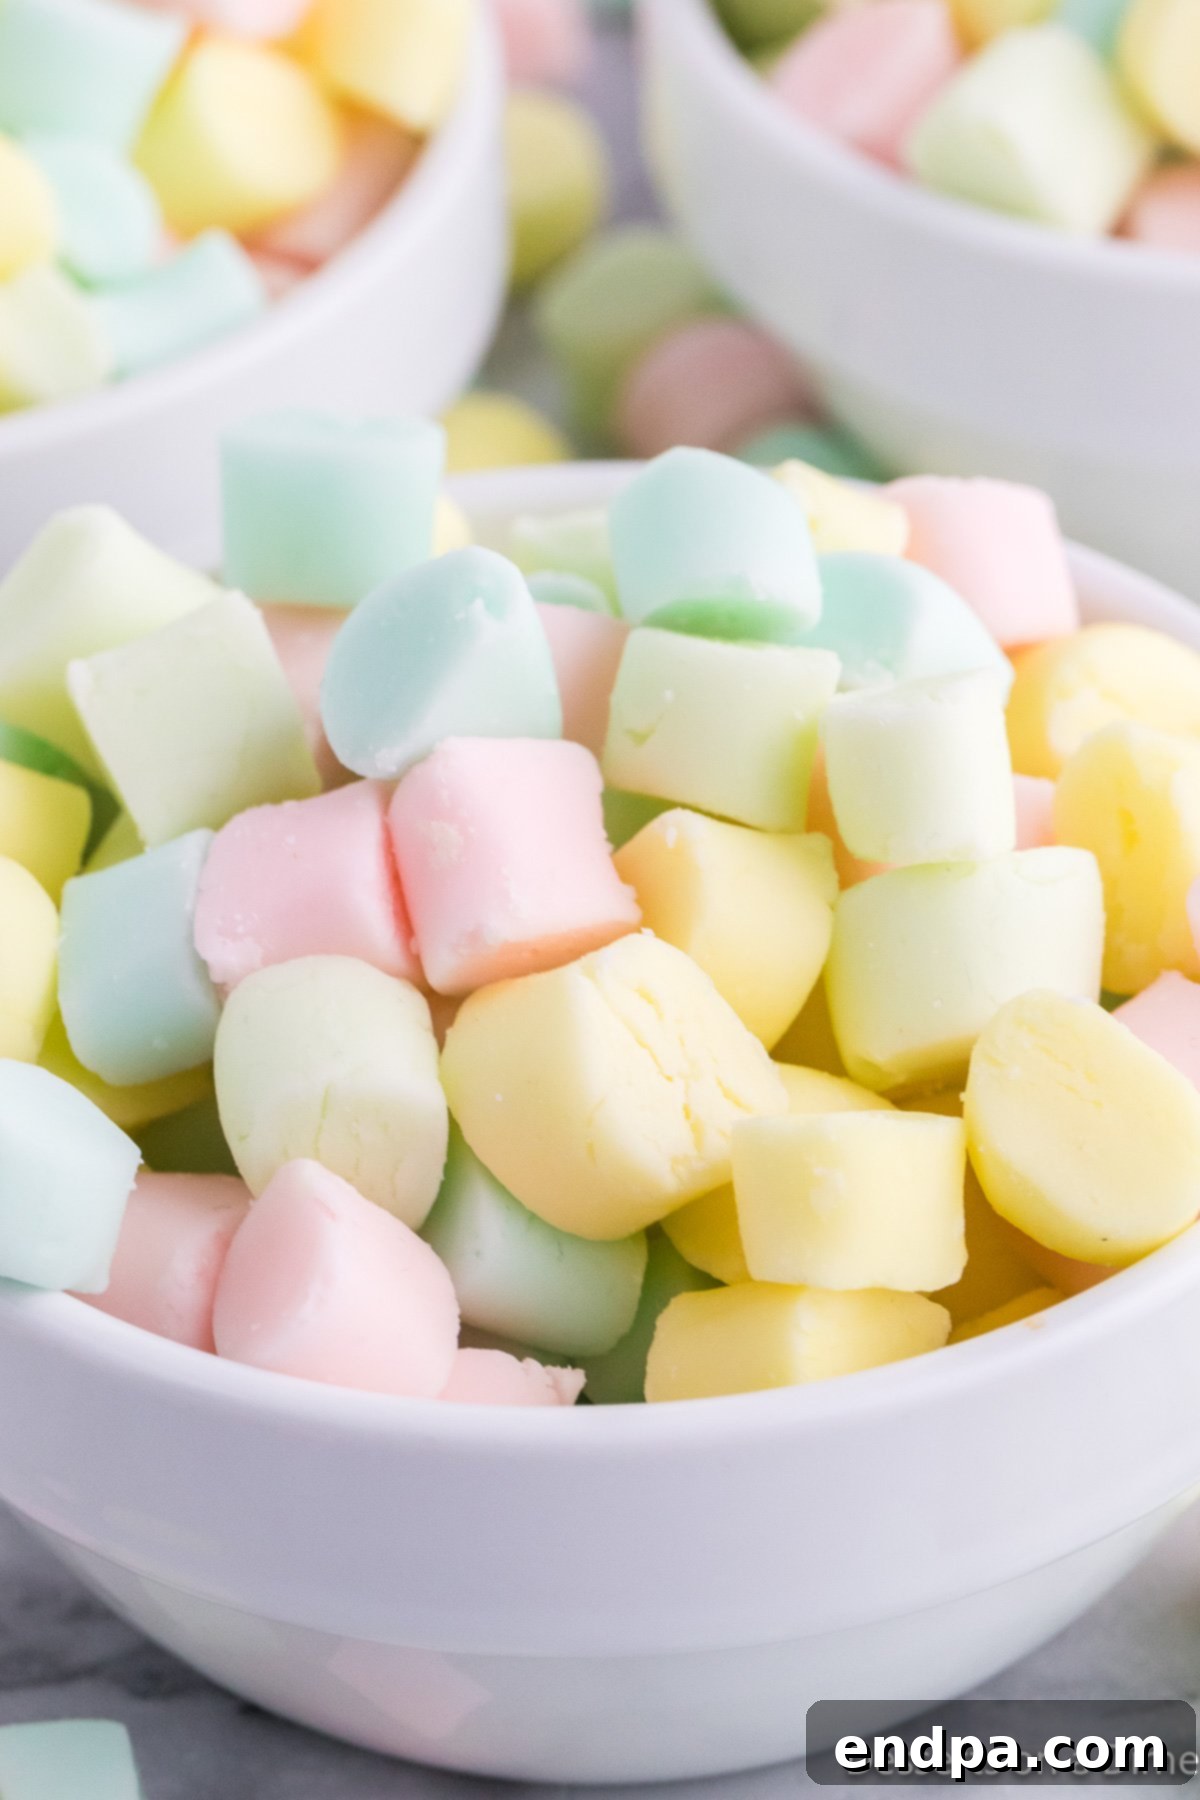
Making these classic old-fashioned candies from scratch is surprisingly simple, requiring only a handful of common ingredients and minimal effort. Yet, the results are far superior to anything you can purchase in a store. This recipe for butter mints has stood the test of time, consistently winning over hearts with its rich flavor and ethereal texture. Often affectionately known as “wedding mints” due to their popularity at matrimonial events, they are equally perfect as thoughtful Baby Shower Desserts or charming party favors. We’ve been perfecting homemade butter mints for years, and they never fail to impress. If you enjoy making your own confections, you might also love our Cream Cheese Mints.
What You’ll Find in This Guide: The Ultimate Butter Mints Recipe
- Why Homemade Butter Mints Are a Must-Try
- Essential Ingredients for Perfect Butter Mints
- Creative Variations to Personalize Your Mints
- Step-by-Step Guide to Crafting Butter Mints
- Proper Storage for Lasting Freshness
- Expert Tips for Butter Mint Perfection
- Frequently Asked Questions (FAQs) About Butter Mints
- More Delightful & Easy Candy Recipes
- Printable Butter Mints Recipe Card
Why Homemade Butter Mints Are a Must-Try
- Unmatched Flavor & Texture: Homemade butter mints elevate the classic treat to a whole new level. The fresh ingredients and careful preparation result in a superior flavor and that characteristic smooth, melt-away texture that simply cannot be replicated by mass-produced varieties. You control the quality, and it truly makes a difference.
- Effortless Preparation: Don’t let the elegant appearance fool you – this recipe is incredibly straightforward. With a mere six ingredients and a few simple steps, even beginner confectioners can achieve perfect results. It’s a rewarding project that yields impressive candies without the fuss.
- Minimal Prep Time: The active time spent making these mints is surprisingly short. While chilling and drying are essential steps, the hands-on mixing and shaping come together quickly, making it an ideal recipe for when you need a beautiful dessert or favor without hours of kitchen work.
- Customizable for Any Event: From vibrant birthday parties to serene bridal showers, you can easily adapt these butter mints to match any theme or color scheme. A few drops of food coloring can transform them, making them a truly versatile sweet.
Essential Ingredients for Perfect Butter Mints
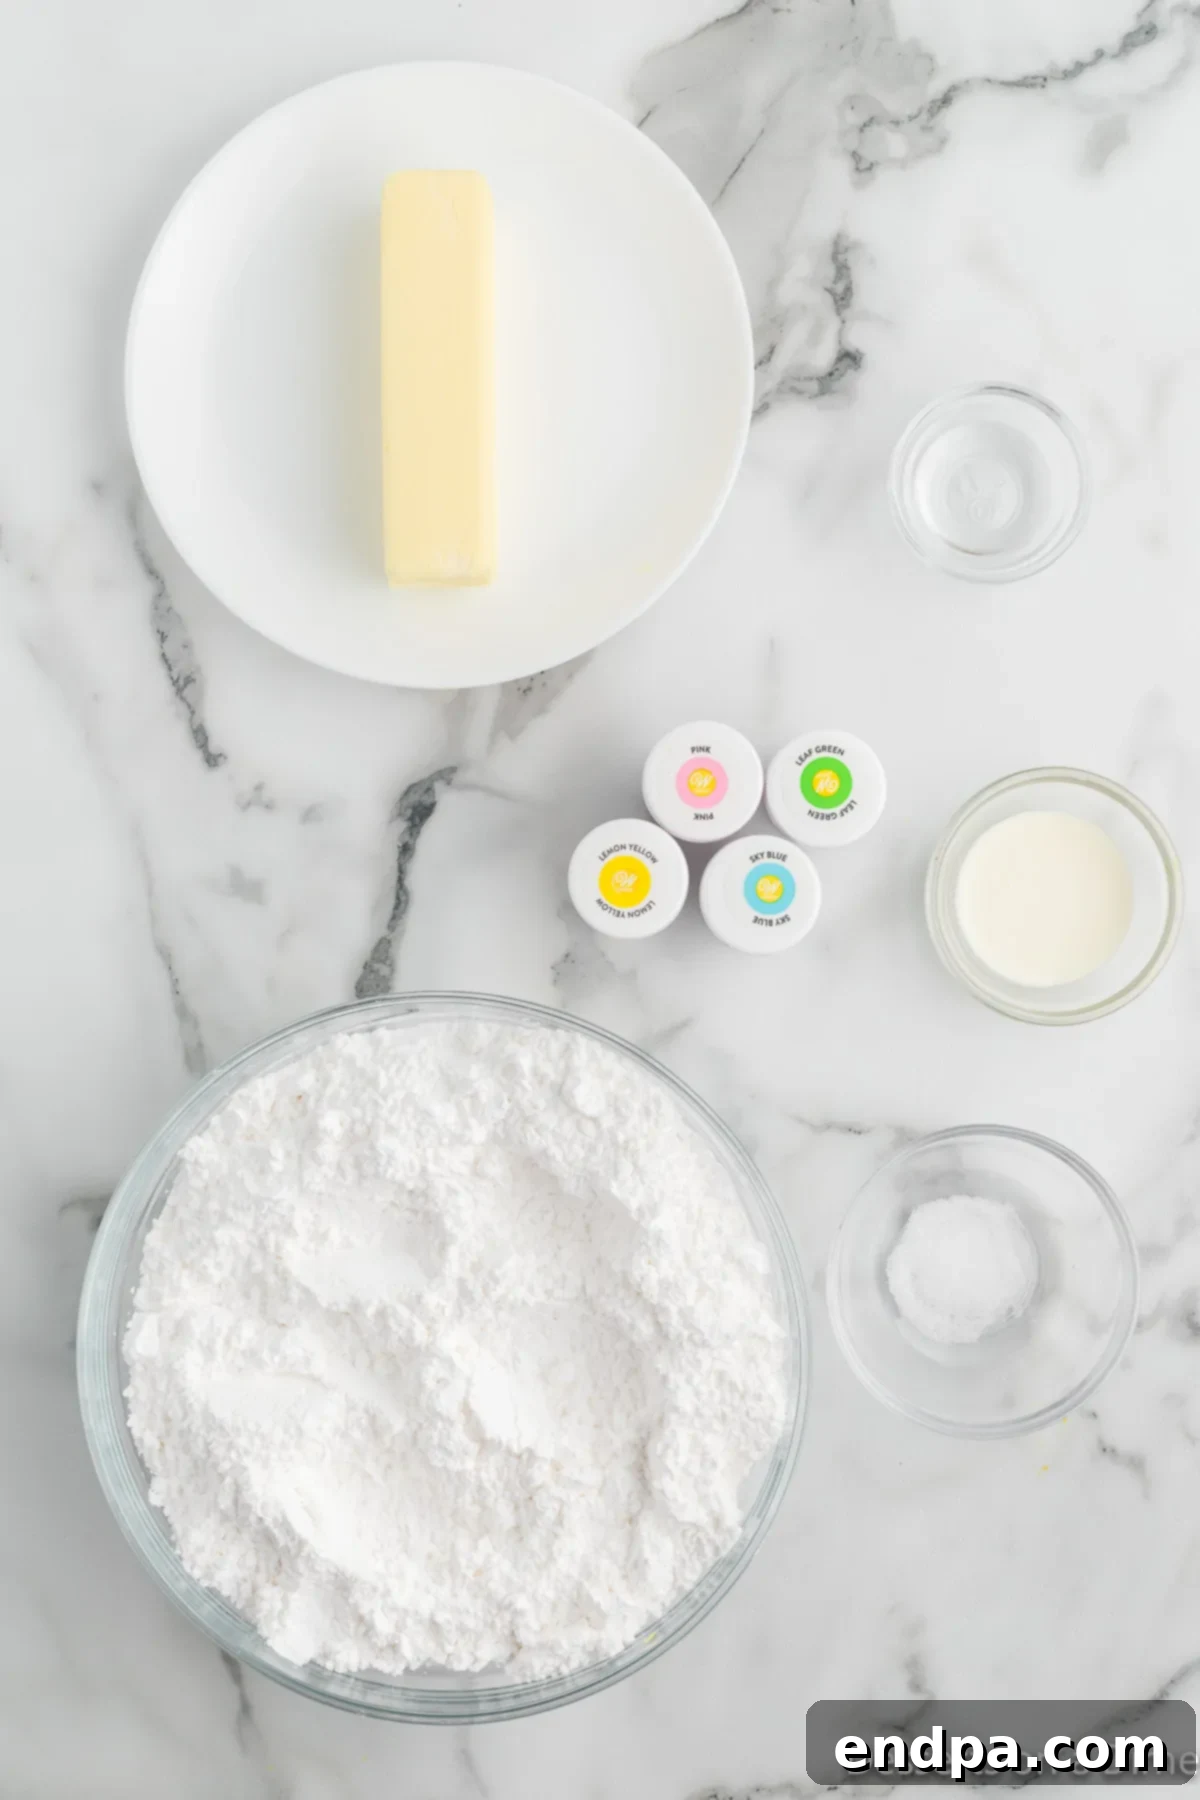
Crafting perfect butter mints begins with understanding the role each ingredient plays. Here’s a closer look at what you’ll need and why:
- Unsalted Butter: The foundation of these mints, unsalted butter allows you to control the overall saltiness of the final product. It provides the essential richness and creamy texture. Ensure your butter is softened to room temperature before mixing; this makes it much easier to cream with the other ingredients, leading to a smoother, lump-free dough.
- Heavy Cream: This is key to achieving the luxurious, rich quality and smooth consistency of the mints. The higher fat content of heavy cream contributes significantly to their melt-in-your-mouth characteristic. We highly recommend against substituting it with lighter milks, as they won’t provide the same richness or help achieve the desired texture.
- Salt: A small pinch of salt works wonders in balancing the sweetness and enhancing the overall flavor of the peppermint. It prevents the mints from tasting overly sugary and brings out the vibrant taste of the butter and mint.
- Peppermint Extract: This gives the butter mints their signature refreshing flavor. It’s crucial to use peppermint extract, not mint extract, which often has a spearmint-like taste that can remind one of toothpaste. Choose a good quality extract for the best flavor.
- Powdered Sugar (Confectioners’ Sugar): This fine sugar is essential for the smooth, non-gritty texture of butter mints. Sifting the powdered sugar before adding it to your mixture is a non-negotiable step. This removes any lumps, ensuring a silky-smooth dough and ultimately, mints that truly melt in your mouth without a trace of grittiness.
- Food Coloring: While entirely optional, a few drops of food coloring can transform your mints into beautiful, festive treats. Pastel colors are traditional for weddings and baby showers, but you can choose any shade to match a holiday, party theme, or personal preference. Gel food coloring often provides more vibrant colors with fewer drops compared to liquid dyes.
For a complete, detailed ingredient list and precise measurements, please refer to the recipe card at the bottom of this article. There, you’ll also find comprehensive instructions to guide you through each step of the process.
Creative Variations to Personalize Your Mints
While the classic butter mint is perfect on its own, its simple base makes it an excellent canvas for creativity. Here are some ideas to customize your homemade mints:
- Vibrant Food Coloring: Beyond traditional pastels, experiment with bold colors for specific holidays or events. Think bright red and green for Christmas, orange and black for Halloween, or team colors for a sports gathering. Gel food coloring often provides the most intense hues with minimal liquid. You can even swirl colors for a marbled effect!
- Flavorful Extracts: Don’t limit yourself to just peppermint! Consider other extracts for different flavor profiles:
- Spearmint: For a milder, slightly sweeter mint flavor.
- Vanilla: A classic and comforting taste.
- Almond: Adds a sophisticated, nutty aroma.
- Lemon or Orange: For a bright, citrusy twist (use a few drops of zest for extra punch).
- Maple: For a unique, autumnal treat.
- Fun Shapes: Instead of simple cut pieces, get creative with your shapes:
- Molds: Silicone candy molds come in countless designs (flowers, hearts, stars, holiday themes). Lightly dust them with powdered sugar before pressing in the dough.
- Cookie Cutters: For slightly larger, decorative mints, small cookie cutters can be used on rolled-out dough.
- Hand-Rolled Balls: Simple and elegant, just roll small portions of dough into smooth spheres.
- Decorative Coatings: After the mints have dried, you can give them an extra flourish:
- Coarse Sugar: Roll them in sanding sugar for a beautiful sparkle.
- Sprinkles: Add a festive touch with colorful sprinkles while the dough is still soft.
- Dusting: A final light dusting of sifted powdered sugar can give them a delicate, ethereal finish.
Step-by-Step Guide to Crafting Delicious Butter Mints
Follow these easy steps to create your own batch of delightful, melt-in-your-mouth butter mints:
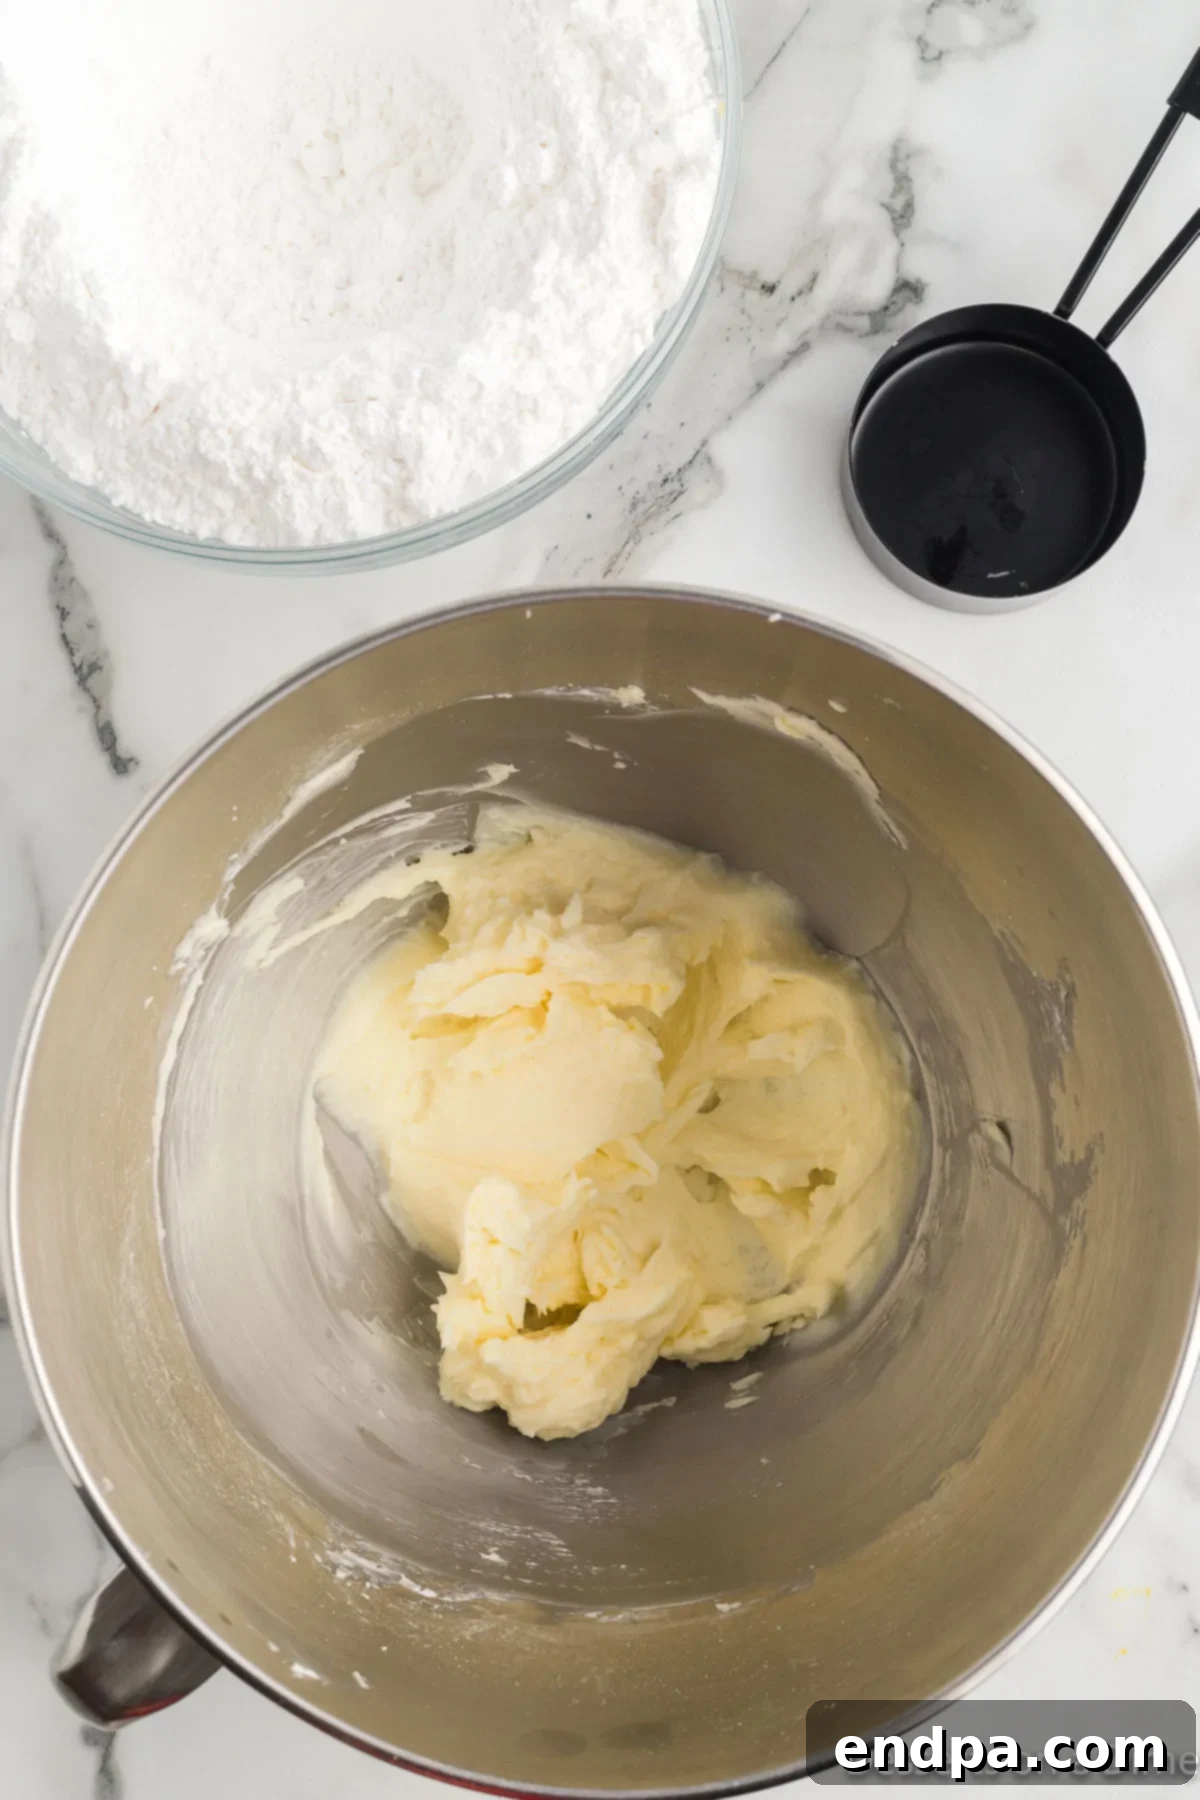
Step 1: Cream the Base Ingredients. In the bowl of a stand mixer fitted with a paddle attachment, or using a large bowl and a hand mixer, combine the softened unsalted butter, heavy whipping cream, a pinch of salt, and the peppermint extract. Add 1 cup of the sifted powdered sugar at this stage. Beat these ingredients together on medium speed until the mixture is incredibly smooth, light, and creamy. Ensure there are no butter lumps remaining.
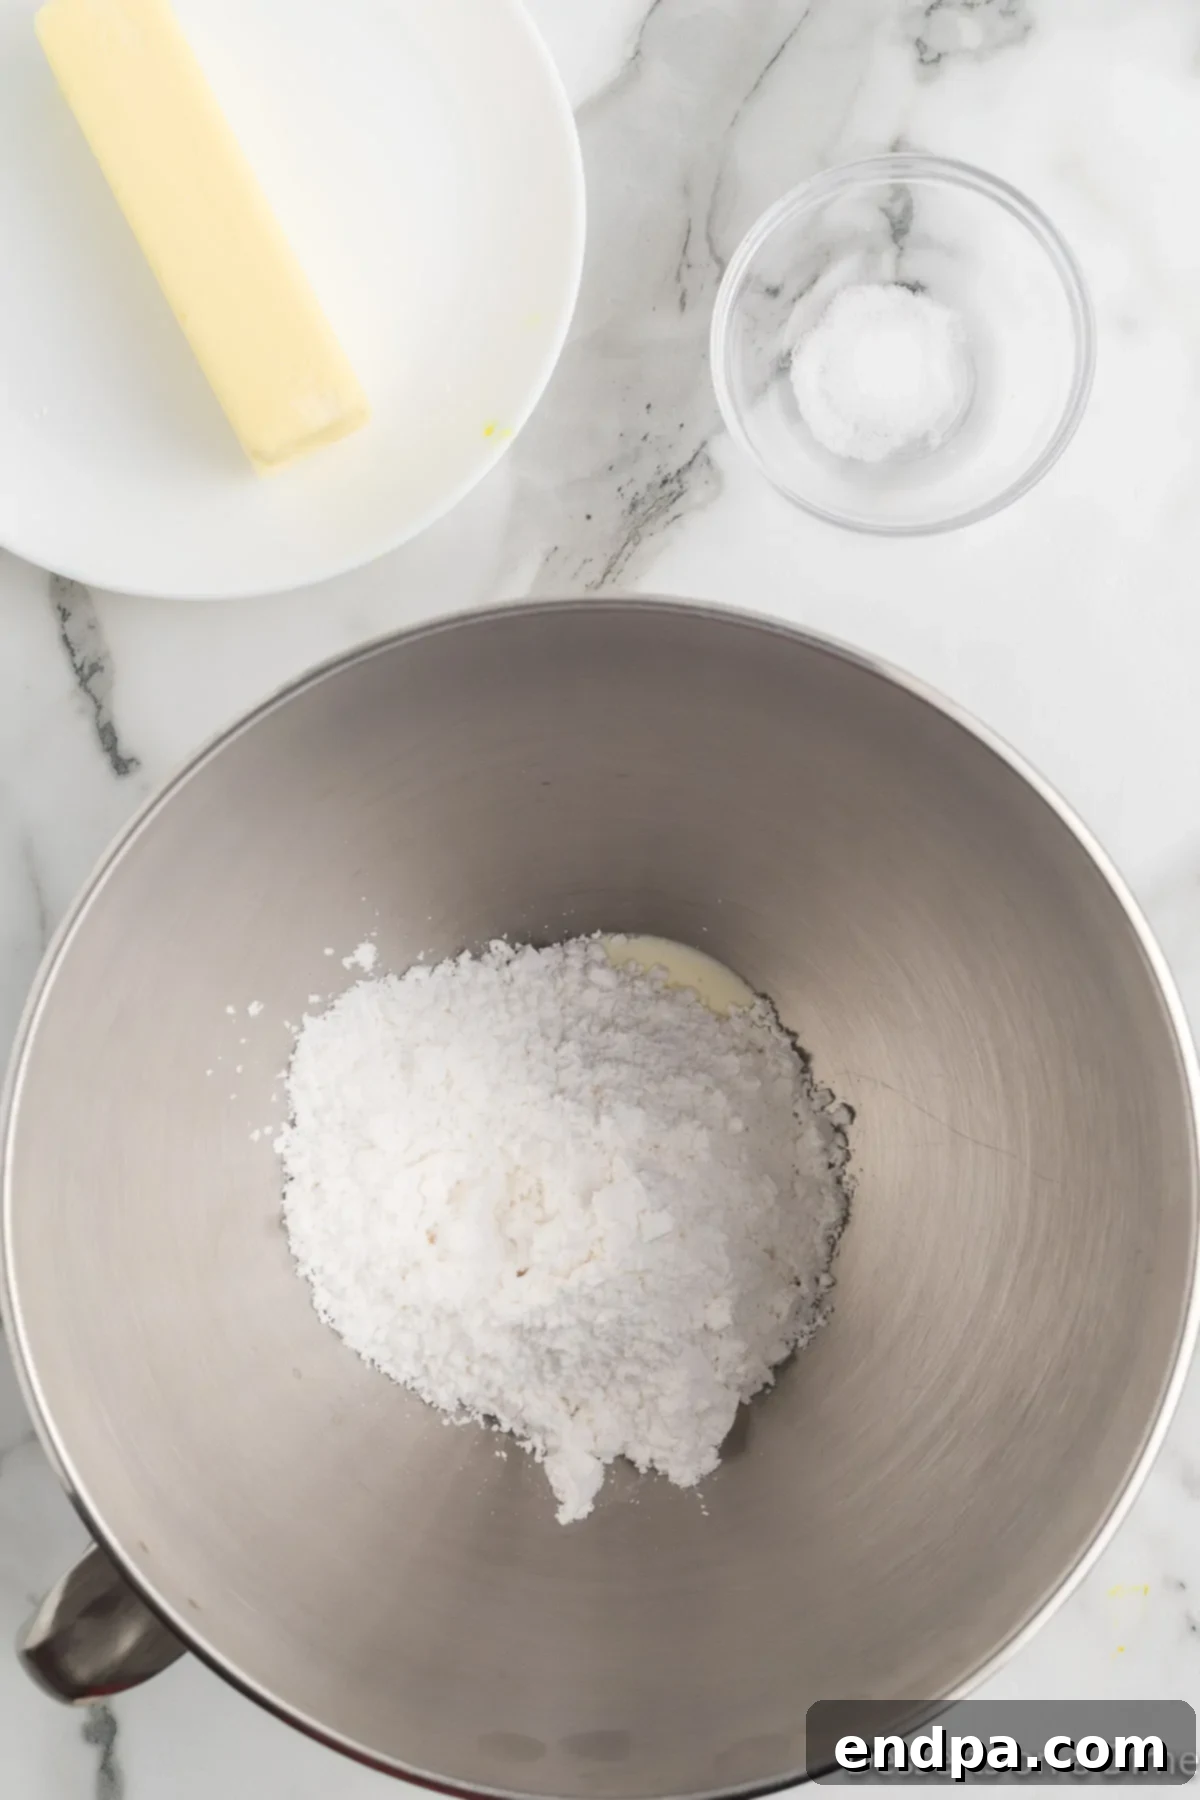
Step 2: Incorporate Remaining Powdered Sugar. Gradually add the remaining powdered sugar, one cup at a time, to the mixture. After each addition, stop the mixer and scrape down the sides of the bowl with a spatula to ensure all ingredients are fully incorporated. Continue beating for several minutes after the last addition. The dough should become very thick, pliable, and smooth, capable of holding its shape.
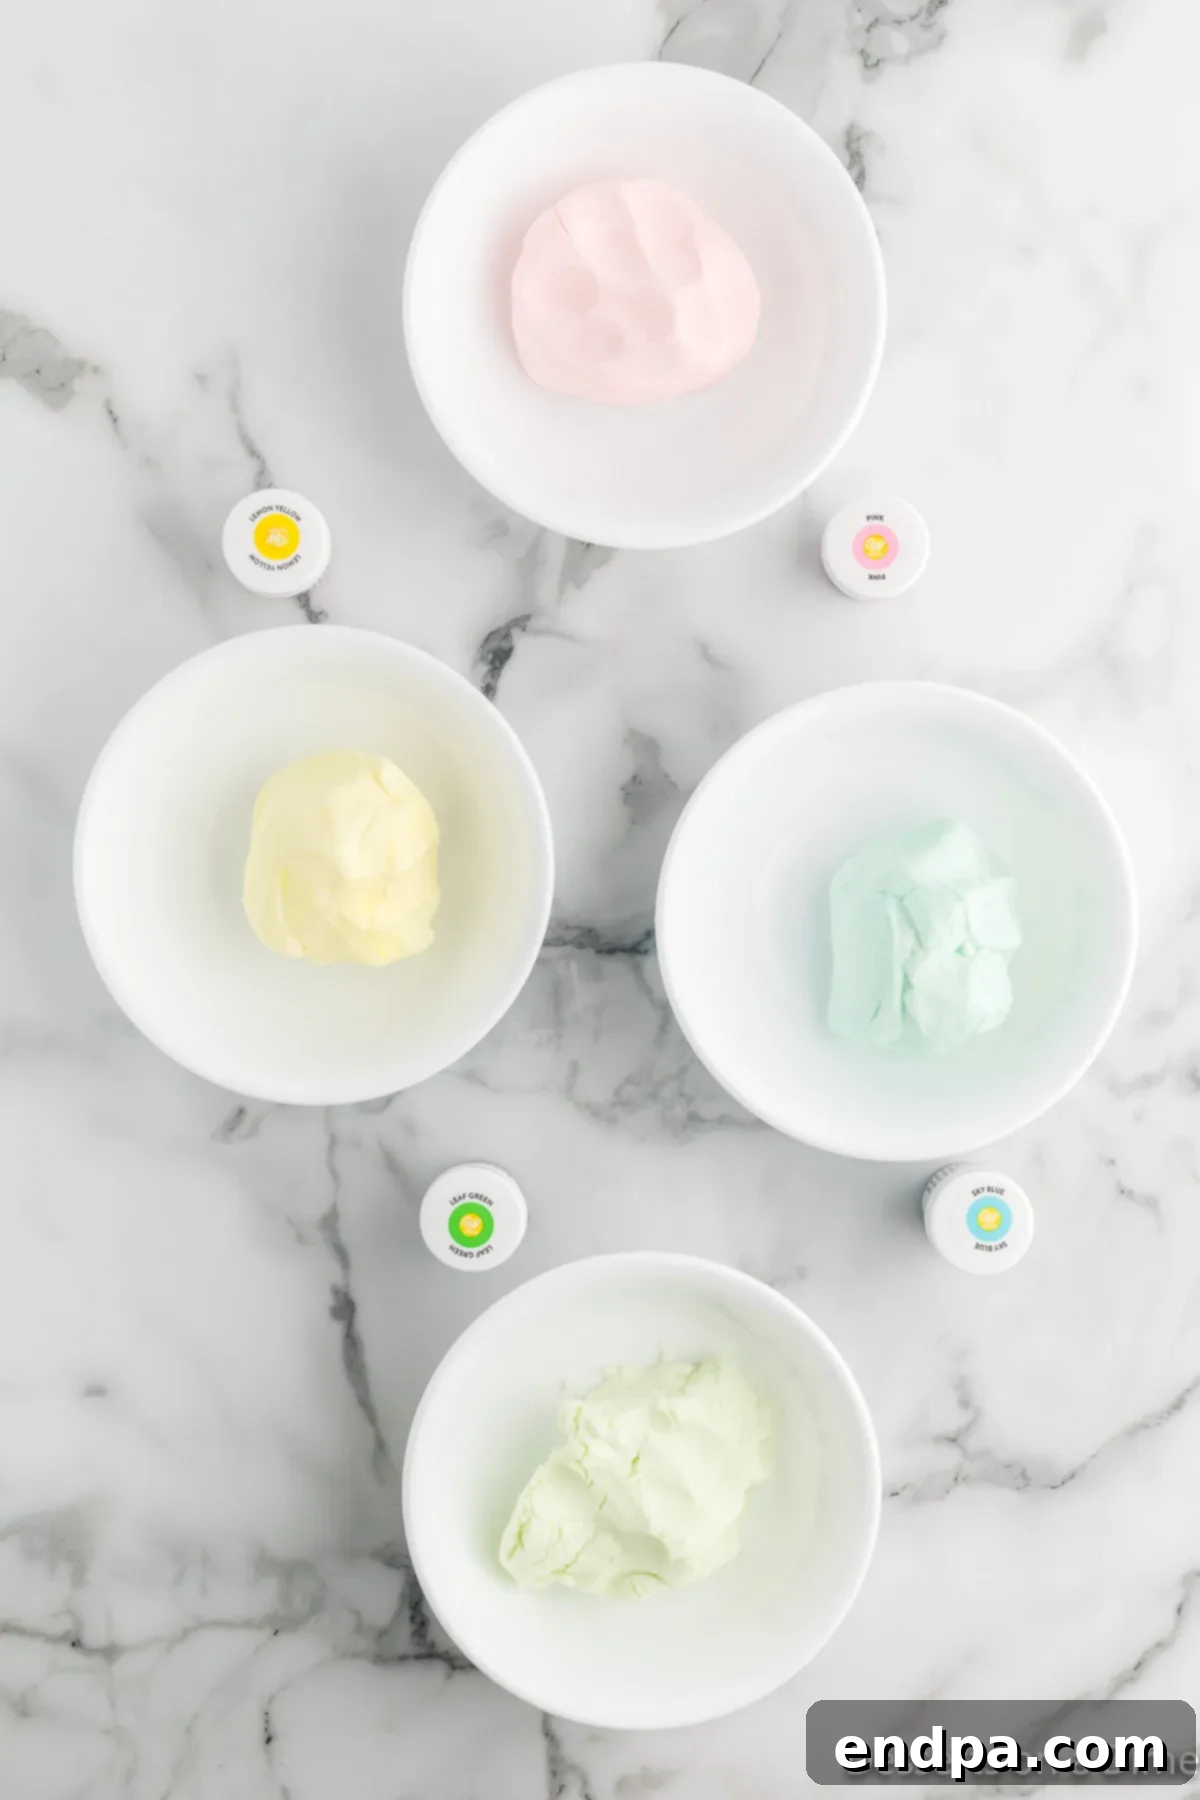
Step 3: Color and Chill the Dough. Divide the prepared dough evenly into four separate bowls. Now is the fun part: add a few drops of food coloring to each bowl. For instance, dye one green, one yellow, one pink, and one blue. Mix each portion thoroughly until the desired color intensity is achieved (typically 3-4 drops are sufficient for pastel shades). Cover each bowl tightly with plastic wrap and refrigerate the dough for at least one hour, or until it becomes firm enough to handle and roll easily.
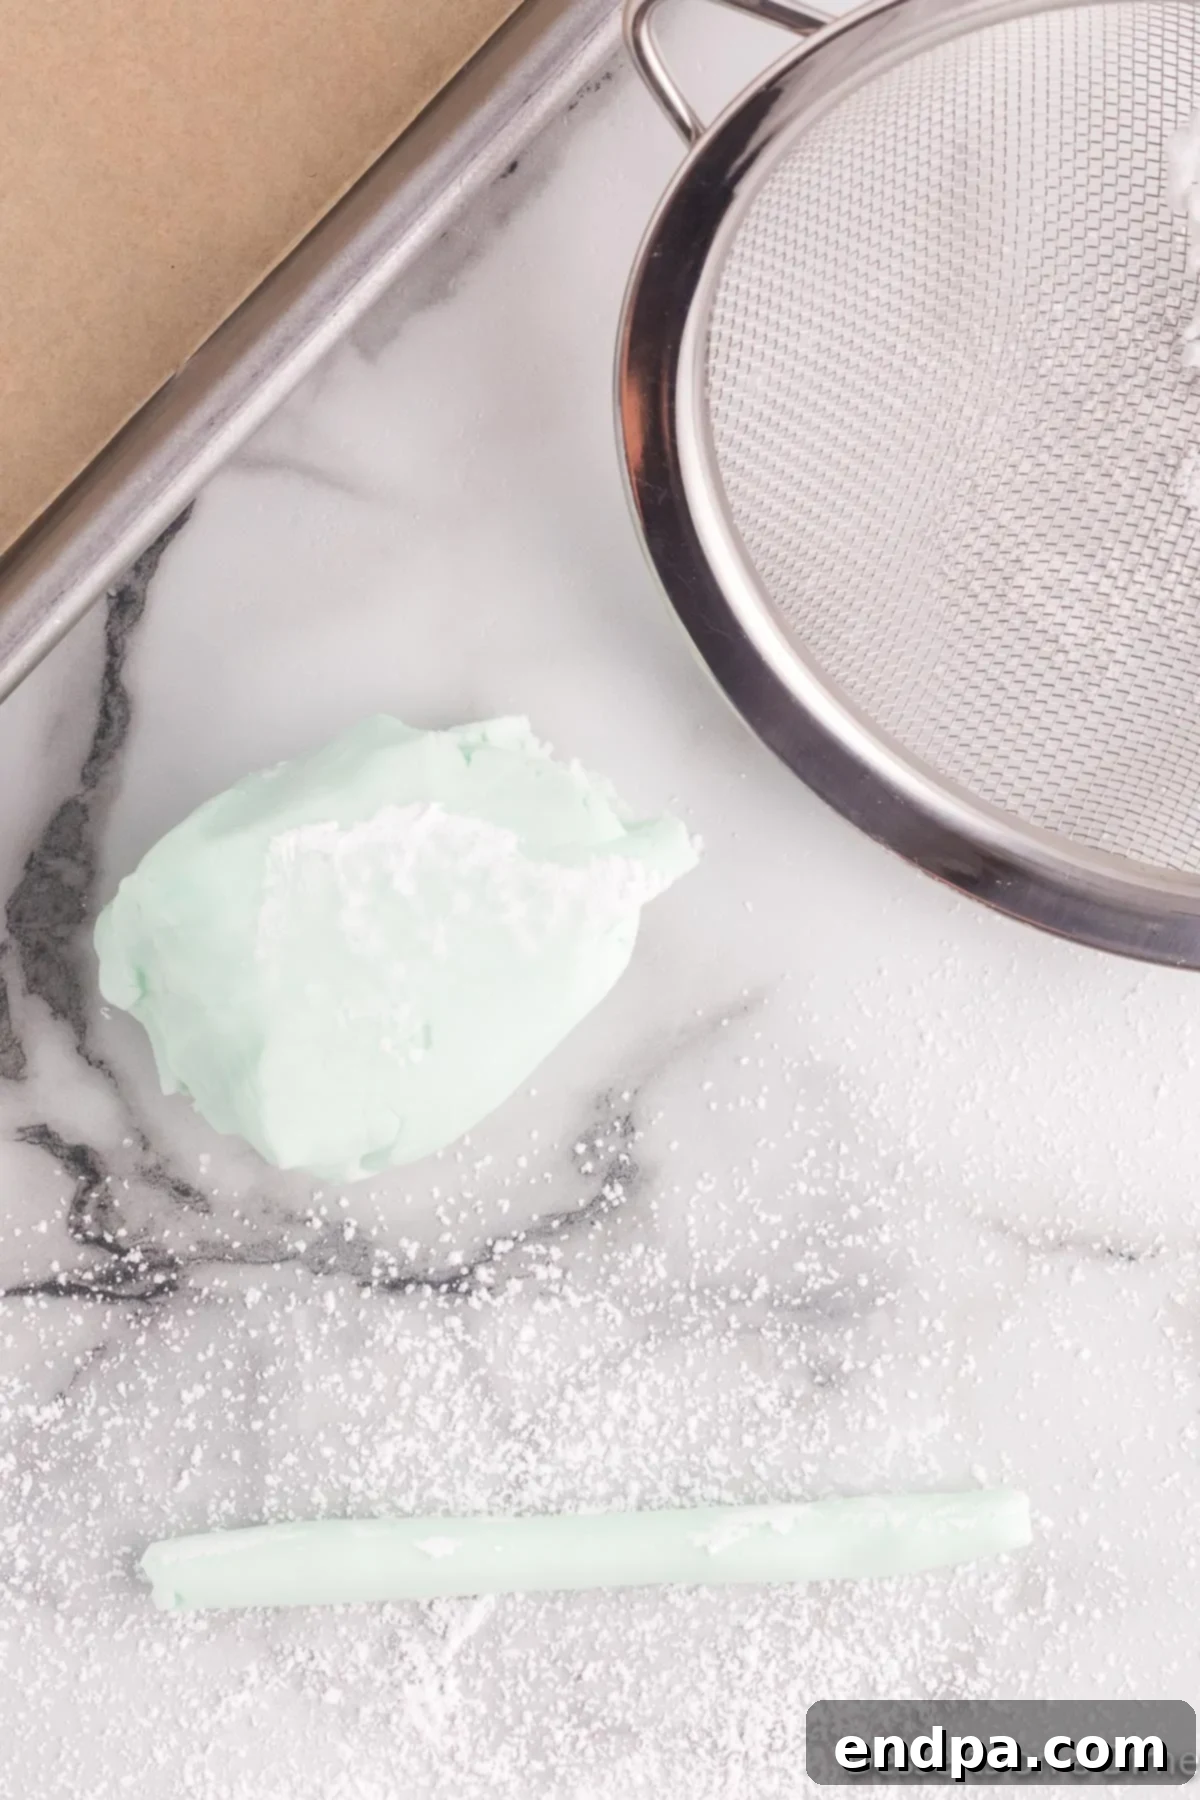
Step 4: Shape the Mints. Remove one bowl of chilled dough from the refrigerator at a time. Divide this portion into 6 smaller, manageable sections. Lightly sprinkle your work surface (a clean countertop or wax paper works well) with powdered sugar to prevent sticking. Roll each section into a thin rope, approximately ½ inch thick. Using a sharp knife, cut each rope into individual pieces, about ½ inch long, to form the classic butter mint shape. Consistency in size will help them dry evenly.
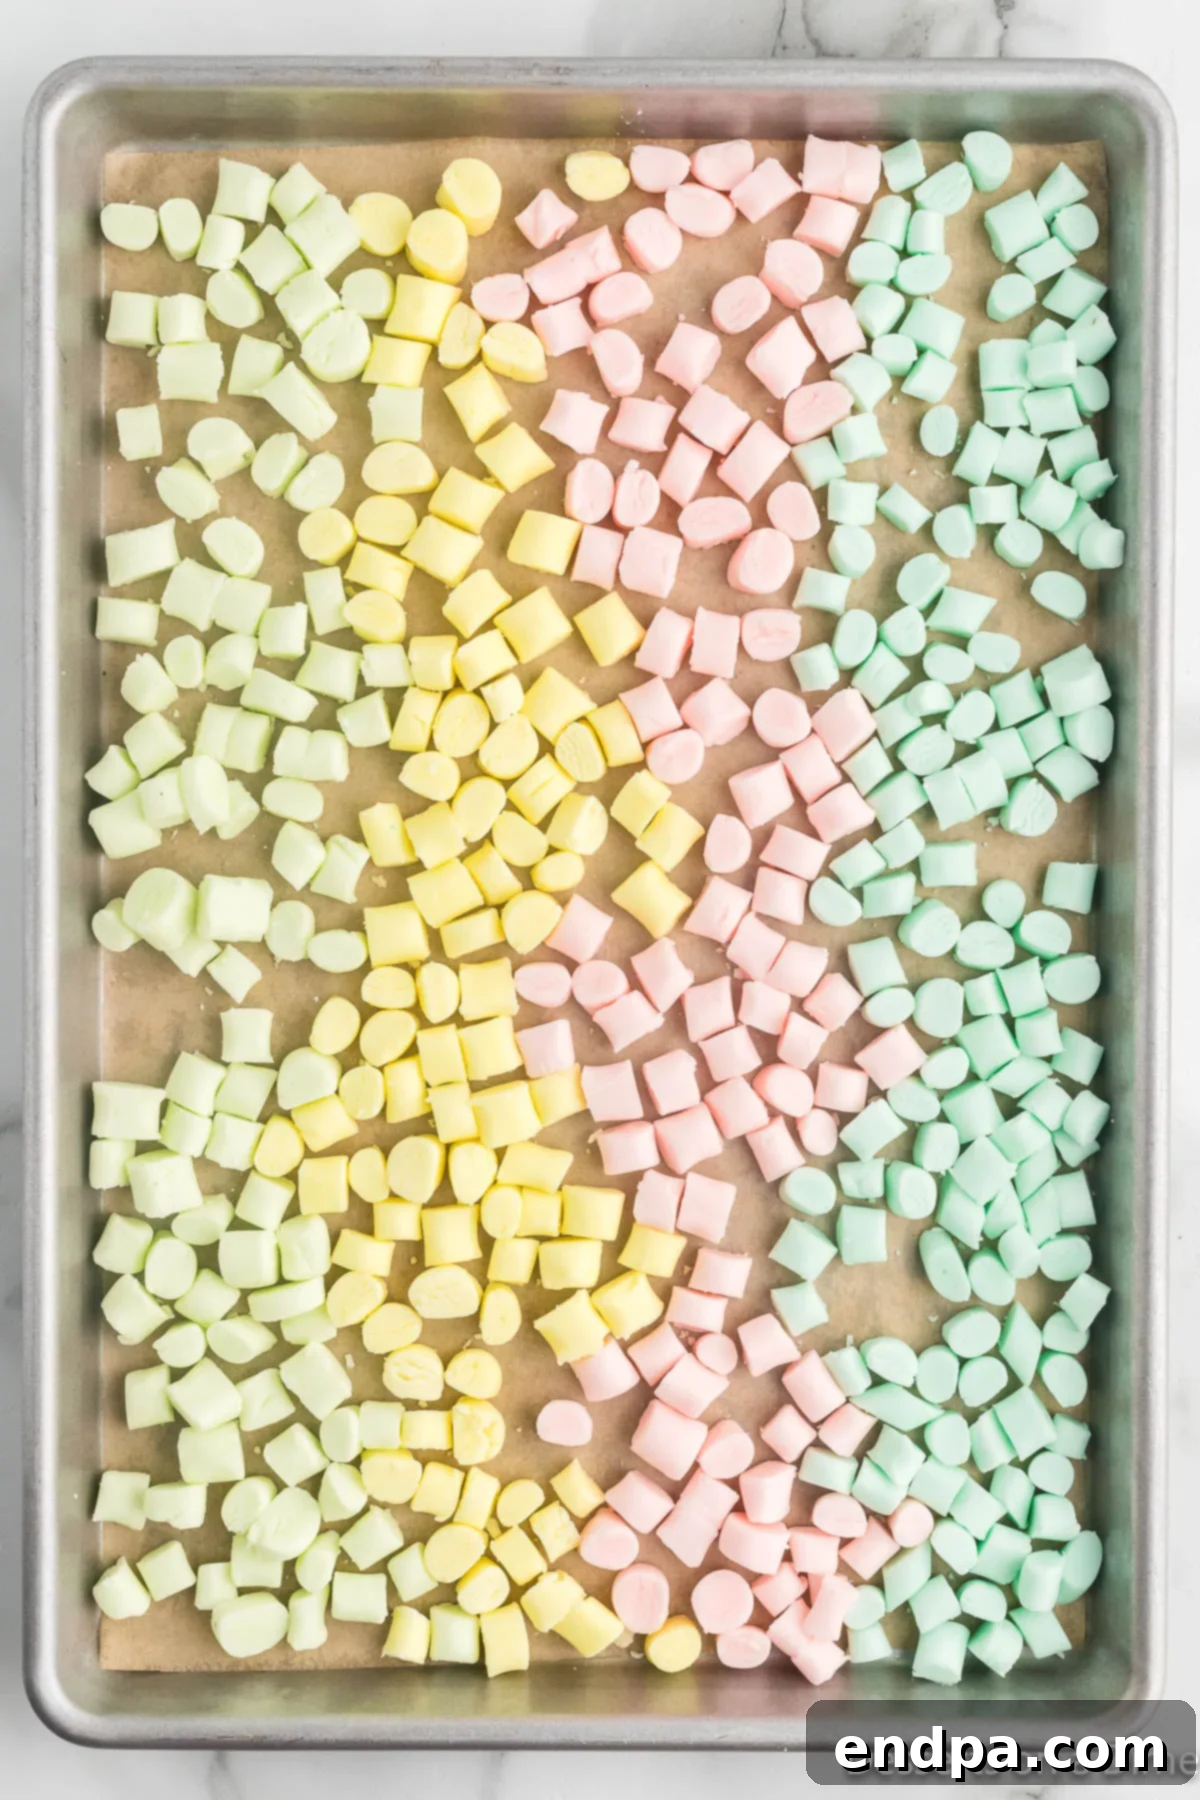
Step 5: Arrange for Drying. As you cut the mints, place them in a single layer on a baking sheet that has been lined with parchment paper. Ensure there’s a little space between each mint to allow for proper air circulation during drying. Continue this process, taking out one bowl of colored dough at a time from the fridge, until all of your mints are rolled and cut.
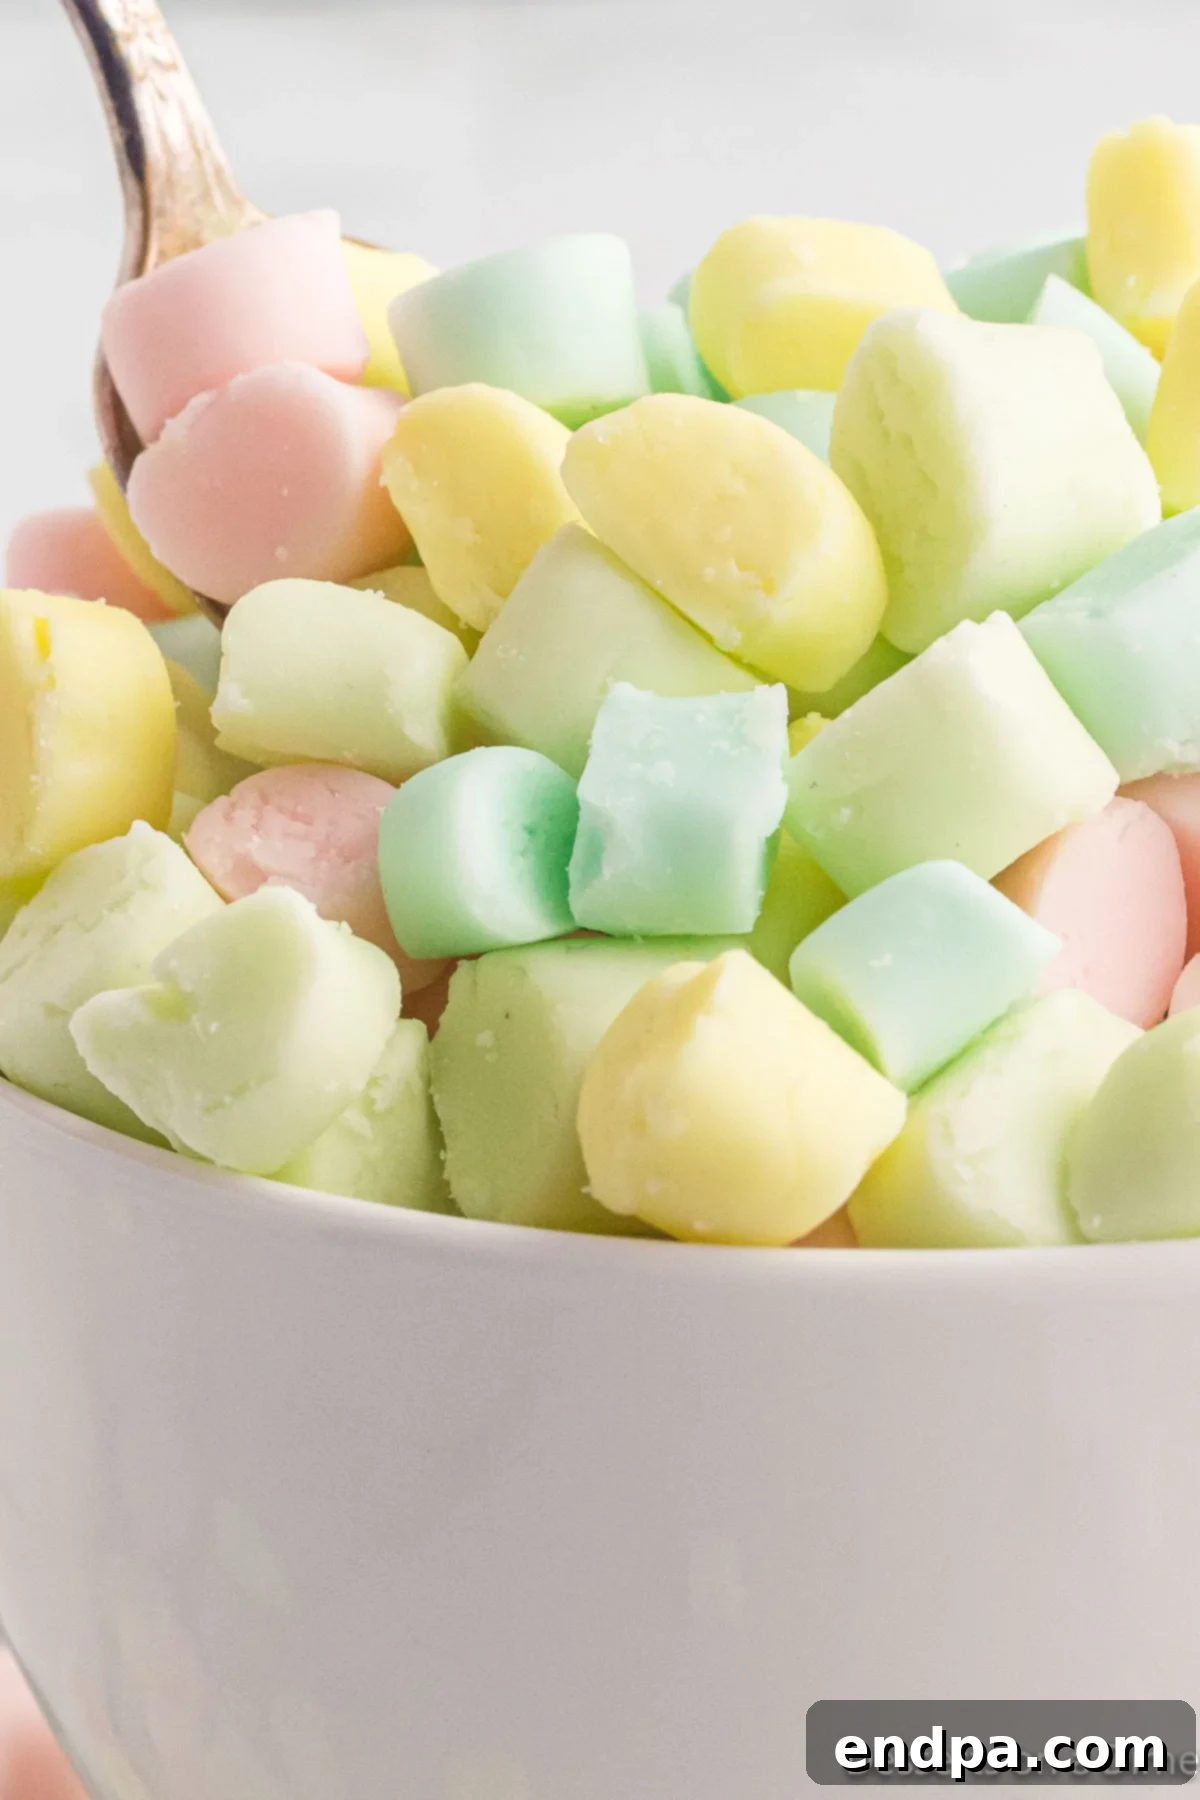
Step 6: Dry and Serve. Once all the mints are cut and arranged on baking sheets, allow them to sit uncovered at room temperature for 24 to 48 hours. This crucial step allows the mints to “dry out” or cure, developing a slightly crisp exterior while remaining soft and creamy inside. They will firm up and hold their shape beautifully. Once fully dried, transfer them to a decorative serving dish and enjoy your delightful homemade butter mints!
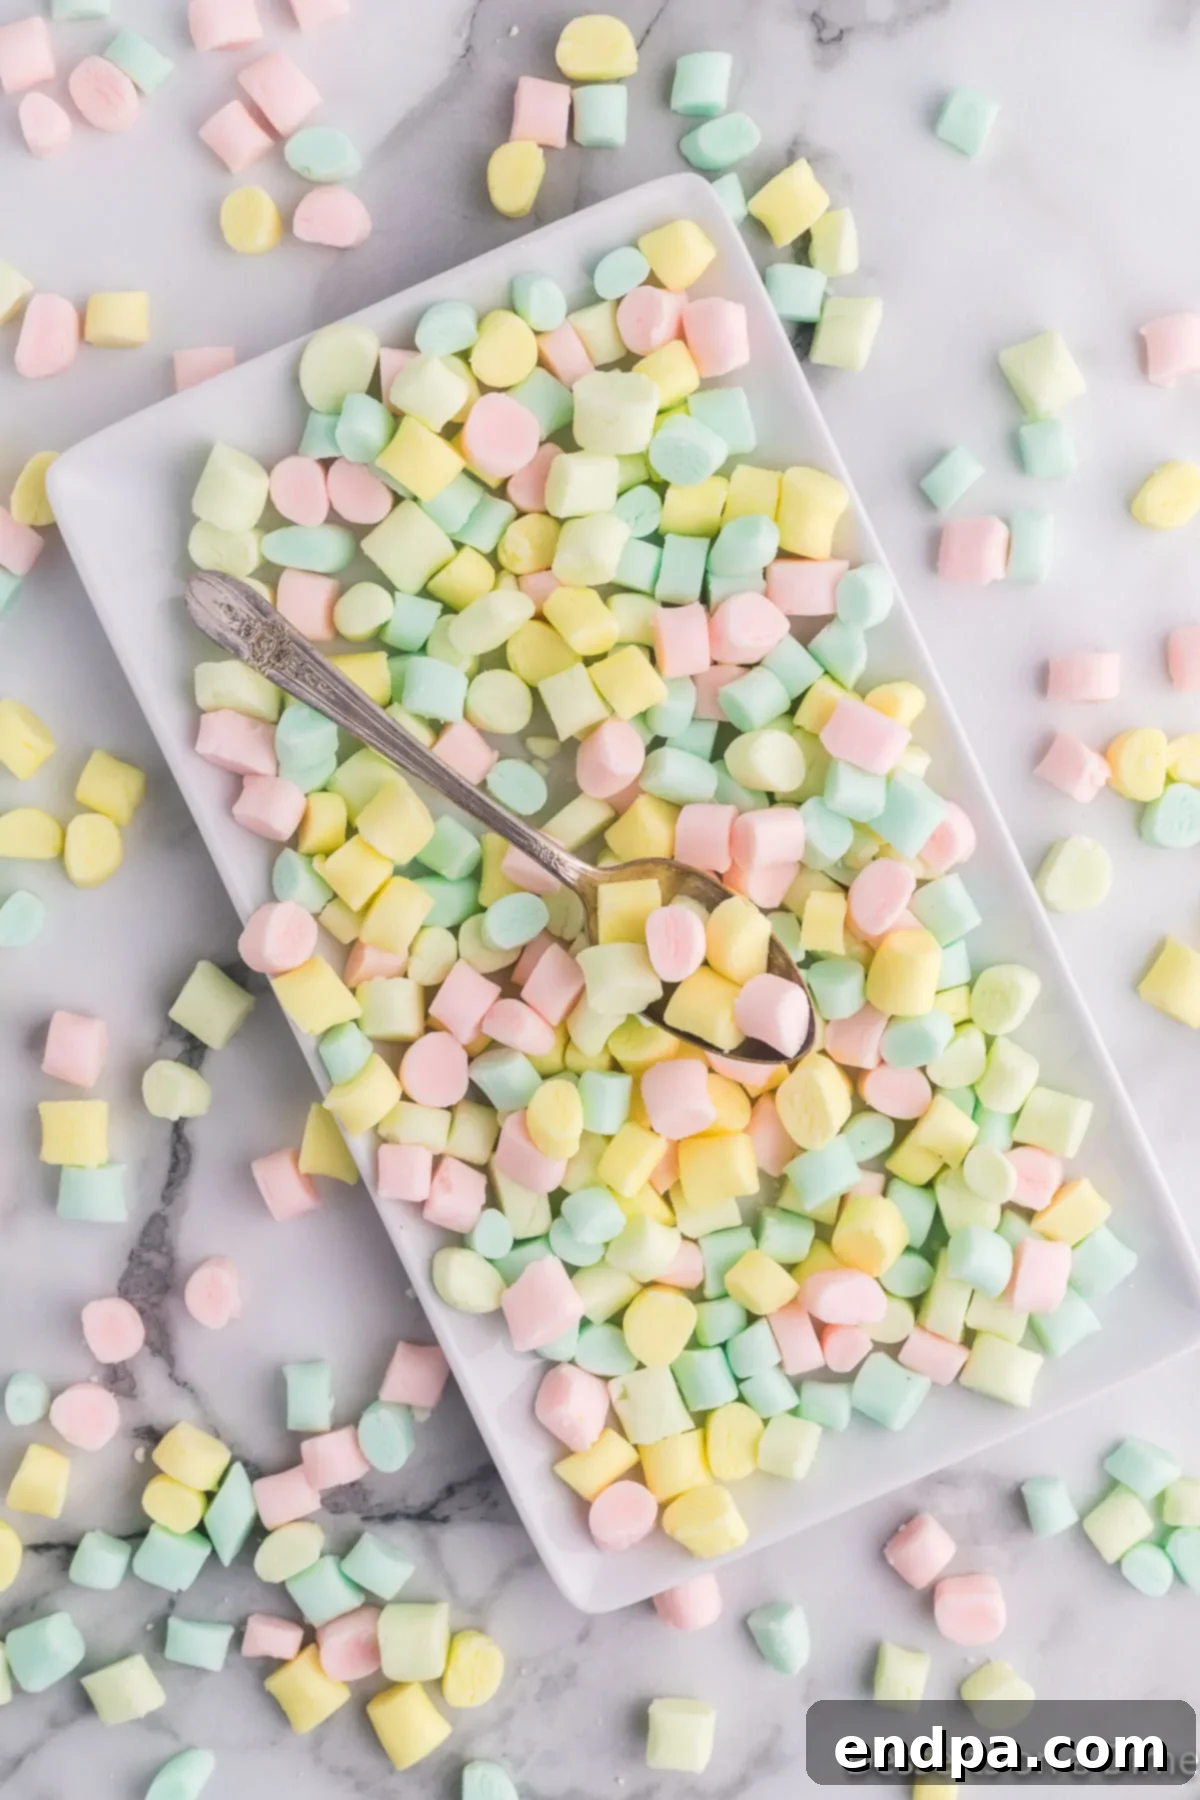
Proper Storage for Lasting Freshness
Once your butter mints are fully dried, proper storage is key to maintaining their delightful texture and flavor. To keep them fresh and delicious, store them in an airtight container or a sealed plastic bag. They will keep well at room temperature for 2 to 3 weeks. Avoid direct sunlight or humid environments, which can cause them to become sticky. For longer storage, you can even freeze them for up to 3 months in a freezer-safe, airtight container; just be sure to thaw them at room temperature before serving.
Expert Tips for Butter Mint Perfection
Achieving consistently perfect butter mints is easy with these insider tips:
- Adjusting Dough Consistency: The amount of powdered sugar needed can sometimes vary slightly due to humidity or butter consistency. If your dough feels too sticky and hard to handle, gradually add a tablespoon or two more powdered sugar until it reaches a firm, pliable, non-sticky texture. If it’s too crumbly, add a tiny bit (half a teaspoon at a time) of heavy cream until it comes together smoothly.
- Embrace Different Shapes: Don’t limit yourself to simple cuts! Consider using small silicone molds for charming shapes like hearts, stars, or flowers, perfect for themed parties. Lightly dust molds with powdered sugar before pressing in the dough. Alternatively, you can roll small portions of dough into uniform balls for a classic, rounded look.
- The Importance of Peppermint Extract: For that authentic, refreshing butter mint flavor, always use peppermint extract. Avoid substituting with general “mint” extract, which often contains spearmint and can give your mints a taste reminiscent of toothpaste. A good quality peppermint extract makes all the difference.
- Sharp Knife for Clean Cuts: When cutting your dough ropes into individual mints, a sharp knife is essential. A clean cut prevents the mints from squishing or losing their shape, resulting in neatly formed candies. Wiping your knife with a damp cloth periodically can also help prevent sticking.
- Don’t Rush the Drying Process: The 24-48 hour drying period at room temperature is crucial. This step allows the mints to “cure,” developing a slightly firm exterior that protects the soft, creamy interior. Rushing this step can lead to sticky or overly soft mints. Choose a spot with good air circulation and low humidity for best results.
- Even Color Distribution: When adding food coloring, mix each portion thoroughly to ensure a uniform color. Use gel food coloring for more vibrant hues without adding excess liquid to your dough.
Frequently Asked Questions (FAQs) About Butter Mints
Yes, there’s a significant difference. Peppermint oil is a concentrated essential oil, meaning it contains only the pure oil and is extremely potent in flavor. Peppermint extract, on the other hand, is made by dissolving peppermint oil in alcohol, making it less concentrated and typically easier to work with in recipes. Because oils are much stronger, if you choose to use peppermint oil instead of extract, you will need to use a much smaller amount (often 1/4 to 1/2 of the extract amount) to achieve the same flavor intensity. Be careful not to confuse either with essential oils meant for aromatherapy, which are not suitable for consumption.
Absolutely! While cutting them into small squares or rectangles is traditional, you can certainly get creative. You can roll the dough into small, uniform balls for a different look. Small cookie cutters can also be used on rolled-out dough for shapes like mini hearts or stars. Additionally, silicone candy molds are a fantastic option for intricate designs. However, it’s generally not recommended to make the shapes too large, as very thick or large mints might take considerably longer to dry out properly, potentially leading to a softer, less desirable texture.
Yes, butter mints are an excellent make-ahead treat! In fact, the drying process takes 24-48 hours, so they are naturally prepared in advance. Once fully dried, store them in an airtight container at room temperature for up to 2-3 weeks. This makes them perfect for party planning, as you can prepare them well in advance without last-minute stress.
Stickiness can be caused by several factors. First, the dough might not have enough powdered sugar; gradually add more if it feels too soft or tacky during mixing. Second, the mints might not have dried out long enough. Ensure they sit uncovered at room temperature for the full 24-48 hours. High humidity in your environment can also contribute to stickiness; if you live in a very humid area, they might need longer drying time or a less humid spot. Finally, make sure they are stored in an airtight container once dry to prevent them from absorbing moisture from the air.
Yes, butter mints freeze beautifully! Once they are fully dried and firm, place them in a single layer on a parchment-lined baking sheet and freeze until solid (about 1-2 hours). Then, transfer the frozen mints to a freezer-safe airtight container or heavy-duty freezer bag. They can be stored in the freezer for up to 3 months. When you’re ready to enjoy them, simply remove them from the freezer and let them thaw at room temperature. They will retain their creamy texture and fresh flavor.
More Delightful & Easy Candy Recipes
If you’ve enjoyed making these classic butter mints, you might want to explore other simple and delicious homemade candy recipes:
- Homemade Rock Candy
- Divinity Candy Recipe
- Chocolate Bark
- Christmas Mints
We hope you thoroughly enjoy making these melt-in-your-mouth butter mints. They are truly a treat for the senses and a wonderful addition to any occasion. Once you’ve tried this recipe, we’d love to hear your thoughts and see your creations! Please consider leaving a comment and a star rating on the recipe card below.
Butter Mints Recipe
These homemade Butter Mints are incredibly creamy and melt-in-your-mouth. They are a timeless staple for baby showers, wedding receptions, and countless other special gatherings, offering a taste of sweet nostalgia.
1 hr 30 mins
1 day
1 day 1 hr 30 mins
12 servings
American
Dessert, Candy
229 kcal
Carrie Barnard
Ingredients
- 1/2 cup Unsalted Butter, softened
- 1 Tablespoon Heavy Whipping Cream
- 1/4 teaspoon Salt
- 1 teaspoon Peppermint Extract
- 4 cups Powdered Sugar, sifted
- Food Coloring (optional, in preferred colors)
Instructions
- In a large mixing bowl, beat together the softened butter, heavy whipping cream, salt, peppermint extract, and 1 cup of the sifted powdered sugar. Use a stand mixer with a paddle attachment or a hand mixer. Beat until the mixture is smooth and creamy.
- Gradually add the remaining powdered sugar, 1 cup at a time, to the mixture. After each addition, pause to scrape down the sides of the bowl to ensure all ingredients are fully combined. Continue beating for 2-3 minutes after all sugar has been added, until the dough is thick and smooth.
- Divide the dough evenly into 4 separate bowls. Add 3-4 drops of food coloring to each bowl (e.g., green, yellow, pink, blue), or until your preferred color is achieved. Mix well until the color is uniform throughout each dough portion.
- Cover each bowl tightly with plastic wrap and refrigerate the dough for at least 1 hour, or until it becomes firm enough to handle easily.
- Once chilled, remove one bowl of dough from the refrigerator. Divide this portion into 6 smaller sections. Lightly dust your work surface with powdered sugar. Roll each section into a rope approximately ½ inch thick. Cut each rope into ½-inch long pieces to form individual mints.
- Place the cut mints in a single layer on a baking sheet lined with parchment paper, ensuring there is a small space between each mint.
- Repeat this shaping and cutting process with the remaining colored dough portions from the other bowls.
- Allow the mints to sit uncovered at room temperature for 24 to 48 hours. This allows them to dry out completely, developing their characteristic slightly firm exterior and melt-in-your-mouth interior.
- Once fully dried, your homemade butter mints are ready to serve and enjoy!
Recipe Notes
Store any leftover butter mints in an airtight container or bag at room temperature for 2-3 weeks to maintain their freshness and texture.
Nutrition Facts
Calories 229kcal,
Carbohydrates 40g,
Protein 0.1g,
Fat 8g,
Saturated Fat 5g,
Polyunsaturated Fat 0.3g,
Monounsaturated Fat 2g,
Trans Fat 0.3g,
Cholesterol 22mg,
Sodium 51mg,
Potassium 5mg,
Sugar 39g,
Vitamin A 255IU,
Vitamin C 0.01mg,
Calcium 4mg,
Iron 0.03mg
