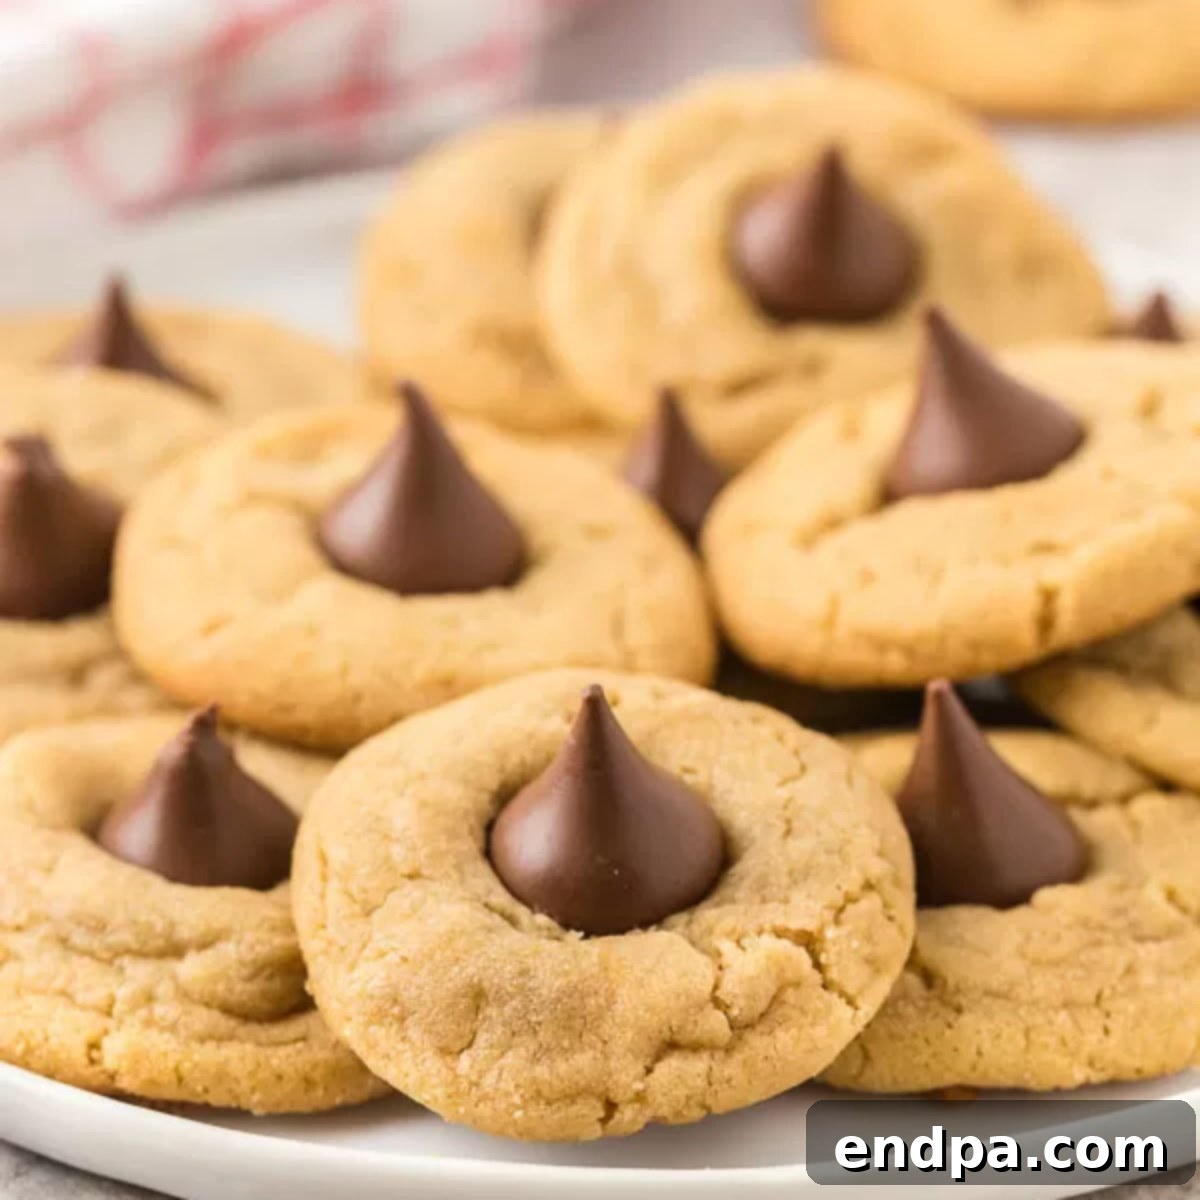
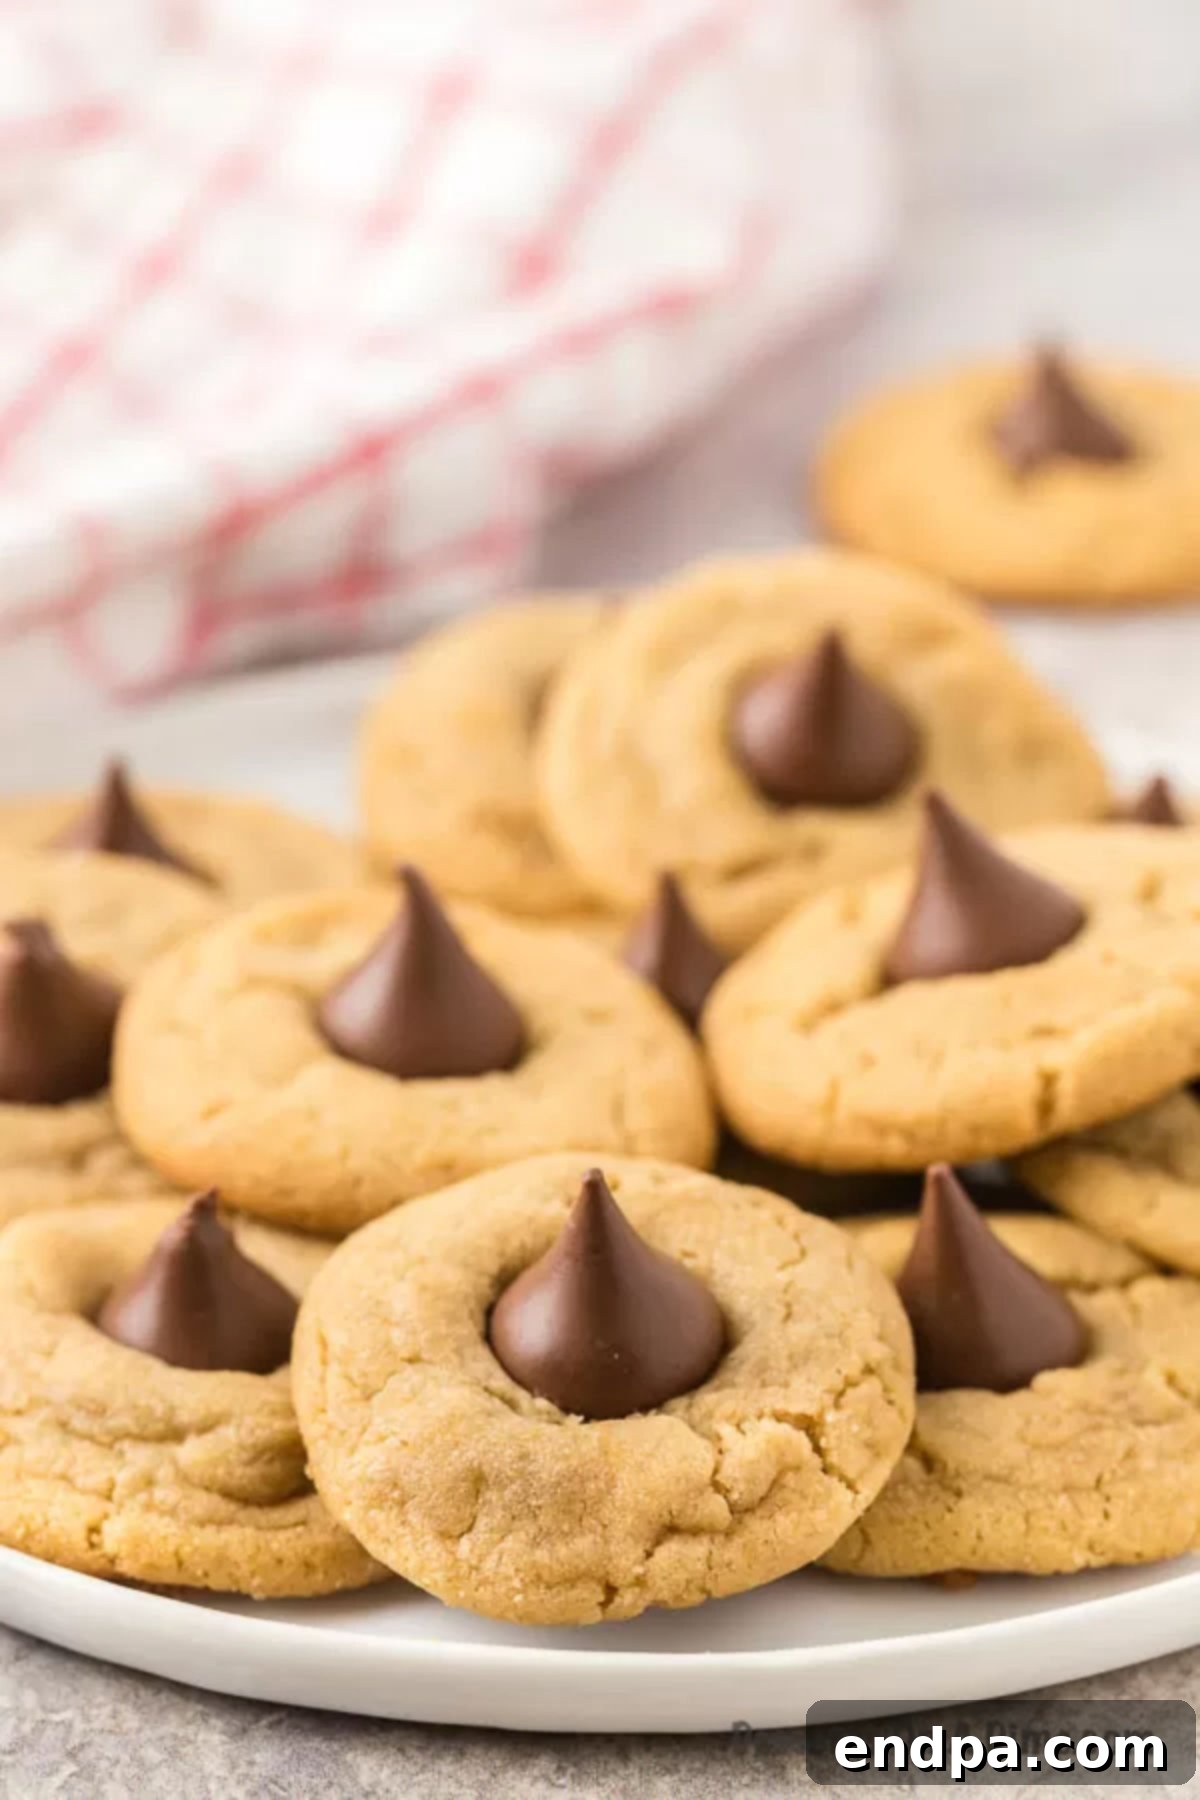
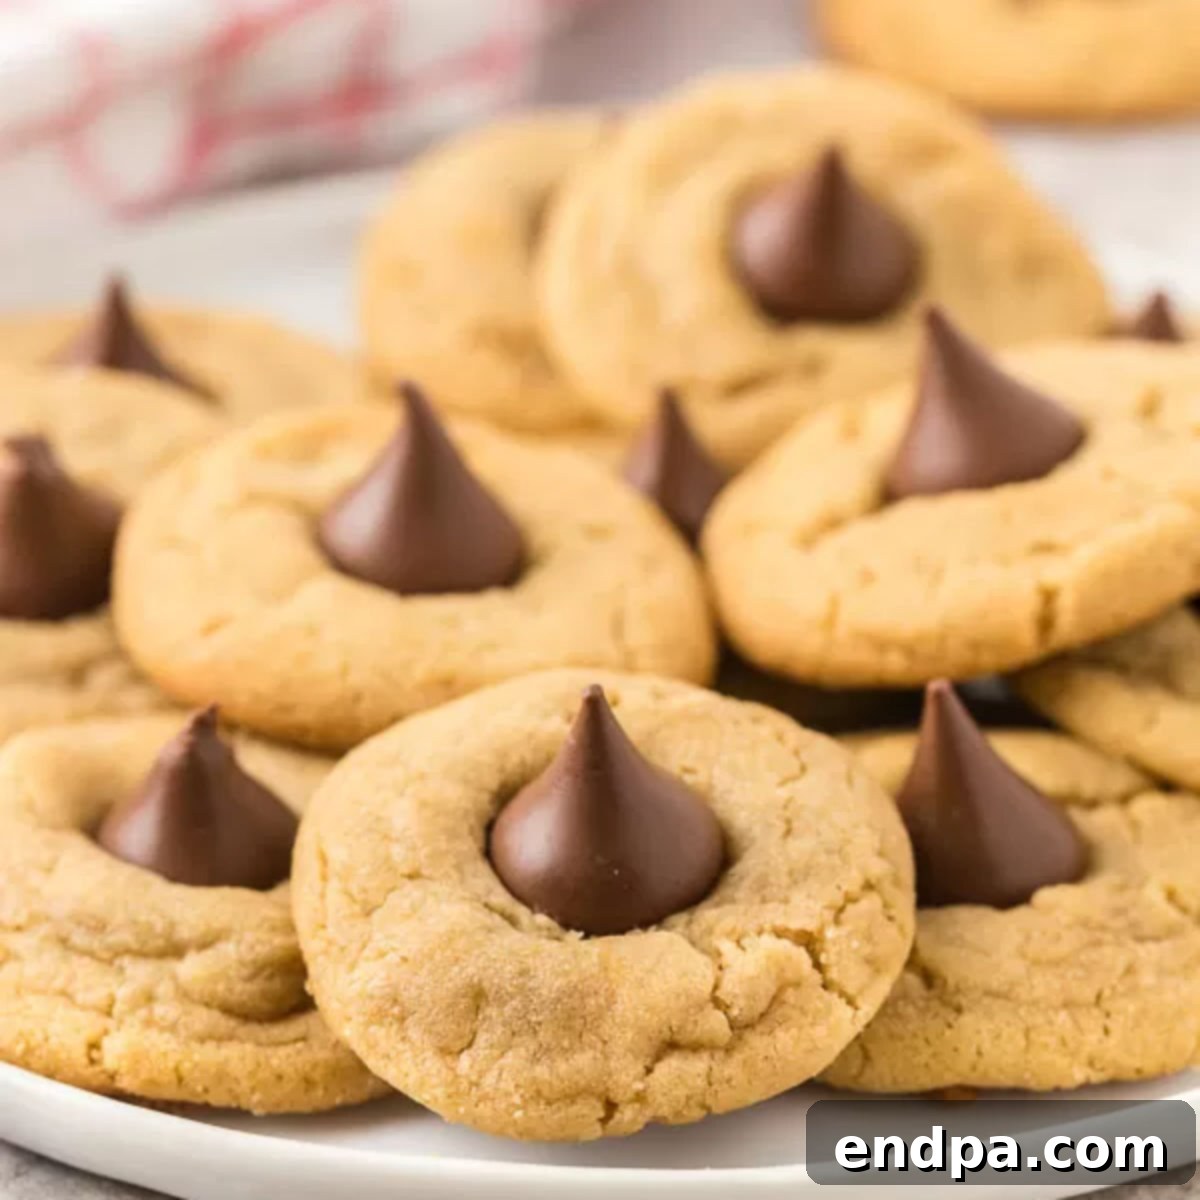
Indulge in the timeless charm of homemade Peanut Butter Hershey Kiss Cookies, a delightful treat that perfectly marries the rich, nutty flavor of peanut butter with the smooth, melting sweetness of chocolate. Often affectionately known as peanut butter blossoms, these cookies are celebrated for their incredibly creamy texture and irresistible taste, making them an enduring family favorite for generations.
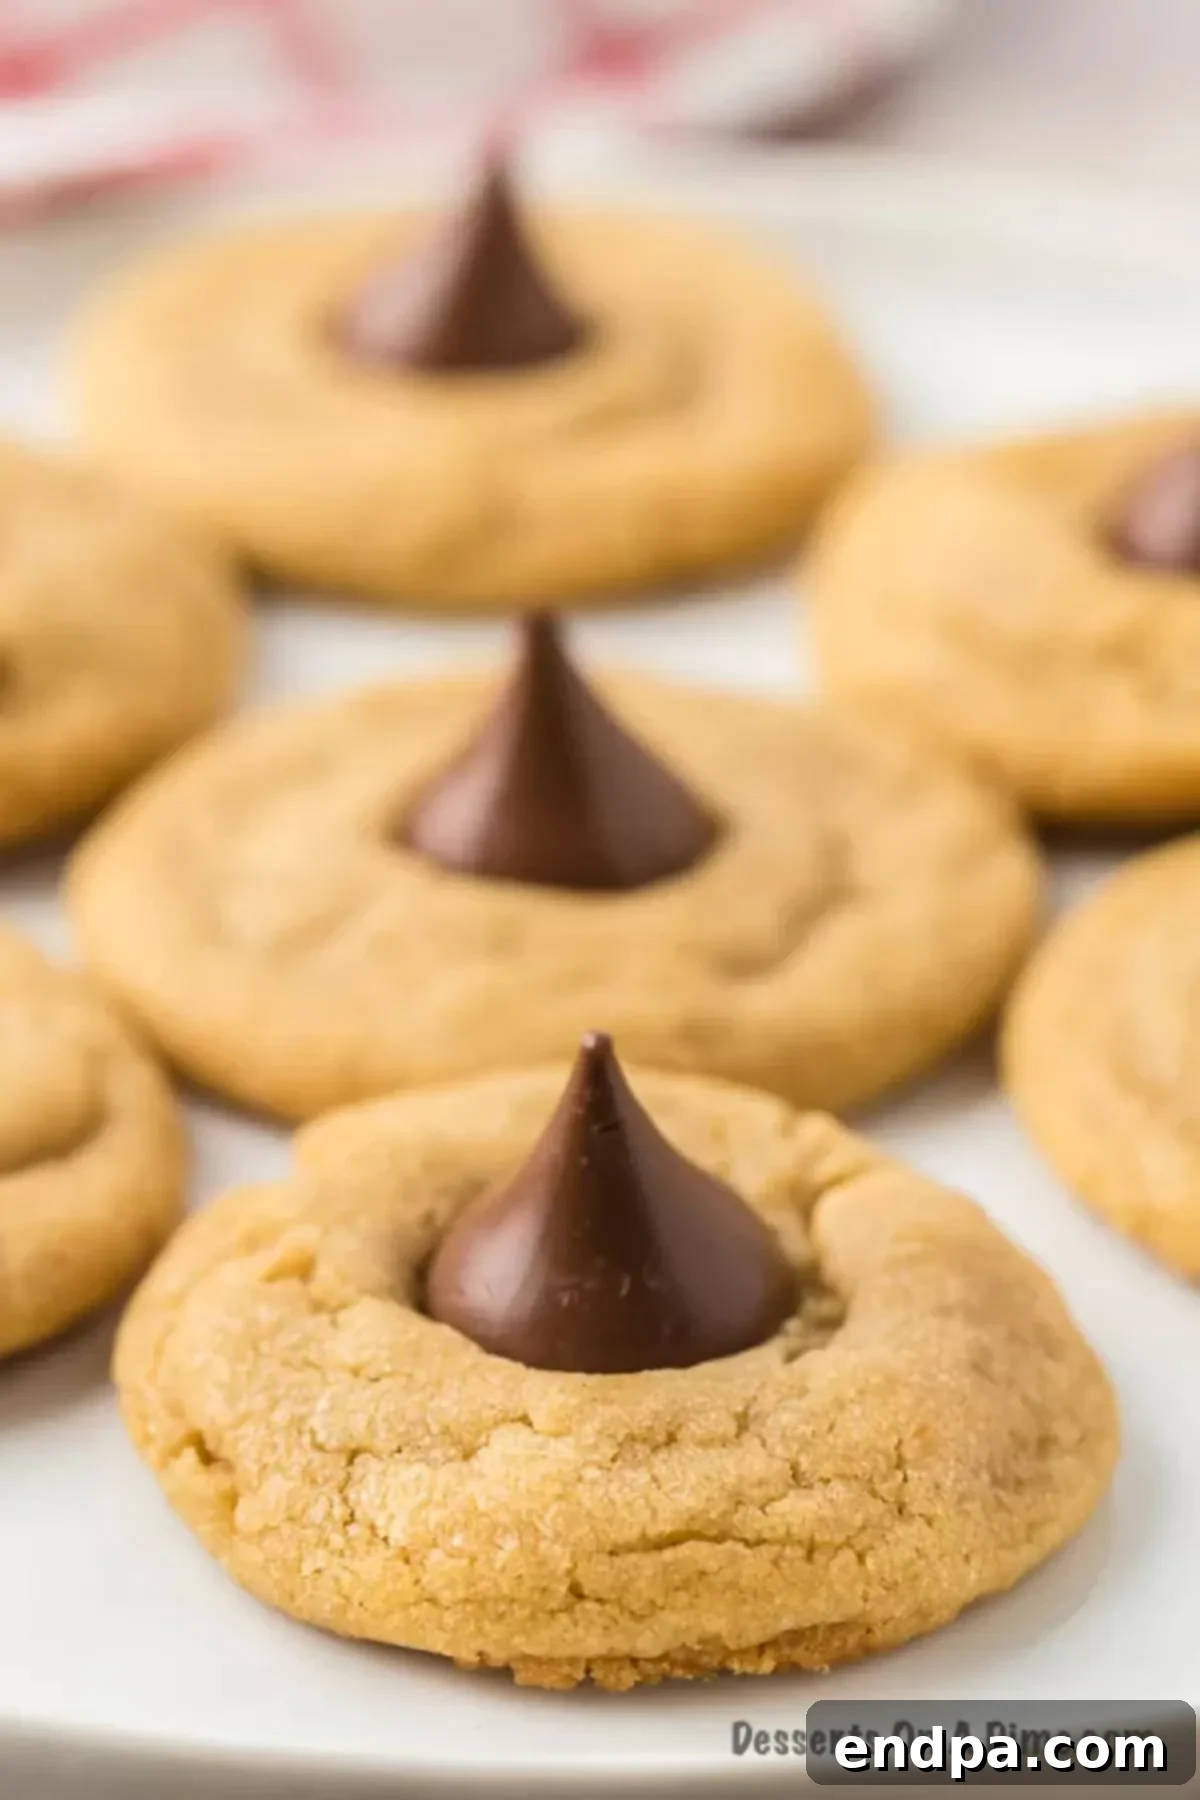
The decadent combination of peanut butter and chocolate holds a special place in the hearts of dessert lovers worldwide, and certainly in our family. There’s an undeniable magic that happens when these two beloved flavors come together, creating a symphony of taste and texture that is simply unparalleled. From the first bite of the soft, chewy peanut butter base to the melt-in-your-mouth chocolate kiss, every element of these cookies is designed to delight.
Our recipe for these peanut butter kiss cookies stands out for its simplicity and the sheer joy it brings. They are remarkably easy to prepare, making them an ideal baking project for both seasoned home cooks and eager beginners. Whether you’re craving a sweet treat after a long day or planning for a festive gathering, these cookies will undoubtedly satisfy your sweet tooth with their comforting, nostalgic appeal. Explore more of our Peanut Butter Desserts and classic Cookie Recipes to find inspiration for every occasion. These classic peanut butter blossom cookies are always a hit, disappearing quickly from any cookie platter.
For another delightful peanut butter snack, consider trying our Peanut Butter Popcorn Recipe!
What’s in this post: Peanut Butter Hershey Kiss Cookies
- Why These Cookies Are A Must-Make
- Essential Ingredients for the Perfect Blossom
- Creative Additions and Substitutions
- Step-by-Step Guide to Baking Blossoms
- Expert Baking Tips for Success
- Storage and Freshness Tips
- Freezing Instructions
- More Festive Christmas Cookies
- Explore More Peanut Butter Desserts
- Homemade Peanut Butter Kiss Cookies Recipe Card
Why These Cookies Are A Must-Make
These aren’t just any peanut butter cookies; they are a delightful fusion, crowned with a signature Hershey Kiss that melts ever so slightly into the warm cookie, creating a soft, chocolatey center. The contrast between the chewy, rich peanut butter cookie and the smooth chocolate is simply divine. Their beautiful appearance, with the classic crackled cookie surrounding the iconic chocolate peak, makes them an impressive addition to any dessert spread, yet they are surprisingly simple to create.
For years, I’ve made Peanut Butter Chocolate Kiss Cookies a cherished tradition during every holiday season. They are more than just a treat; they evoke warmth, comfort, and festive cheer. Beyond holidays, these cookies are perfect for potlucks, birthday parties, or simply as a comforting snack with a glass of milk. Their universal appeal and satisfying flavor profile guarantee they’ll be a hit with everyone, from young children to adults.
Essential Ingredients for the Perfect Blossom
Crafting the perfect Peanut Butter Hershey Kiss Cookie starts with selecting quality ingredients. Each component plays a vital role in achieving that signature creamy texture and irresistible flavor.
- Creamy Peanut Butter. The star of the show! For the smoothest, most consistent cookie dough and a truly creamy texture, we highly recommend using creamy peanut butter. While natural peanut butter can be used, ensure it is well-stirred to prevent a crumbly dough. Any trusted brand you love will work wonderfully.
- Unsalted Butter. Real butter is non-negotiable for achieving the best flavor and tender crumb in these cookies. Using unsalted butter allows you to control the salt content in the recipe, ensuring a balanced taste. Make sure it’s softened to room temperature for optimal creaming.
- Granulated Sugar & Brown Sugar. A combination of both white granulated sugar and packed brown sugar provides the perfect balance of sweetness and moisture. Granulated sugar contributes to a crisp edge, while brown sugar adds a lovely chewiness and a hint of molasses flavor that complements the peanut butter beautifully. If you ever run out of store-bought, try making Homemade Brown Sugar.
- Pure Vanilla Extract. A touch of pure vanilla extract enhances all the other flavors in the cookie dough, adding depth and warmth. Don’t skimp on quality here; pure vanilla makes a noticeable difference.
- Large Egg. An egg acts as a binder, helping to hold the cookies together and contributing to their structure and richness. Using a room temperature egg allows it to incorporate more smoothly into the creamed butter and sugar mixture, resulting in a more uniform dough.
- All-Purpose Flour. The foundation of our cookie. For accurate measurements and to prevent dense cookies, remember to spoon the flour into your measuring cup and level it off with a straight edge, rather than scooping directly from the bag. This prevents overpacking.
- Baking Soda. This leavening agent helps the cookies rise and achieve that characteristic soft, slightly puffy texture. It reacts with the acidic brown sugar to create the perfect lift. In a pinch, try some of the Best Baking Soda Substitutes.
- Salt. A small amount of salt balances the sweetness and brings out the nutty flavor of the peanut butter.
- Hershey Kisses. The iconic topping that defines these cookies! Classic milk chocolate Hershey Kisses are traditional, but feel free to experiment with other flavors (see “Additions and Substitutions”). Remember to unwrap the candy while the cookies are baking so you are ready to press them into the warm cookies immediately.
You’ll find the complete, detailed recipe with exact measurements in the recipe card at the bottom of this post.
Creative Additions and Substitutions
While the classic Peanut Butter Hershey Kiss Cookie is perfect as is, there are many ways to personalize this recipe and add your own unique twist. Get creative and make these cookies truly your own!
- Experiment with Different Hershey Kiss Flavors. The possibilities are virtually endless with the wide variety of Hershey Kisses available today. Beyond the traditional milk chocolate, consider using white chocolate Kisses, dark chocolate Kisses, caramel-filled Kisses, or even seasonal varieties like mint chocolate or special birthday cake Kisses for a fun twist. Each flavor will introduce a new dimension to your classic cookie.
- Beyond Hershey Kisses. This recipe isn’t strictly limited to Hershey Kisses. For an extra boost of peanut butter goodness, press mini Reese’s Peanut Butter Cups into the warm cookies. You could also use chocolate-covered caramels, mini chocolate bar squares, or even a dollop of Nutella in the center for a different kind of surprise.
- Roll in Festive Sanding Sugar. For a touch of sparkle and a festive look, especially for Christmas, roll the cookie dough balls in red and green sanding sugar before baking. This adds a beautiful shimmer and a subtle crunch. You can choose any color of sanding sugar to match the occasion, whether it’s for a birthday, Halloween, or a baby shower.
- Add Mix-ins to the Dough. Introduce mini chocolate chips, chopped nuts (like pecans or walnuts), or even a few toffee bits into the cookie dough for added texture and flavor complexity.
- Flavor Enhancements. A pinch of cinnamon or a tiny dash of nutmeg can add warmth to the peanut butter flavor. For a more intense peanut butter experience, consider adding a teaspoon of peanut butter powder to your flour mixture.
- Gluten-Free Option. For those with dietary restrictions, these cookies can often be made gluten-free by substituting the all-purpose flour with a 1:1 gluten-free baking flour blend. Ensure the blend contains xanthan gum for optimal texture.
Step-by-Step Guide to Baking Blossoms
Follow these detailed steps to create perfectly soft and chewy Peanut Butter Hershey Kiss Cookies every time.
- Step 1 – Prepare Your Oven. Begin by preheating your oven to 350°F (175°C). While some recipes suggest 375°F, we find that 350°F results in a more evenly baked cookie with a tender interior and perfectly set edges, preventing over-browning. You know your oven best, so feel free to adjust slightly if needed, but 350°F is our recommendation for optimal results.
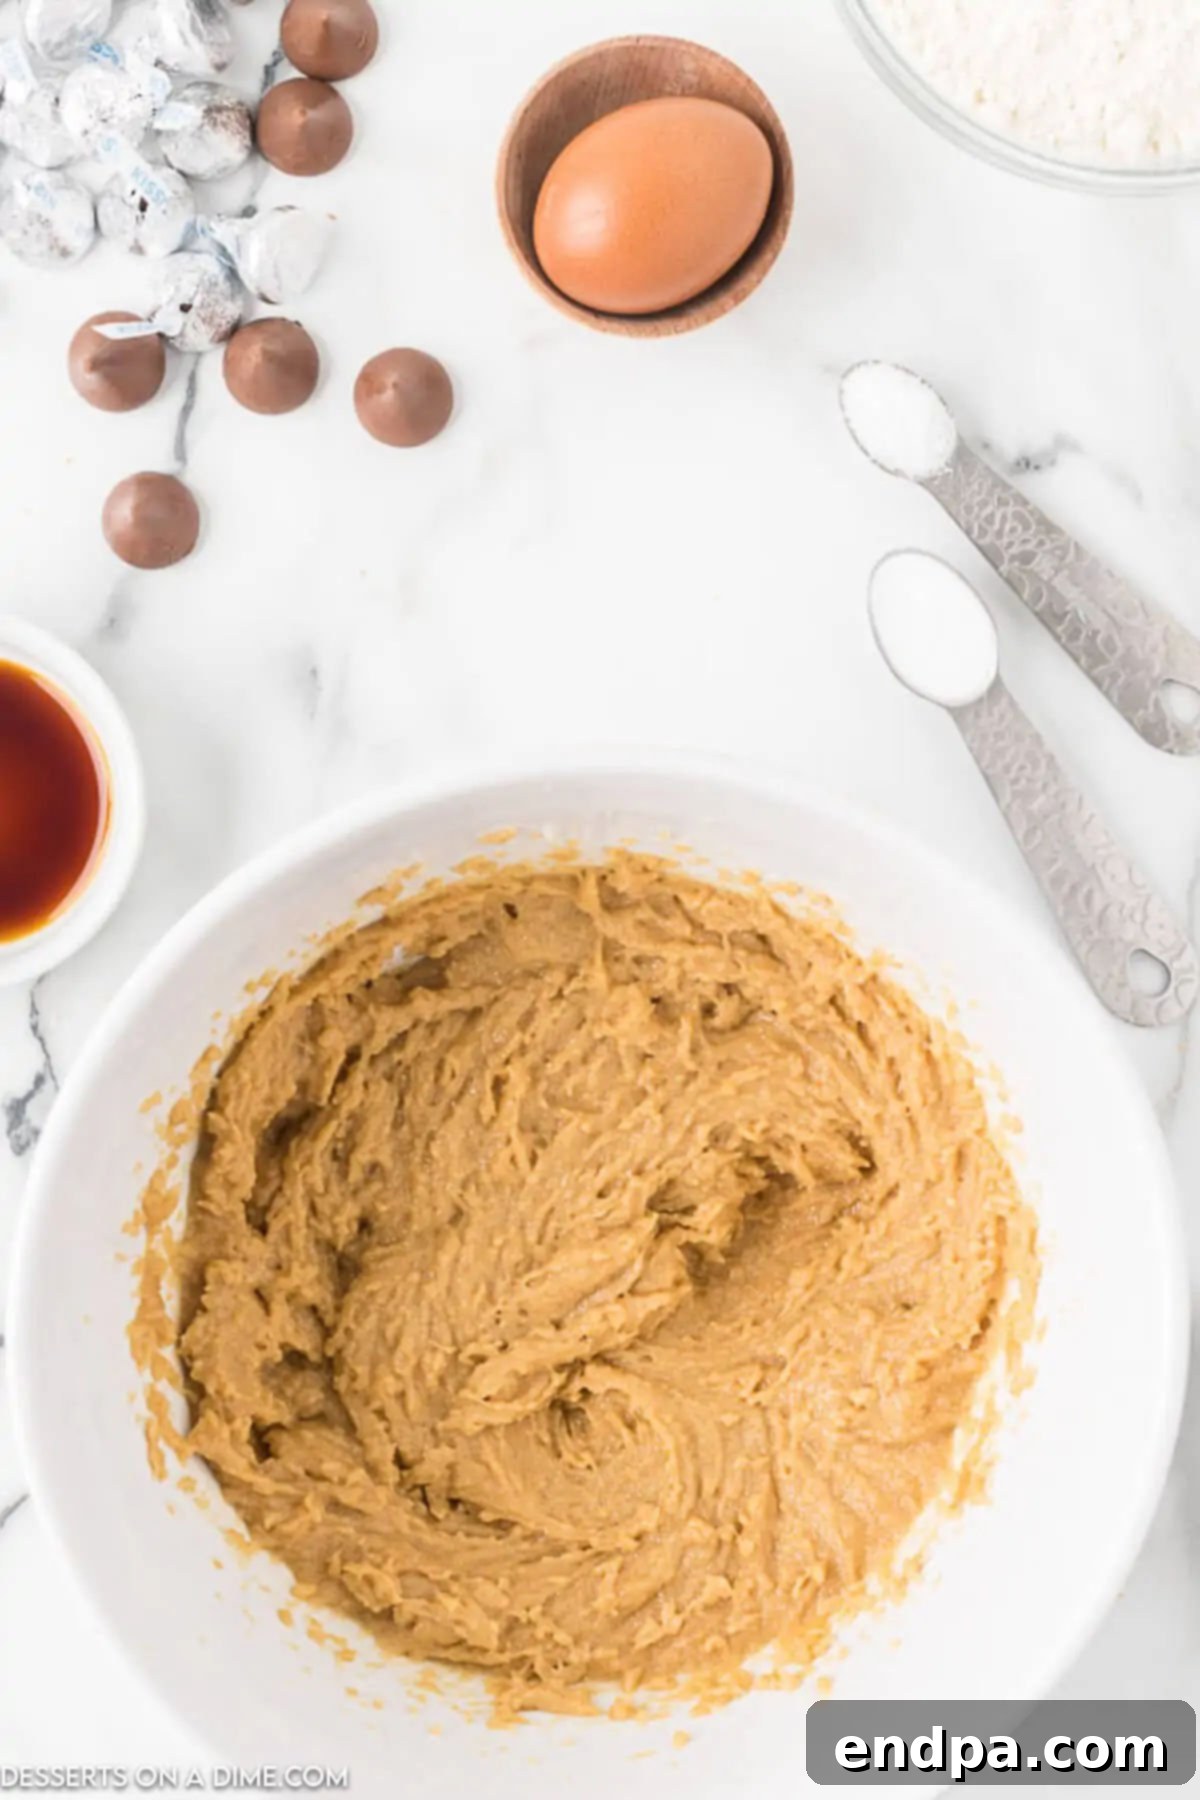
Step 2 – Cream the Wet Ingredients. In a large mixing bowl, combine the softened butter, creamy peanut butter, granulated sugar, and brown sugar. Using an electric mixer, cream these ingredients together on medium speed until the mixture is light, fluffy, and well combined. This process incorporates air, which contributes to the cookies’ soft texture.
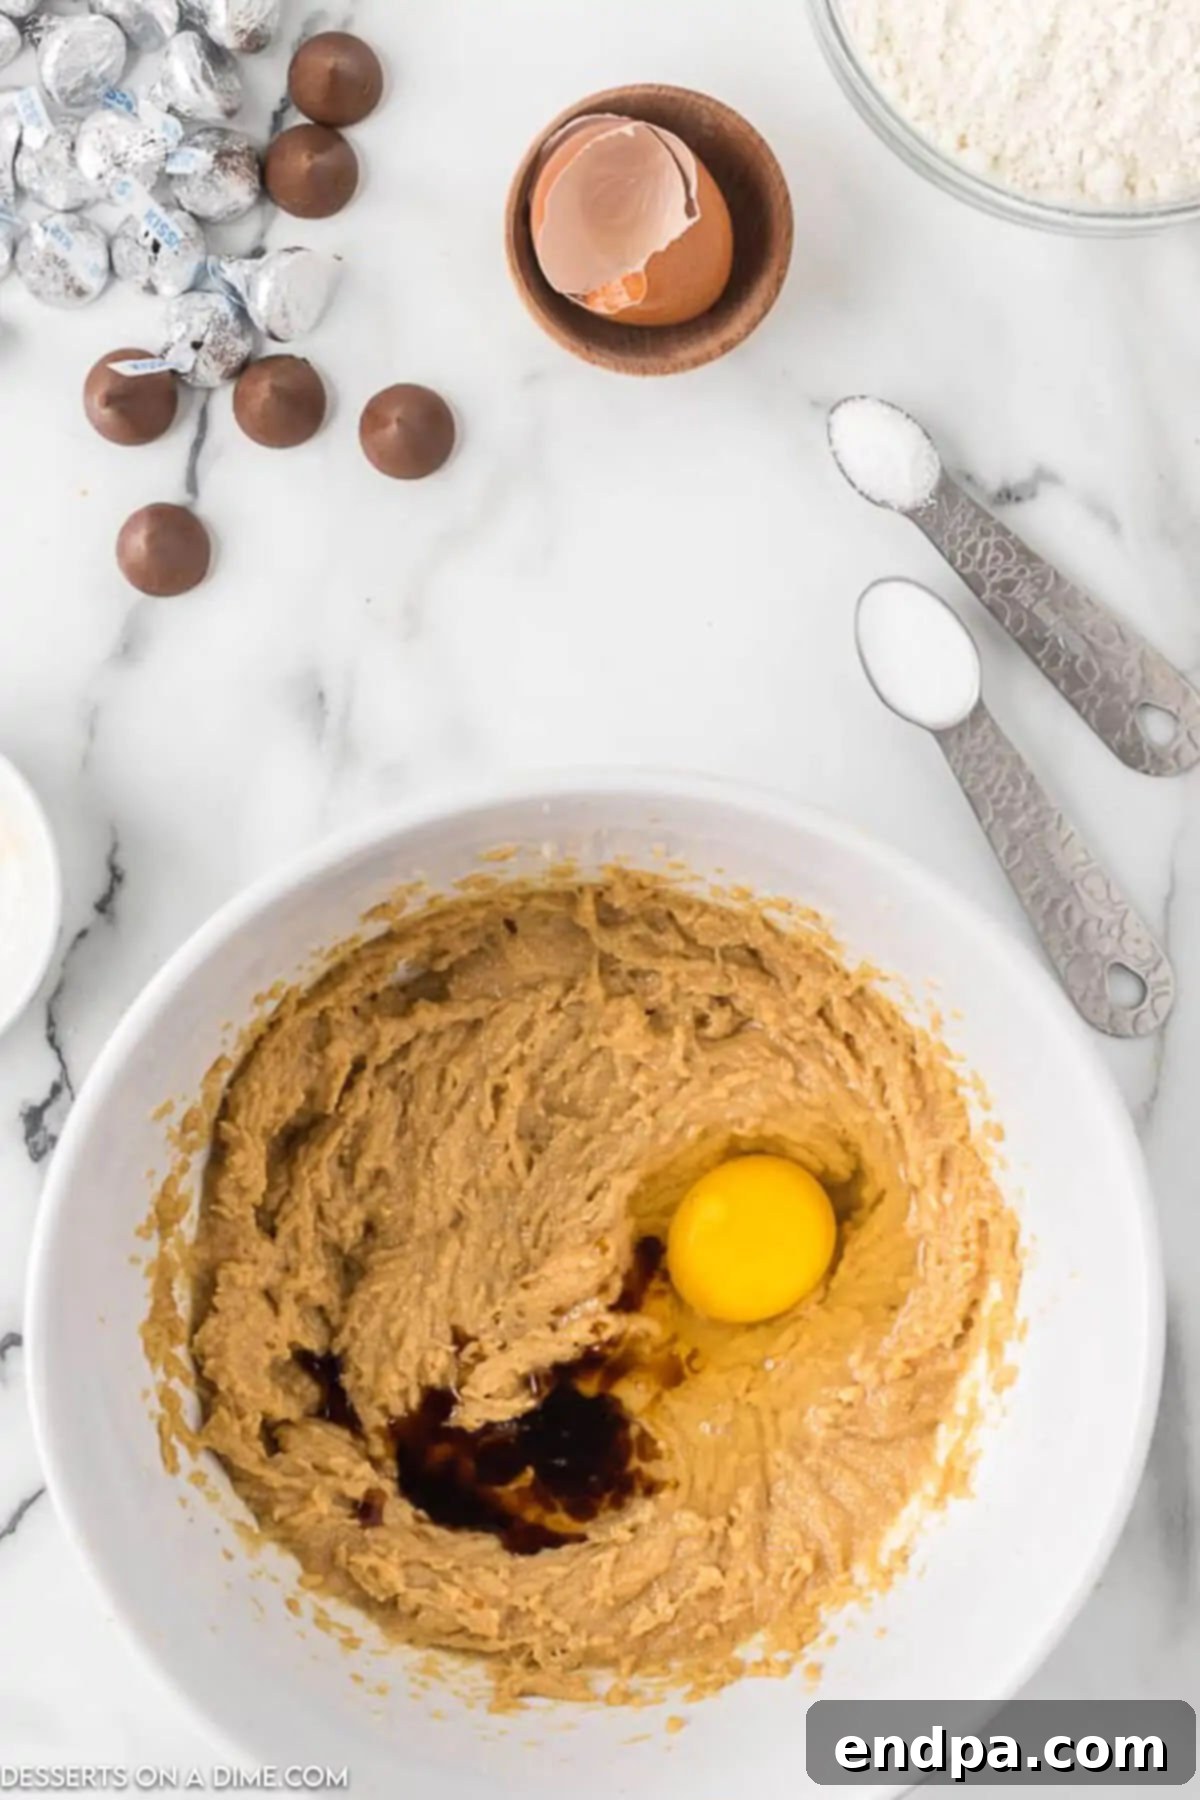
Step 3 – Incorporate Egg and Vanilla. Crack the room temperature egg into the creamed mixture, and add the pure vanilla extract. Beat everything together for another minute or two, ensuring the egg is fully incorporated and the mixture is smooth and emulsified. Scrape down the sides of the bowl as needed to ensure even mixing.
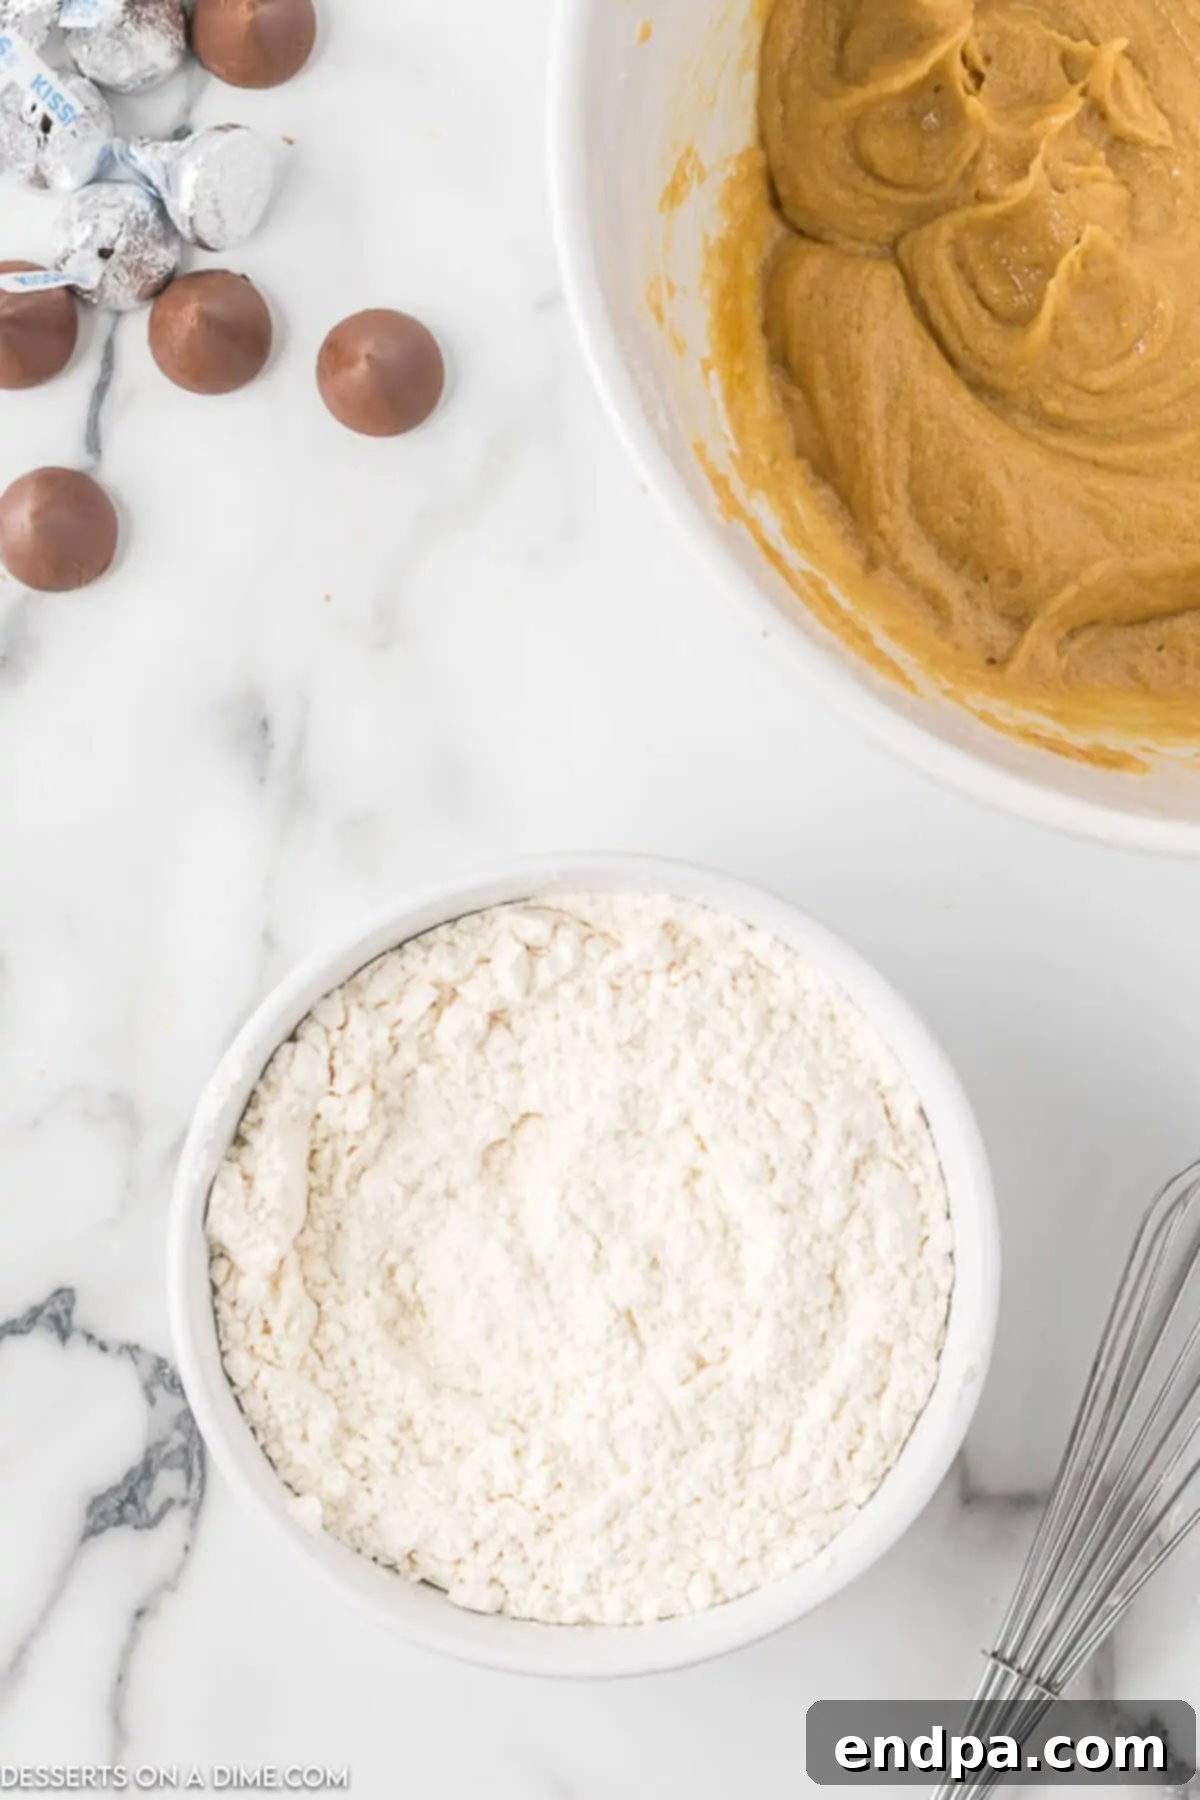
Step 4 – Combine Dry Ingredients. In a separate, medium-sized bowl, whisk together the all-purpose flour, baking soda, and salt. Whisking ensures these dry ingredients are thoroughly combined and evenly distributed throughout the flour, which is crucial for uniform leavening.
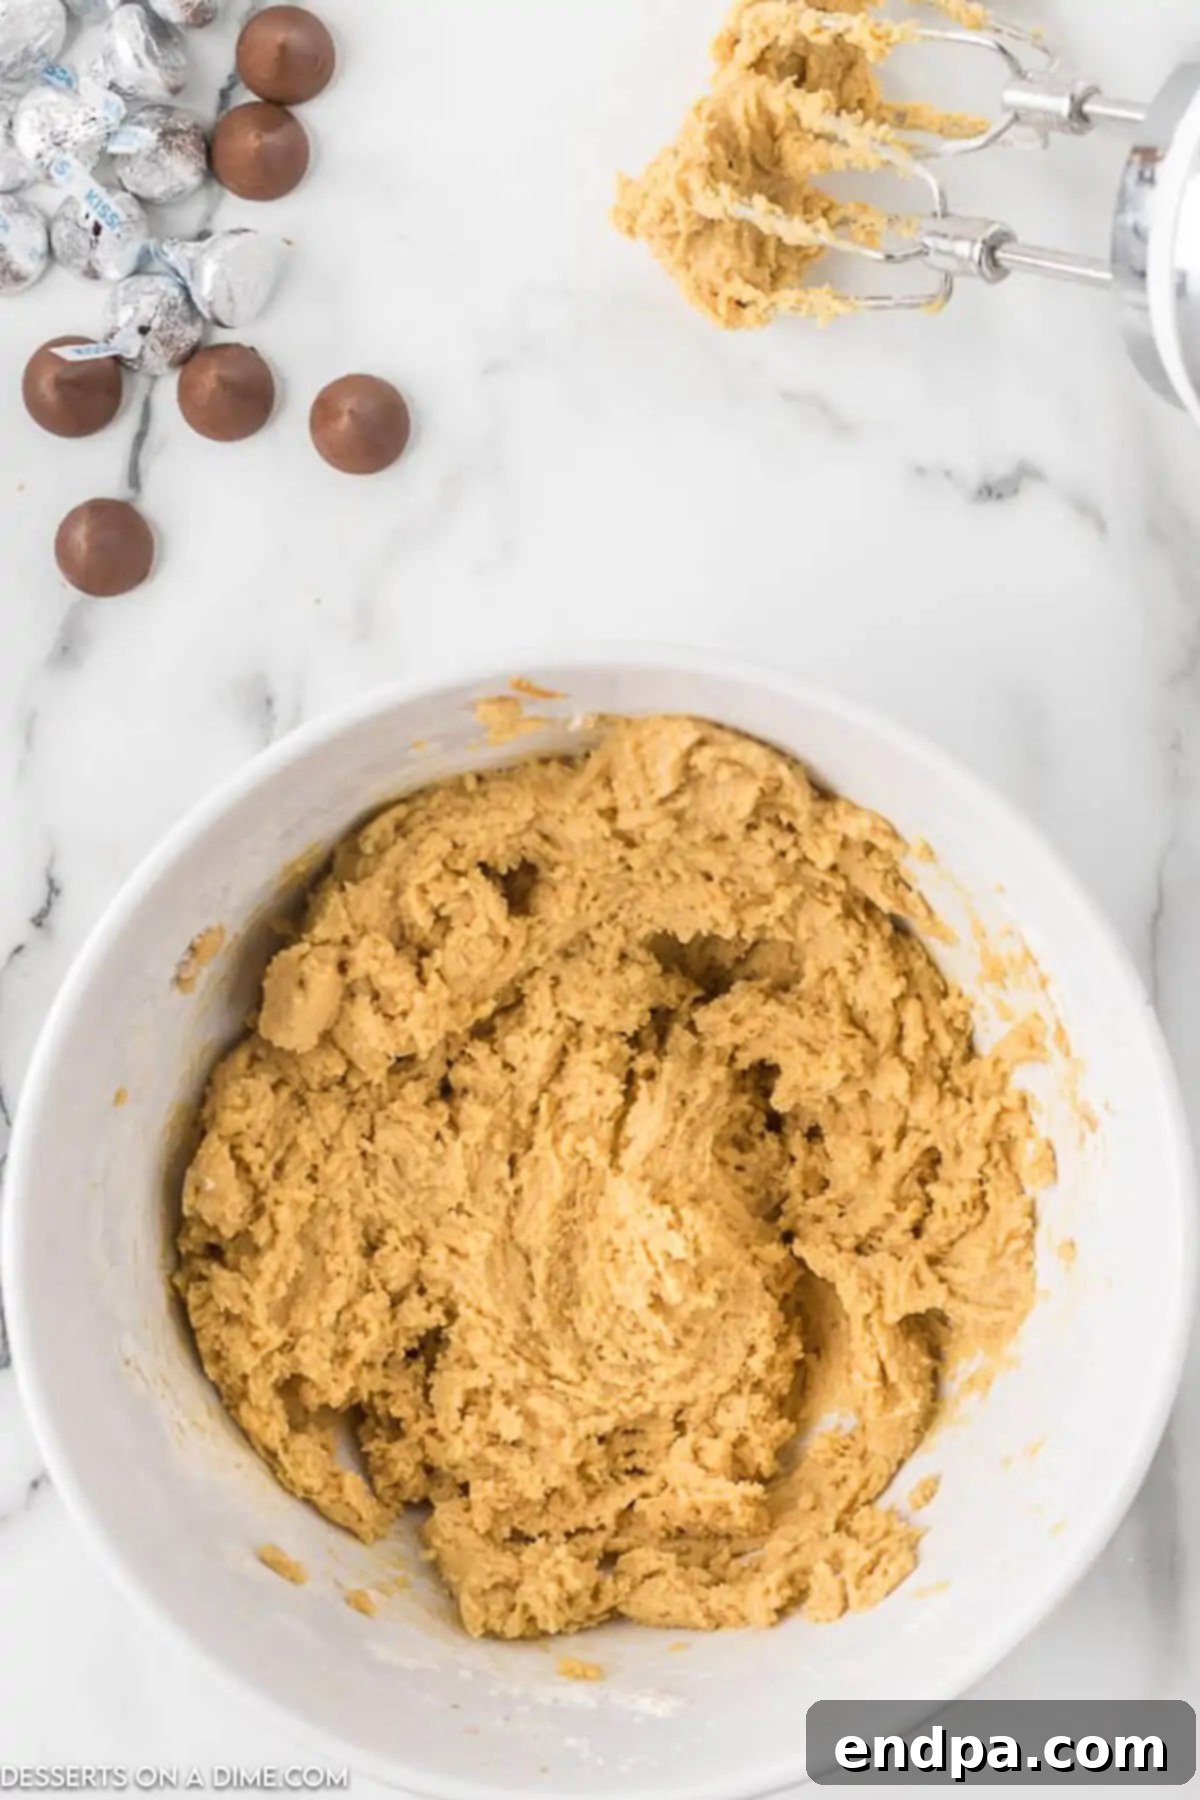
Step 5 – Form the Cookie Dough. Gradually add the dry ingredients to the creamed wet mixture, about a third at a time. Beat on low to medium speed with the paddle attachment until just combined. Be careful not to overmix, as this can lead to tough cookies. Stop mixing as soon as the flour streaks disappear and a soft, pliable cookie dough forms. The dough should be firm enough to roll into balls.
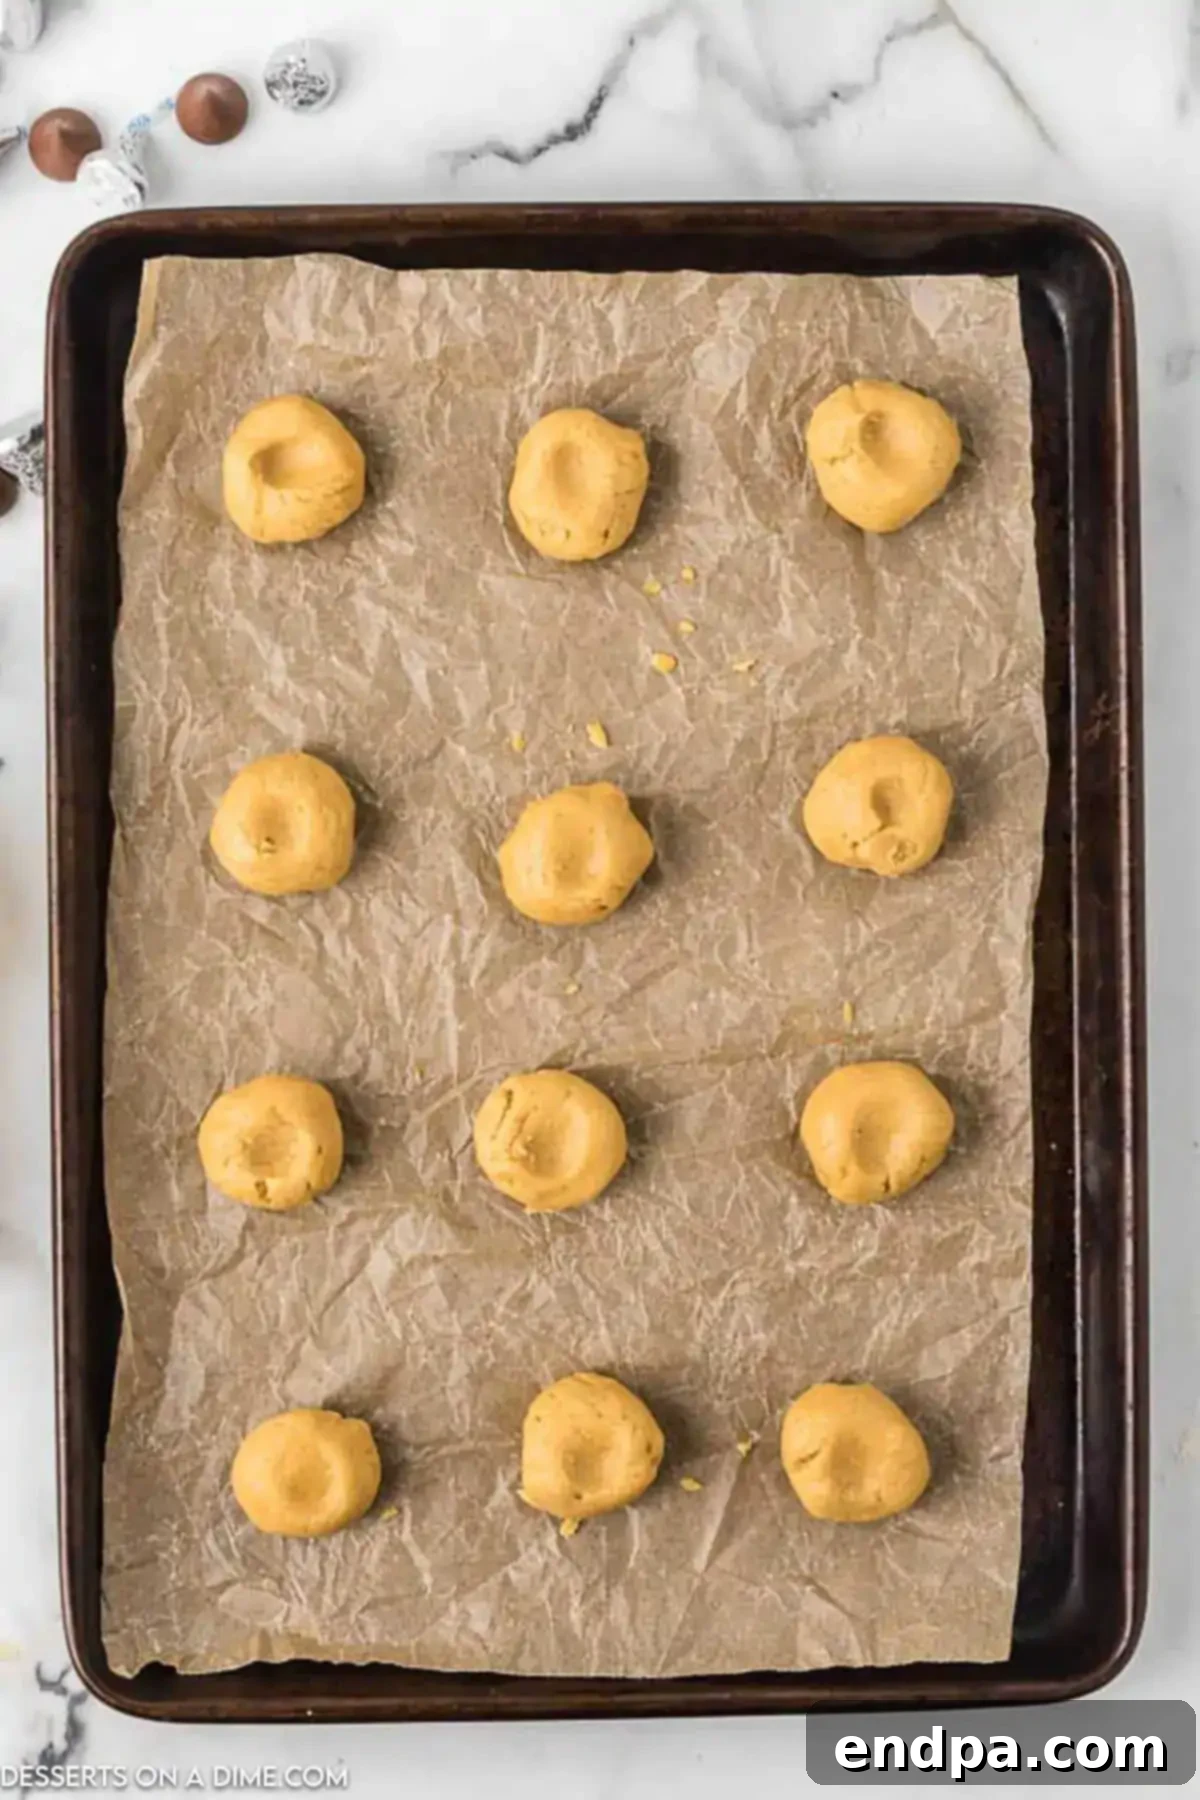
Step 6 – Shape and Indent. Now, it’s time to shape the dough. Scoop the dough and roll it into uniform 1-inch balls. For best results, use a cookie scoop to ensure consistent sizing, which leads to even baking. Place the dough balls several inches apart on an ungreased baking sheet (or one lined with parchment paper for easy cleanup). Before baking, gently make a small indentation in the center of each cookie dough ball with your thumb or the back of a measuring spoon. This creates the perfect nest for your Hershey Kisses. Then, proceed to bake the cookie dough.
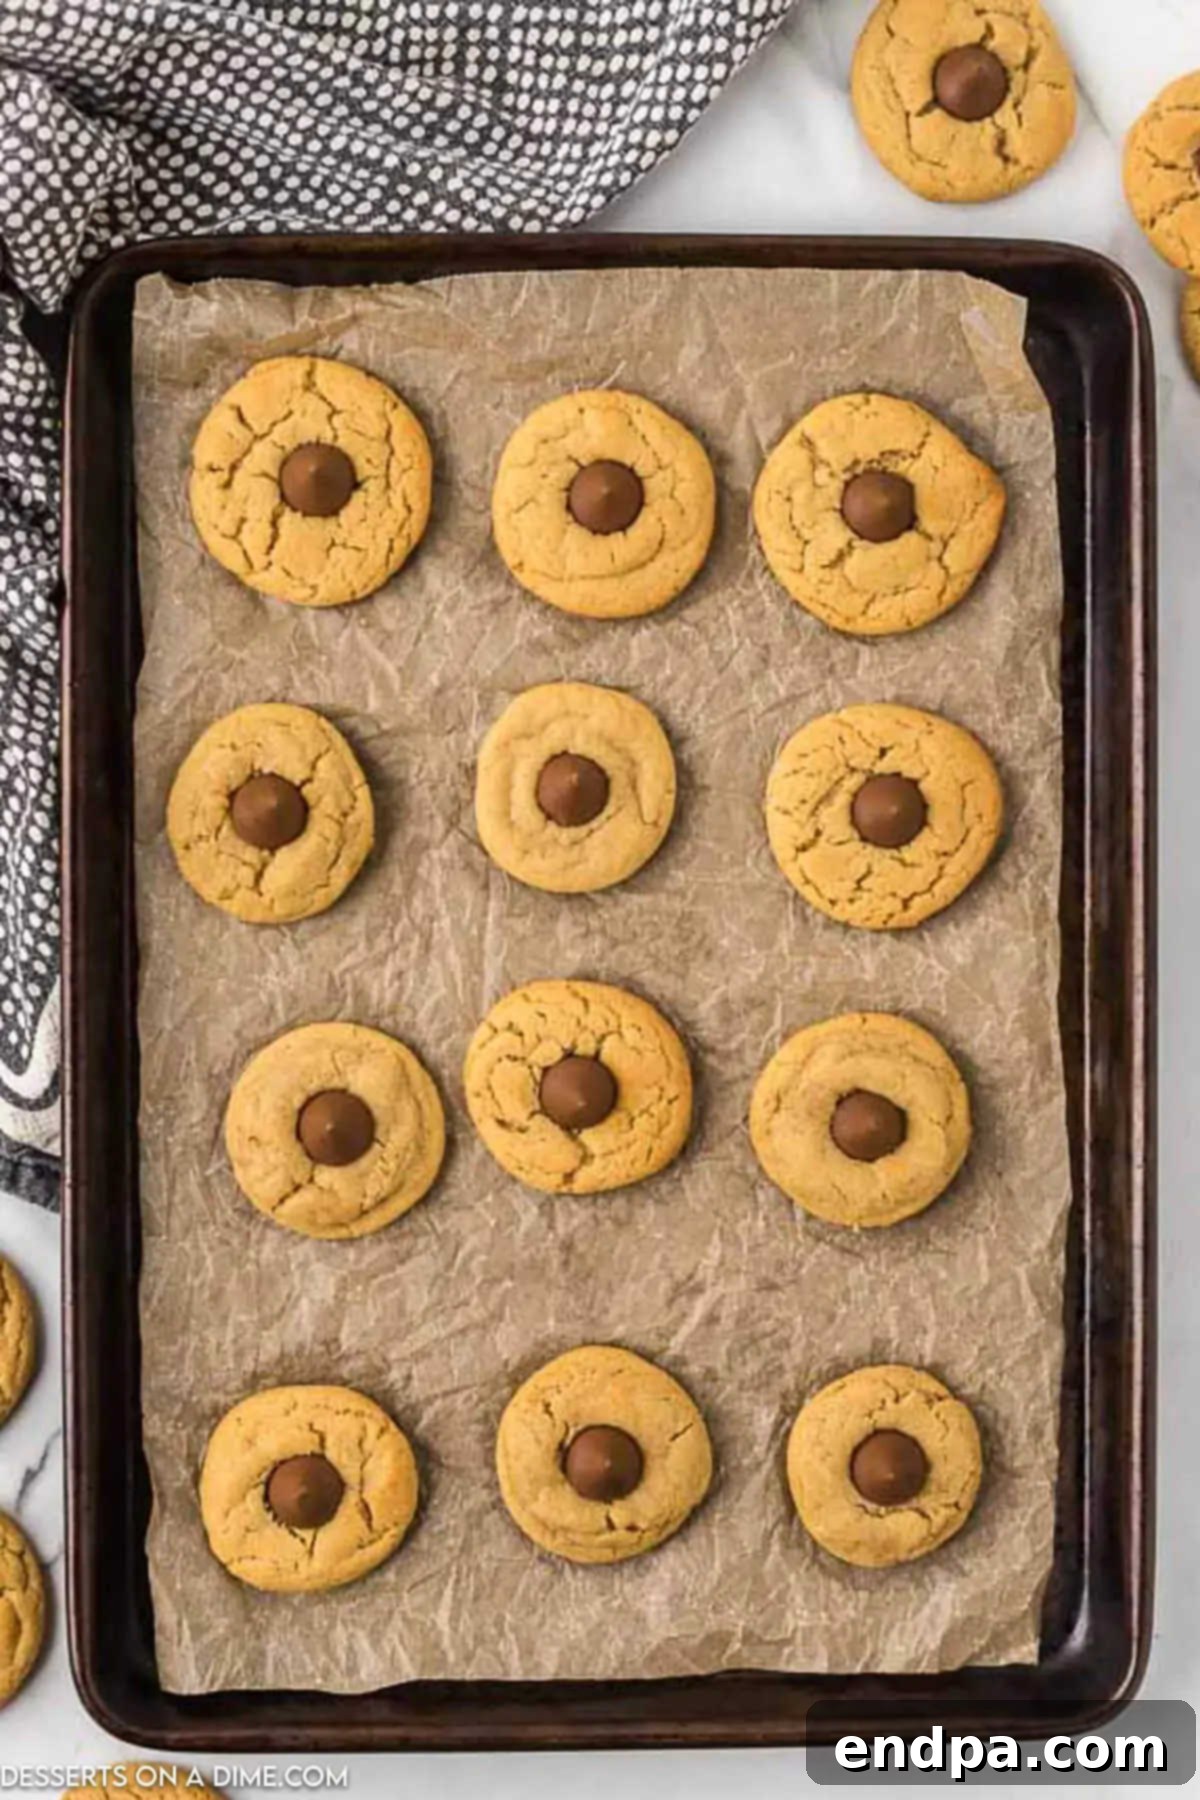
Step 7 – Add Kisses and Cool. Bake the cookies for 12-14 minutes, or until the edges are lightly golden and the centers are set but still soft. As soon as the cookies emerge from the oven, immediately place a single unwrapped Hershey Kiss candy firmly into the indentation of each warm cookie. The residual heat from the cookie will gently soften the chocolate, creating that iconic blossom effect. Allow the cookies to cool on the baking sheet for a few minutes before transferring them to a wire cooling rack to cool completely. This helps them set and prevents them from breaking.
Expert Baking Tips for Success
Achieving bakery-quality Peanut Butter Hershey Kiss Cookies is easier than you think with these simple, yet effective, pro tips:
- Creamy Peanut Butter is Key – For the characteristic smooth texture of these peanut butter blossoms, it is crucial to use creamy peanut butter. Crunchy peanut butter, while delicious in other recipes, will alter the texture of these specific cookies, making them less uniform and possibly more crumbly. Stick to creamy for the best results.
- Achieve Uniformity with a Cookie Scoop – To ensure that all your cookies bake evenly and look consistently beautiful, invest in a good cookie scoop. Using a scoop helps create dough balls of the same size, eliminating guesswork and resulting in perfectly matched cookies for your platter.
- The Importance of Real Butter – Always opt for real butter. It contributes significantly to the rich, unparalleled flavor and tender texture of these cookies. Margarine or butter substitutes might work, but they won’t deliver the same depth of flavor or desirable texture.
- Room Temperature Ingredients for Optimal Mixing – This is a critical tip! Ensure your butter and egg are at room temperature before you begin mixing. Room temperature butter creams more easily with sugar, trapping air that makes cookies light and fluffy. A cold egg can cause the butter mixture to curdle and affect the overall consistency, leading to potentially crumbly cookies once baked. Take them out of the refrigerator about 30-60 minutes before starting.
- Adjusting Cookie Dough Consistency – If, after mixing, your cookie dough feels too firm or dry, you can add a tiny bit of milk (about ½ to 1 teaspoon at a time) to achieve the desired pliable consistency. Conversely, if it’s too sticky, a tablespoon or two of extra flour can help.
- Prepare the Baking Pan – While some recipes might call for an ungreased sheet, lining your baking sheets with silicone baking mats or parchment paper is highly recommended. This prevents sticking, promotes even baking, and makes cleanup incredibly easy, ensuring your delicate cookies retain their perfect shape.
- Don’t Overbake – Peanut butter cookies are best when slightly underbaked. They should look set around the edges but still be soft in the center when removed from the oven. They will continue to cook slightly on the hot baking sheet. Overbaking leads to dry, crumbly cookies.
- Unwrap Kisses in Advance – Unwrap all your Hershey Kisses before the cookies come out of the oven. You’ll need to press them into the hot cookies immediately for them to melt perfectly and adhere well.
- Cooling Time is Crucial – Allow the cookies to cool on the baking sheet for a few minutes before transferring them to a wire rack. This allows them to set fully and prevents them from breaking when moved.
Storage and Freshness Tips
To keep your Peanut Butter Hershey Kiss Cookies fresh and delicious for as long as possible, proper storage is key.
Store your cooled cookies in an airtight container at room temperature. To prevent the chocolate Kisses from sticking together or marring the cookie’s appearance, I like to place a piece of parchment paper or wax paper in between layers of cookies. This extra step helps maintain their pristine condition. Make absolutely sure the cookies are completely cool before storing them; warm cookies will create condensation, leading to soggy textures.
When stored correctly, these delightful cookies will remain fresh and tasty for 3 to 5 days at room temperature. For longer preservation, consider freezing them, as detailed below.
Freezing Instructions
These Peanut Butter Hershey Kiss Cookies are excellent candidates for freezing, making them perfect for meal prep or enjoying a homemade treat whenever a craving strikes.
To freeze baked cookies: Once the cookies have cooled completely, place them in a single layer on a baking sheet and freeze for about 1-2 hours, until solid. This “flash freeze” prevents them from sticking together. Then, transfer the frozen cookies to an airtight freezer-safe container or a heavy-duty freezer bag. They can be stored in the freezer for up to 3 months.
When you’re ready to enjoy them, simply remove the desired number of cookies from the freezer and allow them to thaw at room temperature for an hour or two. They will taste just as fresh as the day they were baked.
To freeze uncooked dough: If you prefer to bake fresh cookies whenever you want, you can also freeze the uncooked dough. Roll the dough into individual 1-inch balls, as if you were preparing to bake. Place these dough balls on a baking sheet lined with parchment paper and flash freeze until firm. Once frozen, transfer the dough balls to a freezer-safe bag or container, ensuring they don’t stick together. This uncooked dough can be stored in the freezer for up to 3 months.
When ready to bake, you can bake the frozen dough balls as normal. Note that the cooking time may need to be increased by a few minutes (typically 2-4 minutes) since they are starting from a frozen state. There’s no need to thaw the dough beforehand.
More Festive Christmas Cookies
The holiday season is synonymous with baking, and there’s nothing quite like a festive cookie spread to bring joy. If you loved these Peanut Butter Hershey Kiss Cookies, you’ll surely enjoy exploring other classic and creative Christmas cookie recipes. These treats are perfect for cookie exchanges, holiday parties, or simply to enjoy by the fire.
- Christmas Cake Mix Cookies Recipe: Incredibly easy and versatile, these cookies start with a cake mix for a quick and delicious holiday treat.
- Gingerbread Kiss Cookies Recipe: A spiced twist on the classic blossom, these gingerbread cookies are infused with warm spices and topped with a chocolate kiss.
- Chocolate Kiss Cookies Recipe: For the ultimate chocolate lover, these rich chocolate cookies are perfectly complemented by a creamy Hershey’s Kiss.
Explore More Peanut Butter Desserts
If your love for peanut butter extends beyond cookies, you’re in for a treat! Peanut butter is a wonderfully versatile ingredient that can transform a wide variety of desserts into something truly special. From fluffy mousses to decadent bars, here are more peanut butter desserts you’ll absolutely adore.
- Peanut Butter Fluff Recipe: A light, airy, and incredibly addictive dessert that’s perfect for a quick sweet fix.
- Peanut Butter Balls with Rice Krispies: A no-bake classic, these crunchy and sweet bites are always a crowd-pleaser.
- Chocolate Peanut Butter Cookies: Double the deliciousness with these cookies that feature both chocolate and peanut butter in the dough.
- Peanut Butter & Jelly Cookies Recipe: A nostalgic twist on the classic sandwich, these cookies combine two childhood favorites.
- Peanut Butter Cake Mix Cookies Recipe: Another fantastic cake mix hack that delivers soft, chewy peanut butter cookies with minimal effort.
If you make this delightful peanut butter kiss cookies recipe, please take a moment to leave a comment and a star review below. Your feedback truly means a lot to us and helps other bakers discover these amazing treats!
Homemade Peanut Butter Kiss Cookies
Ingredients
- 1/2 cup Peanut Butter
- 1/2 cup Butter
- 1/2 cup Granulated Sugar
- 1/2 cup Brown Sugar
- 1 tsp Vanilla Extract
- 1 Large Egg
- 1 1/3 cup All-Purpose Flour
- 1 tsp Baking Soda
- 1/2 tsp Salt
- 24 Hershey Kisses unwrapped
Instructions
- Preheat oven to 350°F (175°C).
- In a large bowl, cream together peanut butter, butter, granulated sugar, and brown sugar until light and smooth.
- Add the egg and vanilla extract; beat until well combined.
- In a separate bowl, whisk together the flour, baking soda, and salt.
- Gradually add the dry ingredients to the wet mixture, beating on low speed until just incorporated and a dough forms. Do not overmix.
- Roll the dough into 24 uniform 1-inch balls. Place them several inches apart on an ungreased baking sheet.
- Gently make a small indentation in the center of each cookie dough ball using your thumb or a rounded spoon.
- Bake for 12-14 minutes, or until the edges are lightly golden and the centers are just set.
- Immediately upon removing from the oven, press one unwrapped Hershey Kiss firmly into the center of each warm cookie.
- Allow cookies to cool on the baking sheet for a few minutes before transferring to a wire rack to cool completely.
Nutrition Facts
Pin This Now to Remember It Later
Pin Recipe
