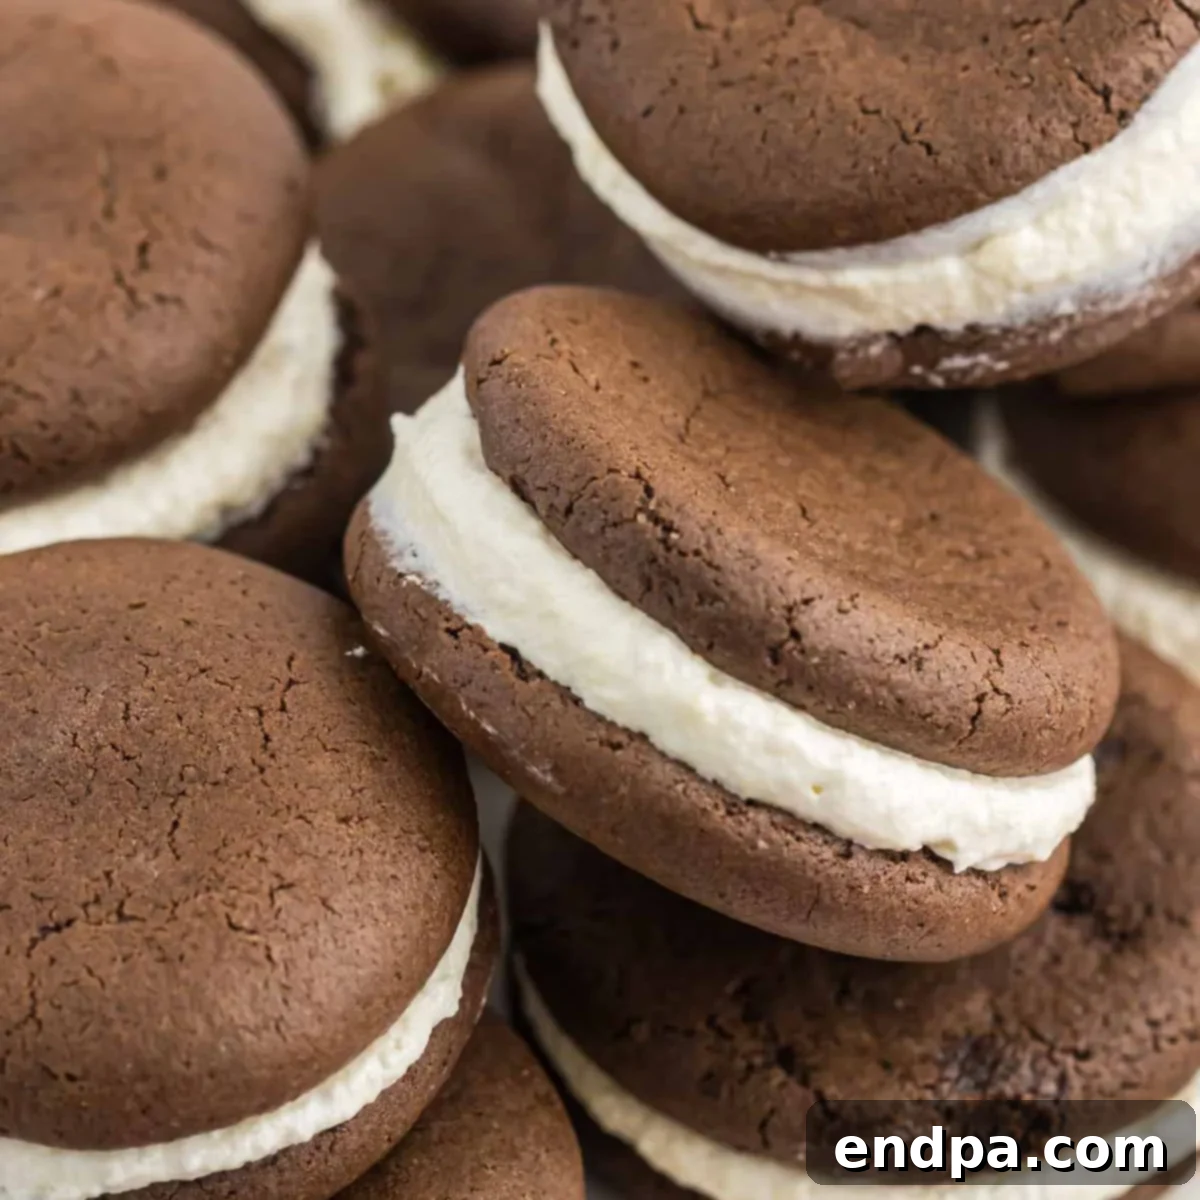
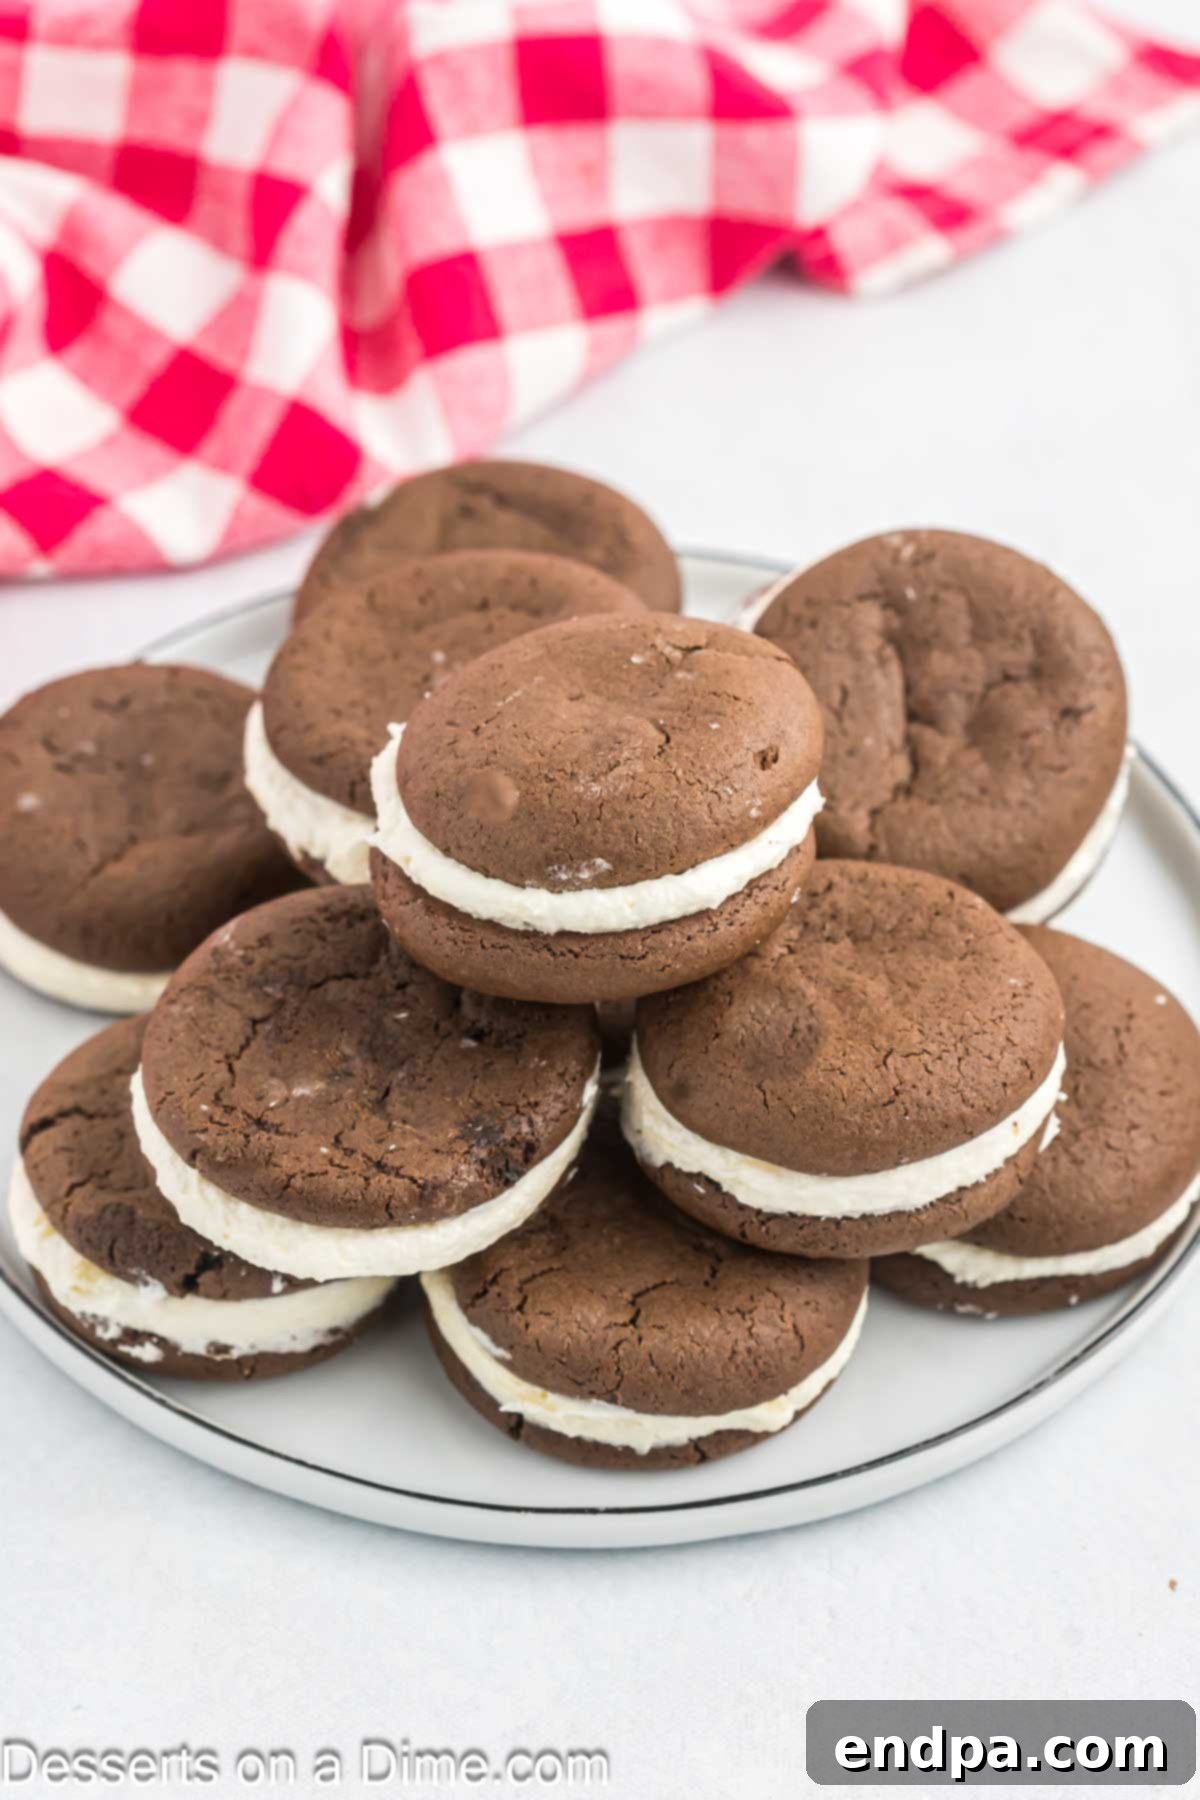
Indulge in a timeless American classic with this exceptional Whoopie Pie Recipe. Experience the joy of soft, rich, chocolatey cake-like cookies embracing a luxurious, creamy marshmallow fluff filling. This dessert is not just a treat for your taste buds but also a delight to prepare, proving that extraordinary homemade confections don’t have to be complicated. Get ready to captivate everyone with these irresistible, perfectly balanced sweet sandwiches that promise a wave of nostalgia and pure culinary bliss.
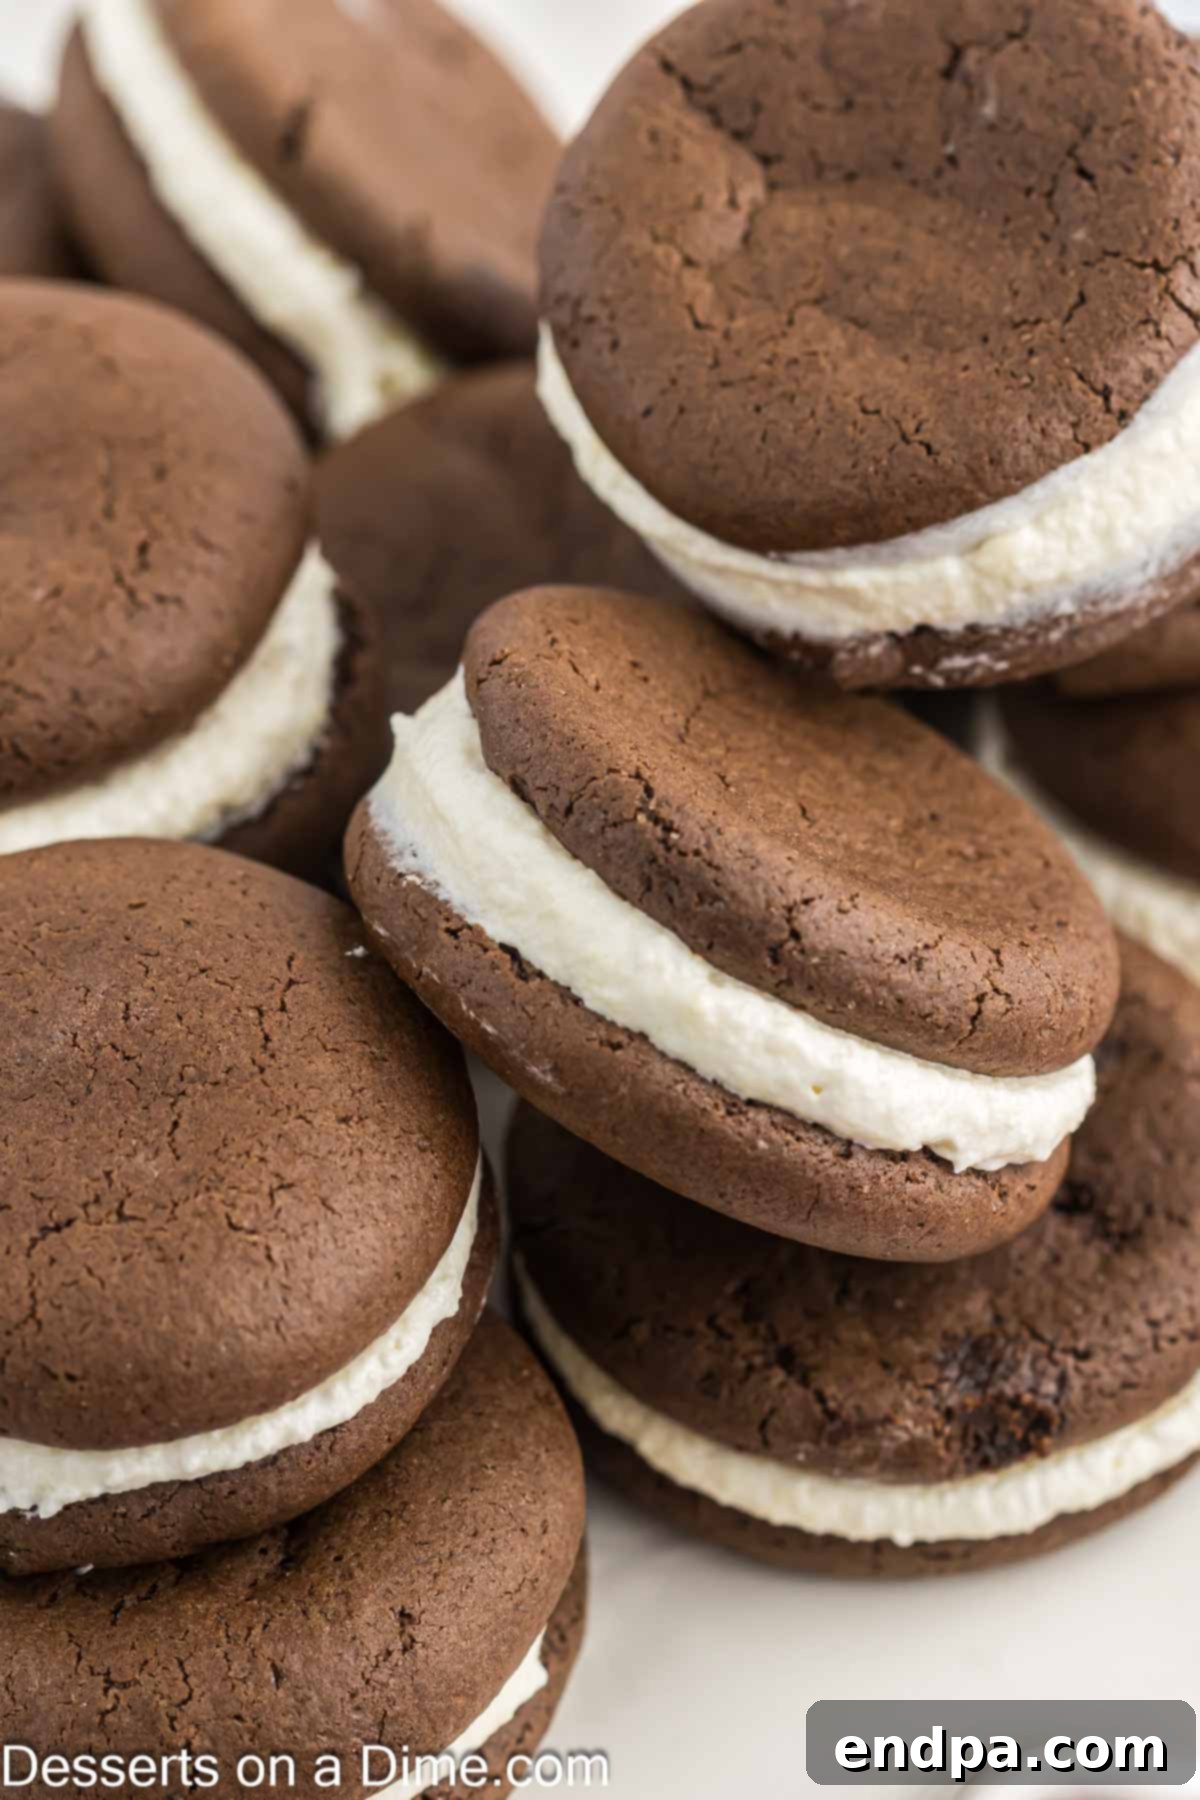
Crafting whoopie pies at home has never been easier, thanks to this tried-and-true recipe. For over five years, this particular method has consistently delivered outstanding results: cookies that are wonderfully soft, delightfully chewy, and bursting with deep chocolate flavor. It’s a guaranteed success for bakers of all skill levels, relying on common pantry staples to create something truly special. This recipe has quickly become one of our most cherished cookie creations, often requested by family and friends alike.
Whoopie pies are a beloved dessert featuring two round, pillowy, cake-like cookies generously filled with a creamy, sweet center. Often considered a hybrid between a cookie, cake, and sandwich, they offer a unique texture and flavor profile that stands apart. While chocolate cookies with marshmallow fluff filling are the classic, the beauty of whoopie pies lies in their versatility. They are perfect for any gathering, holiday, or simply as a comforting everyday indulgence. We’ve even enjoyed creating fun variations like our Patriotic Whoopie Pies for festive occasions.
If you’re already in the kitchen baking up a storm, why not expand your repertoire? Consider trying this Easy Homemade Cream Puffs Recipe for another delightful treat.
Table of contents
- Why This Whoopie Pie Recipe is a Must-Try
- Essential Ingredients for Perfect Whoopie Pies
- The Scrumptious Cookies
- The Creamy, Dreamy Filling
- Exciting Variations and Additions
- Step-by-Step Guide: How to Make Whoopie Pies
- Expert Baking Tips for Whoopie Pie Perfection
- Storage and Serving Suggestions
- More Irresistible Chocolate Recipes
Why This Whoopie Pie Recipe is a Must-Try
- Effortlessly Easy to Make – One of the standout features of this recipe is its incredible simplicity. You don’t need to be a seasoned baker to achieve fantastic results. The process involves straightforward mixing for both the cookie batter and the decadent filling. Once your cookies are baked to perfection, simply sandwich them together with the creamy marshmallow goodness, and voilà – you have a dessert that looks and tastes like it came from a professional bakery. This ease makes it ideal for busy weeknights or impromptu gatherings.
- Utilizes Simple, Accessible Ingredients – Forget about searching for obscure items at specialty stores. This whoopie pie recipe calls for ingredients that are readily available in most grocery stores, and chances are, many of them are already in your pantry. This accessibility ensures that you can whip up a batch of these delightful treats whenever the craving strikes, without any hassle or extra trips.
- A Guaranteed Family Favorite for All Occasions – These whoopie pies are more than just a dessert; they’re an experience that brings smiles to every face. Their rich, deep chocolate flavor, combined with the sweet, fluffy filling, makes them an instant hit for any event, from birthday parties and holiday celebrations to simple family dinners or afternoon snacks. They’re a crowd-pleaser that appeals to both children and adults, making them a staple in our household for all kinds of gatherings.
- Perfectly Balanced Texture and Flavor – What truly sets these whoopie pies apart is their exquisite balance. The cookies are wonderfully soft and slightly chewy, providing a satisfying bite that complements the smooth, airy marshmallow fluff filling. The deep cocoa notes in the cookies are perfectly offset by the sweet, vanilla-infused cream, creating a harmonious symphony of flavors and textures in every single bite.
Essential Ingredients for Perfect Whoopie Pies
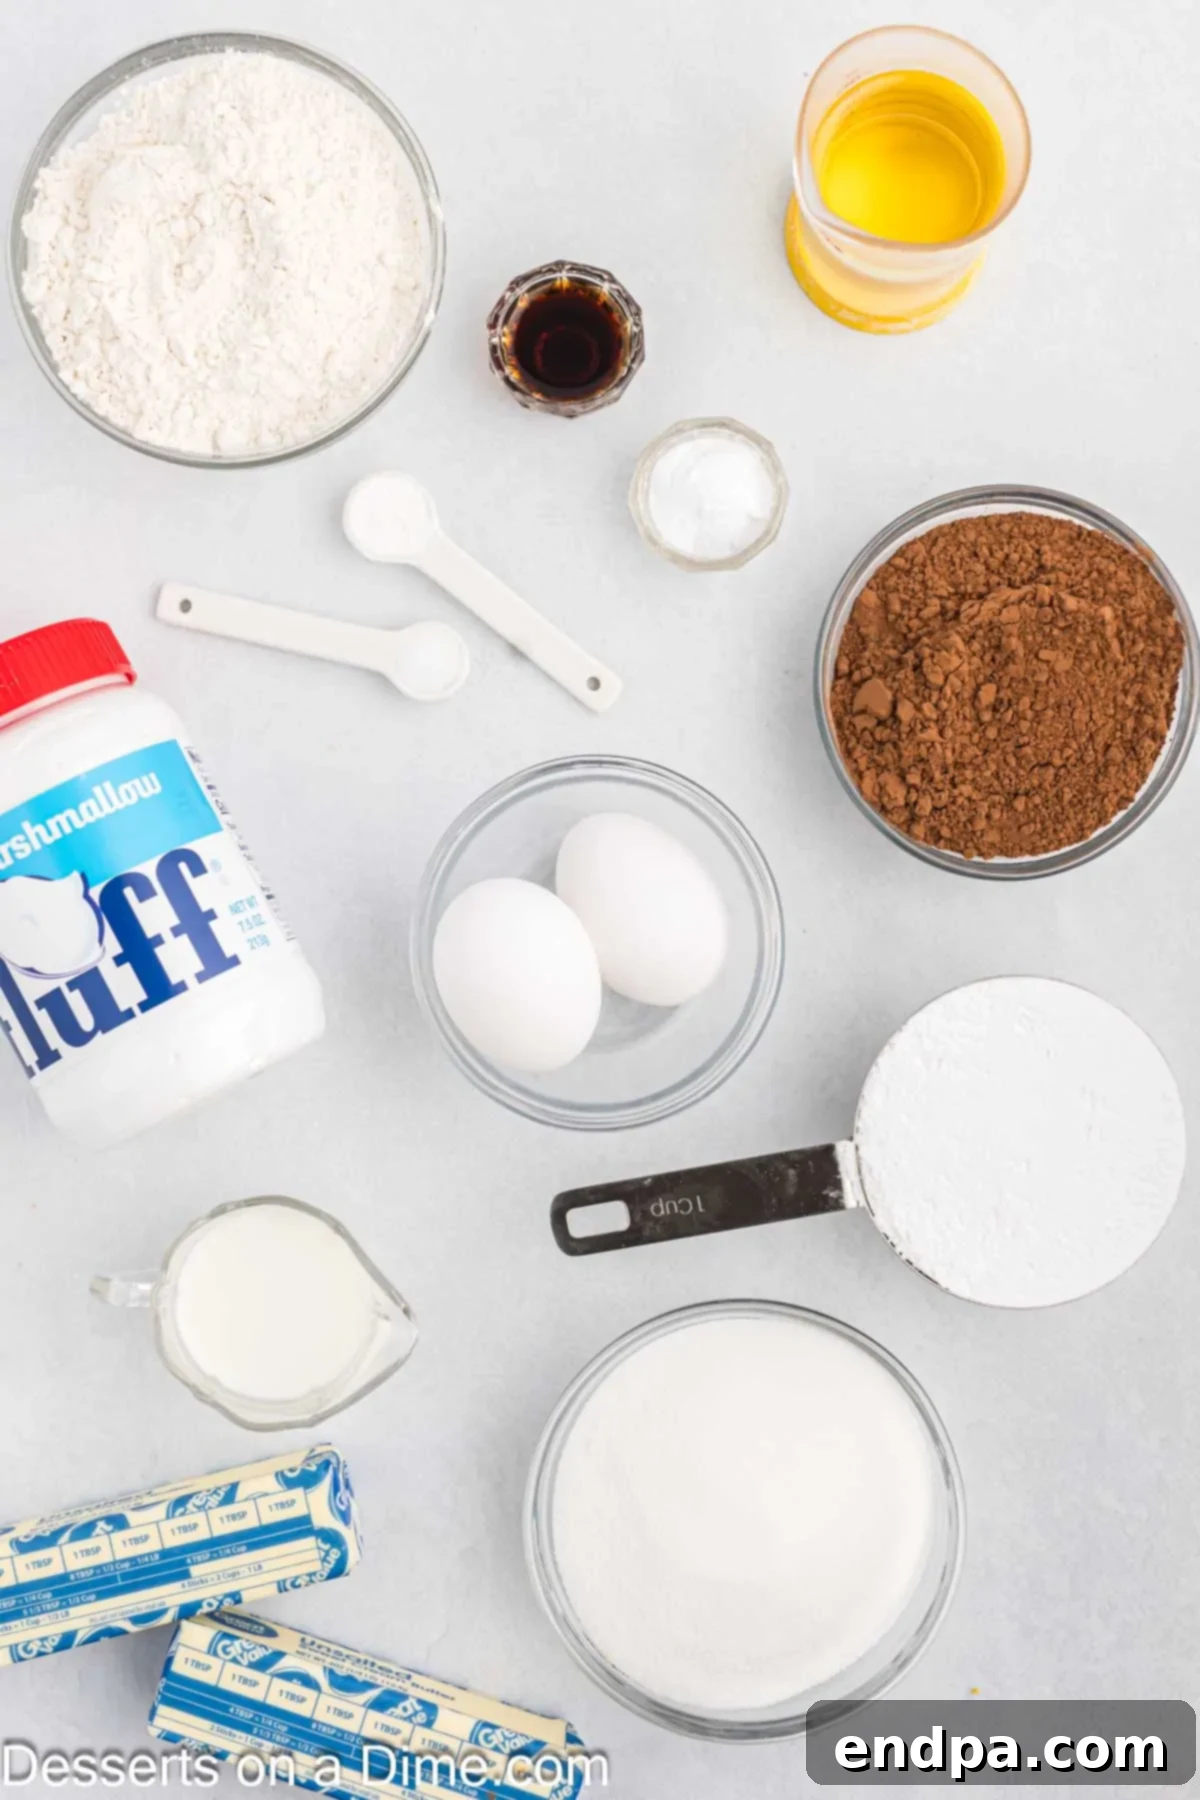
The Scrumptious Cookies
- All-Purpose Flour: The foundation of our soft, cake-like cookies. For the best results, spoon the flour gently into your measuring cup and level it off with a straight edge rather than packing it down. This ensures you use the correct amount and achieve the desired tender texture.
- Unsweetened Baking Cocoa: This is what gives our whoopie pies their signature rich chocolate flavor. Be sure to use unsweetened cocoa powder, as Dutch-processed cocoa will react differently with the leavening agents and alter the final product.
- Baking Soda & Baking Powder: The dynamic duo responsible for the cookies’ signature fluffy, cake-like rise. Ensure both are fresh for optimal leavening. If you’re ever in a pinch, check out our guide to Best Baking Soda Substitutes.
- Salt: A crucial ingredient that enhances the chocolate flavor and balances the sweetness, preventing the cookies from tasting flat.
- Granulated Sugar: Provides sweetness and helps create that wonderful chewy-soft texture in the cookies.
- Oil (Vegetable or Canola): Adds moisture and contributes to the soft, tender crumb of the whoopie pie cookies. Using oil rather than solely butter helps maintain their softness.
- Large Eggs: Act as a binder and add richness to the cookie batter. It’s essential that your eggs are at room temperature before using, as this allows them to emulsify better with other ingredients, creating a smoother batter and a more consistent cookie texture.
- Milk: Adds moisture and helps thin the batter to the perfect consistency for spreading into round cookie shapes. Whole milk will yield a richer cookie, but any milk will work well.
- Vanilla Extract: A splash of vanilla enhances the chocolate flavor and adds a warm, aromatic depth to the cookies.
The Creamy, Dreamy Filling
- Unsalted Butter: The base of our rich and fluffy filling. Make sure it’s softened to room temperature, which is key for creaming it properly with the powdered sugar, resulting in a smooth and light consistency.
- Powdered Sugar (Confectioners’ Sugar): Provides the sweetness and structure for the filling. If your powdered sugar has any lumps, a quick sift will ensure a perfectly smooth and creamy texture without any grainy bits.
- Marshmallow Fluff (Container): This is the star ingredient for the traditional whoopie pie filling, giving it that iconic light, airy, and unmistakably marshmallowy taste and texture. For an extra homemade touch, you can also try making your own Homemade Marshmallow Fluff.
- Vanilla Extract: Enhances the sweet, creamy notes of the filling with its classic aromatic flavor.
- Salt: A small pinch of salt in the filling helps to cut through the sweetness and balance the flavors.
You can view the complete ingredient list with precise measurements at the bottom of the page in the detailed recipe card.
Exciting Variations and Additions
One of the best things about whoopie pies is how adaptable they are! While the classic chocolate cookie with marshmallow fluff is eternally delicious, don’t hesitate to get creative with these exciting variations:
- Change the Cookie Flavor – While our rich chocolate cake cookies are phenomenal, the possibilities are endless. Imagine the delight of pumpkin spice whoopie pies for autumn, made with a pumpkin cake base and warm spices. Or, for a vibrant and fruity twist, try strawberry cake cookies, perhaps with a hint of lemon in the filling. Red velvet whoopie pies are another popular choice, offering a beautiful color and a mild chocolate flavor. You can even experiment with gingerbread or lemon poppy seed cookies for unique flavor combinations.
- Change the Frosting – The filling is just as flexible as the cookies! Instead of the traditional marshmallow fluff, consider a luscious cream cheese frosting, which pairs wonderfully with pumpkin or red velvet cookies, adding a tangy counterpoint to the sweetness. A rich buttercream frosting, flavored with espresso, peanut butter, or even a hint of mint, can transform the entire whoopie pie experience. For a lighter touch, a whipped cream filling could be delightful, especially when paired with fresh fruit.
- Holiday Whoopie Pies – Tailor your whoopie pies to any season or celebration. For a festive winter treat, mix a few drops of peppermint extract into the marshmallow fluff filling for a delightful minty kick. For an extra special touch, you can even roll the edges of the filled pies in finely chopped peppermint candies or crushed candy canes for a fun, festive look and an added crunch. For Halloween, try orange-tinted vanilla frosting with chocolate cookies. For Valentine’s Day, red velvet cookies with a pink cream cheese filling are always a hit.
- Simplify with Cake Mix – For those times when you’re short on time but still want homemade goodness, a boxed cake mix can be your secret weapon. You can easily make delicious whoopie pie cookies by combining a standard cake mix (chocolate, vanilla, red velvet, pumpkin) with a few other basic ingredients like eggs, oil, and a touch of flour. This method significantly cuts down on prep time while still delivering a rich, flavorful, and incredibly moist whoopie pie.
- Add-Ins & Toppings – Elevate your whoopie pies with various add-ins and toppings. Fold mini chocolate chips, sprinkles, or finely chopped nuts into the cookie batter or the filling. Once assembled, you can roll the edges of the whoopie pies in sprinkles, cocoa powder, shredded coconut, or even a dusting of powdered sugar for an appealing finish. A drizzle of melted chocolate or caramel sauce over the top also adds an extra layer of decadence.
How to Make Whoopie Pies: A Detailed Guide
Follow these easy steps to create your own batch of perfectly irresistible homemade whoopie pies:
- Step 1: Prepare Your Workspace and Oven – Begin by preheating your oven to 350°F (175°C). While the oven heats up, prepare your baking sheets. Line them with parchment paper or a silicone baking mat. This crucial step prevents the cookies from sticking and ensures easy cleanup, making your baking experience much smoother.
- Step 2: Combine the Dry Ingredients – In a medium-sized mixing bowl, whisk together the all-purpose flour, unsweetened cocoa powder, baking soda, baking powder, and salt. Whisking them thoroughly ensures that the leavening agents and salt are evenly distributed throughout the flour mixture, which is vital for a consistent cookie texture and rise.
Step 3: Cream Sugar and Oil. In a separate, large mixing bowl, combine the granulated sugar and ½ cup of oil. Beat these together using an electric mixer until they are well combined. The mixture will have a somewhat crumbly texture at this stage, which is completely normal. Continue beating until the sugar and oil are fully incorporated and the mixture is light and aerated.
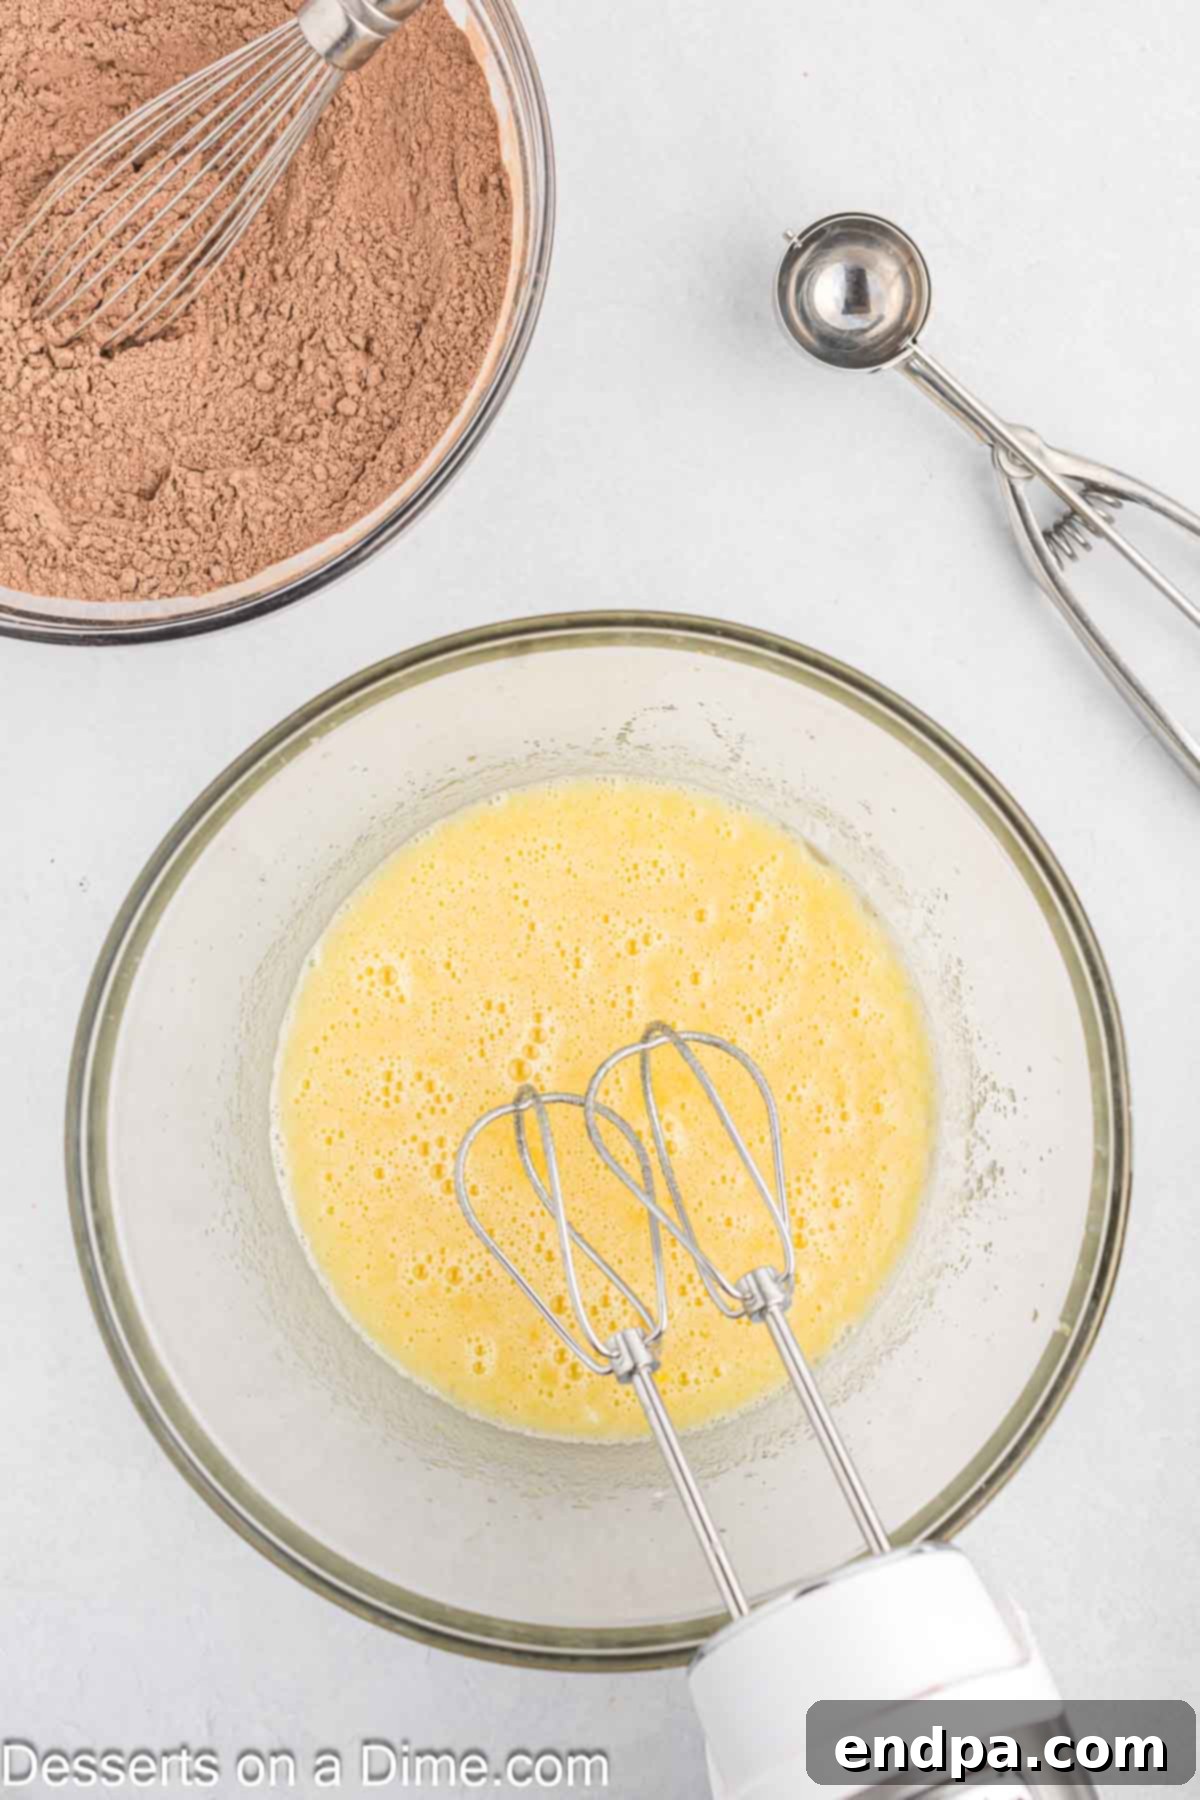
Step 4: Incorporate Wet Ingredients and Flour Mixture. To the sugar and oil mixture, add the room temperature eggs, milk, and vanilla extract. Beat everything together until the mixture is smooth and fully blended. Once the wet ingredients are well combined, gradually add the whisked dry flour mixture to the wet ingredients. Mix on low speed, just until everything is combined and a smooth, thick batter forms. Be careful not to overmix, as this can lead to tough cookies.
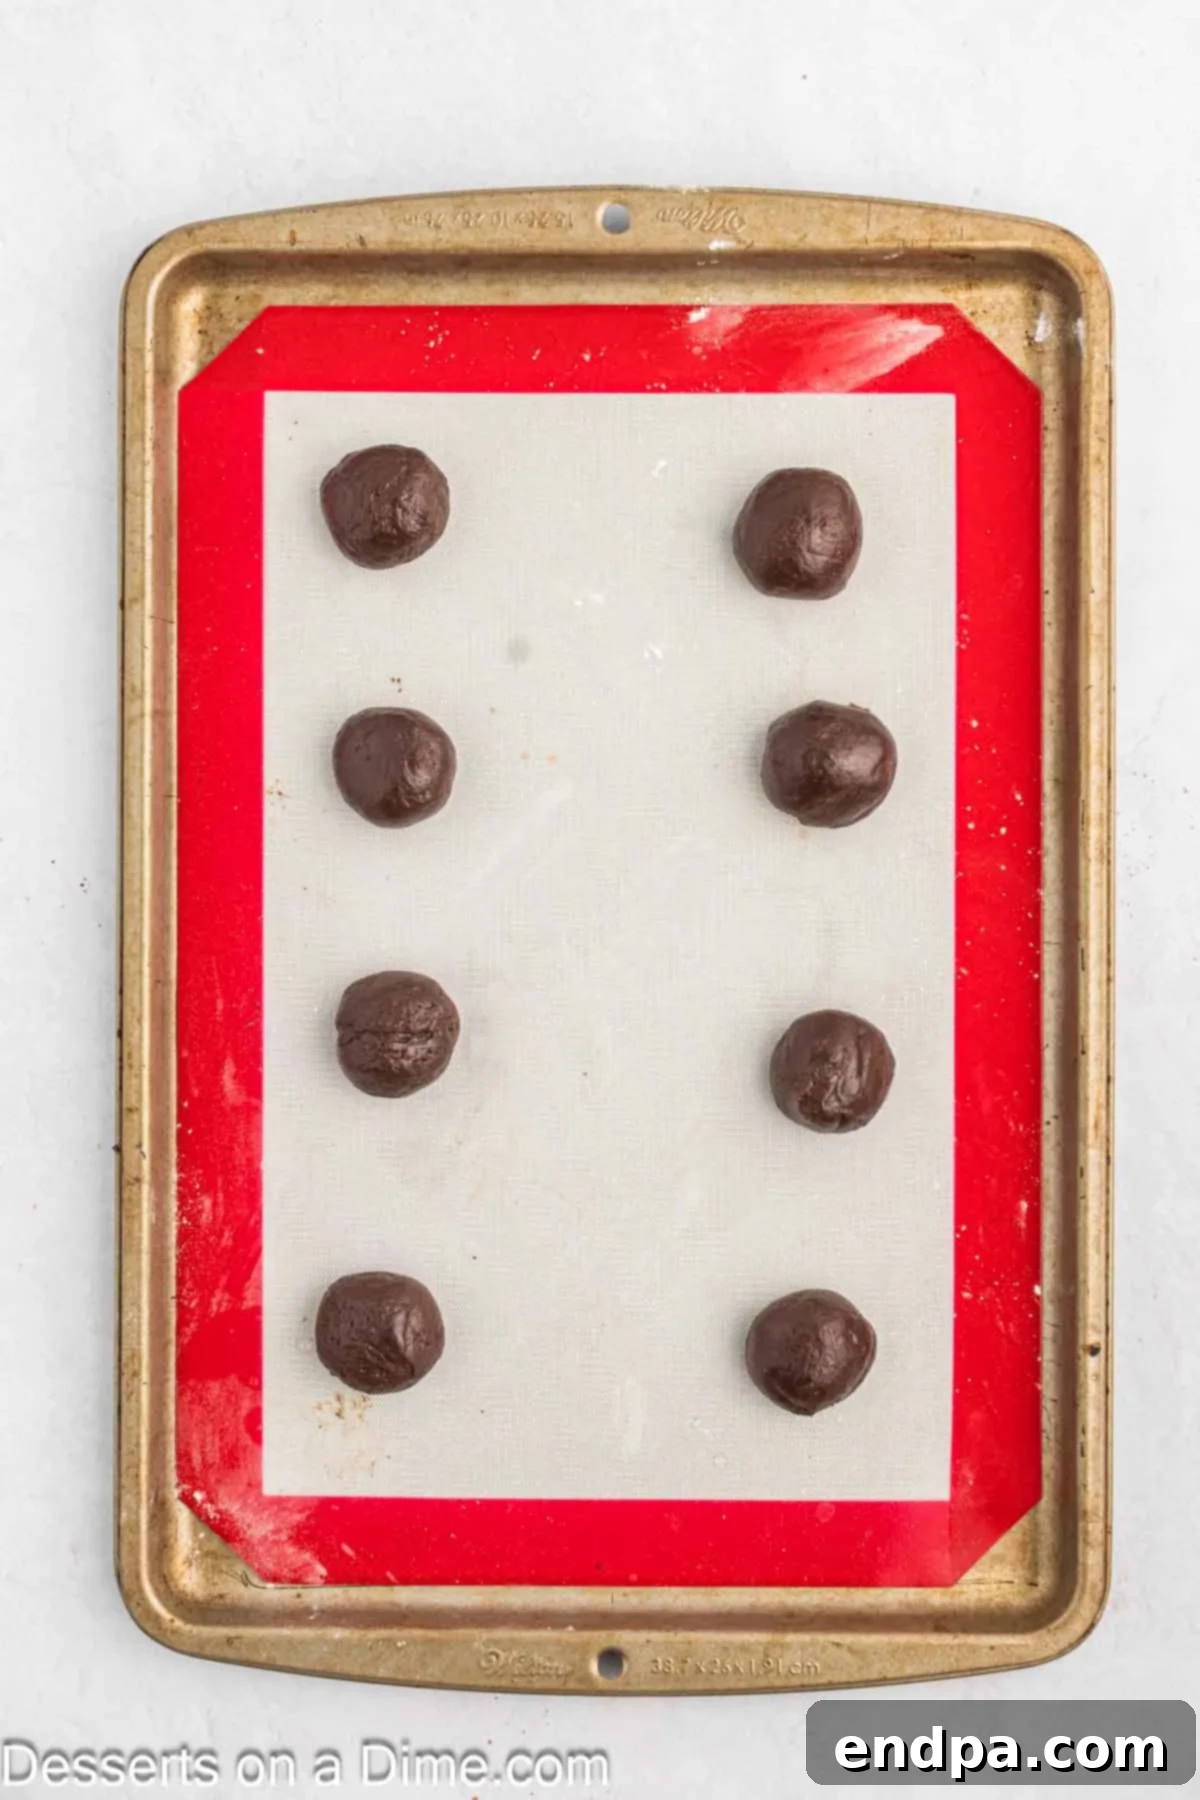
Step 5: Scoop the Cookie Dough. Now it’s time to shape your whoopie pie cookies! Using a cookie scoop (about 1.5-2 tablespoons in size) is highly recommended. This tool makes the process much faster and ensures that each cookie is roughly the same size, which is important for uniform baking and creating perfectly matched sandwiches later. Place scoops of dough onto your prepared baking sheets, leaving about 2 inches between each mound.
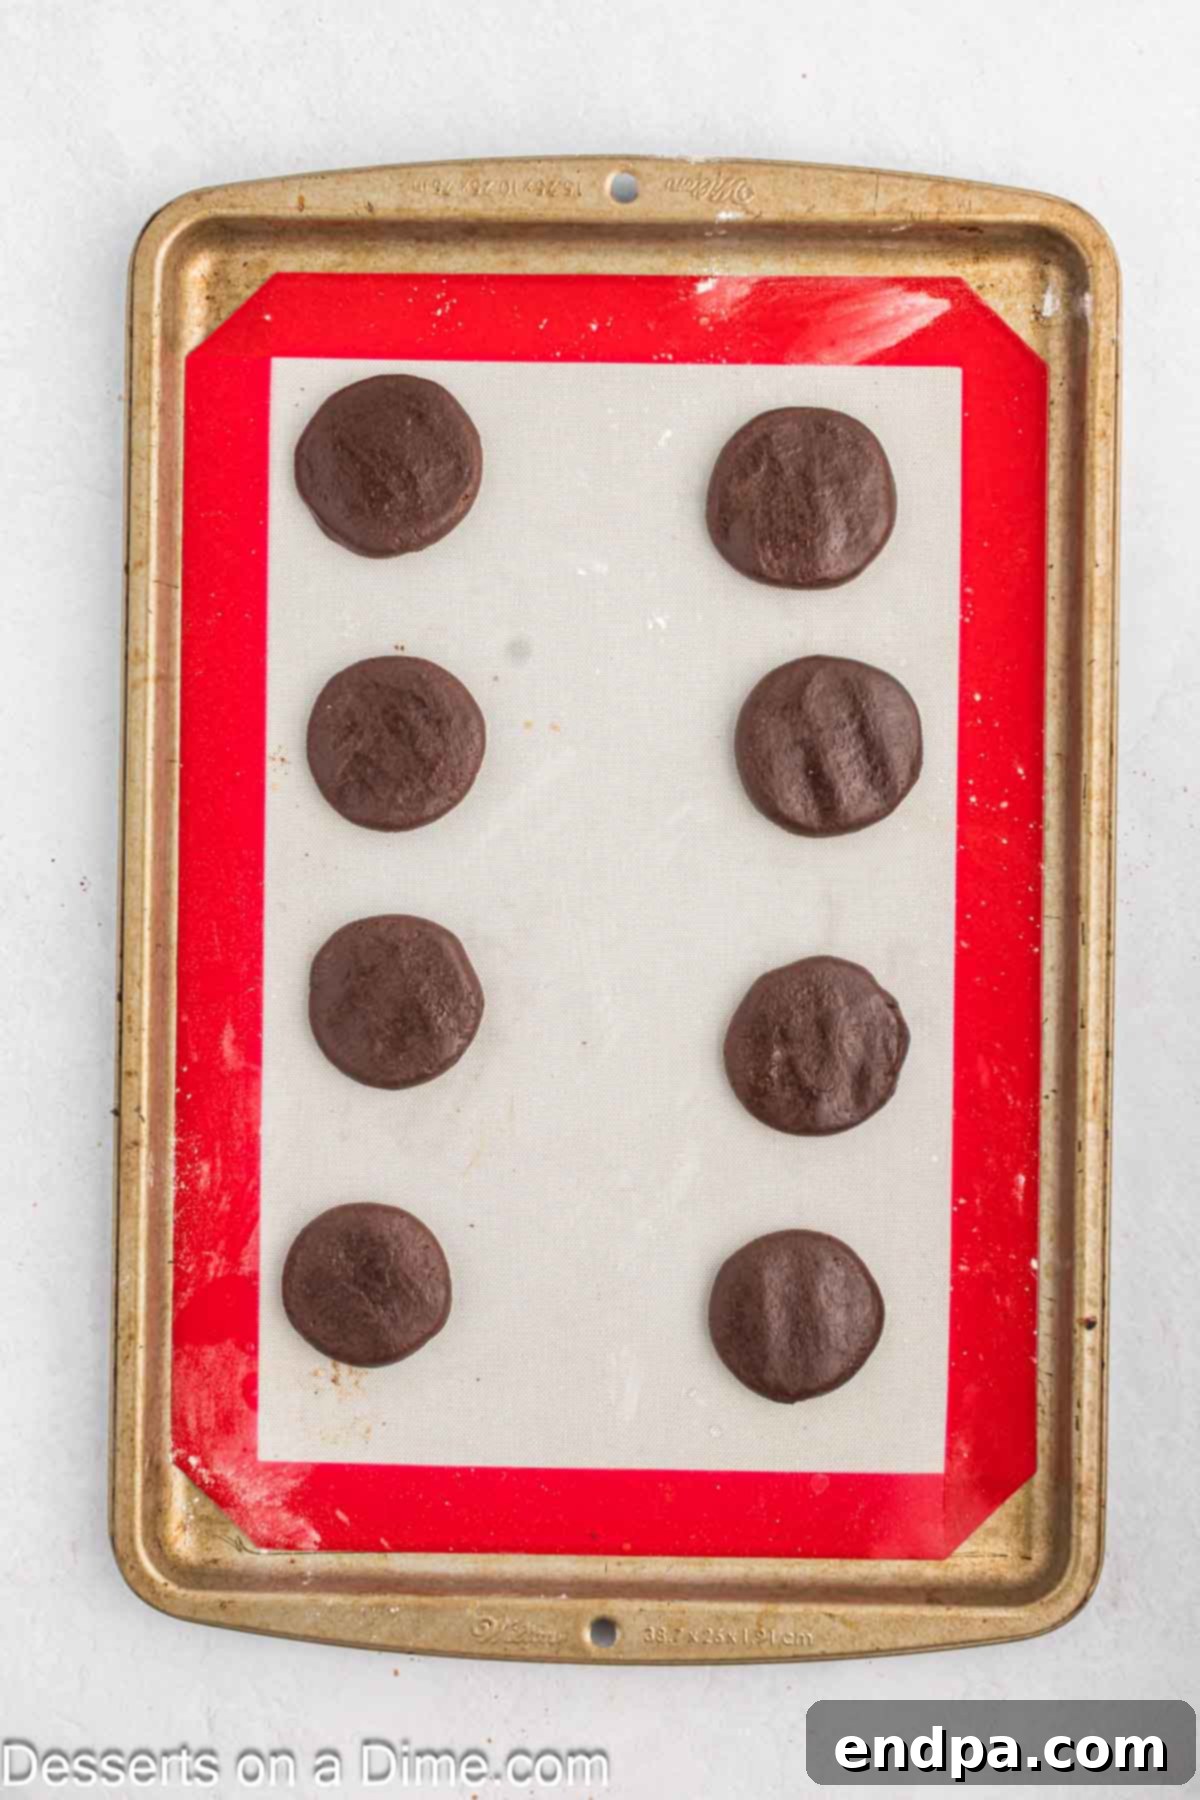
Step 6: Gently Flatten the Dough. Once all the dough is scooped onto the baking sheet, gently press down on each ball to flatten them slightly. You can do this with the palm of your hand, the back of a spoon, or the bottom of a glass. This step helps the cookies spread evenly during baking, resulting in that classic whoopie pie shape rather than overly puffy domes.
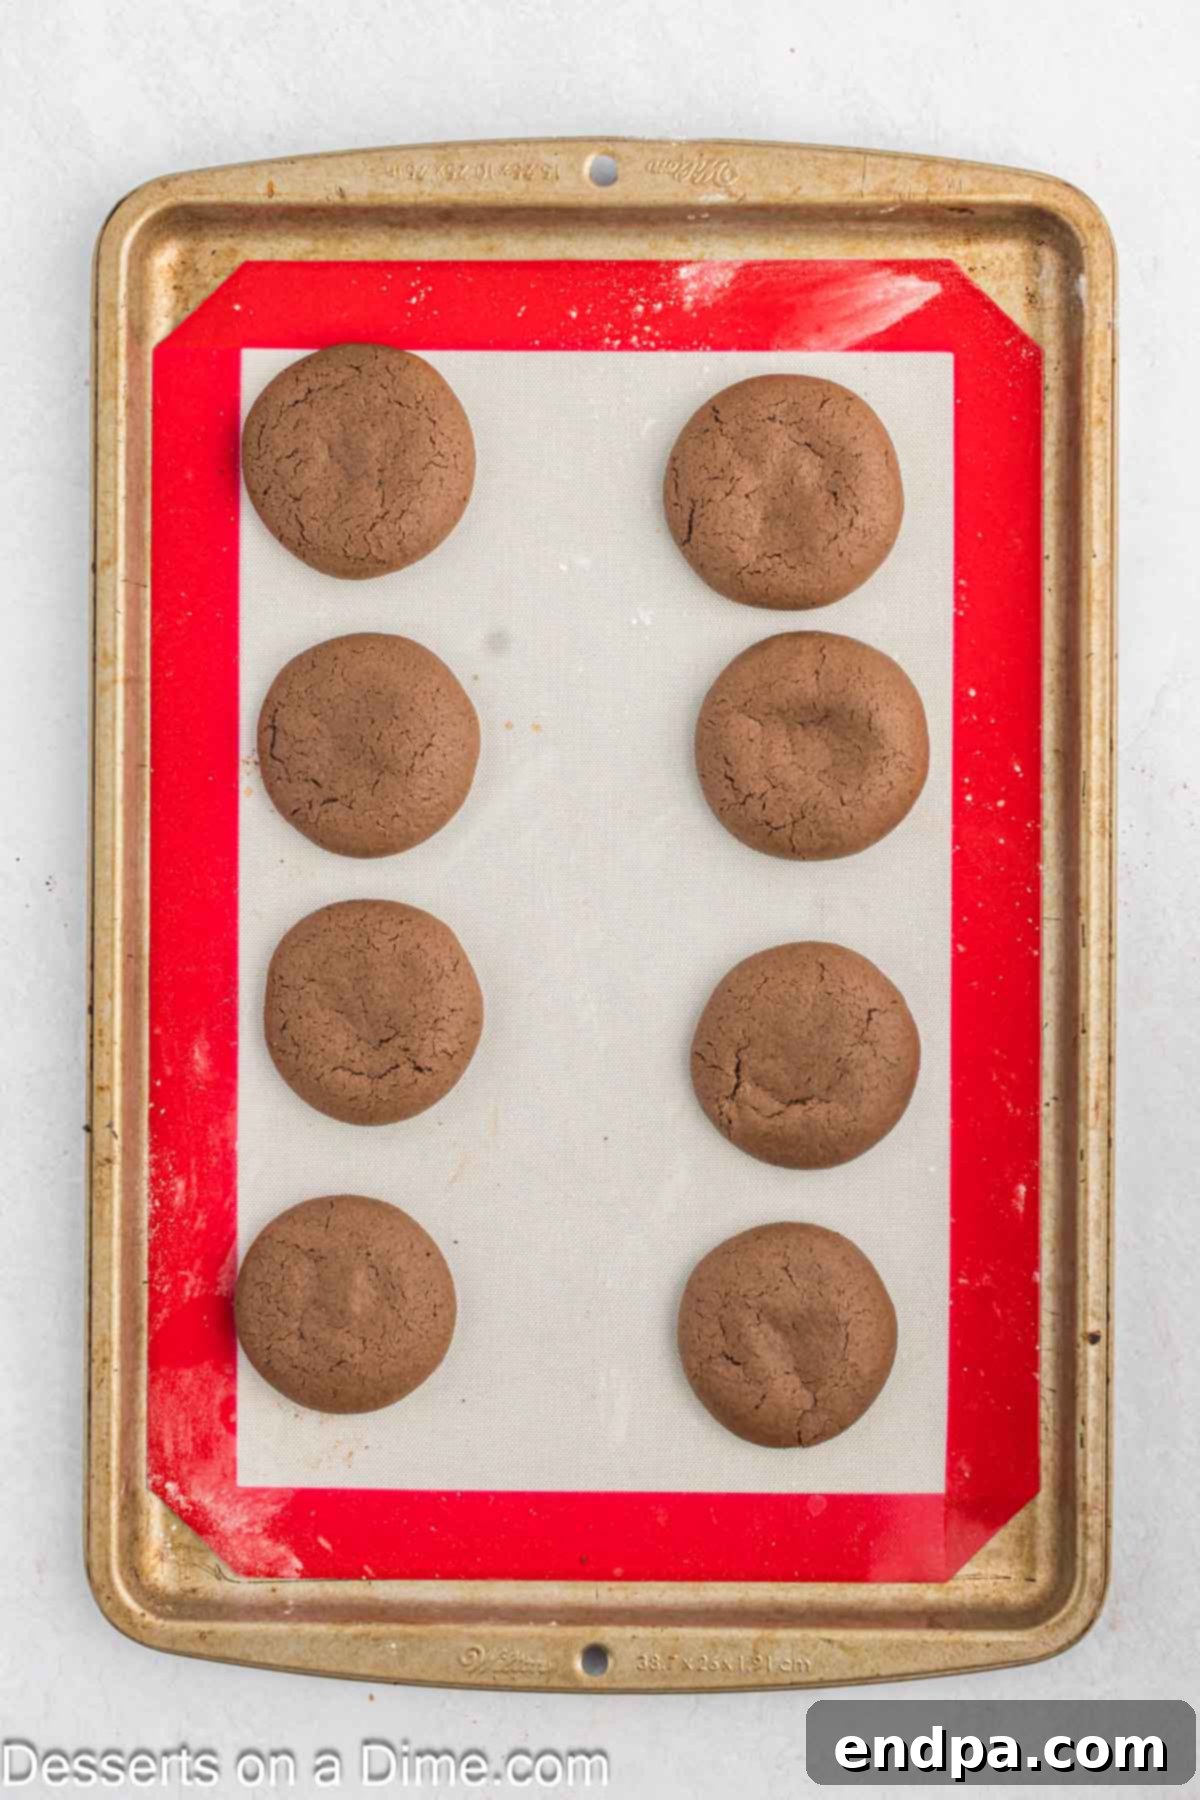
Step 7: Bake to Perfection. Place the baking sheets into your preheated oven and bake for 7-10 minutes. Keep an eye on them; the cookies are done when the edges are set and firm, but the centers still feel soft to the touch. This slight underbaking is key to achieving that wonderfully tender, cake-like texture. Do not overbake, or they will dry out.
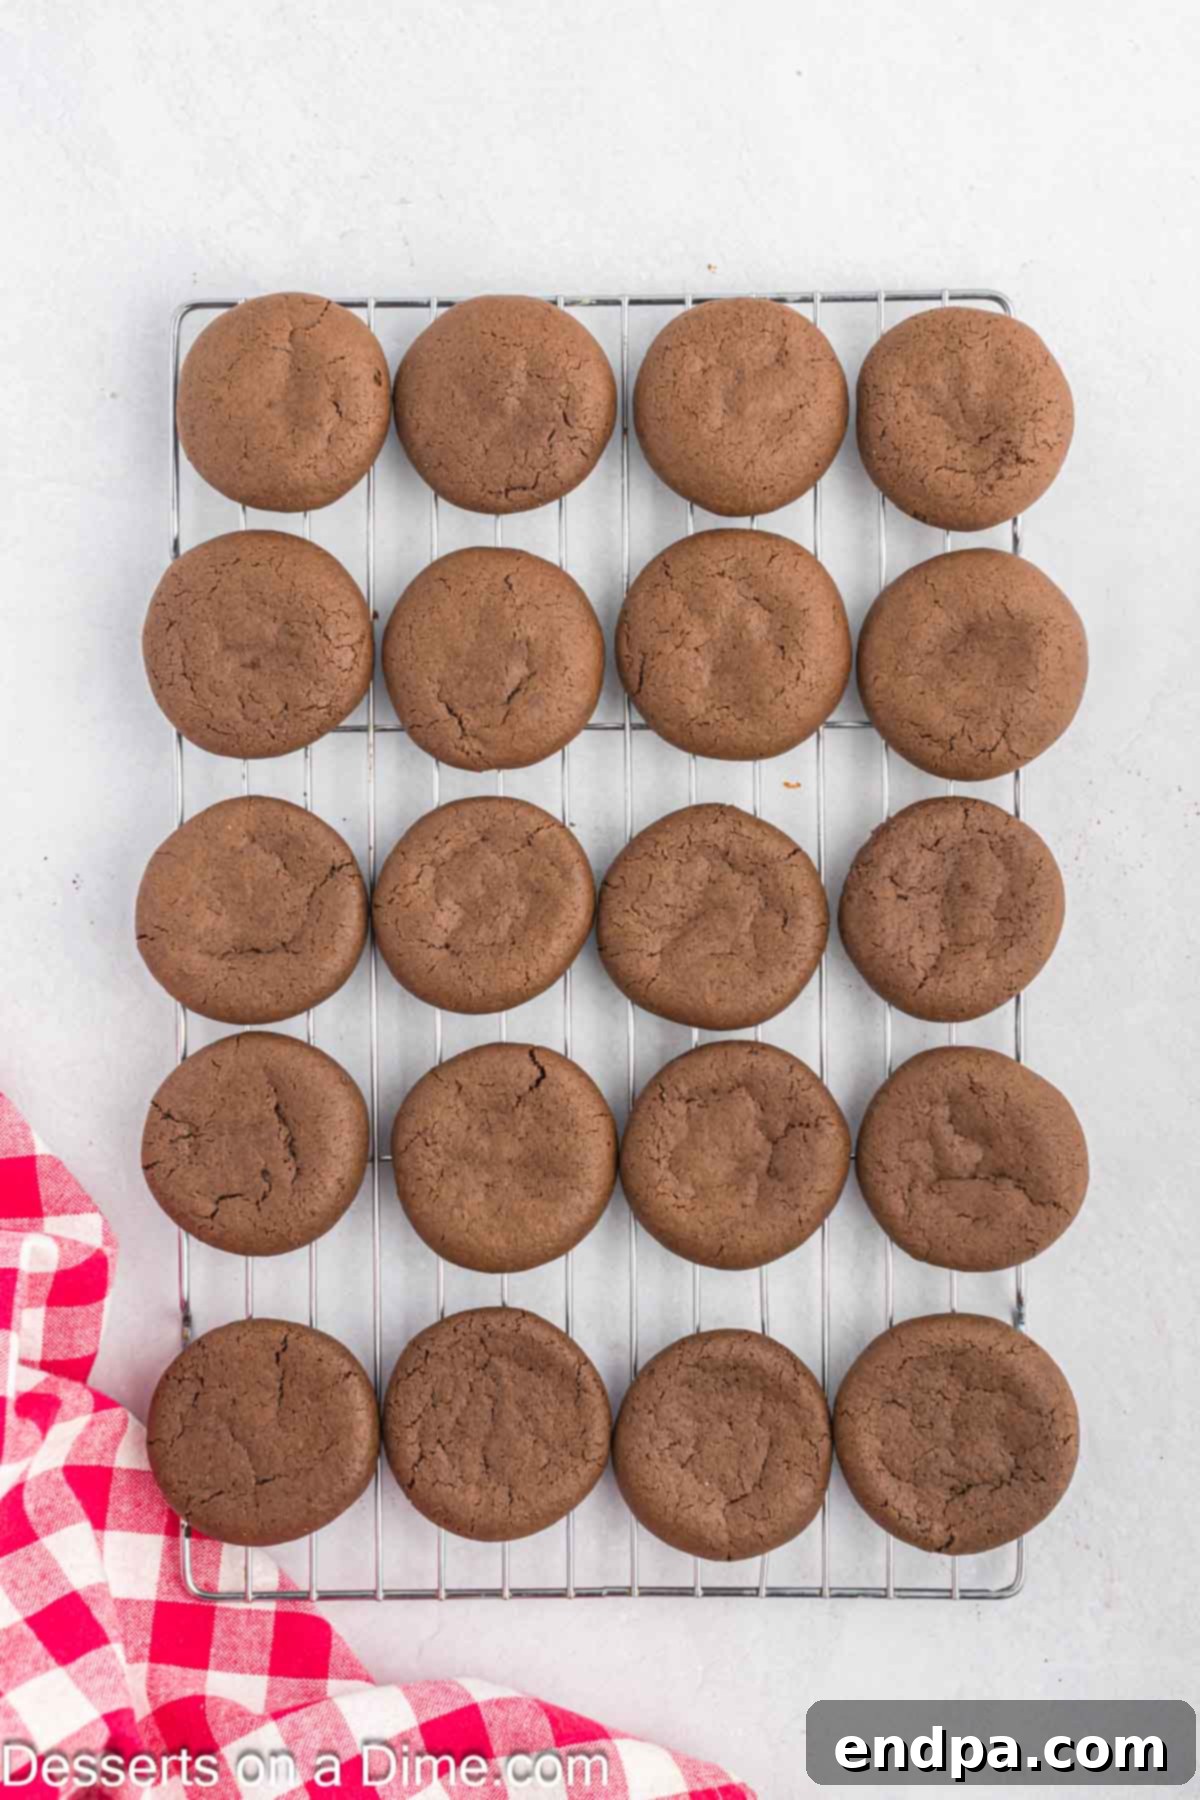
Step 8: Cool the Cookies Completely. Once baked, remove the cookies from the oven and let them cool on the baking sheet for about 5 minutes. This allows them to set up slightly before moving. Then, carefully transfer the warm cookies to a wire rack to cool completely. It’s crucial that the cookies are entirely cool before adding the filling to prevent the frosting from melting or becoming too soft.
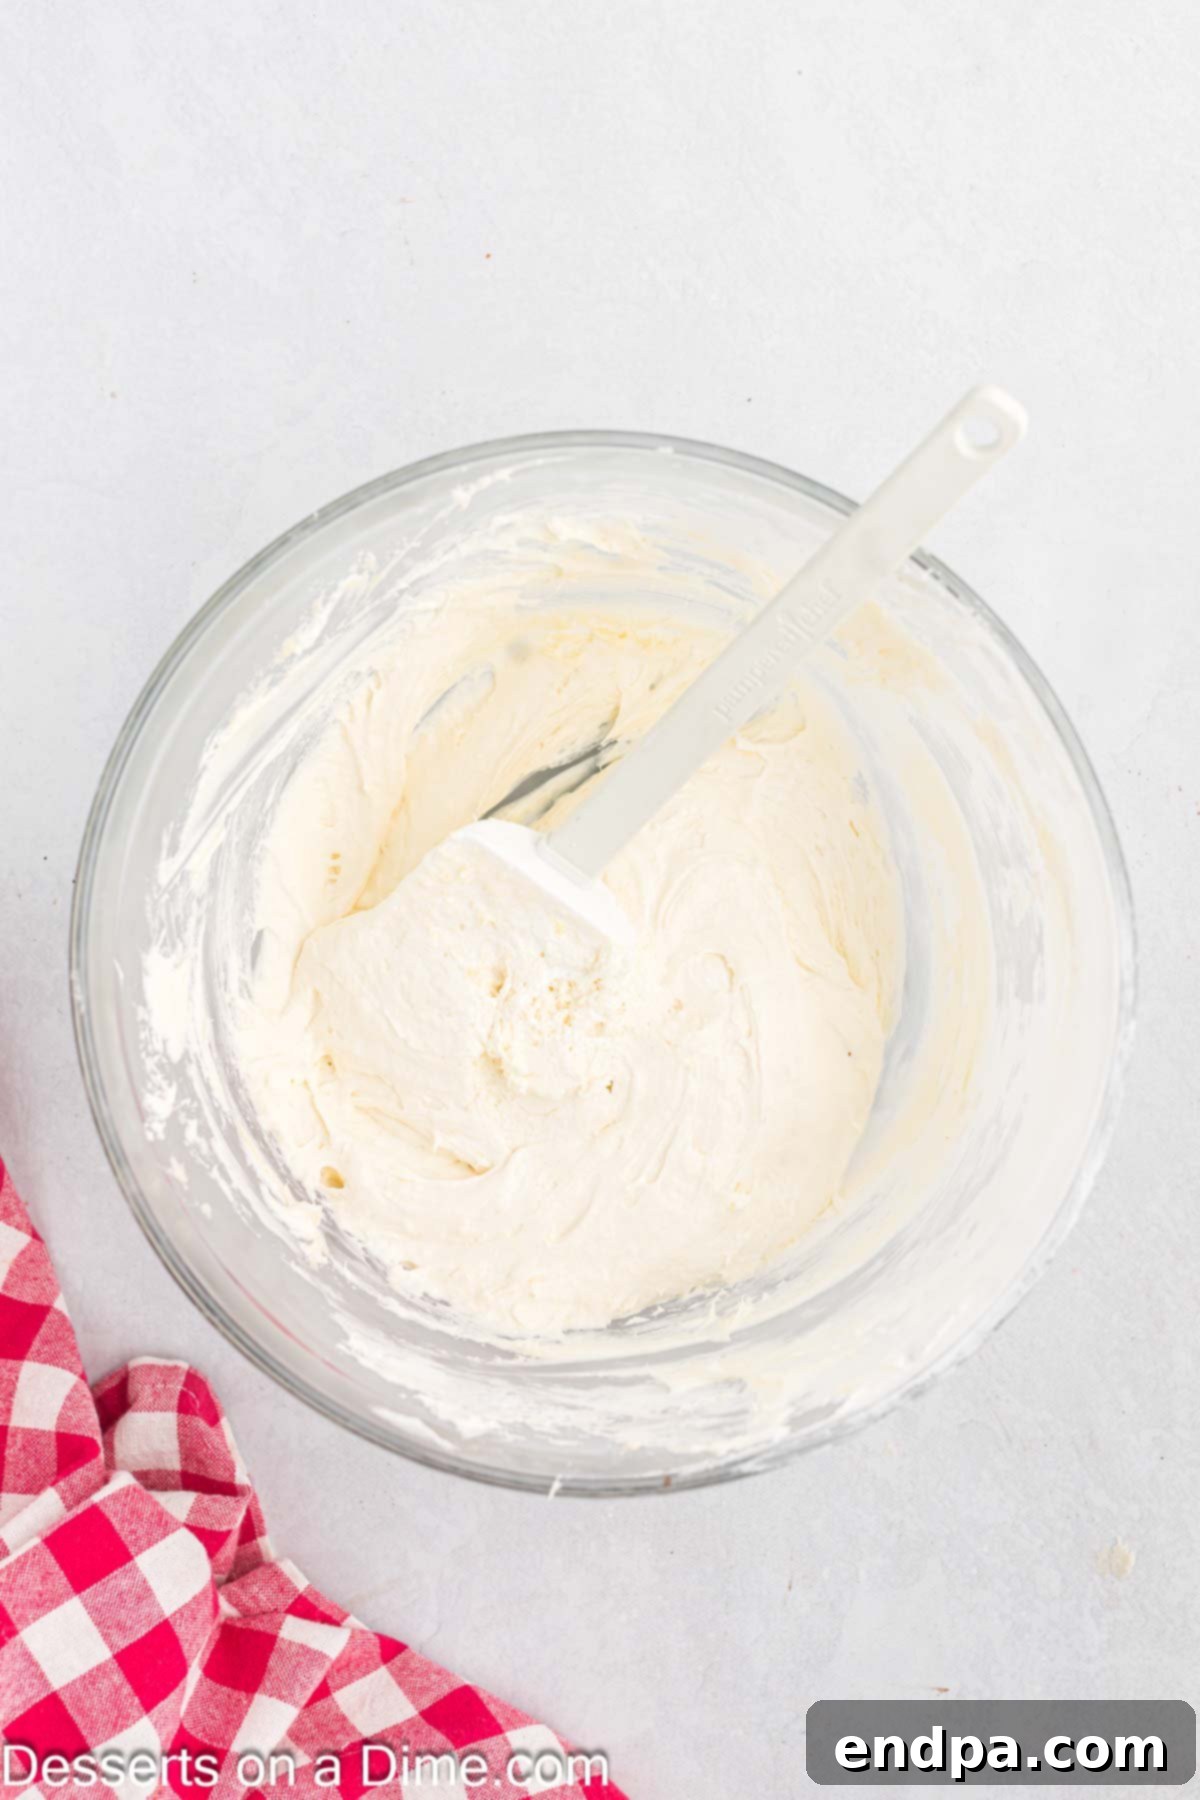
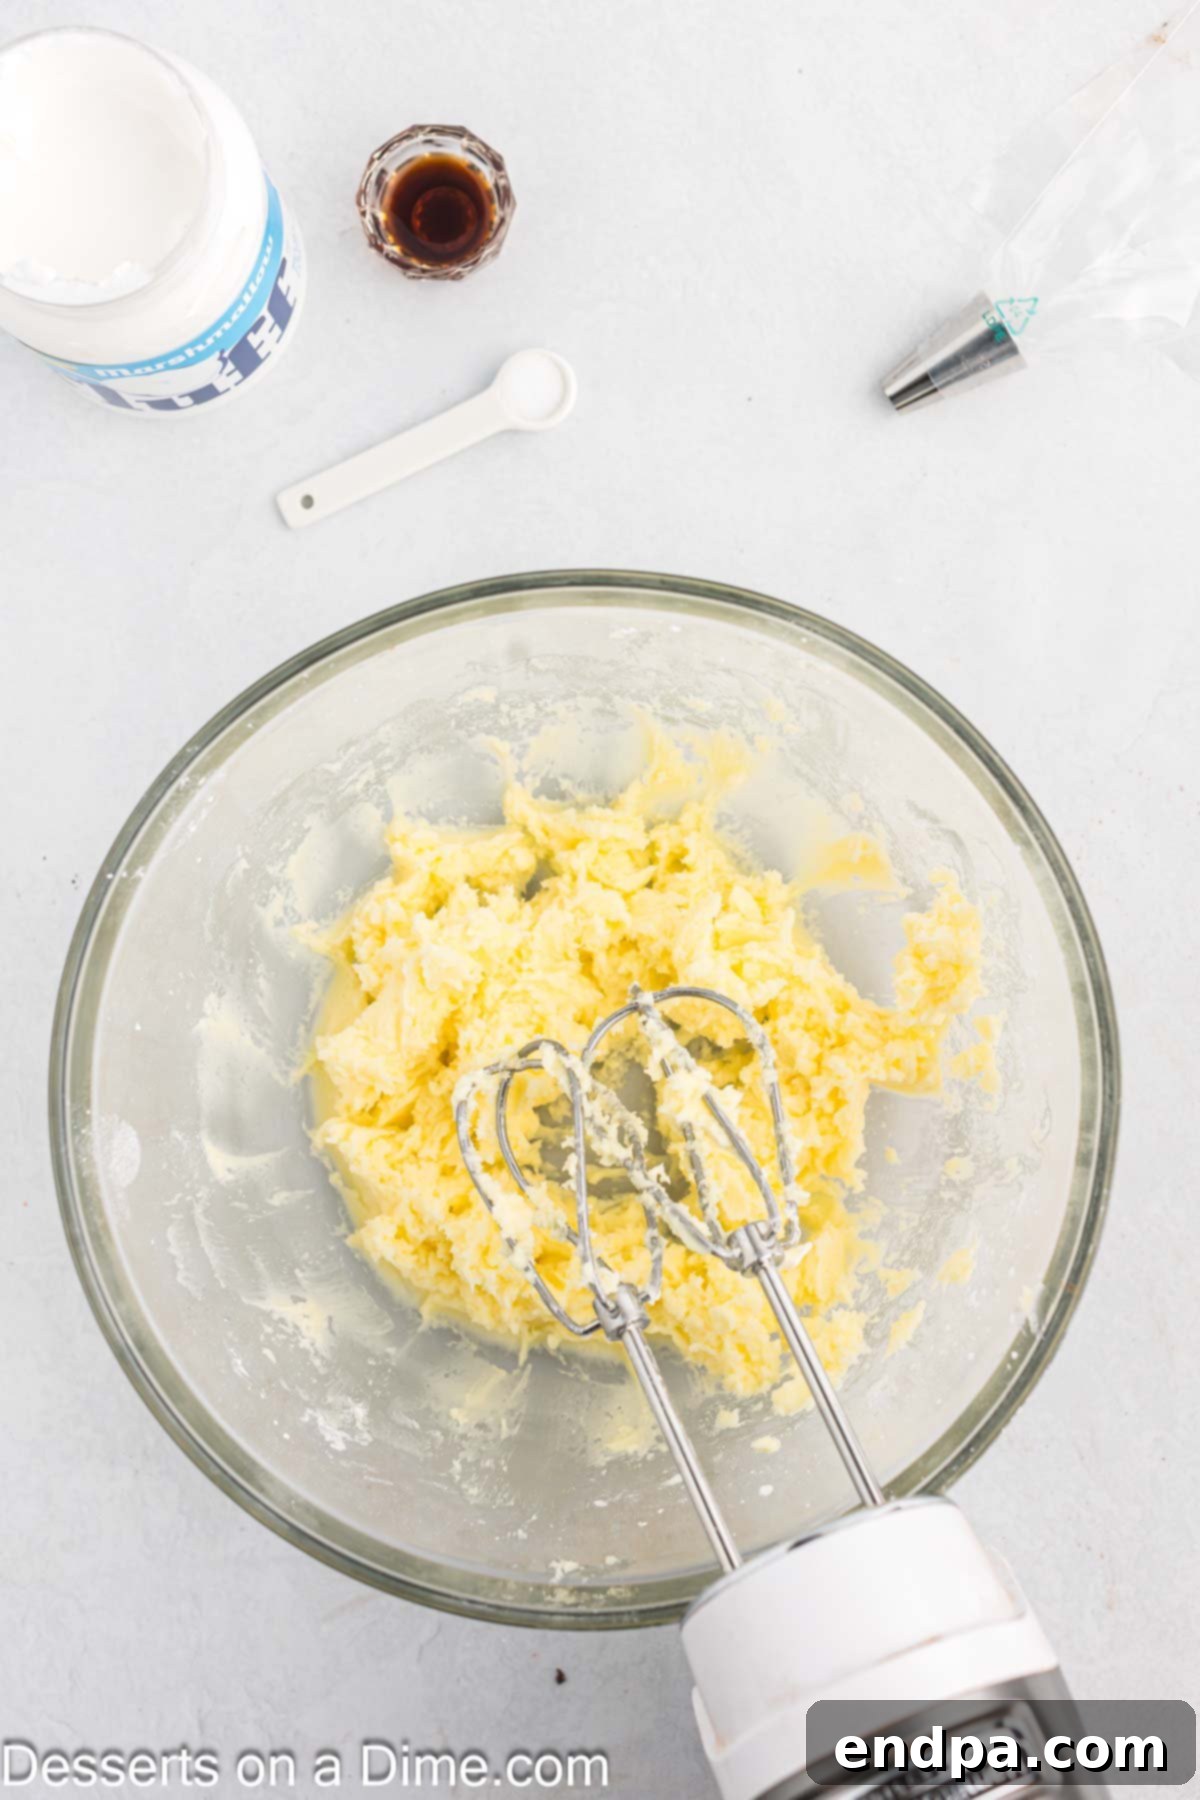
Step 9: Prepare the Decadent Filling. While your cookies are cooling, prepare the star of the show – the creamy marshmallow fluff filling. In a medium mixing bowl, cream together the softened unsalted butter and powdered sugar using an electric mixer until the mixture is light, smooth, and fluffy. Next, beat in the vanilla extract and a pinch of salt until well combined. Finally, carefully fold in the marshmallow fluff until it’s just incorporated and the filling is uniformly smooth and airy. Avoid overmixing the marshmallow fluff, as this can deflate its airy texture. Once prepared, cover the bowl and allow the filling to chill in the refrigerator for about 20-30 minutes. This chilling time helps the filling firm up slightly, making it easier to pipe and preventing it from oozing out of your whoopie pies.
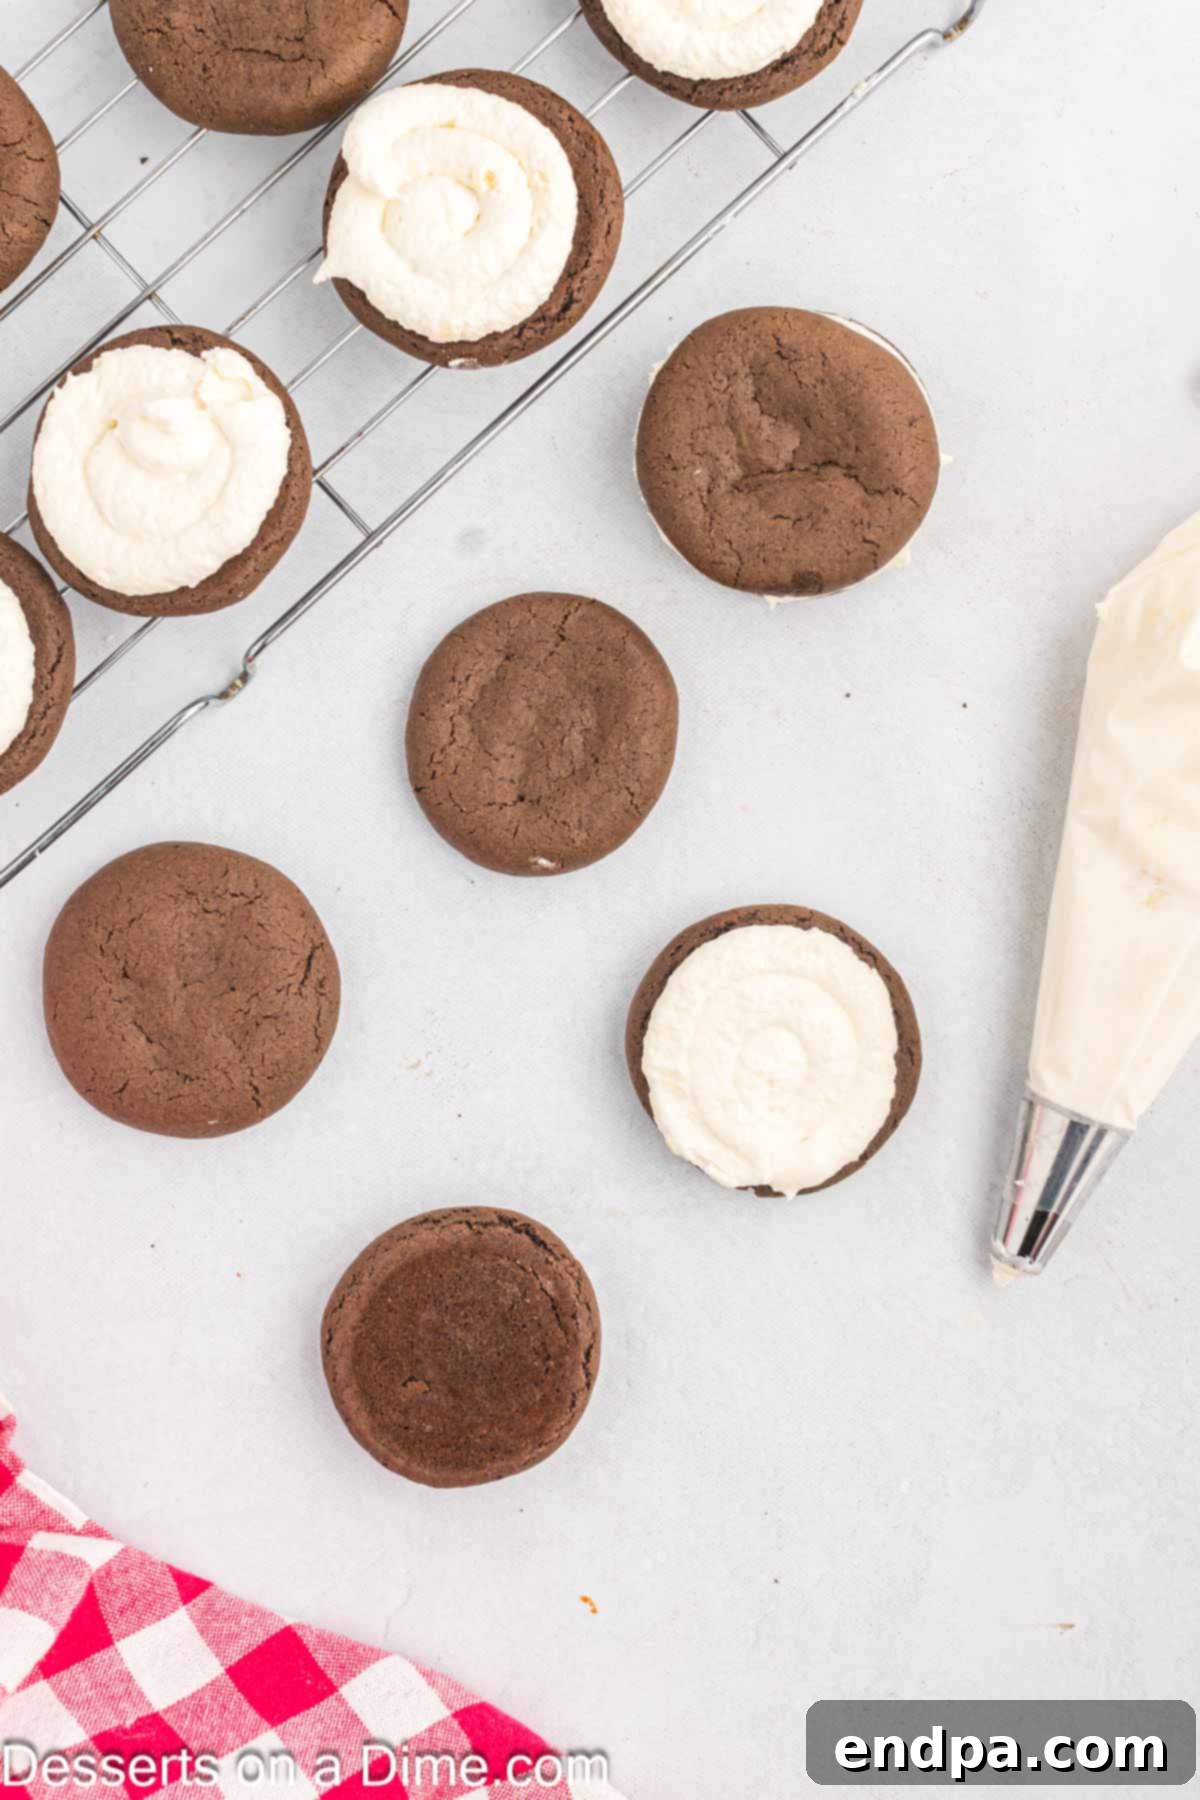
Step 10: Assemble Your Whoopie Pies. Once both the cookies are completely cooled and the filling has chilled, it’s time for assembly! Transfer the prepared marshmallow fluff filling into a piping bag fitted with a large round tip (or simply snip off the corner of a sturdy Ziploc bag). Pipe a generous amount of filling onto the flat bottom of one cookie. Then, gently place another cookie on top, flat side down, to create a perfect sandwich. Lightly press them together until the filling comes almost to the edge. Repeat this process with the remaining cookies and filling, pairing cookies of similar sizes for the best aesthetic. Your delicious homemade whoopie pies are now ready to be enjoyed!
Expert Baking Tips for Whoopie Pie Perfection
Achieving the perfect whoopie pie is an art, but with these expert tips, you’ll be baking like a pro in no time:
- Utilize a Cookie Scoop for Uniformity – Consistency is key for whoopie pies! Using a small cookie scoop (ideally 1.5 to 2 tablespoons in size) ensures that each dollop of dough is perfectly portioned. This leads to cookies that are uniform in size and thickness, which is crucial for even baking and creating perfectly matched “sandwiches.” After scooping, remember to gently flatten each mound of dough as described in the instructions to encourage proper spreading.
- Consider a Boxed Cake Mix for Quickness – When time is of the essence, a boxed cake mix can be a fantastic shortcut. A standard cake mix (chocolate, vanilla, red velvet, etc.) can be adapted to make whoopie pie cookies by adding eggs, oil, and sometimes a bit of extra flour or milk. This method significantly streamlines the cookie preparation process without compromising on flavor or that signature cake-like texture. It’s a great option for beginner bakers or busy schedules.
- Always Prepare Baking Sheets – Never skip lining your baking sheets! Using parchment paper or a silicone baking mat is essential to prevent the delicate whoopie pie cookies from sticking to the pan. This not only makes transfer easy but also ensures a clean release, preserving the shape and preventing breakage. Plus, cleanup is a breeze!
- Ensure Cookies Cool Completely on a Cooling Rack – Patience is a virtue in whoopie pie making. After removing cookies from the oven, let them set on the baking sheet for 5 minutes, then transfer them to a wire rack. It is absolutely critical that the cookies cool completely before you even think about adding the filling. Applying warm filling to warm cookies will result in a messy, melted disaster. Allow them to reach room temperature for the best results.
- Choose Your Mixing Method – You have options for mixing your batter! You can mix the ingredients by hand with a sturdy spatula or wooden spoon, which is great for building arm strength and ensuring you don’t overmix. Alternatively, an electric hand mixer or a stand mixer can make the process quicker and ensure a smooth, well-aerated batter. Whichever method you choose, remember the golden rule: mix just until combined to keep your cookies tender.
- Frost the Flat Side for Stability – When it comes to assembling your whoopie pies, always apply the filling to the flat, inner side of one cookie. This flat surface provides a stable base for the filling and allows the two cookies to sit together neatly, creating a professional-looking and easier-to-eat sandwich. The slightly domed side should always face outwards.
- Room Temperature Ingredients are Key – This tip applies to both the cookie batter and the filling. Ensuring ingredients like eggs, butter, and milk are at room temperature helps them emulsify properly, creating a smoother, more uniform batter and a lighter, fluffier filling. Cold ingredients don’t blend as well, leading to a lumpy texture.
- Don’t Overbake the Cookies – Whoopie pie cookies should be soft and cake-like, not crisp. Bake them just until the edges are set and the tops spring back when gently touched. A slightly underbaked center ensures maximum moistness and chewiness.
Storage and Serving Suggestions
Proper storage is key to keeping your homemade whoopie pies fresh and delicious. Once assembled, store your whoopie pies in an airtight container in the refrigerator for up to 3 days. The cold temperature helps to firm up the filling and keeps the cookies moist. If you prefer a softer cookie texture, we recommend taking the whoopie pies out of the refrigerator about 30 minutes before serving. This allows them to come closer to room temperature, softening the cookies and making the filling perfectly creamy. For longer storage, whoopie pies also freeze beautifully. Wrap individual pies tightly in plastic wrap, then place them in an airtight freezer-safe container or bag. They can be frozen for up to 1-2 months. Thaw them in the refrigerator overnight or at room temperature for a few hours before serving.
More Irresistible Chocolate Recipes
- Chocolate Covered Peanut Butter Balls Recipe
- White Chocolate Peppermint Brownies Recipe
- 4 Ingredient Chocolate Peanut Butter Cookies Recipe
- Homemade Oreos Recipe
- The Best Chocolate Fudge Recipe
- One Bowl Brownies
More Easy Cookie Recipes
Cookies
Funfetti Cake Mix Cookies Recipe
Cookies
Chocolate Crinkle Cookies
Cookies
Chocolate Chip Cake Mix Cookies
Cookies
Red Velvet Cake Mix Cookies
Don’t miss out on creating these truly decadent Chocolate Whoopie Pies for your loved ones. The unparalleled taste and perfectly soft, cake-like texture, combined with the fluffy marshmallow filling, make them an unforgettable dessert. We are confident you’ll fall in love with this easy and delicious recipe. Once you’ve tried it, please take a moment to leave a star recipe rating and a comment – we’d love to hear about your experience and how much you enjoyed them!
Pin
Whoopie Pie Recipe
Ingredients
- Cookie Ingredients:
- 1 ¾ cups all-purpose flour
- ¾ cup unsweetened baking cocoa
- 2 teaspoon baking soda
- ½ teaspoon baking powder
- ½ teaspoon salt
- 1 cup granulated sugar
- ½ cup oil vegetable or canola
- 2 large eggs room temperature
- 4 tablespoons milk
- 1 teaspoon vanilla extract
- Filling Ingredients:
- 1 cup unsalted butter softened
- 1 cup powdered sugar
- 1 10 oz container marshmallow fluff
- 2 teaspoons vanilla extract
- ¼ teaspoon salt
Instructions
- TO MAKE THE COOKIES:
- Preheat oven to 350 degrees F (175°C).
- Line a baking sheet with parchment paper or a silicone mat to prevent sticking.
- In a medium bowl, whisk together the all-purpose flour, baking cocoa, baking soda, baking powder, and salt until thoroughly combined.
- In a separate large mixing bowl, beat together the granulated sugar and ½ cup of oil using an electric mixer until well combined and slightly aerated (the mixture will appear crumbly).
- Next, add in the room temperature eggs, milk, and vanilla extract. Beat until the mixture is smooth and fully blended.
- Gradually add the whisked dry ingredients to the wet ingredients, beating on low speed after each addition just until everything is combined and a smooth, thick batter forms. Do not overmix.
- Using a cookie dough scoop or a tablespoon, divide the dough into uniform balls and place them onto the prepared baking sheet, spacing them about 2 inches apart.
- Gently press down on each ball of dough to flatten them slightly. You can do this with your hands or the bottom of a glass for an even shape.
- Bake for 7-10 minutes, or until the cookie edges are firm and set, but the centers remain soft to the touch. Avoid overbaking.
- Allow the cookies to cool for 5 minutes on the baking sheet before carefully transferring them to a wire rack to cool completely to room temperature.
- TO MAKE THE FILLING:
- In a medium bowl, cream together the softened unsalted butter and powdered sugar using a hand-held mixer or stand mixer until the mixture is light and fluffy.
- Add the vanilla extract and salt to the butter mixture and beat until the filling is light, creamy, and well combined.
- Gently fold in the marshmallow fluff until it is just incorporated and the filling is uniformly smooth and airy. Be careful not to overmix.
- Refrigerate the filling mixture for 20-30 minutes to allow it to firm up slightly, making it easier to pipe.
- Once the cookies are completely cool and the filling is chilled, transfer the filling into a piping bag fitted with a large round tip. Pipe a generous amount of filling onto the flat bottom of one cookie, then gently top it with a second cookie to create a sandwich.
- Serve immediately and enjoy your delicious homemade whoopie pies!
