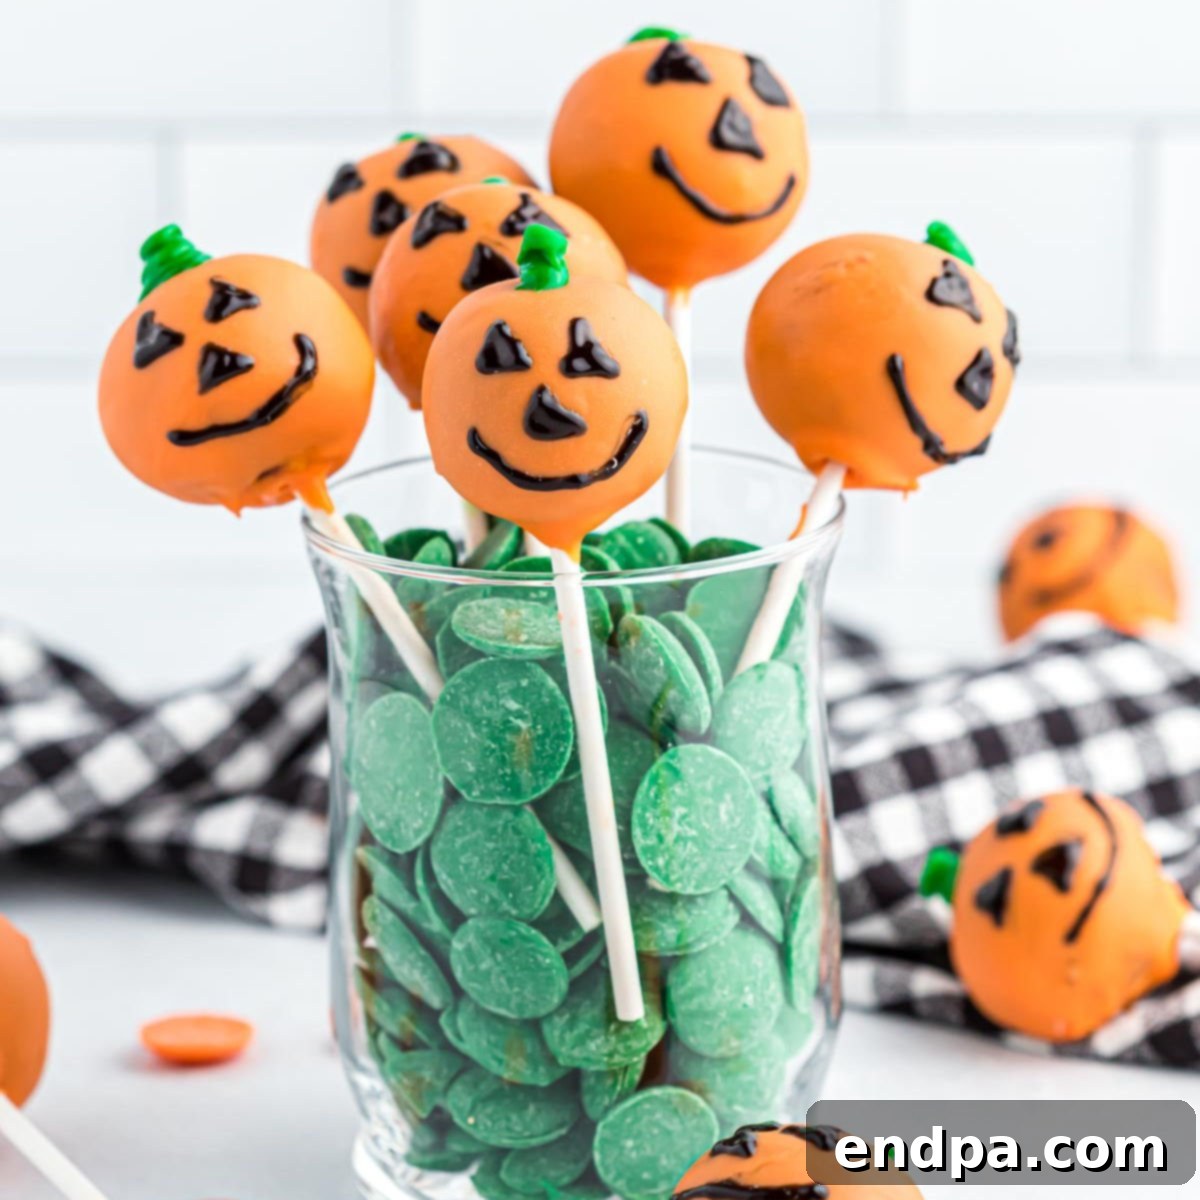
Get ready to enchant your taste buds and impress your guests with these delightful Halloween Cake Pops Recipe, artfully decorated like grinning Jack-o’-Lanterns. These festive treats are an absolute must-make for any Halloween party, trick-or-treating event, or simply for adding a touch of spooky sweetness to your autumn celebrations.
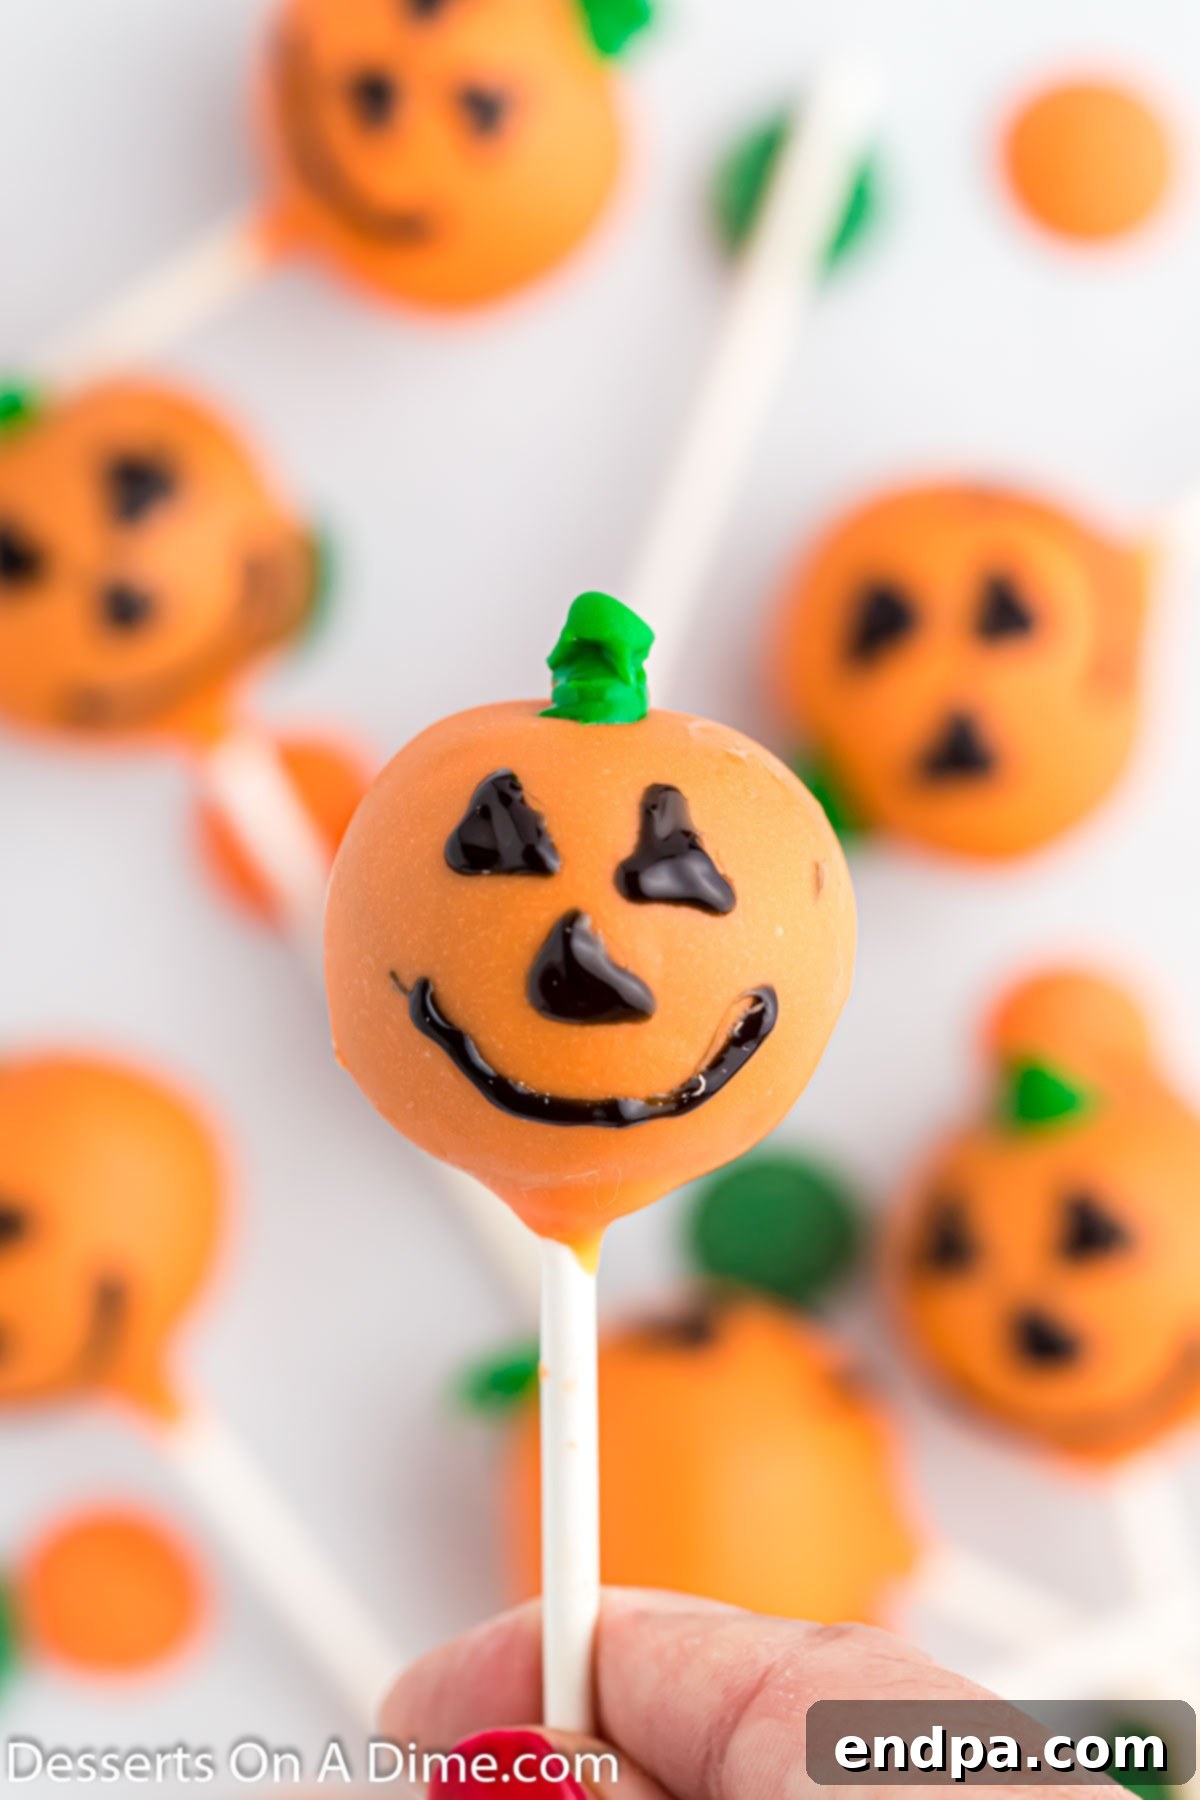
Halloween is a time for fun, costumes, and of course, irresistible treats! While store-bought candies are always an option, nothing beats the charm and flavor of homemade confections. Our Jack-o’-Lantern cake pops offer a wonderfully creative and surprisingly simple way to celebrate the season. The magic begins with a convenient cake mix, making the entire process approachable even for novice bakers. As a busy individual with a large family, I constantly seek out dessert recipes that are not only delicious but also easy to prepare and enjoyable for the kids to help with. These cake pops fit the bill perfectly, transforming baking into a cherished family activity.
Throughout October, our kitchen transforms into a Halloween dessert workshop. These Jack-o’-Lantern cake pops frequently top our list, alongside other family favorites such as our irresistible Halloween Puppy Chow, delightfully spooky Halloween Dirt Cups, and the ever-popular Easy Halloween Witch Hat Cookies. Each recipe brings its own unique charm to our Halloween festivities, but the cake pops always steal the show with their adorable presentation and rich flavor.
What You’ll Find in This Post: Your Guide to Spooktacular Halloween Cake Pops
- Why You’ll Adore This Recipe
- Essential Equipment for Cake Pops
- Gather Your Ingredients
- Creative Substitutions & Additions
- Detailed Step-by-Step Instructions
- Mastering the Art of Dipping Cake Balls
- Fun & Easy Decoration Ideas
- Expert Tips for Perfect Cake Pops
- Frequently Asked Questions
- More Easy Halloween Desserts to Try
- Printable Halloween Cake Pops Recipe Card
Why You’ll Adore This Recipe
There are countless reasons why these homemade Halloween Cake Pops have become a staple in our household. For starters, making them from scratch is incredibly cost-effective compared to buying gourmet cake pops from bakeries. You get a superior taste and a beautiful presentation without breaking the bank. Every bite is a delightful fusion of moist cake and smooth candy coating, guaranteed to bring smiles to all who try them. They are truly an amazing treat that encapsulates the spirit of Halloween in a delicious package.
Beyond the savings and incredible flavor, I particularly love the versatility of this recipe. It allows for a wide array of creative expressions, making it a fantastic activity for kids to join in on the decorating fun. From mixing the cake to rolling the balls and drawing the faces, each step can be a shared experience. If you’re a fan of classic flavors, be sure to also try our Vanilla Cake Balls Recipe, which offers a similar delightful experience with a different flavor profile.
Essential Equipment for Cake Pops
Having the right tools can make your cake pop-making experience smoother and more enjoyable. While many items are standard kitchen essentials, a few specialized pieces will ensure professional-looking results:
- 9×13 inch baking pan
- Large mixing bowl
- Sturdy spatula or spoon
- Cookie scoop (for uniform cake balls)
- Microwave-safe bowls (for melting candy melts)
- Lined baking sheets (parchment paper or silicone mats work best)
- Styrofoam block (essential for drying cake pops upright)
- Toothpicks (for fine detailing)
Gather Your Ingredients
Crafting these Jack-o’-Lantern cake pops requires a handful of simple ingredients, many of which you likely already have in your pantry. The beauty of this recipe lies in its accessible components that come together to create something truly special.
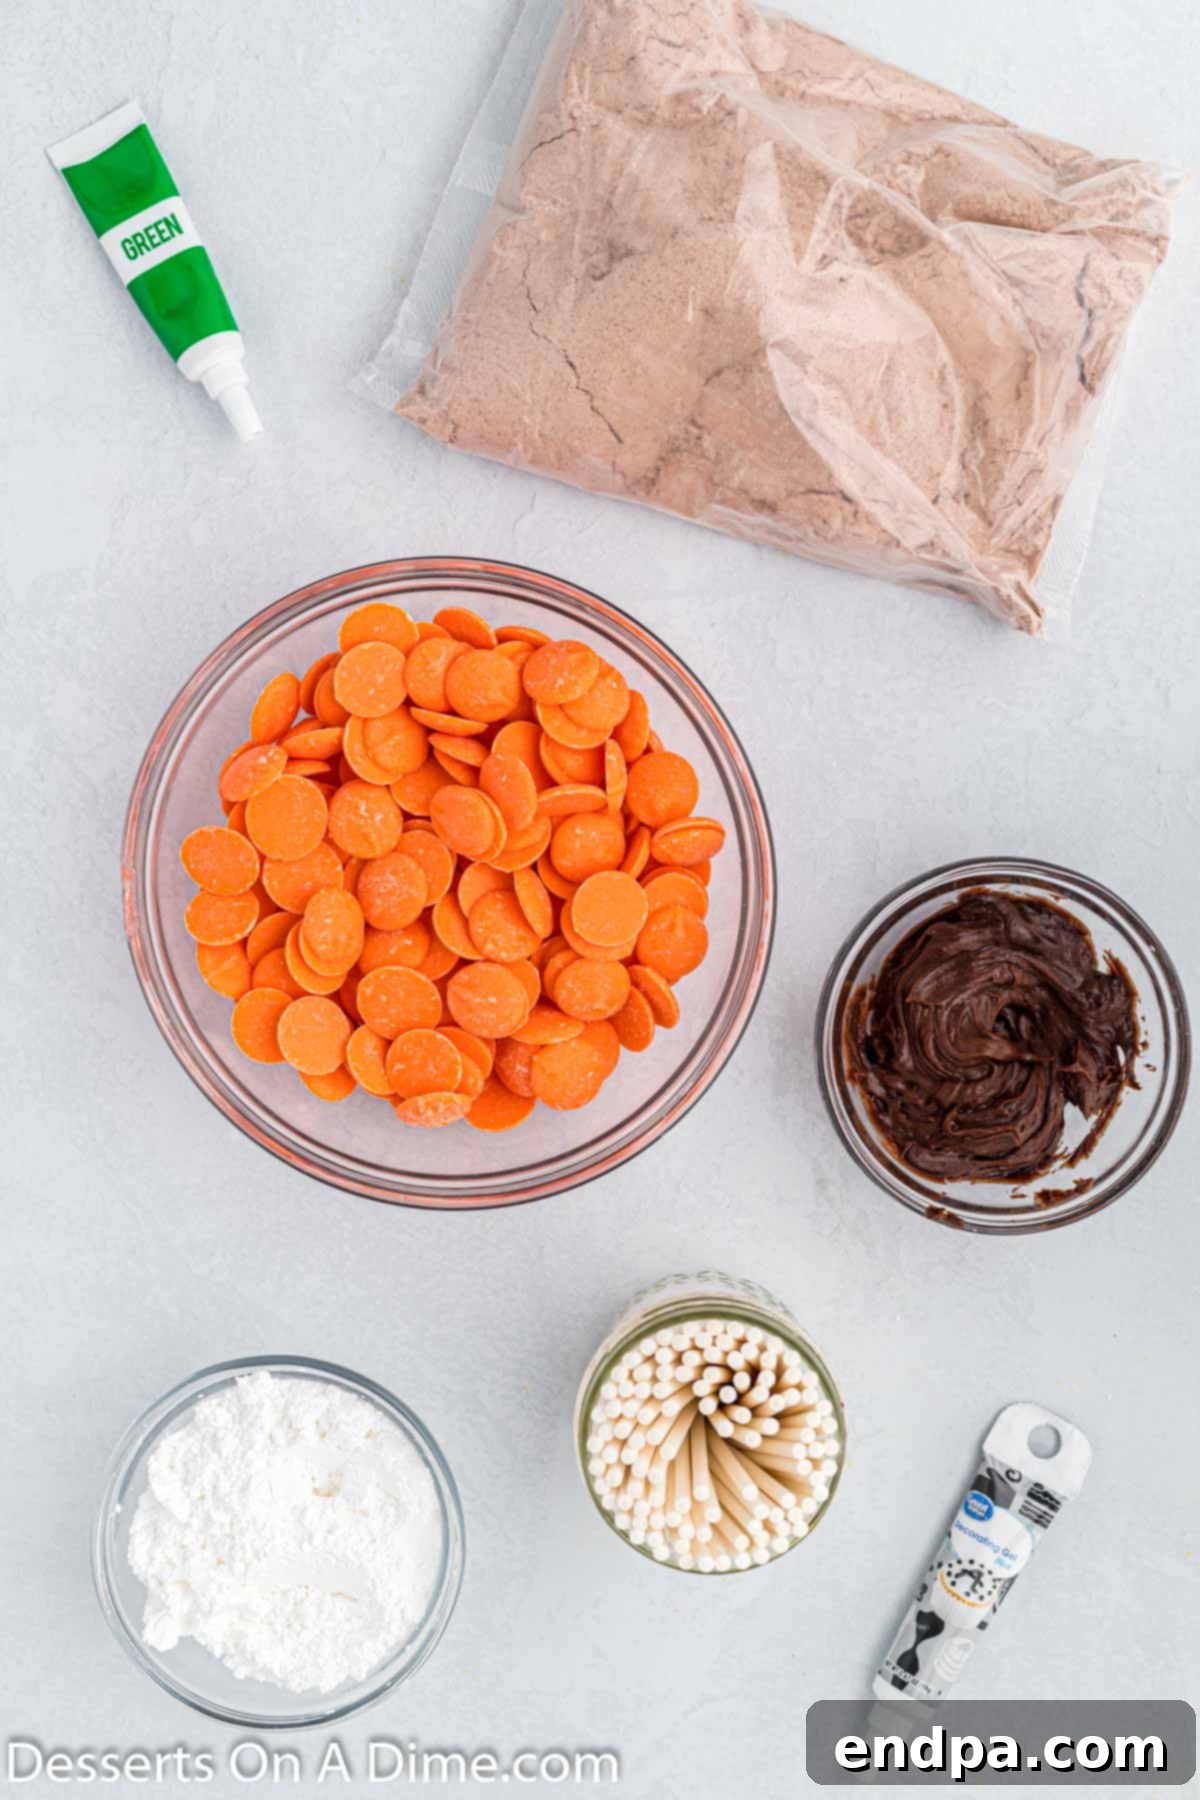
- Chocolate Box Cake Mix: This is our secret weapon for simplicity and consistency. A standard 15 oz box will do, and you can use any brand you prefer. Just be sure to follow the package instructions for preparing the cake.
- Chocolate Fudge Frosting: Pre-made frosting is a time-saver and provides the perfect binder for our cake crumbs, adding rich flavor and moisture. A good quality fudge frosting will yield the best results.
- Orange Candy Melts: These are crucial for achieving that smooth, vibrant orange coating characteristic of a Jack-o’-Lantern. Candy melts are specifically designed to melt evenly and set quickly, giving your cake pops a professional finish.
- Confectioners’ Sugar (Powdered Sugar): Used to create the green icing for the pumpkin stems. If your powdered sugar is clumpy, a quick sift will ensure a silky-smooth consistency for your icing.
- Green Food Gel Coloring: Gel coloring is superior to liquid drops because it provides intense, vibrant color without significantly altering the consistency of your icing. A little goes a long way to create the perfect pumpkin stem green.
- Black Writing Gel Icing: This comes in convenient tubes with fine tips, making it incredibly easy to draw detailed Jack-o’-Lantern faces. Look for it in the baking aisle of your grocery store.
- Lollipop Sticks: These provide the sturdy foundation for your cake pops. Choose sticks that are thick enough to support the weight of the cake ball without bending or breaking.
For a complete list of quantities and detailed recipe instructions, please scroll down to the printable recipe card at the bottom of this post.
Creative Substitutions and Additions for Your Cake Pops
While the classic Jack-o’-Lantern design is undeniably charming, these Halloween cake pops are incredibly versatile. Feel free to unleash your creativity and experiment with these fun variations:
- Little Monsters: Transform your cake pops into an array of cute or creepy monsters! Use green candy melts for a Frankenstein-esque look, or purple, blue, or even multi-colored melts for other whimsical creatures. Once dipped, use black writing gel icing to draw on various monster faces – grumpy, goofy, or truly terrifying. For an extra touch of character, don’t forget to add edible candy eyeballs before the coating sets!
- Mummy Cake Pops: Create spooky mummies by dipping your cake balls into classic white chocolate or white candy melts. After the initial coating has set, drizzle additional melted white chocolate back and forth over the pops in a crisscross pattern to mimic the appearance of mummy bandages. A pair of candy eyeballs will bring your mummies to life!
- Festive Sprinkles: If you’re looking for a quick and easy way to add flair, sprinkles are your best friend! After dipping your cake pops in any Halloween-appropriate color (orange, white, green, or even black), immediately adorn them with festive Halloween sprinkles, edible glitter, or seasonal nonpareils before the candy coating hardens. This adds texture and a pop of celebratory color.
- Different Cake Flavors: Don’t feel limited to chocolate! You can easily swap the chocolate cake mix for a vanilla, white, yellow, or even a spiced pumpkin cake mix to change up the flavor profile. Just ensure the frosting pairs well with your chosen cake flavor.
- Variety of Melting Wafers: Candy melts come in an incredible spectrum of colors. Beyond orange, consider black, purple, green, or white to create a diverse assortment of Halloween characters. This allows for endless customization to match any party theme or personal preference.
Detailed Step-by-Step Instructions for Perfect Cake Pops
Making these cake pops is a rewarding process, and breaking it down into manageable steps ensures a smooth and enjoyable experience. Follow these instructions carefully for the best results.
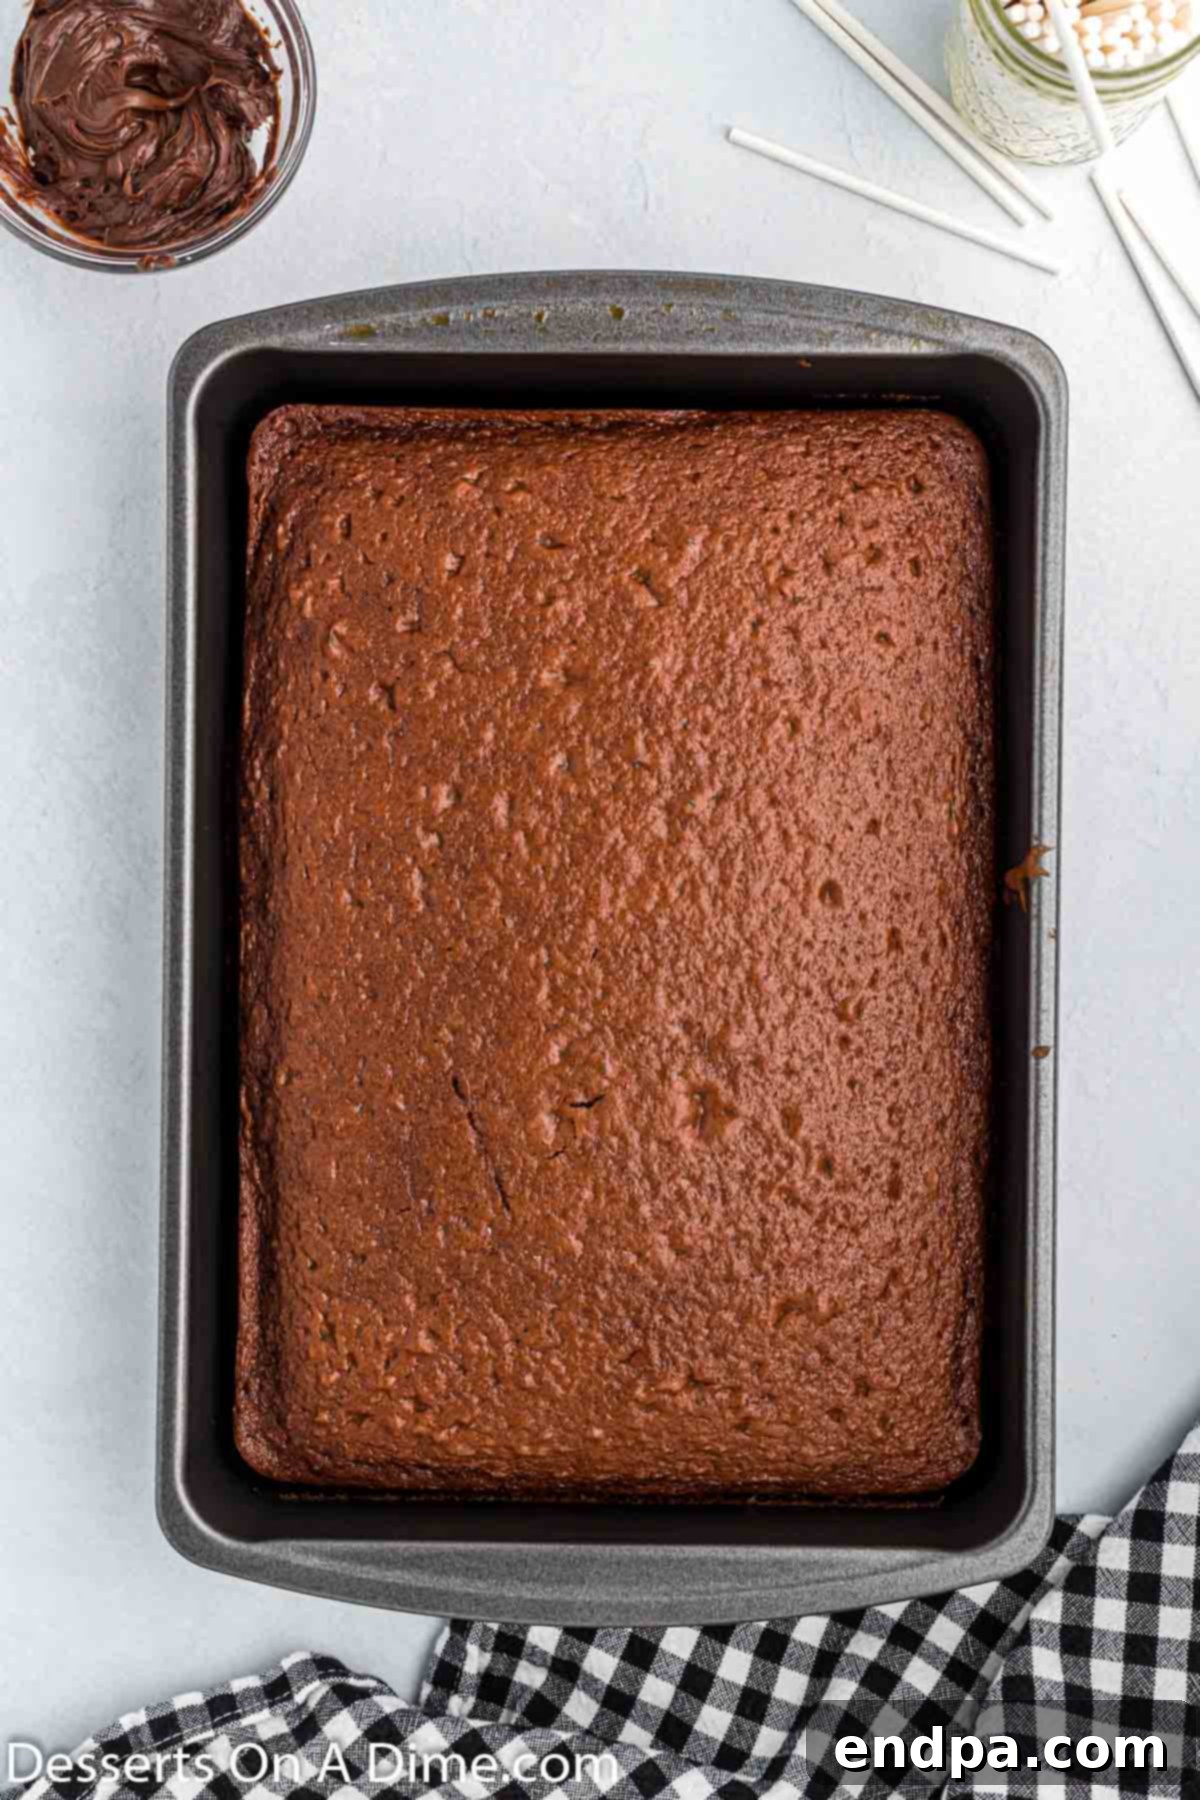
Step 1 – Bake the Cake: Begin by preparing your chocolate cake mix according to the package directions. Pour the batter into a greased 9×13 inch baking pan and bake as instructed. Once baked, allow the cake to cool completely at room temperature. This is crucial for the next steps.
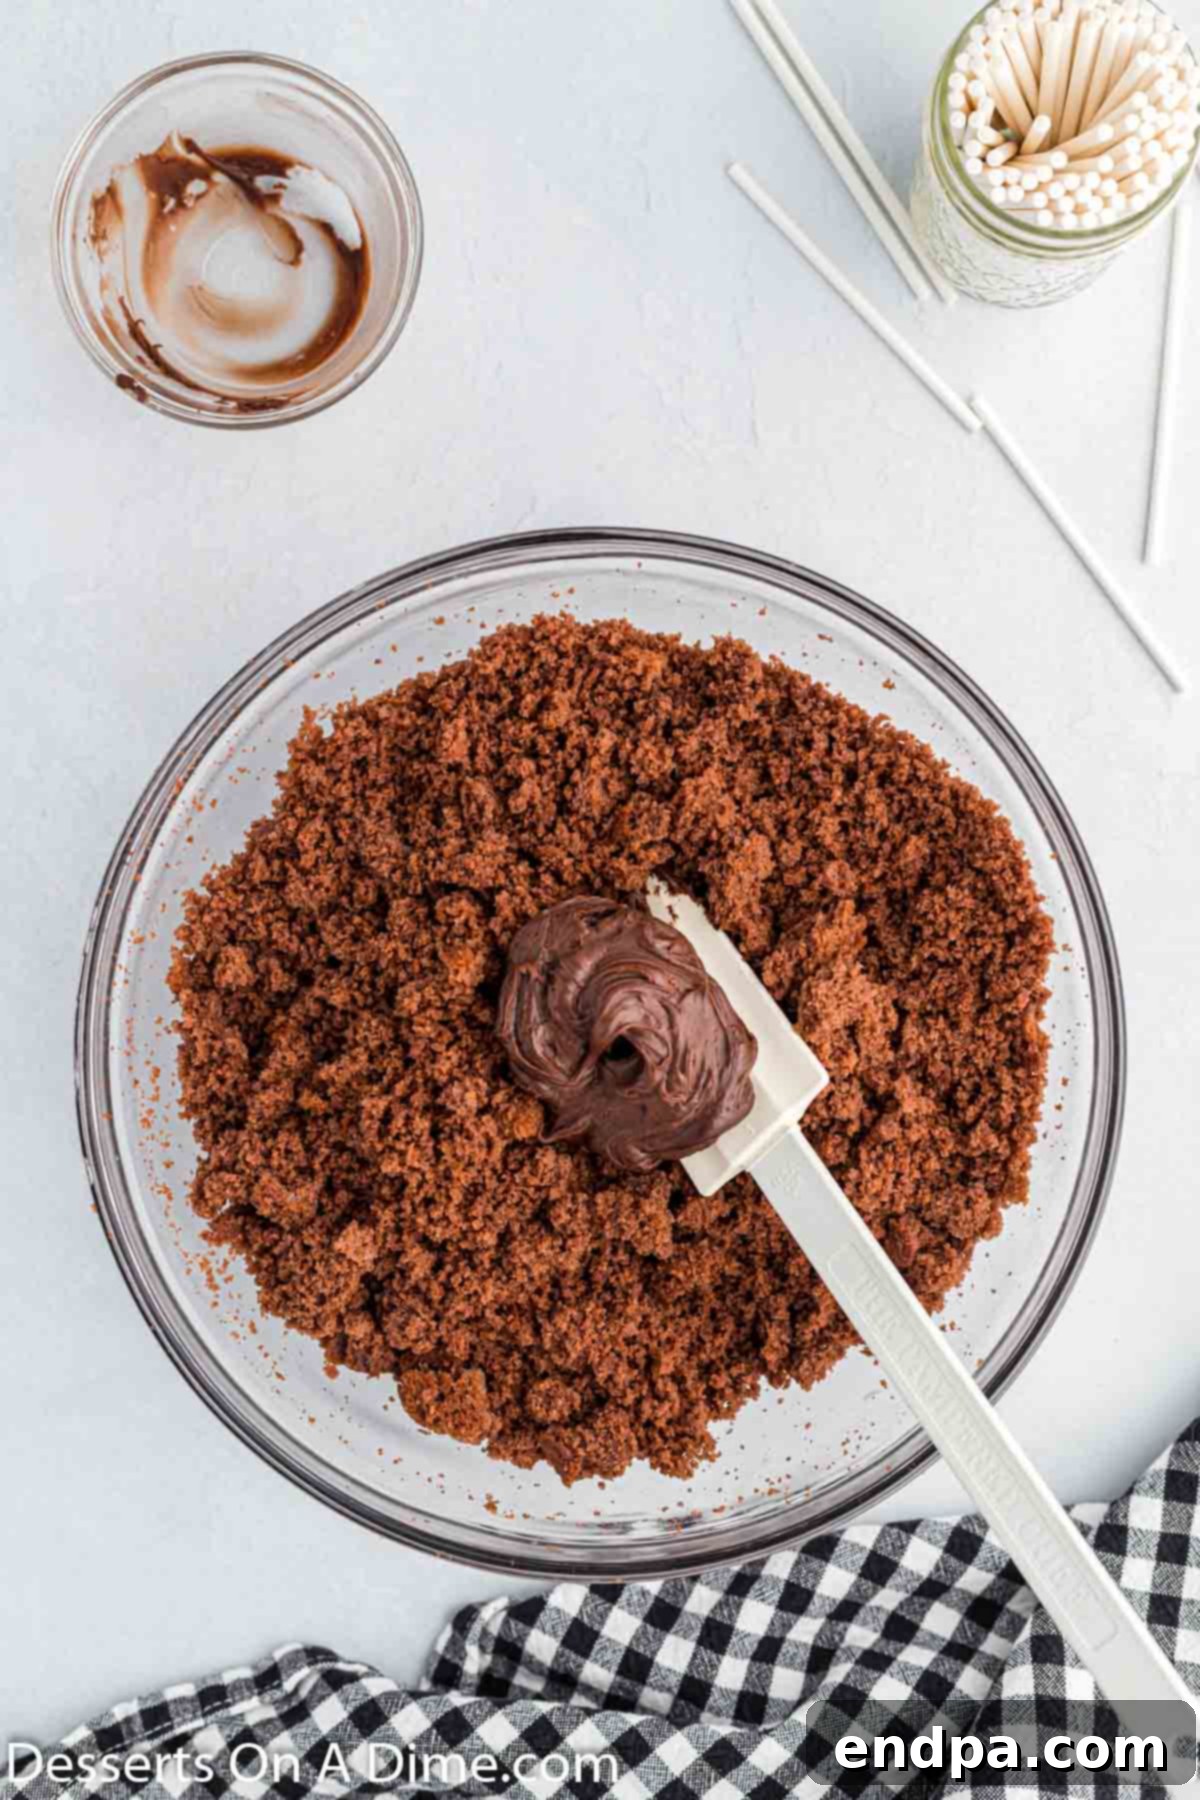
Step 2 – Crumble and Mix: Once the cake is fully cooled, carefully remove it from the pan. Gently cut off and discard the slightly firmer outside edges of the cake. Crumble the softer inner cake into a large mixing bowl. Add the chocolate fudge frosting to the crumbled cake and mix thoroughly with a sturdy spatula or your hands until everything is well combined and forms a thick, pliable dough-like consistency.
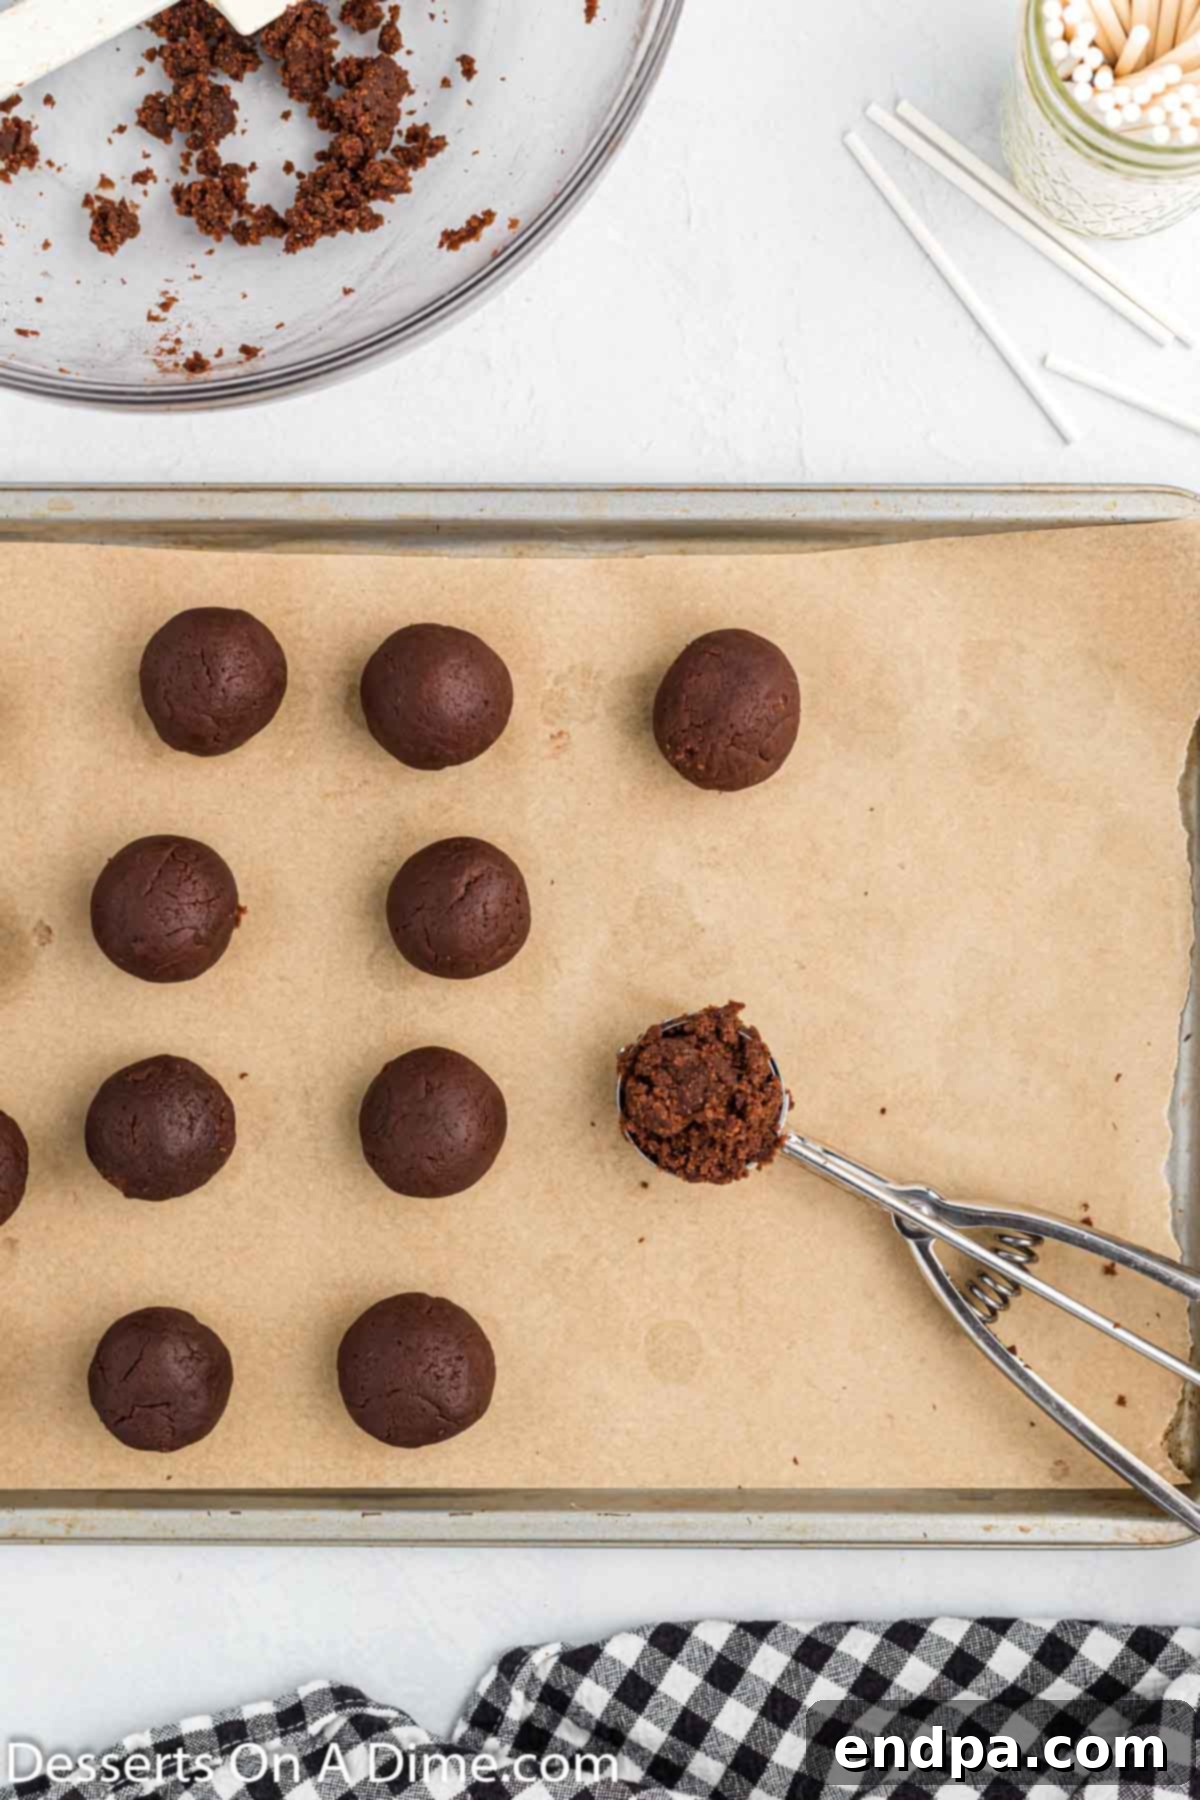
Step 3 – Shape the Cake Balls: Use a cookie scoop to portion out the cake mixture, then roll each portion between your palms to form smooth, uniform cake balls. Aim for a size that’s easy to eat in one or two bites. Place the formed cake balls onto a baking sheet lined with parchment paper or a silicone mat. This helps prevent sticking and makes them easier to handle.
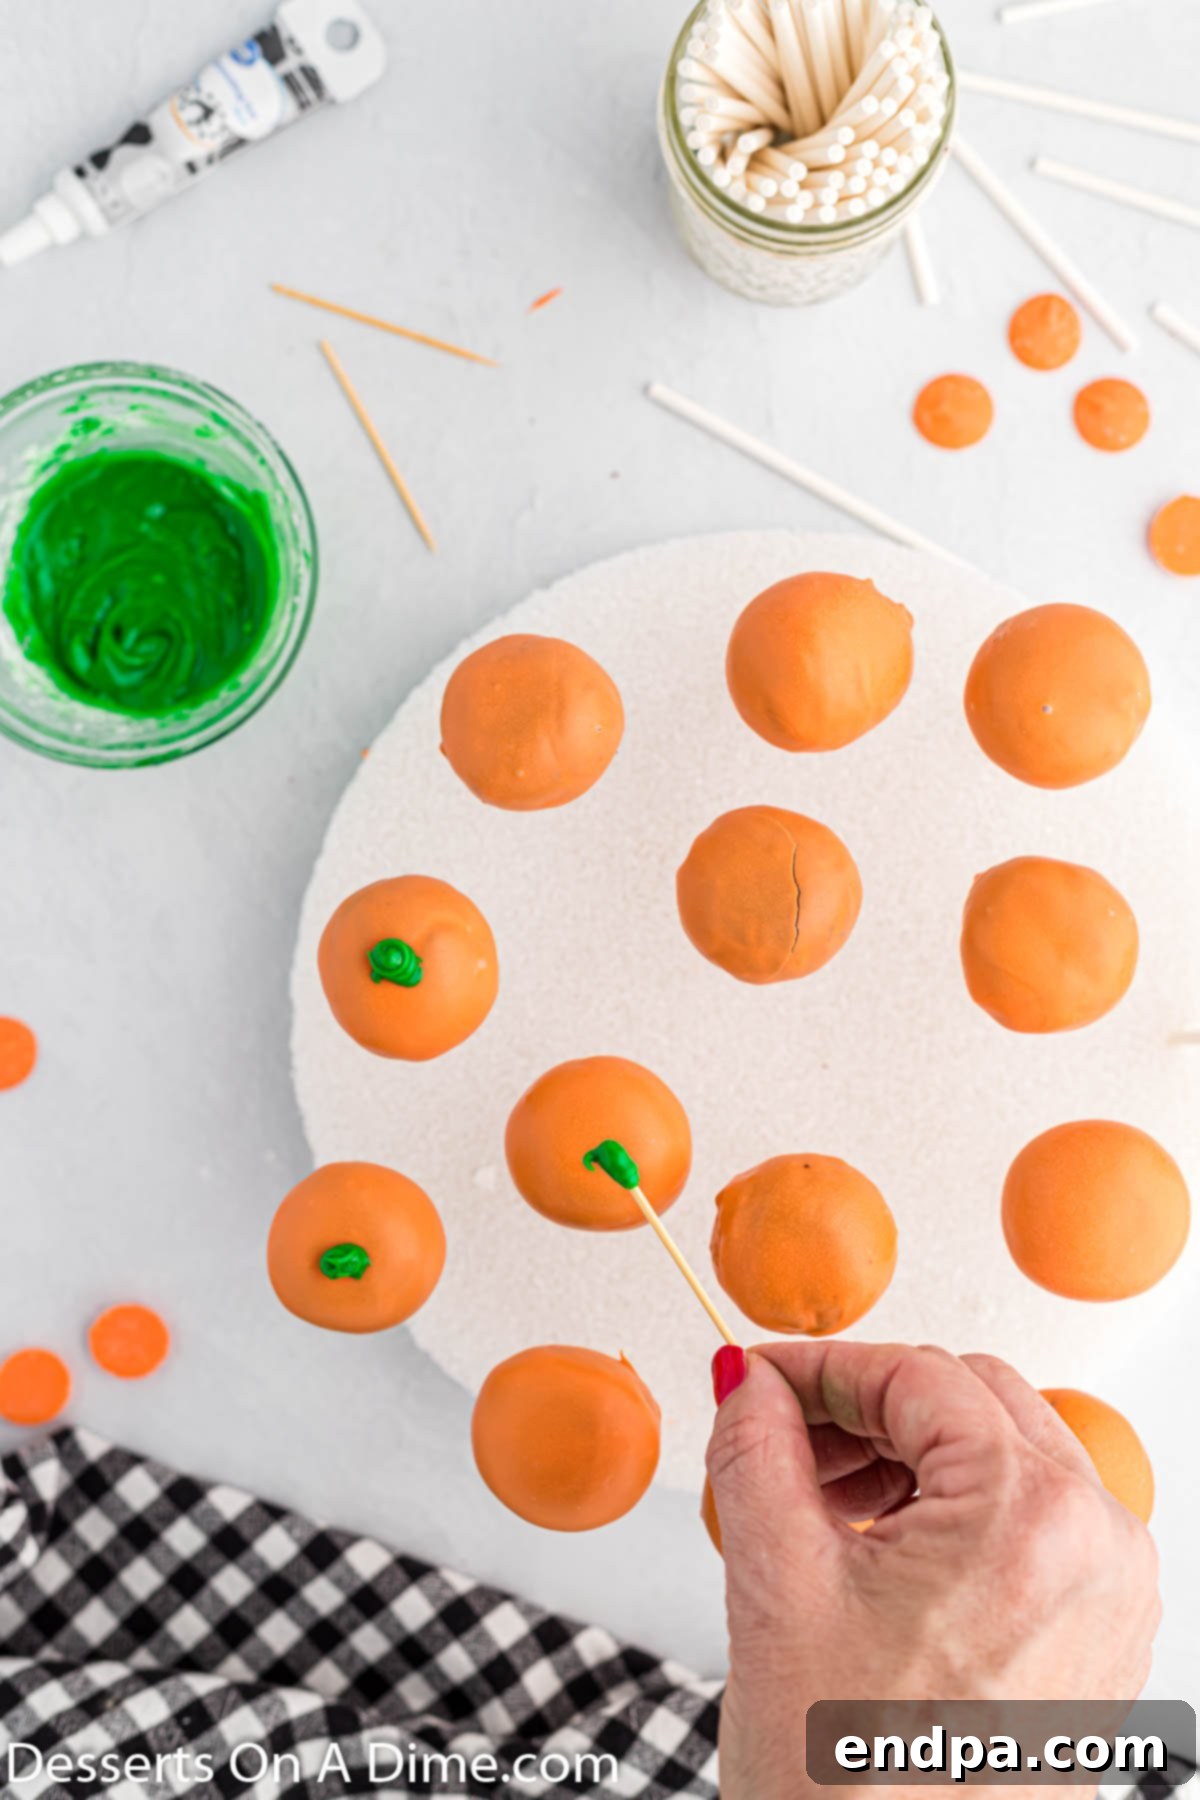
Step 4 – Dip and Decorate: Once the cake balls are chilled and ready, it’s time for dipping! Melt your orange candy melts and follow the detailed dipping instructions below. After dipping, allow the coating to set slightly, then unleash your creativity with the green icing for stems and black gel for the iconic Jack-o’-Lantern faces.
Mastering the Art of Dipping Cake Balls
Dipping cake balls can seem daunting, but with a few key techniques, you’ll achieve beautifully smooth and professional-looking cake pops every time. Precision and temperature control are your best friends here.
- Melt the Candy Melts with Care: Place your orange candy melts in a small, deep, microwave-safe bowl. It’s important that the bowl is deep enough to fully submerge a cake ball. Microwave the melts for 30 seconds, then stir thoroughly. Continue heating in 15-30 second intervals, stirring well after each interval, until the candy melts are completely smooth and creamy. Avoid overheating, as this can cause the melts to seize or burn. If they seem too thick, refer to the pro tips section below for thinning.
- Secure the Lollipop Sticks: To prevent your cake pops from falling off their sticks, create a secure bond. Dip the tip of each lollipop stick into the melted candy about half an inch. Immediately insert the coated stick into the center of a cake ball, pushing it about halfway through. This small amount of candy acts as “glue” to hold the cake ball firmly in place. Place the cake balls with sticks into the freezer for 10-15 minutes to firm up (but no longer than 15 minutes, as over-chilling can cause the coating to crack).
- The Dipping Process: Once your cake pops are thoroughly chilled and the candy on the sticks has set, it’s time for the main dip. Re-melt your orange candy melts if they have started to solidify. Holding the cake pop by the stick, gently submerge the entire cake ball into the melted candy, ensuring it’s completely covered. Slowly lift the cake pop out, rotating it gently as you do to allow any excess candy to drip back into the bowl. A light tap against the side of the bowl can help remove drips.
- Allow to Dry Properly: Immediately after dipping, insert the stick of the coated cake pop into a block of Styrofoam. This allows the cake pop to dry upright, preventing flat spots and ensuring a perfectly round shape. Continue this process until all your cake pops have been covered and are standing securely in the Styrofoam. Let them dry completely at room temperature until the candy coating is firm to the touch.
Fun & Easy Decoration Ideas
The decoration phase is where your Jack-o’-Lanterns truly come to life! Once your orange-coated cake pops are fully dry and firm, you can begin adding the signature details.
First, prepare the green icing for the pumpkin stems. In a small bowl, combine the confectioners’ sugar with a few drops of green food gel coloring. Add a tiny amount of water or milk, just a quarter teaspoon at a time, stirring until you achieve a thick, pipeable green icing consistency. It should be firm enough to hold its shape but still easy to work with.
Next, take a toothpick and dip it into your green icing. Carefully apply a small dollop of the green icing to the very top of each orange cake pop, shaping it into a small stem. You can twist the toothpick slightly as you pull away to create a natural, textured look for the stem. Allow these green stems to set for a few minutes.
Finally, grab your black writing gel icing. Using its fine tip, carefully draw the iconic Jack-o’-Lantern faces onto each cake pop. You can create triangular eyes and noses, a wide jagged smile, or experiment with various spooky and silly expressions. Precision is key here, but don’t worry too much about perfection – a homemade touch adds to the charm!
Once all your stems and faces are complete, let the decorations dry and set completely. This may take a little while, especially if your icing is thick. Once dry, your festive Jack-o’-Lantern cake pops are ready to be enjoyed or displayed!
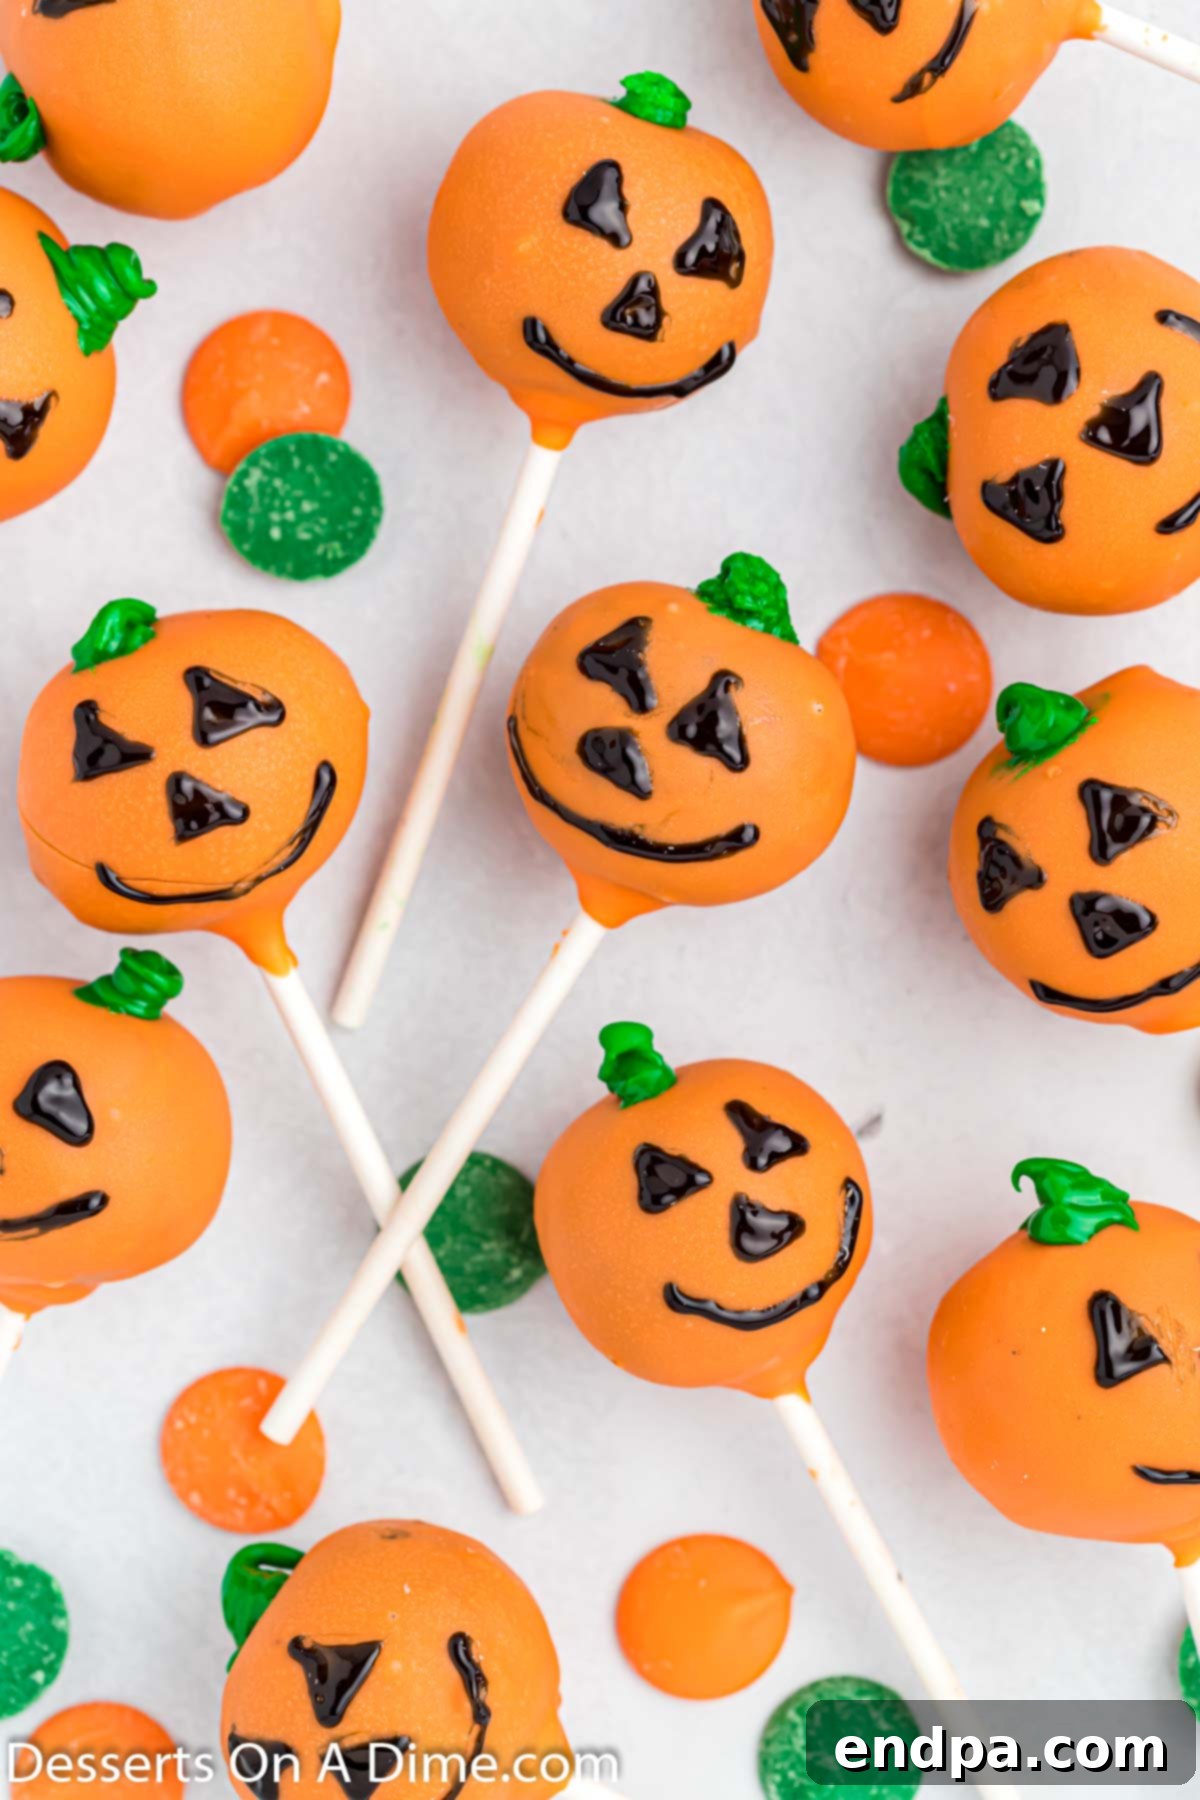
Expert Tips for Perfect Halloween Cake Pops
Achieving bakery-quality cake pops at home is entirely possible with a few insider tricks. These pro tips will help you avoid common pitfalls and ensure your Jack-o’-Lanterns are a smashing success.
- Thin the Candy Melts if Needed: If your melted candy coating seems too thick or difficult to work with, you can thin it out. Add a very small amount (half a teaspoon at a time) of vegetable oil or refined coconut oil to the melted candy. Stir it in slowly and thoroughly until you reach a smoother, more fluid consistency. Be careful not to add too much, as this can affect the setting time and final texture.
- Melt in Controlled Intervals: Always melt your candy melts in short, controlled intervals (30 seconds at a time) in the microwave, stirring well after each. This prevents the candy from overheating, seizing, or burning, which can ruin its texture and make it unusable for dipping.
- Use a Cookie Scoop for Uniformity: A cookie scoop is an invaluable tool for ensuring all your cake balls are roughly the same size. This not only makes them look more professional but also ensures consistent drying and setting times. Plus, it significantly speeds up the shaping process.
- Invest in a Styrofoam Block: This is a game-changer for drying cake pops. Instead of laying them flat (which creates a flat spot), inserting the sticks into a Styrofoam block allows them to dry evenly from all sides, maintaining their perfect spherical shape. It’s incredibly handy and convenient for storage during the setting process.
- White Chocolate as an Alternative: If you can’t find orange candy melts or prefer the taste of real chocolate, you can use good quality white chocolate. Melt the white chocolate and then use oil-based food coloring (not water-based, as it will seize the chocolate) to dye it orange. This gives you more control over the shade of orange.
- Alternative Decoration Options: Beyond gel icing, consider other creative ways to make Jack-o’-Lantern faces. You could use finely crushed black cookies (like Oreos) pressed onto the wet candy coating, small pieces of black licorice, or even melted black candy melts piped on with a fine-tipped piping bag. Black nonpareils or sprinkles can also create fun textural elements for eyes and mouths.
Frequently Asked Questions About Halloween Cake Pops
Once fully set and decorated, store your leftover Halloween cake pops in an airtight container at room temperature. They will remain fresh and delicious for up to 1 week. If your home is particularly warm, or if your cake pops contain ingredients that spoil easily, consider storing them in the refrigerator, but allow them to come to room temperature before serving for the best texture and flavor.
Absolutely! These cake pops are an excellent make-ahead treat, which is perfect for busy Halloween preparations. You can prepare the cake balls (mix cake and frosting, roll into balls) the night before your event. Store the un-dipped cake balls tightly covered in the refrigerator. The next day, you can proceed with dipping and decorating. This allows you to spread out the prep work and significantly save time on the day of your party.
Cake pops freeze beautifully, making them ideal for long-term storage or preparing well in advance. To freeze, ensure the cake pops are completely dry and the candy coating is fully set. Wrap each cake pop individually in plastic wrap, then place them in an airtight freezer-safe container or freezer bag. They can be frozen for up to 6 weeks. When you’re ready to serve, transfer them from the freezer to the refrigerator overnight to thaw gradually. Once thawed, they are ready to enjoy.
Yes, it is essential for the cake balls to be cold before dipping them into the melted candy. Chilling them in the freezer for about 10 to 15 minutes prior to dipping helps them hold their shape better and ensures a much smoother, more even candy coating. The cold surface of the cake ball helps the candy coating set quickly and smoothly, minimizing drips and imperfections. However, be cautious not to freeze them for too long (e.g., more than 15 minutes). If the cake balls are too frozen, the chocolate coating will set almost instantly upon contact, potentially causing it to crack as the cake ball thaws and expands. The goal is chilled, not frozen solid, for optimal adhesion and a flawless finish.
More Easy Halloween Desserts to Try
If you’ve enjoyed making these Halloween Cake Pops, you’ll love exploring these other simple yet festive dessert ideas perfect for the spooky season:
- Halloween Puppy Chow Recipe: A delightfully crunchy and addictive snack mix, perfect for parties.
- Mummy Cake Pops Recipe: Another adorable cake pop variation, easy to customize and incredibly cute.
- Halloween Marshmallows: Simple, fun, and can be decorated in countless ways.
- 49 No Bake Halloween Treats: An extensive list of quick and easy desserts that require no oven.
- Halloween Spider Cookies Recipe: Classic cookies with a fun, creepy-crawly twist.
We truly hope you have a spooktacular time making these enchanting Jack-o’-Lantern Halloween Cake Pops! If you try this recipe, please consider leaving a star review and sharing your experience in the comments below. We absolutely can’t wait to hear how your festive creations turned out!
Pin
Halloween Cake Pops
Ingredients
- 1 box Chocolate Cake Mix (15 oz)
- *Plus ingredients to prepare the cake on the back of the box
- ⅓ cup Chocolate Fudge Frosting (pre-made)
- 16 oz. Orange Candy Melts
- ½ cup Confectioners’ Sugar
- Green Food Gel Coloring
- Black Writing Gel Icing
- Lollipop Sticks
Instructions
- Make cake and bake according to box instructions in a 9×13 inch pan. Then let the cake cool completely at room temperature.
- Remove the cake from the pan. Remove the slightly firmer outside layer from the cake and discard. Crumble up the remaining cake into a large bowl.
- Add the chocolate frosting to your crumbled cake and stir everything together until well combined and a dough-like consistency is formed.
- Shape the mixture into approximately 24-36 cake balls (depending on their desired size) and place them on a lined cookie sheet. Using a cookie scoop helps ensure uniform size.
- Put the orange candy melts in a small microwave-safe bowl. Microwave for 30 seconds, then stir. Continue to heat in 30-second intervals, stirring between each, until the candy melts are fully melted and creamy.
- Dip each lollipop stick into the melted candy, then insert the coated stick halfway into each cake ball. Place the cake balls in the freezer for 10-15 minutes to firm up (do not freeze for longer than 15 minutes).
- After the cake pops have been chilled, dip each cake pop into the melted candy melts (you may need to re-melt them if they have solidified). Ensure the candy covers the cake pop completely. Allow any excess melted candy to drip off back into the bowl.
- Immediately place the stick of the dipped cake pop into a block of Styrofoam while the candy coating dries and solidifies.
- Continue until all the cake pops have been covered and are drying upright.
- Once all the cake pops are dry, mix the confectioners’ sugar with some green gel food coloring to form a thick green icing for the stems. Use a toothpick to make a stem on each cake pop with this mixture. Then, draw a Jack-o’-Lantern face on each cake pop with the black writing gel.
- Let all the decorations dry and set completely. Then your Halloween cake pops are ready to enjoy!
Recipe Notes
*If the melted candy melt is too thick, thin it out with a small amount of vegetable oil or coconut oil. Add it slowly to the melted chocolate.
Nutrition Facts
Pin This Now to Remember It Later
Pin Recipe
