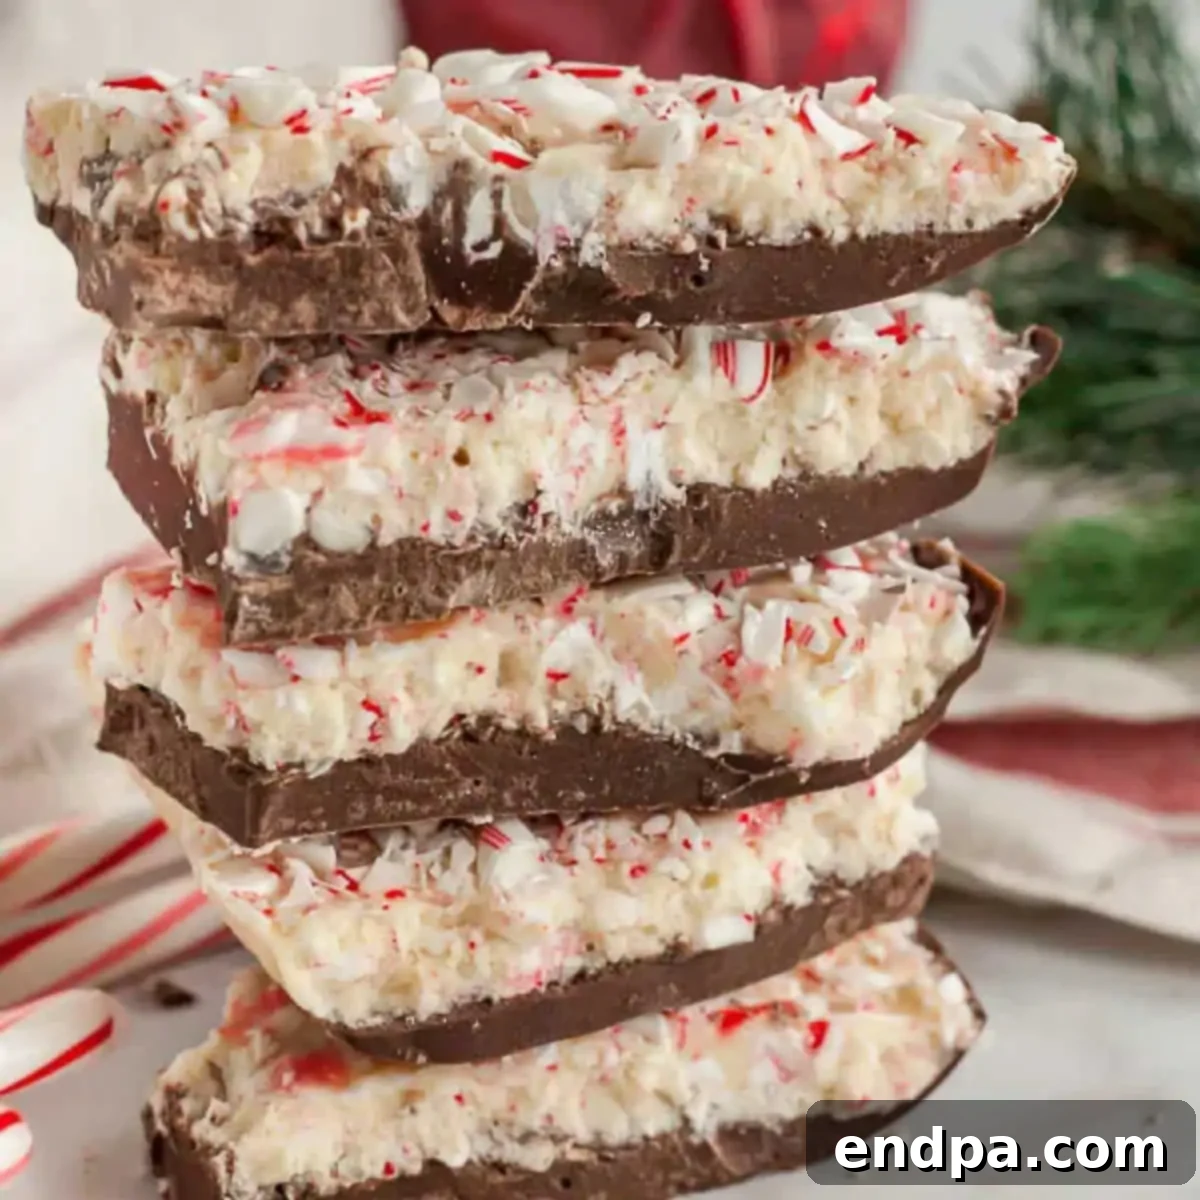
Peppermint Bark Recipe is not just simple to make; it’s a cherished holiday tradition, bringing a burst of festive flavor to any celebration. This delightful confection, with its striking layers of rich dark chocolate and creamy white chocolate, beautifully adorned with vibrant crushed peppermint, offers an irresistible combination of textures and tastes. Whether you’re a seasoned baker or new to holiday treats, this easy-to-follow guide will help you create a show-stopping peppermint bark that’s perfect for sharing, gifting, or simply indulging.
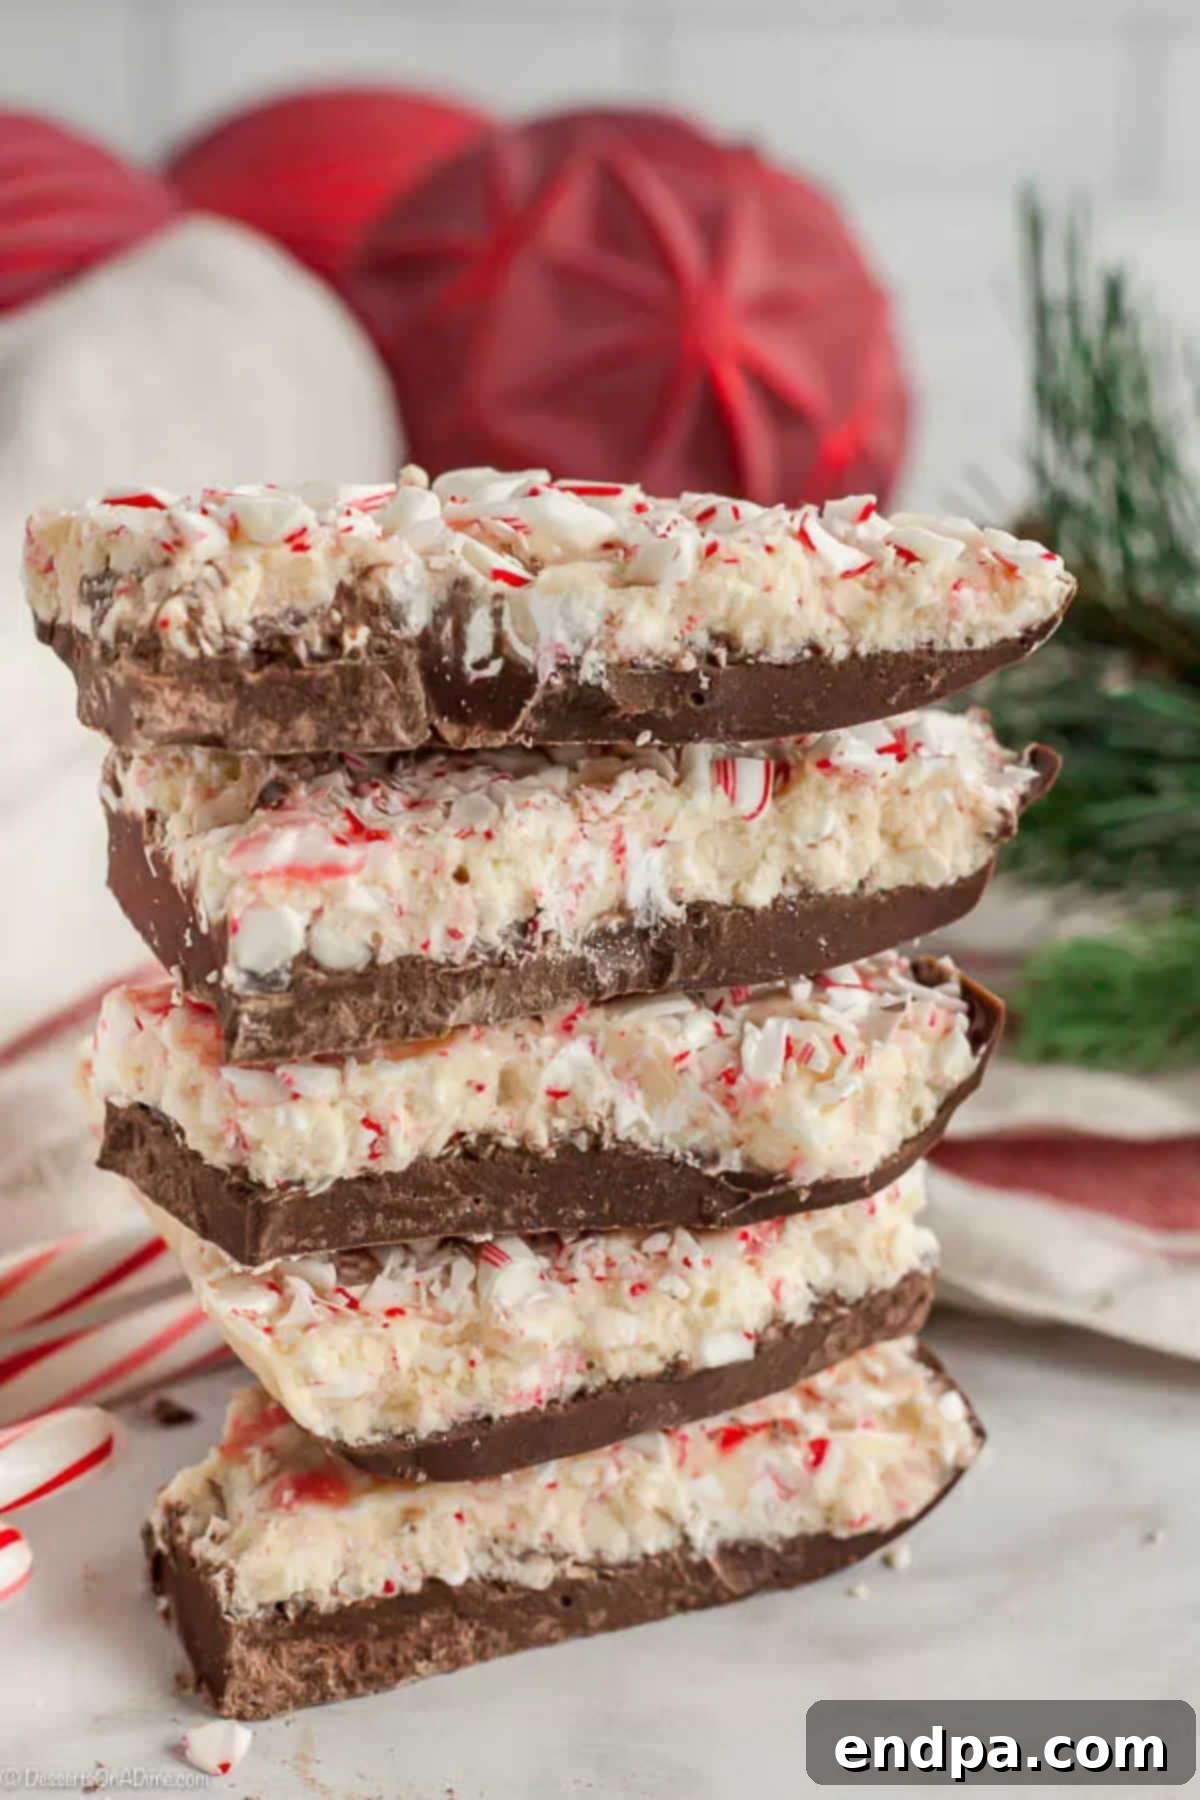
Peppermint bark embodies the spirit of the holiday season with its decadent layers and refreshing minty zest. It’s an ideal recipe for holiday gifting, guaranteed to bring smiles to everyone who receives it. The crisp peppermint flavor is quintessential for this time of year, evoking cozy winter memories and festive cheer. If you’re passionate about crafting easy Christmas Desserts, we highly recommend exploring our Homemade Christmas Bark Recipe, the popular 2-Ingredient Chocolate Peanut Butter Fudge, and the versatile 2-Ingredient Chocolate Bark Recipe for more delightful ideas.
Table of Contents: Crafting the Perfect Chocolate Peppermint Bark
- What Exactly is Peppermint Bark?
- Why Make Homemade Peppermint Bark?
- Key Ingredients for Perfect Peppermint Bark
- Creative Variations to Your Peppermint Bark
- Step-by-Step Guide: How to Make Peppermint Bark
- Expert Tips for the Best Peppermint Bark
- Frequently Asked Questions About Peppermint Bark
- More Delightful Peppermint Dessert Ideas
- Chocolate Peppermint Bark Recipe Card
What Exactly is Peppermint Bark?
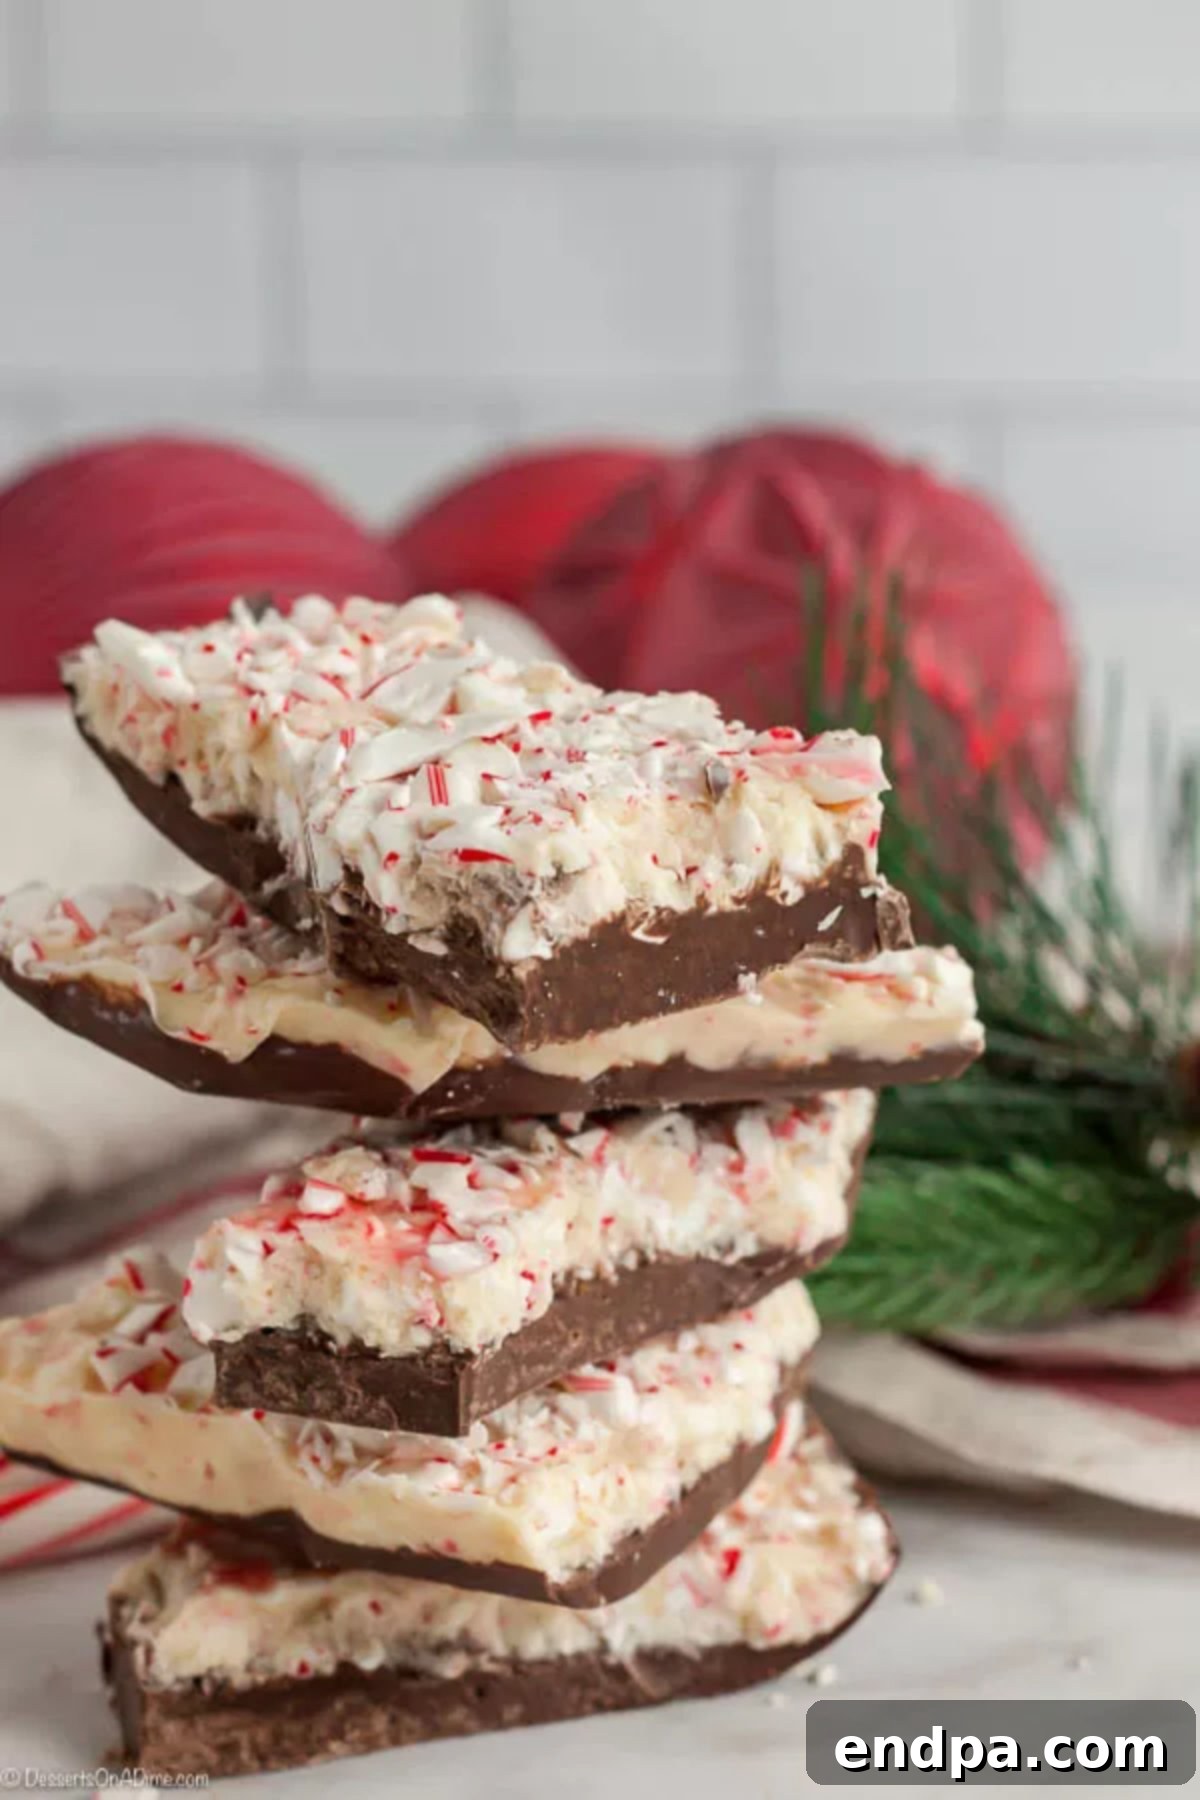
Peppermint bark is a beloved holiday candy that has captured the hearts of many with its festive appearance and invigorating flavor. Typically served during the Christmas season, this confection is a delightful layering of contrasting chocolates and crunchy peppermint. It generally features a robust bottom layer of melted dark or semi-sweet chocolate, which provides a rich, slightly bitter counterpoint to the sweetness. This dark foundation is then topped with a smooth, creamy layer of white chocolate, which is often infused with peppermint extract to enhance the minty profile. The entire creation is generously sprinkled with crushed peppermint candy, usually vibrant red and white candy canes, adding both a beautiful visual appeal and a satisfying textural crunch.
While peppermint bark gained widespread commercial popularity in the late 20th century, particularly from gourmet chocolate shops, its homemade versions have always been a staple in holiday kitchens. The art of making it lies in its elegant simplicity – high-quality ingredients transformed into a visually stunning and incredibly delicious treat. It’s more than just a dessert; it’s a seasonal indulgence that signifies the joy and generosity of the holidays. Understanding its simple composition is the first step to mastering this festive favorite.
Why Make Homemade Peppermint Bark?
Choosing to make peppermint bark from scratch offers a truly rewarding experience, extending far beyond simply saving a trip to the store. The primary advantage of homemade bark is the unparalleled control you gain over the ingredients. You can select premium chocolates, which significantly impacts the depth of flavor and the luxurious texture of your finished product. Store-bought versions, while convenient, often use compound chocolates that lack the richness and smooth melt of true couverture or high-quality baking bars.
Furthermore, making it yourself allows for complete customization. You can adjust the intensity of the peppermint, choose between dark, semi-sweet, or even milk chocolate for the base, and experiment with various toppings. This creative freedom means every batch can be tailored to your precise preferences or those of your gift recipients. Beyond the quality and customization, there’s an immense sense of satisfaction that comes from creating something beautiful and delicious with your own hands. It’s a wonderful, engaging activity for families during the holidays, fostering connection and creating cherished memories alongside a truly exceptional sweet treat.
Key Ingredients for Perfect Peppermint Bark
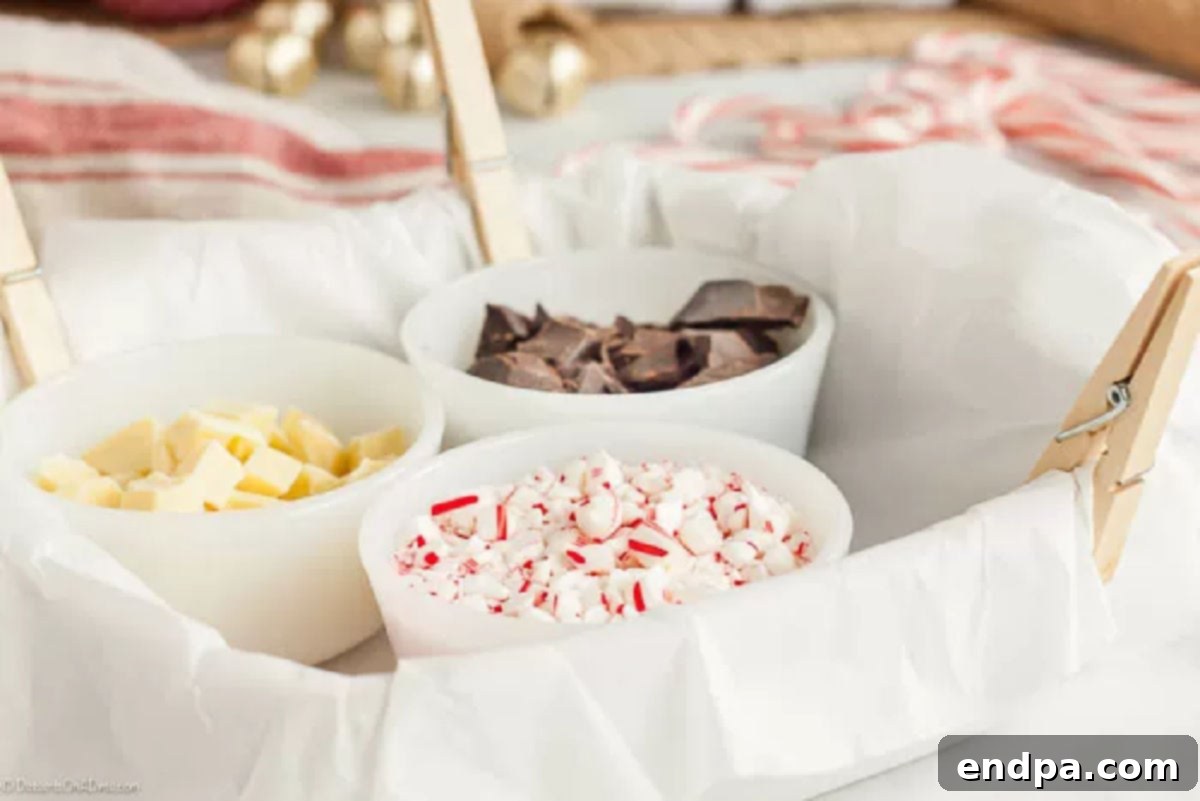
The secret to exceptional peppermint bark lies in a few key ingredients, each playing a vital role in creating the perfect balance of flavor and texture. Opting for quality over convenience here will truly elevate your homemade bark:
- Semisweet Chocolate (Chopped into Small Pieces): This forms the foundational layer of your bark. We highly recommend using a premium baking bar or couverture chocolate, rather than chocolate chips, which often contain stabilizers that prevent them from melting as smoothly. Chopping the chocolate into small, uniform pieces ensures even melting and a silky-smooth base. A good quality semi-sweet chocolate offers a rich, balanced flavor that pairs beautifully with the mint.
- White Chocolate (Chopped into Small Pieces): The top layer calls for equally high-quality white chocolate. Look for true white chocolate that lists cocoa butter as an ingredient, as this ensures a superior melt, texture, and flavor compared to confectionery coatings made with vegetable oils. Again, chopping it finely is key for a consistent melt.
- Peppermint Extract (Optional, but Recommended): A touch of peppermint extract boosts the minty flavor within the white chocolate layer. Start with a small amount and taste, adding more if you desire a stronger mint presence. Ensure you are using food-grade peppermint extract, distinct from spearmint or other mint varieties.
- Crushed Candy Cane Pieces (or Peppermints): These are not just for decoration; they provide the signature crunch and vibrant holiday aesthetic. You can purchase pre-crushed candy canes for convenience, or easily crush your own by placing unwrapped candy canes in a sturdy freezer bag and gently tapping them with a rolling pin or meat mallet until you reach your desired consistency. A mix of fine and slightly larger pieces adds visual and textural interest.
For a complete and precise list of ingredients and their exact quantities, please refer to the detailed recipe card at the bottom of this page.
Creative Variations to Your Peppermint Bark
While the classic peppermint bark recipe is a timeless favorite, one of the joys of making it at home is the endless possibility for creative customization. Feel free to experiment with these variations to tailor your bark to different tastes, dietary needs, or holiday themes:
- White Chocolate Alternatives: For ease of melting or specific flavor profiles, you can substitute traditional white chocolate. Almond bark or white candy melts are fantastic options that melt beautifully in the microwave without the need for tempering. They are particularly forgiving for beginners and provide a smooth, consistent layer. Just remember to melt them in short, 30-second intervals, stirring well after each.
- Add Different Candies: Expand beyond peppermint by incorporating other crushed candies. Try adding crunchy toffee bits for a buttery contrast, mini chocolate chips (milk, dark, or white) for extra chocolatey goodness, or even chopped caramels for a chewy element. M&M’s can add both color and a pleasant crunch.
- Sprinkle Nuts: For those who appreciate a nutty crunch, consider sprinkling finely chopped nuts over either the dark or white chocolate layer. Almonds, pecans, walnuts, or pistachios all offer a delightful textural contrast and an earthy flavor. Lightly toasting the nuts before adding them can deepen their taste.
- Celebrate Different Holidays: The concept of layered bark with festive toppings is versatile enough for any occasion:
- Christmas: The traditional red and green candy canes remain the go-to.
- St. Patrick’s Day: Use green sprinkles or tint your white chocolate with a few drops of green food coloring.
- Halloween: Opt for orange and black sprinkles, or mix crushed Oreos into the dark chocolate base for a spooky “dirt” effect.
- Valentine’s Day: Pink and red sprinkles, small heart-shaped candies, or even freeze-dried raspberries can create a romantic treat.
- Easter/Spring: Pastel-colored sprinkles, mini jelly beans, or small chocolate eggs can transform your bark for the spring season.
- Use Different Chocolates: Don’t feel limited to semi-sweet. Experiment with various chocolate types for the base or top layer. A rich, high-percentage dark chocolate offers a more intense, sophisticated flavor. Milk chocolate creates a sweeter, creamier, and milder bark, which is often a hit with children. You could even explore flavored chocolates like espresso-infused dark chocolate or lemon-flavored white chocolate for a unique twist.
- Candy Melts for Color: For truly vibrant colors and easy swirling patterns, candy melts are an excellent choice. You can create marble effects by drizzling different colored melted candy melts over the white chocolate and swirling gently with a toothpick.
Step-by-Step Guide: How to Make Peppermint Bark
Creating homemade peppermint bark is a straightforward and enjoyable process that yields professional-looking results. Follow these clear steps to achieve perfectly layered and delicious bark:
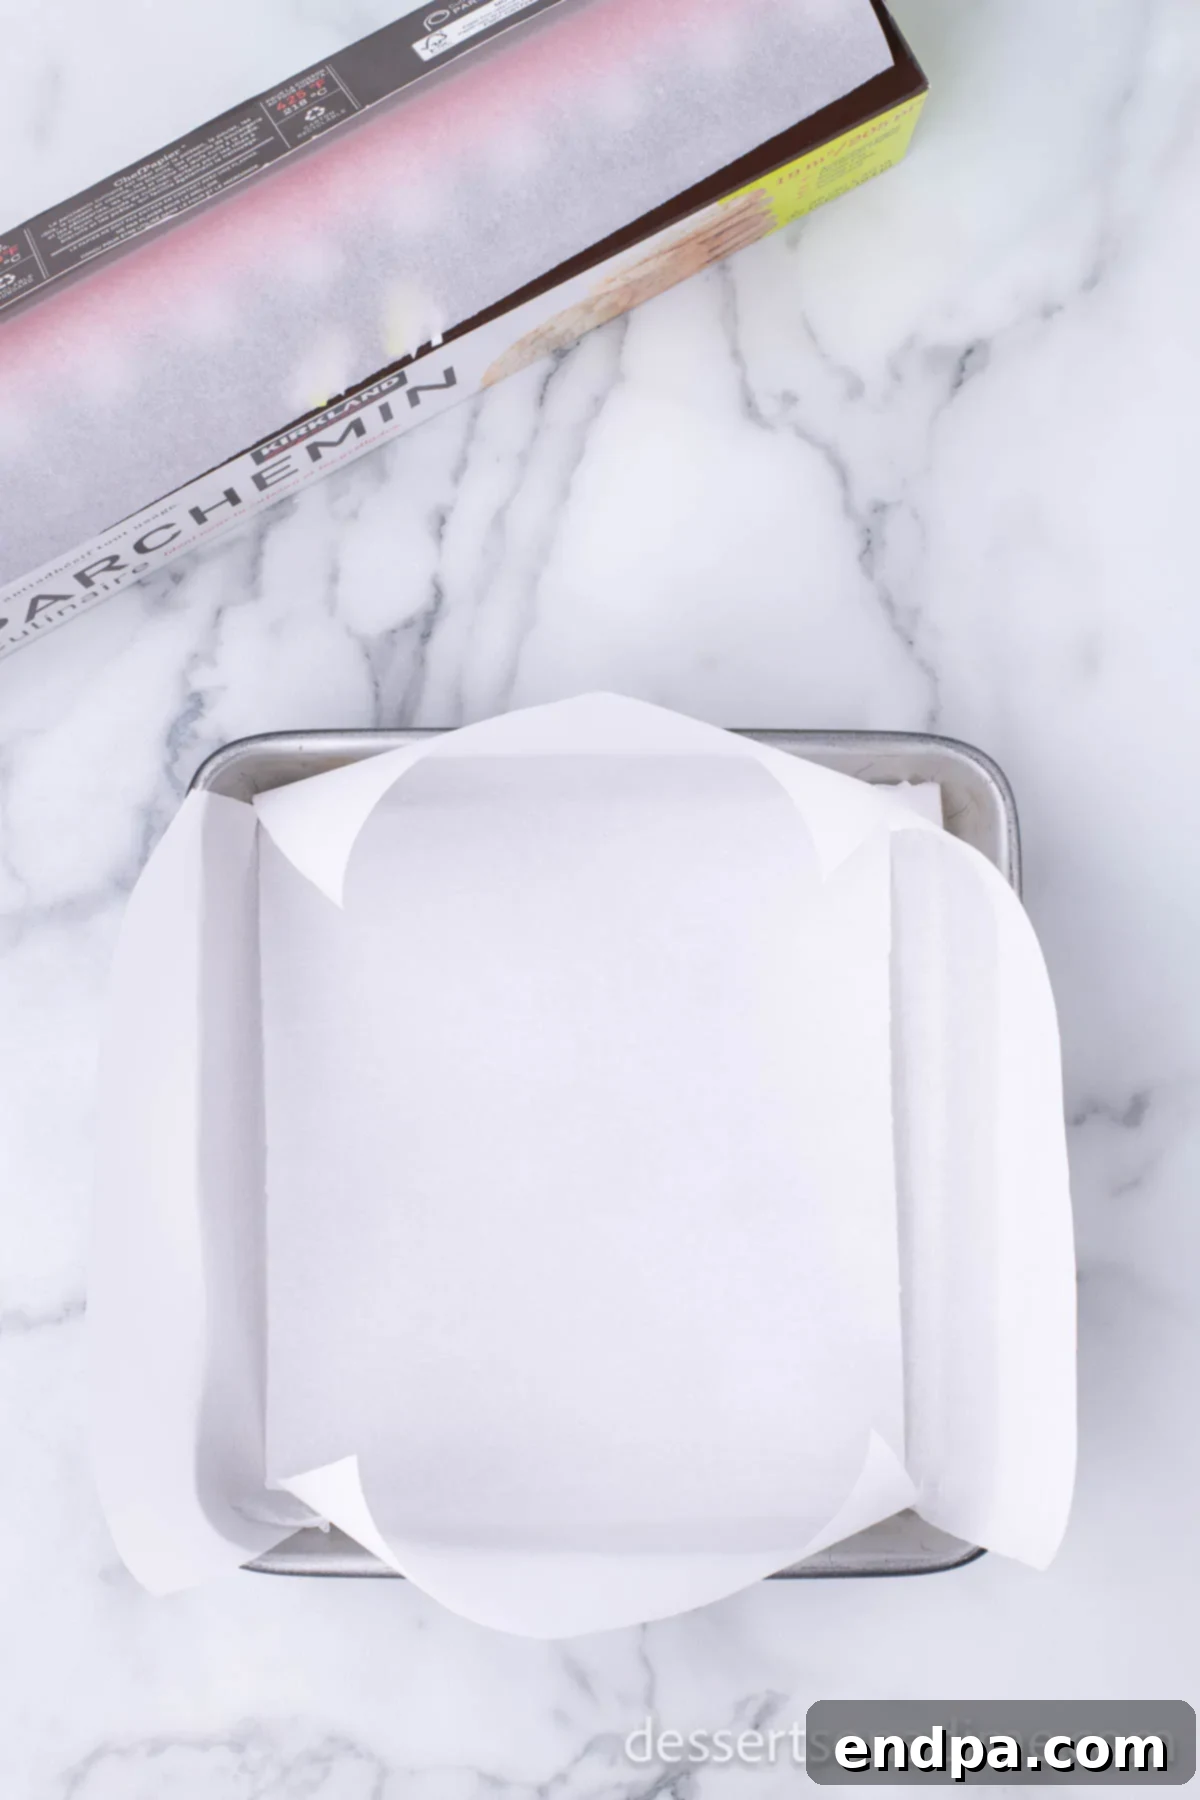
Step 1: Prepare Your Baking Pan. Start by lining an 8×8-inch baking pan with wax paper or parchment paper. Make sure the paper extends up the sides of the pan, creating a slight overhang. These “handles” will be crucial for easily lifting the hardened bark out of the pan without touching the chocolate. Set the prepared pan aside on a flat surface.
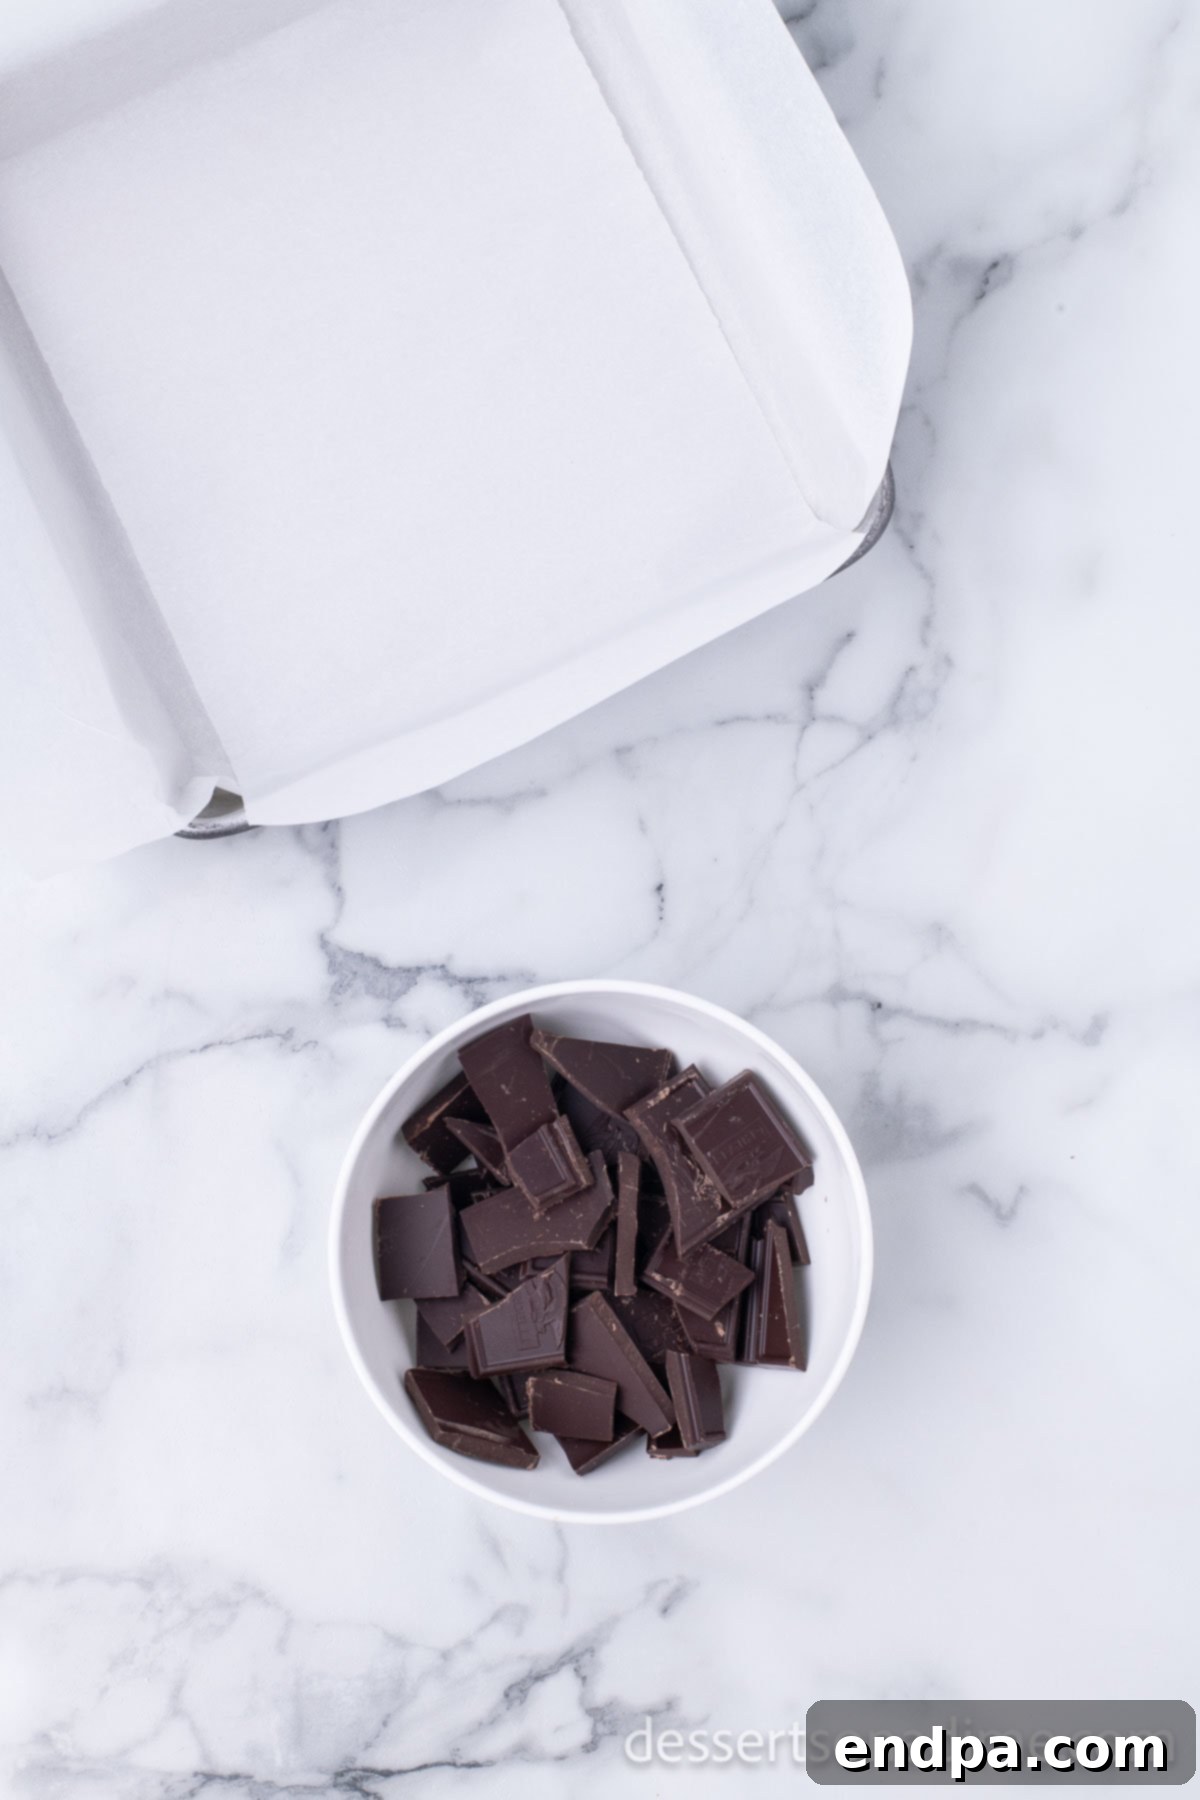
Step 2: Melt the Dark Chocolate Base. Place your finely chopped dark or semi-sweet chocolate into a microwave-safe bowl. Heat the chocolate in the microwave for 30 seconds. Remove the bowl and stir the chocolate thoroughly with a rubber spatula or spoon. Return to the microwave and continue heating in shorter 15-second increments, stirring well after each interval, until the chocolate is completely melted and beautifully smooth. It’s critical not to overheat the chocolate, as this can cause it to seize and become grainy.
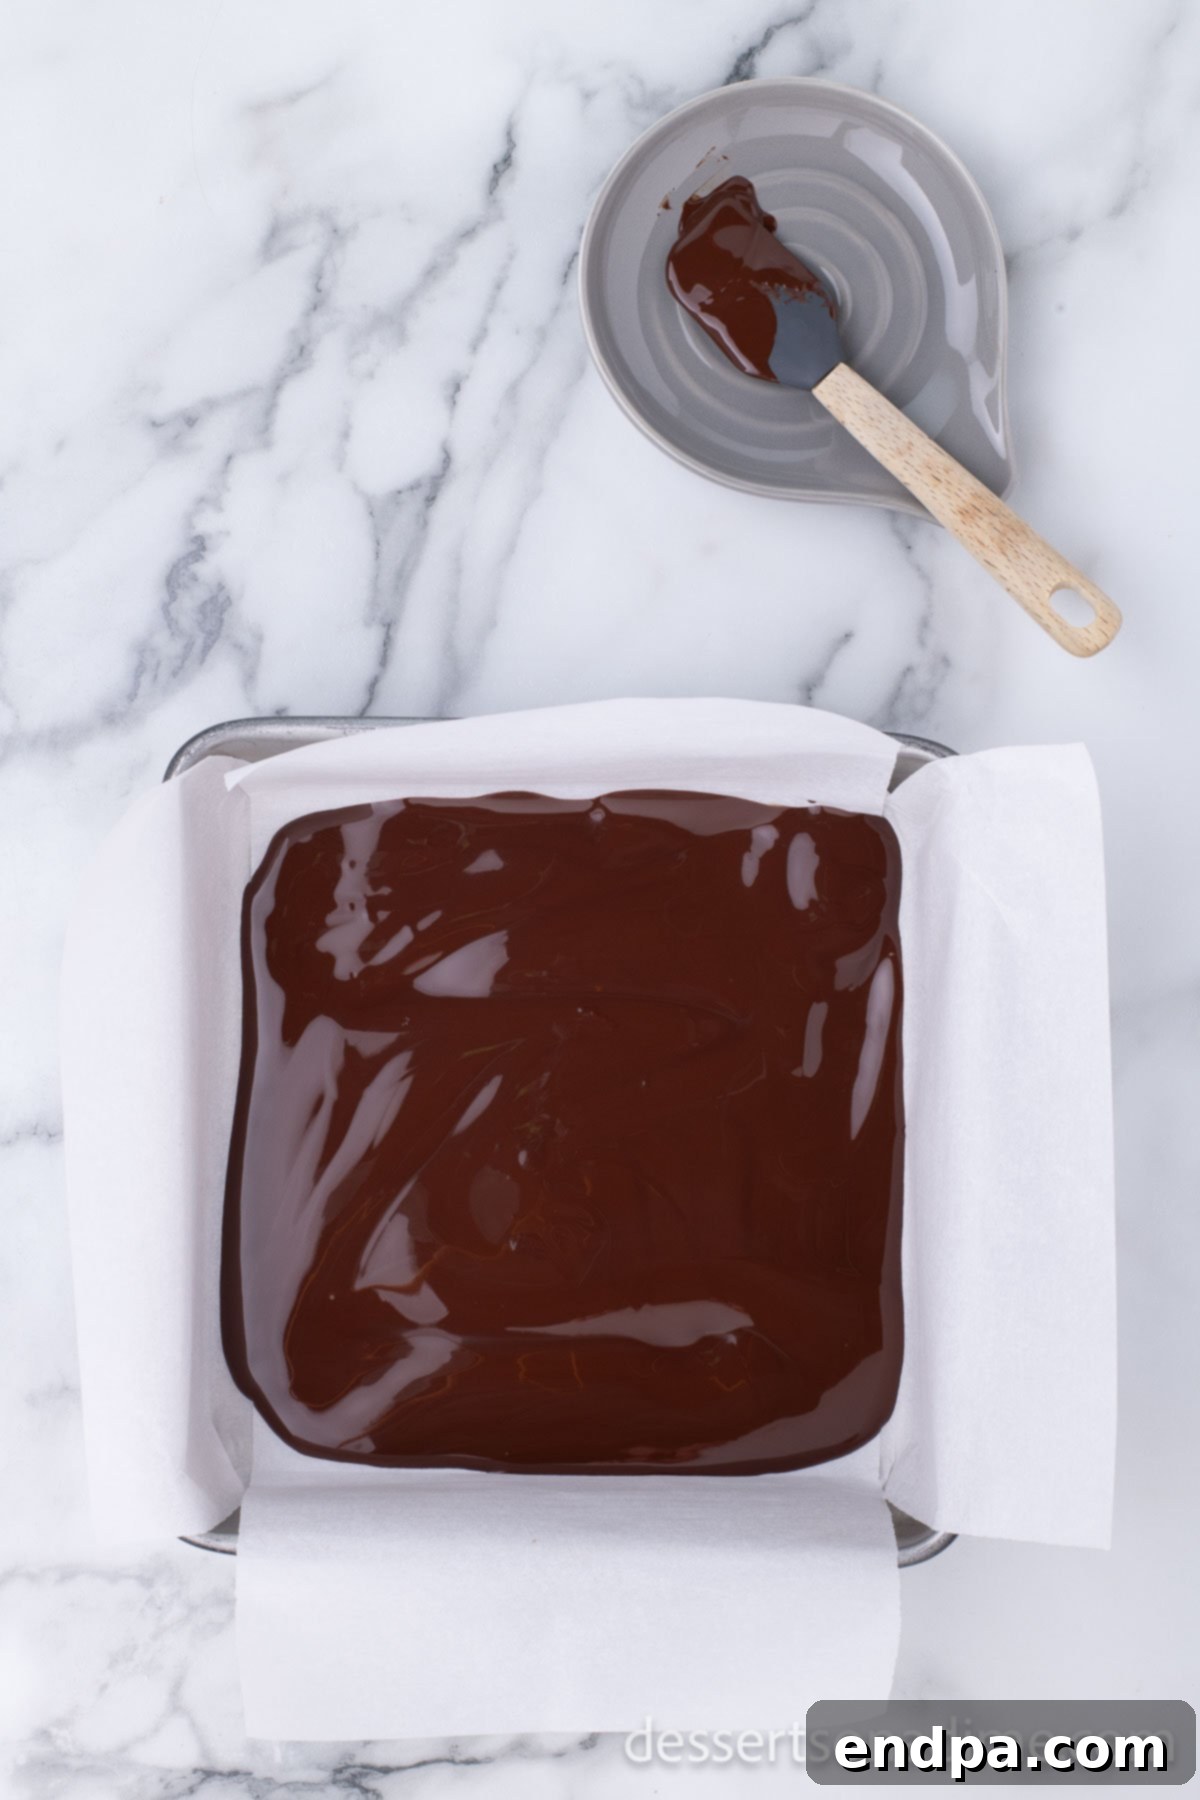
Step 3: Create the Dark Chocolate Layer. Once your dark chocolate is perfectly melted and silky smooth, pour it into the prepared baking pan. Using an offset spatula or the back of a spoon, gently and quickly spread the chocolate into an even, thin layer across the entire bottom of the pan. Aim for a consistent thickness. Allow this dark chocolate layer to set at cool room temperature. This will take some time, but it’s important not to refrigerate it at this stage, as rapid cooling can lead to cracks or separation between the layers.
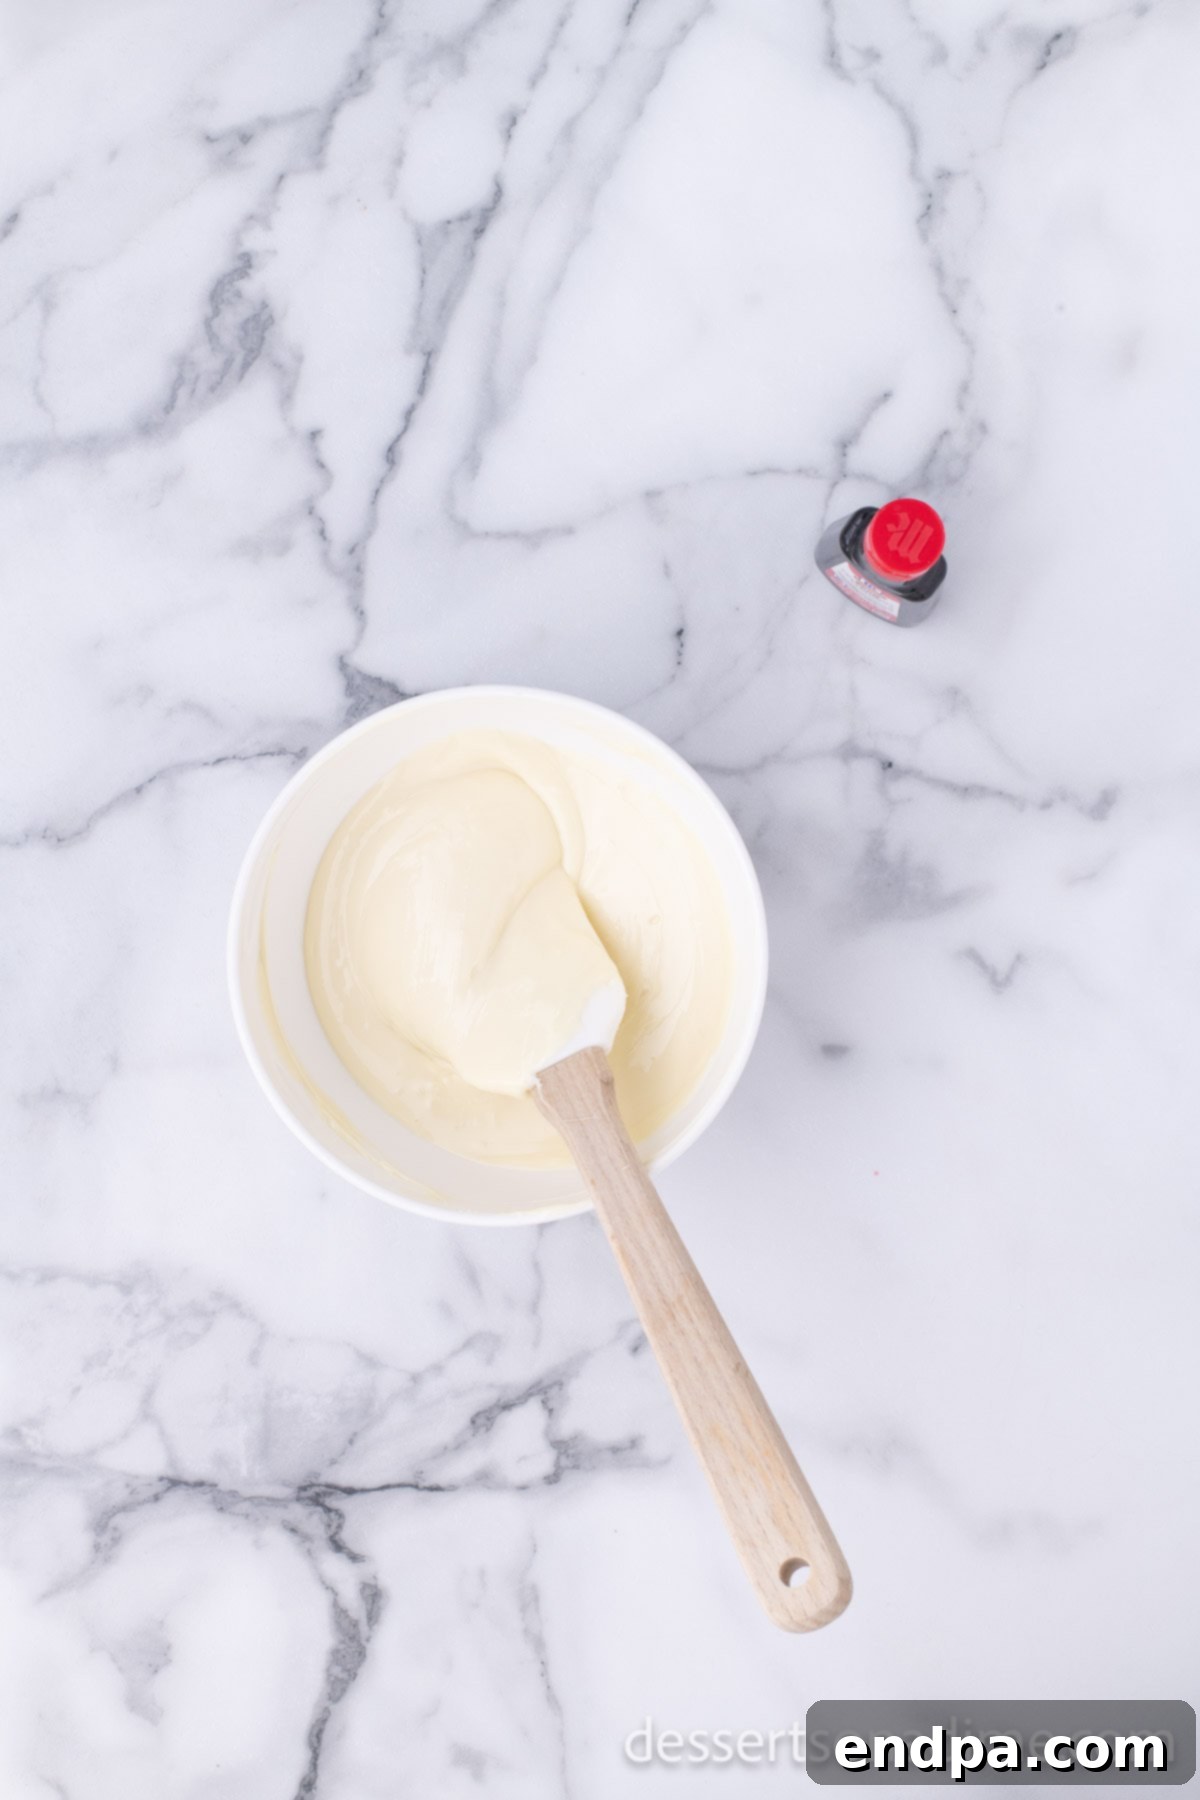
Step 4: Melt the White Chocolate Layer. In a separate, clean microwave-safe bowl, place your finely chopped premium white chocolate. Follow the same careful melting procedure as for the dark chocolate: heat for 30 seconds, stir well, then continue with 15-second intervals, stirring vigorously after each, until the white chocolate is completely melted and creamy. White chocolate can be more delicate than dark chocolate and is prone to seizing, so pay extra attention and melt it slowly.
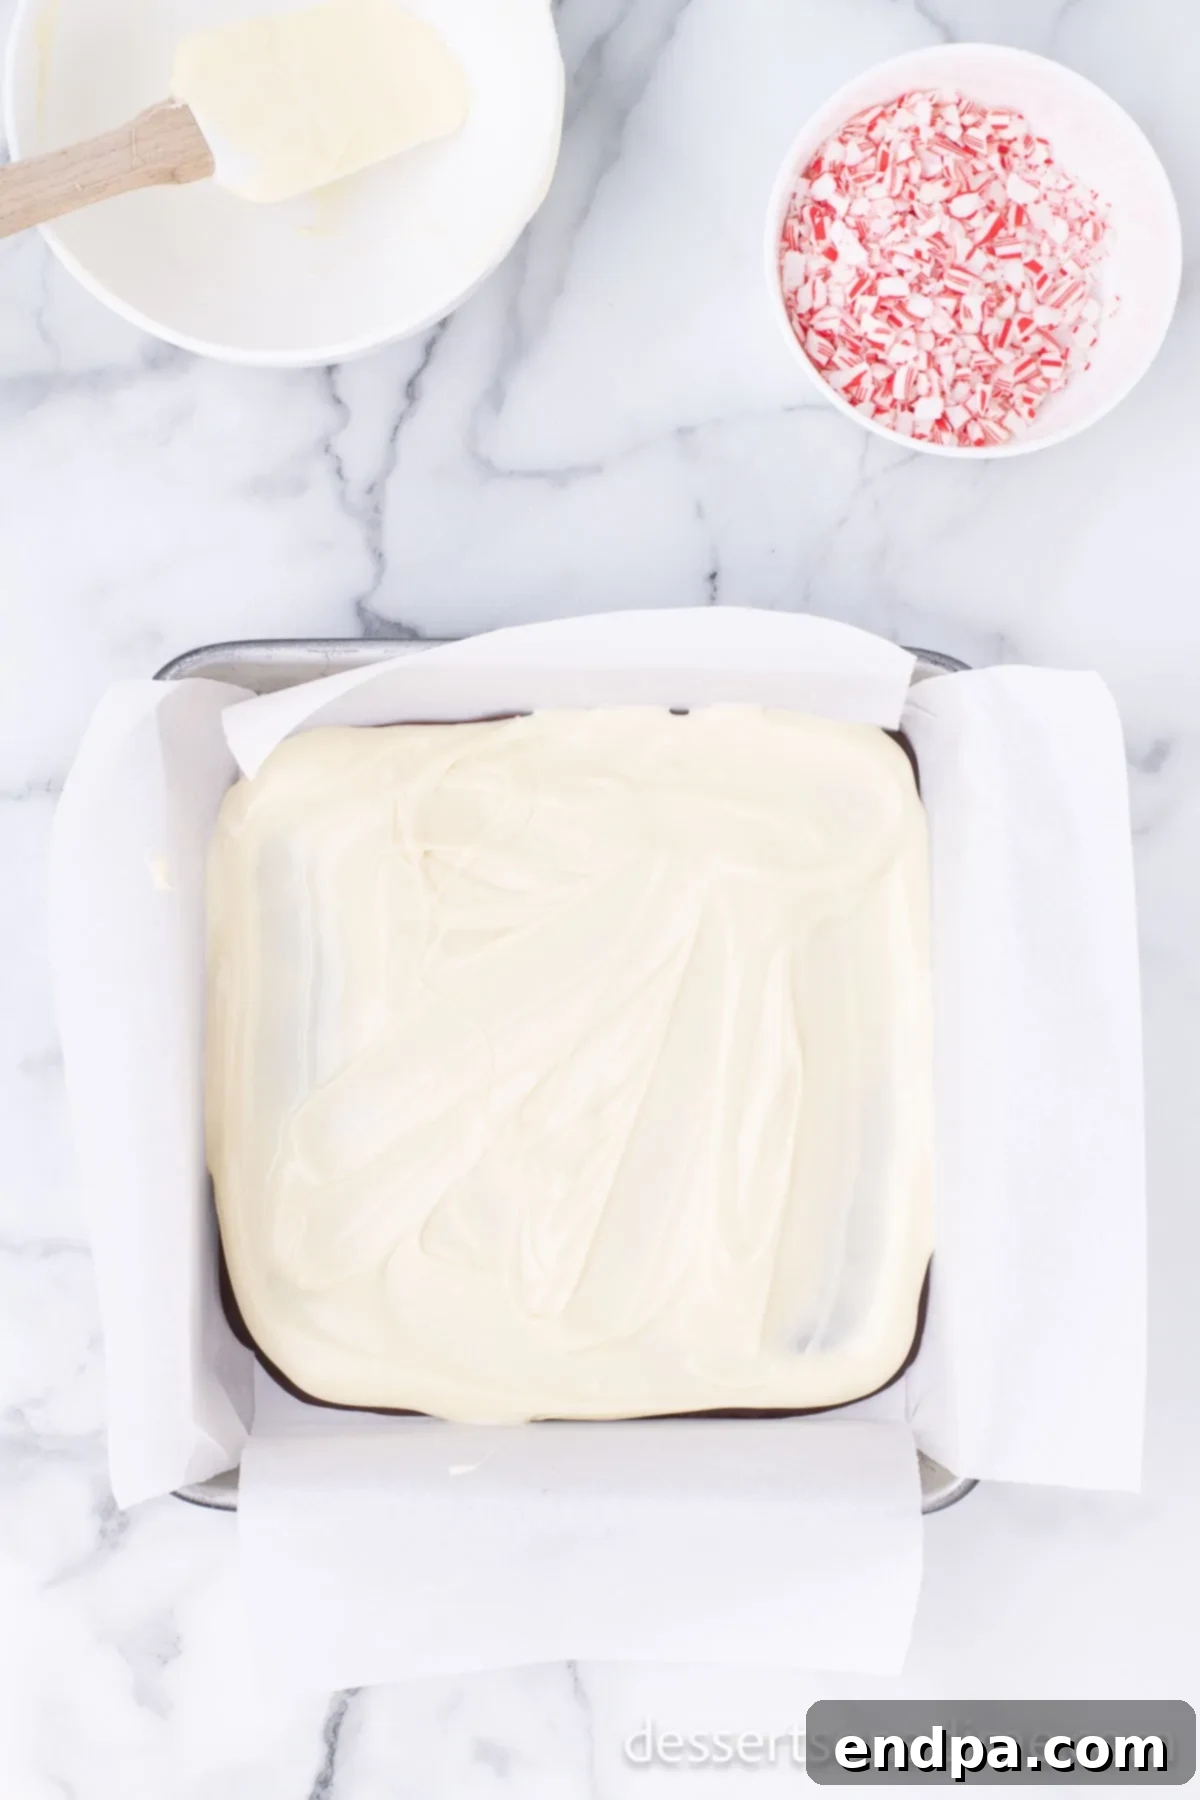
Step 5: Flavor and Mix the White Chocolate. Once the white chocolate is perfectly melted and smooth, stir in the peppermint extract (if you are using it to intensify the mint flavor). Then, gently fold in ¼ cup of the crushed candy cane pieces. Mix carefully until the extract and candy cane pieces are evenly distributed throughout the white chocolate. Avoid overmixing, as this can cause the chocolate to cool and thicken too quickly.
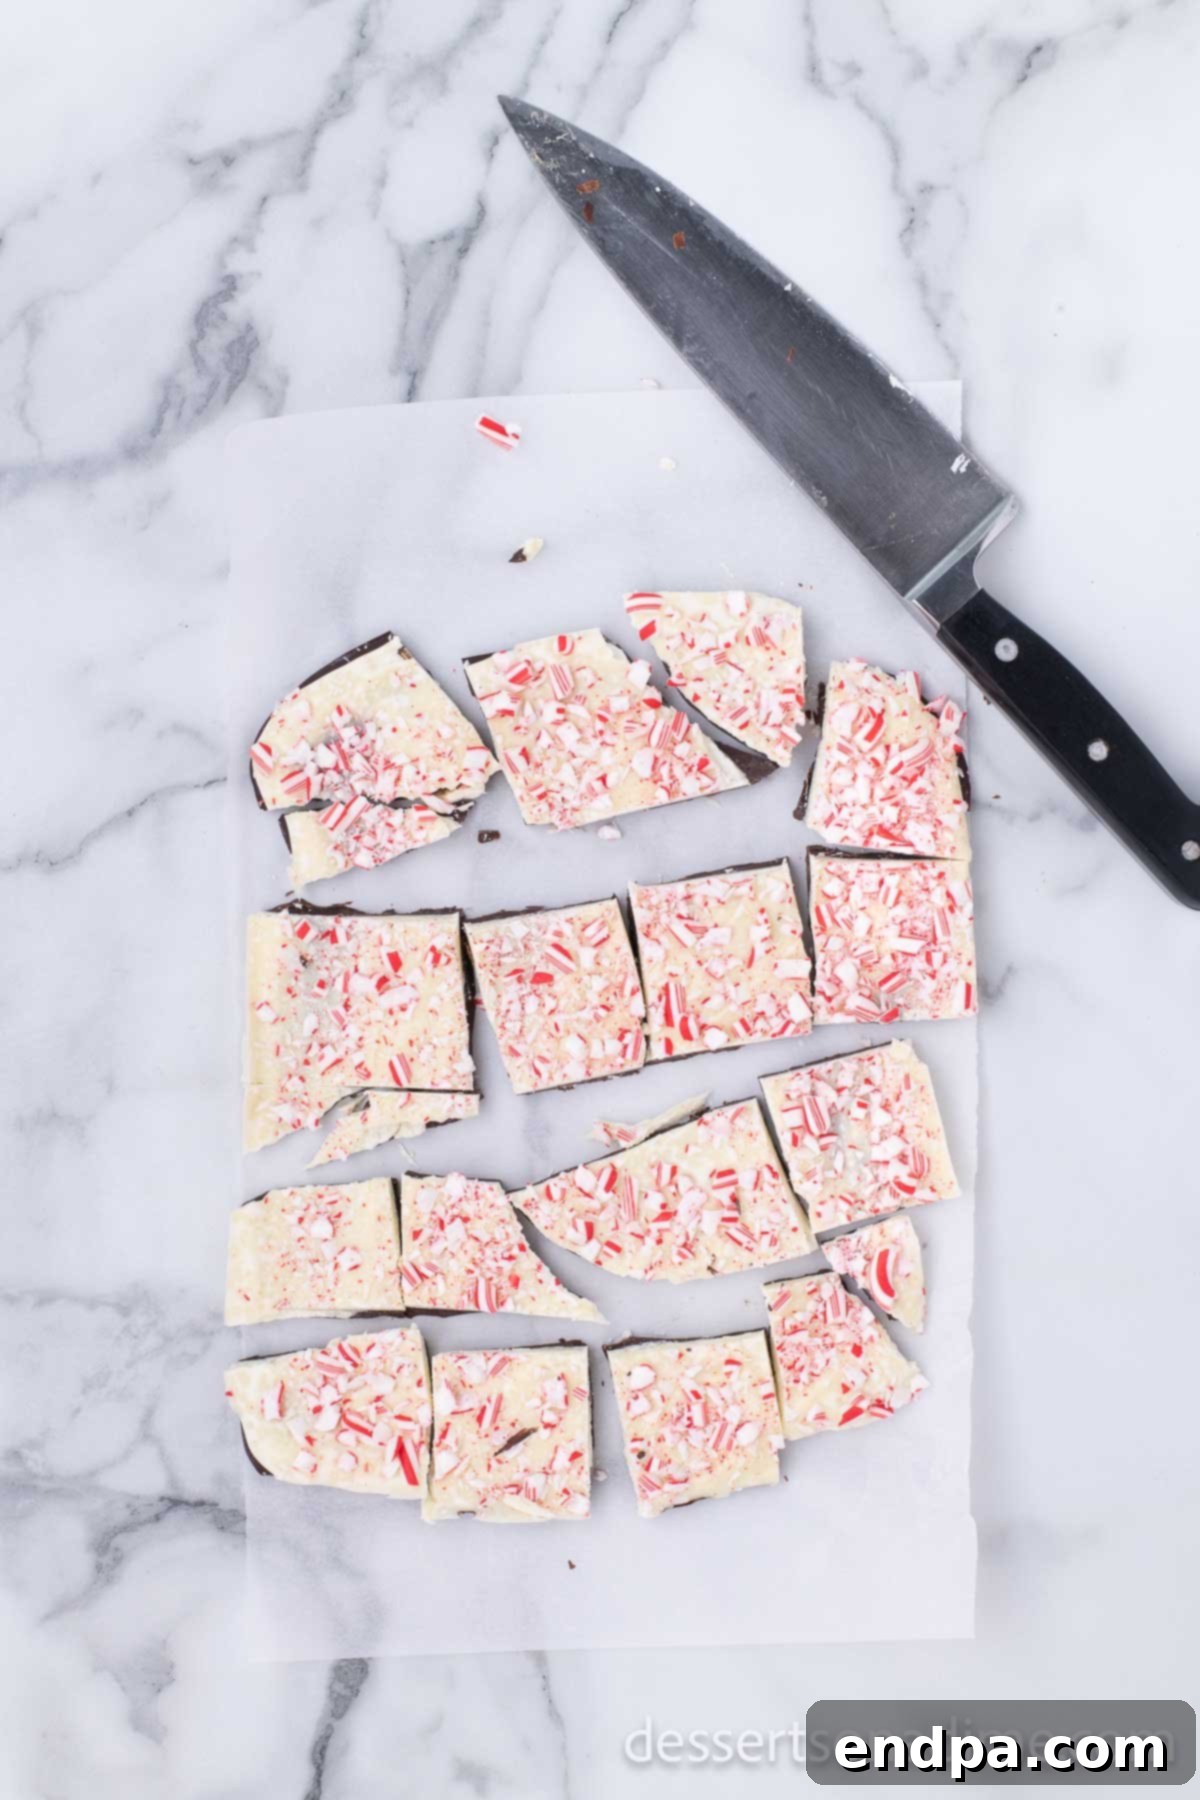
Step 6: Layer and Garnish the Bark. Carefully pour the peppermint-infused white chocolate mixture over the semi-set dark chocolate layer. Using an offset spatula, gently and evenly spread the white chocolate to cover the entire dark chocolate surface. Work quickly and gently to avoid disturbing the bottom layer too much. Immediately after spreading the white chocolate, generously sprinkle the remaining crushed candy cane pieces over the top. This ensures they adhere firmly before the chocolate sets. Allow the entire peppermint bark to harden completely at cool room temperature for several hours (ideally 4 hours or even overnight) before cutting or breaking into pieces. Patience is key for a clean, crisp break and beautifully distinct layers.
Expert Tips for the Best Peppermint Bark
Crafting homemade peppermint bark is quite simple, but a few expert tips can elevate your results from good to absolutely perfect:
- Choose Premium Chocolate: Since chocolate is the primary ingredient, its quality profoundly impacts the final taste and texture. Invest in high-quality baking bars or couverture chocolate from reputable brands. Avoid using standard chocolate chips, which often contain emulsifiers that prevent smooth melting and can result in a dull finish.
- Melt Chocolate Gently: Whether using a microwave or a double boiler, melt your chocolate slowly and in short intervals. Overheating can cause chocolate to seize, turning it thick, lumpy, and unusable. Stir frequently to ensure even melting and a velvety smooth consistency. Keep any moisture away from melting chocolate, as even a single drop can cause it to seize.
- Allow Layers to Set (but not fully harden) Between Layers: The dark chocolate layer should be firm enough to support the white chocolate without mixing, but still slightly tacky. This slight tackiness ensures the two layers bond together beautifully, preventing separation and cracking once hardened.
- Patience is Key for Setting: Resist the urge to refrigerate or freeze the bark immediately to speed up the setting process. Rapid temperature changes can cause “blooming” (white streaks or splotches on the chocolate surface) or cause the layers to separate and crack. Allow the bark to harden slowly and completely at cool room temperature for at least 4 hours, or preferably overnight, for the best texture and appearance.
- Sprinkle Toppings Immediately: Once the white chocolate layer is spread, immediately sprinkle the crushed peppermint. This ensures the candy pieces adhere firmly to the still-wet chocolate and won’t fall off once the bark sets.
- Use Parchment Paper for Easy Removal: The wax or parchment paper lining is your best friend. Once the bark is completely set, use the overhang to easily lift the entire slab out of the pan. This also helps you avoid leaving fingerprints directly on the chocolate.
- Technique for Breaking/Cutting: For a rustic, jagged look, simply break the fully set bark into irregular pieces with your hands. If you prefer cleaner edges, use a large, sharp chef’s knife. For exceptionally clean cuts, you can briefly warm your knife blade under hot water, dry it completely, then make your cuts. Wipe and re-warm the knife after each cut for the best results. A wooden spoon can also be used to gently tap and break larger sections if needed.
- Storage Matters: Store your peppermint bark in an airtight container at cool room temperature to maintain its crisp snap and prevent it from absorbing any odors or moisture.
Frequently Asked Questions About Peppermint Bark
Absolutely! Peppermint bark freezes wonderfully, making it an excellent treat to prepare in advance or to extend its enjoyment. To freeze, ensure the bark has completely hardened and is broken into pieces. Wrap it very tightly in plastic wrap, then place the wrapped pieces in an airtight freezer-safe container or a heavy-duty freezer bag. This double layer of protection helps prevent freezer burn and keeps out moisture. When you’re ready to serve, thaw the frozen bark gradually in the refrigerator overnight, or at cool room temperature for a few hours, allowing it to come to temperature slowly to maintain its texture and prevent condensation from forming on the surface.
Generally, homemade peppermint bark does not need to be refrigerated for storage if your home is at a cool, stable room temperature (typically below 70°F or 21°C). Storing it at room temperature allows the chocolate to maintain its best snap and texture. However, if you live in a warmer or very humid climate, or if your kitchen tends to be warm, refrigerating the bark can prevent it from softening or melting. If you do refrigerate it, allow the bark to sit at room temperature for about 15-20 minutes before serving to ensure the chocolate is at its ideal, crisp texture.
When stored correctly in an airtight container at cool room temperature, homemade peppermint bark typically stays fresh and delicious for about 2 to 3 weeks. The dark chocolate helps preserve it, but exposure to air or humidity can degrade its quality. If you opt to freeze your peppermint bark using the method described above, its shelf life can be extended significantly, often lasting for 2 to 3 months without a noticeable loss in quality or flavor. Always ensure the container is well-sealed to protect the chocolate from moisture and foreign odors.
Storing your chocolate peppermint bark properly is essential to maintaining its freshness and crisp texture. Once the bark has fully set and been broken into pieces, transfer it to an airtight container. You can layer the pieces with sheets of parchment paper in between to prevent them from sticking together. Keep the container in a cool, dry place, away from direct sunlight, heat sources, and strong odors, which chocolate can easily absorb. If you are arranging the bark on a holiday cookie tray for presentation, ensure the entire tray is wrapped completely and tightly with plastic wrap to seal in freshness and protect the bark until it’s ready to be served.
More Delightful Peppermint Dessert Ideas
If the refreshing flavor of peppermint has captured your culinary imagination through this bark recipe, you’re in for a treat! Peppermint is a versatile ingredient that can elevate many desserts, making them perfect for festive gatherings or a simple winter indulgence. Explore these other fantastic peppermint-themed recipes:
- Candy Cane Kiss Cookies: Soft, chewy sugar cookies crowned with a festive, melting peppermint kiss candy, creating an irresistible blend of cookie and mint.
- Easy Candy Cane Pie Recipe: A light, airy, and creamy no-bake pie, bursting with the cool, invigorating flavor of candy canes, perfect for a refreshing holiday dessert.
- Peppermint Fudge Recipe: Indulge in rich, decadent fudge swirled with a vibrant peppermint essence, making it an ideal treat for gifting or holiday platters.
- Peppermint Meringues: Delightfully delicate and crisp meringue cookies, subtly flavored with peppermint, offering a light and airy alternative to heavier holiday sweets.
- For even more inspiration to satisfy your minty cravings, dive into our collection of 20 Easy Peppermint Desserts Recipes, featuring a wide array of creative and simple treats.
We enthusiastically encourage you to try this incredibly easy and rewarding Peppermint Bark Recipe. It’s a fabulous treat that’s sure to impress your family and friends and become a cherished part of your holiday traditions. Once you’ve made your batch, please come back and share your experience by leaving a star recipe rating and a comment!
Pin Recipe
Print Recipe
Chocolate Peppermint Bark
Ingredients
- 8 oz chocolate chopped into small pieces (I like to use a premium baking bar)
- 8 oz premium white chocolate chopped into small pieces
- ¼ teaspoon peppermint extract optional
- ⅓ cup crushed candy cane pieces or peppermints, divided
Instructions
- Line an 8×8 baking pan with wax paper. Set aside.
- Place chopped dark chocolate in a microwave safe bowl. Heat for 30 seconds. Remove from microwave and stir well. Return to microwave and heat on 15-second increments (stirring well between each) until chocolate is completely melted.
- Spread melted dark chocolate evenly into the bottom of your prepared baking pan. Set aside (do not refrigerate).
- Place your chopped white chocolate in a microwave safe bowl. Heat for 30 seconds. Remove from microwave and stir well. Return to microwave and heat on 15-second increments (stirring well between each) until white chocolate is completely melted.
- Once white chocolate is melted, add peppermint extract and ¼ cup of crushed candy canes to the white chocolate and gently fold in until evenly distributed.
- Spread white chocolate evenly (and gently, in case chocolate has not completely set) over the dark chocolate layer.
- Immediately sprinkle the white chocolate layer with the remaining candy cane pieces.
- Allow peppermint bark to harden completely at room temperature before cutting/breaking into pieces and enjoying. This will take several hours at room temperature. We do not recommend refrigerating for setting.
Nutrition Facts
Pin This Now to Remember It Later
Pin Recipe
