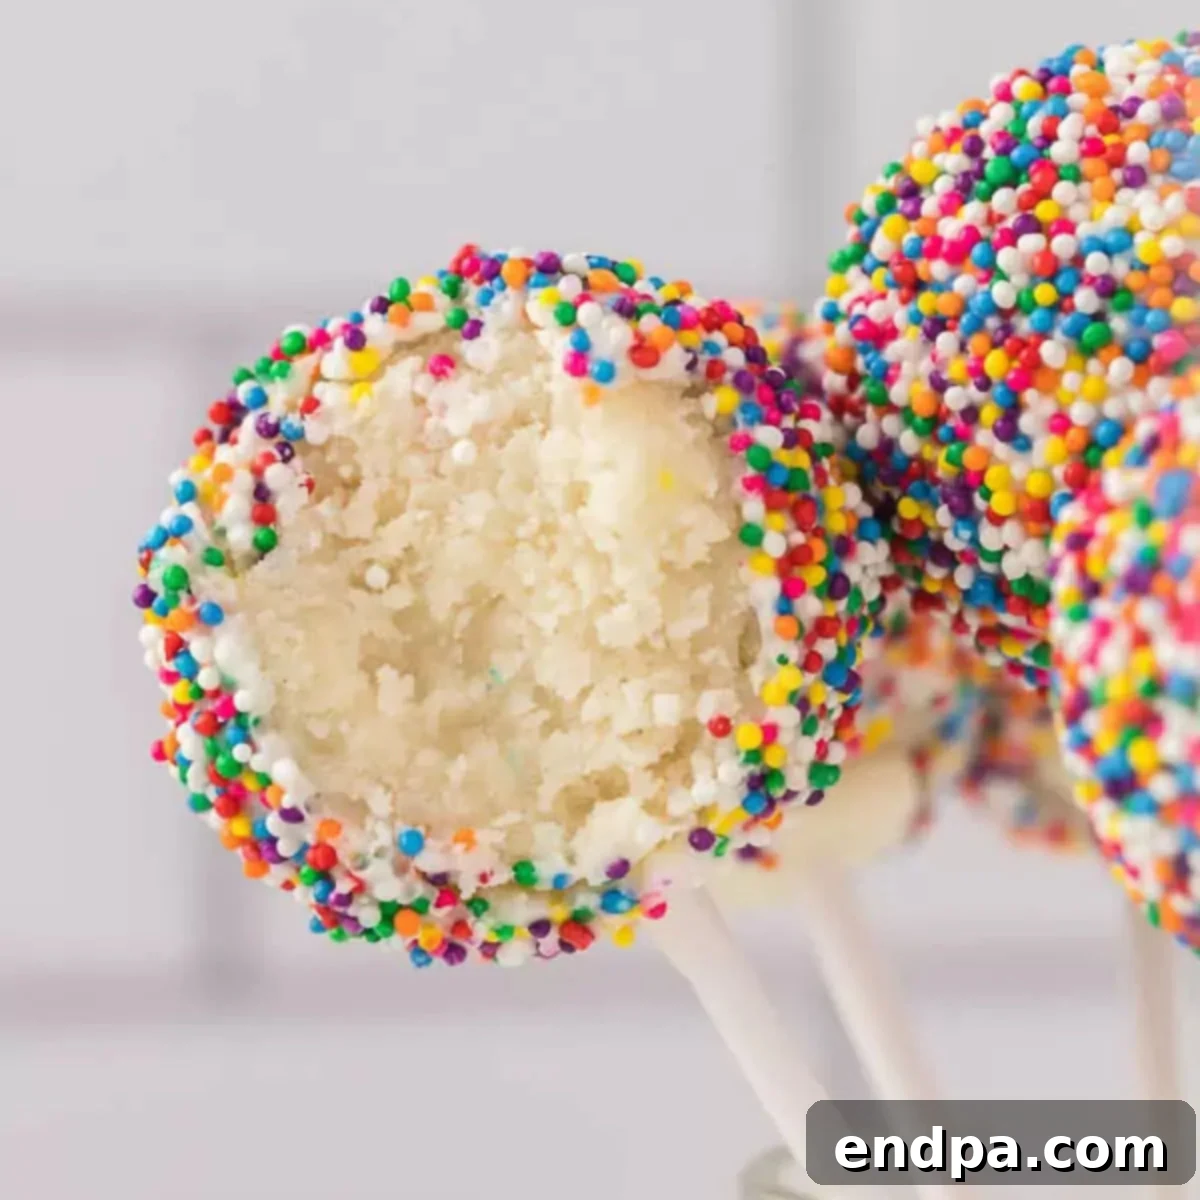
Birthday Cake Pops with Sprinkles: Your Ultimate Guide to Sweet Celebrations
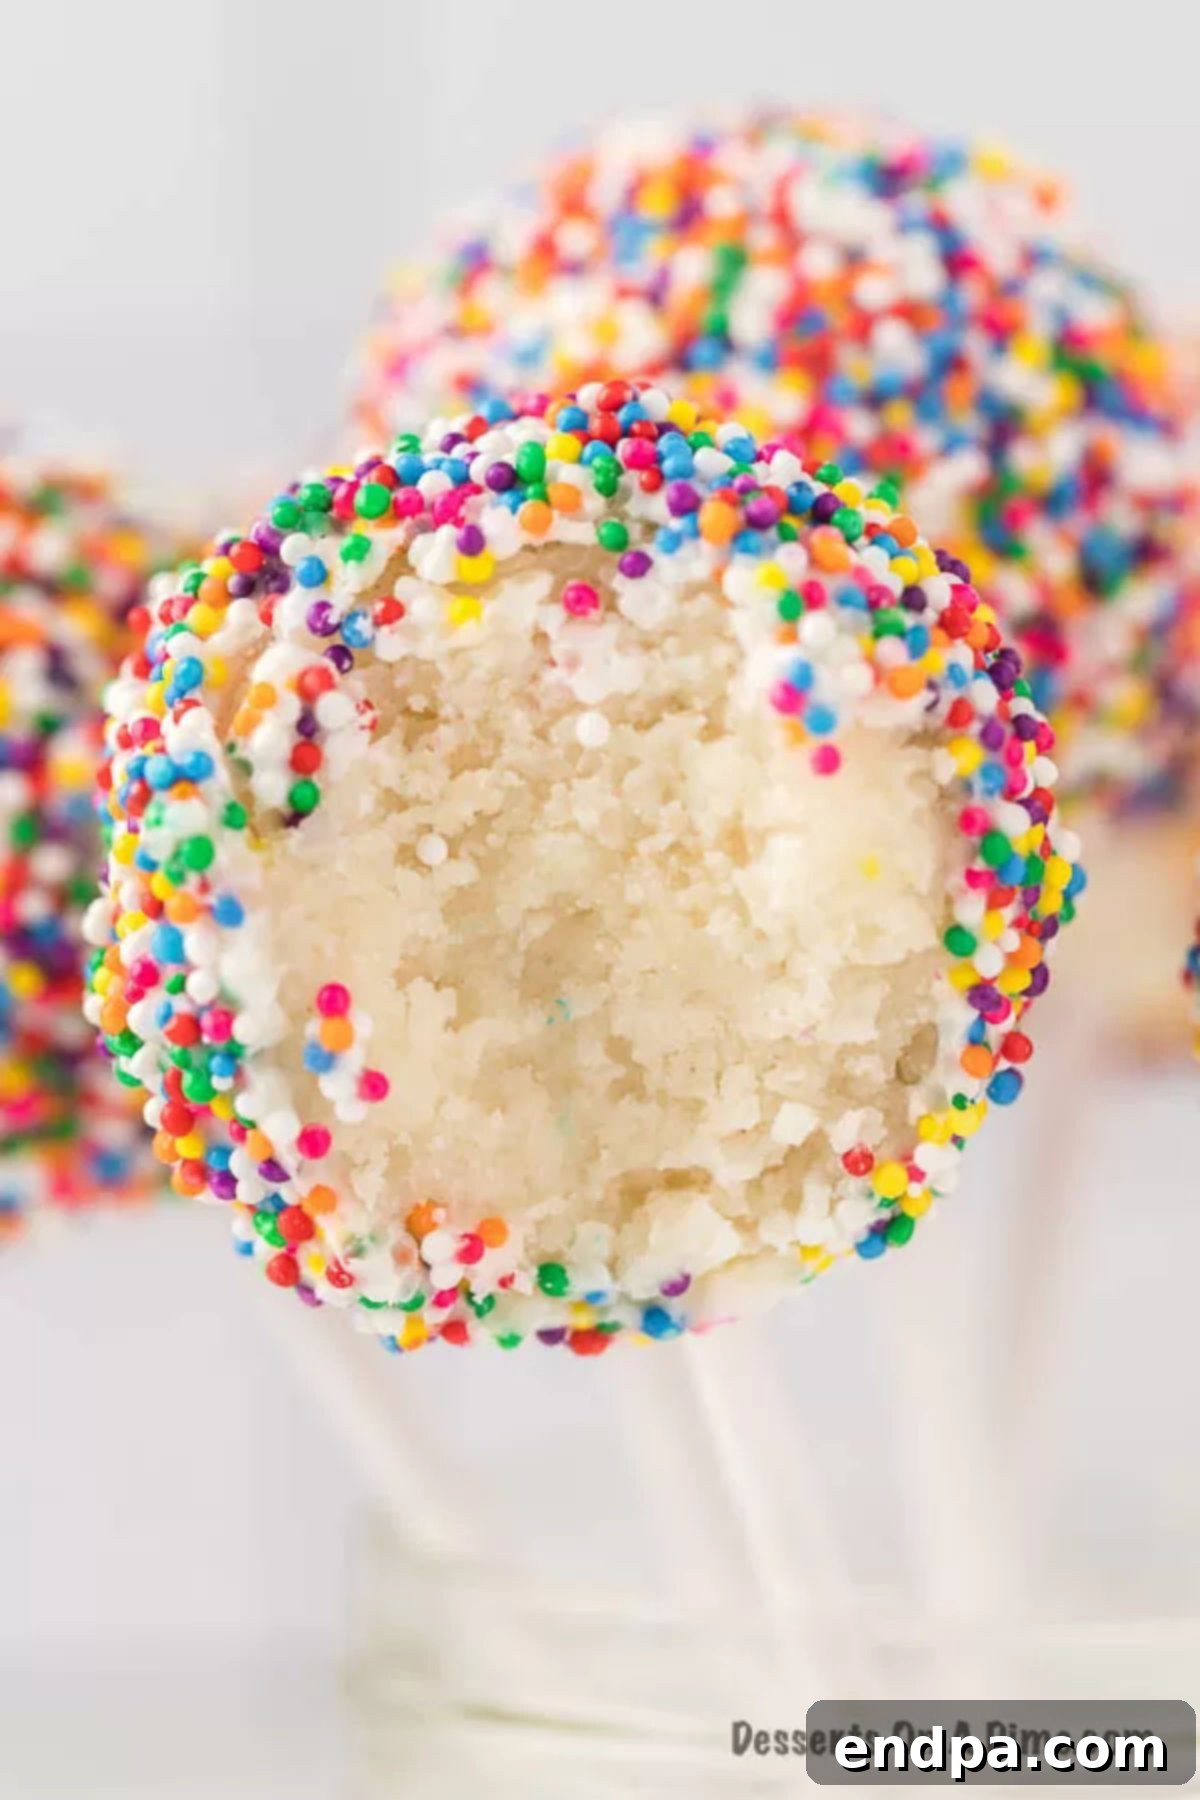
There’s an undeniable magic that sprinkles bring to any dessert, transforming a simple treat into a dazzling celebration. When combined with the irresistible bite-sized charm of cake pops, you get a show-stopping confection perfect for any joyous occasion. These delightful Birthday Cake Pops, adorned with a riot of colorful sprinkles, are not just fun to look at; they’re incredibly simple to make and always an absolute hit, especially with the younger crowd. Imagine the smiles when you present a tray of these homemade wonders at your next gathering!
My family, especially my kids, absolutely adores cake pops. We’ve enjoyed making classics like Copycat Starbucks Cake Pops, but there’s something extra special about adding a burst of colorful sprinkles. If you’re exploring more bite-sized dessert ideas for birthdays or other events, you might also love our recipes for Cakesicles and Oreo Cake Pops. For a broader array of birthday desserts, we have plenty of inspiration.
Table of Contents
- Why This Recipe Works: The Joy of Homemade Cake Pops
- Essential Ingredients for Vibrant Birthday Cake Pops
- Unleash Your Creativity: Exciting Variations for Every Celebration
- How to Make Birthday Cake Pops: A Step-by-Step Guide
- Pro Tips for Flawless Cake Pop Creation
- Creative Serving and Gifting Ideas
- Preparing Ahead: Freezing and Storage Solutions
- Discover More Cake Pop Inspirations
Why This Recipe Works: The Joy of Homemade Cake Pops
Have you ever considered the cost of purchasing custom cake pops from a bakery or coffee shop? It can quickly add up, especially if you’re catering to a large family or hosting a big party. This recipe offers a delightful and budget-friendly alternative, allowing you to create beautiful, delicious cake pops right in your own kitchen.
Making homemade cake pops is surprisingly easy, and the taste is simply superior. Our vanilla cake pops, in particular, are incredibly flavorful and moist, making them a guaranteed crowd-pleaser. They are perfect for a wide range of celebrations: birthday parties, baby showers, bridal showers, holiday gatherings, or simply as a special weekend treat. Guests will be impressed by these colorful and delicious treats, which easily qualify as some of the best birthday desserts you can serve.
If you’re drawn to desserts with a vibrant, colorful theme, beyond these cake pops, consider trying our Easy Rainbow Sugar Cookies, a classic Butter Mints Recipe, or festive Confetti Cupcakes. And for those who can’t get enough of chocolate, our Chocolate Cake Pops recipe is an absolute must-try. This recipe truly works because it combines simplicity with stunning results, making gourmet-style treats accessible to everyone.
Essential Ingredients for Vibrant Birthday Cake Pops
Crafting perfect birthday cake pops starts with a few key ingredients. The beauty of this recipe lies in its flexibility, allowing you to choose quality components that suit your taste and convenience.
- White Cake Mix: This forms the foundational flavor and texture of your cake pops. Using a good quality box mix saves significant time and effort, making the process much more approachable. Remember to have all the additional ingredients specified on the back of the cake mix box (usually eggs, oil, and water) ready for preparation.
- White Frosting: The frosting is what binds the crumbled cake together, creating that signature dense, truffle-like texture. We recommend using store-bought vanilla frosting for ease, as its smooth consistency is ideal. However, if you prefer a homemade touch, our Homemade Cream Cheese Frosting Recipe works wonderfully and adds a rich, tangy depth of flavor.
- White Candy Melts: These are crucial for the outer coating of your cake pops. Candy melts are specifically designed to be smooth and easy to melt, providing a flawless, crisp shell that holds the sprinkles beautifully. Their versatility also allows for easy coloring, as we’ll discuss in the variations.
- Rainbow Sprinkles: What’s a birthday without sprinkles? Rainbow sprinkles add that quintessential festive look and a delightful textural crunch. Feel free to choose any colors or types of sprinkles that match your party theme or personal preference. The more colorful, the better for a birthday celebration!
- Lollipop Sticks: While not an ingredient, these are essential for transforming your cake balls into convenient, fun-to-eat cake pops. Sturdy sticks ensure easy handling and a professional presentation.
The complete list of ingredients, along with precise measurements, is available in the recipe card at the bottom of the page. Gathering these items ahead of time will streamline your cake pop making process.
Unleash Your Creativity: Exciting Variations for Every Celebration
One of the most enjoyable aspects of making birthday cake pops is the endless opportunity for customization. While our classic sprinkle-adorned vanilla cake pops are fantastic, don’t hesitate to experiment and tailor them to your specific event or cravings.
- Food Coloring Fun: Add a pop of color to the cake mixture itself! A few drops of food dye can transform a plain white cake into vibrant hues, perfect for a rainbow-themed party or matching specific decor. You can also use food coloring to tint your white candy melts, creating a custom palette for your outer coating. Imagine bright blue, pink, or green cake pops!
- Diverse Candy Coating Options: While white candy melts provide a clean canvas for sprinkles, the market offers an assortment of colored candy melts. Consider using pink candy coating for a baby shower, blue for a boy’s birthday, or even a mix of colors. For a slightly different flavor profile, white chocolate can also be used as a coating, offering a rich, creamy finish. Be sure to temper white chocolate properly for the best results, or use high-quality white chocolate chips melted with a bit of shortening for easier dipping.
- Explore Cake Mixture Flavors: Our recipe uses white cake mix, but the possibilities for cake flavors are truly endless.
- Yellow or Vanilla Cake: For a classic, comforting flavor.
- Funfetti Cake: If you want sprinkles inside and out, Funfetti mix is your go-to for an extra festive touch.
- Strawberry Cake: A delightful choice for a spring or summer party, or for anyone who loves fruity desserts.
- Chocolate Cake: For the ultimate chocolate lovers, a rich chocolate cake base combined with chocolate or vanilla frosting makes for an indulgent treat.
- Red Velvet Cake: Offers a beautiful color and distinct flavor, especially when paired with cream cheese frosting.
The key is to use a cake mix you love; almost any flavor can be transformed into a delicious cake pop.
- Sprinkle Spectacle: Rainbow sprinkles are undeniably fun for birthday cake pops, but this is where seasonal and thematic creativity truly shines. Easily switch out the sprinkles to match any holiday or occasion:
- Valentine’s Day: Red, pink, and white heart-shaped sprinkles.
- St. Patrick’s Day: Green and gold sprinkles, or tiny shamrocks.
- Easter: Pastel-colored sprinkles or tiny bunny shapes.
- Christmas: Red, green, and white sprinkles, or festive shapes like snowflakes or stars.
- Halloween: Orange, black, and purple sprinkles, or spooky ghost and bat shapes.
- Team Colors: Use sprinkles that match your favorite sports team for game day treats.
- Themed Parties: Customize sprinkles to match any party theme, from unicorn colors to superhero logos.
Don’t be afraid to mix and match different types of sprinkles for a unique look and texture.
How to Make Birthday Cake Pops: A Step-by-Step Guide
Creating these festive birthday cake pops is a rewarding process. Follow these detailed steps to achieve perfect, delicious results every time.
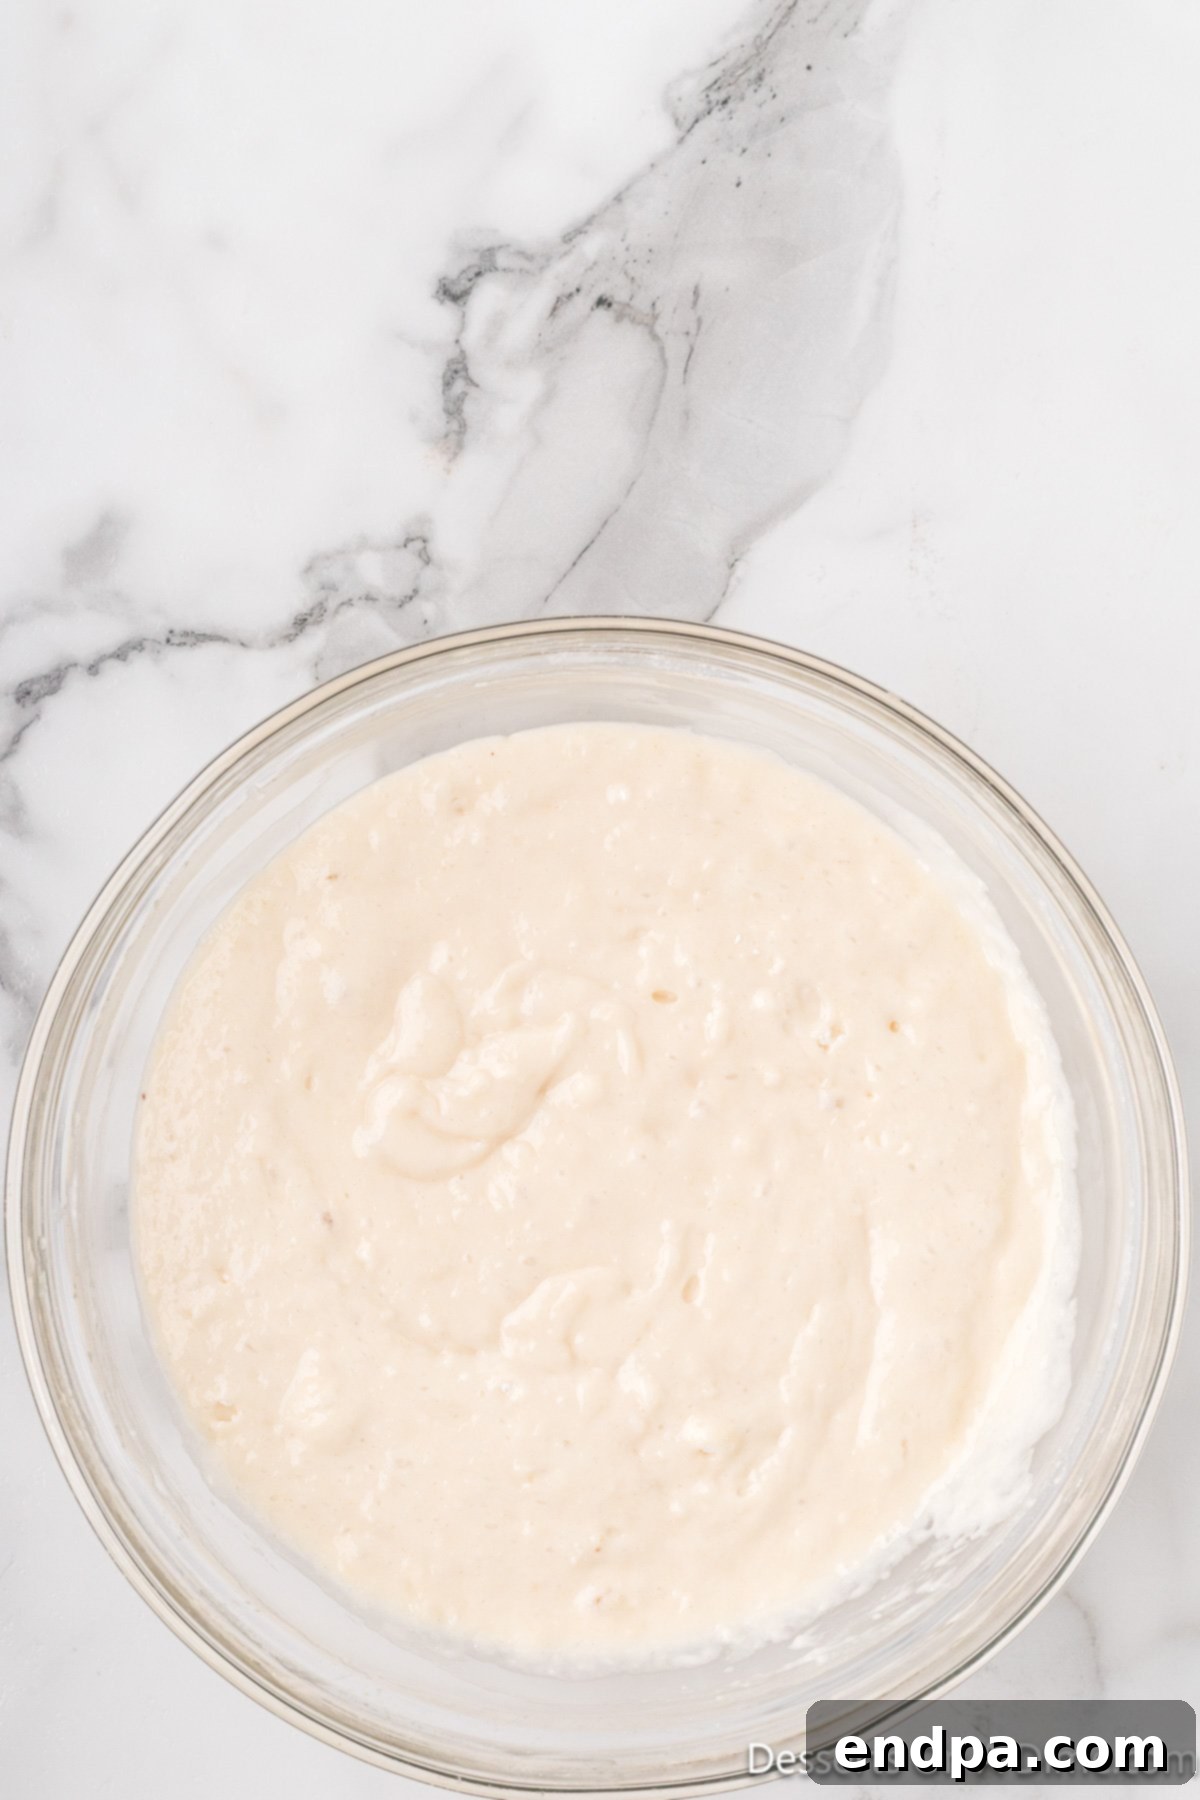
Step 1: Prepare the Cake. Begin by preparing your chosen white cake mix according to the package instructions. You will typically need eggs, oil, and water. Mix until the batter is smooth and free of lumps. This recipe is based on baking the cake in a 9×13 inch pan, which yields a good quantity of cake for your pops.
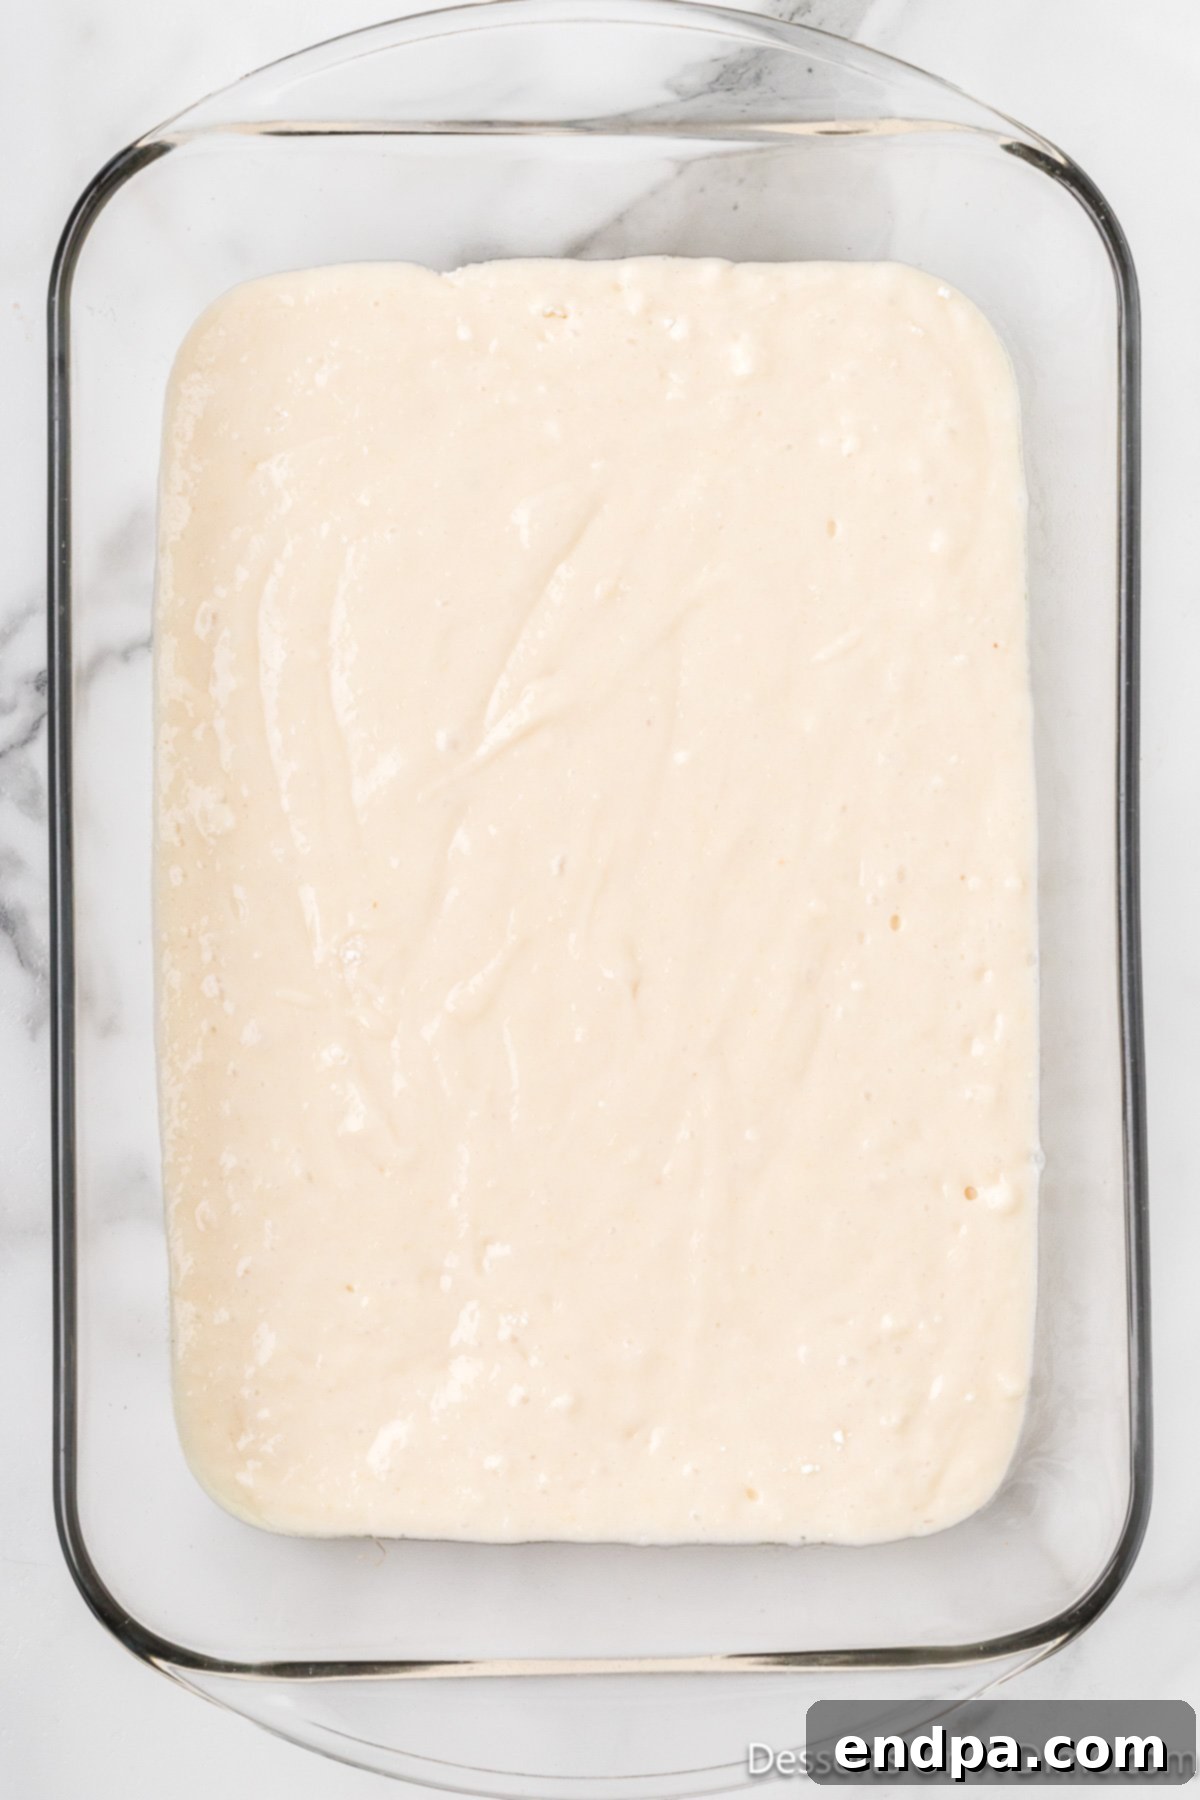
Step 2: Pour into Baking Dish. Once your batter is ready, pour it evenly into your prepared 9×13 inch baking dish. Ensure it’s spread smoothly for even baking.
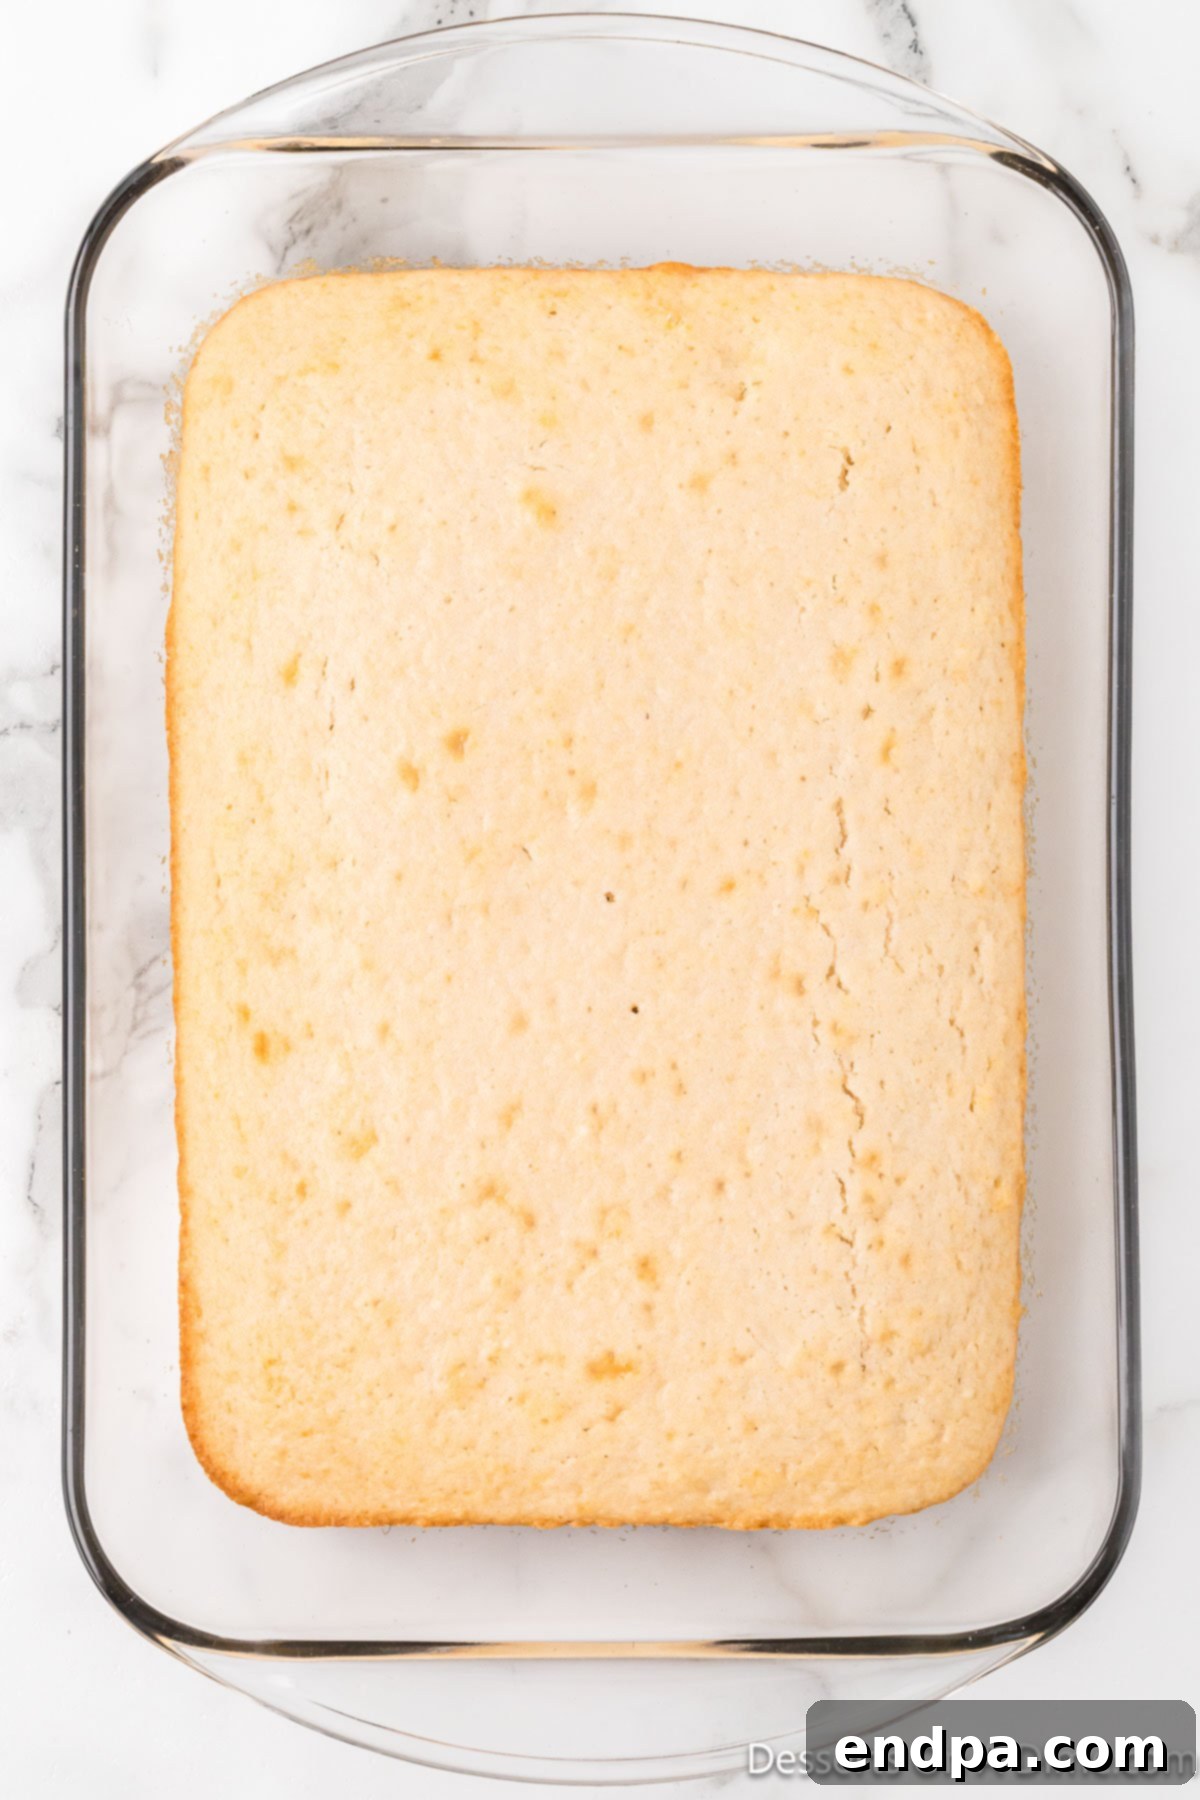
Step 3: Bake and Cool. Bake the cake according to the box instructions, or until a toothpick inserted into the center comes out clean. Once baked, remove the cake from the oven and allow it to cool completely at room temperature. Rushing this step can lead to a crumbly mixture later.
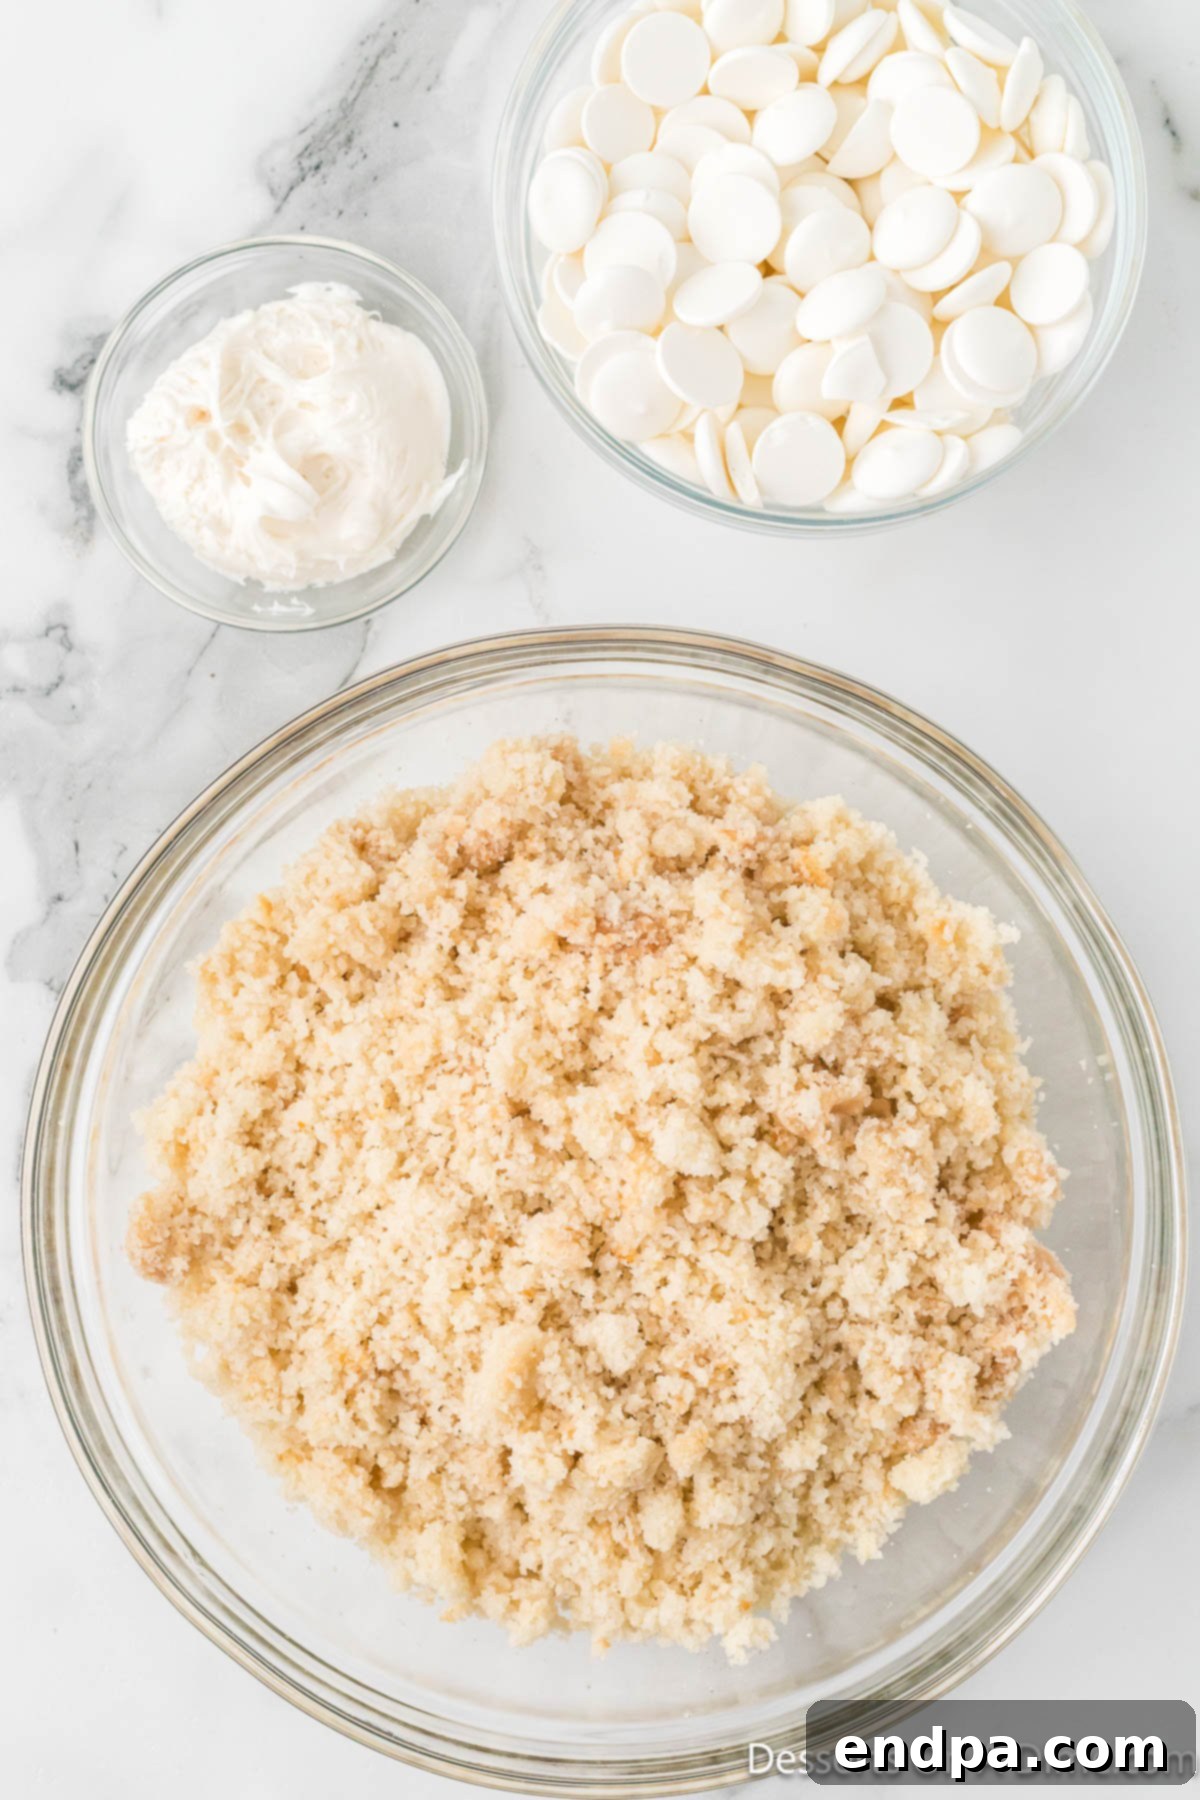
Step 4: Crumble the Cake. Carefully take the cooled cake out of the baking dish. Gently remove the slightly browned outside layer from the cake (this part can sometimes be a bit dry) and discard it. Crumble the remaining moist cake into a large mixing bowl, aiming for fine, even crumbs. You can use your hands or a fork for this.
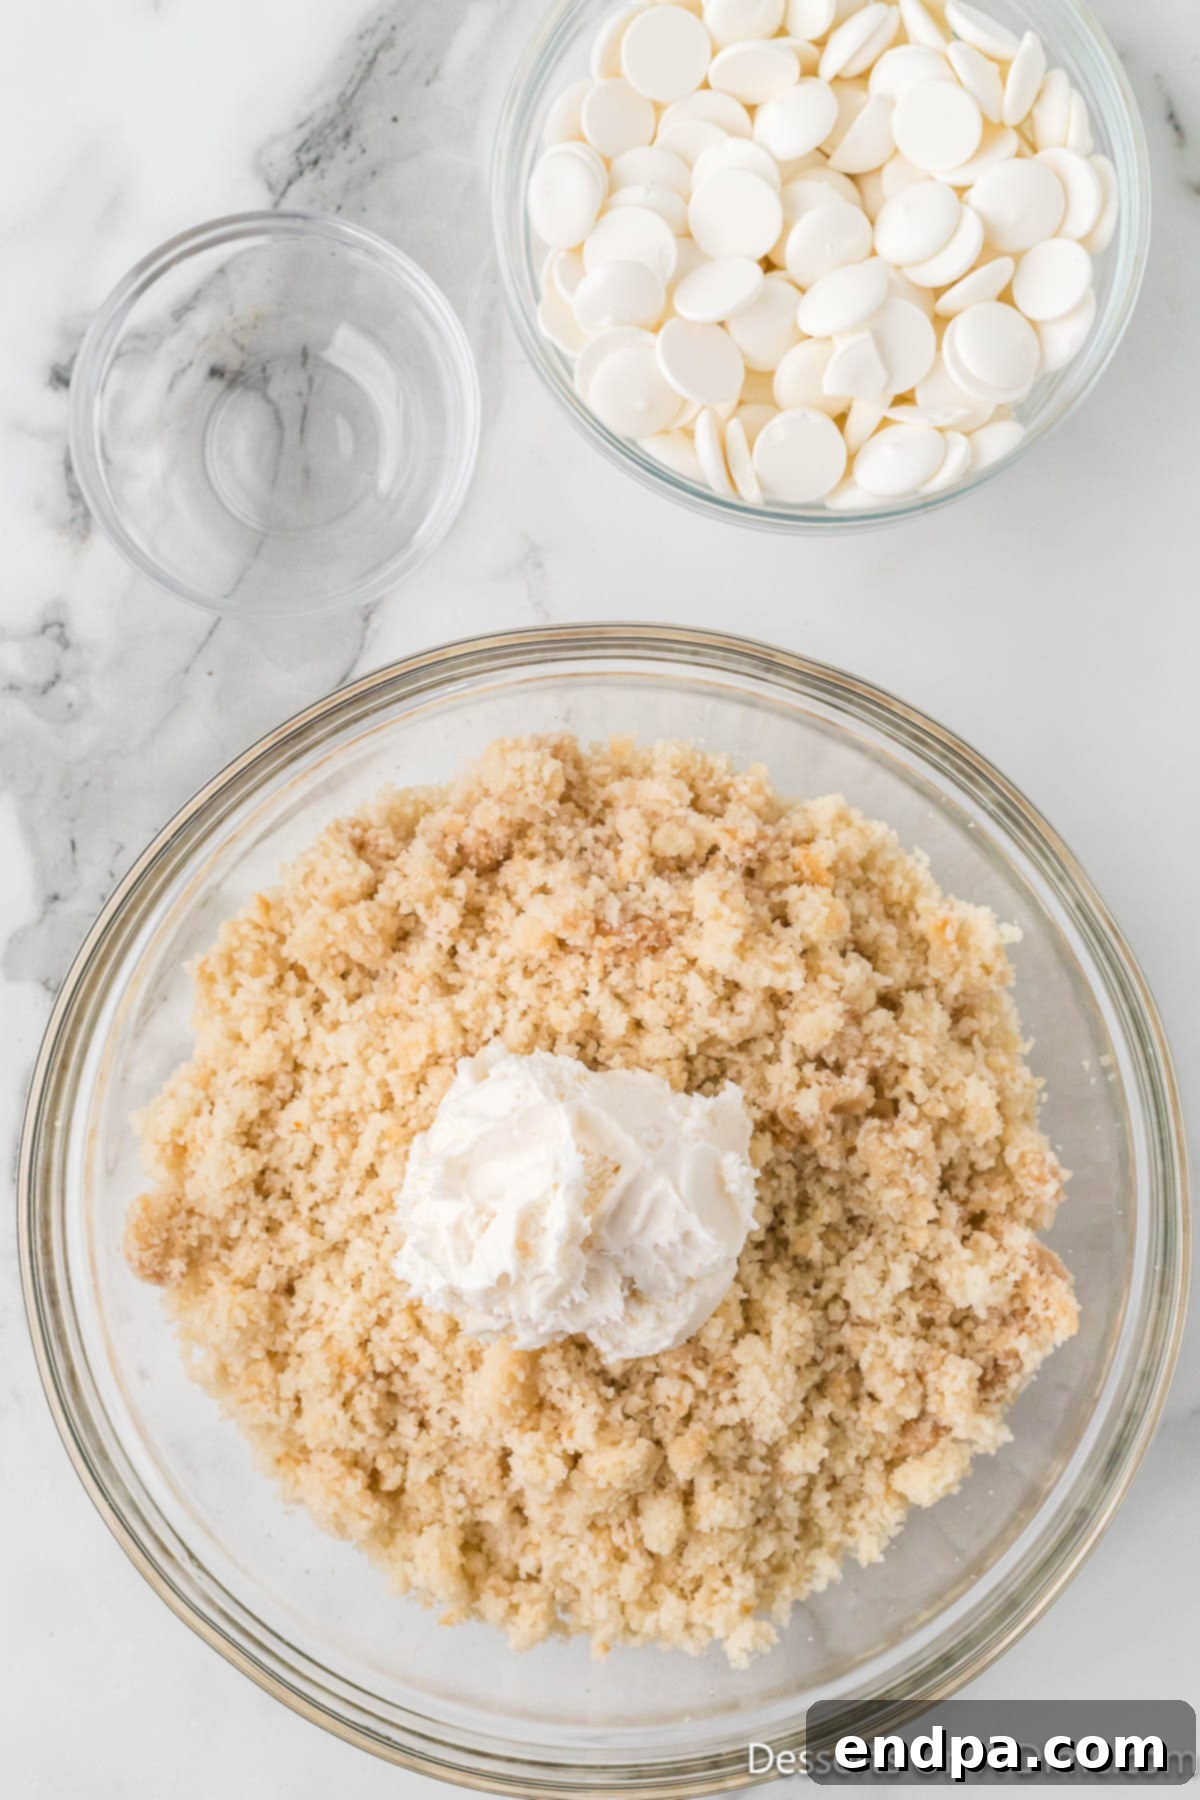
Step 5: Add the Frosting. Pour your white frosting directly into the bowl with the crumbled cake. Start with the recommended amount and adjust if necessary, but avoid adding too much, as this can make the mixture too soft.
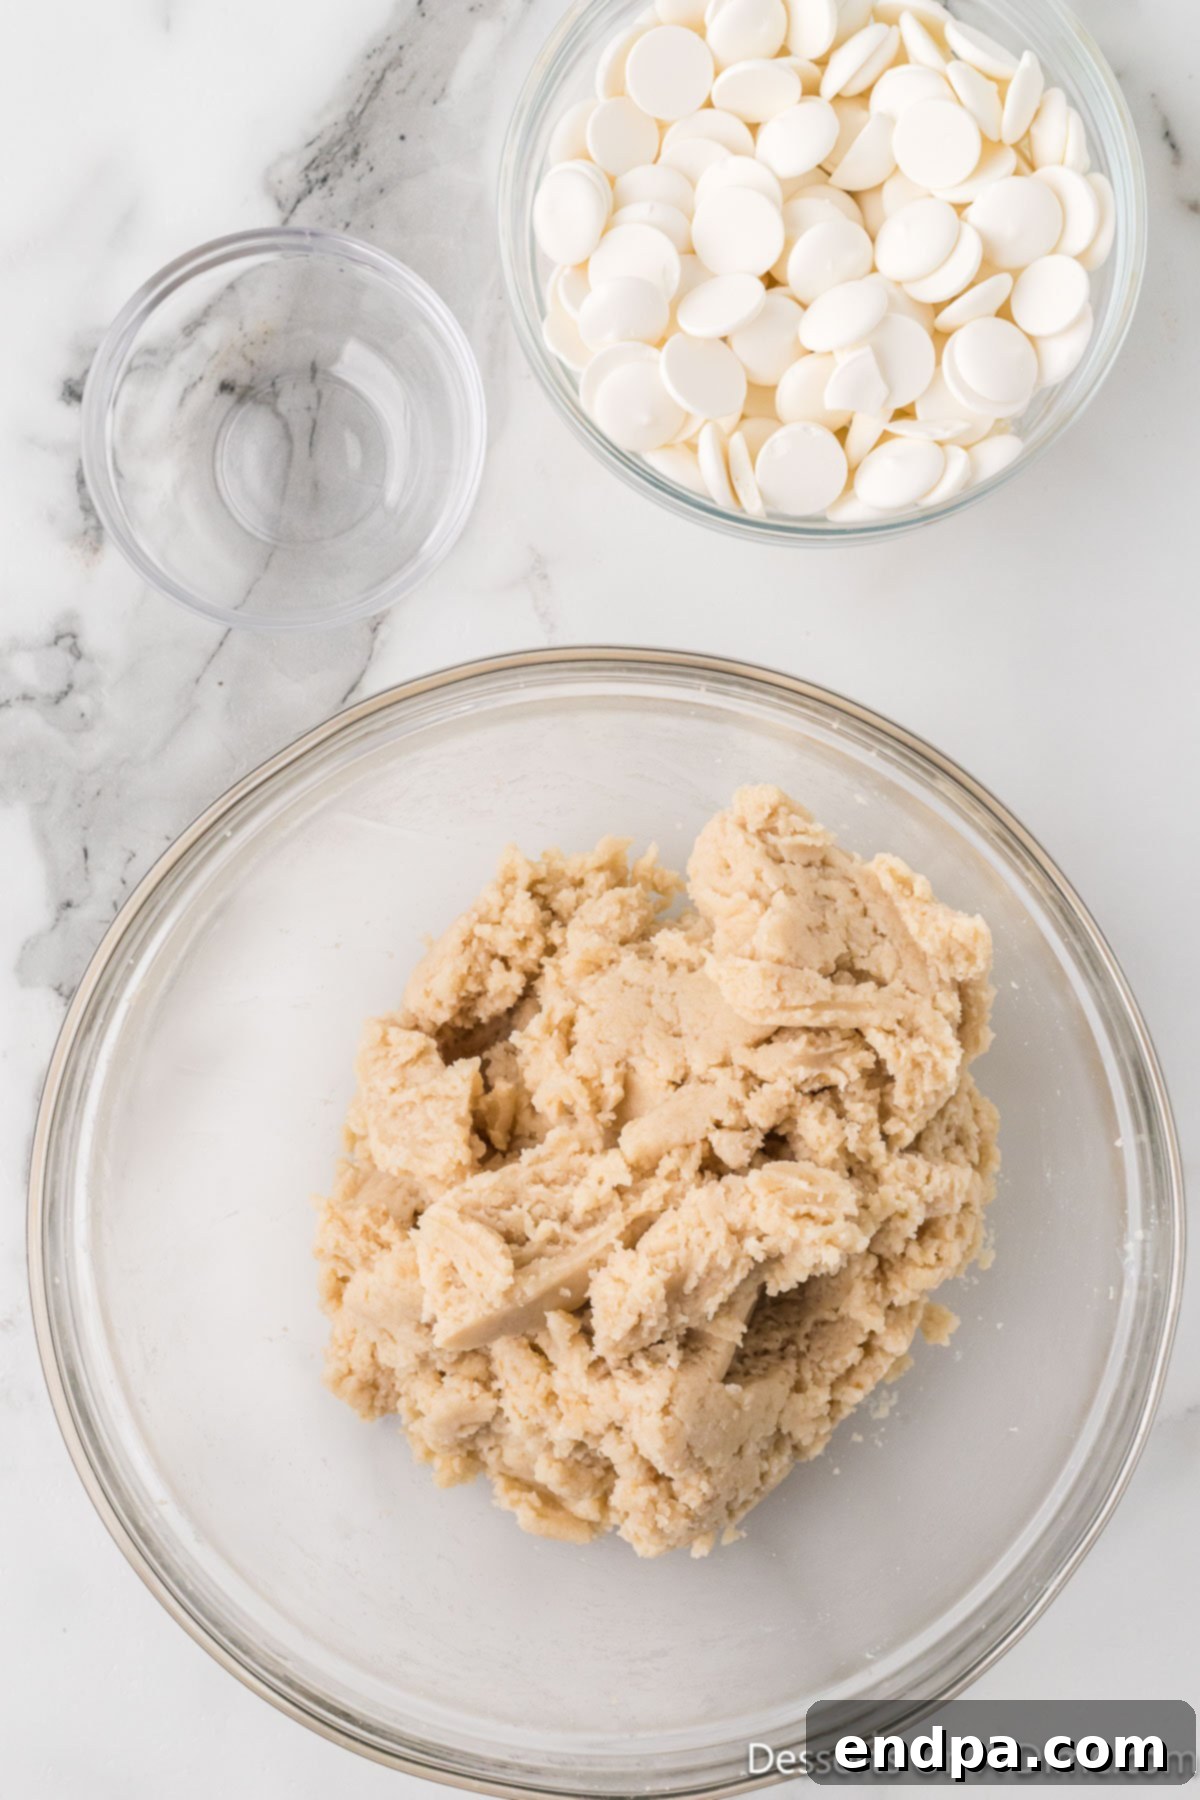
Step 6: Combine Thoroughly. Using your hands (the best tool for this!), mix the frosting and cake crumbs together until everything is well combined and forms a moist, dough-like consistency. The mixture should hold its shape when rolled into a ball without being overly sticky or greasy.
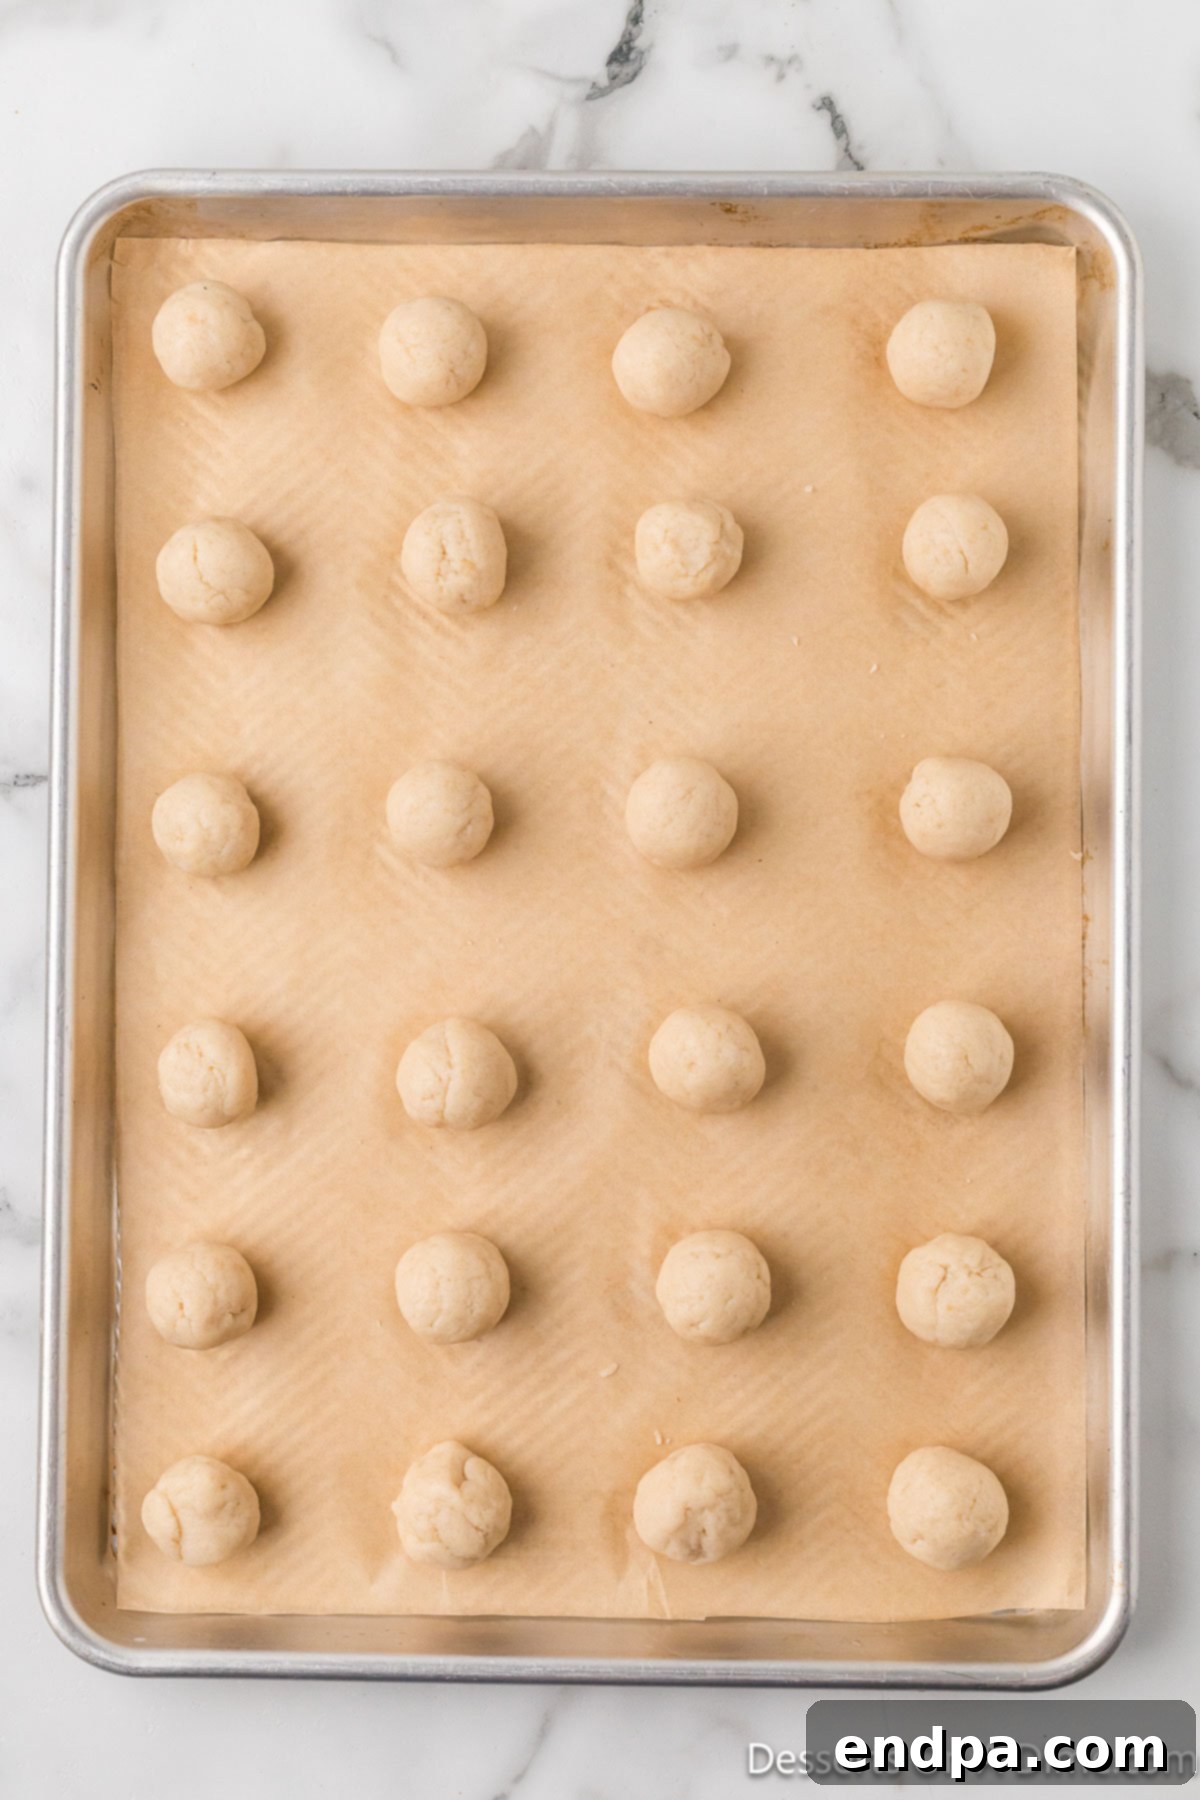
Step 7: Form Cake Balls. Use your hands to shape the cake mixture into uniformly sized cake balls. A cookie scoop can be incredibly helpful for ensuring consistent sizing, which aids in even dipping. Aim for about 24 to 36 cake balls, depending on your desired size. Place these formed balls on a baking sheet lined with parchment paper to prevent sticking.
Step 8: Prepare Lollipop Sticks. In a small, microwave-safe bowl, melt your white candy melts. Microwave in 30-second intervals, stirring thoroughly after each interval, until the candy is smooth and creamy. Dip the tip of each lollipop stick into the melted candy, allowing any excess to drip off. This candy acts as a “glue” to secure the cake ball.
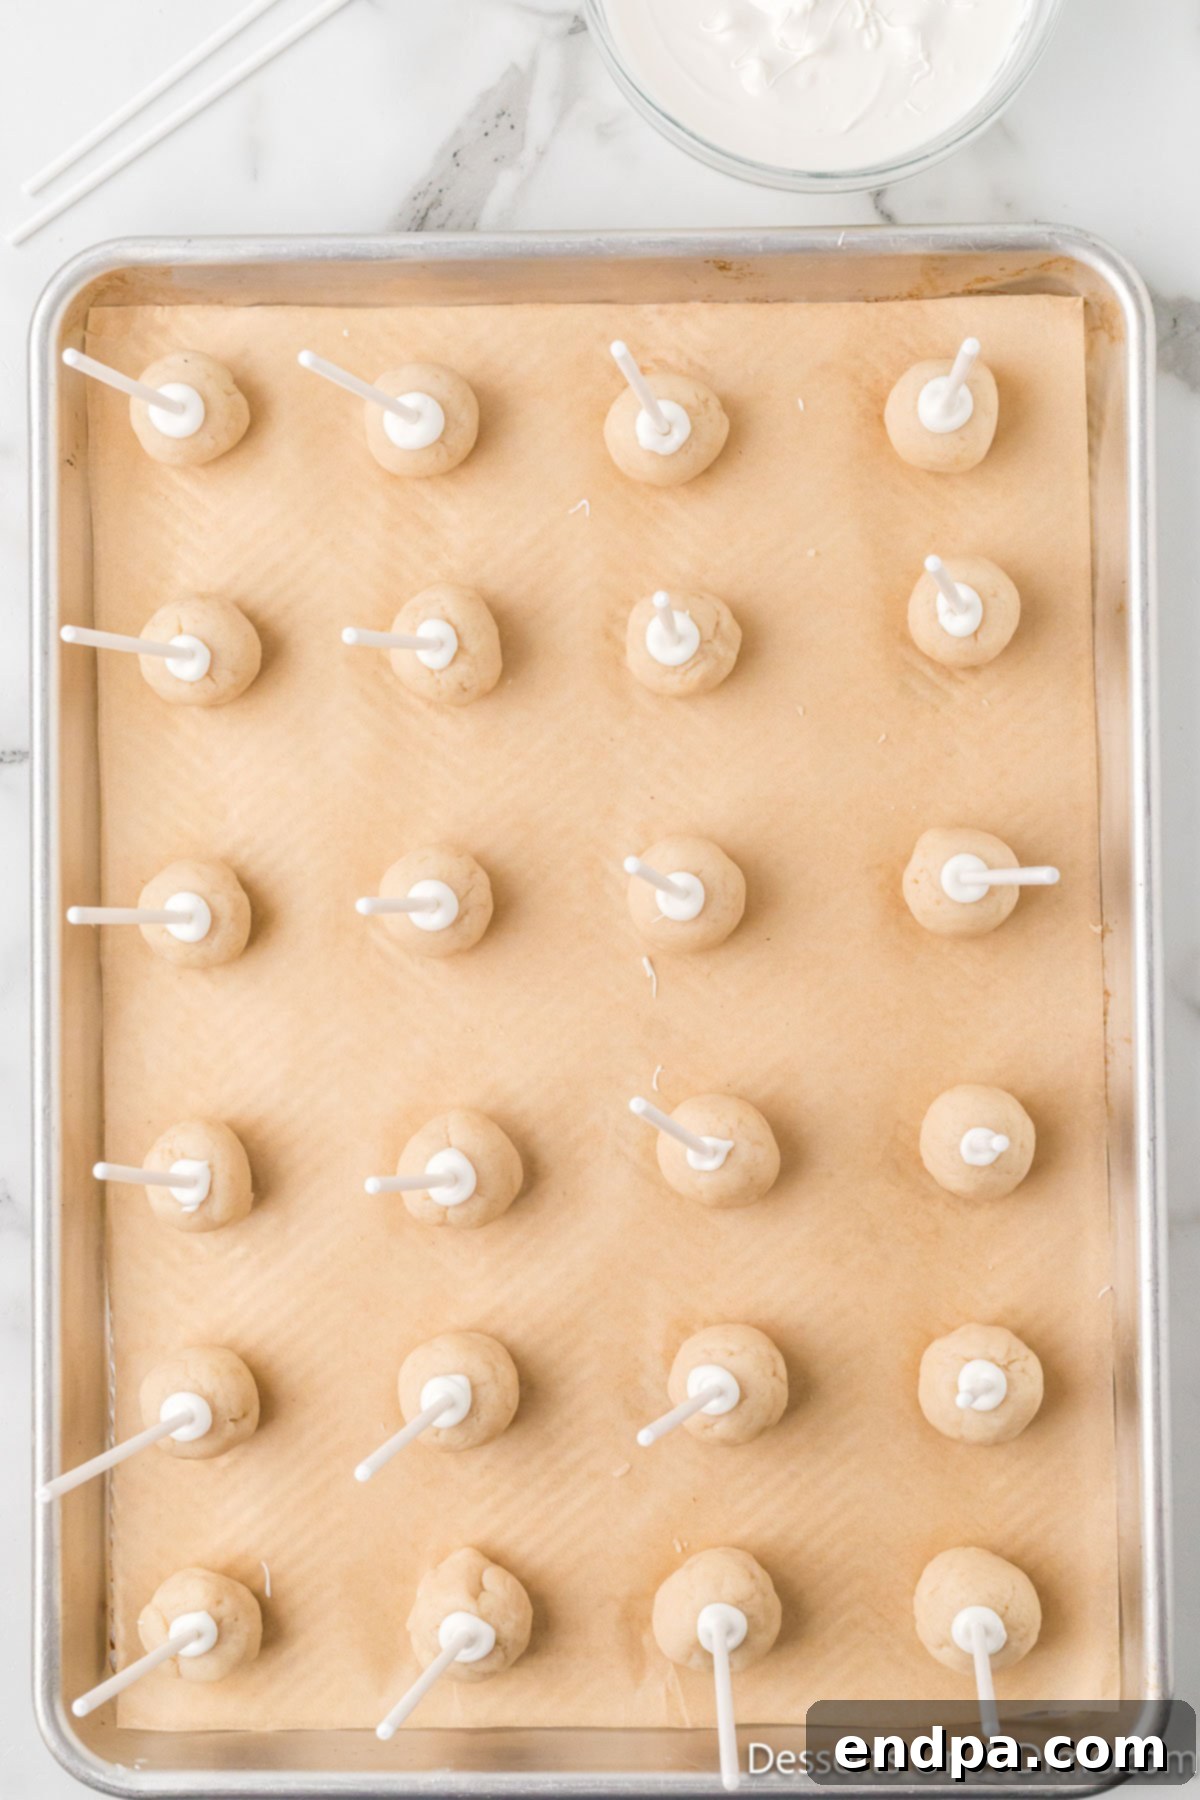
Step 9: Insert Sticks and Freeze. Immediately after dipping the stick in candy, insert it about halfway into a cake ball. Repeat for all cake balls. Once all sticks are inserted, place the baking sheet with the cake balls into the freezer for approximately 10 to 15 minutes. This chilling step is crucial for preventing the cake balls from falling off the sticks during dipping.
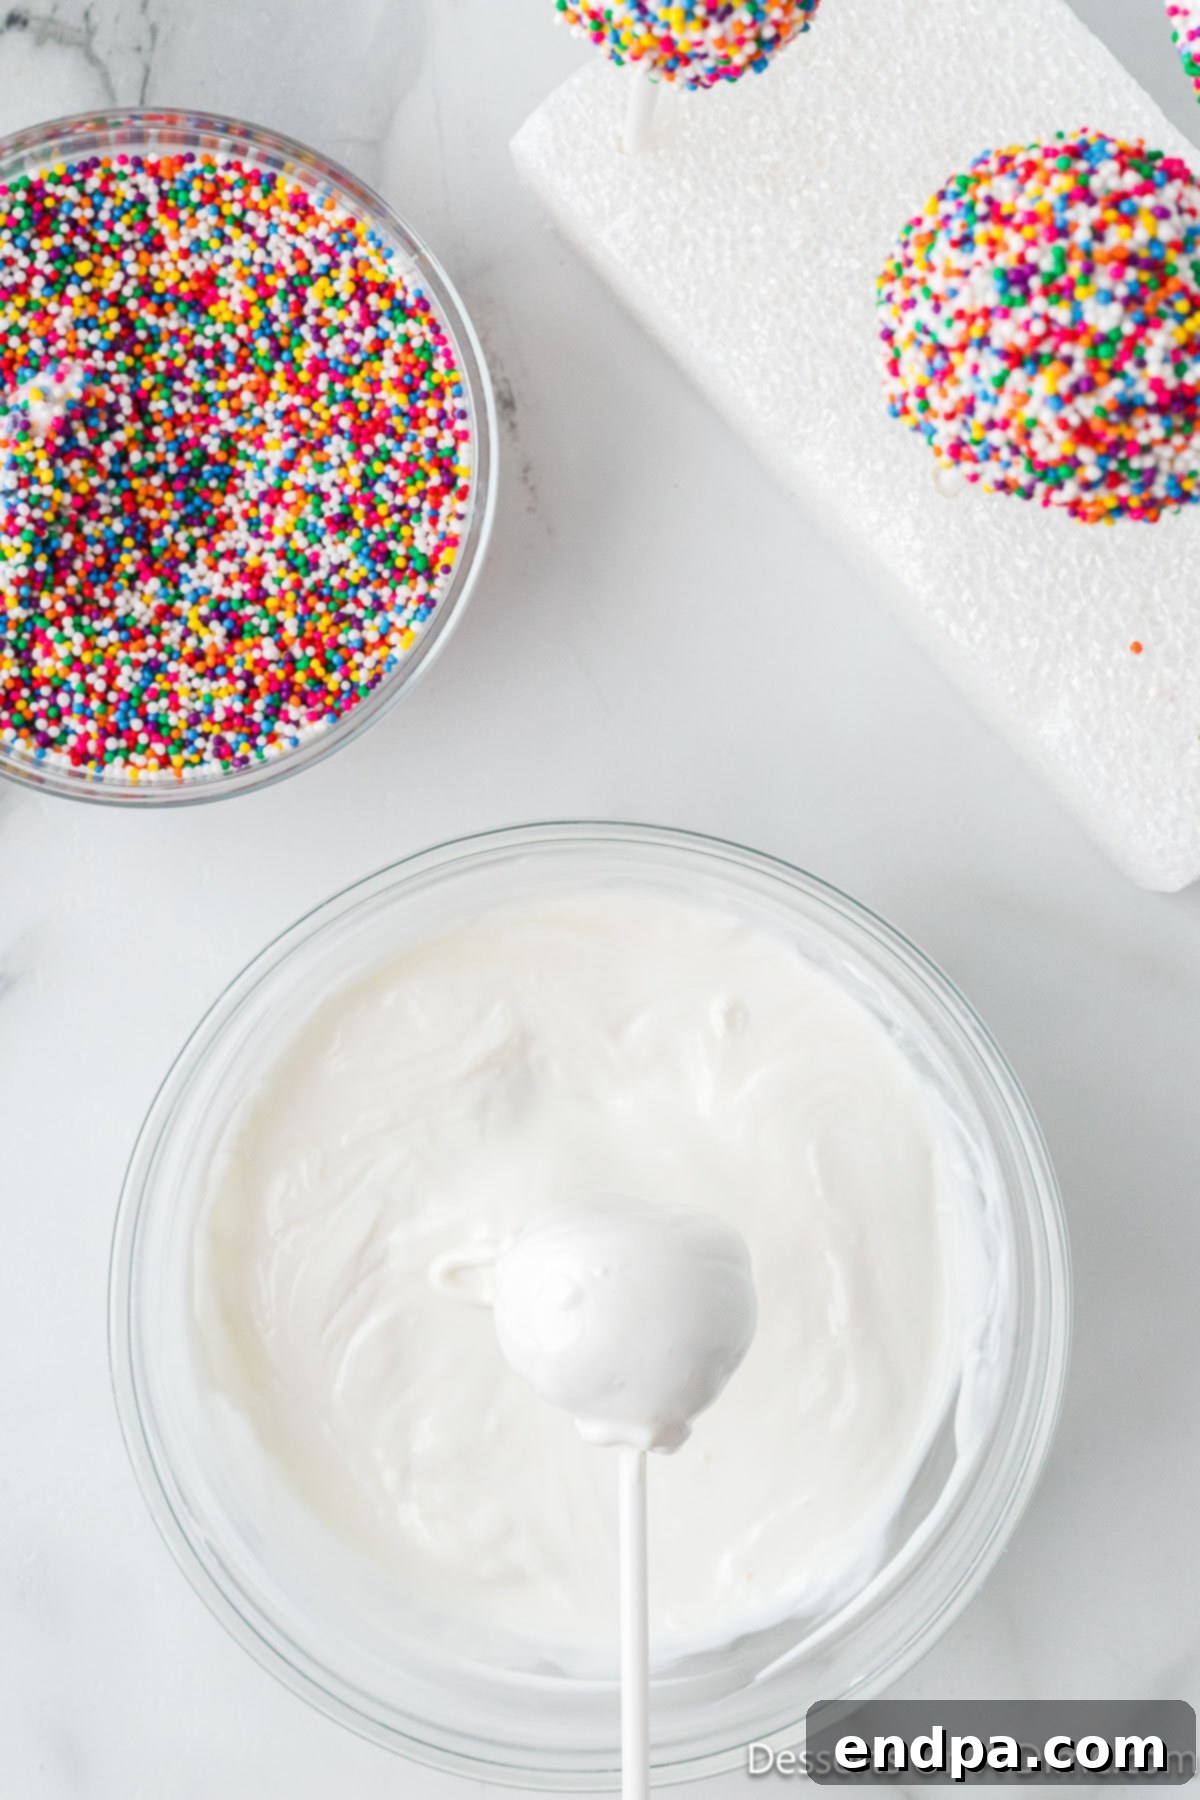
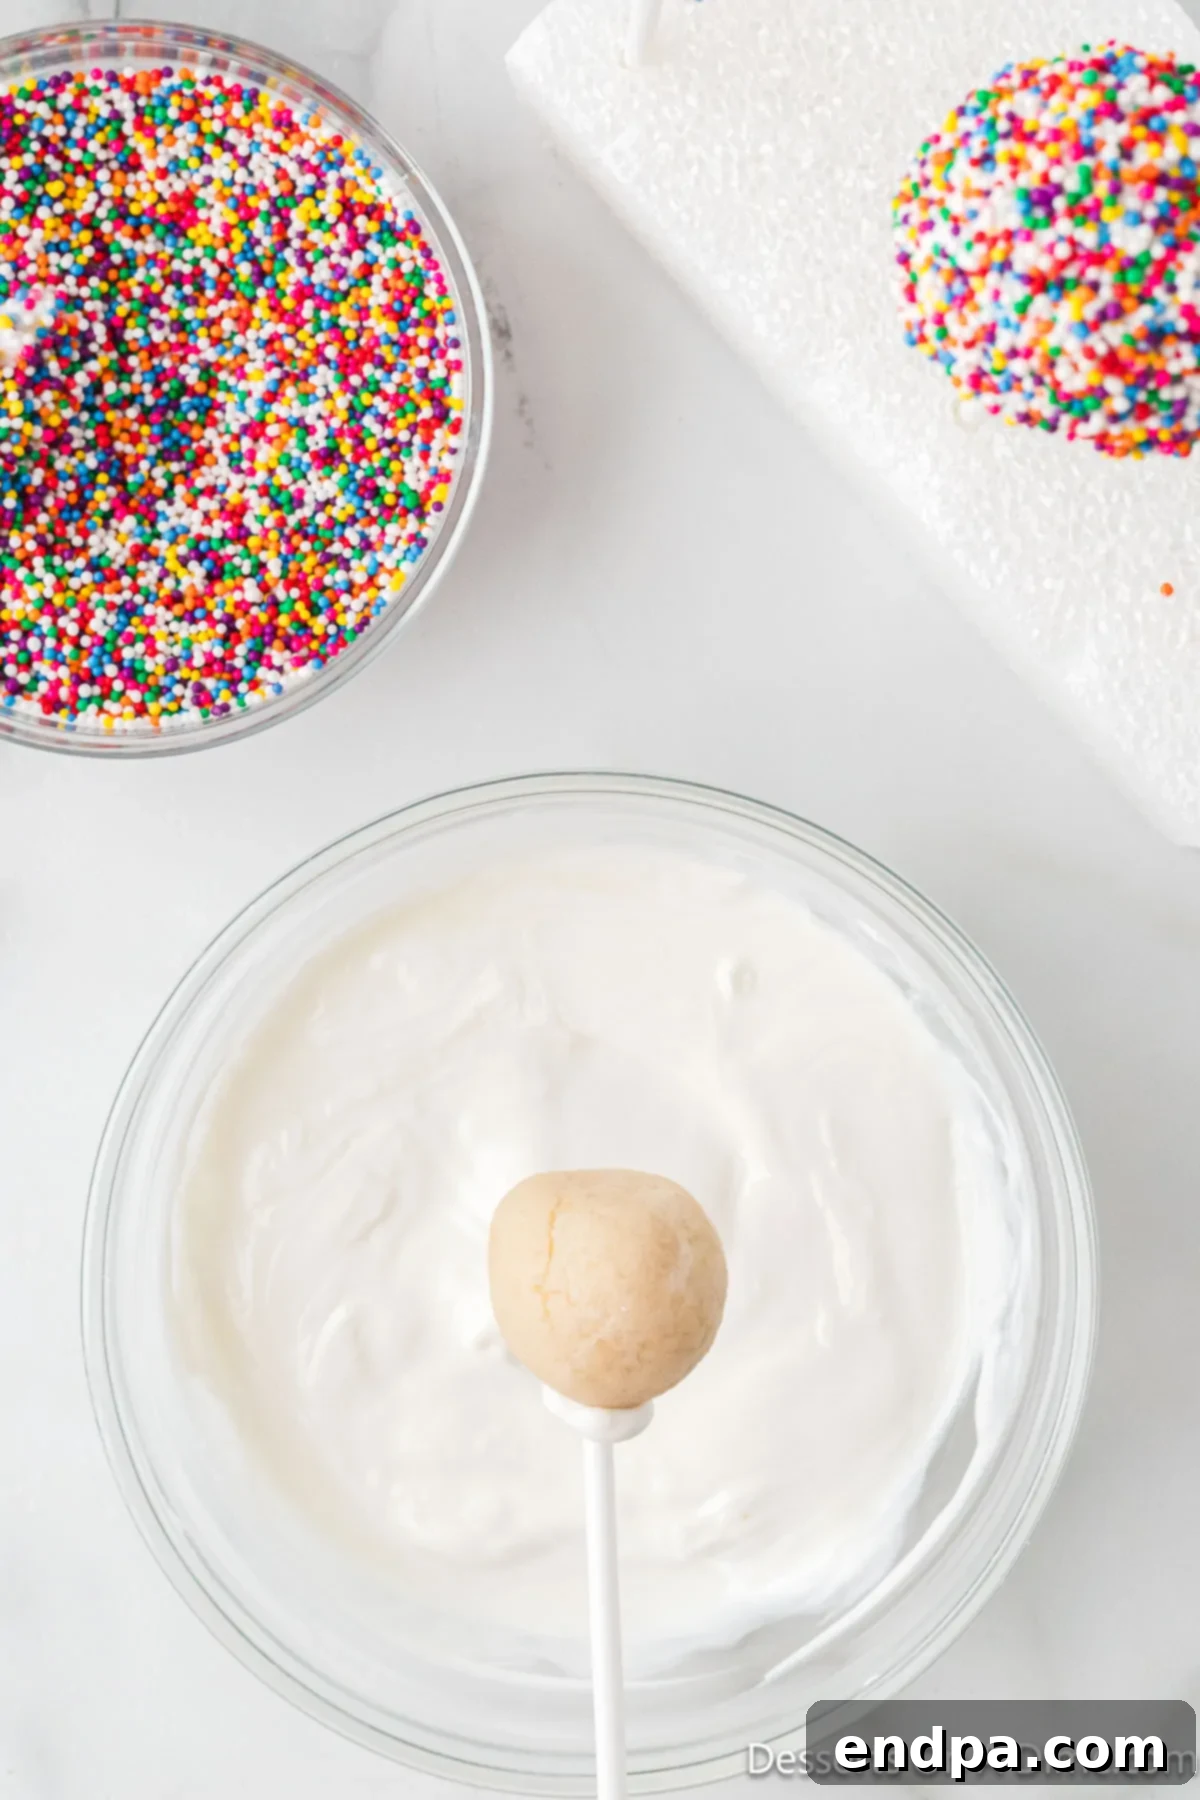
Step 10: Coat the Cake Pops. Remove the chilled cake pops from the freezer. They should be firm and easy to handle. Re-melt your candy melts if they have solidified. Dip each cake pop into the melted candy, ensuring it’s fully coated. Gently tap the stick against the side of the bowl to allow any excess candy to drip back into the bowl, creating a smooth finish without wasting coating. You can use a spoon to help cover if needed.
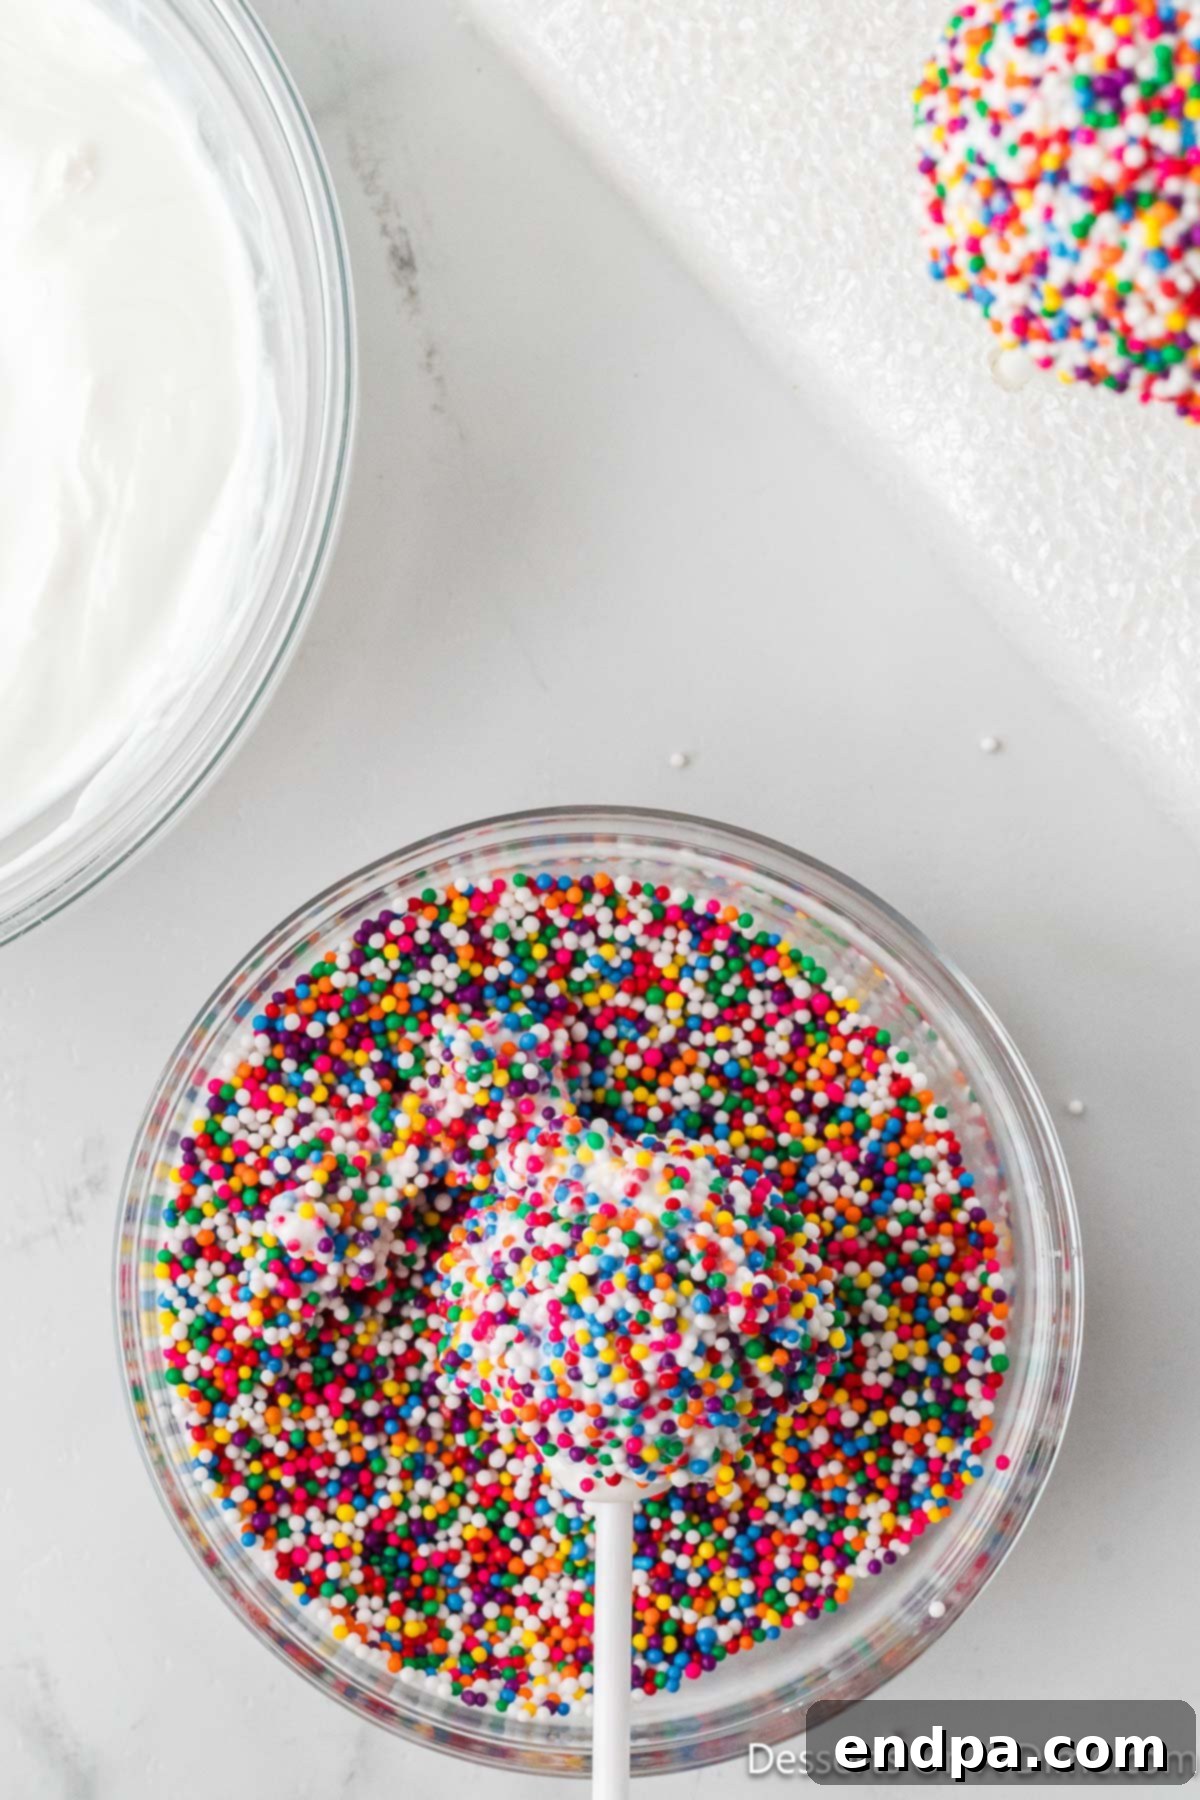
Step 11: Add Sprinkles. Quickly, before the candy coating sets, pour your rainbow sprinkles into a shallow bowl. Carefully roll each freshly coated cake pop in the sprinkles, ensuring even coverage. Work swiftly, as the candy coating dries quickly, and the sprinkles won’t adhere once it’s dry.
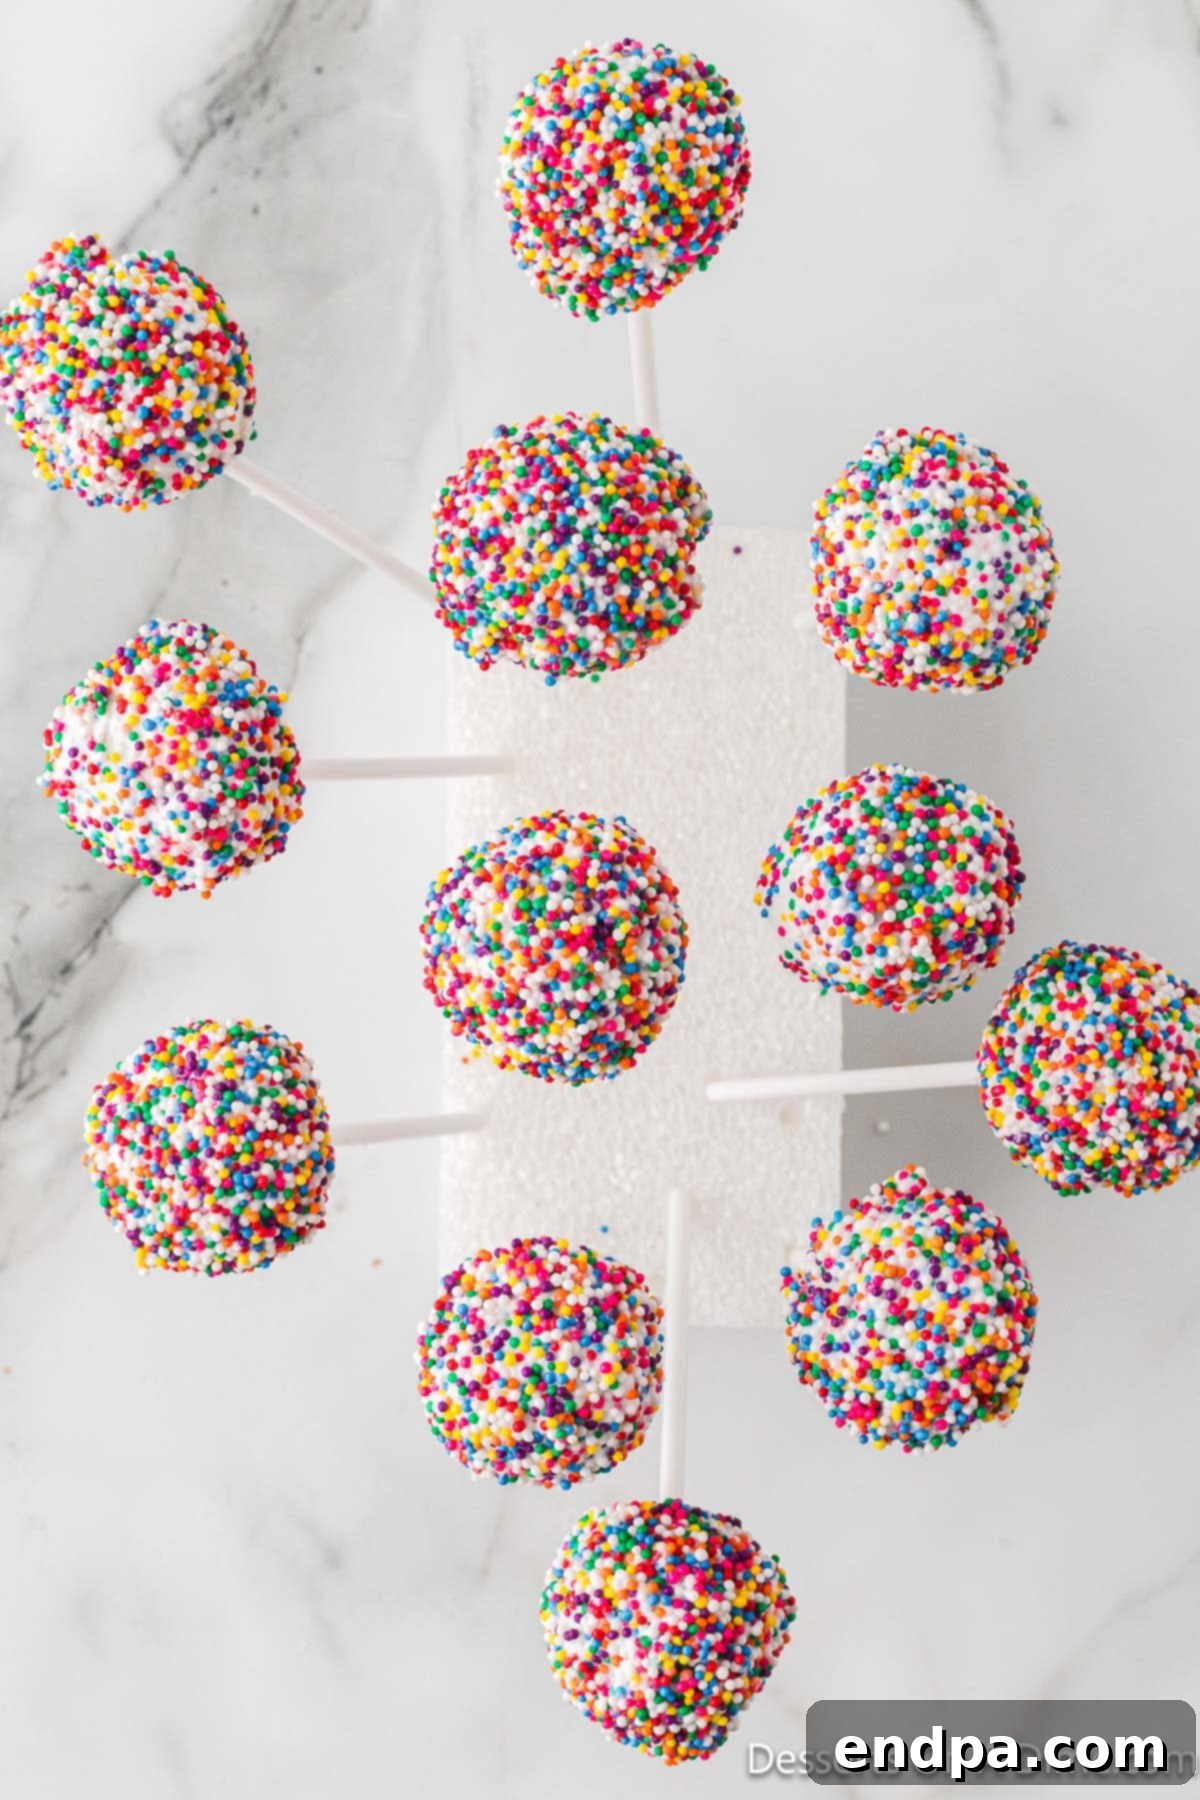
Step 12: Dry and Solidify. As you finish coating each cake pop and adding sprinkles, immediately insert the stick into a block of Styrofoam. This ingenious method allows the candy coating to dry and solidify evenly, keeping your cake pops perfectly round and preventing any flat spots that would occur if laid on a flat surface. Continue until all cake pops are coated and drying.
Pro Tips for Flawless Cake Pop Creation
Achieving bakery-quality birthday cake pops at home is easier than you think, especially with these expert tips:
- Secure the Stick First: Always dip the lollipop stick into melted candy before inserting it into the cake ball. This thin layer of candy acts as a strong adhesive, ensuring the cake ball remains firmly attached to the stick throughout the dipping and drying process.
- Mind the Frosting Quantity: Resist the urge to add extra frosting to your cake mixture. Too much frosting will make the cake dough overly soft and sticky, making it incredibly difficult to form firm balls. Soft balls are also more prone to sliding off the sticks, especially when dipped. Aim for a consistency that holds its shape well but isn’t dry.
- The Power of Freezing: Freezing the cake balls before coating is a game-changer. Chilled, firm cake balls are much easier to dip, resulting in a smoother, more even candy coating without cracks or uneven textures. Don’t skip this essential step!
- Melt Candy in Intervals: When melting candy melts, always do so in short intervals (e.g., 30 seconds at a time) and stir thoroughly between each interval. This prevents the candy from overheating, seizing, or burning, which can ruin its smooth consistency and flavor. Patience here pays off!
- Styrofoam for Perfect Rounds: To ensure your cake pops maintain their perfectly round shape as the candy coating dries, always stand them upright in a block of Styrofoam. If you lay them flat on a baking sheet, one side will inevitably flatten, detracting from their aesthetic appeal. This method is simple yet highly effective for professional-looking results.
- Make Ahead and Freeze: Cake pops are excellent candidates for make-ahead preparation. They freeze remarkably well. After they are completely dry and the candy coating has set, you can store them in an airtight container in the freezer for up to 6 weeks. When you’re ready to serve, simply transfer them to the fridge overnight to thaw gently, or allow them to come to room temperature for an hour or two before serving.
Creative Serving and Gifting Ideas
Beyond being delicious, birthday cake pops are incredibly versatile when it comes to presentation and gifting. Here are some ideas to make them even more special:
- Display Stands: While you can purchase elegant cake pop stands, a simple block of Styrofoam works perfectly. The sticks are easy to push in, and it securely holds them upright. If you’re concerned about aesthetics, you can easily wrap the Styrofoam in decorative wrapping paper or craft paper that matches your party’s theme or décor, securing it with tape or pins.
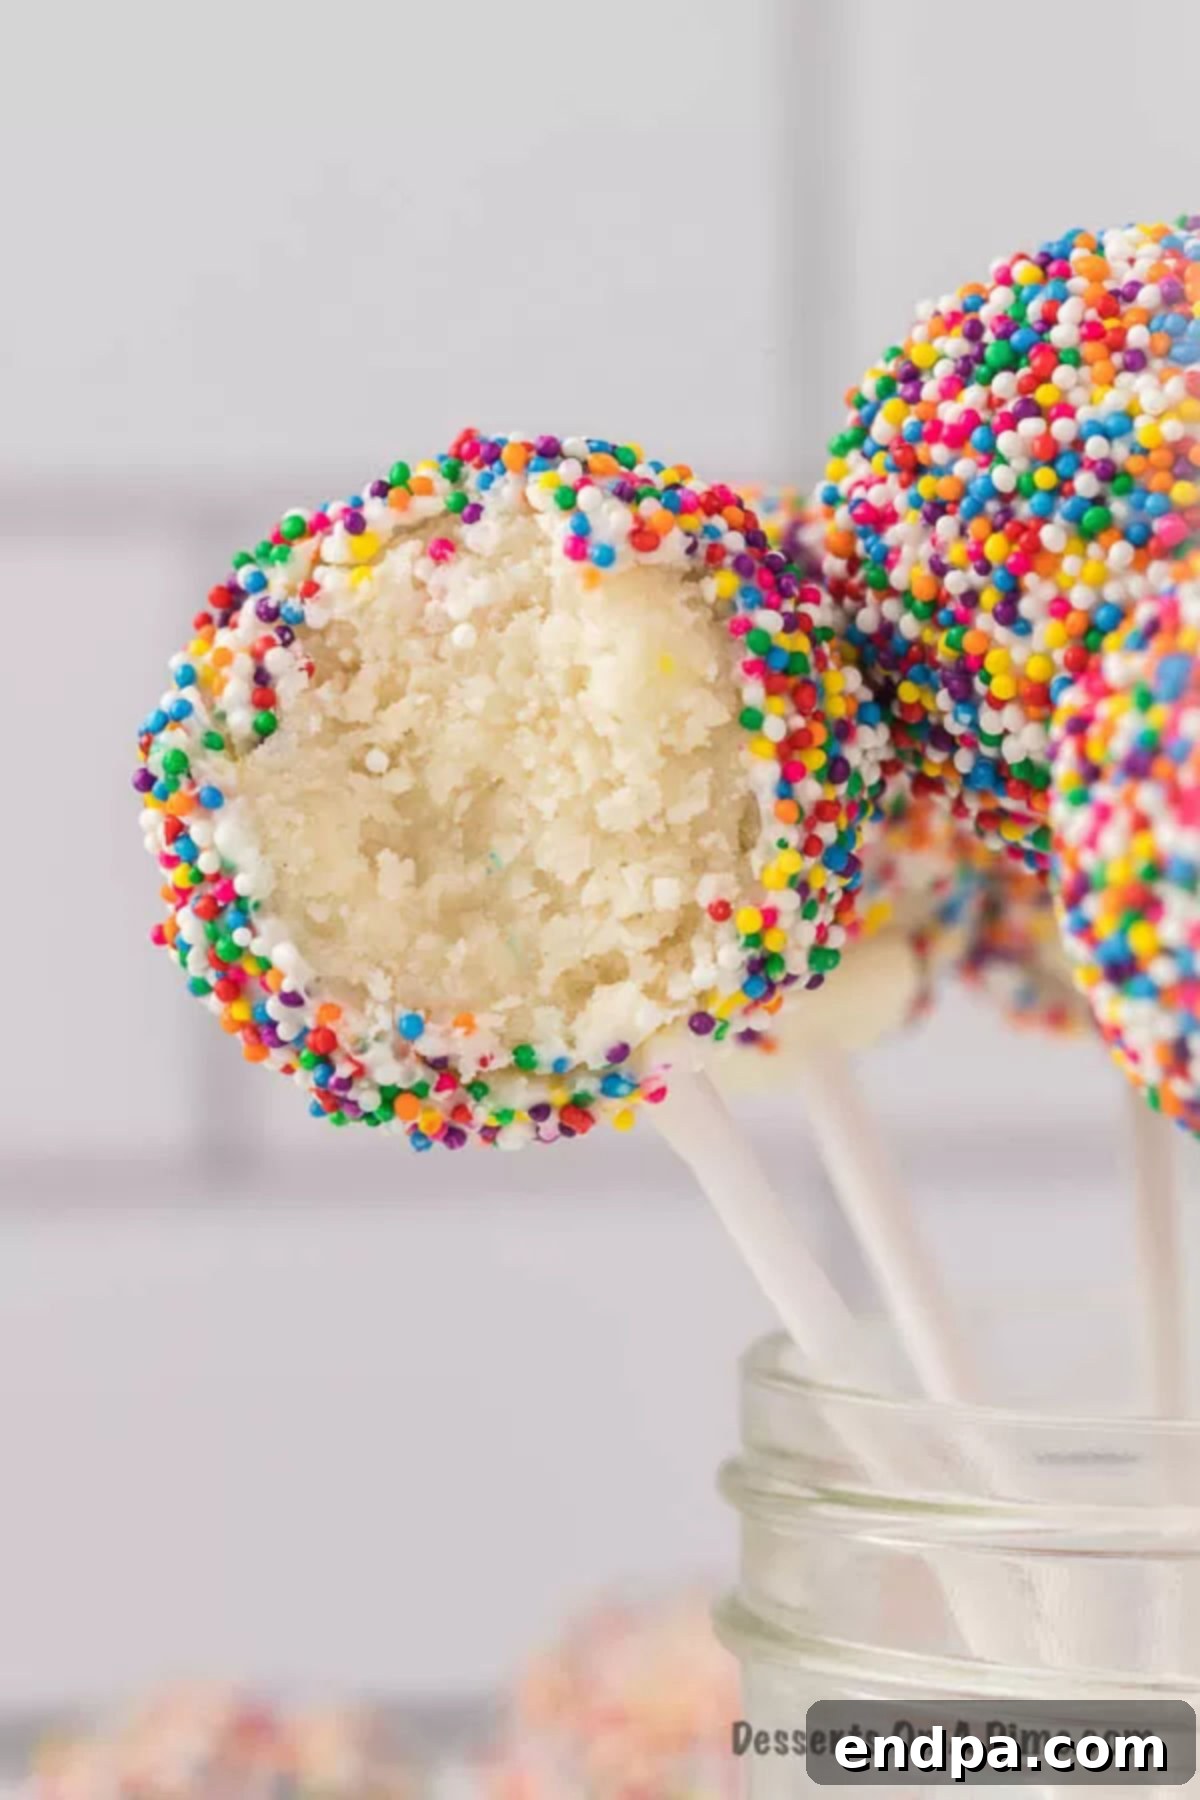
- Mason Jar Displays: Once your cake pops are completely dry and set, they can be beautifully displayed in a mason jar. Simply fill the bottom of the jar with some decorative candies, sprinkles, or even rice to hold the sticks in place, then arrange your cake pops. This creates a charming centerpiece or a thoughtful gift.
- “Grab and Go” Ease: The stick format makes cake pops inherently easy for guests to pick up and enjoy. This convenience is perfect for parties where people are mingling, as it eliminates the need for plates and forks.
- Personalized Party Favors: Cake pops make fantastic party favors! Once dry, wrap each cake pop individually in small cellophane bags, tying them with a festive ribbon. You can even add a personalized tag with a thank you message or the birthday child’s name. This thoughtful touch allows guests to take a sweet memory home.
- Dessert Table Centerpiece: Arrange your cake pops at varying heights on a multi-tiered dessert stand. Mix and match with other colorful desserts for a truly impressive and inviting display.
Choose the serving method that best suits your event and personal style, knowing that these little delights will be appreciated no matter how they are presented.
Preparing Ahead: Freezing and Storage Solutions
One of the most convenient aspects of making cake pops is their freezer-friendly nature. This allows you to prepare them well in advance of your event, saving you precious time and stress on the day of the celebration.
Yes, you can absolutely freeze cake pops! For detailed instructions on how to Freeze Cake Pops properly, refer to our comprehensive guide. The general process involves ensuring they are fully dried and set, then storing them in an airtight container to protect them from freezer burn. They will keep beautifully in the freezer for up to 6 weeks.
When you’re ready to enjoy them, simply transfer the frozen cake pops to the refrigerator and allow them to thaw overnight. For best results, let them come to room temperature for about 30-60 minutes before serving, as this enhances their flavor and texture. This make-ahead capability makes them ideal for various occasions, from impromptu parties to planned holidays, or simply as a convenient treat to have on hand.
Beyond personal consumption, their ability to be frozen and later thawed makes them perfect for crafting in bulk for party favors. Individually wrapped in cellophane, these delightful treats are ready to be distributed, ensuring a sweet ending to any gathering.
Discover More Cake Pop Inspirations
If you’ve fallen in love with the charm and deliciousness of cake pops and cake balls, you’re in luck! There’s a whole world of flavors and themes to explore. Here are some of our other fantastic recipes to inspire your next baking adventure:
- Copycat Starbucks Cake Pops Recipe: Recreate the beloved coffee shop classic right at home with this simple recipe.
- Strawberry Cake Pops Recipe: Bursting with fruity flavor, these are perfect for spring, summer, or anyone who loves strawberry treats.
- Minecraft Cake Pops Recipe: A creative and fun recipe for gaming enthusiasts, perfect for themed parties.
- Red Velvet Cake Pops: Indulge in the rich, deep flavor and stunning color of red velvet in a bite-sized form.
- Vanilla Cake Balls Recipe: A simple yet elegant classic, perfect for any occasion when you want a versatile and delicious treat.
- Halloween Cake Pops: Get spooky and creative with these fun, festive cake pops designed for the Halloween season.
Each recipe offers a unique twist on the beloved cake pop, proving just how versatile and fun these treats can be. From seasonal celebrations to personal cravings, there’s a cake pop for every moment.
Birthday Cake Pops
Birthday Cake Pops with sprinkles are so fun for any occasion. They are simple to make and always a hit with the kids.
15 mins
30 mins
45 mins
24
American
Dessert
247
Carrie Barnard
Ingredients
- 1 box White Cake Mix
- *Plus ingredients to prepare the cake on the back of the box
- 1/3 cup White Frosting
- 16 oz. White Candy Melts
- Rainbow Sprinkles
- Lollipop Sticks
Instructions
- Make cake and bake according to box instructions in a 9X13 pan. Then let the cake cool at room temperature.
- Remove the cake from the pan. Remove the brown outside layer from the cake and throw away. Crumble up the remaining cake into a large bowl.
- Add the frosting to your crumbled cake and stir everything together until well combined.
- Shape mixture into about 24-36 cake balls (depending on their size) and place on a lined cookie sheet. I used a cookie scoop to ensure that each one is approximately the same size.
- Put the white candy melts in a small microwave-safe bowl and microwave for 30 seconds, then stir. Then continue to heat in 30-second intervals stirring between each one until the candy melts are fully melted and creamy.
- Dip each cake pop stick into the melted candy and then place them into the cake balls about halfway into the balls. Then place in freezer for 10-15 minutes.
- After the cake pops have been in the freezer, dip each cake pop into the melted candy melts (you may need to remelt if it has solidified some). Make sure that the candy covers the cake pop completely. Allow the excess melted candy to drip off back into the bowl.
- Then place the rainbow sprinkles in a shallow ball. Gently roll the candy-coated cake pop in the bowl of sprinkles to coat the cake pop in the sprinkles. You’ll want to make sure to work quickly to coat the cake pops with the sprinkles before they dry.
- Then place the stick of cake pops in a block of Styrofoam while the candy dries and solidifies.
- Continue until all the cake pops have been covered. Once all the cake pops are dry, they are ready to serve and enjoy!
Nutrition Facts
Carbohydrates 25g,
Protein 1g,
Fat 16g,
Saturated Fat 4g,
Polyunsaturated Fat 4g,
Monounsaturated Fat 8g,
Trans Fat 1g,
Cholesterol 14mg,
Sodium 169mg,
Potassium 19mg,
Fiber 1g,
Sugar 16g,
Vitamin A 20IU,
Calcium 49mg,
Iron 1mg
Pin This Now to Remember It Later
Pin Recipe
