The Ultimate Texas Tornado Cake Recipe: A Decadent Coconut & Pineapple Poke Cake
Prepare to be swept away by the flavors of this incredible Texas Tornado Cake! This decadent dessert is a true showstopper, boasting a moist cake base infused with pineapple and topped with an irresistible, rich coconut glaze. What makes it even better? It comes together quickly with staple ingredients you likely already have in your pantry, making it the perfect treat for any occasion, from weeknight indulgence to special gatherings. If you’re searching for an easy yet impressive dessert that everyone will rave about, your quest ends here.

For lovers of poke cake recipes, this Tornado Cake is an absolute must-try. Its unique preparation method ensures every bite is bursting with flavor and unparalleled moisture. The secret lies in generously “poking” holes into the freshly baked cake, allowing the luscious, warm coconut topping to seep deep into the layers. This creates a melt-in-your-mouth experience that’s simply divine. Despite its gourmet taste, this cake is remarkably easy to prepare, making it a fantastic choice for busy parents or anyone looking for a stress-free baking project.
If you appreciate desserts with tropical hints or enjoy the comforting sweetness of coconut and pineapple, this cake will quickly become a household favorite. It shares the same comforting appeal as other beloved treats like German Chocolate Dump Cake and Homemade Mounds Bar inspired desserts, but with its own distinctive charm. And for those who can’t get enough of pineapple, be sure to explore our Pineapple Dream Dessert and a collection of 35 Pineapple Desserts for more fruity delights!
Table of Contents
- Why You’ll Love This Texas Tornado Cake
- Essential Ingredients for Tornado Cake
- Customizing Your Texas Tornado Cake: Substitutions & Variations
- Step-by-Step Guide to Baking Tornado Cake
- Expert Tips for the Perfect Tornado Cake
- Frequently Asked Questions (FAQs)
- More Irresistible Poke Cake Recipes
- Full Recipe Card
Why You’ll Love This Texas Tornado Cake
There are countless reasons to adore this Texas Tornado Cake recipe. First and foremost, its simplicity is a major draw. Forget complicated techniques or obscure ingredients; this cake relies on straightforward steps and readily available items. But easy doesn’t mean sacrificing flavor! Each bite offers a harmonious blend of rich coconut, sweet pineapple, and a moist cake texture that will leave you wanting more. The decadent topping, a heavenly mix of sweetened condensed milk and coconut, deeply penetrates the cake, ensuring every forkful is a truly indulgent experience. It’s the kind of dessert that feels gourmet but is achievable for even novice bakers.
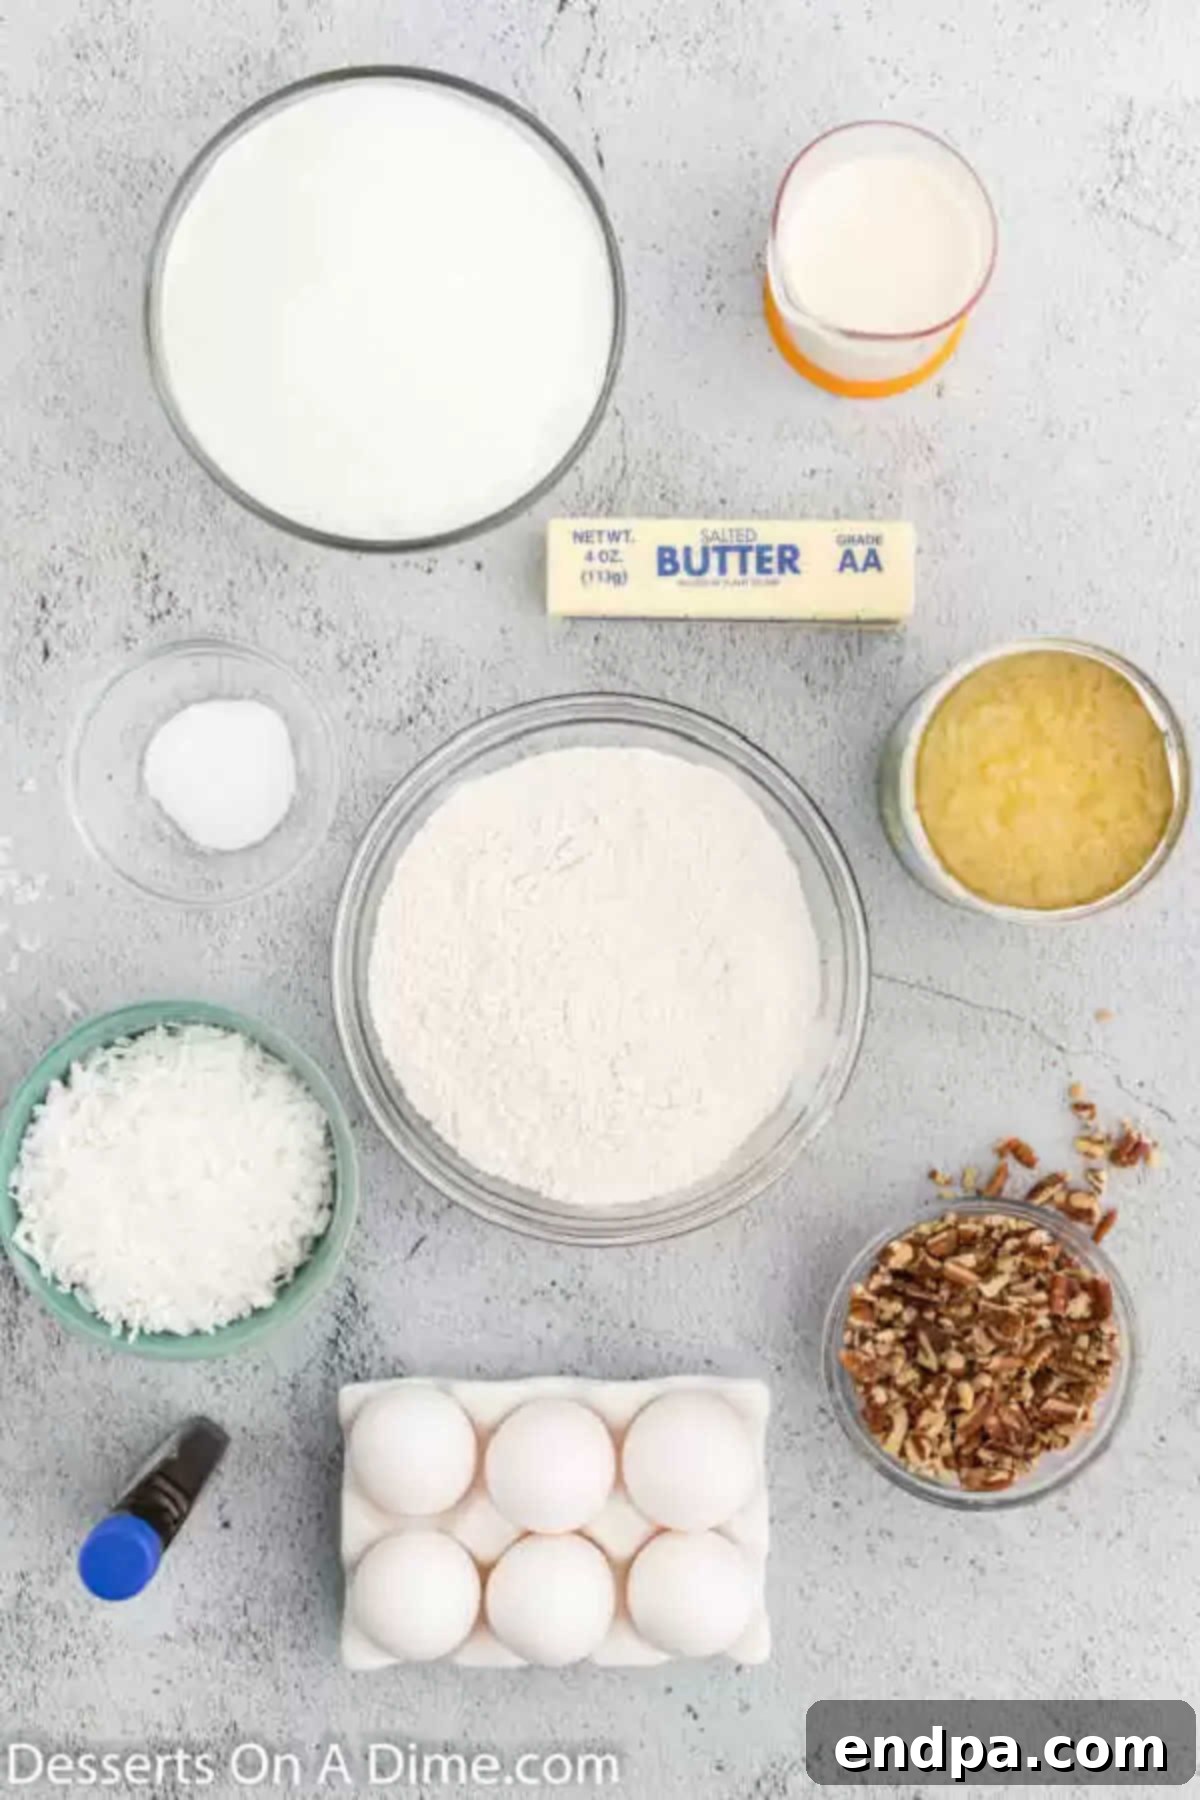
Essential Ingredients for Tornado Cake
Gathering your ingredients is the first step to creating this delightful cake. Most of these items are likely already stocked in your kitchen, ensuring a quick start to your baking adventure. The beauty of this recipe lies in how a few simple components transform into something truly extraordinary.
For the Cake:
- All-Purpose Flour: The foundation of our cake, providing structure and tender crumb.
- Large Eggs: Binders that add richness and help the cake rise beautifully.
- Granulated Sugar: For sweetness and moisture, balancing the tartness of the pineapple.
- Vanilla Extract: Enhances all the other flavors with its warm, aromatic notes.
- Crushed Pineapple (do not drain): This is crucial! The undrained pineapple ensures maximum moisture and infuses the cake with a delightful tropical tang. It’s a key component to the cake’s “poke” character.
- Baking Soda: Our leavening agent, ensuring a light and airy texture.
For the Decadent Topping:
- Evaporated Milk: Creates the creamy, rich base for our sauce. Don’t confuse it with condensed milk; evaporated milk is unsweetened and crucial for the right texture.
- Granulated Sugar: Adds sweetness to the topping, making it a true indulgence.
- Salted Butter: Contributes to the rich flavor and smooth consistency of the glaze. If using unsalted, add a pinch of salt to balance.
- Vanilla Extract: A touch of vanilla elevates the topping, complementing the coconut and pecans.
- Chopped Pecans: Provides a delightful crunch and nutty flavor that perfectly contrasts the sweet, soft cake.
- Sweetened Coconut Flakes: The star of the topping! These flakes add incredible texture, sweetness, and that signature tropical taste that defines Tornado Cake.
Customizing Your Texas Tornado Cake: Substitutions & Variations
One of the joys of baking is the freedom to customize, and this Texas Tornado Cake recipe is wonderfully adaptable. Whether you’re working with what you have on hand or looking to experiment with new flavors and textures, these substitutions and variations offer plenty of options:
Nut Alternatives:
- If pecans aren’t your favorite or you simply don’t have them, walnuts make an excellent substitute. Their slightly more bitter, earthy flavor provides a lovely contrast to the sweet cake and topping. Almonds, lightly toasted and chopped, could also work for a different flavor profile. Feel free to use your preferred type of nut or omit them entirely if there are allergies or preferences.
Fruit Options:
- While crushed pineapple is traditional, you can certainly try fruit cocktail for a different spin. Ensure it’s also undrained to retain moisture. The mix of fruits will give your cake a varied texture and a broader spectrum of fruit flavors, making each bite a pleasant surprise. Alternatively, a can of mandarin oranges (undrained and lightly crushed) could provide a sweeter, tangier fruit element.
From Scratch or Cake Mix:
- For those incredibly busy days, or if you’re new to baking from scratch, using a yellow or white cake mix can significantly speed up the process. Simply prepare the cake mix according to package directions, then proceed with making the delicious coconut-pecan topping as described in this recipe. This shortcut allows you to enjoy the signature flavors of Tornado Cake with minimal effort, proving that convenience doesn’t have to compromise taste.
Step-by-Step Guide to Baking Tornado Cake
Follow these simple instructions to create your perfect Texas Tornado Cake. Each step is designed to be straightforward, ensuring a delicious outcome every time.
- Step 1: Preheat the Oven and Prepare the Pan. First, set your oven to 350°F (175°C). Then, take a 9×13 inch baking pan and generously coat it with a non-stick cooking spray. This crucial step prevents the cake from sticking and ensures easy removal.
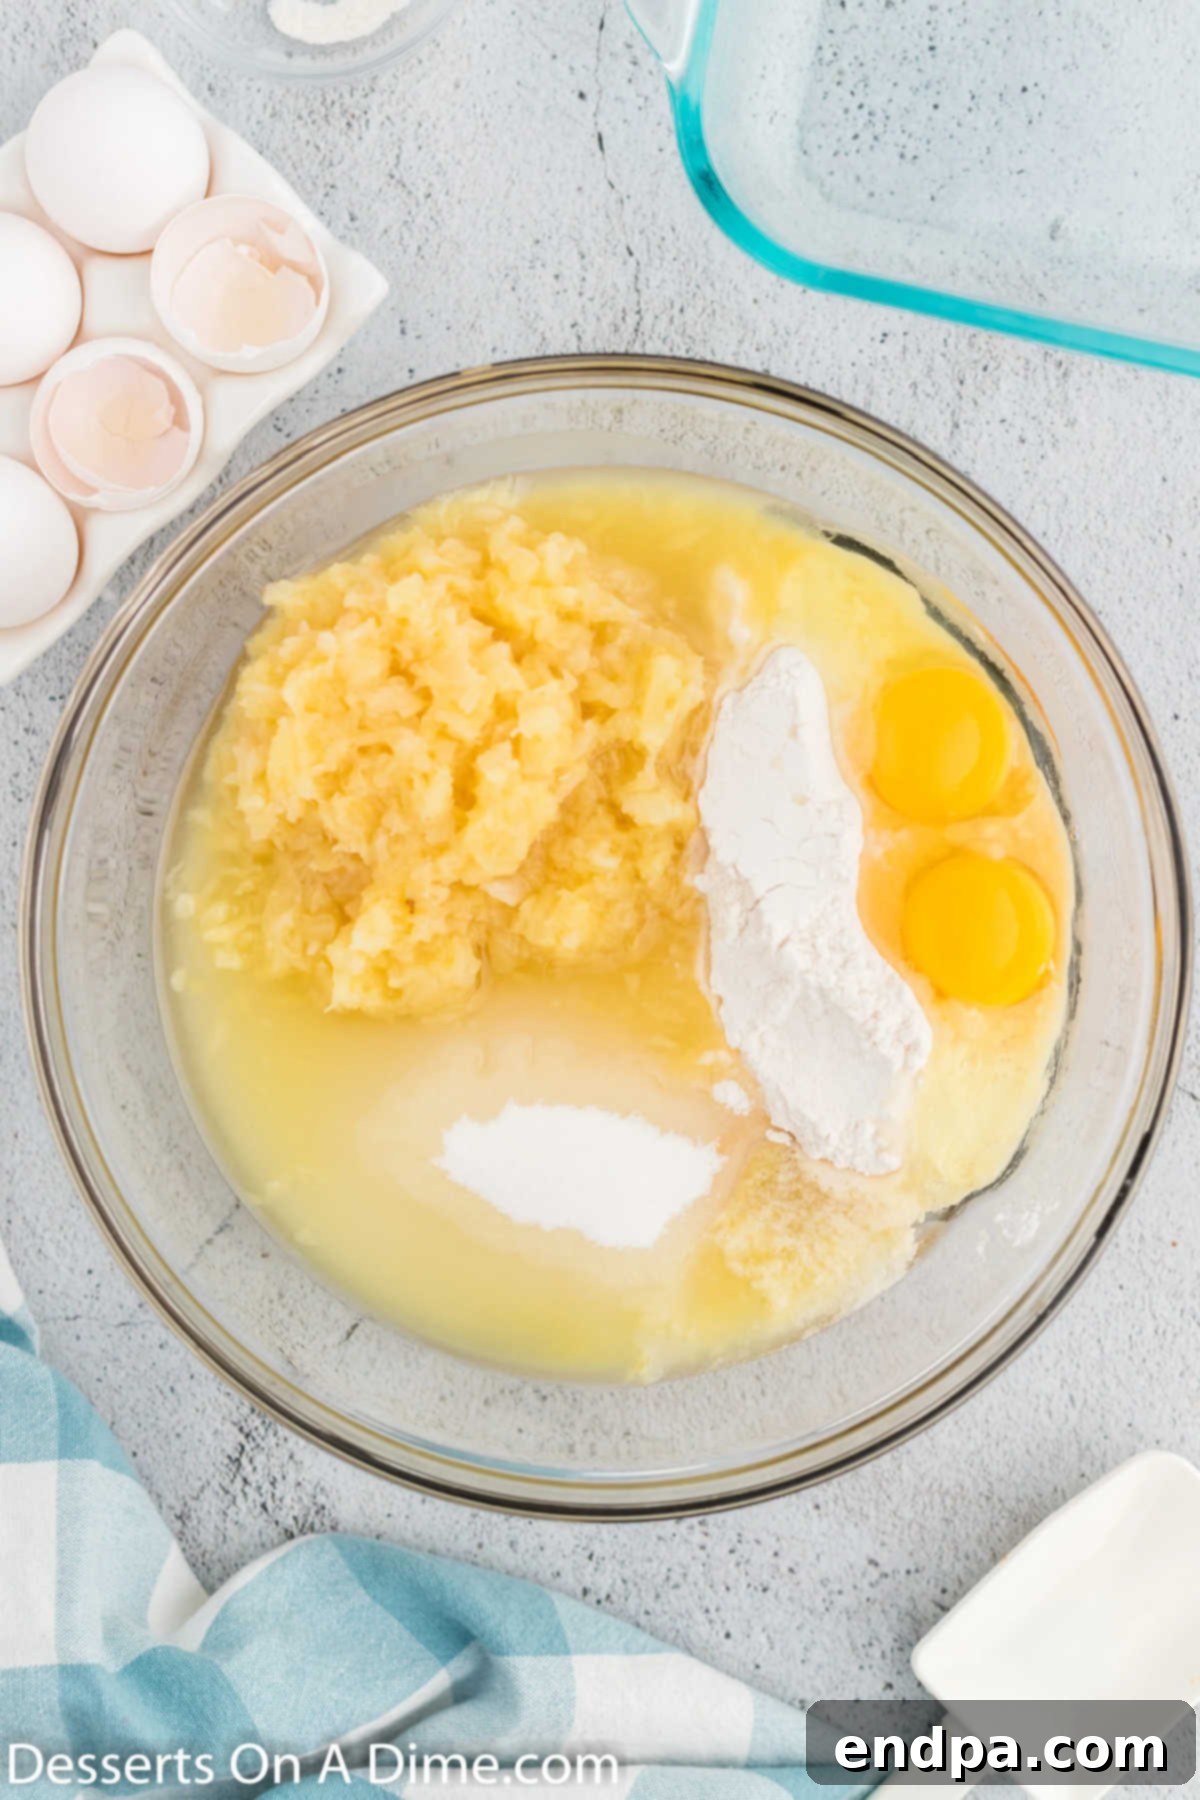
Step 2: Combine the Cake Ingredients. In a large mixing bowl, combine all the dry and wet ingredients for the cake. Stir them together until just combined. The batter will be quite thick, so be sure to use a sturdy wooden or plastic spoon for mixing to ensure all ingredients are well incorporated without overmixing.
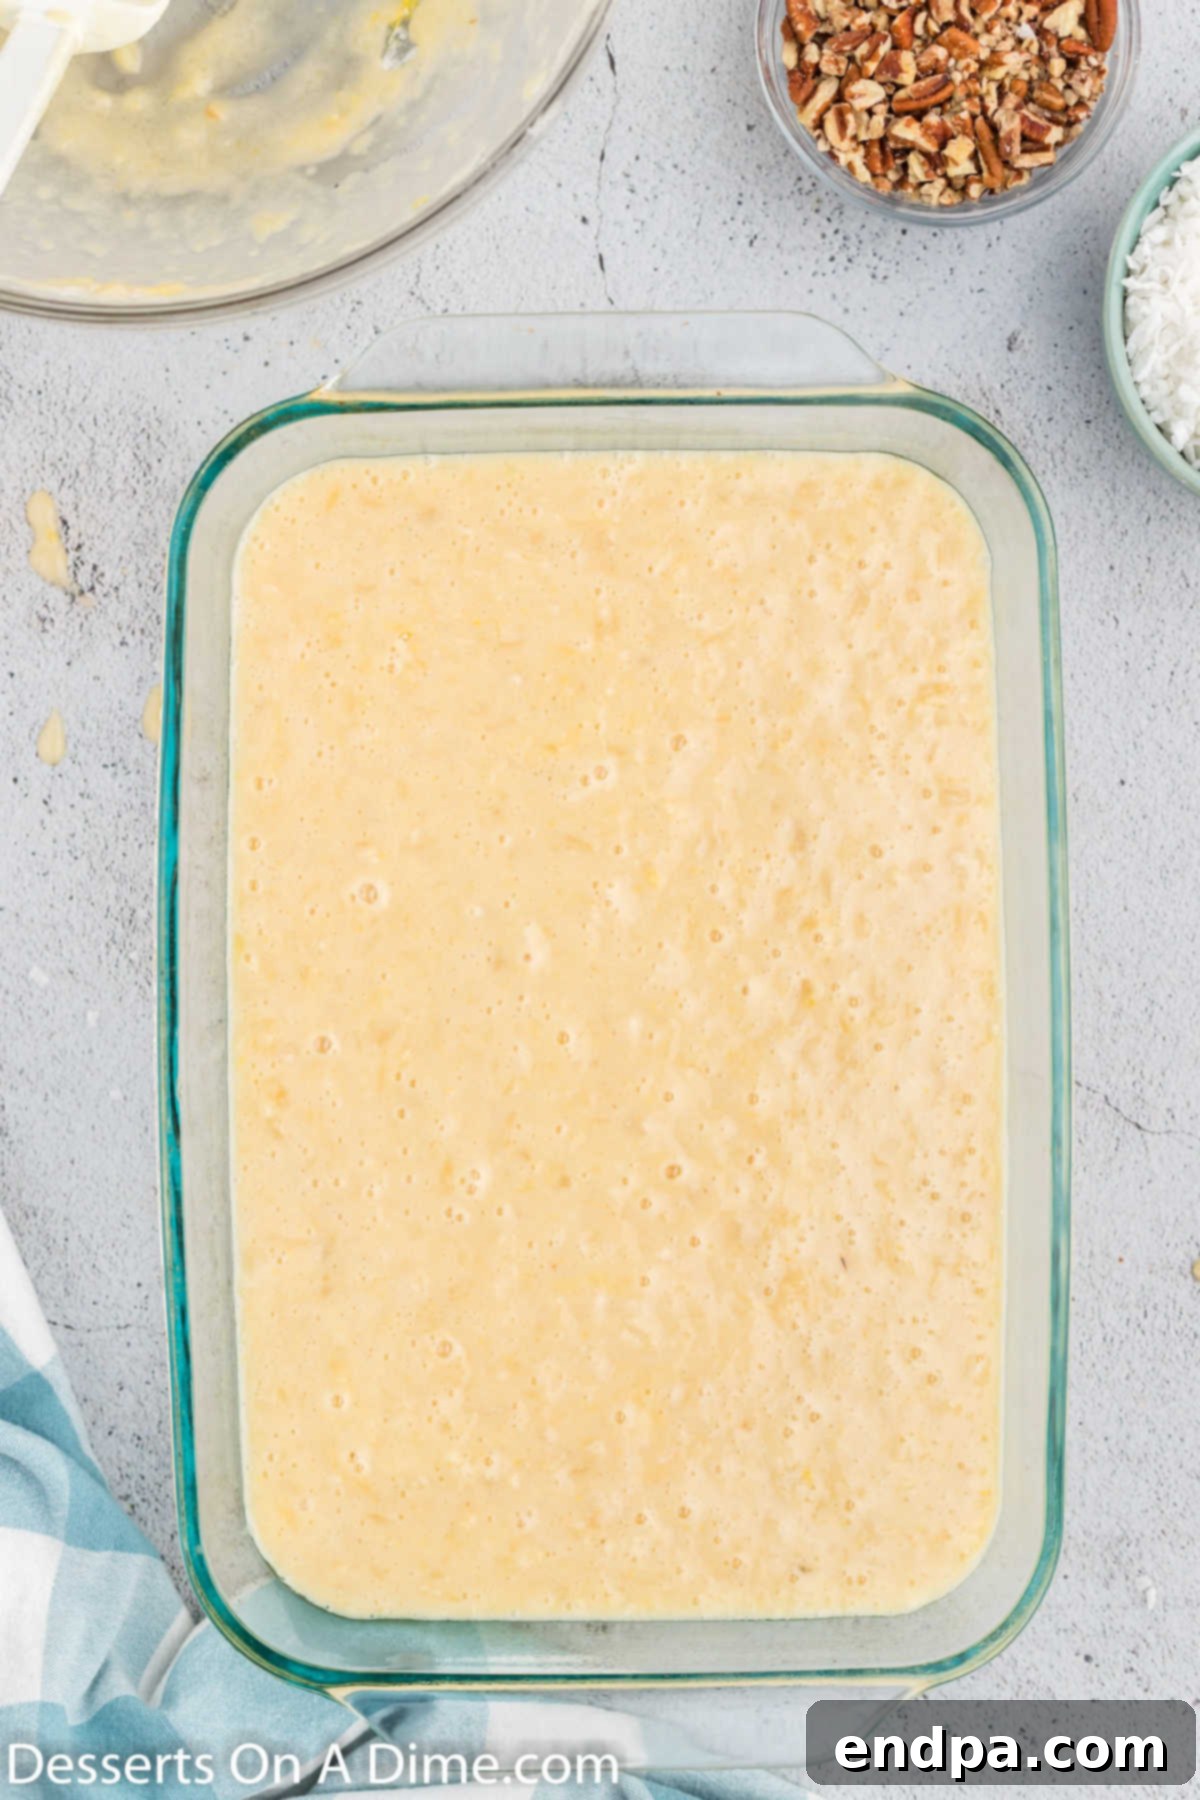
Step 3: Bake the Cake. Pour the prepared cake mixture evenly into your greased 9×13 inch pan. Bake for 30 to 40 minutes, or until the cake is set. You can test for doneness by inserting a toothpick into the center; if it comes out clean, your cake is ready.
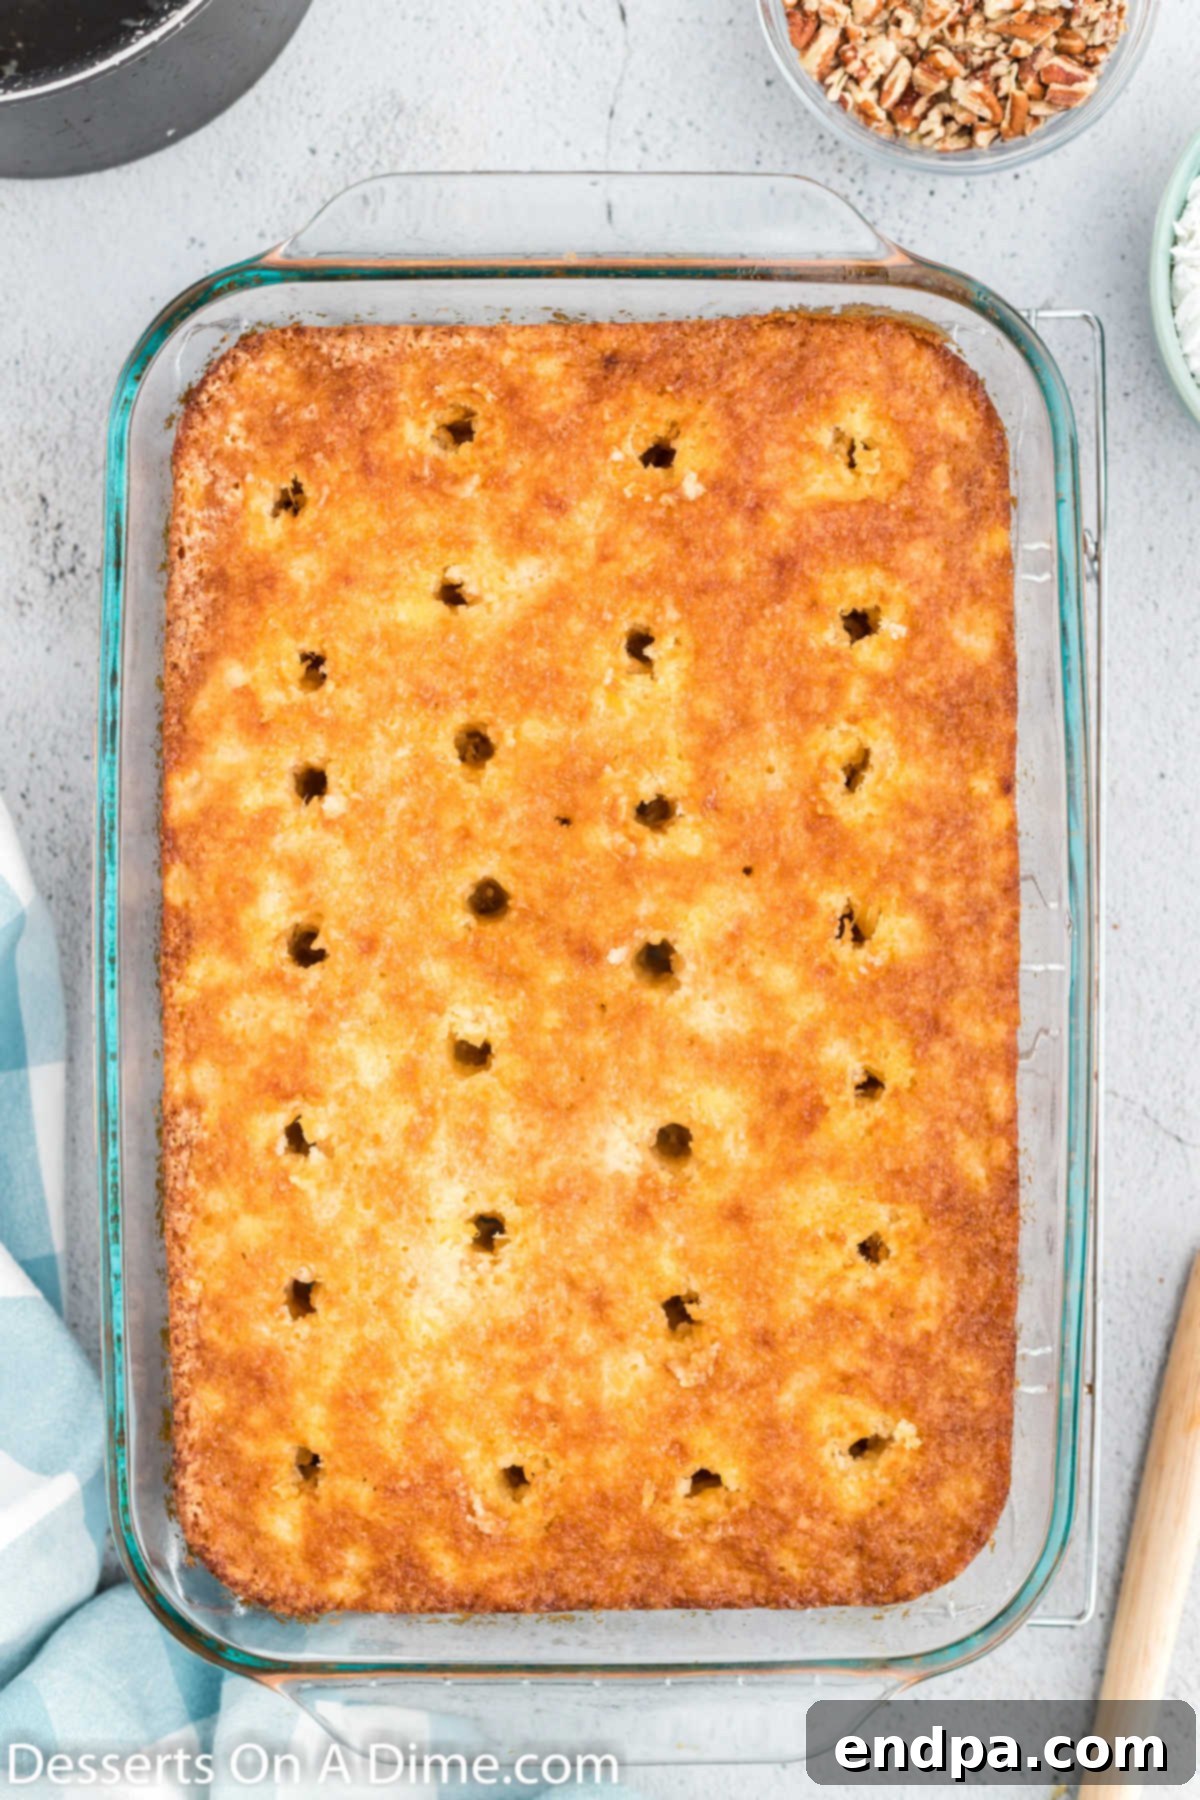
Step 4: Poke Those Holes. Once the cake is baked, remove it from the oven and transfer it to a wire rack. While still warm, use the end of a wooden spoon or a similar round object to poke holes all over the cake’s surface. Make sure the holes are evenly spaced and go almost all the way to the bottom to allow the topping to fully saturate the cake.
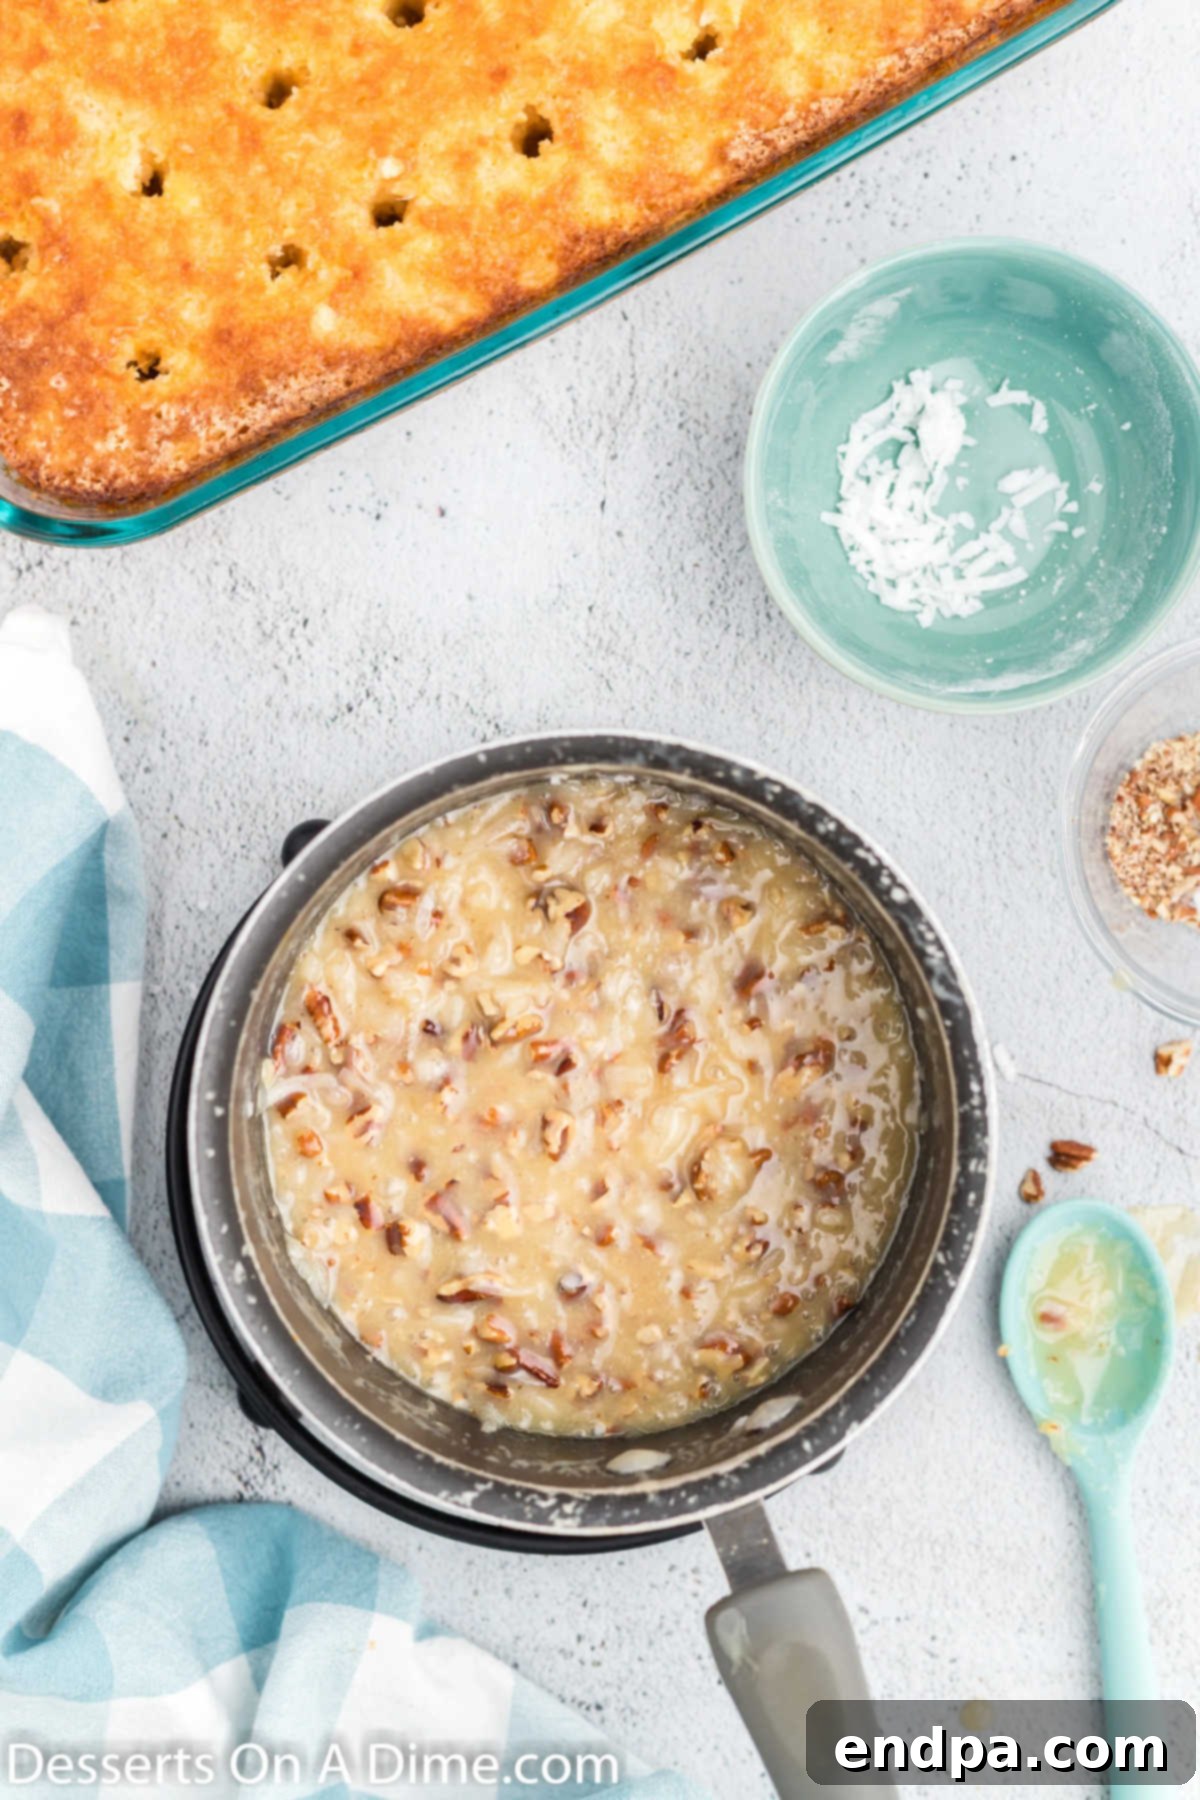
Step 5: Prepare the Decadent Topping. In a medium saucepan, combine the evaporated milk, granulated sugar, salted butter, and vanilla extract. Heat this mixture over medium-high heat, stirring constantly, until it comes to a gentle boil and begins to thicken, usually 3-5 minutes. Once it reaches the desired consistency, remove it from the heat.
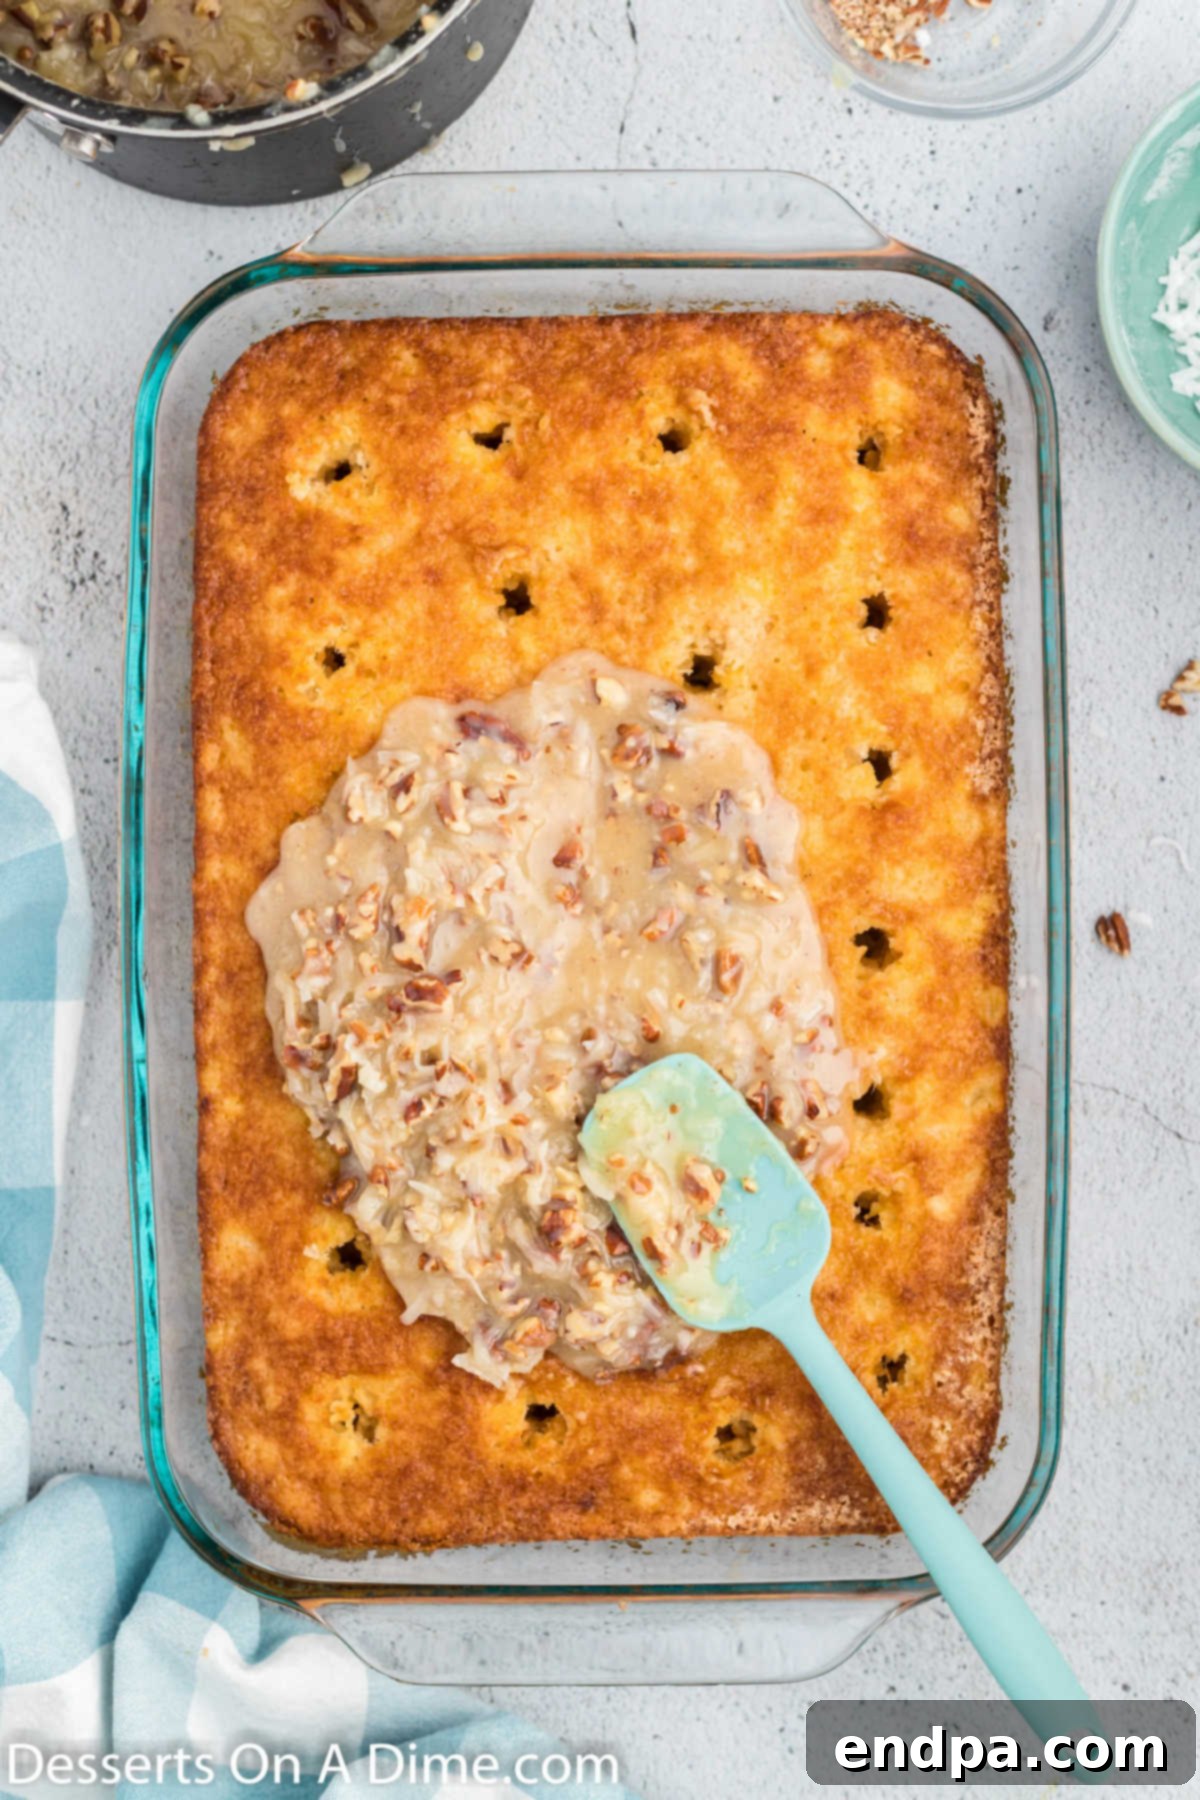
Step 6: Drench the Cake. Immediately stir in the chopped pecans and sweetened coconut flakes into the hot topping mixture. Then, while the topping is still warm and pourable, carefully spread it evenly over the top of the poked cake. Ensure the rich mixture seeps into all the holes, infusing the cake with incredible flavor and moisture.

Step 7: Cool and Set. Allow the cake to sit on the wire rack for 5 to 10 minutes, giving the topping ample time to absorb into the cake and both components to cool slightly. This brief resting period is crucial for the flavors to meld and the cake to achieve its perfect, moist texture.
Step 8: Slice and Enjoy! Once slightly cooled, slice your Texas Tornado Cake into generous squares and serve. Prepare for a chorus of compliments!
Expert Tips for the Perfect Tornado Cake
Achieving the perfect Texas Tornado Cake is easy with a few insider tips:
- Don’t Overmix the Batter: For a tender cake, mix the wet and dry ingredients only until just combined. Overmixing can develop the gluten too much, leading to a tough cake.
- Poke Generously: The “poke” in poke cake is key! Ensure you poke enough holes, spaced about an inch apart, and deep enough so the topping can truly soak through. The handle of a wooden spoon is ideal for creating these perfect channels.
- Warm Topping is Best: Apply the topping while it’s still hot. Its warmth helps it to thin slightly and easily seep into the poked holes, guaranteeing maximum absorption and a super moist result.
- Let it Rest: While tempting to dive in immediately, allowing the cake to cool for 5-10 minutes (or even longer) allows the topping to set and the flavors to fully develop and integrate. This also makes for cleaner slices.
- Quality Ingredients Matter: Using fresh eggs, good quality vanilla extract, and flavorful pecans can make a noticeable difference in the final taste.
Frequently Asked Questions (FAQs)
How to serve Tornado Cake?
This cake is utterly delicious served as is, allowing its rich coconut and pineapple flavors to shine. However, for an extra touch of indulgence, we often recommend adding a scoop of vanilla ice cream or a dollop of freshly whipped cream on top. The cool creaminess provides a delightful contrast to the warm, moist cake. It’s truly a crowd-pleaser and disappears quickly at any gathering, always prompting requests for the recipe!
How to store Tornado Cake?
To keep your Tornado Cake fresh, cover it tightly with plastic wrap or transfer it to an airtight container. It can be stored at room temperature for up to 2-3 days, or in the refrigerator for up to 4-5 days. Refrigeration is recommended, especially in warmer climates, to maintain its freshness and prevent the topping from becoming too soft.
How to freeze the cake?
Yes, Tornado Cake freezes beautifully! For best results, allow the cake to cool completely, then wrap it tightly in plastic wrap, followed by a layer of aluminum foil. Place it in the freezer for up to one month. While the texture may change ever so slightly upon thawing, it will still be wonderfully delicious. For optimal enjoyment, thaw the cake overnight in the refrigerator before serving.
Do you drain the pineapple?
Absolutely not! Leaving the crushed pineapple undrained is essential for this recipe. The juice from the pineapple contributes significantly to the cake’s moistness and infuses it with an extra layer of delicious tropical flavor. You want every last bit of that yummy pineapple juice to be soaked into the cake, contributing to its signature texture and taste.
Can you make this cake in advance?
Yes, and we actually think it tastes even better the day after it’s made! Allowing the cake to sit overnight gives the flavors a chance to meld and deepen, and the topping fully penetrates every crevice of the cake. This makes it a fantastic make-ahead dessert for parties or events. We recommend preparing it no more than 48 hours in advance to ensure it doesn’t become overly soggy or mushy, though this is rarely an issue with proper storage.
How to poke the holes?
The handle of a wooden spoon is our preferred tool for poking holes because it creates the perfect size. However, you can use anything similar, such as the blunt end of a skewer or even a chopstick. The key is to ensure the holes are poked all the way to the bottom of the cake and are evenly distributed across the surface. This ensures the warm, sweet topping can seep through every layer, making each bite incredibly moist and flavorful.
What kind of baking pan is best?
A standard 9×13 inch metal baking pan works best for this recipe, as it conducts heat evenly for a perfectly baked cake. If using a glass or ceramic dish, you might need to adjust baking time slightly, as these materials retain heat differently. Always ensure your pan is well-greased and floured (or sprayed with non-stick spray) to prevent sticking.
Can I use fresh pineapple?
While canned crushed pineapple is recommended for convenience and its consistent moisture content, you could technically use fresh pineapple. However, you would need to crush it finely and ensure you include all its natural juices. Be aware that the flavor profile might be slightly different, and the consistency might vary. Canned pineapple is generally preferred for its ease and reliability in this recipe.
What if my topping doesn’t thicken?
If your topping isn’t thickening after 3-5 minutes, don’t worry. Continue to heat it over medium-high heat, stirring constantly, for a few more minutes. The evaporated milk and sugar mixture needs to reach a gentle boil and simmer to activate the thickening process. It won’t become a super thick caramel, but it should coat the back of a spoon. If it remains too runny, a tiny pinch of cornstarch mixed with a tablespoon of cold water could be added to aid thickening, but usually, continued gentle boiling does the trick.
Is this a good potluck dessert?
Absolutely! The Texas Tornado Cake is an ideal dessert for potlucks, family reunions, holiday parties, or any large gathering. Its large sheet cake format makes it easy to transport and serve many people. Plus, it’s a guaranteed crowd-pleaser, appealing to almost everyone with its sweet, moist, and flavorful profile. It also holds up well, making it perfect for events where food might sit out for a while (though we recommend refrigeration if possible).
More Irresistible Poke Cake Recipes
If you’ve fallen in love with the moist and flavorful experience of poke cakes, we have plenty more delightful recipes for you to explore:
- Boston Cream Poke Cake Recipe
- Easy Pineapple Poke Cake Recipe
- Chocolate Caramel Poke Cake Recipe
Go ahead and make this delicious Texas Tornado Cake! It’s a dessert that brings smiles and satisfaction with every bite. We’re confident it will become a cherished recipe in your collection. Please share your experience and leave a comment once you do!
Full Recipe Card

Tornado Cake
Rated 4.75 stars from 12 votes
Tornado cake is a decadent cake with the best coconut topping. It comes together quickly using ingredients you likely already have.
Prep Time: 10 mins
Cook Time: 40 mins
Cool Time: 10 mins
Total Time: 1 hr
Servings: 9
Cuisine: American
Course: Dessert
Calories: 648
Author: Carrie Barnard
Ingredients
FOR THE CAKE:
- 2 cups All Purpose Flour
- 2 Large Eggs
- 1 tsp Baking Soda
- 2 cups Granulated Sugar
- 1 tsp Vanilla Extract
- 1 can Crushed Pineapple (20 oz can, do not drain)
FOR THE TOPPING:
- 2/3 cup Evaporated Milk
- 1 cup Granulated Sugar
- 1/2 cup salted Butter
- 1/2 tsp Vanilla Extract
- 1 cup pecans, chopped
- 1 cup sweetened coconut flakes
Instructions
- Preheat the oven to 350 degrees F (175°C) and spray a 9X13 baking pan with a non-stick cooking spray.
- Then combine all the cake ingredients together in a large mixing bowl. Mix these ingredients together by hand with a wooden or plastic spoon until just combined.
- Then pour the mixture into the 9X13 pan and bake for 30-40 minutes until the cake is set and a toothpick inserted into the middle of the cake comes out clean.
- Move the cake to a wire rack and poke several holes in the cake with the end of a wooden spoon.
- Then prepare the topping. Place the evaporated milk, sugar, butter, and vanilla extract in a sauce pan. Heat over medium-high heat for approximately 3-5 minutes until the mixture is well combined and thickened slightly.
- Remove the sauce pan from the heat and then stir in the pecans and shredded coconut.
- Then spread the mixture (while it’s still hot) on top of the cake and allow the mixture to drip down into the holes in the cake.
- Let the topping and cake sit for 5-10 minutes to finish cooling and for the flavors to meld.
- Then slice, serve, and enjoy!
Recipe Notes
For leftovers, cover the cake tightly with plastic wrap. Store it in the refrigerator or at room temperature for up to 4-5 days. For longer storage, freeze as directed in the FAQs.
Nutrition Facts
Calories: 648kcal, Carbohydrates: 106g, Protein: 7g, Fat: 23g, Saturated Fat: 11g, Polyunsaturated Fat: 3g, Monounsaturated Fat: 8g, Trans Fat: 1g, Cholesterol: 69mg, Sodium: 274mg, Potassium: 263mg, Fiber: 4g, Sugar: 82g, Vitamin A: 451IU, Vitamin C: 6mg, Calcium: 82mg, Iron: 2mg
Pin This Now to Remember It Later
Pin Recipe
