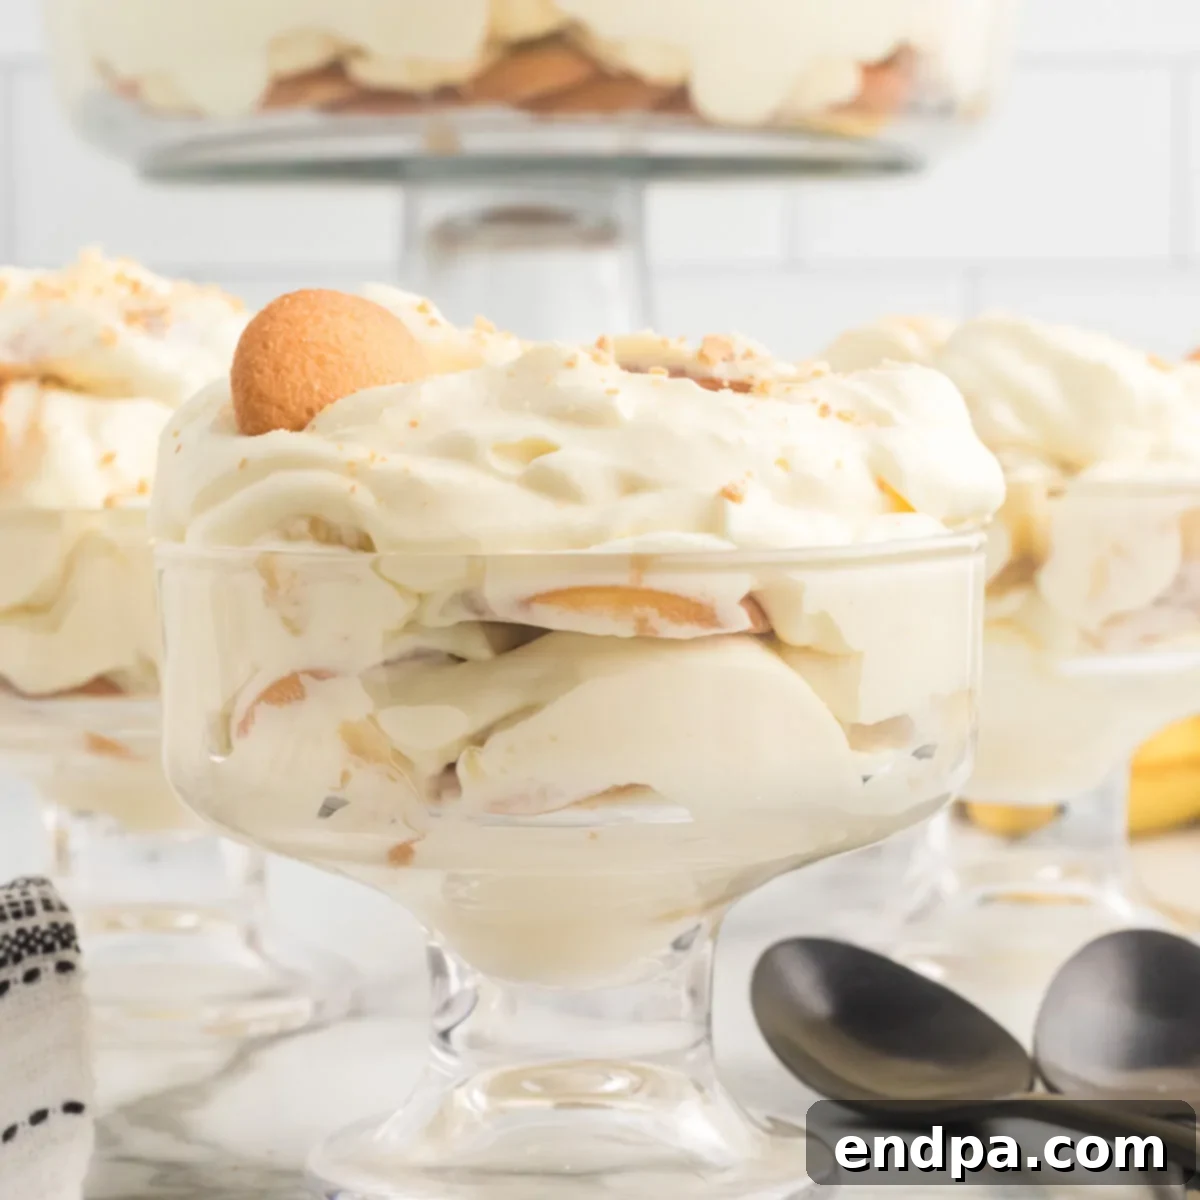
The Ultimate Magnolia Bakery Banana Pudding Recipe: A Homemade Classic
Step into the world of beloved desserts and discover how to easily make the famous Magnolia Bakery Banana Pudding Recipe right in your own kitchen. This isn’t just any banana pudding; it’s a decadent, layered masterpiece known for its incredibly rich flavor and silky-smooth texture, featuring a delightful combination of creamy vanilla pudding, luscious whipped cream, perfectly ripe bananas, and crisp vanilla wafers. You’ll be amazed at how simple it is to recreate this iconic treat that delights everyone who tastes it.
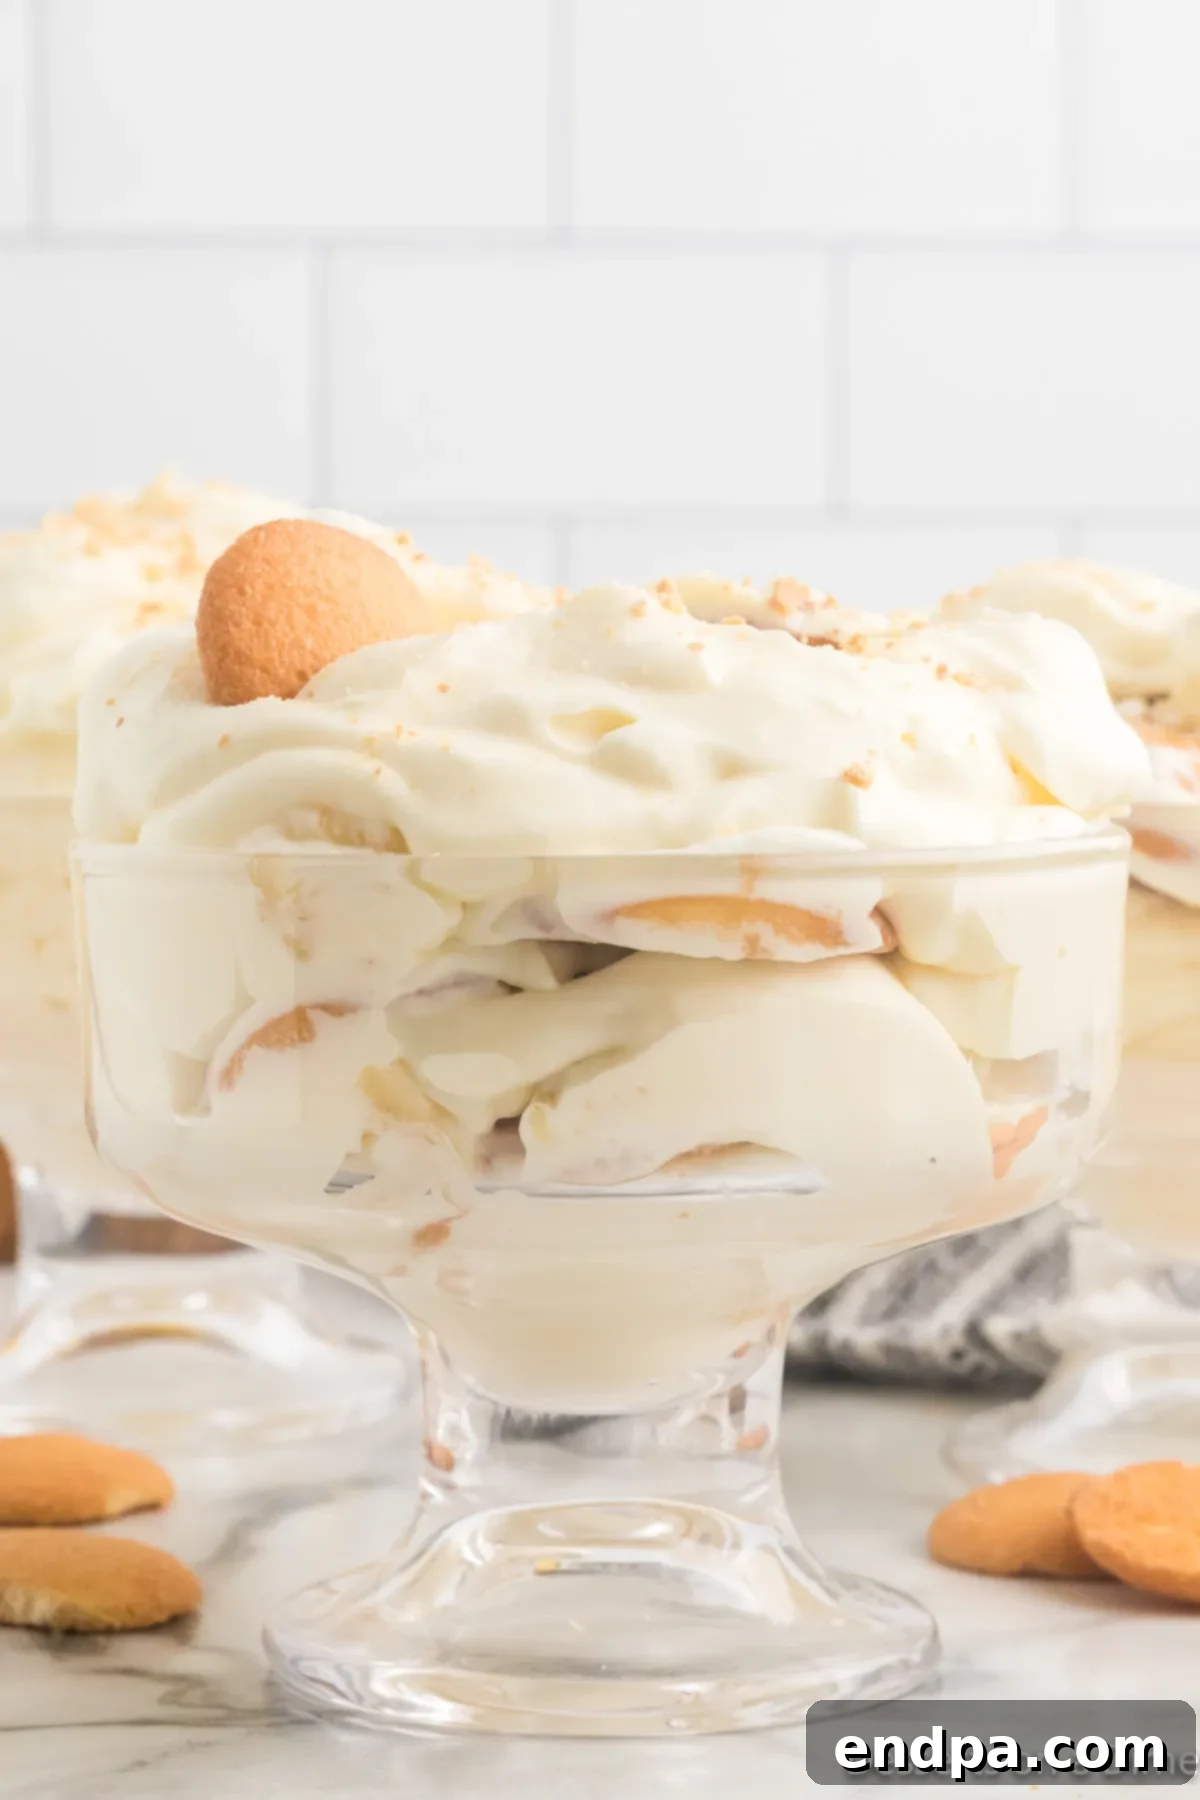
Originating from the charming streets of New York City, Magnolia Bakery’s Banana Pudding has achieved legendary status. Its reputation is well-deserved, offering a spoonful of pure comfort and nostalgic bliss with every bite. The good news? You don’t need a trip to NYC to savor this dessert. With our spot-on recipe, you can effortlessly replicate the exact taste and texture found in the famed Magnolia Bakery Cookbook. It’s a surprisingly straightforward process that yields truly spectacular results, perfect for any occasion.
Beyond its deliciousness, this recipe is incredibly practical, especially if you often find yourself with a few extra bananas nearing their peak ripeness. Instead of letting them go to waste, transform them into this spectacular pudding! Or, if you’re looking for other ways to use up ripe bananas, consider making Banana Bread Brownies, exploring a variety of Banana Desserts, or whipping up a batch of Banana Pudding Fluff. But for an undeniable crowd-pleaser that’s sure to impress, this classic banana pudding recipe takes center stage.
What’s in this Guide: Mastering Magnolia Bakery Banana Pudding
- Why You Will Absolutely Love This Recipe
- The Secret Ingredients for Success
- Substitutions and Creative Variations
- Step-by-Step Instructions for Perfect Layers
- Expert Tips for Banana Pudding Perfection
- Frequently Asked Questions
- The Sweet History of Magnolia Bakery
- Serving and Storage Suggestions
- More Easy Banana Recipes to Try
- Printable Recipe Card: Magnolia Bakery Banana Pudding
Why You Will Absolutely Love This Recipe
This isn’t just another dessert recipe; it’s an invitation to create a memorable experience. Here are the compelling reasons why this Magnolia Bakery Banana Pudding recipe will become a cherished favorite:
- Effortless Elegance: Despite its impressive appearance and decadent taste, this recipe calls for just a few straightforward ingredients and a simple assembly process. You’ll achieve gourmet results with minimal effort, making it ideal for both novice and experienced home cooks.
- Unrivaled Creaminess: The harmonious combination of luscious vanilla pudding and cloud-like whipped cream creates an unparalleled creamy texture that melts in your mouth. Each layer contributes to a truly luxurious feel.
- A Universal Favorite: The classic flavors of banana, vanilla, and sweet cream resonate with nearly everyone. This dessert is a guaranteed hit at any potluck, family dinner, holiday celebration, or simply as a comforting treat on a quiet evening. It evokes a sense of nostalgic comfort and pure joy.
- Perfectly No-Bake: Ditch the oven and enjoy the convenience of a no-bake dessert. This makes it an excellent choice for hot summer days, busy weeknights, or whenever you want to prepare something impressive without heating up your kitchen. The chilling process does all the work!
- Authenticity Guaranteed: Our recipe meticulously replicates the beloved flavor profile of the original Magnolia Bakery Banana Pudding. If you’ve ever dreamt of savoring that iconic taste without visiting New York City, this recipe is your golden ticket. It truly tastes just like the real deal!
- Budget-Friendly Ingredients: Bananas and vanilla wafers are typically inexpensive, making this a cost-effective way to enjoy a luxurious dessert. It’s a smart way to utilize those slightly ripe bananas before they go bad.
The Secret Ingredients for Success
Creating this iconic banana pudding doesn’t require an extensive shopping list. The magic truly lies in these few, high-quality components coming together to form a symphony of flavors and textures. Here’s a closer look at what you’ll need and why each ingredient is essential:
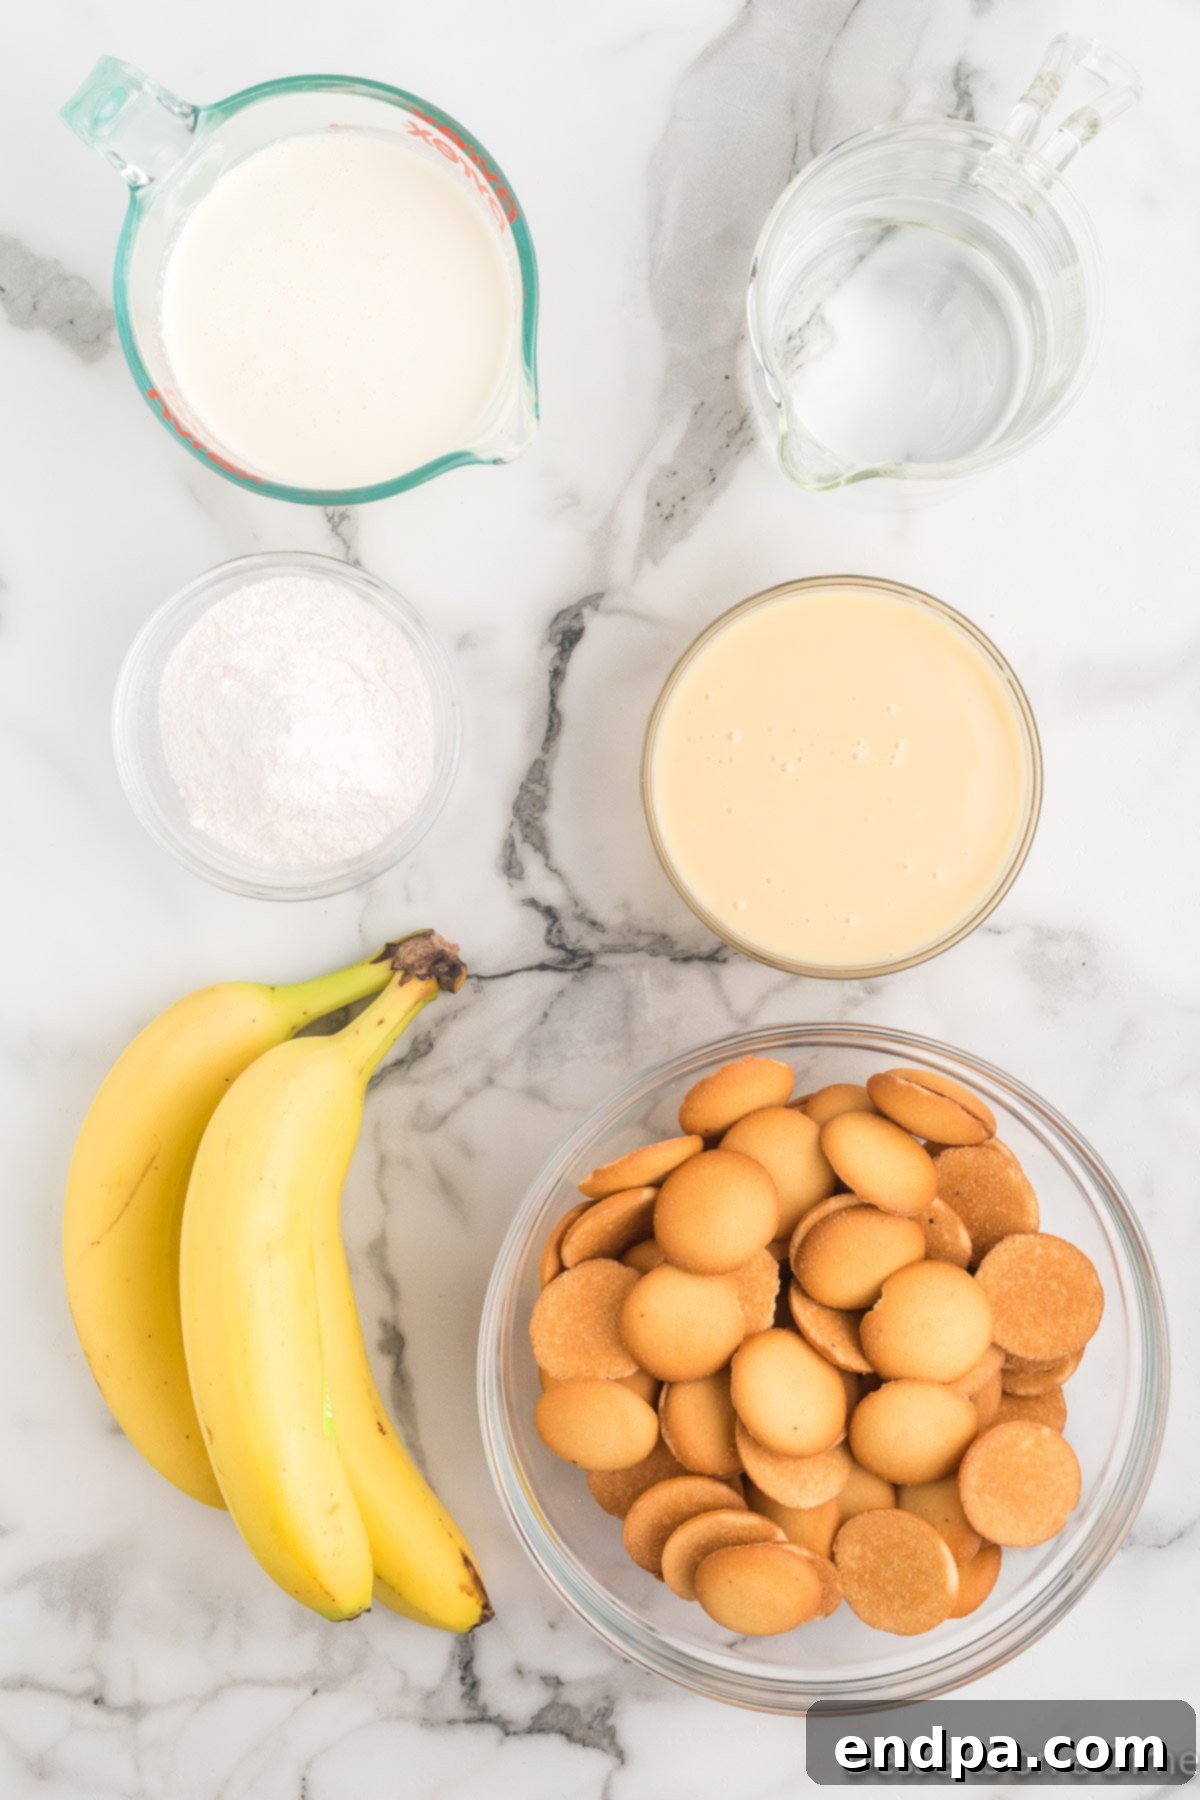
- Sweetened Condensed Milk: This isn’t just any milk; it’s a rich, thick, and pre-sweetened dairy product that provides the backbone of the pudding’s signature decadence. It contributes an unparalleled creamy texture and just the right amount of sweetness, eliminating the need for additional sugar in the pudding base. Make sure to choose sweetened condensed milk, not evaporated milk, as they are not interchangeable.
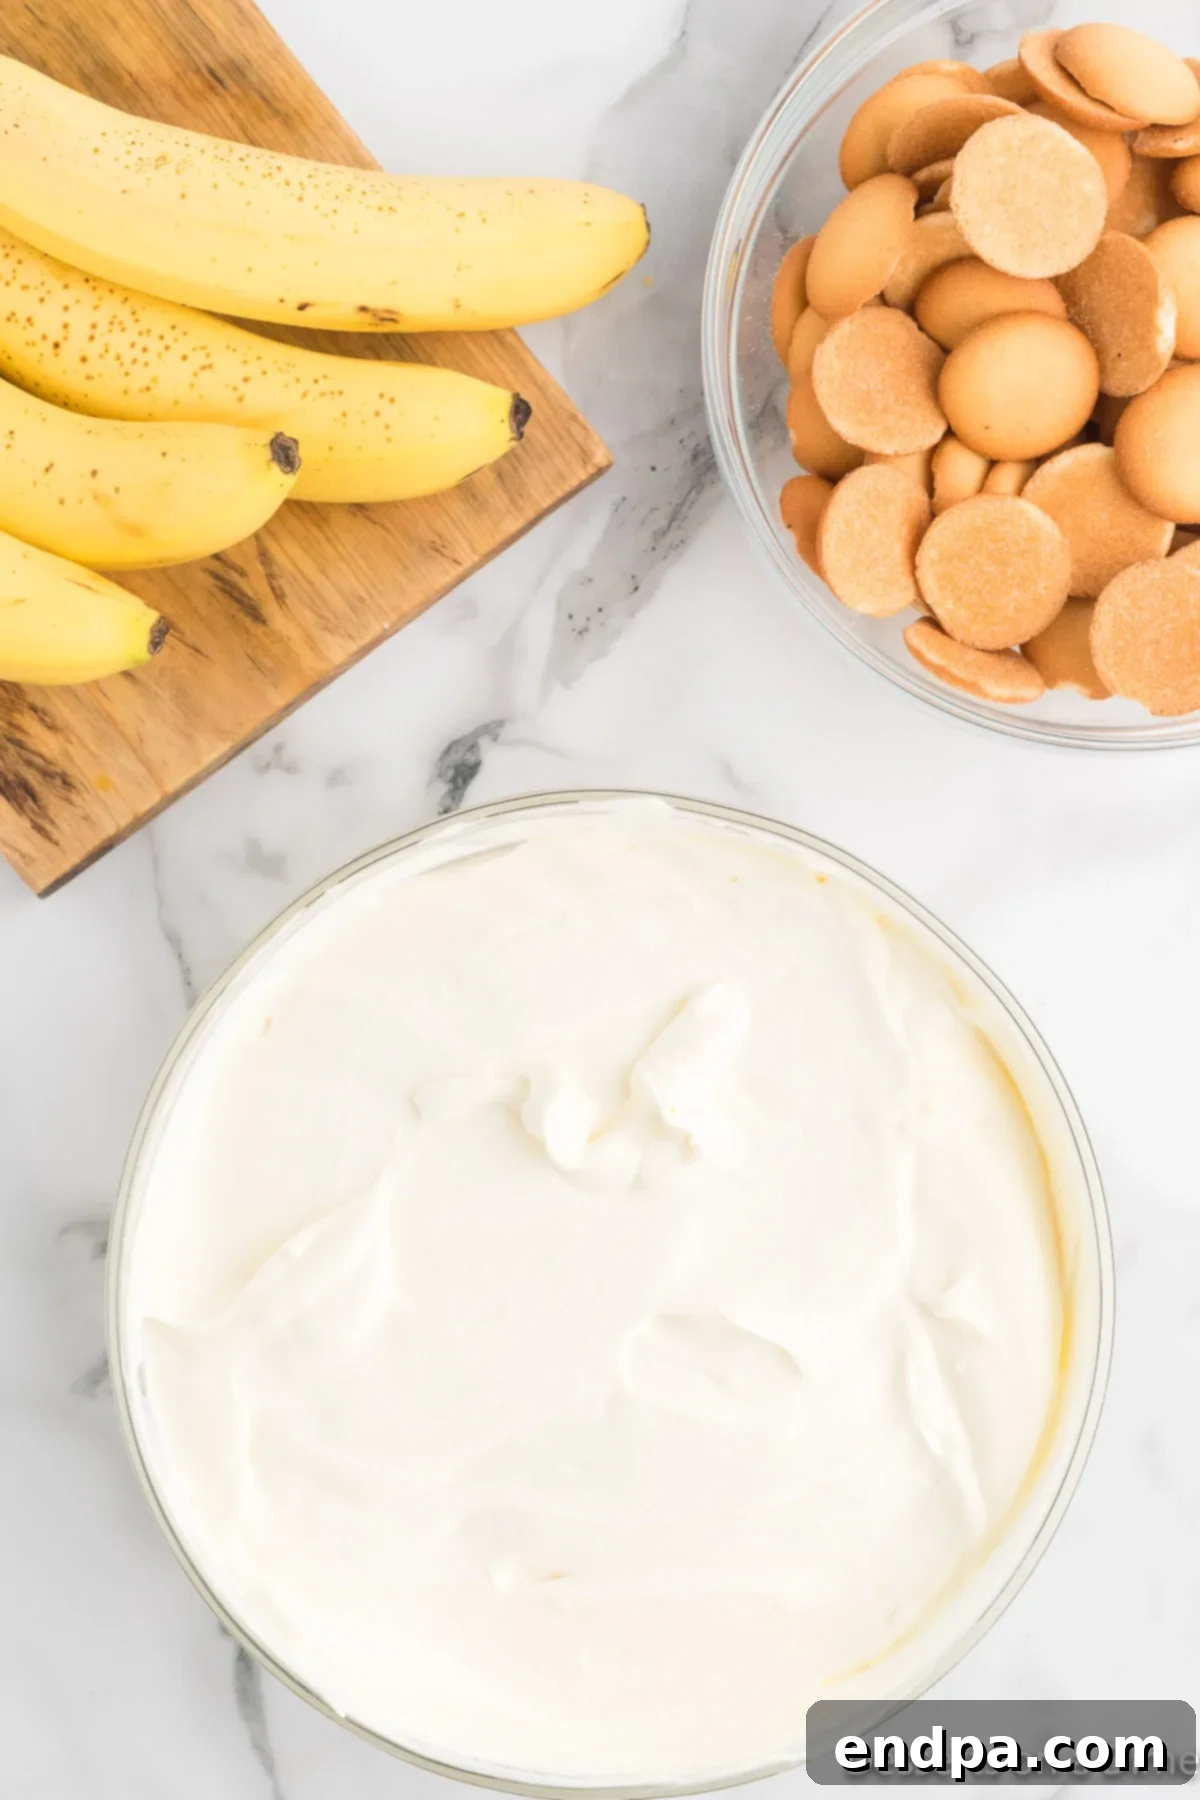
- Instant Vanilla Pudding Mix: A non-negotiable for the speed and simplicity of this no-bake recipe. Ensure you grab an *instant* pudding mix (Jell-O brand is a popular and reliable choice) and avoid the “cook and serve” varieties. The instant variety thickens beautifully when combined with the other liquids, forming the perfect base.
- Cold Water: Essential for combining with the sweetened condensed milk and pudding mix. The cold temperature helps activate the instant pudding and ensures a smooth, lump-free mixture.
- Heavy Whipping Cream: This is transformed into homemade whipped cream, adding an essential layer of airy lightness and luxurious texture to the pudding. For best results, ensure your heavy whipping cream is thoroughly chilled before whipping; a cold bowl and whisk attachment also help achieve stiff peaks faster.
- Sliced Barely Ripe Bananas: This is a critical detail for the pudding’s success. Opt for bananas that are firm and mostly yellow with minimal to no brown spots. Overly ripe bananas will become mushy and brown too quickly when exposed to air, compromising both the visual appeal and textual integrity of your dessert. Barely ripe bananas offer a pleasant firmness and subtle sweetness.
- Nilla Wafers: These classic vanilla-flavored cookies are more than just a garnish; they are an integral part of the pudding’s structure and flavor. As they soak in the creamy layers, they soften beautifully, absorbing the delicious flavors and contributing a tender, cake-like consistency that is truly delightful. If you’re feeling adventurous, you can even try making Homemade Vanilla Wafer Cookies.
For precise quantities and the complete list, refer to our comprehensive recipe card at the bottom of this post.
Substitutions and Creative Variations
While the classic Magnolia Bakery Banana Pudding is a masterpiece on its own, there’s always room for personalization. Feel free to experiment with these delicious substitutions and creative variations to tailor the recipe to your taste or dietary needs:
- Cool Whip for Utmost Convenience: If you’re short on time or prefer a ready-made option, you can substitute store-bought whipped topping, such as Cool Whip, for the homemade heavy whipping cream. Just ensure it’s thawed completely before gently folding it into the pudding mixture.
- Explore Different Pudding Flavors: While traditional vanilla instant pudding is key to the original flavor, don’t hesitate to experiment! French Vanilla instant pudding can add an extra depth of vanilla. You might also try cheesecake-flavored, white chocolate, or even a subtle butterscotch instant pudding mix for a unique twist.
- Indulgent Caramel Drizzle: For an added layer of decadence, consider drizzling a thin layer of homemade or store-bought salted caramel sauce between the pudding layers or artistically over the top before serving.
- Chocolate Lover’s Dream: Transform this classic into a “Chocolate Banana Pudding” by incorporating mini chocolate chips into the layers, or by gently folding some into the pudding mixture. A sprinkle of chocolate shavings on top also adds elegance. You could even swap vanilla pudding for chocolate instant pudding for a truly rich experience.
- Alternative Cookie Choices: While Nilla Wafers are iconic, other cookies can offer delightful textural and flavor changes. Shortbread cookies, graham cracker squares, or even thinly sliced gingersnap cookies can provide intriguing variations. Just be aware that different cookies will absorb moisture differently, affecting the final texture.
- Warm Spice Accents: A small pinch of ground cinnamon, nutmeg, or even a touch of pumpkin pie spice blended into the instant pudding mix can introduce a warm, comforting note, especially appealing during cooler months.
- Toasted Coconut Flakes: For an exotic touch and added texture, sprinkle toasted coconut flakes on top of the pudding or between the layers. The nutty flavor pairs beautifully with banana.
- Nutty Crunch: Add a thin layer of finely chopped pecans, walnuts, or even candied nuts between the layers for a delightful crunch.
Step-by-Step Instructions for Perfect Layers
Follow these straightforward steps to meticulously assemble your stunning Magnolia Bakery-style Banana Pudding. Each stage is simple, but precision and a little patience are key to achieving those beautiful, distinct layers and allowing the flavors to meld perfectly for the ultimate dessert experience.
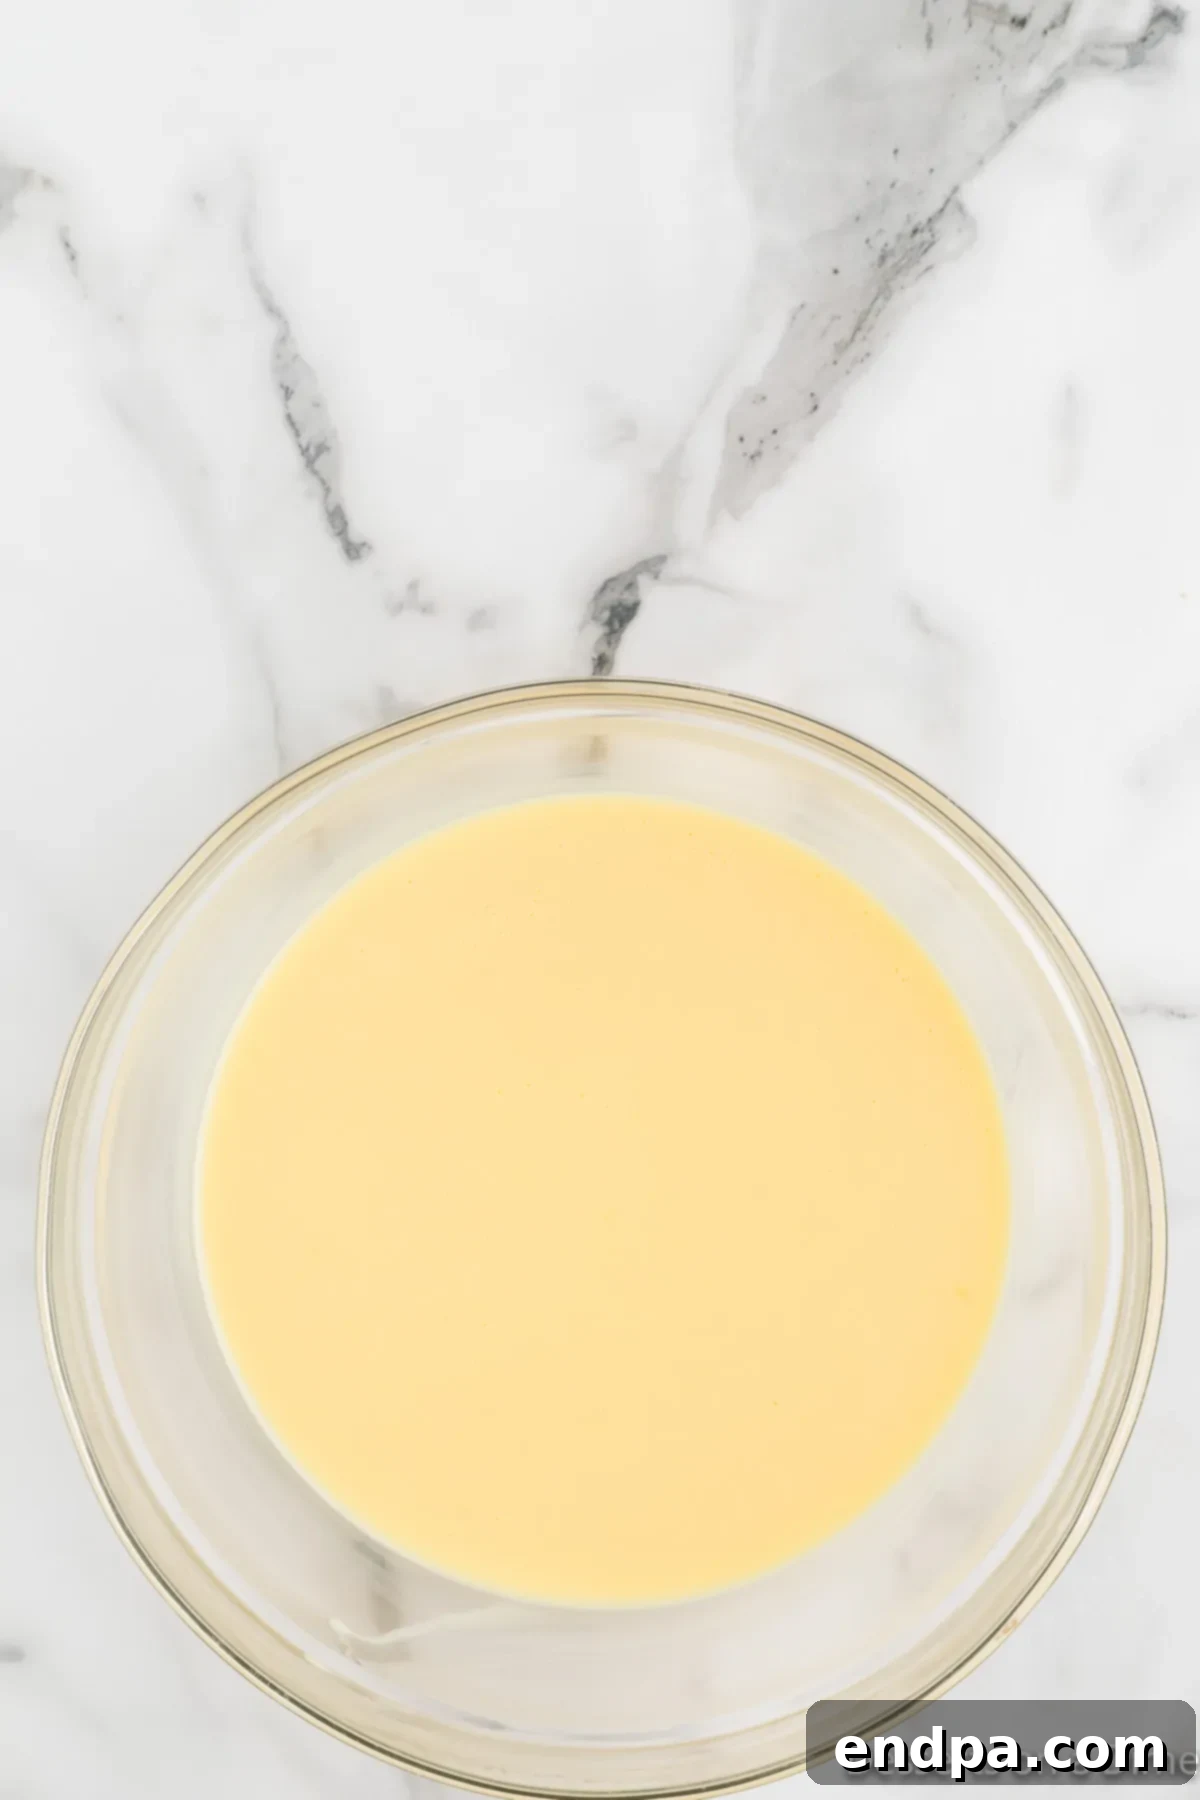
Step 1: Prepare the Pudding Base. In a spacious mixing bowl, combine the entire can of sweetened condensed milk with the specified amount of cold water and the instant vanilla pudding mix. Using an electric mixer equipped with a whisk attachment, beat the ingredients on medium speed. Continue mixing until the concoction is thoroughly combined, smooth, and lump-free. Once mixed, cover the bowl tightly with plastic wrap, pressing it down to touch the surface of the pudding to prevent a skin from forming. Place it in the refrigerator for a minimum of 4 hours, or ideally overnight, to allow the pudding to thicken to its perfect, rich consistency.
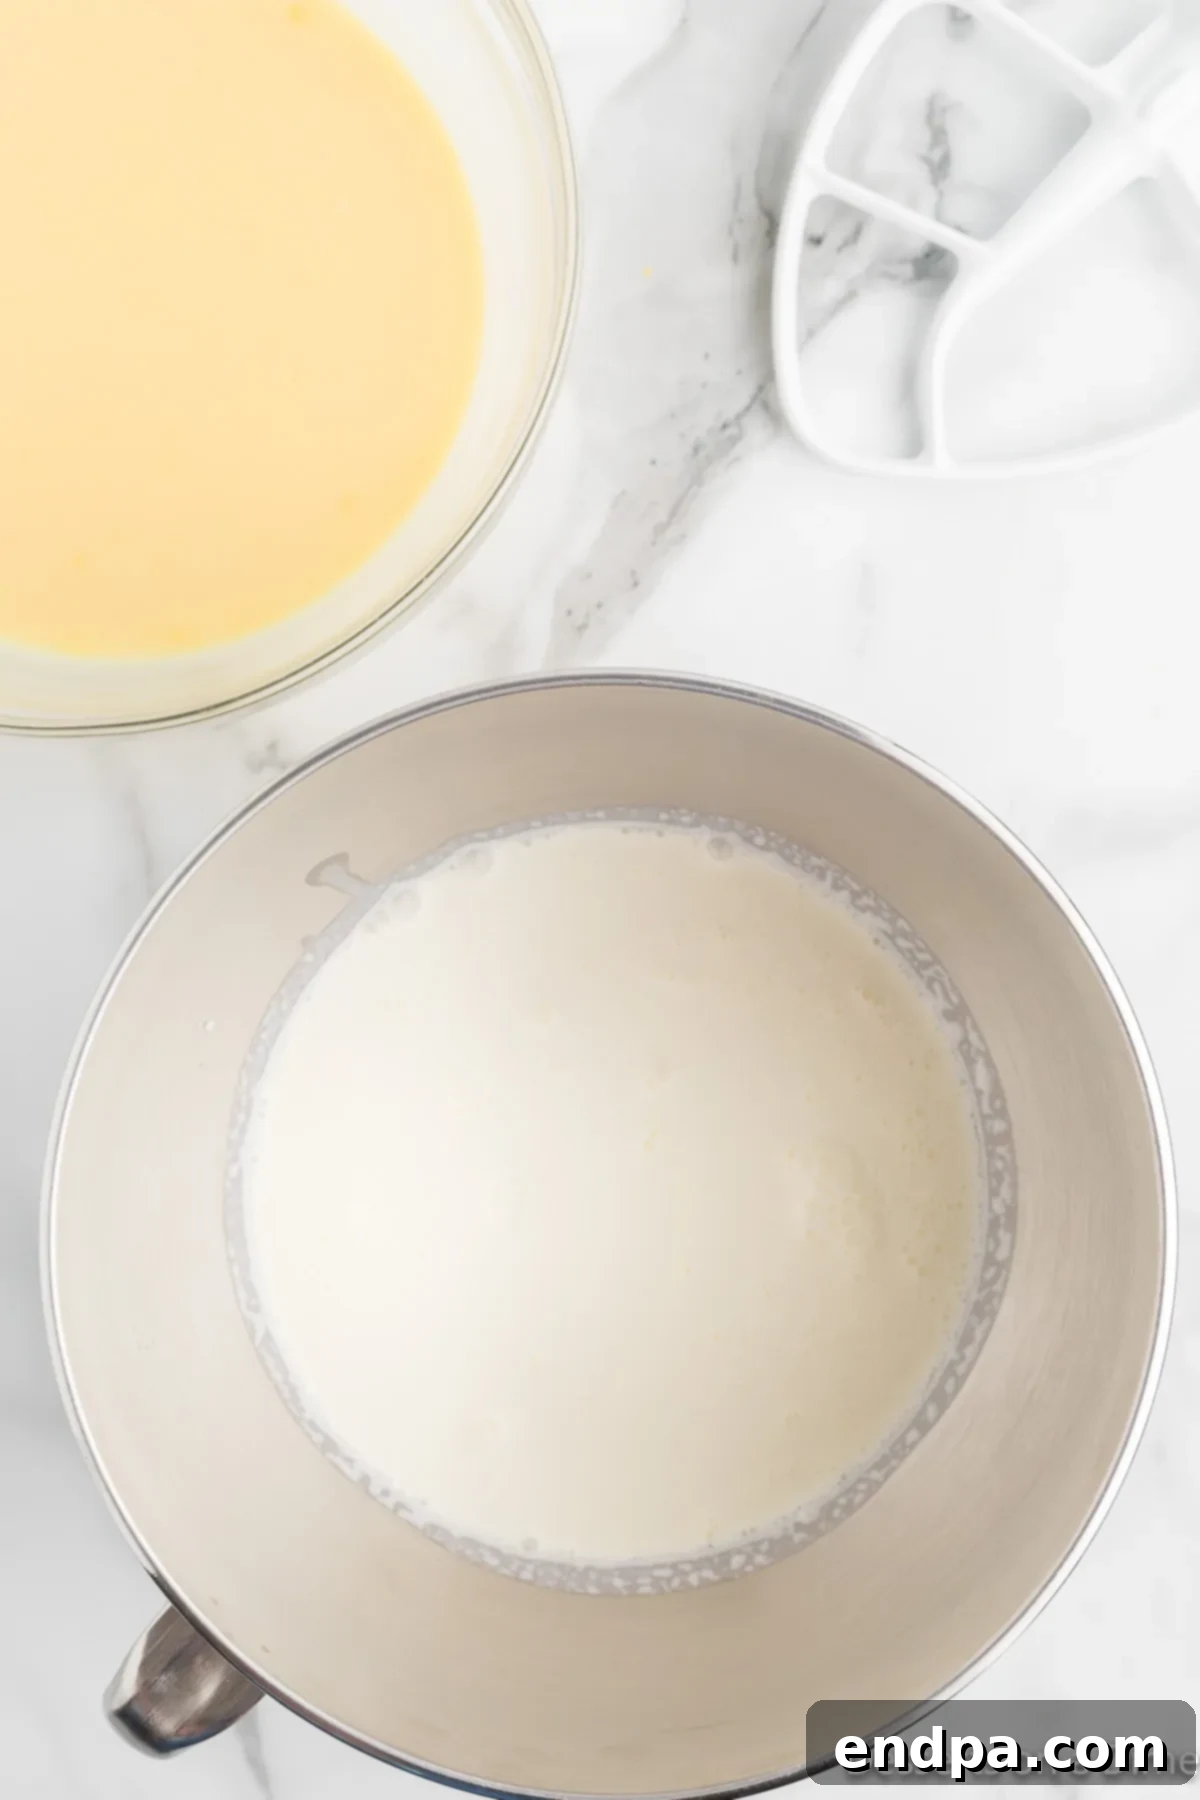
Step 2: Whip the Heavy Cream to Perfection. Get out a separate, clean, and preferably chilled mixing bowl. Pour the very cold heavy whipping cream into it. Using a stand mixer with a whisk attachment or a hand-held electric mixer, beat the cream on high speed until beautiful, stiff peaks form. The cream should hold its shape firmly. Be vigilant during this step to avoid over-whipping, as it can quickly turn the cream grainy or buttery.
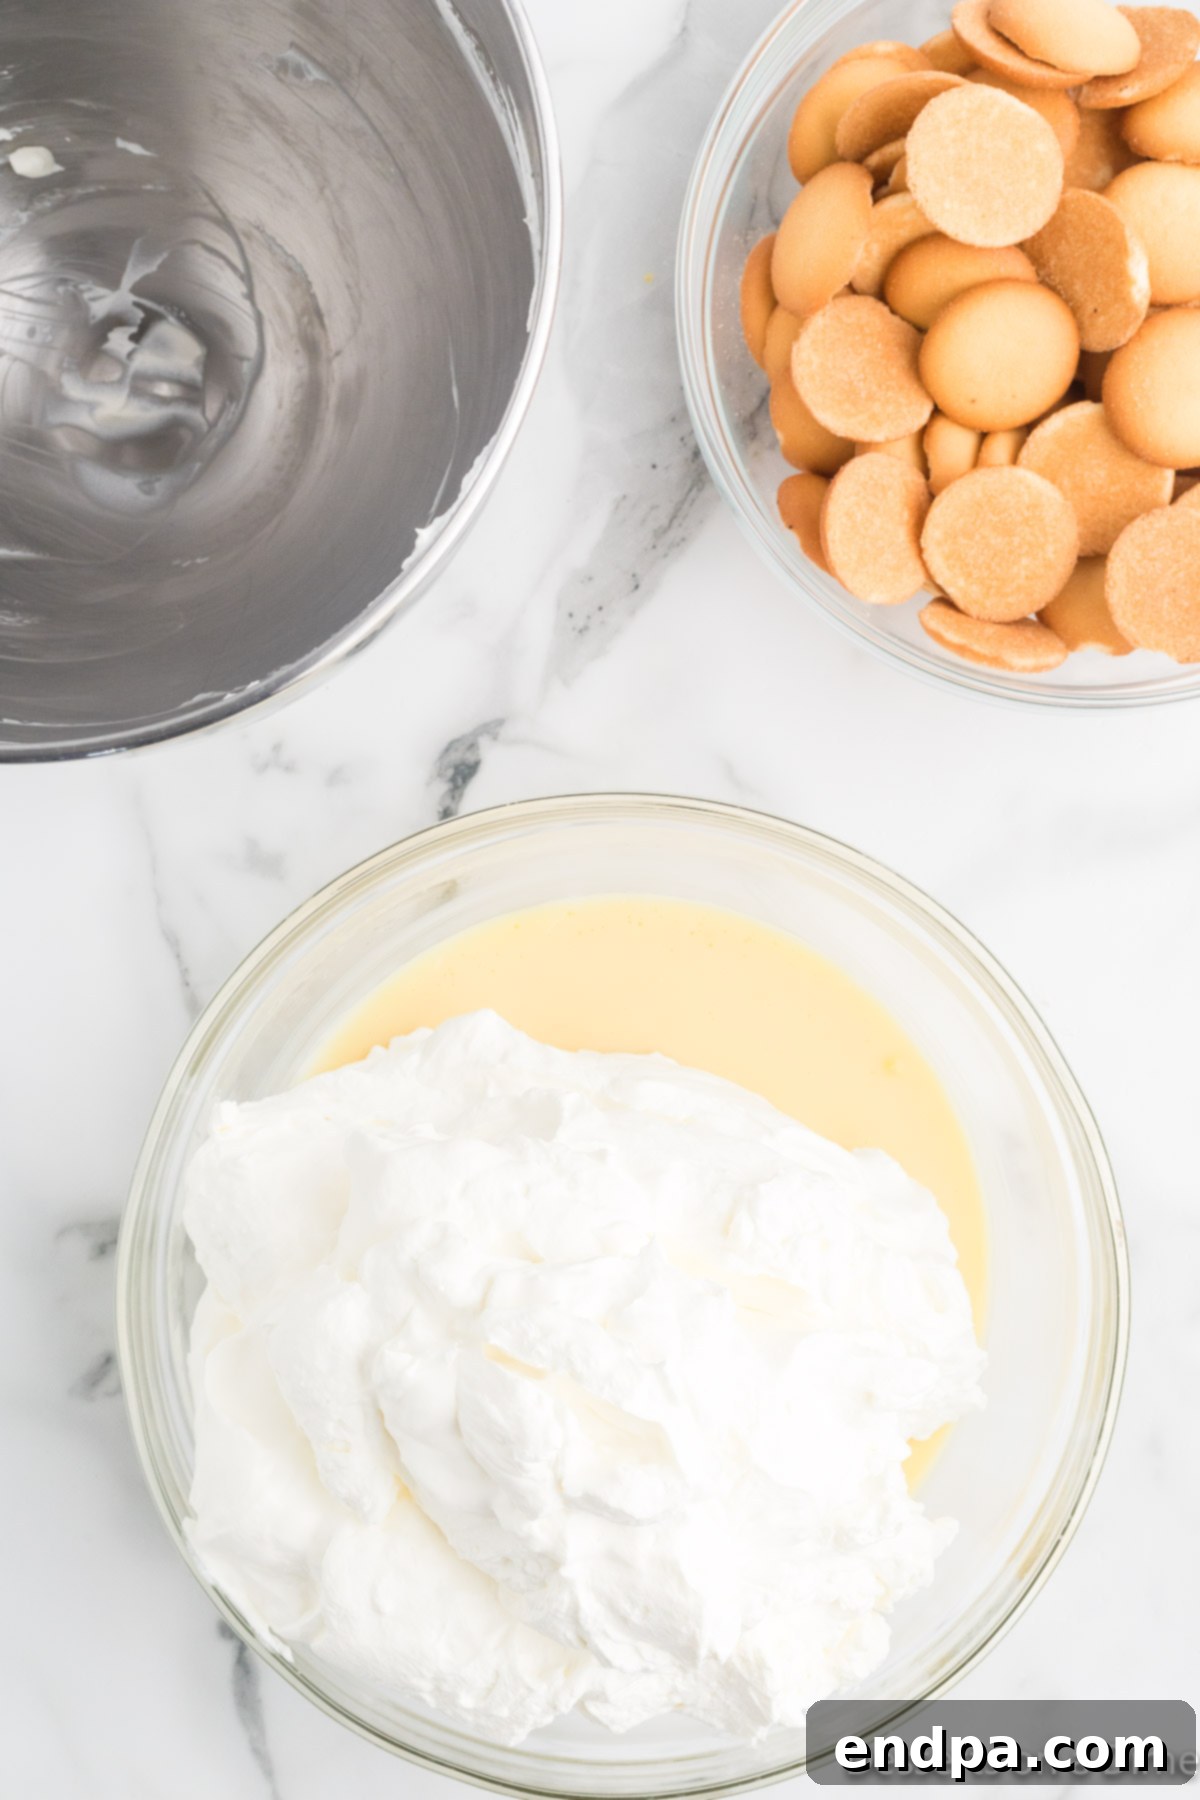
Step 3: Gently Combine Pudding and Whipped Cream. Retrieve your thoroughly chilled and thickened pudding base from the refrigerator. Now, with a soft hand and a flexible spatula, gently fold the freshly made whipped cream into the pudding mixture. The key here is to use a light, upward folding motion to incorporate the cream fully, ensuring no streaks of plain pudding remain, while simultaneously being careful not to deflate the airy volume of the whipped cream. This maintains the light and fluffy texture of the final pudding.
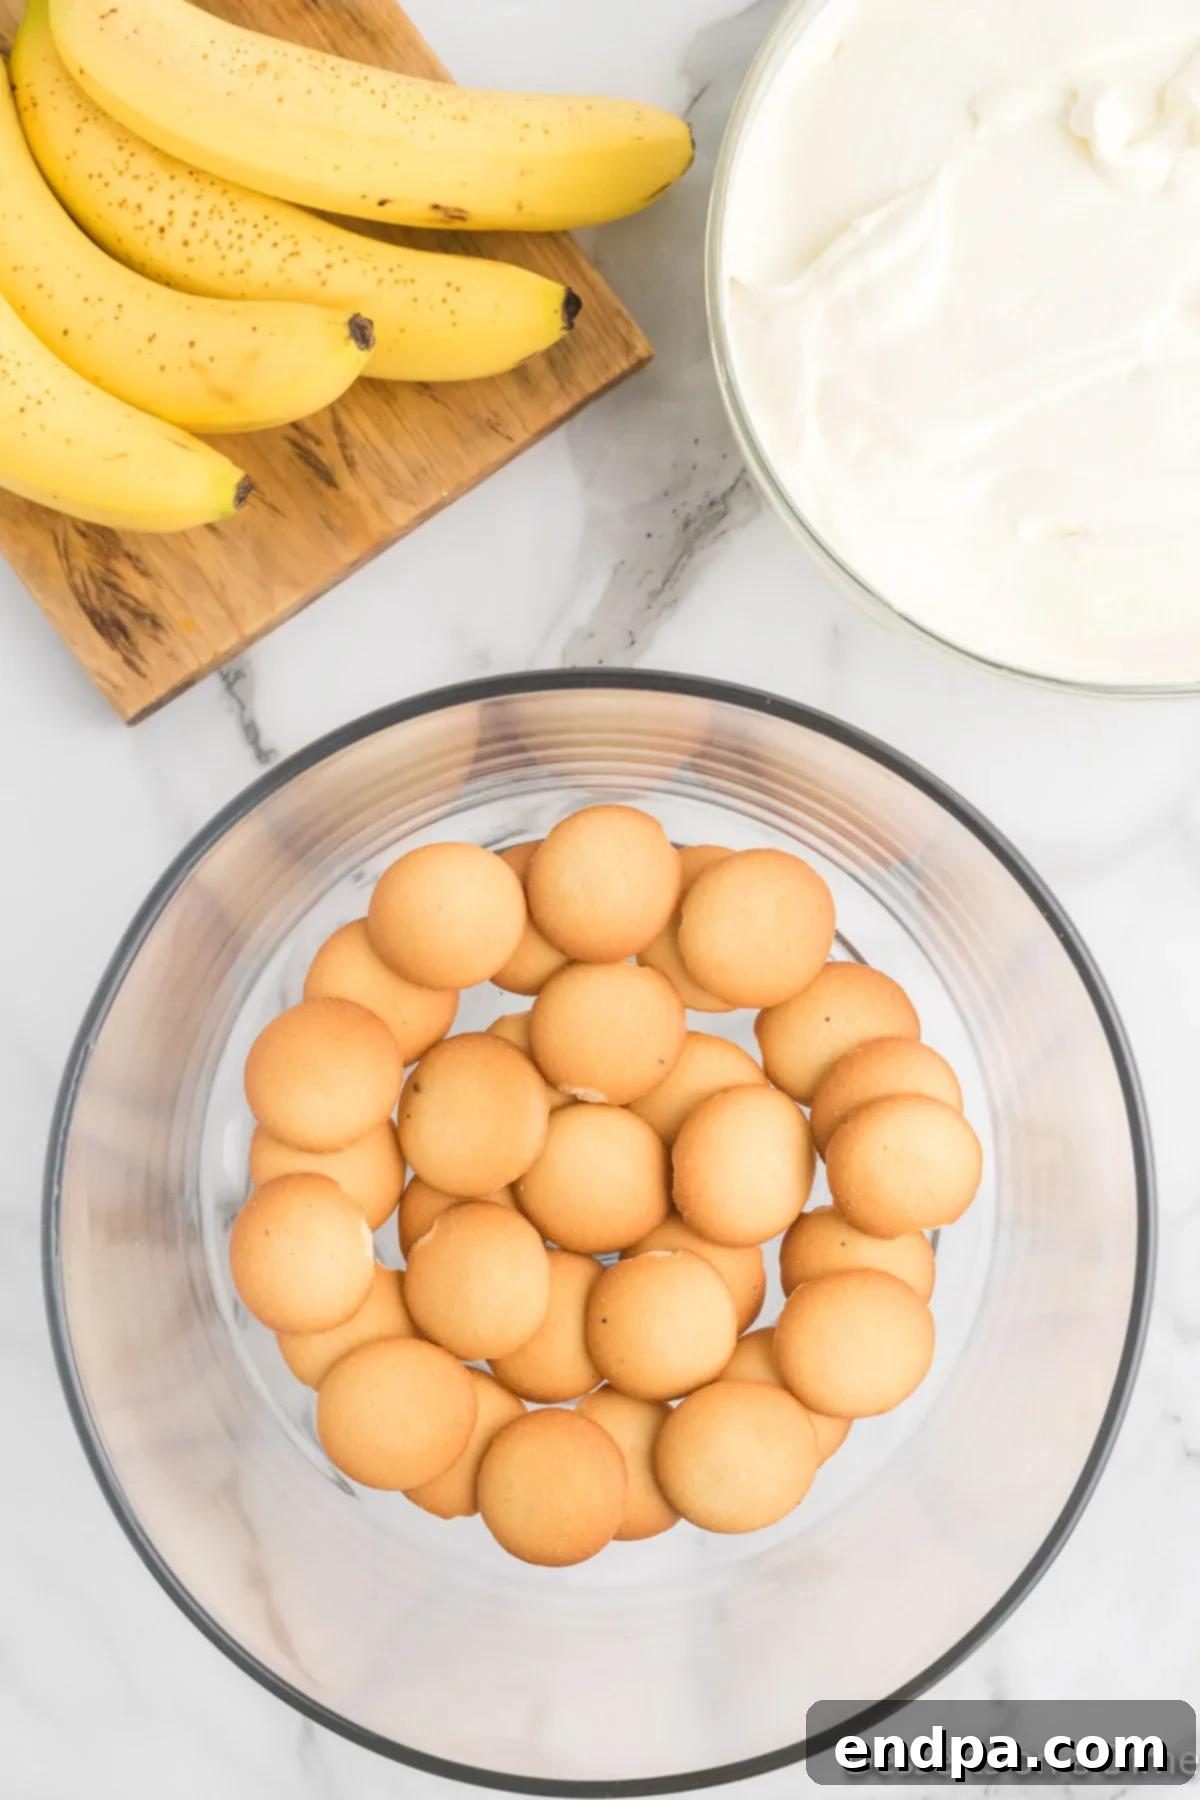
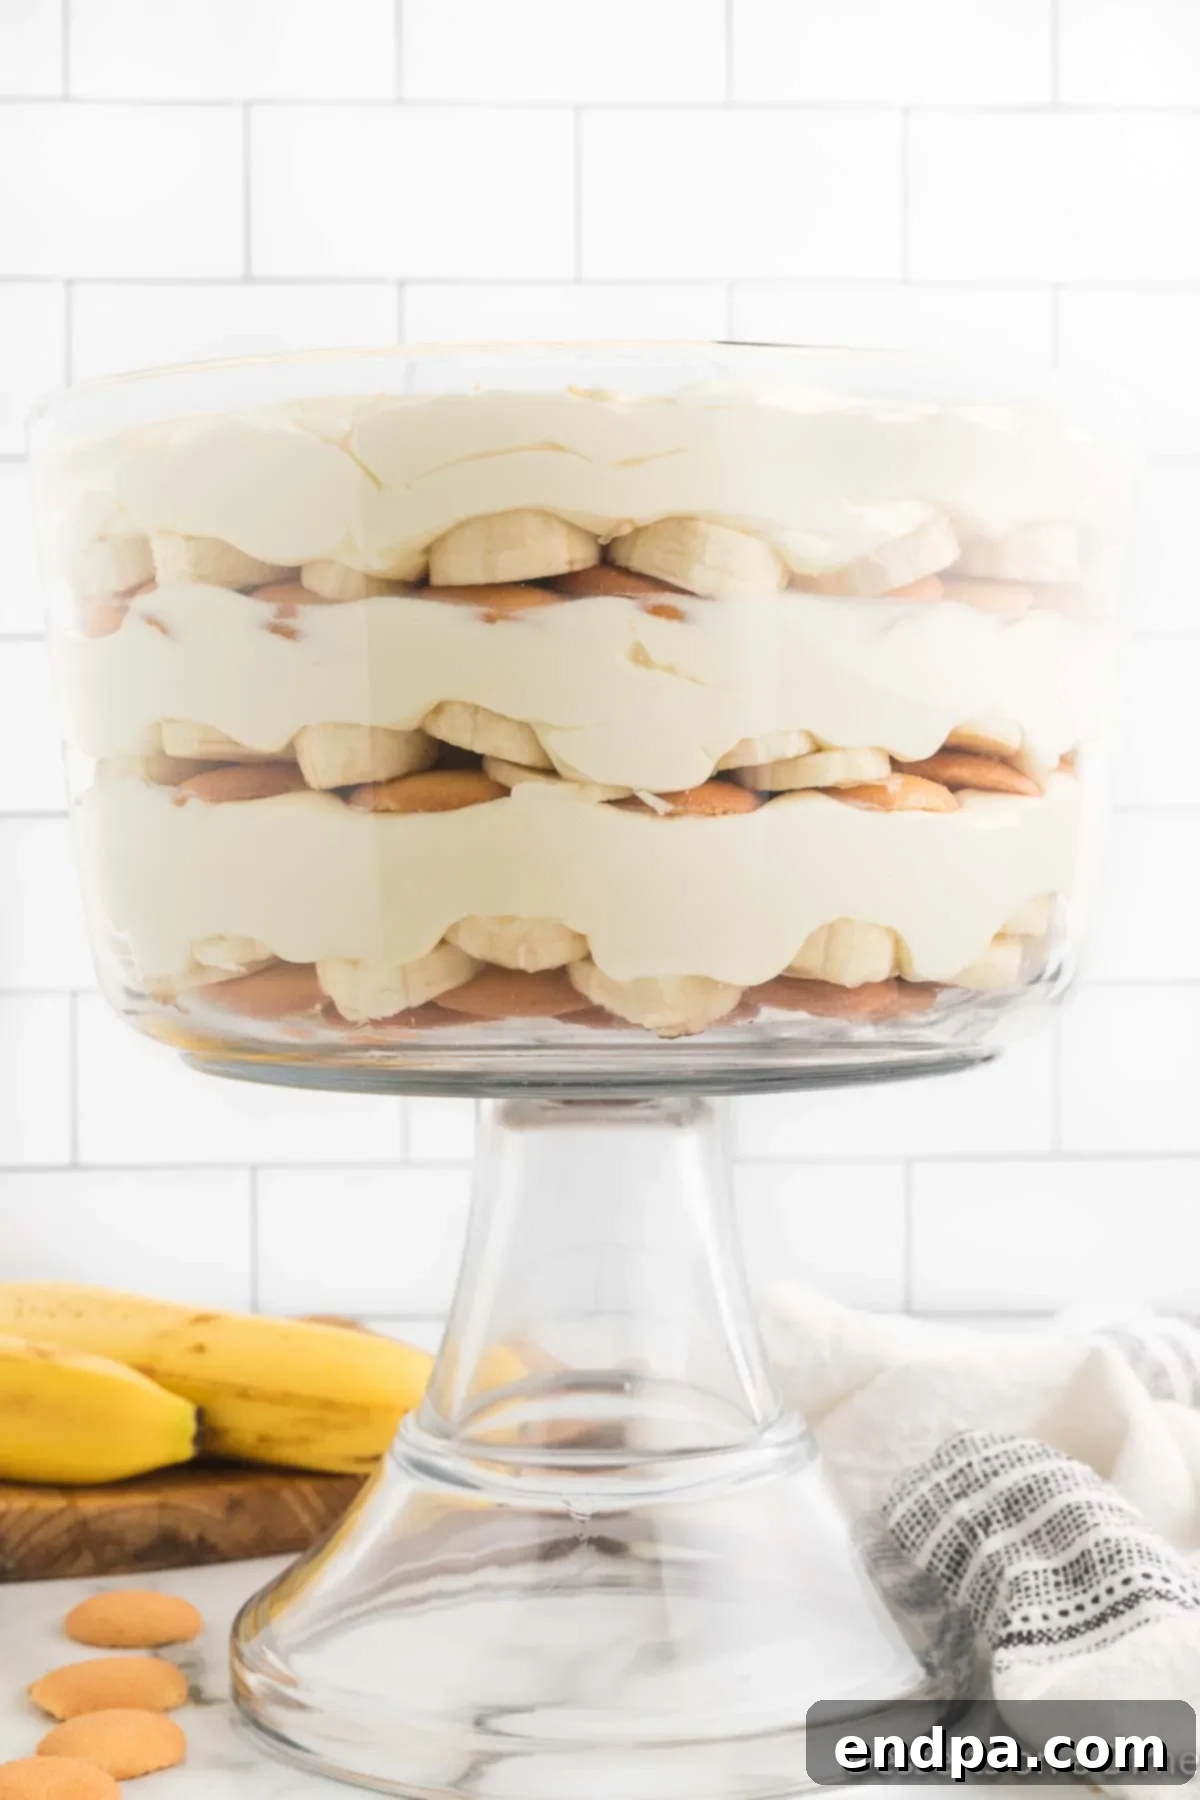
Step 4: Begin Layering with Vanilla Wafers. Decide on your preferred serving vessel(s). A large, clear glass trifle bowl beautifully showcases the layers, but a wide glass bowl or individual parfait glasses also work wonderfully for single servings (mimicking Magnolia Bakery’s style). Carefully arrange approximately one-third of your Nilla Wafers in a single, even layer at the very bottom of your chosen dish or dishes, covering the base.
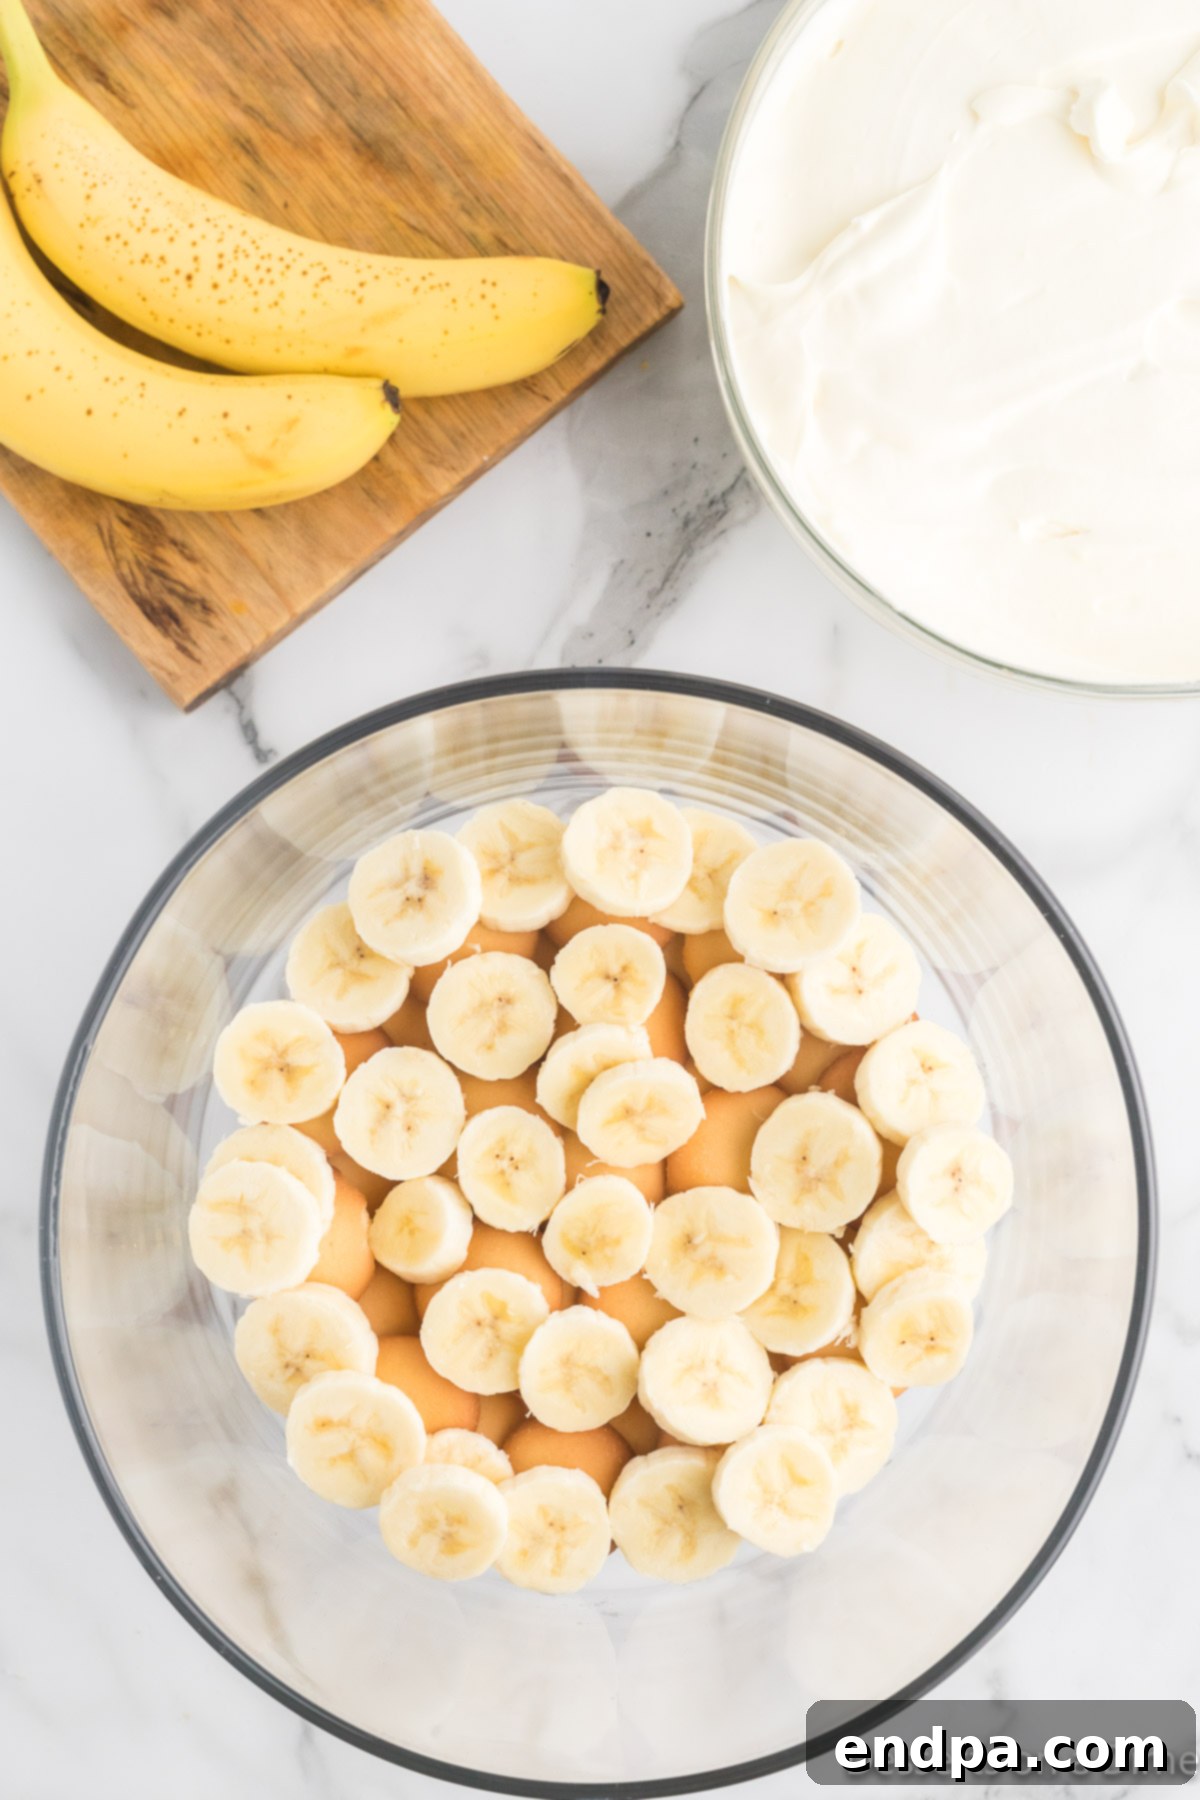
Step 5: Layer Bananas and Pudding Mixture. Over the initial layer of Nilla Wafers, evenly distribute about one-third of your freshly sliced, barely ripe bananas. Ensure the bananas are spread out to create a consistent layer. Following this, add a generous portion, roughly one-third, of your combined pudding and whipped cream mixture. Gently spread it over the bananas and wafers, being careful not to disturb the layers too much.
Step 6: Repeat Layers and Final Garnish. Continue to build two more complete layers by repeating Step 5: first Nilla Wafers, then sliced bananas, followed by the pudding mixture. Aim for three distinct layers in total. For the very top layer, ensure it’s a smooth, attractive spread of pudding. Garnish the final layer with a few whole vanilla wafers arranged decoratively, or sprinkle a handful of crushed wafers for an appealing finish. This adds a visual cue and a slight textural contrast.
Expert Tips for Banana Pudding Perfection
Achieving that signature Magnolia Bakery taste and texture isn’t just about following the steps; it’s about paying attention to the nuances. These expert tips will elevate your homemade banana pudding from delicious to truly unforgettable:
- Banana Selection is Key: This is arguably the most crucial tip. Always use bananas that are barely ripe—meaning mostly yellow with no more than a few tiny brown specks, and still firm to the touch. Overly ripe bananas will quickly turn mushy and brown within the pudding, negatively impacting both the texture and visual appeal. Freshness matters!
- Don’t Skimp on Chilling Time: The pudding needs ample time in the refrigerator to fully set, ideally 4 hours minimum, but overnight is highly recommended. This allows the instant pudding to thicken to its ultimate creamy consistency, the vanilla wafers to soften beautifully and absorb the pudding’s flavor, and all the ingredients to meld together into a harmonious, rich blend. Patience is a virtue here!
- Gentle Folding Technique: When you combine the whipped cream with the thickened pudding, use a light, “folding” motion with your spatula. This involves cutting down through the mixture, sweeping across the bottom, and folding it over the top. This technique preserves the airiness and volume of the whipped cream, ensuring your banana pudding remains light, fluffy, and not dense.
- Airtight Storage is Essential: Once your banana pudding is assembled, always cover it very tightly with plastic wrap. Press the plastic wrap directly onto the surface of the pudding, especially over the banana layers. This minimizes air exposure, which is the primary cause of banana browning, and helps keep the entire dessert fresh.
- Serve It Cold: Banana pudding is unequivocally best served chilled, straight from the refrigerator. The cold temperature enhances its refreshing qualities and contributes to the firm yet creamy texture. Avoid serving it at room temperature.
- Even Layers Matter: While not strictly necessary for taste, taking a moment to arrange your wafer and banana layers evenly will result in a much more attractive presentation, especially if serving in a clear dish.
- Scaling the Recipe: This recipe is easily scalable. If you’re making it for a smaller crowd, simply halve all the ingredients. For a larger gathering, you can double or triple it and use a larger trifle bowl or multiple dishes.
Frequently Asked Questions about Magnolia Bakery Banana Pudding
Got questions? We’ve got answers to help you perfect your homemade banana pudding!
How should I store leftover Magnolia Bakery Banana Pudding?
Leftover banana pudding should be covered tightly with plastic wrap, ideally pressed directly onto the surface of the pudding to prevent air contact. Transfer any remaining pudding to an airtight container if possible. Store it in the refrigerator. For the best quality, consume within 2-3 days.
Can you make this banana pudding in advance for a party or event?
Absolutely! This dessert is actually ideal for making in advance, as the flavors deepen and the vanilla wafers soften over time. We recommend assembling it at least 4 hours before serving, or even better, the night before your event. However, for optimal freshness and appearance (to prevent significant banana browning), it’s best to serve and enjoy the pudding within 8-12 hours of assembly. If preparing much further in advance, refer to the tip below on preventing bananas from browning.
How long does banana pudding last before it starts to go bad?
While the pudding base itself can last for several days, the fresh bananas are the limiting factor. They will inevitably start to soften and brown, especially after about 8 hours. For peak taste and visual appeal, it’s highly recommended to consume the assembled dessert within 24 hours. After a day, the bananas will become noticeably softer and browner, though the pudding will generally still be safe to eat for up to 2-3 days if properly refrigerated.
What type of serving dish is best for presenting banana pudding?
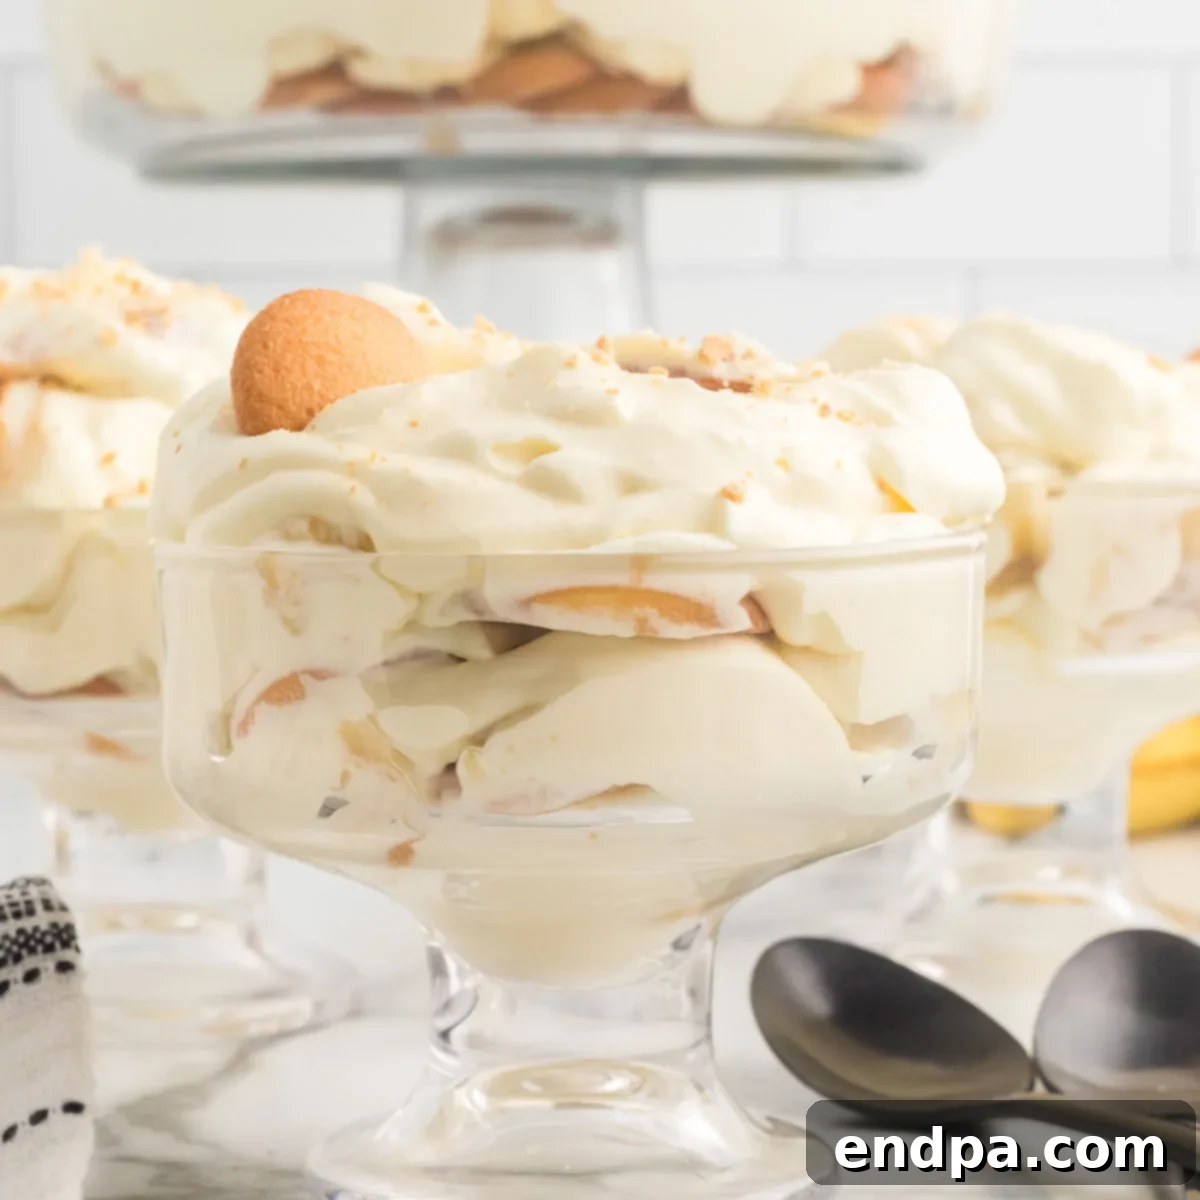
For that authentic and charming Magnolia Bakery feel, individual serving containers like small glass bowls, mason jars, or elegant parfait glasses are perfect. They beautifully showcase the distinct layers. Alternatively, for a stunning communal dessert, a large glass trifle bowl or any wide, clear glass serving bowl works wonderfully.
What is Magnolia Bakery, and why is their banana pudding so famous?
Magnolia Bakery is a popular American bakery that first opened its doors in July 1996 in New York City’s West Village. It quickly became renowned for its nostalgic, home-style baked goods, particularly its charming cupcakes. Its appearance in popular culture, including TV shows like *Sex and the City*, propelled it to international fame. The banana pudding, with its simple yet intensely satisfying layers of creamy pudding, fresh bananas, and tender vanilla wafers, quickly became one of its most celebrated and iconic offerings, known for its comforting taste and irresistible texture.
How can I effectively keep banana slices from turning brown in the pudding?
The most effective methods are using barely ripe bananas and ensuring the assembled dessert is covered airtight. For an extra layer of protection, you can very lightly brush each banana slice with a tiny amount of lemon juice, lime juice, or even club soda before layering them. Be extremely sparing with any citrus juice to avoid imparting an unwanted flavor to the pudding. The mild acidity acts as an antioxidant, slowing down the enzymatic browning process.
The Sweet History of Magnolia Bakery and its Famous Pudding
Magnolia Bakery first opened its doors in July 1996 on Bleecker Street in New York City’s West Village. It quickly became a beloved neighborhood spot, known for its quaint, old-fashioned charm and delicious, home-style baked goods that evoked a sense of nostalgia. While its meticulously decorated cupcakes initially garnered widespread fame, especially after being prominently featured on popular TV shows like *Sex and the City*, it was the deceptively simple yet incredibly satisfying Banana Pudding that truly captured the hearts of locals and tourists alike, cementing its status as a New York City culinary institution.
The original banana pudding recipe, a comforting and unpretentious blend of vanilla wafers, fresh bananas, and rich, creamy pudding, embodies everything classic American dessert stands for. Its unassuming appearance belies a profound depth of flavor and a delightful interplay of textures that creates an instant sense of warmth and happiness. The bakery’s enduring commitment to using fresh, high-quality ingredients and traditional baking (or rather, no-baking) methods is what makes their desserts so special and consistently delicious. The banana pudding is a shining example of this philosophy, offering a taste of comforting Americana. Recreating this iconic recipe at home isn’t just about making a dessert; it’s about bringing a piece of that cherished New York City culinary heritage, and a lot of smiles, into your own home.
Serving and Storage Suggestions
Once your homemade Magnolia Bakery Banana Pudding is thoroughly chilled and perfectly set, it’s ready to be the star of your dessert table! Serve it directly from the elegant trifle bowl, allowing guests to appreciate the beautiful layers, or scoop individual portions into charming glasses for a more refined presentation. For an extra touch of flair, you can lightly dust the top with a tiny pinch of cinnamon, add a decorative whole vanilla wafer, or a small dollop of extra whipped cream just before serving. A sprig of mint also adds a lovely visual contrast.
Proper Storage for Freshness: This pudding is undeniably at its best when enjoyed within 24 hours of assembly, as the fresh bananas will naturally begin to soften and eventually brown. If you happen to have any leftovers (a rare occurrence with this delicious dessert!), ensure the dish is tightly covered with plastic wrap, pressing the wrap directly onto the pudding’s surface to minimize any air exposure. This is crucial for slowing down the banana browning process. Store the covered pudding in the refrigerator for up to 2-3 days for optimal quality.
Freezing Banana Pudding: Freezing banana pudding is generally not recommended, especially for this specific recipe, due to the inclusion of fresh bananas and homemade whipped cream. Upon thawing, the bananas can become quite watery and mushy, and the delicate creamy layers may separate, resulting in a significantly less desirable texture. This delightful dessert is truly meant to be savored fresh and thoroughly chilled.
More Easy Banana Recipes to Try
If you’ve fallen head over heels for the simple joy and incredible flavor of banana desserts, here are a few more delightful recipes to add to your culinary repertoire. Each one offers a unique way to enjoy this versatile fruit:
- Classic Homemade Banana Pudding: A traditional take on this beloved dessert.
- Banana Pudding Cookies: All the flavors of your favorite pudding, baked into a delightful cookie.
- Easy Banana Split Cake: A fun, deconstructed version of the ice cream parlor classic in cake form.
- Paula Deen’s Famous Banana Pudding: Explore another renowned chef’s take on this comforting dessert.
And if homemade puddings are your culinary passion, don’t stop with bananas! Explore other creamy delights like Rich Homemade Chocolate Pudding, Silky Homemade Vanilla Pudding, or browse through our extensive collection of 31 Easy Vanilla Pudding Desserts for endless inspiration and new favorites.
We are absolutely confident that you will adore this easy-to-follow recipe for Magnolia Bakery’s Famous Banana Pudding. Give it a try soon and don’t forget to share your experience and comments below – we can’t wait to hear from you and your family!
Magnolia Bakery Banana Pudding Recipe Card
Print Recipe
Magnolia Bakery Banana Pudding
This easy, no-bake recipe lets you recreate the legendary Magnolia Bakery Banana Pudding at home. Enjoy the rich, creamy layers of vanilla pudding, whipped cream, fresh bananas, and soft vanilla wafers for a truly authentic taste.
Prep Time: 8 hours (includes essential chilling time)
Total Time: 8 hours
Yields: 15 servings
Cuisine: American
Course: Dessert
Calories: 416 kcal per serving
Author: Carrie Barnard
Ingredients
- 1 can (14 ounces) sweetened condensed milk
- 1 ½ cups cold water
- 1 box (3.4 oz) instant vanilla pudding mix (such as Jell-O brand)
- 3 cups heavy whipping cream, very cold
- 4 cups sliced barely ripe bananas (approximately 4-5 medium bananas)
- 1 box (12 ounces) Nilla Wafers
Instructions
- Prepare Pudding Base: In a large mixing bowl, thoroughly beat together the sweetened condensed milk with the cold water and instant pudding mix until the mixture is completely combined and smooth. Cover the bowl tightly with plastic wrap, ensuring it presses against the pudding’s surface, and refrigerate for a minimum of 4 hours, or ideally overnight, to allow the pudding to thicken properly.
- Whip Cream: In a separate, chilled bowl, beat the very cold heavy whipping cream using a stand mixer or a hand-held electric mixer until firm, stiff peaks form. Be careful not to over-whip to avoid a grainy texture.
- Combine Gently: Once the pudding base is thoroughly chilled and thickened, gently fold the homemade whipped cream into the pudding mixture using a spatula. Continue folding until no streaks of pudding remain, being careful to maintain the airiness of the whipped cream.
- Layer Wafers: Select your preferred serving dish(es)—a large glass trifle bowl, a wide glass bowl, or individual parfait glasses. Arrange one-third of the Nilla Wafers in a single, even layer at the bottom.
- Layer Bananas & Pudding: Evenly distribute one-third of the sliced, barely ripe bananas over the wafer layer. Follow this by spooning one-third of the prepared pudding mixture over the bananas, spreading gently to cover them.
- Repeat & Garnish: Continue this layering process two more times, creating three distinct layers of wafers, bananas, and pudding. For the final top layer, ensure it’s a generous and smooth spread of pudding. Garnish decoratively with a few whole vanilla wafers or a sprinkle of crushed wafers.
- Chill Thoroughly: Cover the assembled serving dish(es) tightly with plastic wrap and refrigerate for a minimum of 4 hours before serving. This crucial step allows the wafers to soften and all the flavors to fully meld together.
- Serve & Enjoy: Once thoroughly chilled and set, your homemade Magnolia Bakery Banana Pudding is ready to be served and savored!
Recipe Notes
For the best taste and visual appeal, serve this pudding within 8-12 hours of preparation, as fresh bananas tend to brown over time. Using slightly under-ripe bananas will naturally help delay this process. Always ensure your heavy whipping cream is very cold before whipping for optimal results.
Nutrition Facts
(Approximate values per serving, based on 15 servings)
- Calories: 416 kcal
- Carbohydrates: 48g
- Protein: 5g
- Fat: 24g
- Saturated Fat: 14g
- Polyunsaturated Fat: 2g
- Monounsaturated Fat: 6g
- Trans Fat: 0.1g
- Cholesterol: 63mg
- Sodium: 186mg
- Potassium: 307mg
- Fiber: 1g
- Sugar: 34g
- Vitamin A: 796IU
- Vitamin C: 4mg
- Calcium: 109mg
- Iron: 0.2mg
Love this recipe? Pin it now to save for later!
Pin This Recipe on Pinterest
