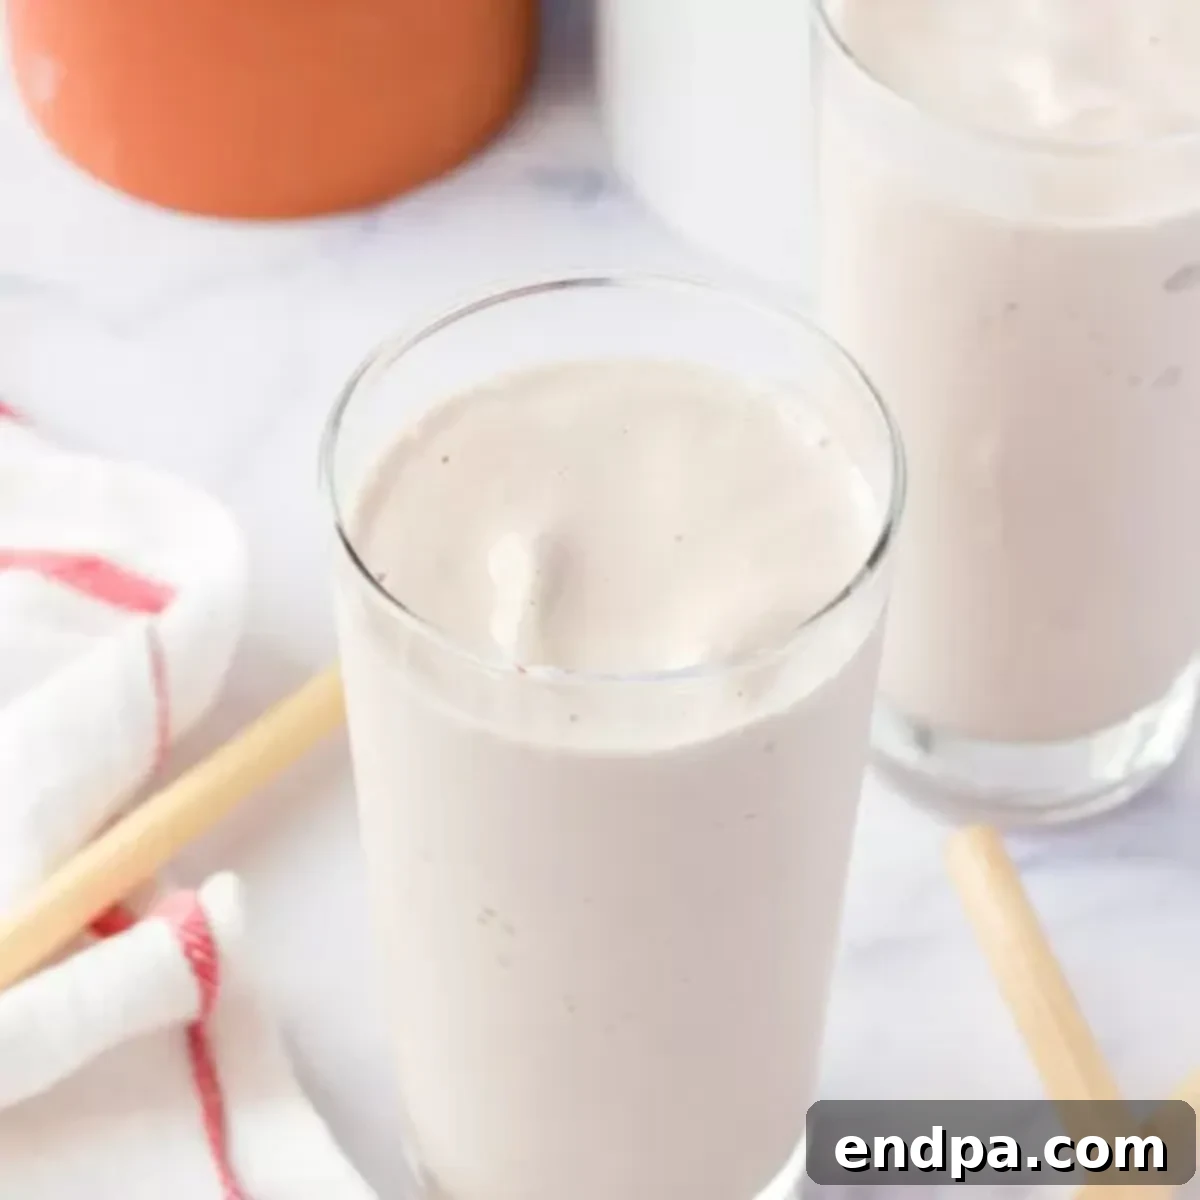
Indulge in the creamy, dreamy delight of a homemade **Wendy’s Frosty Recipe**! Forget the drive-thru lines and enjoy this iconic frozen treat from the comfort of your kitchen. This incredible **copycat frosty** is surprisingly easy to whip up with just three simple ingredients and a blender – no fancy ice cream maker required. Get ready for a rich, satisfying dessert that rivals the original, delivering that perfect, spoonable consistency every time.
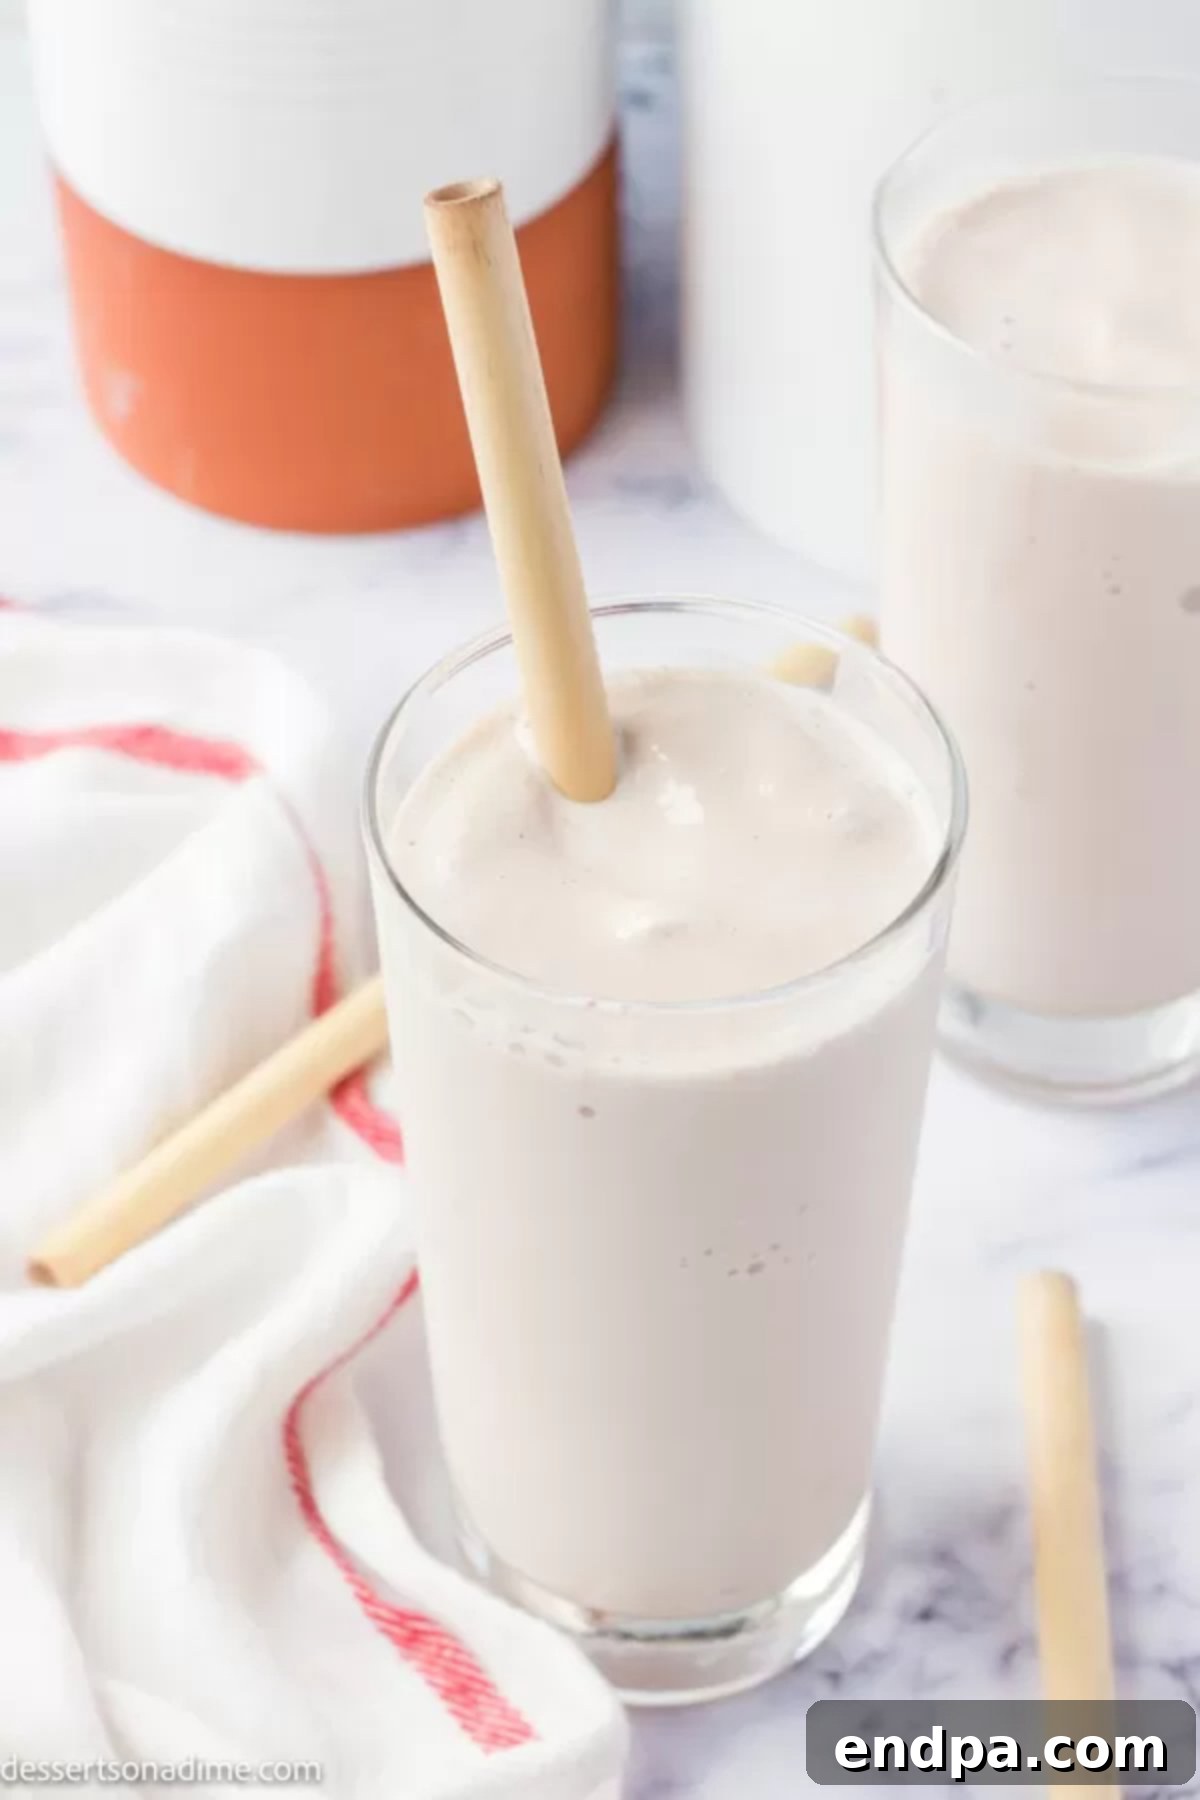
Imagine the smiles when your family discovers they can enjoy their favorite **chocolate frosty** at home, any day of the week! This recipe is not only a fantastic way to satisfy a sweet craving but also a fun kitchen project that kids will adore. With minimal effort and maximum reward, you’ll wonder why you ever bought them out. It’s truly a game-changer for homemade frozen desserts.
Having experimented with homemade ice cream for years, I can confidently say this **blender frosty recipe** quickly became a family favorite, right alongside our beloved Dairy Queen Buster Bar Recipe. If you’re a fan of frozen treats, you’ll also love our Mint Chocolate Chip Milkshake and classic Ice Cream Cake. And for more delightful copycat creations, don’t miss out on making Krispy Kreme Donut Holes.
Table of Contents
- Why This Homemade Frosty is a Must-Try
- The Simple Ingredients You Need
- Additions and Substitutions for Your Perfect Frosty
- Step-by-Step: How to Make Wendy’s Chocolate Frosty at Home
- Creative Ways to Serve Your Frosty
- Delicious Topping Ideas
- Storage Tips: Can You Freeze a Homemade Frosty?
- Pro Tips for the Best Copycat Frosty
- Troubleshooting Your Homemade Frosty
- Frequently Asked Questions About Wendy’s Frosty
- More Irresistible Copycat Recipes
Why This Homemade Frosty is a Must-Try
There are countless reasons to fall in love with this **Copycat Wendy’s Frosty**. First and foremost, it’s incredibly economical. Making your favorite treats at home translates to significant savings compared to frequent trips to the fast-food restaurant. You get to enjoy premium quality ingredients without the premium price tag. Secondly, the sheer convenience is unmatched. When a sudden **frosty craving** strikes, you can whip up a batch in under 5 minutes with ingredients you likely already have on hand. No need to get dressed, drive, or wait in line.
Beyond convenience and cost, this recipe offers the unique advantage of customization. You have complete control over the sweetness, the intensity of the chocolate flavor, and the type of milk you use, allowing you to tailor it to your family’s preferences or dietary needs. It’s also a fantastic way to know exactly what goes into your dessert, free from any unknown additives or preservatives. Plus, the joy of creating something so delicious and authentic in your own kitchen is incredibly rewarding. This isn’t just a recipe; it’s an experience that brings deliciousness, ease, and smart savings right to your home.
The Simple Ingredients You Need
The magic of this **3-ingredient frosty recipe** lies in its simplicity and the quality of its core components. Choosing good quality ingredients ensures a truly rich and authentic flavor that closely mimics the Wendy’s original.
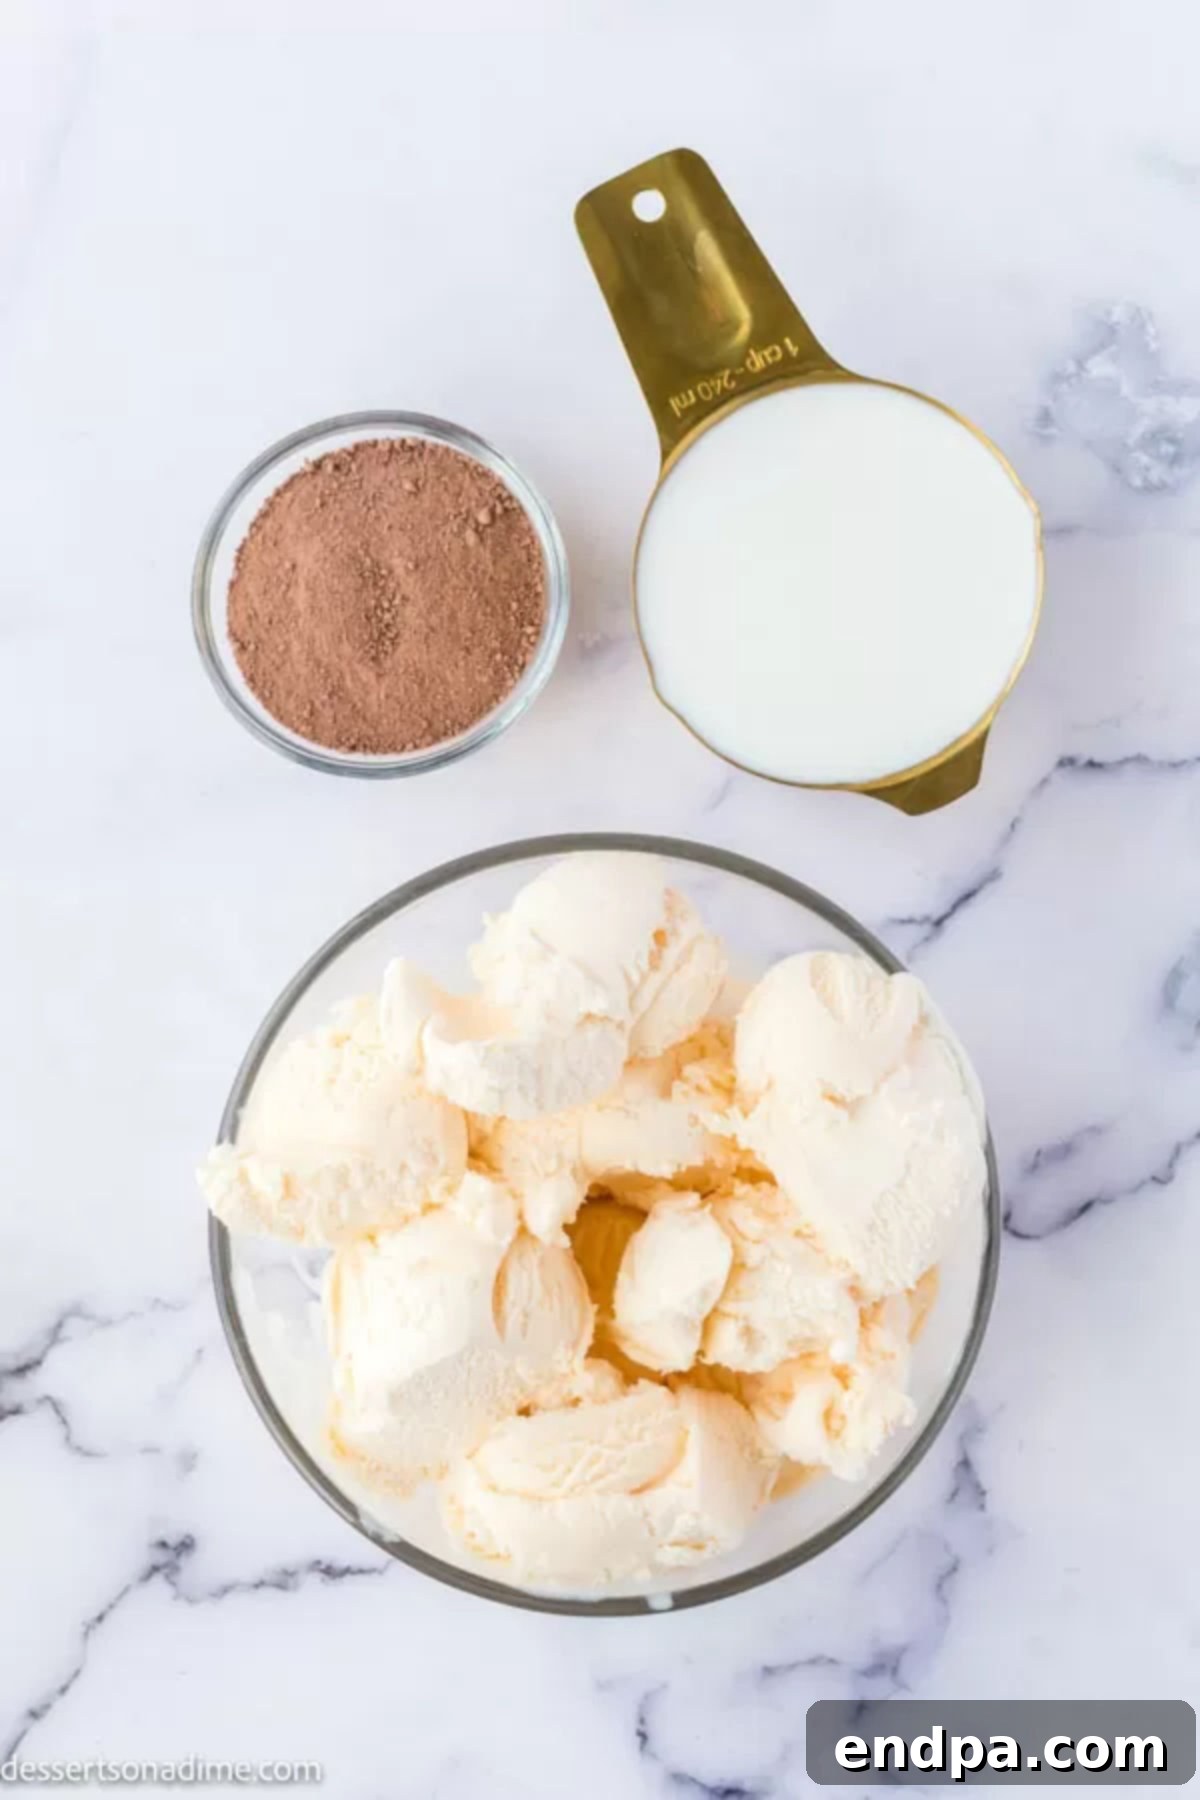
- Vanilla Ice Cream: This is the foundation of your frosty. For the best results, use a high-quality vanilla ice cream. It needs to be softened slightly before blending to achieve that characteristic smooth, semi-liquid consistency. Allowing it to sit on the counter for 5-10 minutes is usually sufficient. Avoid rock-hard ice cream, as it will struggle to blend into the desired texture.
- Milk: I highly recommend using whole milk. Its higher fat content contributes significantly to the creamy, rich texture of the frosty, making it thick and decadent. While you can use alternatives like almond milk or skim milk, be aware that they will alter the flavor and result in a thinner consistency. For an even richer treat, some prefer to use heavy whipping cream, which adds an unparalleled velvety smoothness.
- Nesquik Powder: This is the secret ingredient for that unmistakable **chocolate frosty flavor**. Nesquik is specifically chosen because its unique blend of cocoa and sweetness creates a taste profile very similar to Wendy’s. Other chocolate powders might work, but Nesquik truly delivers the nostalgic taste. Adjust the amount to your desired chocolate intensity.
The complete list of ingredients with precise measurements is provided in the recipe card at the bottom of this page.
Additions and Substitutions for Your Perfect Frosty
While the classic **3-ingredient Wendy’s Frosty** is delicious on its own, it also serves as an excellent base for creative variations. Feel free to experiment and customize your frosty to perfectly suit your taste!
- Rich Chocolate Indulgence: For die-hard chocolate lovers, adding an extra tablespoon of pure cocoa powder alongside the Nesquik can deepen the chocolate flavor without making it overly sweet. This creates a darker, more intense chocolate experience.
- Coffee Lover’s Dream: Transform your frosty into a coffee-infused delight by adding a small amount of strong brewed coffee or instant coffee powder to the blender. Start with a tablespoon and add more to taste. The coffee perfectly complements the chocolate, creating a sophisticated and energizing treat similar to a mocha frosty.
- Alternative Chocolate Mixes: If Nesquik isn’t available, Ovaltine makes a fantastic substitute. It offers a slightly maltier chocolate flavor, which is a delicious variation that many enjoy. Experiment with whichever chocolate malt powder you have on hand.
- Fruity Twist: Craving something different? Substitute the chocolate Nesquik with Strawberry Nesquik for a vibrant and tasty strawberry frosty. You can also blend in a handful of fresh or frozen strawberries for a more natural fruit flavor.
- Condensed Milk & Cool Whip Method: For a slightly different approach, you can create a frosty with a can of sweetened condensed milk, a container of cool whip, and chocolate milk. Blend these until thoroughly combined, then freeze the mixture until it reaches a firm, frosty-like consistency. This method offers a super creamy, almost mousse-like texture.
Step-by-Step: How to Make Wendy’s Chocolate Frosty at Home
Making this **easy copycat frosty** is truly a breeze. The key is to ensure your ingredients are ready and your blender is prepped for action. Follow these simple steps for a perfectly blended, smooth, and creamy frosty.
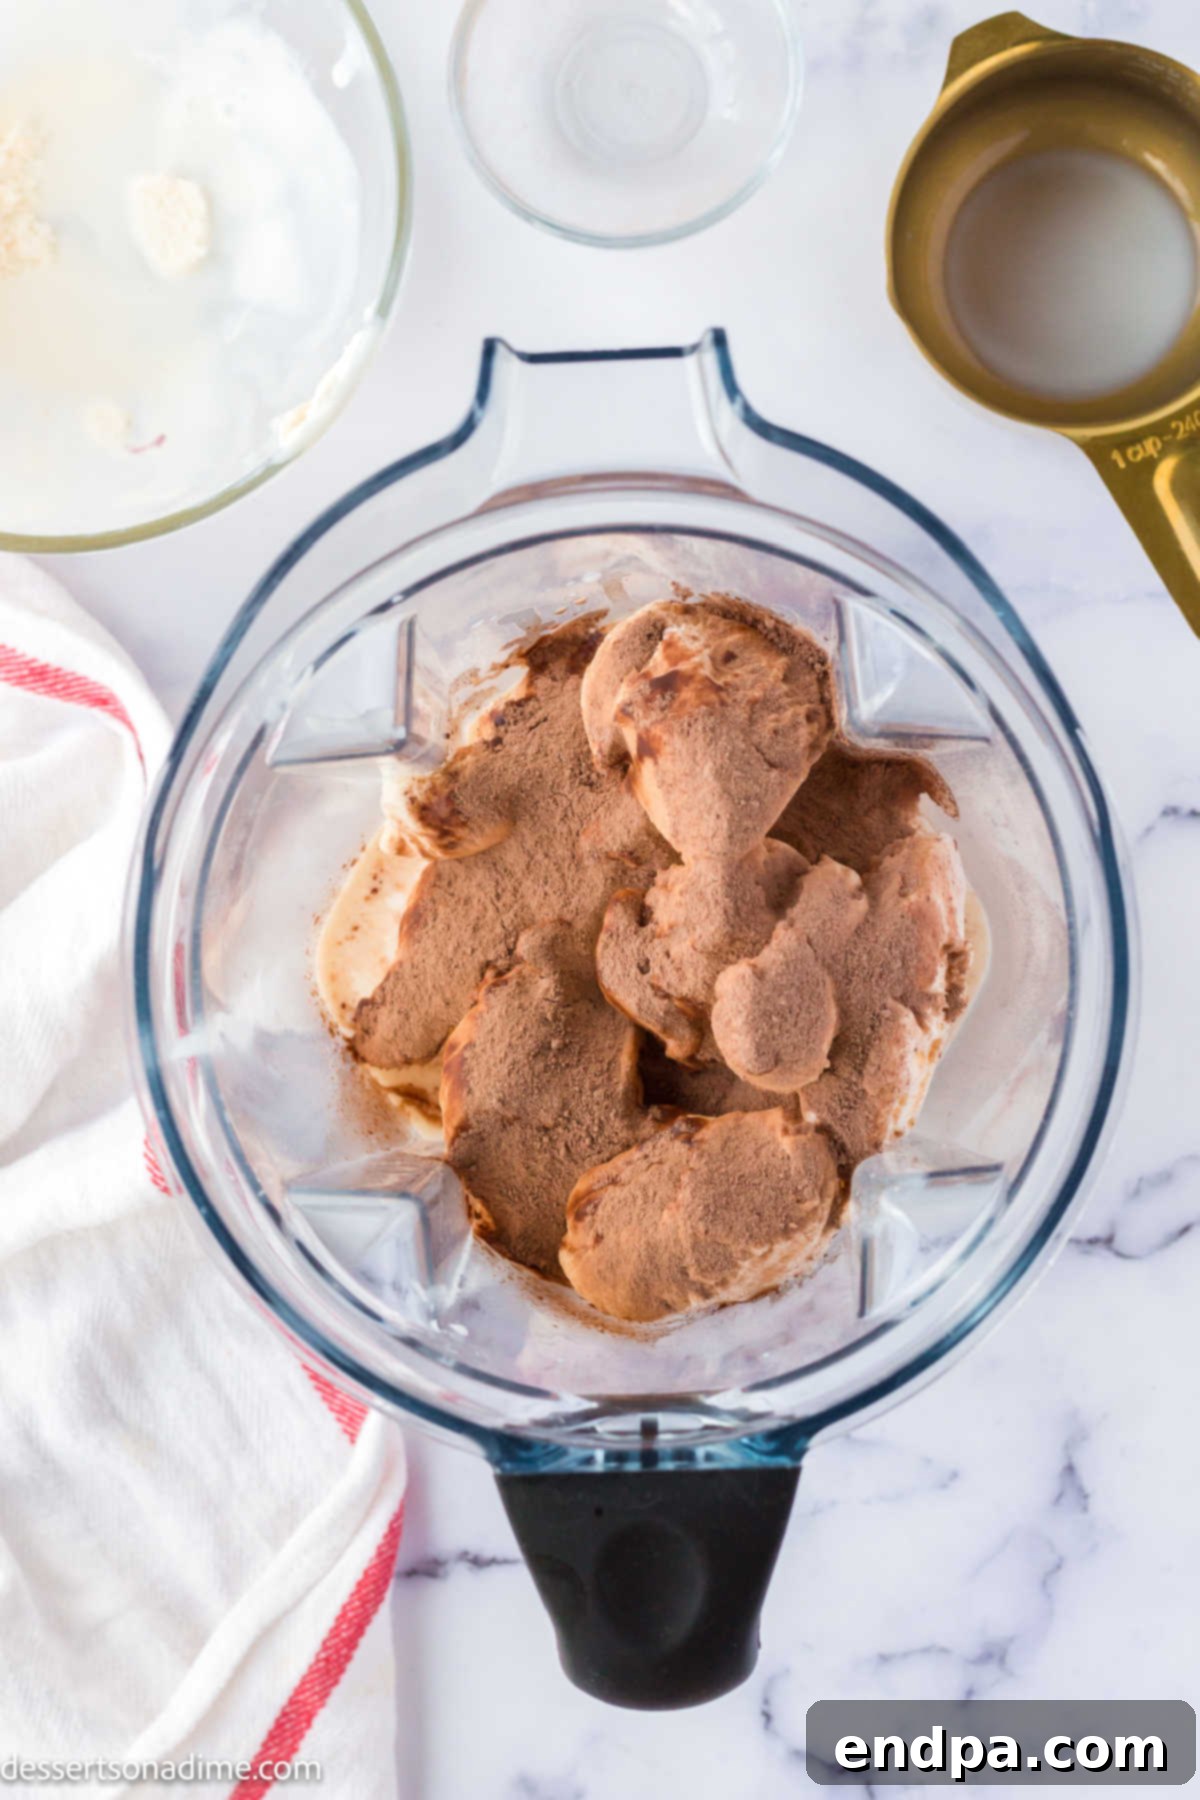
Step 1: Gather Your Ingredients and Load the Blender. Begin by ensuring your vanilla ice cream is slightly softened. This is crucial for achieving the right consistency. Once ready, carefully add all the ingredients—the softened vanilla ice cream, the milk, and the Nesquik powder—into your blender. Make sure the lid is secured tightly.
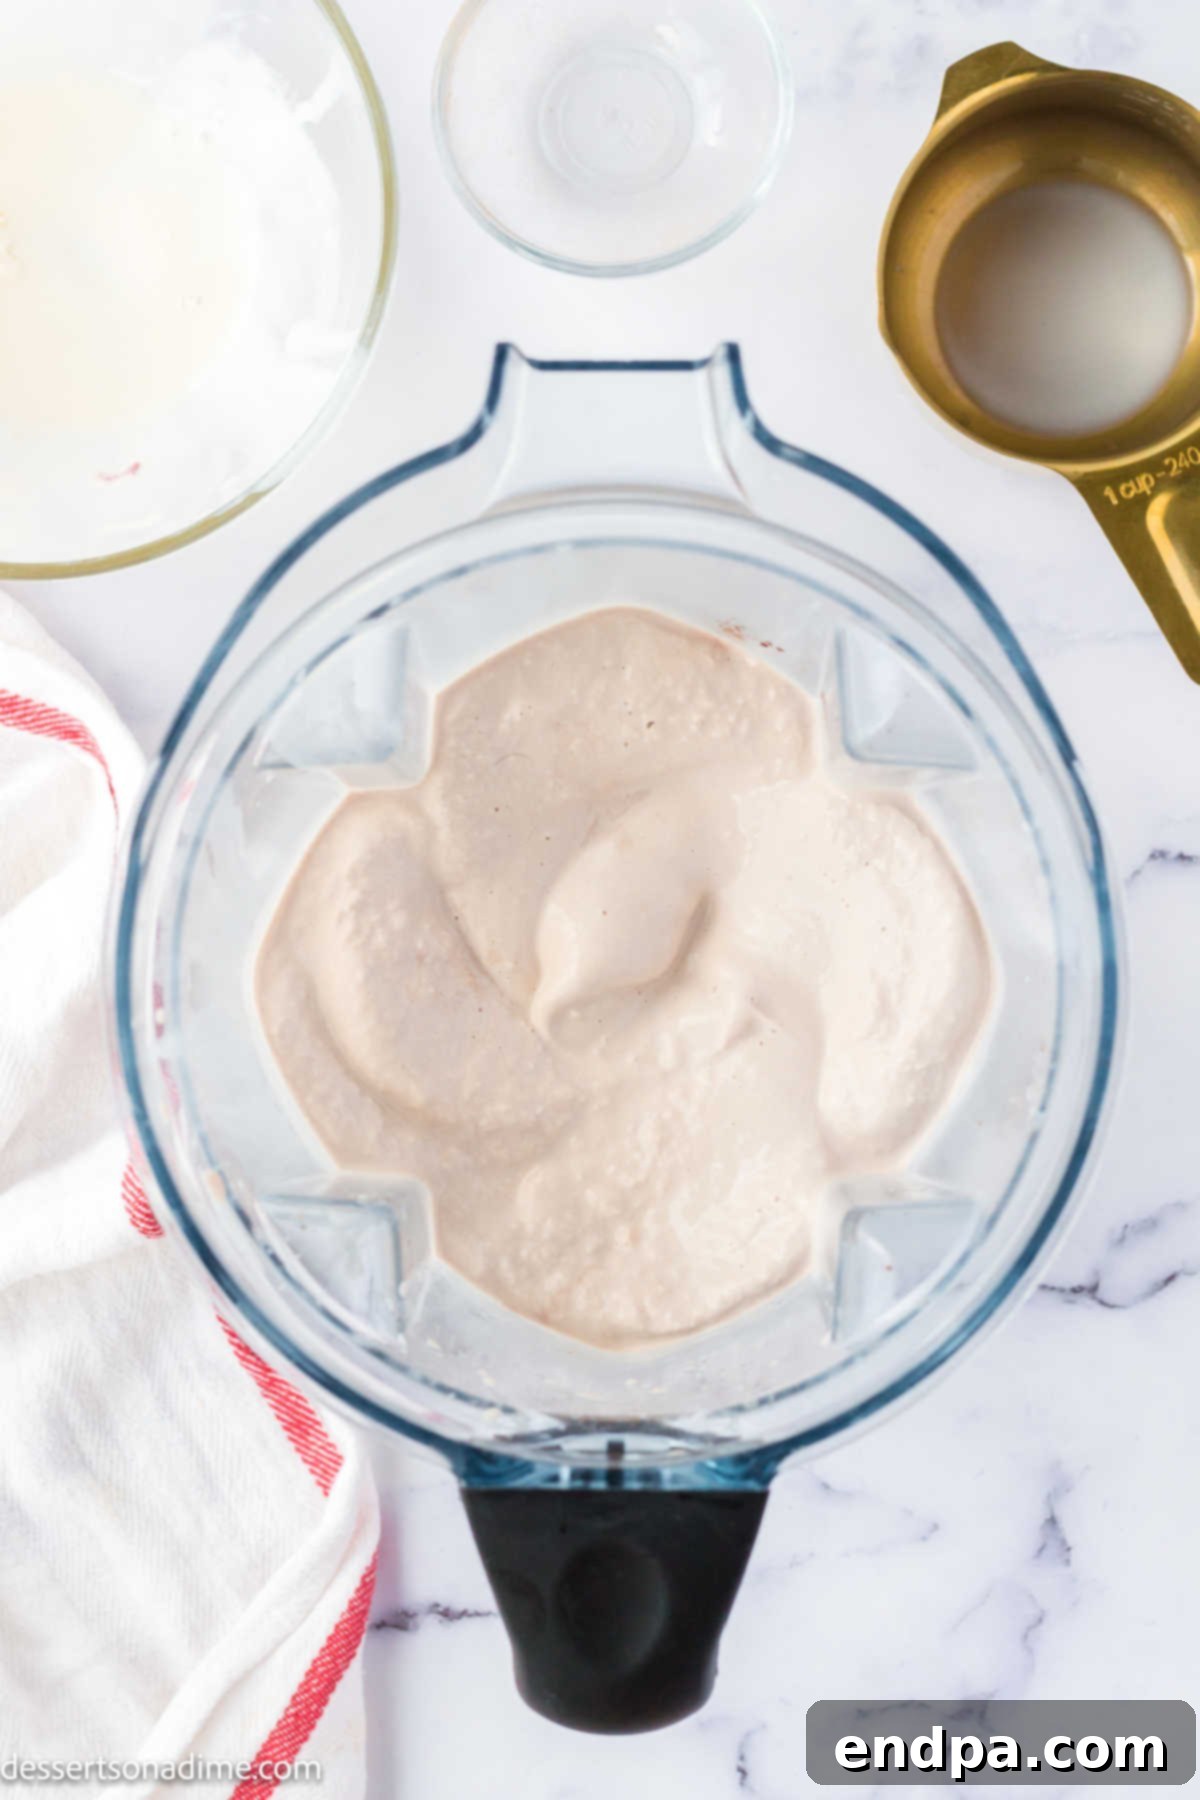
Step 2: Blend Until Perfection. Start blending on a low setting, gradually increasing the speed. Blend until the mixture is completely smooth and creamy, with no ice cream lumps remaining. You’re looking for that signature thick, yet drinkable (or spoonable) consistency. If it’s too thick, add a tiny splash more milk; if too thin, a bit more softened ice cream. Scrape down the sides of the blender with a spatula as needed to ensure everything is incorporated. It’s truly that quick and easy!
Creative Ways to Serve Your Frosty
Once your homemade frosty is perfectly blended, the fun doesn’t stop there. Serving it with flair can elevate the experience even further! Divide the rich, creamy mixture evenly into chilled glasses. For the ultimate enjoyment, we recommend serving it with both a straw and a spoon – a straw for sipping the luscious liquid and a spoon for scooping up the thicker, colder bits, ensuring not a single drop is wasted.
This **chocolate frosty** makes an incredible dessert on its own, a fantastic after-school snack for the kids, or a delightful evening treat. For a truly authentic Wendy’s experience, serve your frosty alongside a serving of hot, salty french fries. The iconic combination of sweet, cold frosty and warm, crispy fries is a culinary delight that has captivated fans for decades. It’s a sweet-and-savory pairing that our household absolutely goes crazy over! Sometimes, when the cravings hit hard, or we’re hosting friends, I simply double the recipe to ensure there’s enough frosty goodness for everyone to enjoy.
Delicious Topping Ideas
While a Wendy’s Frosty is perfect plain, adding toppings can turn it into an even more extravagant dessert. Here are some fantastic ideas to get you started:
- Whipped Topping: A generous swirl of whipped cream is always a classic. You can use store-bought cool whip for convenience, or try our Homemade Whipped Cream Recipe for a fresh, airy touch.
- Chocolate Syrup: Drizzle with chocolate syrup for an extra layer of chocolatey goodness. Our Hot Fudge Sauce Recipe would be a decadent choice, or a simple Hershey’s syrup works beautifully.
- Mini Chocolate Chips: Sprinkle mini chocolate chips over the top for a delightful textural contrast. For a fun twist, you can also crush up your favorite candy bars (like Heath or Snickers) and use them as a crunchy topping. It’s a great way to utilize leftover Halloween candy!
- Crushed Peppermints: For a festive or refreshing touch, particularly around the holidays, sprinkle crushed peppermints on top. You can even blend a small amount directly into the frosty mixture for a full peppermint chocolate frosty experience.
- Caramel Drizzle: A swirl of rich caramel sauce adds a buttery, sweet dimension that perfectly complements the chocolate.
- Sprinkles: Classic rainbow or chocolate sprinkles add a fun, colorful, and playful touch, especially for kids.
- Chopped Nuts: Toasted pecans, walnuts, or almonds can provide a lovely crunch and nutty flavor.
- Brownie Bites: Crumble some leftover brownies on top for an extra indulgent treat.
Storage Tips: Can You Freeze a Homemade Frosty?
Yes, you absolutely can freeze leftover homemade frosty! This is a fantastic way to enjoy this delightful treat at your leisure and ensures none of that deliciousness goes to waste. Freezing a batch allows you to have an easy, pre-made dessert ready for those sudden cravings.
To freeze your frosty effectively, transfer it into an airtight container. For maximum convenience and portion control, I recommend freezing individual servings in smaller, sealed containers or even using an ice cube tray with a lid if you only have a small amount remaining. This prevents the formation of large ice crystals and makes it easy to grab a single serving whenever you’re ready.
When stored properly in a freezer-safe container, your homemade frosty will maintain its quality for up to 3 weeks. Beyond this period, you might start to notice the formation of ice crystals, which can slightly alter the texture, making it less smooth and creamy. To enjoy a perfectly textured frosty after freezing, simply remove the container from the freezer and allow it to sit at room temperature for about 20-30 minutes. This gentle thawing period will bring it back to that ideal, spoonable frosty consistency. Give it a quick stir before serving to ensure uniform texture.
Pro Tips for the Best Copycat Frosty
Achieving that perfect **Wendy’s Frosty consistency** and flavor at home is simple with a few expert tricks up your sleeve. These tips will help you elevate your homemade frosty from good to truly exceptional:
- Soften the Ice Cream Adequately: This is arguably the most crucial step. Hard, frozen ice cream will result in a lumpy, unblended frosty. Allow your vanilla ice cream to sit on the counter for about 5-10 minutes (or longer if it’s straight from a very cold freezer) until it’s slightly soft and easily scoopable. It shouldn’t be melted, just yielding.
- Invest in Quality Ice Cream: Since this recipe uses only three ingredients, the quality of each component shines through. Opt for a good quality vanilla ice cream. A premium brand with a rich, creamy base will produce a noticeably better-tasting and smoother frosty.
- Adjust Chocolate Intensity: The amount of Nesquik powder can be adjusted to your liking. If you prefer a milder chocolate flavor, start with less. For an extra rich, deep chocolate experience, add an additional tablespoon or two. Taste as you go!
- Chill Your Serving Glasses: For an extra cold and refreshing experience, place your serving glasses in the freezer for 10-15 minutes before pouring the frosty. This keeps your treat colder for longer.
- Blend in Pulses, Then Smooth: Start your blender on a low setting and use short pulses to break down the softened ice cream, then gradually increase to a medium-high speed for a continuous blend. This technique helps achieve a silky-smooth consistency without over-processing.
- Serve Immediately: For the absolute best taste and texture, serve your homemade frosty immediately after blending. It’s at its peak creamy perfection right out of the blender.
- Don’t Over-Blend: While you want it smooth, blending for too long can generate heat, causing the frosty to melt and become too thin. Blend just until the desired consistency is reached.
Troubleshooting Your Homemade Frosty
Even with a simple recipe, sometimes things don’t go exactly as planned. Here are some common issues you might encounter and how to fix them to ensure your homemade frosty is always perfect:
- My Frosty is Too Thin/Runny: This usually happens if the ice cream was too soft to begin with, or if too much milk was added.
- **Solution:** Add another scoop of slightly softened vanilla ice cream and blend briefly until incorporated. Alternatively, pour the mixture into a freezer-safe container and chill in the freezer for 15-30 minutes, stirring occasionally, until it reaches the desired thickness.
- My Frosty is Too Thick/Hard to Blend: This indicates the ice cream was too frozen or not enough liquid was added.
- **Solution:** Add milk, one tablespoon at a time, blending after each addition until you reach the desired consistency. Make sure to scrape down the sides of the blender to ensure even mixing.
- My Frosty is Lumpy or Grainy: This means the ice cream wasn’t soft enough, or it wasn’t blended thoroughly.
- **Solution:** Continue blending on a medium-high speed, scraping down the sides as needed. Ensure all ice cream chunks are fully incorporated. If the ice cream was too hard, let it soften for a few more minutes outside the blender, then try blending again.
- The Flavor isn’t Quite Right: Taste preferences vary, and sometimes the chocolate or sweetness isn’t exactly what you hoped for.
- **Solution:** For more chocolate, add an extra teaspoon or tablespoon of Nesquik or cocoa powder and blend. For more sweetness, a dash of powdered sugar or a bit more Nesquik can help. If it’s too sweet, a tiny pinch of salt can help balance the flavors, or you can add a bit more plain vanilla ice cream if it’s available.
Frequently Asked Questions About Wendy’s Frosty
Here are answers to some common questions about making and enjoying your homemade Wendy’s Frosty:
- What’s the difference between a Wendy’s Frosty and a regular milkshake?
A Wendy’s Frosty is unique because it’s designed to be a cross between a milkshake and soft-serve ice cream. It’s thicker than a typical milkshake, but not as firm as traditional ice cream. This recipe aims to replicate that specific, slightly melted yet firm, spoonable consistency that makes the Frosty so distinctive.
- Can I make a vanilla frosty instead of chocolate?
Absolutely! To make a vanilla frosty, simply omit the Nesquik powder or any other chocolate additions from the recipe. You’ll be left with a delightful vanilla version of the creamy treat, perfect for those who prefer a simpler flavor.
- What kind of blender should I use?
A standard kitchen blender works perfectly for this recipe. You don’t need a high-powered, professional-grade blender. Just ensure your blender blades are sharp enough to process the softened ice cream and create a smooth mixture.
- Can I use sugar-free ingredients?
Yes, you can experiment with sugar-free vanilla ice cream and a sugar-free chocolate powder alternative. Keep in mind that sugar-free products can sometimes alter the texture or flavor slightly, so you might need to adjust quantities to achieve your desired taste and consistency.
- How can I make my frosty thicker or thinner?
To make it thicker, add another scoop of slightly softened ice cream and blend. To make it thinner, add milk one tablespoon at a time until you reach your preferred consistency. Always adjust slowly to avoid overdoing it.
More Irresistible Copycat Recipes
If you loved making this **homemade Wendy’s Frosty**, you’re in for a treat! Our collection of copycat recipes allows you to recreate even more of your favorite restaurant and snack items right in your own kitchen:
- Starbucks Vanilla Bean Frappuccino Recipe
- Dairy Queen Ice Cream Cake
- Homemade Star Crunch Cookies
- Copycat Little Debbie Brownies Recipe
- Copycat Nothing Bundt Cakes
- Harry Potter Hot Butter Beer Recipe
This tasty treat is so simple, anyone can master it in minutes. Give this homemade Wendy’s milkshake a try – you won’t regret it!
Pin
Copycat Wendy’s Frosty
Ingredients
- 4 cups vanilla ice cream softened slightly
- 1 cup milk
- 3 tablespoons Nesquik powder
Instructions
- Combine all ingredients in a blender and blend until smooth and creamy, scraping down the sides as needed, until the perfect frosty consistency is reached.
Nutrition Facts
Pin This Now to Remember It Later
Pin Recipe
