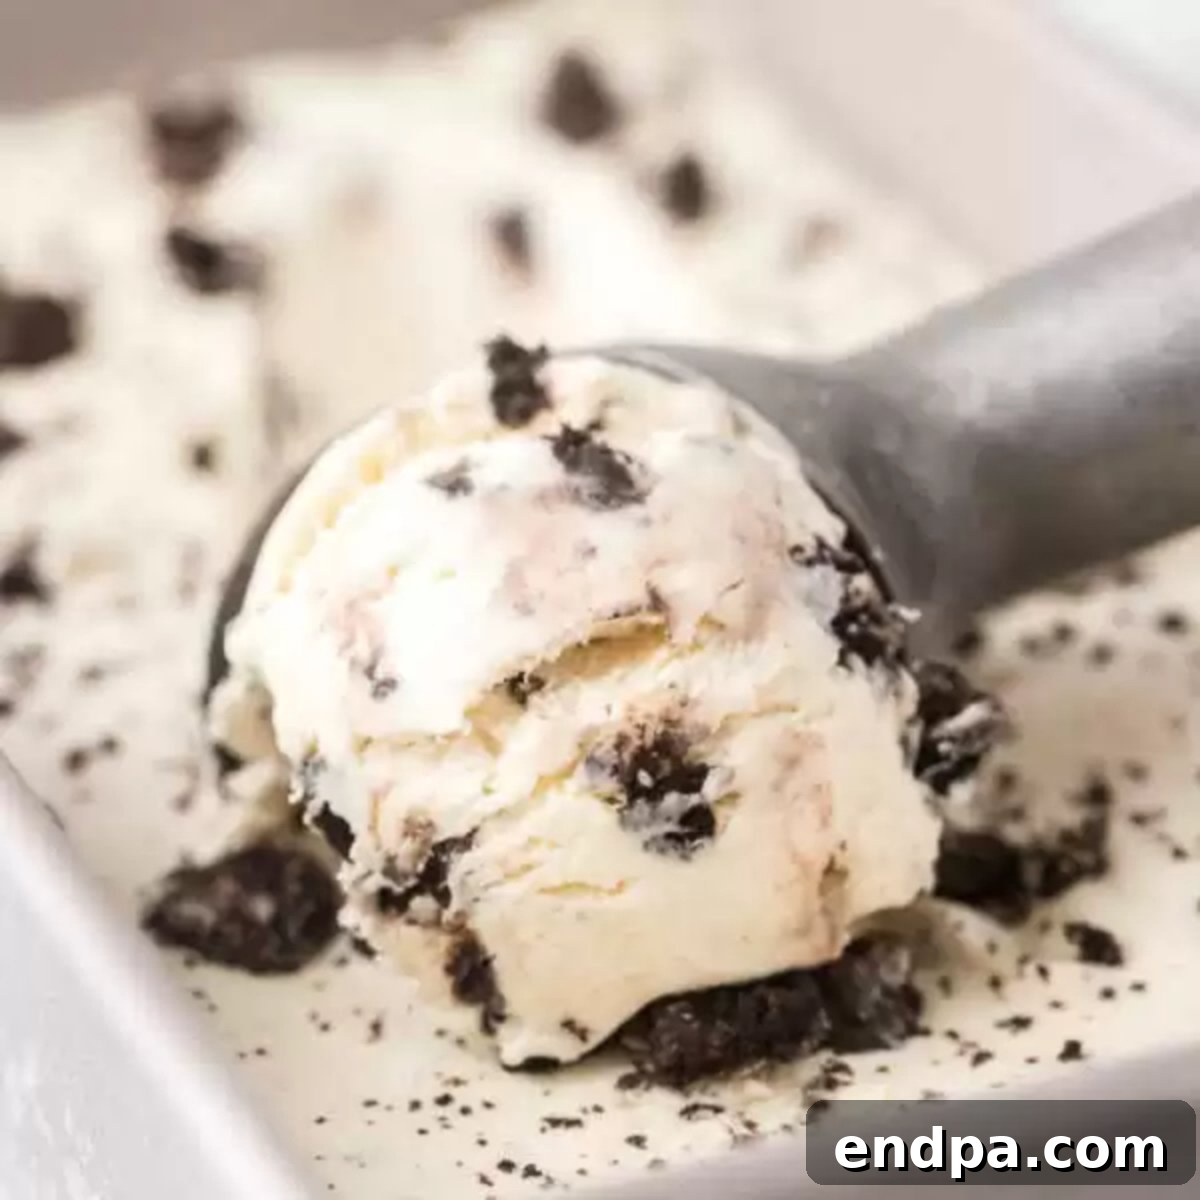
Unlock the secret to creating the most delectable homemade Cookies and Cream Ice Cream with our incredibly simple, no-churn recipe. This delightful dessert requires just four core ingredients and zero fancy equipment, making it accessible for every home kitchen. Prepare to indulge in a supremely rich, velvety smooth ice cream that tastes like it came straight from your favorite parlor, but with the heartwarming touch of a homemade treat.
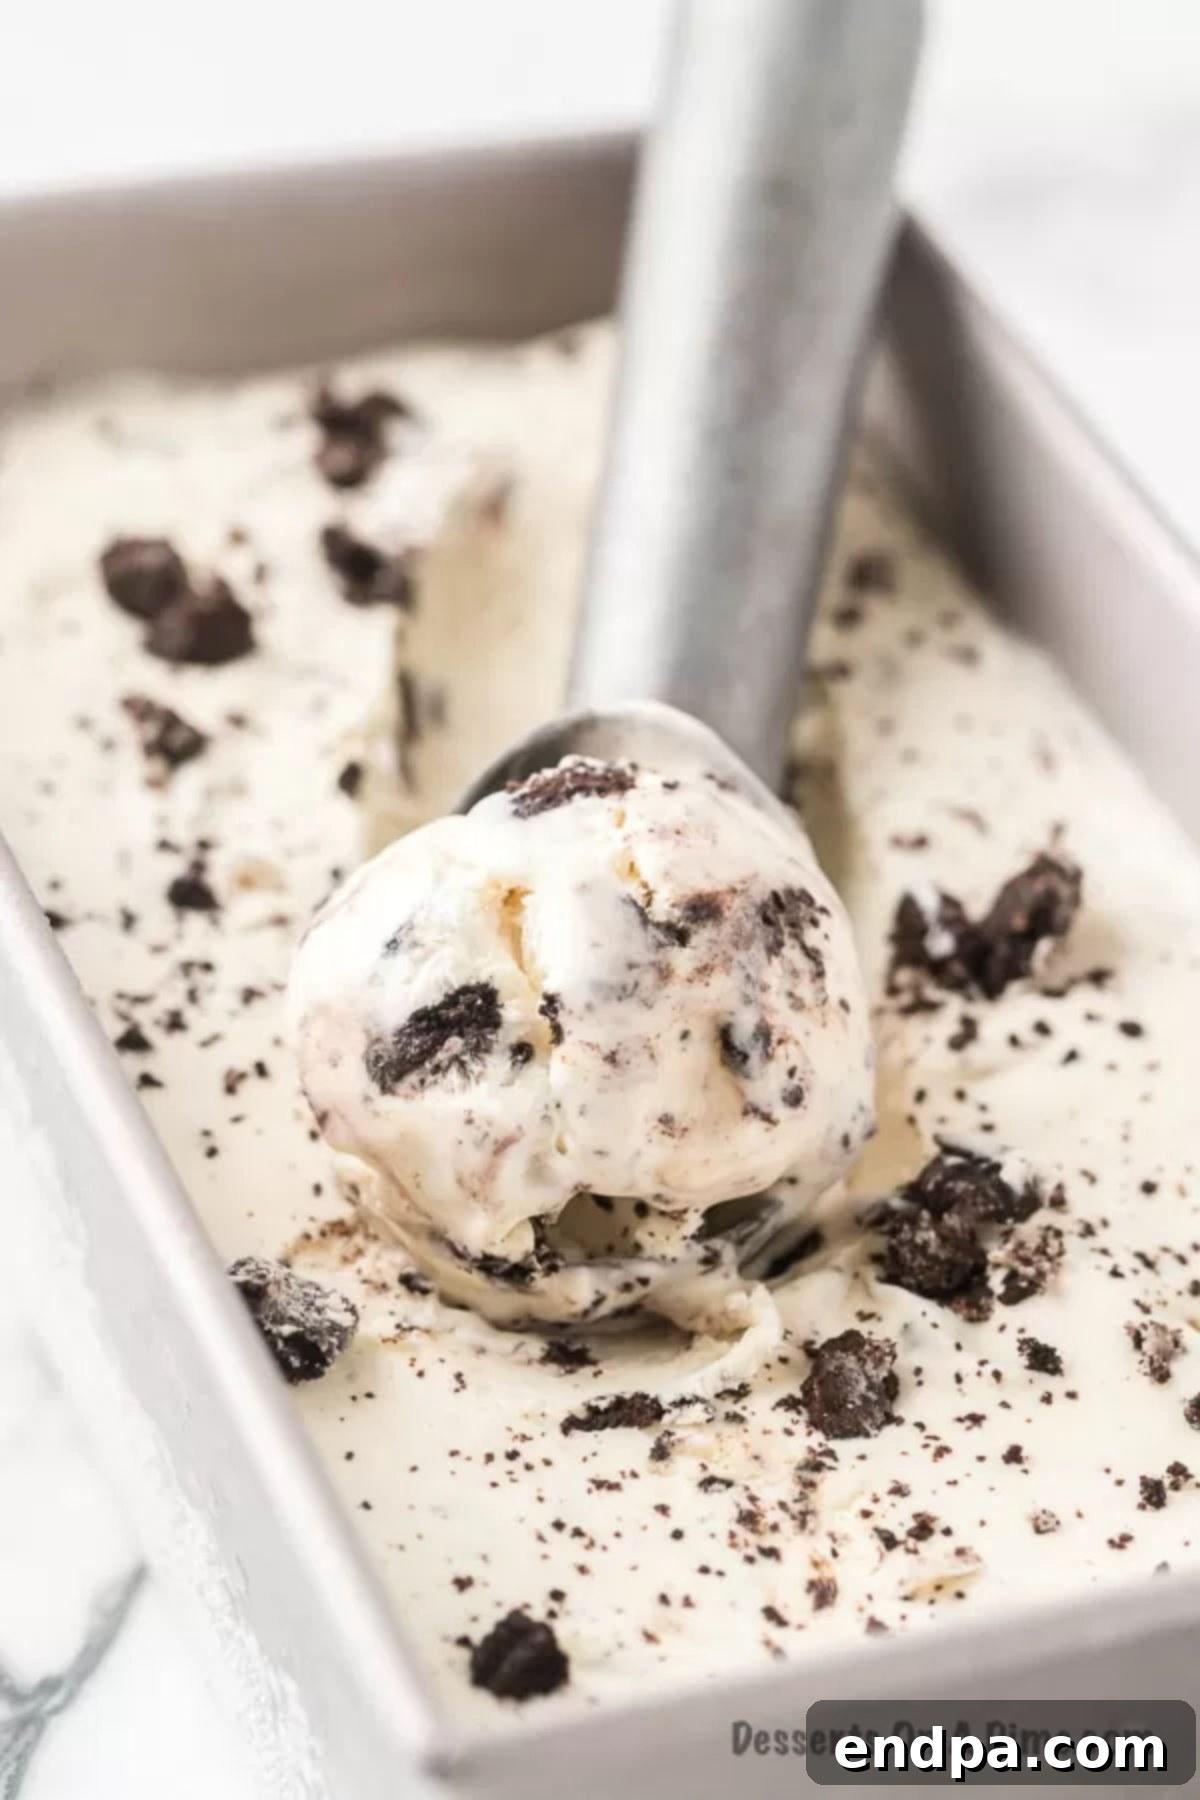
Gather your family and create lasting memories in the kitchen! This recipe is wonderfully easy, making it a perfect activity to share with children. They’ll love helping crush the cookies and watching the transformation of simple ingredients into a magical dessert. We frequently enjoy crafting various ice cream recipes together, and the results are always unbelievably delicious. If you’re a true enthusiast of the classic cookies and cream flavor profile, you absolutely must try our equally tempting Cookies and Cream Cookies for a double dose of delight.
For those eager to explore more frozen treats, expand your dessert repertoire with our delightful Cinnamon Toast Crunch Ice Cream, the fruity and tangy Strawberry Cheesecake Ice Cream, and the exotic Samoa Ice Cream. If your palate craves the deep indulgence of chocolate, don’t miss our Homemade Butterfinger Ice Cream and the delightfully chunky Chunky Monkey Ice Cream. Each recipe offers a unique flavor adventure that promises to cool and satisfy.
Table of Contents
- Why This Recipe Works: The Magic of No-Churn
- The Simple Ingredients You’ll Need
- Basic Kitchen Equipment You’ll Need
- Creative Variations and Delicious Additions
- Step-by-Step Guide: How to Make Perfect Cookies and Cream Ice Cream
- Storage Tips for Your Homemade Ice Cream
- Expert Tips for the Best Results
- Frequently Asked Questions (FAQ)
- Explore More Irresistible Homemade Ice Cream Recipes
Why This Recipe Works: The Magic of No-Churn
This no-churn ice cream recipe isn’t just easy; it’s a culinary marvel that delivers consistently delicious results without the need for an expensive ice cream maker. The magic lies in the combination of heavy whipping cream and sweetened condensed milk. When cold heavy cream is whipped to stiff peaks, it incorporates air, creating a light and fluffy base. Sweetened condensed milk, with its rich, thick consistency and high sugar content, provides the necessary sweetness and prevents large ice crystals from forming during freezing. This unique blend results in an incredibly smooth, creamy texture that mimics traditional churned ice cream. It’s truly a fool-proof method that guarantees a delightful outcome every time, transforming your kitchen into an instant dessert factory!
The Simple Ingredients You’ll Need
Creating this cookies and cream ice cream requires only a handful of readily available ingredients. Opting for quality ingredients will make a noticeable difference in the final taste and texture of your homemade treat. Here’s what you’ll need to gather:
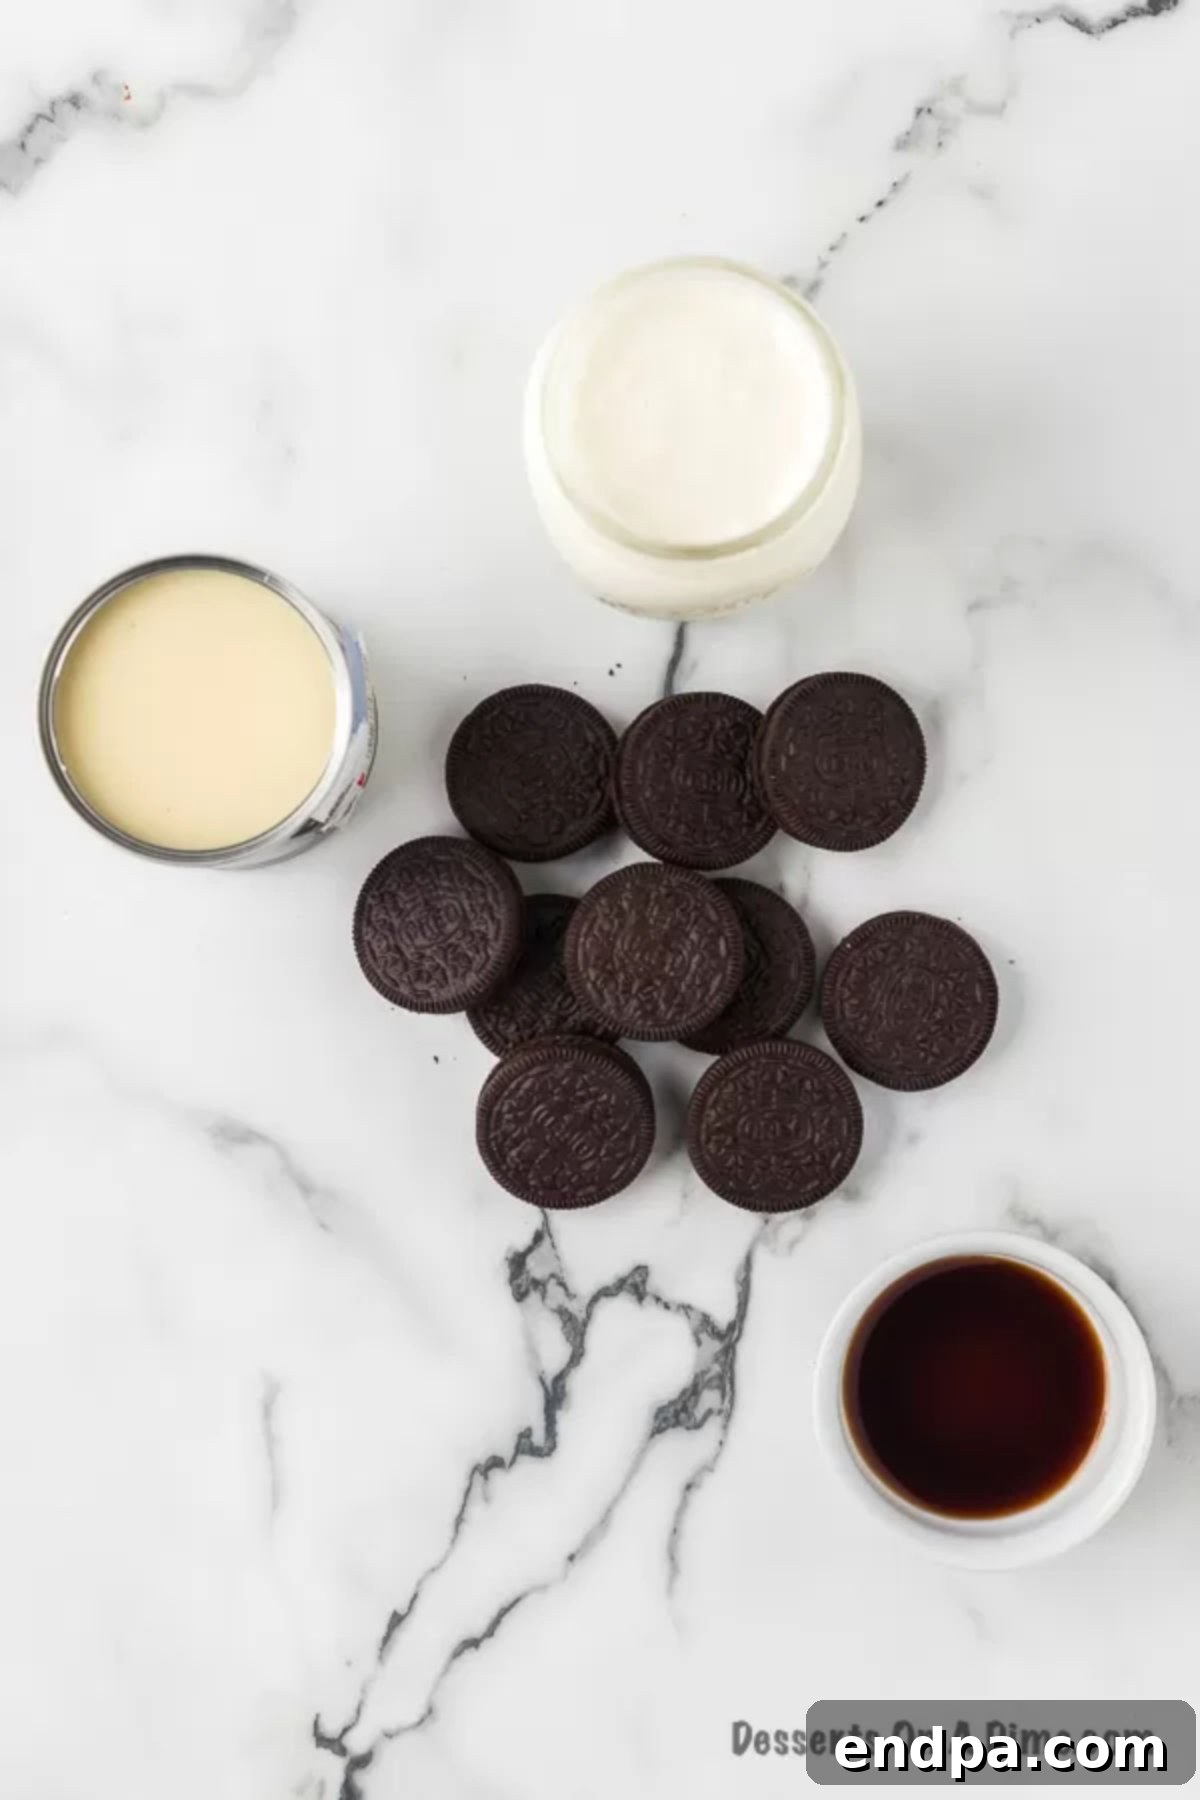
- Sweetened Condensed Milk: This is the cornerstone of any no-churn ice cream. It provides both sweetness and a creamy, non-icy texture. Do not confuse it with evaporated milk, as they are not interchangeable in this recipe. Its unique composition helps keep the ice cream soft and scoopable.
- Vanilla Extract: Pure vanilla extract is always recommended for the best flavor. It enhances the overall sweetness and adds a warm, aromatic depth that complements the cookies beautifully. A high-quality vanilla can elevate the entire dessert experience.
- Heavy Whipping Cream: Ensure your heavy whipping cream is well-chilled before you start. Cold cream whips up faster and holds its stiff peaks more effectively, which is crucial for incorporating air and creating that light, airy texture in your ice cream base.
- Oreo Cookies: The star of the show! For the best cookies and cream experience, I highly recommend using regular Oreo cookies. Double-stuffed Oreos might make the ice cream a bit too sweet or alter the texture with too much cream filling. The classic chocolatey cookie with its distinct vanilla cream provides the perfect balance of flavor and crunch.
You’ll find the exact measurements and a printable recipe card further down the page for your convenience.
Basic Kitchen Equipment You’ll Need
One of the greatest advantages of this no-churn recipe is that it doesn’t require specialized machinery. You likely already have everything you need in your kitchen:
- Large Mixing Bowls: You’ll need at least two – one for the sweetened condensed milk mixture and another for whipping the cream.
- Electric Mixer: A stand mixer with a whisk attachment or a hand mixer will make whipping the heavy cream much easier and faster. While you can do it by hand with a whisk, an electric mixer saves significant time and effort.
- Rubber Spatula: Essential for gently folding ingredients together without deflating the whipped cream.
- Large Ziploc Bag or Resealable Bag: Perfect for crushing the Oreo cookies without making a mess.
- Rolling Pin or Wooden Spoon: Used to crush the cookies to your desired consistency.
- 9-inch Loaf Pan or Freezer-Safe Container: A standard loaf pan works perfectly for freezing, but any shallow, freezer-safe container with a lid will do.
- Plastic Wrap or Aluminum Foil: For covering the ice cream during the freezing process to prevent ice crystals.
- Wax Paper (Optional): An extra layer of protection against ice crystals.
Creative Variations and Delicious Additions
While the classic cookies and cream flavor is undeniably satisfying, this recipe serves as an excellent base for experimentation. Feel free to customize your no-churn ice cream with these exciting variations and additions:
- Ice Cream Sandwiches with Cookies: Elevate your dessert game by turning your homemade ice cream into gourmet sandwiches. Take two freshly baked chocolate chip cookies, place a generous scoop of your cookies and cream ice cream between them, and gently press. Freeze these delightful sandwiches for about an hour, then enjoy a truly decadent treat that combines soft cookies with creamy ice cream.
- DIY Ice Cream Sundae Bar: Transform any gathering into a festive event with an ice cream sundae bar. Use this yummy cookies and cream ice cream as your star attraction. Offer an array of toppings such as hot fudge, caramel sauce, sprinkles, whipped cream, cherries, chopped nuts, or even more crushed Oreos. It’s a fun, interactive way to enjoy dessert that everyone will love.
- Oreo Brownie Sundae: Few things are as comforting as a warm brownie topped with cold ice cream. Prepare a batch of your favorite Oreo brownies (or any brownies), and while they’re still slightly warm, add a scoop of this rich cookies and cream ice cream on top. The contrast of temperatures and textures makes for an incredibly indulgent dessert experience. A drizzle of chocolate syrup completes this magnificent creation.
- Different Cookies: Don’t limit yourself to Oreos! Try using other crunchy cookies like chocolate chip cookies, Nilla wafers, Biscoff cookies, or even shortbread for a different twist.
- Add-ins: Fold in chocolate chips, mini marshmallows, peanut butter cups, or a swirl of caramel or chocolate sauce into the mixture before freezing for an extra layer of flavor and texture.
- Flavor Boost: Add a tablespoon of espresso powder to the sweetened condensed milk for a mocha cookies and cream ice cream. A pinch of peppermint extract could also be festive!
Step-by-Step Guide: How to Make Perfect Cookies and Cream Ice Cream
Making this no-churn cookies and cream ice cream is a breeze. Follow these simple steps for a dessert that’s guaranteed to impress.
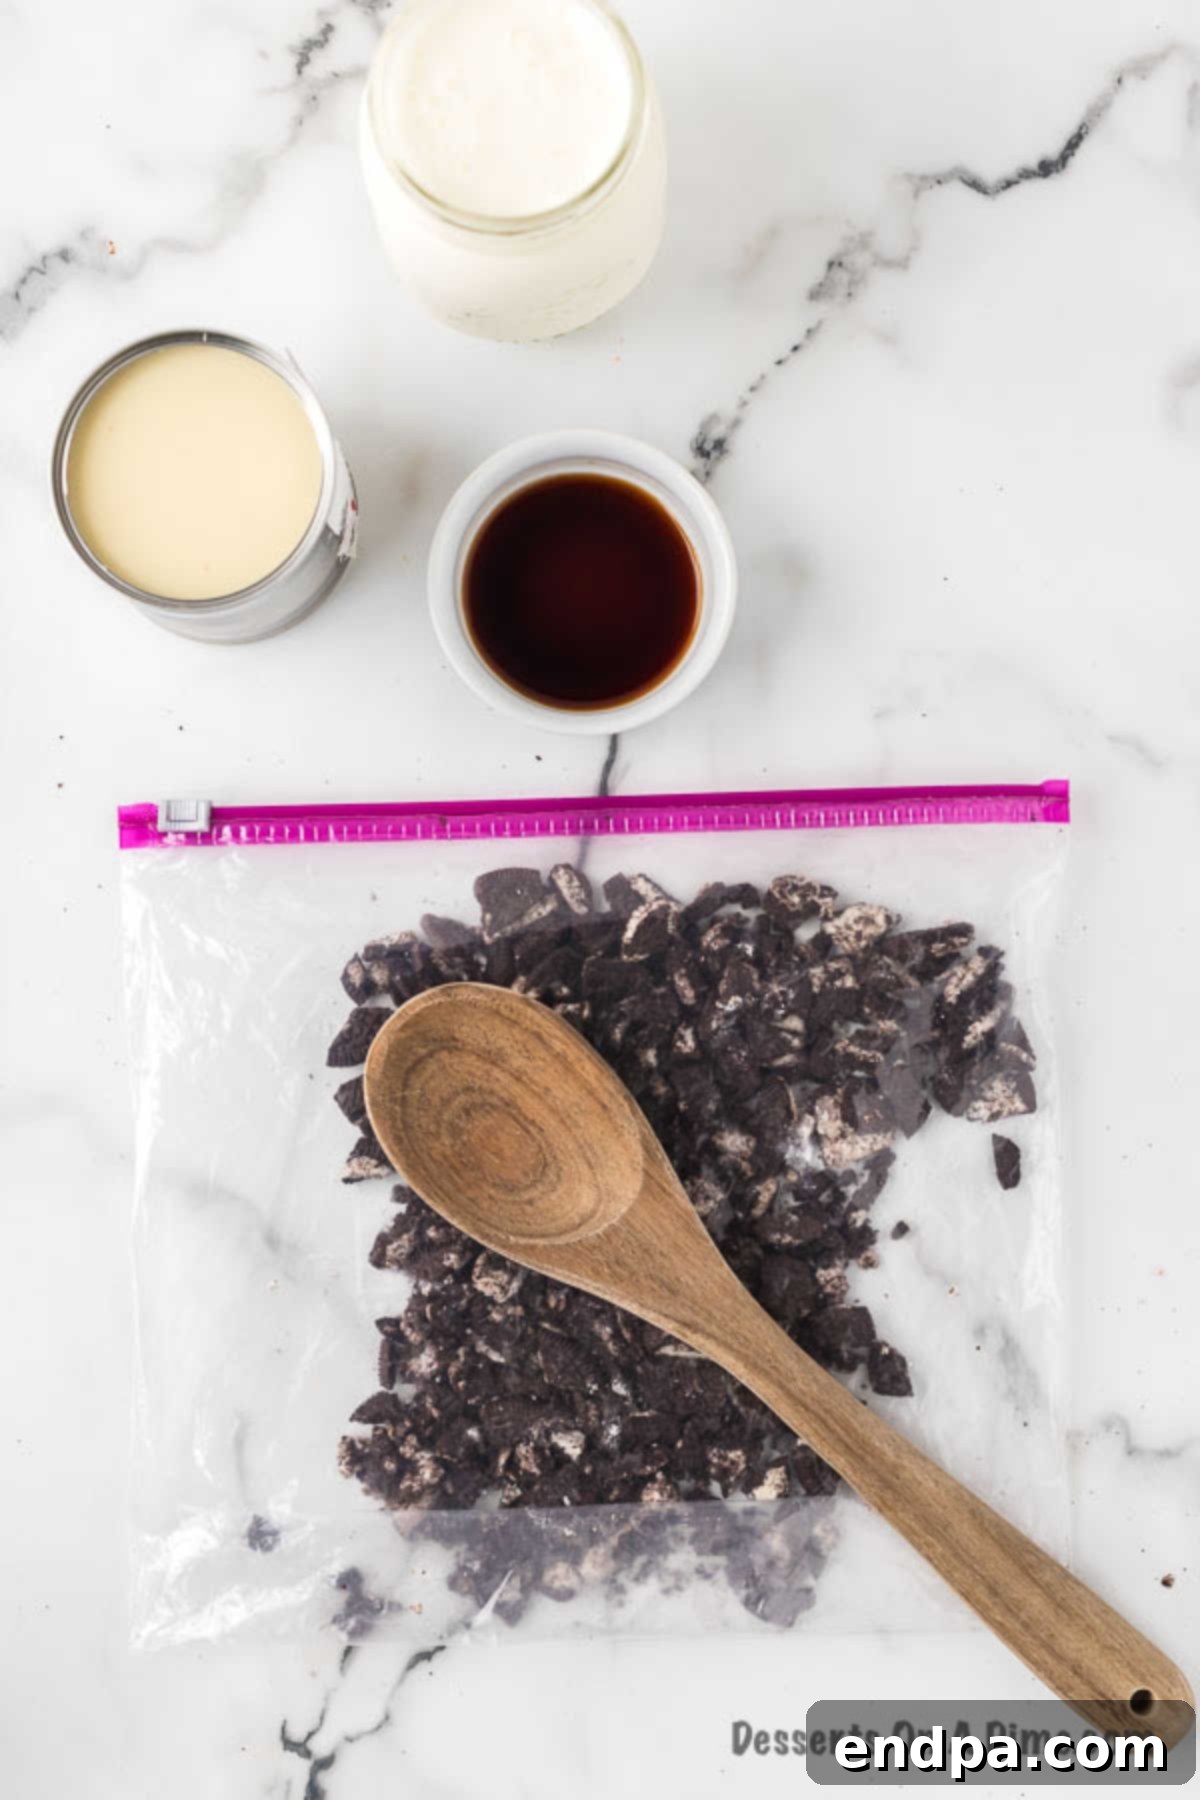
Step 1: Prepare the Oreo Cookies. Begin by crushing your Oreo cookies. The key here is to aim for a mix of larger chunks and smaller crumbs, avoiding a fine powder. This ensures you get delightful texture in every spoonful. Place the Oreo cookies in a large, sturdy ziplock bag and seal it tightly, removing as much air as possible. Use a wooden spoon, rolling pin, or even the bottom of a heavy glass to gently but firmly crush the cookies. Continue until you have a good variety of pieces, from substantial chunks to finer bits. Set aside.
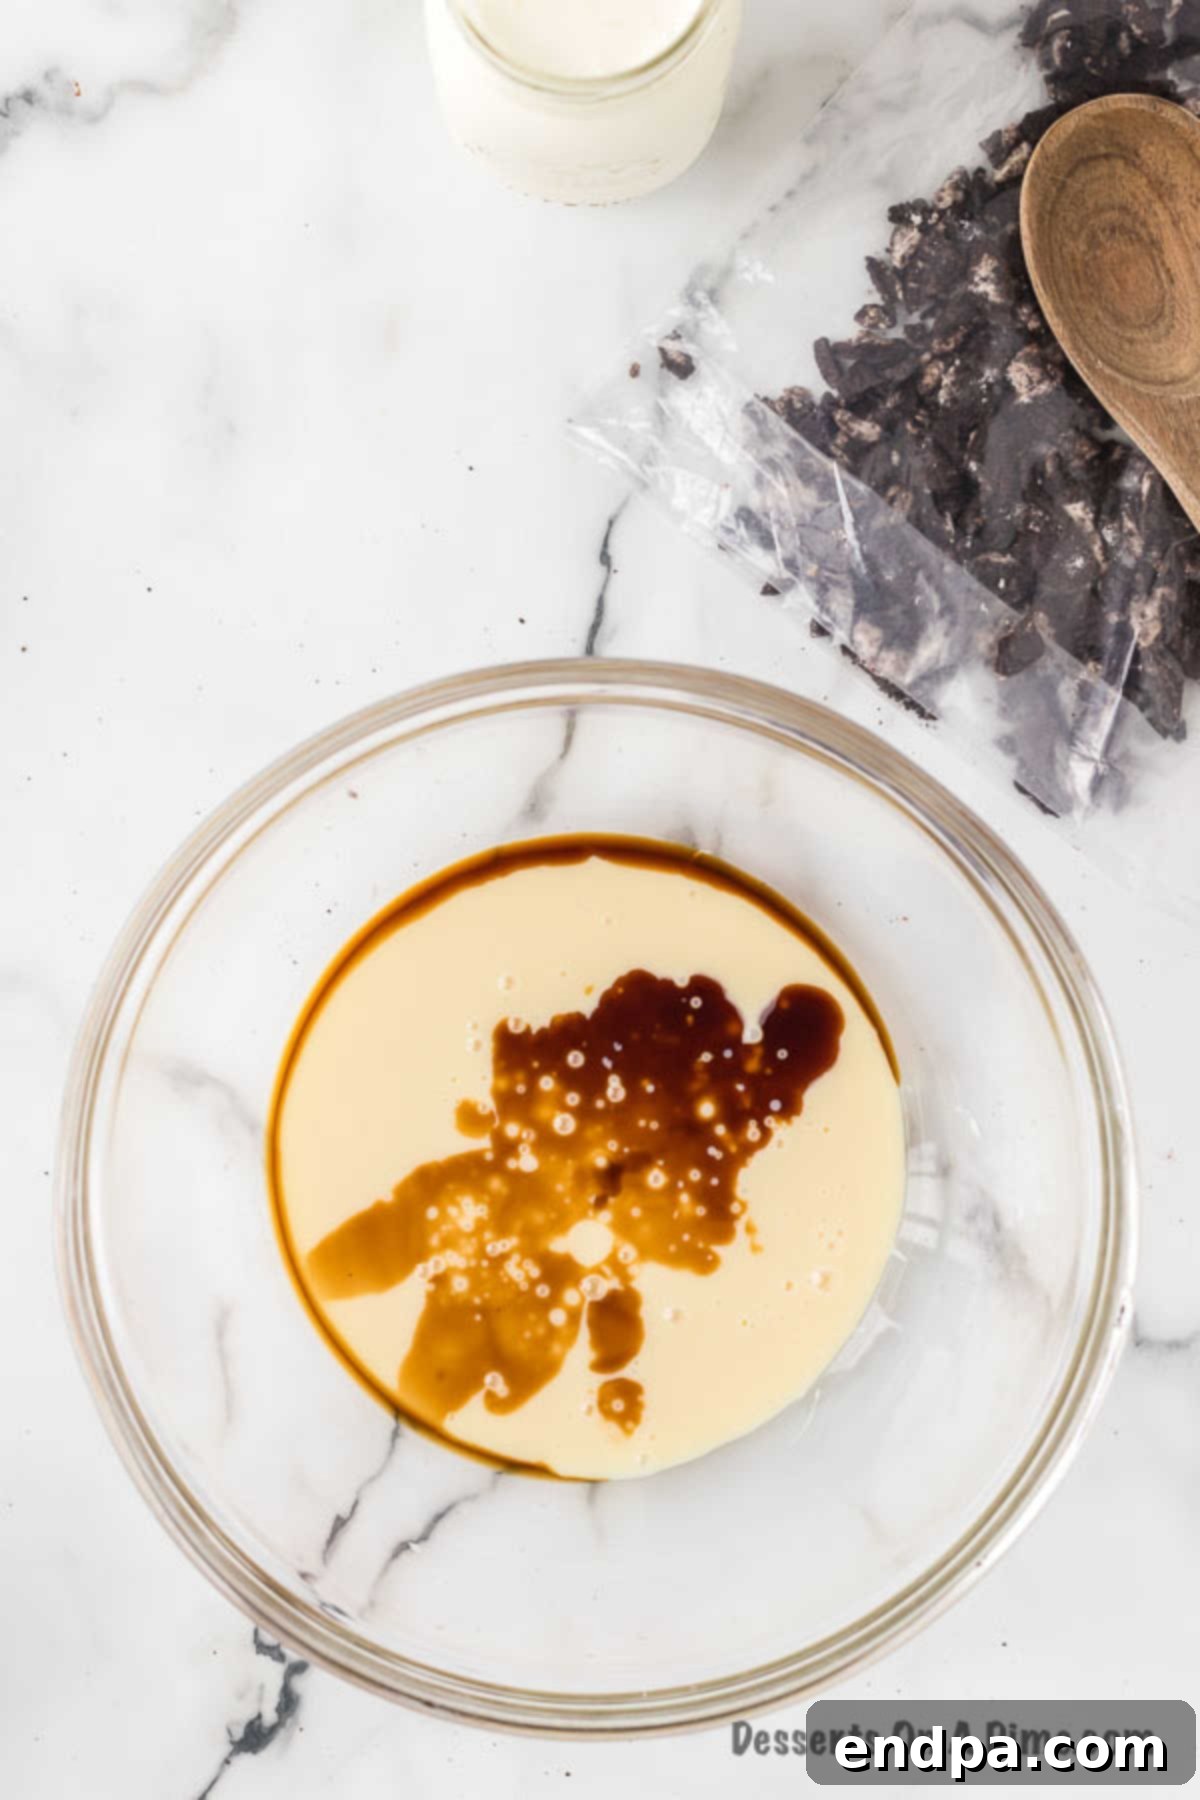
Step 2: Combine Sweetened Condensed Milk and Vanilla. In a large mixing bowl, pour in the sweetened condensed milk. Add the pure vanilla extract. Stir these two ingredients together thoroughly with a spatula or spoon until they are well combined and smooth. This creates the sweet, creamy base for your ice cream. Ensure the vanilla is fully incorporated to distribute its flavor evenly.
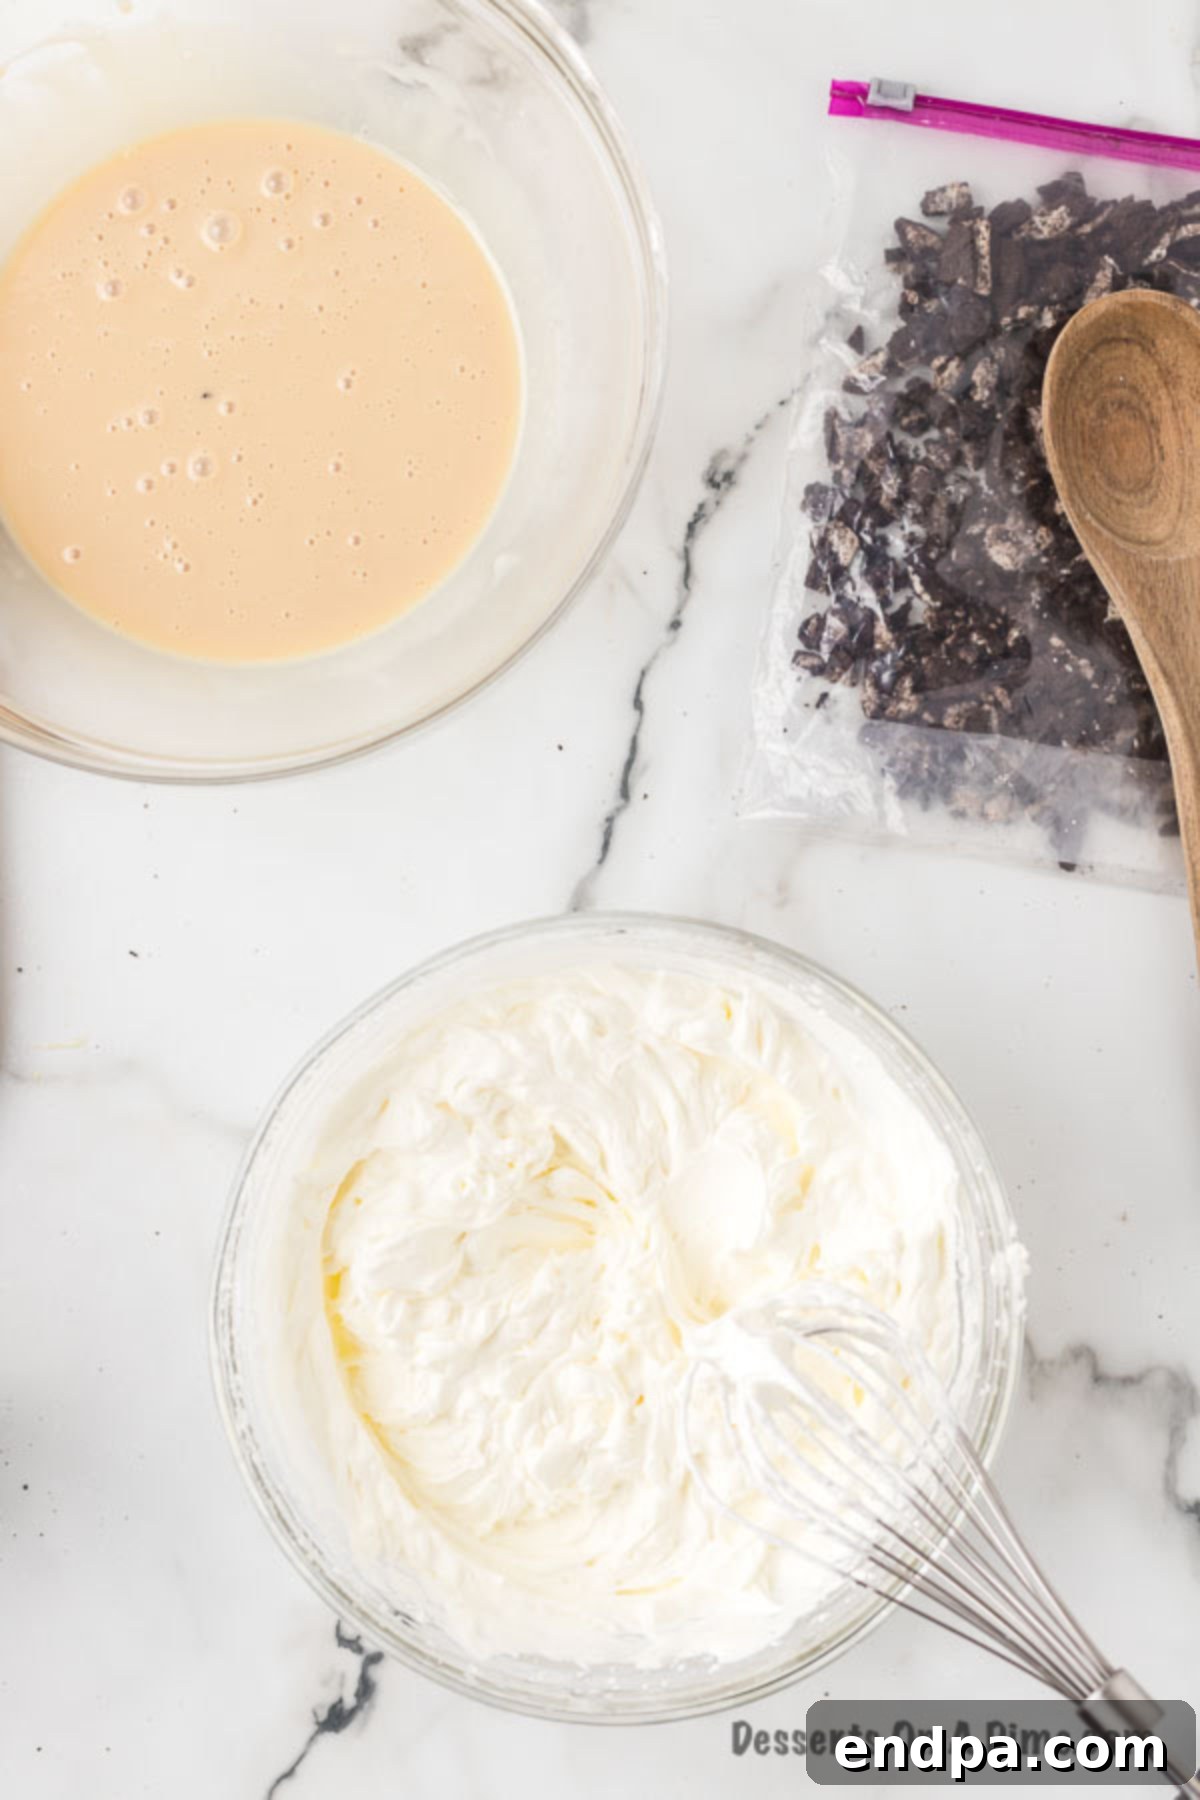
Step 3: Whip the Heavy Cream. Get a separate, chilled large mixing bowl. Pour in the cold heavy whipping cream. Using a stand mixer fitted with a whisk attachment or a hand mixer, beat the cream on medium-high speed. Continue to beat until the cream transforms into stiff peaks. This process usually takes about 2 to 3 minutes. Stiff peaks mean that when you lift the whisk, the cream holds its shape firmly. Be careful not to over-beat, as it can turn into butter.
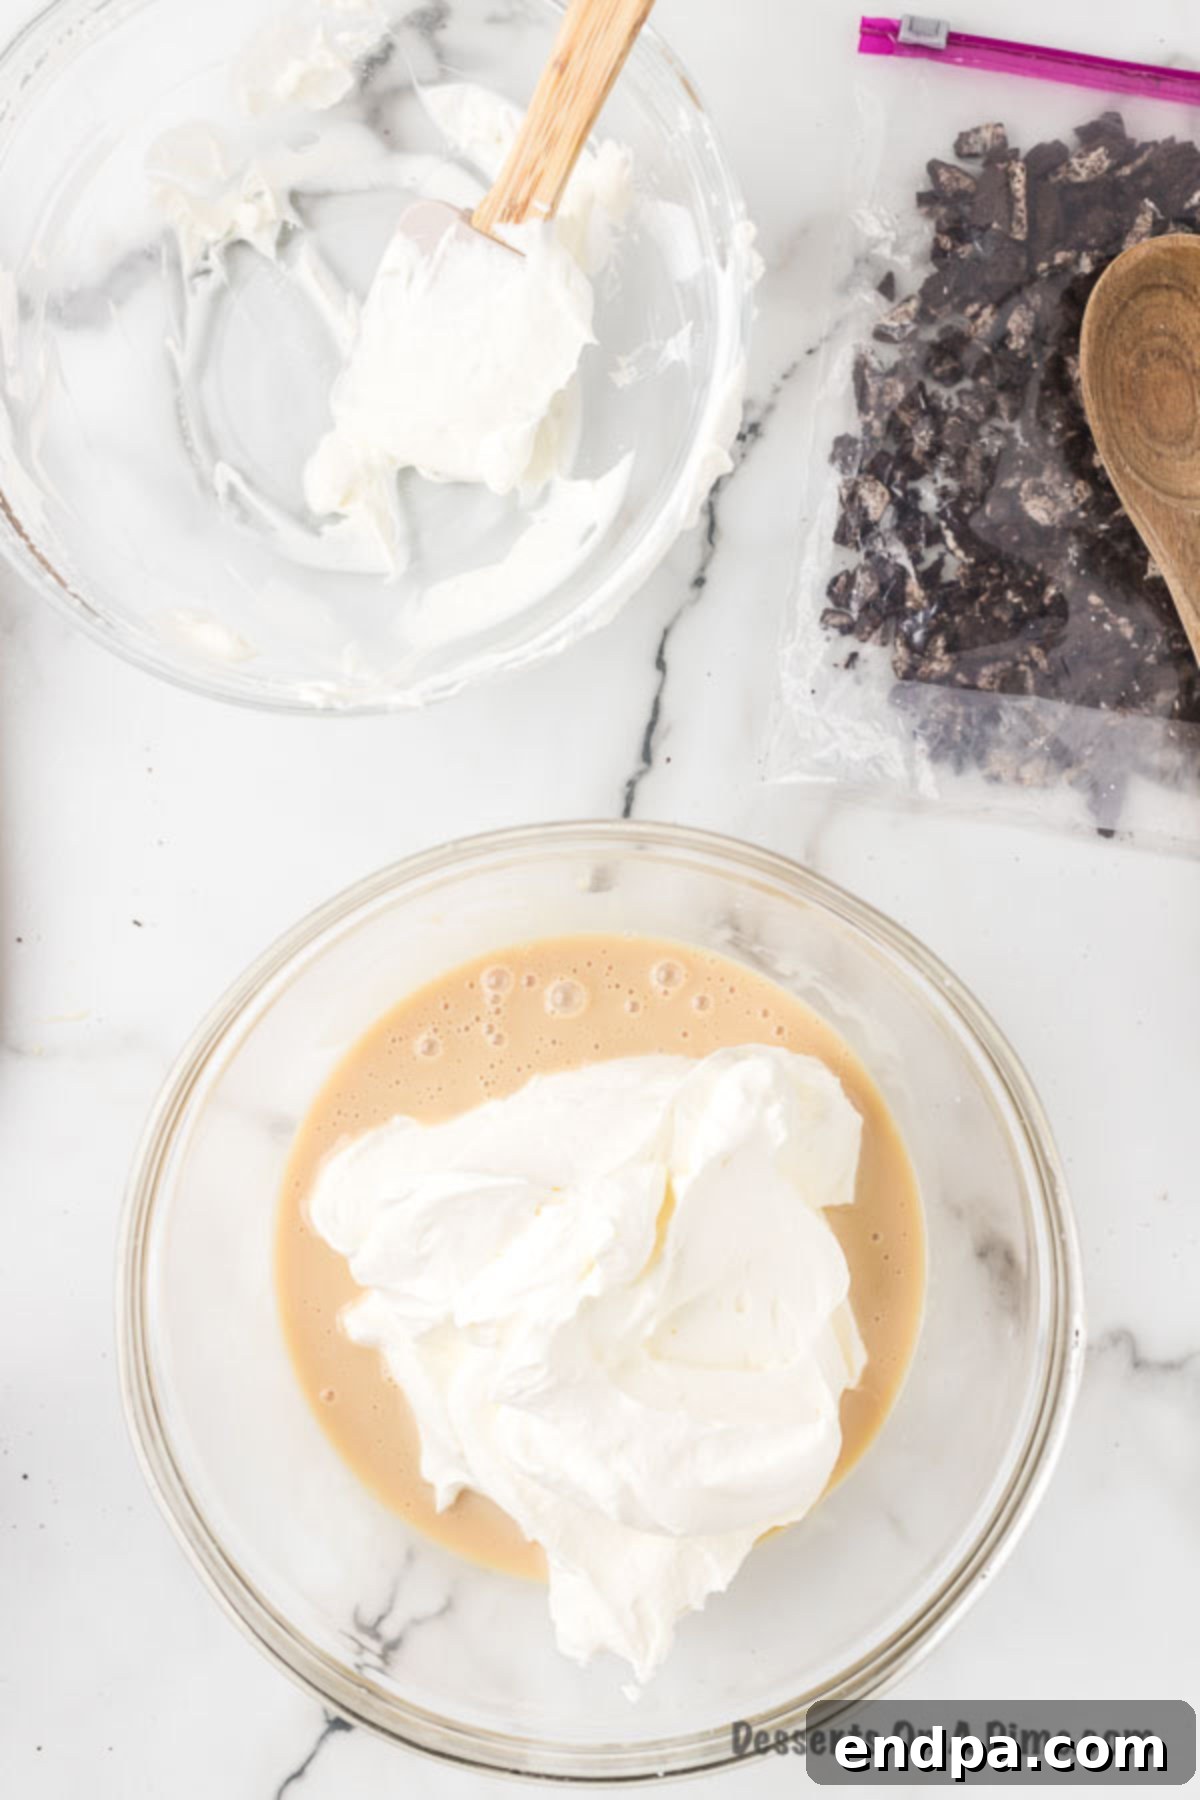
Step 4: Gently Combine Mixtures. Carefully add the whipped cream to the sweetened condensed milk and vanilla mixture. This step is crucial for maintaining the airy texture of the ice cream. Using a rubber spatula, gently fold the whipped cream into the condensed milk mixture. Use an over-and-under motion, being mindful not to deflate the whipped cream. Mix just until no streaks of condensed milk remain and the mixture is uniformly combined.
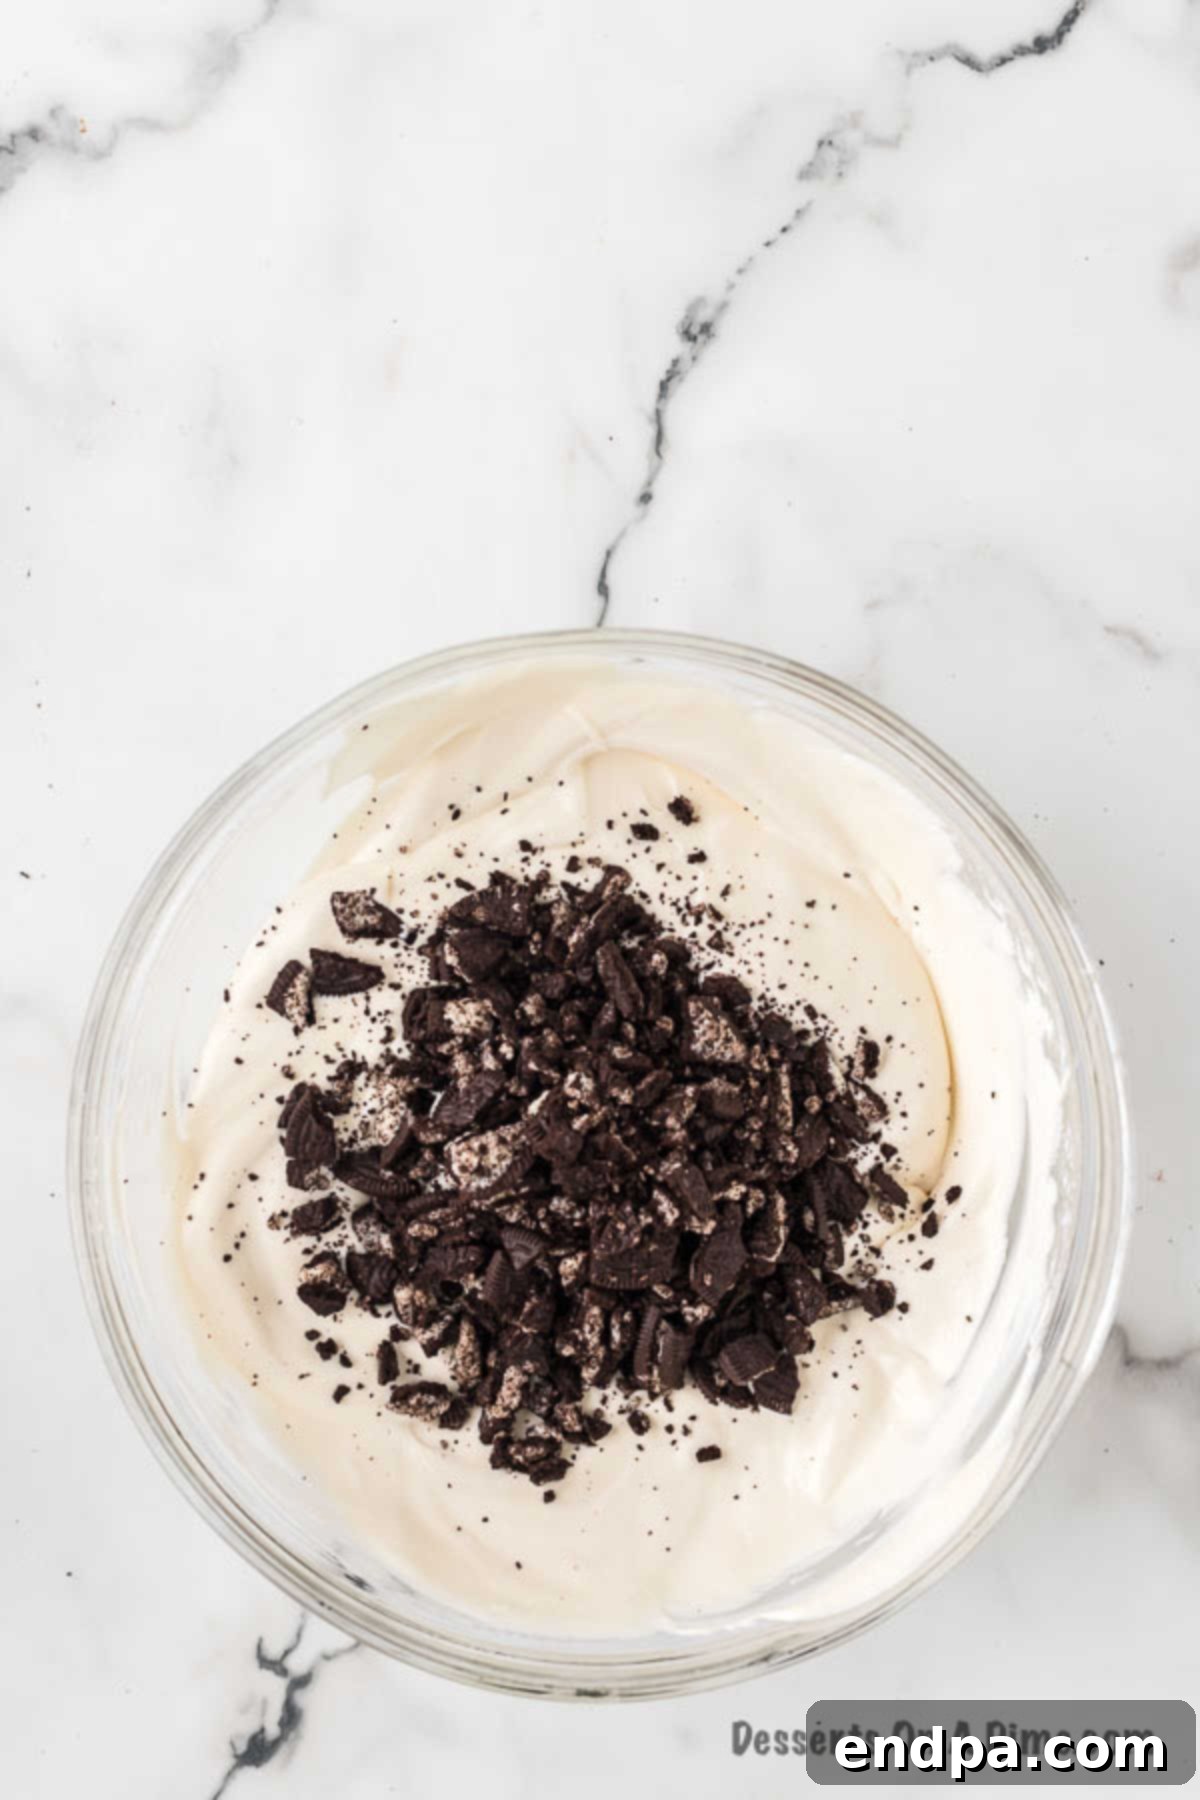
Step 5: Fold in the Crushed Cookies. Now, it’s time to add the star ingredient! Take your crushed Oreo cookies and gently fold them into the ice cream base using your rubber spatula. Again, use a gentle folding motion to distribute the cookie pieces evenly throughout the mixture without overworking it. This ensures that every spoonful of ice cream will contain delicious chunks of cookie.
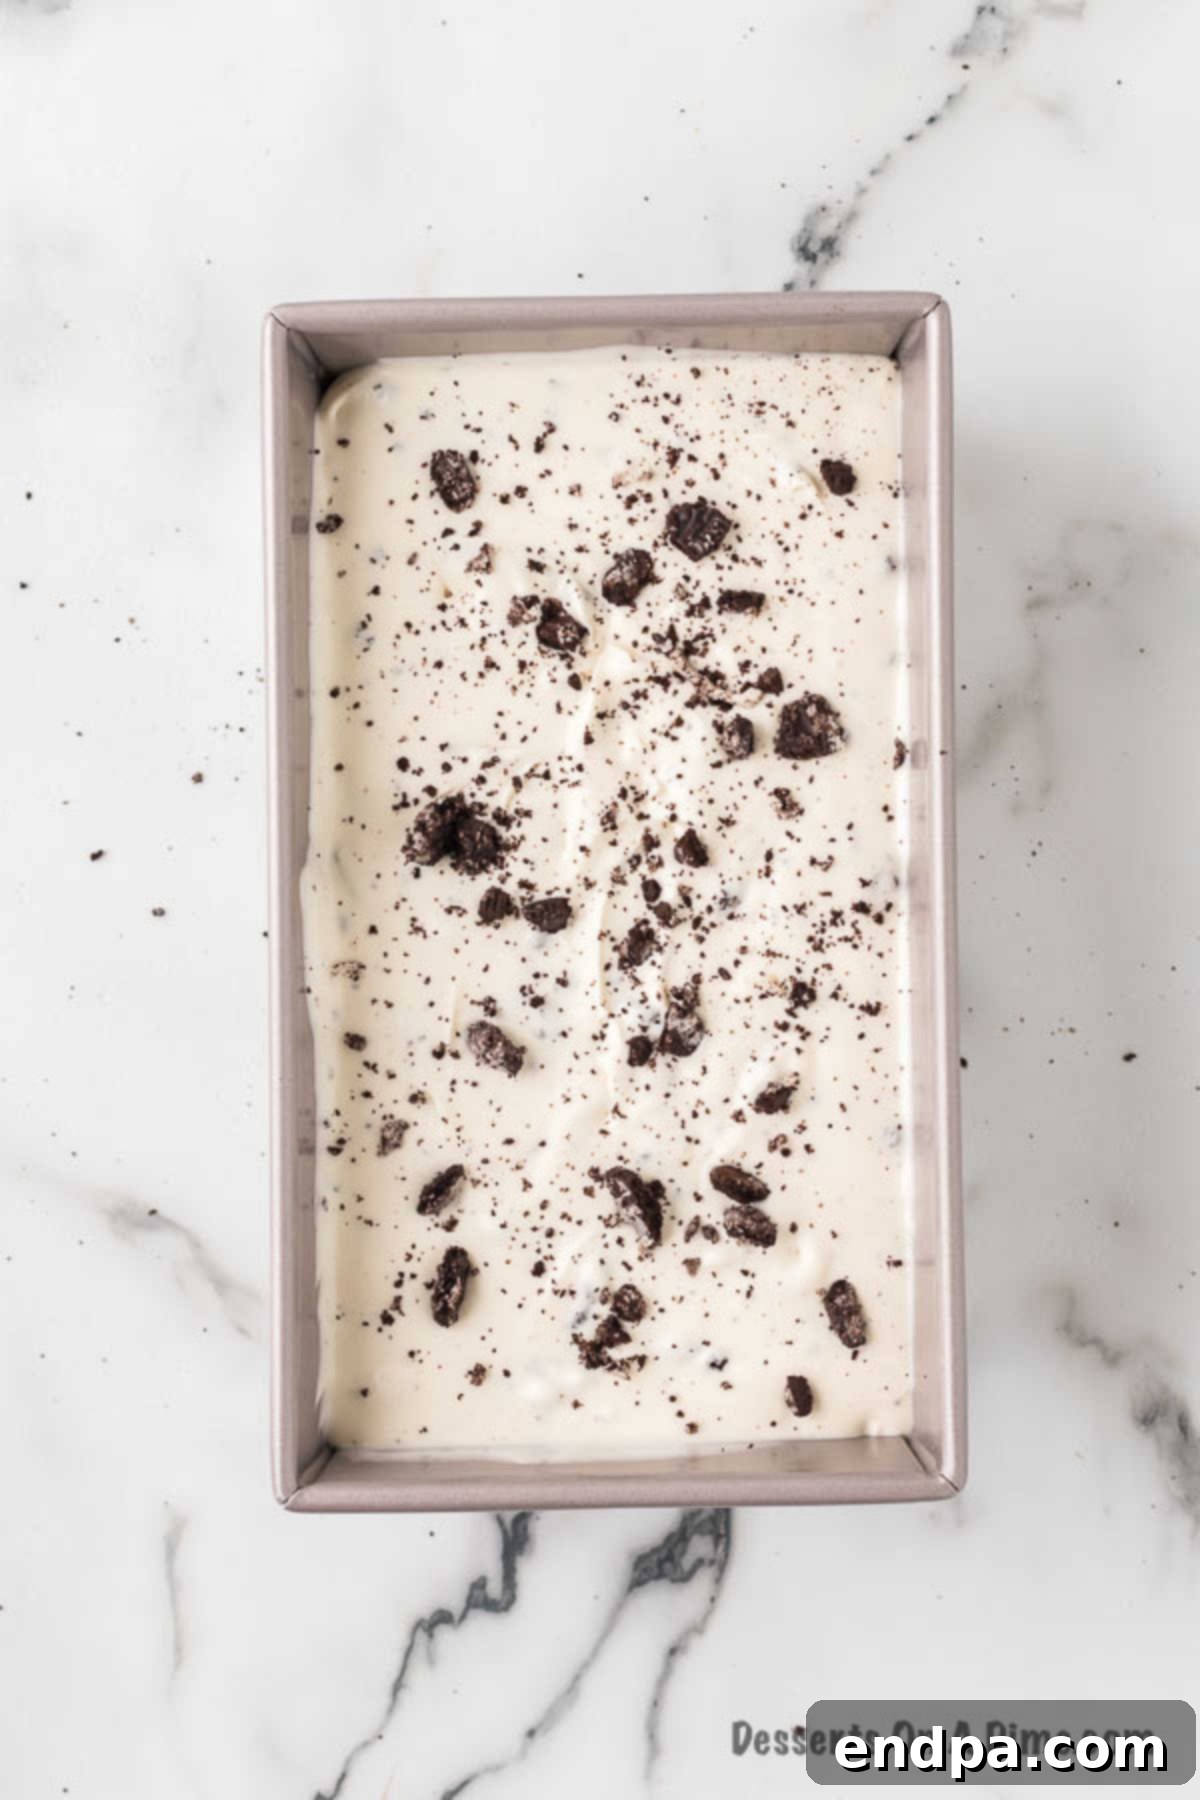
Step 6: Freeze to Perfection. Transfer the entire ice cream mixture into a 9-inch loaf pan or any other shallow, freezer-safe container. Smooth the top with your spatula. Cover the pan tightly with plastic wrap, ensuring the wrap touches the surface of the ice cream to prevent ice crystals from forming. For optimal results and a firm, scoopable consistency, freeze the ice cream for a minimum of 6 hours. However, for the very best texture, I highly recommend freezing it overnight. Once fully frozen, serve this delightful treat with your favorite Ice Cream Sundae Toppings, or simply enjoy it as is!
Storage Tips for Your Homemade Ice Cream
Proper storage is essential to maintain the creamy texture and fresh flavor of your homemade cookies and cream ice cream. Here’s how to keep it at its best:
- Airtight Container: Always store your ice cream in a freezer-safe, airtight container. This prevents freezer burn and keeps unwanted odors from permeating your delicious dessert.
- Prevent Ice Crystals: To further prevent the formation of ice crystals on the surface, place a layer of wax paper or plastic wrap directly on top of the ice cream before sealing the container. This creates an extra barrier against air and moisture.
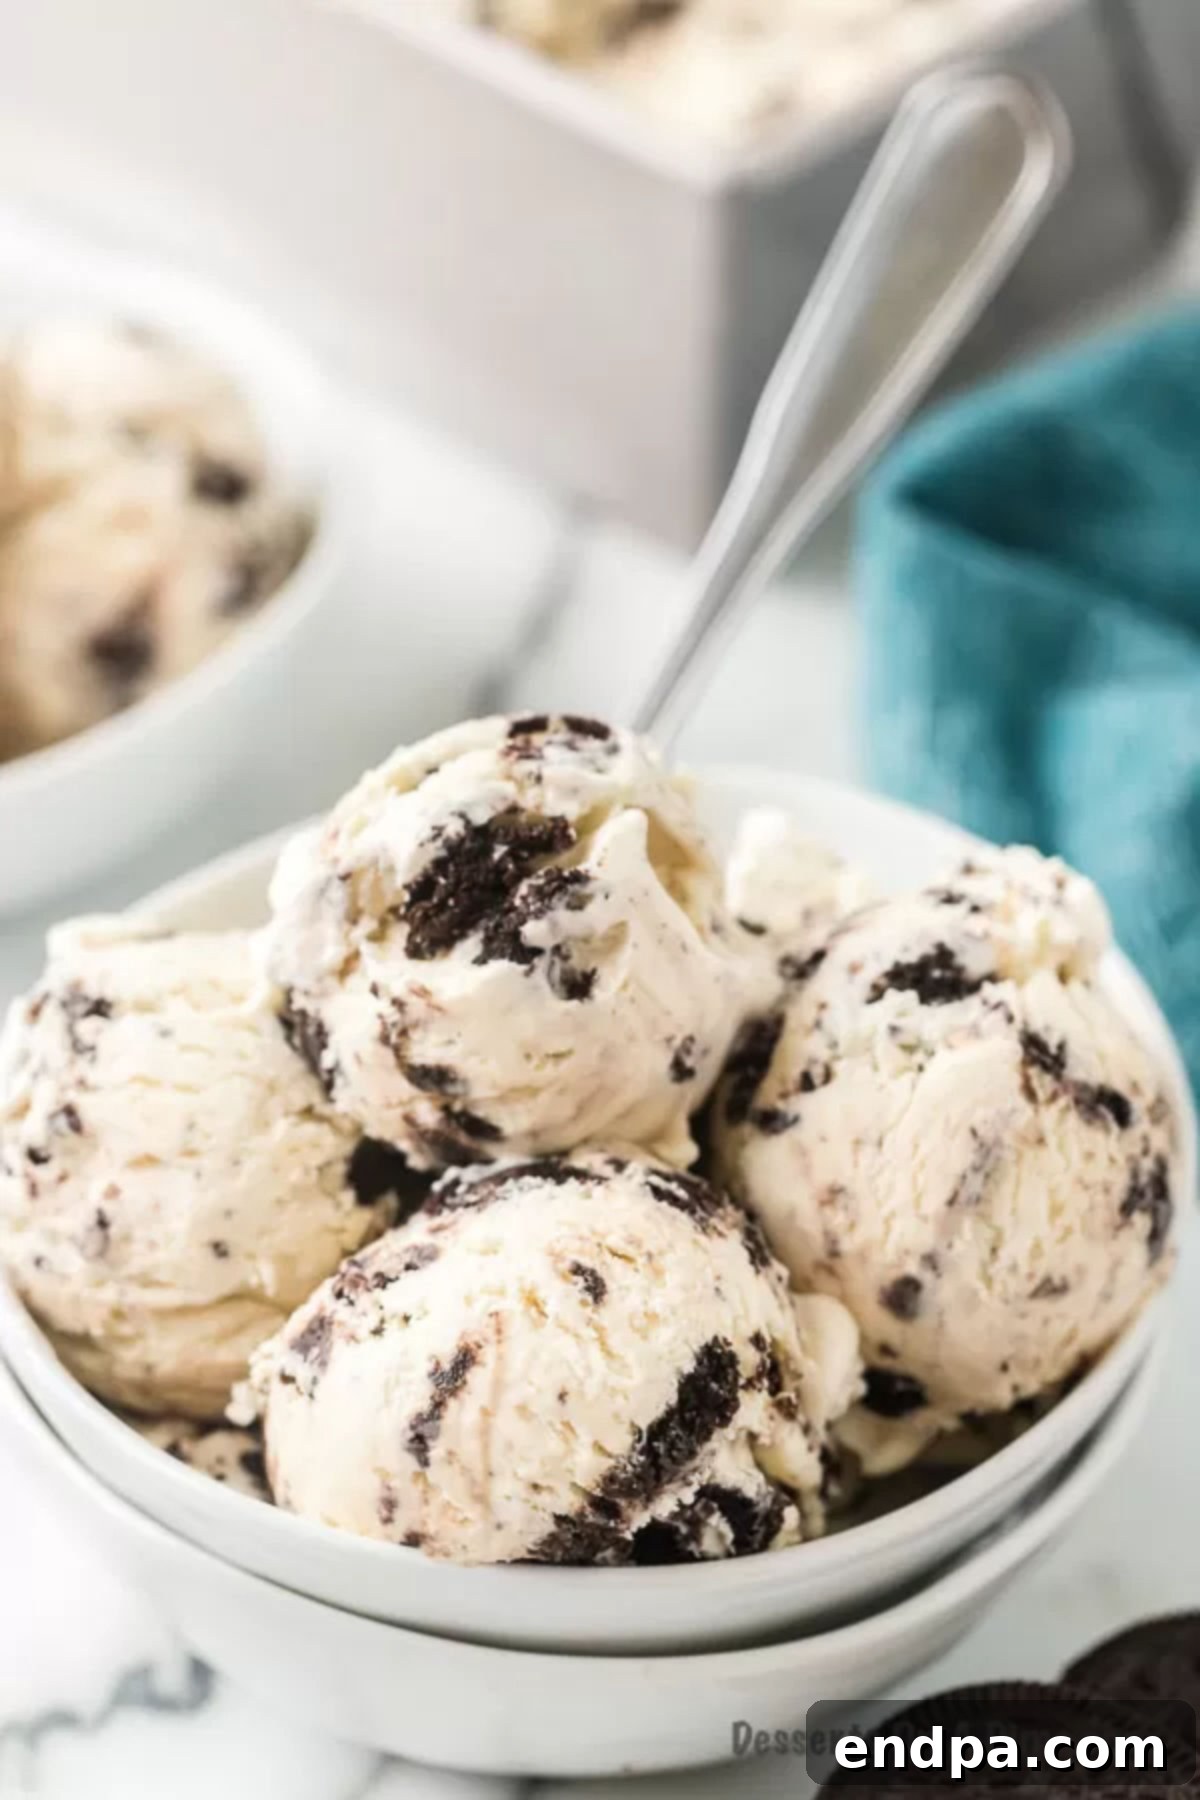
- Optimal Shelf Life: When stored correctly, your homemade cookies and cream ice cream will retain its quality for up to one month in the freezer. While it can technically last longer, the texture and flavor are best within this timeframe. We find it’s usually devoured much quicker than that!
Expert Tips for the Best Results
Achieving perfectly creamy, scoopable, and flavorful no-churn ice cream is easy when you keep these expert tips in mind:
- Plan Ahead for Freezing: For the ideal consistency, plan to make this ice cream the day before you intend to serve it. This extended freezing time, preferably overnight, allows the ice cream to set completely and reach its rich, scoopable texture. Patience is key for the best results!
- Mind the Mixer: While a powerful stand mixer (like a KitchenAid stand mixer) makes quick work of whipping cream, a reliable hand mixer is equally effective for this recipe. Just ensure your cream is very cold, and the whipping process will be smooth.
- Hand-Fold the Cookies: After whipping the cream and mixing it with the condensed milk, it’s crucial to fold in the crushed Oreo cookies by hand. Using an electric mixer at this stage can overmix the batter, deflating the air from the whipped cream and resulting in a less airy, icier ice cream. A gentle hand-folding technique preserves the light texture.
- Do Not Substitute Sweetened Condensed Milk: This ingredient is non-negotiable for no-churn ice cream. Do not attempt to substitute it with regular milk, evaporated milk, or heavy cream. Sweetened condensed milk provides the unique balance of sugar and fat required to achieve the correct texture and prevent excessive ice crystal formation without churning.
- Chill Your Bowl and Whisk: For even faster and more stable whipped cream, place your mixing bowl and whisk attachment in the freezer for about 10-15 minutes before whipping the heavy cream. This extra chill helps the cream whip up beautifully and hold its peaks longer.
- Crush Cookies Variably: Aim for a mix of finely crushed cookie crumbs and larger chunks. The smaller pieces will infuse the ice cream with flavor, while the larger pieces will provide delightful textural contrast.
- Warm Scoop for Easier Serving: If your ice cream is very firm from prolonged freezing, run your ice cream scoop under hot water for a few seconds before each scoop. This will help it glide through the ice cream more smoothly, making serving much easier.
Frequently Asked Questions (FAQ)
Here are some common questions you might have about making no-churn cookies and cream ice cream:
Q: Can I use low-fat milk or half-and-half instead of heavy cream?
A: No, for this recipe, heavy whipping cream is essential. Its high-fat content is what allows it to whip up into a stable, airy foam, which is critical for the no-churn method. Low-fat alternatives will not yield the same creamy texture.
Q: What if my whipped cream won’t form stiff peaks?
A: Ensure your heavy cream is very cold. Also, make sure your mixing bowl and whisk are clean and free of any grease, as fat can inhibit whipping. Chilling the bowl and whisk beforehand can also help. If it’s still not working, your cream might not be fresh enough, or it may not be heavy whipping cream (which typically has at least 36% milk fat).
Q: Can I reduce the amount of sugar?
A: Sweetened condensed milk is a key component, and its sugar content is vital for the ice cream’s texture and freezing point. Reducing the sugar in the condensed milk would significantly alter the recipe. You can try to balance the overall sweetness by choosing less sweet additions, but altering the base ingredients is not recommended.
Q: How do I prevent freezer burn?
A: To prevent freezer burn, ensure your ice cream is stored in an airtight container. Placing a layer of plastic wrap directly on the surface of the ice cream before putting on the lid also creates an excellent seal, minimizing air exposure.
Q: Can I make this recipe ahead of time for a party?
A: Absolutely! In fact, it’s recommended to make it at least 6 hours in advance, or even a full day ahead. This allows it ample time to freeze completely and develop the perfect scoopable consistency, making it an ideal make-ahead dessert for entertaining.
Q: What other cookies can I use?
A: While Oreos are classic, feel free to experiment with other sturdy cookies like chocolate chip cookies, ginger snaps, Biscoff biscuits, or even crushed graham crackers for a different flavor profile.
Explore More Irresistible Homemade Ice Cream Recipes
If you loved making this easy no-churn cookies and cream ice cream, you’ll be thrilled to discover our other fantastic homemade ice cream creations. Expand your repertoire of frozen delights with these delicious recipes:
- No-Churn Chocolate Ice Cream: A rich, decadent classic that’s incredibly simple to make.
- Puppy Chow Ice Cream Recipe: A fun, unique flavor inspired by the beloved snack mix.
- Kool-Aid Ice Cream: A vibrant, fruity, and surprisingly delicious treat that’s perfect for summer.
- Homemade Salted Caramel Ice Cream Recipe: Indulge in the perfect balance of sweet and salty with this luxurious ice cream.
- S’mores Ice Cream Recipe: Capture the taste of a campfire classic in a frozen dessert.
- Caramel Apple Ice Cream: A delightful blend of crisp apples and sweet caramel, reminiscent of autumn flavors.
Give this incredibly simple yet supremely satisfying no-churn ice cream recipe a try. You’ll be amazed at how easily you can create such a rich and creamy dessert right in your own kitchen. Come back and share your experience and comments with us!
Cookies and Cream Ice Cream
Make homemade Cookies and Cream Ice Cream with just 4 ingredients. This no-churn recipe is so rich and creamy. Try it today for a delicious treat.
10 mins
6 hrs
6 hrs 10 mins
10
American
Dessert
350
Carrie Barnard
Ingredients
- 14 oz. sweetened condensed milk
- 2 tsp Vanilla Extract
- 2 cups heavy whipping cream cold
- 10 Oreo Cookies
Instructions
- Place the Oreo Cookies in a large ziplock bag. Seal it tightly. Use a wooden spoon or rolling pin to crush the cookies. You do not want them finely crushed; aim for a mix of large pieces and crumbs for the best texture in the ice cream.
- In a large bowl, mix together the sweetened condensed milk and vanilla extract until well combined and smooth.
- Pour the cold heavy whipping cream into a separate, chilled bowl. Using a stand mixer or hand mixer, beat the cream for 2-3 minutes until it holds stiff peaks.
- Gently fold the whipped cream into the sweetened milk mixture. Be careful not to over-mix, just combine until no streaks remain.
- Finally, add the crushed cookies by gently folding them in by hand until evenly distributed.
- Transfer the ice cream mixture into a 9-inch loaf pan or a freezer-safe container. Cover with plastic wrap, ensuring it touches the surface of the ice cream to prevent ice crystals. Freeze for at least 6 hours, or preferably overnight, until firm.
- Once frozen, scoop out with an ice cream scoop and enjoy your homemade cookies and cream ice cream!
Recipe Notes
For the best consistency and ease of serving, I usually prepare this recipe the night before we plan to enjoy it. This homemade ice cream will keep fresh and delicious for up to 3 months when stored properly in an airtight container in the freezer.
Nutrition Facts
Pin This Now to Remember It Later
Pin Recipe
