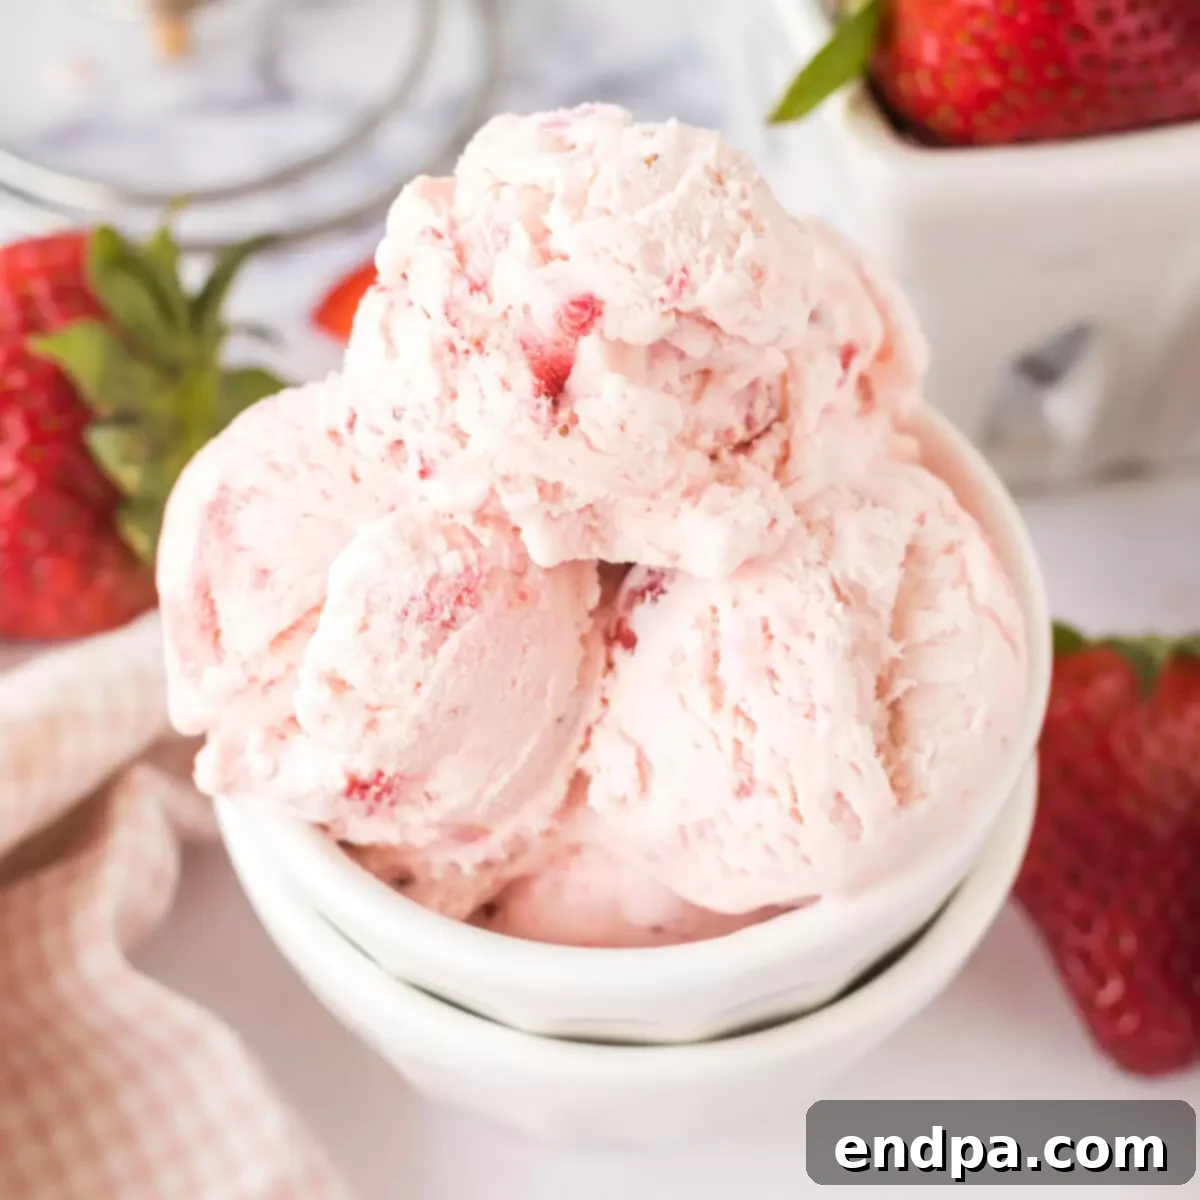
No-Churn Strawberry Ice Cream offers a delightful escape into creamy, fruity bliss, all achieved with just 5 basic ingredients and absolutely no ice cream maker required. This incredibly easy ice cream recipe is bursting with vibrant strawberry flavor and boasts a wonderfully smooth, rich texture that rivals churned varieties. Prepare to revolutionize your dessert game with this simple yet sensational homemade treat.
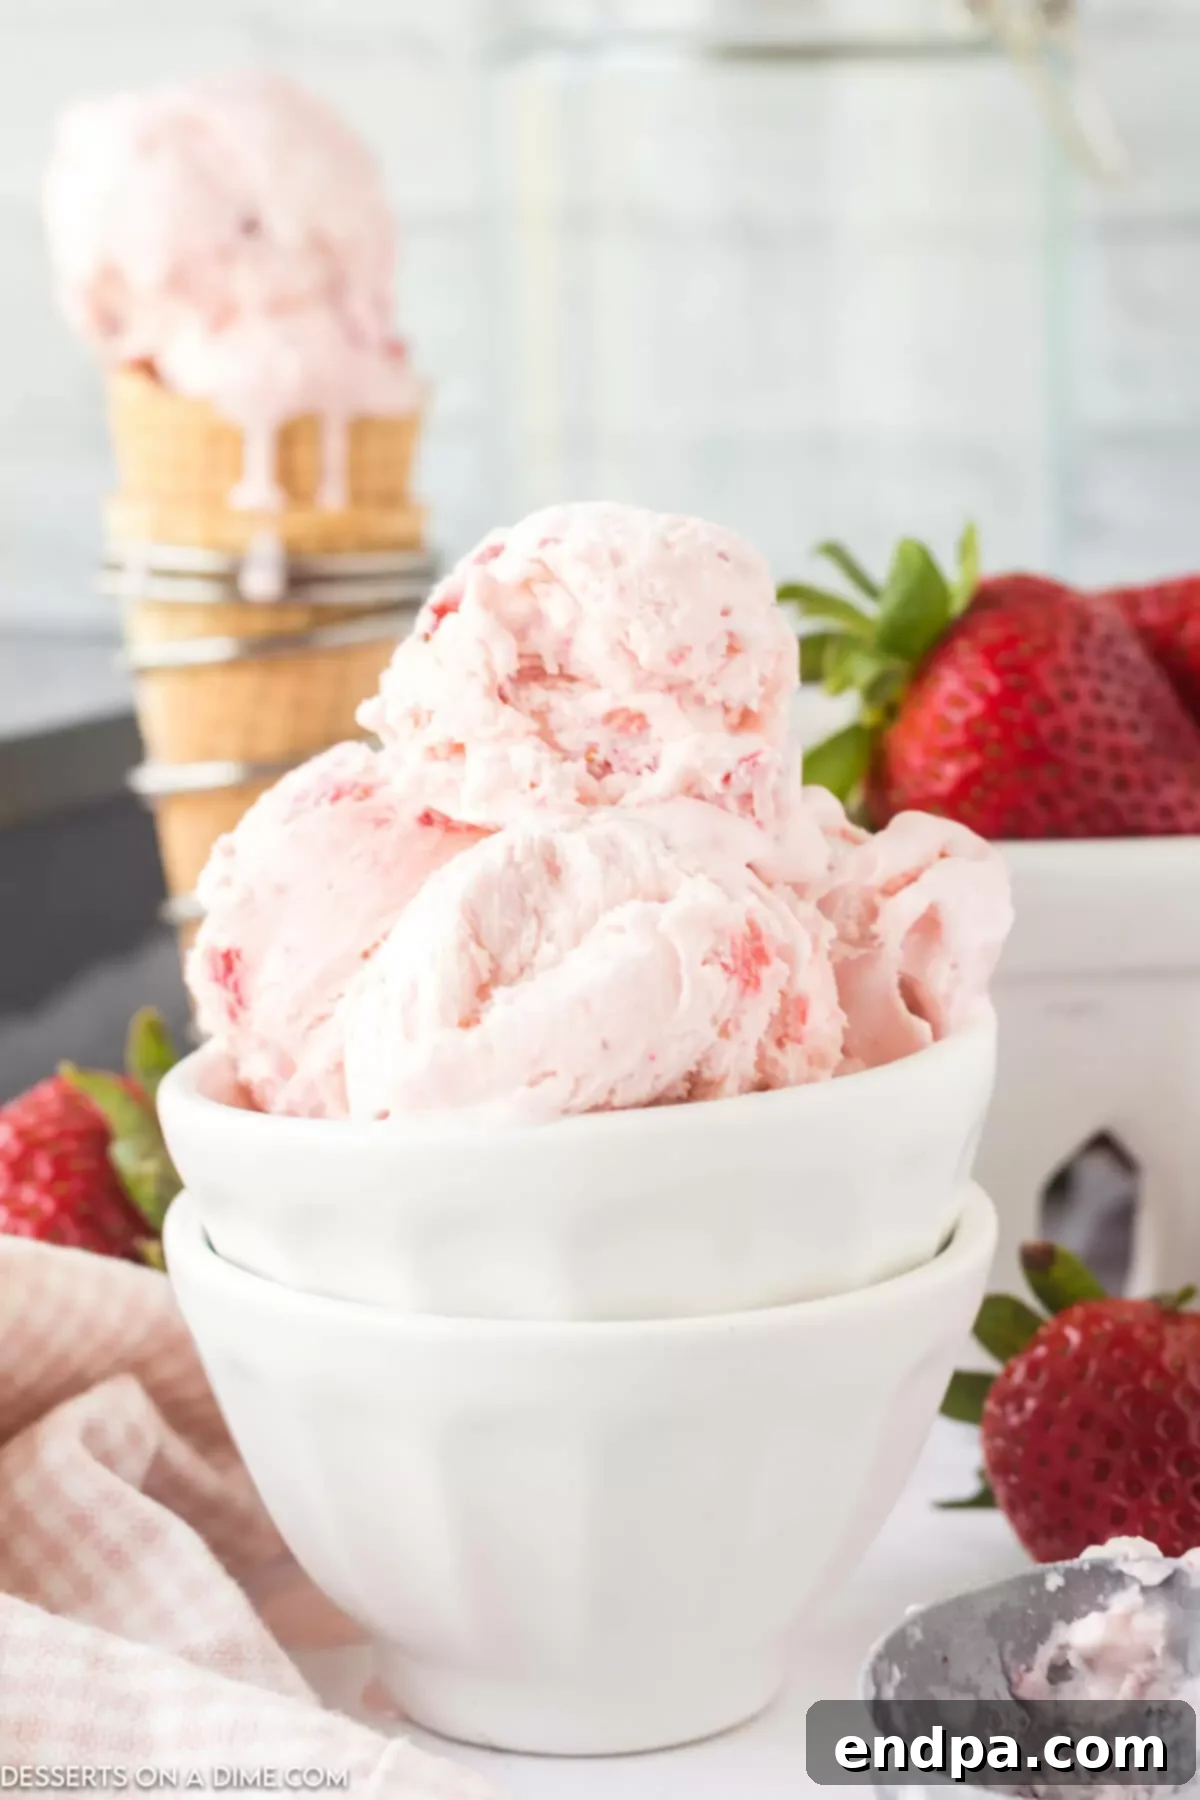
Creating homemade ice cream often conjures images of bulky machines and lengthy processes, but this no-churn method shatters those preconceptions. It’s a truly effortless approach to crafting a luscious frozen dessert right in your own kitchen. With only five readily available ingredients, you’ll be amazed at how quickly and easily you can whip up this creamy confection. Say goodbye to the hassle of digging out the ice cream machine and hello to spontaneous dessert cravings satisfied!
If you’re a fan of the convenience and delectable results of no-churn ice cream, you’re in for a treat. This recipe is a fantastic starting point, but the world of no-churn delights is vast and inviting. For more irresistible frozen treats, explore other favorites such as Strawberry Cheesecake Ice Cream, a variety of refreshing Fruit Ice Cream options, and the nostalgic charm of Easy Strawberry Shortcake Ice Cream.
Table of Contents
- Why You’ll Adore This No-Churn Recipe
- Essential Ingredients for Strawberry Ice Cream
- Creative Variations to Customize Your Ice Cream
- Step-by-Step Guide: How to Make No-Churn Strawberry Ice Cream
- Delightful Serving Suggestions
- Proper Storage for Lasting Freshness
- Expert Tips for Perfect No-Churn Ice Cream
- Frequently Asked Questions About No-Churn Ice Cream
- Explore More Ice Cream Recipes
- Full Recipe Card
Why You’ll Adore This No-Churn Strawberry Ice Cream Recipe
The beauty of no-churn ice cream lies in its remarkable simplicity and accessibility. This method liberates you from the need for specialized equipment, making gourmet-quality ice cream a possibility for every home cook. Here’s why this particular recipe will quickly become a cherished favorite:
- No Special Gadgets or Tools Required: Forget about bulky ice cream makers, pre-freezing bowls, or any other single-use kitchen appliances. All you need are a mixing bowl, an electric mixer (handheld or stand mixer works perfectly), a spatula, and a loaf pan. It’s kitchen simplicity at its best, saving you counter space and clean-up time.
- Effortless Preparation: Unlike traditional ice cream, there’s no need to cook a custard base on the stovetop, temper eggs, or continuously stir a mixture. The entire process involves combining a few ingredients, whipping them to perfection, and letting your freezer do the rest. This minimal hands-on time makes it ideal for busy schedules or impromptu dessert cravings.
- Consistently Creamy Results: Many traditional ice cream recipes require constant churning to prevent ice crystals from forming. With our no-churn method, the combination of whipping cream and sweetened condensed milk inherently creates a smooth, airy base that freezes beautifully without turning icy. Every scoop promises a luxurious, melt-in-your-mouth texture that’s incredibly satisfying.
- Bursting with Natural Strawberry Flavor: Fresh strawberries are the star here, infusing the ice cream with their natural sweetness and a delightful tangy note. When combined with a touch of vanilla, the strawberry essence is truly elevated, offering an authentic fruit flavor that’s both refreshing and indulgent.
- Perfect for Beginners: If you’ve ever felt intimidated by making homemade ice cream, this recipe is your perfect entry point. The straightforward steps and foolproof ingredients guarantee success, building your confidence in the kitchen and yielding a spectacular dessert you’ll be proud to share.
- Highly Customizable: While classic strawberry is wonderful on its own, this recipe serves as a fantastic base for endless creative variations. Easily adapt it with other fruits, mix-ins, or flavor enhancers to suit any taste or occasion.
Essential Ingredients for Homemade Strawberry Ice Cream
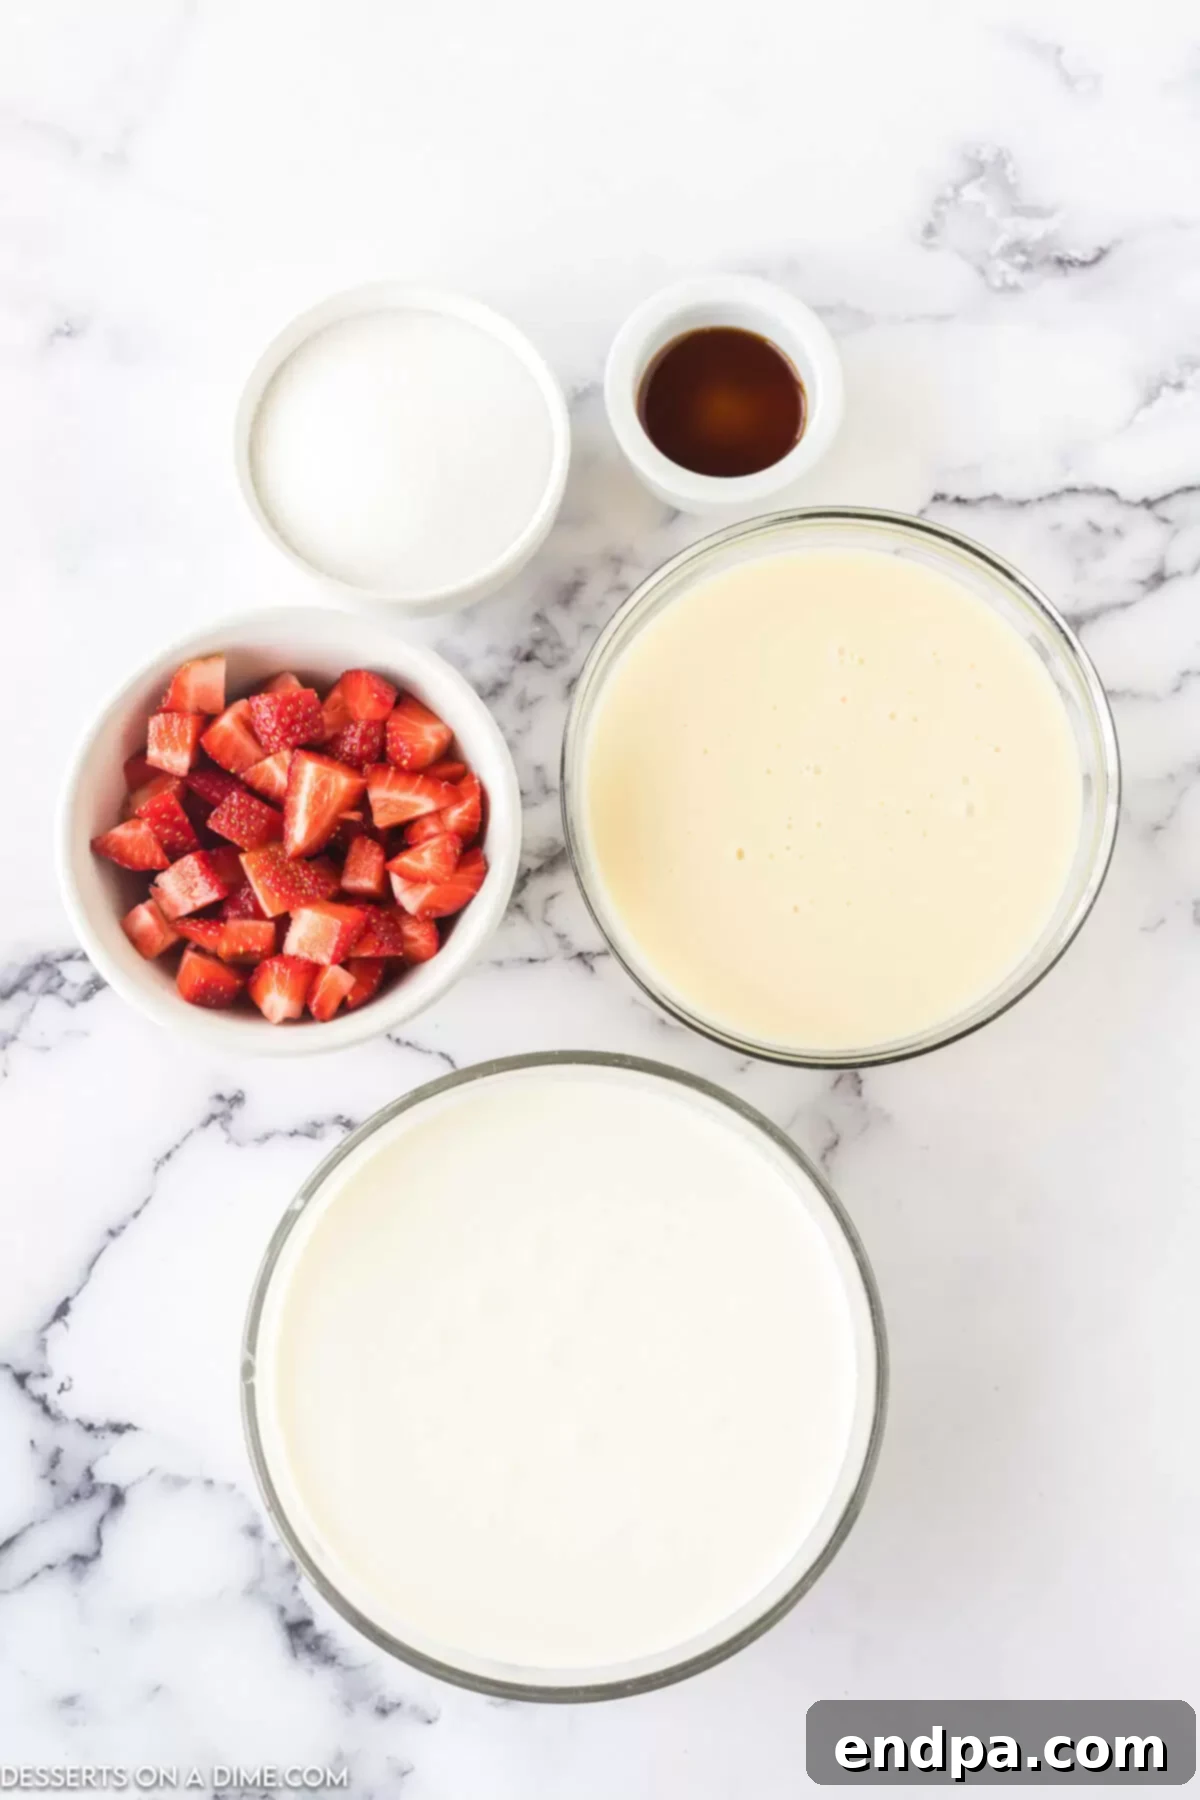
Crafting this luscious no-churn strawberry ice cream requires just five simple ingredients, each playing a crucial role in achieving its rich flavor and incredibly creamy texture. For the best results, ensure your ingredients are of high quality and properly prepared:
- Heavy Whipping Cream (Cold): This is the foundation of our creamy ice cream. When whipped, cold heavy cream incorporates air, creating a light, voluminous base that becomes wonderfully rich when frozen. It’s essential that your cream is well-chilled before whipping to achieve stiff peaks.
- Pure Vanilla Extract: A splash of pure vanilla extract elevates the overall flavor profile, complementing the sweetness of the strawberries and adding a subtle warmth that enhances the dessert. Always opt for pure vanilla for the most authentic taste.
- Sweetened Condensed Milk: This magical ingredient is key to the no-churn method. It serves a dual purpose: providing the perfect amount of sweetness and contributing to the incredibly smooth, thick consistency of the ice cream. Its high sugar content also helps prevent ice crystals from forming, ensuring that signature soft texture.
- Fresh Diced Strawberries: The star of the show! Fresh, ripe strawberries impart the most vibrant color and natural, sweet-tart flavor. Dicing them into small, consistent pieces ensures that you get a burst of strawberry in every single bite. Choose bright red, firm berries for optimal taste.
- Granulated Sugar: While sweetened condensed milk provides much of the sweetness, a little extra granulated sugar mixed with the strawberries helps draw out their natural juices and intensifies their flavor, creating a more concentrated strawberry syrup that beautifully swirls through the ice cream.
You’ll find the precise measurements for these ingredients conveniently listed in the full recipe card towards the bottom of this page, ensuring you have everything you need for this delightful dessert.
Creative Variations to Customize Your No-Churn Strawberry Ice Cream
While the classic no-churn strawberry ice cream is utterly delicious on its own, the beauty of this base recipe lies in its versatility. It’s incredibly easy to adapt and personalize with various additions and flavor adjustments. Don’t hesitate to get creative and experiment with these exciting variations:
- Explore Other Fruits: The rich, creamy base of this ice cream pairs wonderfully with a myriad of other fruits. Substitute strawberries entirely or combine them with:
- Raspberries: For a tangier, slightly more tart profile and a beautiful deep pink hue.
- Blueberries: Offers a milder sweetness and unique texture, especially if left whole or lightly crushed.
- Peaches: Diced fresh peaches (peeled, if desired) bring a delicate sweetness and summery aroma. For best results, macerate them with a little sugar, just like the strawberries.
- Mixed Berries: Combine strawberries with blueberries, raspberries, or blackberries for a vibrant berry medley.
- Decadent Add-ins: Elevate the texture and flavor with delightful mix-ins. Add them during the final fold before freezing:
- Chocolate Chips: A handful of mini chocolate chips or chopped dark chocolate creates a classic and irresistible strawberry-chocolate combination.
- White Chocolate Chunks: For a sweeter, more luxurious touch that beautifully complements the fruit.
- Graham Cracker Crumbs: For a subtle crunch and a hint of a cheesecake-like experience.
- Crushed Cookies: Oreos or shortbread cookies can add a delightful textural contrast.
- Chopped Nuts: Toasted pecans, walnuts, or almonds for added crunch and earthy notes.
- Enhance the Color with Food Coloring: The natural juice from the strawberries typically provides a lovely light pink color. If you desire a more intense, deeper pink or red hue for a striking presentation, you can effortlessly add a few drops of red or pink gel food coloring during the final mixing stage. Start with a small amount and add more until you reach your desired shade.
- Brighten the Flavor with Lemon Juice: A small splash of fresh lemon juice can work wonders by enhancing the natural fruitiness of the strawberries. The acidity brightens the flavors, making the ice cream taste even more refreshing and vibrant without making it sour. Add about a teaspoon during the strawberry maceration step.
- Texture Choice: Diced vs. Pureed Strawberries: You have control over the strawberry texture in your ice cream.
- Diced Strawberries (Recommended): We prefer the delightful little chunks of fresh strawberries scattered throughout the ice cream, providing a satisfying chew and bursts of fruit flavor with every scoop.
- Pureed Strawberries: For a completely smooth ice cream with an evenly distributed strawberry flavor, you can puree the macerated strawberries using a food processor or blender until smooth before folding them into the whipped cream mixture.
- Herbal Infusions: For a sophisticated twist, consider adding a finely chopped herb like fresh basil or mint, which beautifully complements strawberries. Add a small amount during the final fold.
Step-by-Step Guide: How to Make No-Churn Strawberry Ice Cream
Making this homemade no-churn strawberry ice cream is a breeze, even for novice cooks. Follow these detailed steps to achieve a perfectly creamy and flavorful frozen dessert:
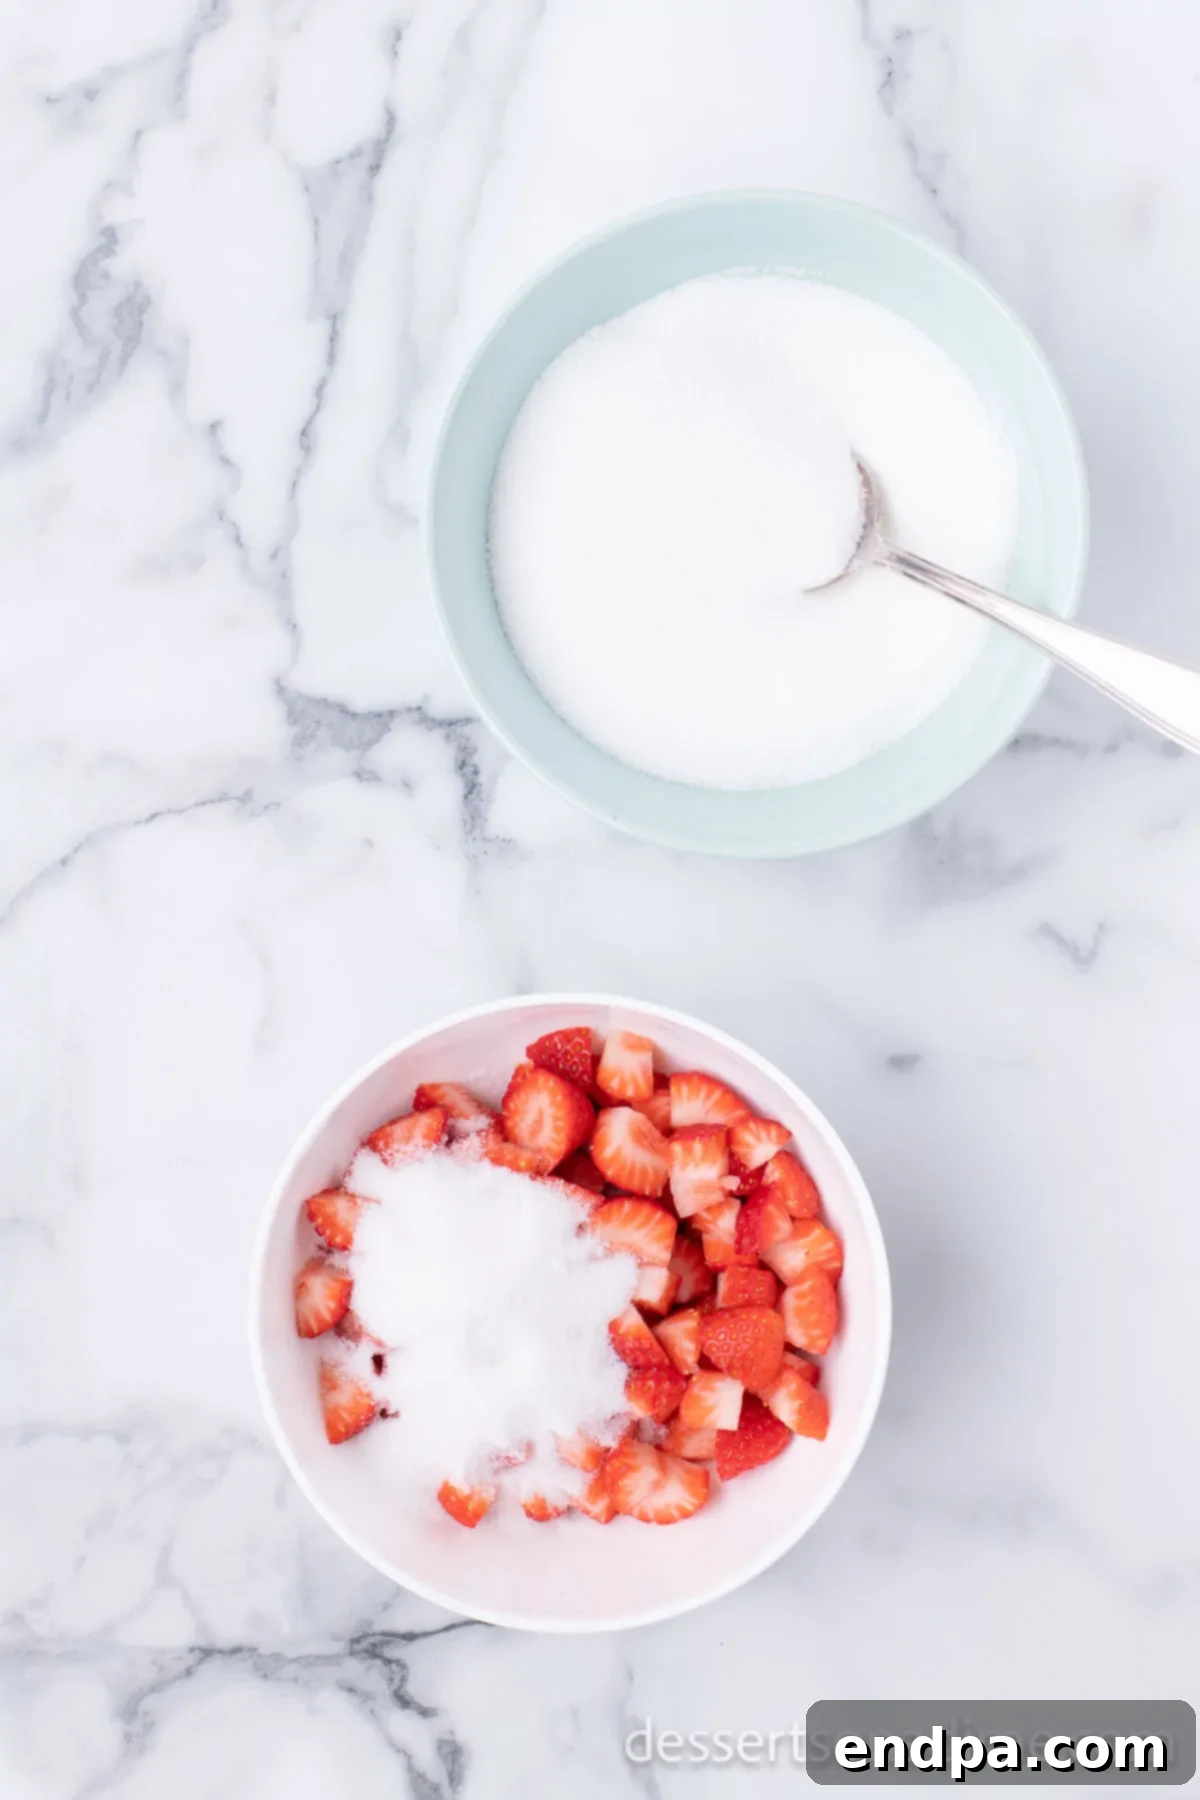
Step 1: Macerate the Strawberries. In a small mixing bowl, gently combine your fresh diced strawberries with the granulated sugar. Stir them thoroughly until every piece of fruit is evenly coated. Allow this mixture to sit undisturbed at room temperature for approximately 15 minutes. This crucial step, known as maceration, helps to draw out the natural juices from the strawberries, creating a luscious, concentrated strawberry syrup that will infuse your ice cream with incredible flavor and a beautiful pink hue.
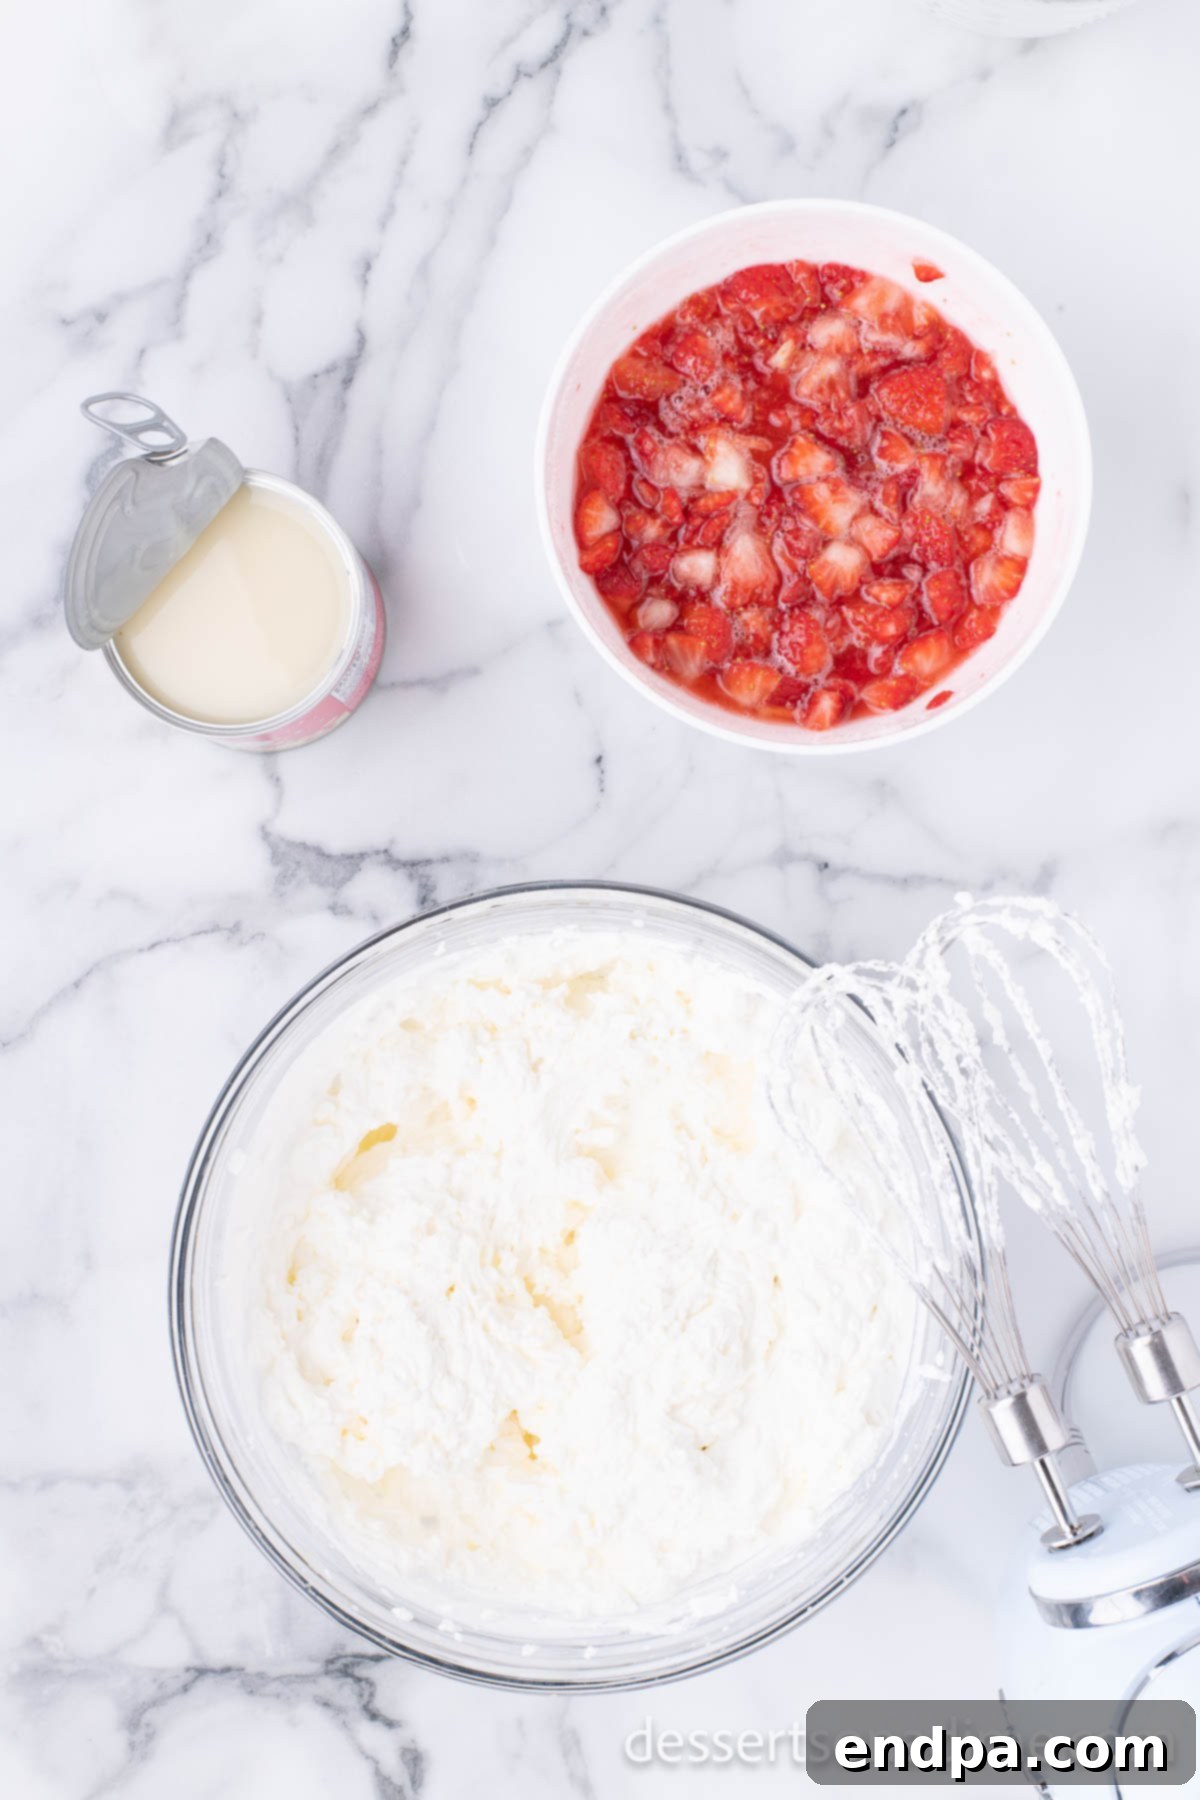
Step 2: Whip the Cream and Vanilla. While your strawberries are macerating, turn your attention to the cream. In a large, chilled mixing bowl, combine the cold heavy whipping cream and pure vanilla extract. Using an electric hand mixer or a stand mixer fitted with the whisk attachment, beat the mixture on high speed. Continue beating until stiff peaks form. This means when you lift the beaters, the cream should hold its shape firmly without collapsing. Be careful not to over-whip, as it can turn grainy.
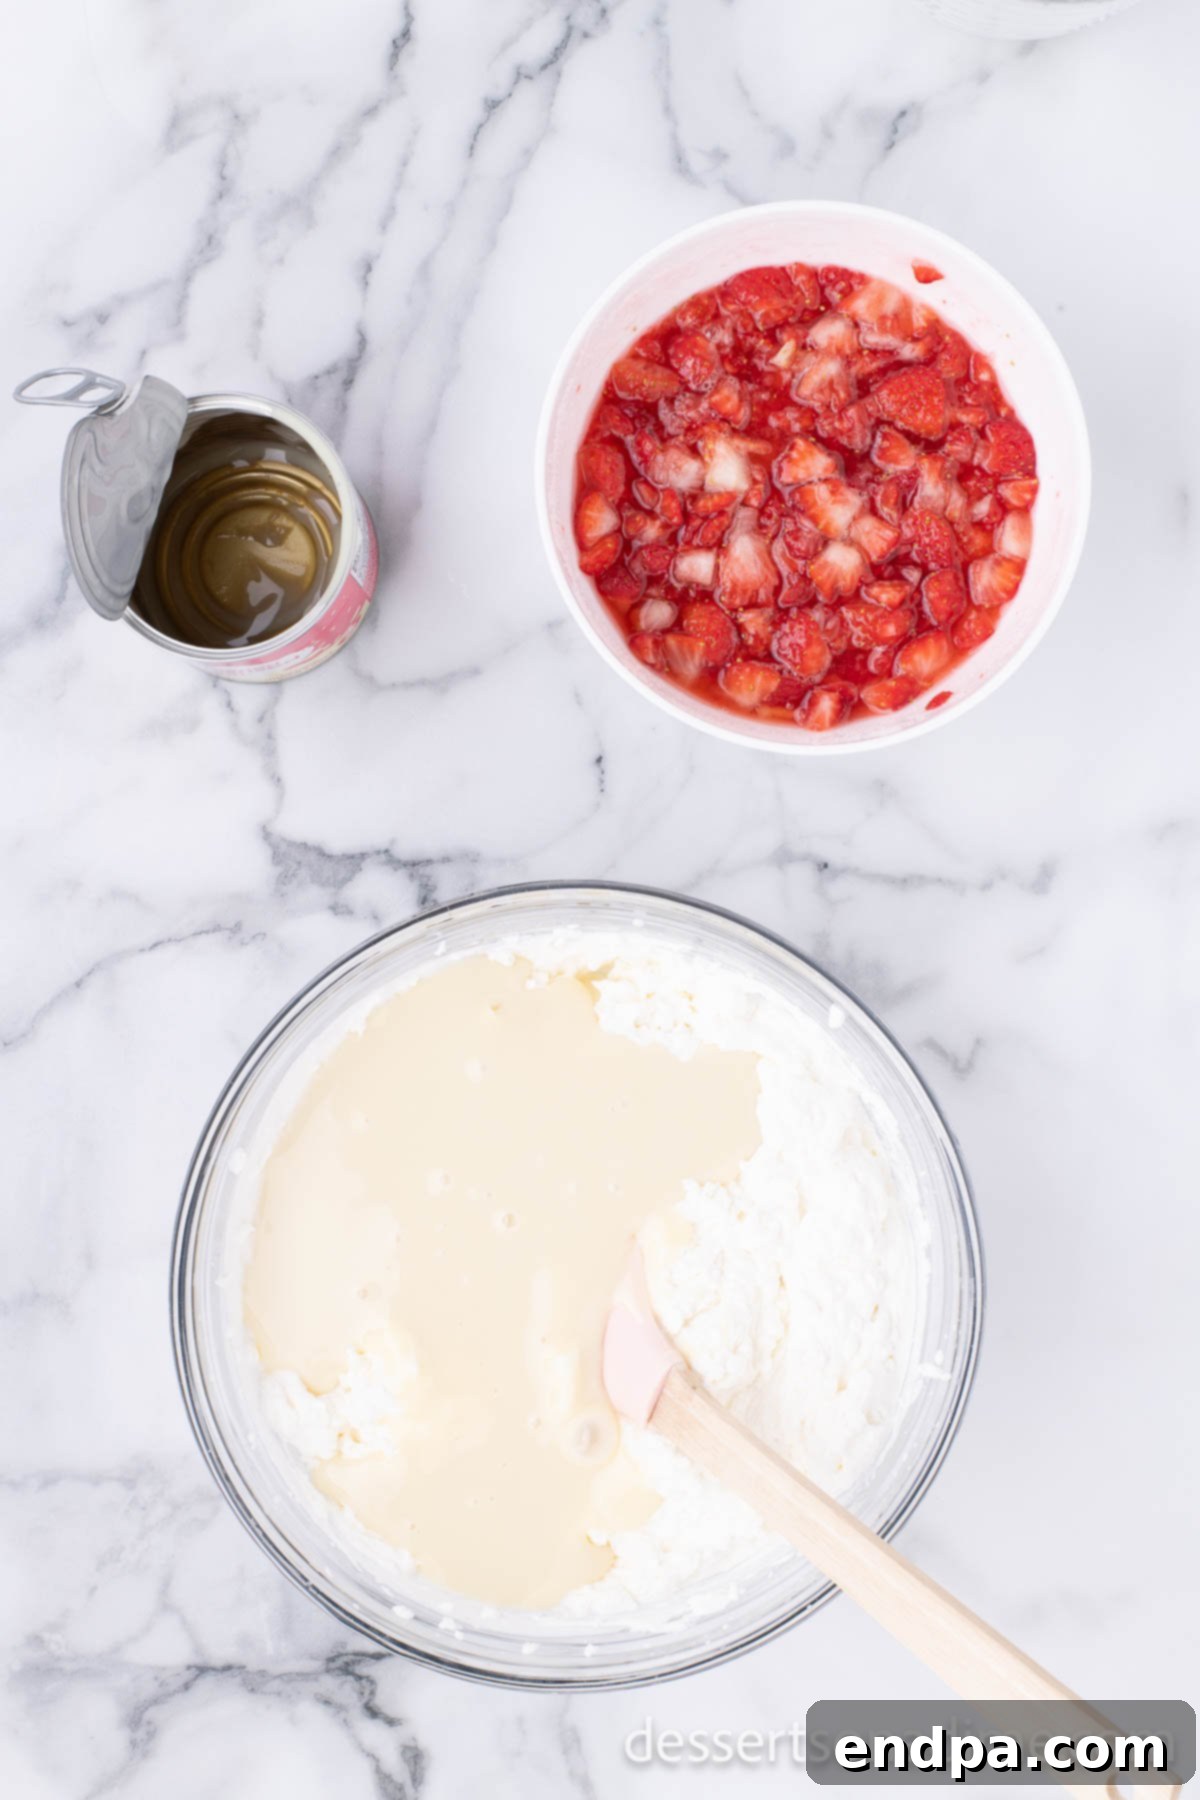
Step 3: Gently Fold in Sweetened Condensed Milk. Once your heavy cream has formed stiff peaks, reduce the speed of your mixer to low. Carefully pour in the sweetened condensed milk. Mix only until just combined; you want to maintain as much of the air whipped into the cream as possible. This ingredient adds the necessary sweetness and prevents the ice cream from freezing too hard.
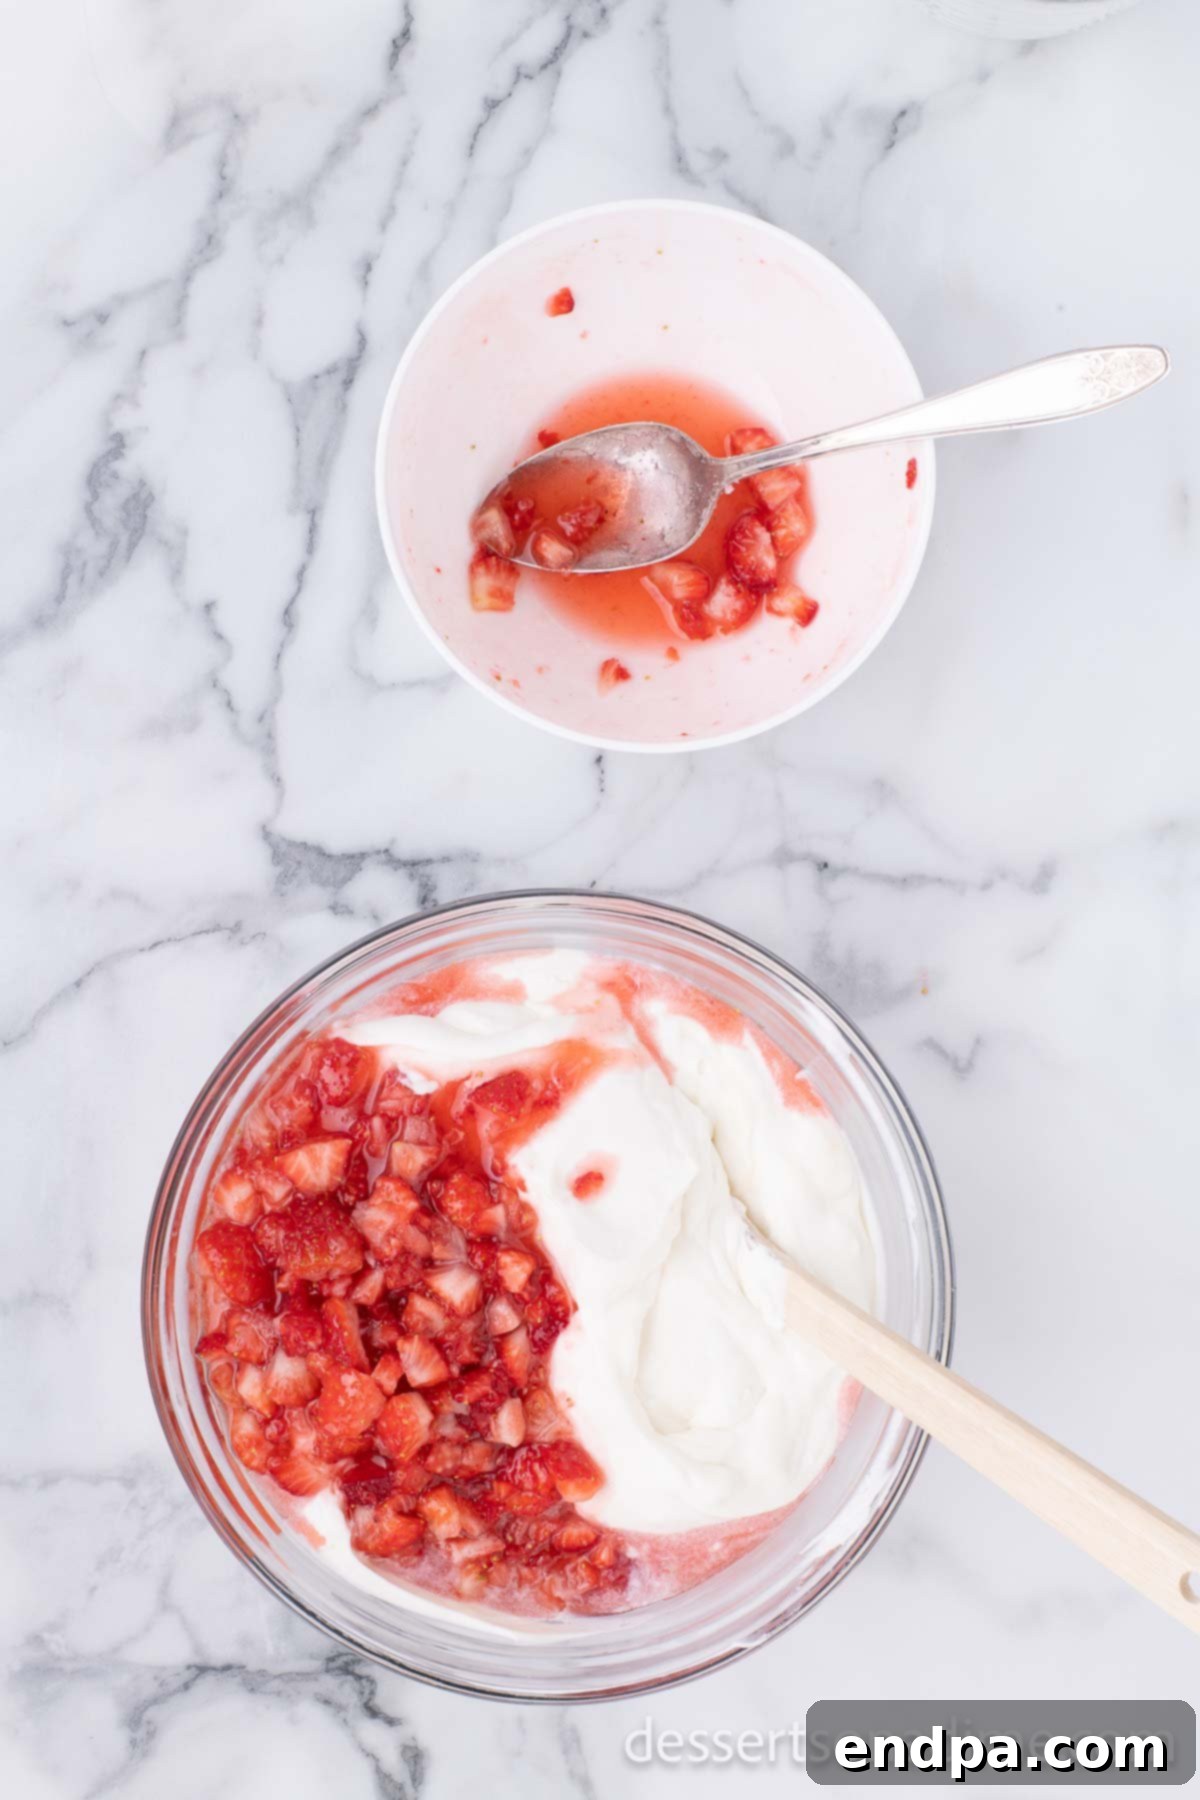
Step 4: Incorporate the Strawberry Mixture. Now, it’s time to add the flavorful strawberries. Gently pour the macerated strawberry mixture, including any released juices, into the whipped cream and condensed milk base. The natural syrup from the strawberries will infuse the entire mixture with its delightful taste and color.
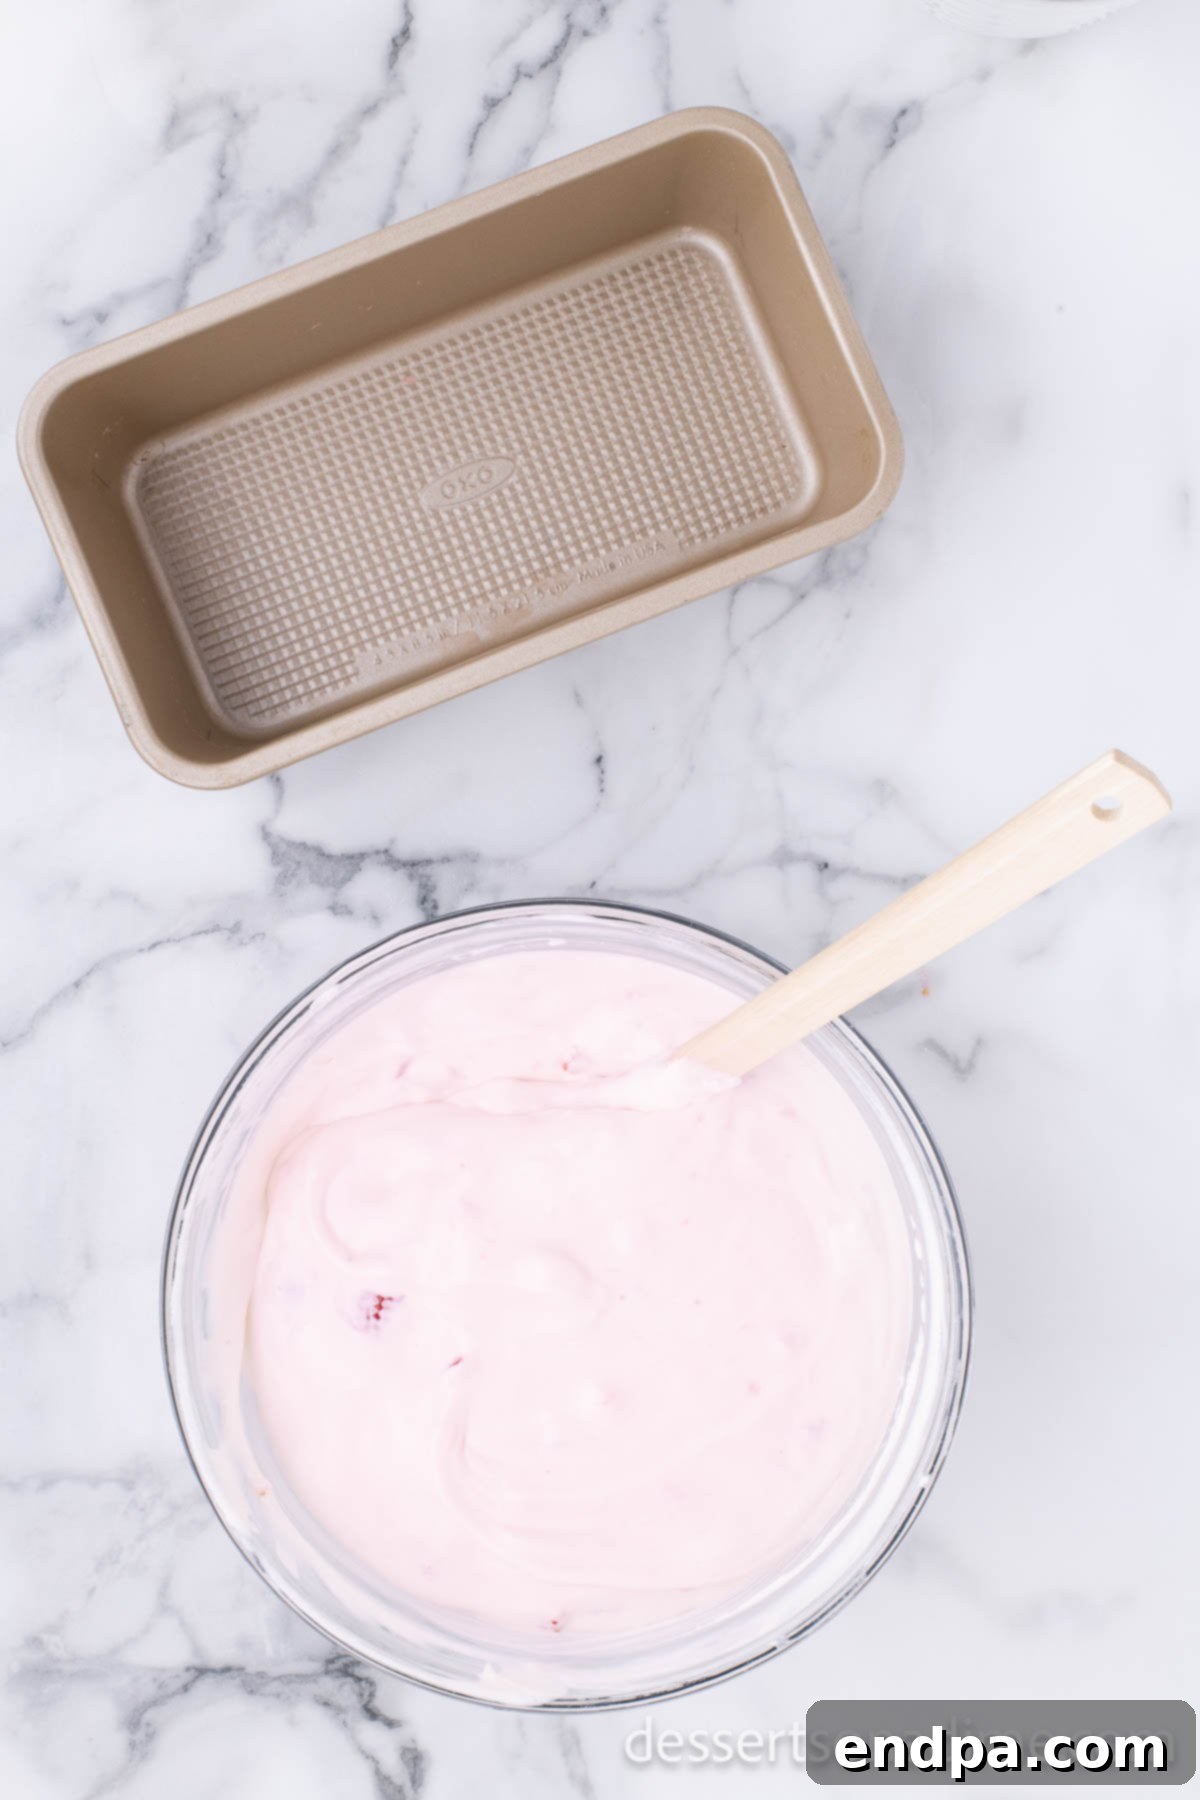
Step 5: Blend Until Homogenous. Using a rubber spatula, carefully fold the strawberry mixture into the cream base. Use a gentle, sweeping motion from the bottom to the top of the bowl until all ingredients are just combined and you see a beautiful, uniform pink color with delightful strawberry pieces throughout. Avoid overmixing, as this can deflate the whipped cream.
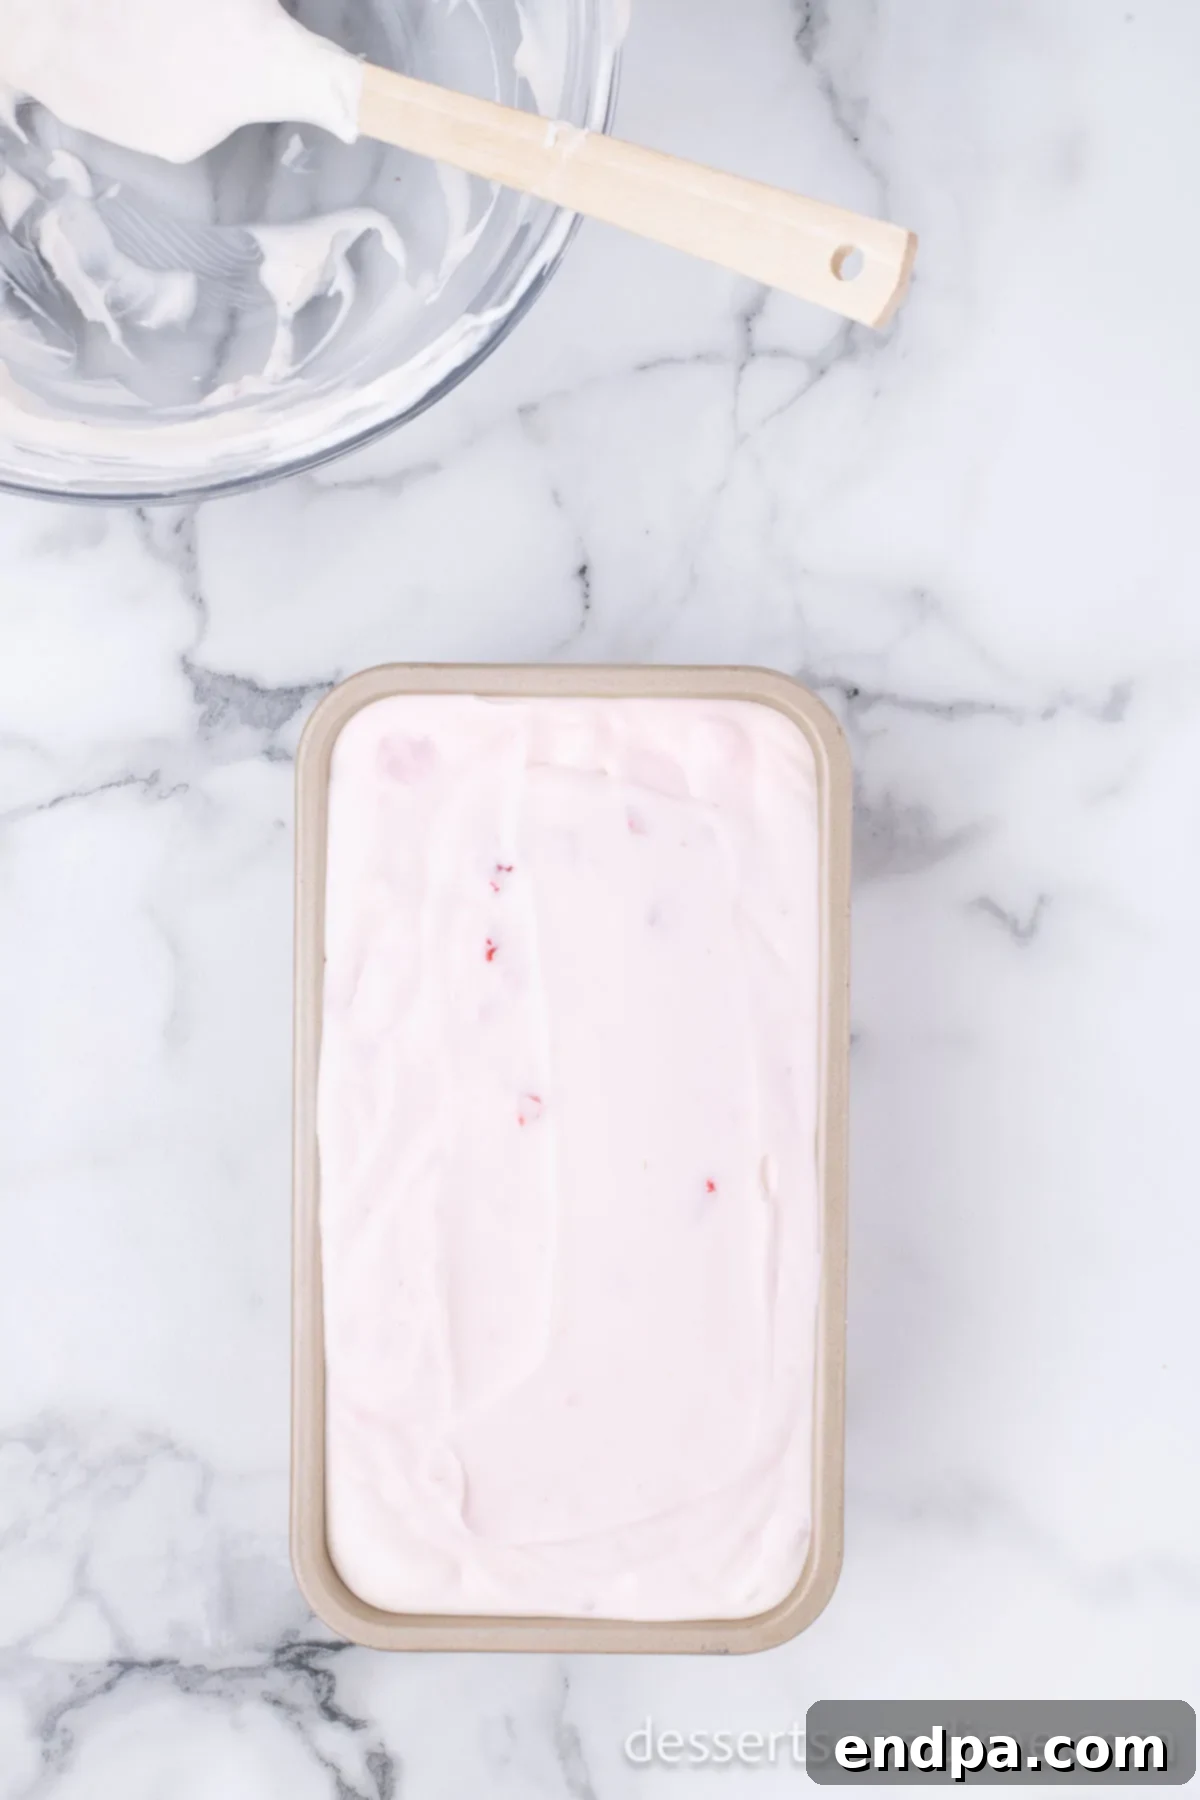
Step 6: Transfer to a Loaf Pan. Gently pour or spoon the entire ice cream mixture into a standard 9×5 inch bread loaf pan. Use your spatula to spread the mixture evenly across the pan. You can lightly tap the pan on your counter a few times to help settle the mixture and release any large air bubbles, ensuring a dense, smooth ice cream.
Step 7: Freeze Until Firm. Cover the loaf pan tightly with plastic wrap, ensuring it makes good contact with the surface of the ice cream to prevent ice crystals from forming. Place the pan in your freezer and allow the ice cream to freeze for at least 5 hours. For the absolute best consistency and firmest set, we highly recommend freezing it overnight. The longer it freezes, the better its texture will be.
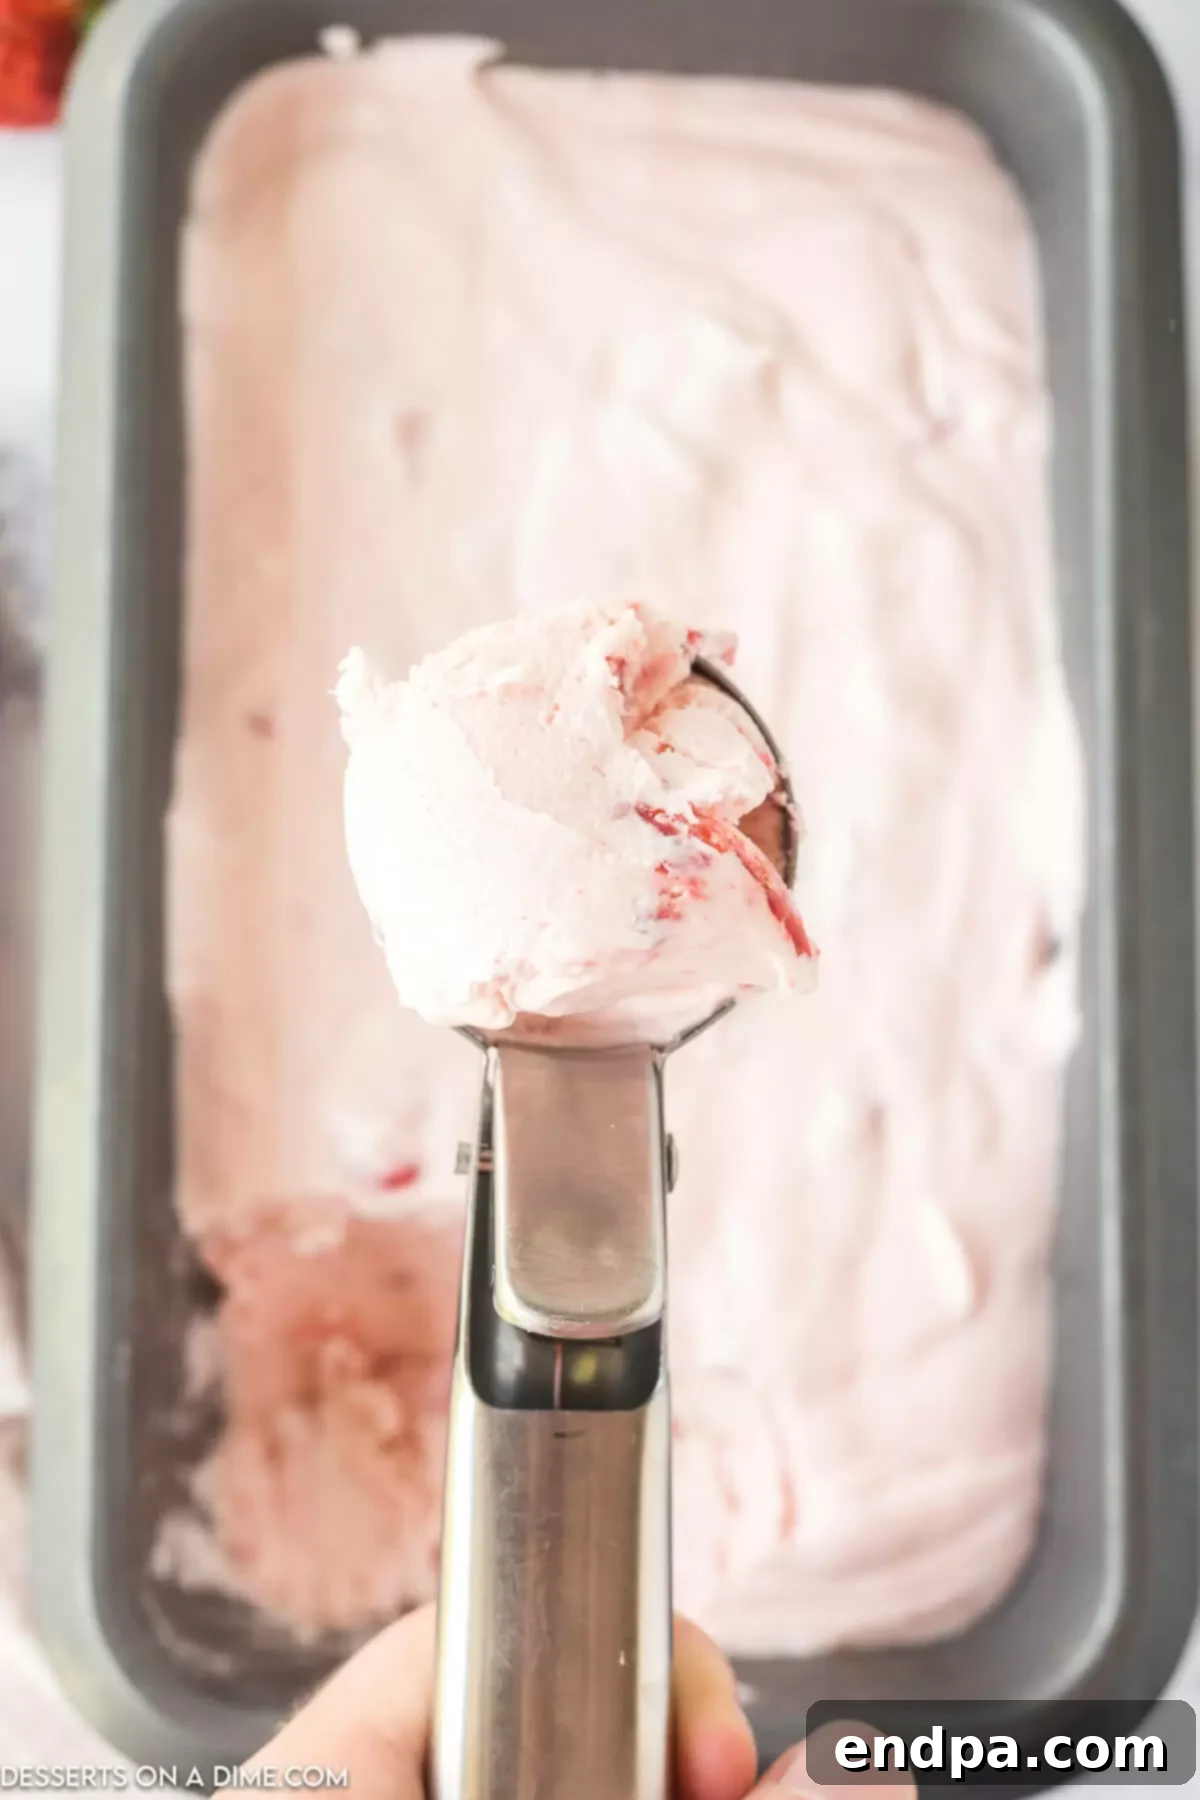
Step 8: Scoop and Indulge. Once the no-churn strawberry ice cream is thoroughly frozen, remove it from the freezer. Let it sit at room temperature for a few minutes to soften slightly, making it easier to scoop. Using an ice cream scoop, serve generous portions into bowls or cones. You’ll be delighted by its perfect, creamy texture and irresistible strawberry flavor. Enjoy your homemade masterpiece!
Delightful Serving Suggestions for Your Strawberry Ice Cream
Once your luscious no-churn strawberry ice cream is perfectly frozen and ready, the fun continues with how you choose to serve it! This versatile dessert can be enjoyed in many ways, elevating any occasion from a casual treat to an elegant indulgence. Here are some delightful ideas:
- Classic Cones: Scoop generous portions into crispy waffle cones or traditional sugar cones for a quintessential ice cream parlor experience. Perfect for a warm summer day!
- Elegant Bowls: Serve the ice cream in individual dessert bowls. For an extra touch of gourmet, top each scoop with a handful of fresh strawberry slices, a dollop of Homemade Whipped Cream, and perhaps a sprinkle of colorful sprinkles or a drizzle of chocolate syrup.
- The Ultimate Banana Split: Transform your homemade strawberry ice cream into a show-stopping banana split. Halve a ripe banana lengthwise, place it in a dish, add scoops of strawberry ice cream (and perhaps vanilla and chocolate for variety), then adorn with your favorite toppings like hot fudge, caramel sauce, chopped nuts, whipped cream, and a cherry on top.
- Alongside Baked Goods: This strawberry ice cream is an ideal accompaniment to warm desserts. Pair a scoop with a slice of apple pie, warm brownies, a fresh-baked cookie, or even a simple pound cake for a delicious contrast in temperature and texture.
- Milkshakes and Smoothies: Blend a few scoops with milk, extra fresh strawberries, and a touch of vanilla for a thick, refreshing strawberry milkshake. For a healthier twist, add it to your morning smoothie for a creamy, fruity boost.
- Strawberry Shortcake Revival: For a delightful twist on classic strawberry shortcake, replace traditional whipped cream with a scoop of your no-churn strawberry ice cream over a split biscuit or sponge cake, then load it up with more fresh strawberries.
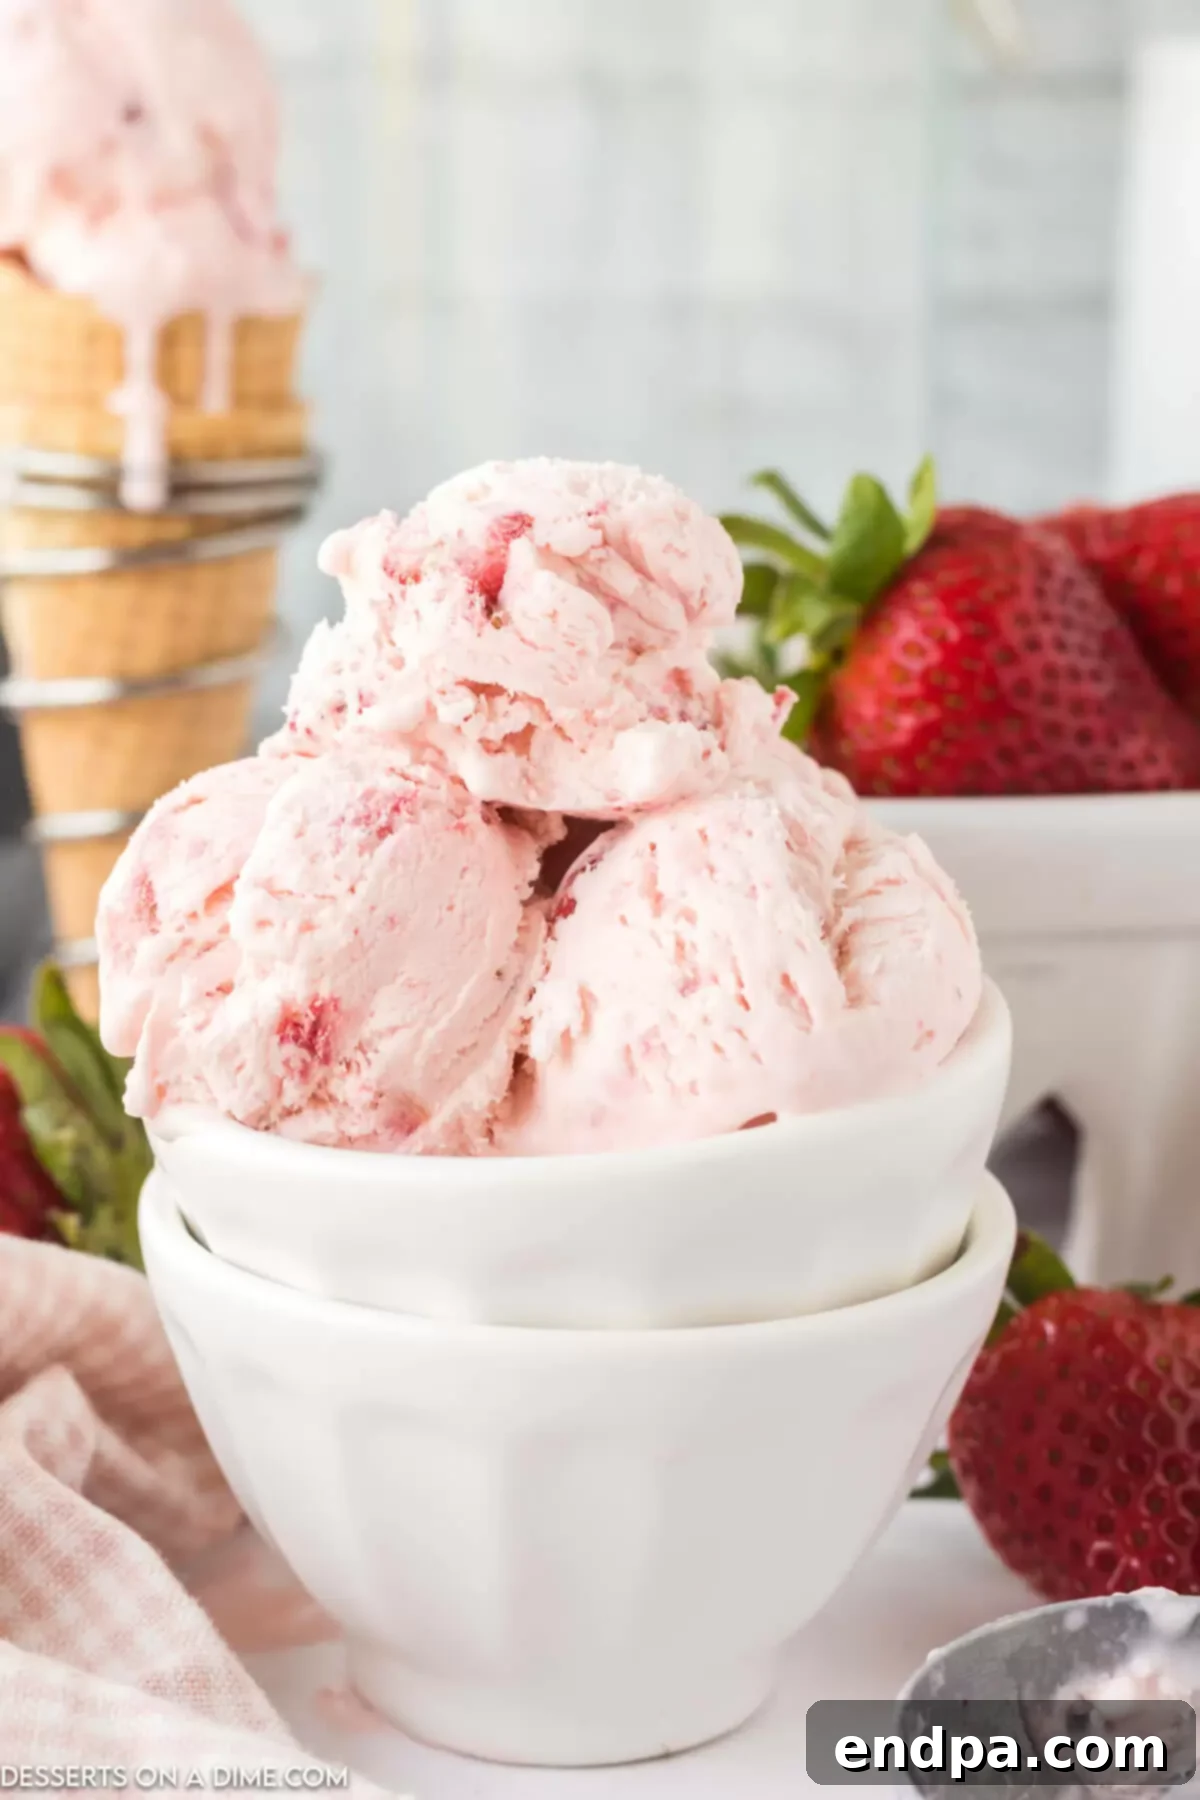
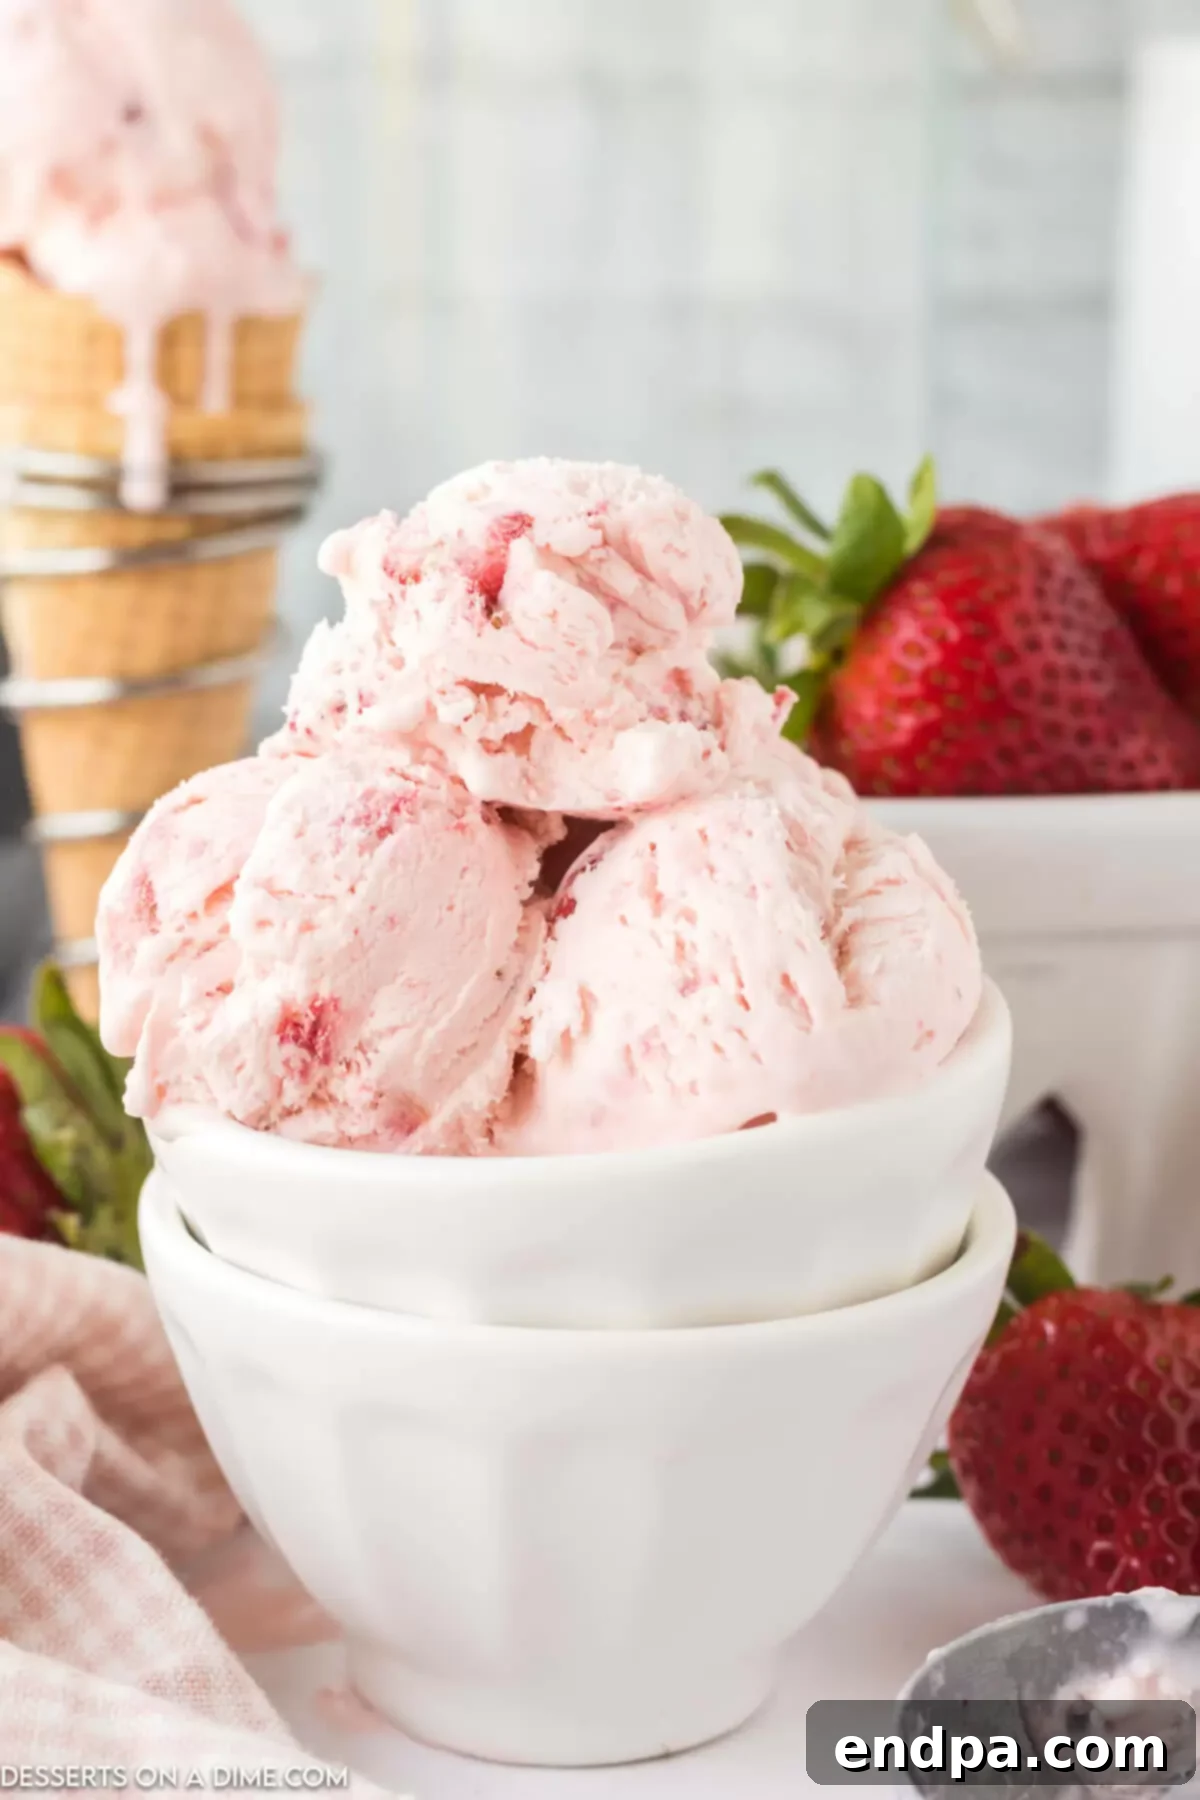
Proper Storage for Lasting Freshness
To ensure your delicious no-churn strawberry ice cream maintains its optimal creamy texture and fresh flavor for as long as possible, proper storage is key. Following these simple guidelines will help prevent ice crystals and freezer burn, allowing you to enjoy your homemade treat for weeks:
- Airtight Container is Essential: Always transfer your completely frozen ice cream from the loaf pan into an airtight freezer-safe container. This minimizes exposure to air, which is the primary cause of freezer burn and ice crystal formation. High-quality plastic or glass containers with tight-fitting lids are ideal.
- The Plastic Wrap Barrier: Before sealing the container, place a layer of plastic wrap directly on the surface of the ice cream. Press it down gently to remove any air pockets between the ice cream and the wrap. This creates an extra barrier against air and moisture, significantly prolonging its freshness and preventing a crust of ice crystals from forming on top.
- Add Wax Paper for Extra Protection: For an even more robust defense against ice crystals, consider placing a layer of wax paper or parchment paper directly on the surface of the ice cream, underneath the plastic wrap. This additional barrier helps to keep the ice cream exceptionally fresh and smooth.
- Shelf Life in the Freezer: When stored correctly, your homemade no-churn strawberry ice cream will stay fresh and delicious in the freezer for up to one month. Beyond this, while still safe to eat, its texture and flavor may begin to deteriorate slightly.
- Avoid Frequent Thawing: Try to avoid taking the ice cream out of the freezer and letting it soften extensively only to refreeze it multiple times. Each thawing and refreezing cycle can negatively impact the texture, leading to a gummier consistency and more ice crystals.
- Placement in the Freezer: Store the ice cream in the coldest part of your freezer, usually towards the back, rather than in the door, where temperatures fluctuate more frequently. A consistent, very cold temperature is crucial for maintaining optimal texture.
Expert Tips for Perfect No-Churn Ice Cream Every Time
Achieving perfectly creamy, delicious no-churn strawberry ice cream is incredibly simple, but a few expert tips can elevate your results from good to absolutely phenomenal. Pay attention to these details for the best possible homemade treat:
- Freeze Overnight for Optimal Firmness: While a minimum of 5 hours freezing time is recommended, for the ideal scoopable consistency and fully set texture, I always prefer to let my ice cream freeze overnight. Freezer temperatures can vary, and giving it extra time ensures it’s perfectly firm and creamy when you’re ready to serve.
- Opt for a Metal Loaf Pan: If you have a choice between a metal or glass loaf pan, always reach for the metal one. Metal conducts cold much more efficiently than glass, meaning your ice cream will freeze faster and more evenly, resulting in a smoother texture.
- Embrace Full-Fat Ingredients: The rich, luxurious consistency and depth of flavor in this no-churn ice cream come primarily from the full-fat ingredients. Heavy whipping cream and full-fat sweetened condensed milk are indispensable here. We strongly advise against substituting these with lower-fat alternatives, as it will significantly compromise the texture and overall richness of the final product, potentially leading to an icy or less creamy result.
- Fresh Fruit Delivers Superior Flavor: For the most vibrant and authentic strawberry taste, fresh, ripe strawberries are highly recommended. Their natural sweetness and aroma are unparalleled. However, if fresh strawberries are out of season or unavailable, you can certainly use frozen ones. Just be sure to thaw the frozen fruit completely in the refrigerator beforehand and drain any excess liquid to prevent watering down your ice cream mixture.
- Achieve a Thicker, Chunkier Consistency: If you’re a fan of abundant fruit pieces in your ice cream, you can easily adjust the amount. After you’ve transferred the initial ice cream mixture into the loaf pan, gently fold in an extra quarter cup (or even more, to taste!) of freshly diced strawberries. This adds delightful bursts of fruit throughout.
- Sweetened Condensed Milk is Non-Negotiable: This ingredient is the true hero of any no-churn recipe. It’s not just for sweetness; it’s also a powerful thickener and anti-freezing agent. When it’s carefully folded into the whipped cream, its unique composition helps to create a remarkably smooth, dense, and creamy consistency that mimics traditionally churned ice cream, preventing the formation of large ice crystals.
- Vanilla Extract: The Flavor Enhancer: Don’t skip the vanilla extract! While strawberries are the main flavor, pure vanilla subtly enhances and draws out the natural sweetness and complexity of the fruit. It acts as a bridge, harmonizing all the flavors together for a more rounded and satisfying taste.
- Avoid Overmixing: When folding in the condensed milk and strawberry mixture, do so gently with a spatula. Overmixing can deflate the air you’ve worked so hard to whip into the heavy cream, leading to a denser, less airy ice cream.
- Pre-Chill Your Mixing Bowl and Whisk: For even faster and more stable whipped cream, consider placing your mixing bowl and whisk attachment in the freezer for 10-15 minutes before whipping the heavy cream. This extra chill helps the cream whip up more quickly and achieve firmer peaks.
Frequently Asked Questions About No-Churn Ice Cream
Absolutely! This no-churn strawberry ice cream recipe is incredibly flexible and scales up wonderfully. You can effortlessly double the ingredients to make a larger batch for parties, family gatherings, or just to stock up your freezer. Just remember that if you double the recipe, you will likely need two standard 9×5 inch loaf pans (or a single larger freezer-safe container) to ensure the mixture freezes evenly and efficiently. Freezing time might also be slightly extended for larger volumes.
Yes, frozen berries can certainly be substituted for fresh strawberries in this recipe, making it a year-round treat! While we generally recommend fresh strawberries for their superior flavor and vibrant juiciness, frozen options work well when properly prepared. The most important step is to thaw the frozen strawberries completely in the refrigerator before using them. Once thawed, carefully drain any excess moisture. Frozen strawberries tend to release more water, and removing this extra liquid prevents your ice cream mixture from becoming watery or developing larger ice crystals. You can gently pat them dry with a paper towel for best results.
The delightful softness and creamy texture of no-churn ice cream, even without a traditional ice cream maker, comes down to a clever combination of ingredients and technique. Typically, an ice cream machine works by continuously churning the mixture as it freezes, which constantly breaks up ice crystals as they form, resulting in a smooth product. No-churn ice cream achieves a similar effect differently:
- Incorporating Air: The process starts with whipping heavy cream to stiff peaks. This step incorporates a significant amount of air into the mixture, making it light and voluminous. This trapped air helps to keep the frozen dessert soft and prevents it from becoming rock-hard.
- High Fat Content: Heavy whipping cream boasts a high fat content. Fat doesn’t freeze solid like water, so it helps to create a smooth, rich texture and inhibits the formation of large, crunchy ice crystals.
- Sweetened Condensed Milk: This is the true secret weapon. Sweetened condensed milk is very dense and contains a high concentration of sugar. Sugar acts as a natural antifreeze, lowering the freezing point of the mixture and further preventing the formation of large ice crystals. It also adds body and a silky consistency that’s crucial for a creamy mouthfeel.
By combining these elements – lots of air, high fat, and plenty of sugar – no-churn ice cream can set into a remarkably soft, creamy, and irresistible treat that rivals its churned counterparts.
Explore More Delicious Ice Cream Recipes
If you’ve enjoyed the simplicity and deliciousness of this No-Churn Strawberry Ice Cream, you’ll be thrilled to discover a world of other fantastic frozen dessert recipes. Whether you’re looking for more no-churn options, classic churned treats, or refreshing sorbets, we have something to satisfy every craving. Dive into these other delightful recipes:
- Chocolate Caramel Ice Cream
- Homemade Gelato
- Orange Sherbet
- White Chocolate Raspberry Ice Cream
- Cherry Garcia Ice Cream
- No-Churn Peach Ice Cream Recipe
We encourage you to try this amazing No-Churn Strawberry Ice Cream recipe today and experience the joy of homemade goodness. We would love to hear about your experience! Please share your thoughts and leave a comment below once you do. Happy scooping!
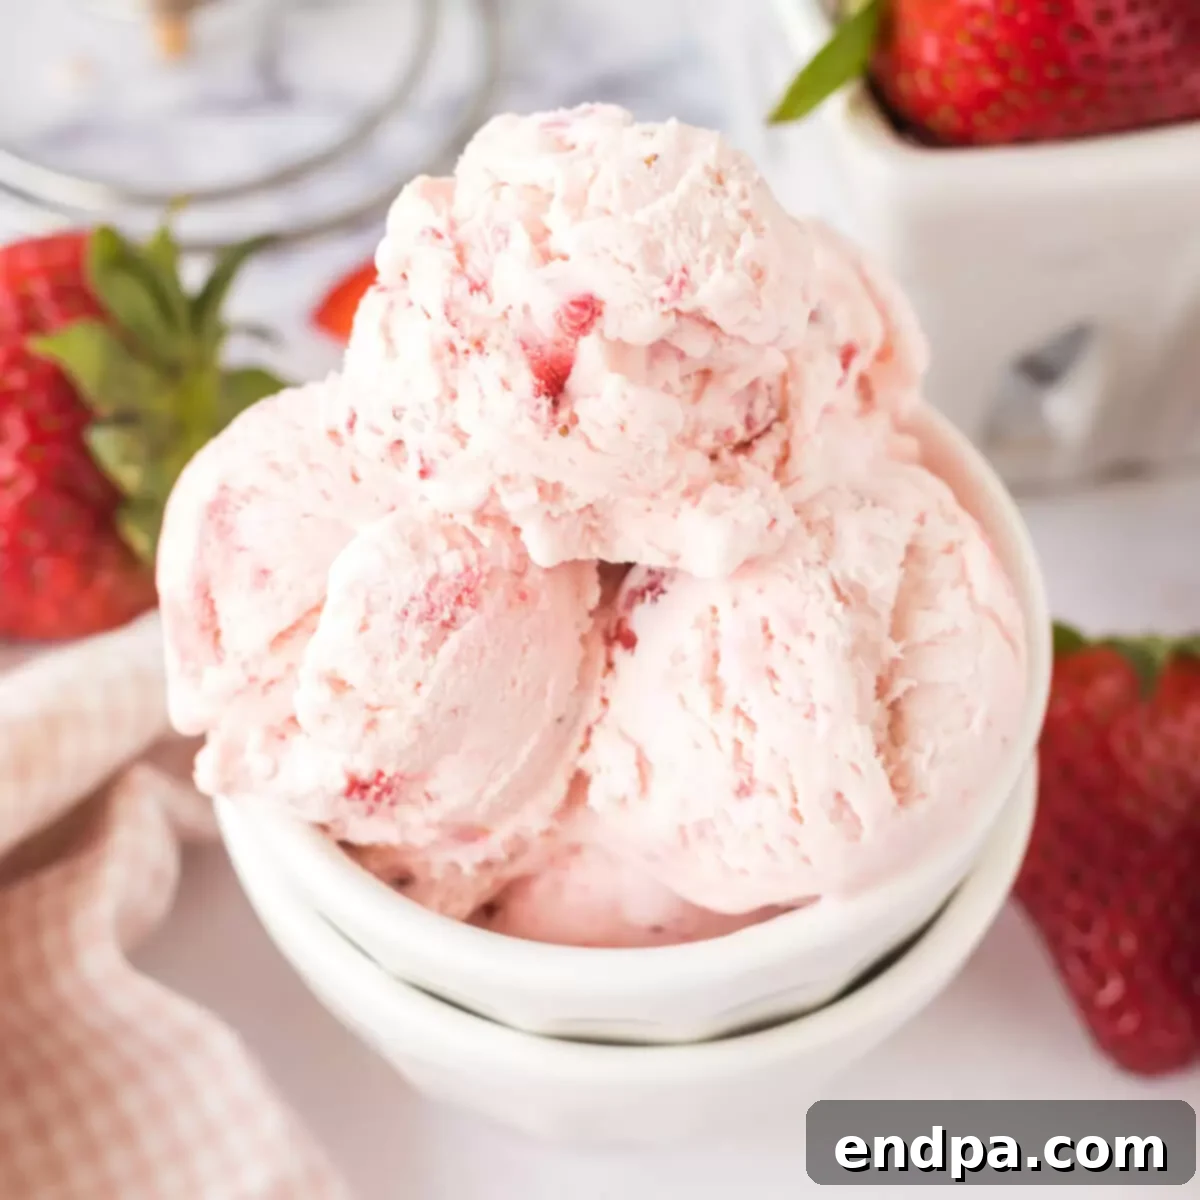
No-Churn Strawberry Ice Cream
Average rating: 4.58 from 7 votes
This incredibly easy No-Churn Strawberry Ice Cream recipe requires only 5 ingredients and no ice cream maker. Enjoy a rich, creamy texture and intense strawberry flavor in every homemade scoop.
Prep Time: 20 minutes
Freeze Time: 5 hours
Total Time: 5 hours 20 minutes
Servings: 6
Cuisine: American
Course: Dessert
Calories: 556 kcal
Author: Carrie Barnard
Ingredients
- 2 cups heavy whipping cream (cold)
- 1 teaspoon pure vanilla extract
- 14 ounce can sweetened condensed milk
- 1 cup fresh diced strawberries
- ½ cup white granulated sugar
Instructions
- In a small bowl, combine the diced strawberries and granulated sugar until the fruit is evenly coated. Allow the mixture to sit for 15 minutes to macerate and release its juices.
- While the strawberries are macerating, use an electric hand mixer or stand mixer to whip the cold heavy cream and vanilla extract on high speed until stiff peaks form.
- Reduce the mixer speed to low and gently mix in the sweetened condensed milk and the macerated strawberry mixture until just combined and homogenous. Be careful not to deflate the whipped cream.
- Transfer the ice cream mixture into a 9×5 inch bread loaf pan. Gently tap the pan on the counter a few times to even out the mixture and release any air bubbles.
- Cover the loaf pan tightly with plastic wrap, ensuring the wrap touches the surface of the ice cream to prevent ice crystals. Freeze for at least 5 hours, or preferably overnight, until firm.
- Serve scoops of the creamy homemade No-Churn Strawberry Ice Cream and enjoy!
Recipe Notes
When stored in an airtight container with plastic wrap directly on the surface, this ice cream can be kept in the freezer for up to a month. Freezing overnight ensures the best texture.
Fresh strawberries provide the most vibrant flavor. If using frozen strawberries, thaw them completely in the refrigerator and drain any excess liquid before use.
Sweetened condensed milk is crucial; it acts as both a sweetener and a thickener, preventing ice crystals and creating a smooth consistency. Vanilla extract enhances the natural sweetness of the strawberries.
For an even chunkier ice cream, fold in an additional quarter cup of diced strawberries after transferring the mixture to the loaf pan, just before freezing.
Nutrition Facts (per serving)
Calories: 556kcal, Carbohydrates: 57g, Protein: 8g, Fat: 35g, Saturated Fat: 22g, Polyunsaturated Fat: 2g, Monounsaturated Fat: 9g, Cholesterol: 112mg, Sodium: 106mg, Potassium: 359mg, Fiber: 0.5g, Sugar: 56g, Vitamin A: 1346IU, Vitamin C: 16mg, Calcium: 244mg, Iron: 0.3mg
