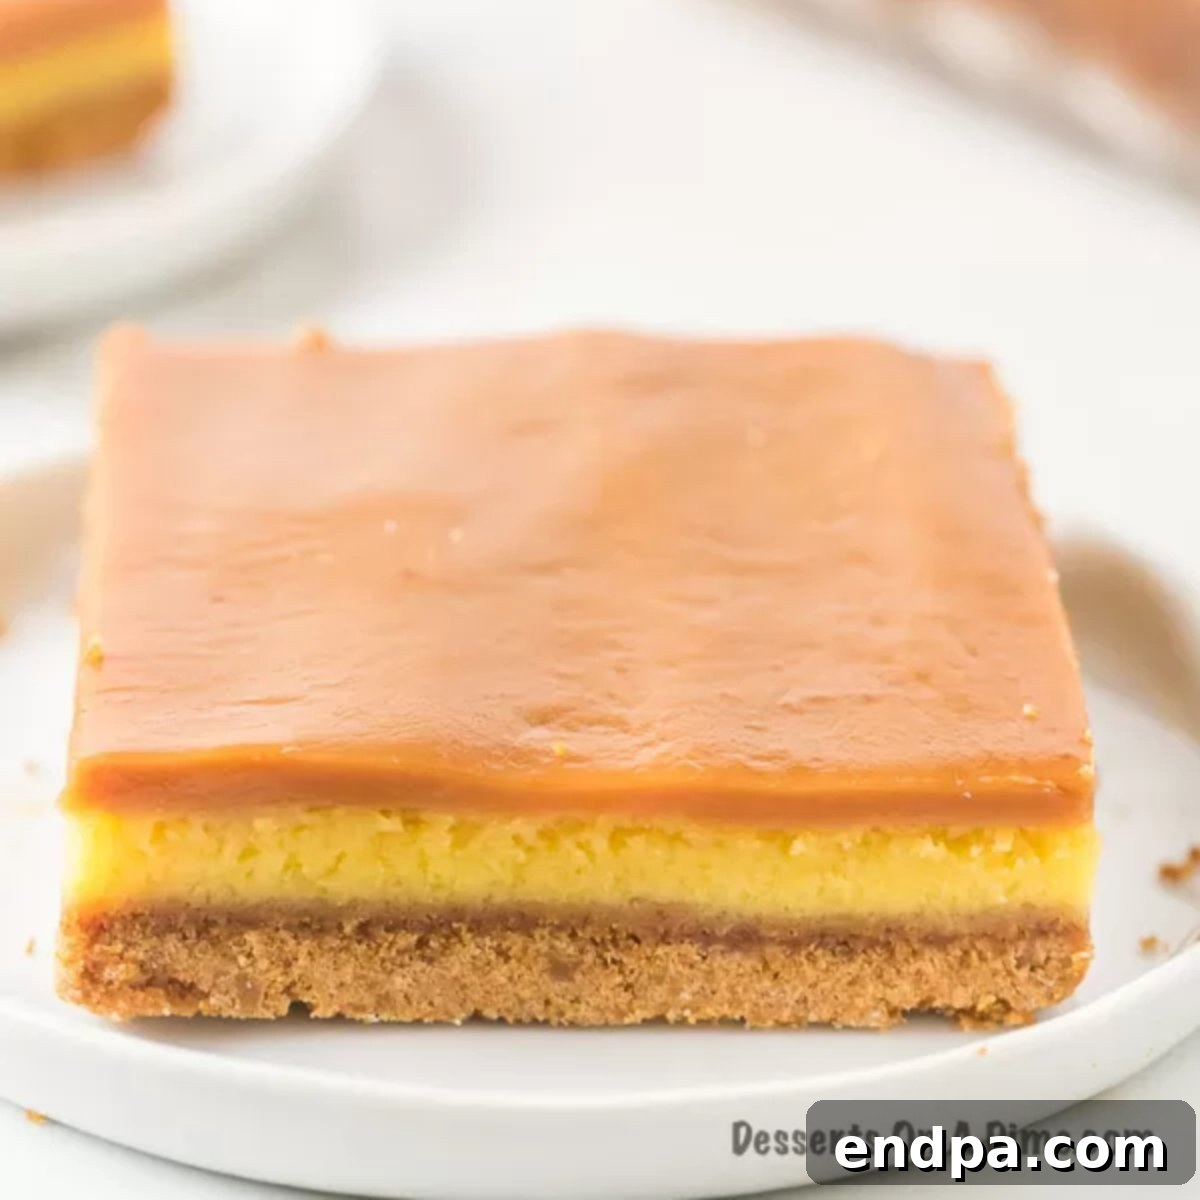
Decadent Caramel Cheesecake Bars: Your Ultimate Guide
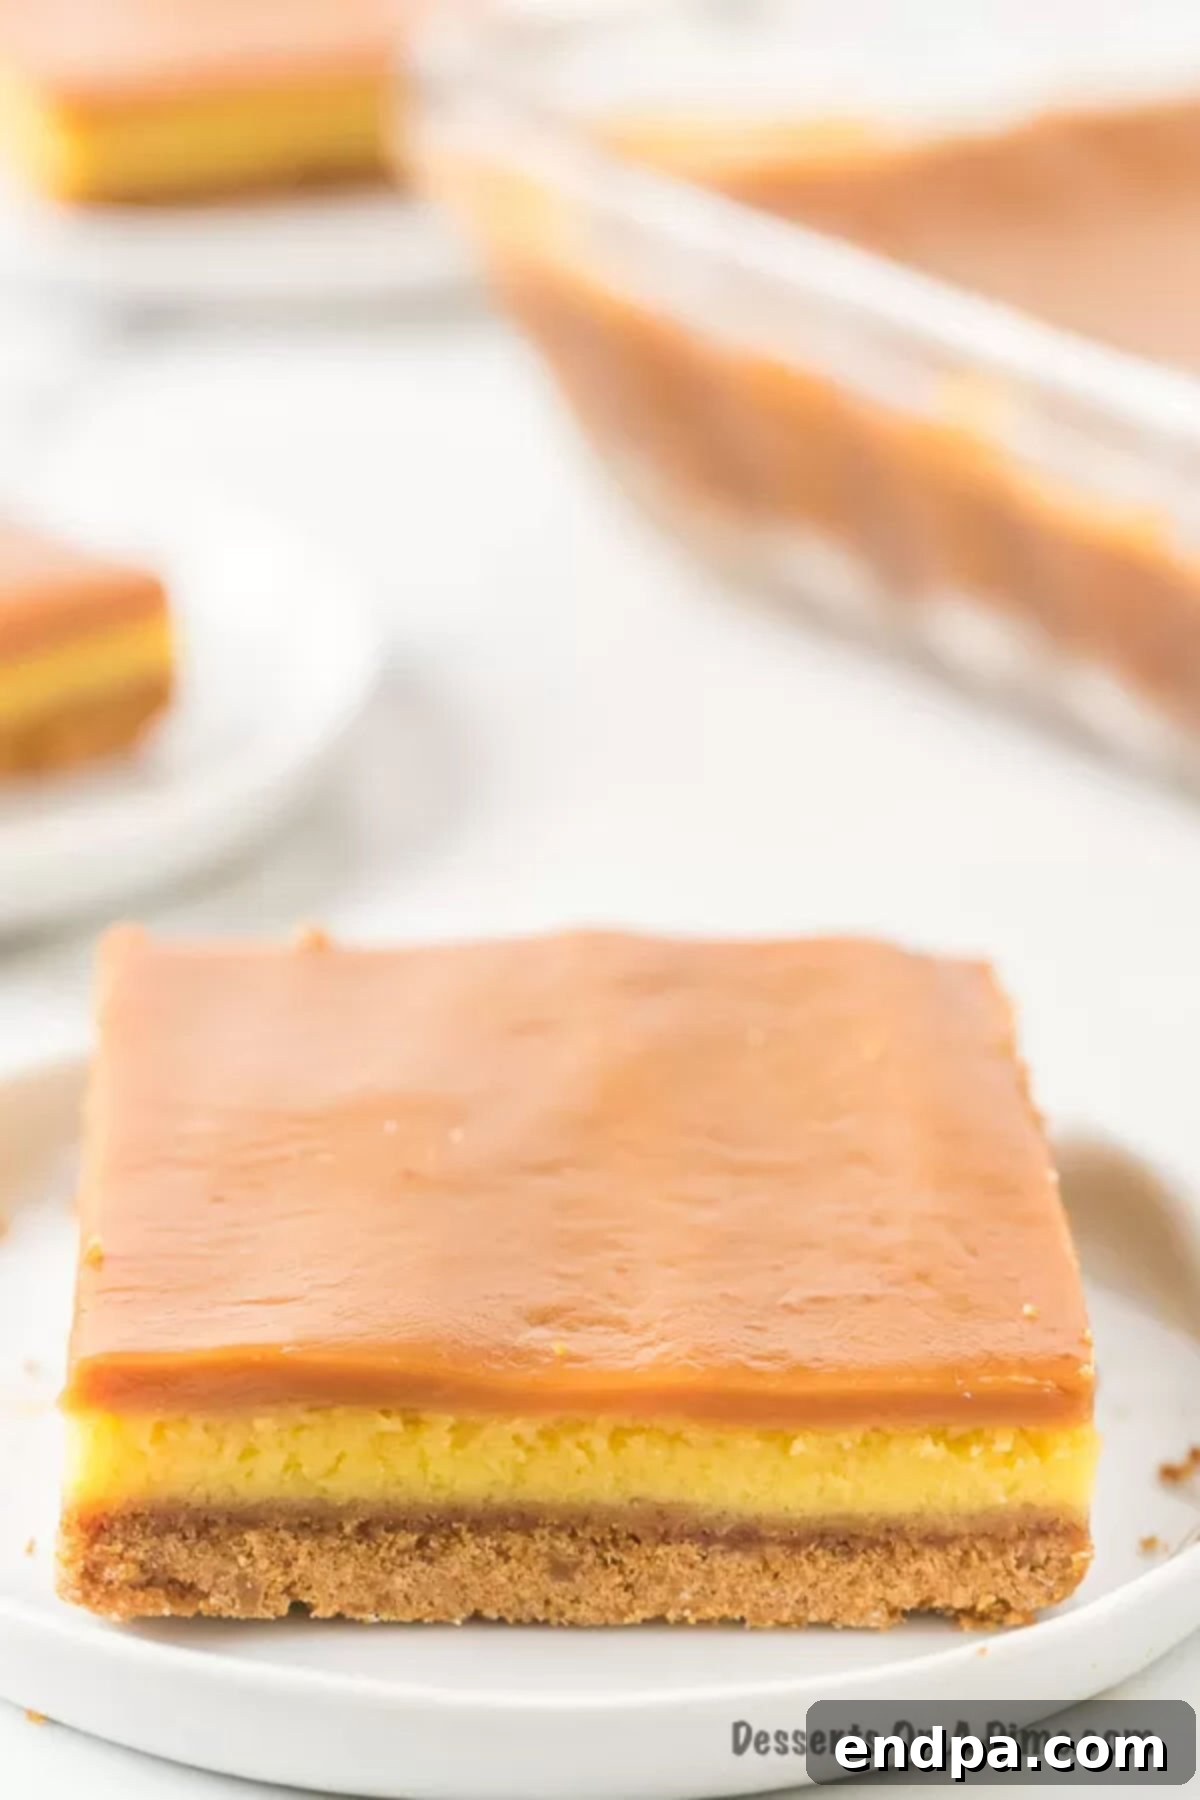
Prepare to be enchanted by these truly irresistible Caramel Cheesecake Bars. This recipe masterfully combines the velvety smoothness of classic cheesecake with a luxurious, gooey caramel topping, all nestled on a perfectly buttery graham cracker crust. Forget complicated cheesecakes; these bars offer all the decadent flavor in a wonderfully convenient, easy-to-serve format. Once you experience the rich, sweet, and tangy harmony of flavors, you’ll find yourself making them again and again for every occasion, big or small. They are truly a showstopper dessert that appeals to everyone.
Why These Caramel Cheesecake Bars Are a Must-Try
These aren’t just any dessert bars; they’re a revelation. Here’s why this recipe stands out and quickly becomes a family favorite:
- Effortless Elegance: Serving individual slices of cheesecake can be messy, but these bars are perfectly portioned for easy distribution at parties, potlucks, or even a casual family dessert. You get all the sophisticated flavors of a traditional cheesecake without the fuss.
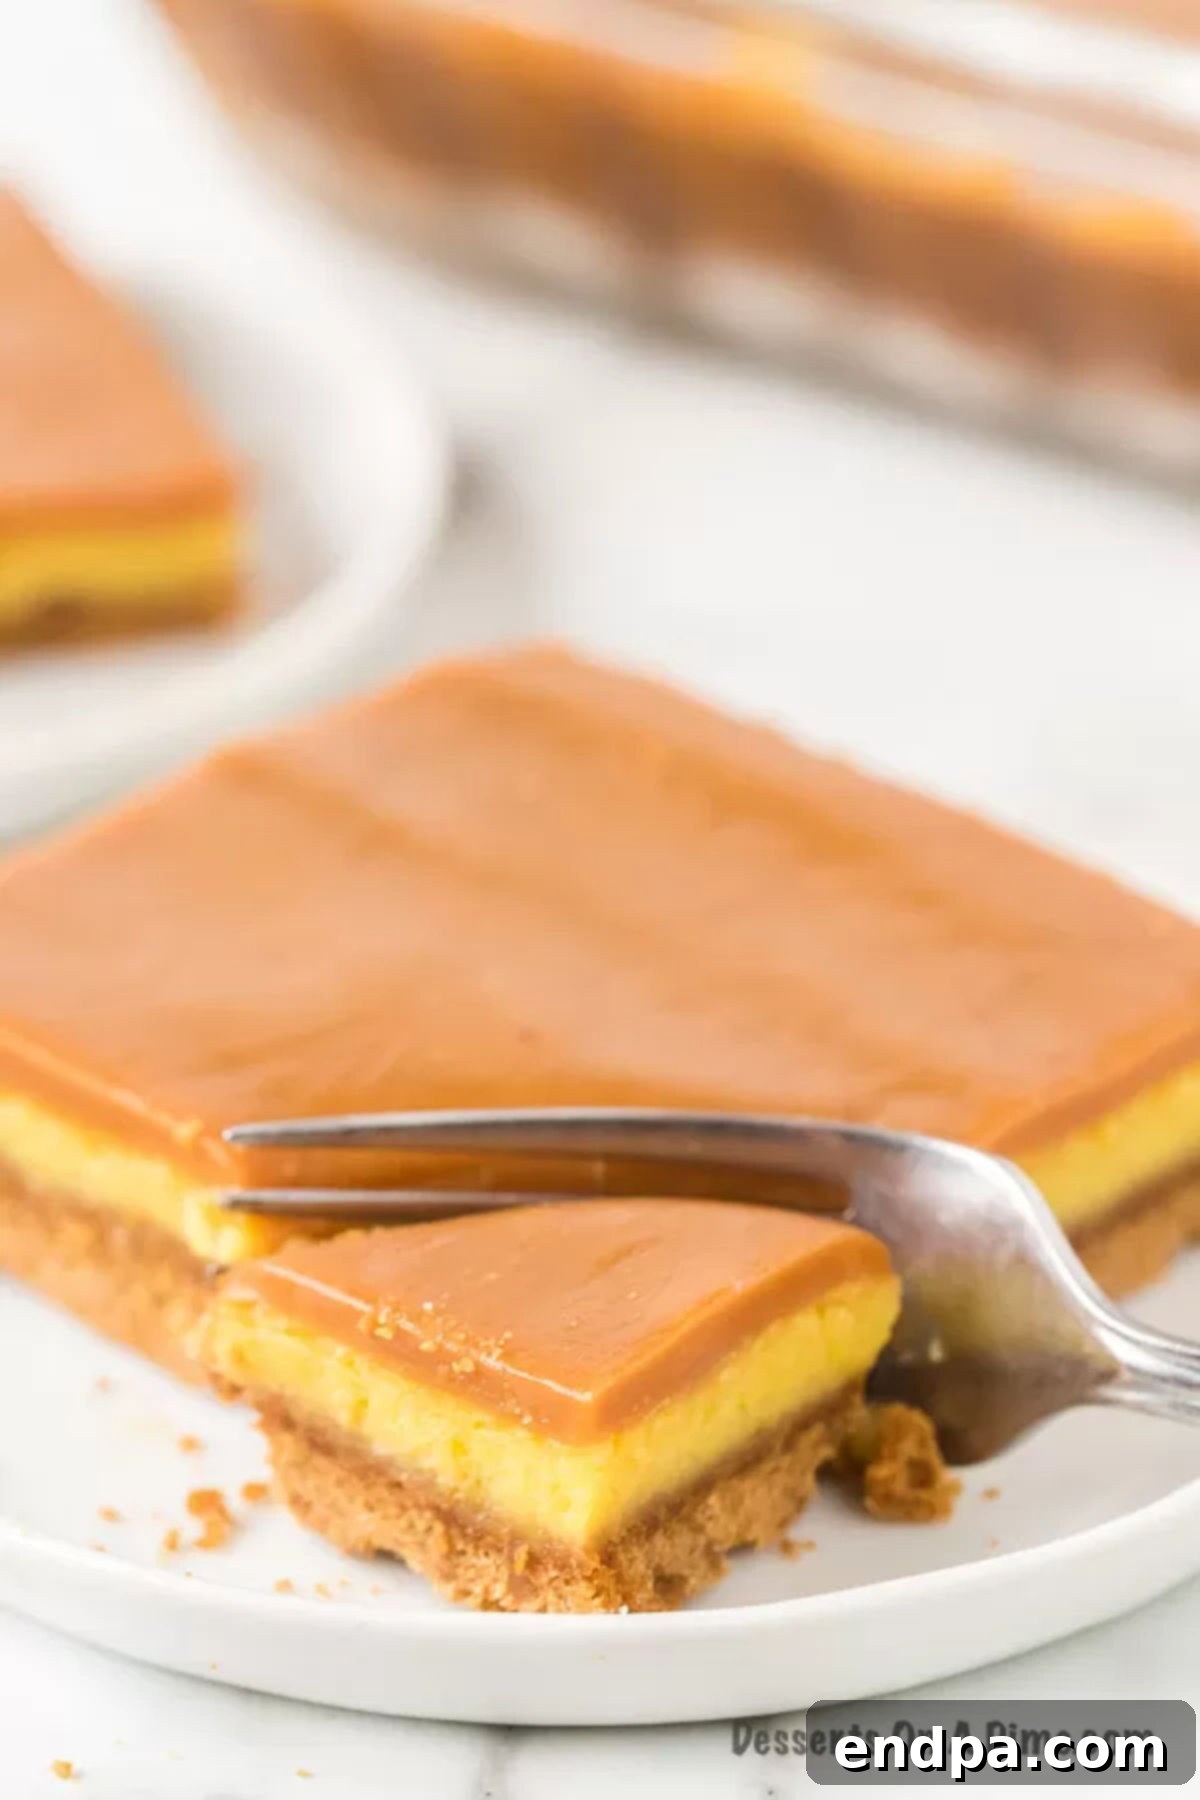
- Layers of Lusciousness: Each bite delivers a symphony of textures and tastes. Starting with a golden, crisp graham cracker crust, followed by a thick, creamy layer of rich cream cheese filling, and crowned with a generous swirl of homemade caramel, these bars are designed to delight. The contrast between the crunchy base, the smooth filling, and the sticky-sweet topping is simply divine.
- Surprisingly Simple Preparation: Don’t let the gourmet appearance fool you; these caramel cheesecake bars are incredibly straightforward to make. The steps are easy to follow, making this an ideal recipe for both novice bakers and experienced dessert makers looking for a reliable crowd-pleaser. You’ll be amazed at how quickly you can create such an impressive treat.
- Perfect for Any Season: While often associated with autumn and holiday gatherings, the timeless appeal of caramel and cheesecake makes these bars suitable for enjoyment year-round. They’re a comforting dessert on a cool evening and a delightful indulgence for summer celebrations.
A Classic Dessert, Elevated
Cheesecake has been a beloved dessert for centuries, with its origins tracing back to ancient Greece. Over time, it has evolved into countless variations, but the core appeal remains: a rich, creamy, and satisfying treat. While traditional cheesecakes are often baked in springform pans and require careful handling, the bar format offers a casual elegance that is incredibly practical. This particular recipe takes the classic cream cheese filling and elevates it with the addition of a homemade caramel topping. The deep, buttery sweetness of caramel complements the tangy cream cheese beautifully, creating a complex flavor profile that is both familiar and exciting. It’s a comforting dessert that feels simultaneously nostalgic and wonderfully new, perfect for impressing guests or simply treating yourself.
Essential Ingredients for Perfection
Crafting these caramel cheesecake bars requires a few key ingredients, each playing a crucial role in achieving the perfect balance of flavor and texture. Starting with quality ingredients is the first step to a truly outstanding dessert.
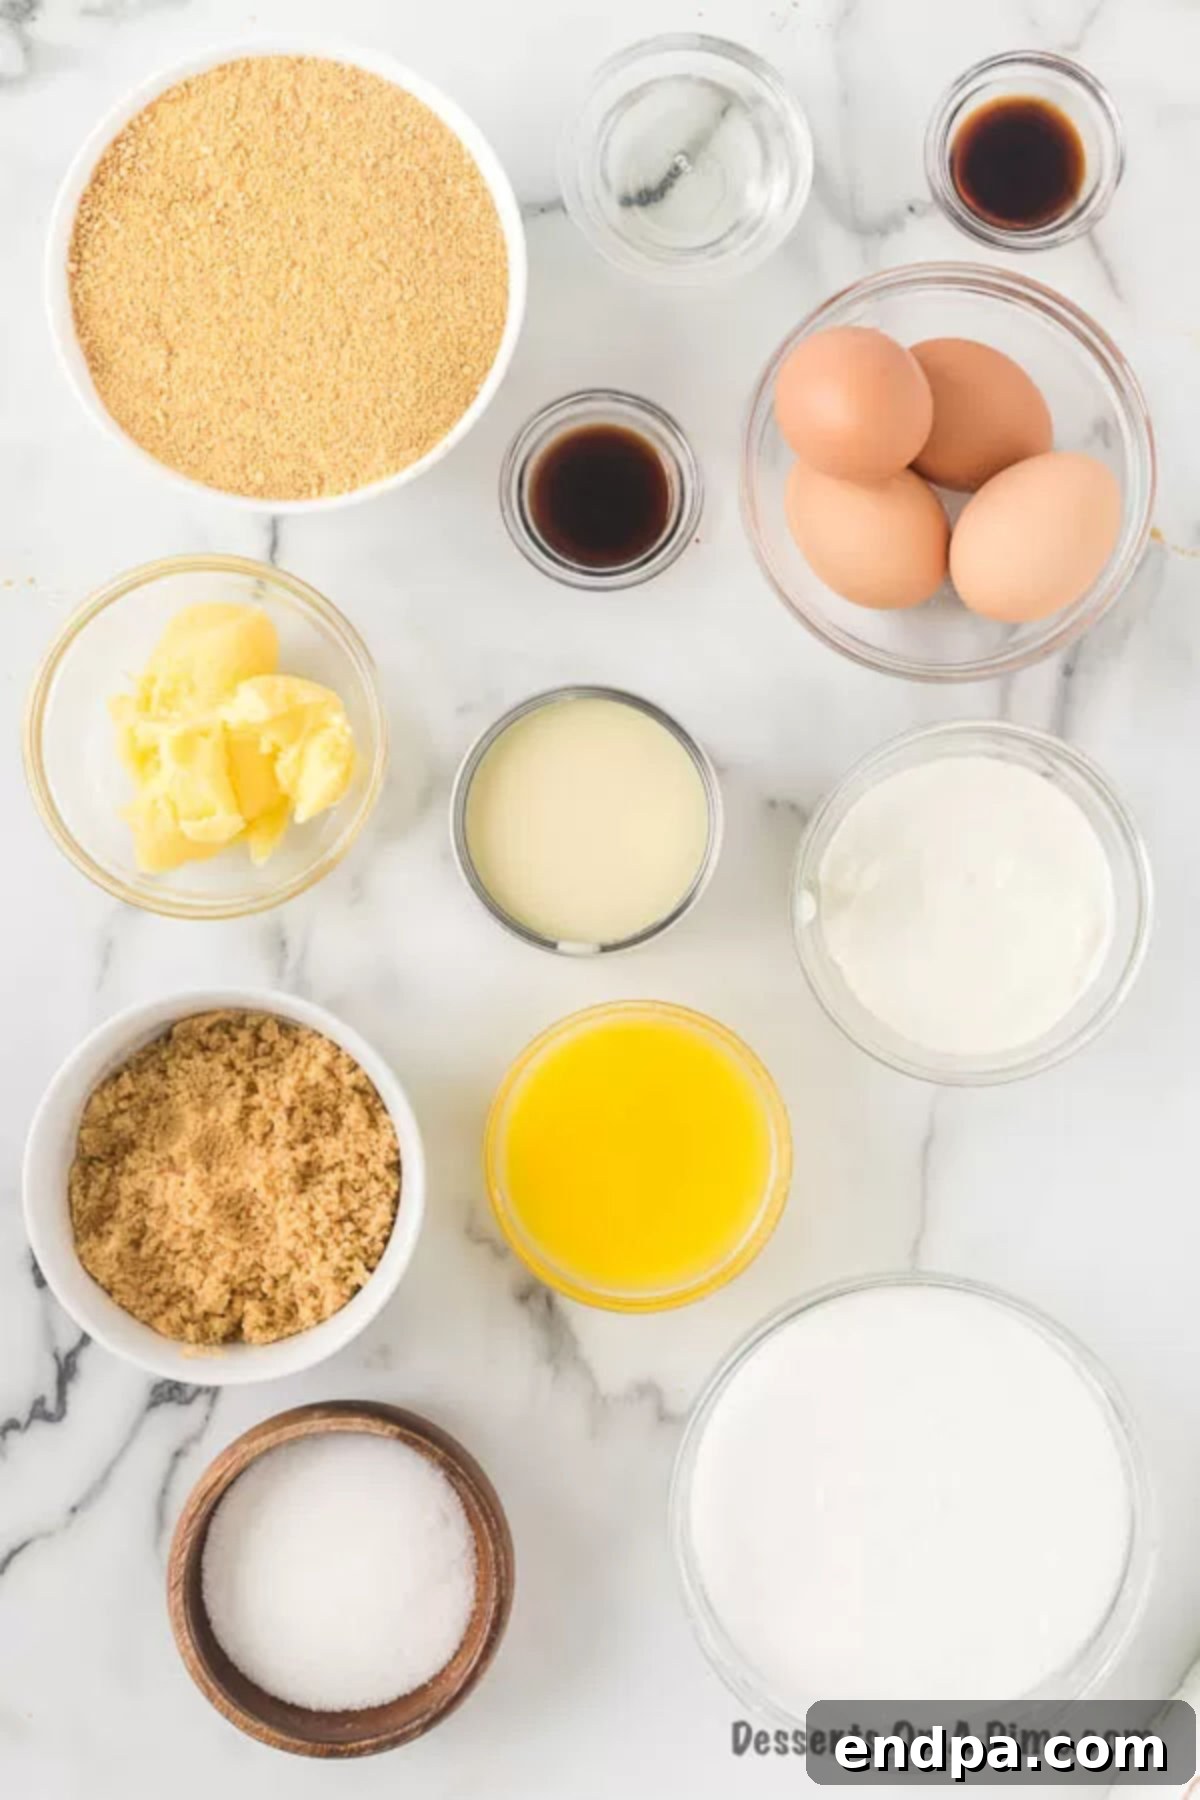
For the Buttery Graham Cracker Crust:
- Graham Cracker Crumbs: The foundation of our bars. You can buy them pre-crushed or easily make your own from whole graham crackers.
- Granulated Sugar: Adds a touch of sweetness to the crust, balancing the buttery flavor.
- Melted Butter: Binds the crumbs together, giving the crust its rich flavor and firm texture.
For the Velvety Cheesecake Filling:
- Cream Cheese (Room Temperature): The star of the show! Using full-fat cream cheese at room temperature ensures a smooth, lump-free filling.
- Granulated Sugar: Sweetens the cream cheese, creating that classic tangy-sweet profile.
- Vanilla Extract: Enhances all the flavors, adding a warm, aromatic note.
- Large Eggs: Act as a binder, giving the cheesecake its structure and rich custard-like texture.
- Sour Cream: Contributes to the signature tanginess and incredibly smooth, moist consistency of the cheesecake.
For the Irresistible Caramel Topping:
- Brown Sugar: Provides a deeper, more molasses-like sweetness that is characteristic of rich caramel.
- Butter: Essential for the luscious texture and flavor of the caramel.
- Sweetened Condensed Milk: The secret to a thick, creamy, and incredibly rich caramel sauce.
- Corn Syrup: Helps prevent sugar crystallization, ensuring a smooth, glossy caramel.
- Vanilla Extract: A final touch to deepen the caramel’s aroma and taste.
You can find the precise measurements for each of these delightful components in the detailed recipe instructions below.
Creative Variations to Explore
While these caramel cheesecake bars are perfect as is, there are many ways to customize them and add your own twist:
- Sea Salt Caramel: A sprinkle of flaky sea salt over the finished caramel topping enhances the sweet-and-salty dynamic, making the flavors pop even more. This is a highly recommended variation for a sophisticated touch.
- Chocolate Drizzle: Once the caramel has set, drizzle melted milk or dark chocolate over the top for an extra layer of decadence.
- Nutty Crunch: Add chopped pecans, walnuts, or even candied almonds to the top of the caramel layer for a delightful textural contrast. Toasted nuts work especially well.
- Different Crusts: Experiment with other cookie crumbs for the crust. Try crushed shortbread cookies, ginger snaps for a spicy kick, or even chocolate wafers for a darker flavor profile.
- Spice It Up: For a fall-inspired treat, add a pinch of cinnamon or pumpkin pie spice to the graham cracker crust or even a tiny amount to the cheesecake filling.
- Mini Bars: Instead of a 9×13 inch pan, bake the bars in a muffin tin with paper liners for individual mini cheesecakes. Adjust baking time accordingly.
Essential Kitchen Equipment for Baking Success
Having the right tools can make all the difference in the kitchen, especially when baking. For these caramel cheesecake bars, a few key pieces of equipment will ensure a smooth and enjoyable baking process:
- 9×13 Inch Baking Pan: A sturdy rectangular baking pan is essential for achieving the perfect thickness and portion size for your bars. Glass or light-colored metal pans work well. Make sure it’s lightly greased or lined with parchment paper for easy removal.
- Large Mixing Bowls: You’ll need at least two – one for the crust mixture and another for the cheesecake filling.
- Electric Mixer (Stand or Handheld): Crucial for beating the cream cheese and sugar until smooth, and for incorporating the eggs and sour cream without overmixing. A stand mixer makes the process effortless, but a good quality handheld mixer works just as well.
- Saucepan: A medium-sized saucepan is needed for preparing the luscious caramel topping. Opt for a heavy-bottomed pan to ensure even heat distribution and prevent scorching.
- Whisk: For smoothly combining ingredients, especially for the caramel topping, a whisk is indispensable.
- Rubber Spatula: Great for scraping down the sides of bowls, folding ingredients, and spreading the cheesecake filling and caramel evenly.
- Candy Thermometer: Highly recommended for making the caramel topping. It ensures the caramel reaches the precise temperature (soft ball stage) for the perfect consistency, taking the guesswork out of the process.
- Measuring Cups and Spoons: Accurate measurements are vital in baking, so have a full set ready.
Step-by-Step Instructions for Decadent Caramel Cheesecake Bars
Follow these detailed steps to create your own batch of delightful caramel cheesecake bars. Each stage is designed for clarity and ease, ensuring a perfect result every time.
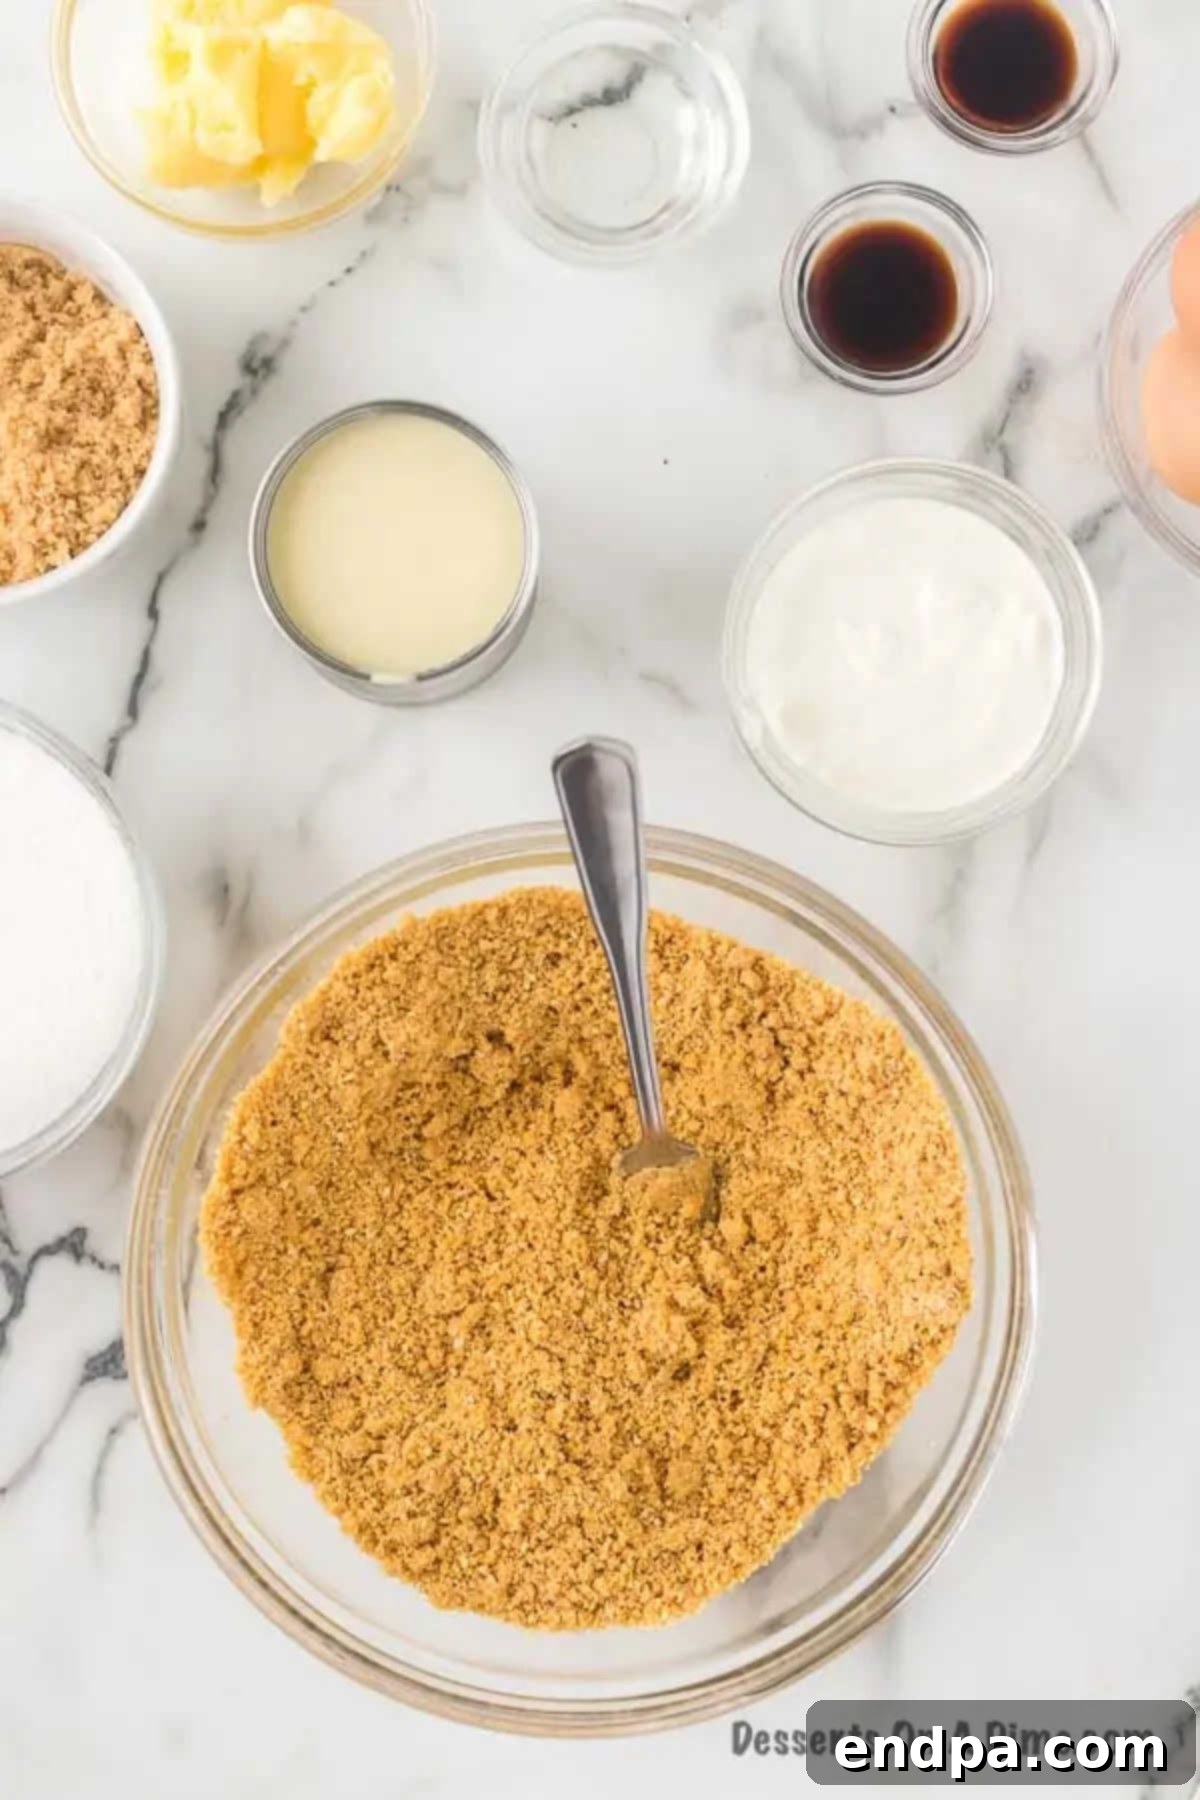
Step 1: Prepare the Crust Ingredients. Begin by preheating your oven to 350°F (175°C). In a large mixing bowl, combine the graham cracker crumbs, granulated sugar, and the melted butter. Mix these ingredients thoroughly until the crumbs are evenly moistened and resemble wet sand. This ensures a firm and flavorful crust.
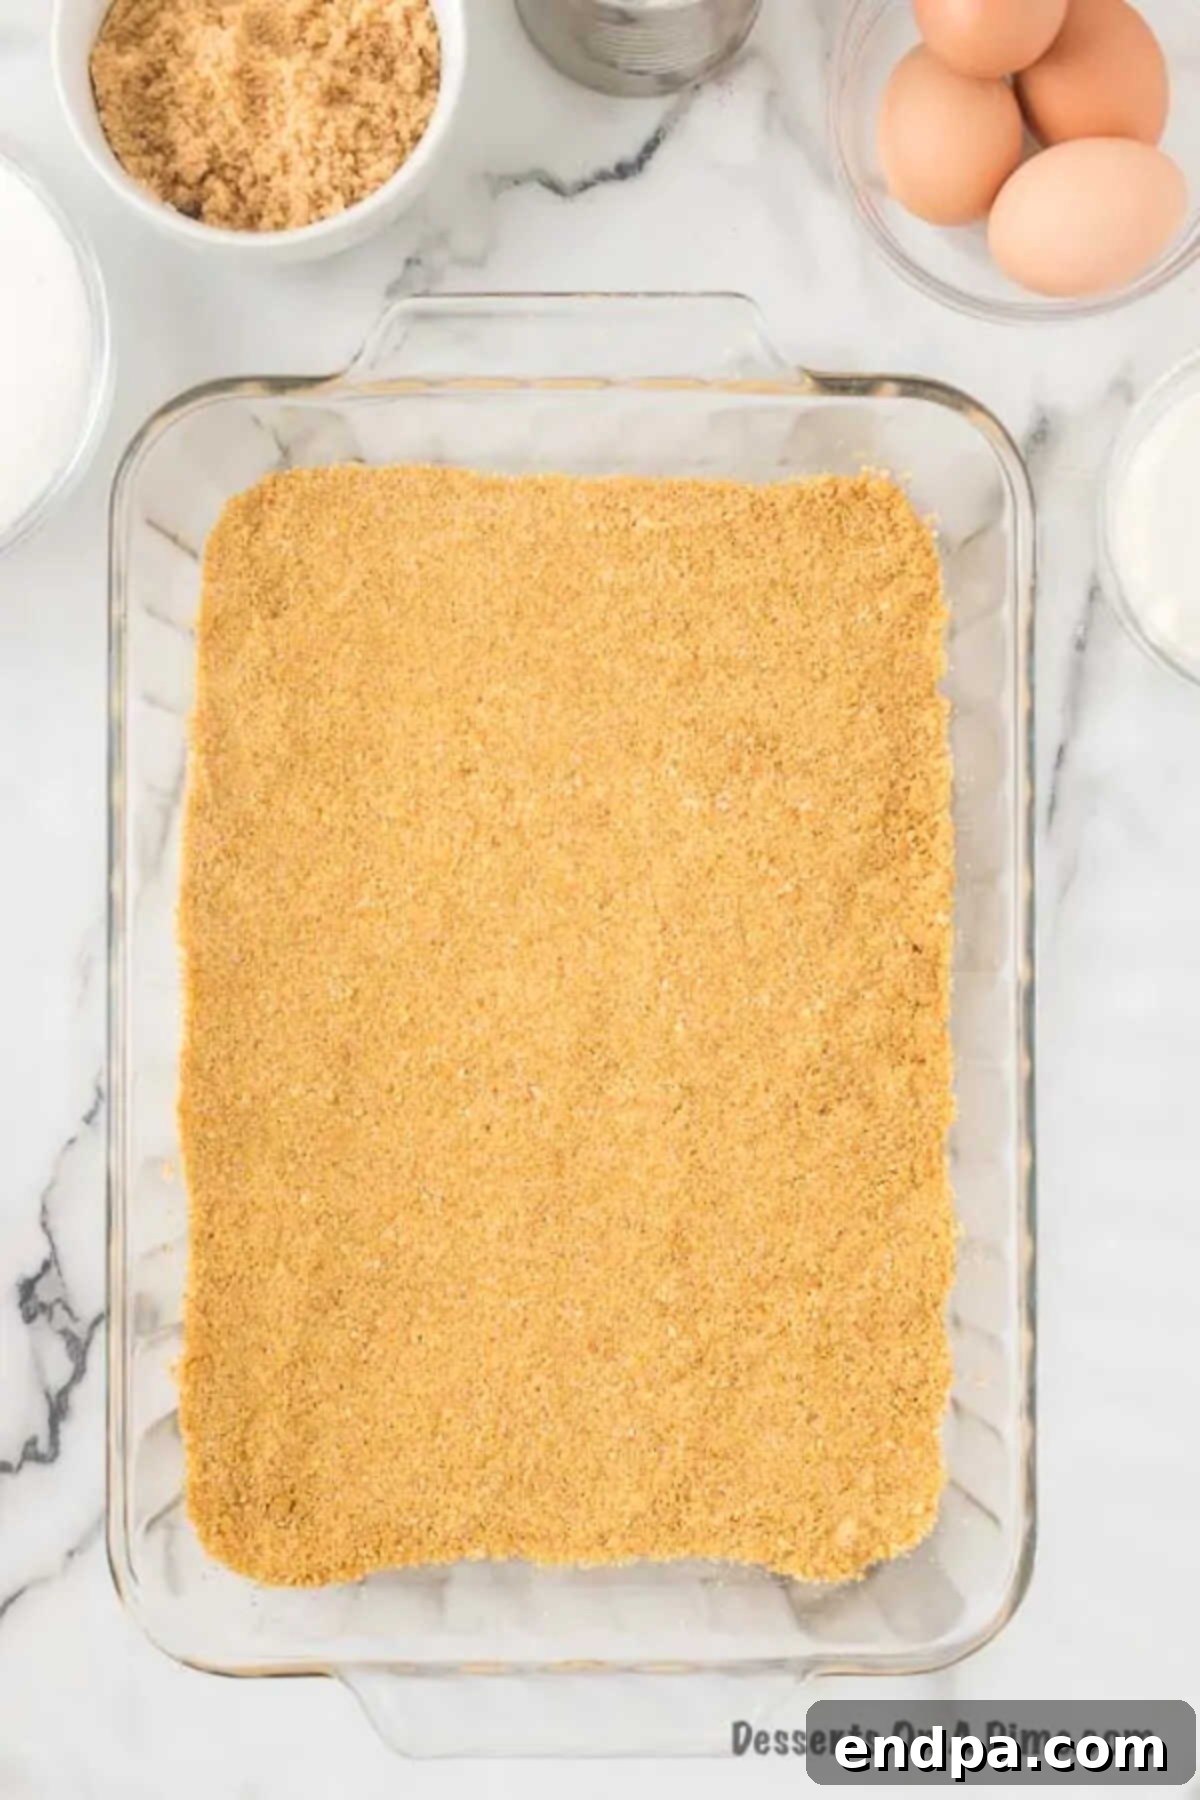
Step 2: Form the Crust. Lightly spray a 9×13 inch baking dish with nonstick cooking spray. Evenly press the graham cracker mixture into the bottom of the prepared pan. Use the back of a spoon or your fingers to create a compact, even layer. Set this crust aside while you prepare the cheesecake filling.
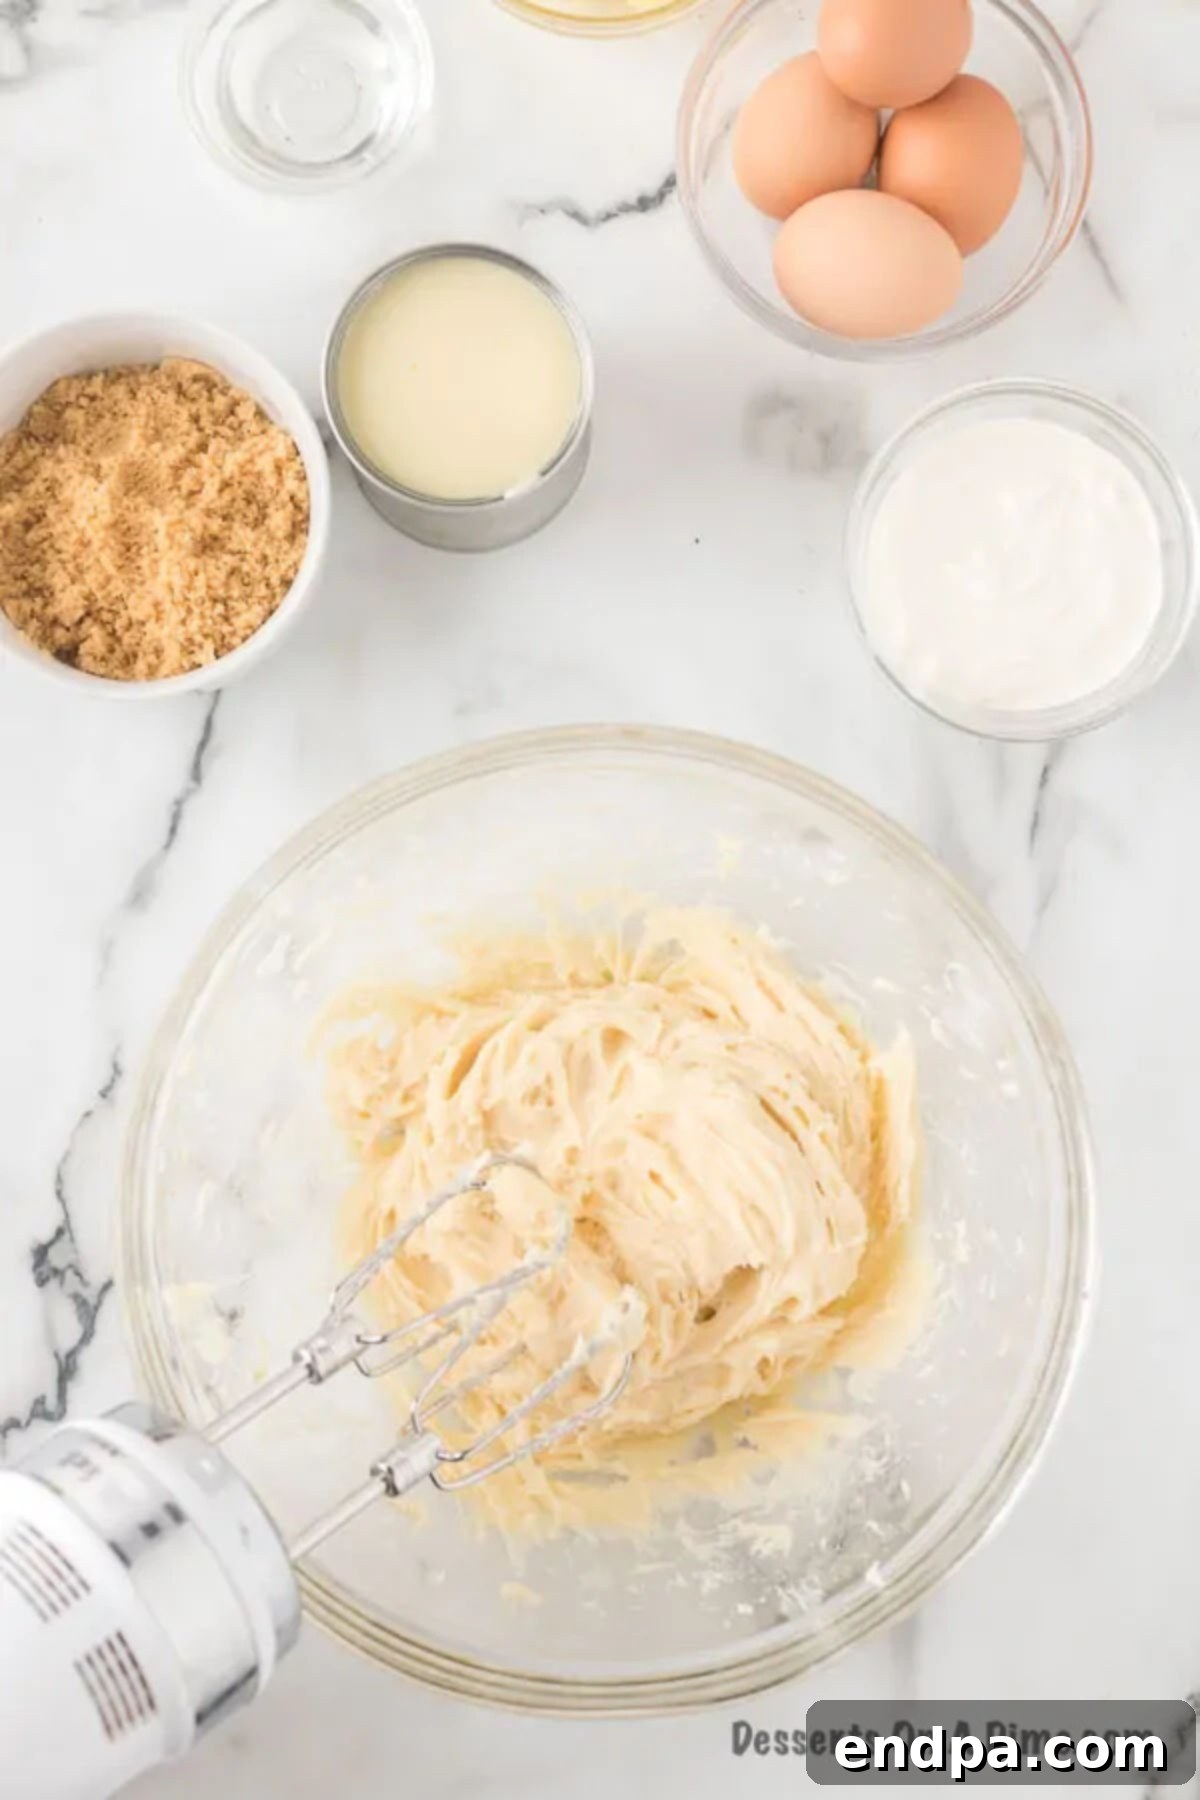
Step 3: Cream the Base. In another large mixing bowl, combine the room-temperature cream cheese, granulated sugar, and vanilla extract. Beat these ingredients together with an electric mixer on medium speed until the mixture is completely smooth and free of any lumps. This step is crucial for a silky cheesecake filling.
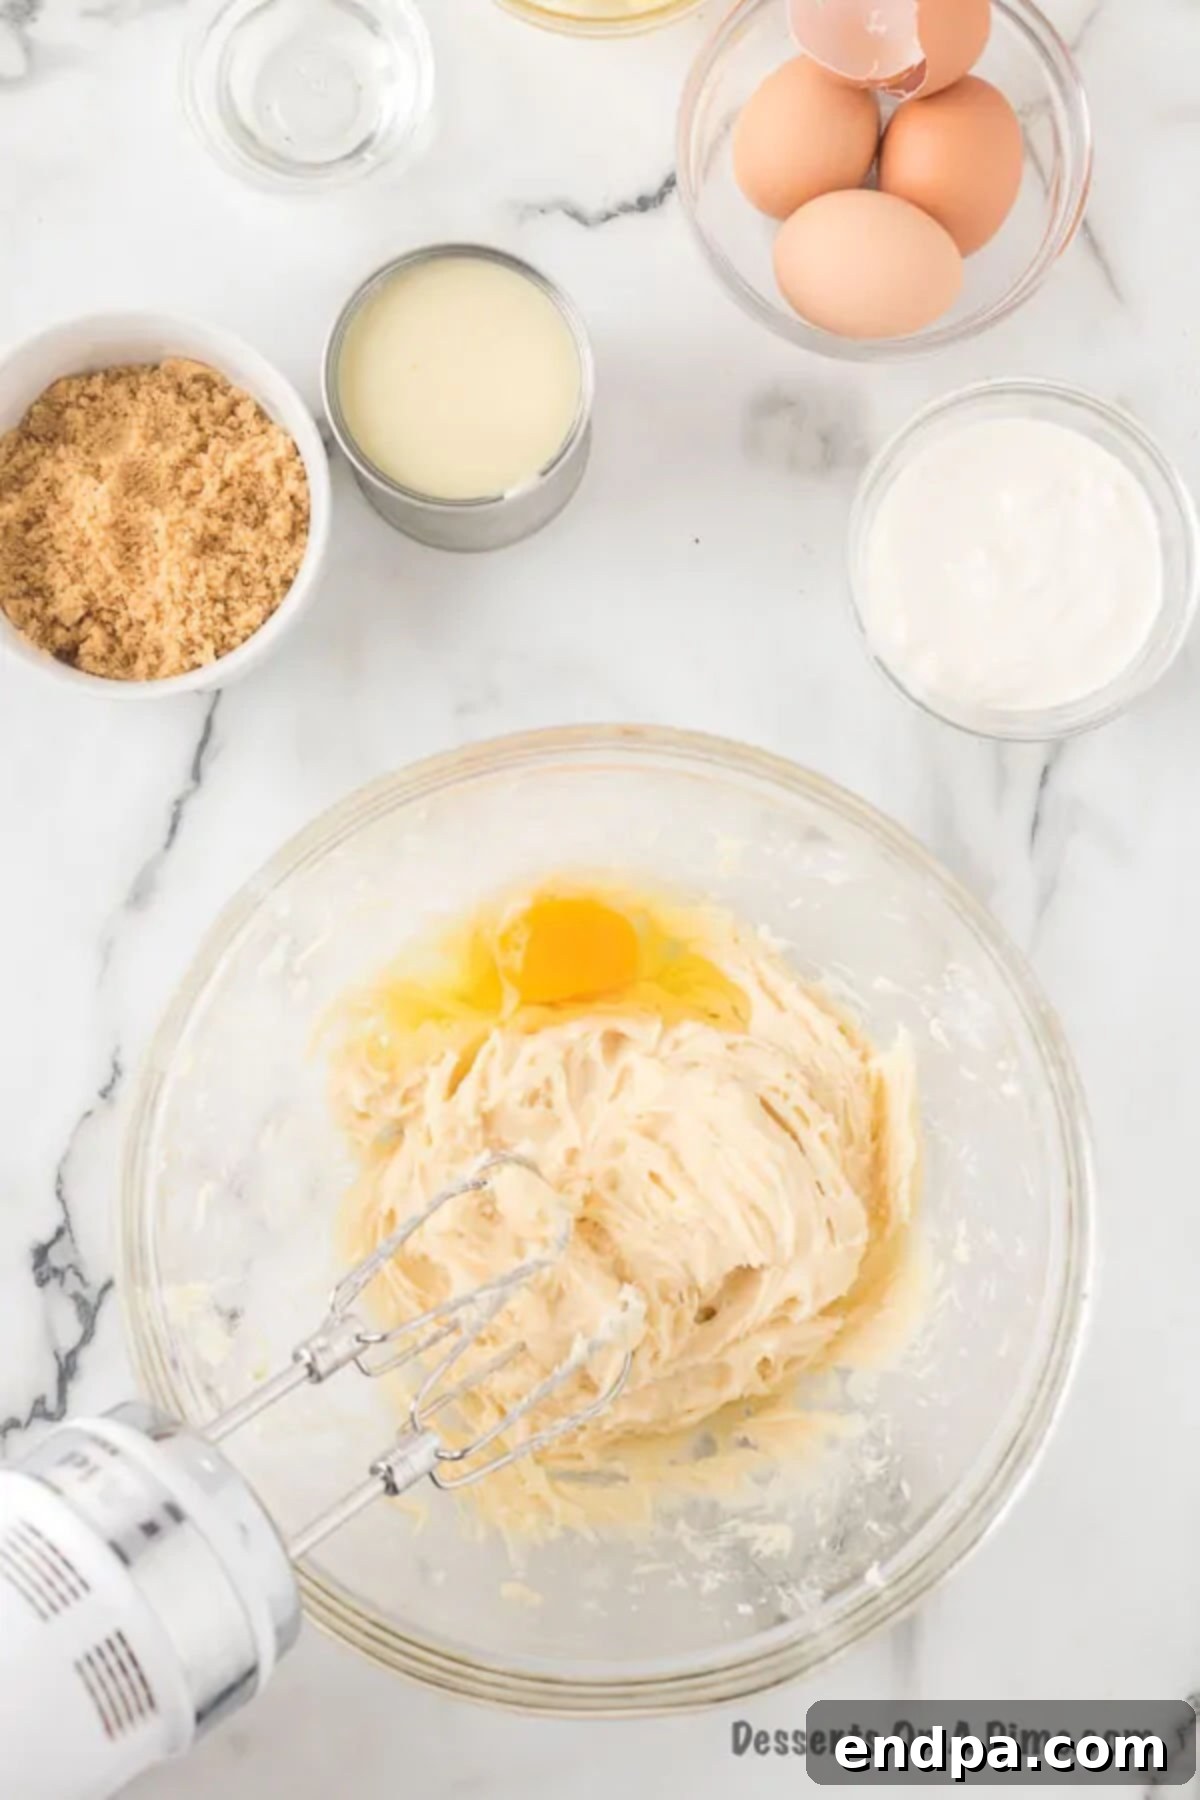
Step 4: Incorporate the Eggs. Add the eggs to the cream cheese mixture, one at a time. After each egg, mix on low to medium speed just until it is combined. Be careful not to overmix at this stage, as over-beating eggs can introduce too much air, which can lead to cracks in your cheesecake.
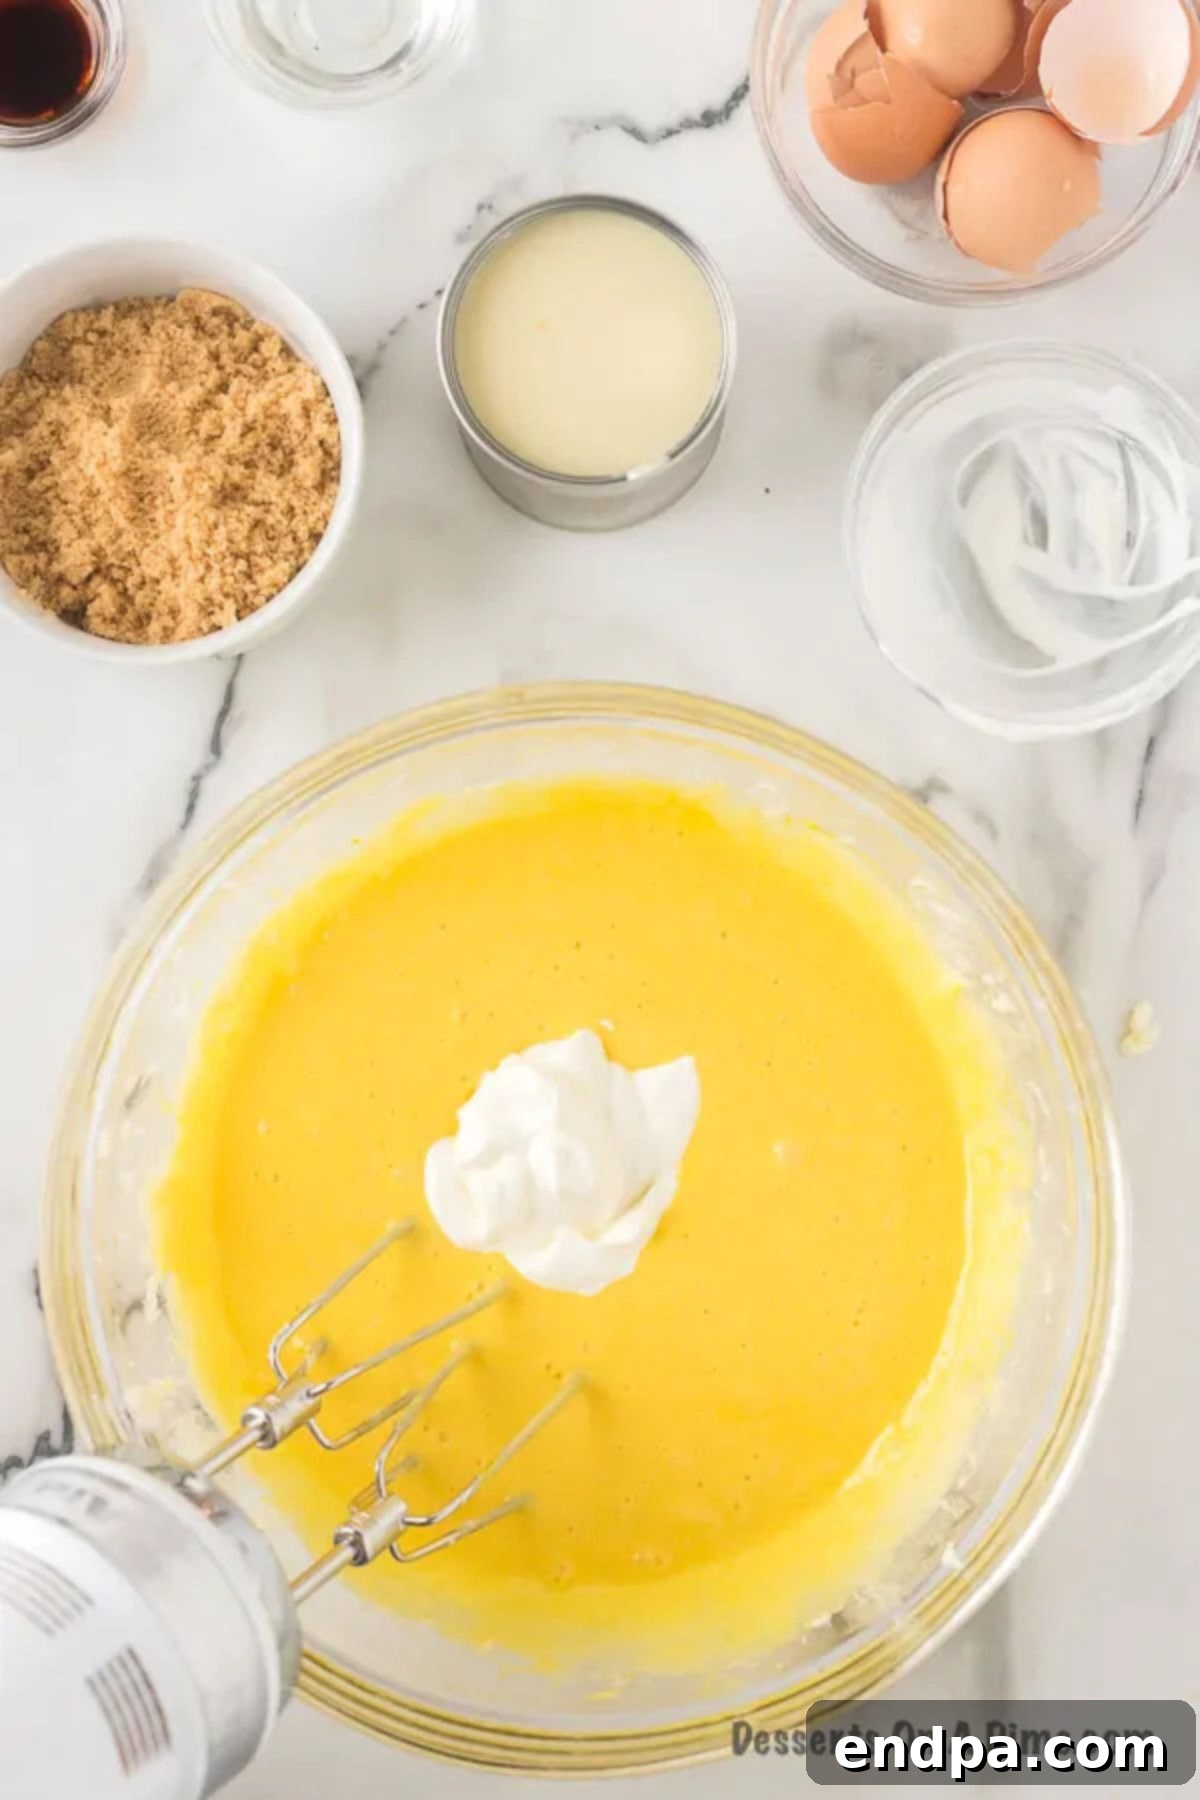
Step 5: Add the Sour Cream. Gently fold in the sour cream into the cheesecake batter. Mix again with an electric mixer on low speed just until it is thoroughly incorporated and the batter is smooth. This addition contributes to the cheesecake’s rich flavor and creamy texture.
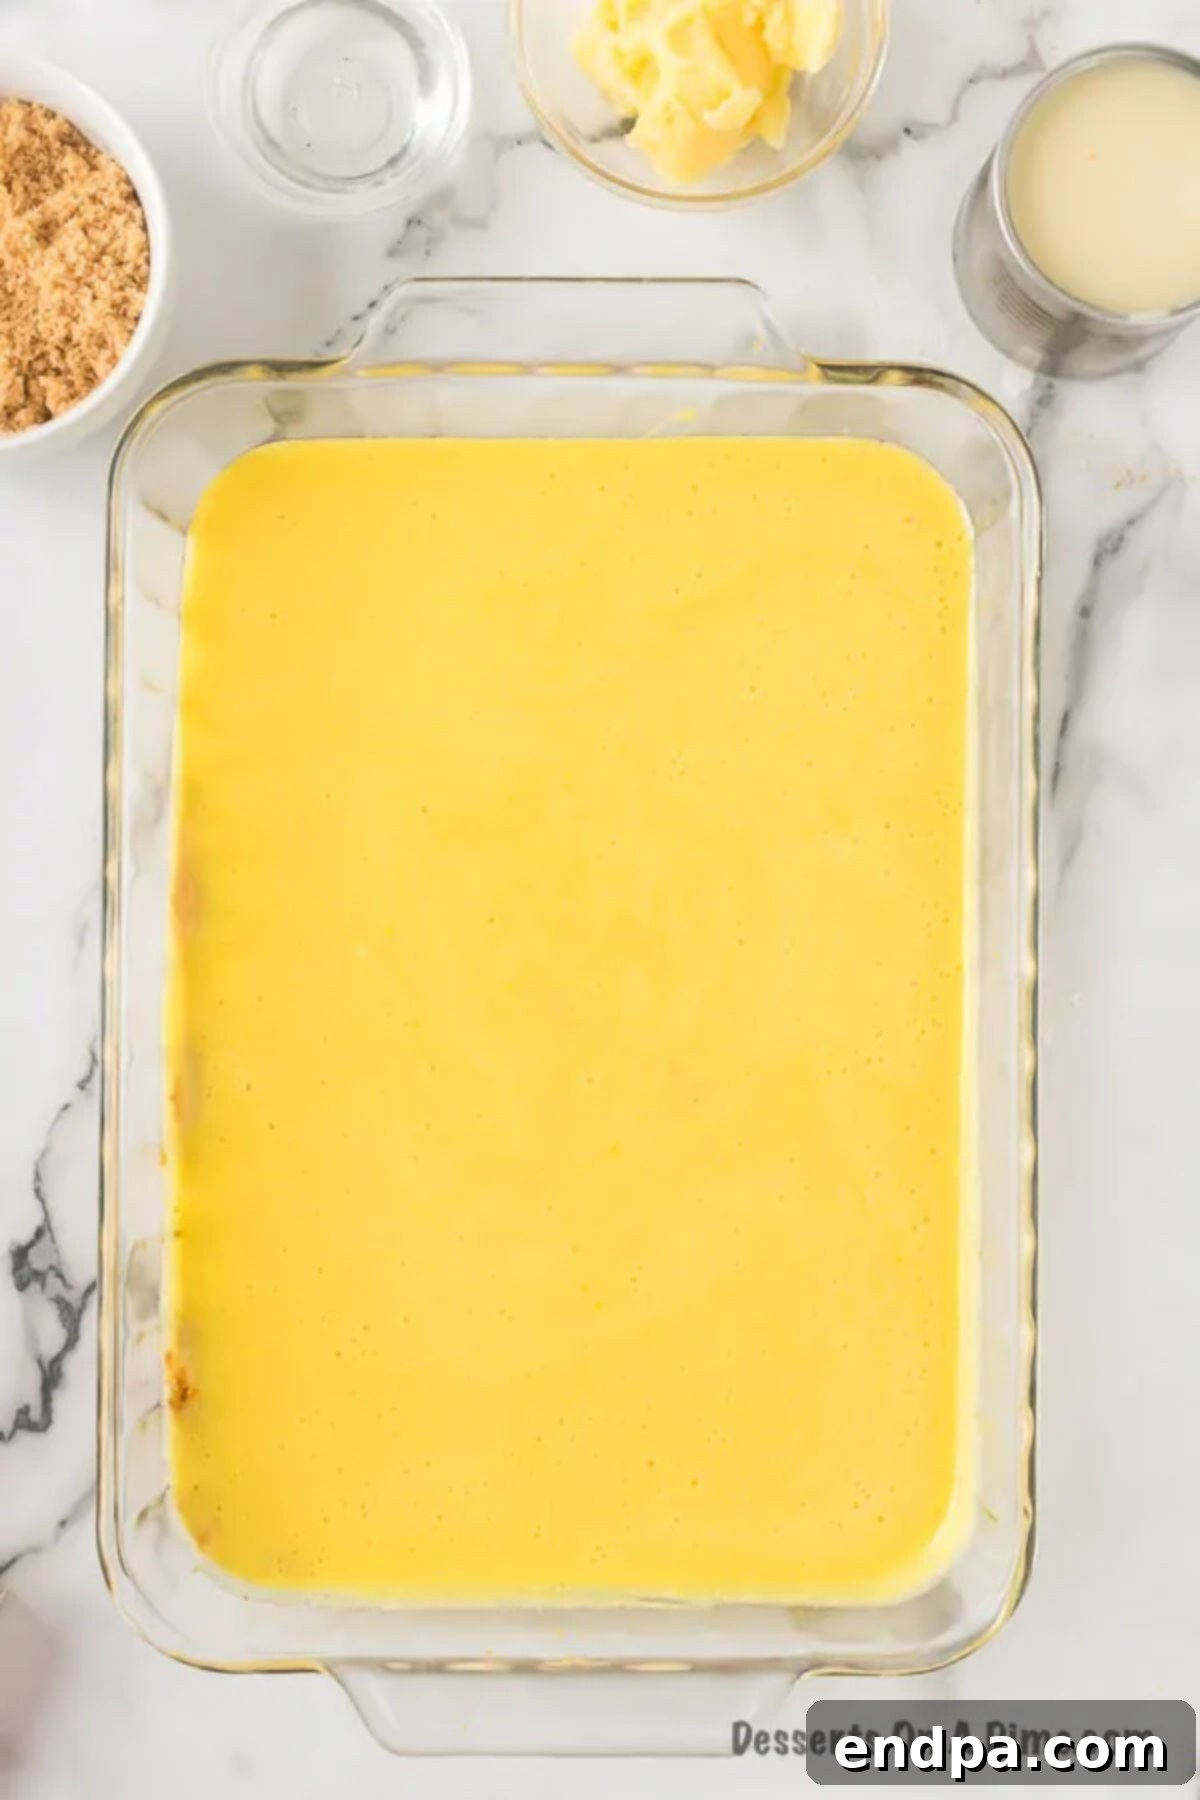
Step 6: Bake the Cheesecake. Pour the prepared cheesecake filling evenly over the graham cracker crust in the baking dish. Gently smooth the top with a spatula to ensure an even surface. Bake in the preheated oven for 50 minutes. After baking, turn off the oven, open the door slightly, and leave the cheesecake inside for an additional 15 minutes. This gradual cooling prevents cracking. Then, remove it from the oven and let it cool completely on a wire rack for at least an hour before chilling.
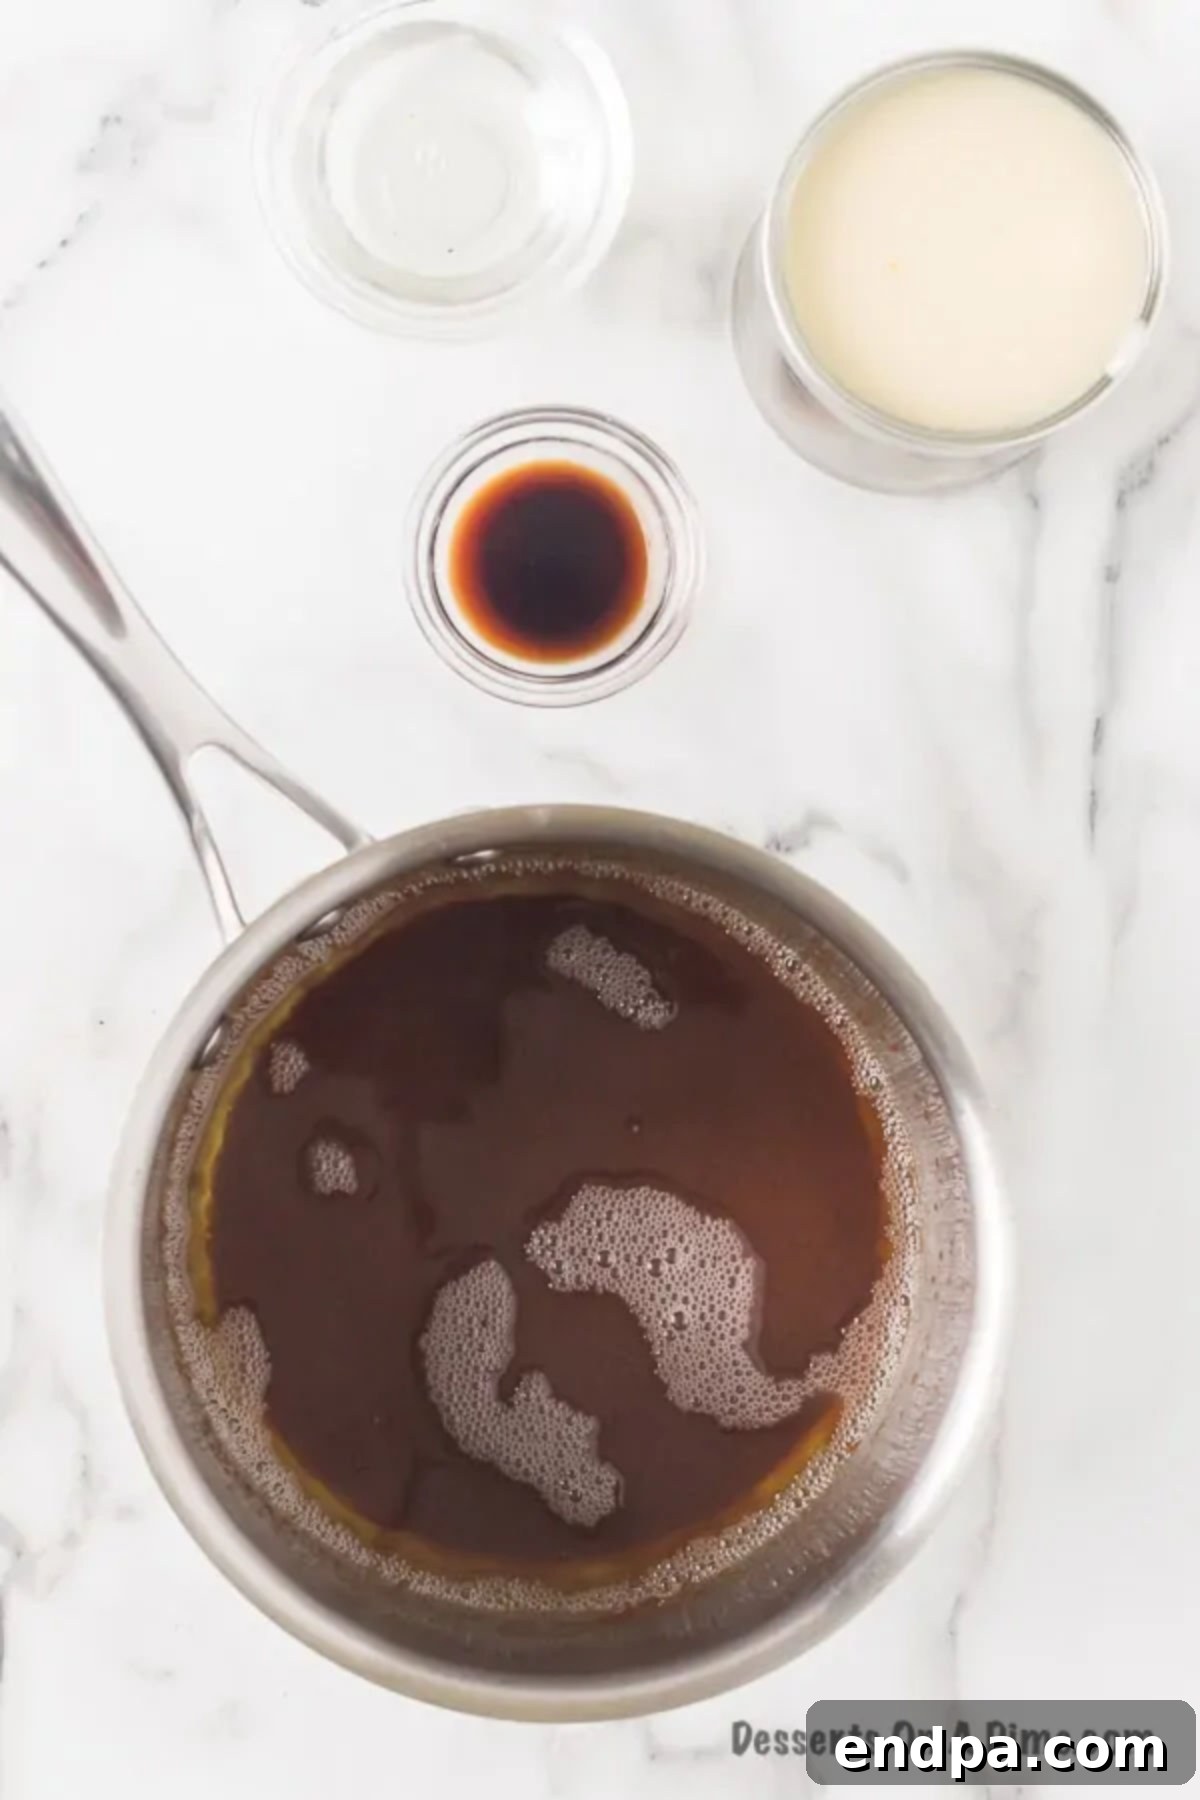
Step 7: Start the Caramel Topping. While the cheesecake is cooling, prepare your homemade caramel. In a medium saucepan over medium heat, combine the brown sugar and butter. Stir continuously with a whisk until the butter is fully melted and the brown sugar is completely dissolved. This base will form the rich foundation of your caramel.
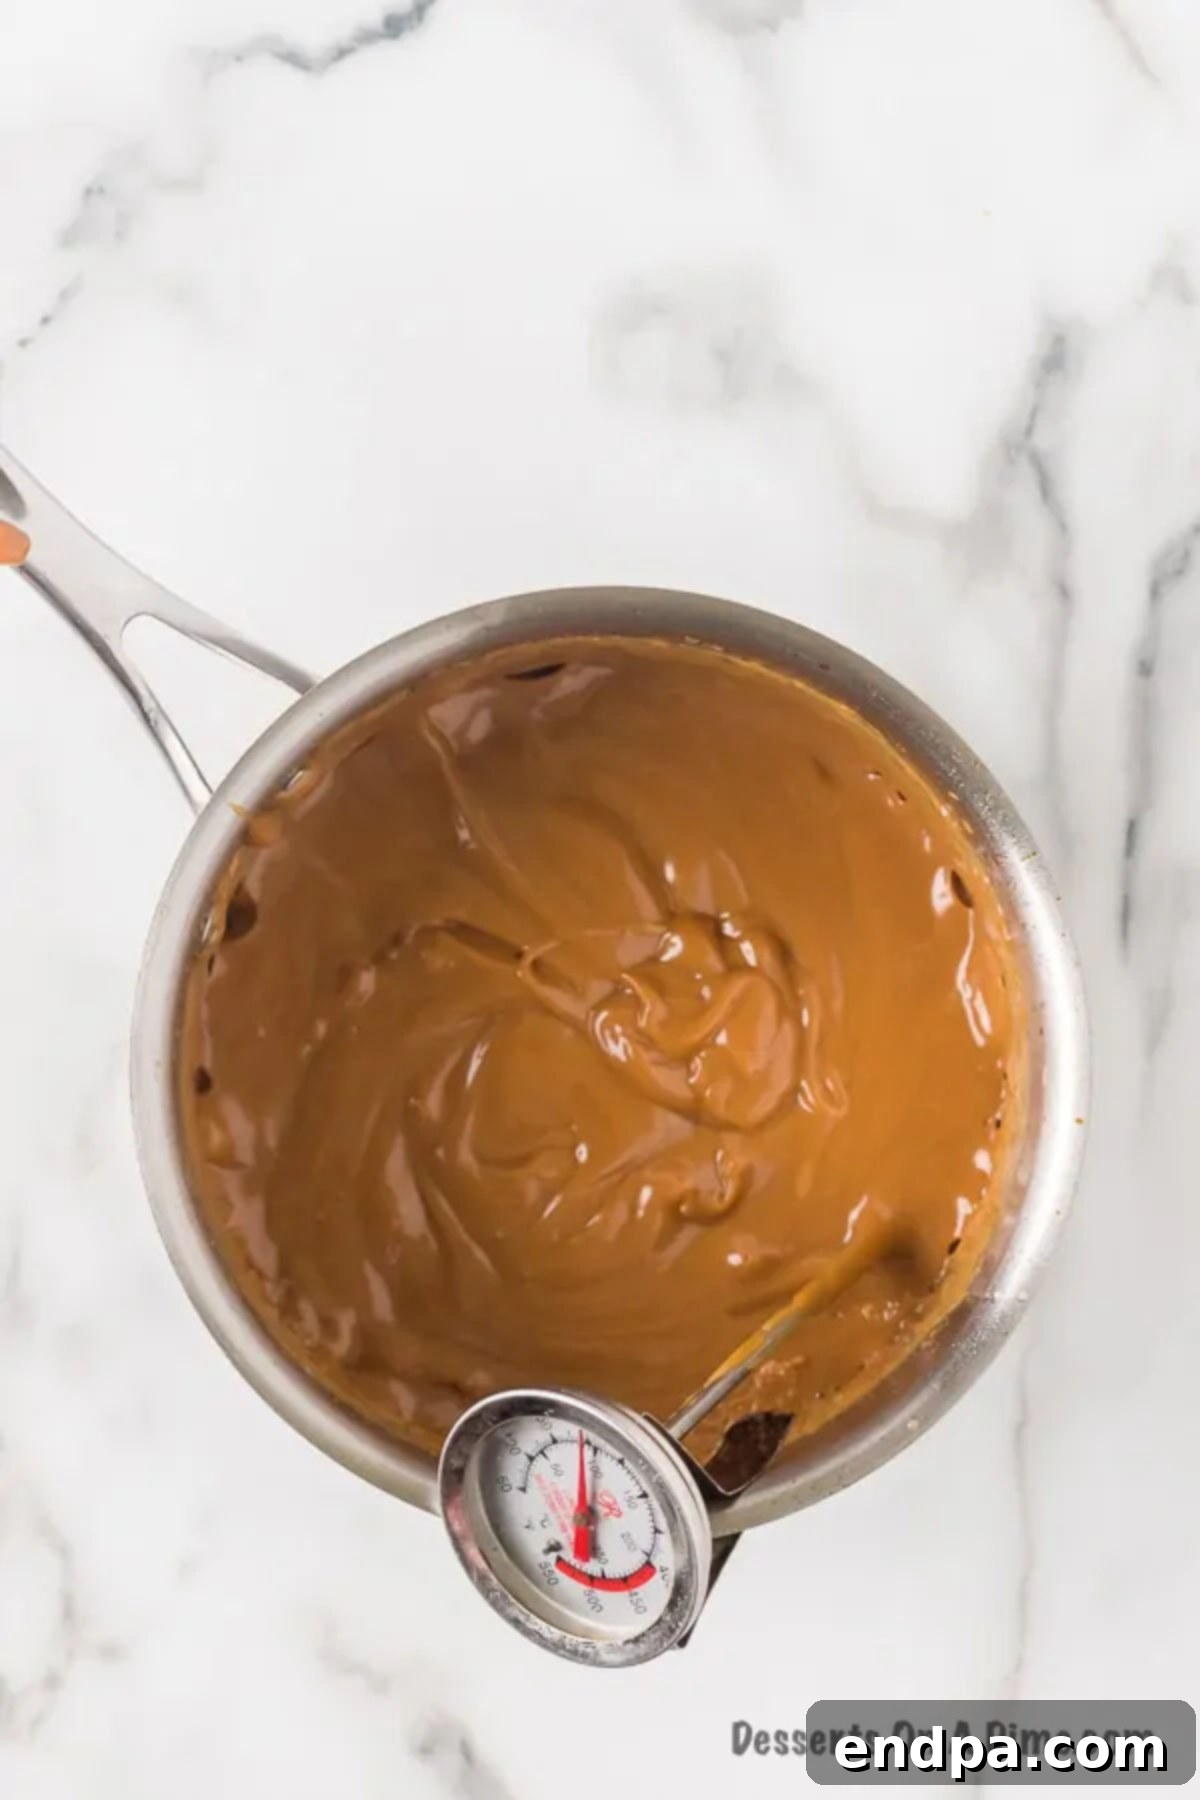
Step 8: Cook the Caramel to Perfection. Whisk in the sweetened condensed milk, corn syrup, and vanilla extract into the saucepan. Bring the mixture to a boil, continuing to stir constantly to prevent sticking and burning. Insert a candy thermometer into the caramel. Continue boiling and stirring until the caramel reaches 225°F (107°C), which is the soft ball stage. This temperature ensures the caramel will set perfectly on your cheesecake without being too hard or too runny. If you don’t have a thermometer, drop a small amount into cold water; it should form a soft, pliable ball.
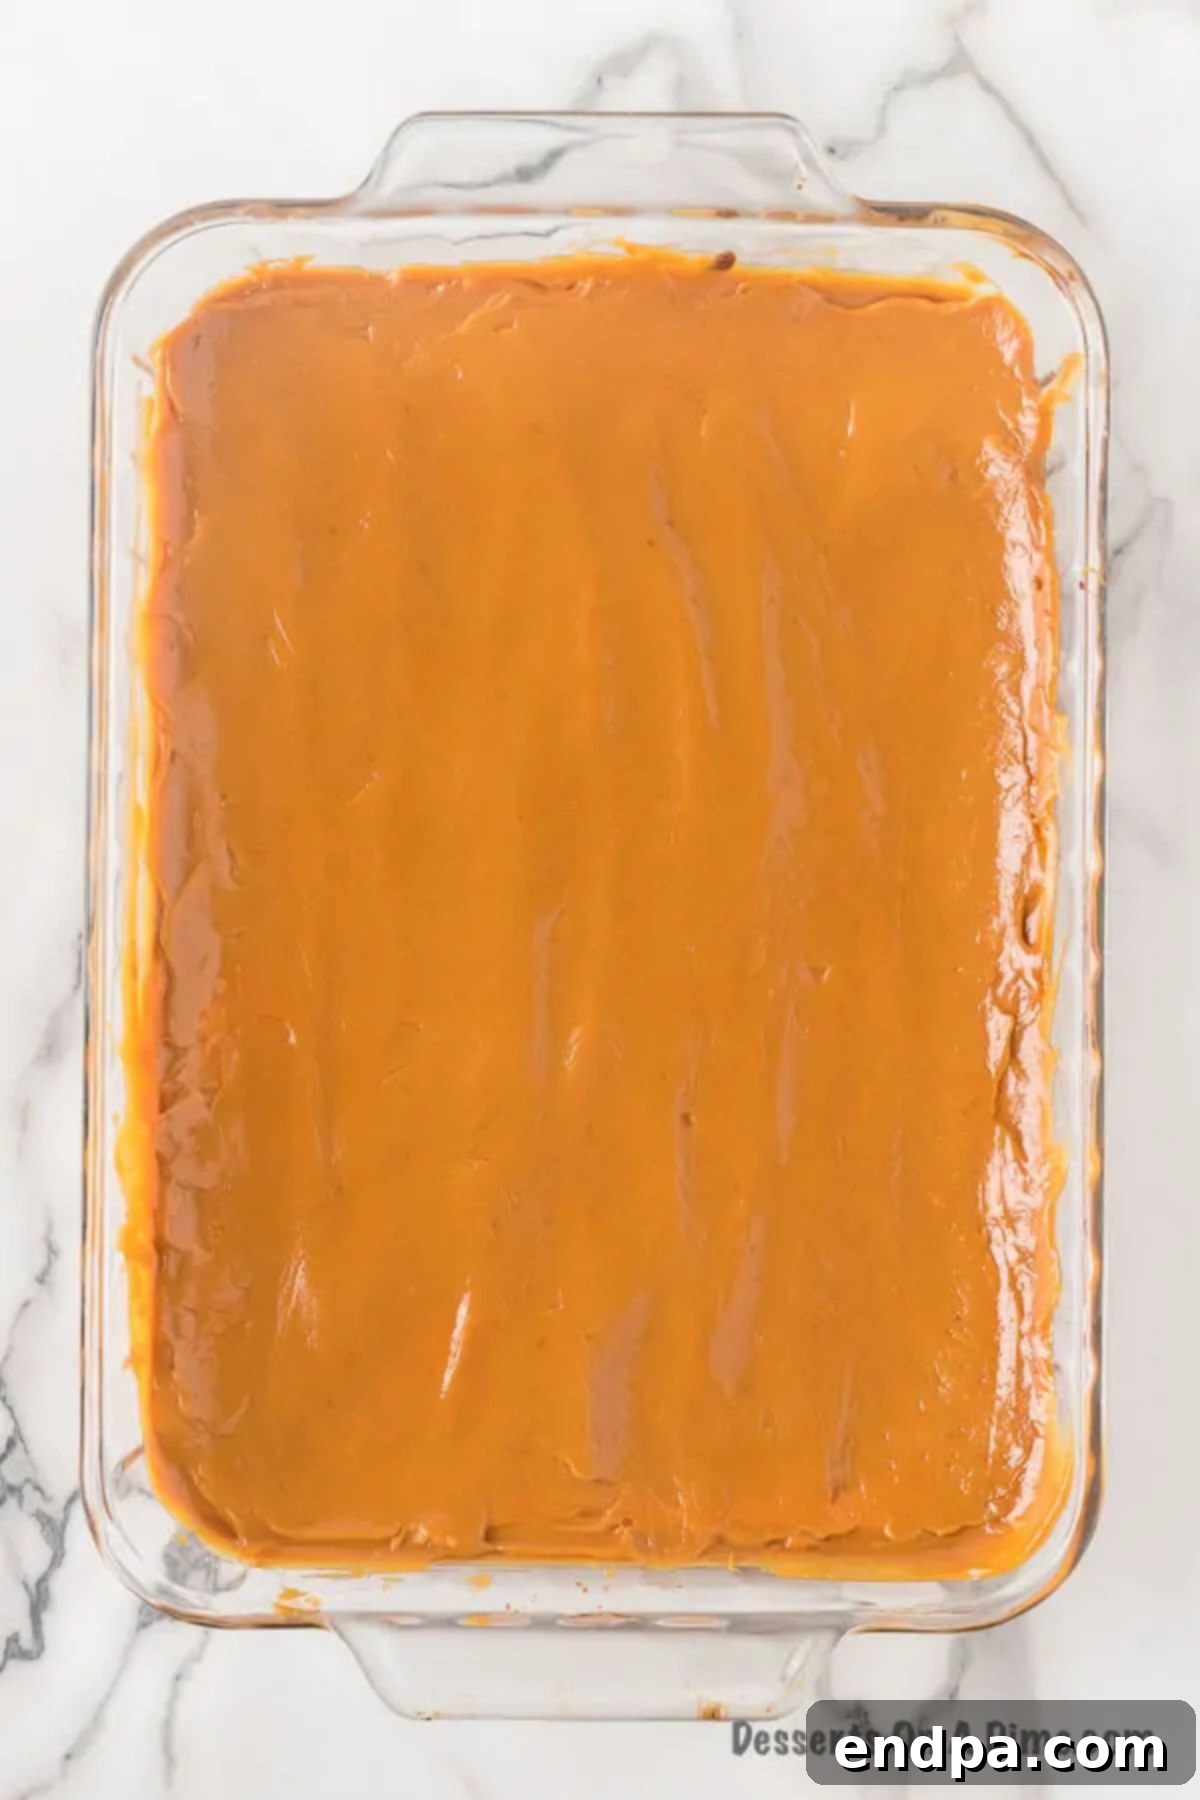
Step 9: Apply the Caramel. Once the caramel reaches the desired temperature, remove it from the heat and allow it to cool in the pan for 3-5 minutes. This brief cooling period helps it thicken slightly before pouring. Carefully pour the warm caramel topping over the cooled cheesecake layer. Use a spatula to gently spread it evenly across the entire surface.
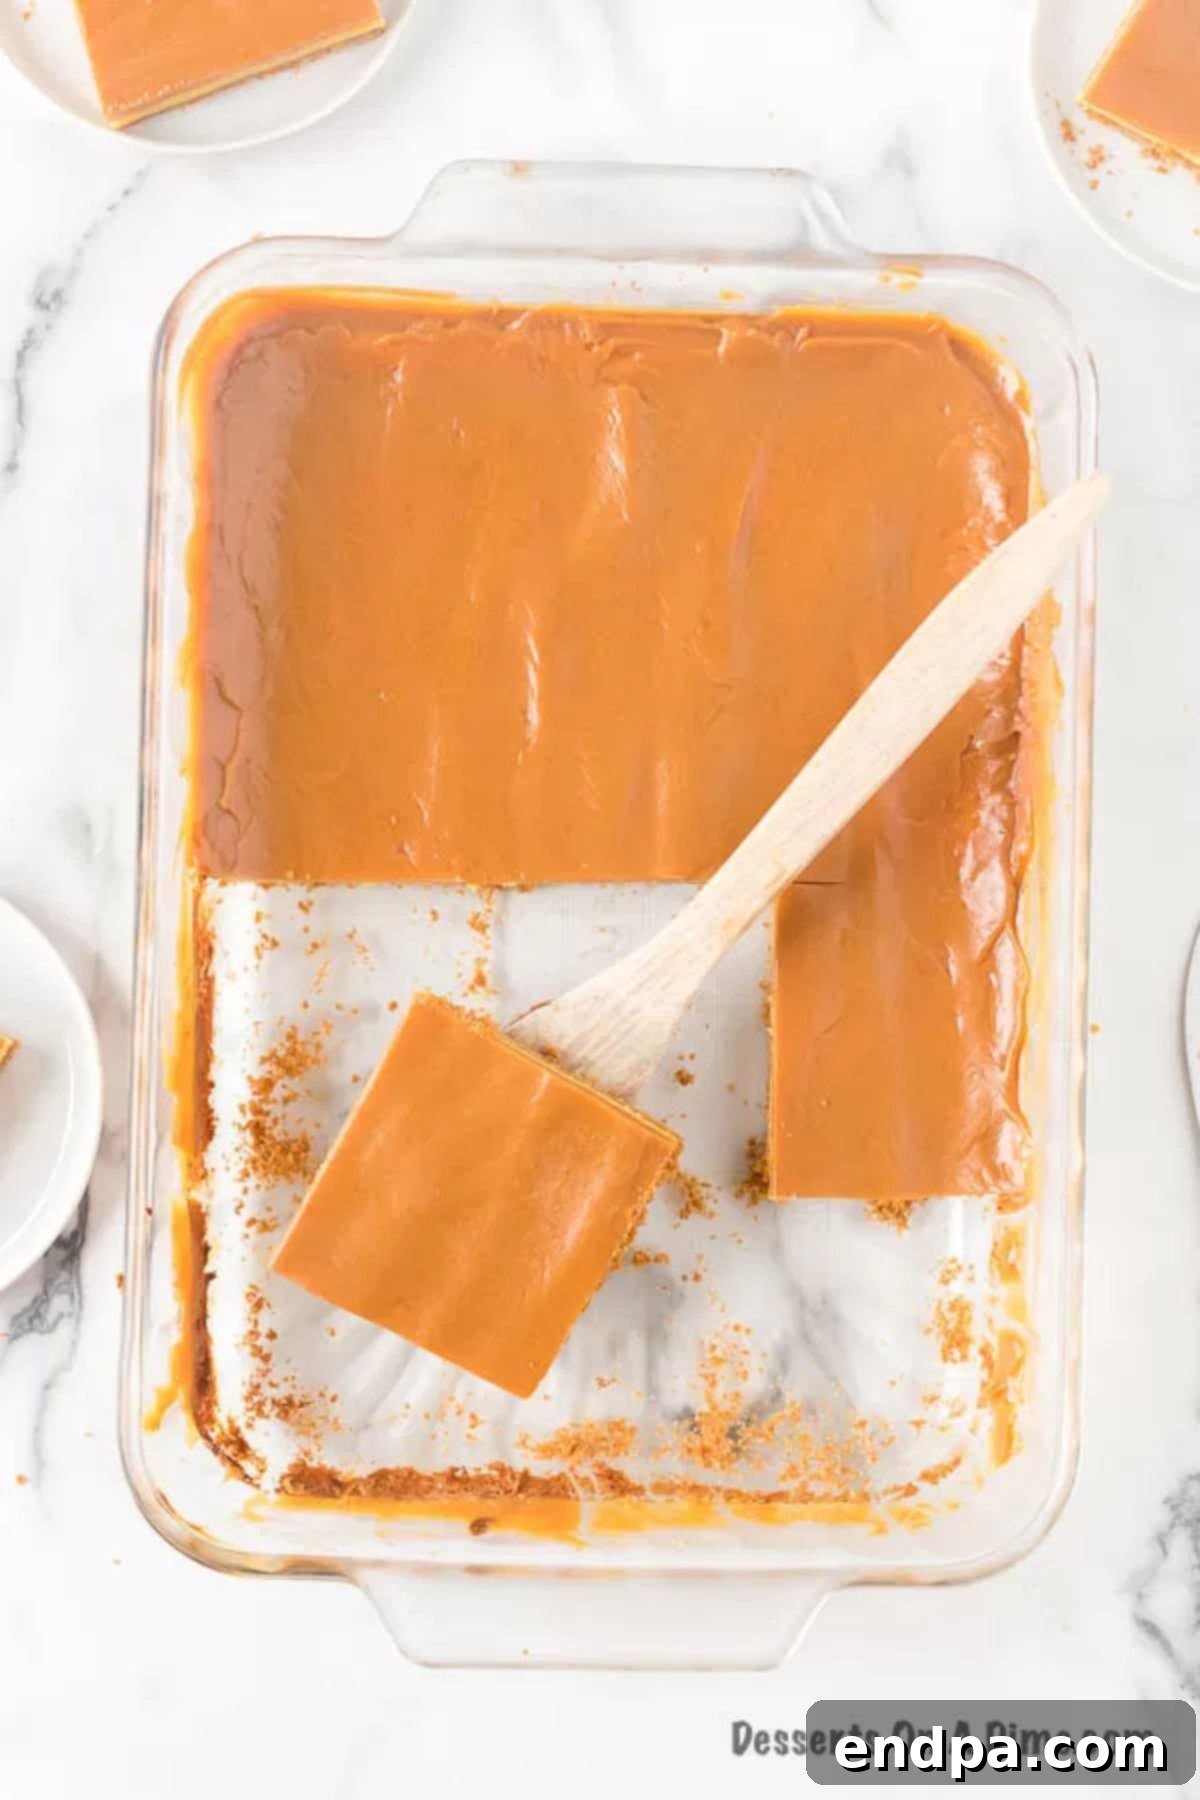
Step 10: Chill, Cut, and Serve. Allow the caramel-topped cheesecake bars to set completely. This is best achieved by chilling them in the refrigerator for at least 4 hours, or preferably overnight. Once fully chilled and firm, use a sharp knife (wiping it clean between cuts for neat edges) to cut the cheesecake into squares. Serve chilled and enjoy your spectacular homemade treat!
Pro Tips for Flawless Caramel Cheesecake Bars
Achieving bakery-quality caramel cheesecake bars is easier than you think with these expert tips:
- Crust Perfection: For an extra fine and uniform graham cracker crust, crush your graham crackers in a food processor. This ensures a consistent texture that presses beautifully. When pressing the crumbs into the pan, use the bottom of a flat-bottomed glass or measuring cup to create an even and compact layer. This prevents a crumbly crust when cutting.
- Room Temperature Ingredients are Key: Always ensure your cream cheese and eggs are at room temperature. Cold cream cheese will result in a lumpy batter, and cold eggs can cause the mixture to seize. Take them out of the refrigerator at least an hour before you plan to start baking.
- Don’t Overmix the Filling: Once you add the eggs and sour cream to the cream cheese mixture, mix just until combined. Overmixing can incorporate too much air, which can lead to cracks in your cheesecake as it bakes and cools. A slow, steady speed is best.
- Gentle Baking and Cooling: Cheesecake is delicate. The gradual cooling process (leaving it in the turned-off oven with the door ajar) is vital for preventing drastic temperature changes that can cause the cheesecake to crack. For an even more consistent bake and to minimize cracks, consider placing your baking pan in a larger roasting pan filled with about an inch of hot water (a water bath).
- Caramel Consistency: A candy thermometer is your best friend for caramel. It takes the guesswork out of reaching the perfect soft ball stage (225°F/107°C). If you don’t have one, the cold water test is a good alternative: drop a small amount of hot caramel into a cup of cold water; it should form a soft, pliable ball. Stir the caramel constantly to prevent burning, especially as it heats up.
- Clean Cuts: For perfectly neat squares, chill the cheesecake thoroughly for at least 4 hours, or overnight, before cutting. Dip a sharp knife in hot water and wipe it clean between each cut. This creates clean edges and prevents the caramel from sticking to the knife.
Storage and Make-Ahead Advice
These caramel cheesecake bars are excellent for making ahead, and they store beautifully, ensuring you can enjoy them for days.
- Refrigeration: Once cooled and topped with caramel, cover the baking dish tightly with plastic wrap or aluminum foil. Store the bars in the refrigerator for up to 4 days. The flavors actually meld and improve over time!
- Freezing: For longer storage, these bars freeze wonderfully. Once chilled and cut into individual squares, arrange them in a single layer on a baking sheet and freeze until firm (about 1-2 hours). Then, transfer the frozen bars to an airtight freezer-safe container, separating layers with parchment paper to prevent sticking. They can be stored in the freezer for up to 2-3 months. Thaw individual bars in the refrigerator for a few hours or at room temperature for about 30 minutes before serving.
Serving Suggestions
These delightful caramel cheesecake bars are fantastic on their own, but a few simple additions can elevate the experience even further. Serve them alongside a warm cup of coffee or a cold glass of milk for a comforting treat. For an extra special presentation, consider a small dollop of whipped cream or a scoop of vanilla bean ice cream. A light dusting of cocoa powder or a few fresh berries can also add a touch of color and freshness, though the caramel is truly the star here!
Frequently Asked Questions About Caramel Cheesecake Bars
Q: Can I use store-bought caramel sauce?
A: While homemade caramel offers superior flavor and texture, you can absolutely use a good quality store-bought caramel sauce for convenience. Just make sure it’s a thick, pourable caramel that will set nicely. You may want to gently warm it slightly before pouring for an even spread.
Q: How do I know when the cheesecake is fully baked?
A: The cheesecake is done when the edges are set and lightly golden, but the center still has a slight jiggle (like firm Jell-O). It will continue to set as it cools in the oven and then in the refrigerator. Avoid overbaking, as this can lead to a dry texture and cracks.
Q: My cheesecake cracked! What went wrong?
A: Cracks are usually caused by rapid temperature changes, overmixing the batter (which incorporates too much air), or overbaking. Ensure your ingredients are at room temperature, don’t overmix, and always follow the gradual cooling process outlined in the recipe (leaving it in the turned-off oven).
Q: Can I make these bars gluten-free?
A: Yes! Simply substitute regular graham cracker crumbs with gluten-free graham cracker crumbs. The rest of the ingredients in the recipe are naturally gluten-free, but always double-check labels to be safe.
Q: Can I make the caramel ahead of time?
A: The caramel topping can be made up to 3 days in advance. Store it in an airtight container in the refrigerator. When you’re ready to use it, gently rewarm it in a saucepan over low heat, stirring frequently, until it’s pourable again. Make sure it’s smooth before pouring over the cooled cheesecake.
Explore More Cheesecake Bar Recipes:
If you love the ease and deliciousness of these caramel cheesecake bars, you’ll want to try these other fantastic variations:
- Oreo Cheesecake Bars Recipe: A cookies and cream dream, perfect for chocolate lovers.
- Slutty Cheesecake Bars: Layers of cookie dough, Oreos, and cheesecake – a truly indulgent treat!
- German Chocolate Cake Cheesecake Bars: Combines the rich flavors of German chocolate cake with creamy cheesecake.
- Easy Peanut Butter Cheesecake Bites Recipe: Delicious, bite-sized peanut butter cheesecake delights.
We hope you enjoy making these easy salted caramel cheesecake bars as much as we do. Their irresistible flavor makes them a guaranteed hit for any occasion. Don’t hesitate to leave a comment below and let us know how your batch turned out!
