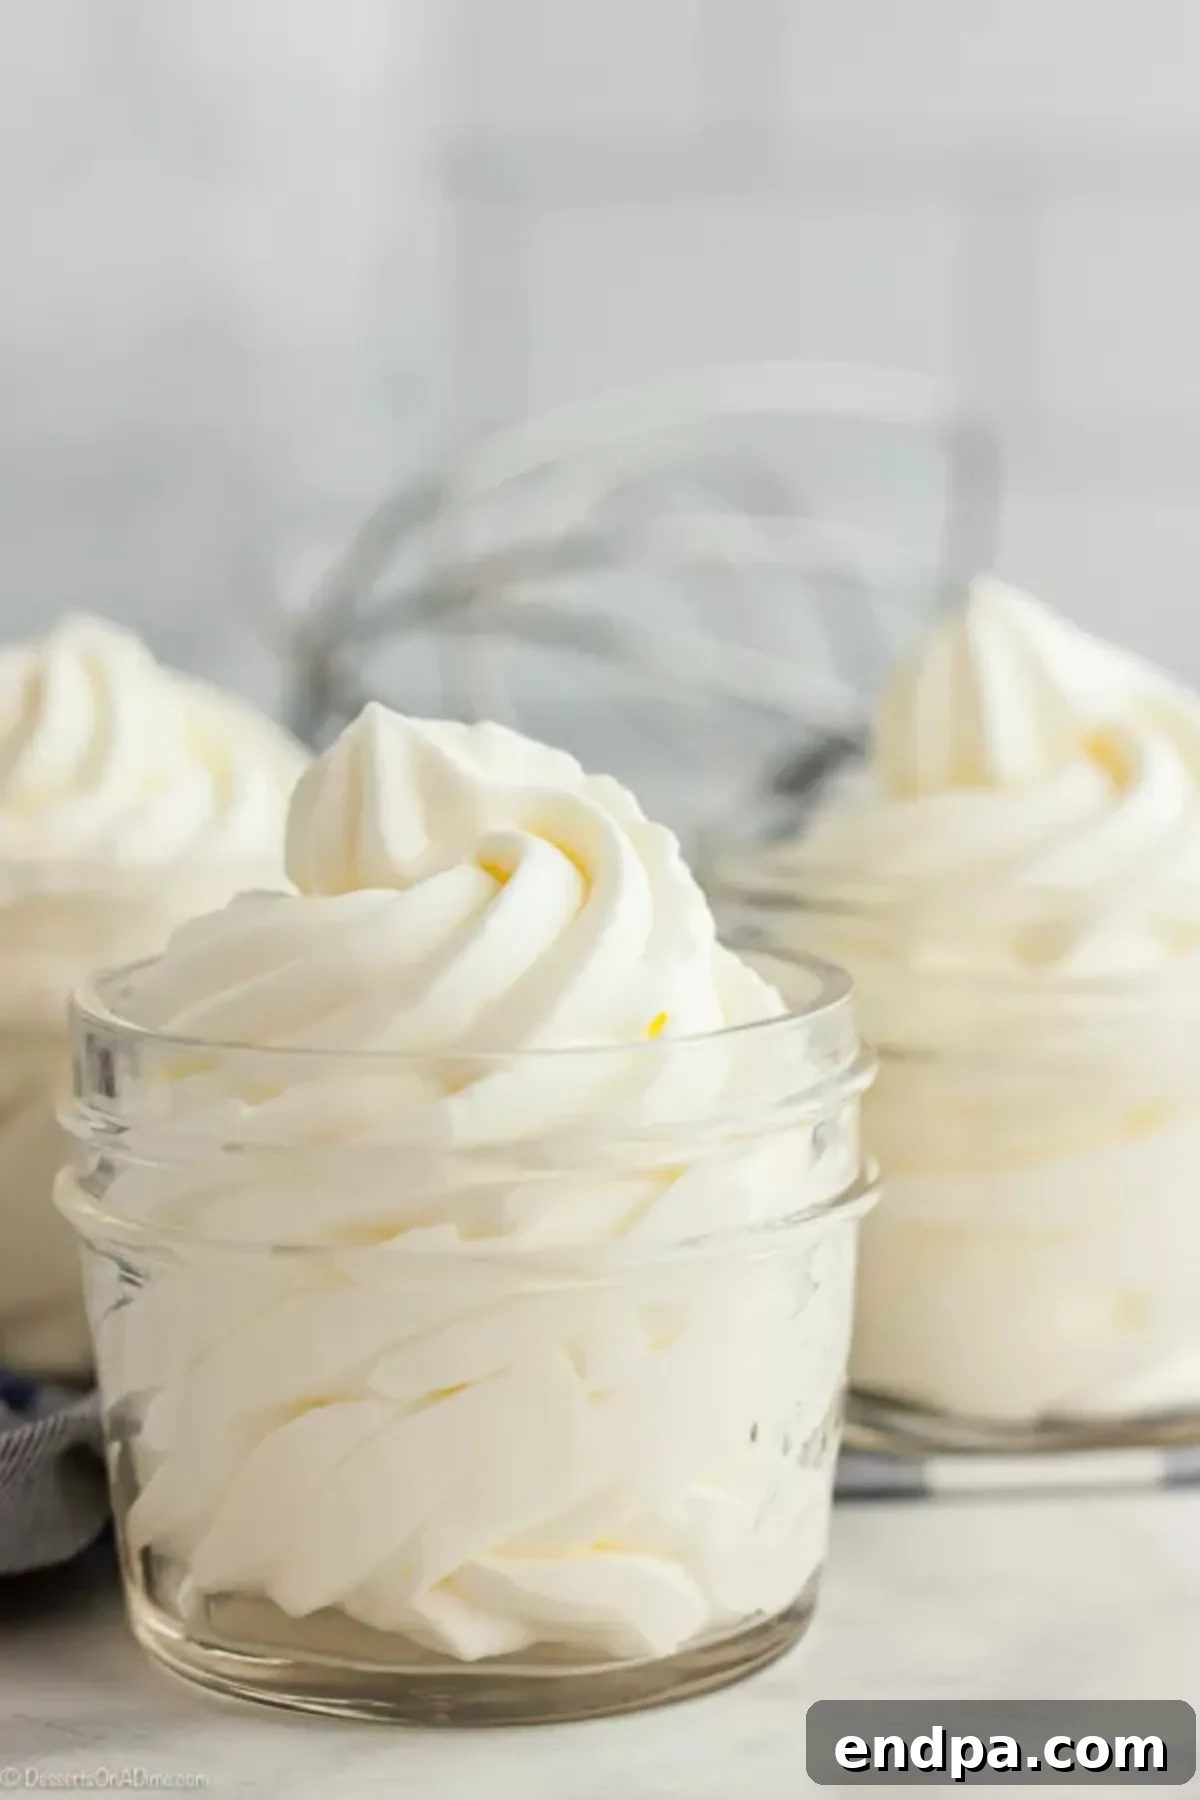
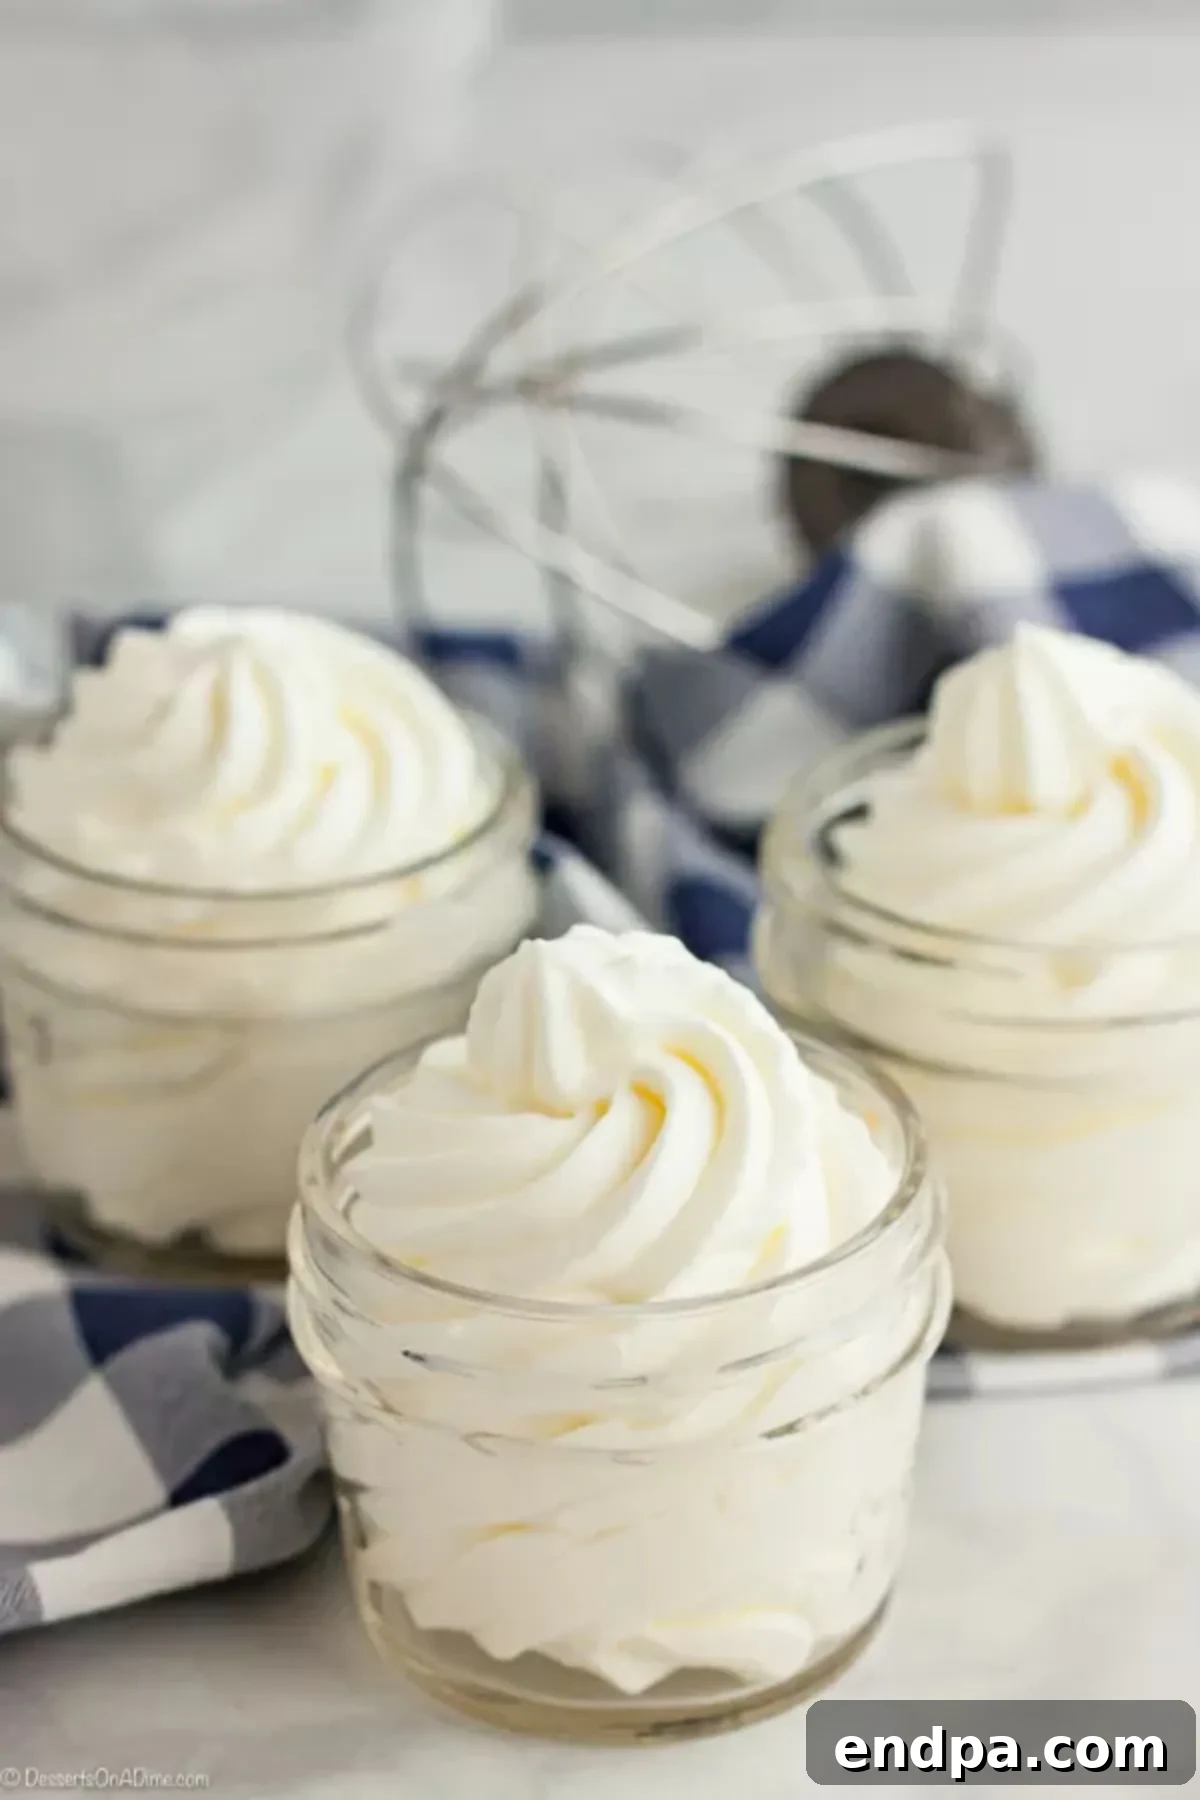
The Ultimate Guide to Homemade Whipped Cream: Easy, Delicious, and Versatile
Once you discover the unparalleled delight of this Homemade Whipped Cream Recipe, you’ll bid farewell to the store-bought alternatives forever. Not only is it incredibly simple to prepare, but its rich flavor and airy texture are also far superior to anything you can buy. This guide will walk you through everything you need to know to create perfect, luscious whipped cream every time.

Prepare to fall in love with this homemade whipped cream recipe. It’s bursting with fresh flavor and takes mere minutes to bring together. The difference in taste and quality is truly remarkable when you use this decadent topping in your favorite desserts. From enhancing a simple fruit salad to crowning an elaborate cake, homemade whipped cream adds an irresistible touch.
The culinary possibilities are truly endless. Imagine it dolloped atop a classic Easy Banana Pudding or swirled into an indulgent Oreo Dirt Cake. Using this simple recipe will undoubtedly elevate your homemade treats to an entirely new level of deliciousness.
Table of Contents
- Why Homemade Whipped Cream is a Game-Changer
- Just Two Simple Ingredients (Plus Optional Flavor Boosters!)
- The Star: Heavy Whipping Cream
- The Sweetener: Granulated vs. Confectioners’ Sugar
- Elevate Your Whipped Cream with Flavorful Additions
- Mastering the Art of Whipped Cream: Step-by-Step Instructions
- Essential Equipment for Perfect Whipped Cream
- Step-by-Step Whipping Process
- Avoiding Common Whipping Cream Mistakes
- Storing Your Homemade Whipped Cream
- Refrigeration Tips
- Freezing for Longer Freshness
- Endless Culinary Applications for Your Fresh Whipped Cream
- Frequently Asked Questions About Whipped Cream
- More Easy Homemade Sauce Recipes
Why Homemade Whipped Cream is a Game-Changer
There’s a reason why professional chefs and home bakers alike swear by homemade whipped cream: it’s simply better. Unlike its store-bought counterparts, which often contain stabilizers, artificial flavors, and excessive sugars, homemade whipped cream offers a pure, delicate flavor and an incredibly light, airy texture. With just two main ingredients, this recipe is accessible to everyone, regardless of their baking experience. Forget the aerosol cans and tubs of processed topping; once you experience the fresh, clean taste of homemade, you’ll never look back. It’s also surprisingly economical, making it a smart choice for both your palate and your wallet.
Just Two Simple Ingredients (Plus Optional Flavor Boosters!)
The magic of homemade whipped cream lies in its simplicity. You truly only need two core ingredients to achieve a perfect, fluffy topping. However, a few optional additions can elevate its flavor profile even further.
The Star: Heavy Whipping Cream
- Heavy Whipping Cream: This is the essential ingredient, and its quality makes all the difference. Ensure it is very cold when you start – this is crucial for successful whipping. The high fat content (typically 36% or more) in heavy whipping cream allows it to hold air and create those desirable stiff peaks. Cold cream helps the fat globules to emulsify and create a stable foam more efficiently.
The Sweetener: Granulated vs. Confectioners’ Sugar
- Granulated Sugar: This adds the perfect amount of sweetness. For a smooth texture, ensure it dissolves completely during whipping.
- Confectioners’ Sugar (Powdered Sugar): An excellent alternative to granulated sugar. Its fine texture dissolves instantly, preventing any graininess. A bonus is that confectioners’ sugar often contains a small amount of cornstarch, which can subtly help stabilize the whipped cream, making it hold its shape a bit longer.
The complete list of ingredients and their precise measurements can be found in the recipe card at the bottom of this page.
Elevate Your Whipped Cream with Flavorful Additions
While delicious on its own, homemade whipped cream is also a fantastic canvas for additional flavors. Experiment with these optional ingredients to customize your topping:
- Vanilla Extract: A splash of pure vanilla extract enhances the cream’s natural sweetness and adds a warm, aromatic depth. It’s almost always a welcome addition.
- Almond Extract: For a nutty, more sophisticated flavor, try a tiny bit of almond extract. Use sparingly, as it can be potent.
- Cocoa Powder: Sift in unsweetened cocoa powder for a rich chocolate whipped cream, perfect for hot cocoa or chocolate desserts.
- Citrus Zest: Finely grated lemon, orange, or lime zest can add a bright, fresh note to your whipped cream, especially lovely with fruit-based desserts.
- Spices: A pinch of cinnamon, nutmeg, or pumpkin pie spice can make your whipped cream ideal for fall and winter treats.
- Liqueurs: A tablespoon of Grand Marnier, Kahlúa, or rum can transform plain whipped cream into an adult-friendly topping for cocktails or sophisticated desserts.
Mastering the Art of Whipped Cream: Step-by-Step Instructions
Achieving perfect whipped cream is a straightforward process, but a few key tips can ensure flawless results every time. Here’s how to do it:
Essential Equipment for Perfect Whipped Cream
The right tools can make all the difference:
- Mixing Bowl: A large, deep bowl is ideal to prevent splatters.
- Electric Mixer (Stand or Handheld): A stand mixer with a whisk attachment is the easiest method, doing all the work for you. A handheld electric mixer also works wonderfully.
- Whisk (for hand whipping): If you don’t have an electric mixer, a good old-fashioned whisk and some elbow grease will get the job done, though it takes more time and effort.
The most important equipment tip? Ensure your mixing bowl and whisk attachment are thoroughly chilled. Pop them in the freezer for about 15-20 minutes before you begin. This cold environment helps the cream whip up faster and hold its shape better.
Step-by-Step Whipping Process
- Chill Your Tools: Place your metal mixing bowl and whisk attachment (or hand mixer beaters) in the freezer for at least 15 minutes before you begin. This initial chill is key to achieving light, fluffy whipped cream quickly.
- Combine Ingredients: Pour the very cold heavy whipping cream into the chilled mixing bowl. Add your granulated sugar (or confectioners’ sugar) and any optional flavorings like vanilla extract.
- Start Whipping: Begin whisking on low speed, gradually increasing to medium-high. This slow start helps prevent splattering. Continue to whisk, moving the mixer around the bowl, occasionally scraping down the sides with a rubber spatula to ensure all the cream is incorporated.
- Watch for Stiff Peaks: As you whisk, the cream will start to thicken. First, it will reach “soft peaks” – when you lift the whisk, the cream will form peaks that gently flop over. Continue whipping until “stiff peaks” form – when you lift the whisk, the peaks will stand up straight without collapsing. This usually takes about 3-5 minutes with an electric mixer, but can vary. Be careful not to over-whip.
- Serve Immediately: For the freshest taste and best texture, serve your homemade whipped cream right after making it.
Avoiding Common Whipping Cream Mistakes
Even with simple recipes, a few pitfalls can occur. Here’s how to avoid them:
- Warm Ingredients/Tools: This is the most common mistake. Warm cream simply won’t whip properly and will take much longer, if it whips at all. Always start with very cold cream and chilled equipment.
- Under-Whipping: If your whipped cream is too soft and runny, it simply hasn’t been whipped long enough. Continue whisking until it reaches stiff peaks.
- Over-Whipping: This is when whipped cream turns grainy or separates into butter and buttermilk. It’s easily done if you don’t watch carefully. If you over-whip slightly, you might be able to save it by slowly adding a tablespoon or two of un-whipped cold heavy cream and gently folding it in until the texture smooths out. If it’s gone too far, you’ve essentially made butter!

Storing Your Homemade Whipped Cream
While homemade whipped cream is best enjoyed fresh, you can store it for a short period and even freeze it for longer-term use.
Refrigeration Tips
Store leftover whipped cream in an airtight container or a jar with a lid in the refrigerator. It’s best to use it within 8 hours of making it, as it will naturally start to soften and flatten over time. If your refrigerated whipped cream starts to lose its volume, a quick re-whisk with a hand whisk can often bring it back to life. Just a few gentle strokes can restore its fluffy texture, making it look and taste freshly made.
Freezing for Longer Freshness
Yes, you can freeze whipped cream! This is a fantastic trick for always having a dollop ready for your desserts. To freeze:
- Line a baking sheet with parchment paper.
- Using a piping bag or a spoon, dollop or pipe rosettes of whipped cream onto the parchment paper.
- Place the baking sheet in the freezer until the whipped cream is solid (about 2-3 hours).
- Once frozen, transfer the individual whipped cream dollops to a freezer-safe bag or airtight container.
Frozen whipped cream can be stored for up to 2-3 months. When ready to use, simply take out the desired amount and let it defrost at room temperature for a few minutes. It’s perfect for topping hot drinks or desserts where a slightly softer texture is acceptable.
Endless Culinary Applications for Your Fresh Whipped Cream
The versatility of this easy homemade whipped cream recipe knows no bounds. Here are some favorite ways to incorporate it into your cooking and baking, transforming everyday treats into extraordinary delights:
- Dessert Topping: The most classic use! Pile it high on pies, tarts, and cakes.
- 3 Ingredient Snicker Apple Salad Recipe
- No Bake Oreo Pie Recipe
- Chocolate Cherry Dump Cake
- Banana Pudding Poke Cake Recipe
- Eagle Brand Pumpkin Pie
- Ice Cream Sundaes and milkshakes
- Fruit cobblers, crisps, and crumbles
- Breakfast & Brunch Enhancer:
- Pancakes and waffles
- French toast
- Crepes
- Fruit & Parfaits:
- Top your favorite fruit salad – especially delicious with fresh berries like blueberries, peaches, and strawberries.
- Layer it with granola and fruit for a quick parfait.
- Beverage Booster:
- Swirl into hot cocoa or coffee.
- Top iced coffees and specialty drinks.
- Filling & Frosting:
- Use as a light, ethereal filling for cakes, trifles, and cream puffs.
- Fold into mousse or puddings for an even lighter texture.
- It can even serve as a delicate “frosting” for cupcakes when you want something less heavy than buttercream.
Frequently Asked Questions About Whipped Cream
How long does Homemade Whipped Cream Last?
For optimal freshness and texture, homemade whipped cream is best enjoyed within 8 hours. After this time, it tends to lose its volume and flatten out. If it does begin to flatten, you can usually re-whisk it with a hand whisk for a minute or two to restore its fluffiness, making it look and taste like it was just made.
What are the differences between different types of creams?
Navigating the dairy aisle can sometimes be confusing with options like half-and-half, whipping cream, and heavy whipping cream. The key distinction lies in their fat content. Half-and-half has the lowest fat content (typically 10.5-18%), while heavy whipping cream contains the highest (36% or more). Whipping cream falls in between, with usually 30-35% fat. To successfully whip cream into a stable, airy topping, a high fat content is essential. Heavy whipping cream consistently yields the best results, creating firm, long-lasting peaks. While whipping cream will whip, it tends to flatten out more quickly due to its slightly lower fat content. Half-and-half, with its minimal fat, simply won’t whip at all.
Can I use Confectioner’s Sugar instead of Granulated Sugar?
Absolutely! Confectioners’ sugar (also known as powdered sugar) is an excellent substitute for granulated sugar in this recipe. Its ultra-fine texture dissolves instantly, ensuring a silky-smooth whipped cream with no graininess. An added benefit is that confectioners’ sugar often contains a small amount of cornstarch, which can act as a natural stabilizer, helping the whipped cream hold its shape a bit longer.
How to Make Whipped Cream with Half and Half?
Unfortunately, half-and-half is not suitable for making whipped cream. It lacks the necessary fat content to create a stable foam. For successful whipped cream, you need to use heavy whipping cream, which has a fat percentage of 36% or higher.
How to Whip Cream by Hand?
While an electric stand mixer or hand mixer makes the process much quicker and easier, you can certainly whip cream by hand! The principle is the same: start with a very cold mixing bowl and a cold whisk. Vigorously whisk the cream and sugar in a circular motion until stiff peaks form. It will take more time and effort, but the result will be just as delicious. Both methods yield great results, though the stand mixer does take away all the arm work!
How much whipped cream does 1 cup heavy whipping cream make?
Heavy whipping cream approximately doubles in volume when whipped. So, 1 cup of heavy whipping cream will yield roughly 2 cups of whipped cream. Consequently, 2 cups of heavy whipping cream will produce about 4 cups of whipped cream, and so forth.
What to do if your whipped cream curdles?
If your whipped cream starts to look lumpy or curdled, it means you’ve over-whipped it. Don’t despair! You might be able to salvage it. Gradually add 1 tablespoon of un-whipped, cold heavy cream at a time, and gently fold it into the over-whipped cream until it returns to your desired smooth texture. Mix carefully to avoid further over-whipping.
Can you Freeze Homemade Whipped Cream?
Yes, you absolutely can! To freeze, dollop or pipe mounds of whipped cream onto a parchment-lined baking sheet and freeze until solid. Once frozen, transfer the individual portions to a freezer-safe bag or airtight container. It will keep for 2-3 months. Defrost at room temperature for a few minutes before enjoying, though its texture might be slightly softer than freshly made.
Can you replace Cool Whip with Homemade Whipped Cream?
Yes, homemade whipped cream is a fantastic, natural substitute for Cool Whip in almost any recipe. Simply use the same amount specified for Cool Whip in the recipe, and your dessert will undoubtedly turn out beautifully, often with a superior flavor and texture. Many prefer the real cream taste of homemade over the often artificial taste of Cool Whip.
How to make stabilized whipped cream?
To make whipped cream hold its shape longer, especially for piping or sitting out at room temperature, you can stabilize it. The most common methods include:
- Unflavored Gelatin: Dissolve a small amount of unflavored gelatin in cold water, then gently heat until clear. Let it cool slightly before whisking it into your nearly finished whipped cream.
- Confectioners’ Sugar: As mentioned, the cornstarch in confectioners’ sugar provides a mild stabilizing effect.
- Cornstarch: A small amount of cornstarch (about 1 teaspoon per cup of cream) can be whisked in with the sugar.
These starches or gelatin help create a more robust structure, preventing the whipped cream from deflating quickly.
More Easy Homemade Sauce Recipes
If you’ve enjoyed making your own whipped cream, you’ll love these other simple homemade sauce and topping recipes that are sure to impress:
- Homemade Butterscotch Sauce: A rich and buttery topping for ice cream or puddings.
- Easy Homemade Hot Fudge Sauce: Indulgent and decadent, perfect for sundaes.
- Strawberry Sauce Recipe: Bright, fruity, and fresh – fantastic on anything from cheesecakes to pancakes.
- Homemade Caramel Sauce Recipe: Sweet, sticky, and utterly irresistible.
Homemade Whipped Cream
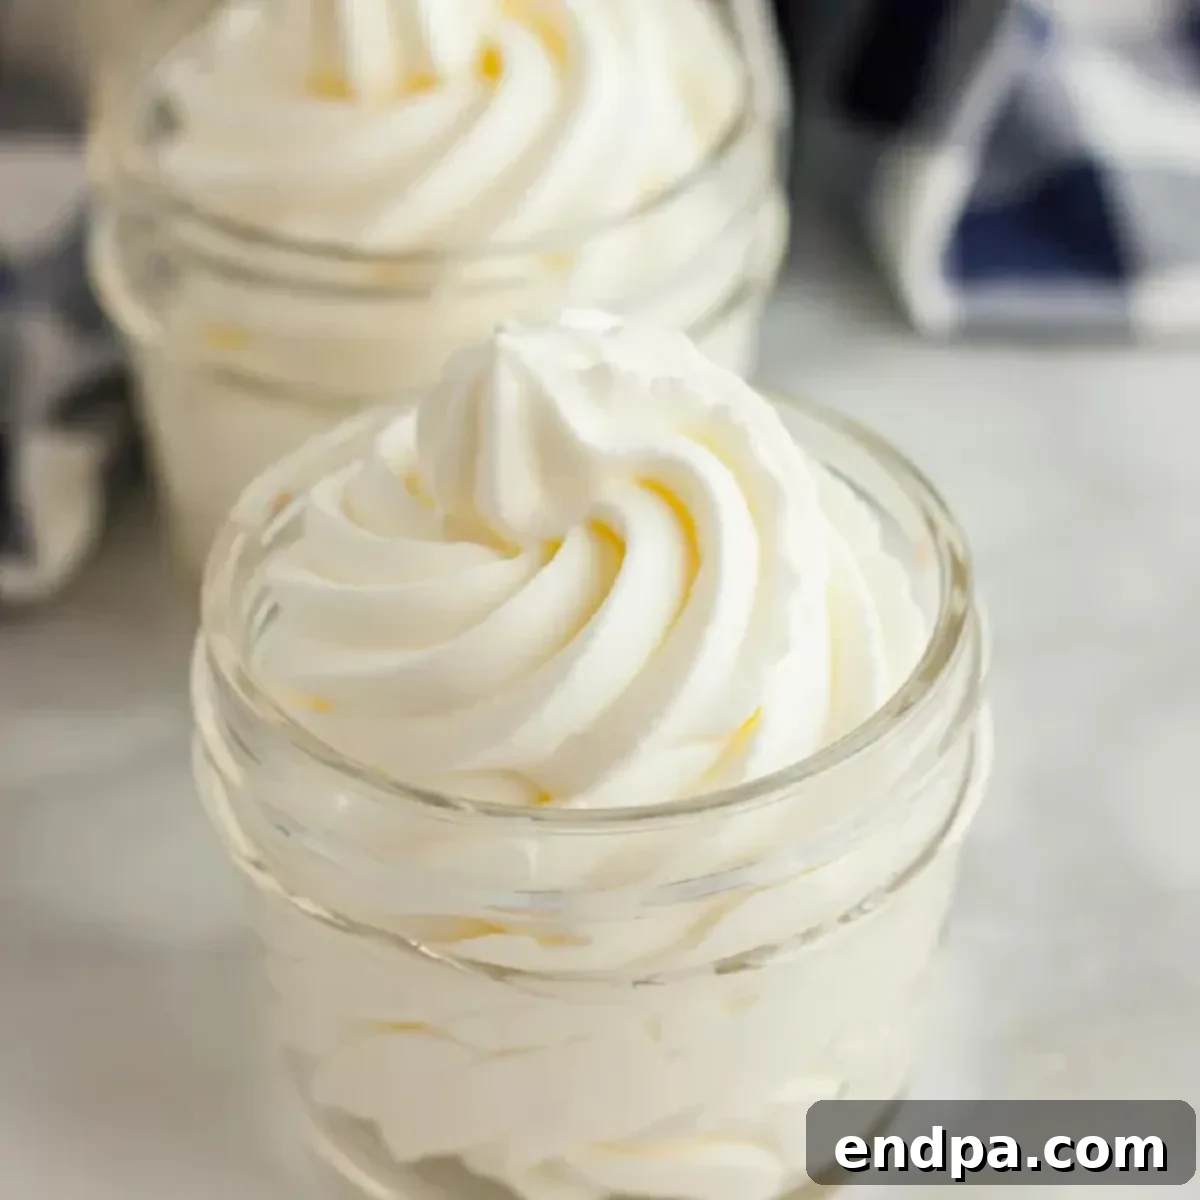
Once you try this Homemade Whipped Cream recipe, you will never go back to buying store-bought whipped cream. Not only is this easy to make, but it tastes so much better. Give this a try and see how amazing it is.
Prep Time: 15 mins
Total Time: 15 mins
Servings: 12
Cuisine: American
Course: Dessert
Calories: 76 kcal
Author: Carrie Barnard
Ingredients
- 2 tbsp Sugar (granulated or confectioners’)
- 1 cup Heavy Whipping Cream (very cold)
- Optional: 1 tsp Vanilla Extract
Instructions
- Make sure your mixing bowl and whisk attachment (or hand mixer beaters) are very cold. I like to place them in the freezer for about 15-20 minutes.
- Pour the very cold heavy whipping cream into the chilled mixing bowl. Add the sugar and any optional vanilla extract.
- Begin whisking on low speed, gradually increasing to medium-high. Continue to whisk until the cream forms stiff peaks – when you lift the whisk, the peaks should stand upright. Be careful not to over-whip.
- Serve immediately for the best texture and flavor.
- If storing, use within 8 hours. If it starts to flatten out, you can gently re-whisk it by hand to restore its volume. It’s that easy!
Nutrition Facts (per serving)
- Calories: 76 kcal
- Carbohydrates: 3g
- Protein: 1g
- Fat: 7g
- Saturated Fat: 5g
- Cholesterol: 27mg
- Sodium: 8mg
- Potassium: 15mg
- Sugar: 2g
- Vitamin A: 292IU
- Vitamin C: 1mg
- Calcium: 13mg
(Nutritional information is an estimate and may vary.)
Making homemade whipped cream is a simple pleasure that elevates any dessert or beverage. Its fresh taste, light texture, and incredible versatility make it a must-have skill for any home cook. We encourage you to try this recipe today and experience the difference for yourself. You’ll wonder why you ever settled for anything less!
If you create this luscious homemade whipped cream, please come back and leave a comment and a star rating! We love hearing from you.
