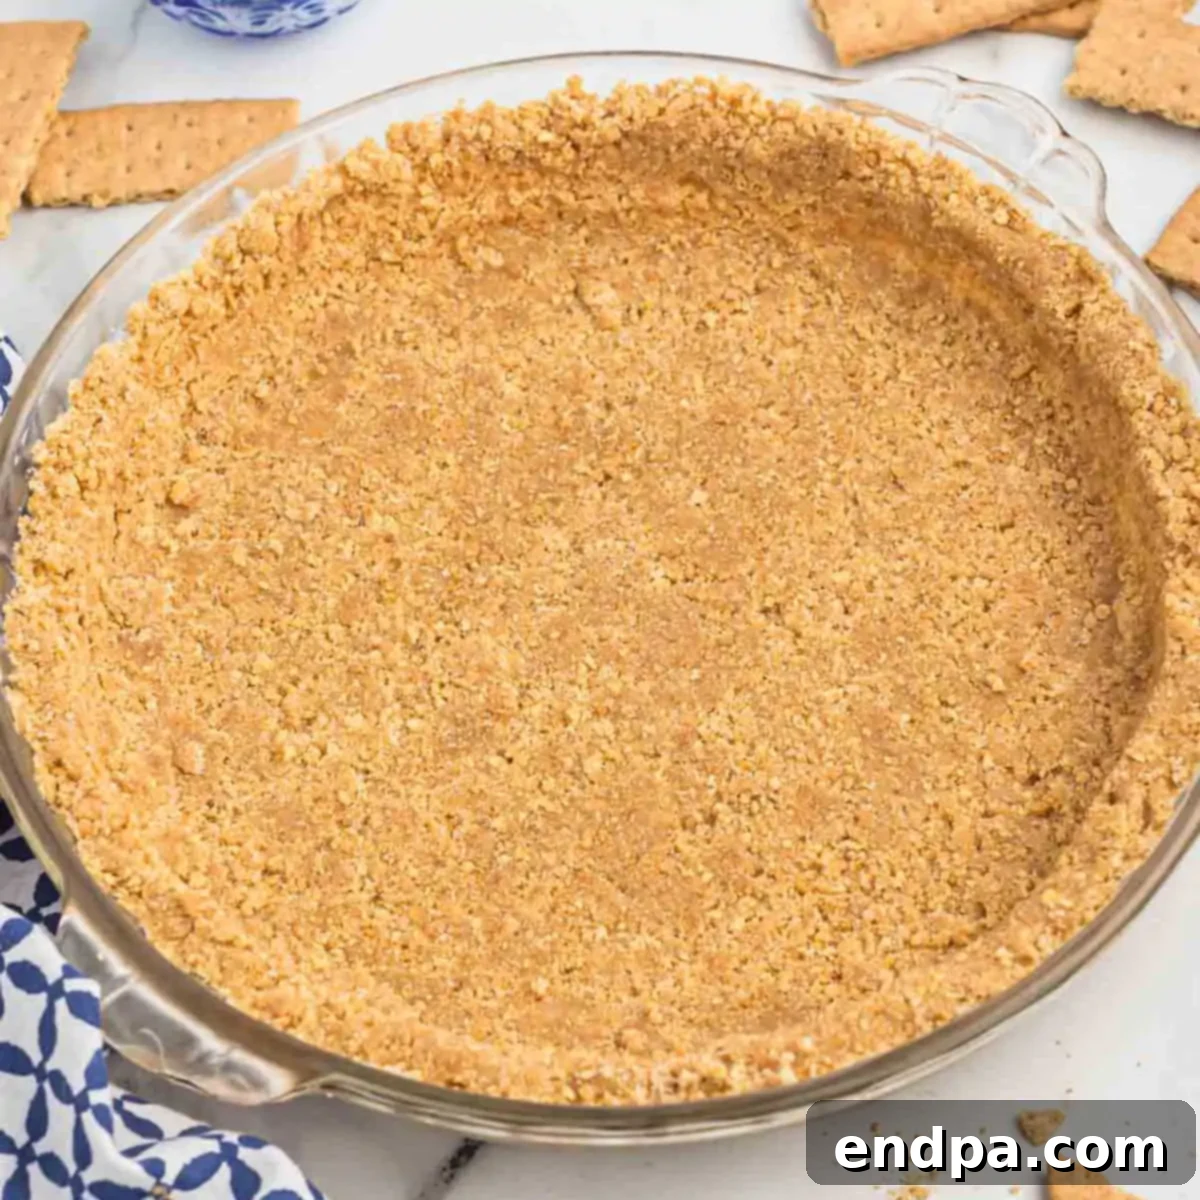
Are you ready to elevate your homemade desserts with a base that’s truly irresistible? Forget those lackluster store-bought pie crusts and learn how to make graham cracker crust from scratch. This simple recipe takes mere minutes to prepare and yields a buttery, perfectly sweet, and delightfully crisp foundation for any pie, cheesecake, or dessert bar. Once you try this homemade version, you’ll wonder why you ever settled for anything less. It’s the absolute perfect graham cracker crust, designed to make your desserts shine with authentic flavor and texture.
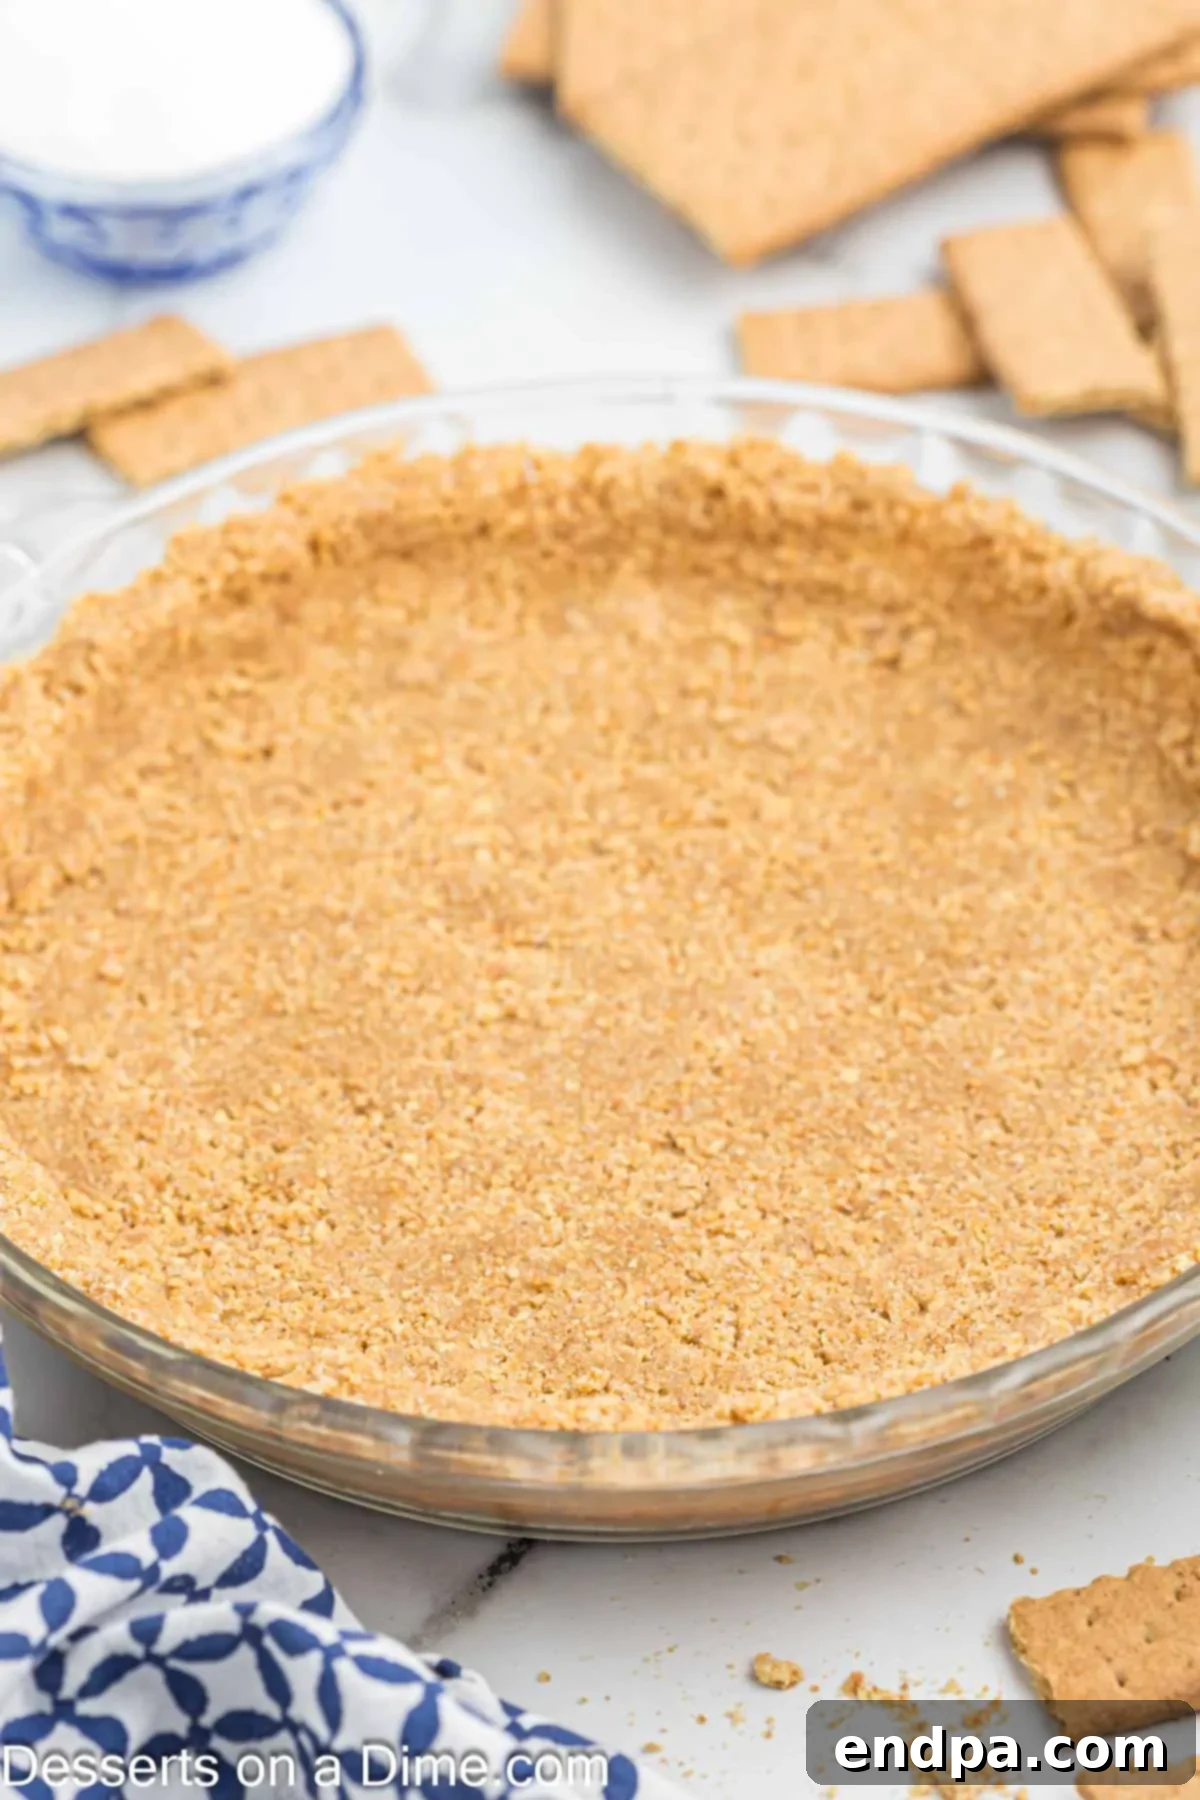
The Ultimate Easy Homemade Graham Cracker Crust Recipe
A classic graham cracker crust has always been a beloved choice for its unique texture and inviting flavor profile. There’s an undeniable magic in that delicious combination of finely crushed graham crackers and rich melted butter that seamlessly transforms into a delectable crust. This versatile base complements an extensive range of pie recipes, from creamy no-bake cheesecakes to tangy key lime pies, and even refreshing ice cream desserts. While I also enjoy a versatile 3-ingredient pie crust for certain recipes, the graham cracker variety holds a special place in the hearts of many dessert enthusiasts, offering a distinct, slightly spiced sweetness and satisfying crunch that’s hard to beat.
Table of Contents
- Why Choose Homemade Graham Cracker Crust?
- The Simple Ingredients You’ll Need
- Essential Equipment for Your Crust
- Step-by-Step: How to Make Graham Cracker Pie Crust
- Expert Pro Tips for Perfection
- Common Questions About Graham Cracker Crusts (FAQs)
- Dessert Ideas Using Graham Cracker Crust
Why Choose Homemade Graham Cracker Crust?
There’s a significant, noticeable difference in taste and overall quality when comparing a homemade graham cracker crust to its store-bought counterparts. While the allure of convenience is often tempting, the minimal effort required for this simple recipe is far outweighed by the superior flavor and texture you achieve. Store-bought crusts can frequently be bland, dry, or even taste a little stale, lacking that fresh, buttery richness and the signature subtly spiced flavor of graham crackers. A homemade crust, on the other hand, is vibrant with the taste of fresh butter, perfectly sweetened to complement any filling, and boasts an ideal balance of crispness and tender melt-in-your-mouth quality.
You can literally whip up this delightful crust in less time than it takes to drive to the grocery store and pick up a pre-made alternative. This guarantees unparalleled freshness and allows you to control the quality of every ingredient. Furthermore, knowing you’ve created a key, foundational component of your dessert from scratch adds an extra layer of satisfaction and pride to your baking endeavors. It’s a foundational skill that opens up a world of delicious possibilities, allowing for endless customization and a consistently superior culinary experience every single time. Elevate your desserts from good to unforgettable with this easy, homemade solution!
The Simple Ingredients You’ll Need
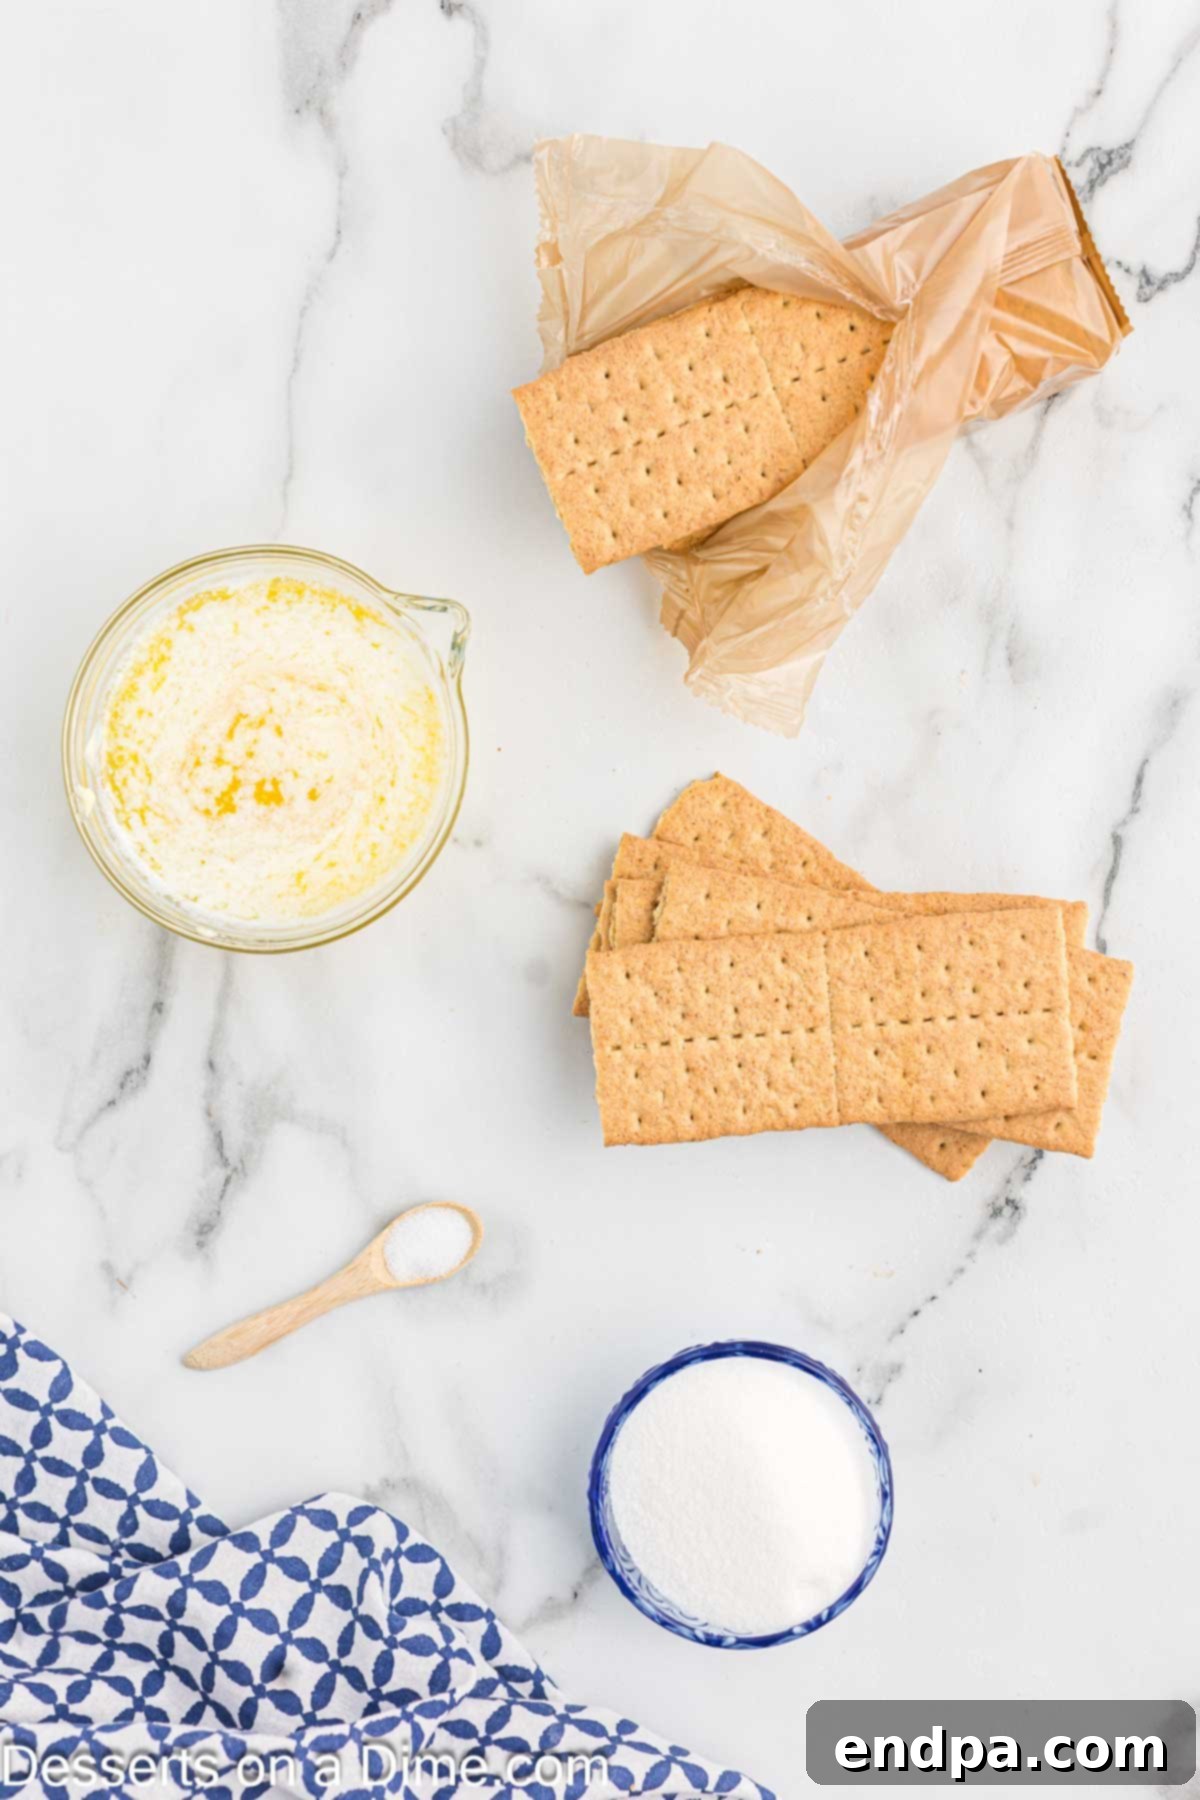
One of the true beauties of this homemade graham cracker crust recipe is its incredibly short and remarkably accessible ingredient list. You likely have most, if not all, of these essential staples in your pantry right now, making it a perfect solution for a last-minute dessert base or an impromptu baking session!
- Graham Cracker Crumbs (1 ½ cups): These are the fundamental, flavor-packed building blocks of our crust. You have two main options for obtaining them: purchase pre-crushed graham cracker crumbs for the ultimate in convenience, or buy whole graham cracker sheets and crush them yourself. Crushing them manually, ideally using a food processor, often results in a fresher flavor and grants you precise control over the fineness of the crumbs. Aim for a texture similar to fine, dry sand – it’s crucial that it’s free of any large, inconsistent pieces. This specific measurement typically translates to approximately 11-12 full graham cracker sheets.
- Granulated Sugar (⅓ cup): This ingredient adds a perfect touch of sweetness that beautifully complements the mild, honey-like flavor of the graham crackers. This measured amount creates a wonderfully balanced crust that enhances rather than overpowers your chosen filling. You can, of course, slightly adjust this quantity based on your personal preference for sweetness or to match the inherent sweetness of the dessert filling you plan to use.
- Salt (⅛ teaspoon): A small, seemingly insignificant pinch of salt is actually a crucial flavor enhancer here. It diligently works to bring out all the other subtle notes in the crust, preventing it from tasting flat or merely sweet. It particularly amplifies the graham crackers’ distinct flavor and the richness of the butter. If, by chance, you opt to use salted butter instead of unsalted, you should absolutely omit this additional salt to prevent the crust from becoming overly salty.
- Unsalted Butter, Melted (½ cup or 1 stick): This rich, creamy fat serves as the primary and indispensable binding agent, holding all the delicate crumbs together to form a cohesive and sturdy crust. Beyond its structural role, it also generously imparts that desirable, rich buttery flavor and contributes significantly to the tender, melt-in-your-mouth texture that defines an excellent graham cracker crust. Using unsalted butter is generally preferred in all baking as it affords you precise control over the overall saltiness level of your entire recipe. Ensure the butter is fully melted but has cooled slightly (it shouldn’t be boiling hot) before it’s combined with the dry crumbs.
These four incredibly simple ingredients, when combined thoughtfully, create a truly magical foundation for your next dessert masterpiece. The precise measurements for each ingredient, alongside detailed step-by-step instructions, are conveniently available in the comprehensive recipe section located at the very bottom of this post.
Essential Equipment for Your Crust
Making a homemade graham cracker crust requires only a few very basic kitchen tools, which means it’s an accessible and enjoyable process for everyone, from seasoned bakers to those just starting their culinary journey:
- Food Processor or Ziploc Bag & Rolling Pin: These are your primary options for efficiently transforming whole graham crackers into uniformly fine crumbs. A food processor offers the fastest and most consistently fine results, making the task effortless. Alternatively, a sturdy Ziploc bag combined with a rolling pin provides an excellent manual method for crushing, allowing you to achieve the desired texture with a little elbow grease.
- Medium Mixing Bowl: An adequately sized bowl is essential to comfortably combine all your dry and wet crust ingredients. It should be large enough to allow for vigorous and thorough mixing without any risk of ingredients spilling over the sides.
- Microwave-Safe Bowl or Small Saucepan: You’ll need one of these for melting the butter efficiently. A microwave is incredibly quick and convenient, typically requiring just a few short bursts. A small saucepan over low heat on the stovetop works perfectly as well, offering a controlled melting process.
- 9-inch Pie Plate or Springform Pan: This is the crucial vessel that will shape your beautiful graham cracker crust. A traditional pie plate is ideal if you’re preparing a classic pie and intend to form the crust up the sides. A springform pan, with its incredibly convenient removable sides, is fantastic for cheesecakes, ice cream cakes, or any layered dessert that benefits from easy release and a pristine, clean presentation.
- Measuring Cups and Spoons: These are absolutely crucial for accurate ingredient proportions. In baking, precision matters, and correctly measured ingredients ensure the ideal balance of flavor and the perfect structural integrity for your crust.
- Flat-Bottomed Glass or Measuring Cup: An invaluable, often overlooked, tool for firmly and evenly pressing the graham cracker mixture into your chosen pan. This pressing action is key to creating a compact, sturdy, and well-formed crust that will hold up beautifully when sliced and served.
Step-by-Step: How to Make Graham Cracker Pie Crust
Crafting this perfect graham cracker crust is not only incredibly straightforward but also immensely gratifying. Follow these detailed steps carefully, and you’ll achieve a flawless and delicious result every single time, ready to embrace your favorite fillings:
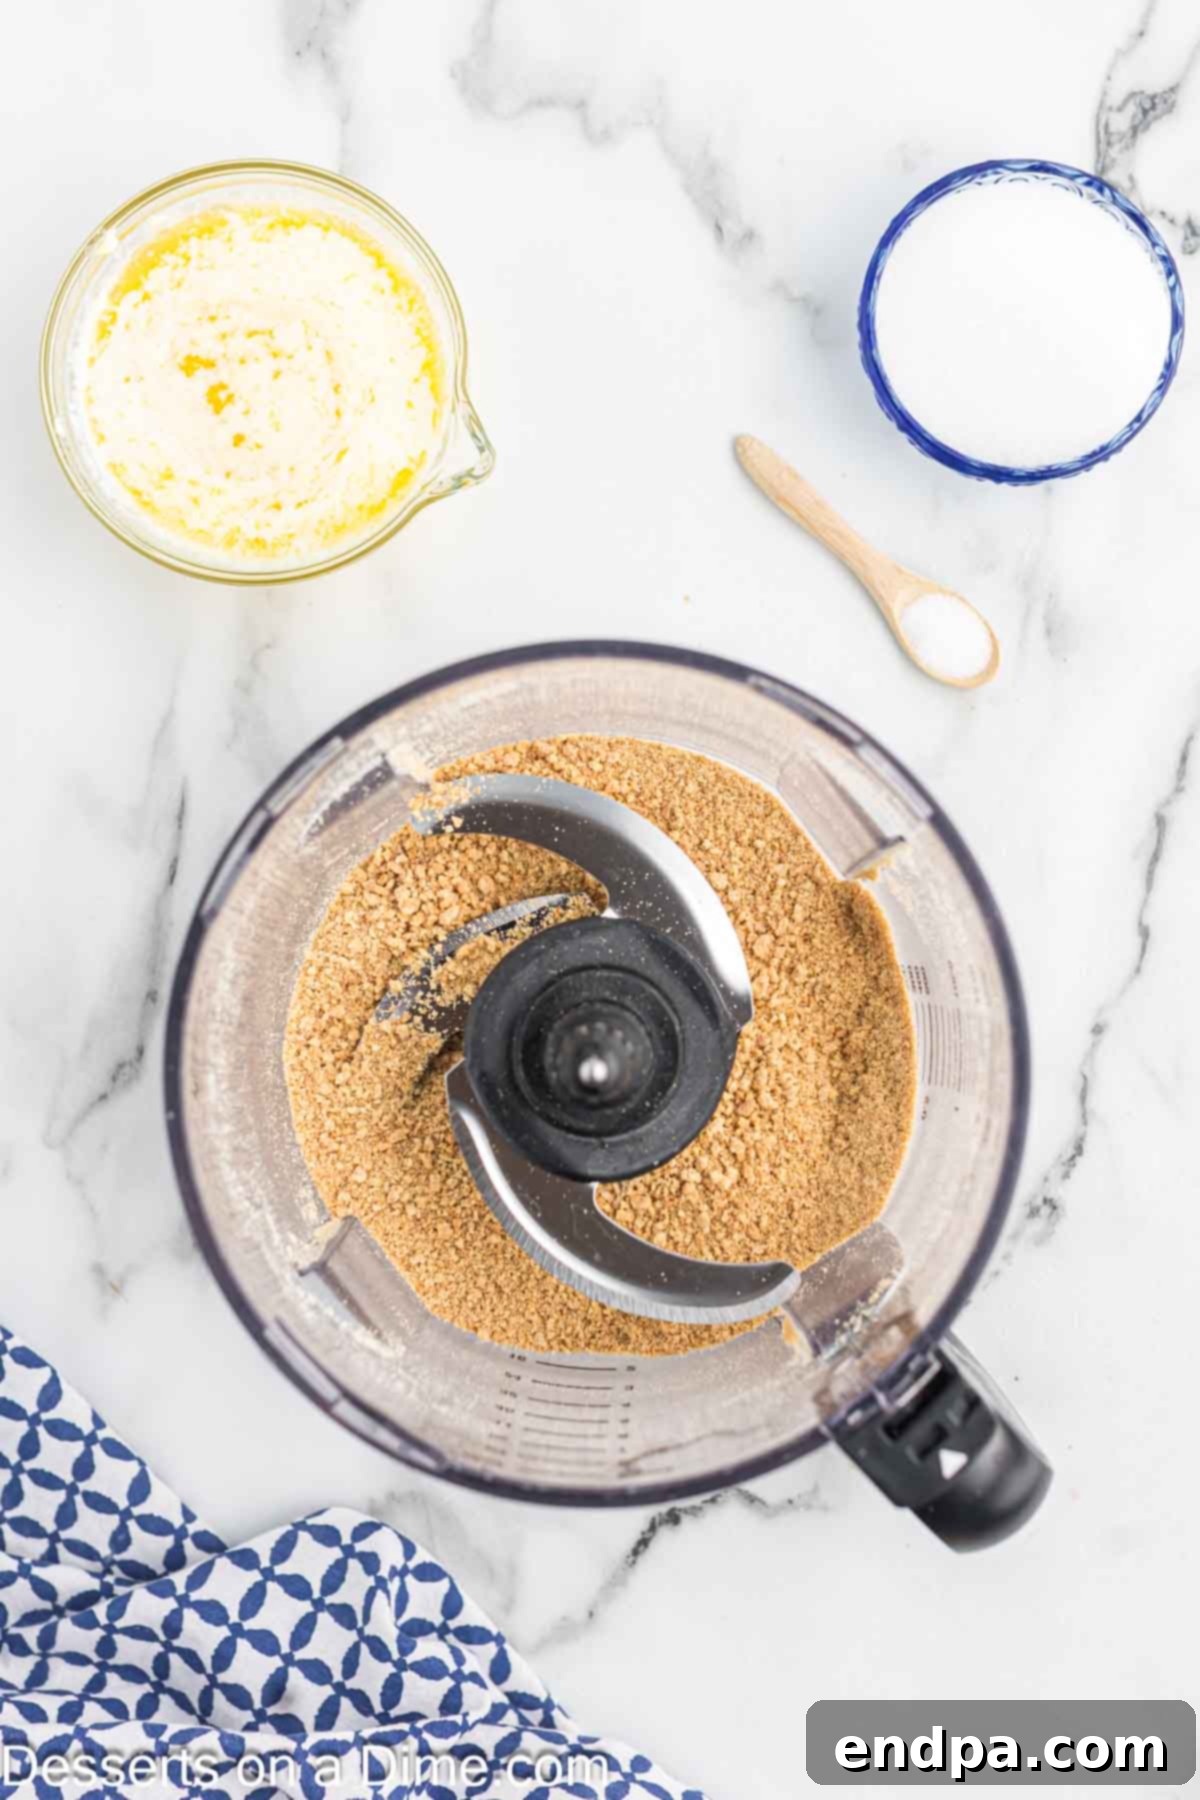
Step 1: Prepare the Graham Cracker Crumbs. Your first and most crucial task is to transform those delicious whole graham cracker sheets into uniformly fine crumbs. The most efficient and quickest method to achieve this is by using a food processor. Simply break the graham cracker sheets into smaller, manageable pieces, place them into the food processor bowl, and pulse repeatedly until you achieve a consistency similar to fine, dry sand. It’s important to be careful not to over-process them into a sticky paste. If you don’t have access to a food processor, don’t worry! Place the graham crackers in a sturdy, freezer-safe Ziploc bag, seal it securely while removing excess air, and then use a rolling pin to firmly crush them until they reach the desired fine, even consistency. This fine texture is absolutely critical for a cohesive and smooth crust that won’t fall apart.
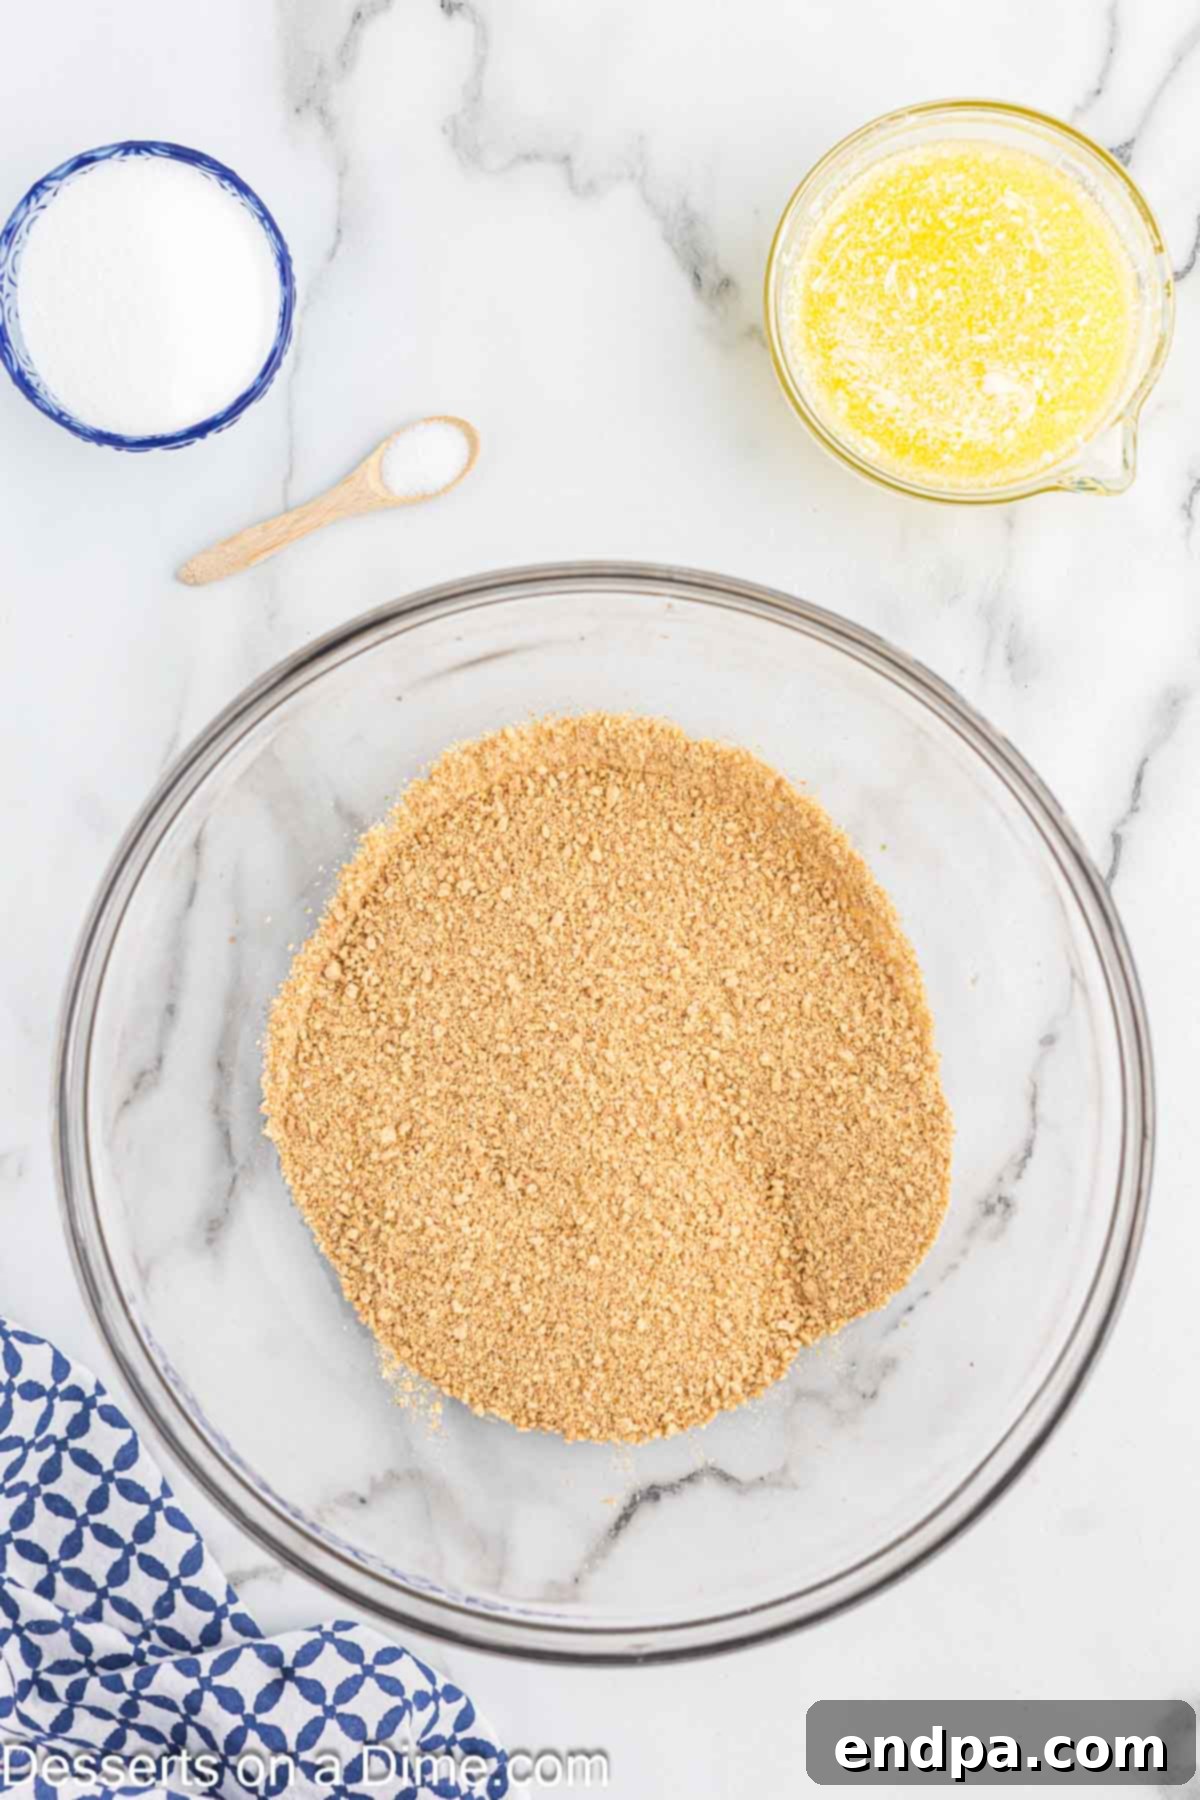
Step 2: Transfer Crumbs to a Bowl. Once your graham crackers are perfectly crushed to the desired fine consistency, carefully transfer all the crumbs into a medium-sized mixing bowl. This particular bowl will serve as your primary workstation for preparing the crust, where all the remaining ingredients will be incorporated. Therefore, ensure it is generously sized to comfortably accommodate all the ingredients and allow for thorough, effortless mixing without any risk of spillage or mess.
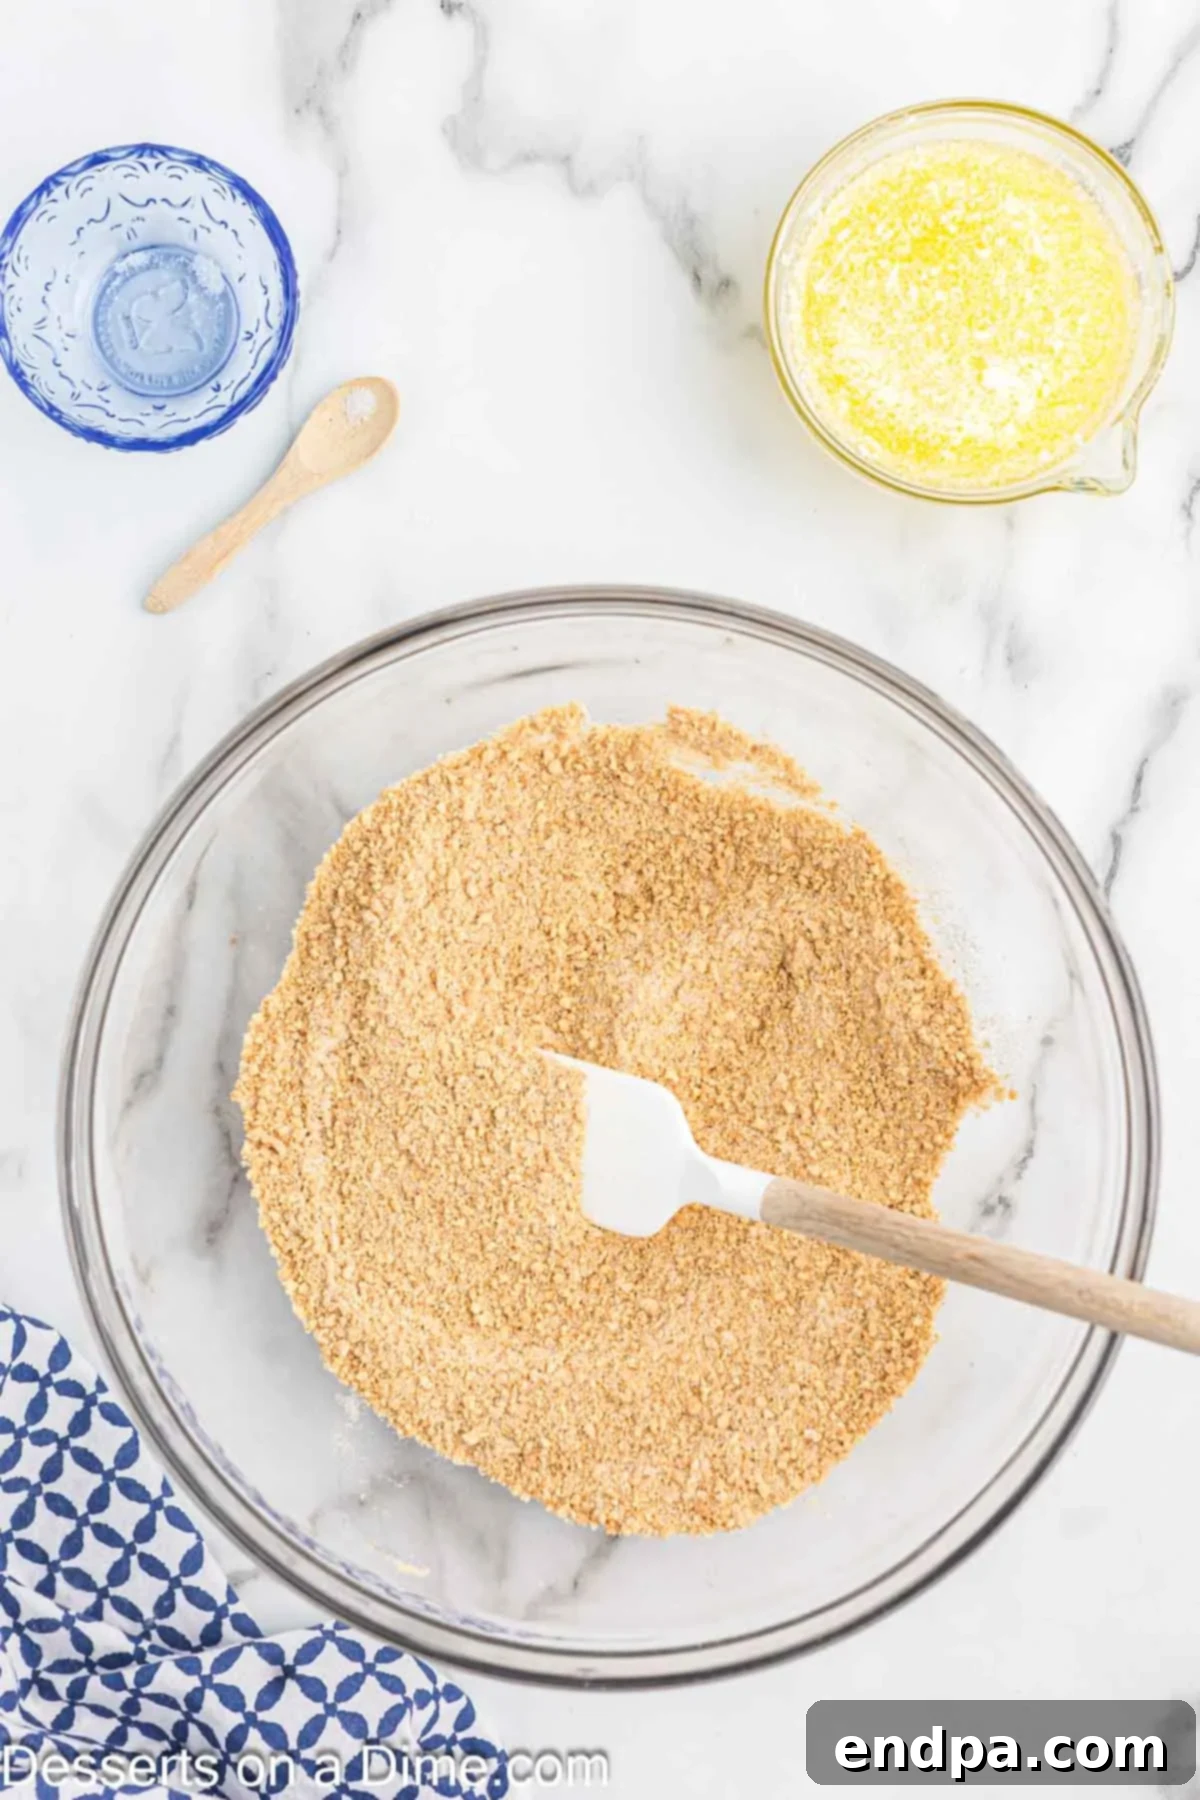
Step 3: Add Sugar and Salt. Next, accurately measure out your specified amounts of granulated sugar and salt according to the recipe. Add both of these crucial dry ingredients directly into the bowl that contains your graham cracker crumbs. Using a spoon, whisk, or sturdy spatula, stir everything together thoroughly and vigorously. It is incredibly important to ensure that the sugar and salt are completely and evenly distributed throughout the crumbs before the addition of any liquid. This meticulous step is crucial to prevent any concentrated pockets of intense sweetness or saltiness, guaranteeing a perfectly harmonious and balanced flavor profile throughout your finished crust.
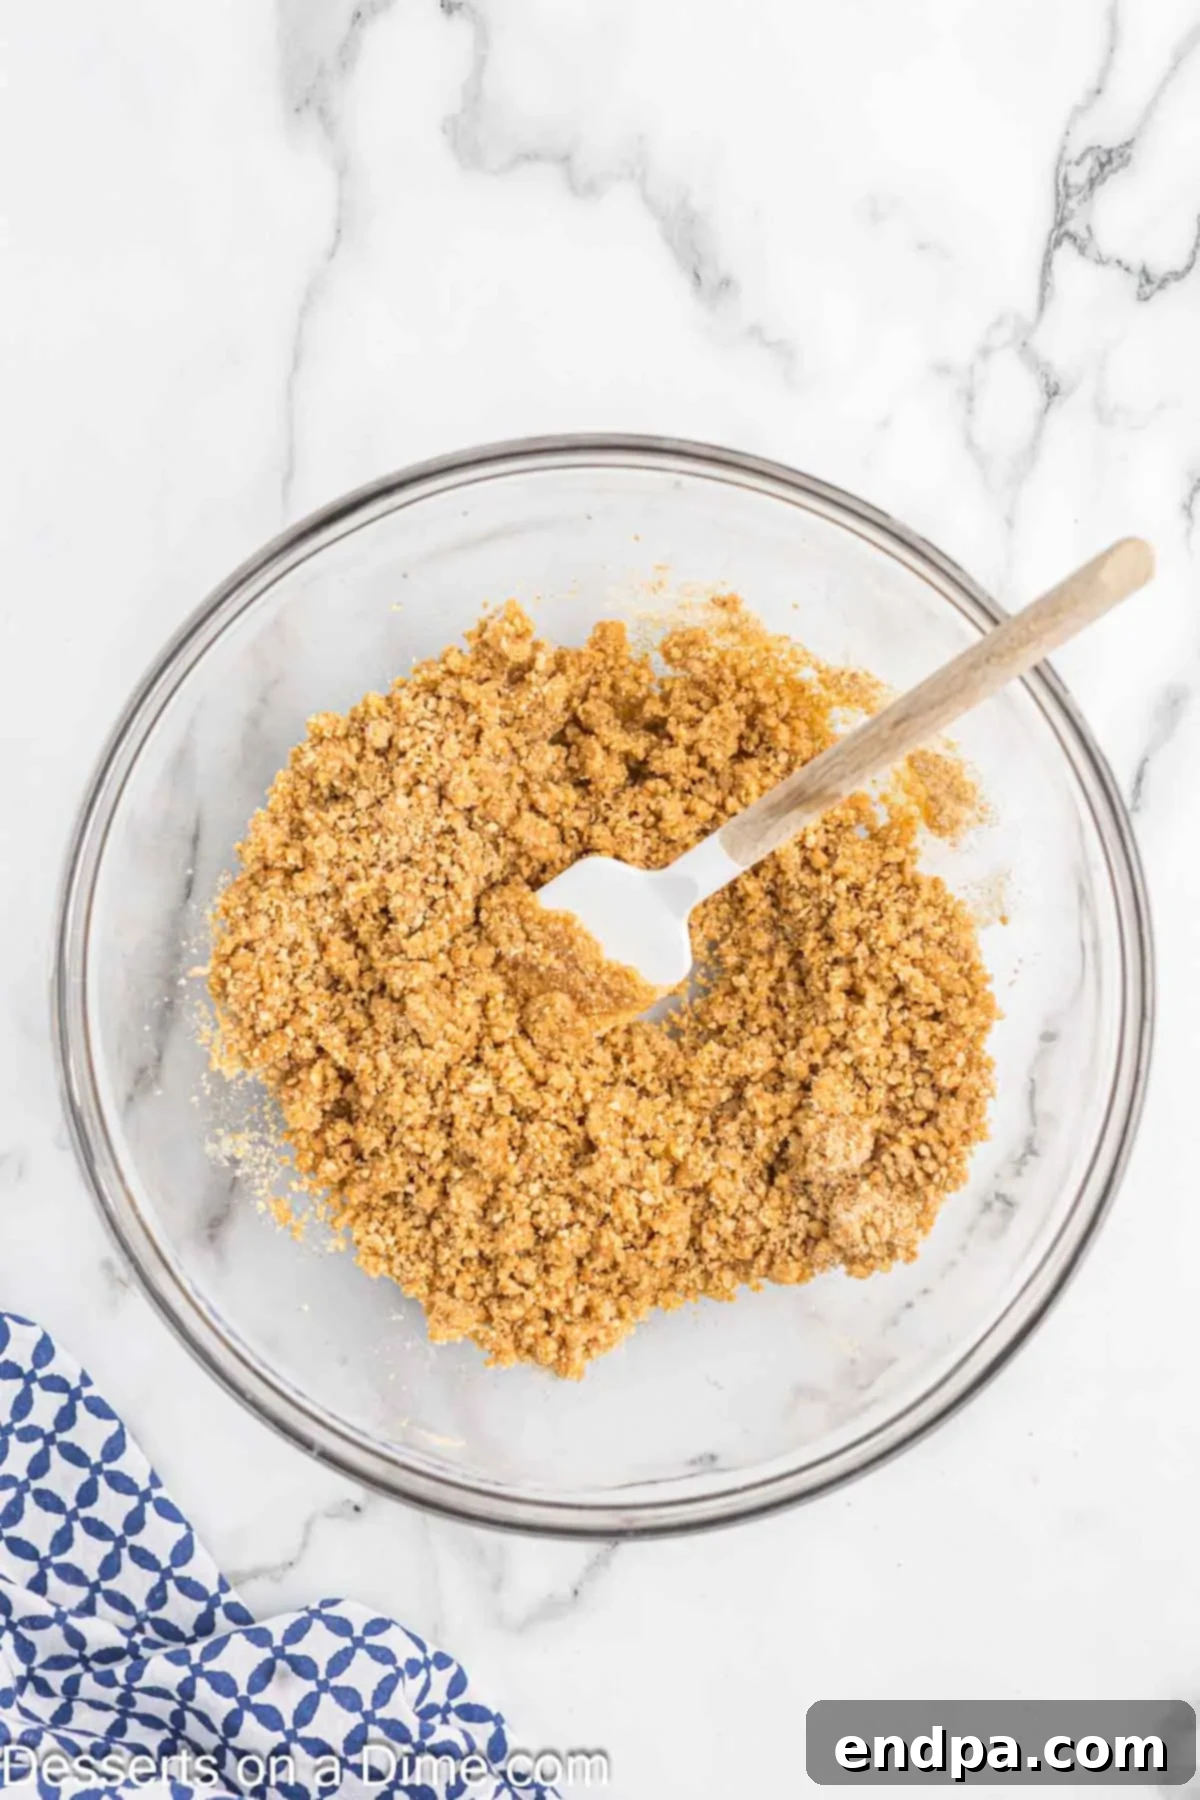
Step 4: Incorporate Melted Butter. This is the pivotal moment where the magic truly begins and the crust starts to take its cohesive form! Melt your unsalted butter until it’s completely liquid. You can achieve this in a microwave-safe bowl (heating in short, 20-30 second intervals, stirring diligently between each, until fully liquid) or in a small saucepan over very low heat on your stovetop. Once completely melted and slightly cooled (it should be warm but not boiling hot), pour the warm, liquid butter evenly over the graham cracker, sugar, and salt mixture already in your bowl. Using a sturdy spoon or a flexible spatula, mix everything together thoroughly and patiently until all the crumbs are uniformly moistened by the butter. The mixture should now resemble wet sand and, when gently squeezed between your fingers, should hold together cohesively without crumbling.
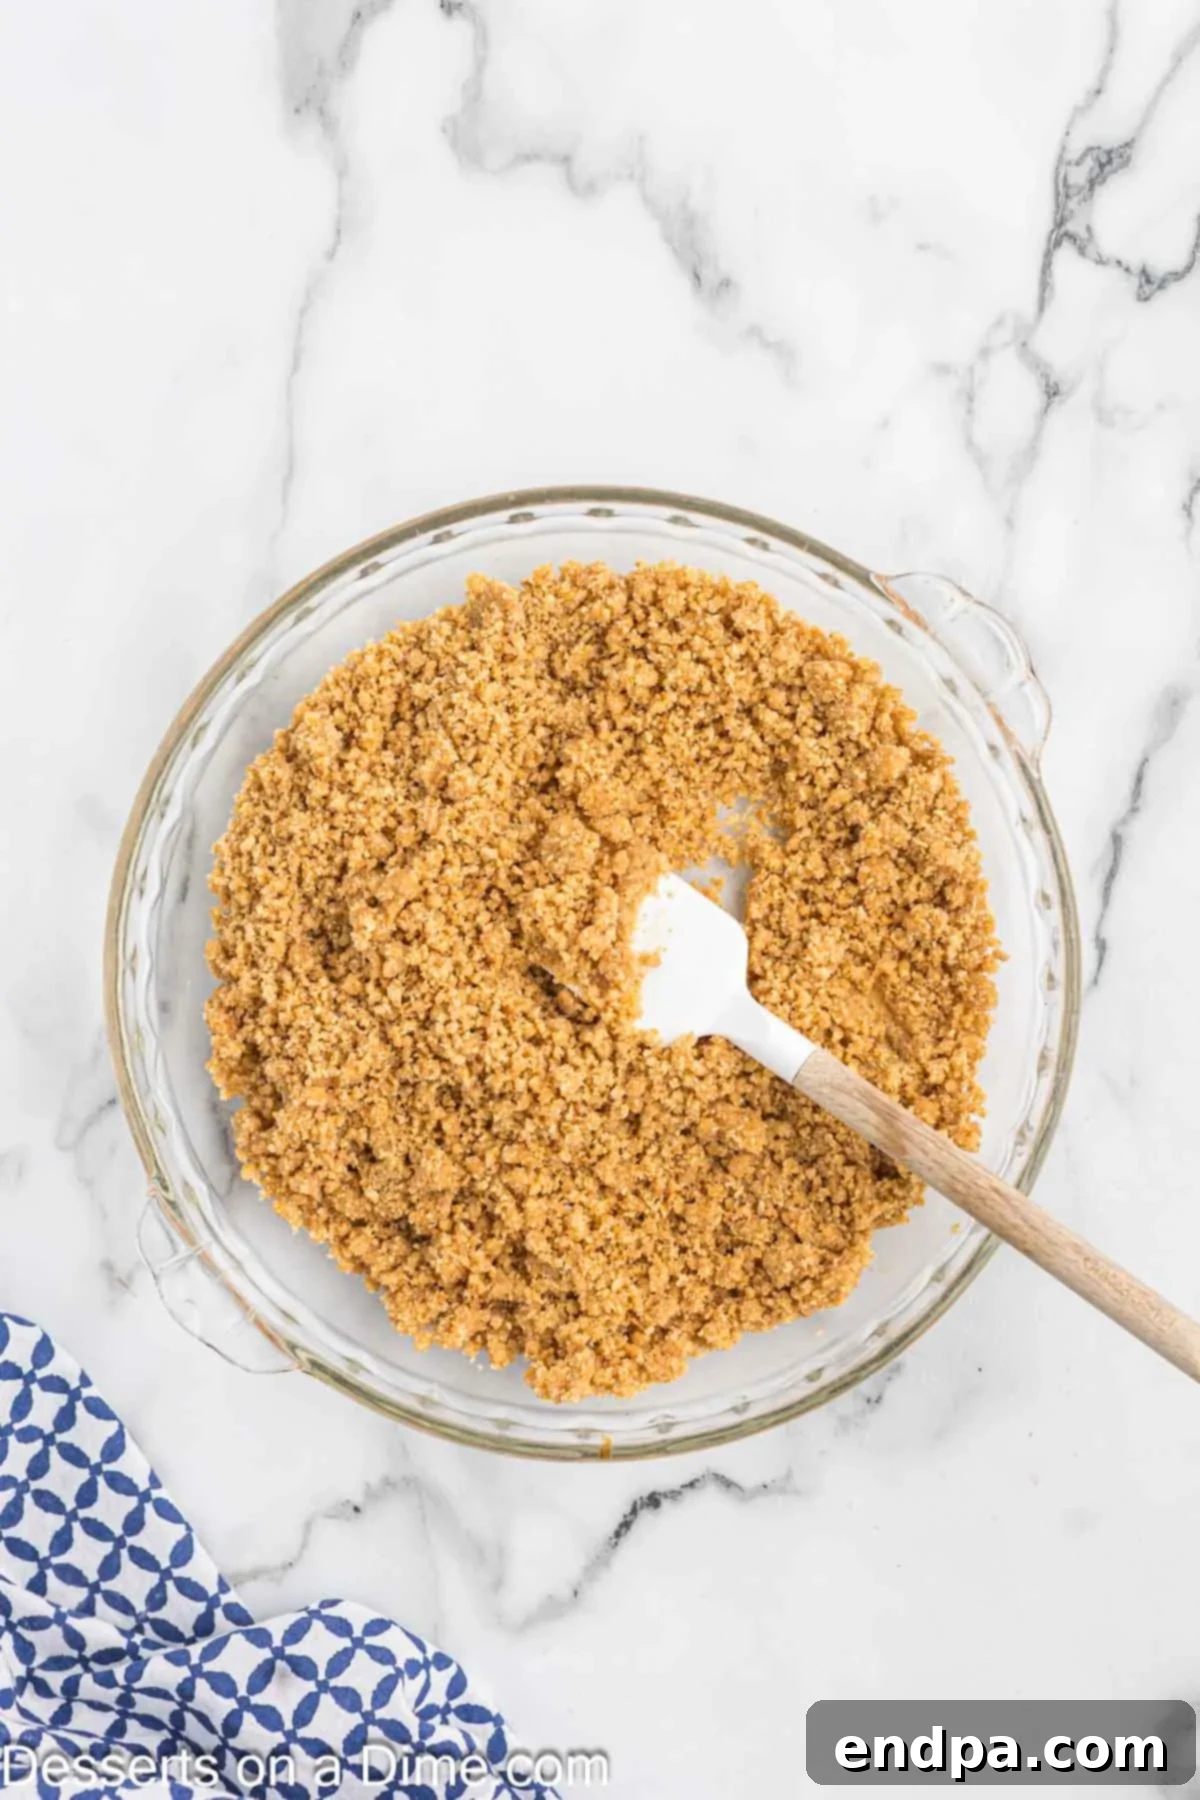
Step 5: Transfer to Pie Pan. Carefully and gently pour the entire graham cracker and butter mixture into your prepared 9-inch pie plate or springform pan. Initially, spread the mixture loosely across the bottom of the pan to create an approximate, even layer. If you are preparing a crust for a cheesecake in a springform pan, you will typically focus exclusively on covering the bottom evenly. For a traditional pie, ensure you have enough mixture to extend and press up the sides of the pan as well, if that is the desired aesthetic and structural requirement for your dessert.
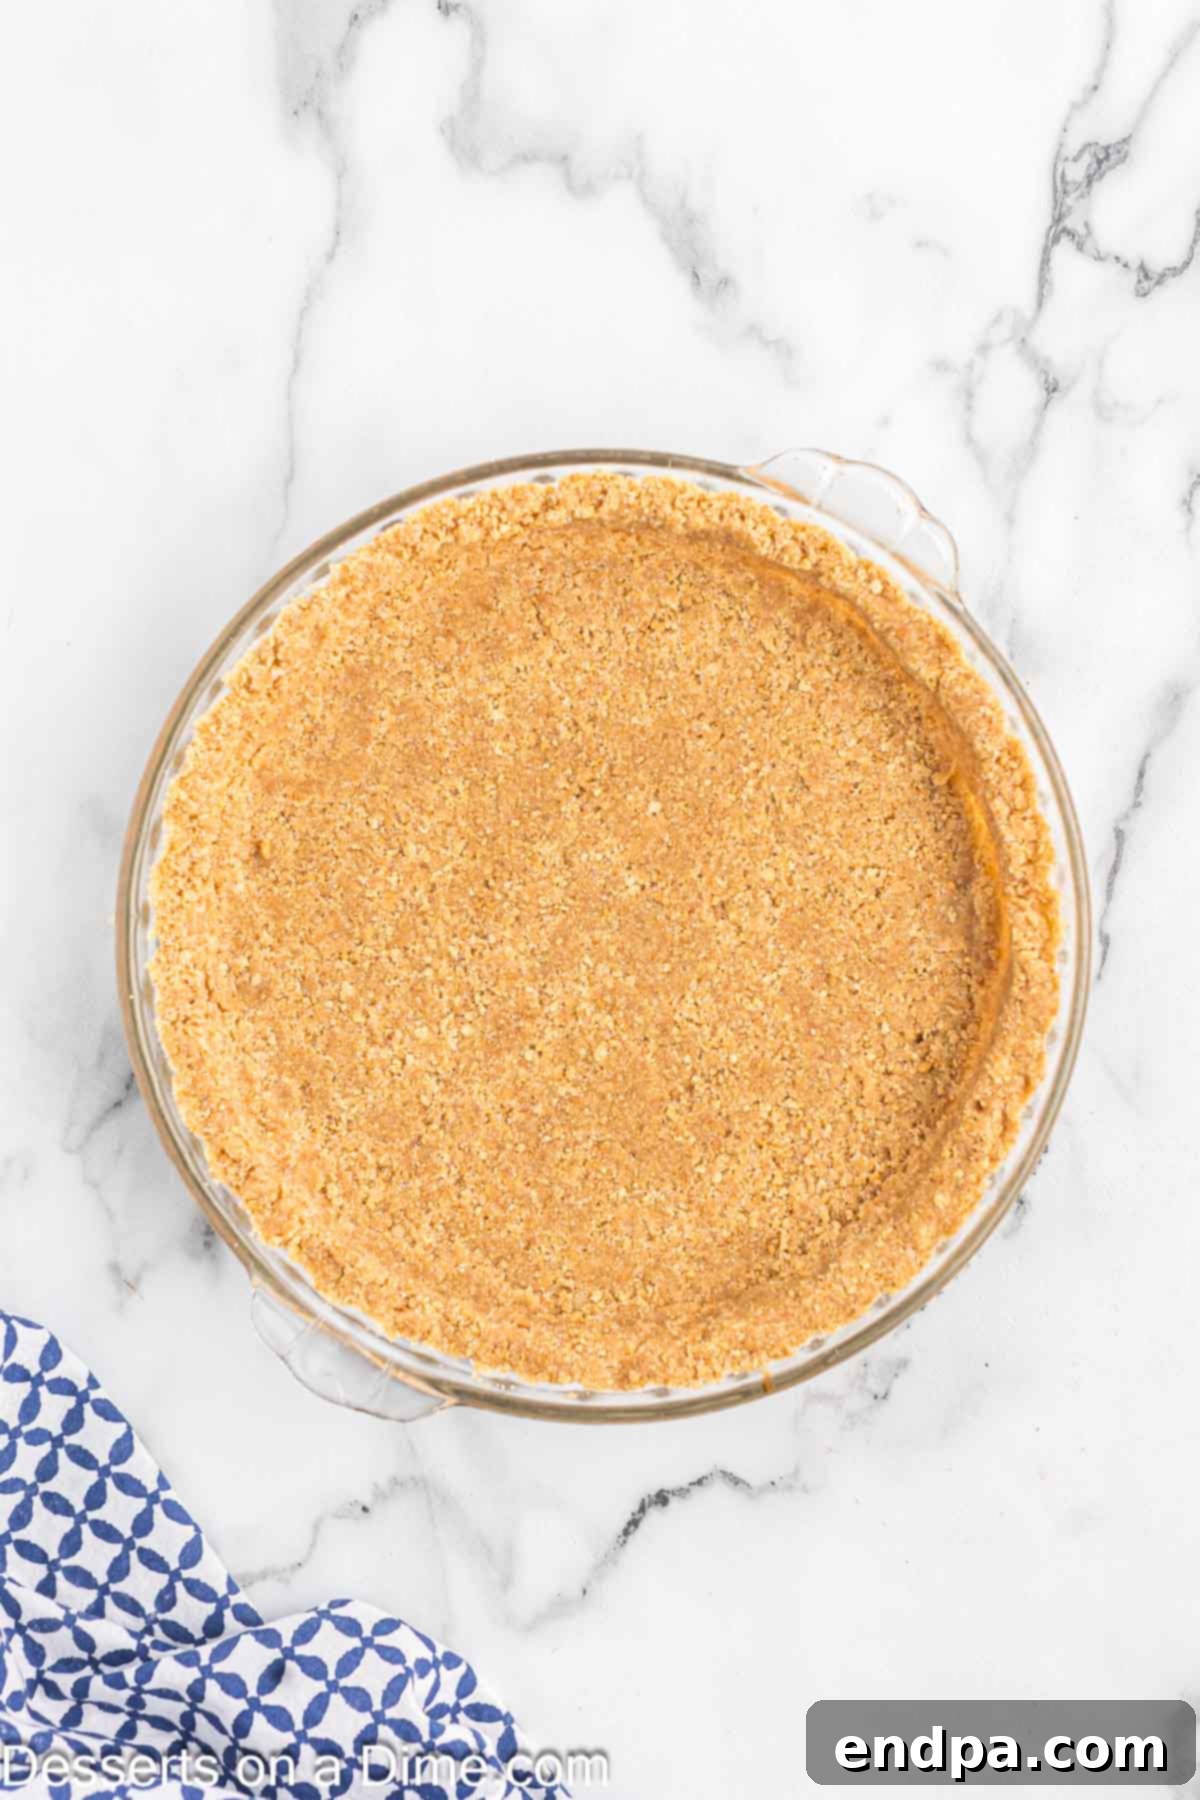
Step 6: Press and Chill (or Bake). This is arguably the most critical step for ensuring a sturdy, well-formed crust that will hold its shape beautifully without crumbling. Use the bottom of a flat-bottomed glass, a sturdy measuring cup, or even your clean hands to firmly and consistently press the graham cracker mixture into the bottom of the pan. For a pie, also press it evenly and compactly up the sides, shaping a smooth, neat edge all around. The firmer and more consistently you press, the more stable and less prone to crumbling your finished crust will be. Once thoroughly pressed, refrigerate the crust for at least 2 hours. This extended chilling period allows the melted butter to fully solidify, effectively “gluing” the crumbs together and creating a firm, perfectly set no-bake crust. Alternatively, if your specific dessert recipe requires a baked crust, or if you simply prefer an extra-crispy, slightly toasted texture, preheat your oven to 325°F (160°C) and bake the pressed crust for 8-10 minutes until it appears lightly golden. In either scenario, it is absolutely essential to ensure the crust is completely cooled to room temperature before adding any wet or cold filling.
Expert Pro Tips for Perfection
Achieving the perfect graham cracker crust is already a straightforward process, but incorporating a few expert tips can truly elevate your results, ensuring your crust is always a resounding success and enhances your desserts to their fullest potential:
- Made Ahead Crust is a Time Saver: This versatile recipe is absolutely perfect for smart meal prepping or planning well in advance for special occasions and gatherings. You can easily prepare the crust up to 3 days ahead of time; simply cover it tightly with plastic wrap to prevent it from drying out or absorbing odors, and store it in the refrigerator. For longer storage solutions, you can freeze the pressed crust (either baked or unbaked) directly in its pie pan or springform pan for up to a full month. When you’re ready to use it, remember to thaw it gently in the refrigerator overnight before adding your filling. This gradual thawing process helps to prevent any potential condensation or sogginess that can occur from rapid temperature changes.
- Finely Crush Graham Crackers for Ultimate Smoothness: The absolute key to achieving a cohesive, uniform, and wonderfully smooth crust lies in the consistency of your crumbs. Whether you’re utilizing a food processor (which is often the fastest and most efficient method) or opting for a rolling pin and a sturdy Ziploc bag, make it your goal to create very fine, sand-like crumbs. Any larger, inconsistent pieces can significantly prevent the crust from binding properly with the melted butter, ultimately leading to a crumbly or uneven texture when you attempt to slice or serve your finished dessert. Ensure no large chunks remain, but also take care to avoid over-processing them into a sticky, undesirable paste.
- Evenly Fill and Pack the Pie Plate for Maximum Stability: When it’s time to transfer the buttery graham cracker mixture to your pie dish or springform pan, first distribute it as evenly as possible across the bottom and, if applicable, up the sides, before you even begin the pressing process. Then, use a flat-bottomed glass, the back of a sturdy spoon, or even your clean hands to firmly and consistently press the mixture. This compression is absolutely vital for creating a robust, sturdy crust that holds its shape beautifully and doesn’t fall apart when you cut into your finished pie or cheesecake. Pay extra attention to firmly pressing into the corners and along the edges for optimal structure.
- Chilling is Crucial for No-Bake Desserts: If your chosen dessert is a no-bake variety, such as a luscious no-bake cheesecake, a creamy pudding pie, or an ice cream dessert, the chilling step for the crust is not merely recommended, but absolutely non-negotiable. Refrigerating the pressed crust for at least 2 hours (and ideally longer, up to 4 hours) allows the melted butter to fully solidify and act as a strong adhesive, effectively “gluing” the crumbs together into a solid unit. This firm, thoroughly chilled crust will be much easier to work with, providing a solid, stable foundation that prevents your filling from seeping through and ensures clean, precise slices.
- Brown Sugar Variation for Enhanced Depth of Flavor: While traditional granulated sugar works wonderfully and is the standard choice, substituting it entirely with light brown sugar can introduce a delightful and more complex change to your crust’s flavor profile. Brown sugar imparts a deeper, more molasses-like, and caramel-rich note that can be particularly complementary to autumnal pies, spiced desserts, or anything featuring nuts or warm flavors. Be aware that brown sugar contains slightly more moisture than granulated sugar, which might subtly alter the final texture of the crust, often making it a bit chewier and richer, which is typically a pleasant characteristic.
- Accurate Measuring is Key in Baking: While cooking often allows for a good deal of improvisation and “a pinch of this, a dash of that,” baking is generally a more precise science where accuracy truly matters. Always use proper, level measuring cups and spoons for each and every ingredient. The ratio of graham cracker crumbs to butter and sugar is carefully balanced in this recipe to ensure the correct texture, optimal binding, and perfect flavor. Exact measurements guarantee consistent, reliable results, leading to a perfectly structured and flavorful crust every single time you make it.
Common Questions About Graham Cracker Crusts (FAQs)
Do you have to bake the Graham Cracker Crust?
Baking a graham cracker crust is often optional, as the primary ingredient – graham crackers – are already fully baked and edible. The necessity of baking truly depends entirely on the type of pie or dessert filling you plan to use. If your pie filling itself explicitly requires baking (for instance, many traditional baked cheesecakes, quiches, or certain fruit pies that cook in the oven), then your graham cracker crust will naturally bake along with the filling, providing a lovely golden, crisp finish and added structural integrity. However, for a wide array of popular no-bake desserts such as most cream pies, no-bake cheesecakes, pudding pies, or ice cream pies, baking the crust beforehand is not strictly necessary. If you desire an extra-crispy crust with a slightly toasted, nutty flavor and enhanced overall stability, you can certainly choose to bake it even for no-bake fillings. To do so, simply preheat your oven to 325°F (160°C) and bake the pressed crust for approximately 8-10 minutes. It’s absolutely crucial to always allow the baked crust to cool completely to room temperature before adding any cold or no-bake filling to prevent any unwanted softening or condensation.
What is the best pan to use for a graham cracker crust?
This particular graham cracker crust recipe is perfectly proportioned and designed to fit either a standard 9-inch pie plate or a 9-inch springform pan. A traditional pie plate is the ideal choice if you’re making a classic pie and desire to form the crust up the sides, giving it that familiar, elegant, and timeless appearance. A springform pan, with its incredibly convenient removable sides, is an excellent and highly recommended choice for cheesecakes, ice cream cakes, or any layered dessert that significantly benefits from easy release and a pristine, clean presentation without the need to invert the delicate dessert. If your intention is to create delicious dessert bars in a larger 9×13-inch rectangular pan, this single recipe might yield a thinner crust layer, which some individuals actually prefer for a lighter bite. However, for those who enjoy a more substantial, robust, and thicker crust in a larger rectangular pan, I strongly recommend doubling the recipe. This will ensure you have ample graham cracker mixture to cover the entire bottom of the 9×13-inch pan evenly and achieve a satisfying thickness that can beautifully stand up to heavier or creamier fillings.
Why is my Graham Cracker Crust Soggy?
A soggy graham cracker crust can certainly be a disheartening and frustrating outcome for any baker, but fortunately, it’s a common issue with clearly identifiable causes and straightforward preventative measures! The most frequent culprit behind a soggy crust is often the type of fat used. For the best, firmest, and most richly flavorful crust, always insist on using real butter. Low-fat spreads or margarine often contain a significantly higher water content compared to pure butter, and this excess water can lead to a soft, greasy, or truly soggy crust that unfortunately lacks the desired crisp structure. Another widespread cause of sogginess is adding your pie filling too soon after the crust has been prepared. It is absolutely crucial to allow your prepared crust to cool completely to room temperature after pressing it into the pan. If it’s a no-bake crust, ensure it chills adequately (for a minimum of 2 hours, or ideally longer, up to 4 hours) in the refrigerator before introducing any wet or cold filling. This essential cooling and chilling process allows the melted butter to fully solidify and create a protective barrier, which vigorously helps to prevent the graham cracker crumbs from absorbing moisture directly from your delicious filling, thus keeping your crust perfectly crisp, firm, and wonderfully intact.
Dessert Ideas Using Graham Cracker Crust
The incredible versatility of a homemade graham cracker crust makes it a perfect companion and foundational base for countless dessert creations, offering a delightful texture and a universally loved flavor profile. Here are some of our absolute favorite recipes that truly shine when paired with this simple yet sensational homemade foundation:
- Classic Key Lime Pie Recipe: The vibrant, zesty, and tangy sweetness of a key lime filling finds its perfect counterpoint in the buttery, slightly sweet, and firm notes of a graham cracker crust. It’s a match made in tropical dessert heaven!
- Easy Cheesecake Bars Recipe: These individual, perfectly portioned, and incredibly convenient bars are a delightful treat for parties, potlucks, or simple indulgence. A sturdy graham cracker crust provides an ideal, easy-to-handle, and stable base for serving.
- Effortless No-Bake Cheesecake Recipe: A cool, luxuriously creamy, and undeniably luscious no-bake cheesecake is the quintessential dessert for which a graham cracker crust is an absolute must. It’s especially perfect when you want to avoid turning on the oven during warmer months or when you need a quick yet elegant dessert.
- Refreshing Strawberry Jello Pie Recipe: The vibrant, fruity flavors and wobbly texture of a classic Jello pie are beautifully complemented by the subtle sweetness and crumbly texture of this homemade crust, creating a light, fun, and incredibly refreshing dessert experience.
- Decadent Ice Cream Pies: A graham cracker crust serves as a fantastic, edible, and sturdy bowl for holding your favorite layers of ice cream. Top it with hot fudge, gooey caramel sauce, freshly whipped cream, crunchy nuts, or any other delightful toppings your heart desires for a customizable treat.
- Rich Peanut Butter Pie: The irresistible salty-sweet combination of a creamy, dreamy peanut butter filling nestled atop a crisp, buttery graham cracker base is a flavor pairing that’s utterly divine, incredibly satisfying, and always a crowd-pleaser.
- S’mores Bars: Transform the classic campfire treat into an easy-to-eat bar! Simply layer melted chocolate and toasted marshmallows over a perfectly baked graham cracker crust for a delicious, deconstructed s’mores experience that requires no actual campfire.
- Lemon Meringue Pie (Crust Variation): While traditionally made with a standard pastry crust, a graham cracker crust can offer a lovely, slightly different texture and flavor profile that works surprisingly well and deliciously with tart, zesty lemon fillings, adding an extra dimension to this classic.
Ready to transform your dessert game and impress everyone with your newfound baking prowess? Go ahead and make this homemade graham cracker crust today. You’ll be absolutely amazed at how simple, rewarding, and incredibly delicious it is to create such a fundamental and delicious component for so many treats. Don’t forget to leave a comment and a star recipe rating once you do – we absolutely love hearing about your culinary creations and success stories, and your feedback helps others discover the joy of homemade baking!
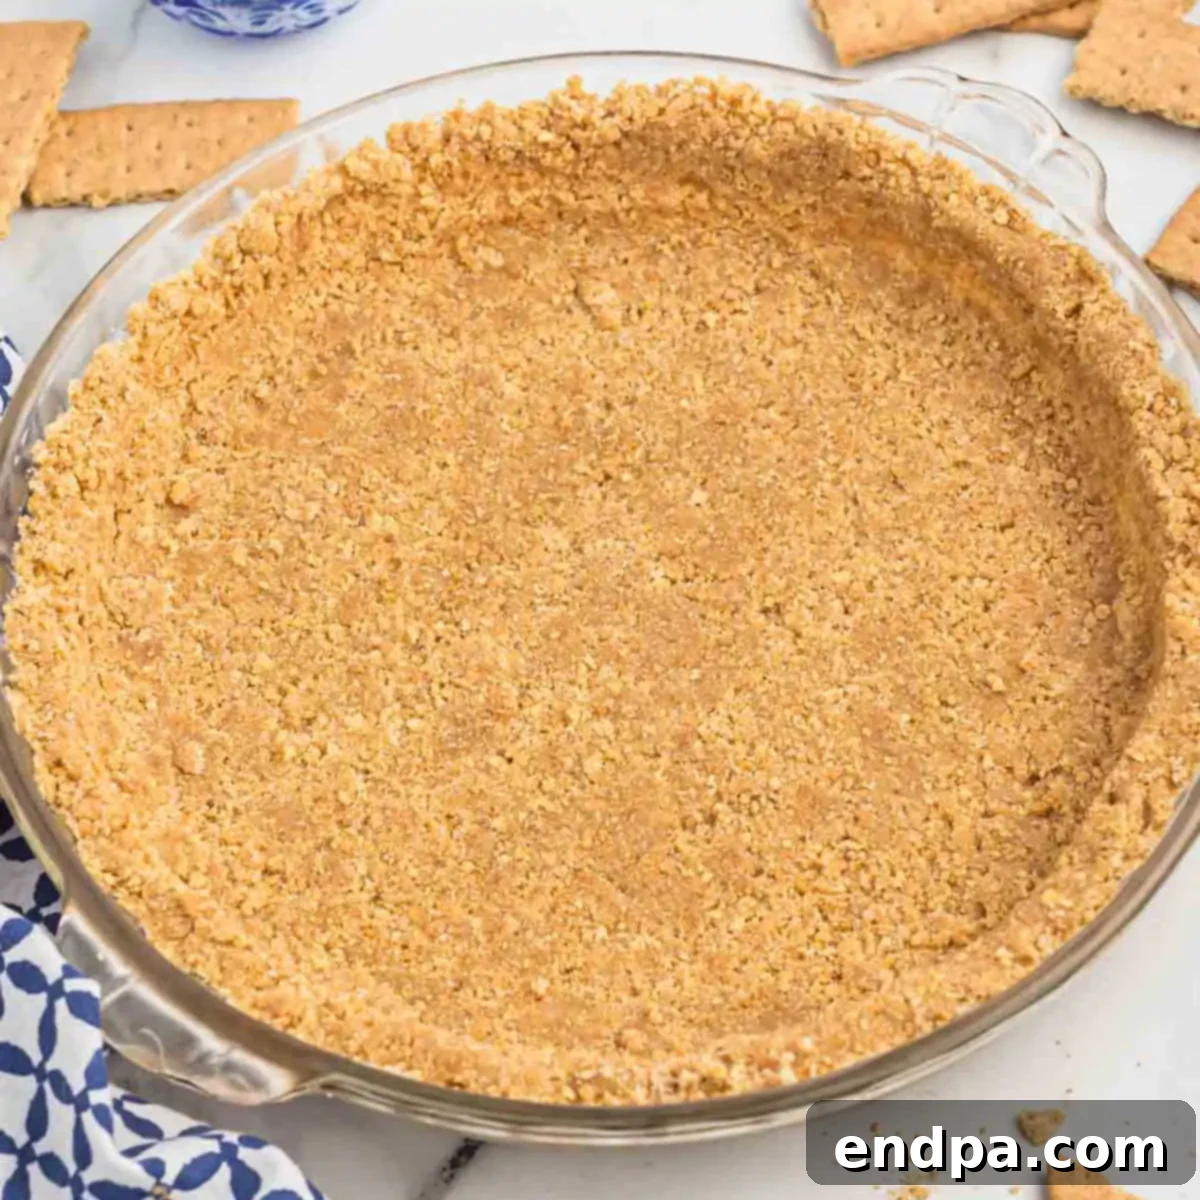
Graham Cracker Pie Crust
Discover how to make the ultimate easy homemade graham cracker crust in minutes. Skip those store-bought versions for a buttery, delicious base for any pie or cheesecake!
Prep Time: 10 mins
Chill Time: 2 hrs
Total Time: 2 hrs 10 mins
Servings: 1 crust
Cuisine: American
Course: Dessert
Calories: 1606 kcal
Author: Carrie Barnard
Ingredients
- 1 ½ cups graham cracker crumbs (about 11-12 sheets)
- ⅓ cup granulated sugar
- ⅛ teaspoon salt (omit if using salted butter)
- ½ cup (1 stick) unsalted butter, melted
Instructions
- Crush graham crackers in food processor until fine, then add to a medium bowl.
- Add sugar and salt to the crumbs, stirring thoroughly to combine.
- Melt butter in a microwave-safe bowl.
- Pour the melted butter into the graham cracker mixture and mix until well combined and crumbs are uniformly moistened.
- Press the mixture firmly into a 9-inch pie shell or springform pan, covering the bottom and sides as desired.
- Chill in the refrigerator for at least 2 hours to set. **
Recipe Notes
**Crust can be made ahead. Keep covered in the refrigerator for up to 3 days or freeze until ready to use. Thaw before filling.
To bake the crust for a crispier texture, preheat the oven to 325°F (160°C) and bake for 8-10 minutes. Cool completely before filling.
Nutrition Facts
Calories: 1606kcal, Carbohydrates: 163g, Protein: 10g, Fat: 105g, Saturated Fat: 60g, Cholesterol: 244mg, Sodium: 1932mg, Potassium: 223mg, Fiber: 4g, Sugar: 96g, Vitamin A: 2836IU, Calcium: 127mg, Iron: 5mg
