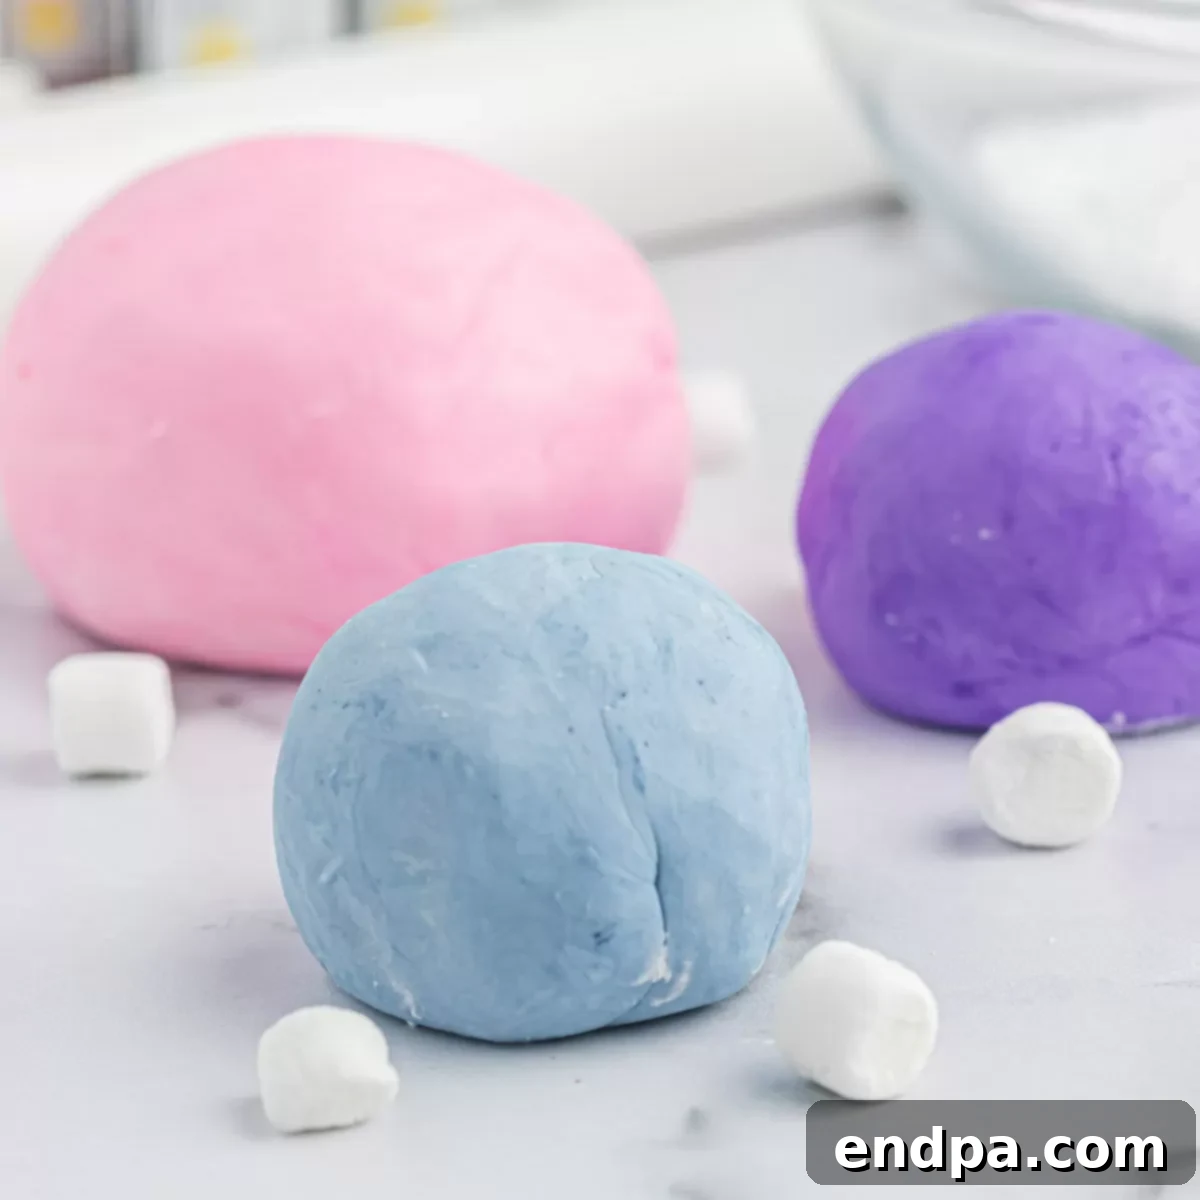
Unlock the secrets to crafting perfect, pliable, and delicious Marshmallow Fondant right in your own kitchen. Forget bland, store-bought options; this easy homemade recipe will transform your cakes, cupcakes, and cookies with a stunning, professional finish and a delightful marshmallow flavor. Whether you’re a seasoned baker or just starting out, this guide will provide all the tips and tricks you need to achieve beautifully decorated treats with ease.
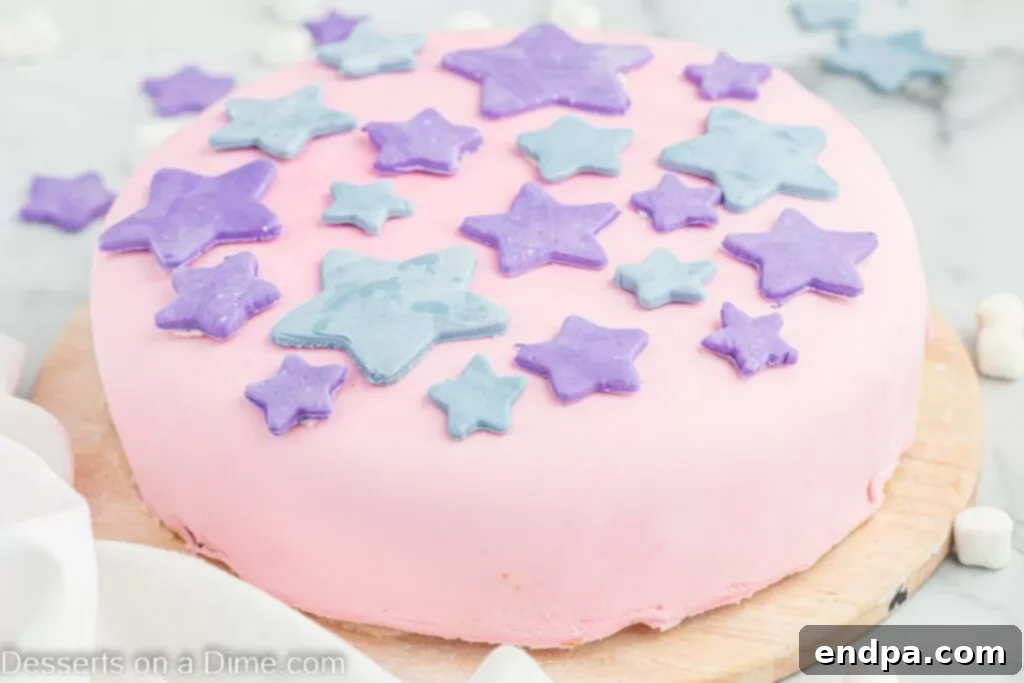
Creating your own Marshmallow Fondant at home is surprisingly straightforward and far more rewarding than you might imagine. This smooth, exceptionally pliable fondant is the ideal medium for covering entire cakes, shaping intricate decorations, or adding that elegant, professional touch to any dessert, from delicate cupcakes to festive cookies.
With just a handful of basic ingredients, you can whip up a versatile, homemade fondant that not only looks incredible but tastes absolutely amazing. It offers a wonderful alternative to traditional frosting recipes, providing a clean, smooth canvas for your culinary artistry. Imagine your Easy Chocolate Cake elevated with a flawless, sweet marshmallow coating.
If you’re a true marshmallow enthusiast, you might also enjoy exploring other delightful treats like Deep Fried Marshmallows. We champion the joy of scratch-made recipes, much like our popular 3 Ingredient Pie Crust Recipe, emphasizing that delicious results don’t always require complicated processes.
Table of Contents
- Why You’ll Adore This Marshmallow Fondant Recipe
- Marshmallow Fondant vs. Traditional Fondant: What’s the Difference?
- Essential Ingredients for Homemade Fondant
- Step-By-Step Guide to Making Marshmallow Fondant
- Proper Storage for Marshmallow Fondant
- Frequently Asked Questions (FAQs) About Fondant
- Mastering Cake Decorating with Marshmallow Fondant
- Expert Tips for Flawless Marshmallow Fondant
- Explore More Easy Frosting Recipes
Why You’ll Adore This Marshmallow Fondant Recipe
This marshmallow fondant isn’t just a recipe; it’s a game-changer for home bakers looking to elevate their dessert decorating skills. Here’s why we, and soon you, will absolutely love making and using it:
- Incredibly Easy to Make – Forget the intimidation often associated with fondant. This recipe requires minimal ingredients and simple kitchen tools, making it accessible for everyone, regardless of experience level.
- Remarkably Soft and Pliable – Its superior texture means it’s perfect for effortless rolling, shaping intricate designs, and smoothly covering cakes without the dreaded cracking or tearing.
- Deliciously Flavorful – Unlike many store-bought fondants that can taste bland or overly sugary, our marshmallow fondant boasts a sweet, subtle marshmallow flavor that complements any cake or dessert beautifully. It’s truly a fondant that tastes as good as it looks.
- Unbelievably Versatile – From elegant cake coverings to playful cupcake toppers and delicate cookie embellishments, this fondant can do it all. Its flexibility makes it ideal for crafting various decorative shapes and elements.
- Endlessly Customizable – Easily transform your fondant with gel food coloring to match any theme or occasion. You can also experiment with different flavor extracts to add an extra layer of deliciousness to your creations.
Marshmallow Fondant vs. Traditional Fondant: What’s the Difference?
While both marshmallow fondant and traditional fondant serve the same purpose of providing a smooth, decorative covering for cakes, they differ significantly in ingredients, ease of preparation, and taste profile. Traditional rolled fondant typically involves a base of sugar, water, gelatin, and often glucose or glycerine to achieve its elasticity. While effective, it can be notoriously difficult to make from scratch, often requiring precise measurements and sometimes a slightly less appealing taste profile to some.
Marshmallow fondant, on the other hand, simplifies the process dramatically. Its primary ingredient is, as the name suggests, marshmallows, which already contain gelatin and sugar, making them an ideal shortcut. This streamlined approach makes homemade marshmallow fondant much easier to tackle, even for beginner bakers. You essentially melt marshmallows with a touch of water or shortening, then incorporate powdered sugar until you reach a smooth, play-dough-like consistency. The result is a fondant that’s not only more forgiving to work with but also inherently sweeter and infused with that delightful, familiar marshmallow flavor, which is a big win for taste!
If you enjoy the taste of marshmallows in your baked goods, be sure to try our recipe for Marshmallow Cookies.
Essential Ingredients for Homemade Fondant
Gathering your ingredients is the first step to creating this magical marshmallow fondant. You’ll be surprised at how few items you actually need for such a professional-looking result.
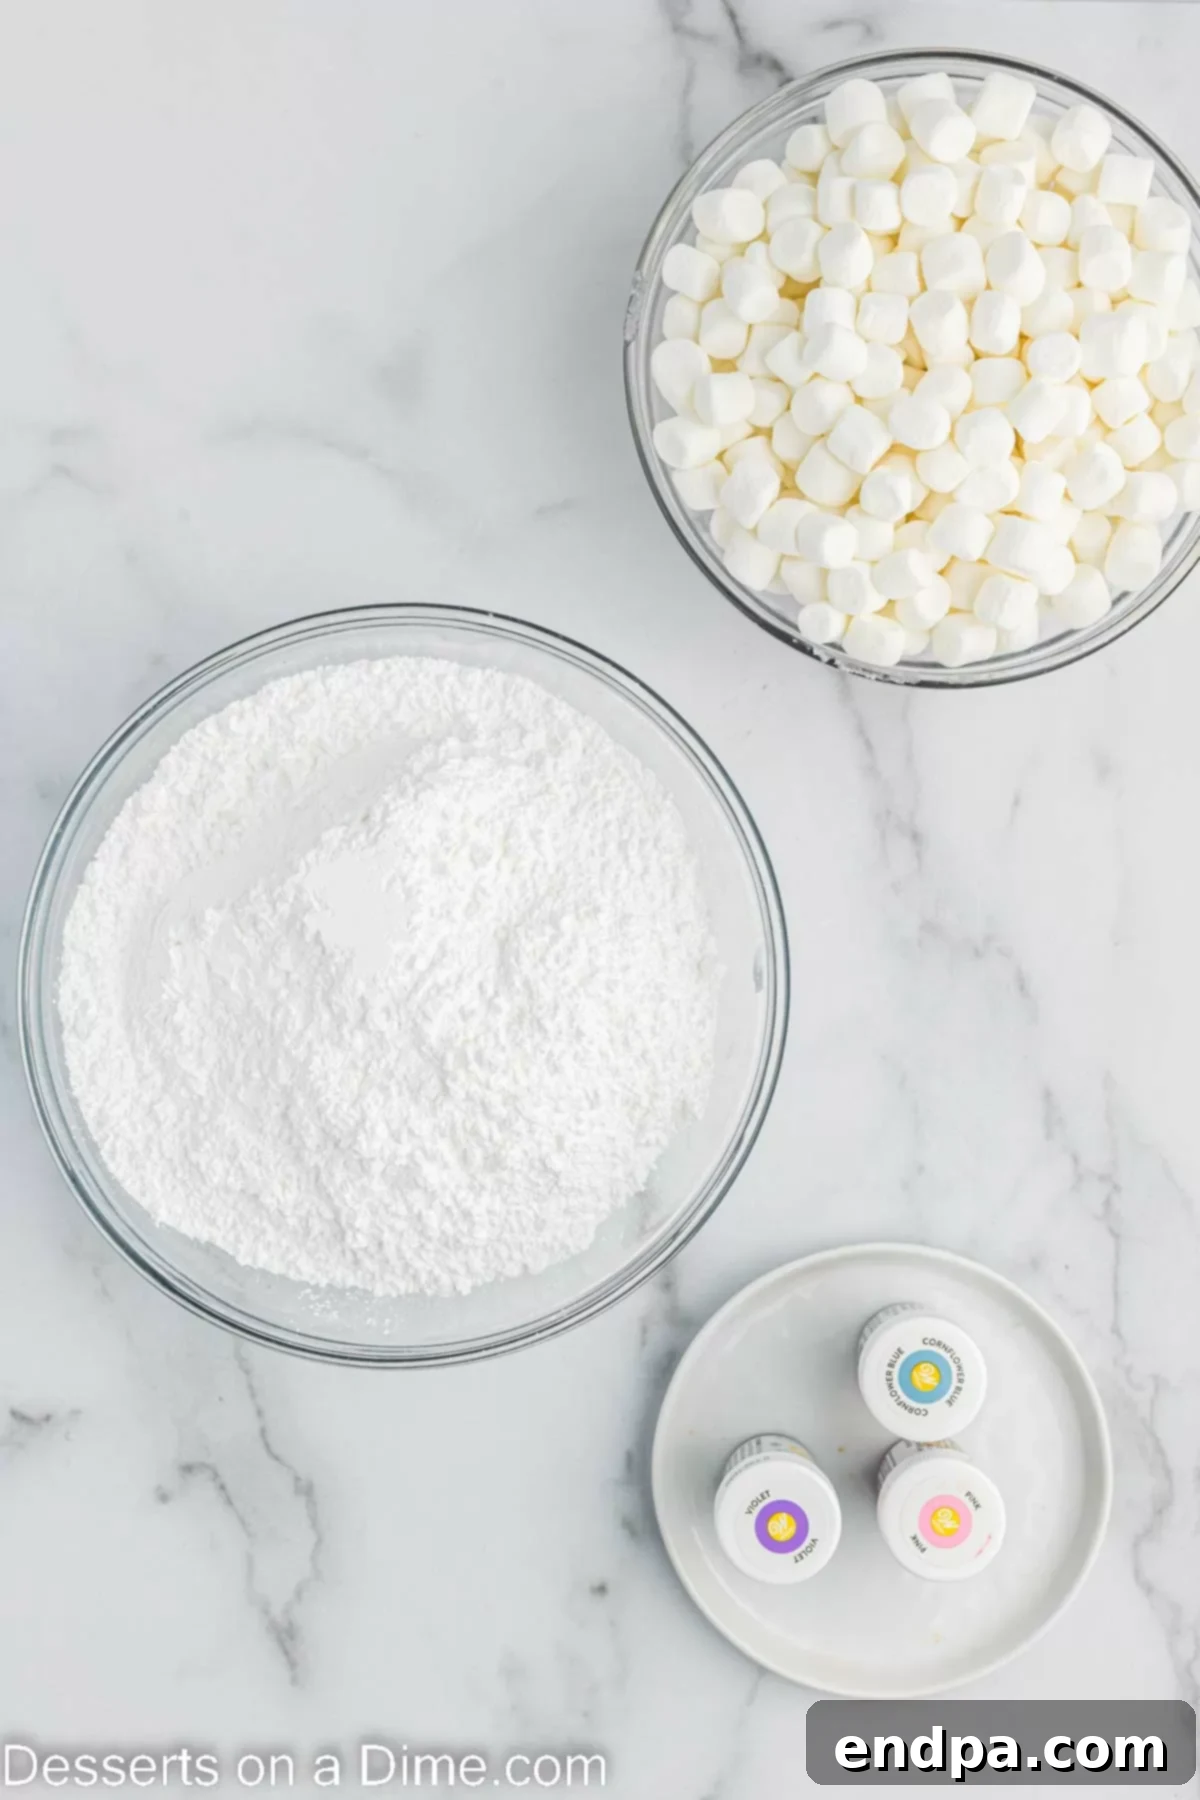
- Miniature Marshmallows – The star of our show! Using fresh, soft miniature marshmallows is key to achieving the perfect melt and a wonderfully pliable fondant texture. Stale marshmallows can be harder to work with.
- Powdered Sugar (Confectioners’ Sugar) – This finely milled sugar provides the bulk and structure for your fondant. Sifting it beforehand is crucial to remove any lumps and ensure a velvety smooth finished product.
- Water (or Shortening) – A small amount of liquid helps to melt the marshmallows into a smooth, cohesive base. You can also use a flavorless shortening for this step, which can add a bit more elasticity.
- Gel Food Coloring (Optional) – If you plan to color your fondant, gel-based food colorings are highly recommended. They provide vibrant hues without adding excess liquid, which could alter the fondant’s consistency. Liquid food colorings can make the fondant sticky.
You’ll find the full, detailed ingredient list, along with precise measurements, further down in the complete recipe card.
Step-By-Step Guide to Making Marshmallow Fondant
Follow these simple steps to create beautiful, homemade marshmallow fondant. The process is straightforward and yields fantastic results every time.
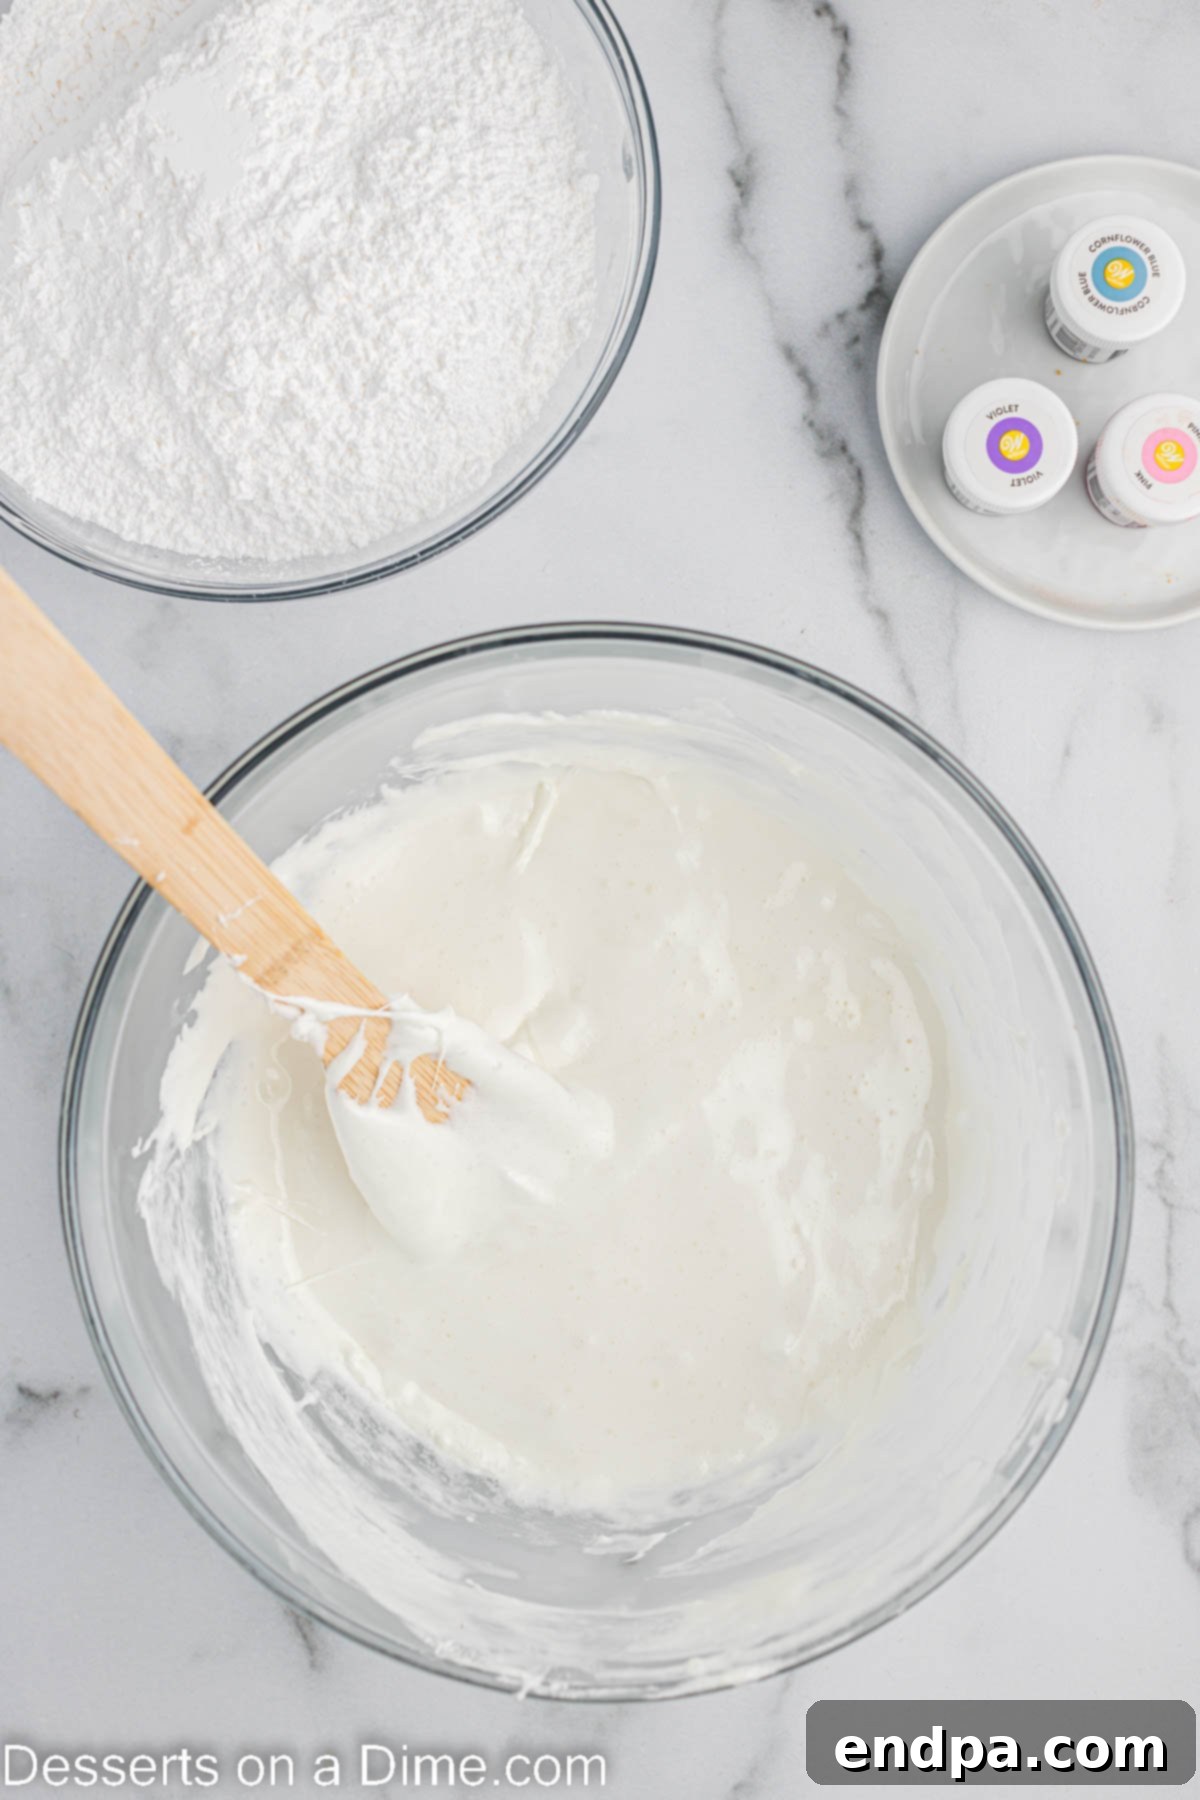
Step 1: Melt the Marshmallows. Begin by placing your miniature marshmallows into a large, microwave-safe bowl. Add the specified amount of water on top. Microwave the mixture in short 30-second intervals, stirring thoroughly after each interval. Continue this process until the marshmallows are completely melted and form a smooth, gooey liquid. Be careful not to overheat them, as this can make the fondant stiff.
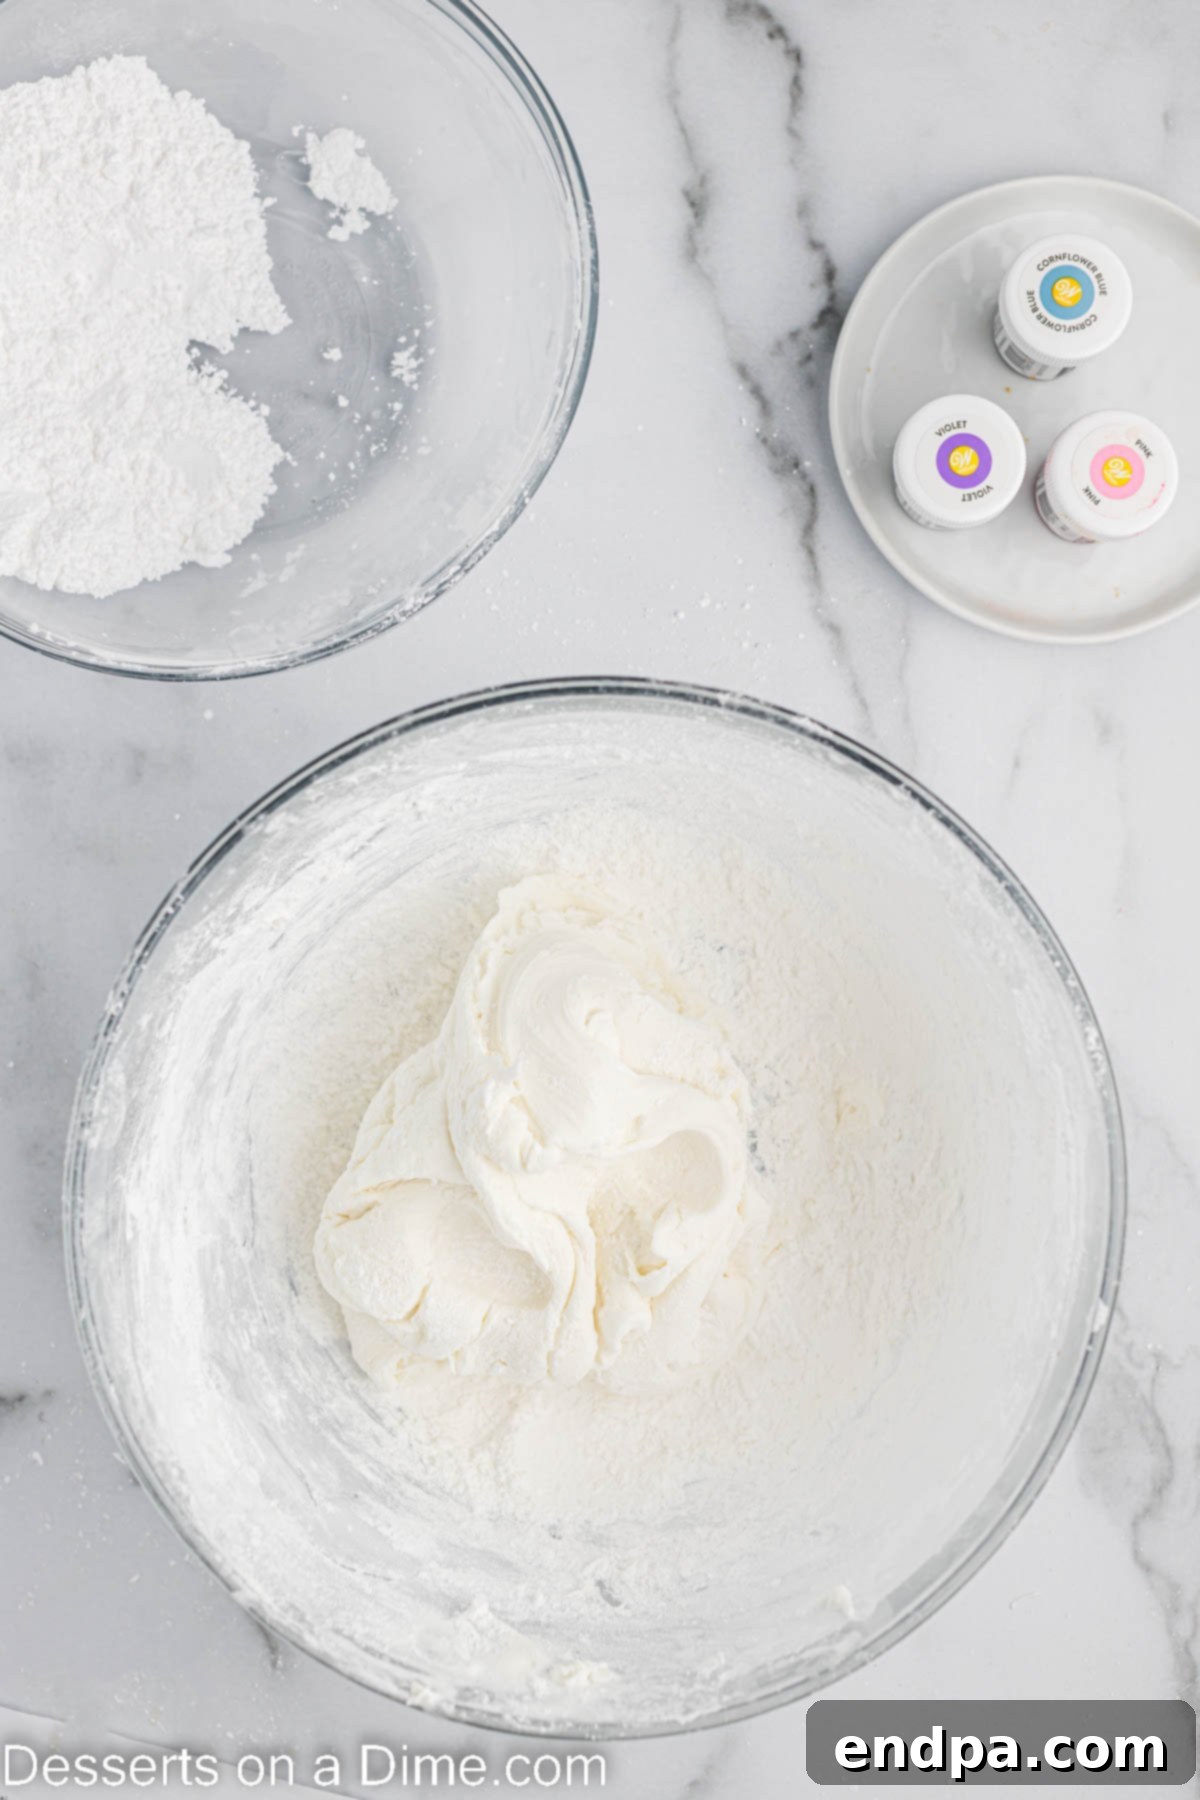
Step 2: Incorporate Powdered Sugar. Once the marshmallows are fully melted, gradually stir in about half of the powdered sugar into the warm marshmallow mixture. Use a sturdy wooden spoon or a robust spatula, as the mixture will become quite thick. Continue adding the remaining confectioners’ sugar in increments, stirring until the mixture transforms into a thick, shaggy dough that resembles the consistency of play dough.
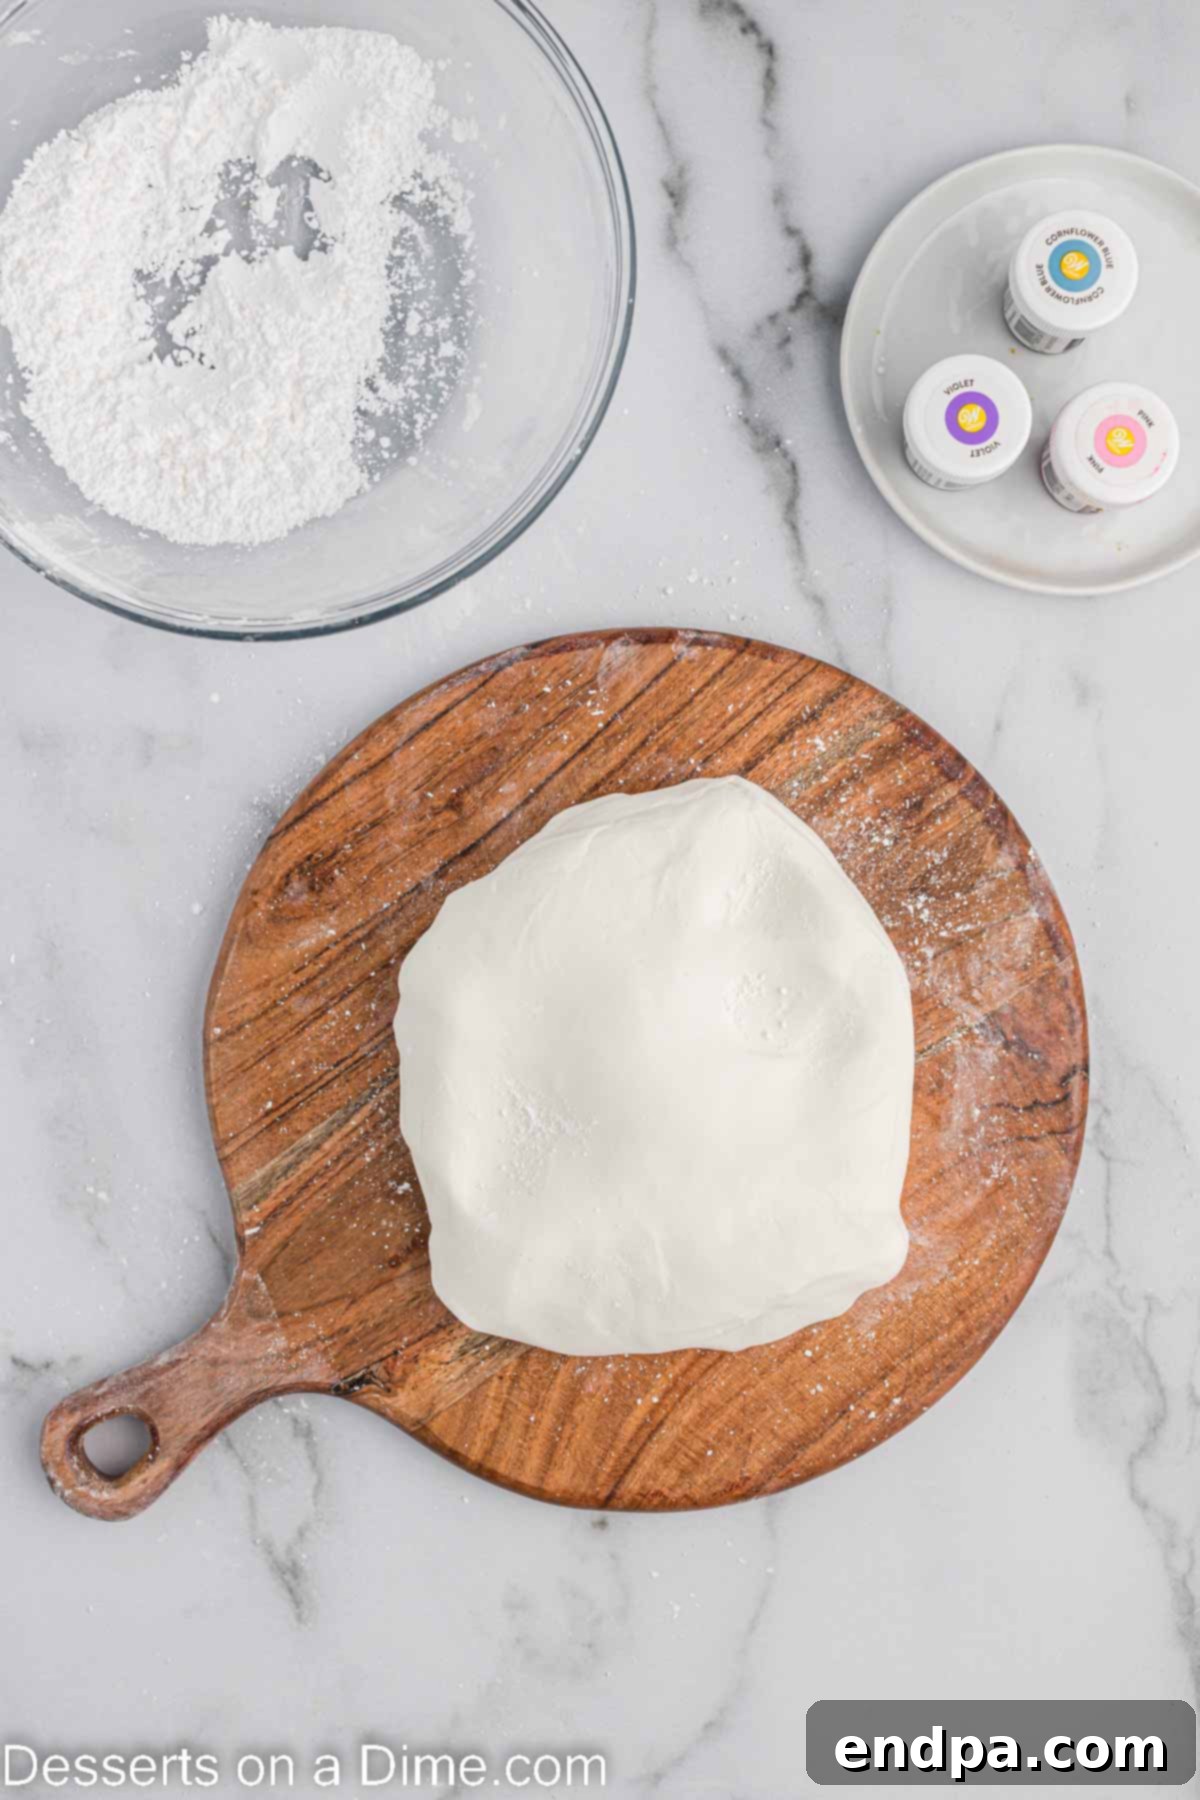
Step 3: Knead Until Smooth. Lightly dust your clean work surface and your hands with powdered sugar to prevent sticking. Transfer the fondant dough onto the prepared surface and begin kneading it with your hands. Continue to knead until the fondant becomes completely smooth, elastic, and free of any lumps. This process is similar to kneading bread dough, and it helps develop the fondant’s pliable texture.
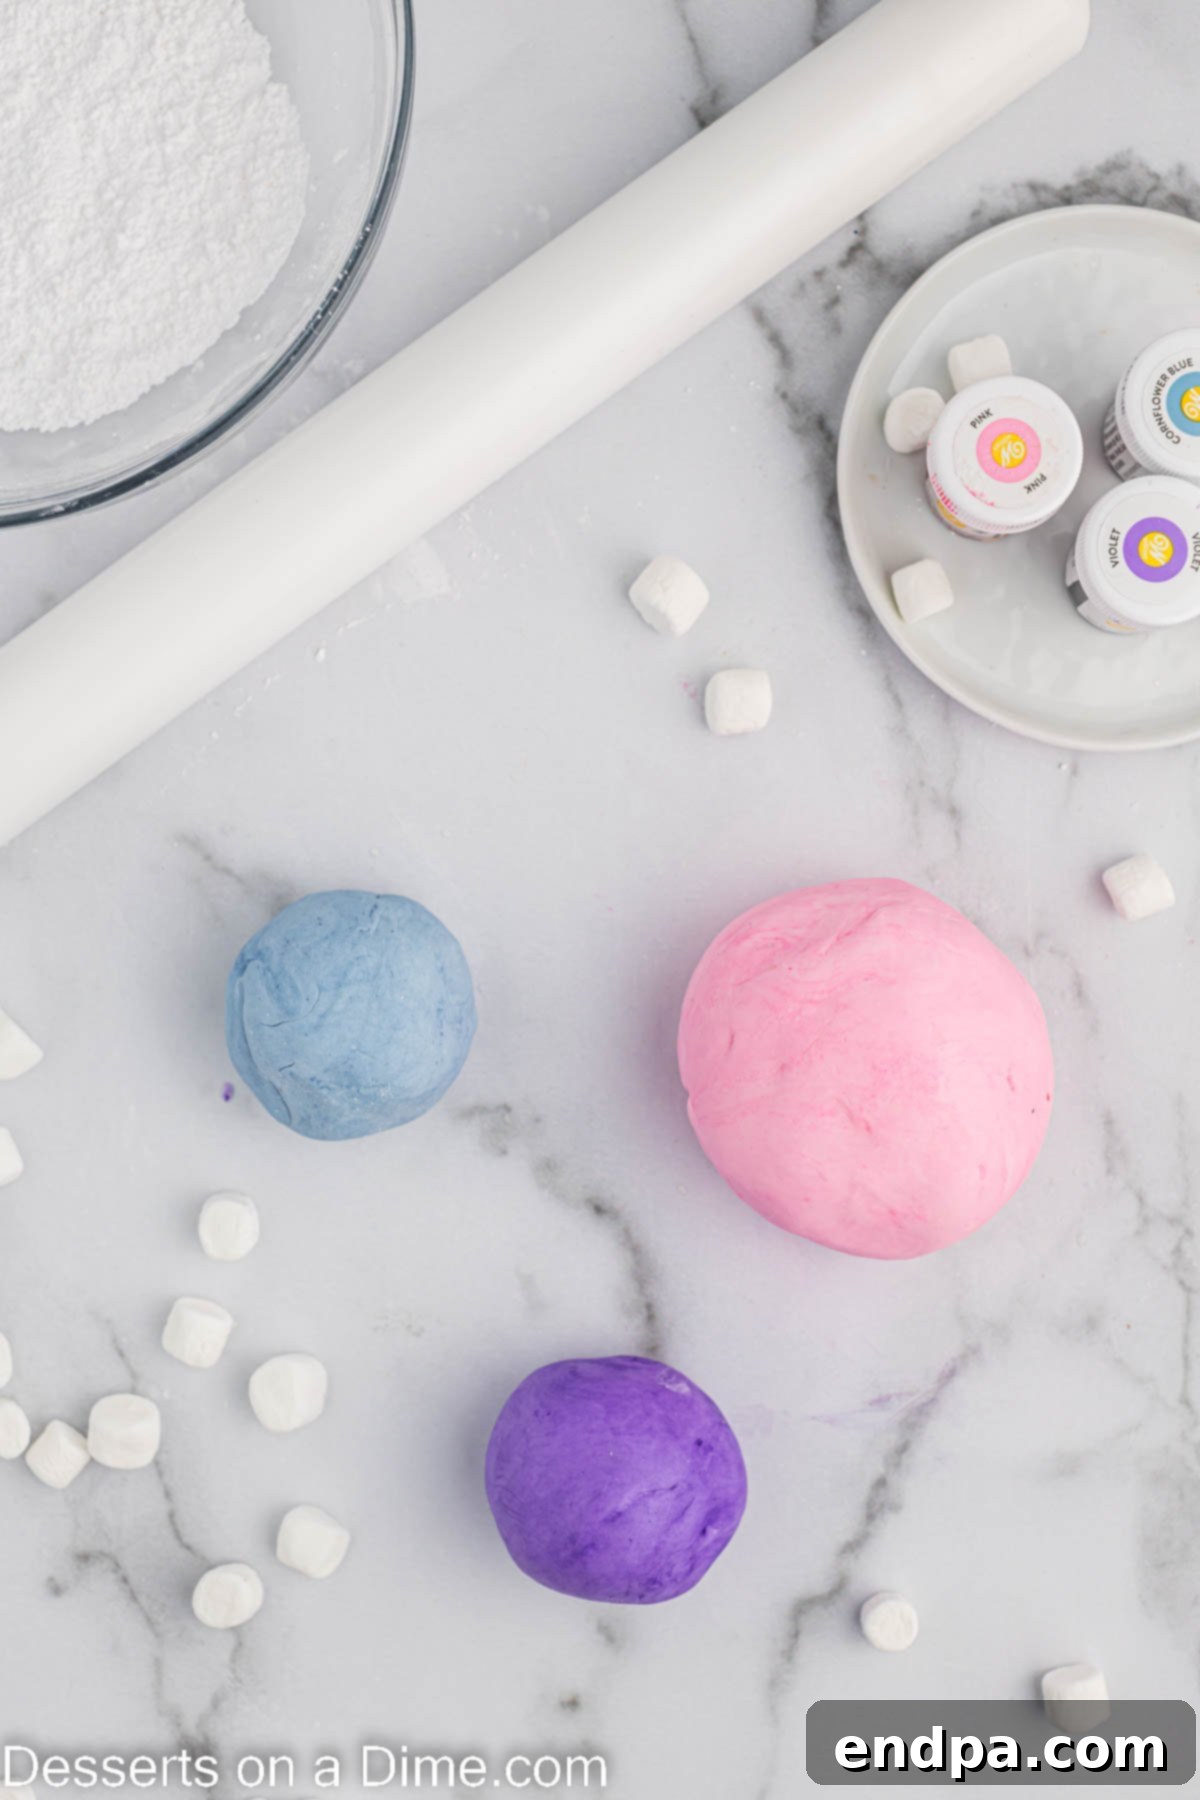
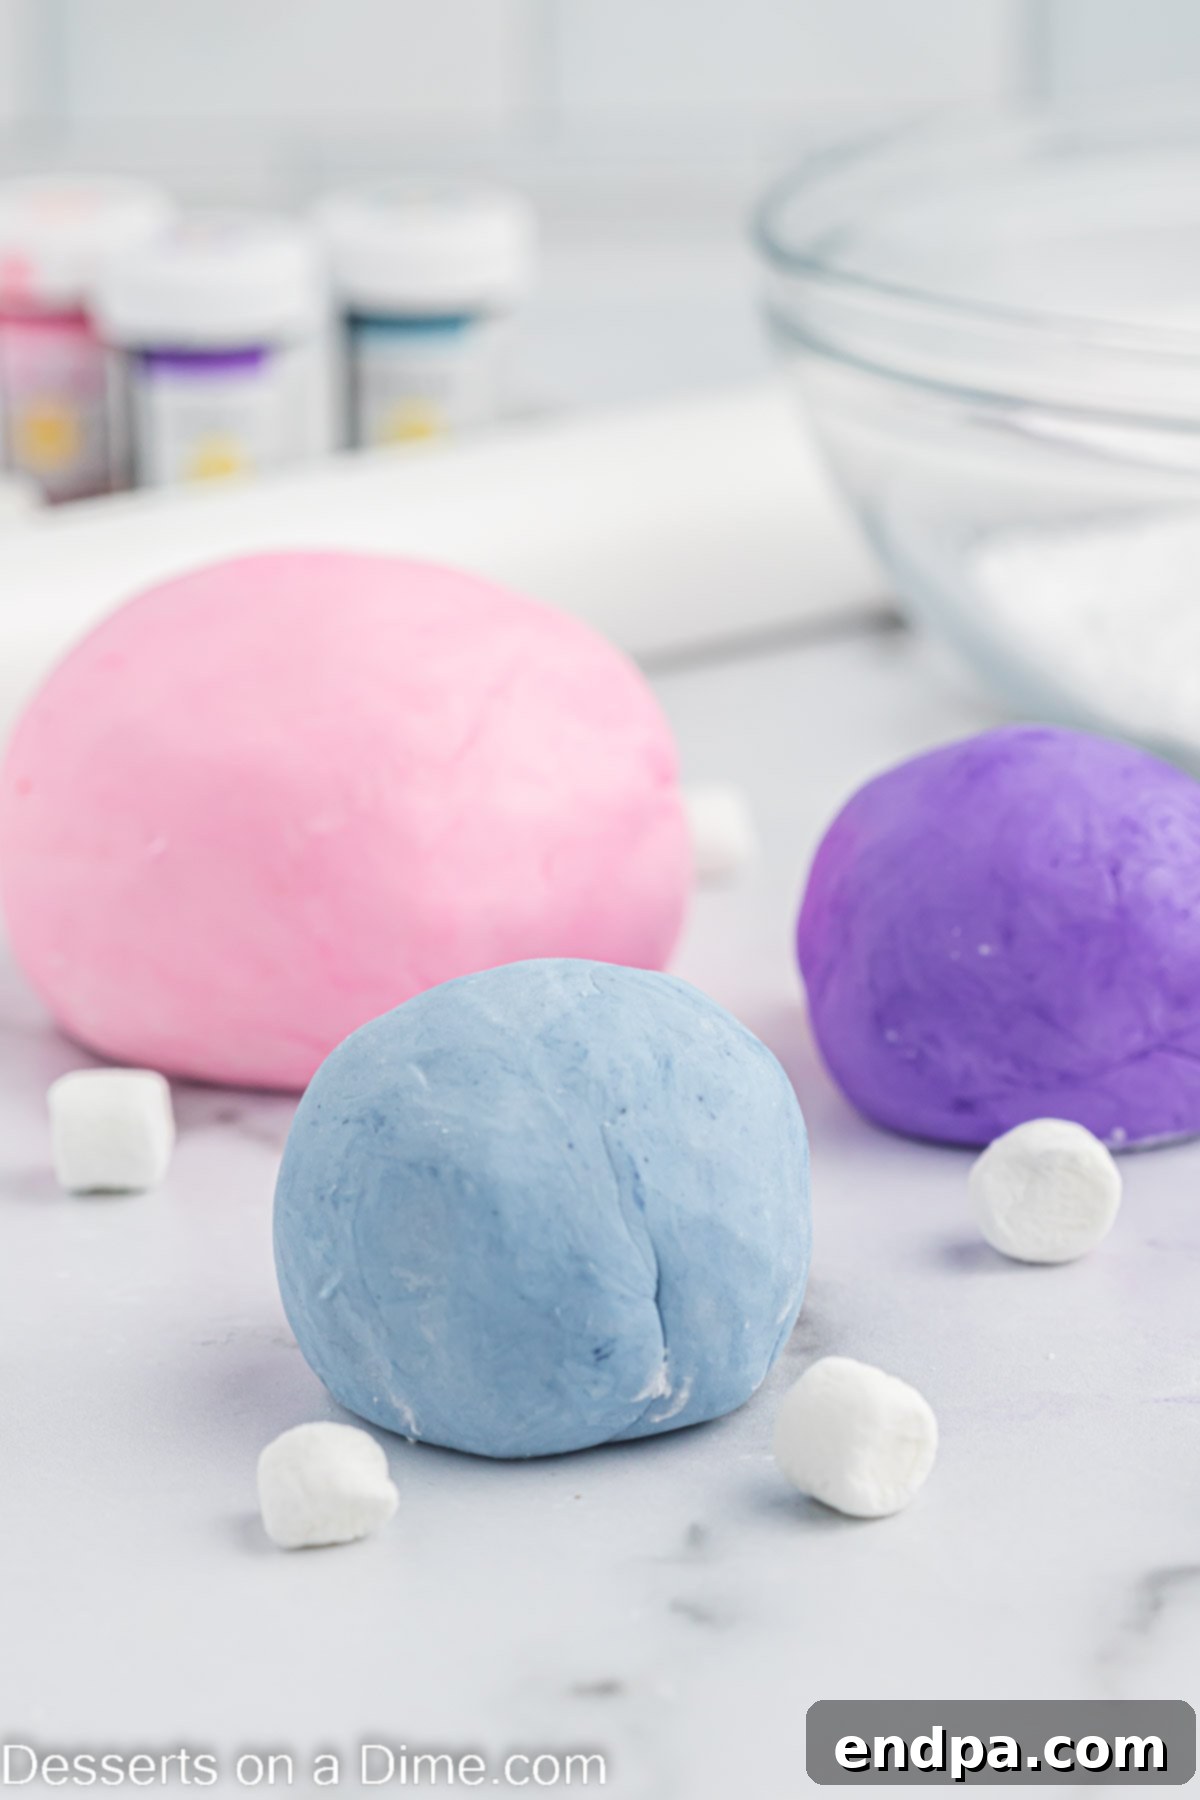
Step 4: Color Your Fondant (Optional). If you wish to color your fondant, divide it into portions and add a few drops of gel food coloring to each ball. For best results and to prevent staining your hands, we highly recommend wearing food-safe gloves during this step. Knead the fondant thoroughly until the color is evenly distributed and vibrantly consistent throughout the entire portion.
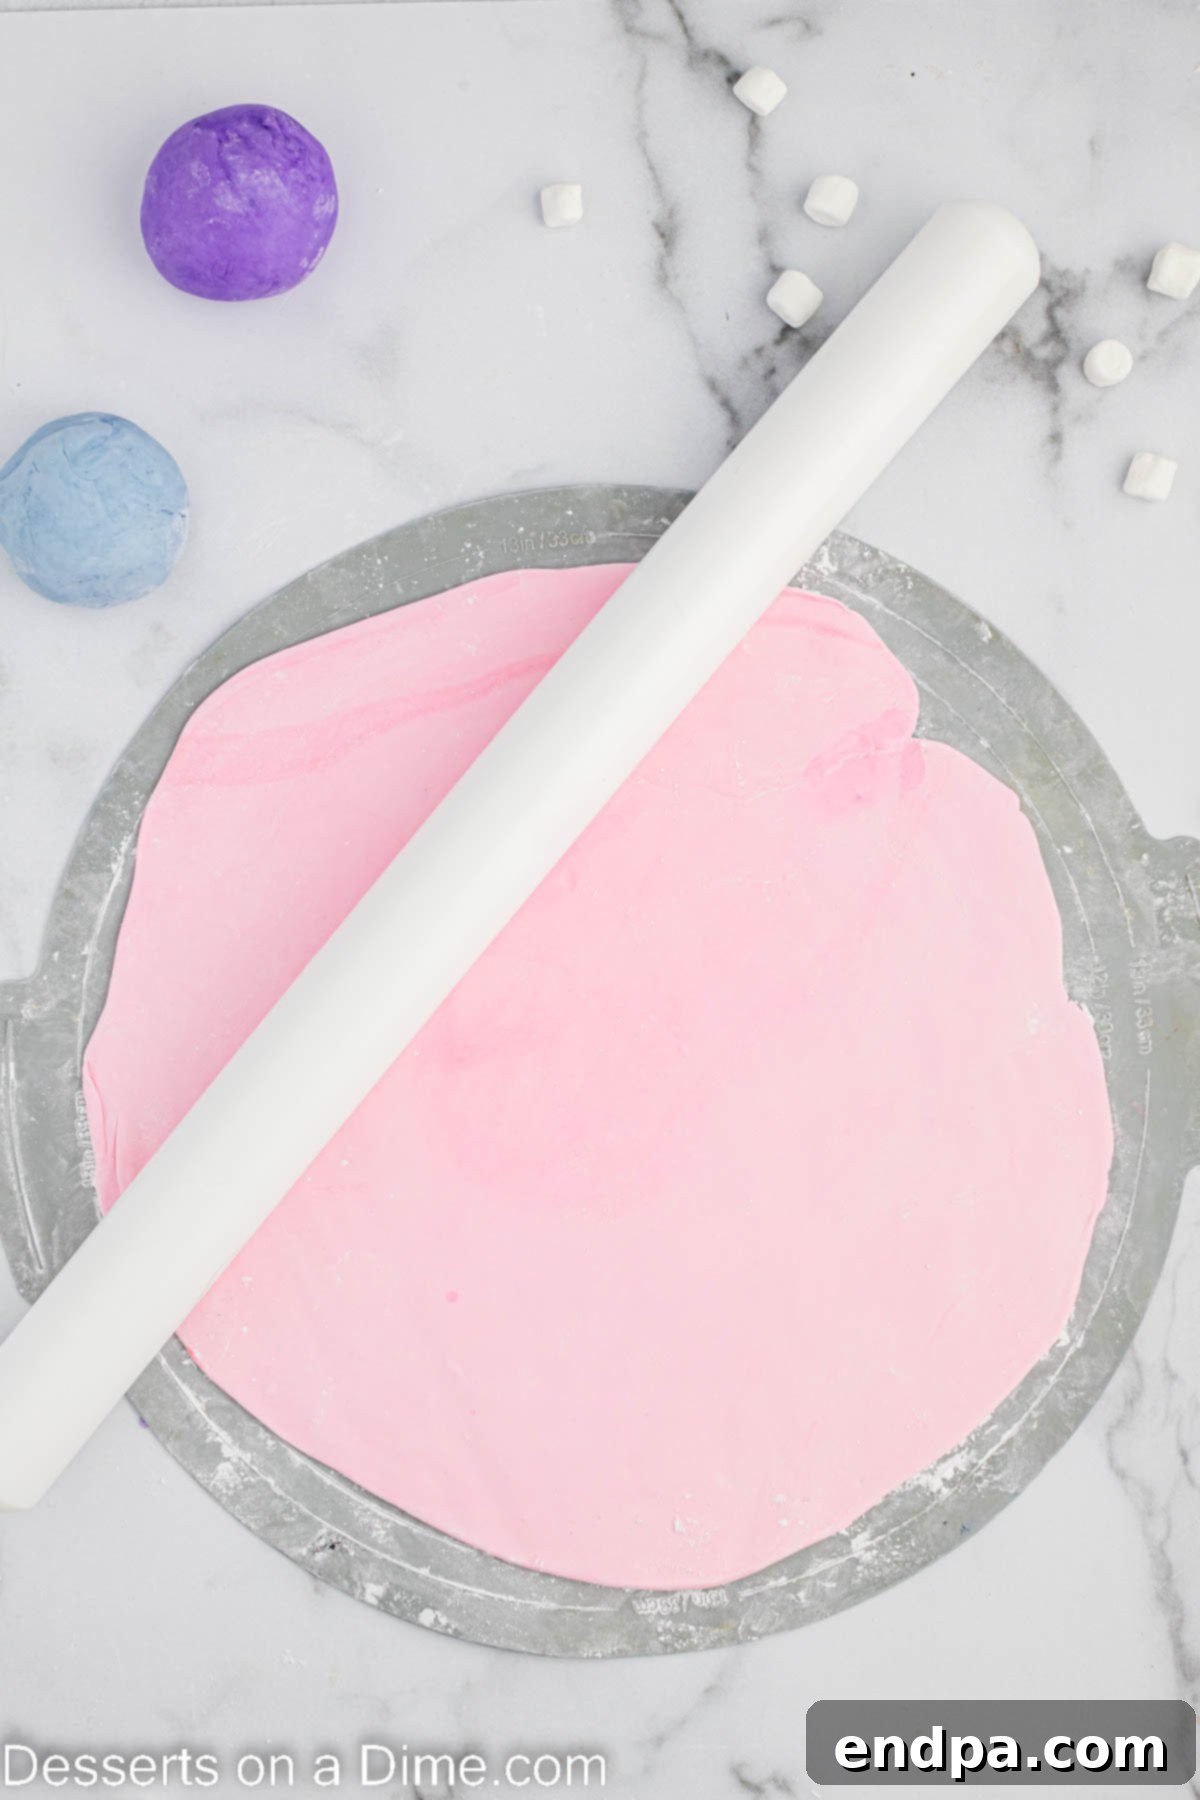
Step 5: Roll Out the Fondant. Once your fondant is smooth and colored (if desired), prepare your working surface by dusting it generously with powdered sugar or cornstarch to prevent sticking. Use a rolling pin to roll the fondant out evenly to your desired thickness. For covering cakes, aim for about 1/8 to 1/4 inch thick, ensuring it’s large enough to drape over your cake.
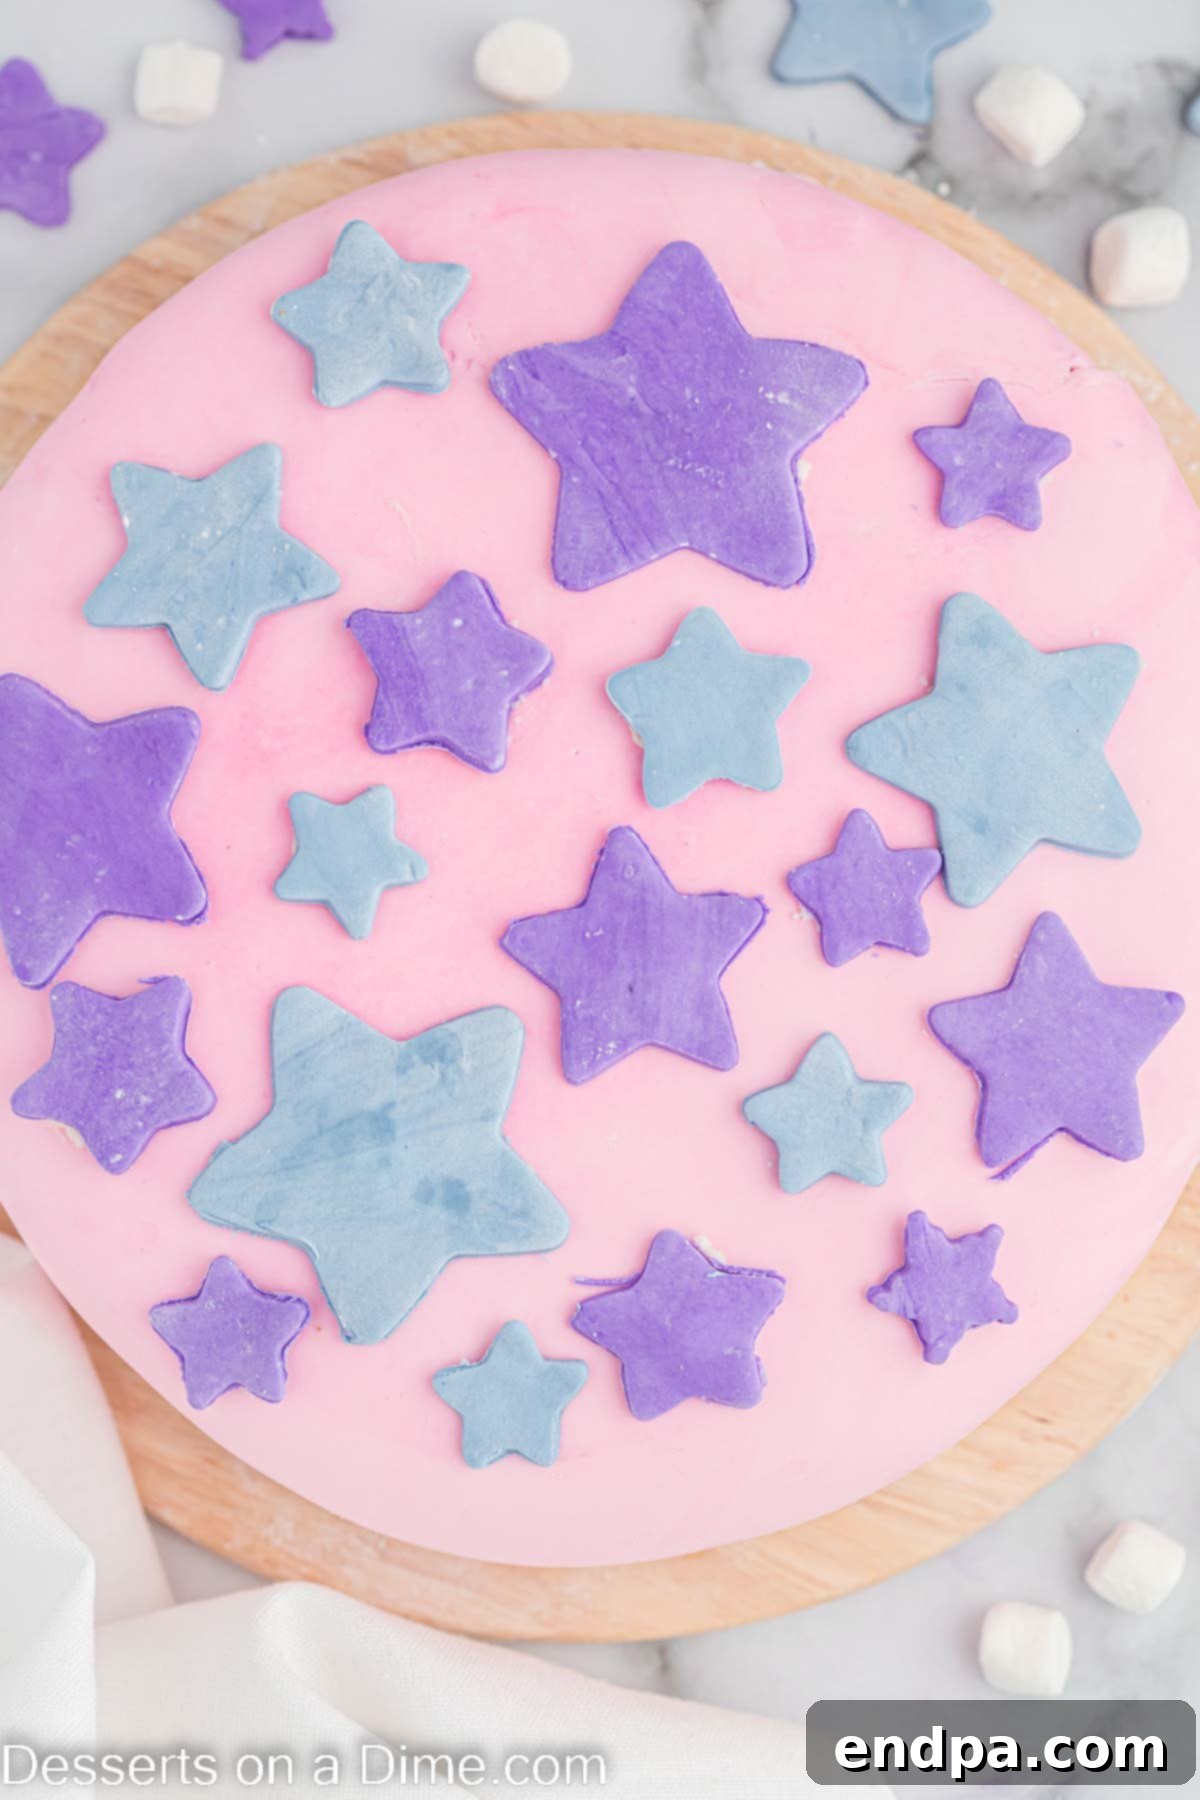
Step 6: Ready for Decoration. At this point, your homemade marshmallow fondant is perfectly ready to use! You can now cut it into various shapes using cookie cutters, sculpt it into figures, or carefully drape it over a cake to create a smooth, beautiful covering. Let your creativity soar and enjoy decorating your favorite desserts.
Proper Storage for Marshmallow Fondant
Proper storage is essential to keep your homemade marshmallow fondant fresh, pliable, and ready for use whenever inspiration strikes. Incorrect storage can lead to a dry, cracked, or overly sticky fondant that’s difficult to work with.
Short-Term Storage: For fondant you plan to use within a week, tightly wrap it in several layers of plastic wrap. Ensure there are no air pockets, as exposure to air is the primary cause of drying. Once wrapped, place the fondant in an airtight container or a resealable plastic bag. Store it at room temperature, away from direct sunlight or heat sources. This method will keep it soft and workable for up to 7 days.
Long-Term Storage: If you need to store your marshmallow fondant for a longer period, it can be frozen. Prepare it by wrapping it extremely well in multiple layers of plastic wrap, then place it inside a freezer-safe, airtight container or heavy-duty freezer bag. Frozen fondant can last for up to 3 months. To use, thaw it at room temperature for several hours or overnight until it softens. You may need to knead it briefly to restore its pliability.
Preventing Drying: The key to fresh fondant is preventing air exposure. Always ensure your fondant is sealed exceptionally well, whether in plastic wrap, an airtight container, or both. If you notice a slight crust forming, you can try kneading a tiny amount of shortening into it to bring back its softness.
Avoid Refrigeration: It’s generally best to avoid storing marshmallow fondant in the refrigerator. The cool, humid environment of a fridge can cause condensation to form on the surface of the fondant, making it sticky and challenging to handle. Stick to room temperature or freezing for optimal results.
Frequently Asked Questions (FAQs) About Fondant
Here are some common questions and helpful answers regarding homemade marshmallow fondant:
When properly stored, marshmallow fondant can last impressively long. At room temperature, tightly wrapped and sealed, it will remain fresh for up to 1 week. If frozen, it can extend its shelf life to about 2 to 3 months.
Yes, marshmallow fondant will eventually dry hard when exposed to air. For thin decorations or sculpted pieces, it will start to stiffen within a few hours to a day. Achieving the full hard, solid consistency similar to commercial modeling chocolate or gumpaste may take several days, depending on the thickness and humidity levels. This drying quality makes it ideal for creating freestanding decorations.
Marshmallow fondant is incredibly versatile! It is primarily used to cover cakes, creating a smooth, professional-looking surface. Beyond that, it can be rolled out and cut into various shapes (like stars, flowers, or letters) with cookie cutters, molded into three-dimensional figures, or draped to create bows and ruffles for stunning cake decorations.
Mastering Cake Decorating with Marshmallow Fondant
Decorating a cake with marshmallow fondant is an exciting and creative process that’s easier than it looks. With a little practice, you can transform a simple cake into a masterpiece. Here’s a more detailed guide to help you achieve beautiful results:
- Prepare Your Fondant: After you’ve prepared your fondant according to the steps above and infused it with your chosen vibrant gel food coloring, it’s time to get it ready for the cake. If your fondant has become a bit firm from resting, you can microwave it for 5-10 seconds at a time (be very careful not to overheat it) and knead it until it’s pliable again. Lightly dust your clean work surface and your rolling pin with powdered sugar or cornstarch to prevent sticking. Roll out the fondant evenly to a thickness of about 1/8 to 1/4 inch. Ensure it’s large enough to cover your entire cake with some overhang.
- Covering the Cake: Carefully lift the rolled fondant. The easiest way to do this is to gently roll it onto your rolling pin, then unroll it directly over the center of your crumb-coated or buttercream-frosted cake. Gently lay it down, allowing it to drape naturally.
- Smoothing and Trimming: Begin by smoothing the top surface of the cake with your hands or a fondant smoother, working from the center outwards. Then, gently work your way down the sides, carefully lifting and pulling the fondant to adhere snugly to the cake, easing out any pleats or wrinkles as you go. Once the fondant is smooth and firmly attached, use a sharp knife or pizza cutter to trim any excess fondant along the base of the cake. Continue to smooth the entire surface for a clean, polished finish.
- Adding Decorations: This is where the fun begins! Use cookie cutters to create shapes, form intricate designs by hand, or even use silicone molds for detailed embellishments. Attach fondant decorations to the cake using a tiny brush dipped in water or edible glue.
Expert Tips for Flawless Marshmallow Fondant
Achieving perfectly smooth and workable marshmallow fondant requires a few insider tricks. Incorporate these expert tips into your process for the best possible results:
- Add Powdered Sugar Gradually: This is perhaps the most crucial tip. Always incorporate the confectioners’ sugar one cup at a time. The amount needed can vary slightly based on humidity and marshmallow brand. Adding too much sugar too quickly can make the fondant stiff, crumbly, and difficult to knead. If it becomes too stiff, you can knead in a tiny amount of shortening to restore pliability.
- Proper Storage is Key: To maintain its optimal texture, always store prepared fondant at room temperature. Lightly coat the fondant ball with a thin layer of flavorless shortening before wrapping it tightly in several layers of plastic wrap. Then, place it in an airtight container or a resealable plastic bag. This dual protection prevents air exposure and keeps it soft.
- Coloring Techniques: When adding gel food coloring, wear food-safe gloves to prevent staining your hands. Start with a small amount of color and knead the fondant thoroughly until the color is evenly distributed. You can always add more color to deepen the shade, but you can’t take it away!
- Marshmallow Substitutions: While mini marshmallows are convenient, large marshmallows can also be used. For accurate results, always measure marshmallows by weight, not volume, as larger marshmallows can have more air. For an 8 oz bag of mini marshmallows, you’ll need approximately the same weight in large marshmallows.
- Alternative Melting Options: While the microwave is quick and easy, marshmallows can also be melted using a double boiler. This method provides more gentle, controlled heat, reducing the risk of overheating and making the marshmallows too stiff.
- Non-Stick Kneading Tips: If your fondant is particularly sticky during kneading, dust your hands with a bit of powdered sugar or a tiny smear of shortening. Avoid adding too much dry flour, as it can make the fondant too dry.
- Stand Mixer Method for Ease: For those who prefer to avoid extensive hand kneading, a stand mixer fitted with a dough hook can be a lifesaver. Lightly oil the mixer bowl and dust it with powdered sugar. Add the melted marshmallow mixture, then gradually mix in the powdered sugar until fully combined and a cohesive dough forms. Finish with a quick hand knead on a dusted surface to ensure ultimate smoothness.
Explore More Easy Frosting Recipes
If you love experimenting with different ways to top your desserts, here are some other fantastic and easy frosting recipes you might enjoy:
- Cool Whip Cream Cheese Frosting Recipe
- Cool Whip Frosting Recipe
- Easy Peanut Butter Frosting Recipe
- Marshmallow Frosting
Now, embark on your baking adventure and get started making beautiful, impressive cakes with this incredibly easy Marshmallow Fondant recipe. Don’t forget to share your creations and leave a comment once you’ve tried it!
Pin
Marshmallow Fondant Recipe
Ingredients
- 1 bag Mini Marshmallows (8 oz bag)
- 4 cups Powdered Sugar
- 1 Tablespoon Water
- Gel Food Coloring (optional, for coloring)
Instructions
- Place the marshmallows in a large microwave safe bowl. Pour the water on top. Microwave in 30 second intervals, stirring after each interval, until the marshmallows are completely melted and smooth.
- Stir in half of the powdered sugar with a sturdy wooden or plastic spoon. Continue to add the remaining powdered sugar until the dough reaches the consistency of play dough. Then, knead the dough by hand until the fondant is smooth and elastic.
- To dye the fondant, add a few drops of gel food coloring into a ball of fondant. Wear gloves to prevent staining your skin and knead the fondant until the color is evenly distributed throughout the dough.
- Roll the dough out onto a counter dusted generously with powdered sugar or cornstarch. The fondant is now ready to use to cover your cake or to cut out decorative items for your favorite desserts.
