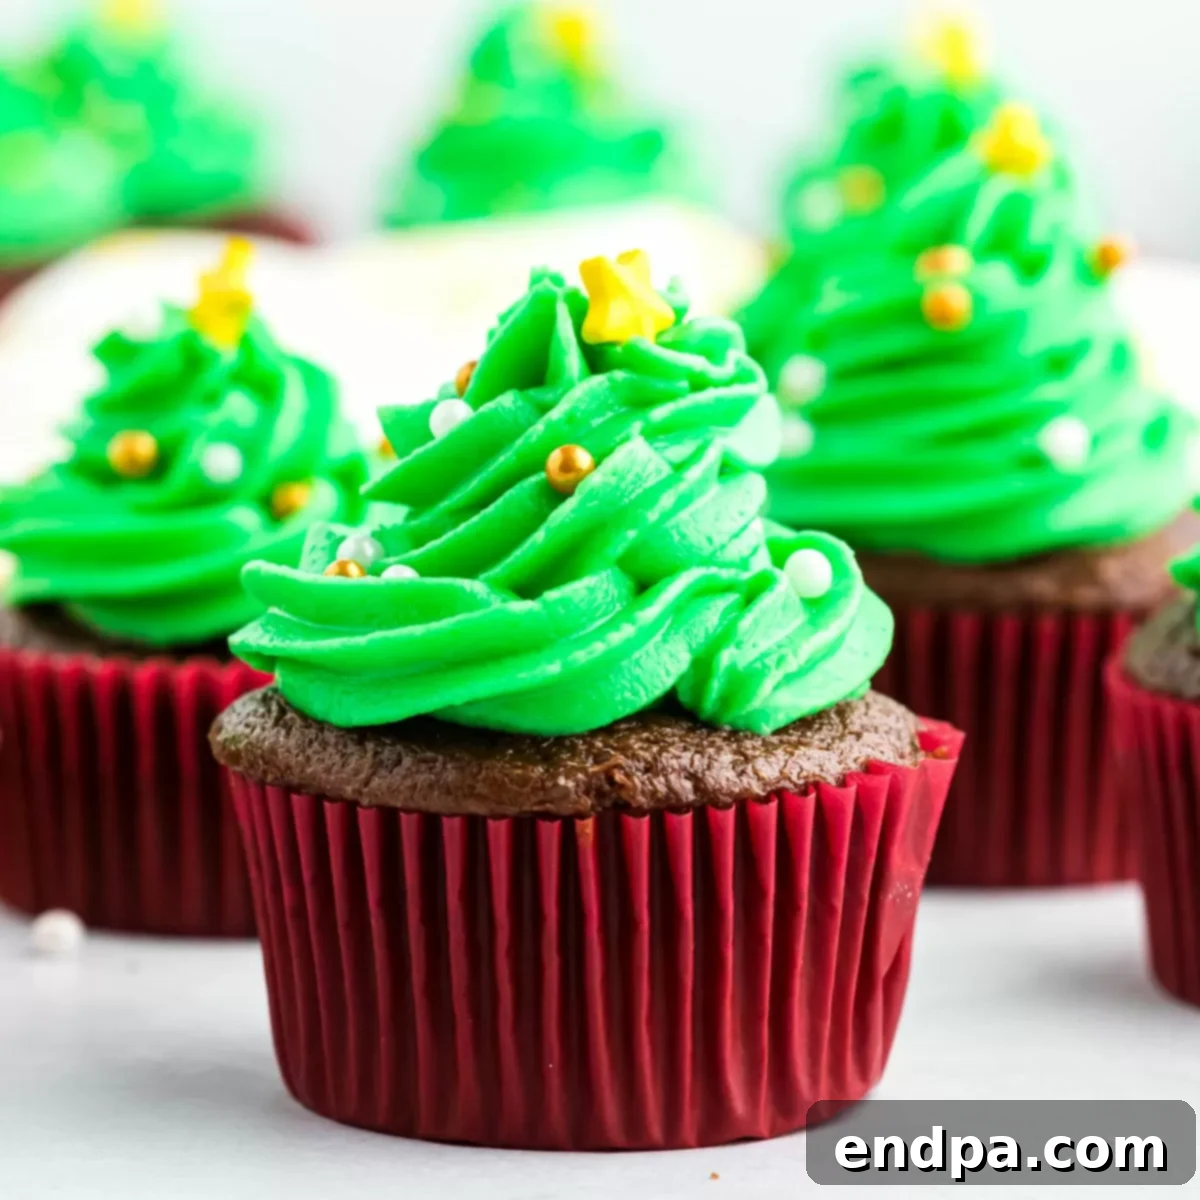
Welcome to the enchanting world of holiday baking, where even the simplest ingredients can be transformed into magical delights! These delightful Christmas tree cupcakes begin with a convenient box mix, making them an accessible and enjoyable project for bakers of all skill levels. With just a few simple steps, you can turn ordinary cupcakes into extraordinary festive treats that will be the star of any holiday gathering. Our detailed, step-by-step instructions will guide you through decorating these whimsical cupcakes, ensuring a beautiful and delicious outcome every time.
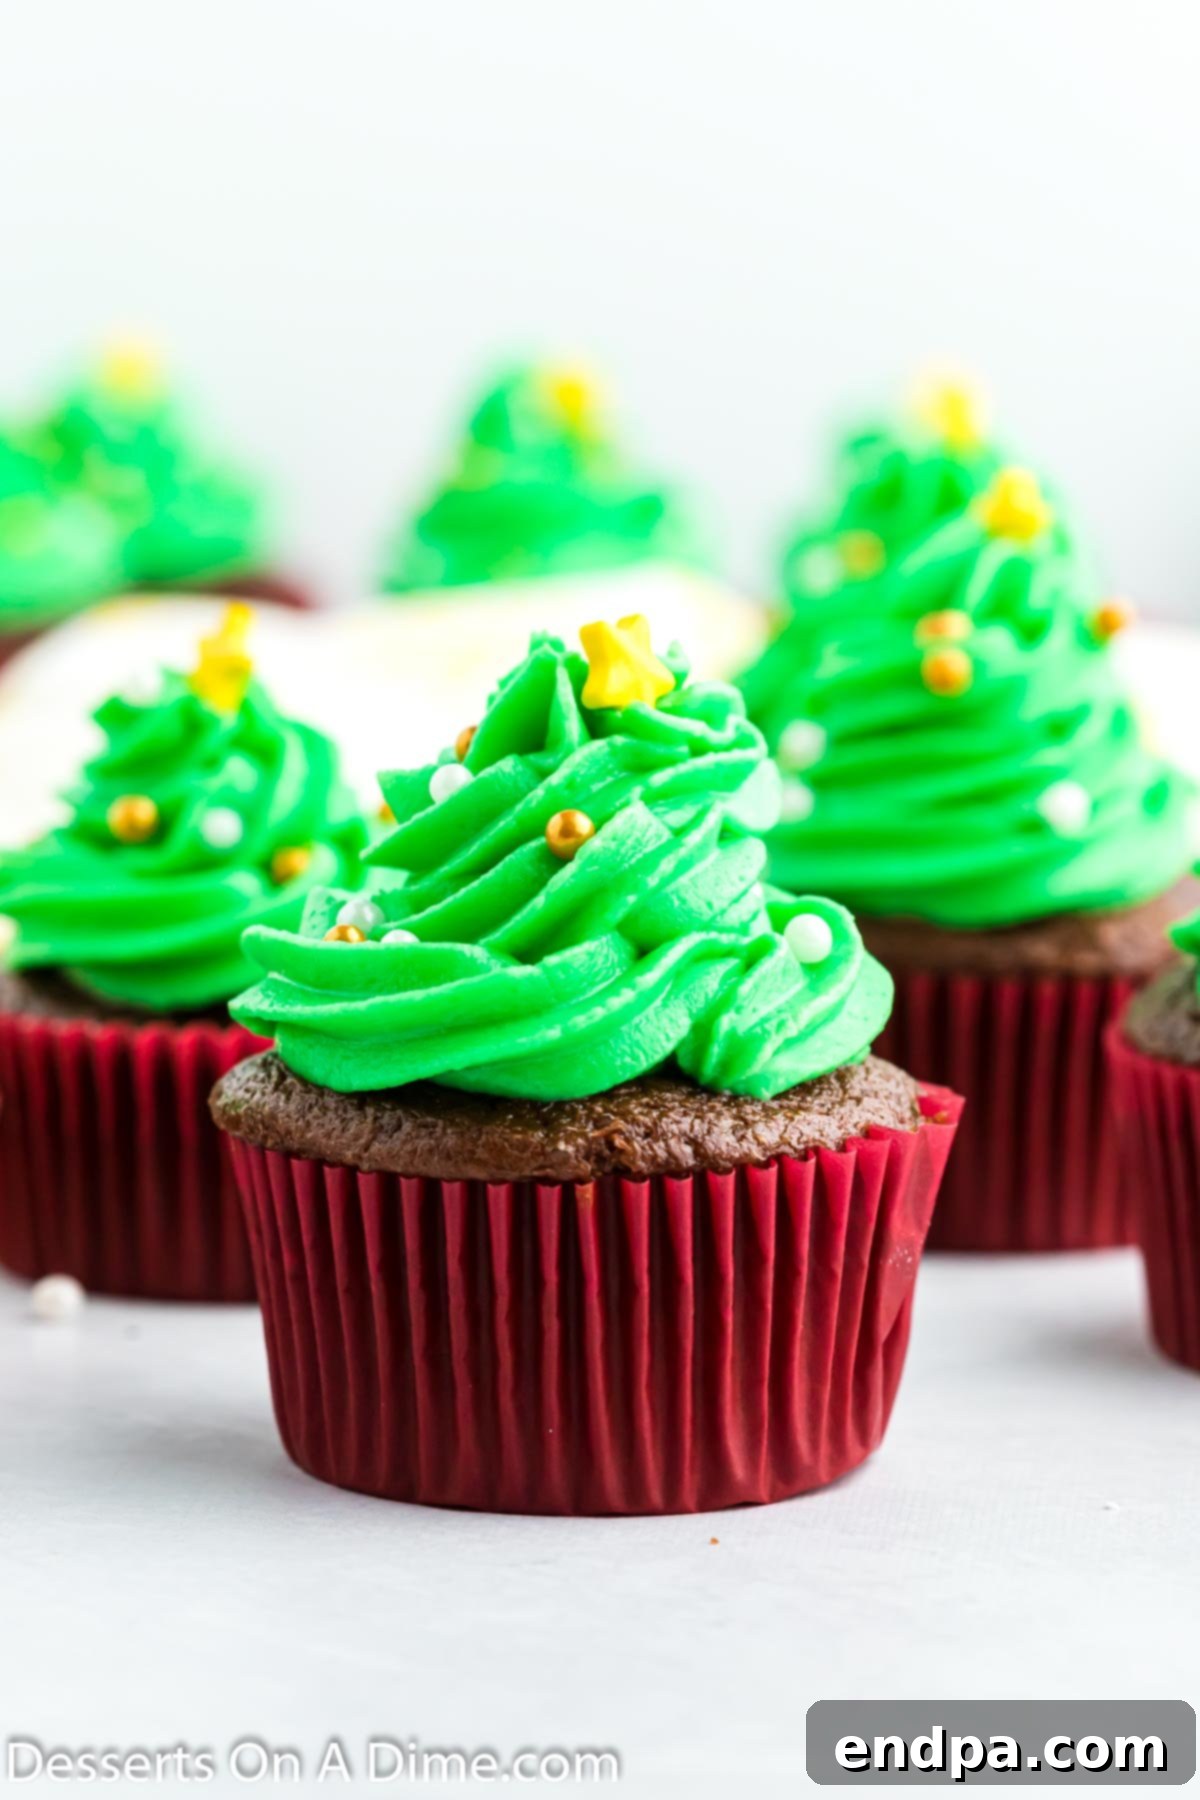
Crafting Christmas Tree Cupcakes is a remarkably easy and rewarding experience, especially when you leverage the simplicity of a box cake mix. This recipe empowers anyone to effortlessly transform each cupcake into a charming, edible Christmas tree. It’s truly a darling Christmas dessert, perfectly complementing other beloved holiday sweets like our delightful Meringue Christmas Trees, the impressive Christmas Tree Cupcake Cake, and the always popular Christmas Crunch Recipe. These treats are not just desserts; they are edible symbols of holiday joy.
The holiday season offers a wonderful opportunity for family bonding in the kitchen. Creating festive Christmas desserts together is always a highlight, bringing smiles and laughter. Beyond our Christmas Tree Cupcakes, we also adore making cheerful Santa Hat Cupcakes, classic Christmas Tree Sugar Cookies, playful Grinch Cupcakes, and delightful Christmas Cake Pops. Each recipe is designed to be fun, engaging, and yields delicious results that everyone will love.
And if your holiday plans include a festive brunch, don’t forget to explore our creative Christmas Pancakes Ideas to add an extra sprinkle of magic to your morning celebrations. These delightful pancake creations are sure to impress guests and make your holiday brunch unforgettable.
What’s in this post: Easy Christmas Tree Cupcakes
- Why You’ll Adore This Recipe:
- Gather Your Ingredients
- Exciting Cupcake Flavor Variations:
- Crafting Your Christmas Tree Cupcakes: Step-by-Step
- Mastering Your Piping: Essential Tips
- Creative Decorating Ideas
- Frequently Asked Questions (FAQs)
- More Festive Christmas Tree Desserts:
- The Full Christmas Tree Cupcakes Recipe Card
Why You’ll Adore Making These Festive Cupcakes:
These Christmas tree cupcakes aren’t just a dessert; they’re an experience! Here’s why this recipe will quickly become a cherished part of your holiday traditions:
- Unbeatable Simplicity with a Box Cake Mix: We understand that the holidays are busy. That’s why this recipe truly shines by starting with a simple cupcake mix. This ingenious shortcut drastically cuts down on prep time without sacrificing flavor or quality. You get to enjoy all the fun of decorating without the hassle of baking from scratch, making these perfect for impromptu holiday gatherings or quick baking sessions with the kids. It’s the ultimate stress-free holiday baking solution!
- Charmingly Adorable Decorations: The true magic of these cupcakes lies in their stunning visual appeal. With vibrant green icing meticulously piped to resemble miniature evergreen trees, and adorned with festive touches, these cupcakes are guaranteed to bring smiles. From the twinkling candy ornaments to the delicate sugar stars crowning each “tree,” every detail is designed to captivate and celebrate the spirit of the holidays. They’re almost too cute to eat – almost!
- Perfect Blend of Taste and Texture: Beyond their eye-catching appearance, these cupcakes deliver an incredibly satisfying culinary experience. The recipe ensures that each bite offers a moist, tender cupcake base complemented by rich, creamy frosting. Whether you choose a classic chocolate base or one of our suggested variations, the combination of flavors and textures is simply divine, creating a memorable treat that tastes every bit as good as it looks.
In essence, this recipe offers the perfect trifecta: ease of preparation, stunning aesthetics, and irresistible taste, making it an absolute must-try for your holiday season.
Gather Your Essential Ingredients
Creating these festive Christmas Tree Cupcakes requires a few simple components, divided into three categories: for the cupcakes themselves, for the luscious green icing, and for the whimsical decorations. Most items are readily available at your local grocery store, making this a convenient recipe to whip up.
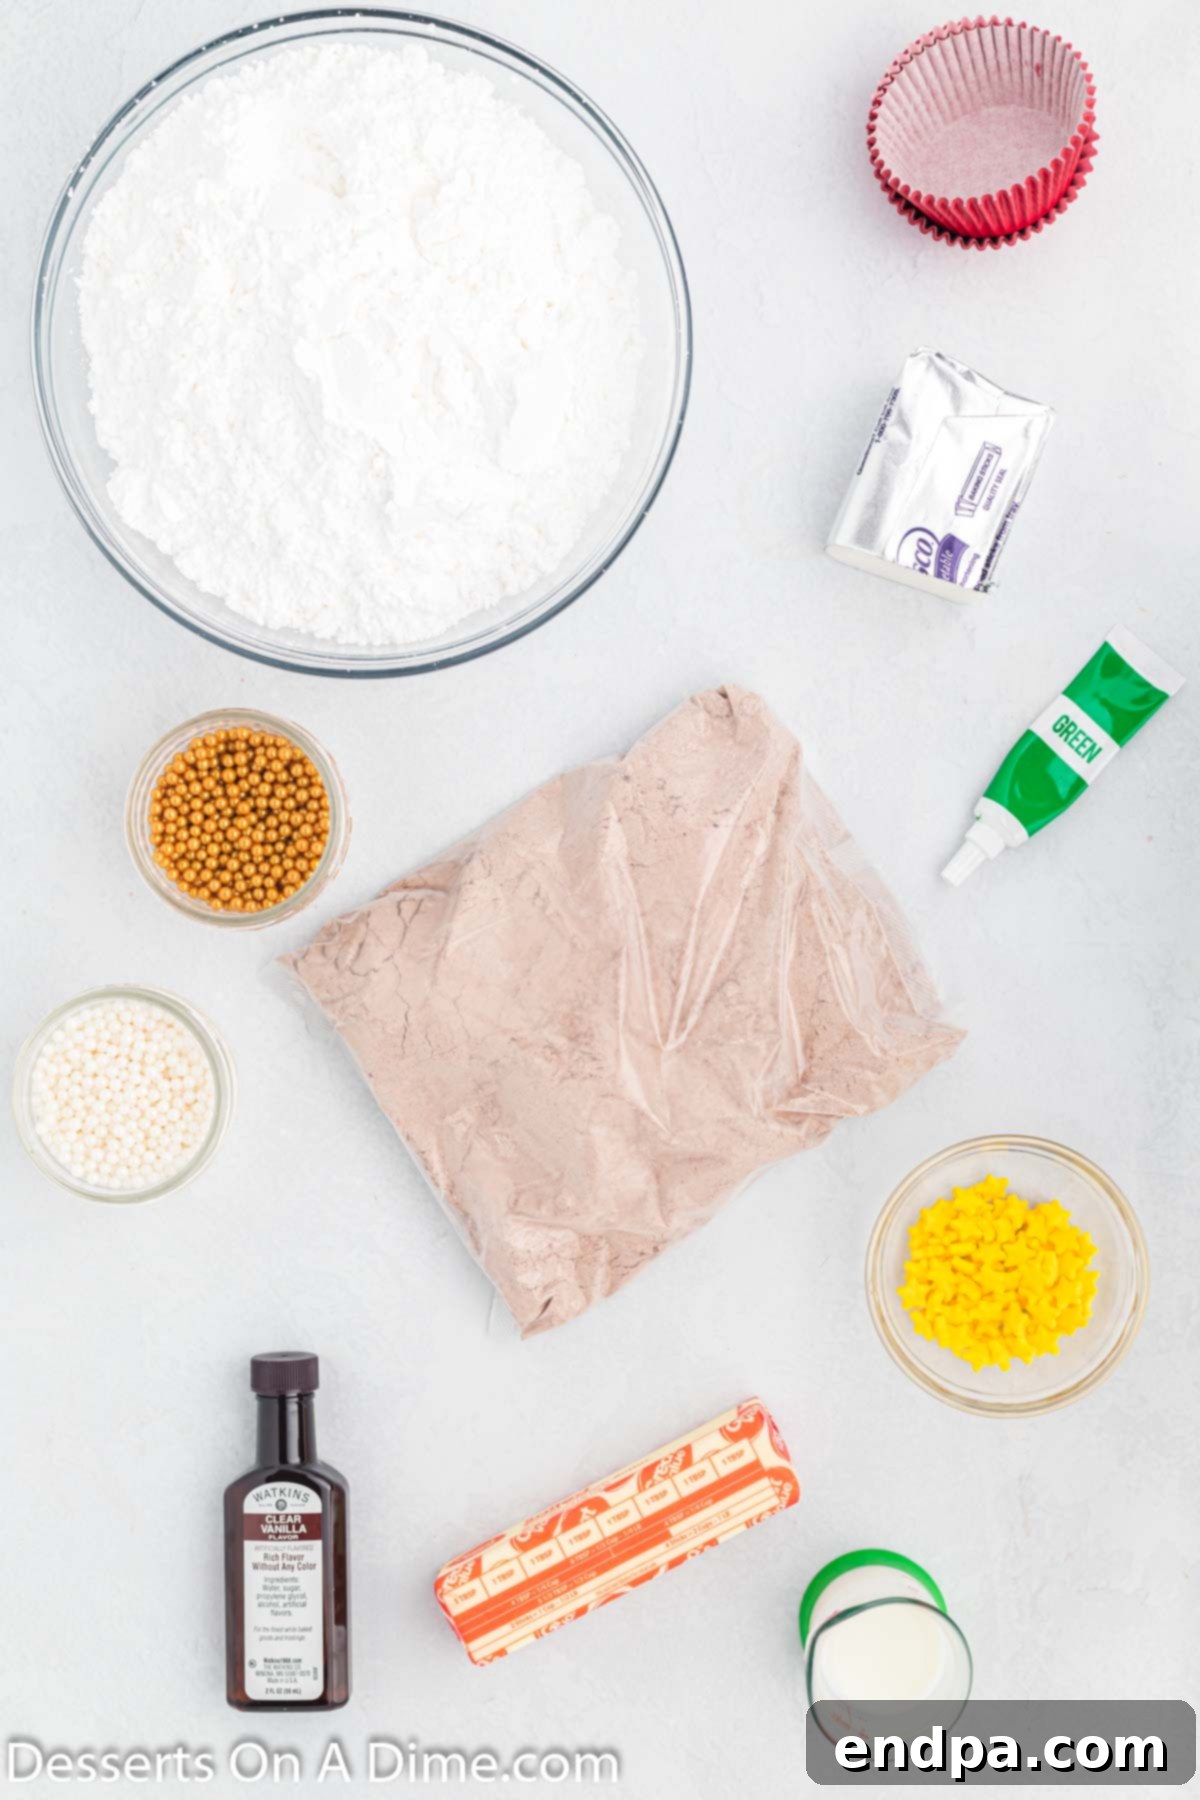
FOR THE CUPCAKES:
- Chocolate Cake Mix: A classic choice that provides a rich, comforting base for your festive trees. Any brand of your preference will work beautifully.
- Ingredients to prepare cake mix: Don’t forget the eggs, oil, and water (or milk) as specified on your chosen cake mix box.
- Red Cupcake Liners: These not only add a pop of festive color but also make the cupcakes easy to handle and serve.
THE LUSCIOUS ICING:
- Solid Vegetable Shortening: Essential for achieving that perfect, sturdy buttercream texture that holds its shape beautifully for piping.
- Unsalted Butter (softened at room temperature): Adds rich flavor and creaminess to your frosting. Ensuring it’s at room temperature is crucial for smooth mixing.
- Clear Pure Vanilla Extract: Opt for clear vanilla to maintain the bright green color of your frosting, preventing any yellow tint that brown vanilla extract might impart.
- Powdered Sugar (sifted): Also known as confectioners’ sugar, sifting it beforehand is key to a lump-free, silky-smooth frosting.
- Milk: Used to adjust the consistency of the frosting, ensuring it’s perfect for piping. You might need slightly more or less depending on humidity.
- Green Gel Food Coloring: Gel food coloring is highly concentrated and produces vibrant colors without thinning out your frosting, which is critical for maintaining the tree shape.
FOR THE WHIMSICAL DECORATIONS:
- Yellow Sugar Stars: These are the ideal topping for your Christmas trees, adding that iconic star-on-top sparkle.
- Assorted Candy Balls: Small, colorful candy balls are perfect for simulating festive ornaments on your edible trees. Think nonpareils, mini M&M’s, or small round sprinkles.
You can find the precise measurements for all these ingredients in the comprehensive recipe card located at the very bottom of this post.
Exciting Cupcake Flavor Variations:
While a classic chocolate base is always a hit, these Christmas tree cupcakes are incredibly versatile. Feel free to experiment with different cake mix flavors to suit your family’s preferences or to add an extra layer of culinary adventure to your holiday baking:
- Rich Red Velvet: For a truly striking visual contrast, opt for a red velvet cake mix. The deep red crumb beneath the green frosting creates a wonderfully festive look that is both elegant and delicious. It also adds a subtle cocoa flavor with a hint of tang.
- Classic Vanilla or White Cake Mix: A vanilla or white cake mix offers a clean, sweet base that allows the vibrant green frosting and colorful decorations to truly shine. These lighter flavors are universally appealing and are perfect if you prefer a less intense chocolate flavor. They are also fantastic for customizing with other extracts.
- Decadent German Chocolate: If you’re a fan of rich, indulgent flavors, a German chocolate cake mix can elevate these cupcakes to a new level. The coconut-pecan notes would complement the sweet buttercream beautifully.
The beauty of this easy Christmas tree cupcake recipe is its adaptability. You can genuinely use any type of cake mix that your heart desires or whatever you happen to have readily available in your pantry. This flexibility makes holiday baking even more convenient and enjoyable. Don’t hesitate to choose the flavor that your family loves the most to make these treats extra special and personalized!
Crafting Your Christmas Tree Cupcakes: Step-by-Step Guide
Making these festive cupcakes is a fun and straightforward process. Follow these easy steps to bake and decorate your adorable Christmas tree treats.
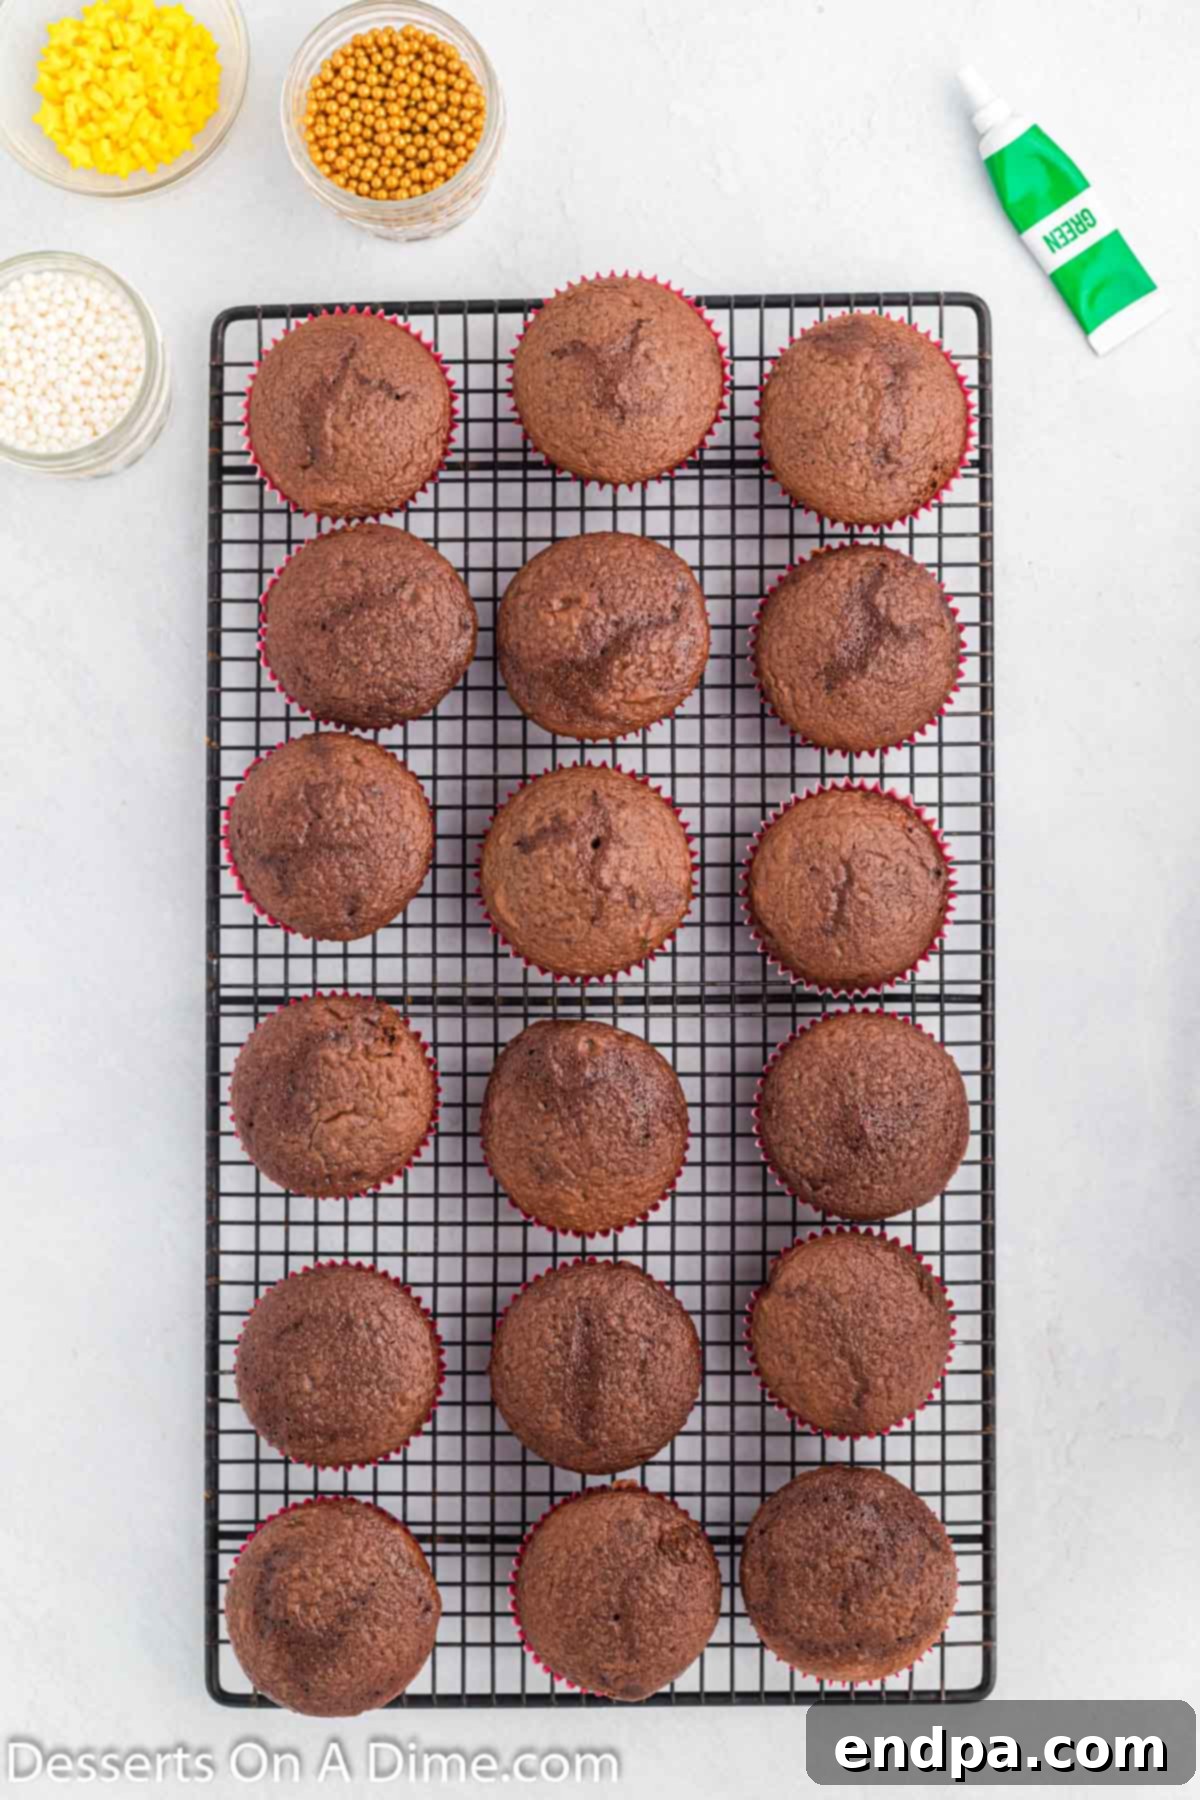
Step 1. Bake Your Cupcakes: Begin by preparing your chosen chocolate cake mix (or any flavor you prefer!) according to the package instructions. This typically involves combining the mix with large eggs, oil, and water. Line your cupcake pan with festive red cupcake liners, then evenly pour the batter into each liner, filling them about two-thirds full. Bake the cupcakes following the box’s recommended baking time and temperature. Once baked, carefully remove the cupcake pan from the oven and allow the cupcakes to cool slightly in the pan before transferring them to a wire rack to cool completely. This cooling step is crucial; attempting to frost warm cupcakes will result in melted frosting and a messy situation!
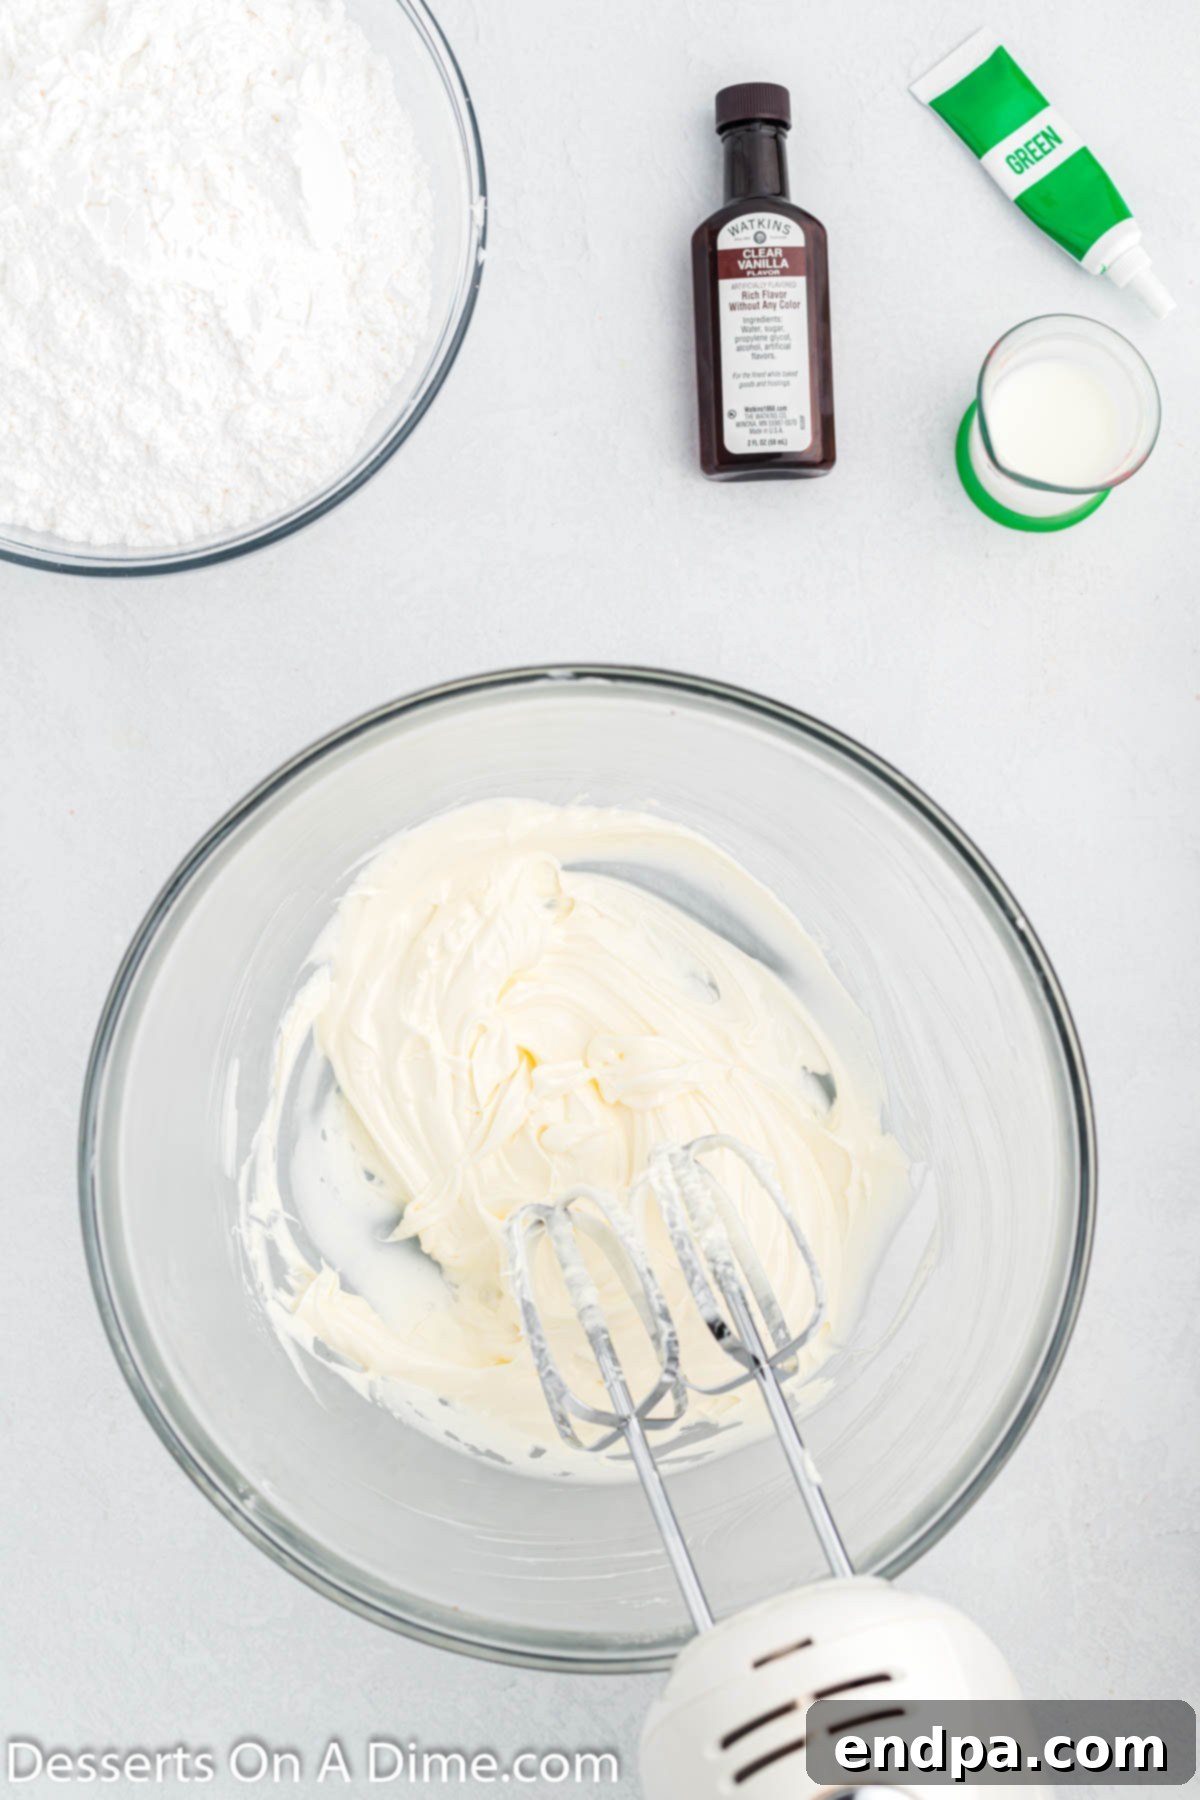
Step 2. Cream the Fats: In a large mixing bowl, combine the solid vegetable shortening and the softened unsalted butter. Using an electric mixer (either a stand mixer with a paddle attachment or a hand mixer), cream these two ingredients together on medium speed until the mixture is light, fluffy, and well combined. This process incorporates air, which is essential for a smooth and easy-to-pipe frosting.
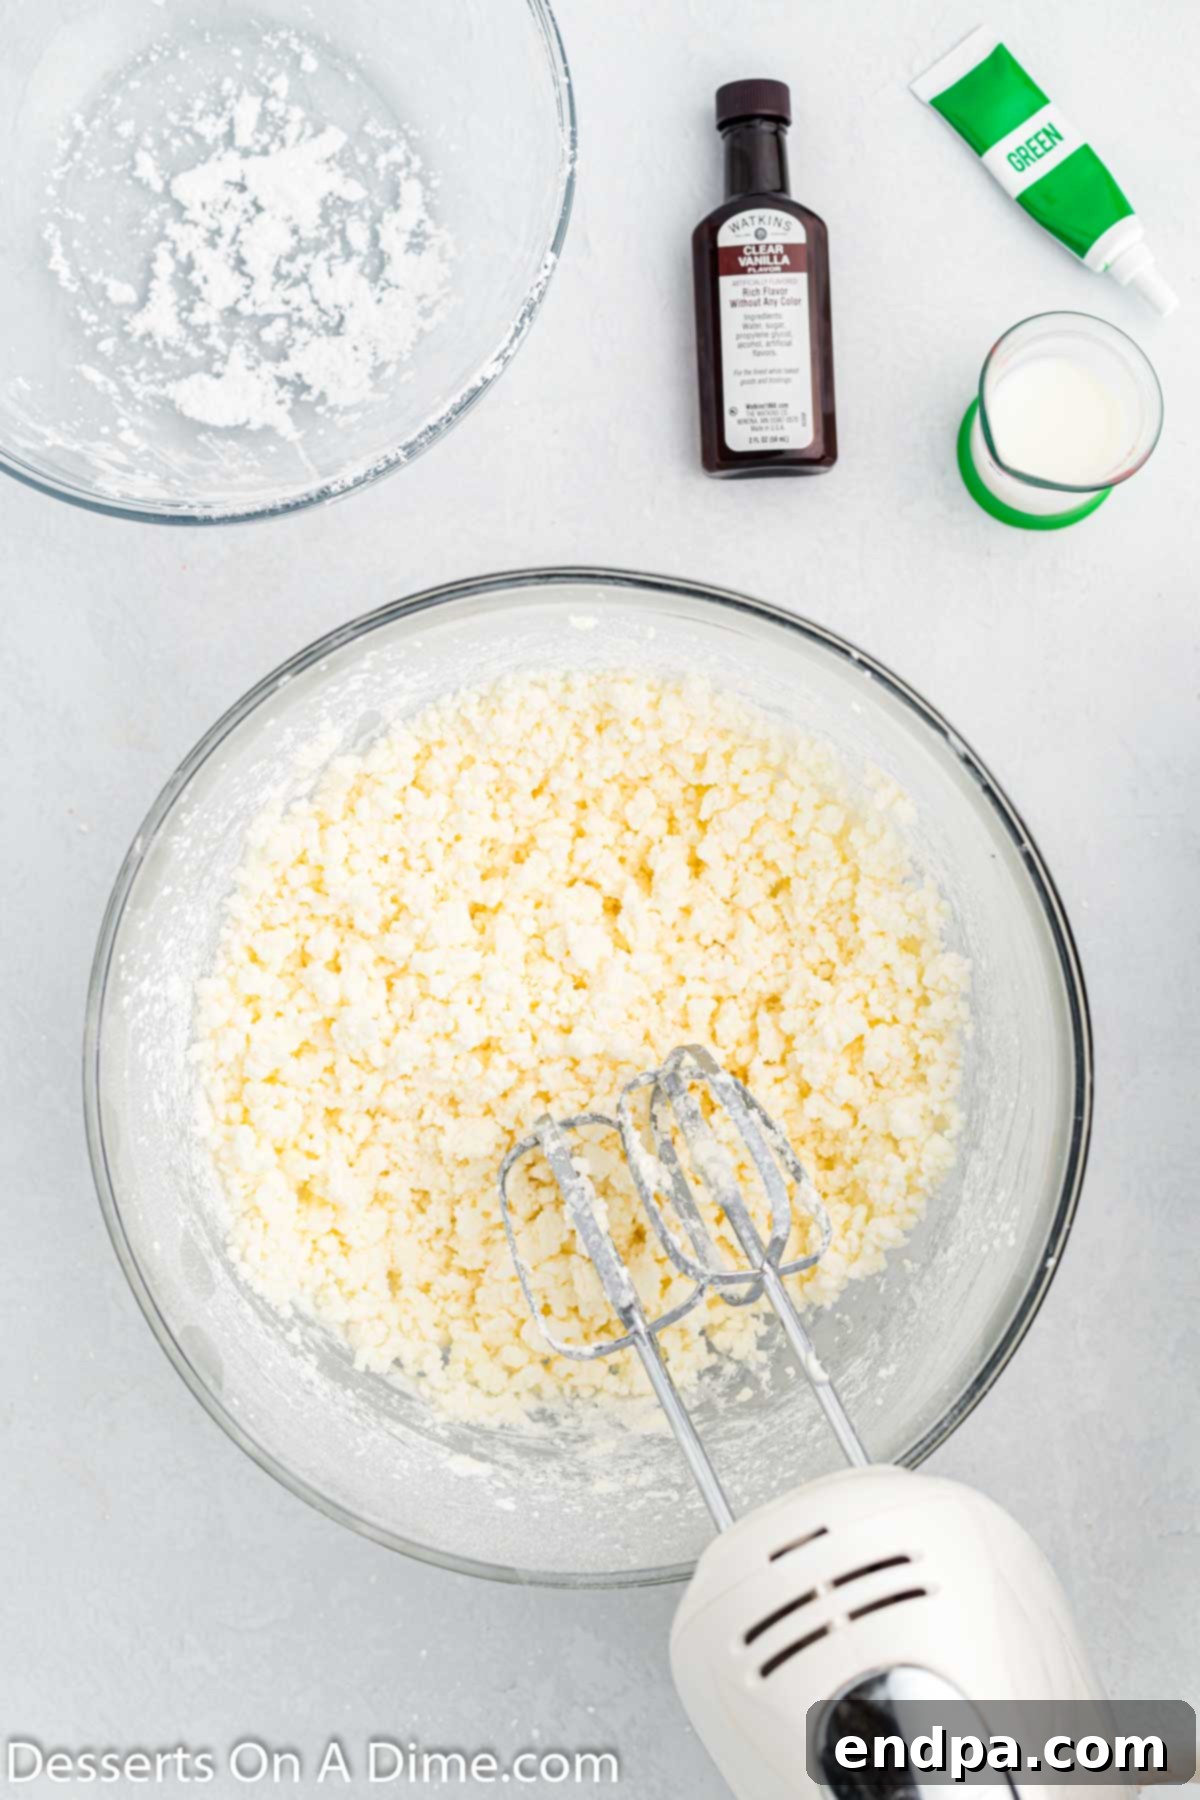
Step 3. Incorporate Powdered Sugar: With the mixer on low speed, gradually add the sifted confectioners’ sugar to the creamed shortening and butter mixture. To avoid a cloud of sugar dusting your kitchen, add it in one cup at a time, mixing well after each addition until fully combined. Continue until all the powdered sugar has been incorporated and the mixture is thick and smooth.
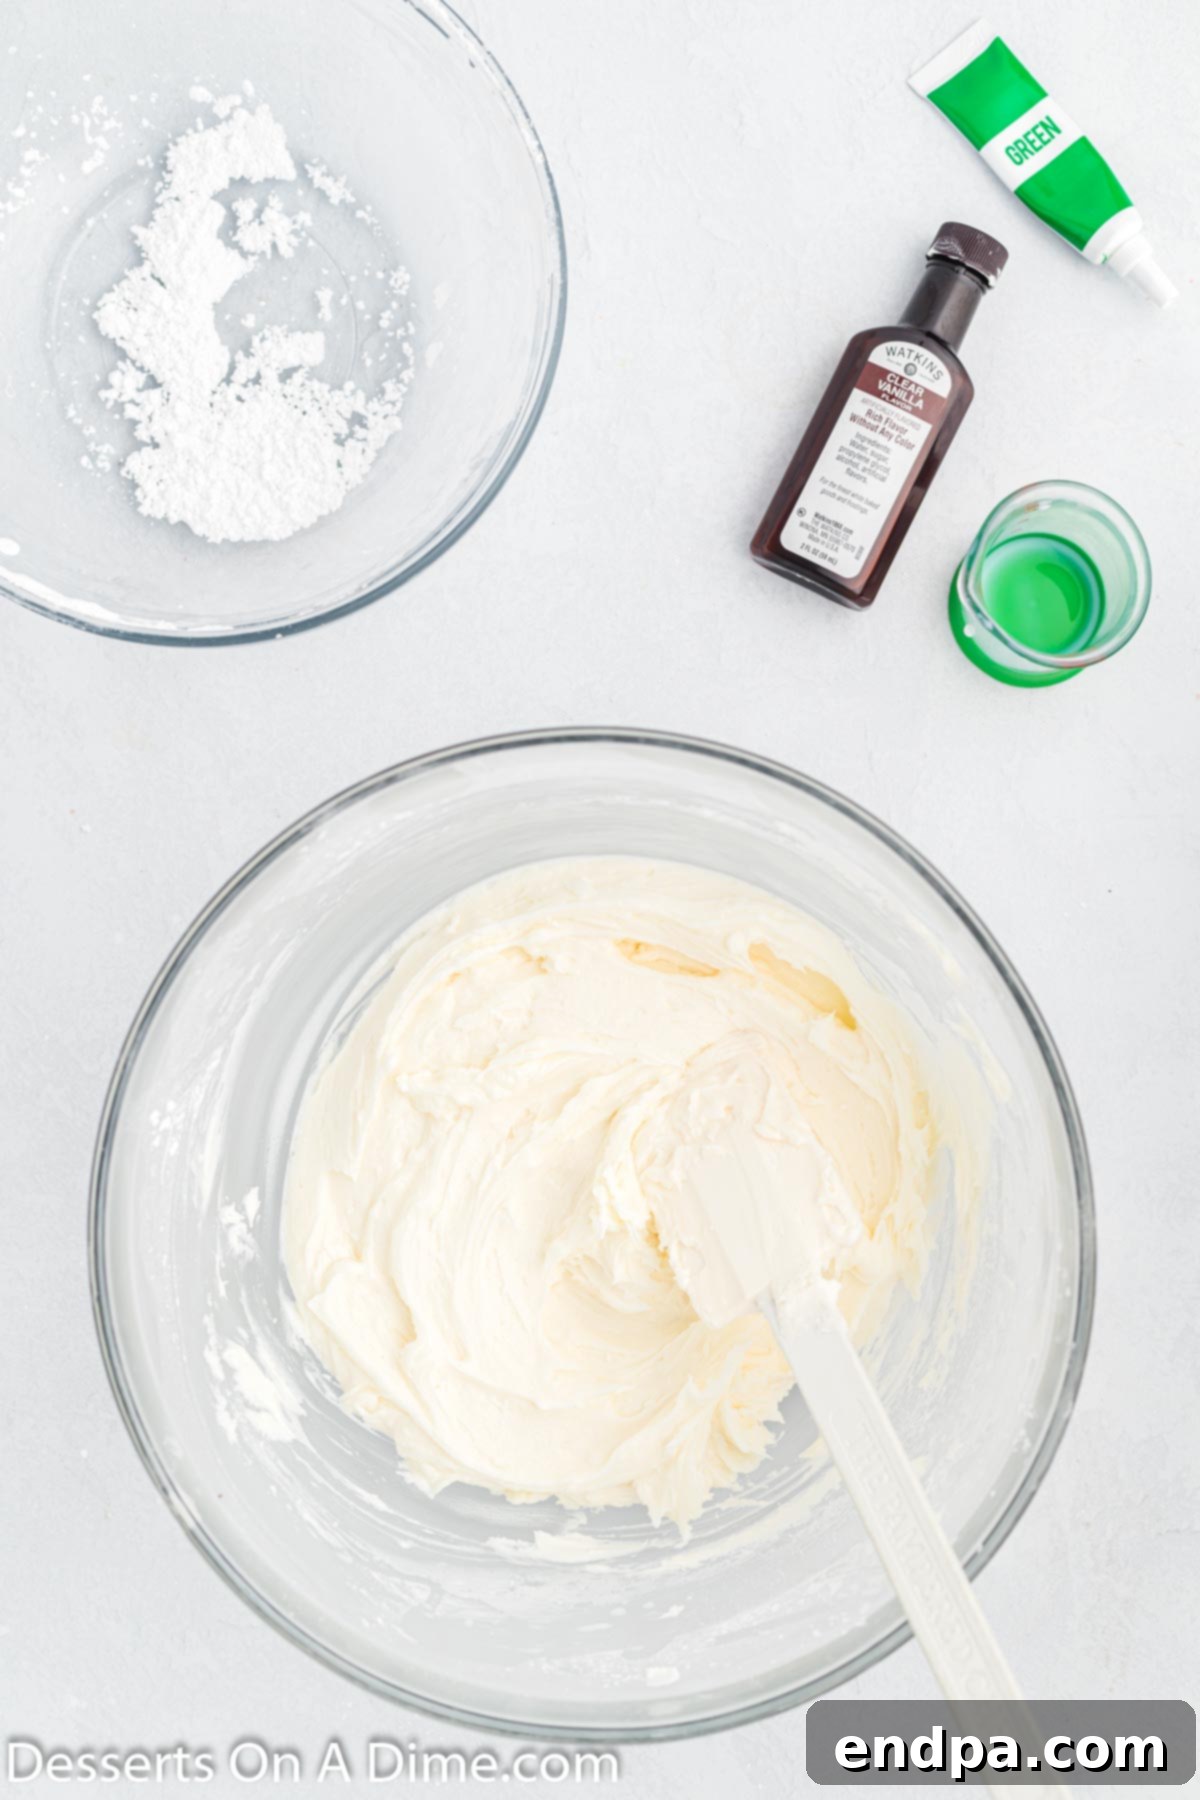
Step 4. Add Flavor and Liquid: Once the powdered sugar is thoroughly mixed in, whisk in the clear vanilla extract and milk. Continue mixing until the frosting becomes smooth, creamy, and reaches a consistency that is easy to pipe. If the frosting seems too thick, add a tiny bit more milk (half a teaspoon at a time) until it’s just right. If it’s too thin, add a tablespoon or two more sifted powdered sugar.
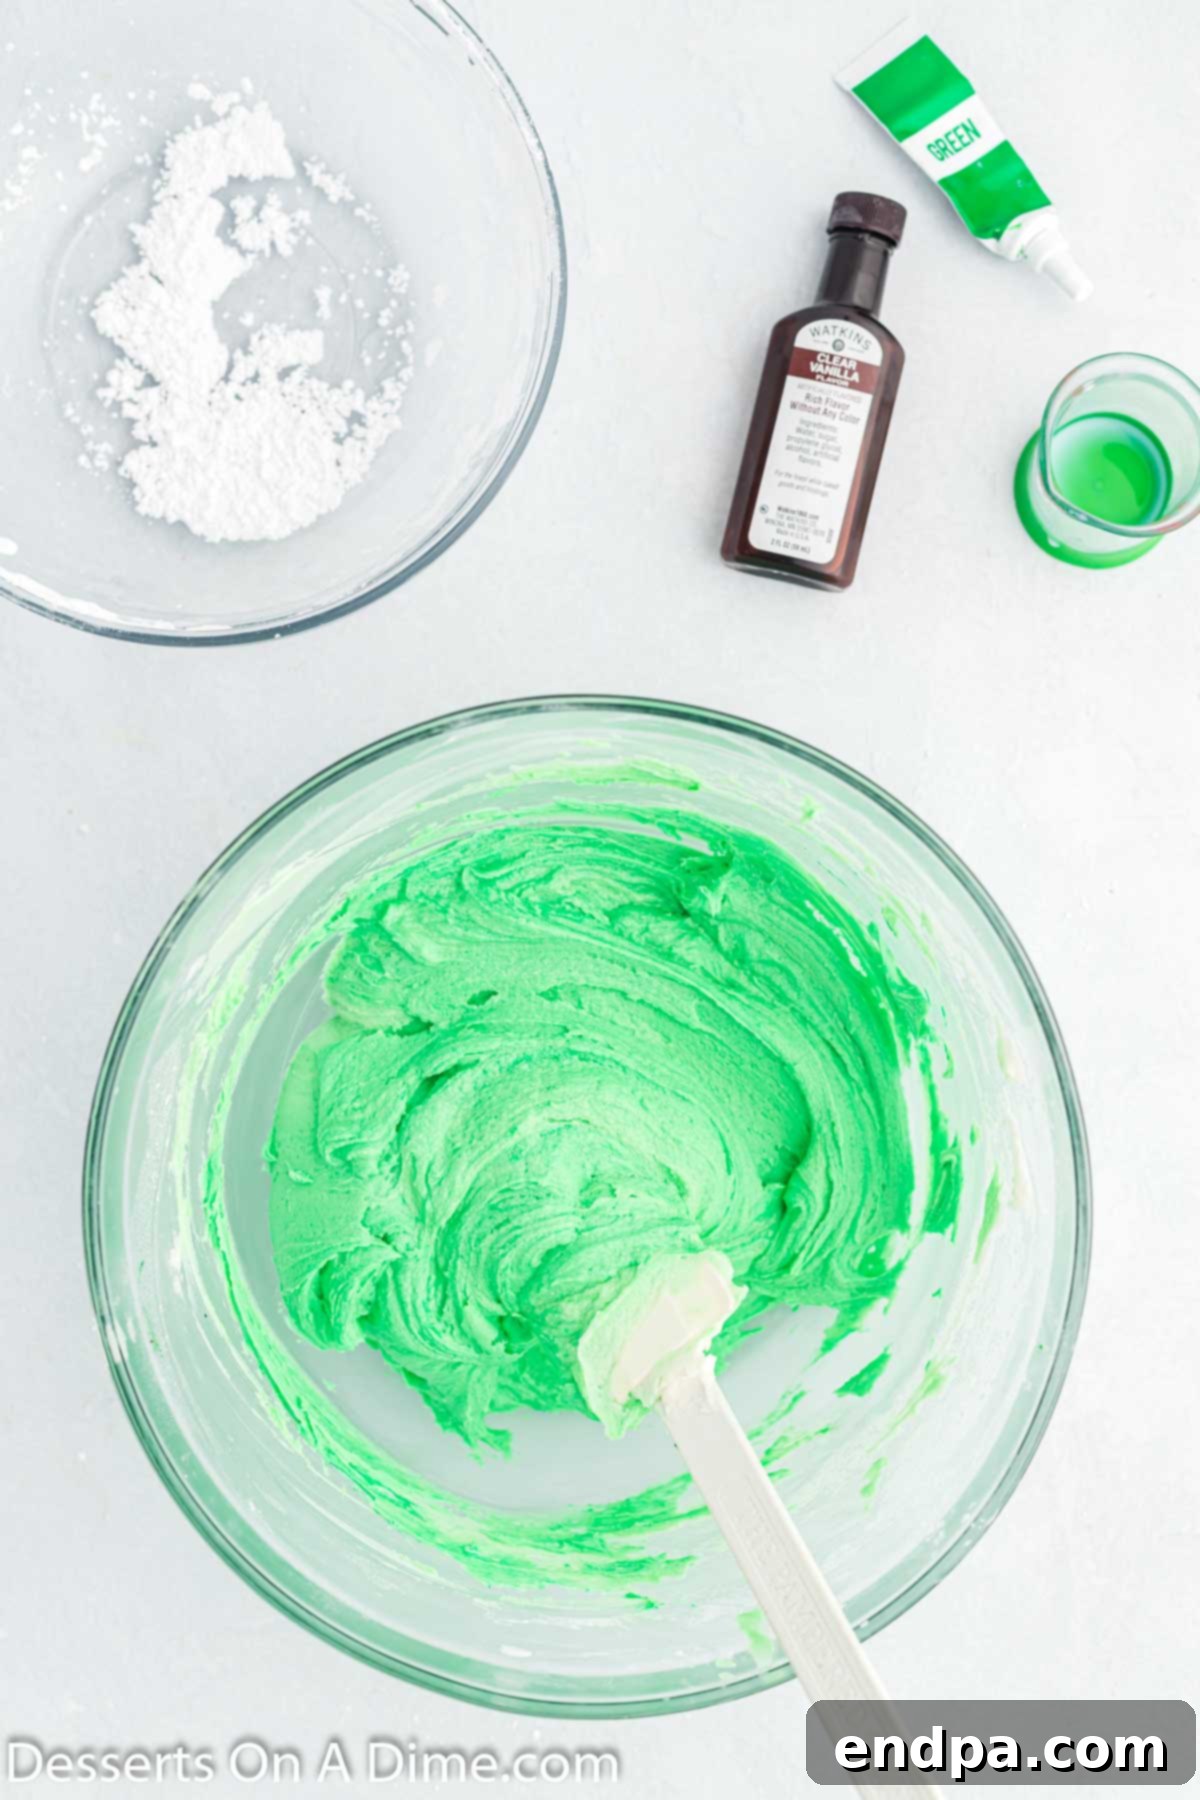
Step 5. Color Your Frosting: Now for the fun part – turning your frosting green! Add a few drops of green gel food coloring to the bowl. Mix on low speed, gradually adding more coloring until your frosting achieves a bright, festive green color, reminiscent of a lush Christmas tree. Remember, gel colors are highly concentrated, so start with a little and add more as needed to reach your desired shade.
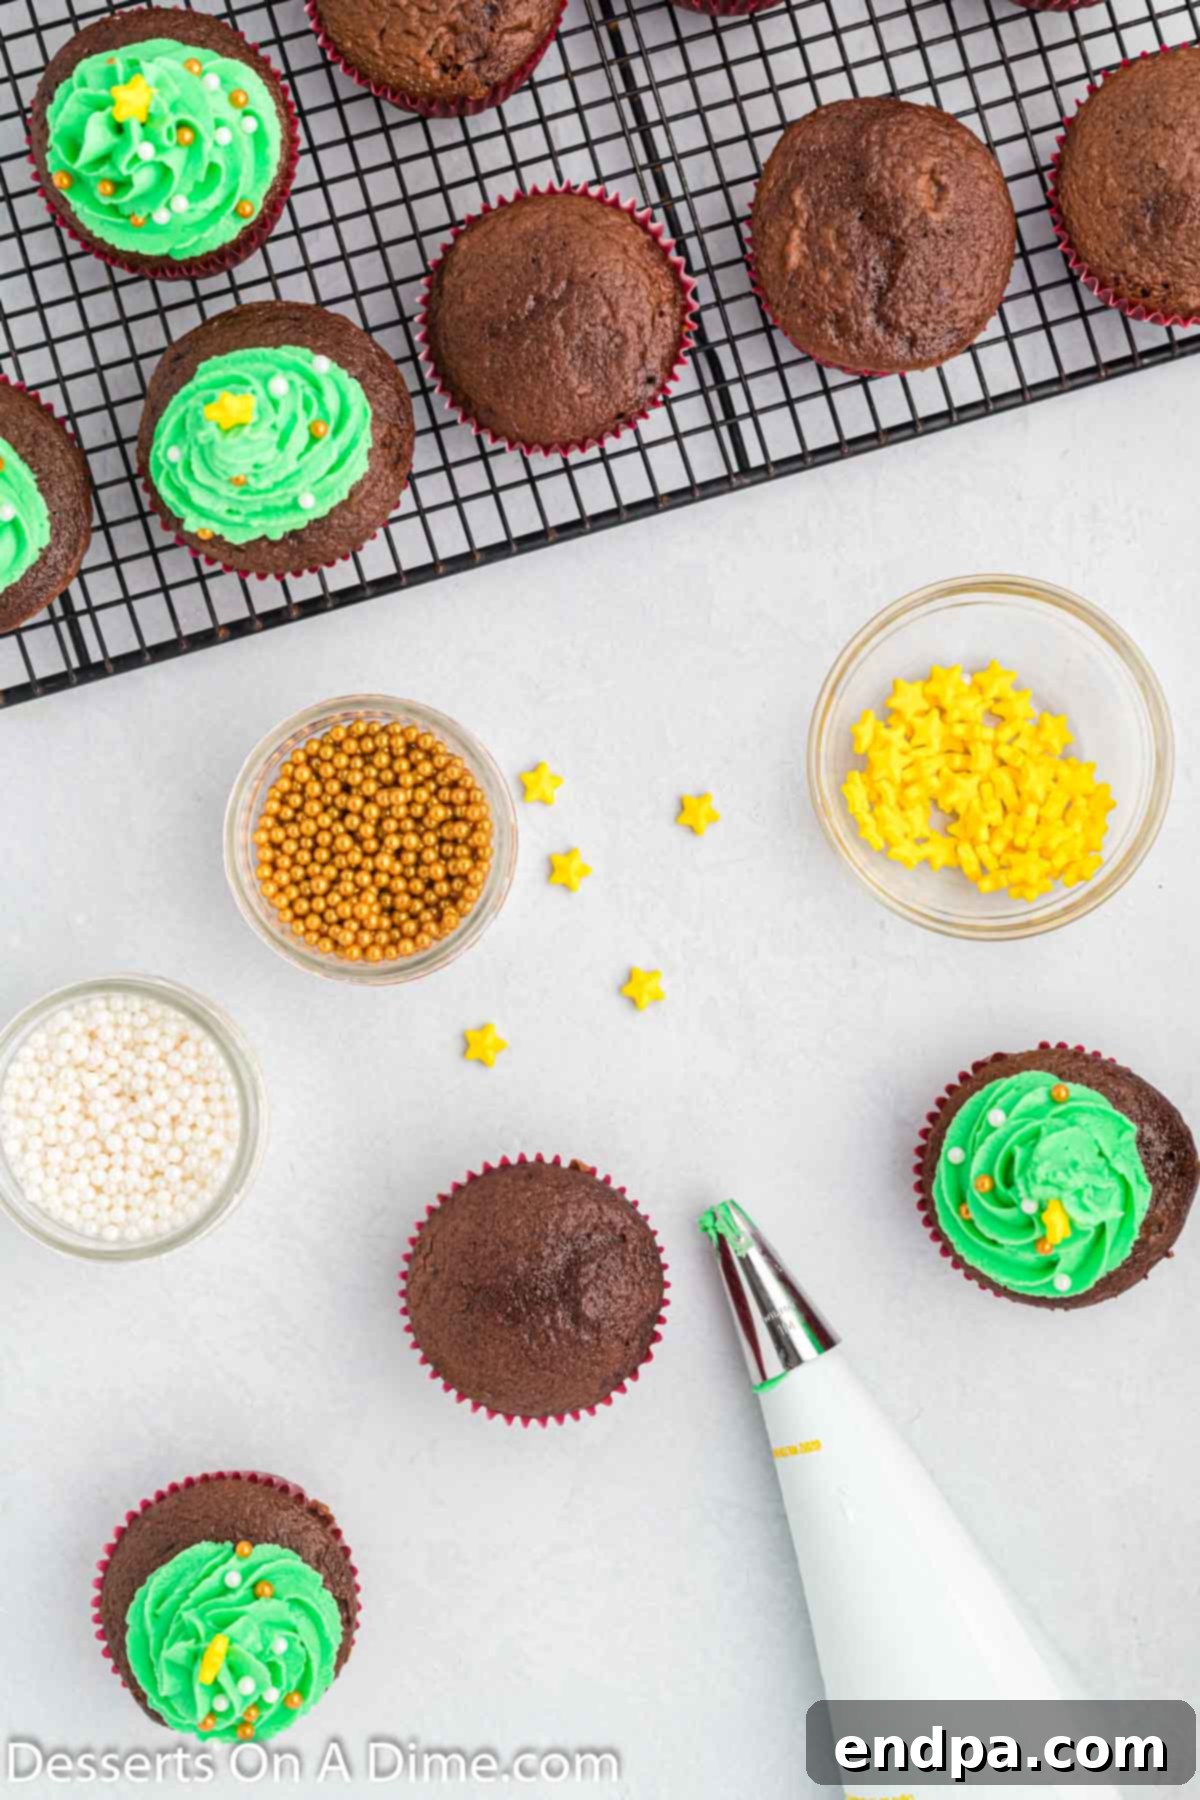
Step 6. Prepare for Piping: Fit a piping bag with a 1M star piping tip (or a similar open star tip that creates a lovely textured “tree” effect). Carefully fill the piping bag with your vibrant green vanilla buttercream frosting. Do not overfill the bag; fill it about two-thirds full to make it easier to handle and control. Twist the top of the bag to seal the frosting in and push it down towards the tip.
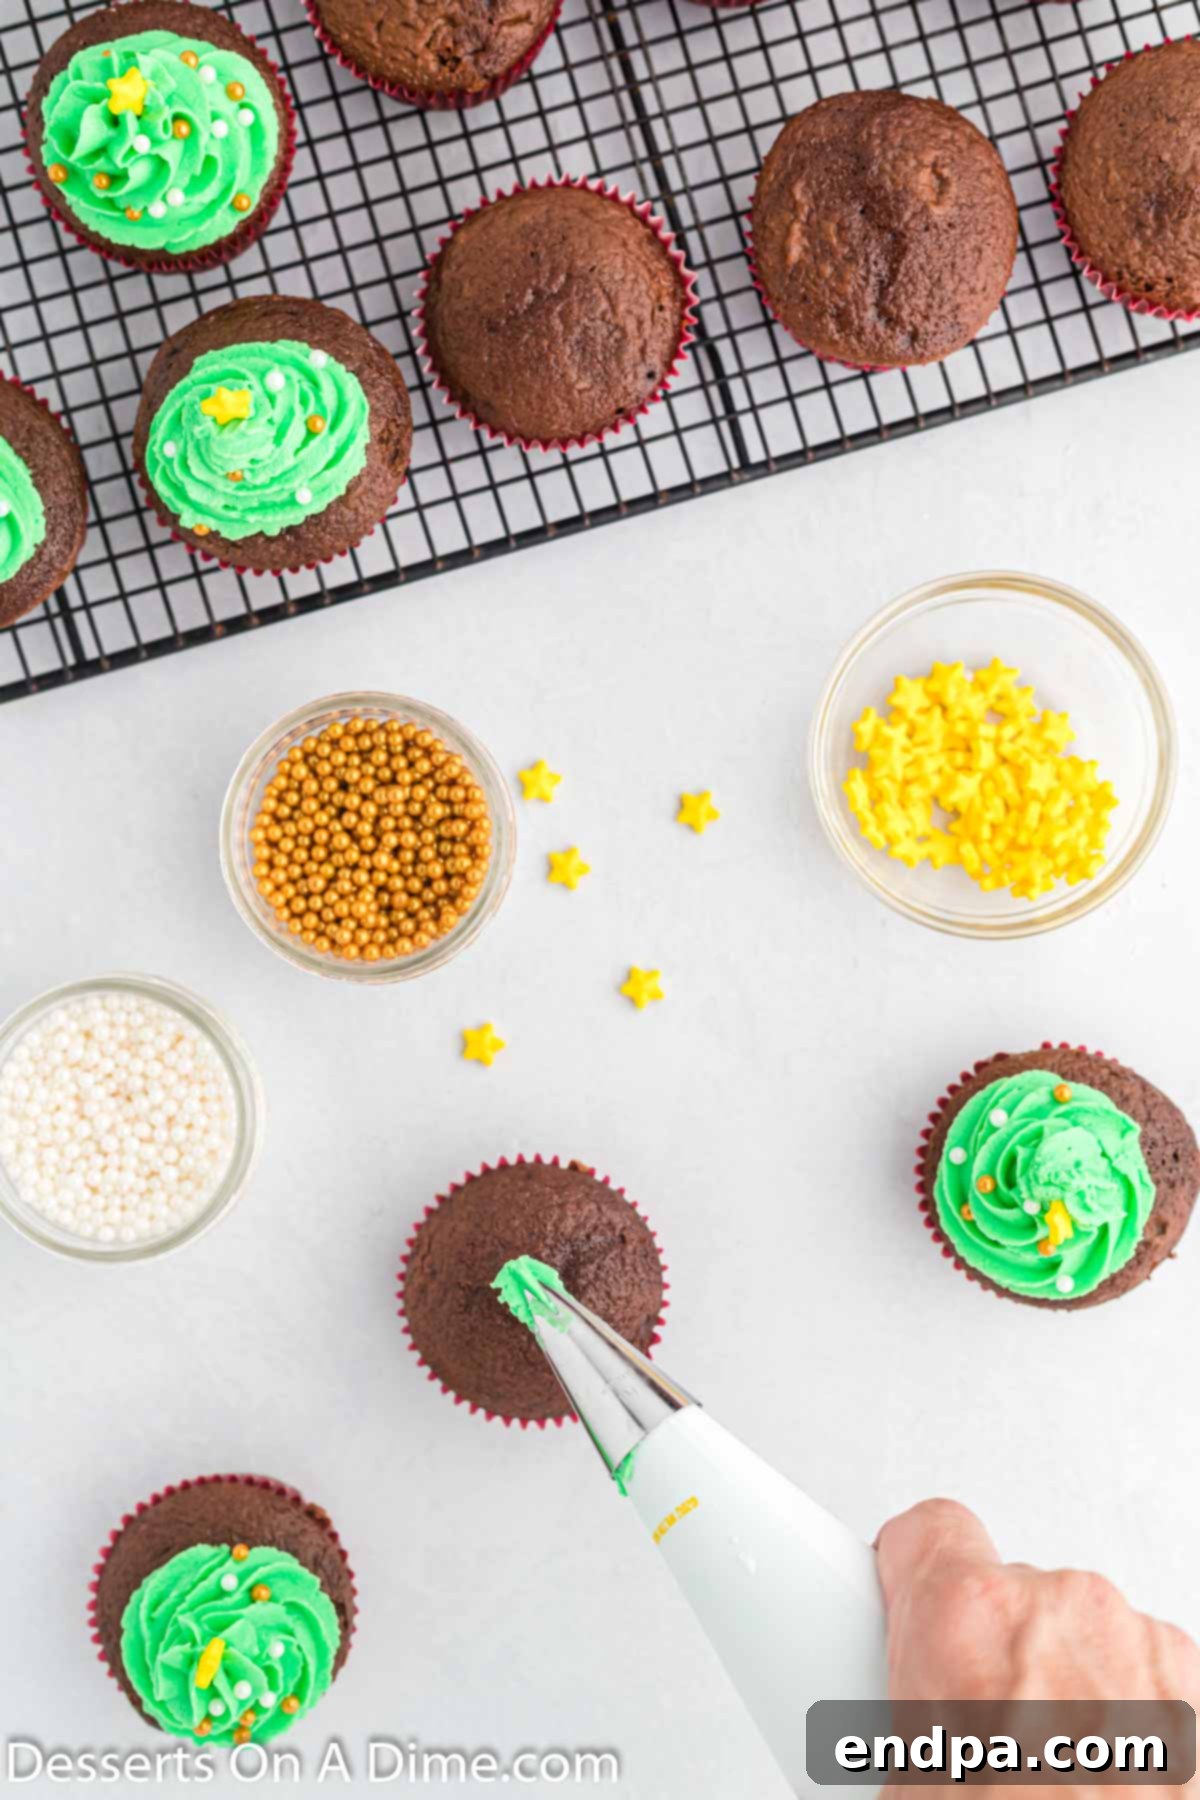
Step 7. Pipe Your Christmas Trees: Holding the piping bag upright, carefully frost each cupcake. Start at the outer edge of the cupcake and slowly build up a thin layer of frosting using a continuous circular motion, working your way inwards and upwards. Each layer should be slightly smaller than the one below it, creating a conical shape that elegantly resembles a miniature Christmas tree. Practice makes perfect, so don’t worry if your first few aren’t flawless! The goal is to create a delightful tree shape on top of each cupcake.
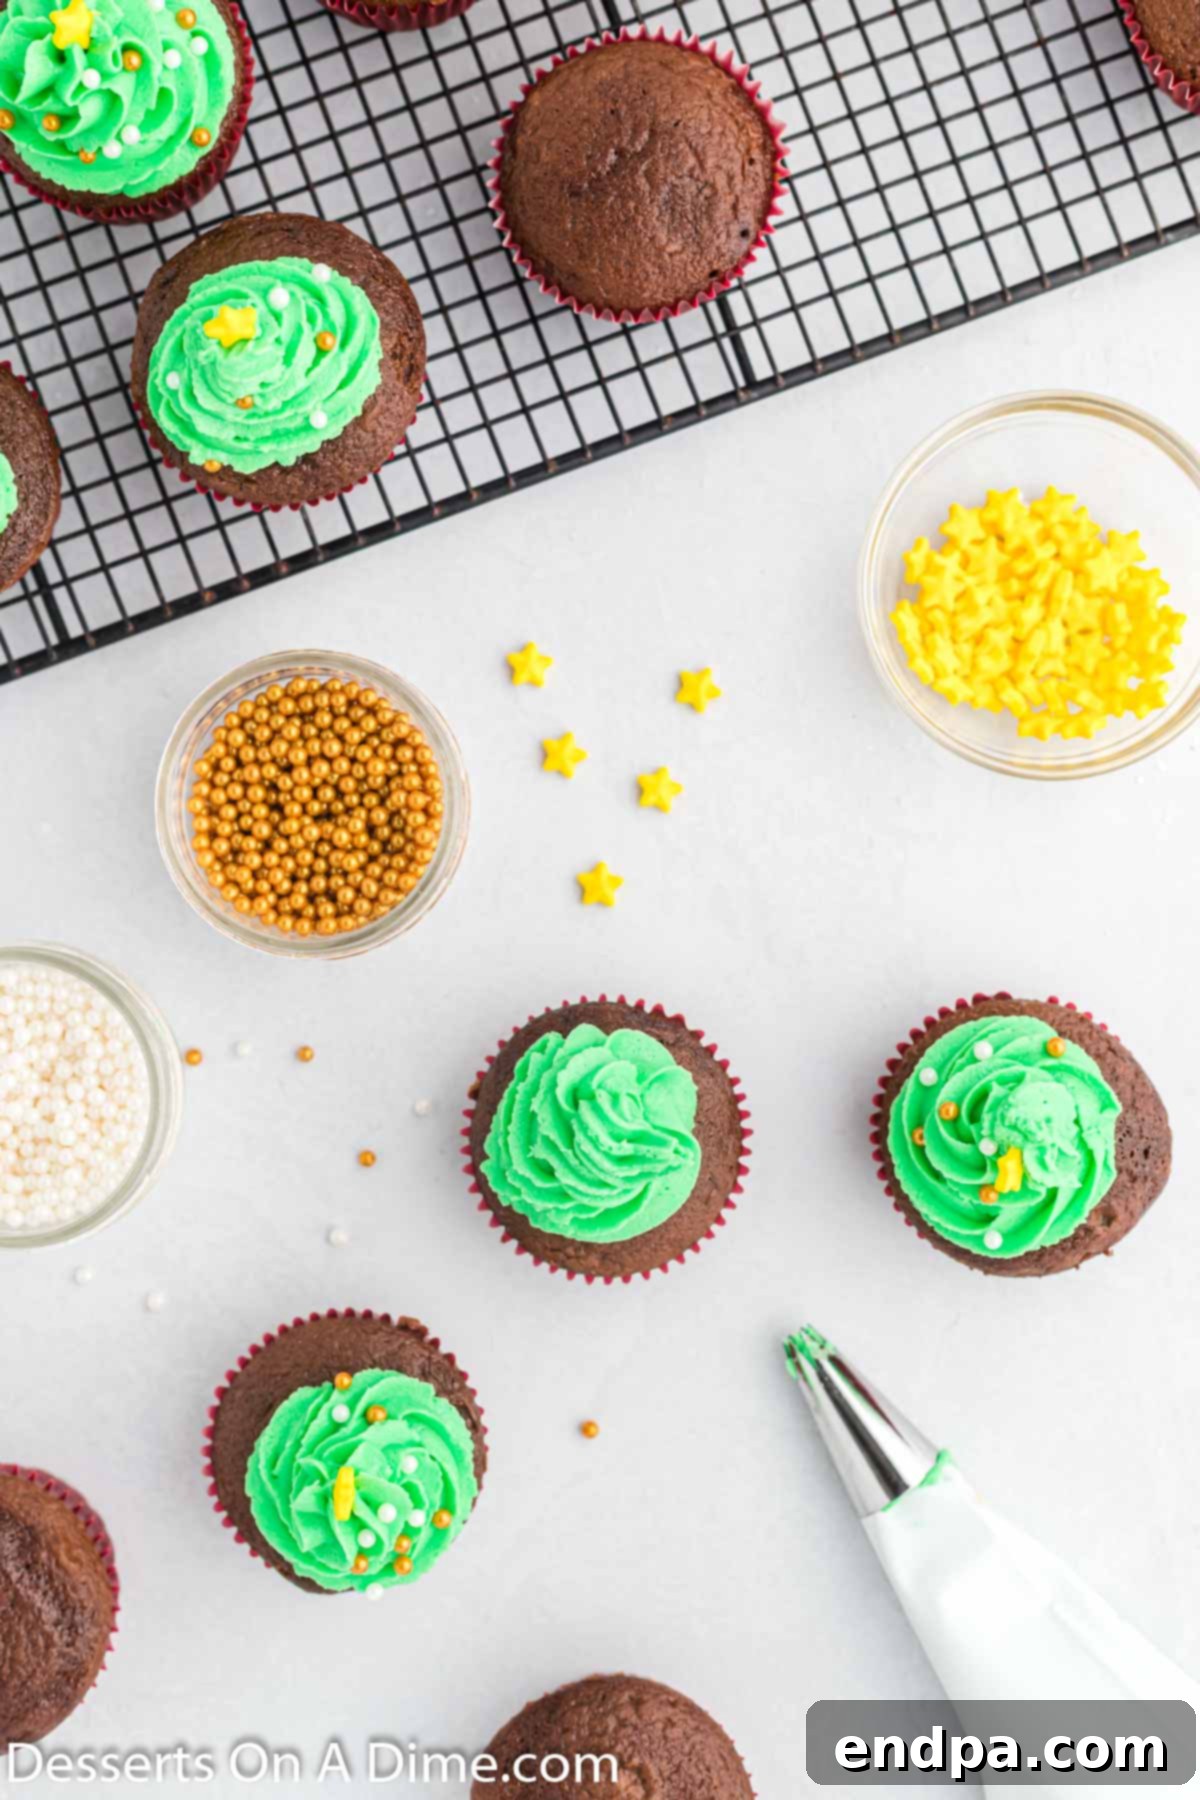
Step 8. Decorate Your Trees: Immediately after frosting each cupcake (while the frosting is still soft and sticky), gently place a yellow sugar star on the very top of each “tree.” Then, carefully arrange the assorted candy balls onto the green frosting to mimic colorful Christmas ornaments. You can use tweezers for precise placement if desired. Once decorated, your adorable Christmas Tree Cupcakes are ready to be admired and enjoyed!
Mastering Your Piping: Essential Tips for Perfect Trees:
Achieving those perfectly shaped Christmas trees requires a little technique and patience. Here are some invaluable piping tips to ensure your cupcakes look professionally decorated:
- Circular Motion is Key: To form a beautiful, conical tree shape, start piping from the outer edge of the cupcake and work your way inward and upward in a continuous circular motion. Apply even pressure as you slowly build layers, making each subsequent circle slightly smaller than the one before it. This creates a natural, tiered tree effect.
- Room Temperature for Smooth Icing: Ensure that all your icing ingredients, especially the butter and shortening, are softened to true room temperature. This is absolutely critical for creating a smooth, lump-free frosting that is easy to pipe. Cold ingredients will result in a stiff, unmanageable frosting, while overly warm ingredients can make it too runny. Aim for a consistency that is firm enough to hold its shape but soft enough to flow smoothly through the piping tip.
- Opt for Green Gel Food Coloring: When coloring your frosting, always use gel food coloring instead of liquid dyes. Gel coloring is much more concentrated, meaning you’ll need only a few drops to achieve a vibrant green color without altering the frosting’s consistency. Liquid food coloring can thin out your icing, making it difficult to pipe into defined tree shapes.
- Strategic Use of Piping Bags: If you’re making a large batch or find that your hands warm the frosting too quickly, consider dividing the green icing into two separate piping bags. Work with one bag at a time, keeping the other in a cooler spot. The heat from your hands can soften the frosting over time, making it harder to maintain a crisp tree shape. Having a backup bag ensures your frosting stays at optimal piping consistency throughout the decorating process.
- Practice Makes Perfect: If you’re new to piping, don’t be discouraged! Take a piece of parchment paper or a plate and practice your tree shape before attempting it on the actual cupcakes. You’ll quickly get a feel for the pressure and motion needed.
Creative Decorating Ideas for Your Festive Cupcakes:
Once your beautiful green trees are piped, it’s time to unleash your creativity with decorations! Here are some fun ideas to make each Christmas tree cupcake truly unique and sparkling:
- Sparkling Sprinkles: You can embellish these Christmas cupcakes with an array of different sprinkles. Consider classic nonpareils for a fine, shimmering effect, jimmie sprinkles in various holiday colors, or even edible glitter for extra sparkle. A mix of green, red, silver, and gold sprinkles can create a dazzling, festive look. Scatter them generously for a snow-dusted effect or place them meticulously as individual ornaments.
- Charming Cupcake Liners: While we used classic red liners for a bold holiday statement, don’t limit yourself! A pretty plaid pattern in traditional Christmas colors (red, green, white, gold) would be incredibly cute and add a cozy, rustic charm. You could also choose metallic gold or silver liners for an elegant touch, or even liners with festive prints like snowflakes or candy canes.
- The Perfect Star Topper: The star is the crowning glory of your Christmas tree! While yellow candy star shapes are ideal, you can easily get creative. If you can’t find candy stars, a generous sprinkle of gold edible glitter or gold sugar sprinkles can create a lovely, shimmering star effect. Alternatively, you could use small pretzel sticks as tree trunks before piping, or even tiny edible pearls at the very top for a different star accent.
Remember, the key to successful decoration is timing: make sure to add all your chosen embellishments immediately after you frost the cupcakes. If you wait too long, the frosting will begin to set, and your beautiful sprinkles and candy ornaments will not adhere properly, potentially falling off and creating a less polished look. Decorate each cupcake as soon as it’s piped for the best results!
Frequently Asked Questions (FAQs) About Christmas Tree Cupcakes
Absolutely! Preparing the cupcake icing ahead of time is a fantastic way to streamline your holiday baking. You can make the frosting up to 24 hours in advance. Store it in an airtight container in the refrigerator. When you’re ready to use it, let it come to room temperature, then give it a good beat with an electric mixer for a minute or two. This will re-incorporate any separated fats and make it fluffy and easy to work with again. Add the green food coloring just before you plan to pipe.
To keep your festive cupcakes fresh and delicious, store any leftovers in an airtight container at room temperature for up to 1 week. If you live in a particularly warm or humid climate, it’s advisable to refrigerate them to prevent the frosting from melting or becoming too soft. If refrigerating, remember to allow them some time to sit at room temperature (about 15-30 minutes) before serving. This brings the cupcakes back to their optimal texture and flavor. You can also place a piece of parchment paper between layers of cupcakes in your container to prevent the frosting from sticking.
Yes, these Christmas Tree Cupcakes can be frozen for longer storage. It’s best to freeze them *before* decorating. Bake the cupcakes as usual and let them cool completely. Wrap each cooled cupcake individually in plastic wrap, then place them in an airtight freezer-safe container or freezer bag. They can be frozen for up to 2-3 months. When ready to serve, thaw them overnight in the refrigerator, then bring them to room temperature before frosting and decorating as instructed. If you must freeze them decorated, ensure the frosting is completely set, then freeze in a single layer in an airtight container. Be aware that some decorations or the frosting texture might be slightly altered upon thawing.
More Festive Christmas Tree Desserts to Explore:
The joy of Christmas trees extends beyond just cupcakes! If you’re looking for more holiday desserts that feature this iconic festive shape, you’re in for a treat. These recipes are perfect for expanding your holiday baking repertoire and creating a truly memorable dessert spread.
- Christmas Tree Cake Pops: Bite-sized, adorable, and endlessly customizable, these cake pops are a fun and delicious way to celebrate the season.
- Christmas Tree Sugar Cookies Recipe: A timeless classic, these sugar cookies offer a blank canvas for intricate frosting designs and colorful sprinkles.
- Little Debbie Christmas Tree Dip: A super easy and incredibly popular dessert dip that captures the nostalgic flavor of holiday snack cakes.
- Christmas Tree Brownies: Fudgy brownies cut into tree shapes and decorated with green frosting and candies – simple yet impressive!
- Easy Christmas Tree Rice Krispie Treats: A no-bake favorite that’s quick to make and perfect for little hands to help decorate.
- 25 Best Cookies for Santa: An ultimate collection of cookies, offering endless inspiration for your Santa Claus platter!
Now that you’re armed with all the tips and tricks, it’s your turn to make this fantastic and festive cupcake recipe. We’re confident you’ll love creating and sharing these delightful treats. Once you’ve whipped up a batch, please come back and leave a star recipe rating to share your experience!
Pin
Christmas Tree Cupcakes
20 minutes
25 minutes
45 minutes
24
American
Dessert
260
Carrie Barnard
Ingredients
FOR THE CUPCAKES:
- 1 Chocolate Cake Mix
- *Plus the ingredients to prepare the cake mix based on the package instructions (eggs, oil, water/milk)
- Red Cupcake Liners
FOR THE ICING:
- 1/2 cup Solid Vegetable Shortening
- 1/2 cup Butter softened at room temperature
- 1 tsp Clear Vanilla Extract
- 4 cups Confectioners’ Sugar sifted
- 2 Tbsp Milk
- Green Gel Food Coloring
FOR THE DECORATIONS:
- Yellow Sugar Stars for topping
- Candy Balls for the ornaments (e.g., mini M&M’s, nonpareils, small round sprinkles)
Instructions
- Prepare your chosen cake mix according to package directions. Line a cupcake pan with red cupcake liners. Fill each liner about 2/3 full with batter. Bake according to package instructions. Once baked, remove from the oven and let cool completely on a wire rack.
- In a large mixing bowl, cream together the solid vegetable shortening and softened butter until well combined and smooth.
- Slowly add the sifted confectioners’ sugar, about 1 cup at a time, mixing on low speed until fully incorporated and smooth.
- Stir in the clear vanilla extract and milk until the frosting is combined and reaches a smooth, pipeable consistency. Add a few drops of green gel food coloring, mixing until the frosting achieves a bright, festive green color, resembling a Christmas tree.
- Fit a piping bag with a 1M star piping tip (or similar open star tip) and fill it with the green frosting.
- Gently frost each cooled cupcake. Start at the outer edge and slowly build up the frosting using a circular motion, working inwards and upwards to create a tree shape.
- Immediately after frosting each cupcake, place a yellow sugar star on the very top. Then, use the candy balls to decorate the cupcakes, resembling colorful ornaments on your Christmas tree.
- Your festive Christmas Tree Cupcakes are now ready to serve and enjoy!
Recipe Notes
*It’s crucial to add decorations immediately after frosting the cupcakes. The frosting will set quickly, and decorations will not stick if it has already fully hardened.
Nutrition Facts
Pin This Now to Remember It Later
Pin Recipe
