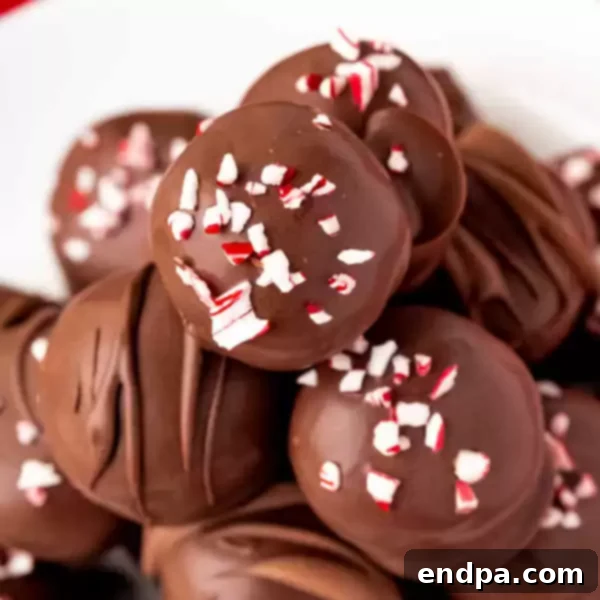
Welcome to the ultimate guide for creating irresistible Peppermint Oreo Balls! This delightful no-bake dessert is a symphony of rich cream cheese, crunchy Oreo cookies, and the invigorating burst of crushed candy canes, all enrobed in a smooth, sweet candy coating. Each decadent truffle is then generously sprinkled with more vibrant candy canes, adding a festive flourish that makes them perfect for any holiday celebration or a special treat throughout the year.

If you’re a fan of our classic Oreo Balls Recipe, prepare to fall in love with this festive peppermint variation. It boasts the ideal balance of crushed candy canes, infusing every bite with that signature cool, minty flavor. This incredibly easy no-bake dessert has become a beloved tradition in my kitchen every December, and it’s sure to become a staple in yours too. Its simplicity makes it perfect for busy holiday schedules, yet its impressive appearance will leave everyone thinking you spent hours in the kitchen.
For an even more elaborate holiday dessert spread, consider pairing these luscious Peppermint Oreo Cookie Balls with our equally delightful White Chocolate Peppermint Fudge Recipe. The combination offers a delightful contrast in textures and an abundance of festive peppermint goodness that will enchant your guests.
Table of Contents
- Why We Love This Recipe
- Essential Equipment
- Ingredients
- Creative Variations
- How to Make Peppermint Oreo Balls
- Storage Guidelines
- Can You Freeze Oreo Balls?
- Pro Tips for Perfection
- Frequently Asked Questions
- Serving Suggestions
- More Easy Oreo Recipes
- Irresistible Holiday Desserts
Why We Love This Recipe
There’s so much to adore about these Peppermint Oreo Balls. The core of each treat is a smooth, creamy, and undeniably delicious blend of finely crushed Oreo cookies and softened cream cheese, elevated by the sweet crunch and vibrant flavor of peppermint. The contrast between the rich chocolate cookies and the cool mint is simply magical, making them a crowd-pleaser for all ages.
Beyond the incredible taste, their aesthetic appeal is undeniable. The melted candy coating—whether classic white or dark chocolate—creates a beautifully smooth, glossy finish that instantly makes them look gourmet. Drizzled with contrasting candy melts or generously topped with more crushed candy canes, each truffle becomes a miniature work of art, bursting with holiday cheer. They are naturally festive, but also adaptable for any occasion. For instance, you can easily transform them into Patriotic Oreo Balls by changing the sprinkles and candy coating color.
Another major reason these treats are a favorite is their ease of preparation. Being a no-bake dessert, they require no oven time, simplifying your holiday baking list. They’re also perfect for making ahead of time, allowing you to prepare them days or even weeks in advance and simply pull them out when you’re ready to serve. This convenience, combined with their delightful flavor and stunning presentation, truly makes them an irresistible addition to any dessert table.
Essential Equipment
While this recipe is incredibly simple, having the right tools on hand can make the process even smoother and more enjoyable:
- Food Processor: Essential for quickly and efficiently crushing Oreo cookies and candy canes into fine crumbs.
- Large Mixing Bowl: For combining the cream cheese, cookie crumbs, and peppermint extract.
- Parchment Paper or Wax Paper: For lining baking sheets to prevent sticking and for easy cleanup.
- Baking Sheets or Cutting Boards: To hold the formed balls during chilling and dipping.
- Microwave-Safe Bowl: For melting candy wafers in intervals.
- Fork or Dipping Tools: For easily dipping the Oreo balls into the melted candy coating.
- Ziploc Bag (Optional): For coarsely crushing candy canes for topping.
- Mallet or Wooden Spoon: For crushing candy canes in a Ziploc bag.
Ingredients
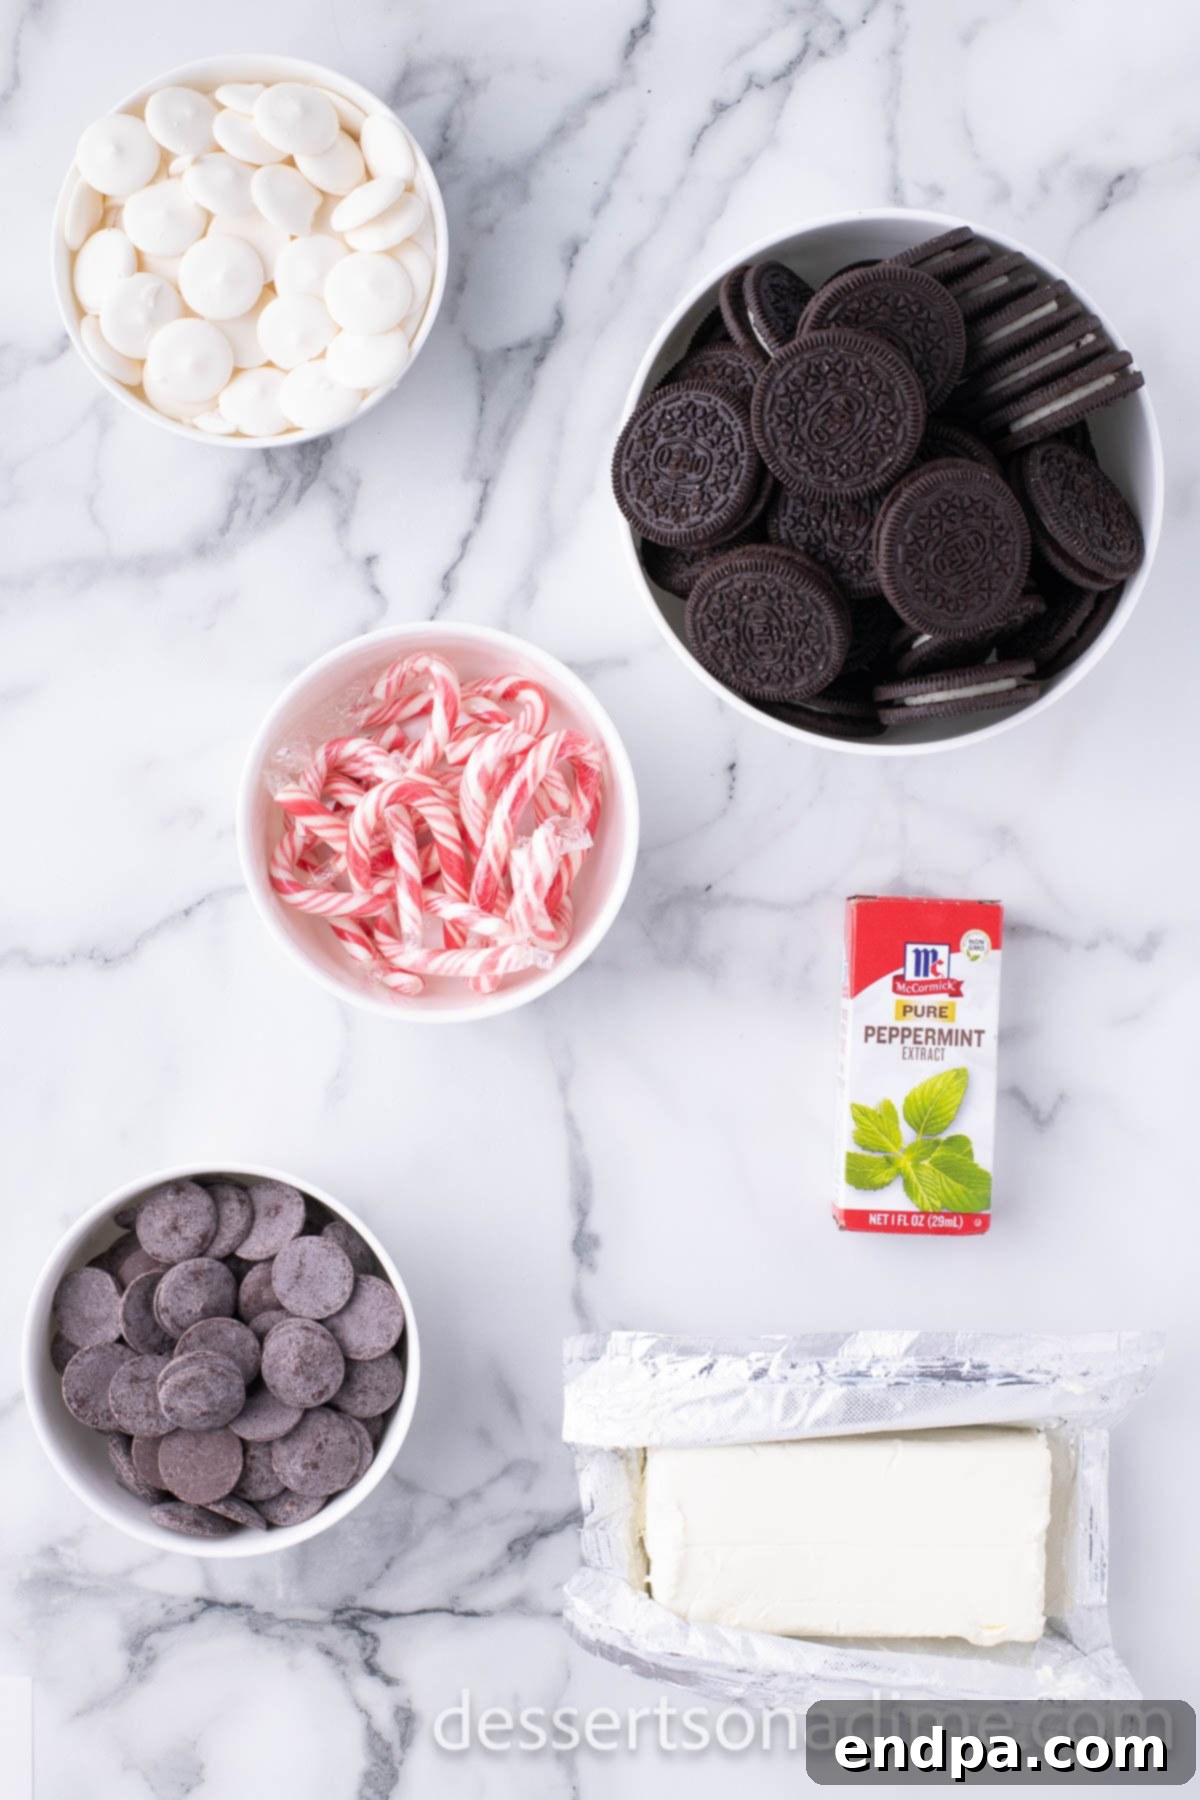
Crafting these delectable Peppermint Oreo Balls requires just a few simple ingredients, each playing a crucial role in achieving the perfect flavor and texture:
- Cream Cheese, softened: This is the binding agent that creates the creamy, rich interior of the truffle. Ensure it’s softened to room temperature for smooth blending.
- Oreo Cookies: The foundational ingredient, providing the classic chocolate flavor and satisfying crunch once crushed. Regular Oreos are recommended for the best consistency.
- Peppermint Extract: The star of the show, delivering that distinctive cool and refreshing peppermint flavor that defines this holiday treat.
- Dark or White Candy Wafers: These melt smoothly and evenly, providing a crisp, protective shell and an additional layer of sweetness. Choose white for a classic peppermint look or dark for a rich chocolate contrast.
- Mini Candy Canes (divided): Used both within the truffle mixture for a subtle crunch and intense peppermint flavor, and as a festive topping for visual appeal and an extra flavor kick.
Refer to the full recipe card below for the precise measurements and complete ingredient list.
Creative Variations
While the classic Peppermint Oreo Ball recipe is simply perfect, these treats are wonderfully versatile and can be customized to suit your taste or occasion. Here are some delightful variations to inspire your creativity:
- Melted Chocolate Options: Instead of candy wafers, dip your Oreo balls in high-quality melted chocolate chips. You can use white chocolate for an elegant look, rich dark chocolate for intense flavor, or classic milk chocolate for a sweeter profile. If your melted chocolate seems too thick, a small amount of coconut oil or vegetable oil can be stirred in to achieve a smoother, more dip-friendly consistency. This creates a more gourmet chocolate shell.
- Festive Sprinkles: For a vibrant and fun twist, replace the crushed candy canes with an assortment of festive sprinkles. You’ll still enjoy the delightful peppermint flavor within the truffle, and the sprinkles will add a pop of color and visual interest, making them perfect for birthdays or other themed parties. Red and green sprinkles are always a hit during the holidays!
- Drizzle on Top: Achieve an artistic flair by drizzling contrasting melted candy melts over the coated Oreo balls. Use red and green candy melts to create a stunning, intricate design instead of or in addition to the crushed candy cane topping. This adds another layer of color and can be quite striking.
- Different Oreo Flavors: Don’t limit yourself to classic Oreos! Experiment with other delightful flavors. Mint Oreos would enhance the peppermint intensity even further, creating an extra minty treat. Golden Oreos could offer a different base flavor, pairing wonderfully with the peppermint, perhaps coated in white chocolate.
- Peppermint Candies: If you don’t have candy canes on hand, feel free to substitute with other crushed peppermint candies. Peppermint hard candies or even starlight mints can be crushed and used for both the interior mixture and the exterior topping, delivering the same refreshing minty kick.
- Add a Boozy Kick: For an adult-friendly version, consider adding a small amount of peppermint schnapps or créme de menthe to the cream cheese mixture. Start with half a teaspoon and adjust to taste, ensuring the mixture remains firm enough to roll.
How to Make Peppermint Oreo Balls
Creating these delightful Peppermint Oreo Balls is a straightforward process, making them an ideal recipe for both novice and experienced bakers. Follow these simple steps for a truly festive treat:
- Step 1: Prepare Your Workspace. Begin by lining a large cutting board or a baking sheet with parchment paper. This will prevent the truffle balls from sticking and make cleanup a breeze.
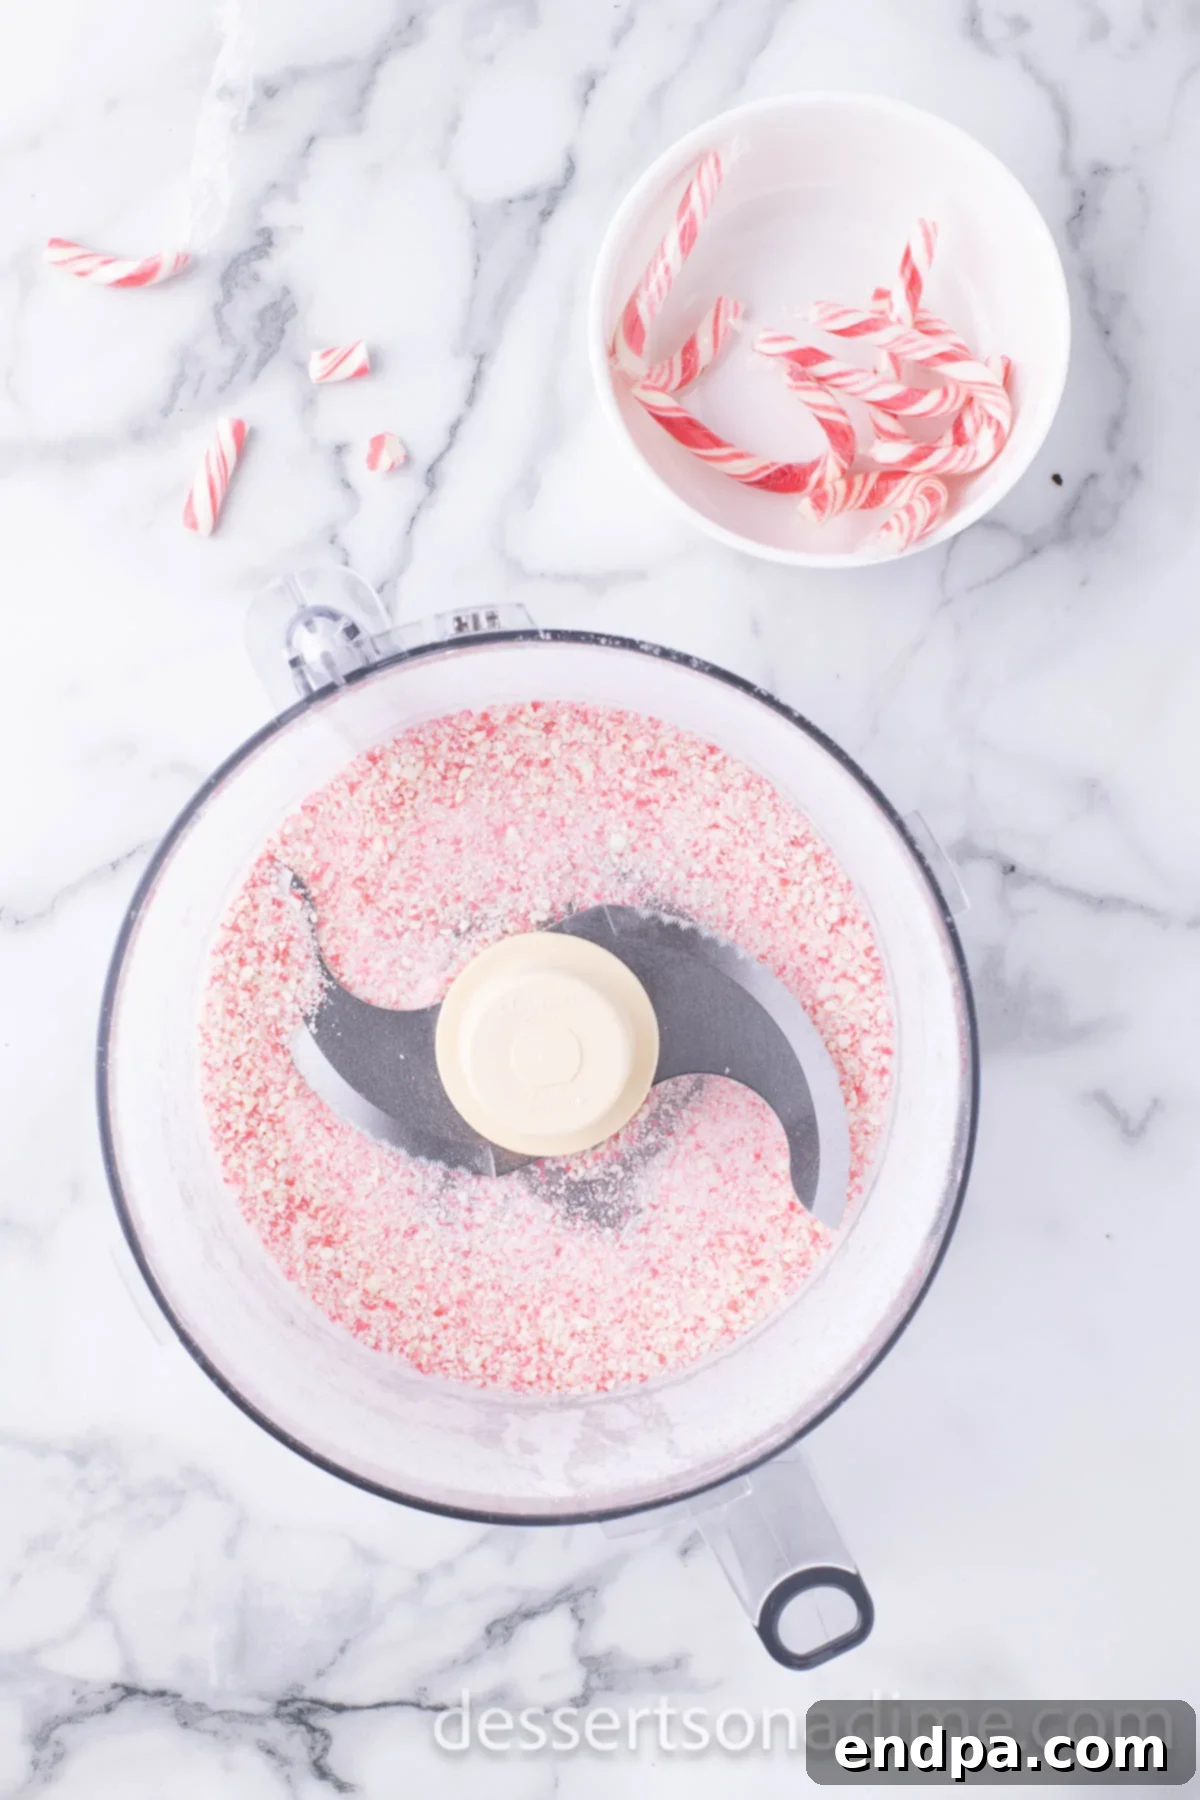
Step 2: Finely Crush Candy Canes. Take 10 of the mini candy canes and place them into a food processor. Pulse the food processor until the candy canes are transformed into very fine, powdery crushed pieces. These will be incorporated into the truffle mixture.
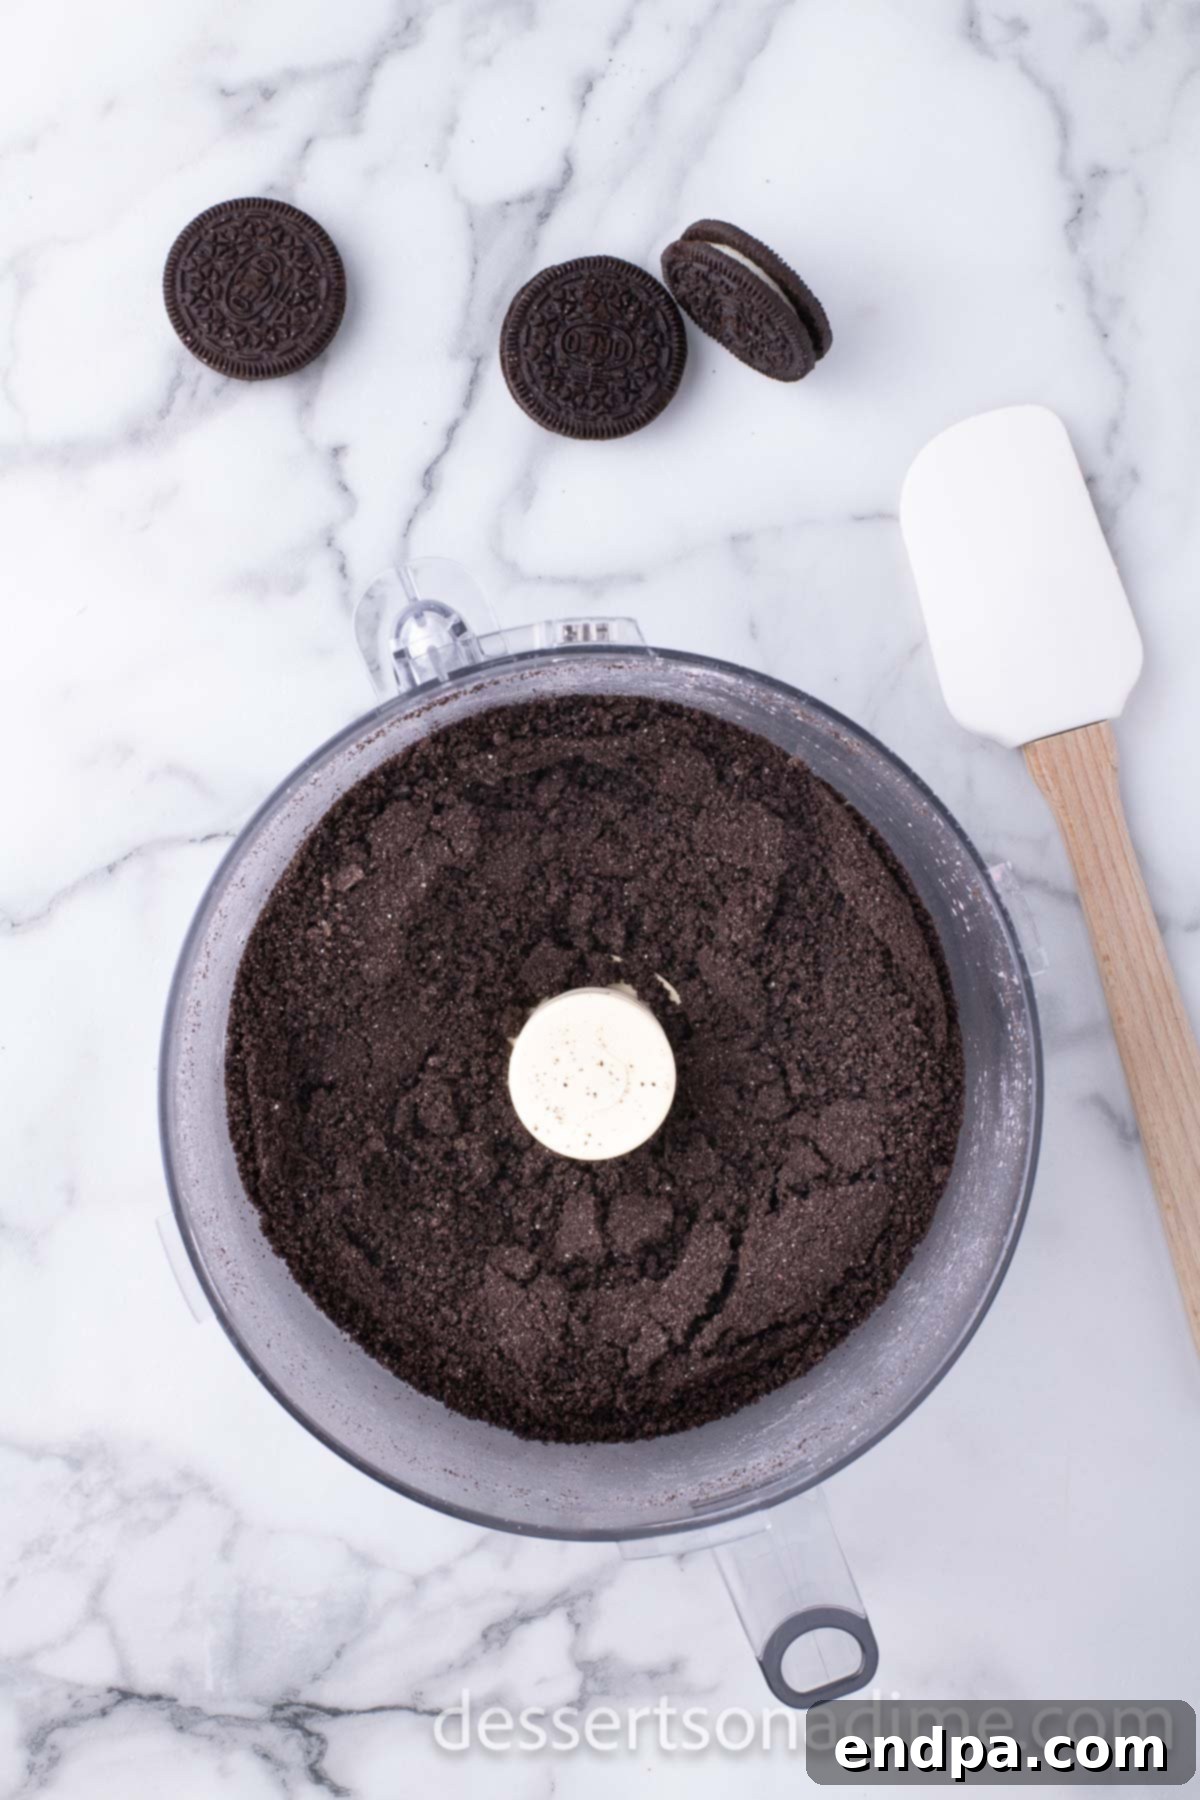
Step 3: Crush Oreo Cookies. Next, add the entire package of Oreo cookies to the food processor (no need to remove the cream filling!). Process until they become fine crumbs. The consistency should resemble damp sand.
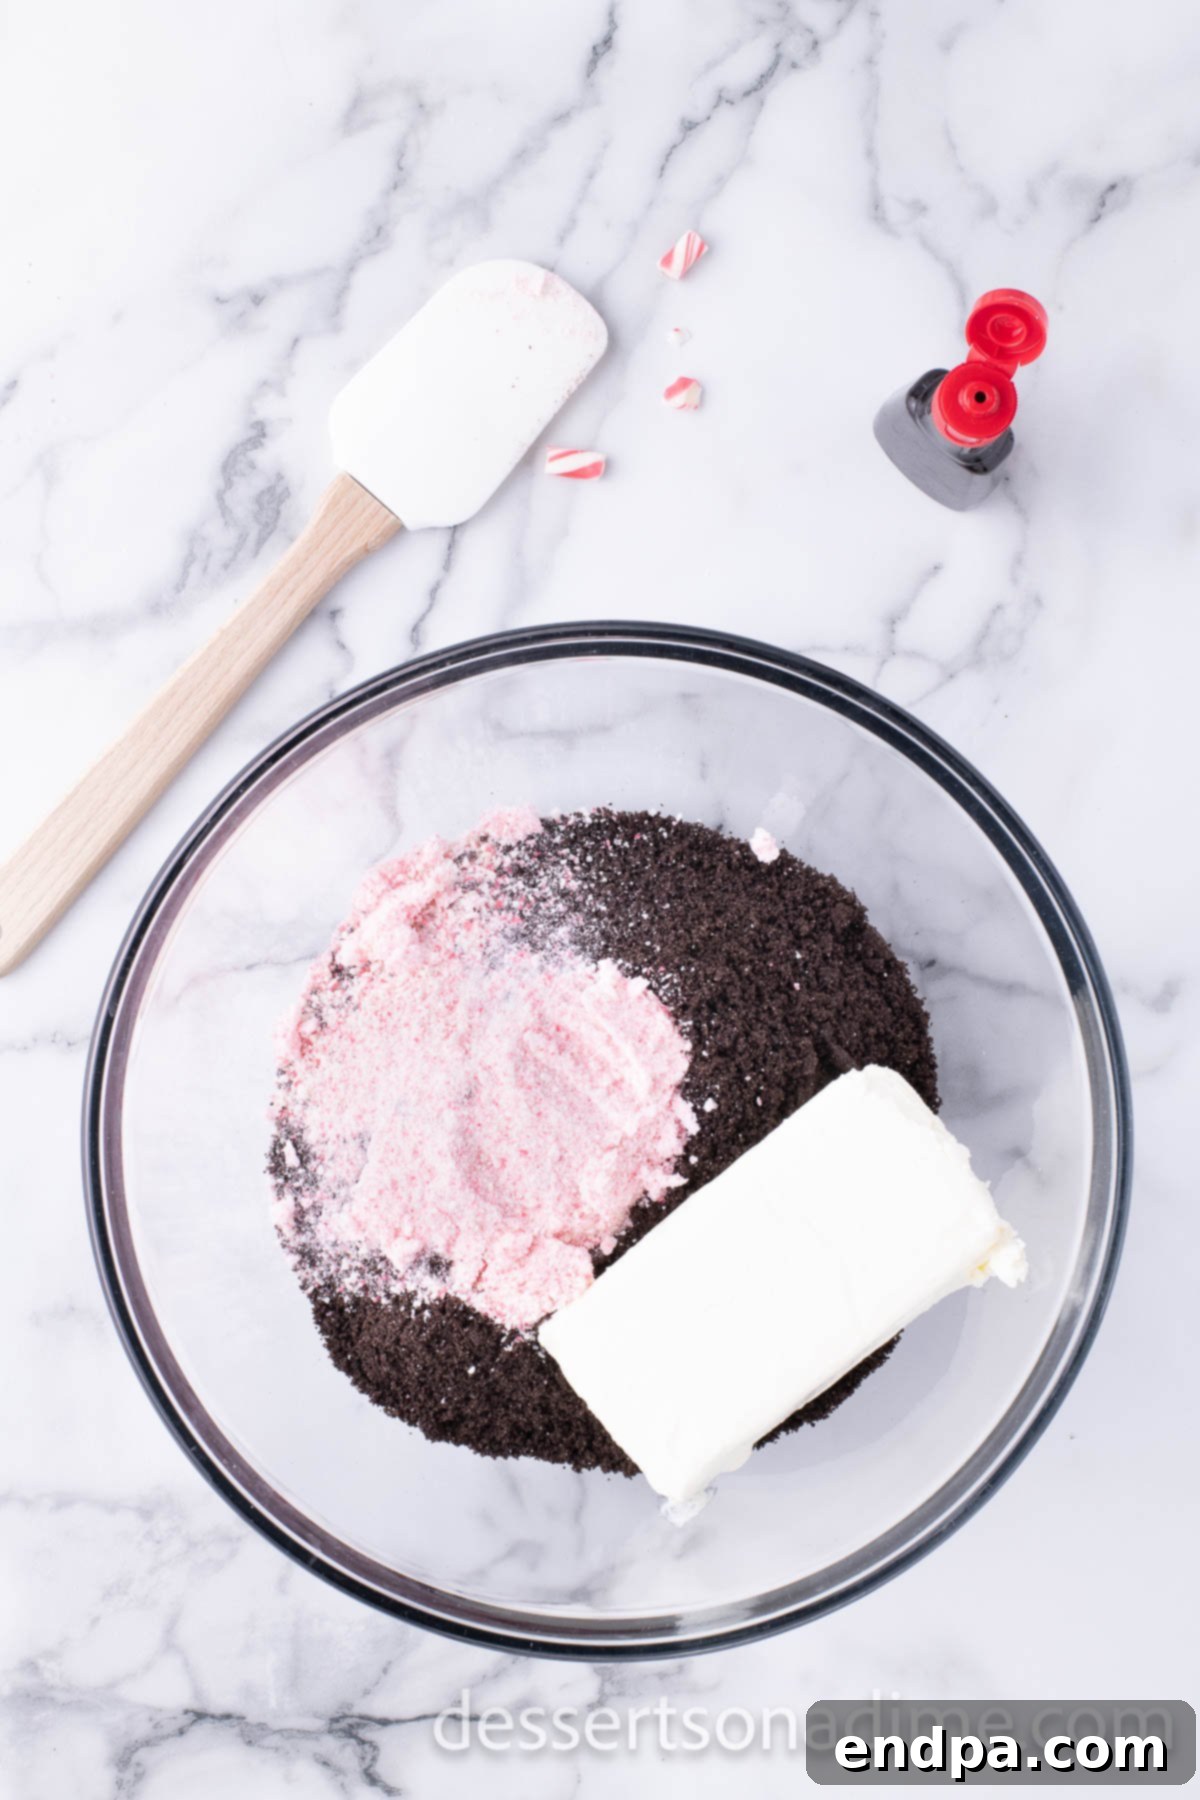
Step 4: Combine Ingredients. In a large mixing bowl, combine the softened cream cheese, the finely crushed candy canes from Step 2, the crushed Oreo cookies from Step 3, and the peppermint extract. Mix thoroughly until all ingredients are well blended and form a cohesive dough-like mixture. An electric mixer can speed this up.
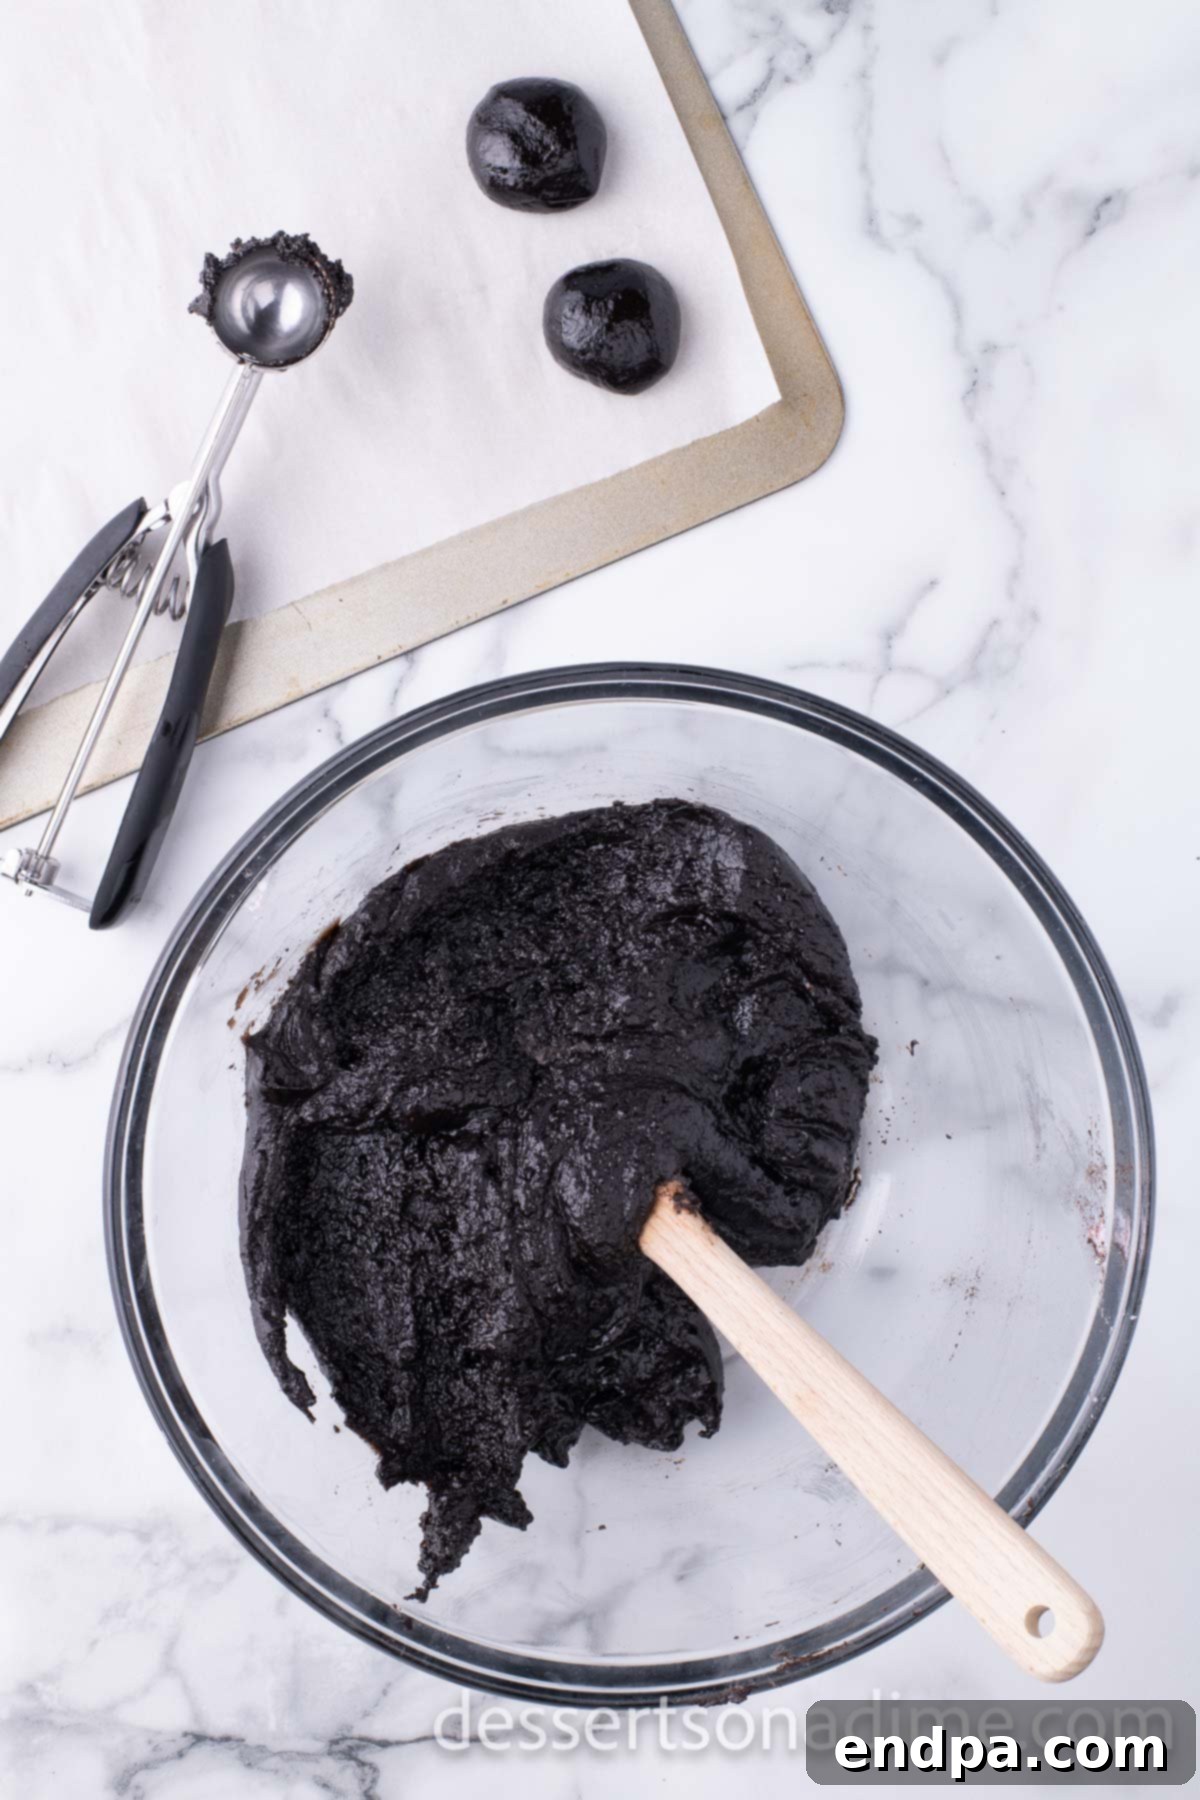
Step 5: Form and Chill. Roll the mixture into approximately 1-inch balls. The exact size can vary based on preference, but aim for uniformity. Place these neatly formed balls onto your parchment-lined baking sheet. Transfer the baking sheet to the freezer for at least 30 minutes. This chilling step is crucial as it helps the balls firm up, making them much easier to coat and preventing them from falling apart in the warm candy melt.

Step 6: Coarsely Crush Remaining Candy Canes. While the Oreo balls are chilling, take the remaining 5 mini candy canes. Place them in a sturdy Ziploc bag and seal it tightly, removing excess air. Use a mallet, rolling pin, or the blunt end of a wooden spoon to coarsely crush them into larger, irregular pieces. These will be used for the final festive topping.
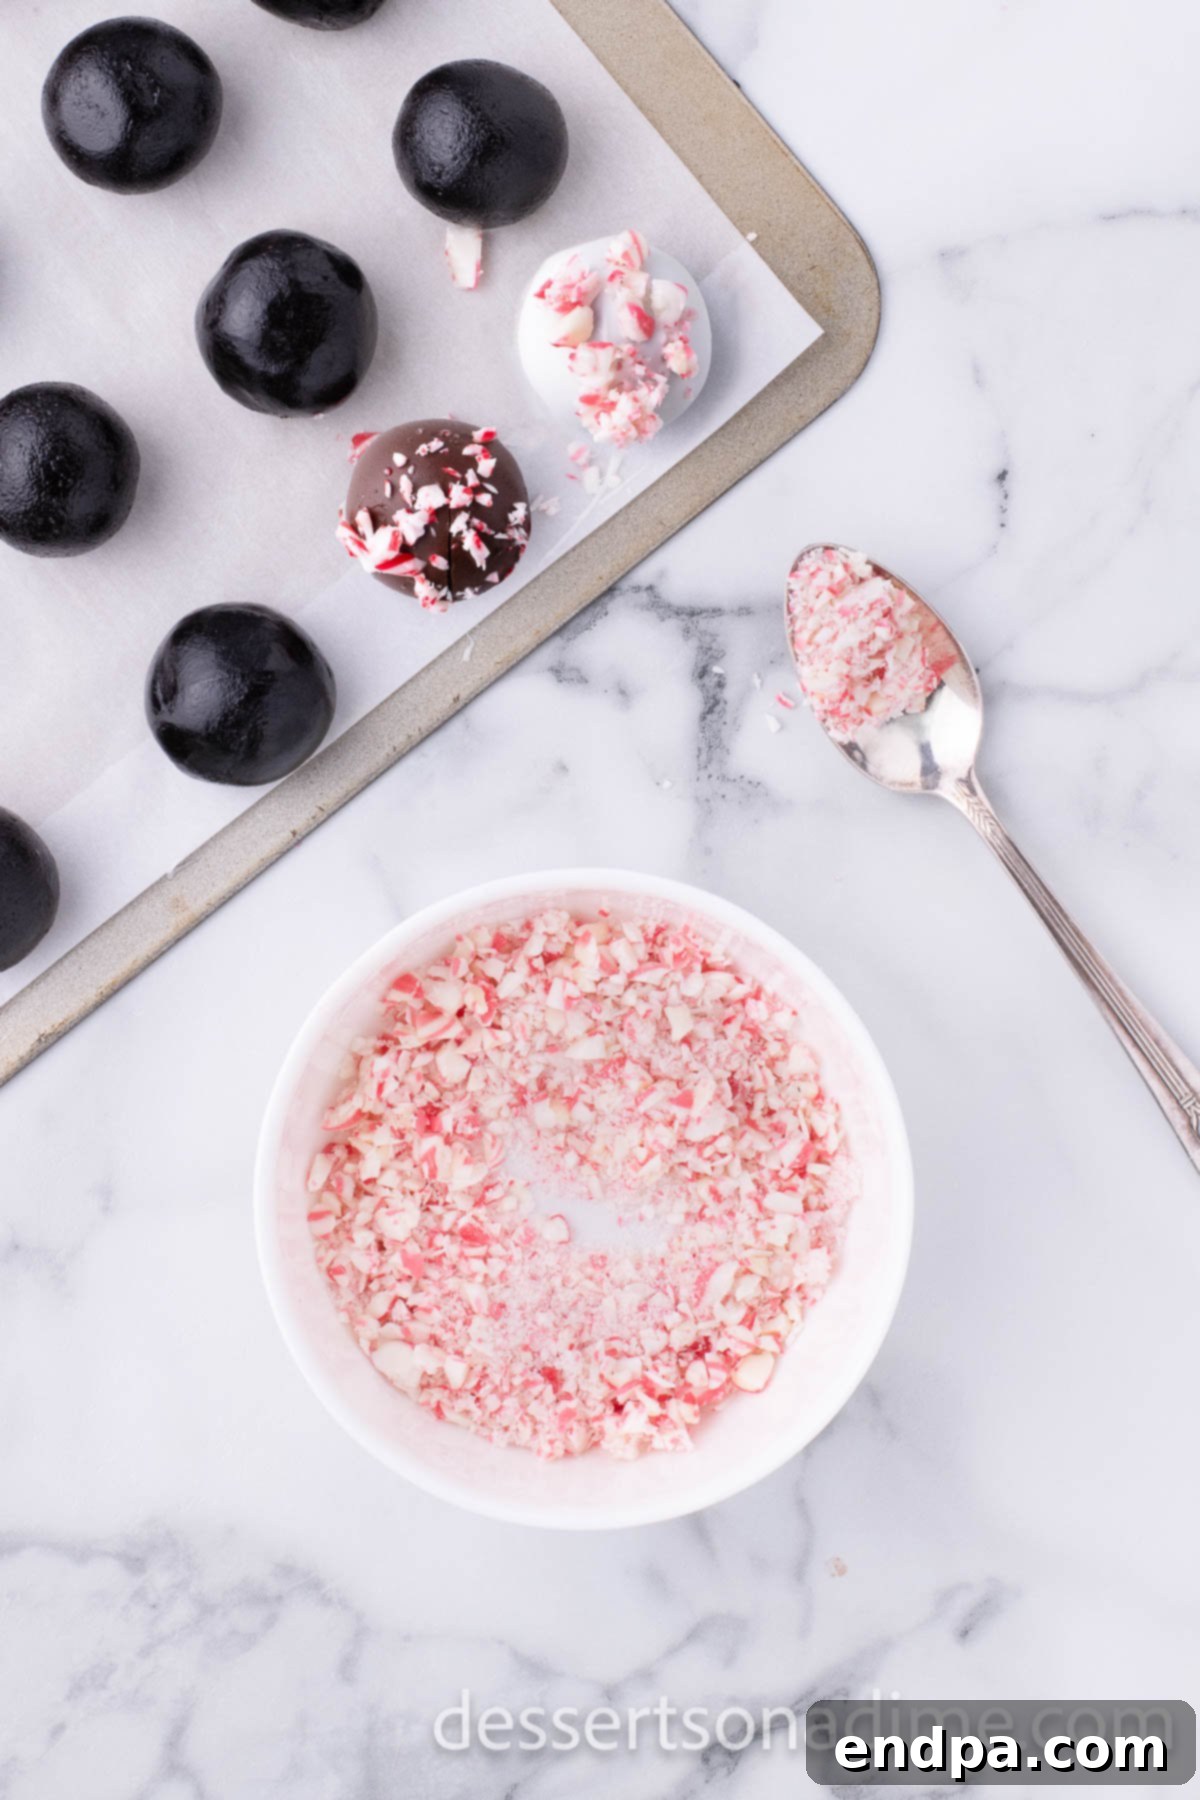
Step 7: Dip and Decorate. In a microwave-safe bowl, melt the candy wafers according to package directions, typically in 30-second intervals, stirring well after each. Avoid overheating to prevent burning. Remove the chilled Oreo balls from the freezer. Using a fork or a dipping tool, gently dip each ball into the melted candy coating, ensuring it’s completely covered. Tap the fork gently on the side of the bowl to allow any excess coating to drip off. Immediately return the dipped ball to the parchment-lined baking sheet. While the coating is still wet, generously sprinkle each ball with the coarsely crushed peppermint candies. Repeat with all remaining balls.
Allow the finished Peppermint Oreo Balls to sit at room temperature for at least 1 hour, or until the melted candy coating has completely set and hardened. Once set, they are ready to be served and enjoyed!

Storage Guidelines
Proper storage is key to keeping your Peppermint Oreo Balls fresh and delicious. Because they contain cream cheese, refrigeration is essential.
Store any leftover peppermint Oreo truffles in an airtight container in the refrigerator for up to 1 week. It’s crucial to ensure the candy coating has completely set and hardened before storing. If you try to store them before they are fully set, the balls may stick together, lose their pristine shape, and become messy. To prevent this, consider placing sheets of wax paper or parchment paper between layers of Oreo balls in your container, especially if stacking them. This extra step will help maintain their perfect appearance and prevent any sticking.
Can You Freeze Oreo Balls?
Absolutely! This peppermint Oreo balls recipe is wonderfully freezer-friendly, making them an excellent option for meal prepping ahead of a busy holiday season or for enjoying a sweet treat whenever a craving strikes. Freezing them can save you a significant amount of time during peak holiday preparation.
To freeze, arrange the fully set Oreo balls in a single layer on a baking sheet and flash freeze them for about 30-60 minutes until solid. Then, transfer the frozen balls to a freezer-safe airtight container, separating layers with wax paper or parchment paper to prevent them from sticking together. They can be frozen for up to 3 months.
When you’re ready to serve, simply transfer the desired number of frozen Oreo balls to the refrigerator the night before to allow them to thaw slowly. Alternatively, you can let them sit at room temperature for about 30-60 minutes, though they are often enjoyed slightly chilled. You can also freeze these balls without the candy coating. Prepare the Oreo mixture, roll into balls, and freeze them on a baking sheet. Once frozen solid, transfer to a freezer bag. When ready to serve, thaw slightly, then dip them in melted candy wafers and decorate as usual. Both methods work perfectly, offering flexibility for your schedule.

Pro Tips for Perfection
Achieving the perfect batch of Peppermint Oreo Balls is easy with a few expert tips. These suggestions will help ensure your truffles are consistently delicious, beautifully coated, and perfectly structured:
- Choose Regular Oreos: For the best results, always opt for regular Oreo Cookies, not “Double Stuffed” or “Mega Stuffed” varieties. The extra cream filling in these variations can alter the texture of the truffle mixture, making it too soft or sticky and difficult to roll into firm balls. The ratio of cookie to cream cheese is crucial for the ideal consistency.
- Ensure Complete Setting: Patience is a virtue when it comes to Oreo balls! It is absolutely vital to allow the coated Oreo balls to set completely before serving or storing them. The candy coating should be entirely dry and firm to the touch. If stored or handled prematurely, the coating can smudge, crack, or stick, ruining their pristine appearance.
- Chill Thoroughly Before Dipping: This is a non-negotiable step for success. Freezing or thoroughly chilling the Oreo balls before dipping them in melted candy is critical. Cold balls will firm up, making them much easier to handle and preventing them from disintegrating in the warm coating. A cold ball will also ensure the coating sets quickly and smoothly, giving you a beautiful, even finish.
- Utilize a Food Processor: While you can crush Oreos and candy canes by hand, a food processor is your best friend for this recipe. It quickly and effortlessly grinds the cookies into fine, uniform crumbs, which is essential for a smooth truffle texture. It also makes crushing candy canes a breeze, saving you time and effort.
- Adjust the Mixture Consistency: The perfect truffle mixture should be firm enough to roll but not crumbly. If your mixture seems too dry and isn’t holding together, add a tiny bit more softened cream cheese, about a teaspoon at a time, until it reaches the desired consistency. Conversely, if the mixture is too moist or sticky, add a tablespoon or two of additional finely crushed Oreo crumbs (from an extra cookie or two) to firm it up. Mix well after each adjustment until you achieve a moldable, non-sticky dough.
- Properly Melt Candy Wafers: When melting your candy wafers (or chocolate), do so in short intervals, typically 30 seconds at a time in the microwave, stirring thoroughly after each interval. This prevents scorching or seizing of the candy. If the candy becomes too thick, a tiny amount of coconut oil or vegetable shortening can help thin it out to a smooth, dippable consistency.
Frequently Asked Questions
Here are some common questions you might have about making Peppermint Oreo Balls:
Q: Can I use different types of cookies?
A: Yes, while Oreos are traditional, you can experiment with other sandwich cookies like Nutter Butters for a peanut butter twist, or even shortbread cookies. Adjust the amount of cream cheese slightly if needed, as different cookies absorb moisture differently.
Q: How can I prevent the candy coating from cracking?
A: Cracking often occurs if the truffle balls are too cold or if the candy coating is too thick. Ensure the coating is not overly thick by adding a bit of coconut oil if necessary. Also, let the balls sit at room temperature for a few minutes after taking them out of the freezer, before dipping, to reduce the temperature shock.
Q: What if my candy coating seizes or gets lumpy?
A: This usually happens from overheating or getting water into the chocolate/candy melts. To fix seized chocolate, you can try stirring in a teaspoon of vegetable oil or melted shortening at a time until smooth. For candy melts, ensure your bowl is completely dry and don’t overheat them. If it’s too far gone, it’s best to start with a fresh batch.
Q: Can I make these dairy-free?
A: You can try using dairy-free cream cheese alternatives and dairy-free Oreo cookies (check labels, as some varieties are dairy-free). Use a dairy-free candy coating or melted dairy-free chocolate chips. Results may vary slightly in texture.
Q: How many days in advance can I make these?
A: You can make these Peppermint Oreo Balls up to 5-7 days in advance if stored properly in an airtight container in the refrigerator. They are also excellent for freezing for longer storage, as detailed in the “Can You Freeze Oreo Balls?” section.
Serving Suggestions
These Peppermint Oreo Balls are delightful on their own, but here are some ideas to elevate their presentation and enjoyment:
- Holiday Dessert Platter: Arrange them beautifully on a festive platter alongside other holiday treats like cookies, fudge, and other truffles.
- Individual Treats: Place each Oreo ball in a mini cupcake liner for elegant individual servings, perfect for parties.
- With Hot Beverages: Serve them alongside a warm cup of hot cocoa, coffee, or peppermint tea for a comforting winter treat.
- Gift Giving: Package them in decorative boxes or bags for thoughtful homemade holiday gifts for friends, family, and neighbors.
- Ice Cream Topping: Roughly chop a few Peppermint Oreo Balls and sprinkle them over vanilla or chocolate ice cream for a decadent dessert.
More Easy Oreo Recipes
- White Chocolate Covered Oreos
- Oreo S’mores
- Best Oreo Dirt Cake Recipe
- Homemade Oreo Brownies
- Football Oreo Balls
Irresistible Holiday Desserts
- Christmas Chocolate Covered Oreos
- Easy Christmas Cowboy Cookies
- Little Debbie Christmas Tree Cake Ice Cream
- Peppermint Meringues
- Little Debbie Christmas Tree Cake Balls
Don’t hesitate to make these absolutely delicious Peppermint Oreo Balls! They are sure to become a cherished part of your holiday traditions. We’d love to hear from you once you give them a try. Please share your thoughts and comments!
Pin
Peppermint Oreo Balls
Ingredients
- 8 oz softened Cream Cheese
- 14.5 oz Oreo Cookies
- 1 teaspoon Peppermint Extract
- 1 pound Dark or White Candy Wafers
- 15 Mini Candy Canes divided
Instructions
- Line a cutting board or baking sheet with parchment paper.
- Place 10 of the mini candy canes in a food process and pulse until they are turned into crushed fine pieces.
- Finely crush Oreos in the food processor.
- Combine cream cheese, crushed candy canes, crushed cookies and peppermint extract until well blended.
- Form mixture into 1″ balls and place on a prepared sheet.
- Place in the freezer for 30 minutes.
- Place the remaining 5 candy canes in a ziplock bag and coarsely crush them into large pieces with a mallet or the end of a wooden spoon.
- Heat the candy wafers by microwaving for 1 minute stirring and repeating until melted.
- Using a fork, dip each ball into the melted wafers to completely coat. Shake off excess and return to the tray. Top with the large pieces of crushed candy canes.
- Let sit at room temperature for 1 hour until the melted candy is set and then they are ready to serve and enjoy!
