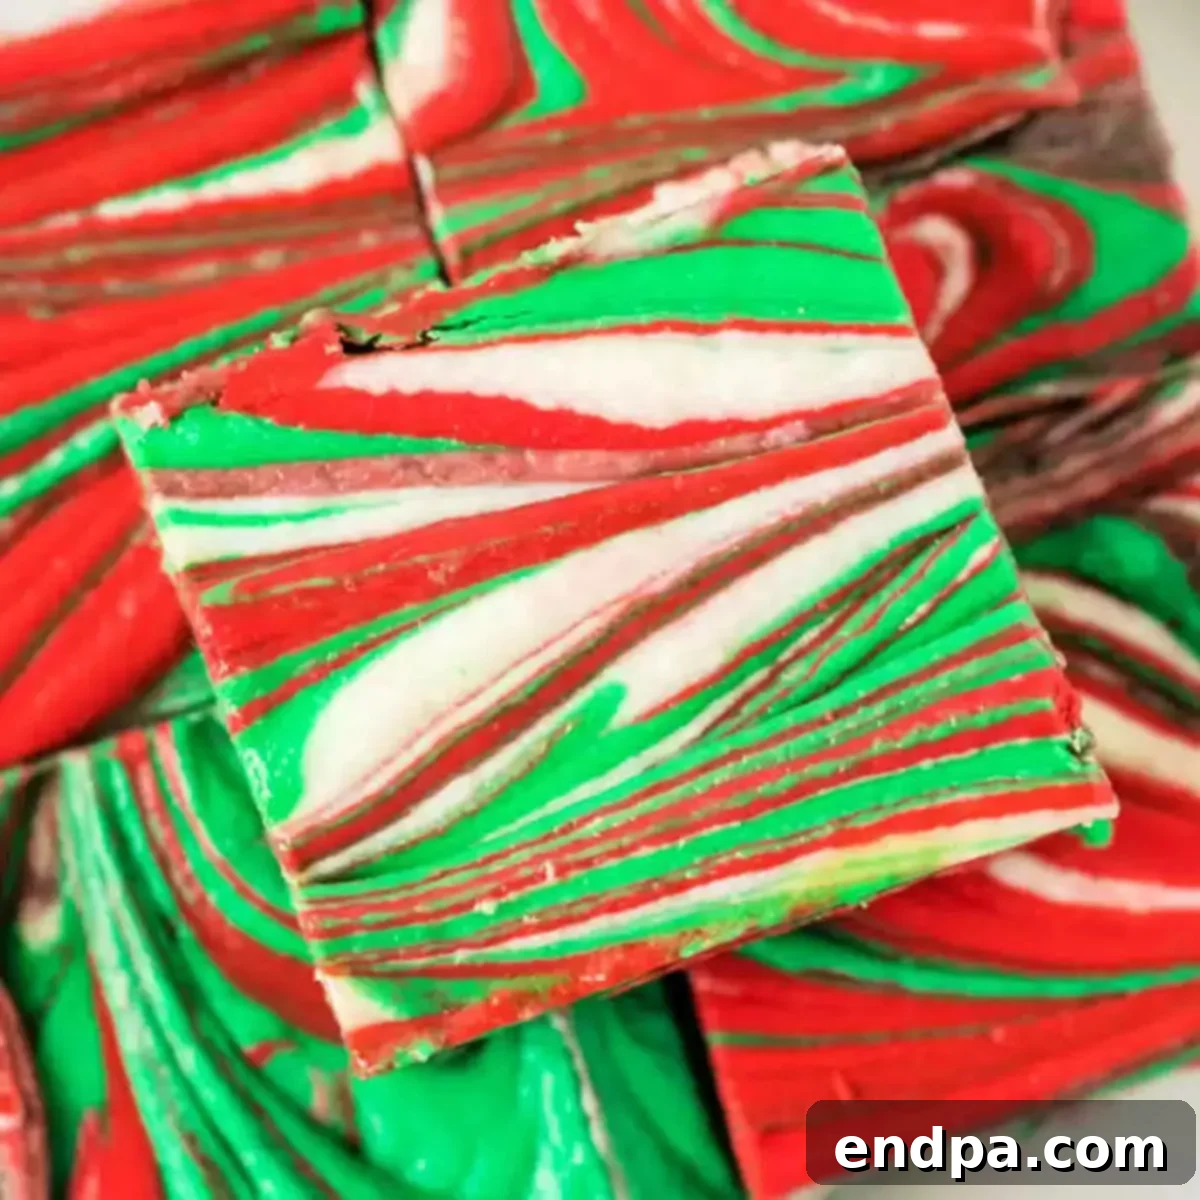
Indulge in the irresistible delight of homemade Christmas Fudge, a rich and creamy confection crafted with just three simple ingredients. This effortless recipe yields a sweet holiday treat that’s perfect for festive gatherings, thoughtful gifting, or simply savoring by the fireside. Experience the magic of a melt-in-your-mouth texture and vibrant holiday colors that capture the spirit of the season.
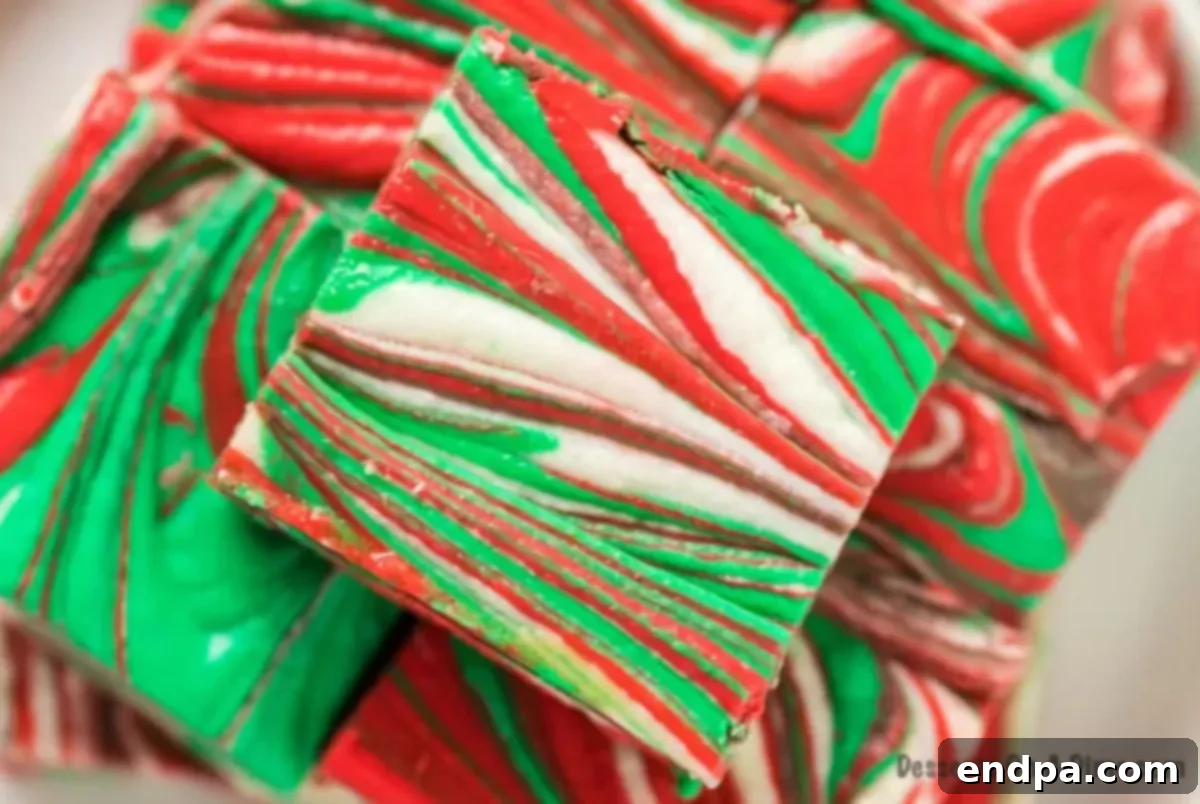
The holiday season is synonymous with warmth, joy, and, of course, delicious treats. Among the countless festive desserts, Christmas Fudge holds a special place, evoking nostalgic memories and creating new traditions. Our recipe for this delightful no-bake fudge is designed to be incredibly quick and simple, requiring minimal effort and no complicated techniques, making it an ideal choice for even the busiest holiday bakers. This means less time in the kitchen and more time enjoying cherished moments with loved ones.
Imagine presenting a tray of these beautifully swirled, creamy fudge squares at your next holiday party, or wrapping them in elegant packaging as a heartfelt homemade gift. This fudge is not just a dessert; it’s an expression of holiday cheer that is sure to impress everyone who tastes it. What makes this recipe truly special is its adaptability. You can easily customize it to suit any preference or occasion. Add a sprinkle of crushed candy canes for a refreshing peppermint crunch, colorful sprinkles for an extra festive touch, or chopped nuts for a satisfying texture. The possibilities are endless, allowing you to create a unique batch every time.
For many families, including ours, Christmas fudge is a highly anticipated annual tradition. It’s one of those classic holiday desserts that family members eagerly request year after year. If you’re looking to expand your holiday baking repertoire, consider pairing this fudge with other beloved festive treats. Some of our other family favorites include a delightful Christmas Cookie Dip, the wonderfully simple Christmas Dump Cake, and a collection of Easy Christmas Dessert Recipes. And for a truly hands-on experience, nothing beats decorating festive Christmas Tree Sugar Cookies. Each of these recipes adds a unique flavor and fun element to your holiday celebrations, making them even more memorable.
What You’ll Discover in This Guide to Christmas Fudge:
- Why This Christmas Fudge Recipe Shines
- Essential Ingredients for Festive Fudge
- Creative Variations and Topping Ideas
- Step-by-Step Guide to Perfect Christmas Fudge
- Expert Tips for Flawless Fudge
- Common Questions Answered About Fudge
- Explore More Easy Fudge Recipes
- Printable Christmas Fudge Recipe Card
Why This Christmas Fudge Recipe Shines
Our Christmas fudge isn’t just another holiday treat; it’s a culinary highlight that brings joy and ease to your festive preparations. Here’s why this recipe stands out as a true holiday favorite:
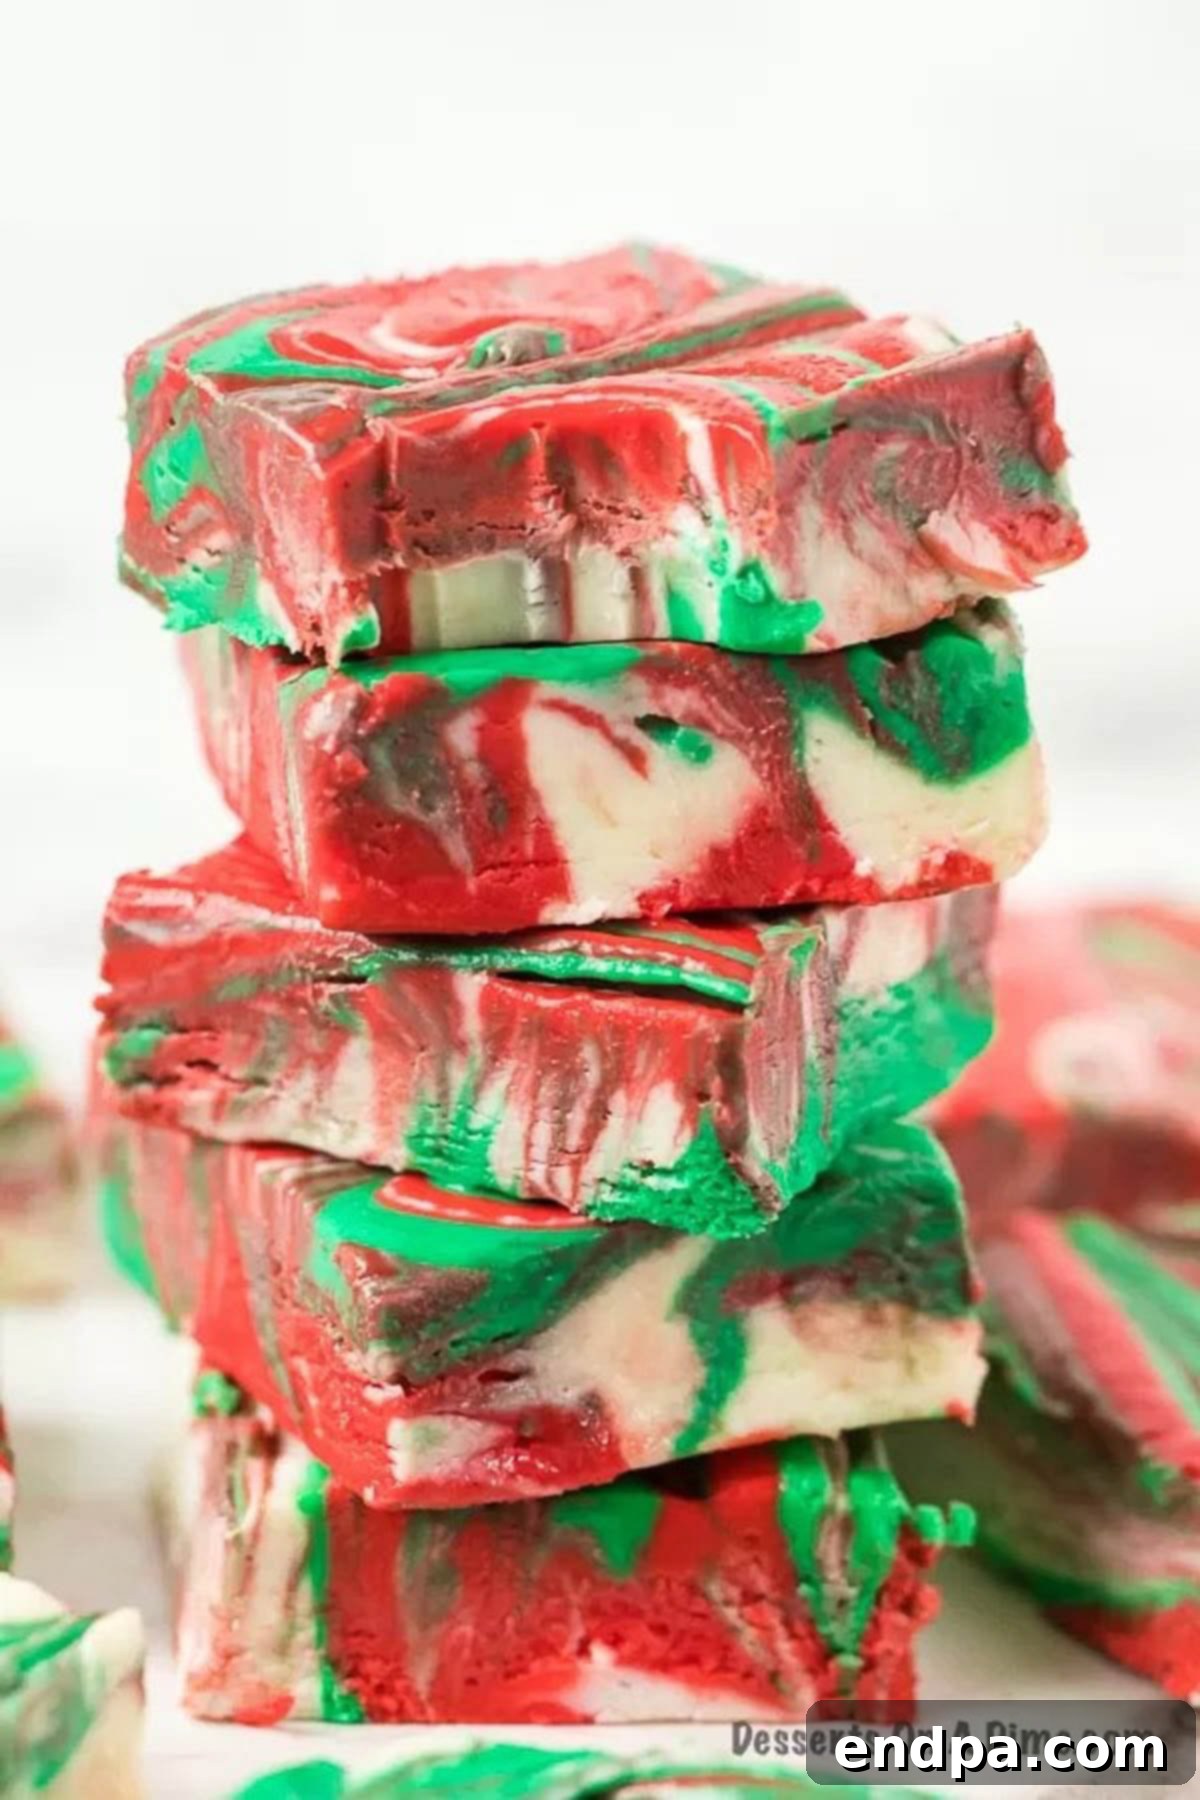
- Unbelievably Rich and Creamy: This fudge boasts a luxurious, smooth, and utterly melt-in-your-mouth texture that is simply divine. Each bite is a decadent experience, perfectly balancing sweetness with a creamy finish that will have everyone reaching for more. The quality of its texture is a key reason it’s so beloved.
- Quick, Simple, and Effortless: Forget complicated candy thermometers and endless stirring. This recipe comes together with minimal effort, using just a few easy-to-find ingredients. It’s a fantastic no-bake option for holiday baking, saving you precious time and stress during the busy season. From start to finish, you’ll be amazed at how quickly you can create such a spectacular dessert.
- Infinitely Customizable: The base recipe is a blank canvas for your creativity. Add festive toppings like crunchy crushed candy canes for a burst of peppermint, finely chopped nuts for added texture, or vibrant sprinkles to enhance its holiday appeal. You can tailor each batch to different tastes or themes, making it truly unique every time.
- Perfect for Thoughtful Gifting: Homemade gifts carry a special charm, and this Christmas fudge is no exception. Cut into elegant squares, nestled in decorative boxes or bags, and tied with a ribbon, it transforms into a beautiful and delicious present that friends, family, neighbors, and colleagues will absolutely adore. It’s a gift that truly comes from the heart.
- Joyfully Festive and Fun: The vibrant red, green, and white swirls, combined with optional colorful toppings and classic holiday flavors, make this fudge an undeniable showstopper. It adds a pop of color and an element of fun to any dessert table, making it a standout treat that captures the joyous essence of Christmas.
Essential Ingredients for Festive Fudge
Creating this spectacular Christmas fudge requires only three main ingredients, highlighting the simplicity and brilliance of this recipe. Each component plays a crucial role in achieving its signature rich flavor and creamy texture:
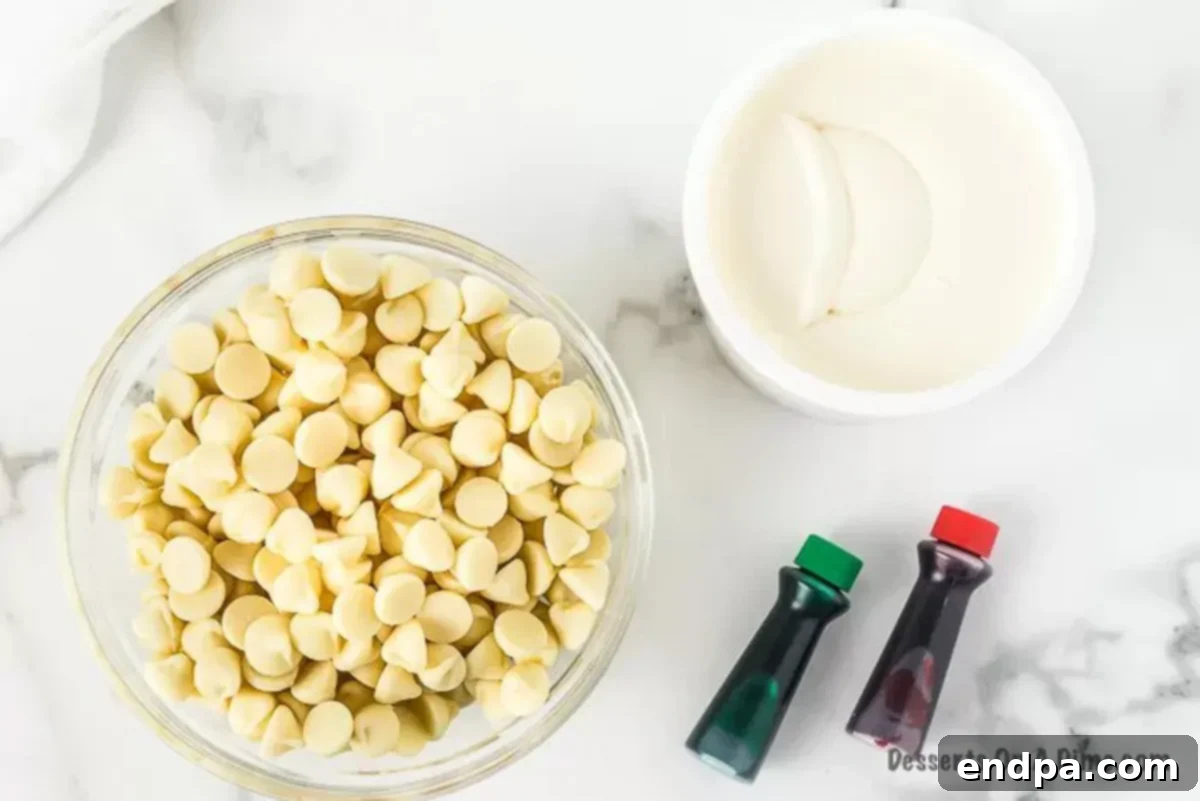
- High-Quality White Chocolate Chips: The foundation of our creamy fudge. Using good quality white chocolate chips is paramount for the best flavor and a smooth, luxurious texture. Inferior chocolate can result in a grainy or less appealing finish, so opt for a trusted brand to ensure your fudge melts beautifully and tastes exquisite.
- Smooth White Frosting (Vanilla or Cream Cheese): This secret ingredient is what gives the fudge its incredible creaminess and helps it set perfectly. Any store-bought white frosting will work, whether it’s a classic vanilla or a cream cheese variety. It provides the perfect base for incorporating the colors and achieving that signature smooth consistency without the need for condensed milk or elaborate sugar cooking.
- Vibrant Red and Green Food Coloring: To infuse your fudge with unmistakable holiday spirit! These liquid or gel food colorings are essential for creating the striking red and green swirls that give this Christmas fudge its cheerful and festive appearance. Gel food coloring often provides more vibrant results with less product, but liquid works just as well.
For a precise breakdown of quantities and detailed steps, be sure to scroll down to the printable recipe card at the bottom of this post. There, you’ll find the complete ingredient list and comprehensive instructions for making the best Christmas Fudge.
Creative Variations and Topping Ideas
One of the most exciting aspects of making this Christmas fudge is its incredible versatility. While the classic three-ingredient recipe is perfect as is, you can easily adapt and enhance it with a myriad of substitutions and additions to create unique flavor profiles and dazzling presentations. Unleash your inner confectioner and experiment with these delightful ideas:
- Rich Peanut Butter Swirl: For a delightful nutty twist, stir in a spoonful or two of creamy peanut butter to a portion of your melted chocolate mixture. This creates a rich, creamy peanut butter fudge that pairs wonderfully with chocolate, especially when swirled together for a marbled effect. Discover our full Peanut Butter Fudge recipe for more inspiration.
- Crunchy Nutty Goodness: Add texture and a warm, earthy flavor by folding in chopped pecans, walnuts, almonds, or even roasted peanuts into the fudge mixture before it sets. Nuts provide a pleasant contrast to the smooth fudge and are a classic pairing.
- Sweet and Salty Caramel Drizzle: Elevate your fudge with a decadent drizzle of salted caramel. The combination of sweet fudge and salty caramel creates an addictive flavor profile that’s sophisticated and incredibly satisfying.
- Festive Peppermint Burst: Crush candy canes into small pieces and either fold them into the fudge mixture or sprinkle them generously on top. This not only adds a beautiful holiday look but also imparts a refreshing peppermint flavor that is synonymous with Christmas.
- Switch Up the Chocolate Base: While white chocolate creates a vibrant canvas for holiday colors, you can easily switch to semi-sweet chocolate chips or milk chocolate chips for a rich, classic chocolate fudge variation. Dark chocolate chips also offer a more intense, sophisticated flavor.
- A Hint of Sea Salt: A delicate sprinkle of flaky sea salt on top of the set fudge can miraculously enhance its sweetness and add a subtle depth of flavor. This tiny addition makes a big difference!
- Tailor Colors for Any Occasion: Don’t limit the fun to Christmas! Customize the fudge for birthdays, Halloween, Easter, or any special occasion by simply swapping out the red and green food coloring for other vibrant hues. Think pastels for spring or spooky oranges and purples for autumn.
- Sparkling Sprinkles: Mix in colorful holiday sprinkles directly into the fudge or scatter them generously over the top before it sets. This adds an extra layer of festivity and visual appeal, making your fudge even more irresistible, especially for kids!
Step-by-Step Guide to Perfect Christmas Fudge
Creating this festive Christmas fudge is an incredibly straightforward process, perfect for any home baker. Follow these easy steps to ensure a smooth, creamy, and visually stunning result:
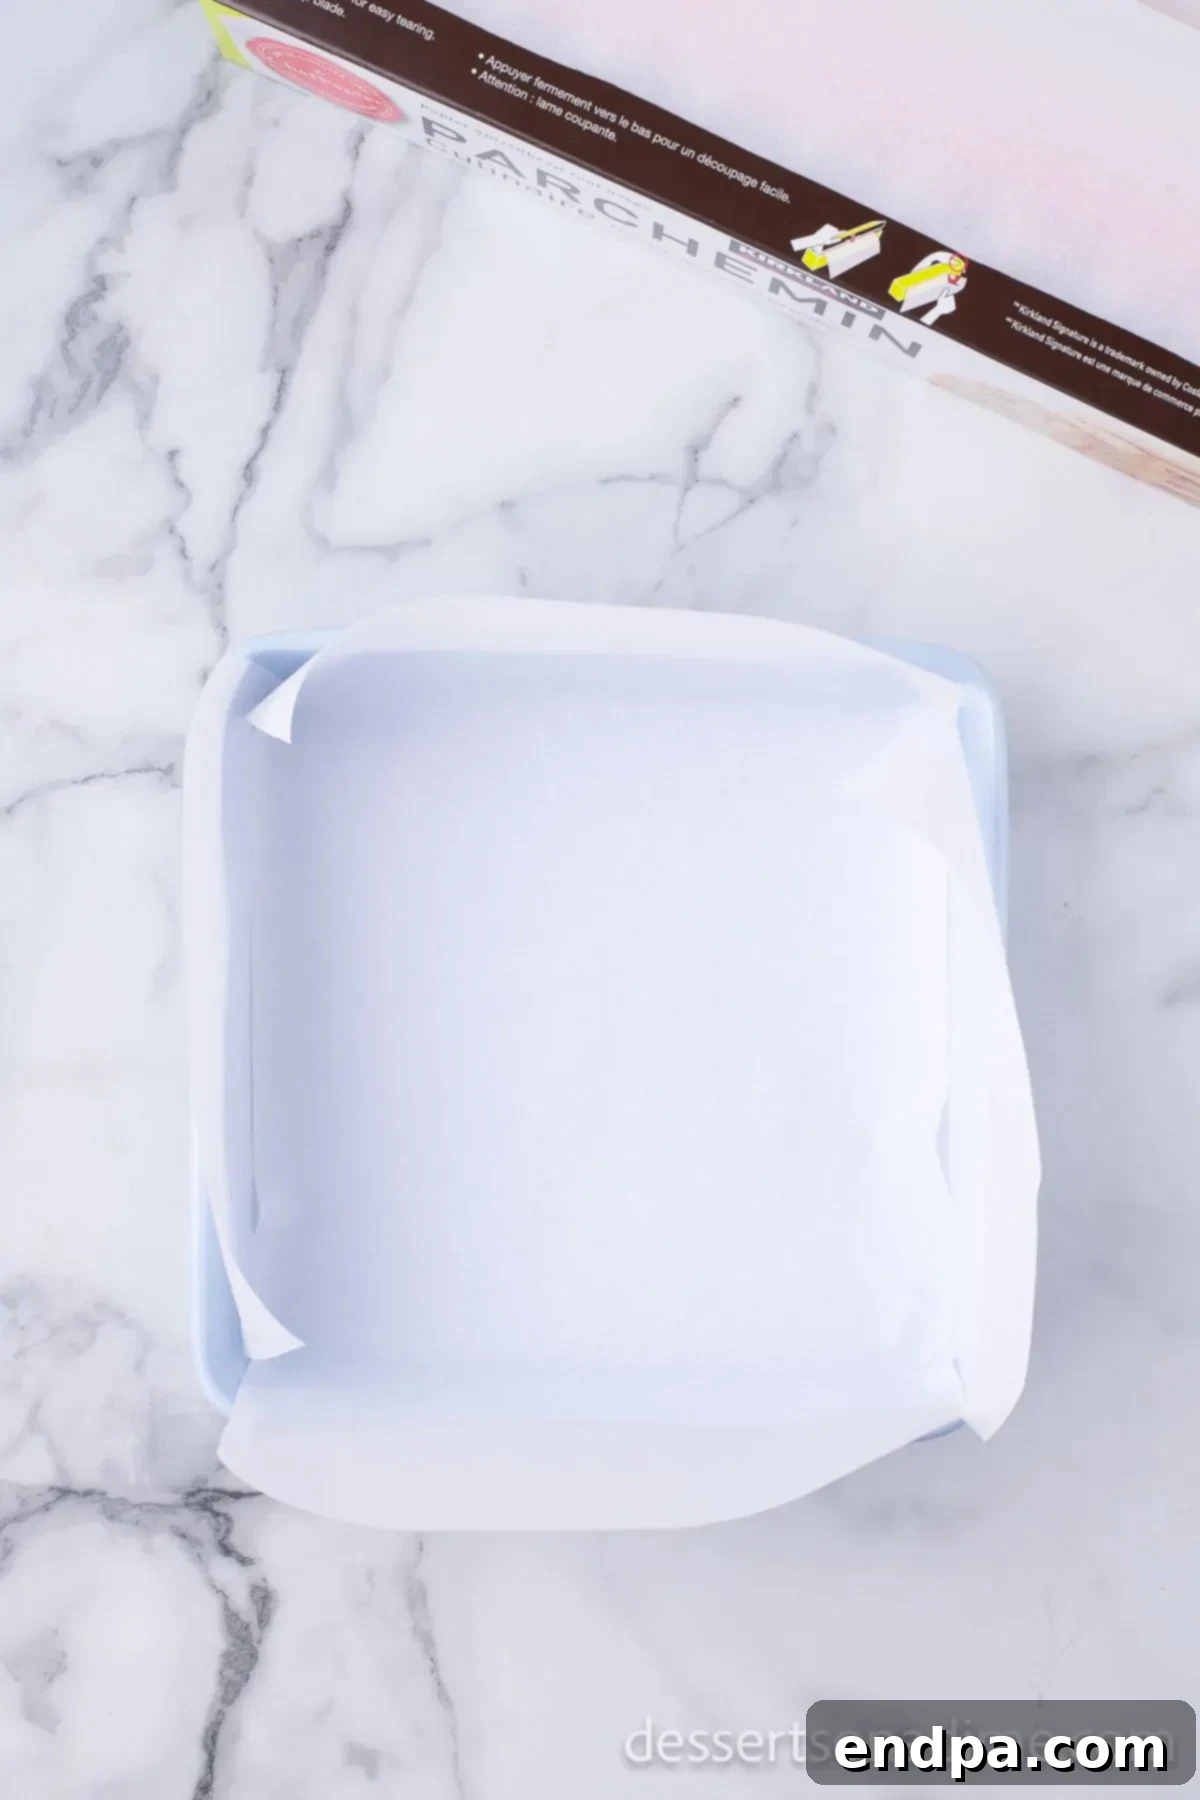
Step 1: Prepare Your Baking Pan. Begin by lining an 8×8-inch square baking pan with either foil or parchment paper. Ensure the lining extends over the edges to create “handles” for easy removal later. Lightly spray the lined pan with a non-stick cooking spray. This crucial step prevents the fudge from sticking, making clean-up a breeze and ensuring your beautiful fudge squares come out perfectly intact.
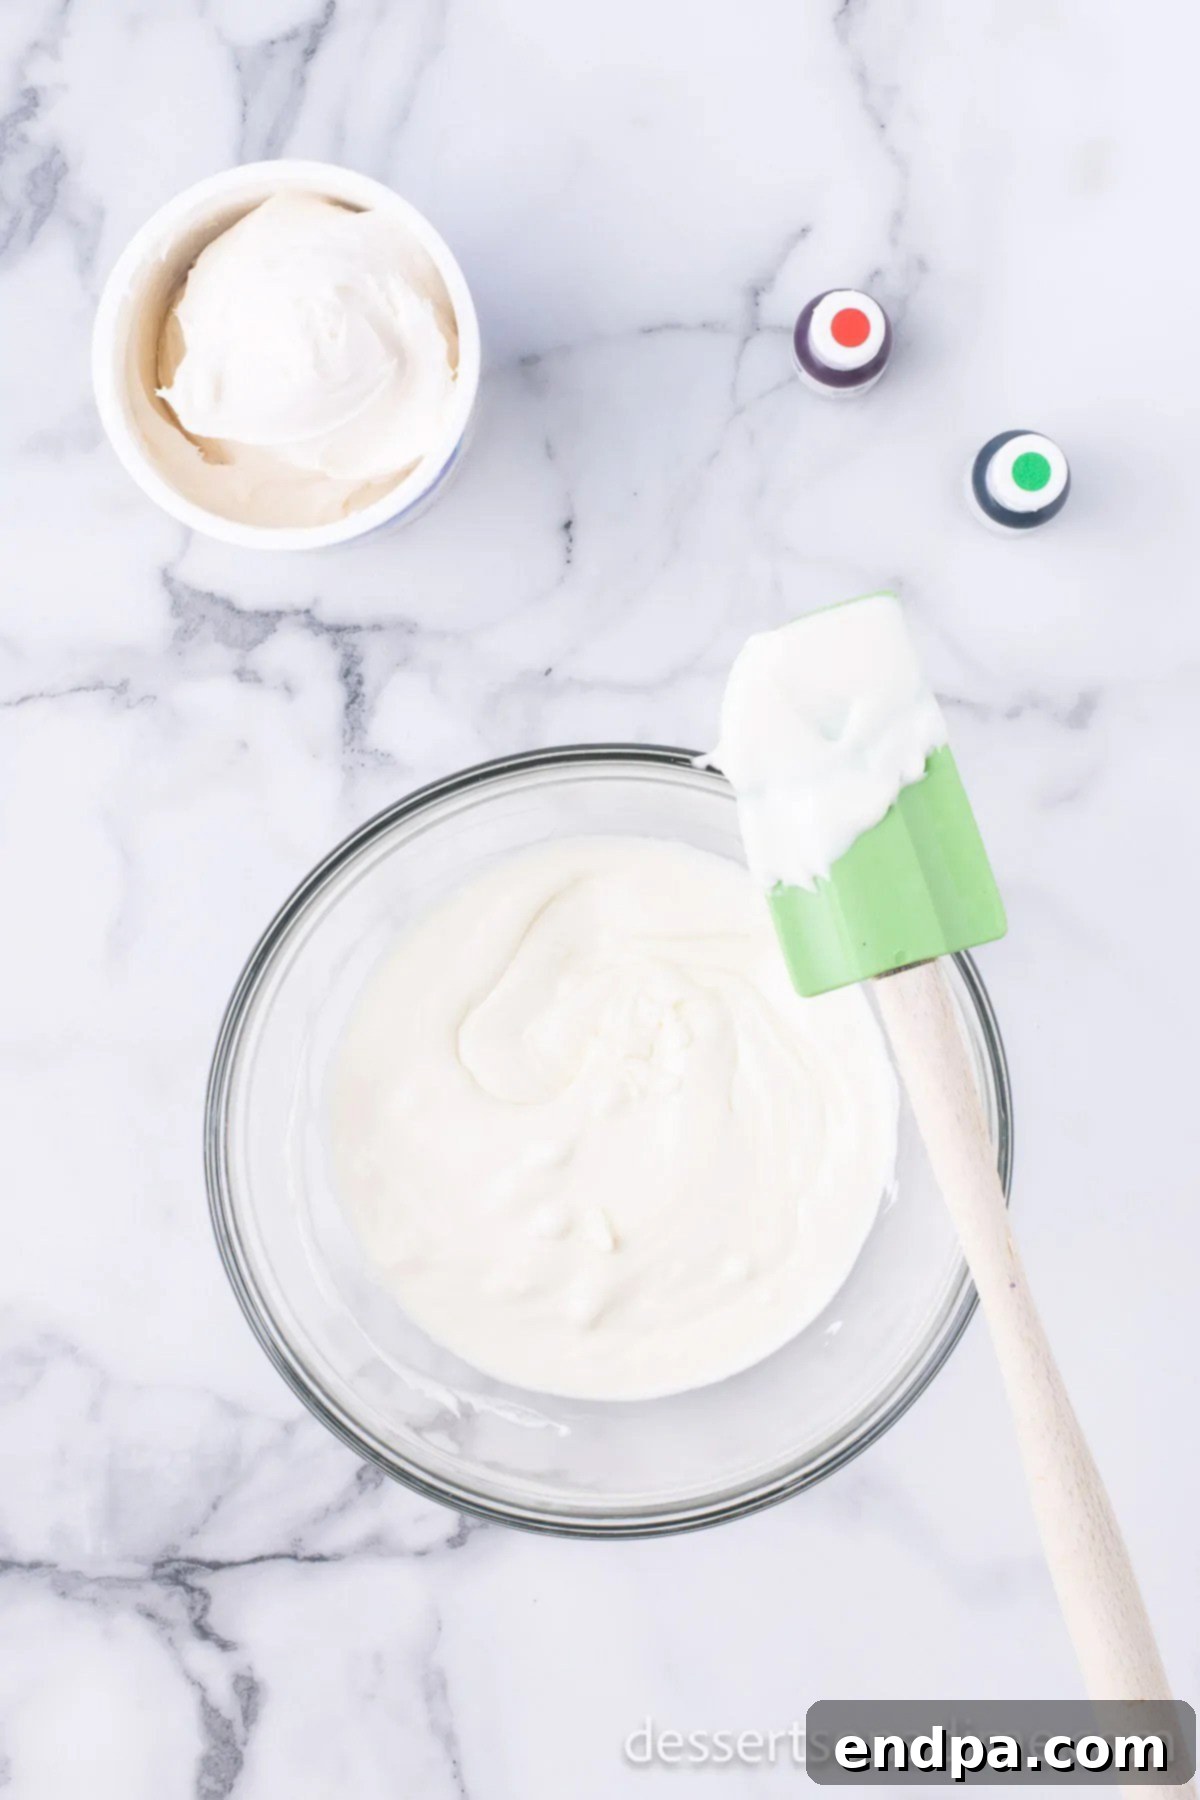
Step 2: Gently Melt the White Chocolate. Grab a large microwave-safe bowl and pour in your white chocolate chips. Microwave the chocolate in short, 30-second increments. After each interval, remove the bowl and stir the chocolate thoroughly with a spatula. This even heating prevents scorching and ensures a smooth, creamy melt. If your microwave has a medium heat setting, utilize it for a more controlled melting process.
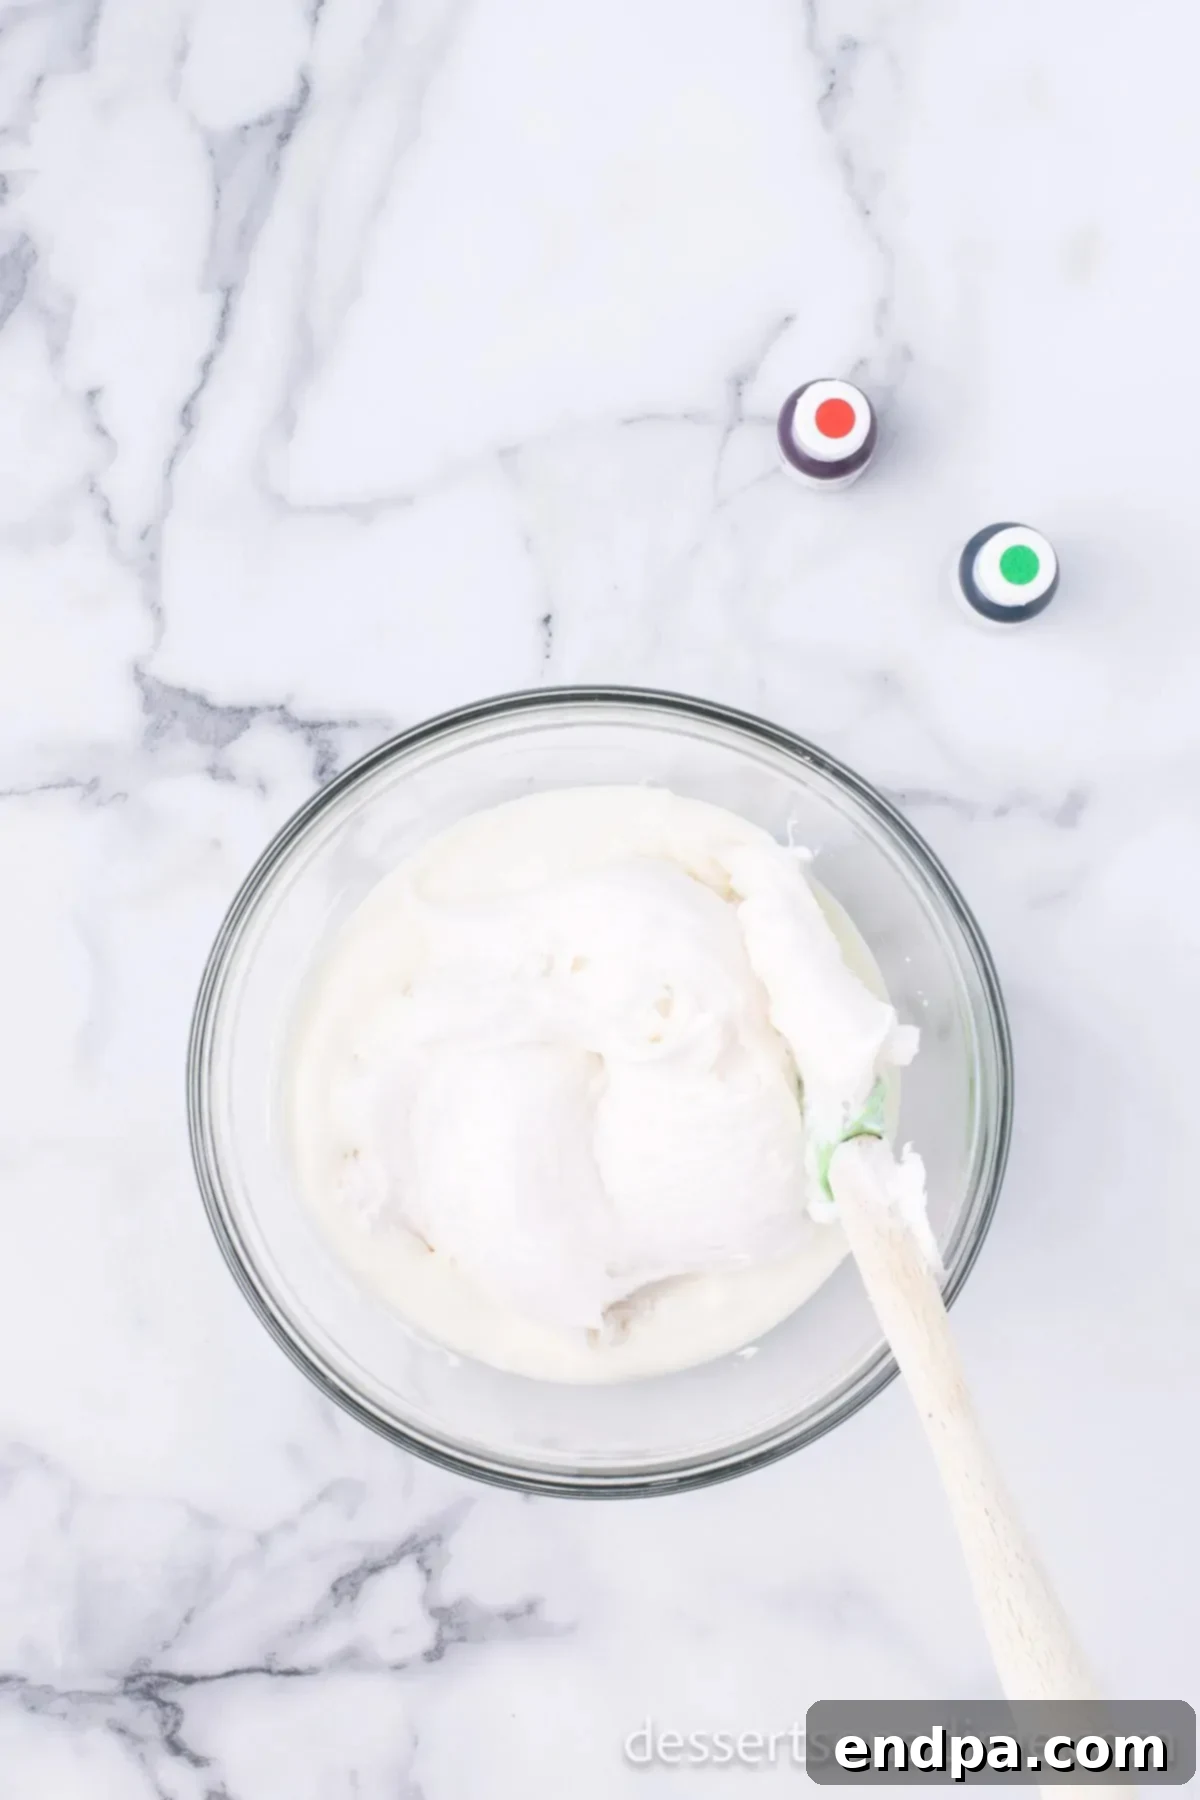
Step 3: Achieve Perfectly Melted Chocolate. Continue the microwave and stir cycle until the white chocolate chips are completely melted and utterly smooth. It’s vital to be vigilant and careful not to overcook the white chocolate, as it can seize or become grainy if overheated. The goal is a velvety, uniform consistency.
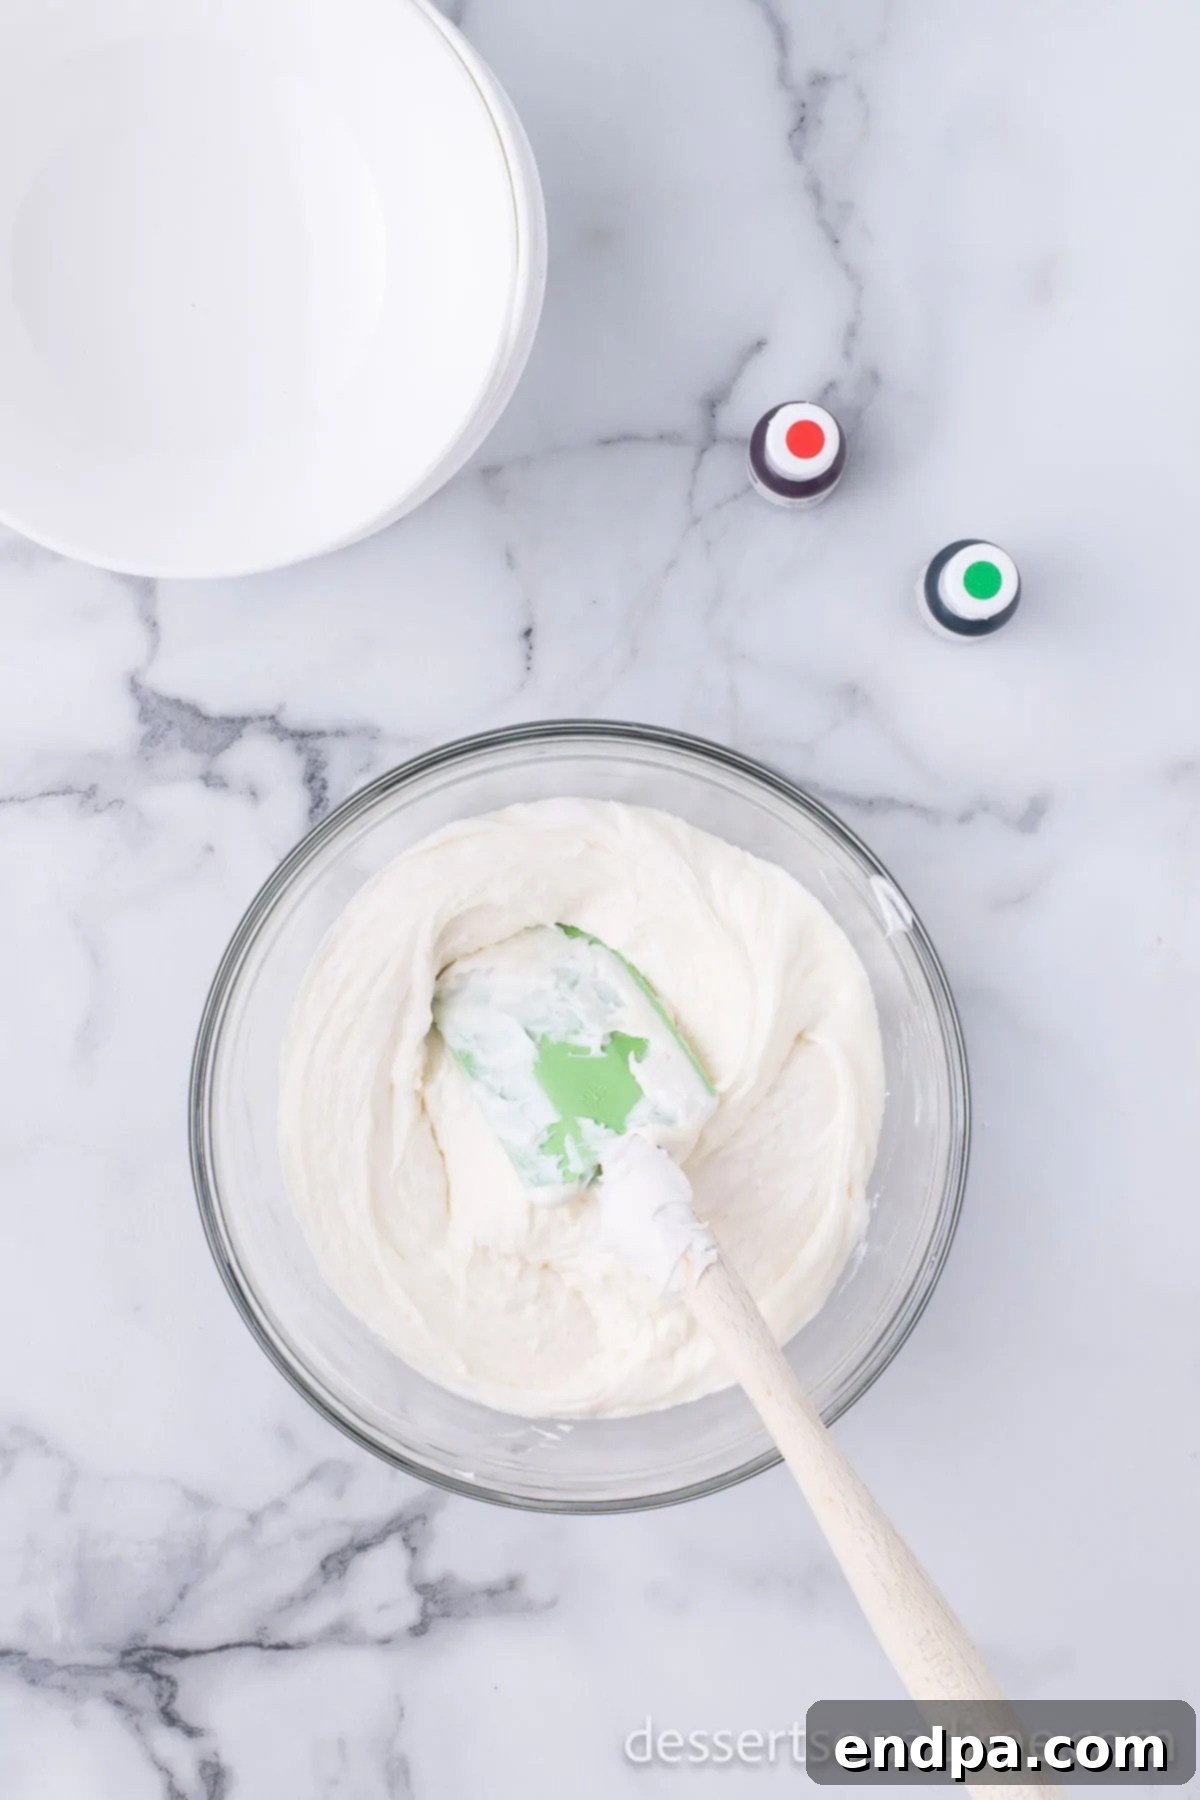
Step 4: Incorporate the Frosting. Once the chocolate is perfectly melted, add the entire container of white frosting directly into the bowl. Stir the frosting into the melted chocolate mixture vigorously until it is fully combined. The mixture should become thick, smooth, and uniformly blended. This step transforms the melted chocolate into a luscious fudge base.
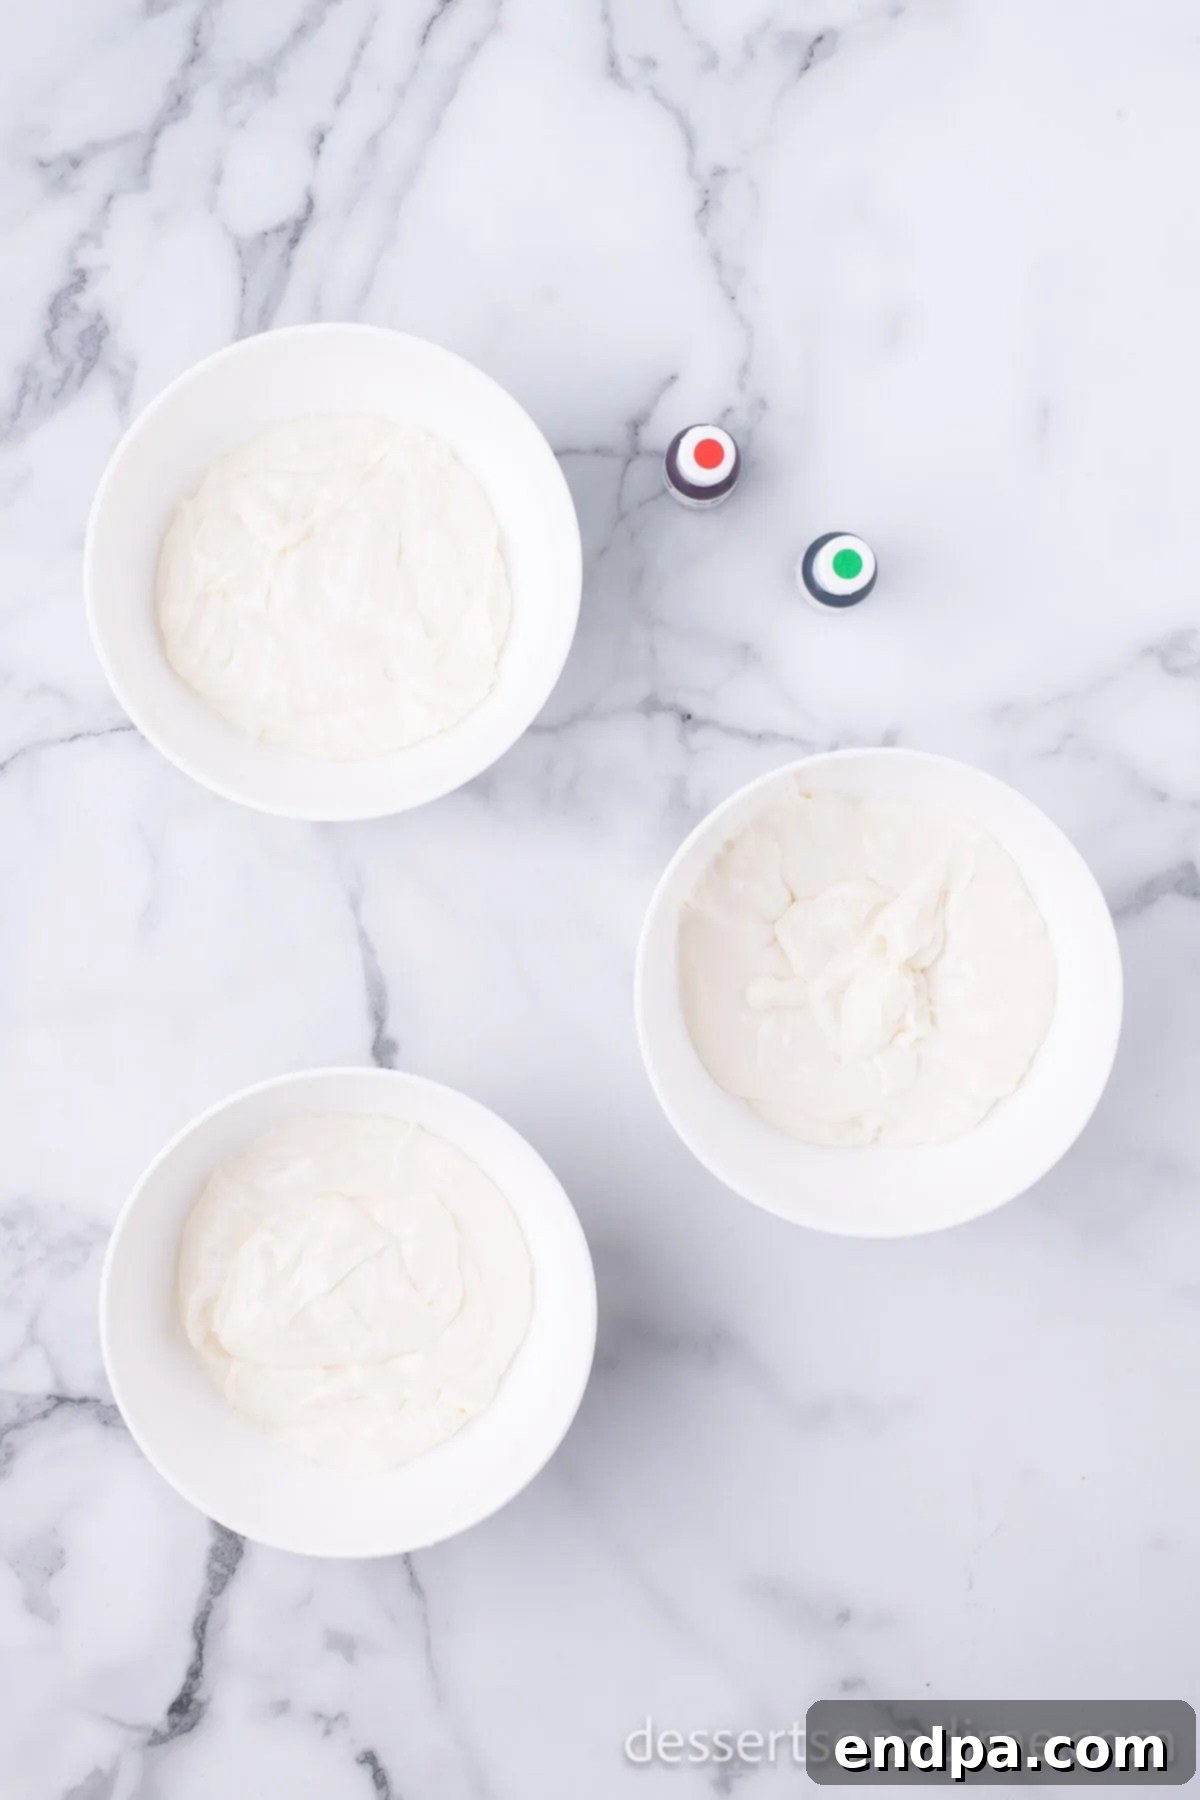
Step 5: Divide the Fudge Base. Carefully separate the combined fudge mixture evenly between three separate bowls. Try to ensure each bowl contains roughly the same amount for balanced coloring and distribution. This allows for the creation of distinct, vibrant colors for your festive swirls.
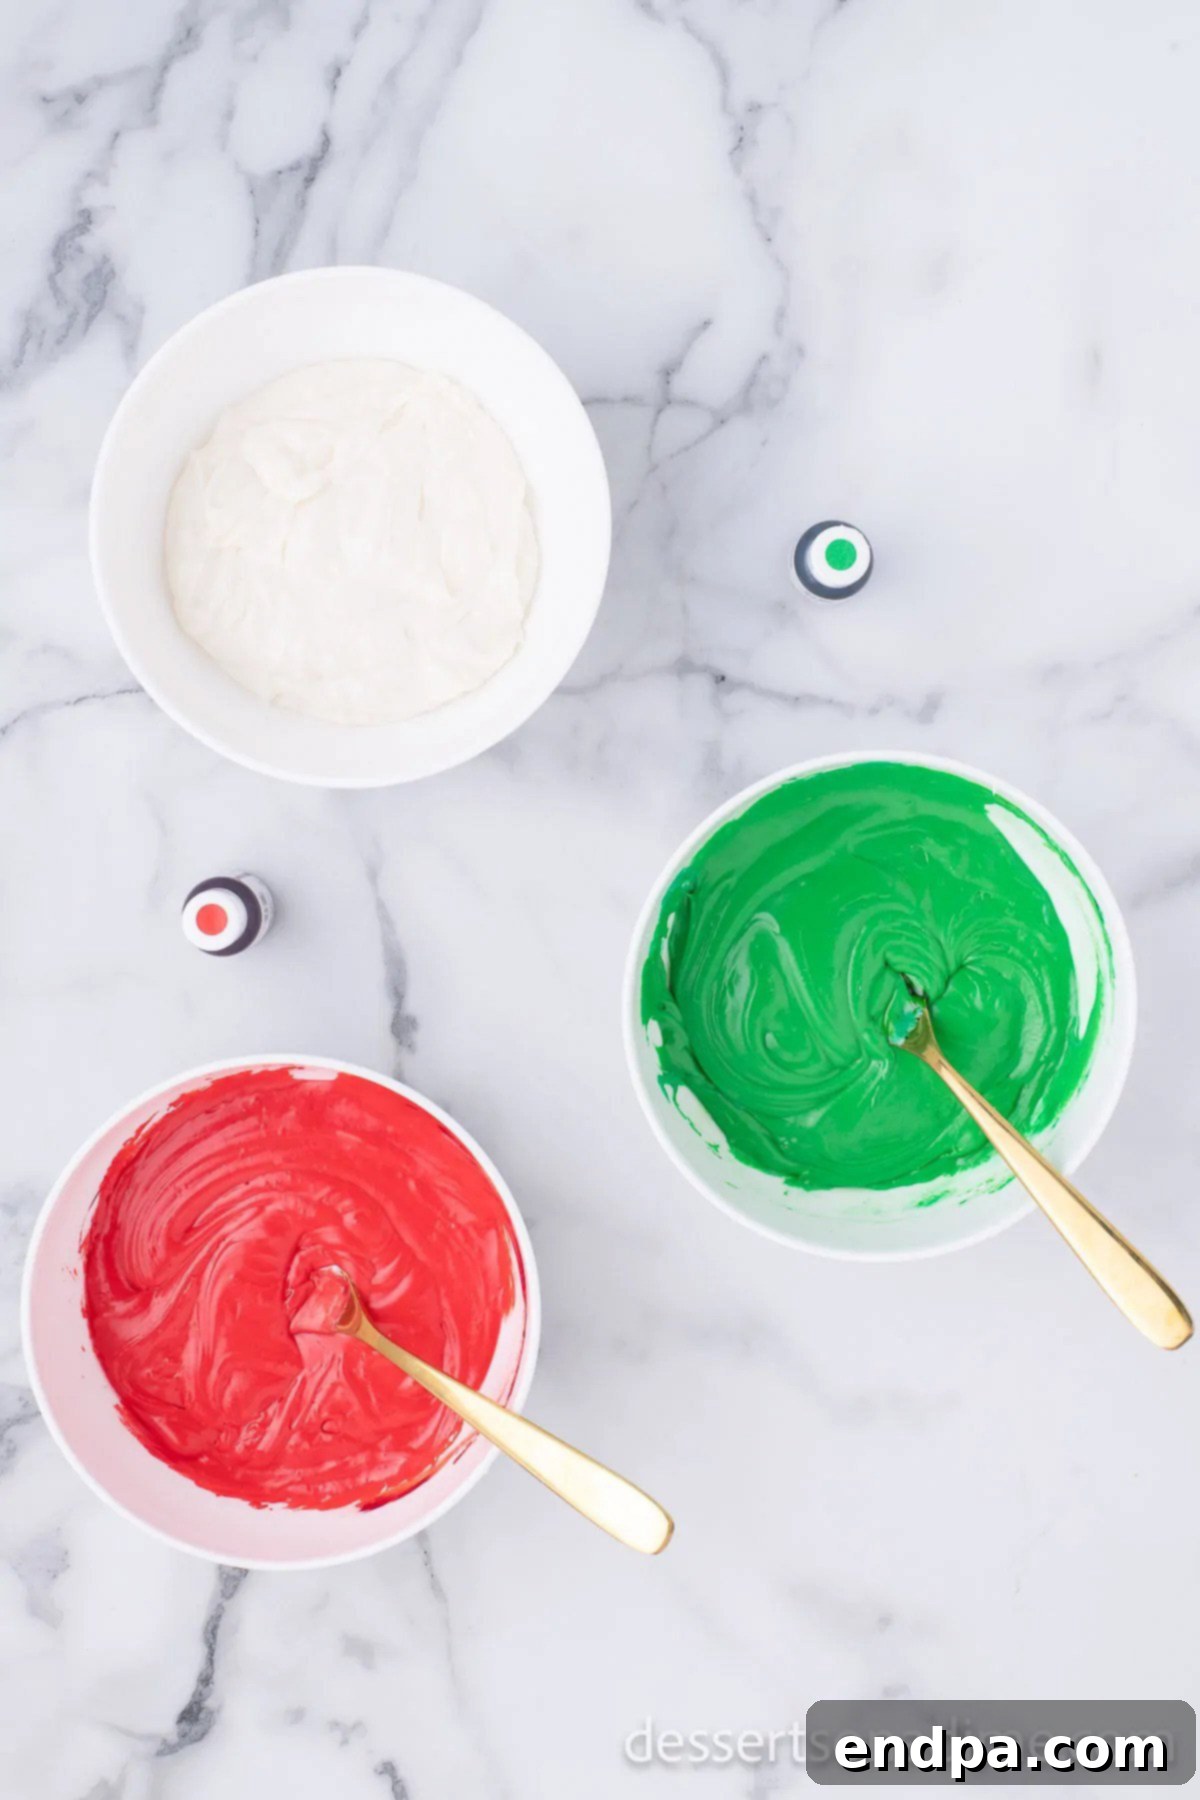
Step 6: Color Your Fudge. Leave the fudge in one bowl white, preserving its pristine hue. Into the second bowl, stir in a few drops of green food coloring until you achieve your desired festive shade of green. In the third bowl, repeat the process with red food coloring, ensuring a vibrant Christmas red. Mix each color thoroughly to get an even, consistent shade.
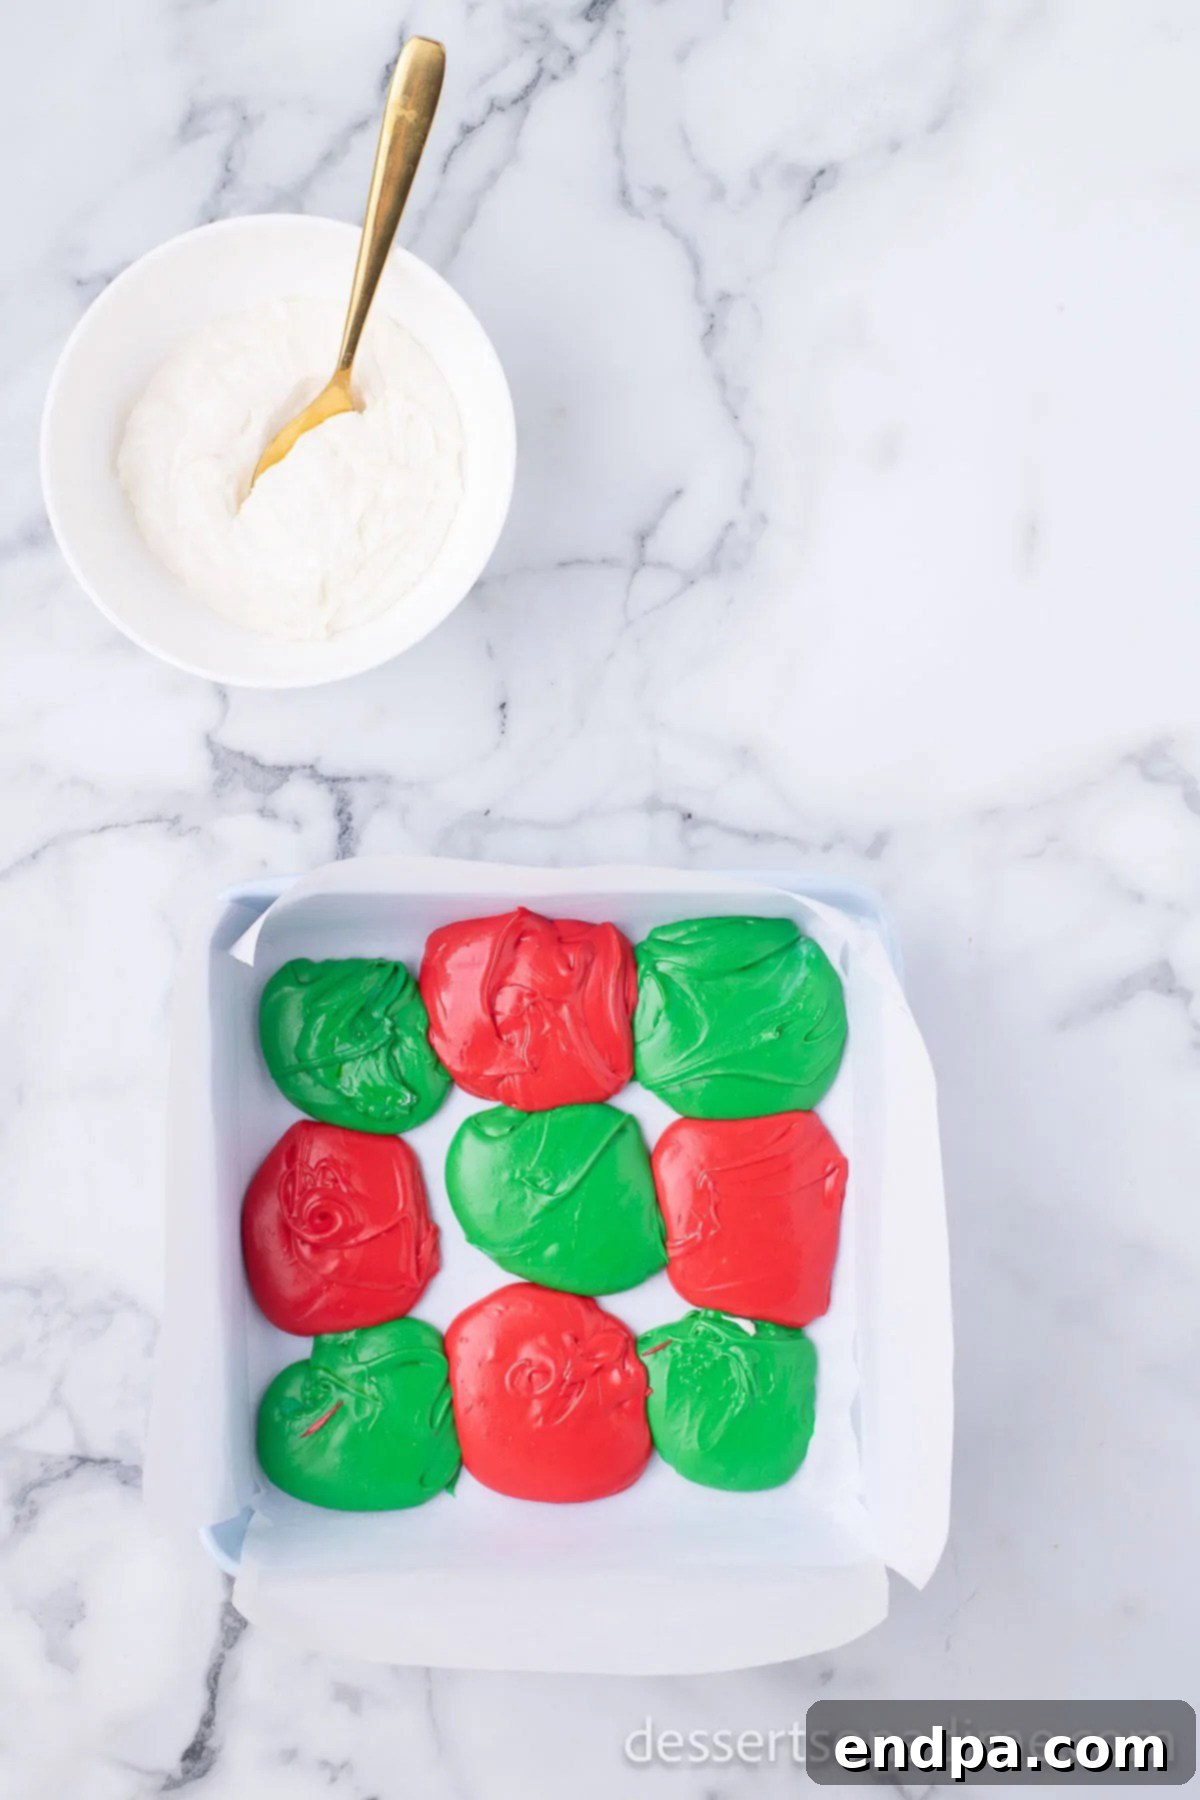
Step 7: Create the Swirled Pattern. Now for the artistic part! Using a spoon, randomly drop spoonfuls of each colored fudge mixture into the prepared square pan. Aim for an irregular pattern, alternating between white, red, and green dollops. Don’t worry about perfection; the random placement contributes to the beautiful swirling effect.
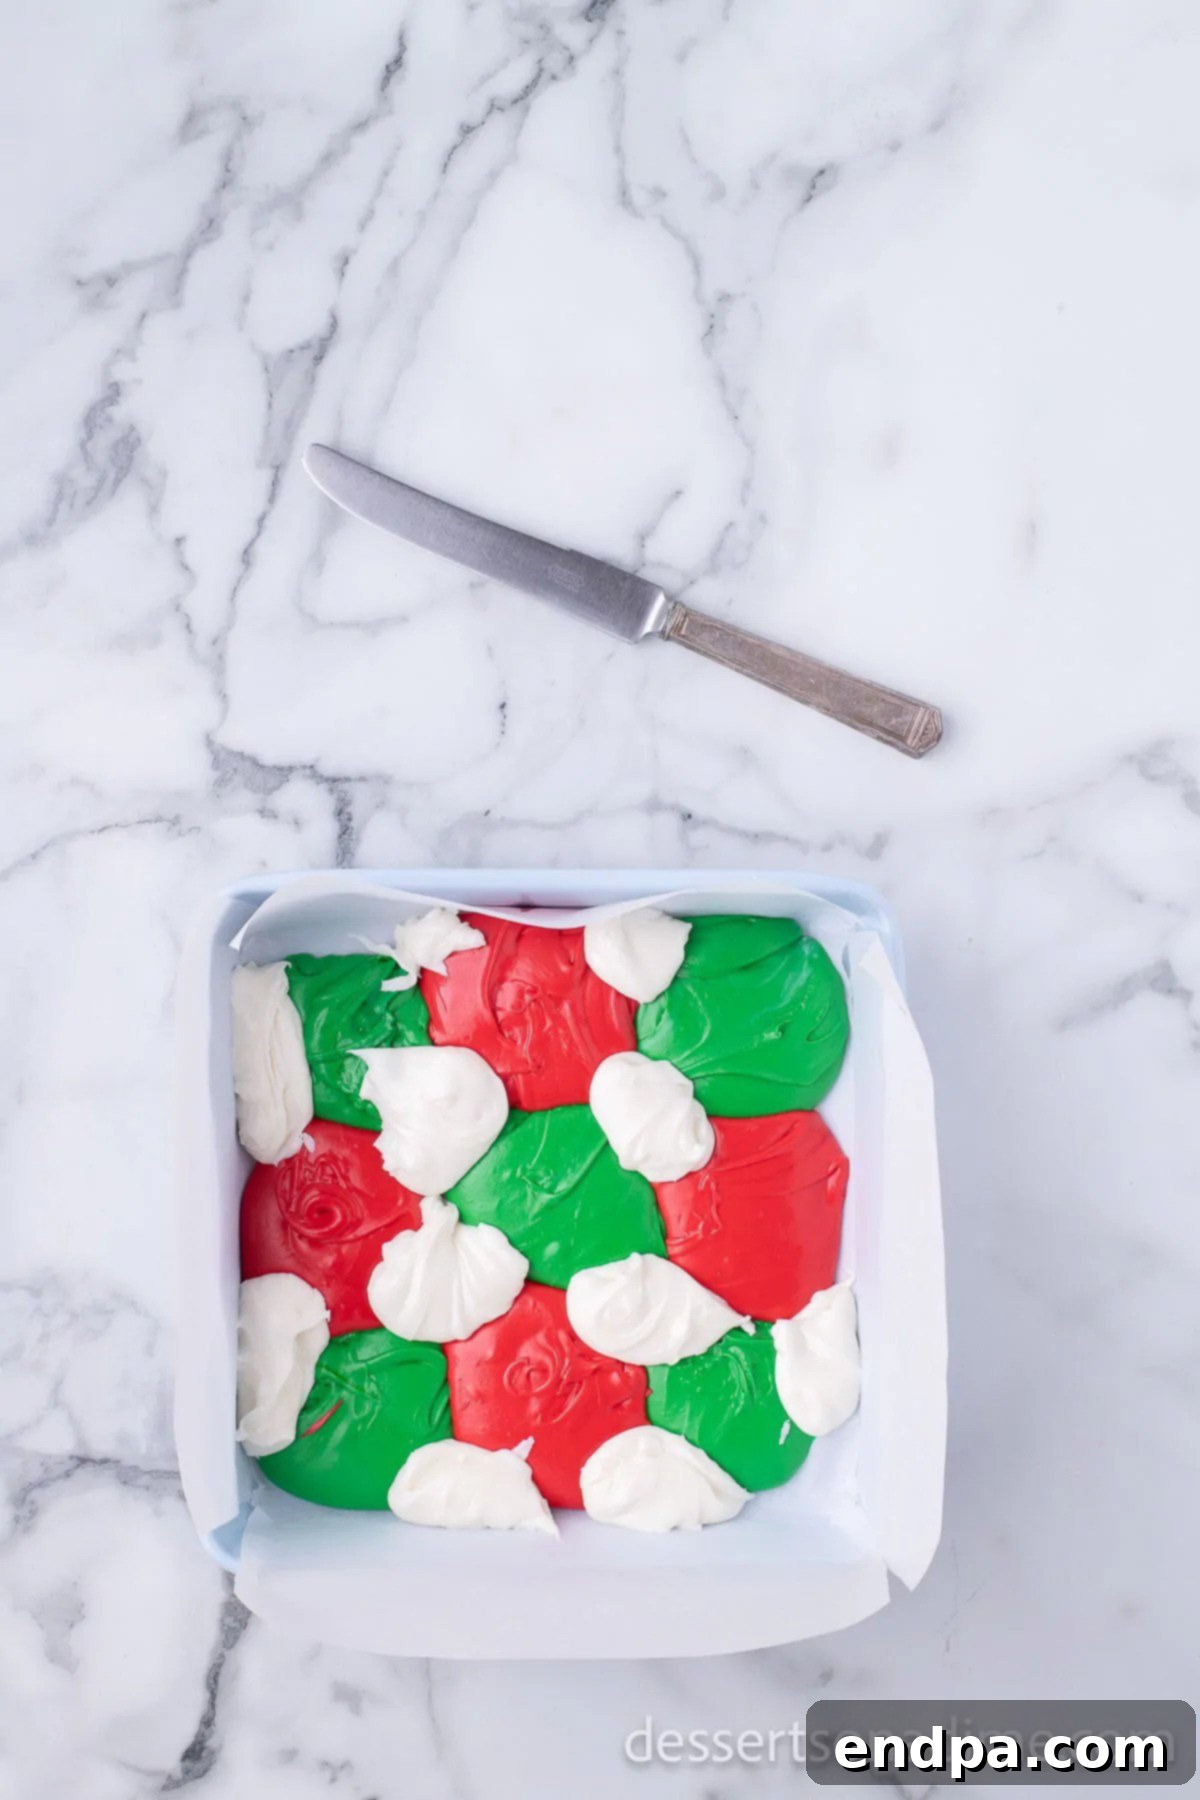
Step 8: Distribute All Colors. Continue dropping spoonfuls of each of the different colors until all of the fudge mixture has been distributed into the pan. Ensure a relatively even spread of each color across the pan, creating a mosaic of festive hues.
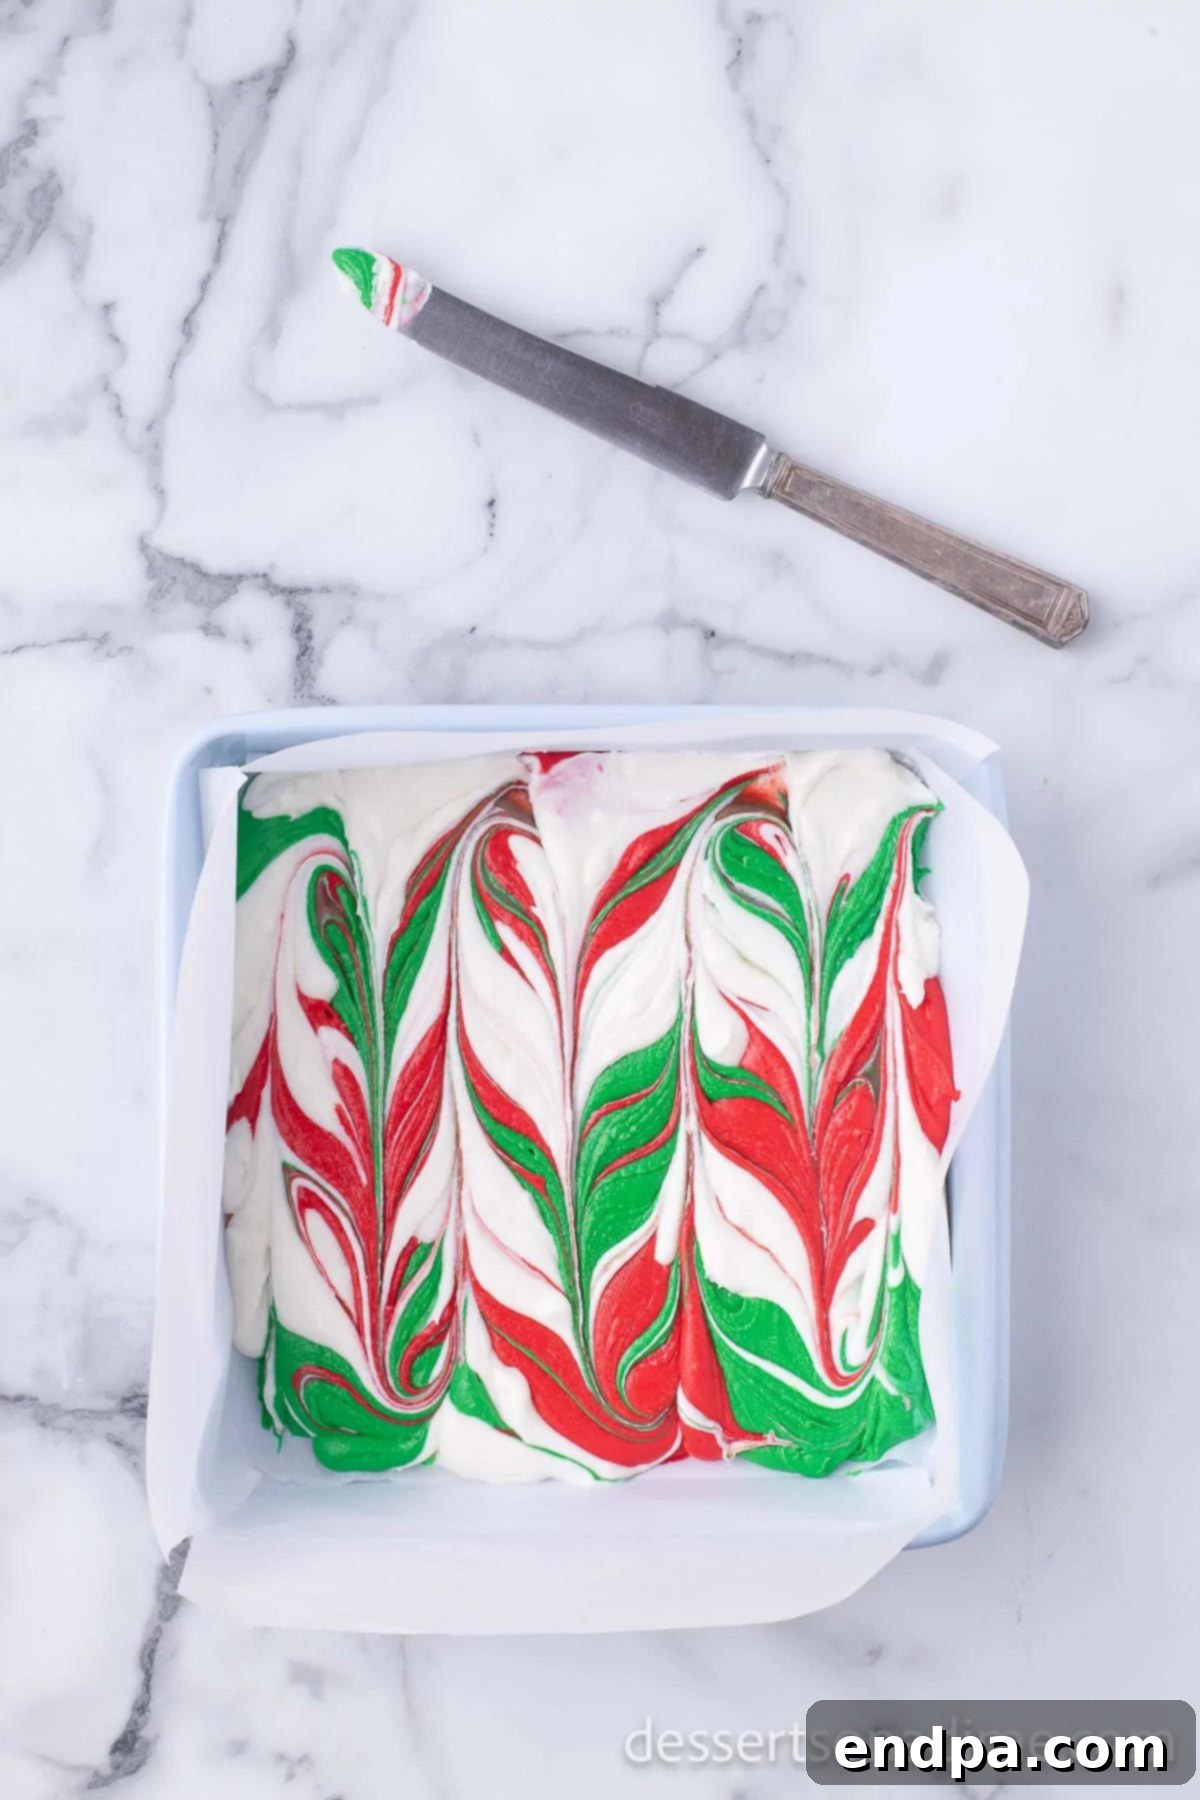
Step 9: Swirl to Perfection. Once all the fudge is in the prepared pan, take a butter knife or a skewer and gently run it through the different colored dollops to create a mesmerizing swirl pattern. I typically move the knife back and forth in a zigzag motion to create an elegant, marbled effect. Be careful not to overmix, as you want distinct color swirls, not a muddy blend.
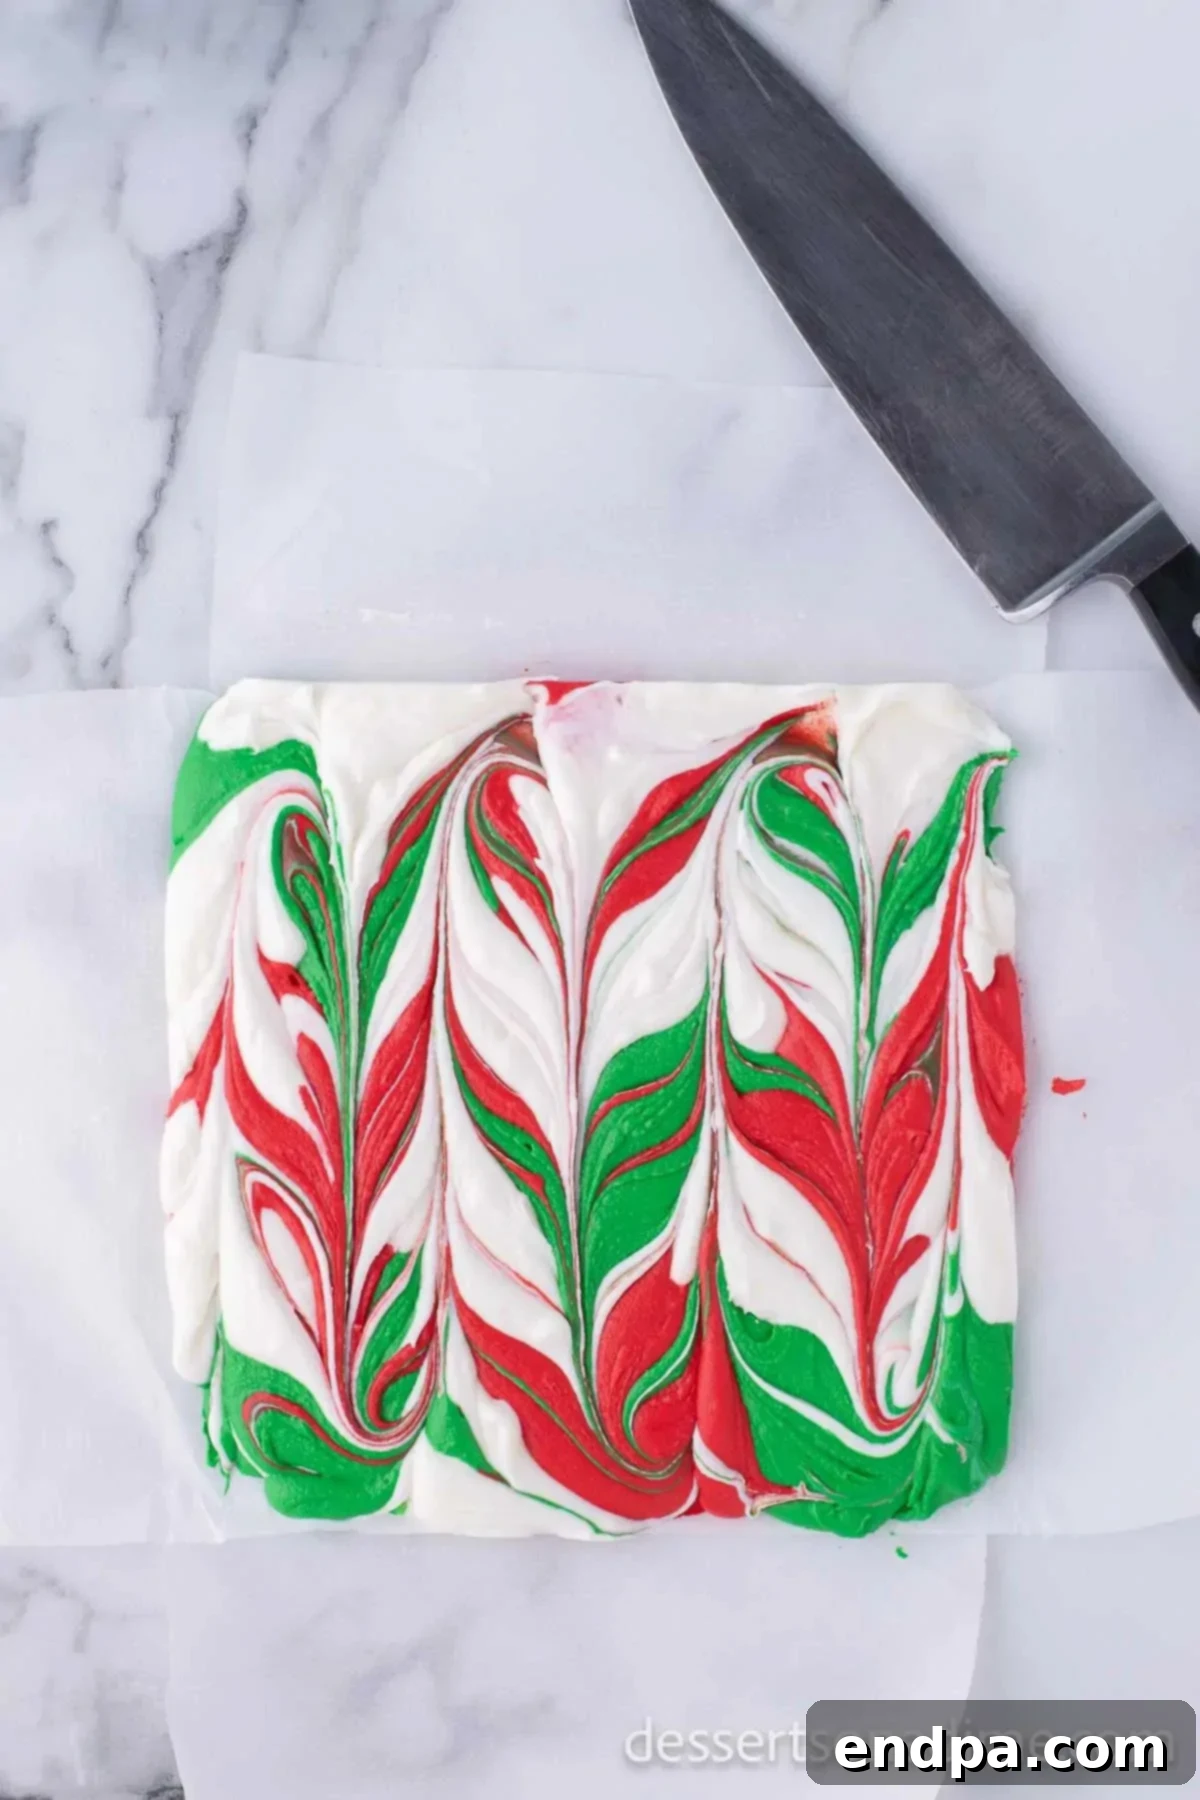
Step 10: Chill, Slice, and Enjoy! Place the pan of swirled fudge into the refrigerator and allow it to set for at least 30 minutes to 1 hour, or until firm. Once fully set, use the parchment paper handles to lift the fudge from the pan. Carefully peel back the lining, then slice the fudge into desired squares or rectangles. Your beautiful and delicious Christmas fudge is now ready to be enjoyed!
Expert Tips for Flawless Christmas Fudge
Achieving perfectly smooth, vibrant, and delicious Christmas fudge is simple with a few expert tricks. These pro tips will guide you to success, ensuring your holiday treat is nothing short of magnificent:
- Always Line Your Baking Dish: This step is non-negotiable! Using parchment paper or foil with an overhang creates convenient “handles” that allow you to lift the entire slab of fudge out of the pan effortlessly. This not only makes cutting much easier but also simplifies cleanup significantly. A light spray with cooking oil over the parchment further guarantees a clean release.
- Melt Chocolate Slowly and Carefully: White chocolate can be temperamental. To prevent it from seizing or burning, always melt it in short intervals, typically 20-30 seconds at a time in the microwave, stirring thoroughly after each interval. This gradual heating ensures the chocolate melts smoothly and evenly, resulting in a perfectly creamy fudge base.
- Ensure Distinct Color Separation: If you’re creating a multi-colored fudge, mix each food coloring into its own separate bowl of fudge base. This prevents the colors from bleeding into one another prematurely and allows you to maintain vibrant, distinct shades that contribute to the beautiful swirled effect.
- Swirl Gently, Don’t Overmix: When creating your marbled pattern, use a light hand. Gently drag a knife or skewer through the different colored dollops. Overmixing will cause the colors to blend too much, resulting in a muddy or less defined appearance. The goal is elegant swirls, not a uniform color.
- Utilize a Toothpick or Skewer for Precision: For intricate or more controlled swirl patterns, a toothpick or a thin skewer can be your best friend. Its fine point allows for precise movements, enabling you to create delicate patterns and ensure each color remains beautifully visible.
- Work Quickly While Fudge is Warm: Fudge begins to set as it cools, so it’s important to work efficiently once the coloring and layering begin. Swirl the colors into the pan while the fudge mixture is still soft and pliable to ensure smooth blending and easy pattern creation.
- Tap the Pan for a Smooth Surface: After transferring and swirling the fudge in the baking dish, gently tap the pan a few times on your counter. This helps to release any trapped air bubbles and encourages the fudge to settle into an even, smooth surface before it begins to set in the refrigerator.
- Chill Thoroughly for Perfect Setting: Patience is key here. While 30 minutes to an hour might suffice, for best results and perfectly firm slices, refrigerate the fudge for at least 2-3 hours. This ensures it sets completely, making it easy to cut into clean, attractive squares without crumbling.
Common Questions Answered About Christmas Fudge
To help you master this delicious Christmas fudge and ensure it’s always at its best, here are answers to some frequently asked questions:
This delightful fudge tends to disappear quickly because everyone loves it! However, if you have any leftovers or are making it ahead, proper storage is key to maintaining its freshness and creamy texture. Store the fudge in an airtight container at room temperature. For best results, place sheets of wax paper or parchment paper between layers of fudge to prevent them from sticking together. Stored this way, the fudge will remain fresh and delicious for up to 7 days, making it perfect for preparing in advance of holiday gatherings.
Absolutely! Freezing fudge is a fantastic way to extend its shelf life, especially if you enjoy doing a lot of holiday baking and want to get a head start. To freeze, first ensure the fudge is completely cooled and set. Then, separate individual pieces or layers with wax paper inside an airtight container. This prevents freezer burn and keeps the pieces from sticking. Place the container in the freezer, where the fudge can be stored for up to 3 months. When you’re ready to enjoy it, simply allow the fudge to thaw slowly in the refrigerator to prevent any condensation from forming, which could affect its texture.
Making perfect fudge consistently relies on understanding a few fundamental principles. Before you even begin, we highly recommend reading our detailed guide on 5 Tips to Make the Perfect Fudge Recipe. This resource covers crucial aspects such as proper melting techniques, ingredient quality, and ideal setting conditions. By following these basic yet essential tips, you are bound to create fudge that is consistently smooth, delicious, and will have everyone eagerly requesting your recipe for years to come.
Grainy fudge is a common issue, often caused by sugar crystals forming. In our 3-ingredient fudge recipe, this is less common due to the frosting base, but it can happen if the white chocolate seizes from overheating or if the mixture isn’t stirred smoothly. Ensure you melt the chocolate slowly and stir thoroughly after adding the frosting to create a homogenous, crystal-free base. If using traditional fudge recipes, undissolved sugar crystals or stirring at the wrong temperature are usually the culprits.
Properly set fudge should be firm to the touch and hold its shape well when cut. If it feels too soft or sticky, it likely needs more time in the refrigerator. You can gently press a corner of the fudge with your finger; if it leaves a slight indentation but doesn’t feel squishy, it’s probably ready. Chilling for at least 1-2 hours, or even longer, often guarantees a perfectly firm consistency, especially if you added extra ingredients or toppings.
Explore More Easy Fudge Recipes for Every Occasion
If you’ve fallen in love with the simplicity and deliciousness of our Christmas Fudge, you’re in for a treat! There’s a whole world of easy fudge recipes waiting to be discovered, perfect for any season or celebration. Broaden your sweet horizons with these equally simple and satisfying fudge variations:
- Festive Eggnog Fudge Recipe: Capture the creamy, spiced essence of the beloved holiday drink in a delightful fudge form.
- Sugar Cookie Christmas Fudge: A delightful spin that brings the classic comfort of sugar cookies into a rich, sweet fudge.
- Playful Christmas Coal Fudge: A fun and unique fudge that’s perfect for a playful holiday prank or a delicious dark chocolate treat.
- The World’s Best Fudge: A bold claim, but this recipe promises an unbeatable classic fudge experience.
- Classic Peanut Butter Fudge Recipe: A timeless favorite, this creamy peanut butter fudge is rich, smooth, and utterly satisfying.
- A Collection of Christmas Candy Desserts: Dive into an array of other delightful confections perfect for your holiday spread.
Don’t wait to add some sweetness to your day! Try this incredibly easy 3-ingredient white chocolate fudge recipe today and transform your holiday season with homemade goodness. We’d love to hear your thoughts and see your creations – please remember to leave a star recipe rating and share your experience!
Christmas Fudge
Ingredients
- 12 ounce bag of White Chocolate Chips
- 1 container of white frosting
- Red and Green Food Coloring
Instructions
- Line an 8X8 baking dish with foil or parchment paper and spray with a non-stick cooking spray for easy removal of the fudge.
- Melt the chocolate chips in a microwave safe bowl. Heat in 30 second increments and stir between each one. Heat until the chocolate is melted and do not overcook the white chocolate.
- Stir in the vanilla frosting.
- Then separate the mixture evenly into 3 bowls.
- Leave one bowl white and then stir in the green and red food coloring into the other 2 bowls.
- Then drop spoon fulls of each color into the 8X8 pan using a random pattern.
- Take a knife and run it through the fudge to create a swirl pattern.
- Refrigerate the fudge for 30 minutes to 1 hour to allow for it to set.
- Slice and enjoy!
Nutrition Facts
Pin This Now to Remember It Later
Pin Recipe
