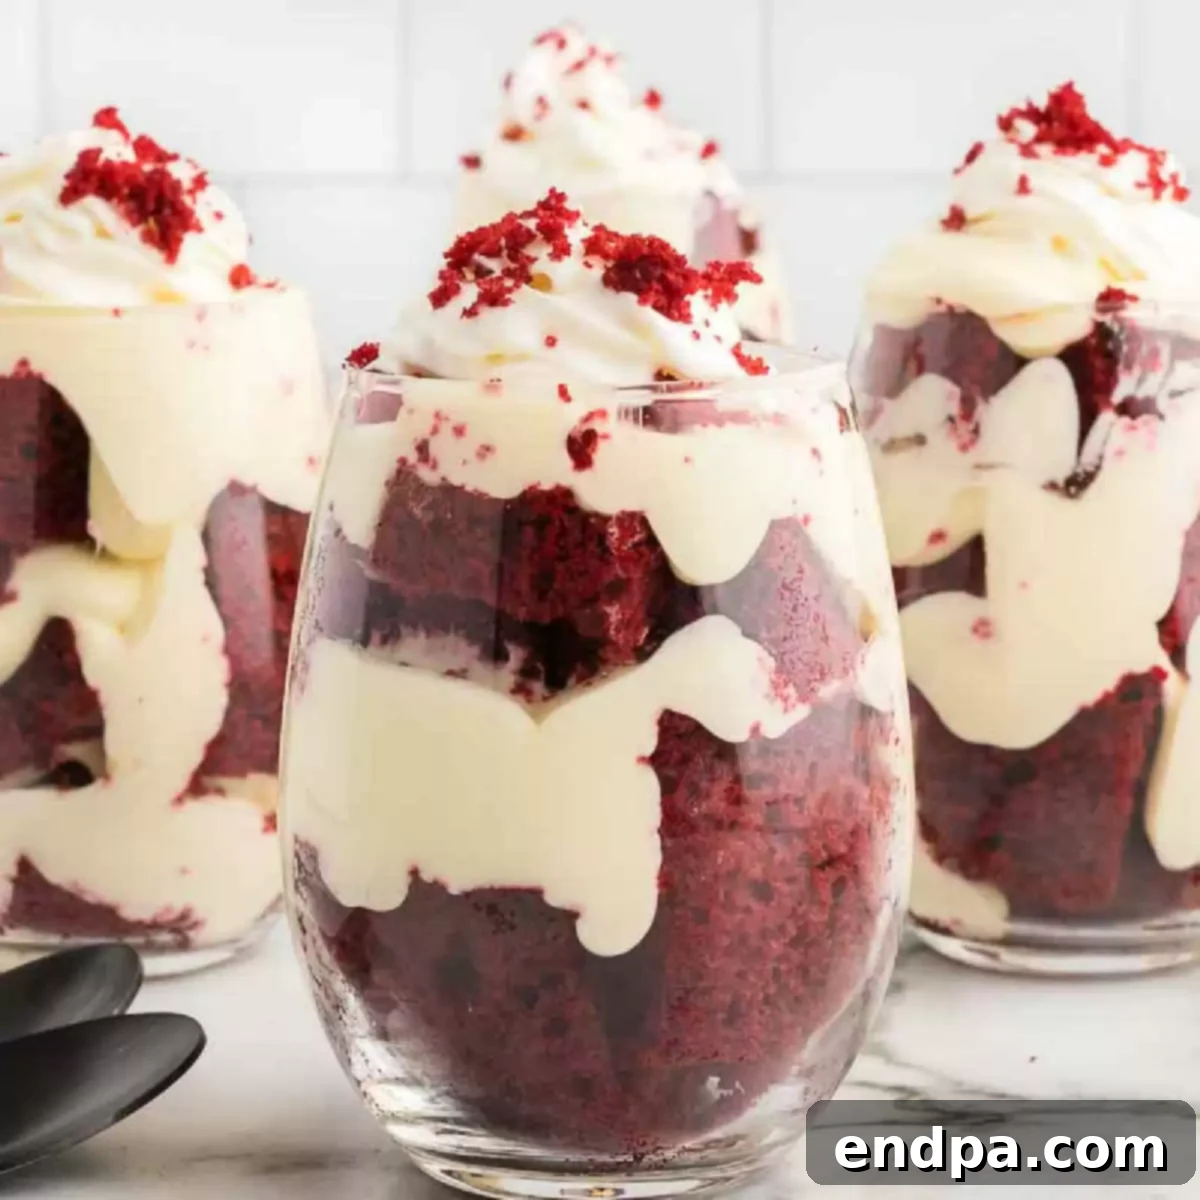
Indulge in a truly delightful treat with these incredibly easy-to-prepare Red Velvet Trifle Cups. This recipe masterfully combines rich, moist red velvet cake layers with a luscious, creamy cheese mixture and fluffy whipped cream, all beautifully presented in individual servings. Ideal for any gathering, from intimate family dinners to festive celebrations, these trifles promise a show-stopping dessert that’s as simple to assemble as it is decadent to savor. Their charming individual portions make them a hygienic and convenient choice for parties, ensuring everyone gets their own perfect cup of sweet bliss.
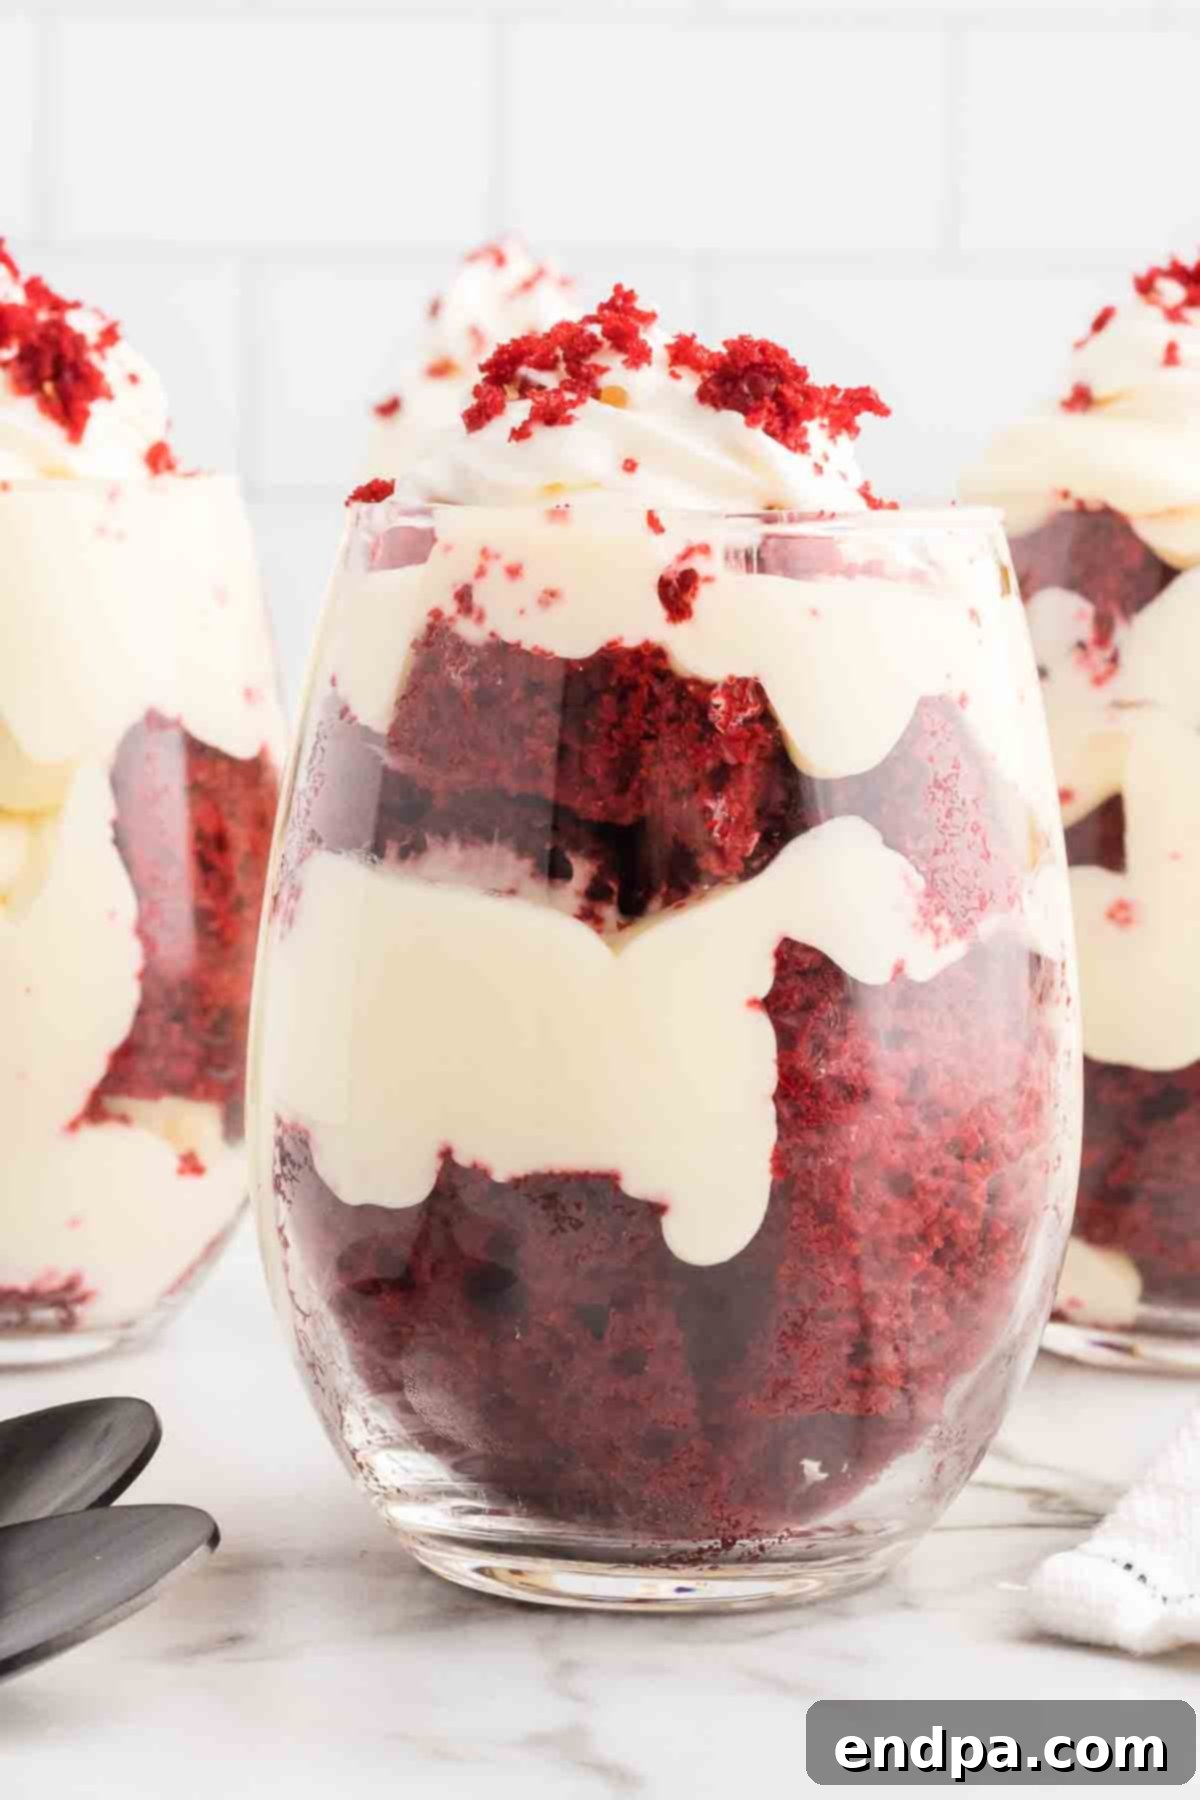
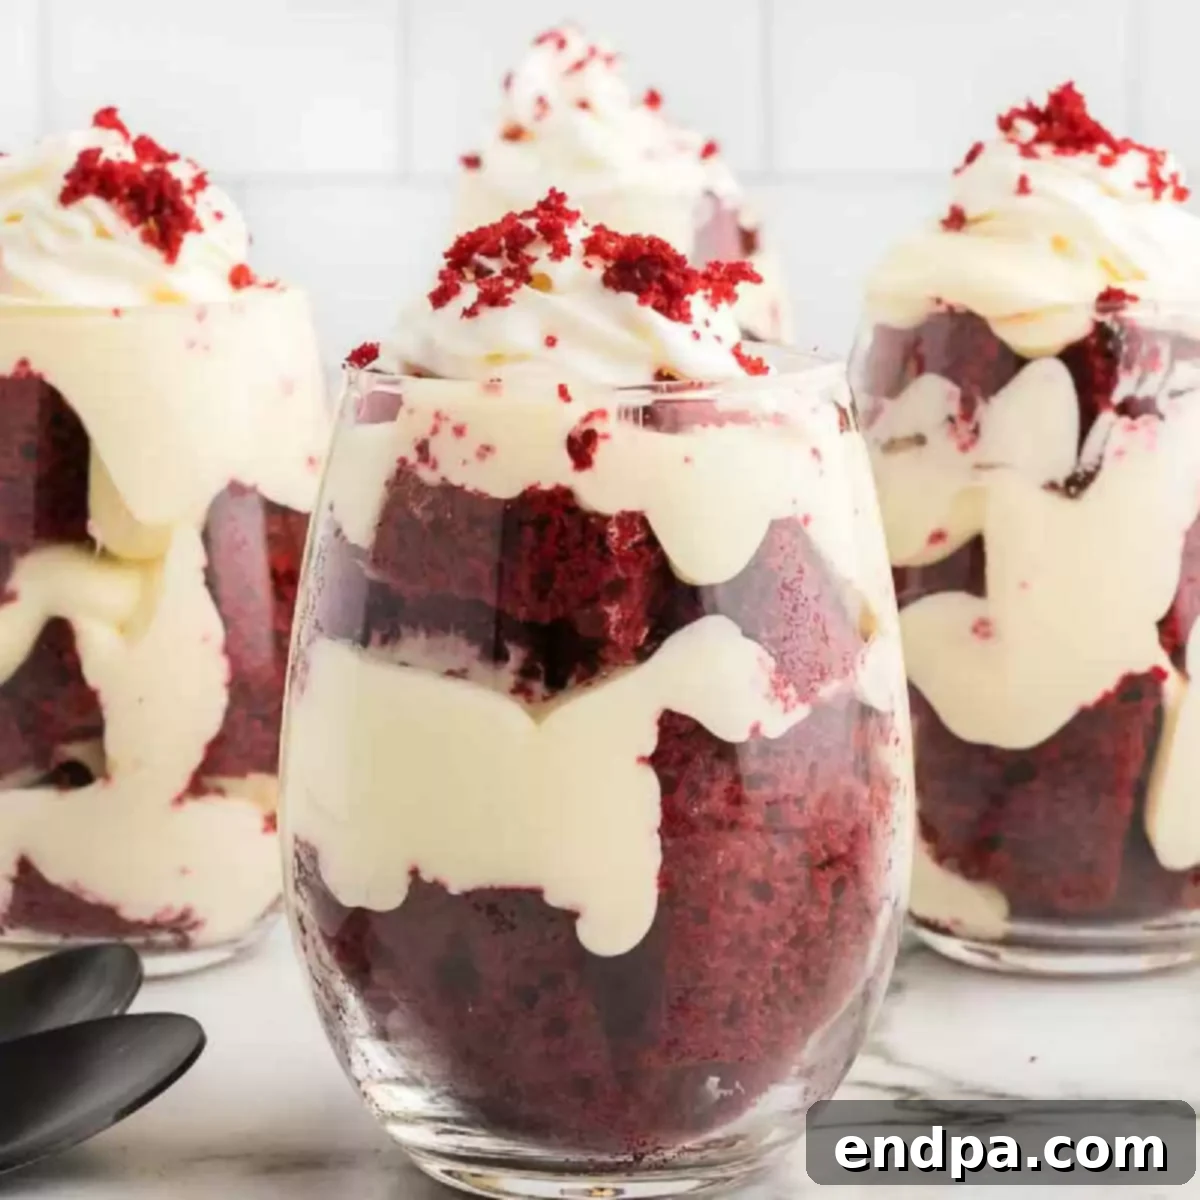
Prepare to fall in love with this effortlessly elegant dessert. Each cup is generously layered with tender cubes of classic Red Velvet Cake, complemented by a dreamy cream cheese blend. A generous dollop of whipped cream crowns each serving, creating a visually stunning and incredibly satisfying dessert experience. Whether you’re a seasoned baker or just starting, this recipe for individual Red Velvet Trifle Cups is designed for success, delivering maximum flavor with minimal fuss.
Trifle-style desserts are always a hit, offering a wonderful combination of textures and flavors. If you enjoy this recipe, you’ll definitely want to explore other family favorites like our refreshing Strawberry Trifle, the patriotic Red White and Blue Mini Trifles, and the ever-popular Chocolate Trifle. For fans of everyone’s favorite cookie, don’t miss our indulgent Oreo Trifle. Each offers a unique twist on the classic layered dessert concept, perfect for any occasion.
Table of Contents
- Why These Red Velvet Trifle Cups Are a Must-Try
- Essential Ingredients
- Creative Variations
- Step-by-Step Guide to Assembly
- Make-Ahead Magic: Can You Prepare in Advance?
- Expert Pro Tips for Perfect Trifles
- Serving Suggestions
- Storage Instructions
- Frequently Asked Questions (FAQs)
- More Irresistible Red Velvet Desserts
Why These Red Velvet Trifle Cups Are a Must-Try
There are countless reasons to adore this red velvet trifle recipe. First and foremost, the moist, tender red velvet cake offers an exceptional flavor and texture. We love the convenience of using a good quality box cake mix, which drastically cuts down on preparation time without sacrificing taste. While you can certainly prepare this dessert in a traditional large trifle dish, opting for individual cups elevates the presentation and offers unparalleled ease of serving. No need for plates or extra utensils – just grab a cup and enjoy!
Beyond convenience, these trifles are incredibly versatile for various occasions. Their striking red and white layers make them a festive choice for Valentine’s Day, Christmas gatherings, or even a Fourth of July celebration (especially if you add some blueberries!). They’re elegant enough for a special holiday meal but simple enough for a casual get-together or even a weeknight treat. The rich cream cheese flavor perfectly complements the subtle cocoa notes of the red velvet, creating a harmonious blend that appeals to almost everyone. Plus, the individual portions ensure perfect hygiene for buffet-style serving and allow guests to easily control their portion size. These Red Velvet Trifle Cups truly deliver on both convenience and decadent flavor.
Essential Ingredients
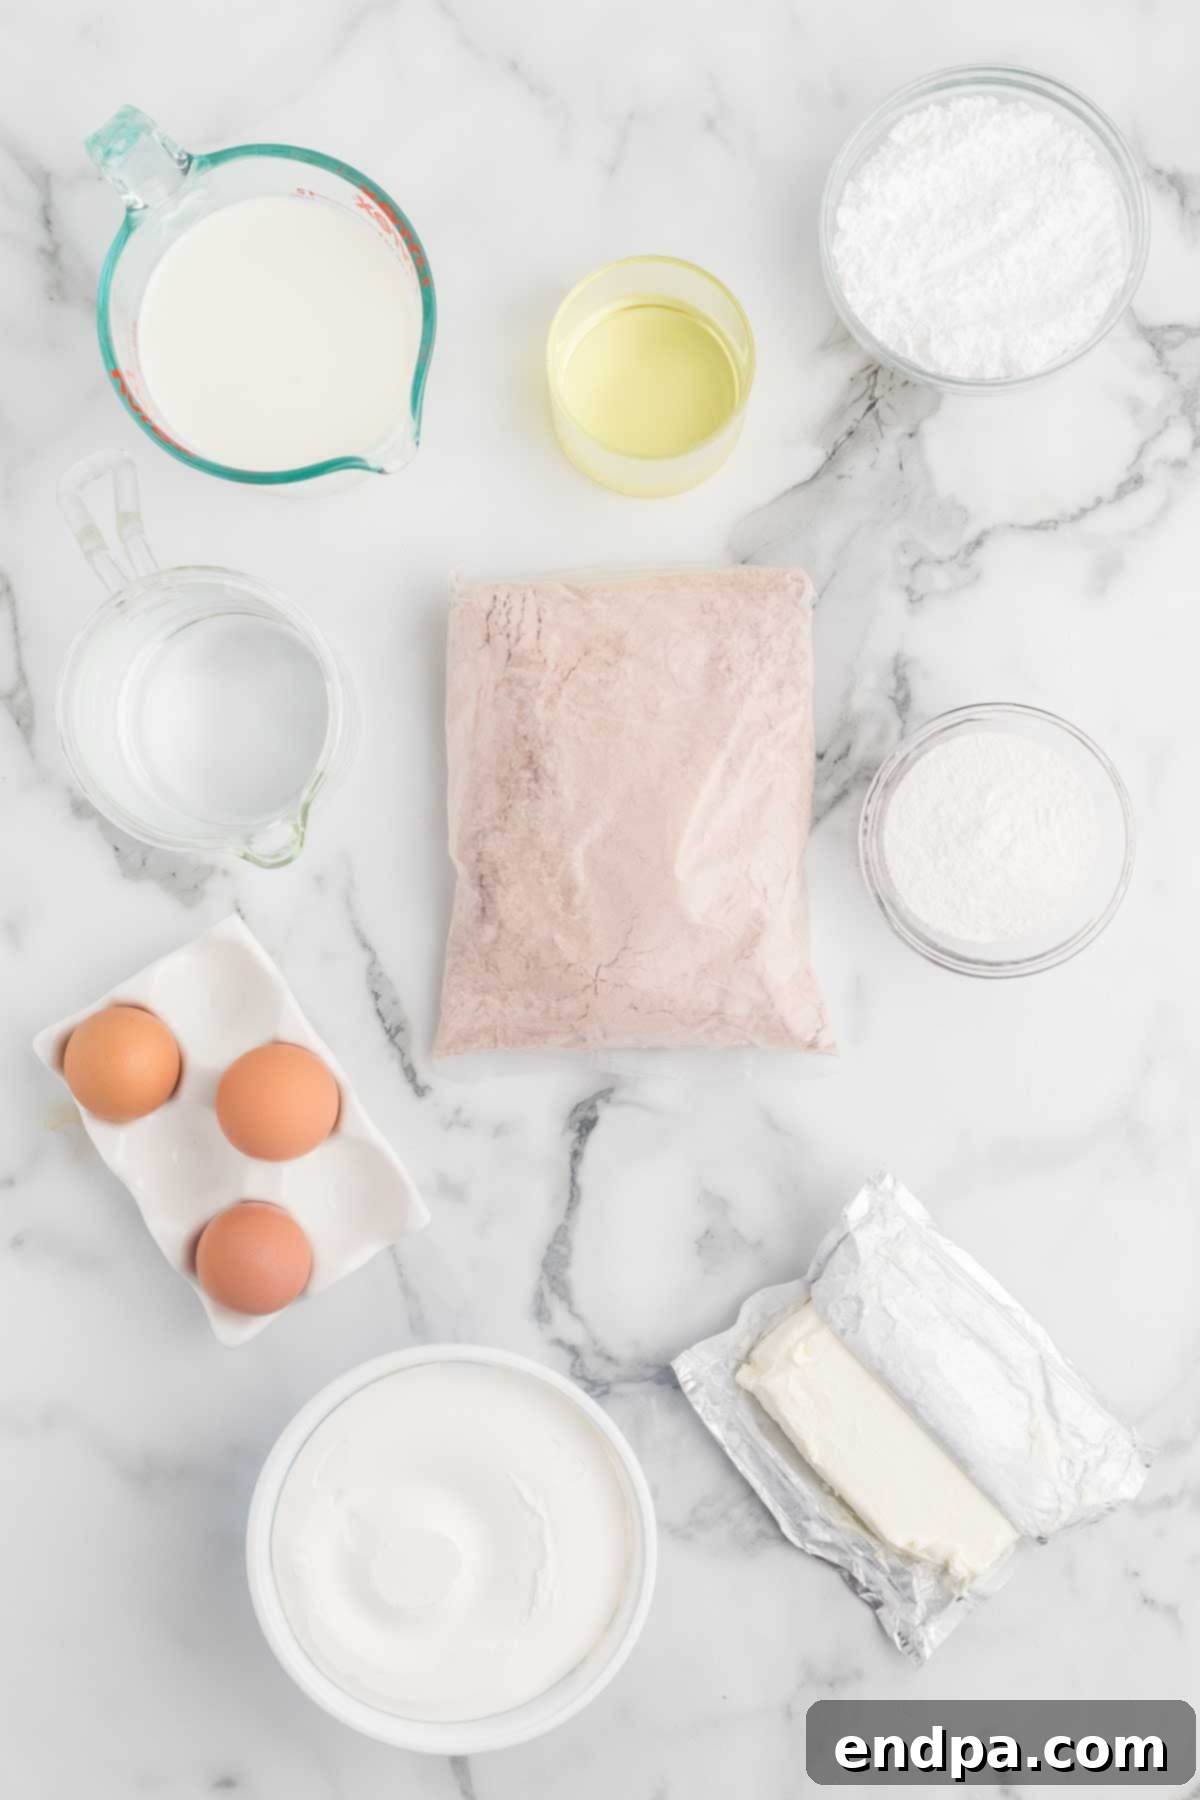
Crafting these delectable Red Velvet Trifle Cups requires just a handful of readily available ingredients. Each component plays a crucial role in creating the signature taste and delightful texture of this layered dessert:
- Red Velvet Cake Mix: This is your key to quick and consistent results. Choose your favorite brand, and remember to have the additional ingredients (eggs, oil, water, etc.) on hand as specified by the package instructions. Using a box mix makes the cake portion of this recipe incredibly straightforward.
- Instant Vanilla Pudding: Be sure to select instant pudding mix, not the cook-and-serve variety. Instant pudding sets quickly, providing the perfect creamy texture for your trifle layers. A 3.4 oz box is typically sufficient.
- Cold Milk: Cold milk is essential for the instant pudding to set properly and achieve its desired consistency. Keep it in the refrigerator until you’re ready to whisk it with the pudding mix.
- Cream Cheese: For the best results and a rich, tangy flavor, use full-fat cream cheese in block form, not the spreadable kind from a tub. It’s crucial that the cream cheese is softened to room temperature before mixing to ensure a smooth, lump-free cream cheese layer.
- Powdered Sugar (Confectioners’ Sugar): This fine sugar dissolves beautifully into the cream cheese mixture, ensuring a silky smooth texture. We highly recommend sifting the powdered sugar before adding it to remove any potential lumps and guarantee a perfectly smooth, airy filling.
- Cool Whip (or Homemade Whipped Cream): A tub of frozen whipped topping like Cool Whip provides a stable and easy finish. Thaw it in the refrigerator overnight or for a few hours before use. Alternatively, for an even richer and fresher taste, you can opt for Homemade Whipped Cream. Whichever you choose, it adds a light, airy contrast to the dense cake and creamy filling.
You’ll find the complete, detailed list of ingredients with precise measurements in the recipe card at the bottom of this page, ensuring you have everything you need for this delightful dessert.
Creative Variations
While the classic Red Velvet Trifle Cups are undeniably delicious, this recipe is wonderfully adaptable! Feel free to experiment with these variations to customize your trifles and make them uniquely your own:
- Pudding Flavor: Don’t limit yourself to vanilla! White chocolate instant pudding offers a subtle, sweet twist that beautifully complements red velvet. Other fantastic options include cheesecake pudding for an extra creamy, tangy layer, or even chocolate pudding for a double chocolate delight.
- Cake Choices: If you want to change up the primary flavor, almost any type of cake mix can be substituted for the red velvet. Consider a rich chocolate cake, a vibrant strawberry cake, or even a classic yellow cake for a different color and taste profile. For a truly homemade touch, you could even bake your favorite red velvet cake from scratch!
- Decadent Toppings: The final flourish is where you can truly get creative. Beyond the reserved cake crumbs and whipped cream, garnish your trifles with elegant chocolate shavings (dark, milk, or white), miniature chocolate chips, colorful sprinkles for a party feel, or a drizzle of chocolate fudge or caramel sauce. Fresh raspberries or sliced strawberries add a burst of color and tartness that perfectly balances the sweetness.
- Crunchy Additions: For an extra layer of texture and flavor, sprinkle chopped nuts in between the layers. Toasted pecans or walnuts taste delicious and add a satisfying crunch. Lightly toast them in a dry pan for a few minutes to enhance their nutty aroma and flavor before adding them to your trifles.
- Flavor Boosts: Elevate the cream cheese mixture by adding a touch of almond extract for a delicate nutty note, or a scrape of vanilla bean paste for a more intense vanilla flavor. A tiny pinch of espresso powder can also enhance the cocoa notes in the red velvet cake.
- Alcoholic Twist: For an adult-only version, you can lightly brush the cake cubes with a liqueur like amaretto, Kahlúa, or a raspberry liqueur before layering. Use sparingly to avoid making the cake soggy.
Step-by-Step Guide to Assembly
Creating these Red Velvet Trifle Cups is a straightforward and enjoyable process. Follow these simple steps for perfectly layered and delicious individual desserts:
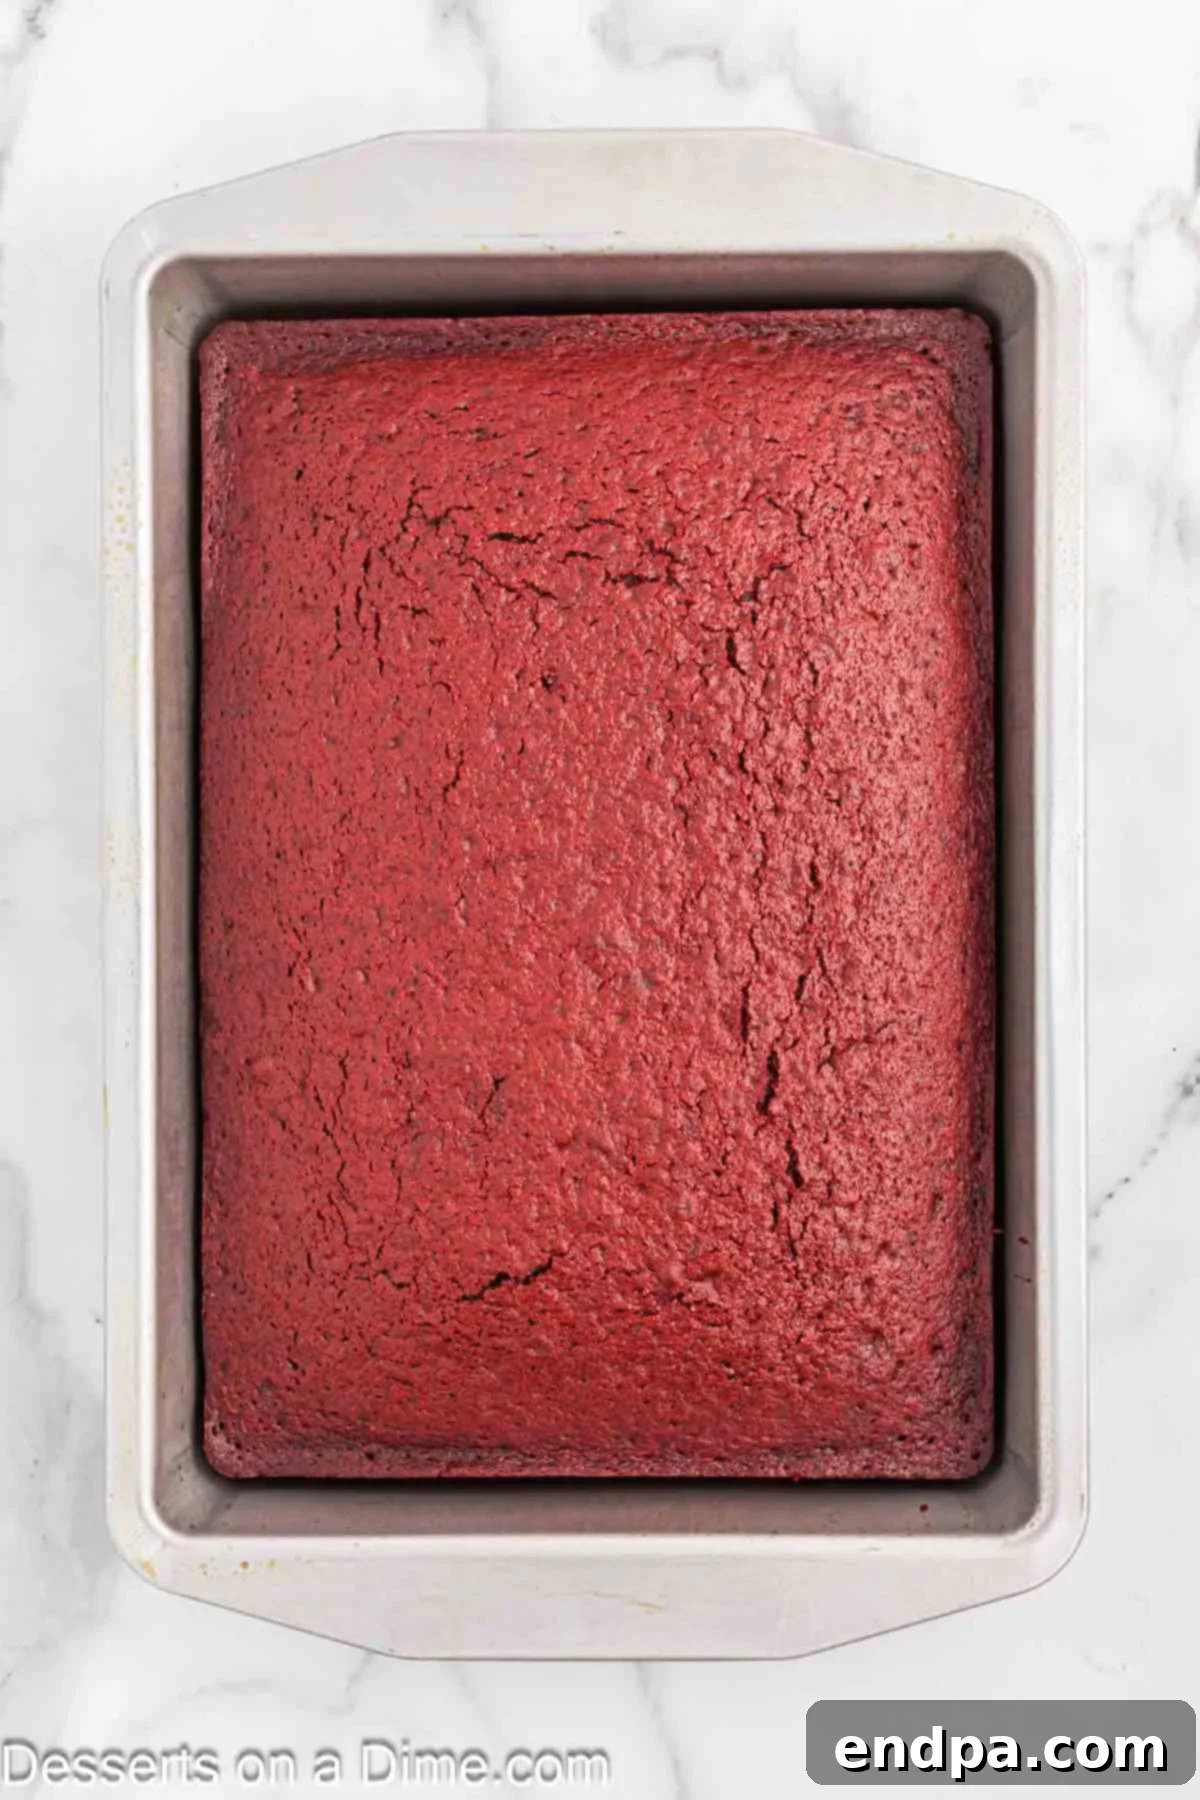
Step 1: Prepare the Red Velvet Cake. Begin by preparing the red velvet cake batter according to the instructions on your box mix. Pour the batter into a prepared 9×13 inch baking pan. Bake as directed and then allow the cake to cool completely to room temperature. This is crucial before cutting.
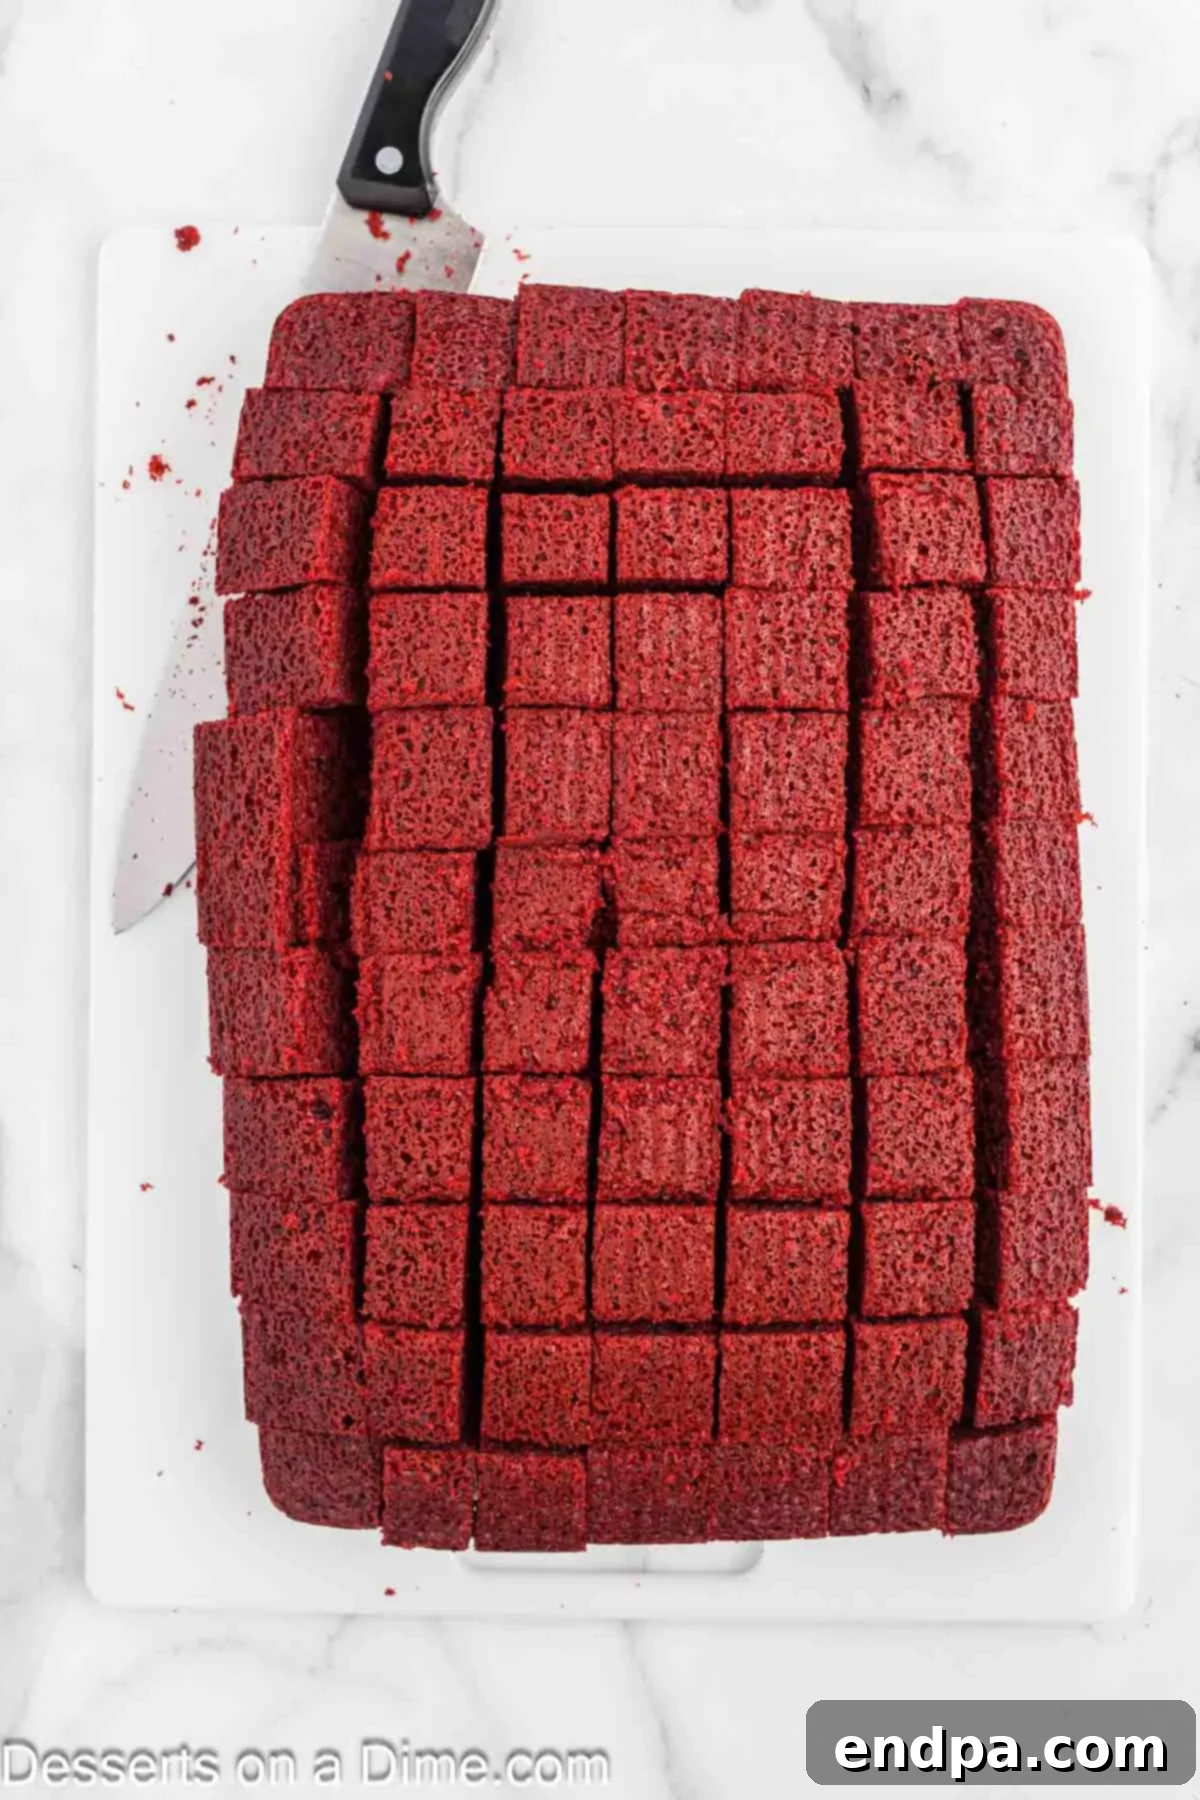
Step 2: Cube the Cake. Once the cake is completely cool, use a sharp knife (a serrated knife works best) to cut it into approximately 1-inch cubes. Set aside a small handful of these cake crumbs for garnishing the top of your trifles later. This ensures you have perfectly sized pieces for layering.
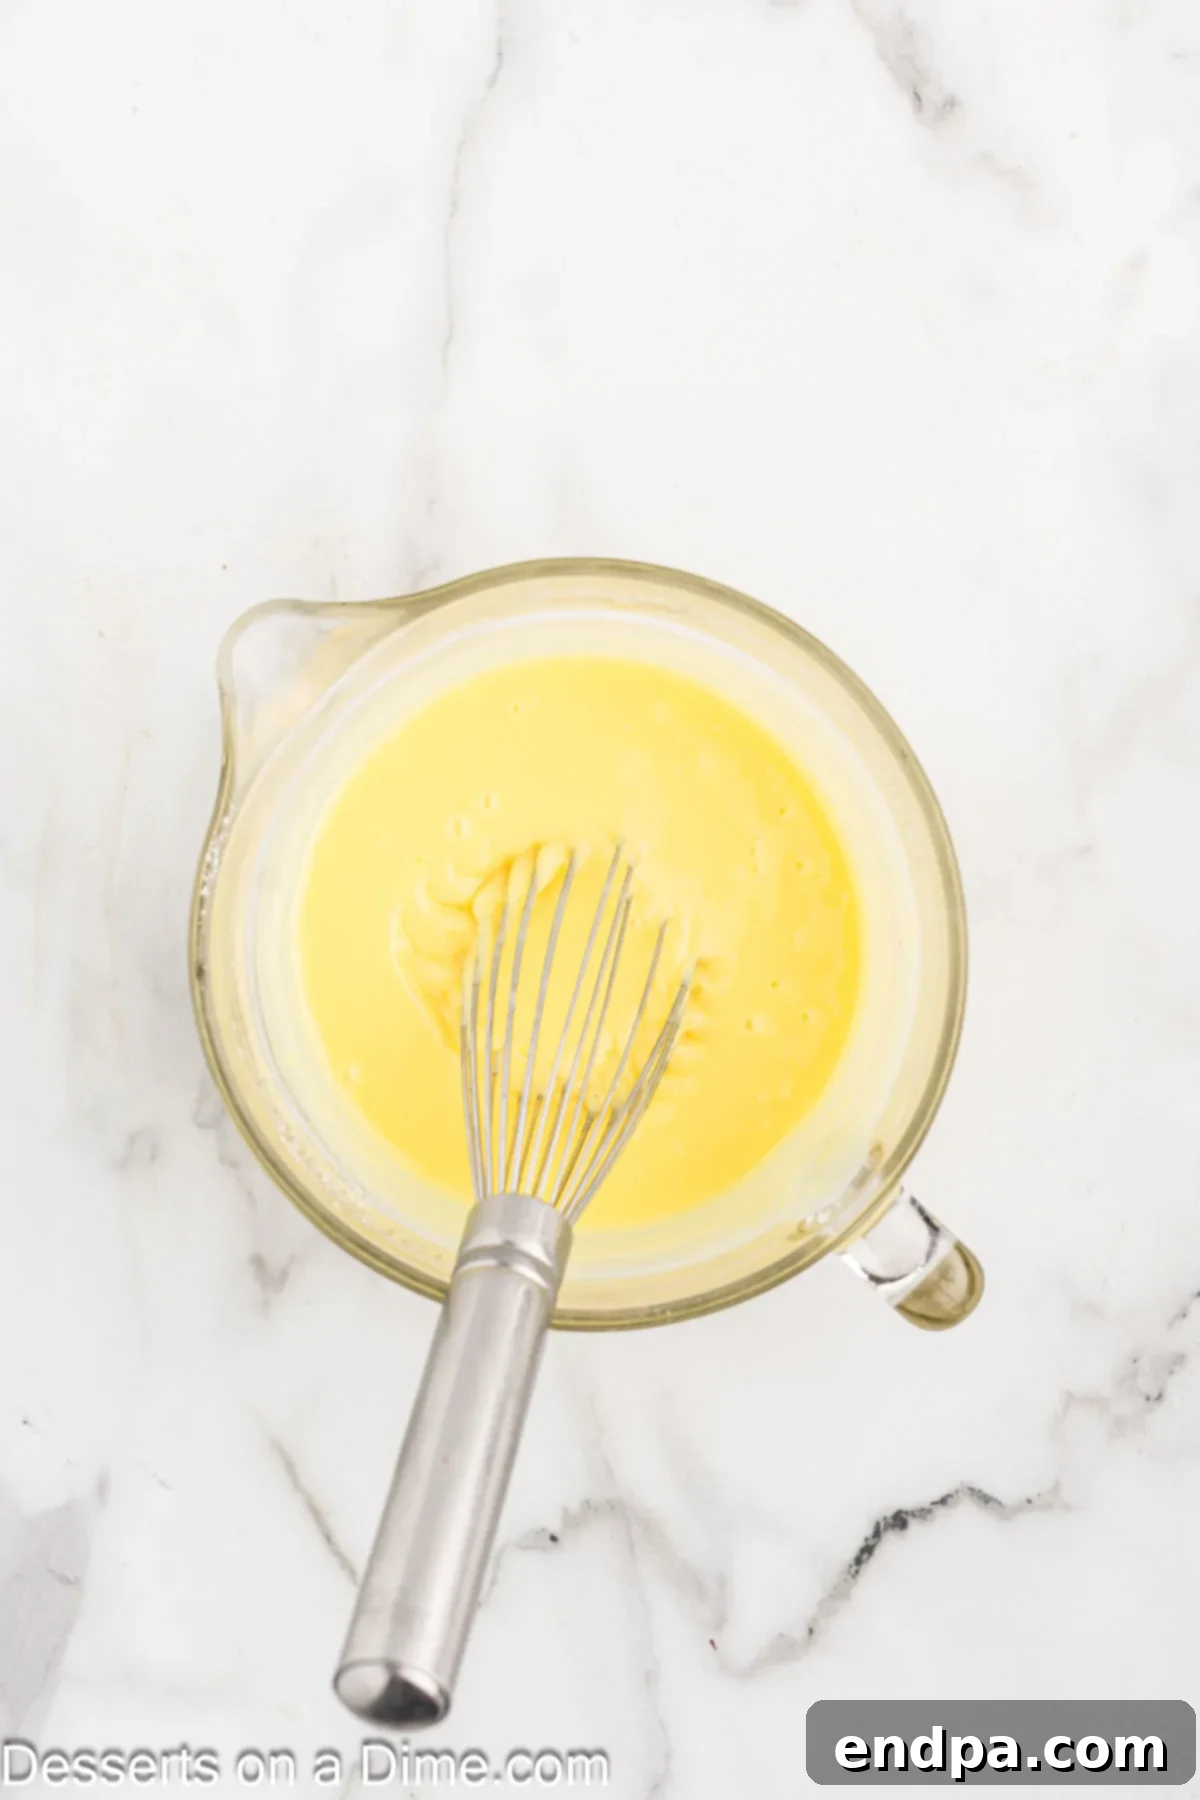
Step 3: Prepare the Pudding. In a medium bowl, combine the instant vanilla pudding mix with the cold milk. Whisk vigorously for about two minutes until the mixture begins to thicken. Set it aside to firm up further while you prepare the cream cheese layer.
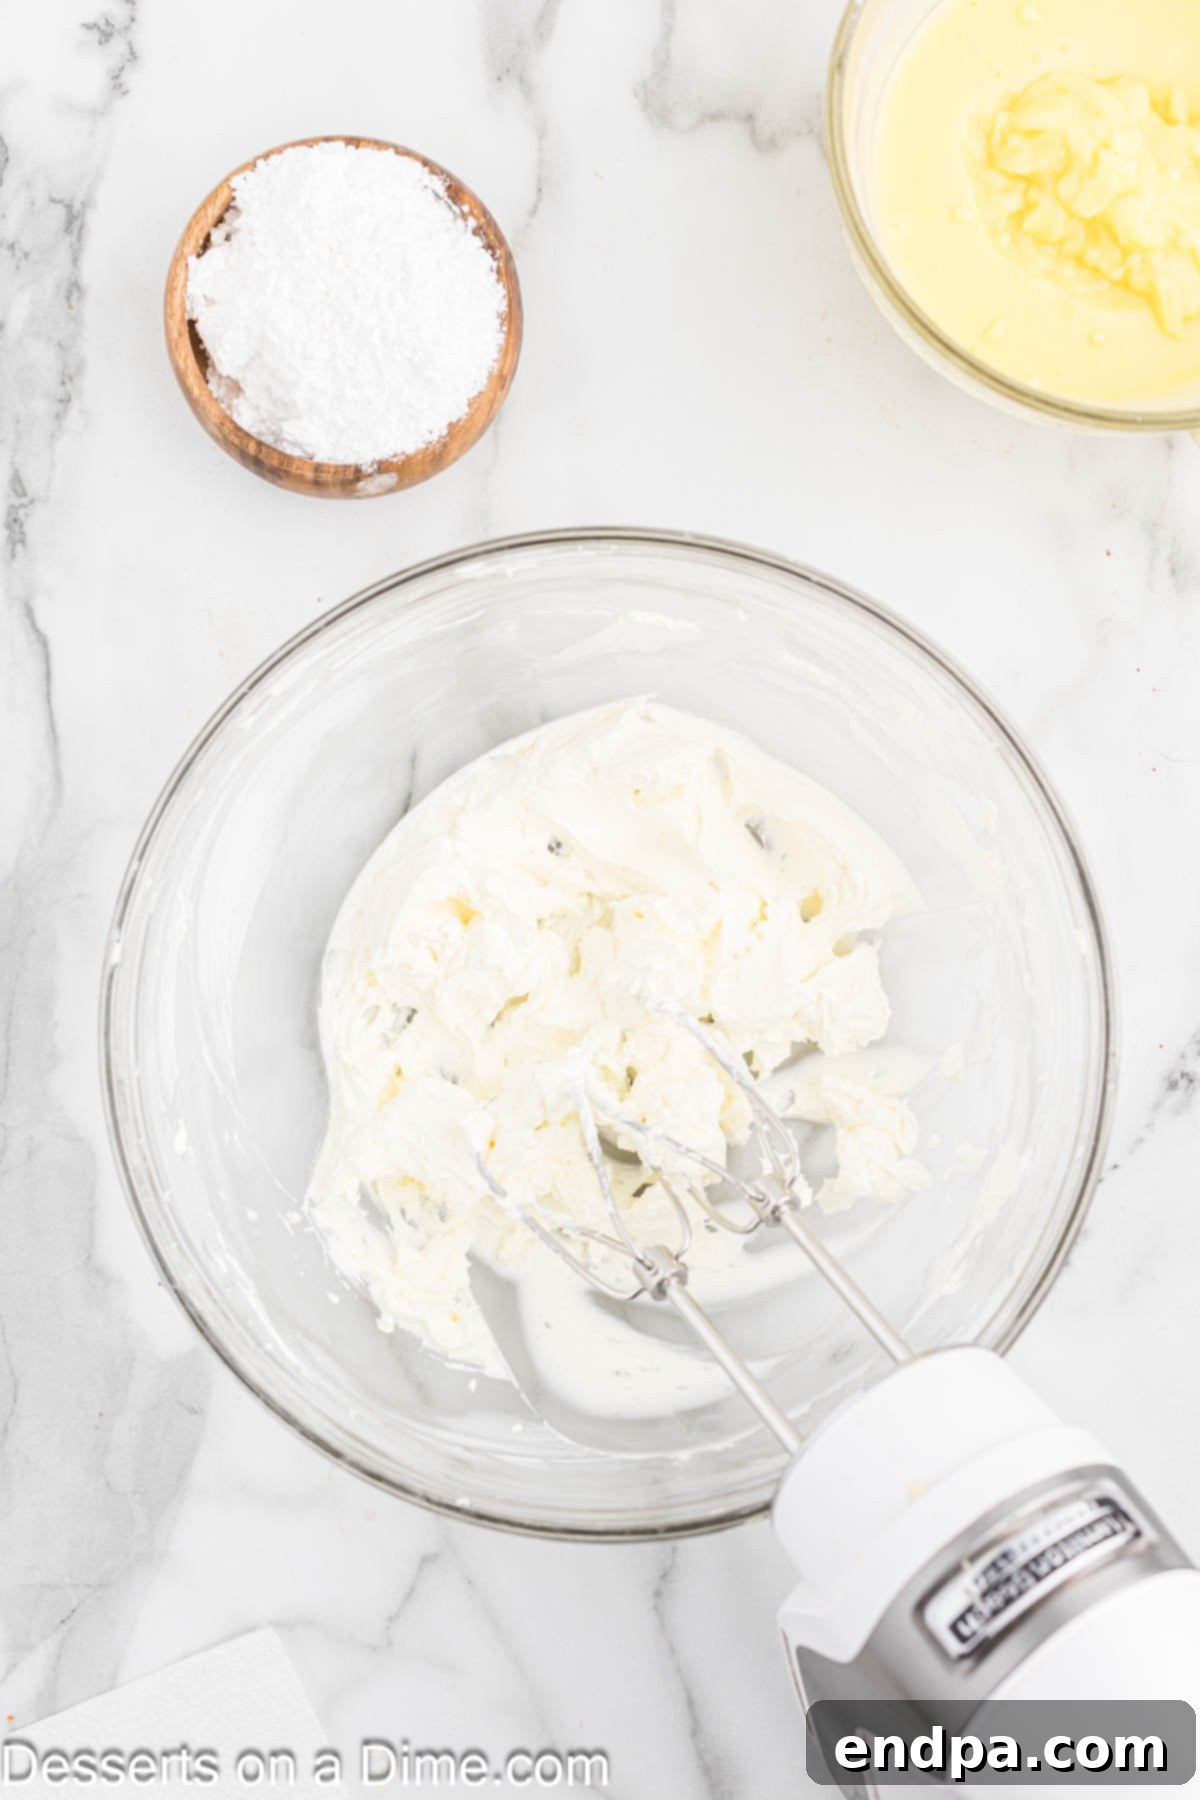
Step 4: Beat the Cream Cheese. Place the softened cream cheese into a large mixing bowl. Using an electric mixer (a hand mixer works great), beat the cream cheese on medium speed for 2-3 minutes. Continue beating until it is wonderfully light, fluffy, and completely smooth, with no lumps remaining.
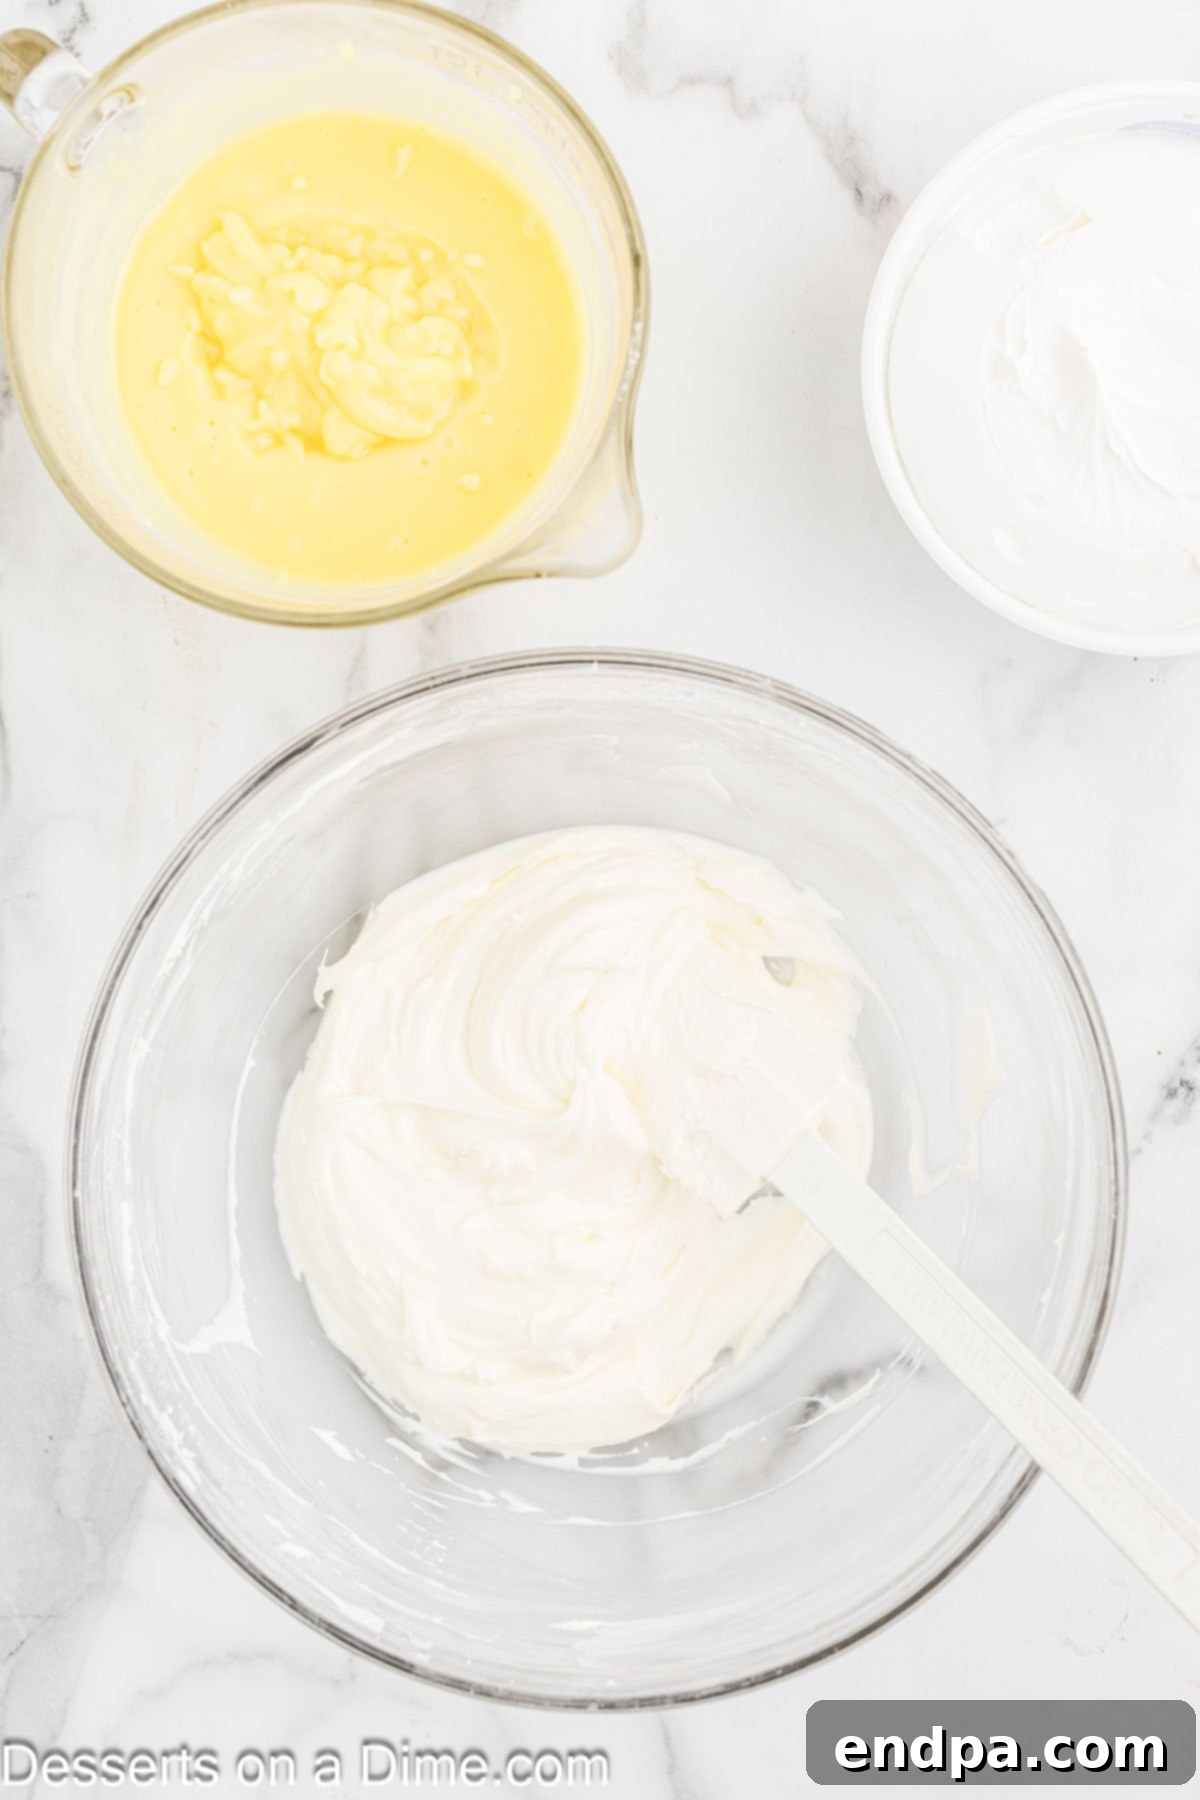
Step 5: Incorporate Powdered Sugar. Reduce the mixer speed to low. Gradually add the sifted powdered sugar to the beaten cream cheese. Once all the sugar is incorporated, increase the speed to medium and beat for another minute until the mixture is smooth and fully combined.
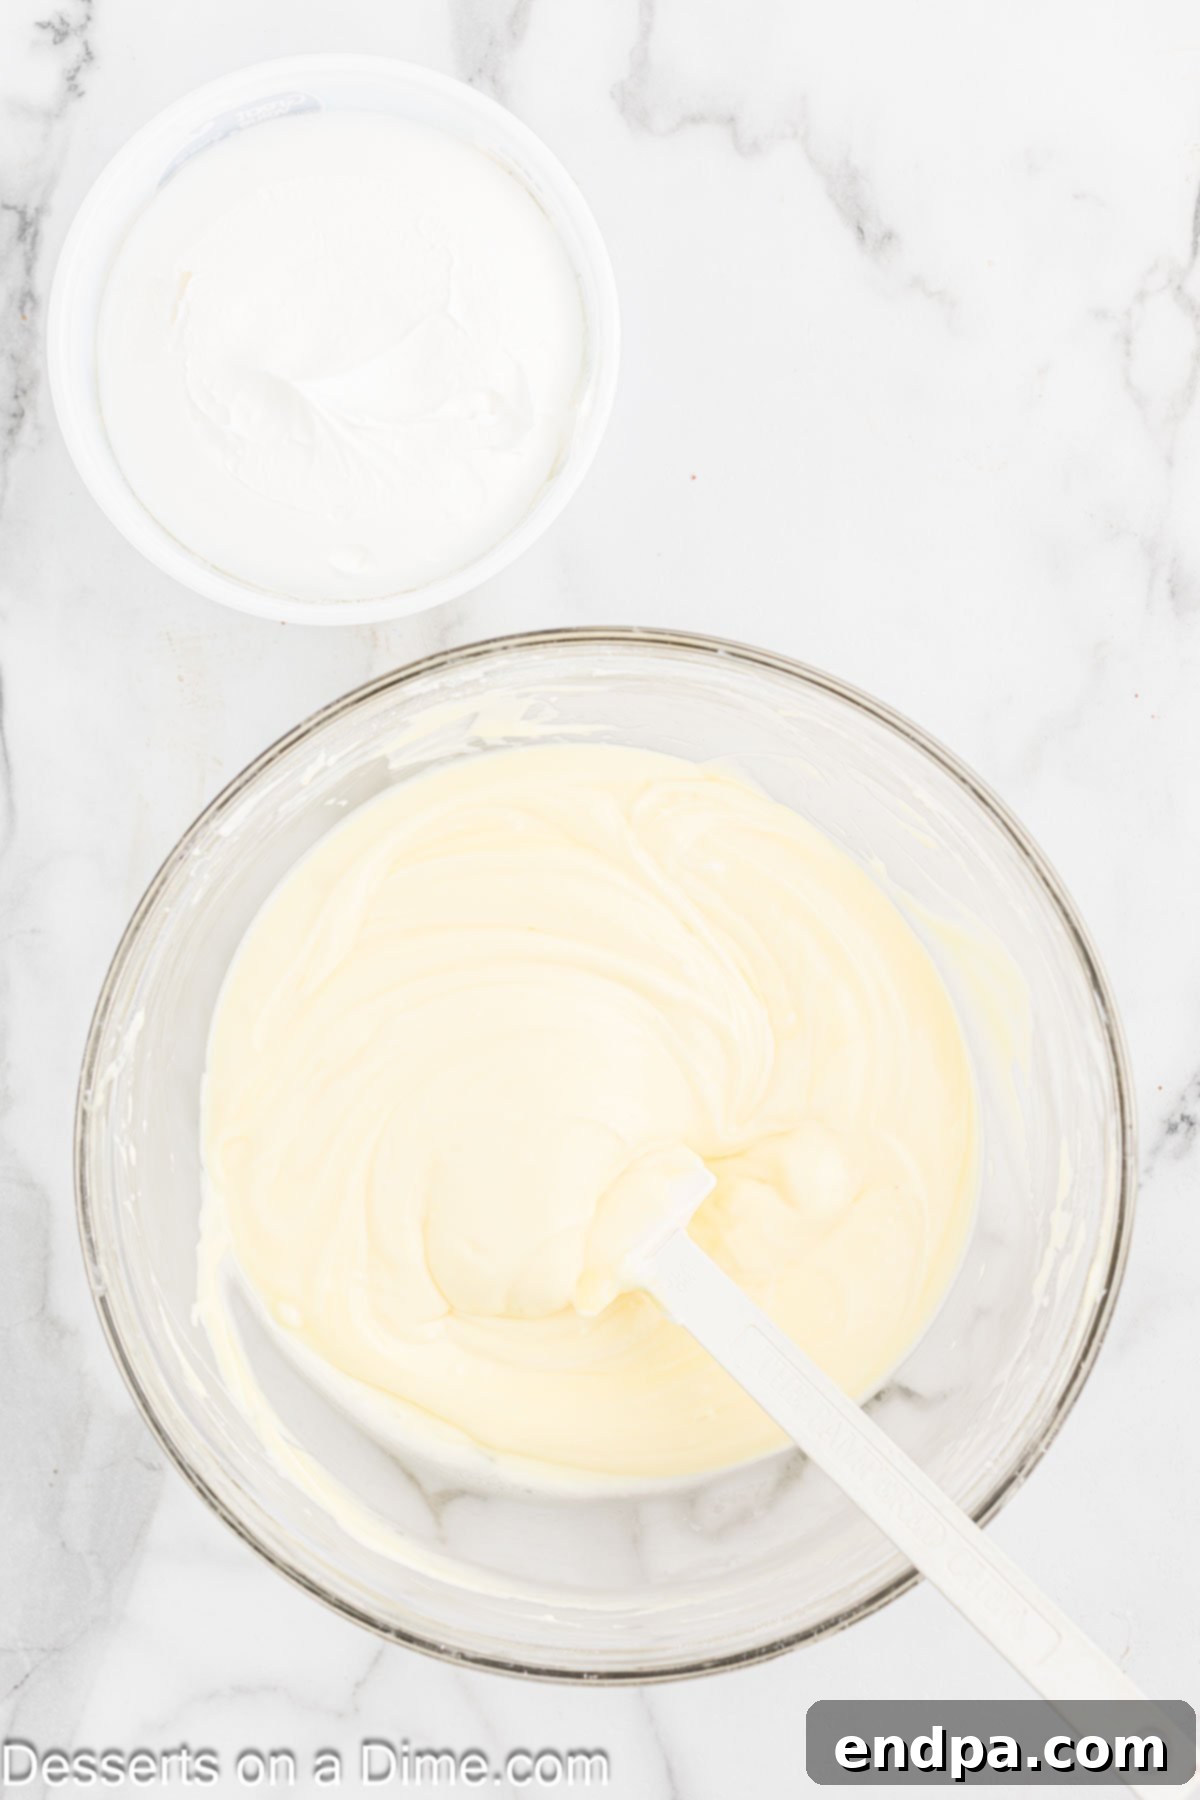
Step 6: Combine Layers. Gently fold the prepared vanilla pudding into the cream cheese mixture using a rubber spatula until it’s just combined. Then, add 8 oz (approximately half of a standard tub) of thawed Cool Whip to the bowl. Carefully fold the Cool Whip into the mixture until no white streaks remain and the mixture is uniformly light and airy.
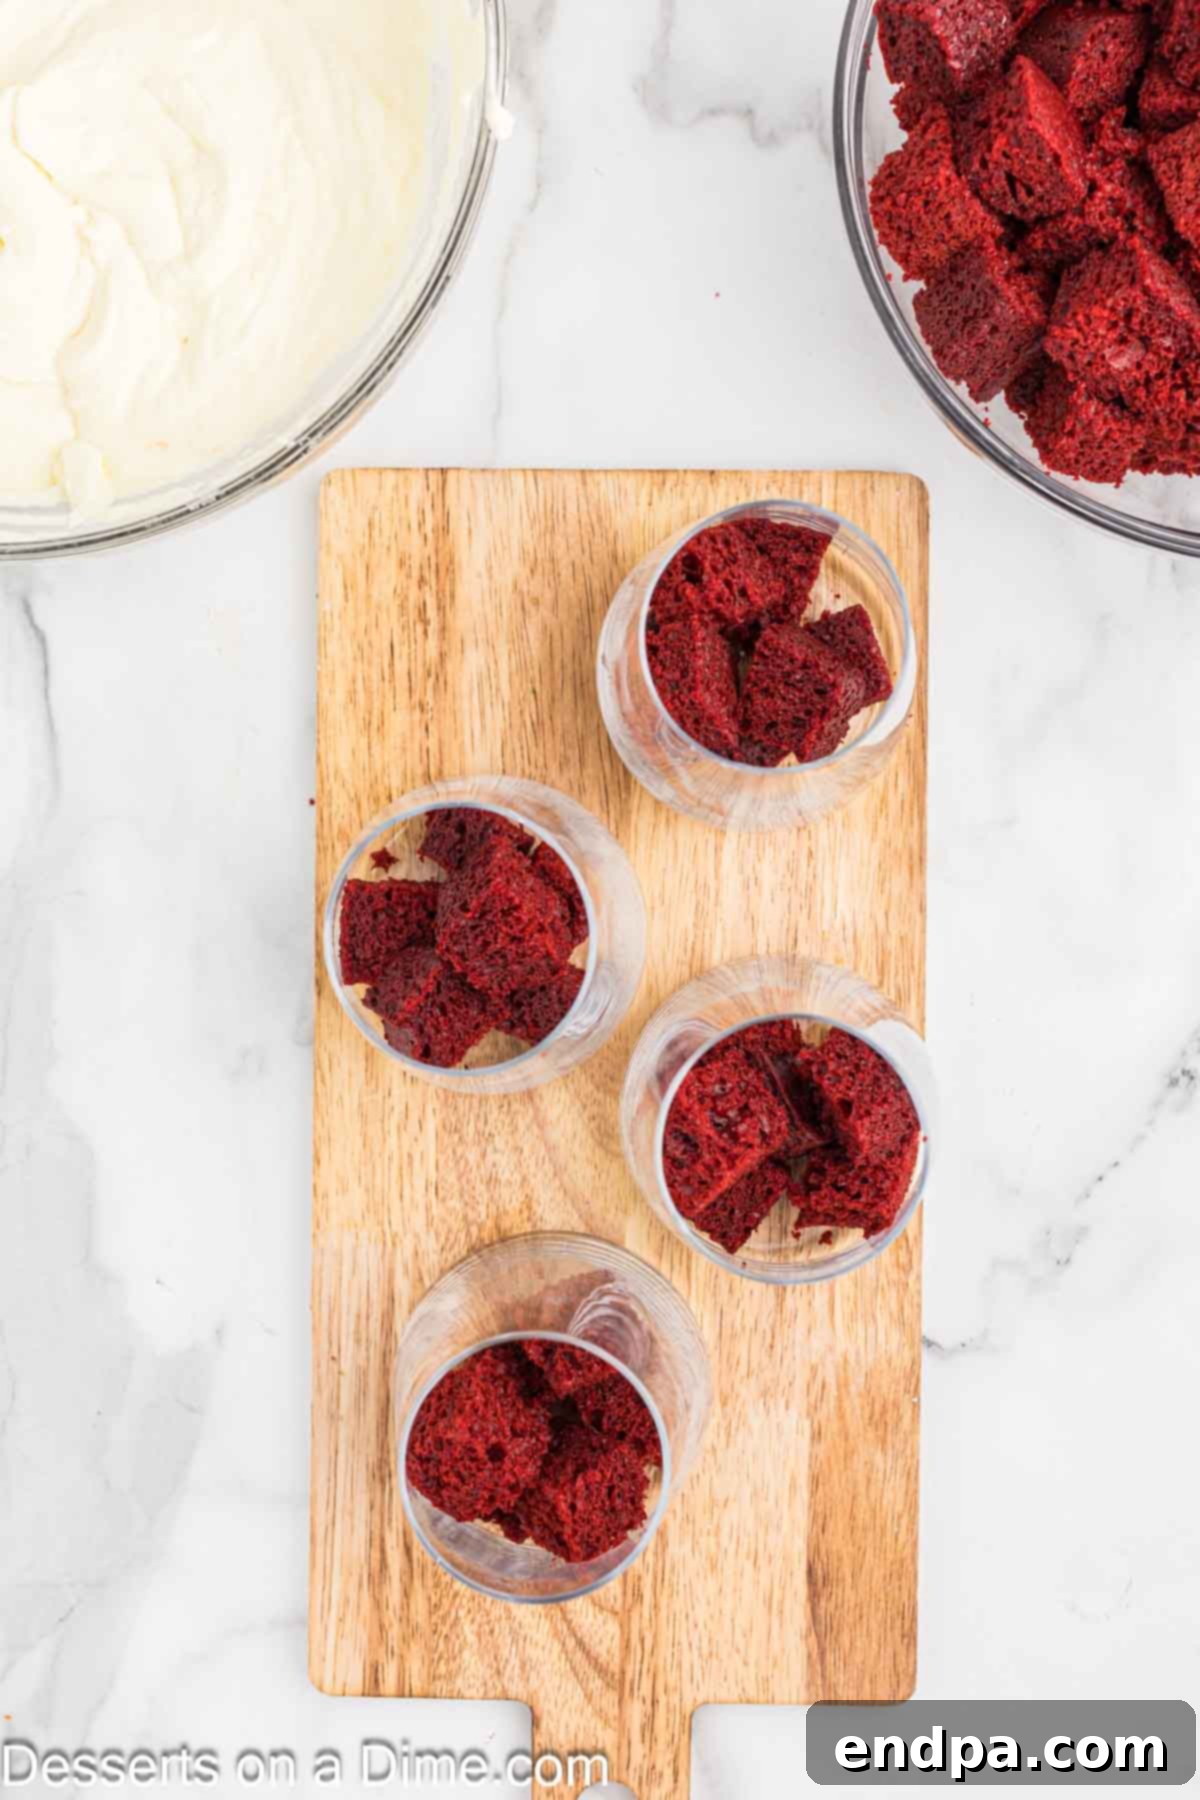
Step 7: Assemble the Trifle Layers. Now for the fun part! To assemble your individual trifles, start by placing a layer of red velvet cake cubes at the bottom of each cup. Next, spoon or pipe a layer of the creamy pudding mixture over the cake. Repeat these layers—cake, then pudding mixture—until you reach near the top of each cup, ensuring you leave some space for the final topping.
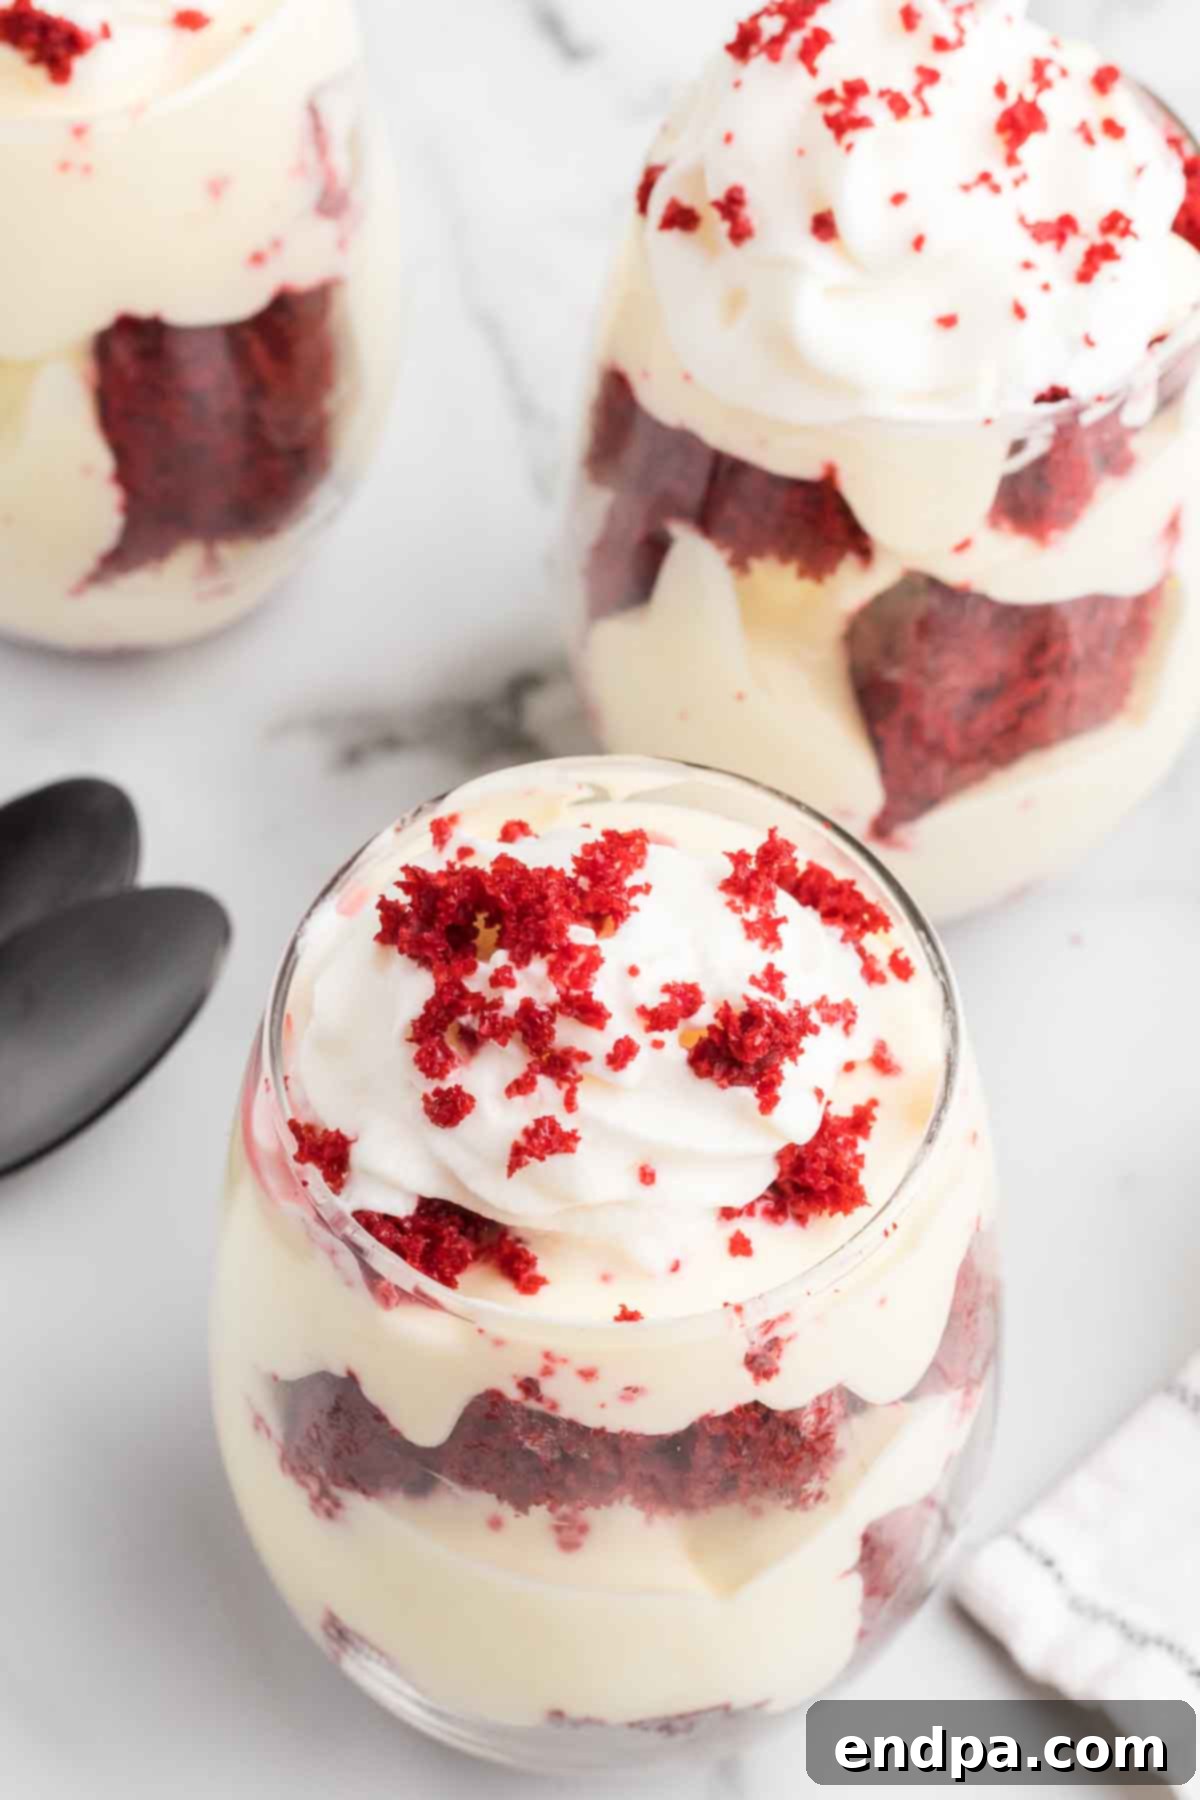
Step 8: Final Touches and Chill. Add a final, generous layer of the pudding mixture to each cup. Then, top each cup with the remaining thawed Cool Whip. Sprinkle the reserved red velvet cake crumbs over the whipped cream for a beautiful finish. For extra visual appeal, you can also garnish with fresh blueberries or raspberries. Cover the cups and refrigerate for at least 2-3 hours to allow the flavors to meld and the layers to set before serving.
Make-Ahead Magic: Can You Prepare in Advance?
Absolutely! One of the fantastic advantages of these Red Velvet Trifle Cups is that they are perfect for making ahead, which can be a huge time-saver when planning for parties or events. Preparing them in advance allows the flavors to deepen and meld together beautifully, often making the dessert even more delicious on the second day.
You can easily assemble the trifle cups the day before you plan to serve them. Simply follow all the step-by-step instructions up to the point of adding the final whipped cream topping and reserved cake crumbs. Once the cake and cream cheese/pudding layers are in the cups, cover each cup tightly with plastic wrap to prevent them from drying out or absorbing refrigerator odors. Refrigerate them overnight or for at least 6-8 hours. Just before serving, uncover the trifles, add the remaining whipped cream, and sprinkle with the cake crumbs and any other desired garnishes like fresh berries or chocolate shavings. This strategy ensures the whipped cream remains fresh and fluffy, offering the best texture for your guests. Making them ahead means less stress on the day of your event and more time to enjoy with your guests!
Expert Pro Tips for Perfect Trifles
Achieving a truly spectacular Red Velvet Trifle is easy with a few insider tips. These expert recommendations will help ensure your dessert is both beautiful and incredibly delicious:
- Cream Cheese Selection: Always opt for full-fat block cream cheese for the best texture and flavor in your creamy layers. Low-fat or whipped varieties often contain more water, which can result in a thinner, less stable, and less flavorful filling. The richness of full-fat cream cheese is key to that decadent taste.
- Perfectly Softened Cream Cheese: This is a non-negotiable step for a smooth, lump-free filling. Make sure your cream cheese is at true room temperature (soft enough to easily dent with a finger, but still cool to the touch) before you begin beating it. If it’s too cold, it will be lumpy, and if it’s too warm, it might separate. Take it out of the refrigerator at least 30-60 minutes before you start.
- Precise Cake Cubes: Cutting the cake into uniform, approximately 1-inch cubes not only makes for a neater presentation but also ensures even distribution of cake in each layer. A serrated knife can help achieve clean cuts without squashing the cake.
- Utilize a Piping Bag for Neatness: For a professional and tidy appearance, transfer your cream cheese pudding mixture into a large piping bag fitted with a wide round tip (or simply snip off the corner of a large Ziploc bag). This allows for easy and precise dispensing of the filling, creating clean, defined layers without messy spills.
- Chill Time is Crucial: While it might be tempting to dig in right away, allowing the assembled trifles to chill in the refrigerator for at least 2-3 hours (or preferably longer) is vital. This chilling period allows the pudding and cream cheese mixture to fully set, the cake layers to absorb some of the moisture, and all the flavors to properly meld together, resulting in a more cohesive and delicious dessert.
- Quality Ingredients Matter: While a box cake mix offers convenience, using high-quality ingredients for the pudding and cream cheese can significantly elevate the overall taste of your trifle. A good quality vanilla extract (if adding extra to the pudding mixture) also makes a noticeable difference.
- Don’t Overmix the Whipped Cream: If you’re making homemade whipped cream or folding in Cool Whip, be gentle. Overmixing can deflate the whipped cream, resulting in a less airy texture. Fold until just combined.
Serving Suggestions
These individual Red Velvet Trifle Cups are a dessert masterpiece all on their own, but a few thoughtful serving touches can make them even more special. Their convenient single portions make them perfect for a variety of occasions:
- For Parties and Buffets: The individual cups are ideal for party settings, eliminating the need for serving utensils and making it easy for guests to grab and go. Arrange them attractively on a dessert table.
- Elegant Dinner Parties: Serve each trifle cup on a small dessert plate, perhaps with a delicate dusting of cocoa powder or a single fresh mint leaf for an added touch of sophistication.
- Holiday Gatherings: Their festive red hue makes them a natural fit for Christmas, Valentine’s Day, or even patriotic holidays. Tailor your garnishes – cranberries for Christmas, heart-shaped sprinkles for Valentine’s, or blueberries for a red, white, and blue theme.
- Simple Indulgence: Enjoy a trifle cup as a comforting treat after a long day, perhaps paired with a cup of freshly brewed coffee or a soothing herbal tea.
Consider garnishing with a variety of textures and colors to enhance the visual appeal: fresh berries (raspberries, strawberries, blueberries), mini chocolate chips, finely chopped nuts, or a delicate chocolate curl made from a chocolate bar. A light dusting of powdered sugar or cocoa powder can also add an elegant finish.
Storage Instructions
Proper storage is key to keeping your Red Velvet Trifle Cups fresh and delicious. Here’s how to ensure they last:
- Refrigeration: Always store assembled trifle cups in the refrigerator. Cover each individual cup tightly with plastic wrap to prevent them from drying out or absorbing any odors from other foods in the fridge.
- Shelf Life: When stored correctly, these trifles will remain fresh and delightful for up to 3-4 days in the refrigerator. The cake layers will become even more moist as they absorb the creamy filling.
- Best Enjoyed Fresh: While they store well, for the best texture, especially of the whipped cream topping, it’s ideal to enjoy them within 1-2 days of assembly.
- Freezing Not Recommended: We do not recommend freezing these Red Velvet Trifle Cups. The dairy components (cream cheese, pudding, whipped cream) can change texture significantly upon thawing, becoming watery or grainy. The cake also tends to get soggy and lose its desirable moistness.
By following these simple storage guidelines, you can ensure your delicious trifles are ready to be enjoyed whenever a sweet craving strikes!
Frequently Asked Questions (FAQs)
Here are some common questions about making Red Velvet Trifle Cups, along with helpful answers to guide you:
- Can I use homemade red velvet cake instead of a box mix?
Absolutely! If you have a favorite homemade red velvet cake recipe, feel free to use it. Just ensure the cake is completely cooled before cutting it into cubes and assembling the trifles. This will give your trifles an even more gourmet touch. - What if my cream cheese mixture is lumpy?
Lumps in the cream cheese mixture are usually a sign that the cream cheese wasn’t soft enough or wasn’t beaten sufficiently. To fix this, try beating it longer with an electric mixer until very smooth before adding the powdered sugar. If lumps persist, you can gently warm the mixture in a microwave for 10-15 seconds (be careful not to melt it) and beat again, or push it through a fine-mesh sieve. - Can I use a different type of pudding?
Yes, feel free to experiment with different instant pudding flavors! White chocolate, cheesecake, or even chocolate pudding are all excellent choices that pair well with red velvet cake. Ensure it’s instant pudding for proper setting. - Can I make this in a large trifle bowl instead of individual cups?
Yes, this recipe works beautifully in a large trifle bowl. Simply layer the cake cubes and cream cheese mixture in the bowl, repeating until you use all ingredients. The overall process remains the same, just the serving method changes. - How do I prevent the cake from getting too soggy?
The chilling time is important for the cake to absorb moisture and meld with the flavors, making it moist and tender. However, to prevent it from becoming *too* soggy, avoid over-soaking the cake with any additional liquids (like liqueur) and ensure your pudding mixture is properly set before layering. Also, don’t store for more than 3-4 days. - Can I use regular whipped cream instead of Cool Whip?
Yes, you can absolutely use homemade whipped cream. It will add an even fresher, richer flavor. Just be aware that homemade whipped cream is slightly less stable than Cool Whip, so it’s best to add it right before serving if possible, or note that it might soften more over time in the fridge.
More Irresistible Red Velvet Desserts
If you’re a fan of red velvet, then you’re in for a treat! This vibrant flavor lends itself beautifully to a variety of desserts. After mastering these trifle cups, explore these other fantastic red velvet recipes that are sure to delight:
- Easy Red Velvet Cookies Recipe: Soft, chewy, and rich, these cookies are a simple way to enjoy the classic red velvet taste.
- Red Velvet Cake Pops Recipe: Bite-sized balls of red velvet goodness, coated in a sweet shell—perfect for parties or as a whimsical gift.
- Red Velvet Pound Cake: A dense, moist pound cake with the signature red velvet flavor, often topped with a luscious cream cheese glaze.
- Easy Red Velvet Brownies: Fudgy, chocolatey brownies with a hint of red and a delightful cream cheese swirl.
- Red Velvet Popcorn: A unique and addictive snack featuring popcorn coated in a sweet red velvet candy shell.
We hope you enjoy making these fabulous Red Velvet Trifle Cups! They’re the perfect blend of convenience, beauty, and irresistible flavor. We’d love to hear your thoughts – leave a comment and a star rating once you’ve tried them!
Red Velvet Trifle Cups
This indulgent recipe for Red Velvet Trifle Cups is simple to prepare with rich layers. The individual cups make this perfect for parties and more.
Prep Time: 15 mins
Cook Time: 30 mins
Total Time: 45 mins
Servings: 12
Cuisine: American
Course: Dessert
Calories: 376 kcal
Author: Carrie Barnard
Ingredients
- 1 box Red Velvet Cake Mix (plus ingredients to prepare as per package instructions)
- 1 box Instant Vanilla Pudding (3.4 oz)
- 2 cups Cold Milk
- 8 oz Cream Cheese (softened at room temperature)
- 1 cup Powdered Sugar
- 16 oz Cool Whip (divided)
Instructions
- Prepare the red velvet cake based on the package instructions in a 9×13 inch pan and allow the cake to cool completely at room temperature. Then cut the cake into approximately 1-inch cubes. Reserve a small amount of the cake for the topping and crumble it into fine cake crumbs.
- In a small bowl, combine the vanilla pudding mix with the milk. Whisk for two minutes until it begins to thicken, and then set aside.
- Place the softened cream cheese into a mixing bowl and beat with a hand-held mixer for 2-3 minutes until light, fluffy, and smooth.
- Reduce the mixer speed to low and gradually add the powdered sugar. Once all of the sugar is incorporated, increase the speed to medium and beat for 1 minute, or until smooth.
- Add the prepared pudding to the cream cheese mixture and gently fold and stir with a rubber spatula until completely combined.
- Then, add 8 oz of thawed Cool Whip to the bowl (half of the 16 oz tub) and fold it into the mixture until no white streaks remain and the mixture is uniformly light.
- To assemble the trifles, alternate layers of red velvet cake cubes and the creamy pudding mixture until you get to the top of the individual cups.
- Add a final layer of the pudding mixture to each cup.
- Then, top each cup with the remaining Cool Whip (the other 8 oz) and the reserved cake crumbs.
- Serve immediately, or cover tightly with plastic wrap and refrigerate for at least 2-3 hours (or overnight) to allow the flavors to meld and the layers to set.
Nutrition Facts
Calories: 376kcal, Carbohydrates: 57g, Protein: 6g, Fat: 15g, Saturated Fat: 7g, Polyunsaturated Fat: 2g, Monounsaturated Fat: 5g, Cholesterol: 30mg, Sodium: 459mg, Potassium: 248mg, Fiber: 1g, Sugar: 40g, Vitamin A: 387IU, Calcium: 164mg, Iron: 2mg
