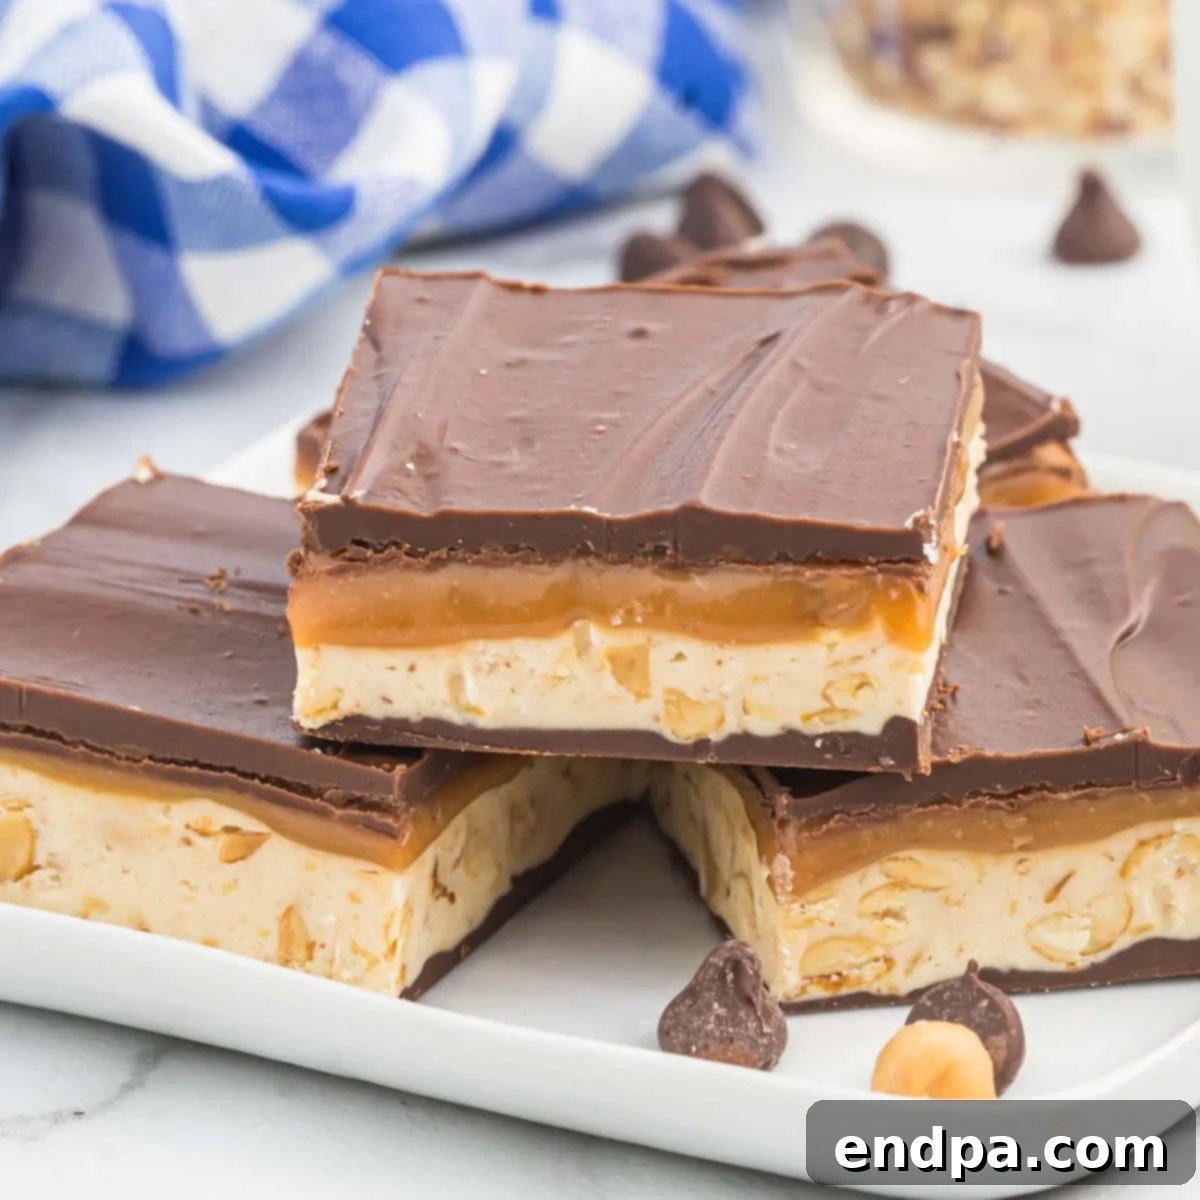
Prepare to elevate your dessert game with our irresistible recipe for Homemade Snickers Bars. Imagine indulging in multiple layers of pure bliss: a smooth, rich chocolate base, a light and chewy peanut nougat, a gooey, buttery caramel, and a generous scattering of crunchy salted peanuts, all enveloped in another luxurious layer of chocolate. This isn’t just a recipe; it’s a journey to creating a confection that will surpass your expectations and redefine what a “candy bar” can be. Forget the store-bought versions; these homemade treats offer an unparalleled depth of flavor and freshness that is truly extraordinary.
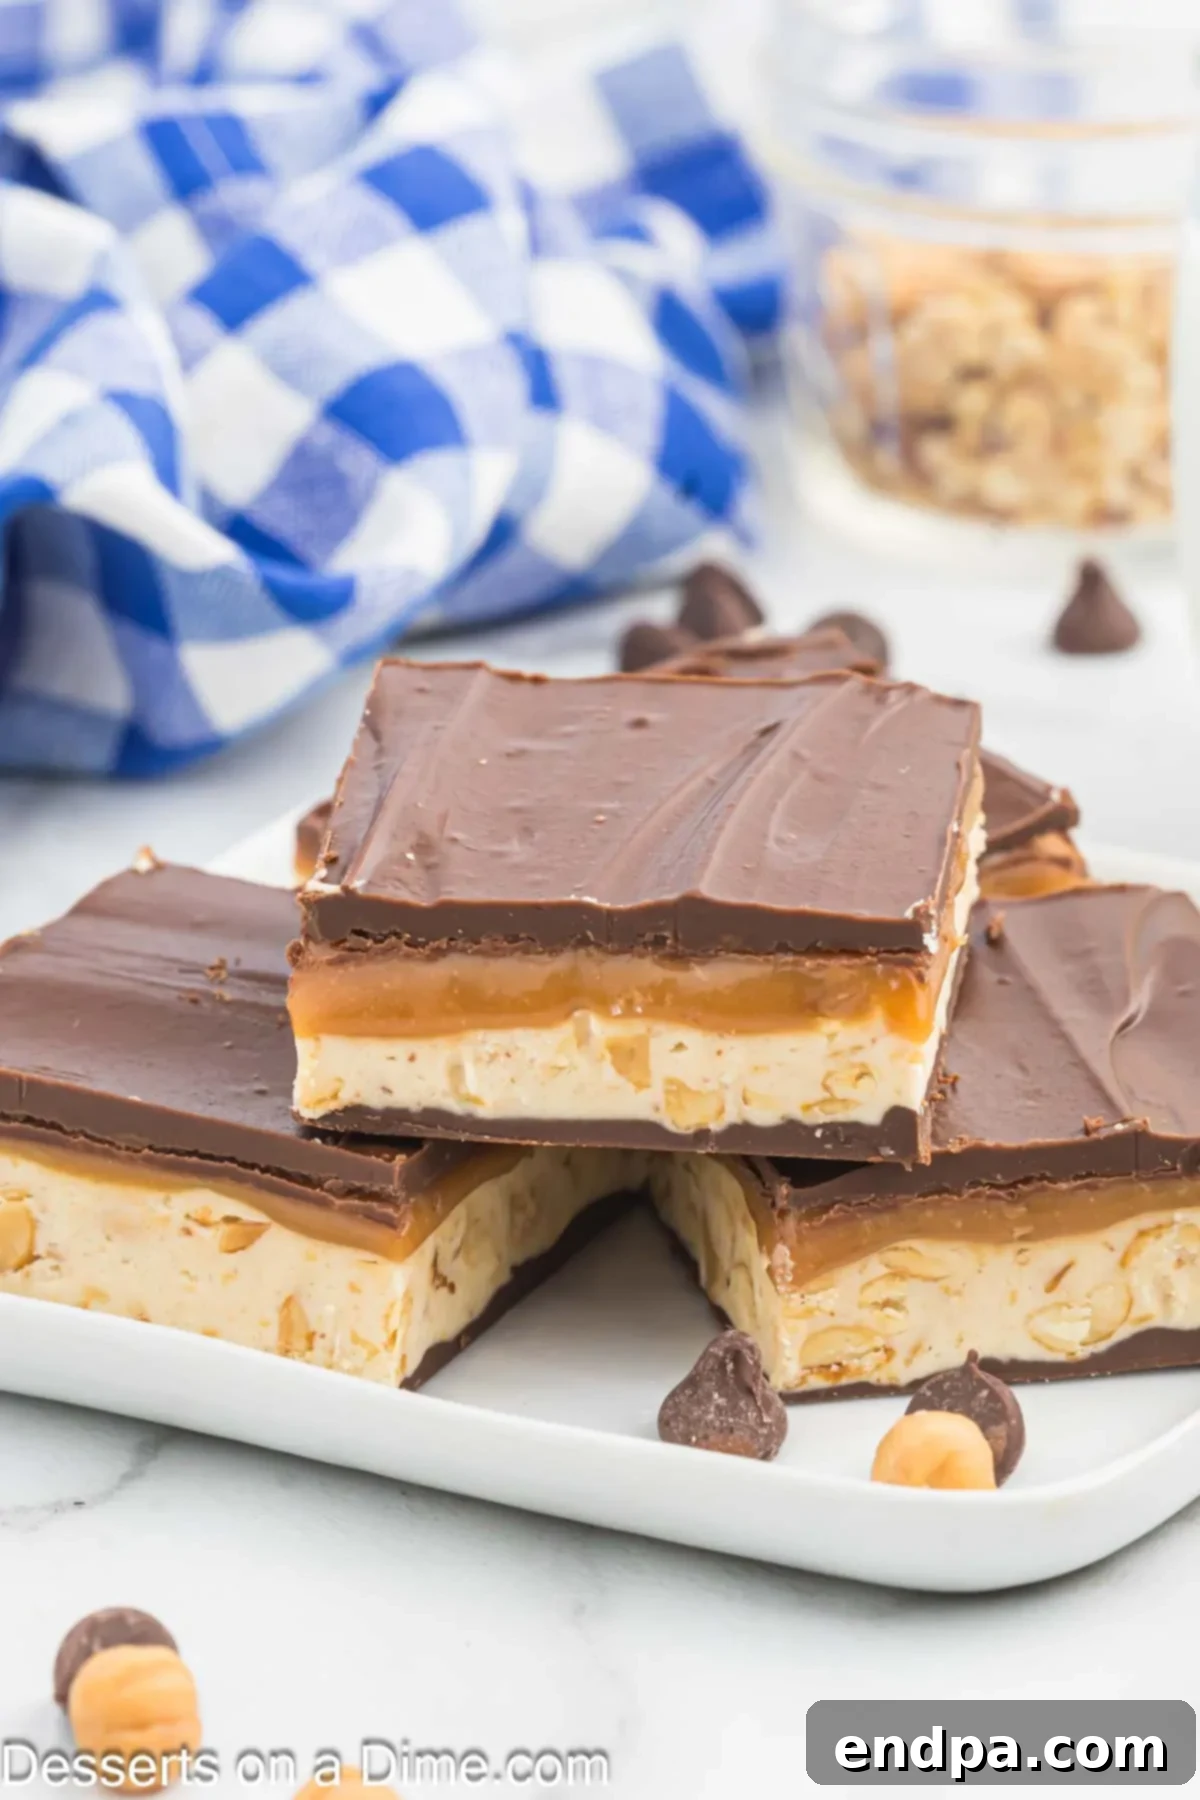
For enthusiasts of classic candy bars, discovering the simplicity of crafting these no-bake wonders at home is a game-changer. Our meticulously developed recipe ensures that every step is straightforward, culminating in a dessert that captures the iconic taste of a Snickers with an enhanced, artisanal quality. Much like our popular Homemade Twix Bars, these Snickers bars are designed to be both incredibly satisfying to make and utterly delightful to eat. They quickly become a family favorite, proving that homemade truly is best.
Our household’s love for Snickers runs deep, inspiring a collection of themed desserts over the years, from the indulgent Snickers Ice Cream Cake to charming Snickers Cupcakes. However, this particular recipe for scratch-made Snickers bars is a standout, delivering an authentic taste and a perfect balance of textures that everyone raves about. It’s a testament to the joy of creating beloved treats in your own kitchen, offering a customizable and superior alternative to commercial options.
Table of Contents
- Why You’ll Love Making Homemade Snickers
- Gathering Your Essential Ingredients
- Crafting the Perfect Chocolate Layers
- Secrets to an Irresistible Nougat Layer
- Achieving Silky Smooth Caramel
- Customization and Creative Variations
- Step-by-Step Instructions for Flawless Bars
- Effective Storage for Lasting Freshness
- Pro Tips for Homemade Candy Success
- Frequently Asked Questions (FAQ)
Why You’ll Love Making Homemade Snickers
There’s an undeniable magic in creating your favorite confections from scratch, and homemade Snickers bars exemplify this perfectly. Beyond the sheer delight of a truly custom-made treat, there are several compelling reasons to embark on this culinary adventure. Firstly, homemade guarantees a superior taste profile. By using fresh, high-quality ingredients, you avoid the artificial flavors and preservatives often found in mass-produced candy, resulting in a cleaner, more vibrant, and authentic taste experience.
Each layer of these bars offers a distinct sensory pleasure – from the satisfying snap of the chocolate shell to the soft, airy chew of the nougat, the luscious stretch of the caramel, and the robust crunch of the peanuts. The combination is a symphony of textures and flavors that is incredibly rewarding to create and even more so to consume. The process itself is surprisingly therapeutic and a fantastic way to engage with baking, even for those who prefer no-bake methods. You’ll gain immense satisfaction from presenting these impressive, multi-layered candy bars to friends and family, often eliciting amazed exclamations of “You made these?!” Once you’ve tasted the difference that homemade makes, we are confident you’ll find yourself reaching for this recipe again and again, forever changing your perception of this classic candy bar.
Gathering Your Essential Ingredients for Authentic Snickers
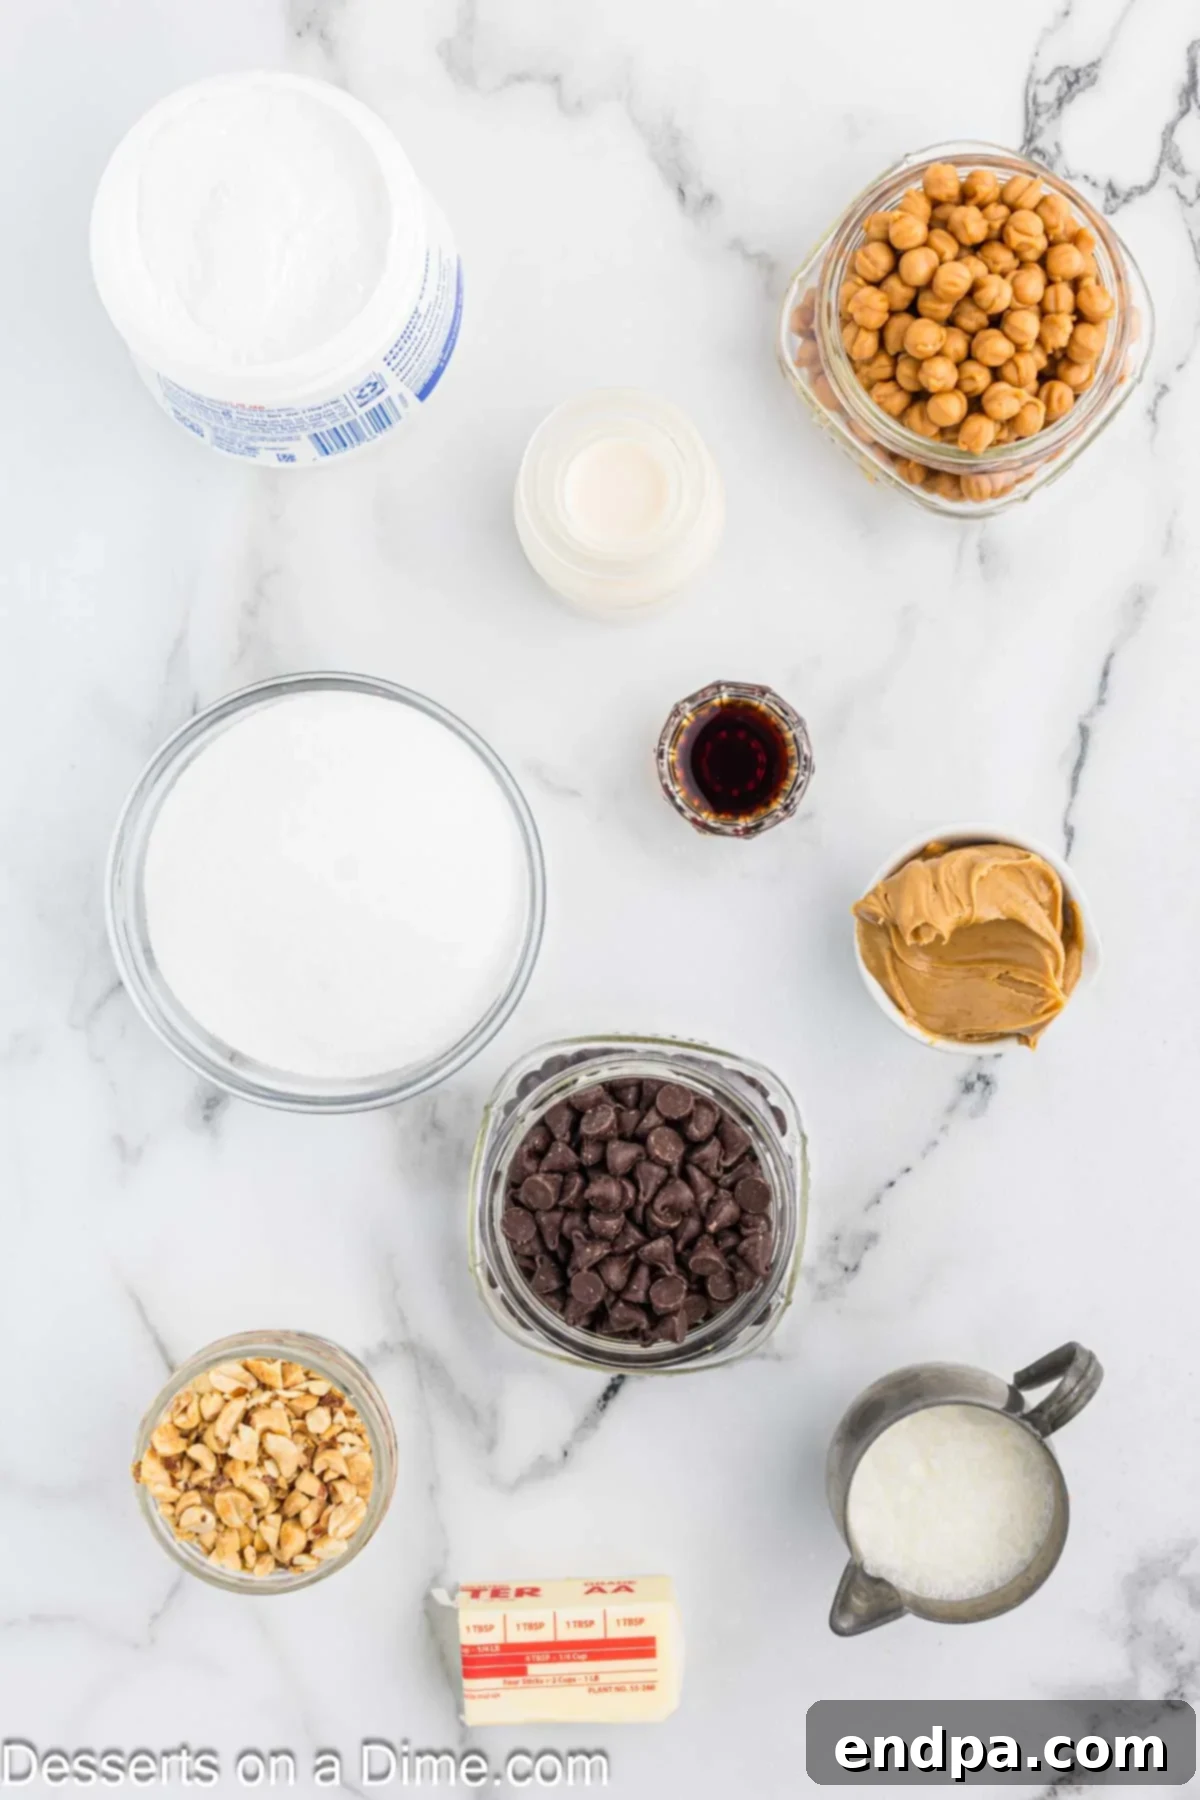
The secret to perfect homemade Snickers lies in understanding the role of each ingredient in creating those signature layers. Here’s a detailed breakdown of what you’ll need, ensuring you achieve the ideal balance of flavor and texture in every bite:
Crafting the Perfect Chocolate Layers
- Semi-Sweet Chocolate Chips: These are paramount for creating the foundational and top chocolate coatings. Semi-sweet chocolate provides a rich cocoa flavor with just enough sweetness to complement the sugary nougat and caramel without overwhelming the palate. This choice ensures a harmonious balance, preventing the overall bar from being excessively sweet.
- Creamy Peanut Butter: Incorporated into both chocolate layers, creamy peanut butter serves a dual purpose. It not only deepens the characteristic peanut flavor of the Snickers bar but also creates a smoother, more pliable chocolate mixture that’s easier to spread and sets with a delightful texture.
Secrets to an Irresistible Nougat Layer
- Unsalted Butter: Opting for unsalted butter allows you precise control over the overall salt content, especially important when using salted peanuts. Real butter contributes a rich, foundational flavor and ensures the nougat achieves its desirable chewy consistency.
- Granulated Sugar: As the primary sweetener, granulated sugar is essential for the nougat’s body and characteristic sweetness.
- Evaporated Milk: This ingredient is non-negotiable for achieving the correct nougat texture. Evaporated milk, denser and creamier than regular milk, imparts a richness and helps create the soft, chewy, and slightly elastic consistency that makes Snickers nougat so unique. Do not substitute with regular milk, as the results will vary drastically.
- Marshmallow Creme: This is the magical component that gives the nougat its signature light, fluffy, and incredibly chewy texture. It binds the ingredients, adds volume, and contributes to the melt-in-your-mouth quality of the nougat.
- Creamy Peanut Butter: Another addition of creamy peanut butter to the nougat layer reinforces the classic Snickers flavor, contributing to its creamy mouthfeel and enhancing the overall peanut essence.
- Vanilla Extract: A touch of pure vanilla extract is crucial for rounding out the sweetness and adding a warm, aromatic depth that elevates all the other flavors in the nougat.
- Salted Peanuts (Roughly Chopped): The stars of the Snickers bar! Roughly chopped salted peanuts provide that essential crunch and a vital salty contrast that balances the sweetness of the other layers. Ensure they are coarsely chopped to maximize their textural impact throughout the nougat.
Achieving Silky Smooth Caramel
- Caramels (Unwrapped or Caramel Bits): For ultimate convenience and consistently smooth results, use pre-packaged unwrapped caramels or caramel bits. These melt beautifully, forming the luscious, sticky layer that is a hallmark of Snickers.
- Heavy Whipping Cream: The secret to a perfectly smooth, rich, and pourable caramel. Heavy cream prevents the caramel from becoming too stiff or overly chewy, ensuring a luxurious, melt-in-your-mouth texture that perfectly complements the other layers.
All precise measurements for these ingredients can be found in the comprehensive recipe card at the end of this article, equipping you with everything needed to craft your exceptional homemade Snickers bars!
Customization and Creative Variations for Your Homemade Snickers
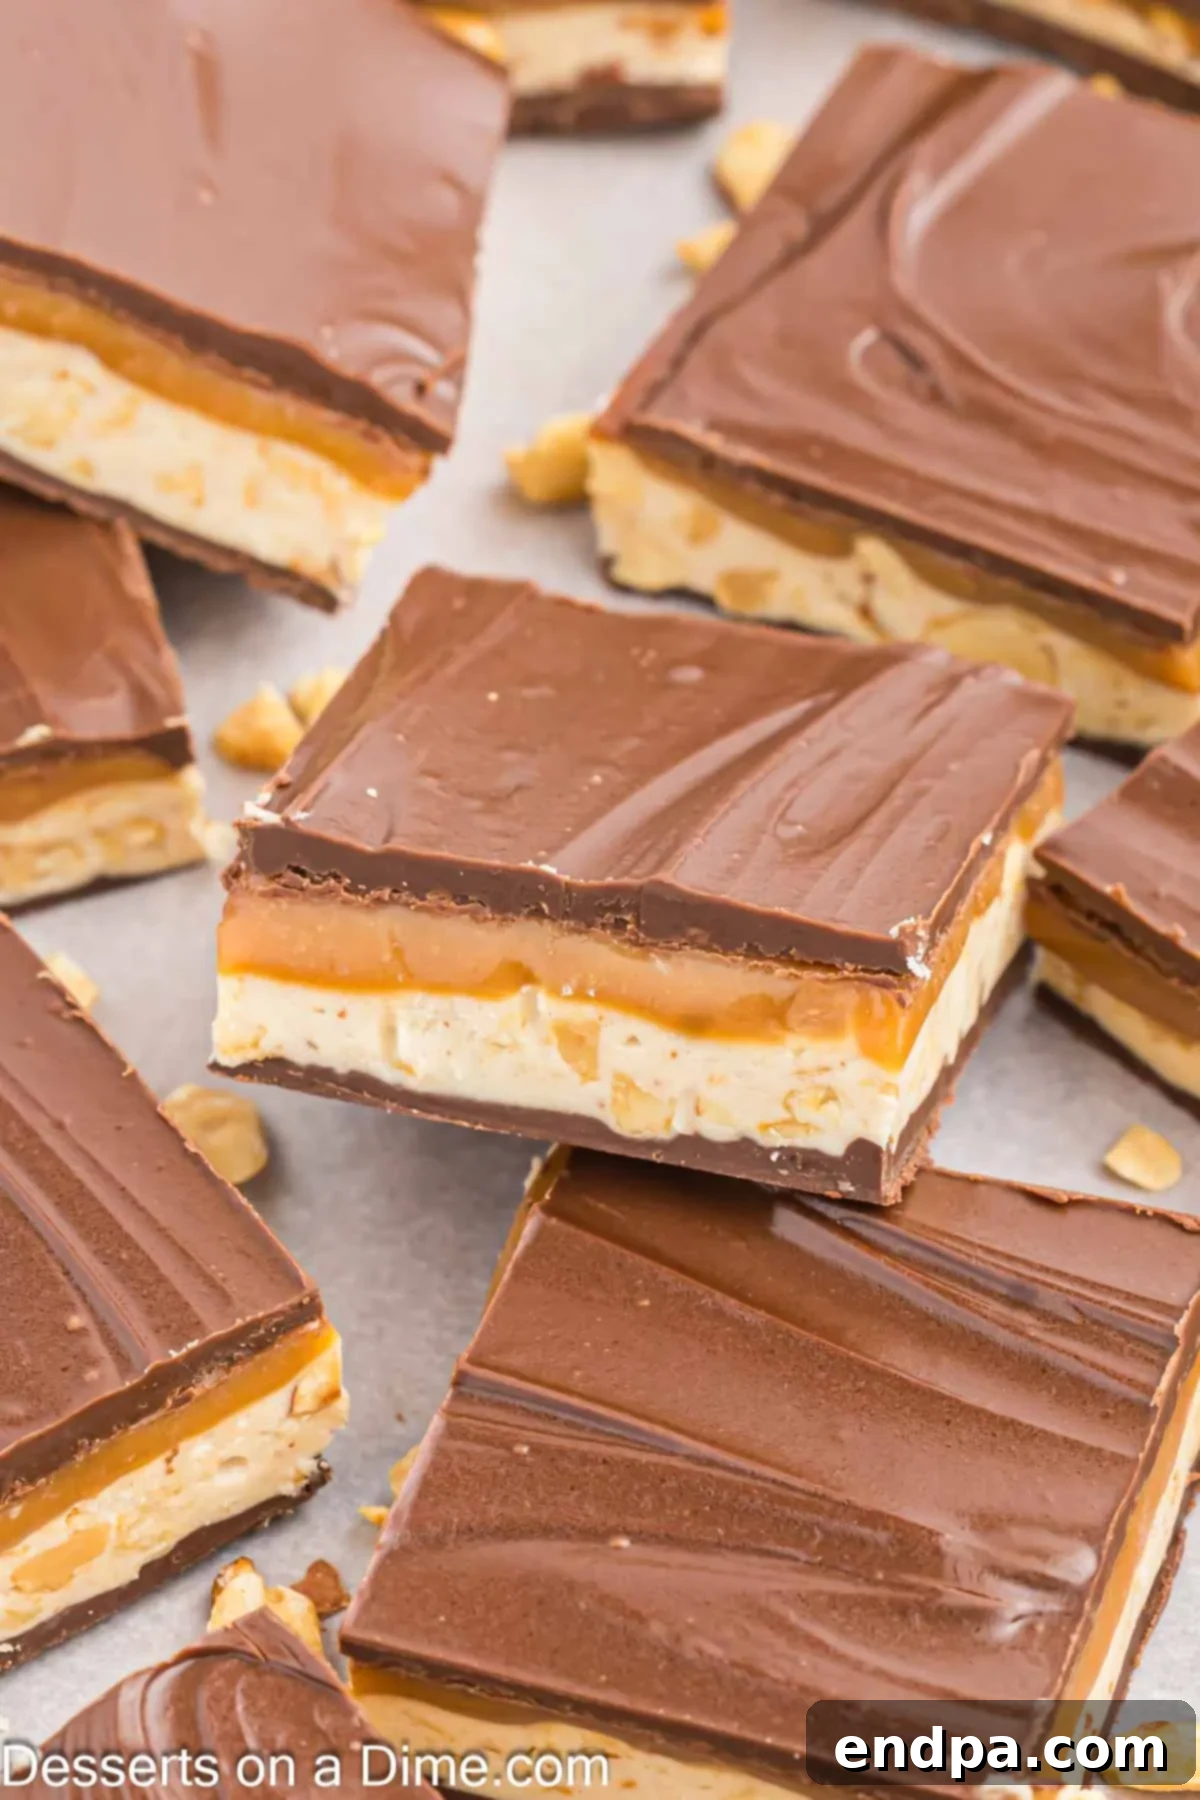
One of the most exciting aspects of making your own candy is the freedom to experiment and personalize! While our recipe delivers the quintessential Snickers experience, these suggestions allow you to put your own spin on this beloved treat:
- Alternate Nut Choices: While peanuts are traditional, don’t limit yourself! Try swapping them for roasted almonds, which offer a slightly sweeter, nuttier flavor, or cashews for a creamier texture. You could even use a mix of your favorite nuts. Lightly toasting them before adding them to the nougat can amplify their flavor.
- Explore Different Chocolate Varieties: Adjust the richness of your bars by using different types of chocolate. Dark chocolate chips (60% cacao or higher) will yield a less sweet, more sophisticated bar, while an all-milk chocolate coating will cater to those with a sweeter tooth. A blend of semi-sweet and dark can also be an excellent compromise.
- Add a Salty Pretzel Crunch: For an additional layer of texture and an irresistible sweet-and-salty dynamic, consider crushing pretzels and folding them into your nougat layer, or sprinkling them over the caramel before the final chocolate coating.
- Flaky Sea Salt Finish: A light sprinkle of flaky sea salt (like Maldon) on top of the final chocolate layer, just before it sets, can dramatically enhance the flavors of the caramel and chocolate, adding a gourmet touch that truly elevates the bar.
- Nut Butter Substitutions: If you have a peanut allergy or simply wish to explore other flavors, almond butter or cashew butter can be used as a direct substitute for peanut butter in both the chocolate and nougat layers. This will create a delicious, albeit distinct, candy bar experience.
- Warm Spice Infusion: For a unique twist, consider adding a tiny pinch of ground cinnamon, nutmeg, or even a hint of cayenne pepper to your chocolate layers. These spices can provide a subtle warmth and complexity that beautifully complements the sweet and nutty flavors.
Step-by-Step Instructions for Flawless Homemade Snickers Bars
Creating these delightful, multi-layered candy bars is a process that’s both enjoyable and incredibly rewarding. Follow these detailed, easy-to-understand instructions to ensure each layer is perfectly executed, leading to a batch of truly irresistible homemade Snickers.
- Step 1: Prepare Your Baking Pan. Begin by carefully lining a 9×13 inch baking pan with parchment paper. This step is absolutely critical for effortless removal of your finished candy bars. Ensure that the parchment paper extends sufficiently over the edges of the pan on two sides, creating convenient “handles.” These handles will allow you to easily lift the entire slab of set Snickers out, making the subsequent cutting process much cleaner and simpler.
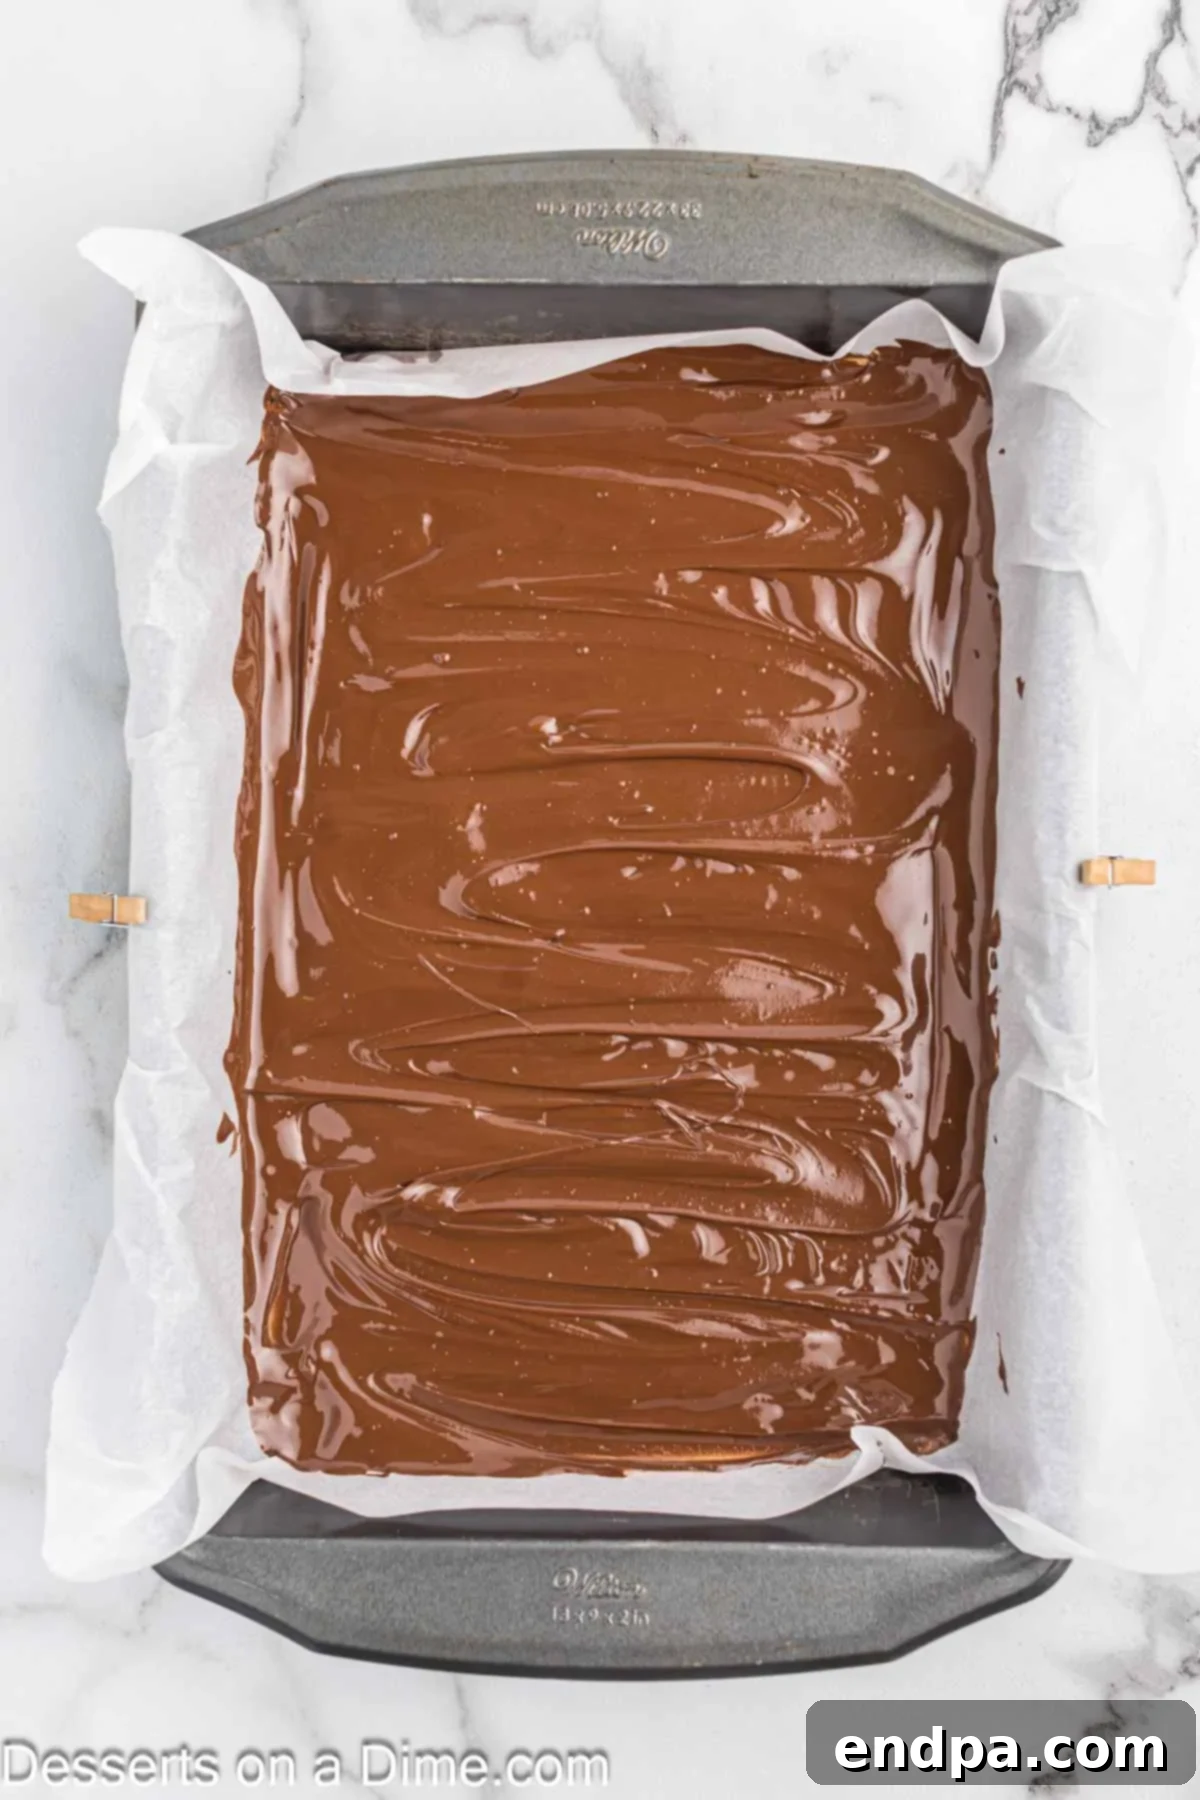
Step 2: Craft the Initial Chocolate Layer. In a microwave-safe bowl, combine 1 cup of semi-sweet chocolate chips with ¼ cup of creamy peanut butter. Microwave this mixture for an initial 1 minute. After this, stir thoroughly to integrate the ingredients. Continue to microwave in precise 30-second intervals, ensuring you stir vigorously after each interval, until the chocolate is entirely melted and the mixture appears smooth and glossy. Once achieved, spread this rich chocolate-peanut butter blend evenly into the bottom of your prepared pan. Immediately transfer the pan to the freezer for approximately 10-15 minutes, allowing this foundational layer to fully set while you begin preparing the next component.
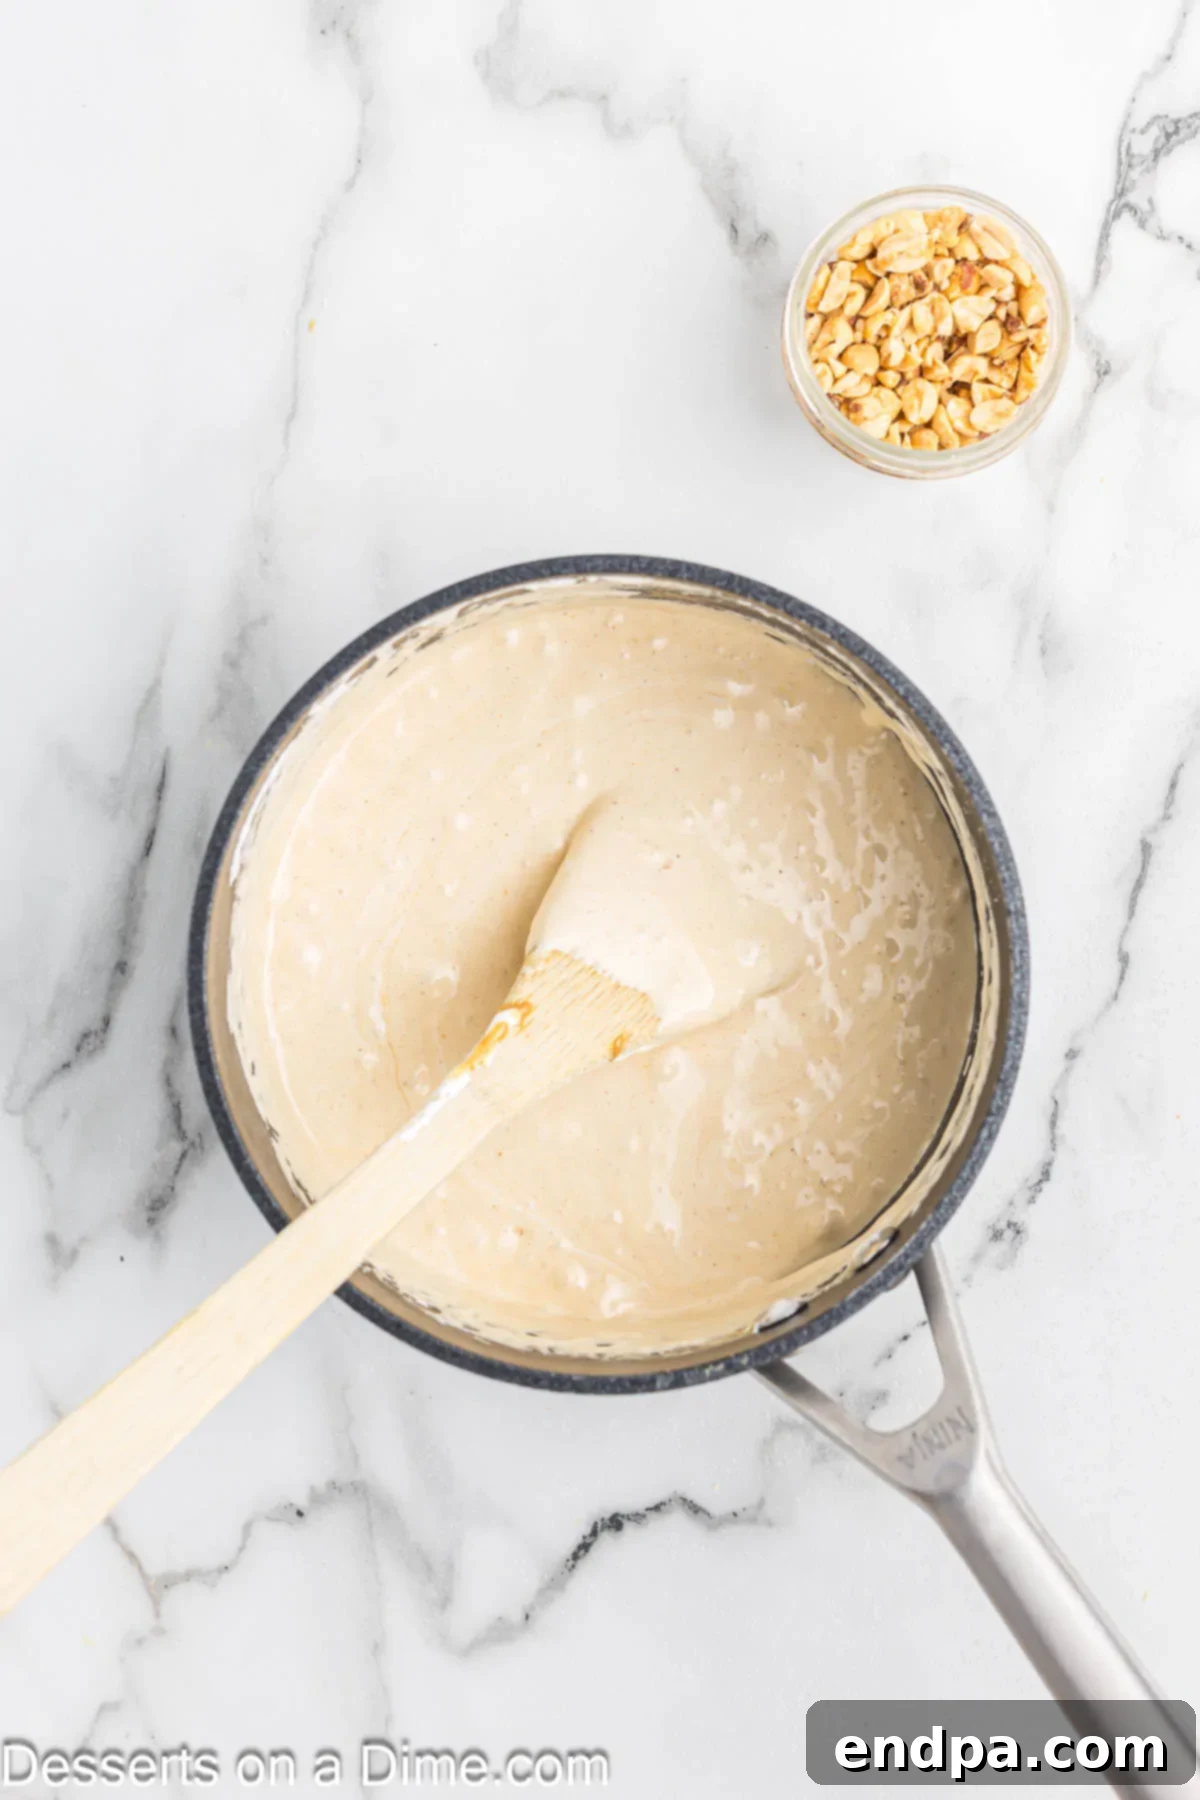
Step 3: Prepare the Nougat Base. In a medium-sized saucepan, melt ¼ cup of unsalted butter over medium-high heat until it’s completely liquid. Once melted, stir in 1 cup of granulated sugar and ¼ cup of evaporated milk. Continue to stir continuously until the sugar has fully dissolved into the liquid. Bring this mixture to a gentle, low boil, then slightly reduce the heat and allow it to simmer for precisely 3-5 minutes. Stir occasionally during this time to prevent any scorching or sticking to the bottom of the pan. This careful cooking process is key to developing the ideal chewy texture for your nougat.
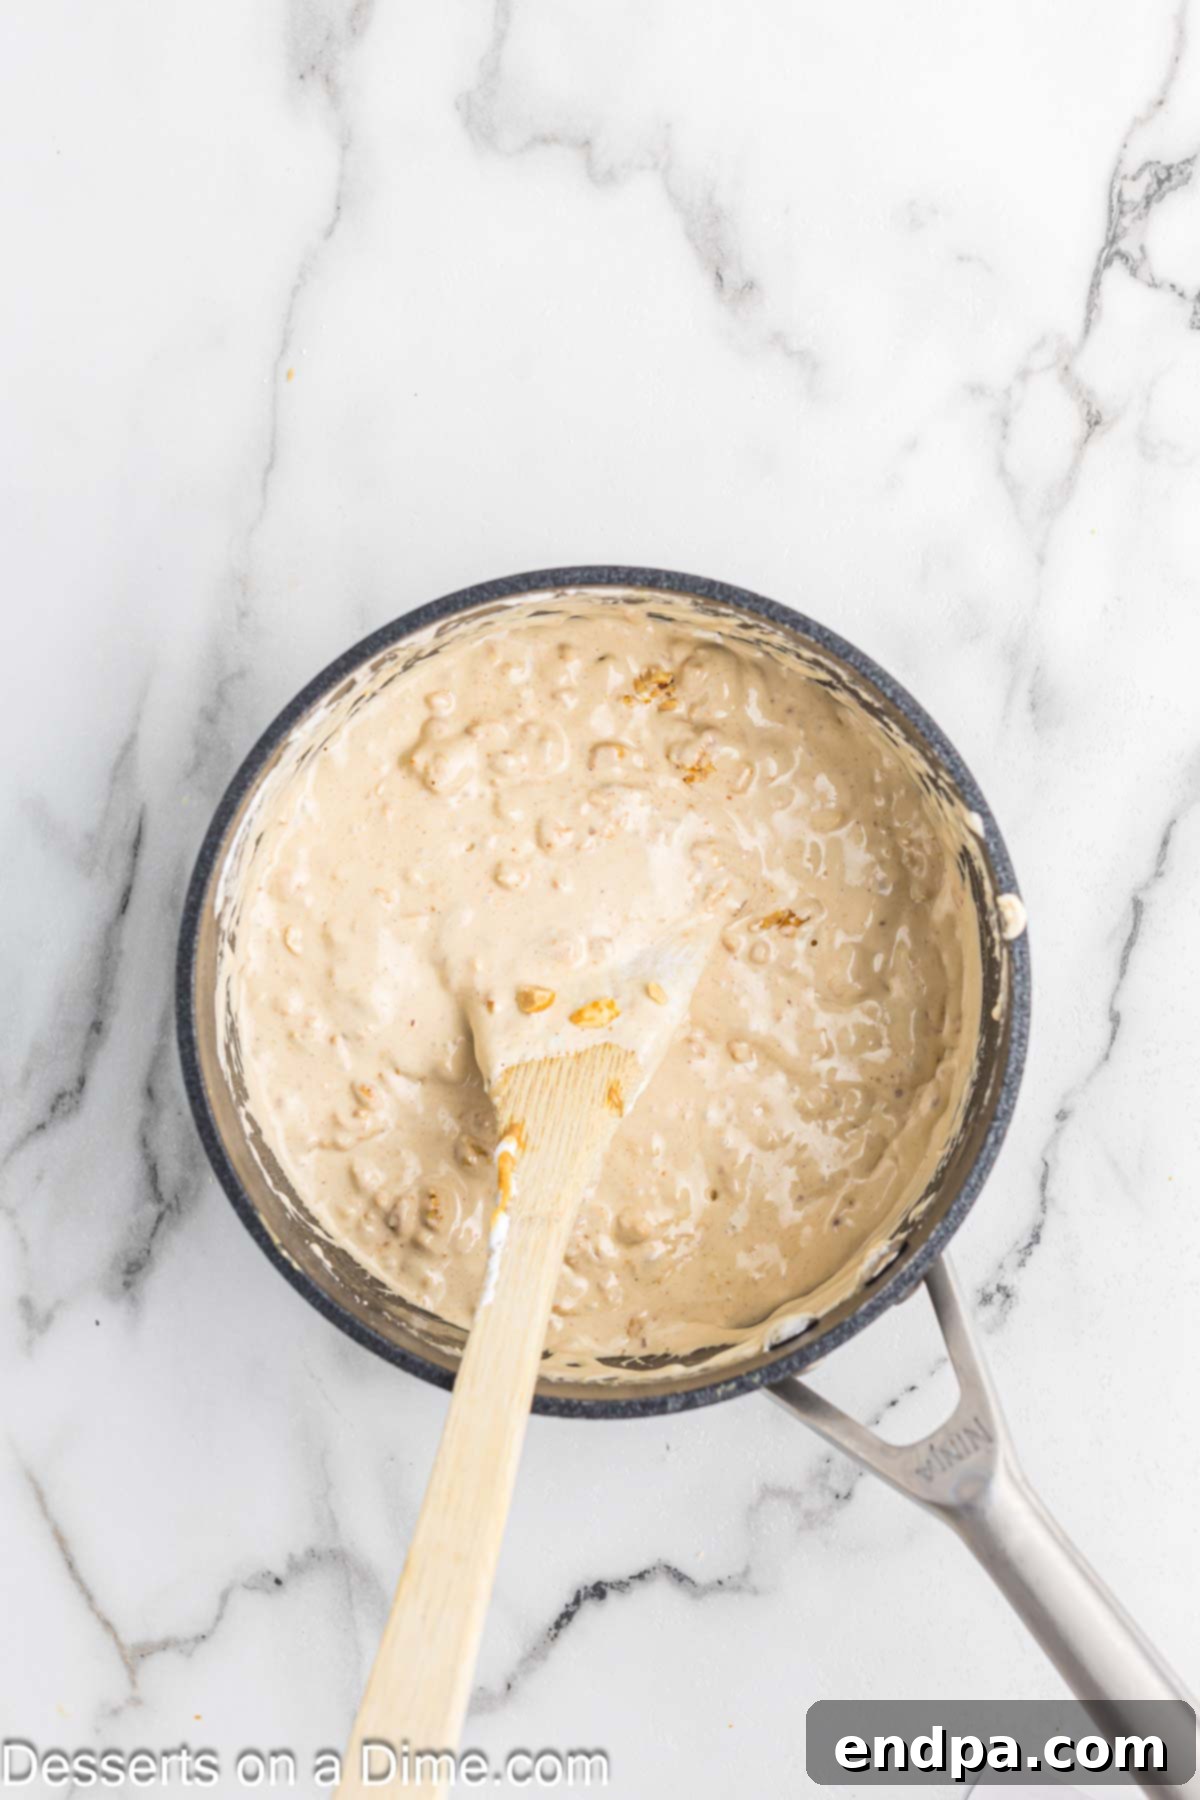
Step 4: Finalize the Nougat Layer. Remove the saucepan from the heat immediately after the simmering time. Quickly stir in 7 ounces of marshmallow creme, an additional ¼ cup of creamy peanut butter, and 1 teaspoon of pure vanilla extract. Mix until all these ingredients are thoroughly combined and the mixture is smooth and cohesive. As the final touch for this layer, gently fold in 1 ½ cups of roughly chopped salted peanuts. The marshmallow creme provides that distinctive chewy, fluffy texture, while the peanuts add a crucial crunch and salty counterpoint.
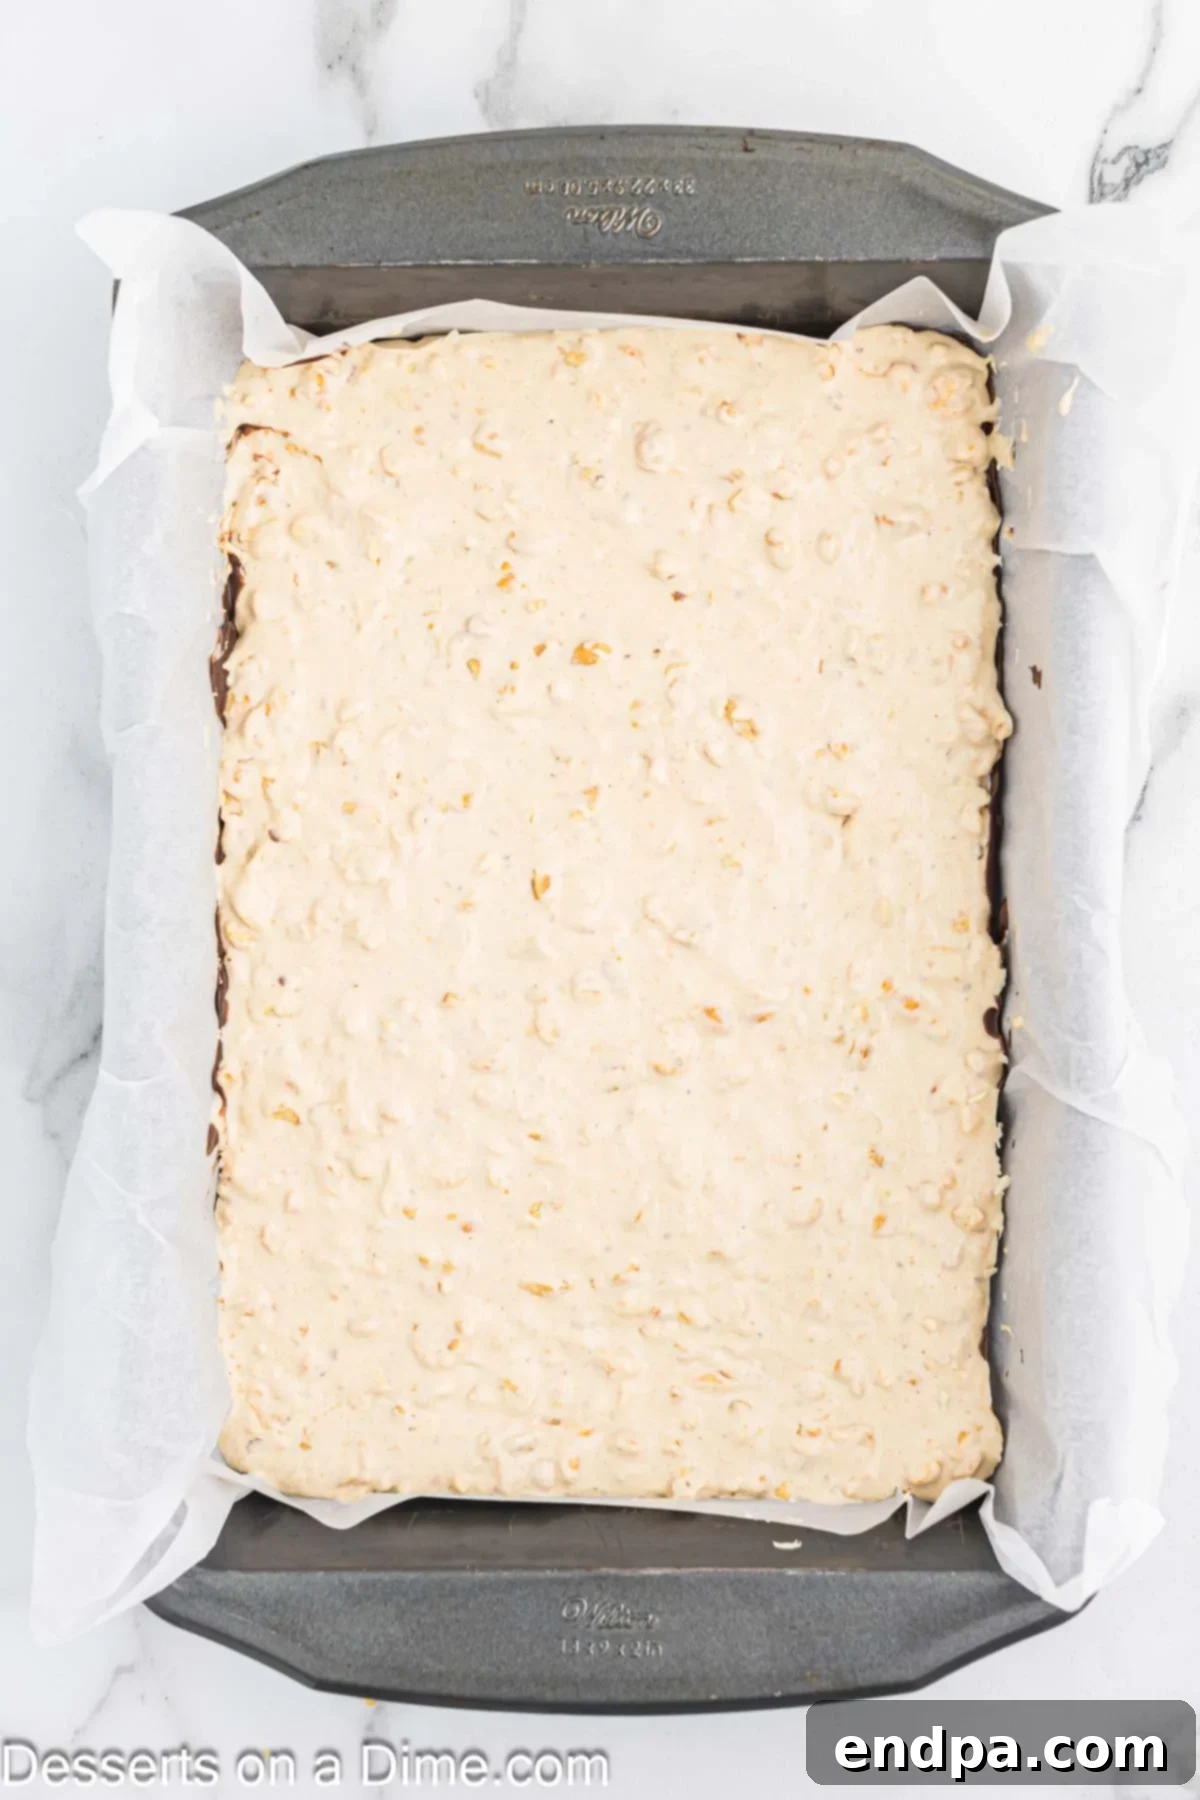
Step 5: Layer the Nougat. Retrieve your pan with the set chocolate base from the freezer. Evenly spread the warm nougat mixture directly over the firm chocolate layer. Work with a steady hand to create a consistent thickness across the entire surface. Promptly return the pan to the freezer for another 15-20 minutes. This chilling period is vital, allowing the nougat to firm up sufficiently to support the next decadent layer without mixing.
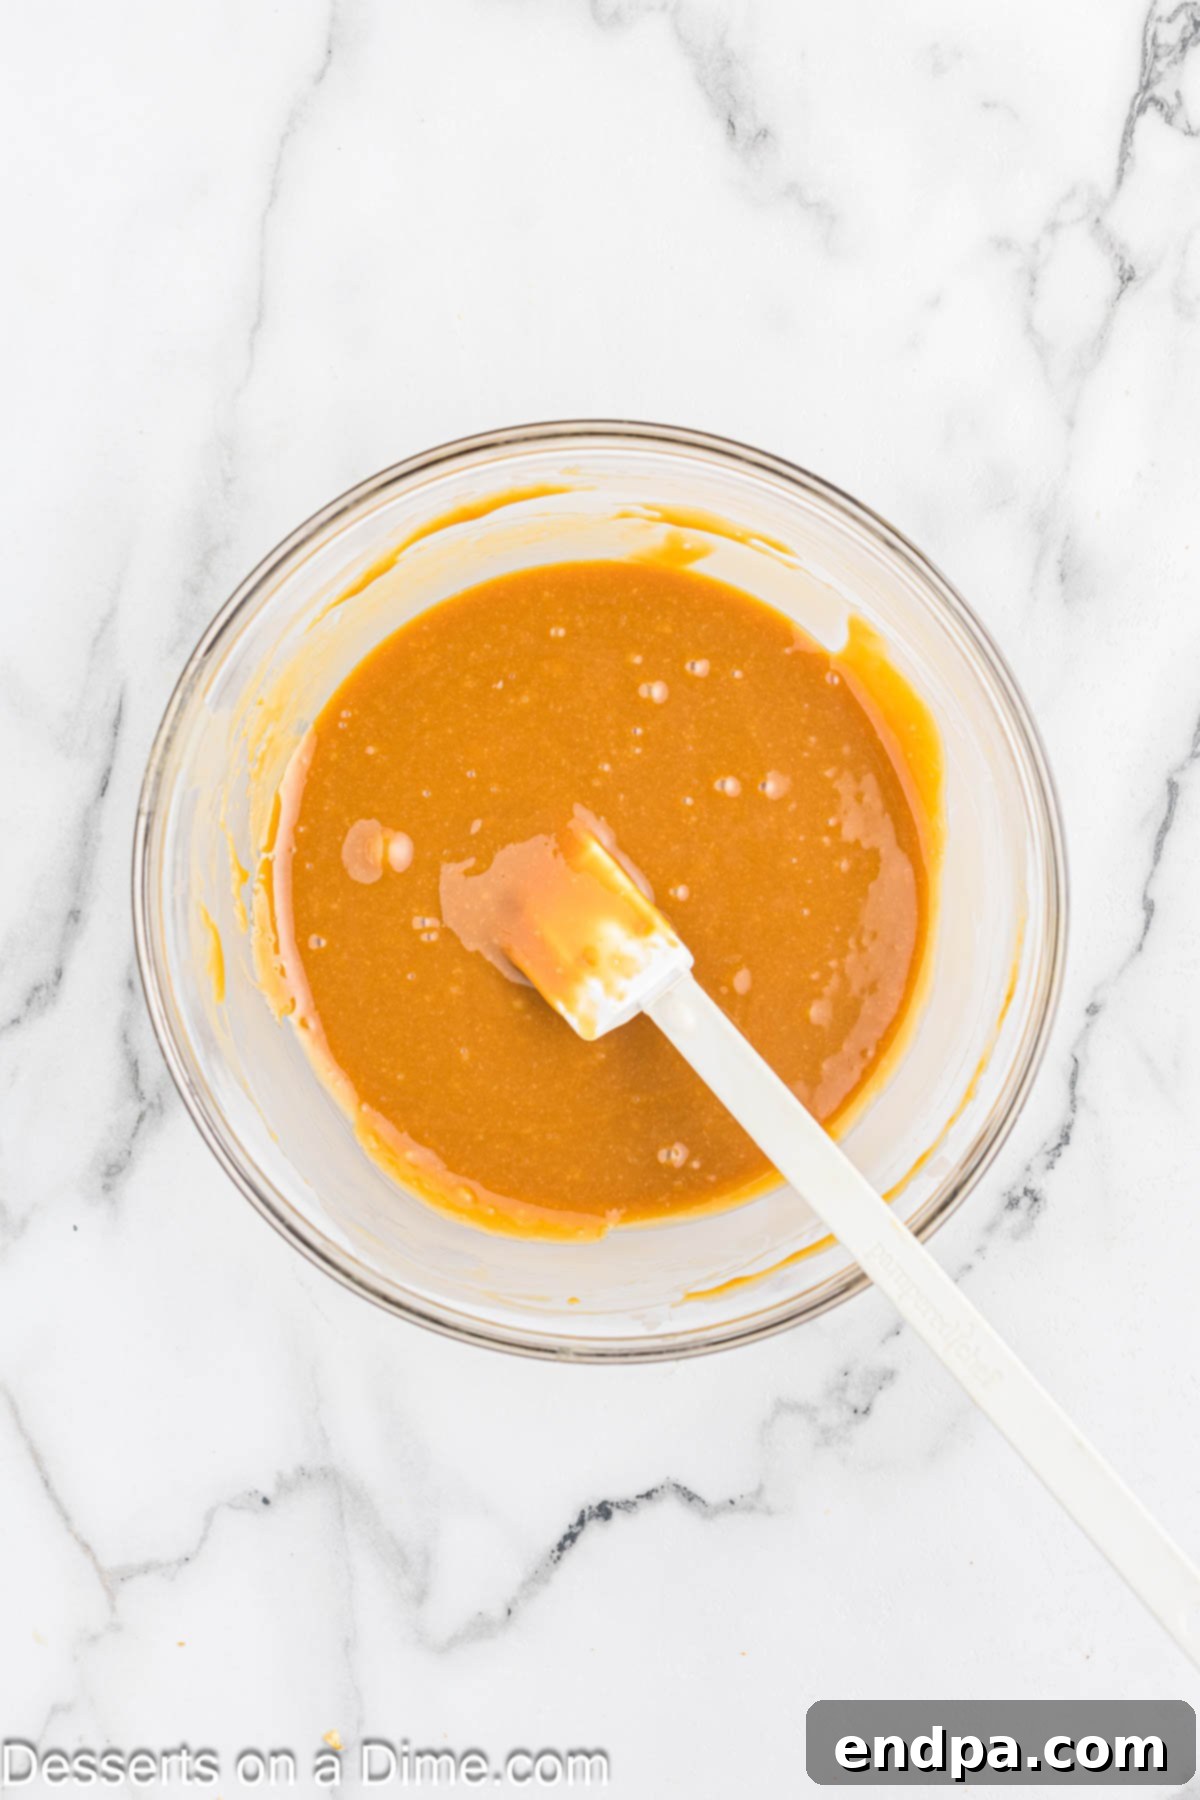
Step 6: Prepare the Luscious Caramel Layer. Now, turn your attention to the signature gooey caramel. Place 11 ounces of unwrapped caramels (or caramel bits) and ¼ cup of heavy whipping cream into a microwave-safe bowl. Heat this mixture in the microwave for an initial 45 seconds. After heating, stir well to start the melting process. Continue heating in precise 30-second intervals, stirring diligently after each, until the caramel is completely melted and beautifully smooth, with no lumps. The heavy cream is crucial here, ensuring a wonderfully pourable and creamy consistency.
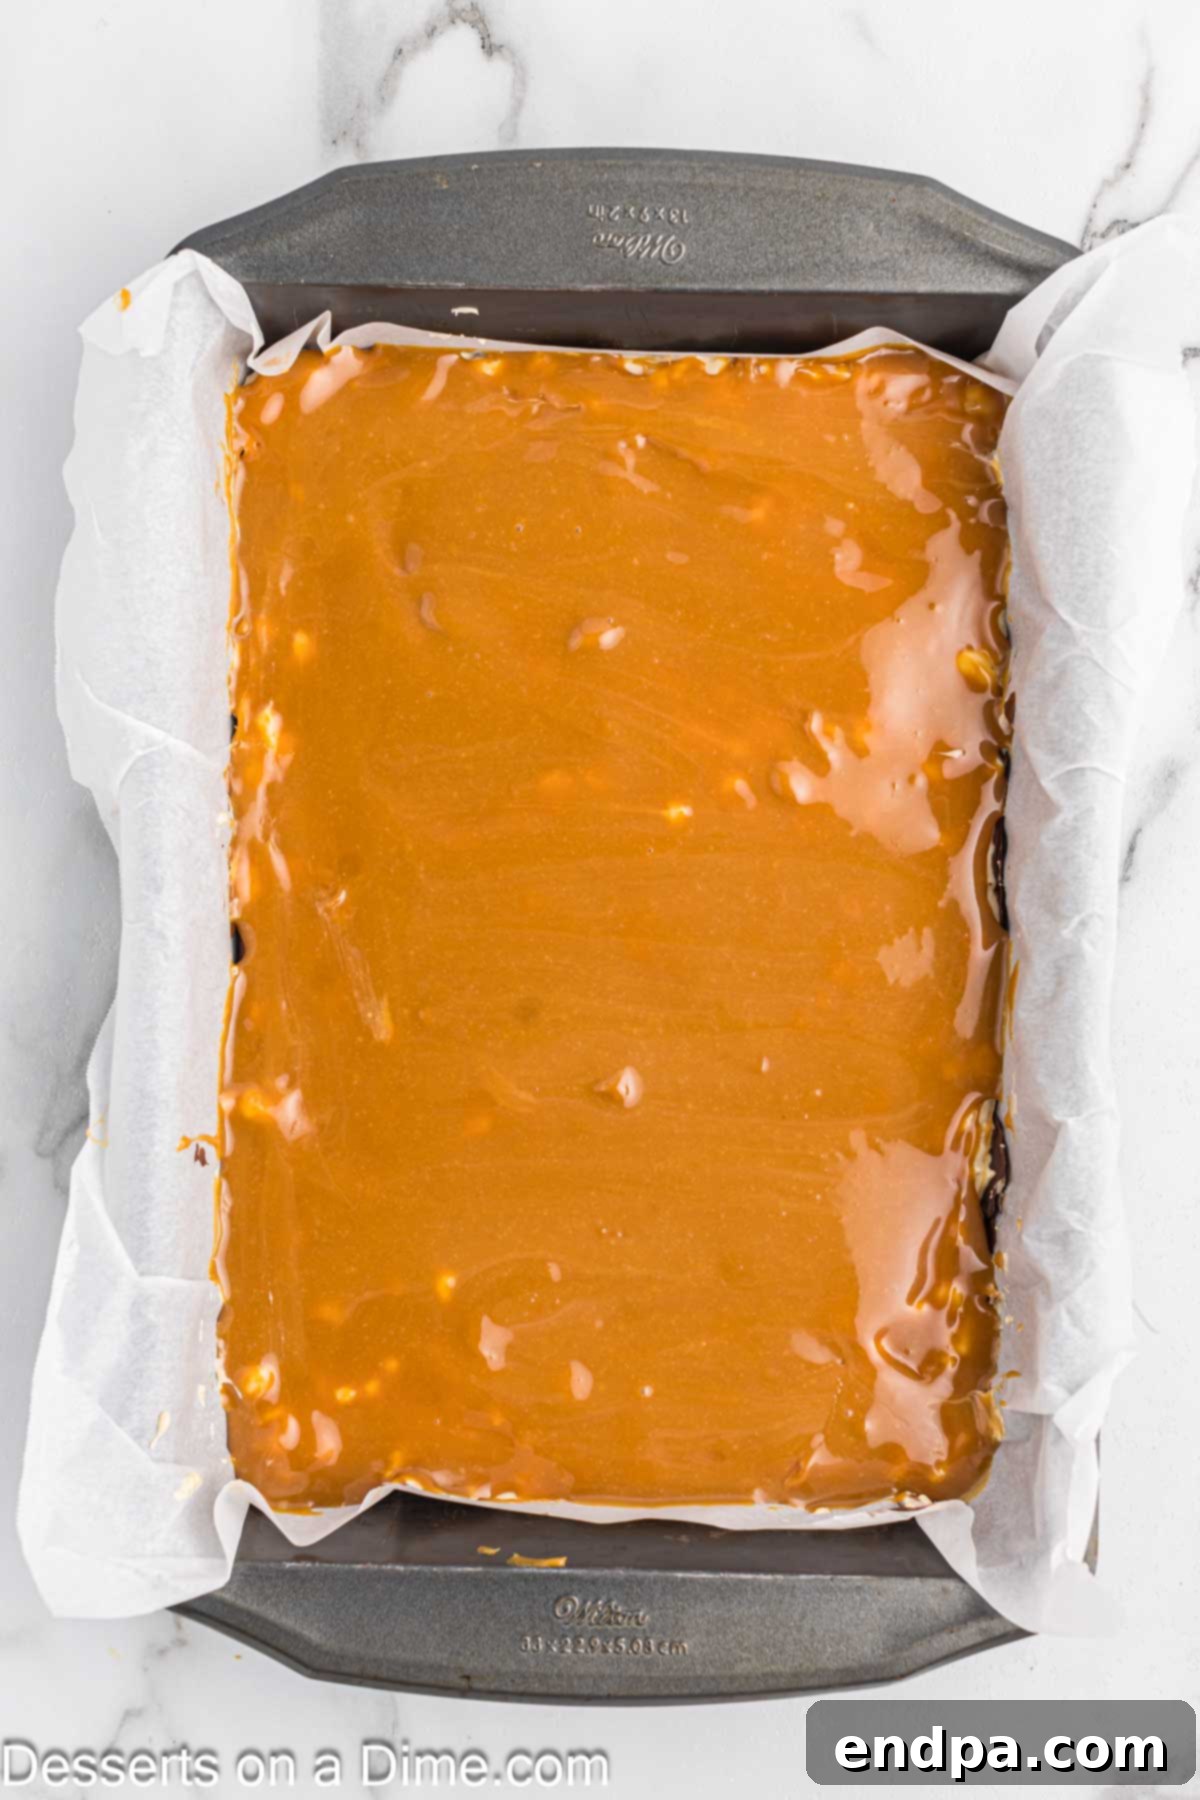
Step 7: Apply the Caramel Layer. Once your nougat layer is firm and chilled from the freezer, retrieve the pan. Pour the warm, melted caramel evenly over the nougat. Use the back of a spoon or a small offset spatula to gently and quickly spread the caramel across the entire surface, aiming for a consistent and smooth layer. Place the pan back into the refrigerator for approximately 30-60 seconds. This brief chilling period allows the caramel to set just enough, firming it up to receive the final chocolate coating without merging with it.
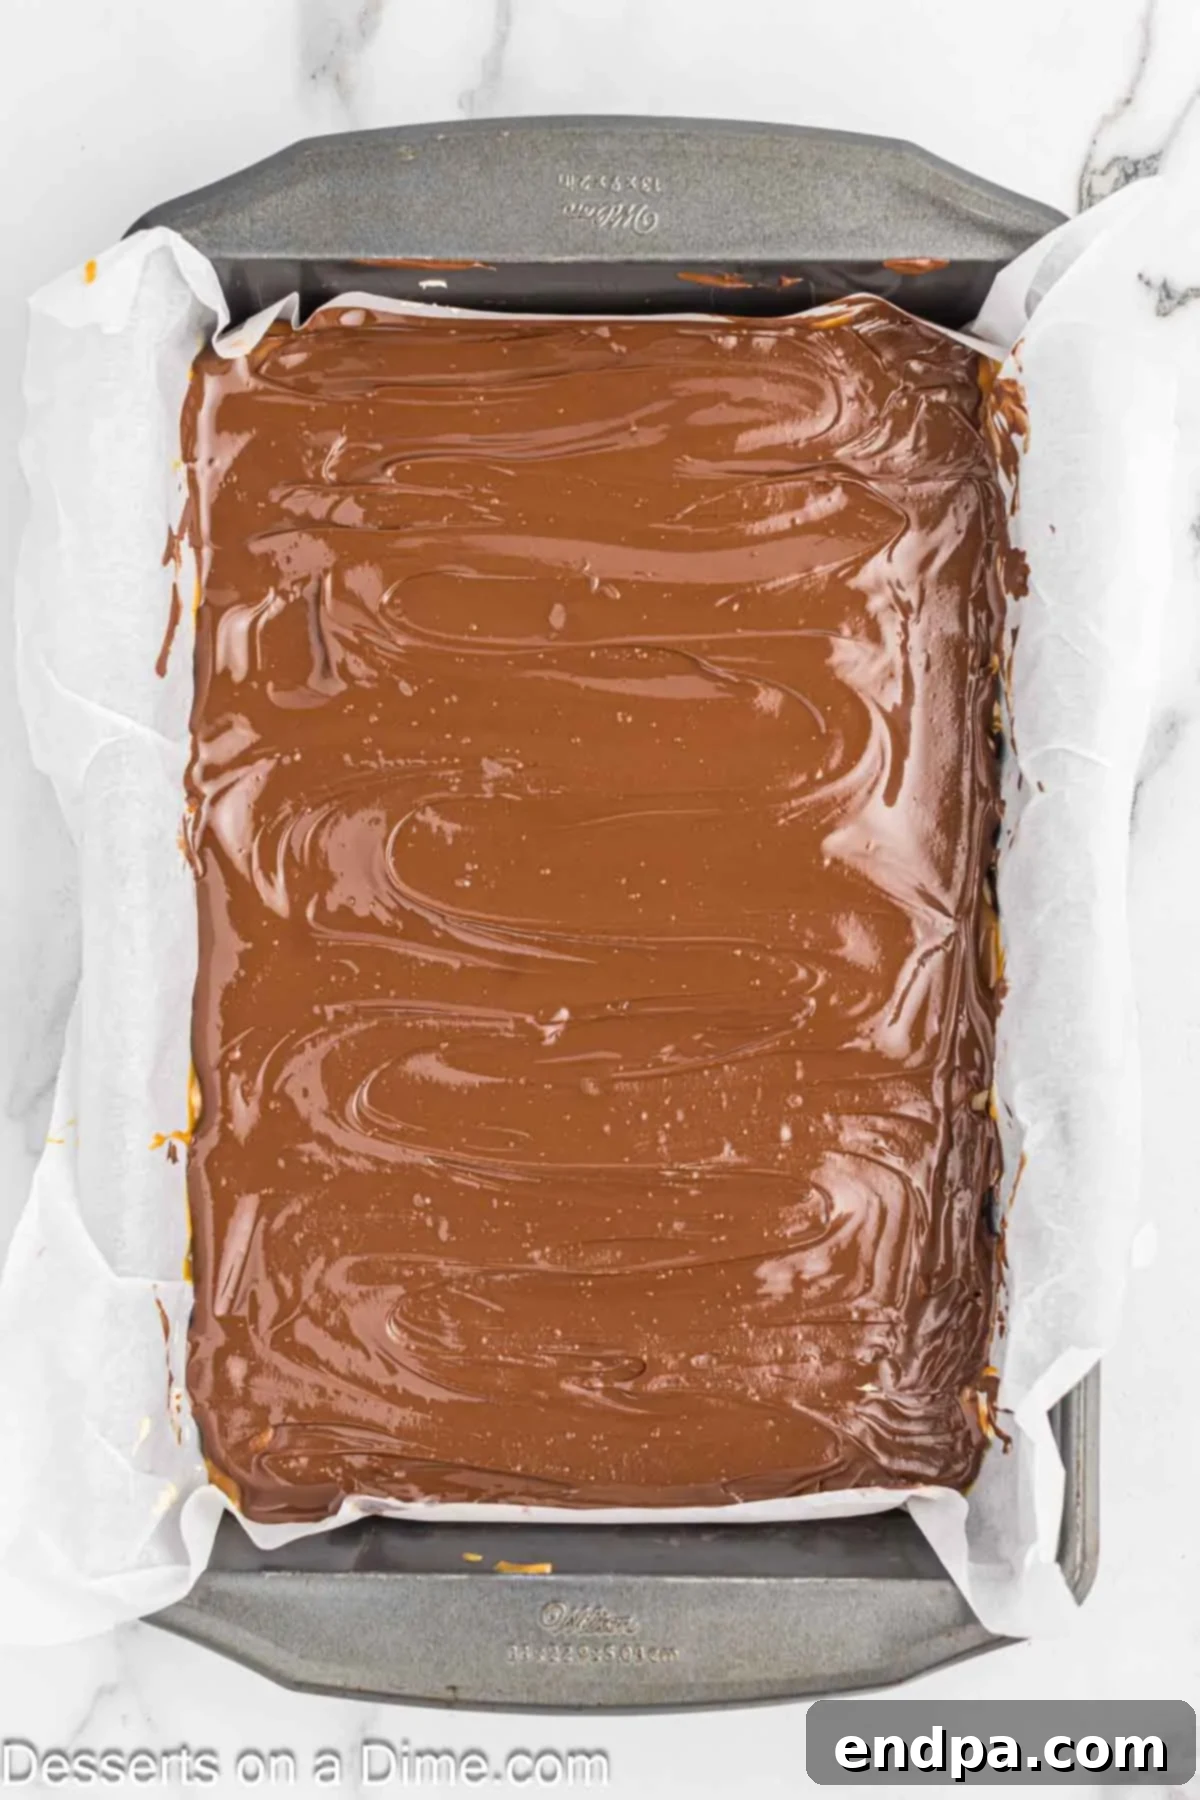
Step 8: The Final Chocolate Coating. For the grand finale, combine the remaining 1 cup of semi-sweet chocolate chips and ¼ cup of creamy peanut butter in a separate microwave-safe bowl. Follow the same melting procedure as the first chocolate layer: microwave for 1 minute, stir, then continue in 30-second intervals with thorough stirring after each, until the mixture is perfectly smooth and fully melted. Pour this glossy chocolate mixture over the set caramel layer and use a spatula to carefully spread it out evenly across the top. Refrigerate the entire pan for a minimum of 30-60 minutes, or until all layers are completely firm and set through.
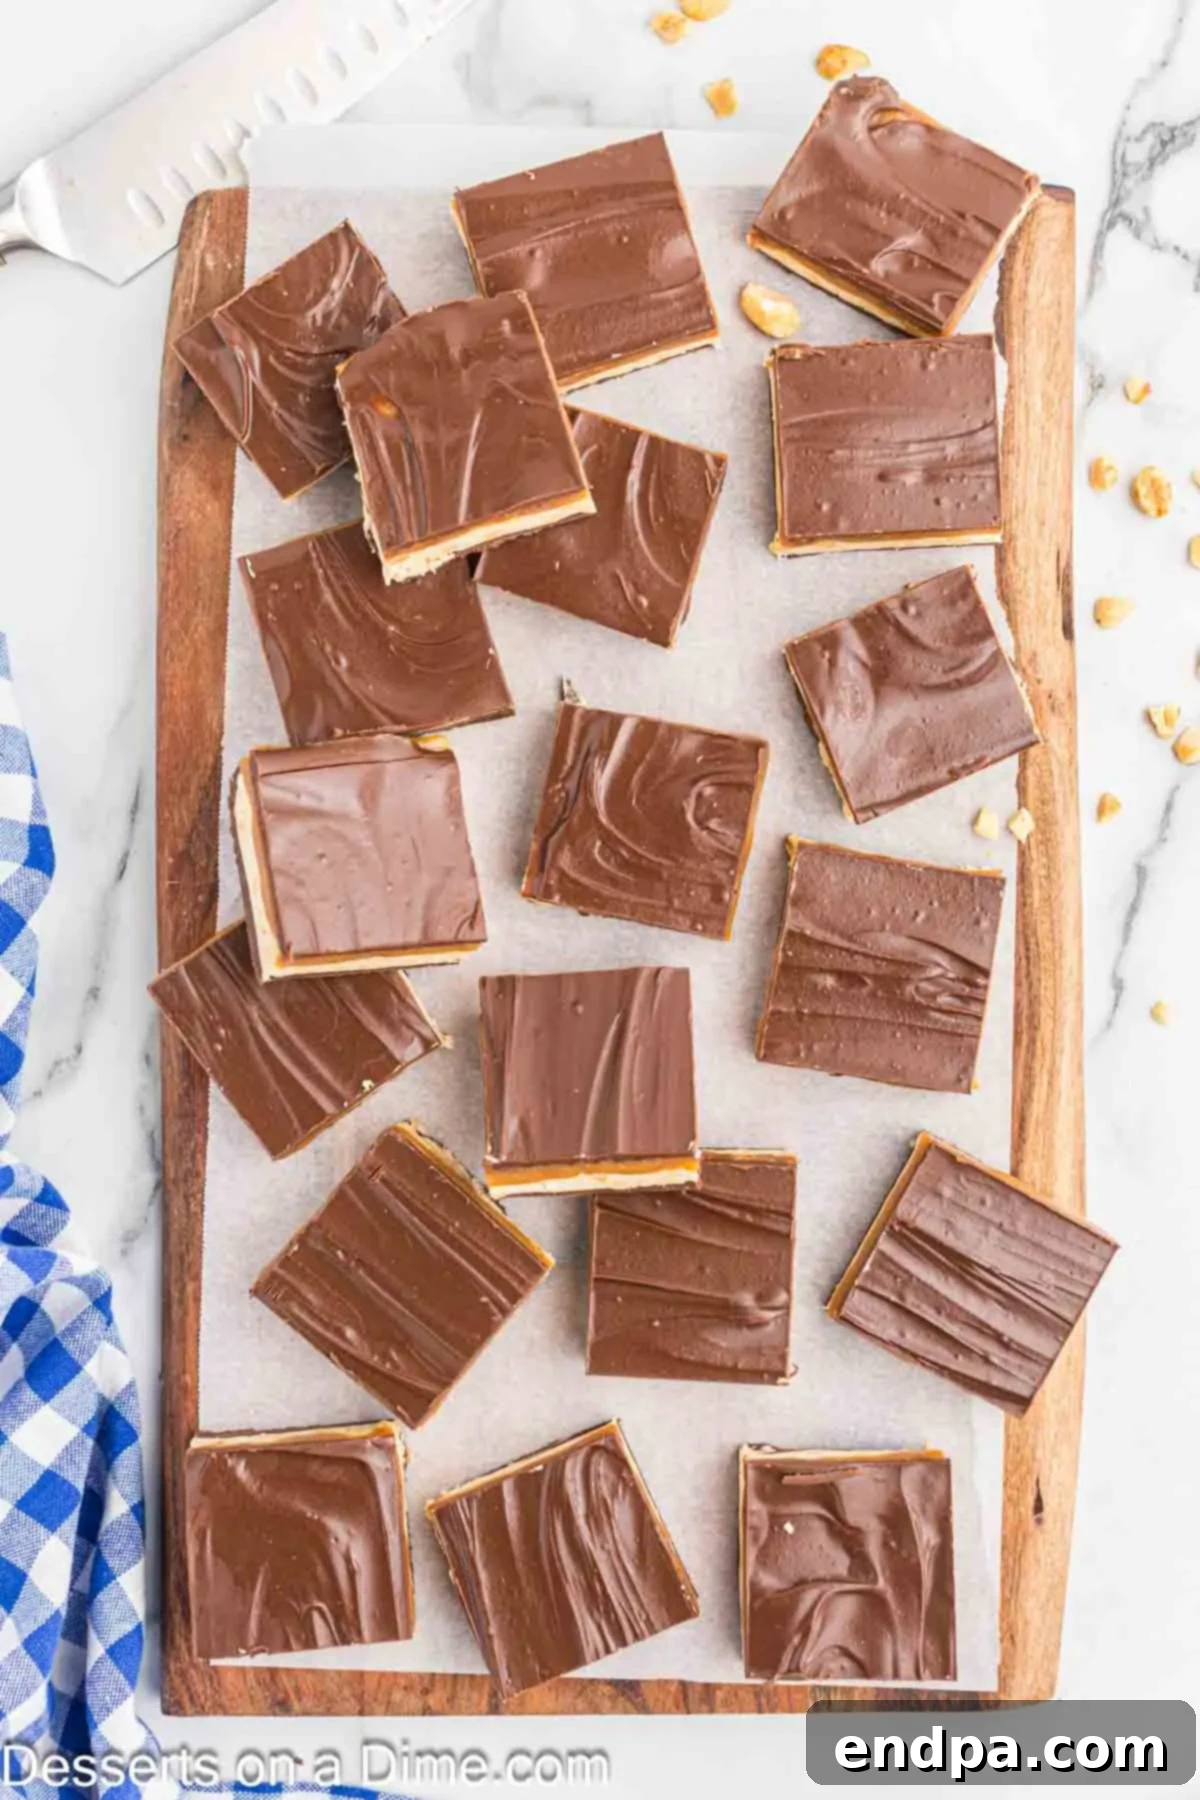
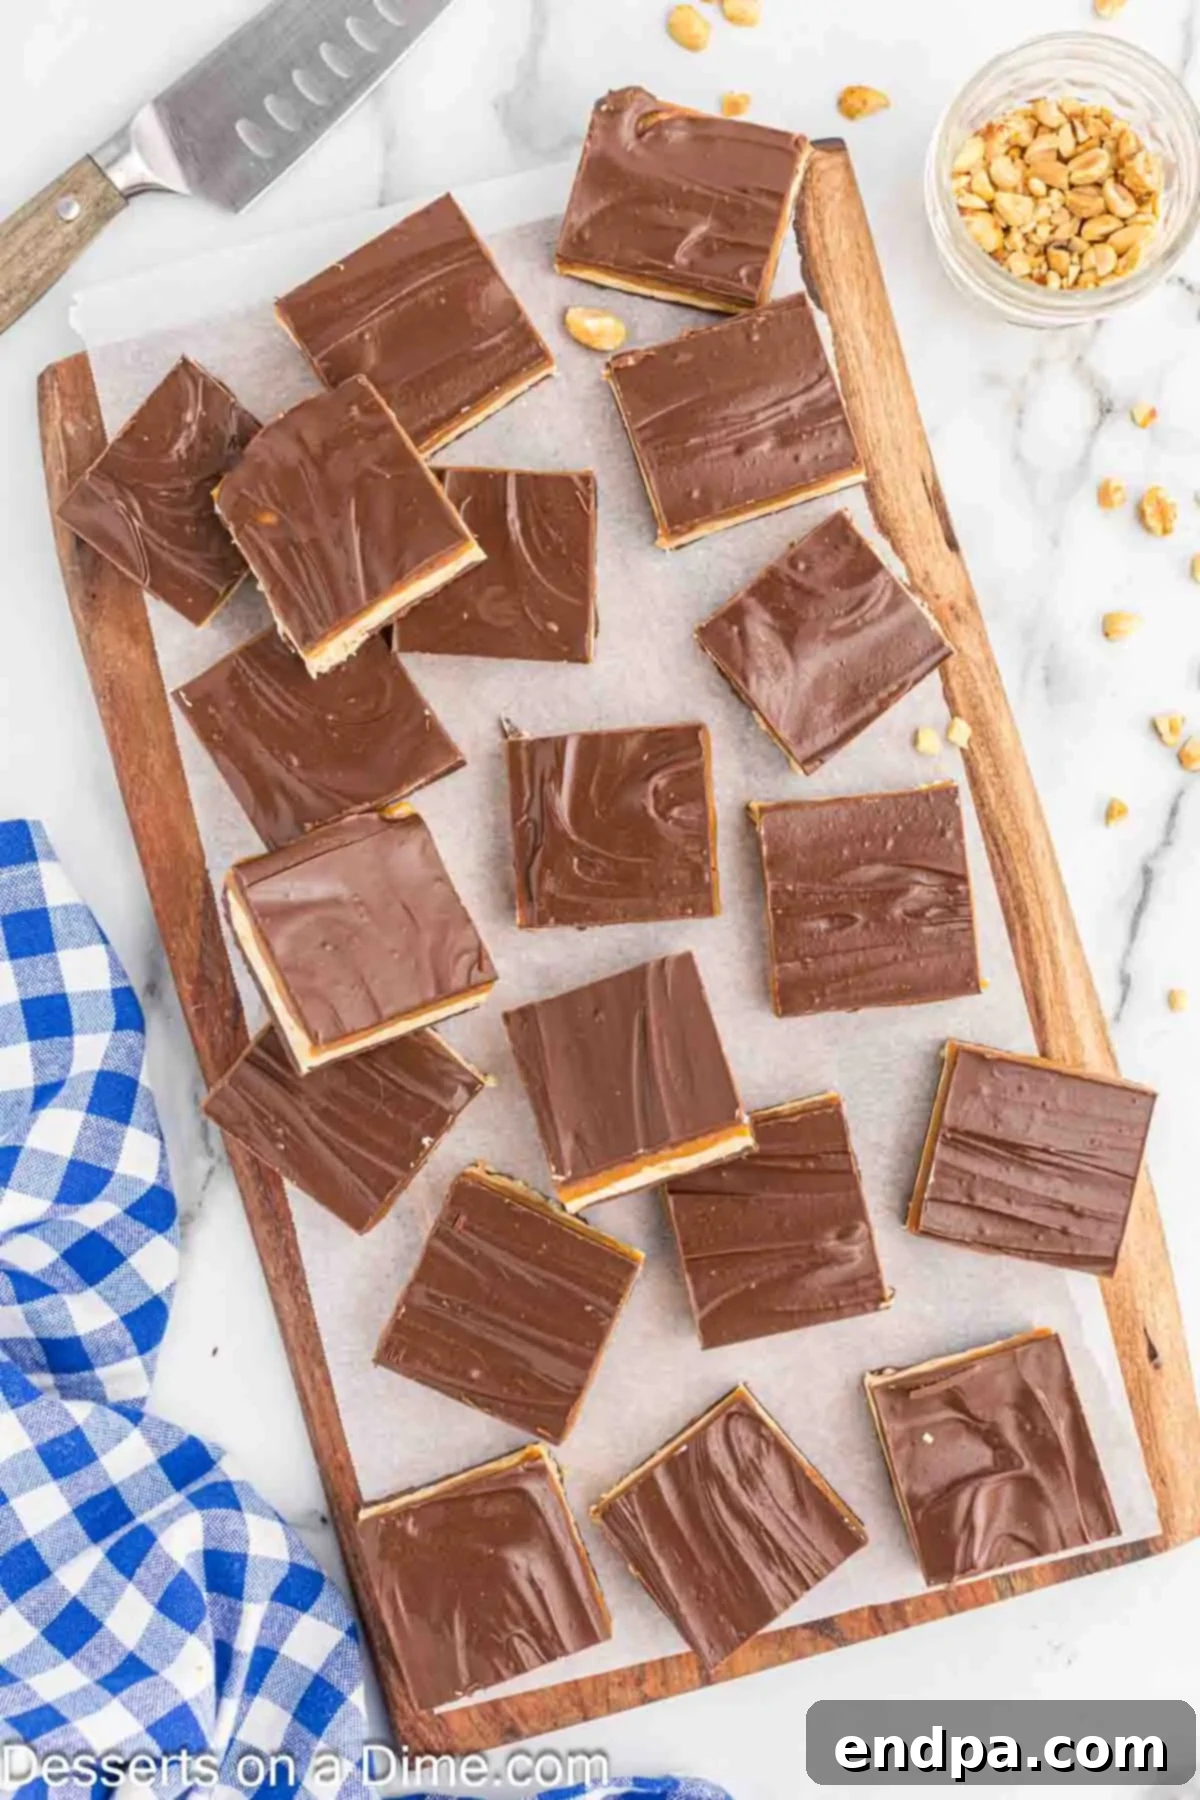
Step 9: Slice and Serve Your Masterpiece. Once your homemade Snickers are thoroughly chilled and firm, gently lift the entire slab out of the pan using the parchment paper “handles.” Place it on a clean cutting board. Using a very sharp knife, carefully cut the large slab into 24 uniform squares or bars. For the cleanest, most professional-looking slices, make sure to wipe your knife clean with a warm, damp cloth between each cut, especially after slicing through the sticky caramel. Allow the finished bars to sit at room temperature for about 30-60 minutes before serving. This brief softening period allows the various textures to become perfectly tender and enjoyable, making each bite an absolute delight.
Effective Storage for Lasting Freshness
To preserve the incredible taste and texture of your homemade Snickers bars, proper storage is essential. Any leftover bars should be stored in an airtight container at room temperature for up to 1 week. If you need to stack them, we highly recommend placing a sheet of wax paper or parchment paper between each layer. This simple trick prevents them from sticking together, maintaining their perfect presentation. For extended freshness, these delicious bars can also be frozen for up to 2-3 months. To do so, wrap individual bars tightly in plastic wrap, then place them in an airtight, freezer-safe container. When you’re ready to enjoy them, simply thaw at room temperature for about 15-30 minutes before indulging.
Pro Tips for Homemade Candy Success
Achieving truly perfect homemade Snickers bars is a rewarding experience, and these expert tips will help you master the process and avoid common pitfalls:
- Sharp Knife for Clean Cuts: For professional-looking, neatly sliced bars, a very sharp chef’s knife is your best friend. Even more importantly, wipe the blade clean with a warm, damp cloth after each cut. This technique prevents sticky residue from the caramel and chocolate from marring your subsequent slices, ensuring every bar has crisp, clean edges.
- Melt Chocolate Gradually: Chocolate is delicate and can seize (harden and become grainy) if overheated. Whether using a microwave or a double-boiler, always melt chocolate chips in short, controlled intervals. In the microwave, use 30-second bursts, stirring thoroughly after each. On the stovetop, use low heat. Remove the chocolate from the heat source just before it’s fully melted, and let the residual heat complete the melting with continuous stirring. Patience here yields perfectly smooth chocolate.
- Stovetop Melting Alternative: If you don’t have a microwave, a double-boiler is an excellent method for melting chocolate. Place your heat-proof bowl of chocolate chips over a saucepan of gently simmering water, ensuring the bottom of the bowl does not touch the water. Stir continuously until the chocolate is smooth and melted. This method provides gentle, even heat distribution, minimizing the risk of burning.
- Invest in Quality Ingredients: The final taste of your homemade Snickers is directly proportional to the quality of your ingredients. Opt for good quality chocolate chips, creamy peanut butter, and fresh caramels. Higher quality components lead to richer flavors and superior textures in your finished candy.
- Creamy Peanut Butter is Preferred: While chunky peanut butter might seem appealing for extra texture, creamy peanut butter is highly recommended for both the chocolate and nougat layers. Its smooth consistency ensures a uniform texture within the layers, contributing to the overall decadent mouthfeel of the Snickers bar.
- Baking Caramels for Ease: For ultimate convenience and consistent results, utilize pre-packaged baking caramels or caramel bits (such as Kraft Caramels). These are designed to melt smoothly and quickly, saving you the time and effort of making caramel from scratch and simplifying this no-bake recipe significantly.
- Patience During Setting Times: Do not rush the refrigeration or freezing steps between layers. Allowing each layer ample time to set completely is paramount for achieving distinct, clean layers and a firm, well-structured candy bar that holds its shape beautifully when cut.
Frequently Asked Questions (FAQ)
- Can I use milk chocolate instead of semi-sweet chocolate chips?
Yes, you can substitute milk chocolate chips if you prefer. However, please be aware that using milk chocolate will result in a significantly sweeter overall candy bar. Semi-sweet chocolate is recommended as it provides a richer cocoa flavor that helps to balance the sweetness from the nougat and caramel layers, creating a more balanced flavor profile.
- My nougat turned out too sticky or too hard. What might have gone wrong?
The consistency of the nougat is quite sensitive to the cooking time and temperature. If your nougat is too sticky, it likely did not boil for long enough, meaning there was too much moisture left. If it turned out too hard, it was probably boiled for too long or at too high a heat, causing too much liquid to evaporate. Ensure you follow the specified boiling time (3-5 minutes) closely and stir consistently.
- Can these homemade Snickers bars be made ahead of time for an event?
Absolutely! Homemade Snickers bars are an excellent make-ahead dessert. You can prepare them up to a week in advance and store them in an airtight container at room temperature. For longer storage, they can be frozen for up to 2-3 months. Just remember to allow them to soften slightly at room temperature before serving for the best texture.
- What size baking pan is best for this recipe?
A 9×13 inch baking pan is the ideal size for this recipe. It ensures that the layers achieve a traditional thickness, yielding bars of a familiar and satisfying size. If you use a different size pan, your layers may be either thinner or thicker, which will affect the final texture and the number of servings.
- Are these homemade Snickers bars gluten-free?
Most of the ingredients typically used in this recipe—such as chocolate chips, peanut butter, butter, evaporated milk, marshmallow creme, granulated sugar, peanuts, caramels, heavy whipping cream, and vanilla extract—are naturally gluten-free. However, to ensure your homemade Snickers are completely gluten-free, it is crucial to carefully check the labels of all individual ingredients for any hidden gluten-containing additives or cross-contamination warnings, especially if catering to individuals with celiac disease or severe gluten sensitivity.
More Snickers-Inspired Recipes
Easy Candy
Snickers Popcorn
Easy Cupcake
Snickers Cupcakes
Easy Candy
Deep Fried Snickers
Homemade Snickers Bars Recipe Card
Get ready to create these utterly delicious and satisfying homemade Snickers bars with our detailed recipe. This no-bake treat is perfect for satisfying your sweet cravings or sharing with friends and family!
Snickers Bar
Rating: 5 out of 5 stars (from 1 vote)
Prep Time: 15 minutes
Cook Time: 15 minutes
Refrigerate until Set: 1 hour
Total Time: 1 hour 30 minutes
Servings: 24
Cuisine: American
Course: Dessert
Calories: 324 kcal
Author: Carrie Barnard
Ingredients
For the Chocolate Layers:
- 2 cups Semi-Sweet Chocolate Chips, divided
- 1/2 cup Creamy Peanut Butter, divided
For the Nougat Layer:
- 1/4 cup Unsalted Butter
- 1 cup Granulated Sugar
- 1/4 cup Evaporated Milk
- 7 ounces Marshmallow Creme
- 1/4 cup Creamy Peanut Butter
- 1 teaspoon Vanilla Extract
- 1 1/2 cups Salted Peanuts, roughly chopped
For the Caramel Layer:
- 11 ounces Caramels, unwrapped or use caramel bits
- 1/4 cup Heavy Whipping Cream
Instructions
- Line a 9×13 inch baking pan with parchment paper, ensuring the paper hangs over the edges for easy removal.
- For the 1st Chocolate Layer: In a microwave-safe bowl, combine 1 cup of chocolate chips and ¼ cup of creamy peanut butter. Microwave for 1 minute, then stir. Continue microwaving in 30-second intervals, stirring after each, until smooth.
- Spread this mixture into the bottom of the prepared pan and freeze while preparing the next layer.
- For the Nougat Layer: Melt 1/4 cup unsalted butter in a medium saucepan over medium-high heat. Stir in 1 cup granulated sugar and 1/4 cup evaporated milk until sugar dissolves.
- Bring the mixture to a low boil and cook for 3-5 minutes, stirring occasionally.
- Remove from heat. Stir in 7 ounces marshmallow creme, 1/4 cup creamy peanut butter, and 1 teaspoon vanilla extract until combined. Then stir in 1 1/2 cups roughly chopped salted peanuts.
- Pour this nougat mixture over the chocolate layer in the pan, spreading evenly, and return the pan to the freezer to set.
- For the Caramel Layer: Place 11 ounces unwrapped caramels and 1/4 cup heavy whipping cream in a microwave-safe bowl. Heat for 45 seconds.
- Stir, then continue heating in 30-second intervals, stirring after each, until the caramel is melted and smooth.
- Pour the melted caramel over the nougat layer, spreading it out evenly with the back of a spoon.
- Refrigerate for 30-60 seconds until the caramel is fully set.
- For the 2nd Chocolate Layer: In a microwave-safe bowl, combine the remaining 1 cup of chocolate chips and ¼ cup of creamy peanut butter.
- Microwave for 1 minute, then stir. Continue microwaving in 30-second intervals, stirring after each, until smooth.
- Pour this over the caramel layer and use a spatula to spread it into an even layer. Refrigerate until completely set (30-60 minutes).
- For Serving: Remove the Snickers from the pan using the parchment paper handles. Cut into 24 squares with a sharp knife, wiping the knife clean between slices. Let them sit at room temperature for 30-60 minutes to soften slightly before serving and enjoying!
Recipe Notes
Store any leftovers in an airtight container for up to 1 week. If stacking, separate layers with wax paper to prevent sticking.
Nutrition Facts (per serving)
Calories: 324 kcal, Carbohydrates: 37g, Protein: 6g, Fat: 18g, Saturated Fat: 7g, Polyunsaturated Fat: 3g, Monounsaturated Fat: 7g, Trans Fat: 0.1g, Cholesterol: 10mg, Sodium: 111mg, Potassium: 240mg, Fiber: 2g, Sugar: 29g, Vitamin A: 115IU, Vitamin C: 0.1mg, Calcium: 49mg, Iron: 1mg
We genuinely hope you enjoy creating and savoring this incredible recipe for Homemade Snickers. Please take a moment to come back and leave a star recipe rating and a comment once you’ve made them. Your valuable feedback is greatly appreciated by us and our community of home bakers!
