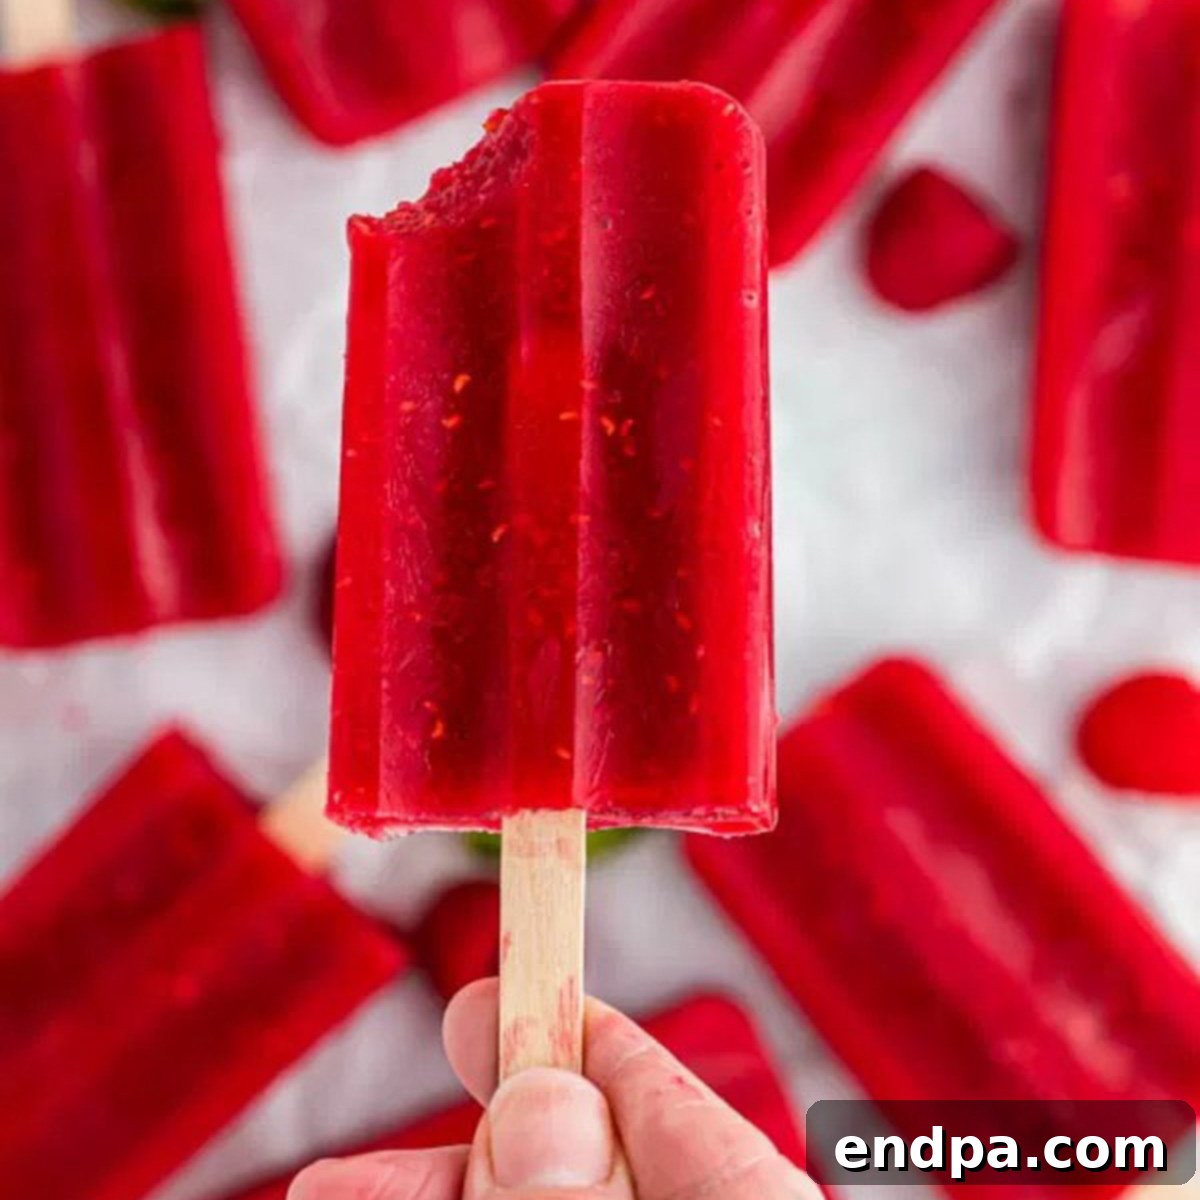
The Ultimate 3-Ingredient Raspberry Popsicle Recipe: Your Go-To Summer Treat
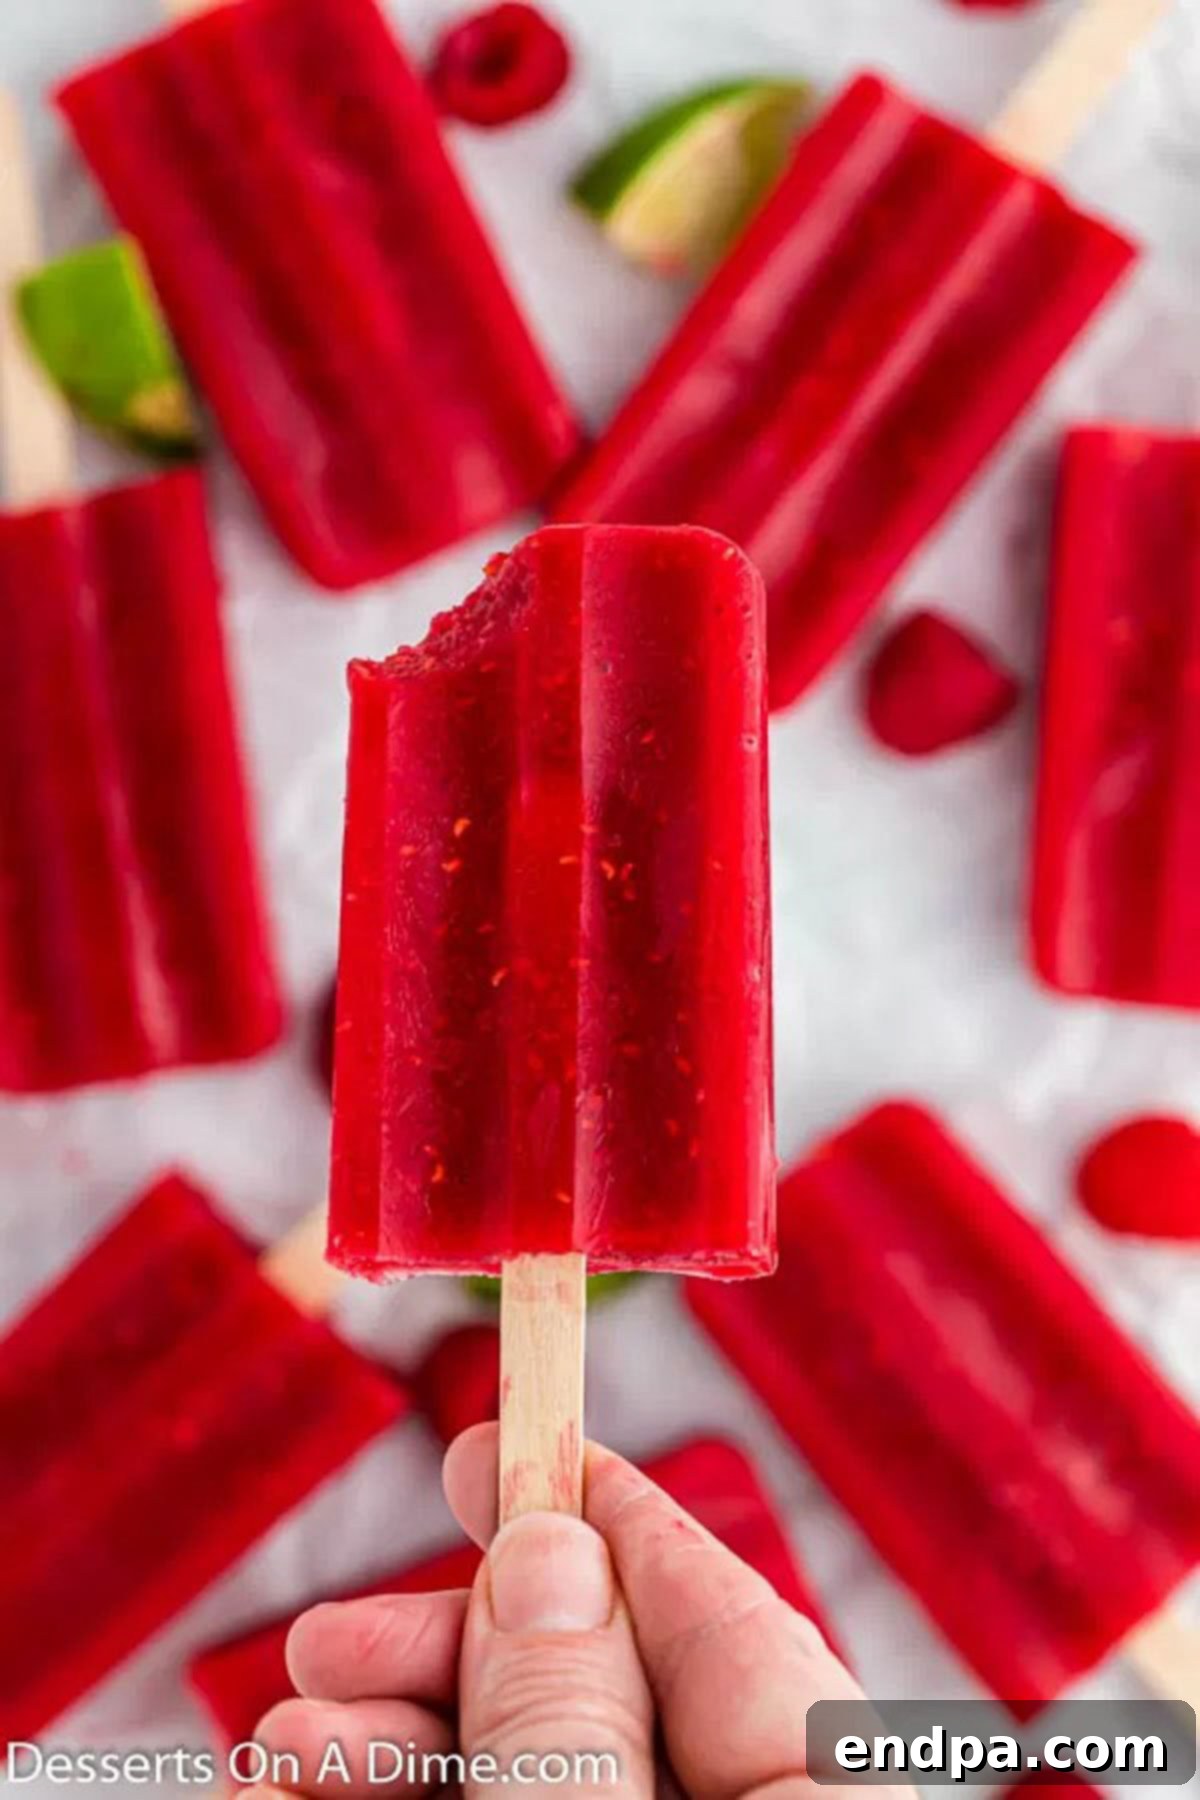
Craving a refreshing and vibrant treat that’s incredibly easy to make? Look no further than this delightful raspberry popsicle recipe. With just three simple ingredients and minimal effort, you can create a batch of homemade popsicles that are bursting with bright, natural raspberry flavor. Perfect for hot summer days, a healthy snack, or a delightful dessert, these popsicles are sure to become a family favorite.
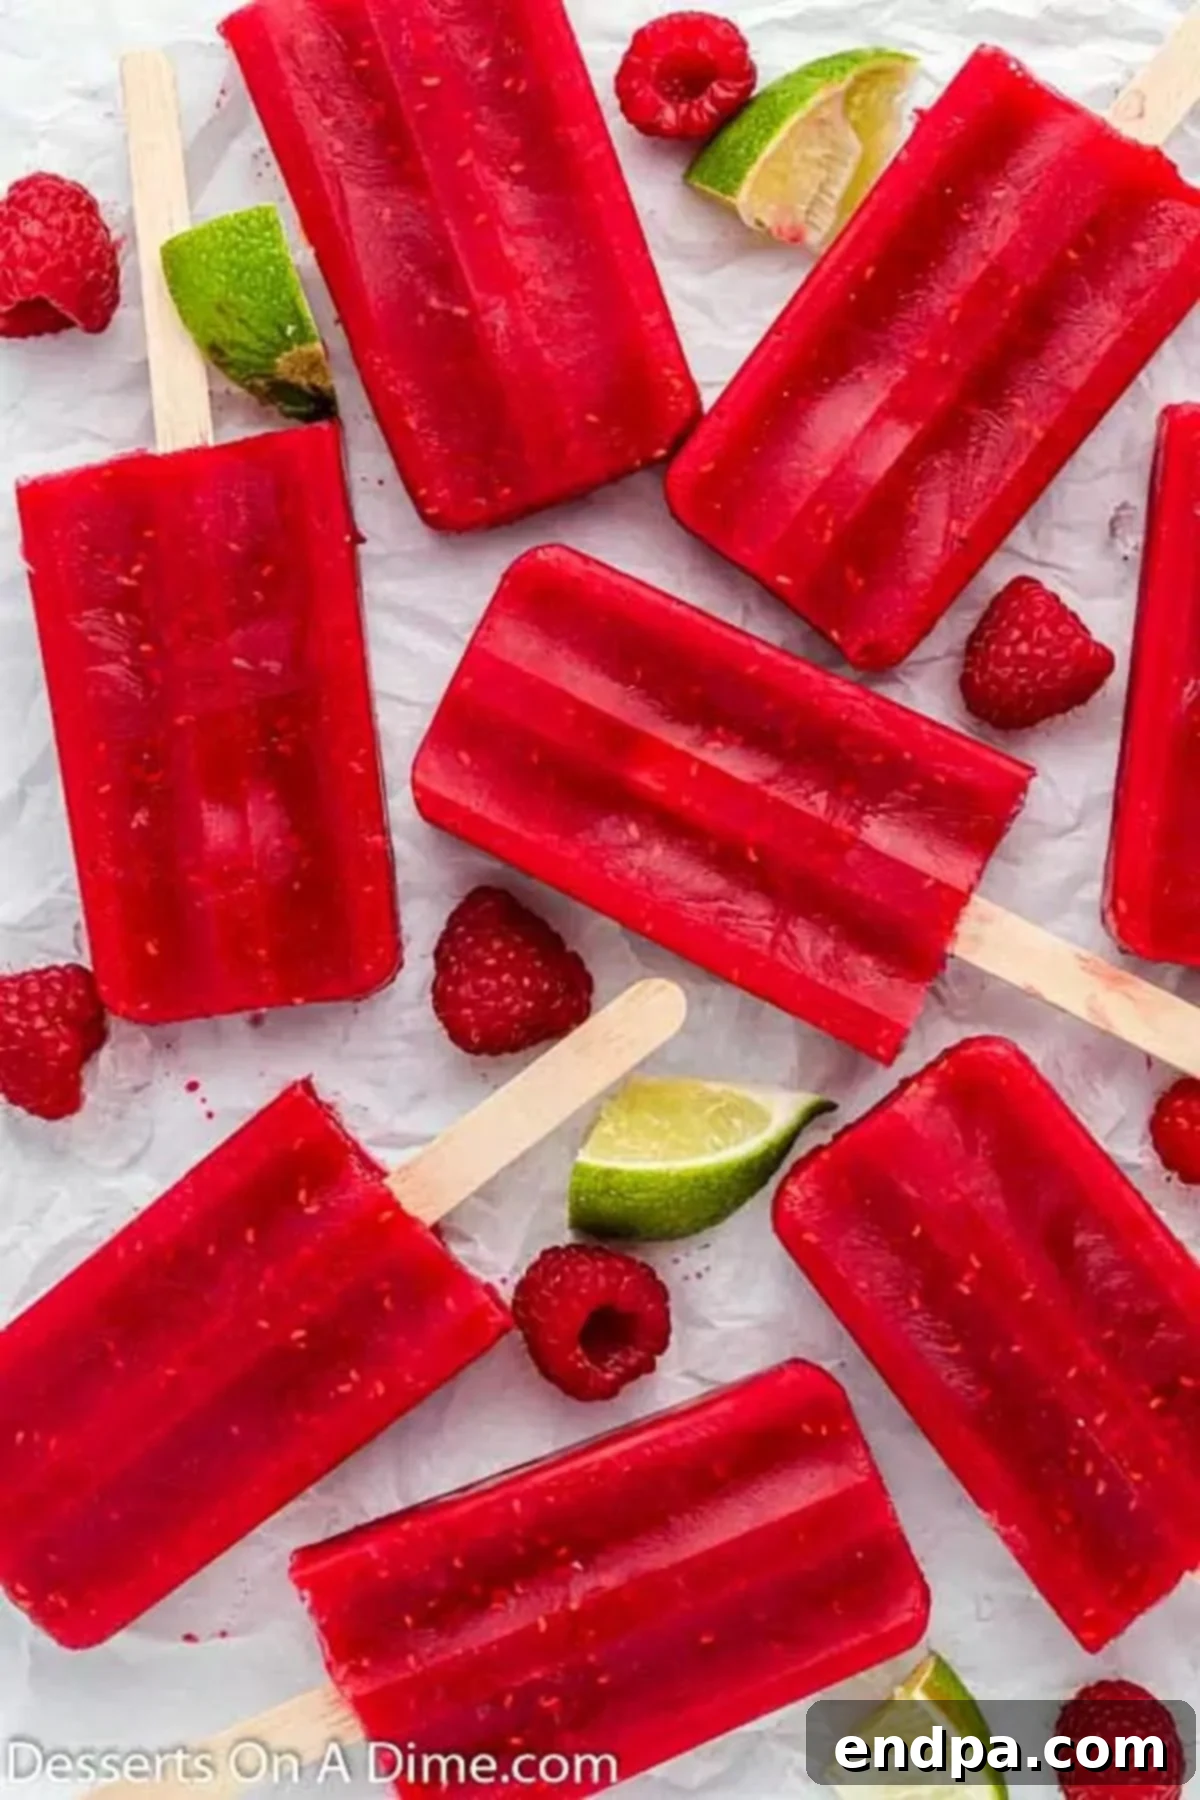
Making your own raspberry popsicles from fresh or frozen berries is a simple joy. This recipe proves that you don’t need a long list of complex ingredients or hours in the kitchen to whip up something truly special. The minimal prep time belies the big impression these sweet and tangy frozen treats will make. They’re effortlessly delicious and incredibly versatile.
This recipe is designed to fit even the busiest of schedules, offering a quick and healthy alternative to store-bought options. If you love homemade frozen treats, you might also enjoy exploring other refreshing flavors. For a tropical twist, try Cherry Pineapple Popsicles or Mango Popsicles. Citrus lovers will adore Lemon Lime Popsicles, while those who enjoy a kick might gravitate towards Mango Tajin Popsicles. And if you’re in the mood for something creamier, don’t miss our Greek Yogurt Popsicles, Strawberry Crunch Bars, or classic Banana Popsicles. Each one offers a unique and satisfying way to beat the heat.
Table of Contents
- Why You’ll Love These Raspberry Popsicles
- Should I Use Fresh or Frozen Raspberries?
- Equipment You’ll Need
- Ingredients
- Step-by-Step Instructions
- Expert Tips for Perfect Popsicles
- Customizing Your Raspberry Popsicles
- FAQs
- More Raspberry Desserts
- More Homemade Popsicle Recipes
Why You’ll Love These Raspberry Popsicles
- Incredibly Easy: With only 3 ingredients and a few minutes of prep, this recipe is perfect for beginners and seasoned home cooks alike.
- Naturally Delicious: The star of the show is the fresh raspberry flavor, enhanced by a touch of sweetness and a hint of lime.
- Healthy & Wholesome: Made with real fruit, these popsicles are a guilt-free treat, free from artificial colors or flavors.
- Perfect for Any Occasion: Whether it’s a scorching summer day, a casual backyard BBQ, or just a simple after-dinner dessert, these popsicles hit the spot.
- Kid-Friendly: Kids love popsicles, and they’ll adore the vibrant color and sweet-tart taste of these raspberry gems. Plus, they can even help make them!
Should I Use Fresh or Frozen Raspberries?
When it comes to crafting these delightful raspberry popsicles, you have the flexibility to choose between fresh or frozen raspberries. Both options yield fantastic results, allowing you to enjoy this treat year-round. The key is understanding how each type of berry impacts the preparation process.
If fresh raspberries are in season and available at a good price, they are an excellent choice. Their vibrant flavor and natural sweetness are often at their peak, contributing to an incredibly bright and authentic taste in your popsicles. Opting for fresh berries allows you to fully experience the natural essence of the fruit.
However, don’t underestimate the convenience and quality of frozen raspberries. They are harvested at their prime and flash-frozen, locking in their flavor and nutrients. Frozen raspberries are a superb alternative, especially when fresh ones are out of season or more expensive. The popsicles will still turn out wonderfully delicious and refreshing.
A crucial tip if you choose to use frozen raspberries: allow them to thaw completely before blending. Thawing helps the berries soften and release their juices, making it much easier for them to combine smoothly with the other ingredients in your blender or food processor. Attempting to blend frozen berries directly can result in a chunkier texture and potentially overwork your appliance. A gentle thaw will ensure a silky-smooth popsicle base.
Equipment You’ll Need
Gathering the right tools before you start will make the popsicle-making process even smoother:
- Blender or Food Processor: Essential for pureeing the raspberries and combining all the ingredients into a smooth mixture. A high-speed blender will create the silkiest texture, but any standard blender or food processor will work well.
- Popsicle Molds: These come in various shapes and sizes, from classic oval molds to fun novelty designs. Silicone molds are particularly easy to use for removing the frozen pops. Ensure your molds come with sticks or have slots for them.
- Popsicle Sticks: If your molds don’t include reusable sticks, you’ll need a supply of wooden popsicle sticks.
- Measuring Cups and Spoons: For accurate ingredient measurements.
- Fine-Mesh Strainer (Optional): If you prefer a completely seedless popsicle, a fine-mesh strainer will be useful after blending.
Ingredients
This recipe truly shines with its simplicity, calling for just three core ingredients:
- Fresh or Frozen Raspberries: The star of the show. Choose ripe, plump fresh berries for the best flavor, or opt for convenient frozen raspberries.
- Granulated Sugar: To sweeten the popsicles to your desired taste. The amount can be adjusted based on the sweetness of your berries and your personal preference.
- Lime Juice: Freshly squeezed lime juice adds a bright, tangy note that perfectly complements the raspberries, enhancing their natural flavor and providing a refreshing zing.
The precise measurements for each ingredient can be found in the detailed recipe card towards the end of this article.
Step-by-Step Instructions
Making these raspberry popsicles is incredibly straightforward. Follow these simple steps for a perfect frozen treat every time:
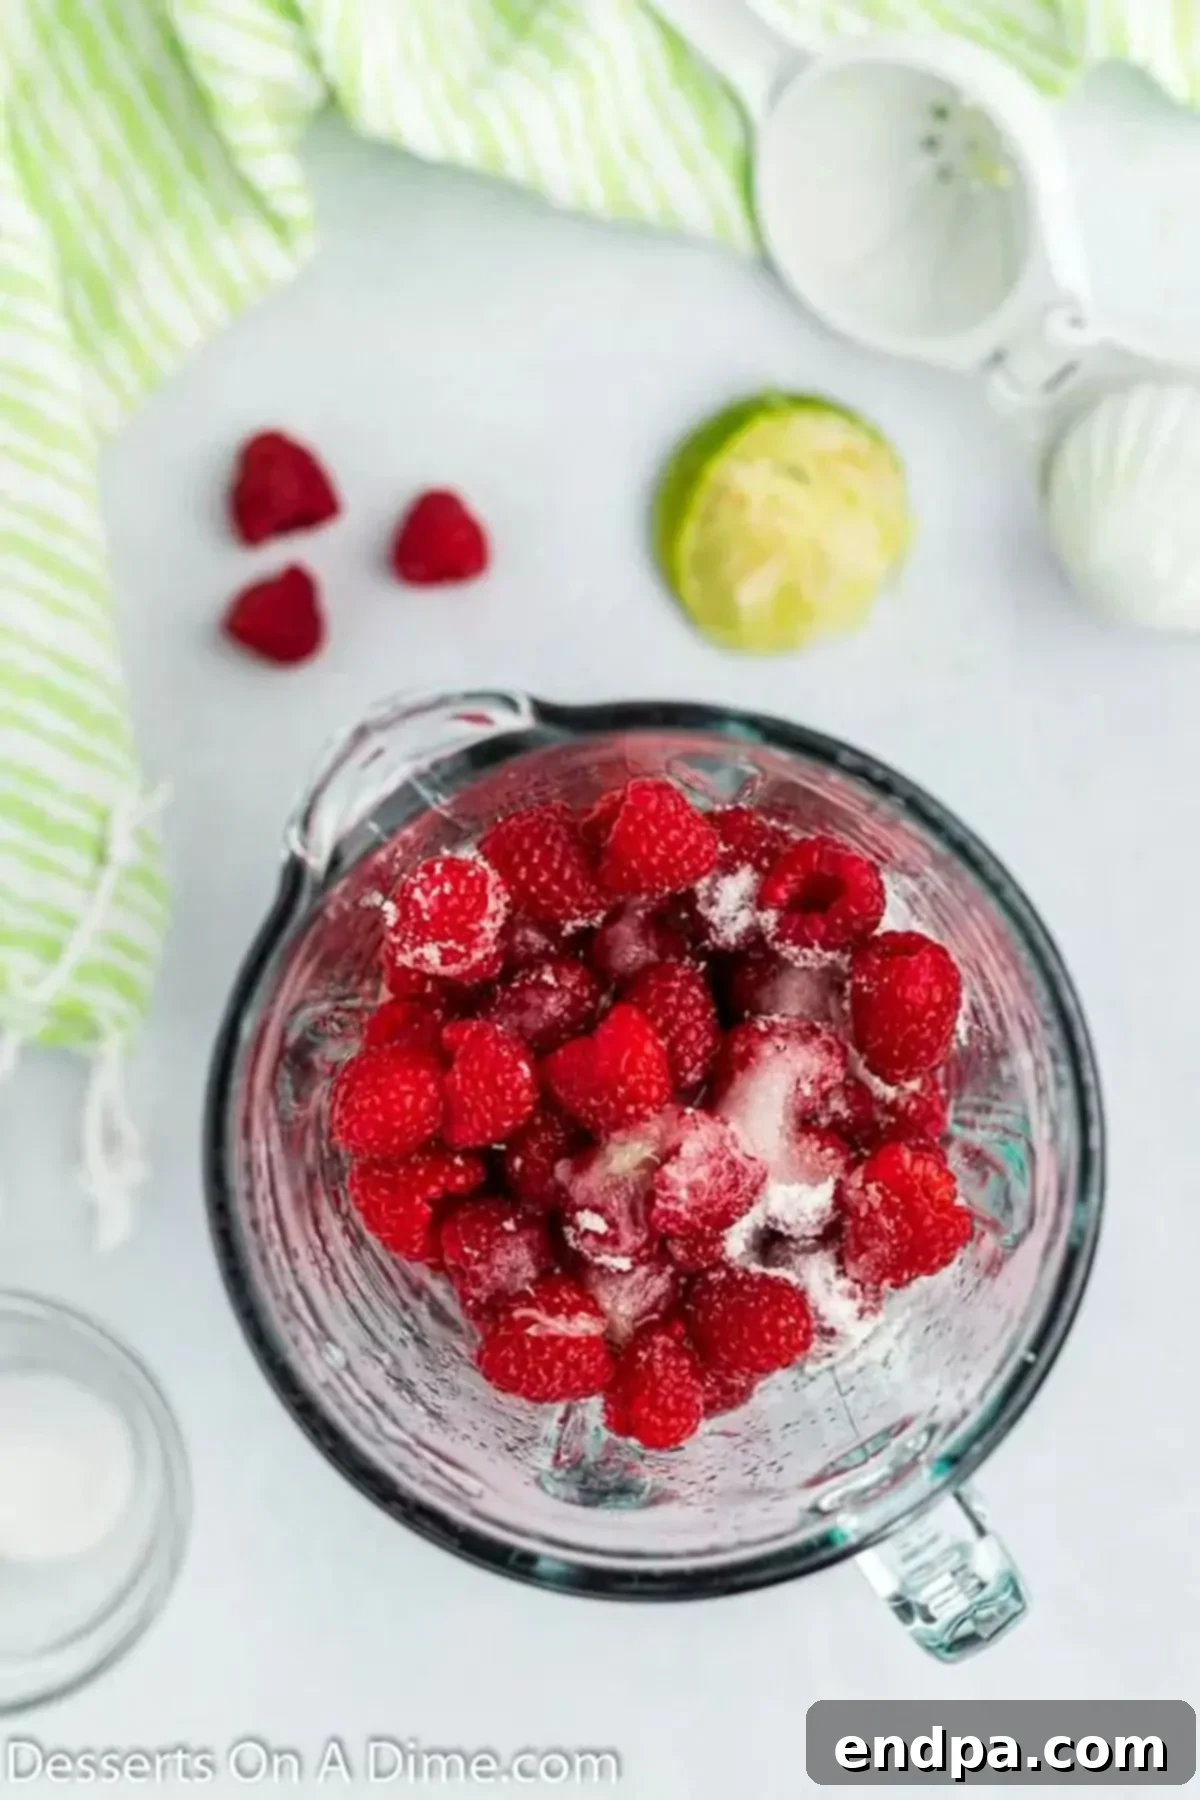
Step 1: Combine Ingredients. Begin by placing all of your ingredients – the fresh or thawed frozen raspberries, sugar, and freshly squeezed lime juice – into a blender or food processor. Ensure your blender has enough capacity to handle the volume of berries.
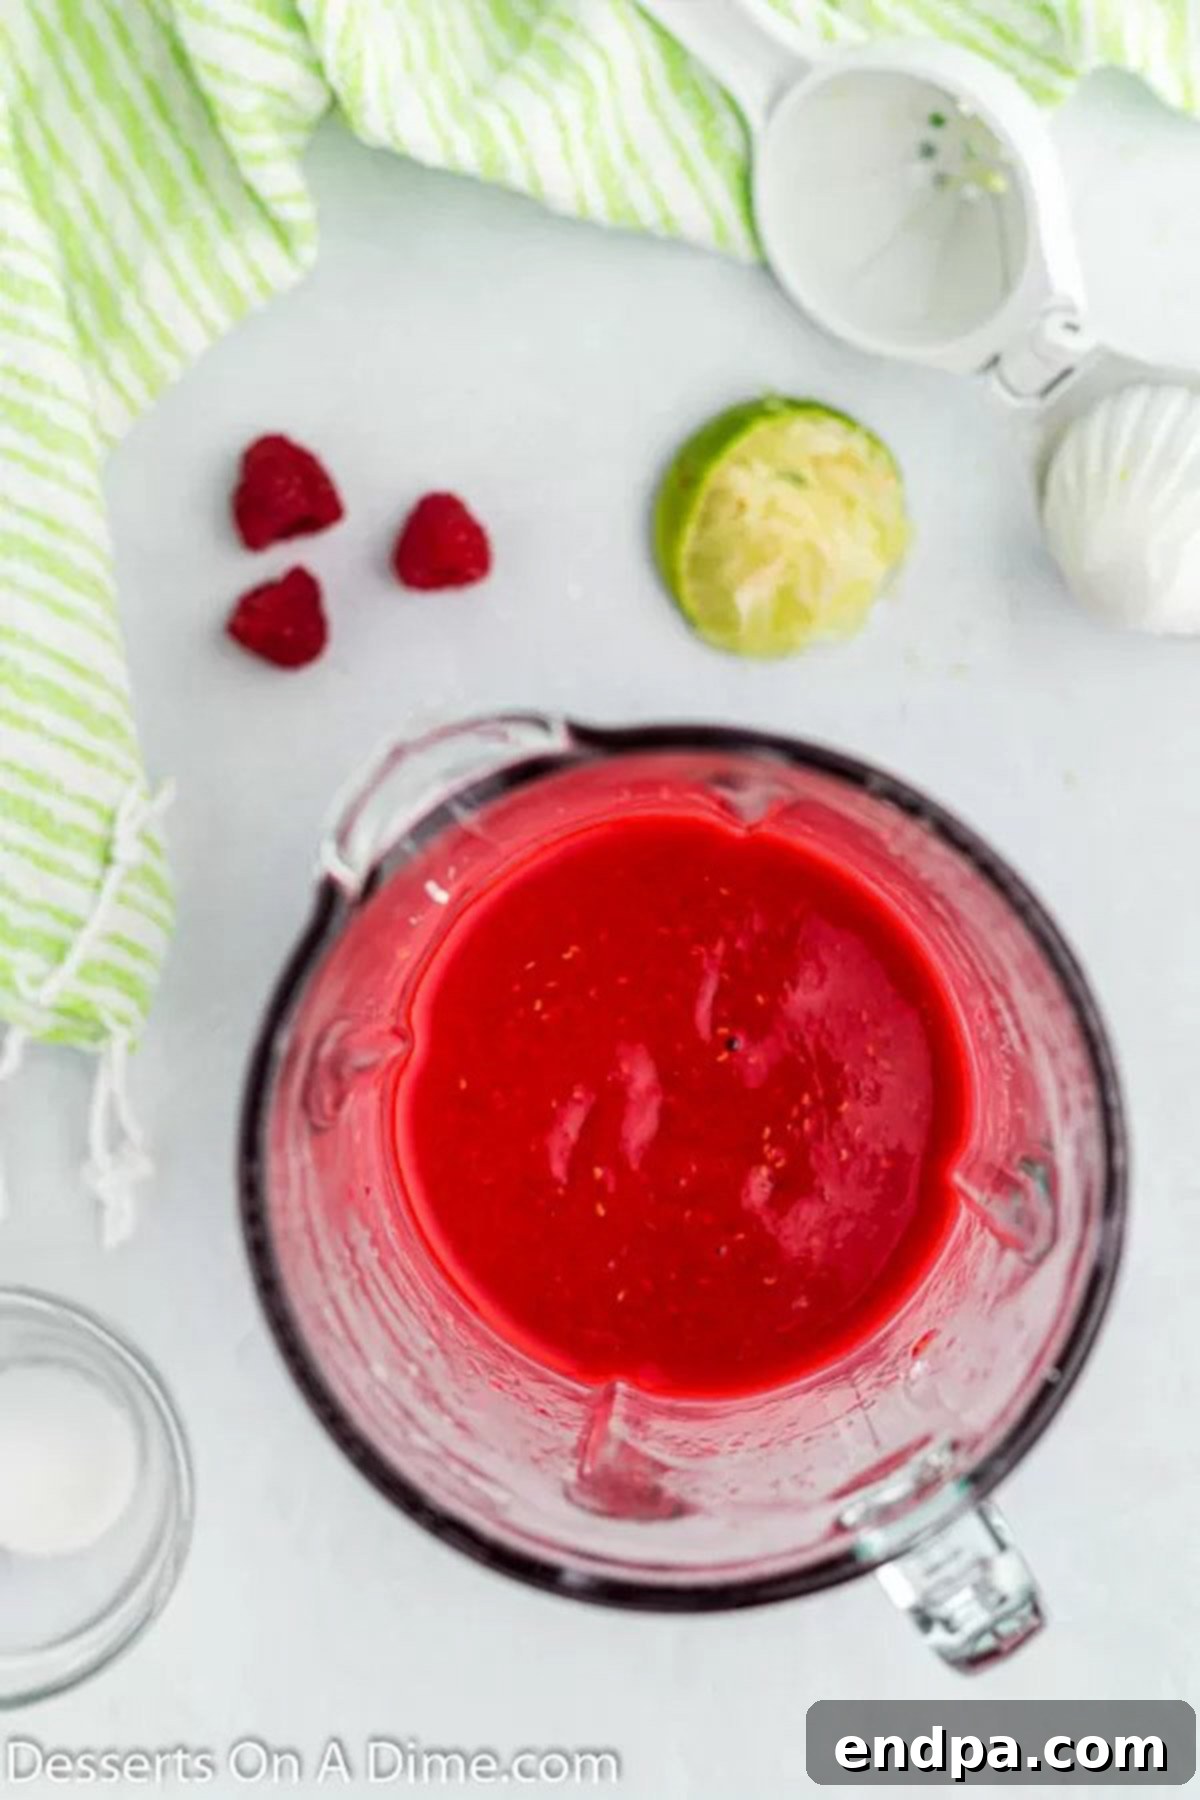
Step 2: Blend Until Smooth. Secure the lid on your blender or food processor and blend the mixture until it is completely well combined and smooth. Depending on your appliance, this may take a minute or two. Scrape down the sides if necessary to ensure all ingredients are incorporated. If you prefer a completely seedless popsicle, you can strain the mixture through a fine-mesh sieve at this stage, pressing down on the solids to extract all the juice. This step is entirely optional.
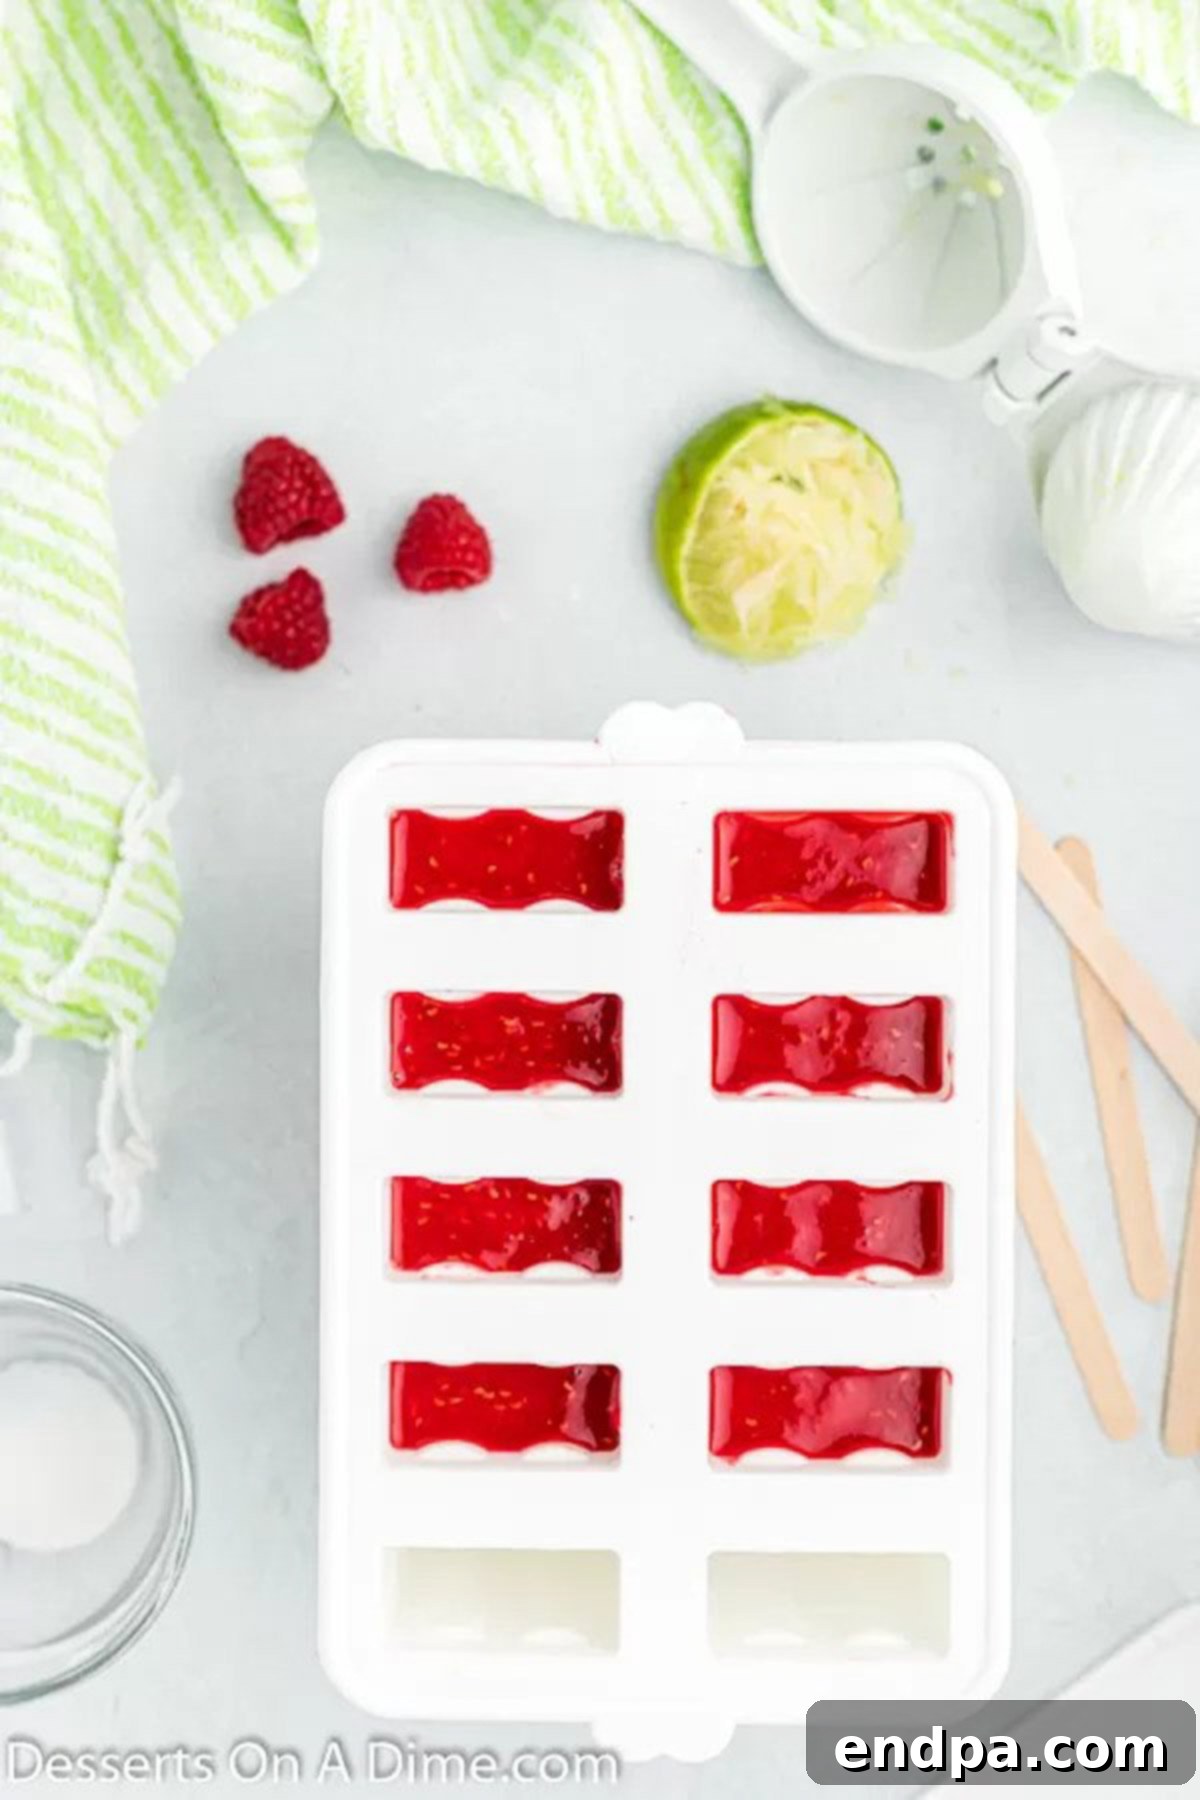
Step 3: Pour into Molds. Carefully pour the blended raspberry mixture into your popsicle molds. Fill each mold almost to the top, leaving a small amount of space to account for expansion as the liquid freezes. Avoid overfilling, as this can make it difficult to insert the sticks and remove the popsicles later.
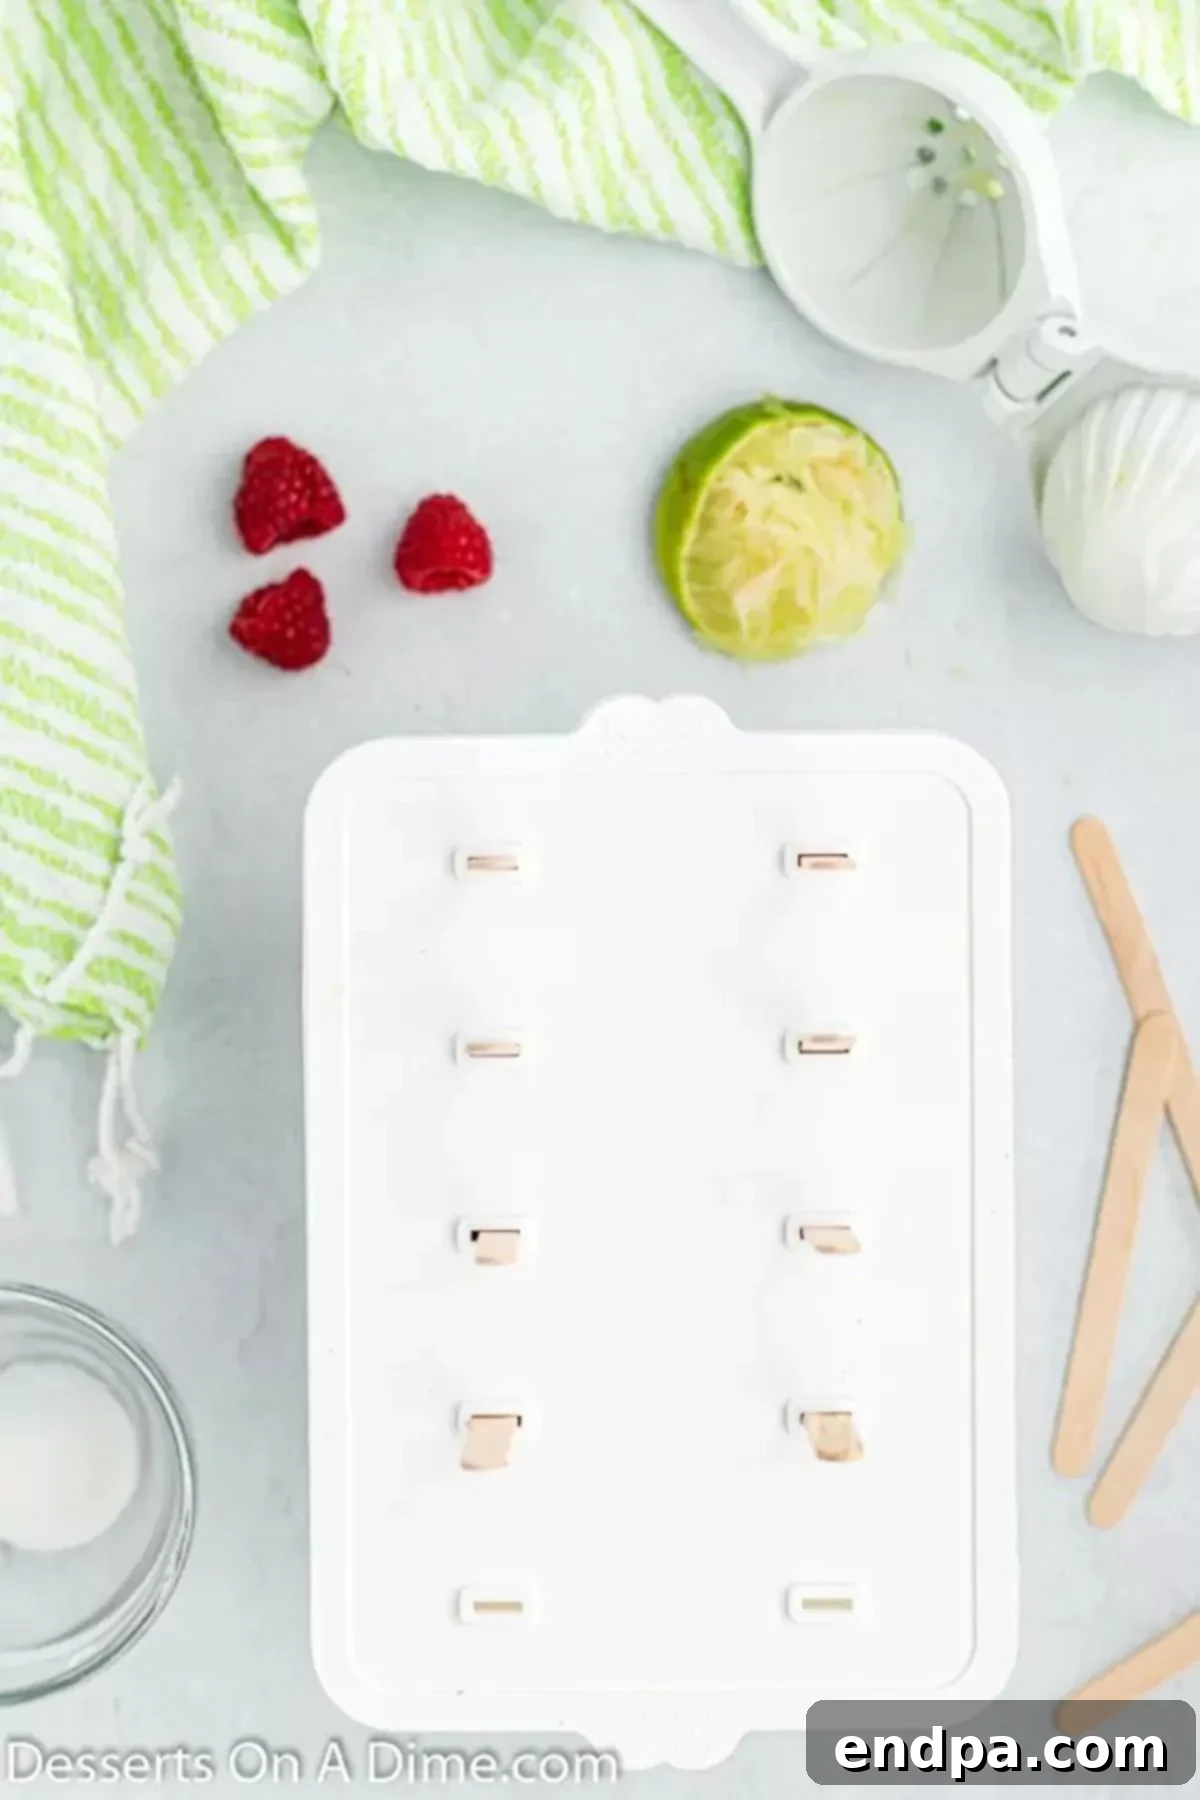
Step 4: Insert Sticks and Freeze. Once the molds are filled, insert a popsicle stick into the center of each mold. If your molds have lids with stick slots, use those. Place the filled molds in the freezer. Allow the popsicles a minimum of 4 to 6 hours to set completely firm. For best results and the firmest texture, it is often recommended to leave them to freeze overnight. This ensures they are perfectly solid and won’t melt too quickly when enjoyed.
Expert Tips for Perfect Popsicles
Enhance your homemade raspberry popsicle experience with these helpful tips:
- For a Silky Smooth Texture: While optional, passing your blended raspberry mixture through a fine-mesh strainer is highly recommended if you prefer a completely seedless popsicle. This extra step removes any tiny raspberry seeds, resulting in an exceptionally smooth and enjoyable consistency. Simply press the blended mixture through the strainer with a spoon or spatula to extract all the delicious liquid.
- Refined Sugar-Free Alternatives: If you’re looking to make these popsicles without refined sugar, easily substitute the granulated sugar with natural sweeteners. Maple syrup or agave nectar are excellent vegan options that blend seamlessly into the mixture. For a non-vegan alternative, honey works wonderfully, adding its own unique depth of flavor. Adjust the amount to taste, as natural sweeteners vary in intensity.
- Lime Juice Substitutions: No lime juice on hand? No problem! Freshly squeezed lemon juice is a fantastic substitute. It provides a similar tangy brightness that beautifully complements the sweet raspberries. Feel free to use whichever citrus you have readily available.
- Prioritize Fresh Juice for Flavor: Whenever possible, use freshly squeezed lime (or lemon) juice instead of bottled varieties. Fresh juice offers a significantly more vibrant and intense flavor that truly elevates the taste of your popsicles. The difference is noticeable and well worth the extra minute of squeezing.
- Explore Different Molds: Popsicle molds come in an incredible array of shapes and sizes! Involve your children by letting them pick out some fun, new molds to try. This can add an exciting element to the treat and make snack time more engaging. Don’t be afraid to experiment with other fruit-based flavors as well, like simple Cherry Popsicles.
- No Molds? No Problem!: If you don’t own specific popsicle molds, don’t let that stop you. Small paper cups make excellent temporary molds. Simply pour the mixture into the cups, insert a popsicle stick (or even a spoon in a pinch) once they’ve frozen for about 30-60 minutes and are slightly slushy, then continue freezing until solid. Tear away the paper cup when you’re ready to enjoy.
Customizing Your Raspberry Popsicles
While this recipe is perfect as is, it also serves as an excellent base for experimentation:
- Add More Fruit: Blend in other berries like blueberries or strawberries for a mixed berry popsicle. A few slices of banana can add creaminess.
- Herbal Infusion: For a sophisticated twist, add a few fresh mint leaves or a sprig of basil to the blender. The subtle herbal notes pair beautifully with raspberries.
- A Touch of Spice: A tiny pinch of ginger or a dash of vanilla extract can add unexpected depth to the flavor profile.
- For Adults Only: A splash of raspberry liqueur or vodka can be added for an adult-friendly frozen cocktail. Remember that alcohol lowers the freezing point, so these might be softer than non-alcoholic versions.
- Yogurt Boost: For a creamier, more filling popsicle, blend in a tablespoon or two of Greek yogurt. This also adds a protein boost.
FAQs
When properly stored in an airtight container or individual freezer bags, homemade raspberry popsicles can last for up to 3 months in the freezer. While they maintain their quality for quite a while, in most households, they tend to be enjoyed much quicker than that!
Sometimes, popsicles can stick stubbornly to their molds. The easiest and most effective trick is to run warm water over the outside of the popsicle molds. Hold the mold under warm (not hot!) running water for about 15-30 seconds. This gentle warmth helps to slightly loosen the frozen popsicle from the mold’s edges, allowing for an effortless release. Be careful not to let the water run for too long, as you risk melting the popsicle itself.
Absolutely! This recipe is incredibly versatile. You can easily substitute raspberries with other berries like strawberries, blueberries, or blackberries. You might need to adjust the sugar and lime juice slightly depending on the sweetness and tartness of your chosen fruit.
The beauty of homemade popsicles is that you can tailor them to your taste. For a sweeter popsicle, simply add a tablespoon or two more sugar to the blender. If you prefer a tarter flavor, increase the amount of lime juice or reduce the sugar. Taste the mixture before freezing and adjust as needed.
Yes, these raspberry popsicles are a fantastic healthy treat! Made primarily from fruit, they are a good source of vitamins, minerals, and fiber. With only three natural ingredients, you avoid all the artificial colors, flavors, and excessive sugars often found in store-bought options.
More Raspberry Desserts
If you’re a fan of raspberries, you’ll love these other delicious dessert ideas:
- Raspberry Cobbler Recipe
- Raspberry Sorbet Recipe
- Raspberry Cheesecake Bars
- 33 Delicious Raspberry Desserts
More Homemade Popsicle Recipes
The world of homemade popsicles is vast and exciting! Explore these other refreshing recipes to keep your freezer stocked with delightful frozen treats:
- Jello Popsicles Recipe
- Homemade Lime Popsicles Recipe
- Blueberry Popsicles Recipe
- Watermelon Popsicles
- Homemade Lemon Popsicles Recipe
- Blueberry Yogurt Popsicles
Don’t wait for summer to enjoy these amazing raspberry popsicles. They are a fantastic treat any time of the year! Once you’ve tried them, come back and share your thoughts and star rating in the comments below. We’d love to hear from you!
Pin
Raspberry Popsicles
Ingredients
- 4 cups Fresh or thawed frozen Raspberries
- 1/4 cup Granulated Sugar
- 1/2 Lime juiced
Instructions
- Place all the ingredients (fresh or thawed frozen raspberries, sugar, and lime juice) in a blender or food processor. Blend until thoroughly combined and smooth.
- Pour the mixture into popsicle molds, insert the popsicle sticks, and freeze until completely set (this usually takes 4-6 hours, but overnight is ideal for best results).
Recipe Notes
These homemade raspberry popsicles will last for up to 3 months when stored properly in an airtight container in the freezer.
To easily release popsicles from their molds once frozen, run warm water over the outside of the molds for a few seconds. This gently loosens them without melting the entire popsicle.
Nutrition Facts
Pin This Now to Remember It Later
Pin Recipe
