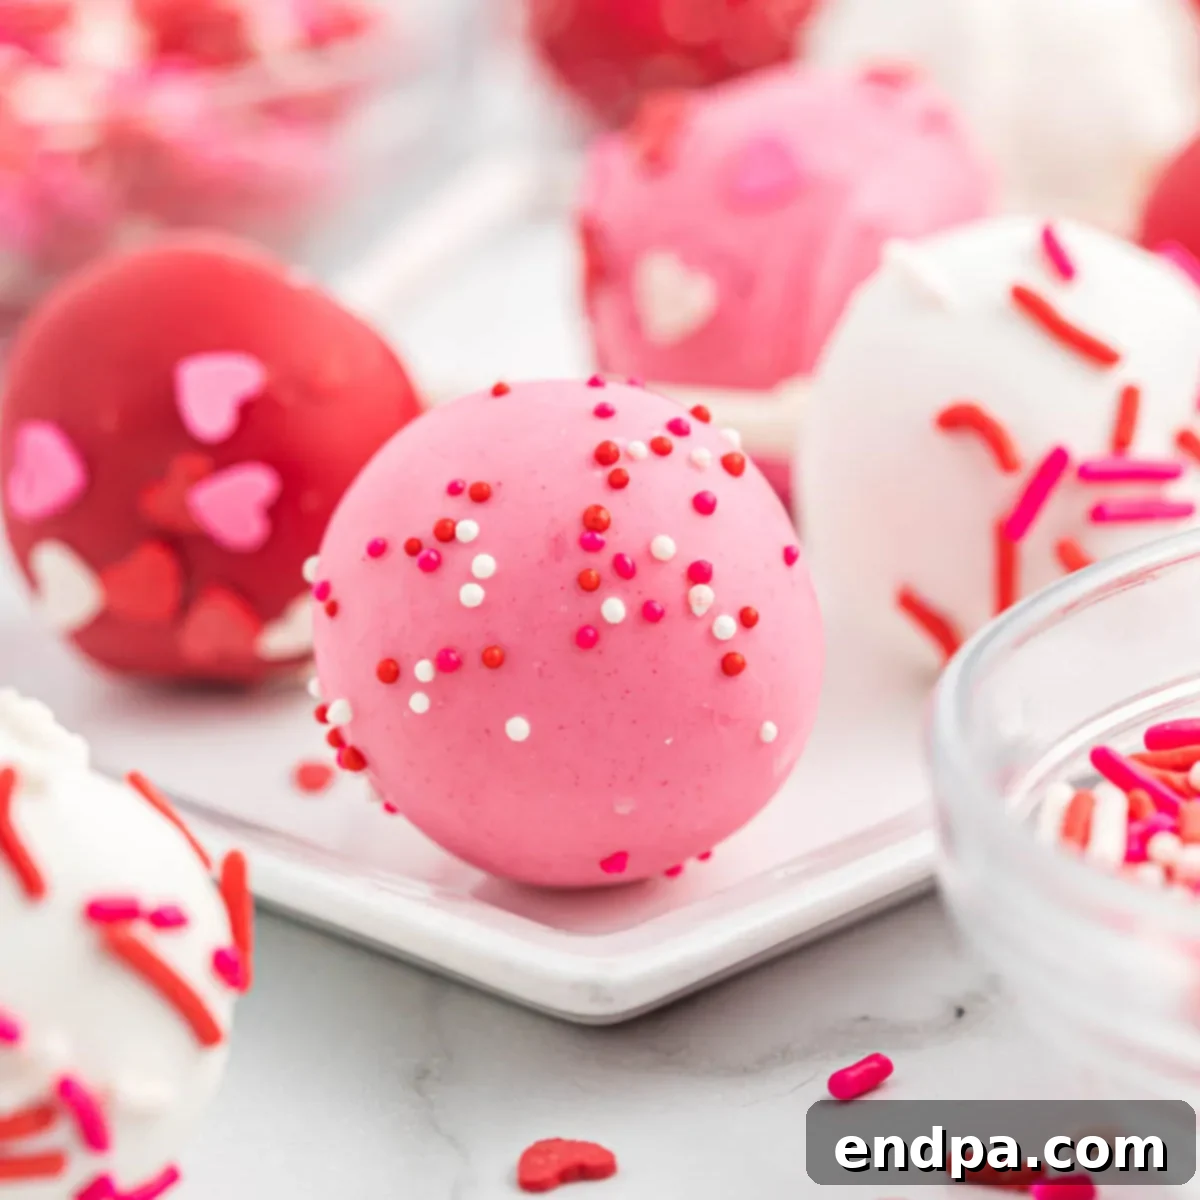
Transform your ordinary celebrations into extraordinary memories with these delightful Valentine’s Day Cake Pops! Perfectly designed for sharing love and joy, these festive treats are an absolute hit with kids and adults alike. Imagine the smiles when they bite into a moist, delicious cake ball coated in vibrant, melt-in-your-mouth candy and adorned with whimsical sprinkles. Best of all, achieving this impressive confection requires surprisingly minimal effort, making it the ideal project for busy schedules without compromising on taste or visual appeal.
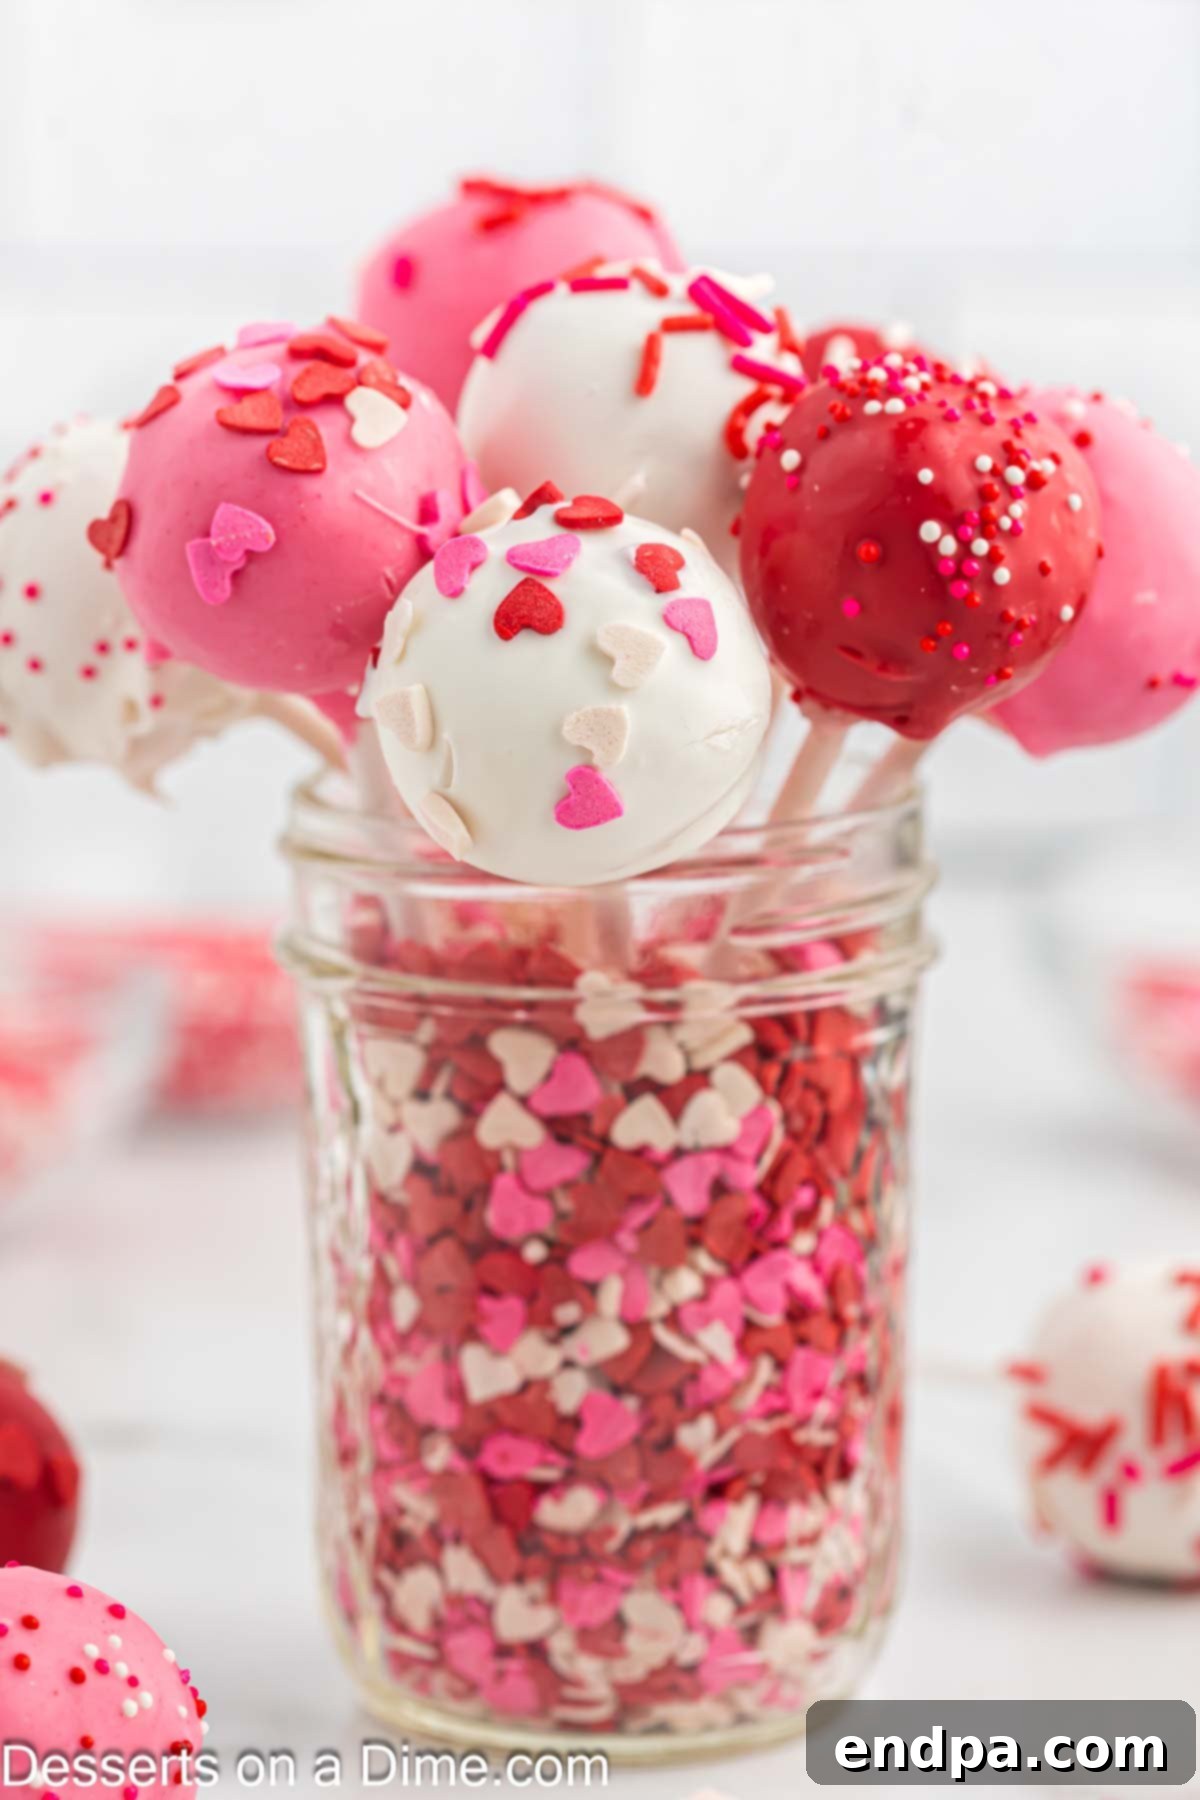
Forget complicated desserts this Valentine’s Day. Our easy-to-follow recipe turns a basic cake mix into these fabulous, bite-sized cake pops. They’re not just incredibly simple; they’re also one of the Best Cake Pop Recipes you’ll find, guaranteeing a smooth and delicious outcome every time. If you’re looking to explore other fun flavors, be sure to check out our beloved Cookie Dough Cake Pops and indulgent Oreo Cake Pops, perfect for any occasion that calls for a sweet, customizable treat.
Beyond cake pops, Valentine’s Day offers a plethora of delightful dessert possibilities. For another charming and equally simple treat, consider making Valentine’s Day Chocolate Covered Oreos. These are fantastic for classroom parties, heartfelt gifts, or simply a sweet indulgence for your loved ones.
Table of contents
- Why This Recipe Works
- Essential Ingredients for Valentine’s Cake Pops
- Creative Variations to Customize Your Cake Pops
- Step-by-Step Guide to Perfect Valentine’s Cake Pops
- Storage Tips for Freshness
- Pro Tips for Cake Pop Perfection
- Frequently Asked Questions (FAQs)
- More Irresistible Valentine’s Treats
- Valentine’s Day Cake Pops Recipe Card
Why This Recipe is a Must-Try for Valentine’s Day
Our Valentine’s Day Cake Pops recipe isn’t just another dessert; it’s a brilliant solution for creating memorable treats with incredible ease and fantastic results. Here’s why this recipe deserves a special place in your holiday baking repertoire:
- Effortless Baking with a Cake Mix: The foundation of this recipe relies on a simple box cake mix, which drastically cuts down on preparation time and simplifies the baking process. This means less measuring, fewer ingredients to buy, and a guaranteed consistent, moist cake crumb every time. Even beginner bakers can achieve bakery-quality results, making it an ideal choice for a stress-free holiday.
- Festive and Unforgettable Fun: Each cake pop is a miniature work of art, bursting with vibrant colors and delightful sprinkles that perfectly capture the spirit of Valentine’s Day. Their charming appearance makes them perfect for various occasions: they can be adorable centerpieces for a Valentine’s party, thoughtful homemade gifts for friends and teachers, or a delightful activity to make with kids. They are also versatile enough for other celebrations like baby showers, birthdays, or any event where you want to add a touch of whimsical sweetness.
- Budget-Friendly Indulgence: Creating these impressive cake pops at home is significantly more economical than purchasing them from a high-end bakery. With just a few staple ingredients, you can produce a large batch of beautiful and delicious treats for a fraction of the cost. This allows you to enjoy premium-tasting desserts without breaking the bank, leaving you with more to spend on other Valentine’s Day festivities.
Essential Ingredients for Valentine’s Cake Pops
Crafting these adorable Valentine’s Day Cake Pops begins with a few key ingredients, most of which you likely already have or can easily find at your local grocery store. The beauty of this recipe lies in its simplicity and the ability to achieve fantastic results with minimal fuss.
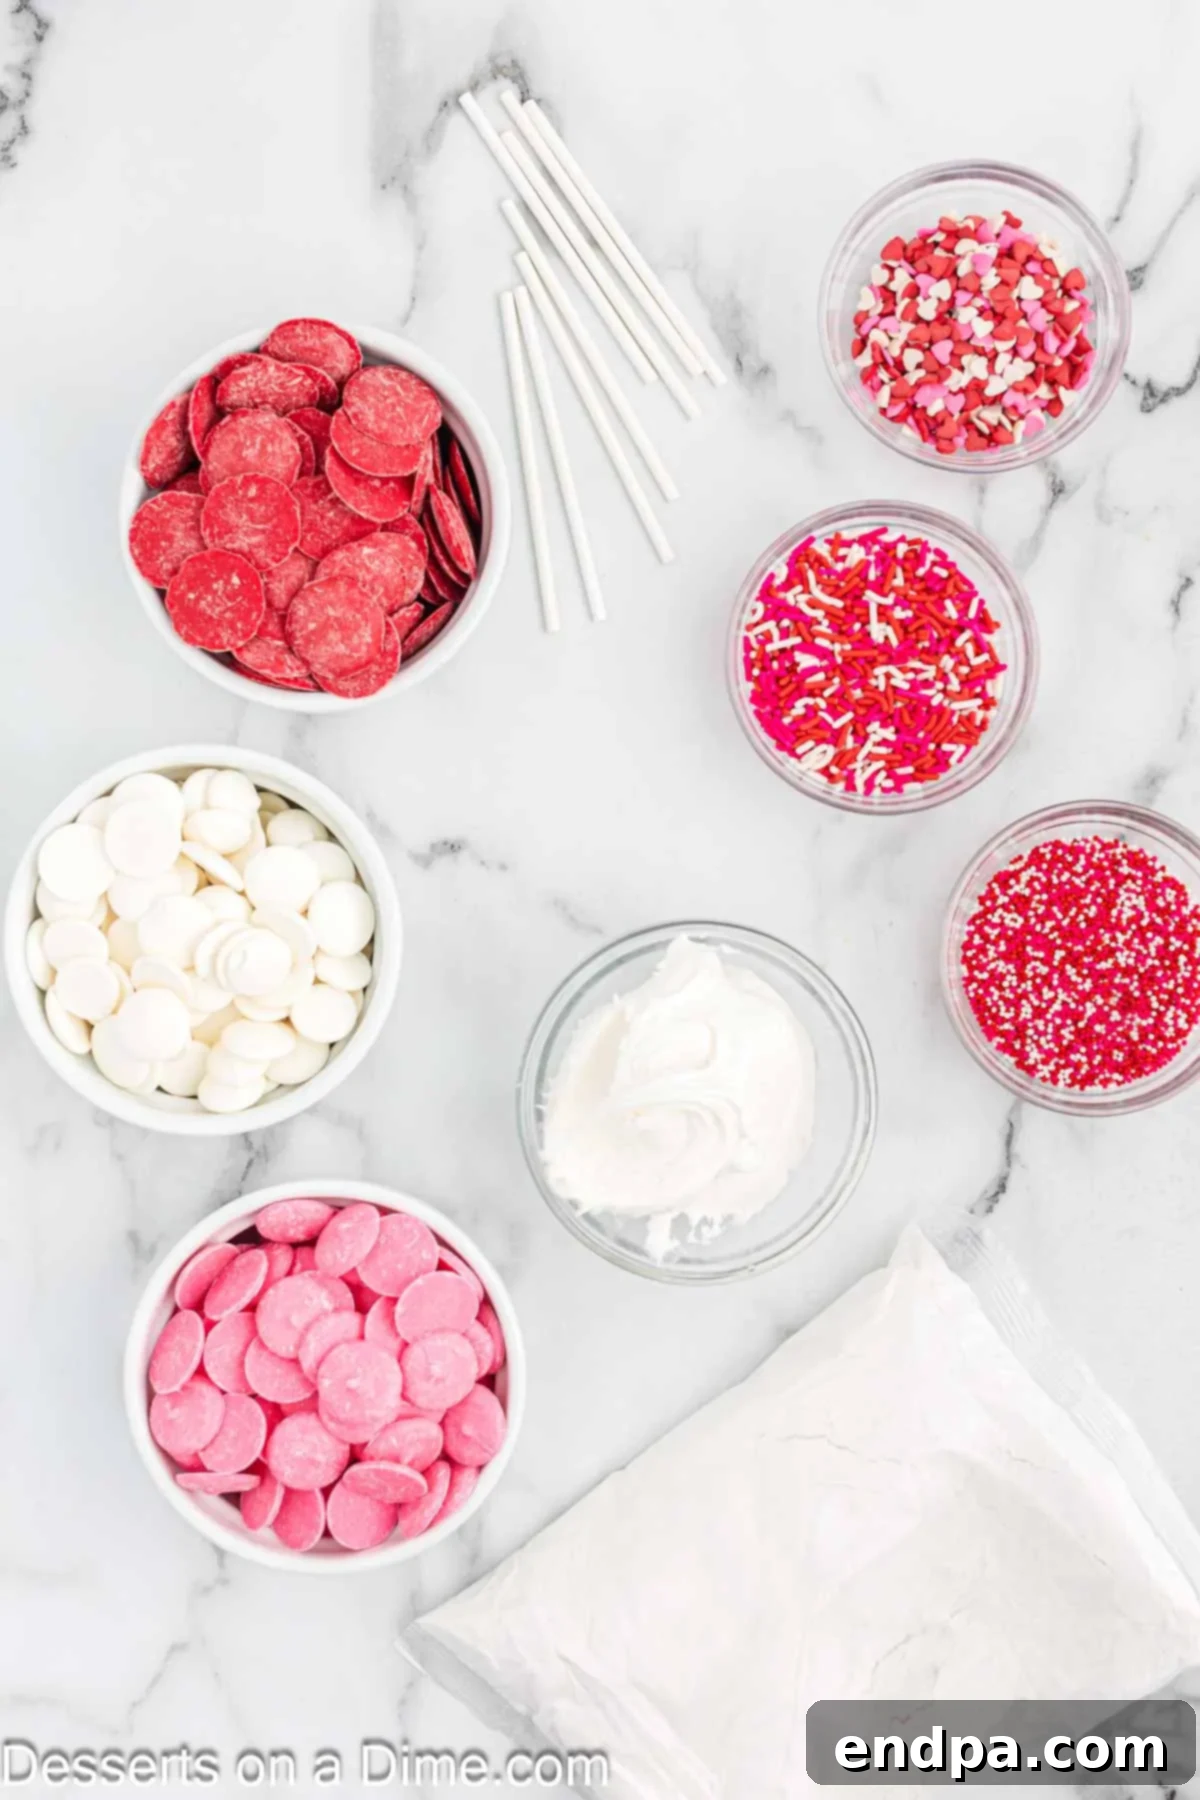
- White Cake Mix: This is the hero ingredient that makes this recipe incredibly straightforward. Any standard brand of white cake mix will work perfectly. Ensure you have the additional ingredients listed on the back of your specific cake mix box, typically eggs, water, and vegetable oil.
- White Frosting: A tub of store-bought white frosting (approximately 16 ounces) provides the perfect binder for your cake pops, giving them that signature moist and dense texture. While store-bought is convenient, you can certainly use your favorite homemade white buttercream if you prefer.
- Candy Melts: To achieve that smooth, vibrant coating, you’ll need white, pink, and red candy melts. These are specifically designed for melting and coating, providing a glossy finish and setting quickly. You can often find them in the baking aisle or craft stores like Hobby Lobby.
- Valentine’s Day Sprinkles: This is where you can truly let your creativity shine! Choose an assortment of festive Valentine’s Day themed sprinkles – think tiny hearts, red and pink nonpareils, or shimmering edible glitter. The more variety, the more visually appealing your cake pops will be.
- Lollipop Sticks: Essential for turning cake balls into fun pops! These can be found at craft stores, party supply stores, or online retailers. Choose sturdy sticks that are about 4-6 inches long for easy handling.
For the precise measurements and the full ingredient list, simply scroll down to the bottom of the post where our detailed recipe card awaits.
Creative Variations to Customize Your Cake Pops
While the classic Valentine’s Day Cake Pop is a treat in itself, this recipe offers endless possibilities for customization. Don’t be afraid to experiment with different flavors and decorations to make these cake pops uniquely yours or to match any party theme beyond Valentine’s Day:
- Explore Diverse Cake Flavors: The base cake is easily interchangeable. Instead of white cake mix, try:
- Red Velvet Cake Mix: For a deeper, classic Valentine’s Day flavor and a beautiful deep red crumb. Pair with white or cream cheese frosting for an authentic taste.
- Chocolate Cake Mix: A rich and decadent option that pairs wonderfully with any colored candy melt.
- Strawberry or Funfetti Cake Mix: To add an extra layer of fruity flavor or colorful specks within the cake itself.
- Lemon or Vanilla: For a lighter, brighter flavor profile.
- Experiment with Frosting Flavors: The frosting acts as a binder and flavor enhancer. Don’t limit yourself to white frosting:
- Homemade Cream Cheese Frosting Recipe: The tangy sweetness of cream cheese frosting complements red velvet or chocolate cake mixes beautifully.
- Cinnamon Buttercream: Adds a warm, comforting spice that’s unexpectedly delightful.
- Chocolate Frosting: Doubles down on the chocolate flavor when used with chocolate cake mix.
- Strawberry or Raspberry Frosting: To infuse a fruity note into your cake pops.
- Store-bought flavored frostings: An easy way to introduce new flavors like lemon, funfetti, or chocolate fudge.
- Bake from Scratch with Homemade Cake: For those who enjoy baking from scratch, you can absolutely substitute the box mix with a homemade cake. Any sturdy sheet cake recipe will work well. For example, our Red Velvet Sheet Cake Recipe could be baked, cooled, and crumbled for a truly artisanal cake pop experience. Just ensure the cake is completely cooled before crumbling.
- Diverse Decorations: Beyond sprinkles, consider:
- Drizzles: After the main candy coating sets, drizzle contrasting colored candy melts (e.g., white drizzle over red cake pops).
- Edible Glitter or Dust: Adds a sophisticated shimmer.
- Mini Chocolate Chips: Press them into the wet candy coating for added texture.
- Nut Pieces: For a delightful crunch, sprinkle finely chopped nuts like pistachios or almonds.
- Shredded Coconut: For a tropical twist.
These variations allow you to tailor your Valentine’s Day Cake Pops to specific tastes, dietary needs, or aesthetic preferences, making them a truly versatile and fun dessert.
Step-by-Step Guide to Perfect Valentine’s Cake Pops
Creating these charming Valentine’s Day Cake Pops is a fun and rewarding process. Follow these detailed instructions carefully to ensure your cake pops are perfectly formed, beautifully coated, and absolutely delicious.
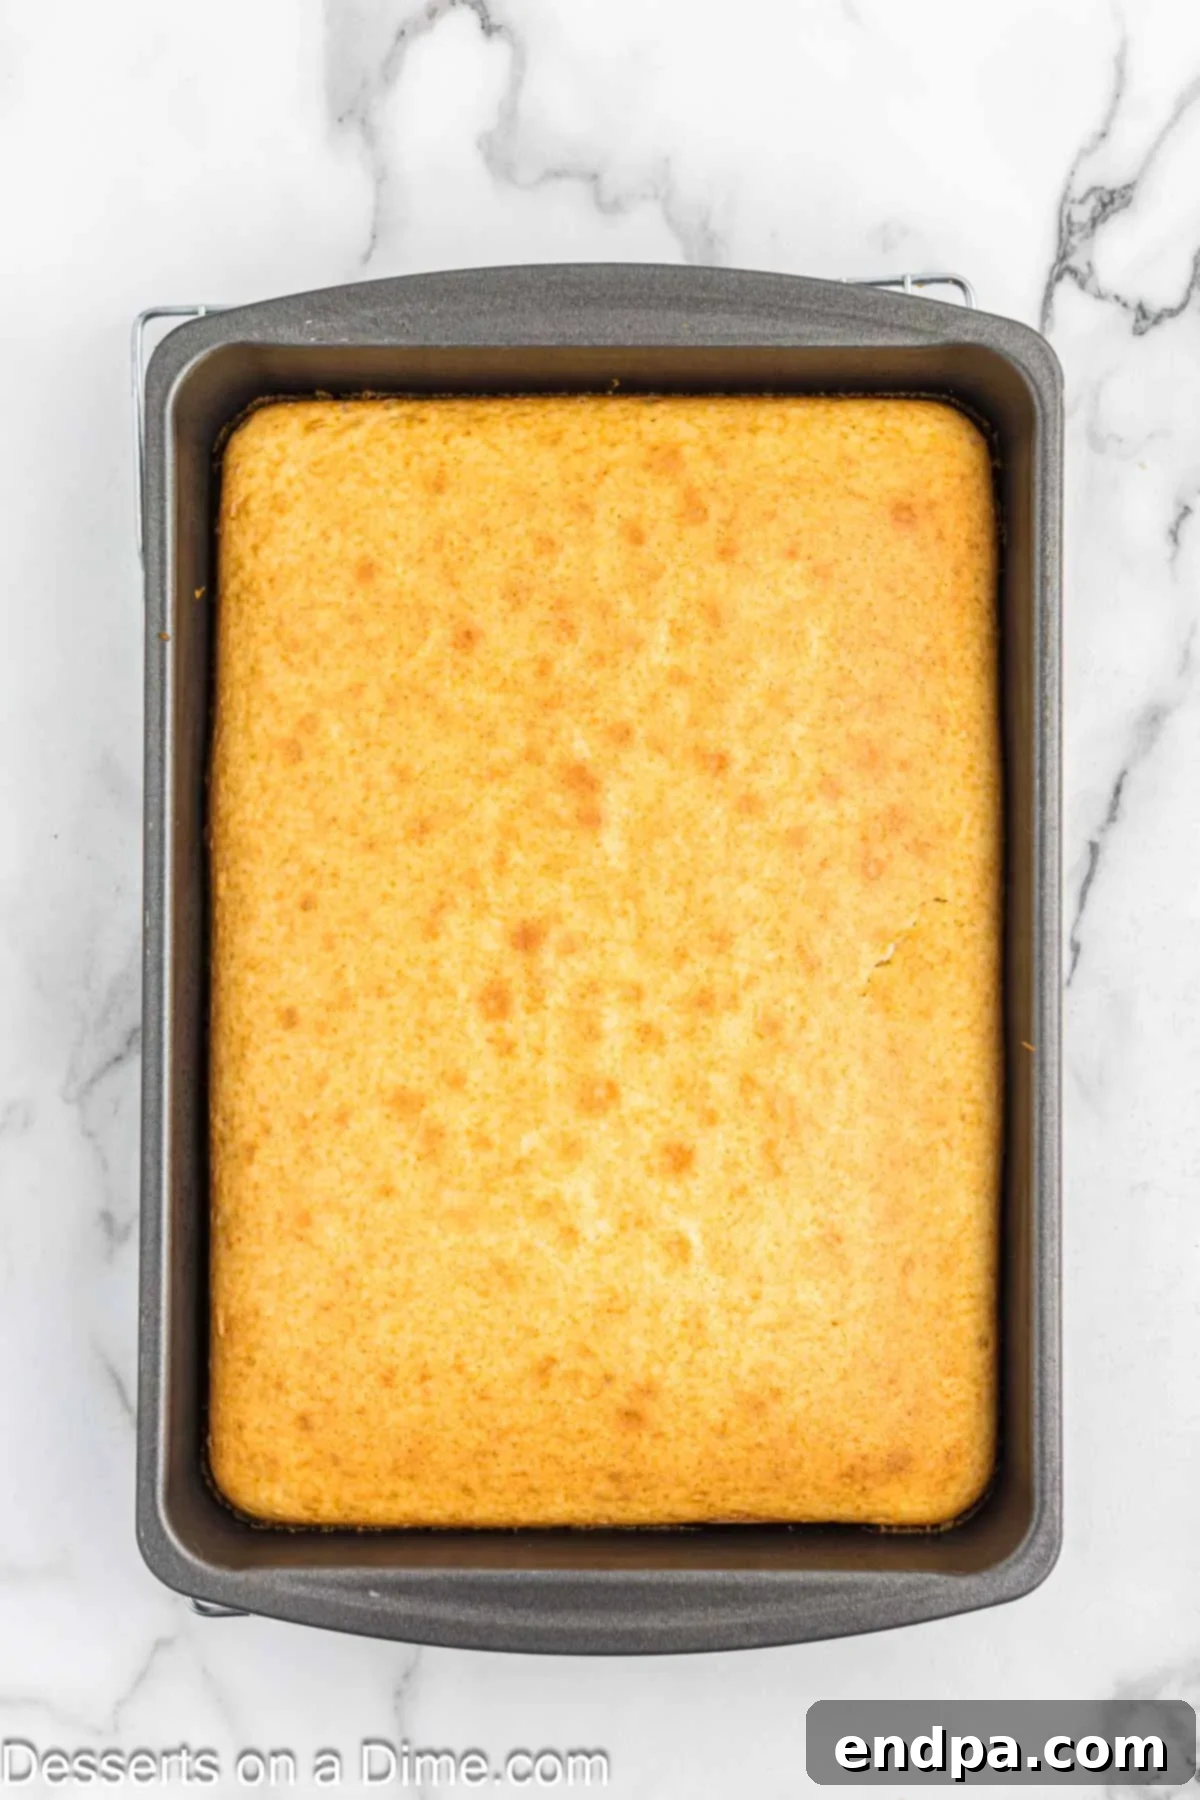
Step 1: Prepare and Cool the Cake. Begin by preparing the cake batter according to the package directions for your chosen white cake mix. Pour the batter into a 9×13 inch baking pan and bake as instructed. Once baked, remove the cake from the oven and allow it to cool completely to room temperature. This is a crucial step; attempting to crumble a warm cake will result in a messy, gooey mixture that is difficult to work with.
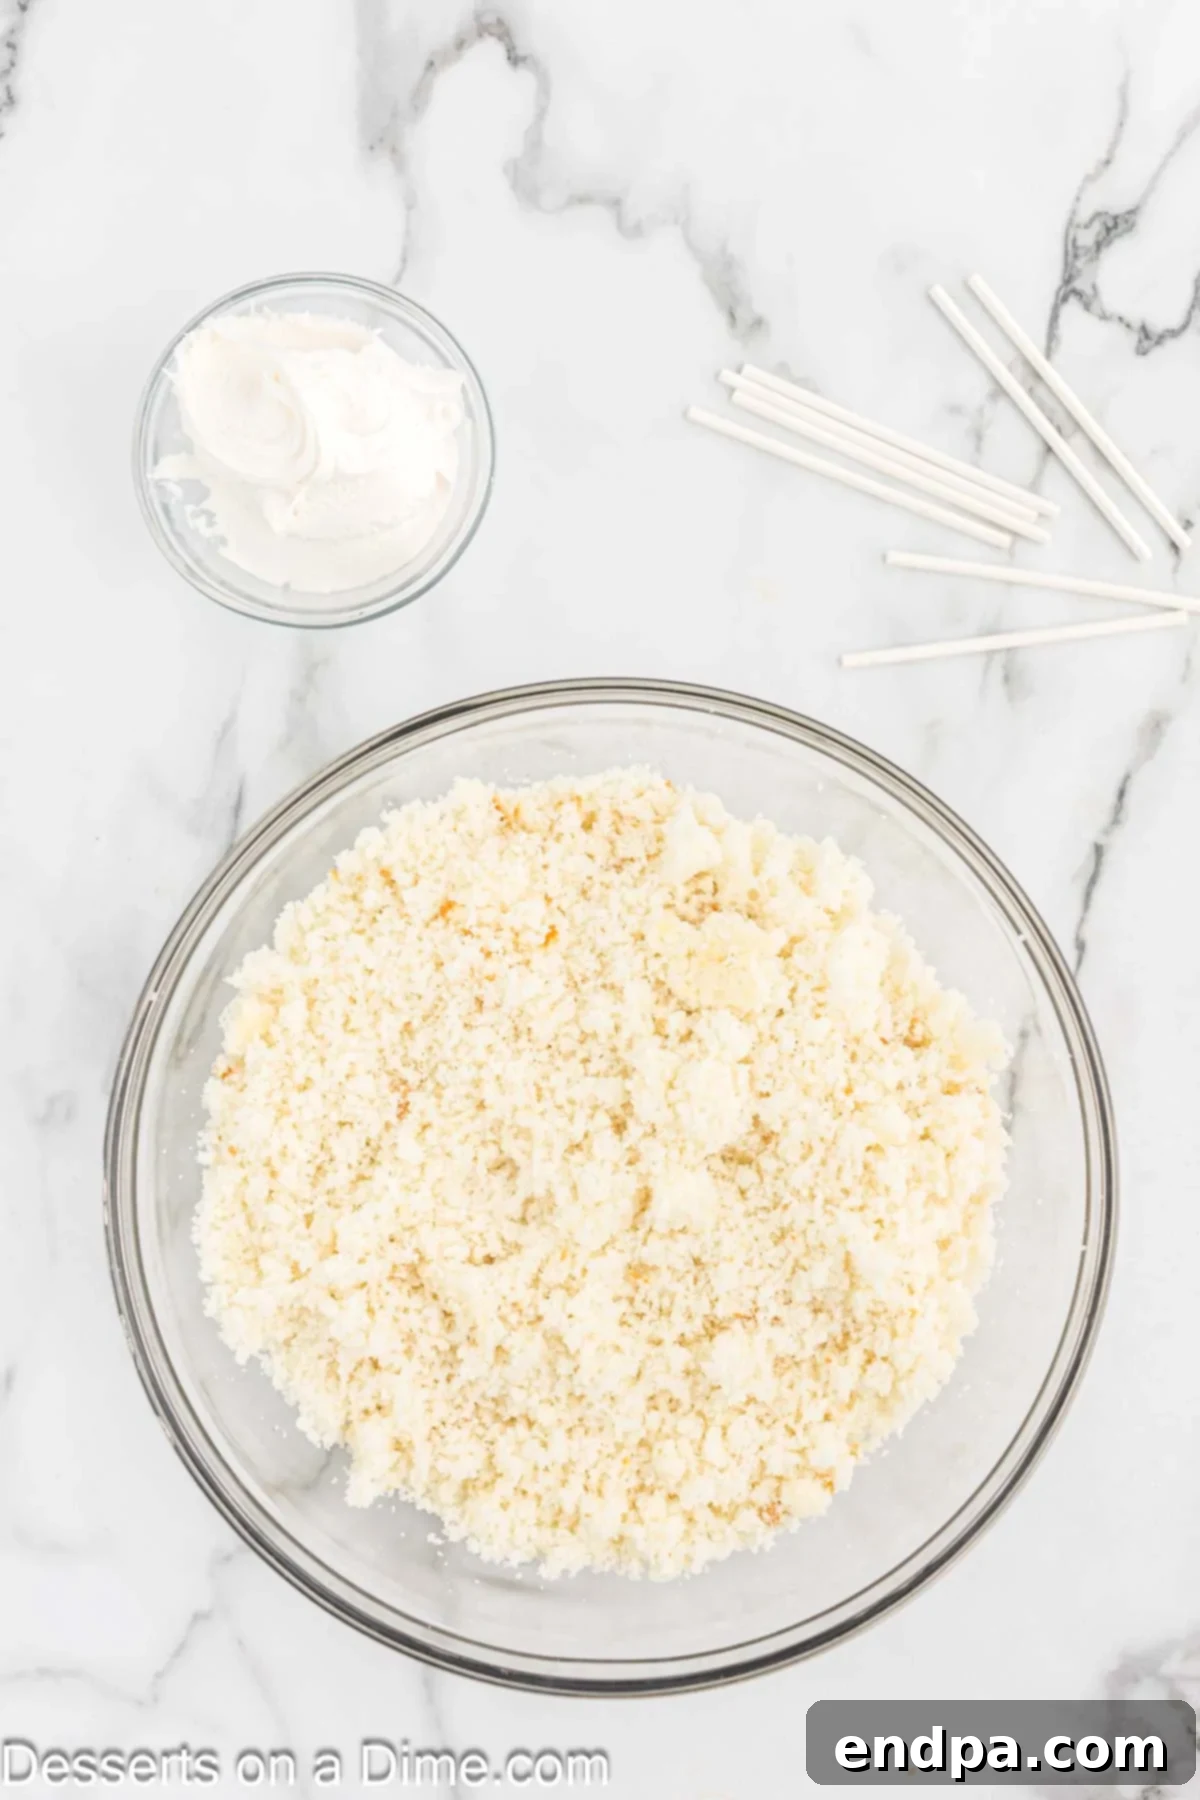
Step 2: Crumble the Cake. Once the cake is fully cooled, remove it from the pan. Carefully cut or peel away any firm, brown outside layer from the cake. This “crust” can affect the smooth texture of your cake pops, so discarding it ensures a uniform consistency. Crumble the remaining soft cake into a large mixing bowl. You can do this by hand, breaking it into fine crumbs, or use a stand mixer with a paddle attachment on low speed for a quicker process.
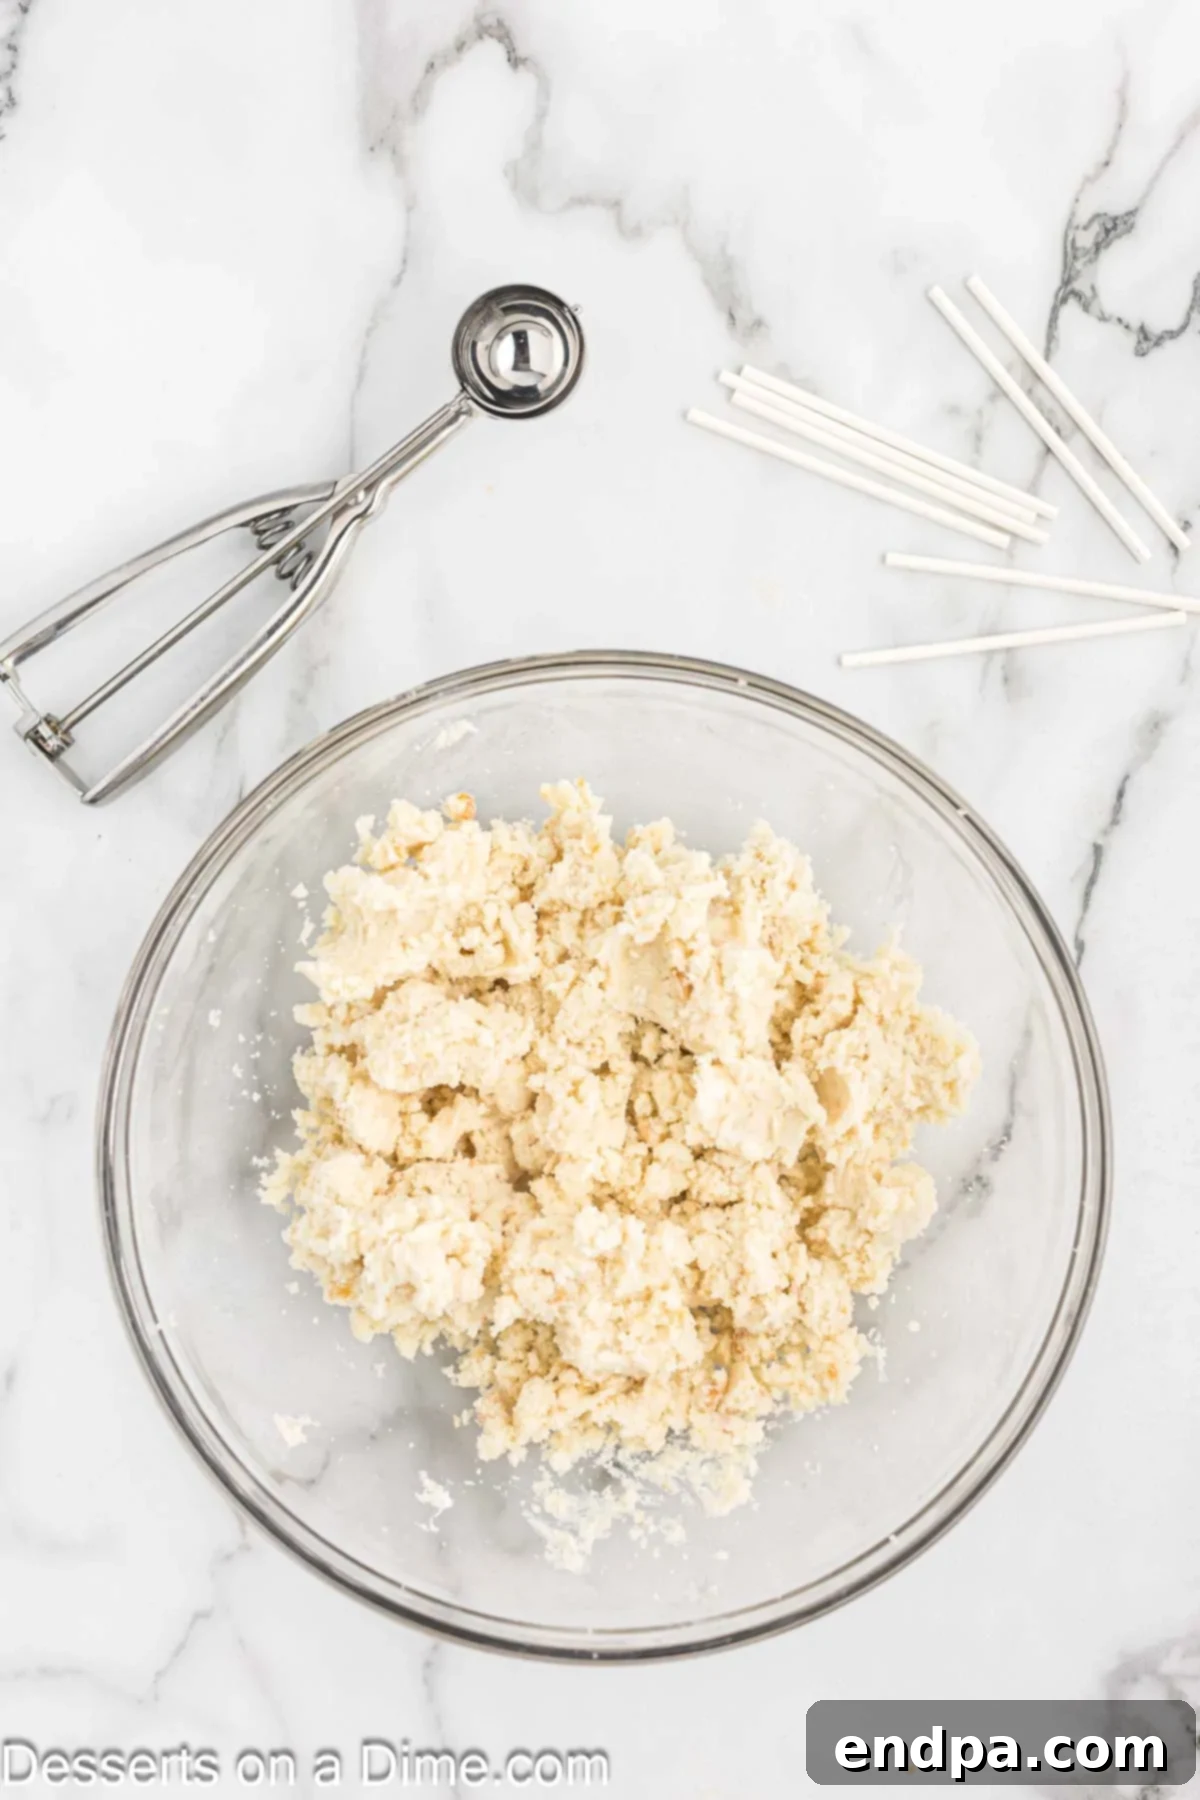
Step 3: Combine Cake and Frosting. Add the white frosting to the crumbled cake in the large mixing bowl. Using your hands (wearing gloves is recommended for cleanliness and less stickiness) or a stand mixer with a paddle attachment, thoroughly mix the cake crumbs and frosting. Continue mixing until everything is well combined and the mixture forms a consistency similar to playdough or cookie dough. It should hold its shape when pressed together without being too wet or crumbly. Resist the urge to add more frosting than specified, as this can make the pops too soft.
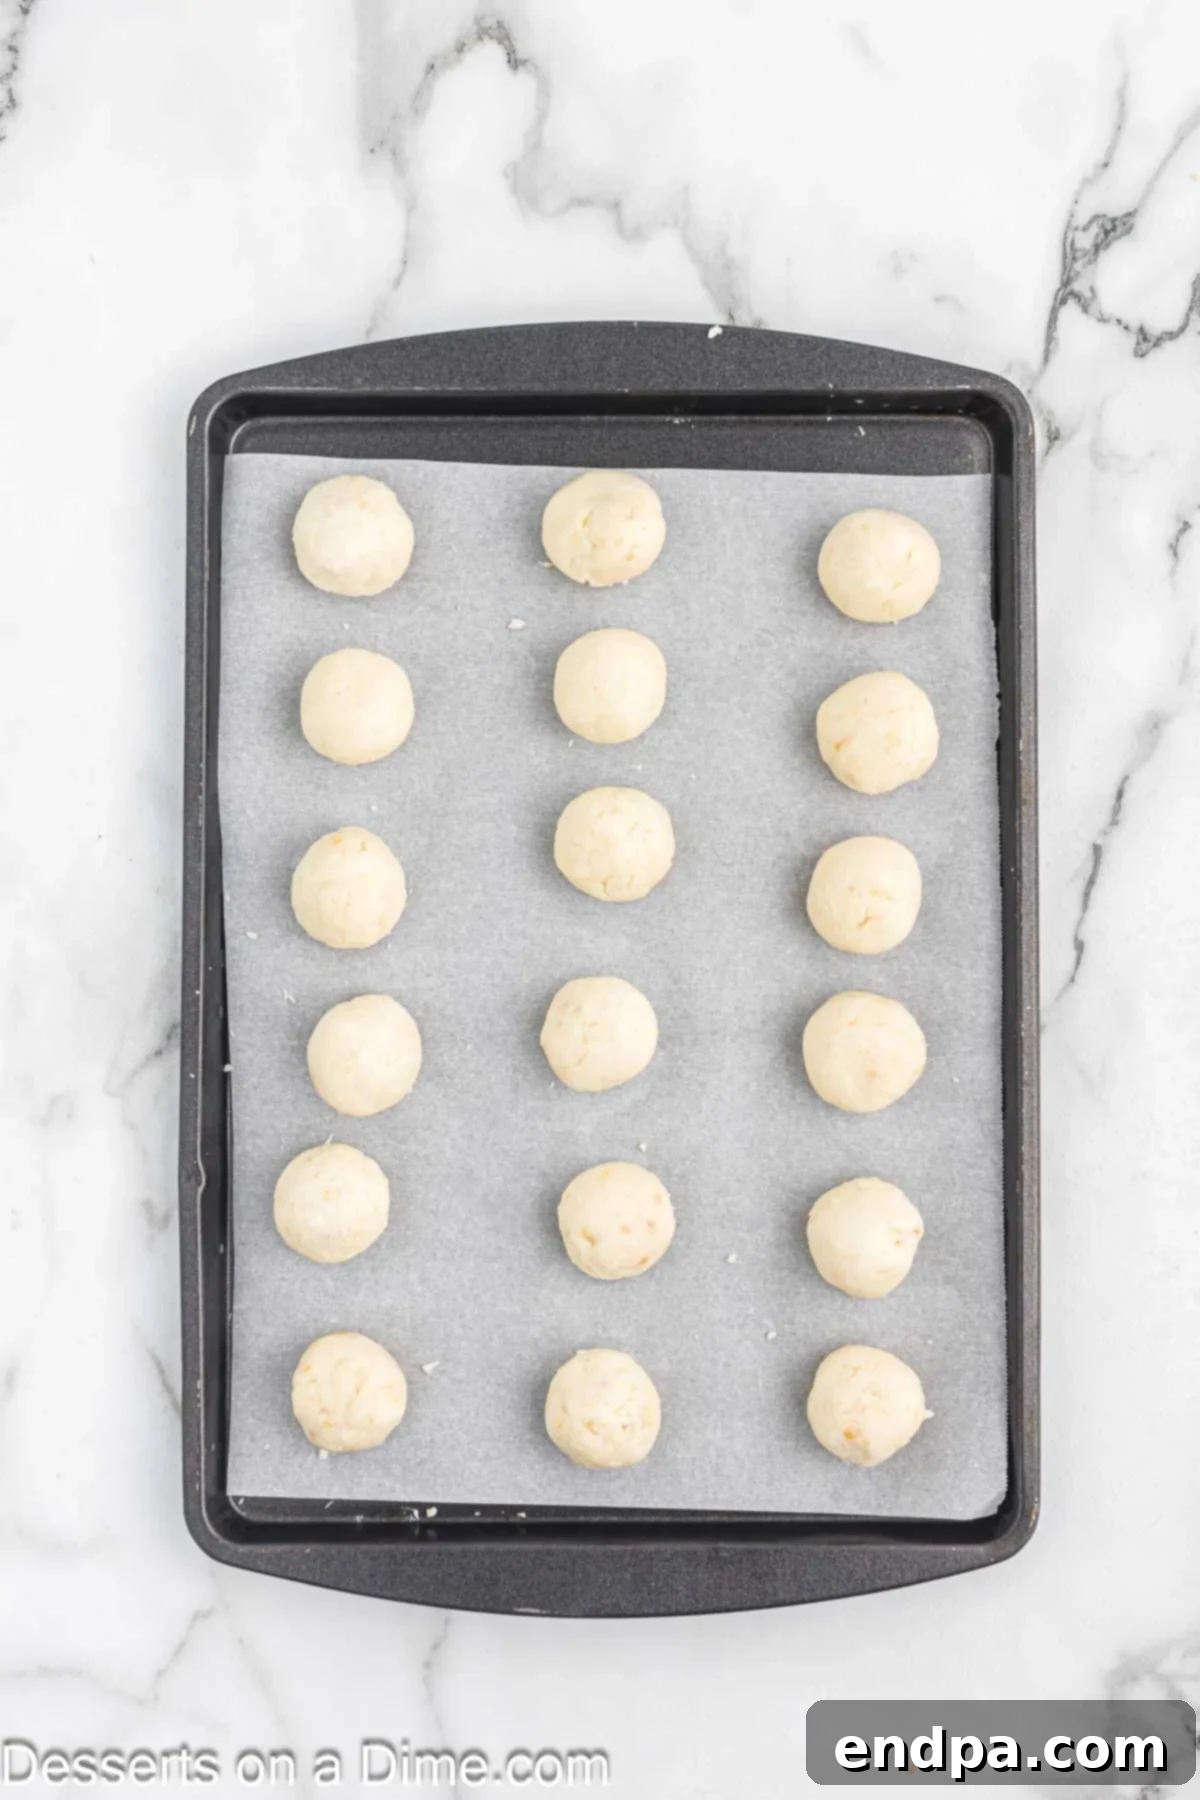
Step 4: Form the Cake Balls. Using a cookie scoop (approximately 1.5 to 2 tablespoons in size) is ideal for creating uniformly sized cake balls. Scoop out portions of the mixture, then use the palm of your hand to gently roll and smooth each portion into a compact, round ball. Consistency in size helps with even dipping later. Place the formed cake balls onto a baking sheet lined with parchment paper or wax paper. This prevents sticking and makes transfer easier.
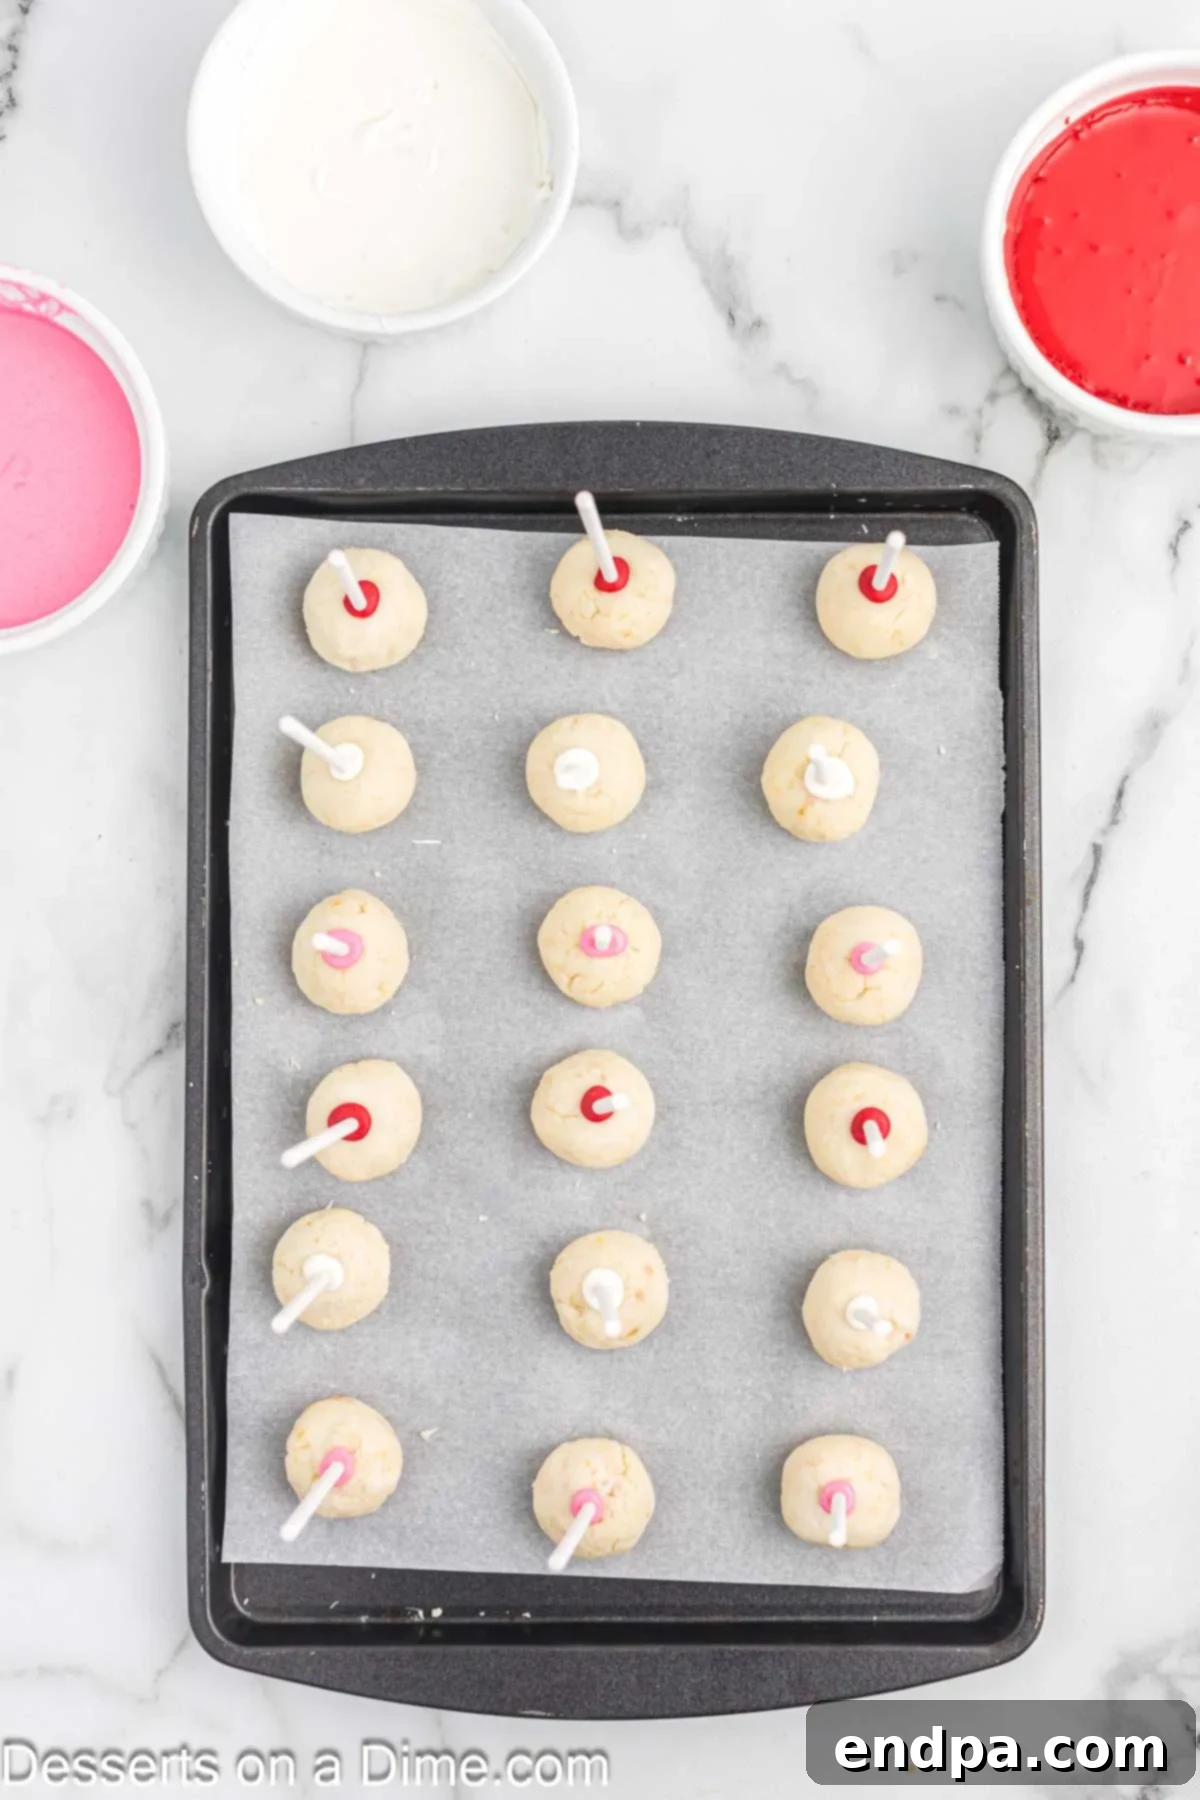
Step 5: Insert Lollipop Sticks and Chill. Melt a small amount of one color of your candy melts in a small microwave-safe bowl. Heat in 30-second intervals, stirring well after each interval, until fully melted and smooth. Dip the tip of each lollipop stick (about half an inch) into the melted candy, then carefully insert the candy-coated stick about halfway into each cake ball. The melted candy acts as a “glue” to secure the stick. Once all sticks are inserted, place the entire baking sheet with the cake pops into the freezer for 10-15 minutes. This chilling step is vital to ensure the cake balls are firm enough to withstand dipping without falling apart.
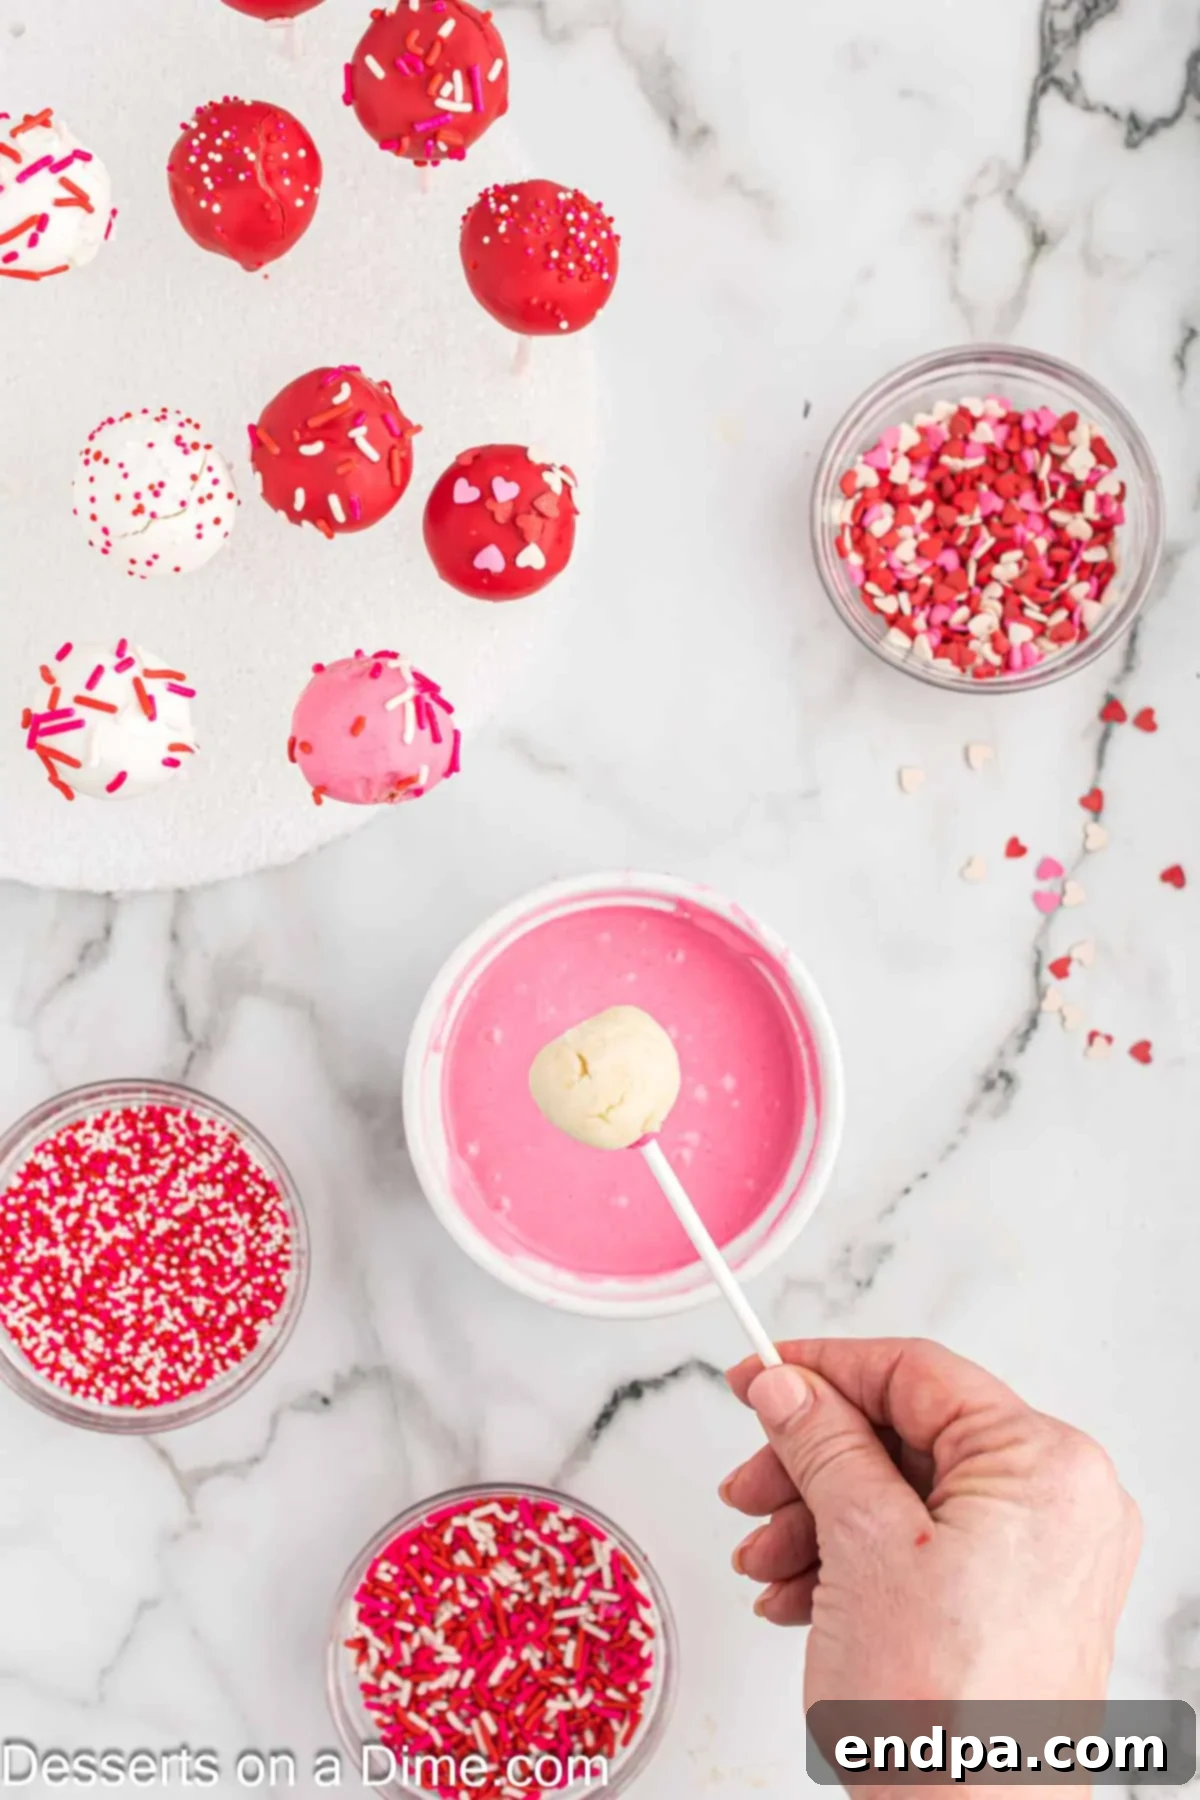
Step 6: Melt Candy Melts for Coating. While the cake pops are chilling, prepare your remaining candy melts. Place each color (white, pink, red) into separate microwave-safe bowls. Melt them individually in 30-second intervals, stirring after each, until they are completely smooth and free of lumps. If the candy melts become too thick, you can add a small amount of vegetable shortening or coconut oil (about ½ teaspoon per cup of melts) to thin them out for easier dipping.
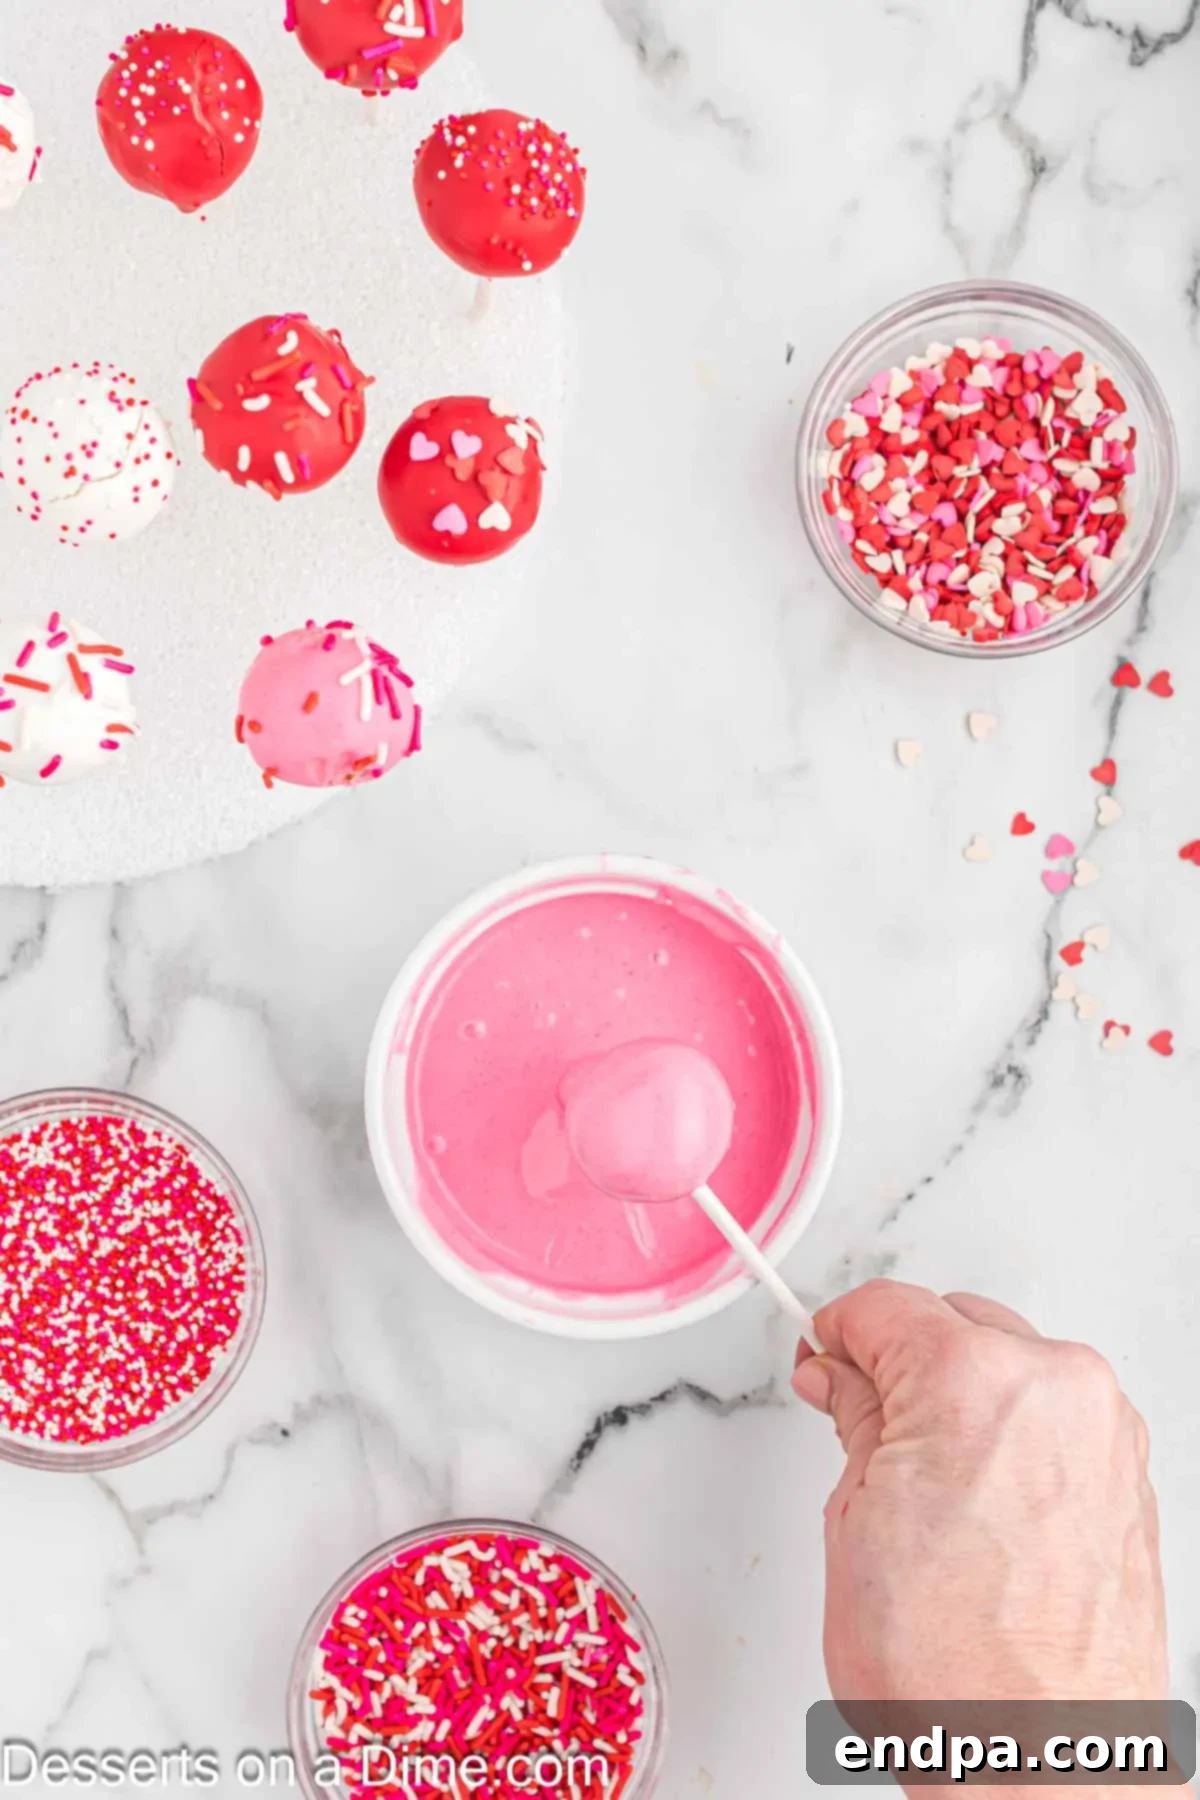
Step 7: Dip and Coat the Cake Pops. Remove the chilled cake pops from the freezer. Hold a cake pop by its stick and immerse it completely into one of the melted candy colors. Gently tap the stick against the edge of the bowl to allow any excess candy to drip off. Rotate the pop as you tap to ensure an even, smooth coating and to prevent thick drips. You can use a fork or toothpick to help guide any stubborn excess candy back into the bowl.
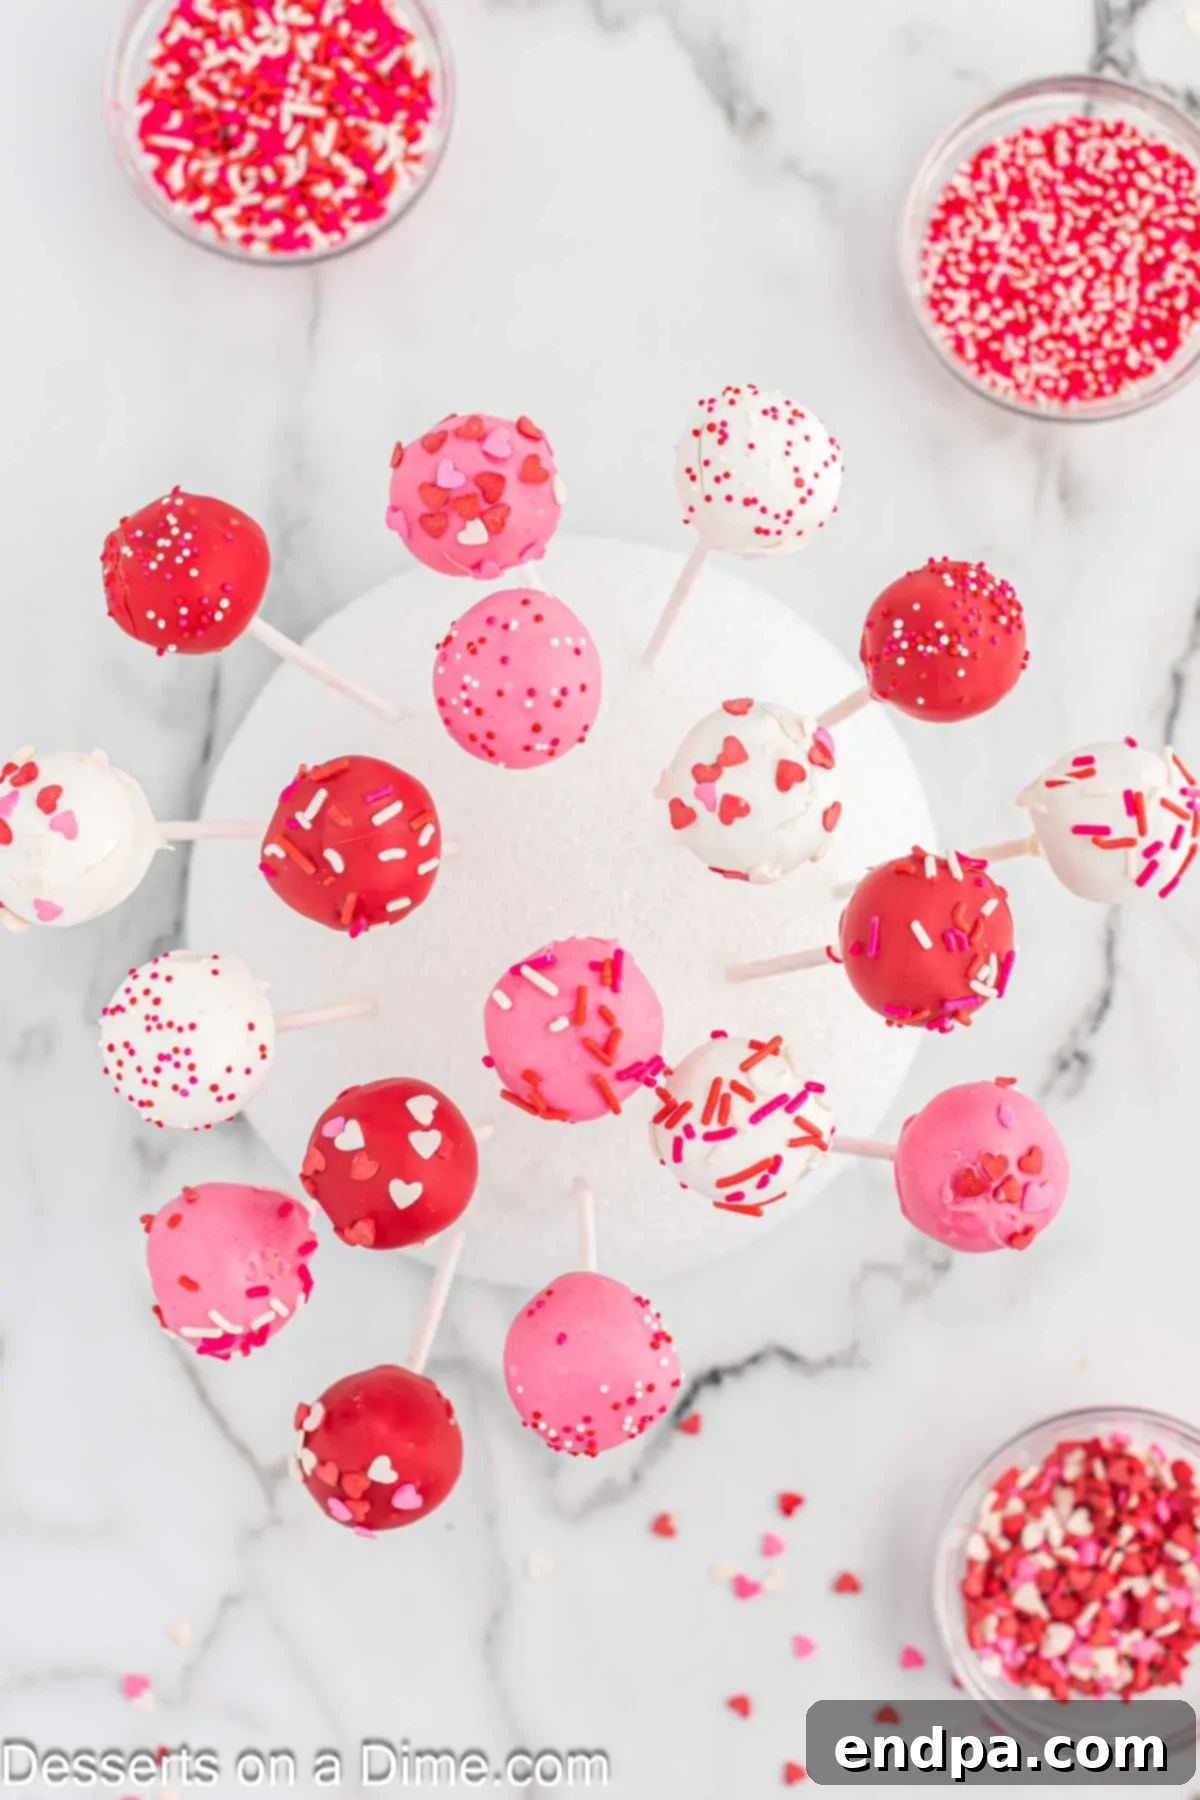
Step 8: Decorate and Dry. Immediately after dipping, while the candy coating is still wet, generously sprinkle your chosen Valentine’s Day sprinkles over the cake pop. The wet candy will act as an adhesive. To dry the cake pops, insert the stick into a block of Styrofoam (or a piece of floral foam) so that the pop stands upright without touching anything. This prevents flat spots and allows the candy coating to set smoothly and evenly. Continue dipping, sprinkling, and drying all your cake pops, alternating colors for a vibrant assortment. Once the candy coating has fully hardened, your Valentine’s Day Cake Pops are ready to be served and enjoyed!

Storage Tips for Freshness
To ensure your delightful Valentine’s Day Cake Pops remain fresh and delicious for as long as possible, proper storage is key. Once the candy coating has fully set, carefully place any leftover cake pops in an airtight container. Arrange them in a single layer if possible, or separate layers with parchment paper to prevent sticking and damage to the coating. Store the container in the refrigerator for up to 1-2 weeks. While they are safe to eat at room temperature for a day or two, refrigeration helps maintain their freshness, moisture, and prevents the candy coating from becoming sticky, especially in warmer environments. For longer storage, you can also freeze undecorated cake balls for up to a month, then thaw and proceed with dipping when ready to serve.
Pro Tips for Cake Pop Perfection
Achieving perfectly smooth, beautifully coated cake pops can be a bit tricky, but with these expert tips, you’ll master the art in no time:
- Mind the Frosting Ratio: This is perhaps the most crucial tip. The amount of frosting used directly impacts the consistency of your cake pop mixture. Resist the urge to add more frosting than specified, even if the mixture initially seems a little dry. Too much frosting will result in a soft, sticky dough that is difficult to roll and prone to falling off the stick. The ideal consistency should be like dense playdough – firm enough to roll into a ball without crumbling, but not greasy.
- Thorough Chilling is Non-Negotiable: Do not skip the chilling step! Refrigerating or freezing the cake balls before dipping is absolutely essential. A cold, firm cake ball will hold its shape better, adhere to the lollipop stick more securely, and prevent it from disintegrating into the warm candy coating. Chilling also helps the candy coating set faster and more smoothly, preventing cracks or drips. For best results, ensure the cake balls are firm to the touch before moving to the dipping stage.
- Mastering the Dipping Technique: The way you dip can make all the difference.
- Use a Deep, Narrow Container: For easier and more even coating, transfer your melted candy melts into a deep, narrow glass or mug. This allows you to fully immerse the cake pop without needing excessive amounts of candy.
- Thin the Candy Melts (If Needed): If your candy melts seem too thick after melting, add a tiny amount (½ teaspoon at a time) of vegetable shortening or coconut oil, stirring until you achieve a smooth, pourable consistency. This helps create a thinner, more professional-looking coating.
- Gentle Tap and Rotate: After dipping, gently tap the stick against the rim of the bowl. This helps excess candy drip off, preventing puddles at the base of the cake pop. Rotate the pop as you tap to ensure an even coating and a perfectly round shape.
- Work Quickly: Candy melts set relatively fast, especially on a chilled cake pop. Have your sprinkles ready and apply them immediately after dipping each pop, while the coating is still wet and tacky.
- Patience During Drying: Allow ample time for the candy coating to fully harden before handling or packaging your cake pops. Rushing this step can lead to smudges or damage to the delicate coating. Using a Styrofoam block or a cake pop stand is ideal for upright drying.
Frequently Asked Questions (FAQs)
Here are some common questions about making Valentine’s Day Cake Pops to help you achieve the best results:
Absolutely! Valentine’s Day Cake Pops are an excellent make-ahead dessert, perfect for party planning or gifting. You can prepare the cake pops (even coat them with candy melts) 2 to 3 days in advance. To keep them fresh, make sure they are stored in an airtight container and refrigerated. If you want to prepare even further ahead, you can make the cake balls (before dipping) and freeze them for up to a month. Thaw them in the refrigerator before proceeding with dipping.
Lollipop sticks are the ideal choice for making cake pops. They are specifically designed to be sturdy enough to hold the cake ball and withstand the dipping process. You can typically find them in various lengths (4-inch or 6-inch are common) at craft stores, party supply stores, or online. Using a strong stick is crucial to prevent your delicious creations from tumbling!
For the vibrant colors and smooth finish seen in our Valentine’s Day Cake Pops, we recommend using candy melts. They are formulated to melt smoothly, set quickly, and come in a wide array of colors without needing additional food coloring. However, if you prefer, you can also use almond bark or high-quality chocolate chips (milk, dark, or white). When using chocolate chips, you might need to add a small amount of vegetable shortening or coconut oil (about ½ to 1 teaspoon per cup of chocolate chips) while melting to achieve a thinner, more fluid consistency suitable for dipping. This helps prevent a thick, clumpy coating.
Cracking usually occurs if there’s a significant temperature difference between the chilled cake ball and the warm candy coating. Ensure your cake balls are firm and cold, but not frozen solid, especially if you’ve had them in the freezer for longer. Also, if the candy coating is too thick, it can seize and crack as it cools. Thin your candy melts slightly with shortening or coconut oil for a smoother dip. Allowing the pops to come up to a slightly less frigid temperature (just out of the freezer for 5 minutes) before dipping can also help.
It’s generally not recommended to use water-based liquid food coloring to tint white chocolate or candy melts, as it can cause the chocolate to seize and become thick and clumpy. If you want to color white chocolate (not candy melts), use oil-based candy colors or gel food coloring designed for chocolate. Candy melts come pre-colored, making them the easiest option for vibrant hues.
More Irresistible Valentine’s Treats
If you’re still in the mood for baking and spreading love through delicious desserts this Valentine’s Day, explore these other fantastic recipes that are sure to be crowd-pleasers:
- Valentine’s Day Brownies: Fudgy, rich, and easy to decorate for the holiday.
- Valentine’s Day Dirt Cake Recipe: A fun, no-bake dessert that’s surprisingly simple and always a hit.
- 55 Valentine’s Day Cakes: A collection of stunning cakes for every skill level.
- 45 Best Valentine’s Day Cookies: From classic cut-outs to simple drop cookies, find your next favorite.
- Valentine’s Day Rolo Pretzel Turtles: A sweet and salty combination that’s incredibly addictive.
- Valentine’s Day Cupcakes: Adorable and customizable, perfect for any celebration.
We hope you thoroughly enjoy making and sharing this Valentine’s Day Cake Pops recipe! It’s a truly festive treat that combines ease with elegance. After trying it, please consider leaving a star recipe rating and a comment below to share your experience and any creative twists you added.
Valentine’s Day Cake Pops Recipe Card
Valentine’s Day Cake Pops
Make Valentine’s Day Cake Pops for the perfect treat for kids. Everyone will love these Valentine’s Day Cake Balls with minimum work. They taste great and look festive.
30 mins
25 mins
55 mins
24
American
Dessert
166
Carrie Barnard
Ingredients
- 1 box White Cake Mix
- *Plus ingredients to prepare the cake on the back of the box (e.g., 2 eggs, 1/3 cup vegetable oil)
- 1/3 cup White Frosting
- 6 ounces White Candy Melts
- 6 ounces Pink Candy Melts
- 6 ounces Red Candy Melts
- Various Valentine’s Day Sprinkles
- Lollipop Sticks
Instructions
- Make cake according to box instructions in a 9×13 inch pan. Allow the cake to cool completely at room temperature.
- Remove the cooled cake from the pan. Discard the brown, crusty outside layer from the cake. Crumble the remaining soft cake into a large bowl.
- Add the white frosting to the crumbled cake and stir everything together until well combined. The mixture should have a dough-like consistency.
- Shape the mixture into approximately 24-36 cake balls (depending on your desired size). Use a cookie scoop to ensure consistent sizing. Place the formed balls on a parchment-lined cookie sheet.
- Place each color of candy melts into separate small microwave-safe bowls. Microwave for 30 seconds, then stir. Continue heating in 30-second intervals, stirring between each, until the candy melts are fully melted and creamy.
- Dip the tip of each lollipop stick into one color of melted candy, then insert the stick about halfway into each cake ball. Place the cake pops in the freezer for 10-15 minutes to allow the sticks to set securely.
- Remove the chilled cake pops from the freezer. Dip each cake pop into the melted candy melts (re-melt if necessary). Ensure the candy covers the cake pop completely. Gently tap the stick against the edge of the bowl to allow excess melted candy to drip off.
- Immediately after dipping, place the stick of the cake pop into a block of Styrofoam. Add your chosen Valentine’s Day sprinkles right away, before the candy coating dries.
- Continue this process until all the cake pops have been covered and decorated. Once the candy coating is completely dry and set, your delightful Valentine’s Day Cake Pops are ready to serve and enjoy!
Recipe Notes
Store any leftover Valentine’s Day Cake Pops in an airtight container and refrigerate for up to 1-2 weeks to maintain their freshness.
Nutrition Facts
Calories
166kcal
,
Carbohydrates
25g
,
Protein
1g
,
Fat
7g
,
Saturated Fat
3g
,
Polyunsaturated Fat
1g
,
Monounsaturated Fat
2g
,
Trans Fat
0.1g
,
Cholesterol
14mg
,
Sodium
170mg
,
Potassium
19mg
,
Fiber
0.2g
,
Sugar
17g
,
Vitamin A
20IU
,
Calcium
49mg
,
Iron
0.5mg
