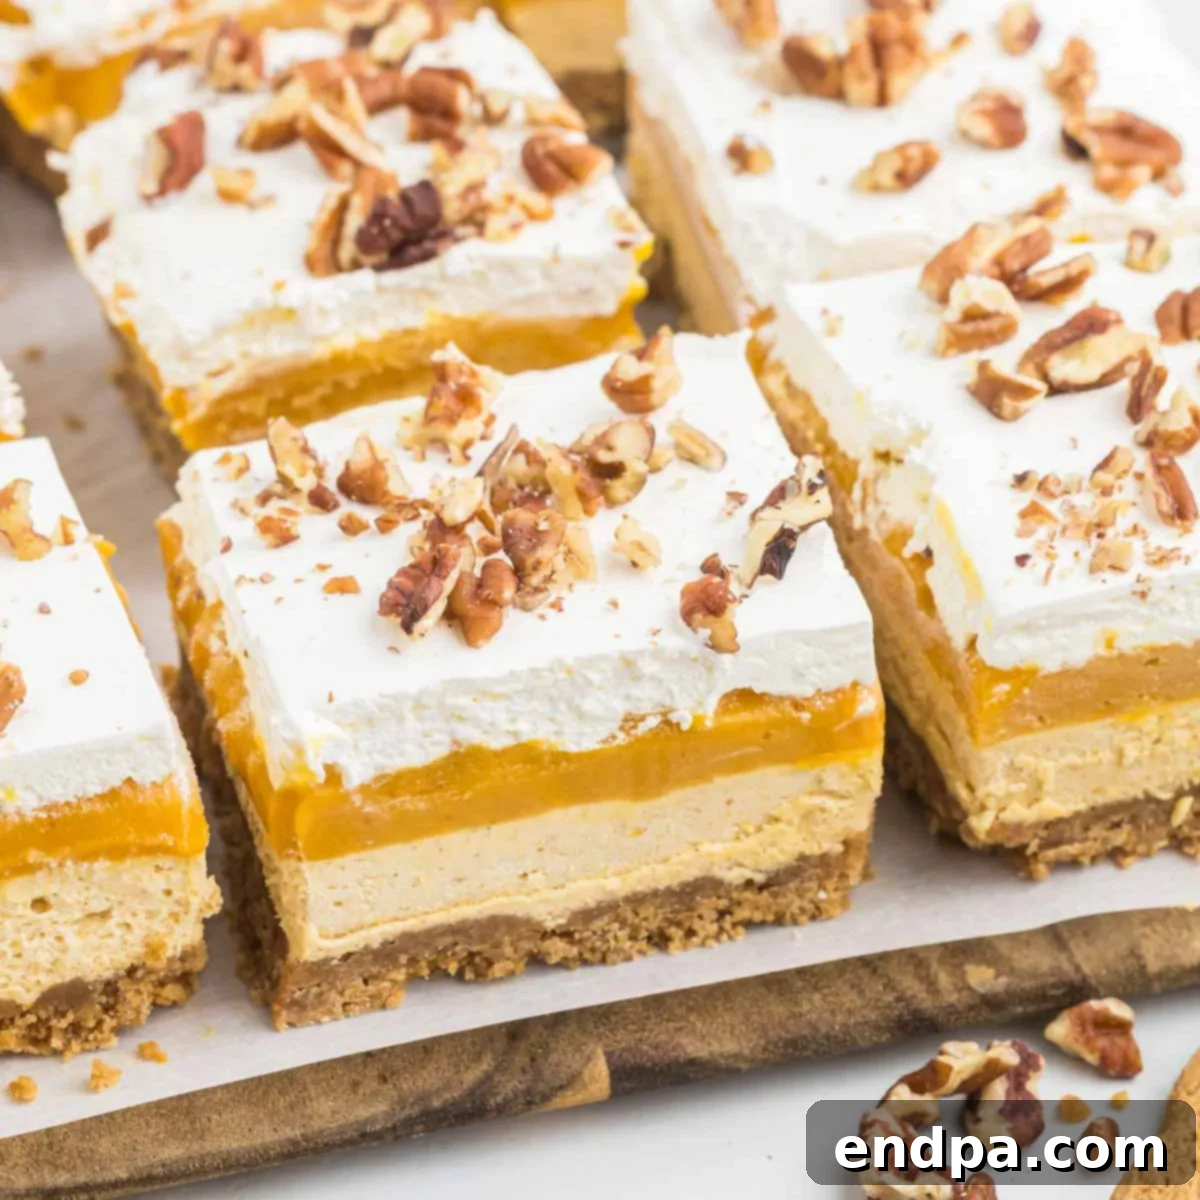
Irresistible No-Bake Pumpkin Dream Bars: Your Perfect Fall Dessert
Prepare to be enchanted by these Pumpkin Dream Bars, a spectacular no-bake dessert featuring luscious layers of spiced pumpkin, velvety cream cheese, and a perfectly crisp gingersnap crust. This easy-to-make treat is bursting with vibrant pumpkin flavor, making it the ultimate indulgence for autumn gatherings and holiday celebrations.
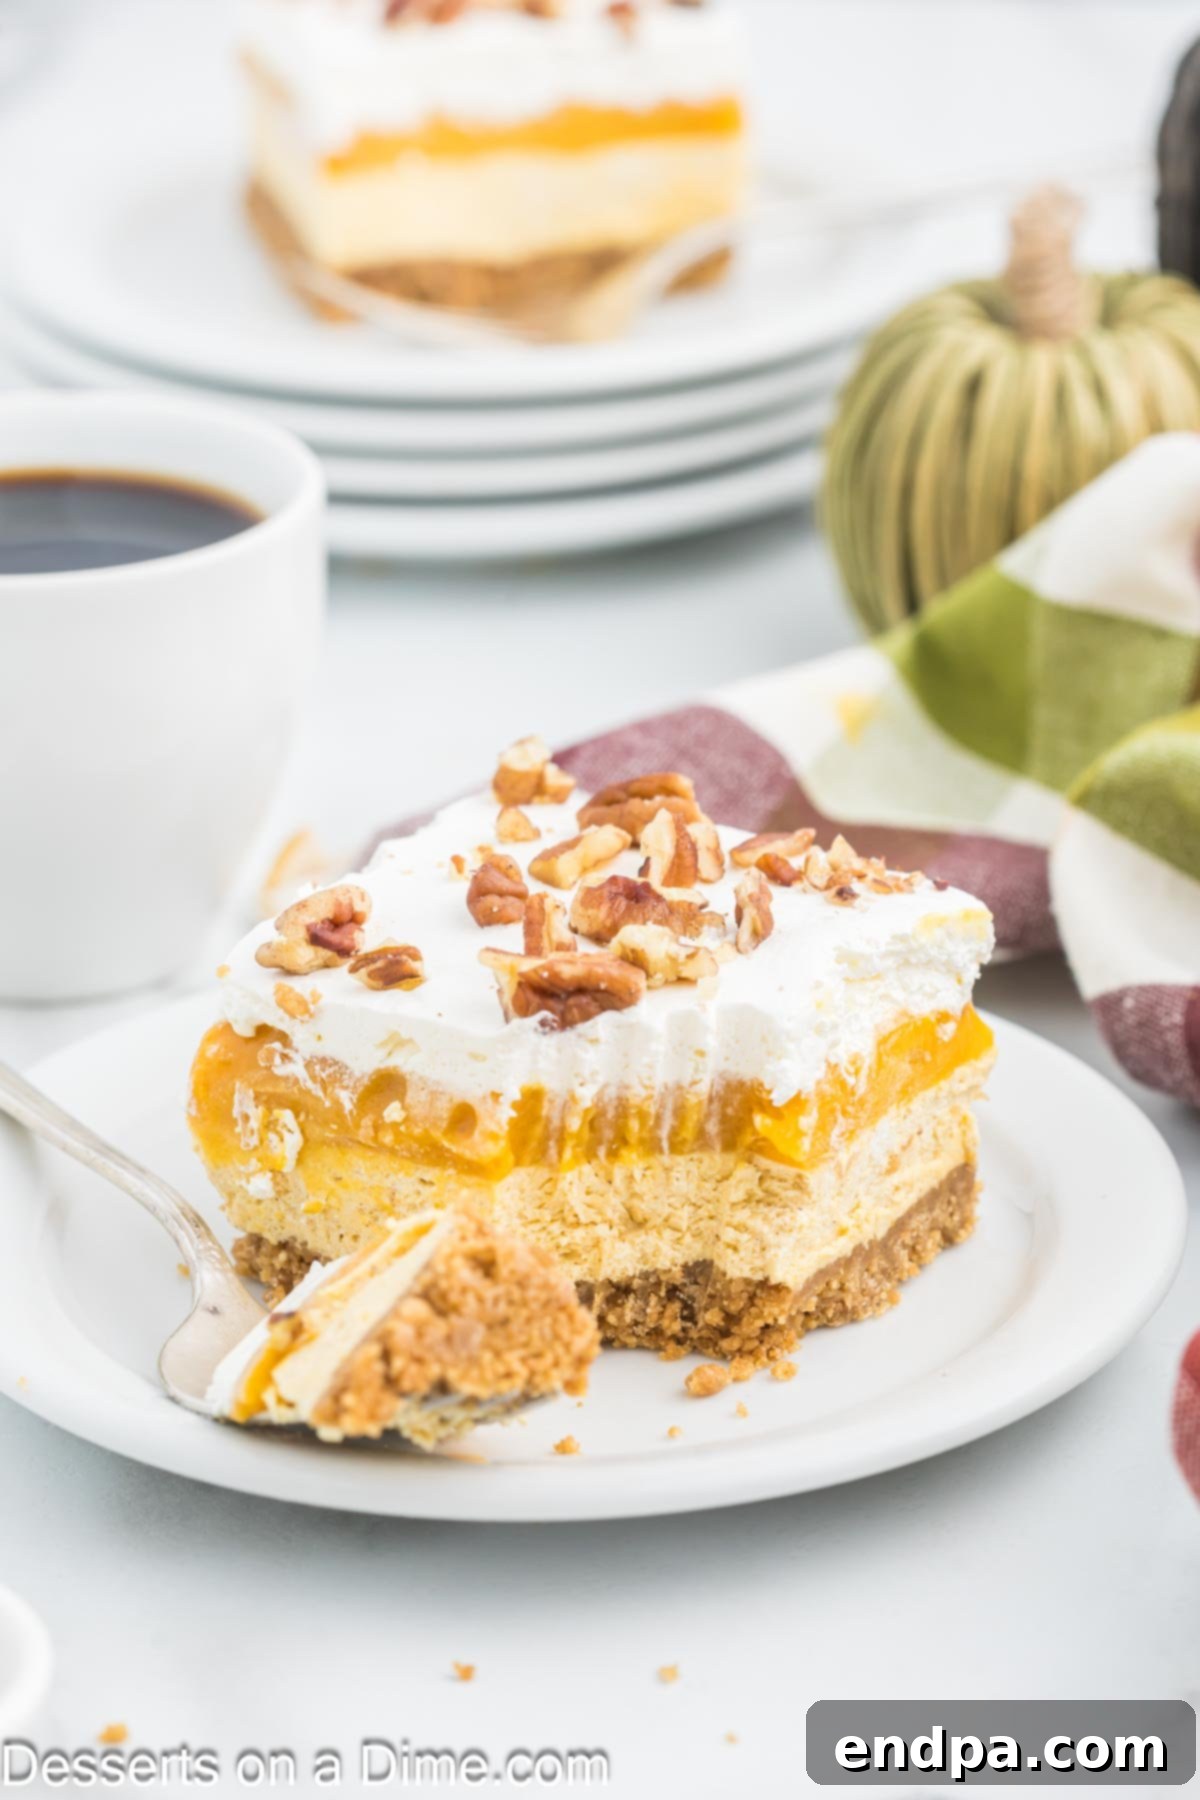
Every forkful of these decadent no-bake dessert bars offers a symphony of flavors and textures that simply melt in your mouth. From the spicy crunch of the gingersnap base to the cool, tangy cream cheese and the rich, smooth pumpkin pudding, each layer contributes to an unforgettable tasting experience. It’s no wonder these are counted among the best pumpkin desserts, a cherished recipe we eagerly anticipate making year after year.
If you find yourself with extra pumpkin puree, you might also adore our No-Bake Pumpkin Pie Recipe or classic Pumpkin Bars Recipe, both equally delightful ways to enjoy the season’s favorite gourd.
Table of contents
- Why We Adore These Pumpkin Dream Bars
- Essential Ingredients for Pumpkin Dream Bars
- The Crispy Crust
- Creamy Pudding Layer
- The Velvety Cream Cheese Layer
- Delicious Topping Options
- Creative Additions and Smart Substitutions
- Simple Step-by-Step Guide
- Perfect Serving Suggestions
- Storage Tips for Freshness
- Pro Tips for Pumpkin Dream Bar Perfection
- Frequently Asked Questions (FAQs)
- More Delectable Pumpkin Recipes
Why We Adore These Pumpkin Dream Bars
These Pumpkin Dream Bars are more than just a dessert; they’re an experience. There are countless reasons why this recipe has become a perennial favorite in our kitchen:
- Effortlessly Delicious: Despite their impressive appearance, these bars are incredibly simple to assemble. No baking means less time in the kitchen and more time enjoying the festive flavors.
- Layers of Flavor: Each bite delivers a harmonious blend of spicy gingersnap, creamy vanilla pudding, tangy cream cheese, and warm pumpkin spice. The interplay of textures and tastes is truly captivating.
- Perfect for Any Occasion: Whether you’re hosting Thanksgiving dinner, a cozy fall gathering, or simply craving a taste of the season, these bars are always a hit. Their make-ahead convenience makes them ideal for entertaining.
- Seasonal Delight: Pumpkin is the quintessential flavor of autumn, and these bars celebrate it beautifully. They bring the comforting essence of fall to your dessert table with every slice.
- Customizable: Easily adapt the crust, spices, or toppings to suit your personal preferences or dietary needs, making them incredibly versatile.
You’ll love how quickly these come together, leaving you more time to savor the flavors of the season. They truly embody the spirit of fall in every amazing layer.
Essential Ingredients for Pumpkin Dream Bars
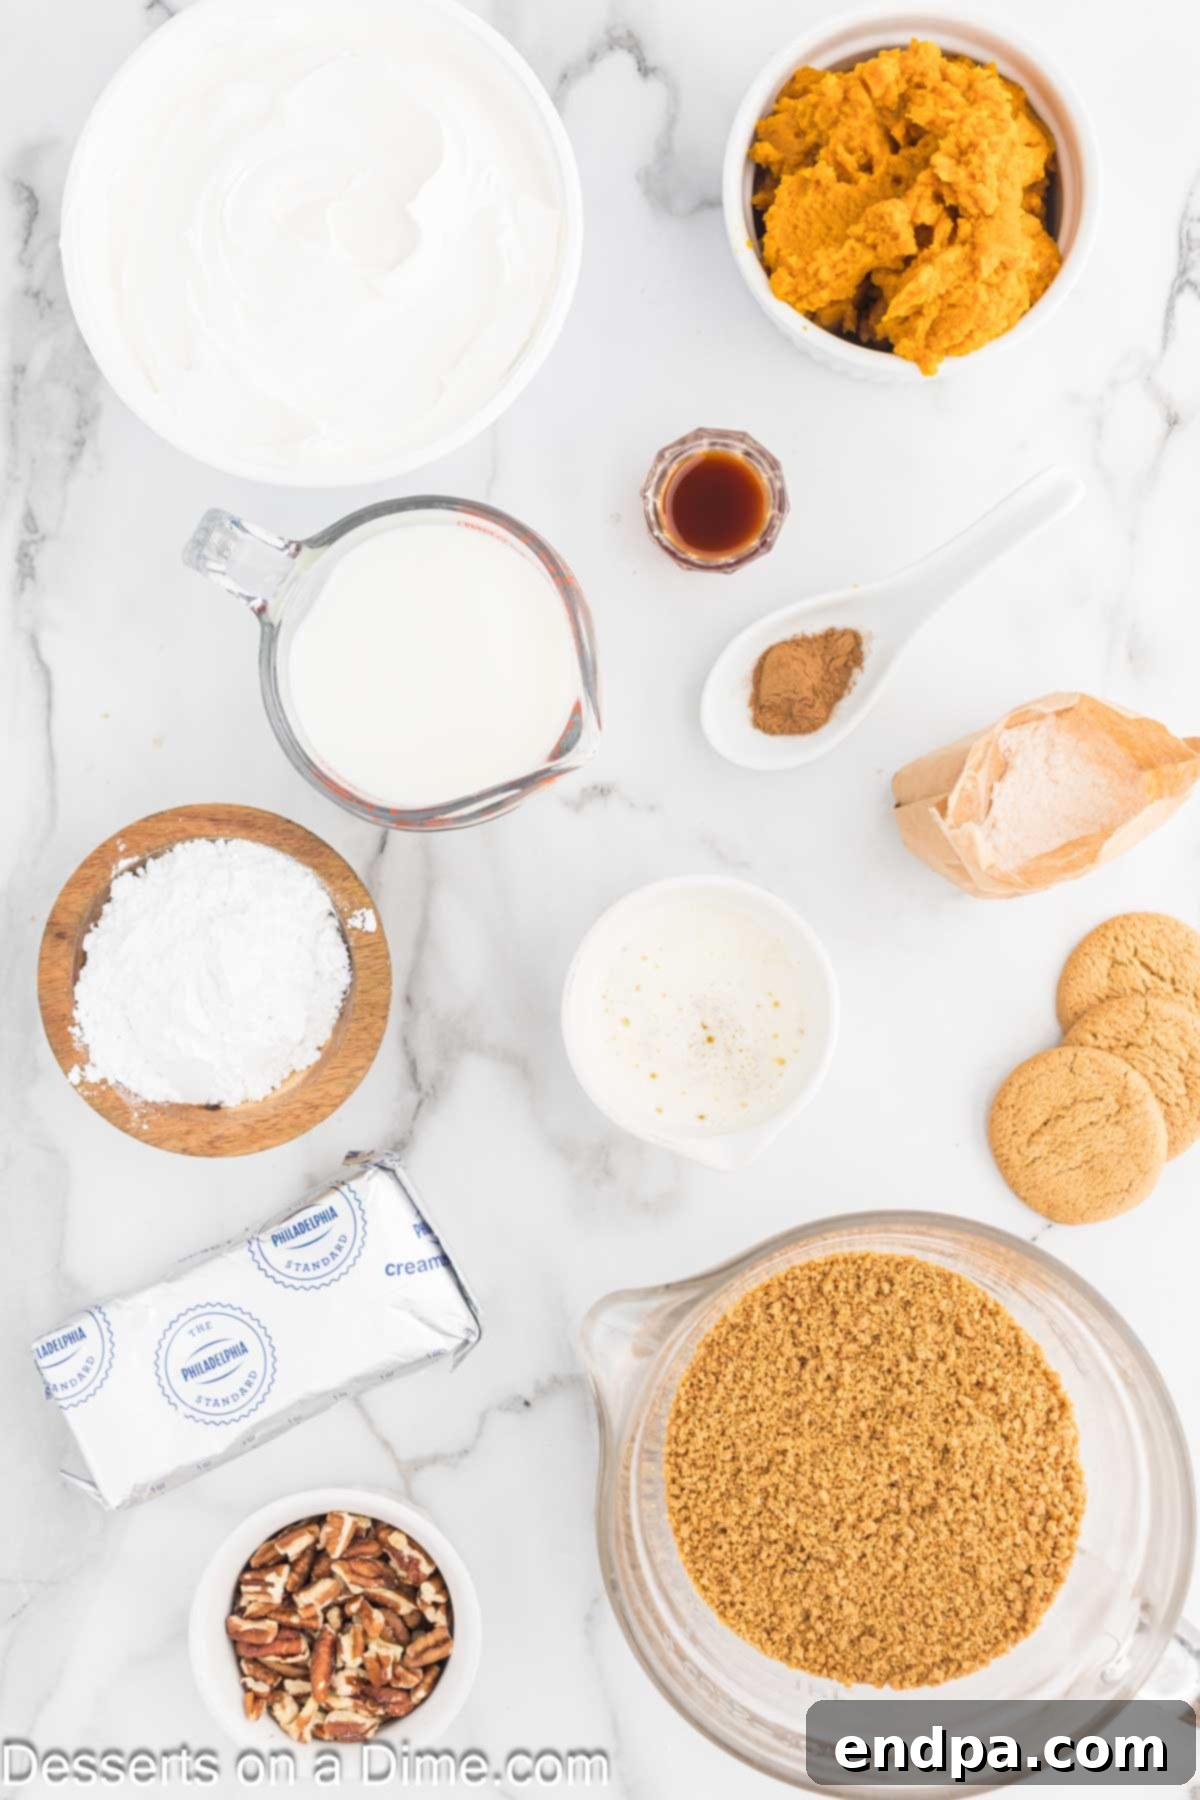
Creating these delightful bars requires just a few key components. Here’s a detailed look at what you’ll need for each layer, along with some helpful tips for ingredient selection:
The Crispy Crust
- Gingersnap Cookie Crumbs: These are the star of our crust, providing a wonderfully spicy and crunchy foundation. Use a food processor to transform them into fine crumbs, ensuring a cohesive and sturdy base. If you don’t have a food processor, a Ziploc bag and a rolling pin work just as well for crushing the cookies. The gingersnap flavor is paramount here, so opt for good quality cookies.
- Melted Butter: Unsalted melted butter binds the cookie crumbs together, creating a rich, flavorful, and perfectly set crust. Make sure it’s fully melted for easy mixing.
Creamy Pudding Layer
- Vanilla Pudding Mix (3.4 oz box): For this recipe, you’ll only need the dry pudding mix. Do NOT follow the package instructions for preparing the pudding. We’re using the mix to thicken and enhance the pumpkin layer, creating a distinct, creamy texture.
- Pure Pumpkin Puree: This is crucial! Always ensure you buy pure pumpkin puree, not pumpkin pie filling. Pumpkin pie filling contains added spices and sugar, which would alter the delicate balance of flavors in these bars. Look for a can that lists only “pumpkin” as the ingredient.
- Milk: Whole milk is recommended for the richest, creamiest texture, but you can certainly use your preferred milk (such as 2% or even a non-dairy alternative) if desired. The fat content in the milk will contribute to the overall luxuriousness of the pudding layer.
The Velvety Cream Cheese Layer
- Cream Cheese (8 oz pkg): Softened cream cheese is key to achieving a smooth, lump-free, and airy cream cheese layer. Take it out of the refrigerator at least 30 minutes to an hour before you start mixing to allow it to come to room temperature. This makes it much easier to beat until light and fluffy.
- Powdered Sugar: Also known as confectioners’ sugar, this fine sugar dissolves easily, ensuring a smooth and sweet cream cheese filling. Sifting the powdered sugar beforehand is highly recommended to prevent any lumps and ensure a silky texture.
- Vanilla Extract: Pure vanilla extract will enhance all the other flavors and add a beautiful aromatic depth to the cream cheese layer. Avoid imitation vanilla for the best results.
- Pumpkin Pie Spice: This blend of cinnamon, nutmeg, ginger, and cloves is what truly brings out the autumnal spirit in the cream cheese layer. Adjust the amount to your taste.
- Whipped Topping (Cool Whip, divided): Store-bought whipped topping like Cool Whip provides a light, airy texture and a touch of sweetness. You’ll incorporate some into the cream cheese layer and reserve the rest for the final topping. For an extra special touch, you can also use homemade whipped cream, though it might be slightly less stable for extended storage.
Delicious Topping Options
- Chopped Pecans: These add a delightful crunch and nutty flavor that complements the pumpkin perfectly. Feel free to omit them if you have nut allergies or simply prefer not to use nuts. Other nuts like walnuts or almonds also work wonderfully.
Remember to scroll to the bottom of this page for the complete, printable recipe card with exact measurements.
Creative Additions and Smart Substitutions
One of the best things about these Pumpkin Dream Bars is their versatility. Don’t hesitate to get creative with additions or make smart substitutions to tailor them to your taste or what you have on hand:
- Alternate Crust Options:
- Graham Cracker Crumbs: If gingersnaps aren’t your favorite, a classic graham cracker crust offers a milder, slightly sweet flavor that pairs beautifully with pumpkin. Use the same ratio of crumbs to melted butter.
- Oreo Crumbs: For a decadent twist, consider an Oreo crust. The chocolatey crunch adds a rich contrast to the creamy pumpkin layers.
- Biscoff Cookie Crumbs: These spiced shortbread cookies would offer a different, yet equally delicious, caramelized flavor profile for the crust.
- Nutty Variations: While chopped pecans are classic, feel free to experiment with other nuts.
- Chopped Walnuts: These provide a slightly earthier flavor and a satisfying crunch.
- Toasted Almonds: Slivers or chopped almonds can add a delicate flavor and texture.
- No Nuts: Simply omit the nuts if you prefer, or if you need to make the dessert nut-free for allergy concerns.
- Flavor Boosters:
- Caramel Drizzle: A swirl of caramel sauce over the top before serving adds a luxurious touch and extra sweetness.
- Mini Chocolate Chips: Sprinkle mini chocolate chips between layers or on top for a hint of chocolatey goodness. White chocolate chips would also be fantastic.
- Extra Spices: If you love a bolder spice profile, a pinch more cinnamon, nutmeg, or allspice can be added to the pumpkin pudding layer or the cream cheese layer.
- Orange Zest: A little fresh orange zest in the cream cheese layer can add a bright, citrusy note that wonderfully complements pumpkin.
- Whipped Topping: As mentioned, homemade whipped cream is a delicious alternative to Cool Whip, offering a fresher, less sweet flavor. Just ensure it’s stiffly whipped for stability.
Simple Step-by-Step Guide to Pumpkin Dream Bars
Follow these straightforward steps to create your perfect Pumpkin Dream Bars. Precision and patience, especially with chilling, are key to success!
Step 1 – Prepare the Pan: Begin by lining an 8×8 inch square baking pan with parchment paper. Leave an overhang on two sides; this will create “handles” that make it incredibly easy to lift the chilled bars out of the pan for clean slicing. This small step makes a huge difference in presentation.
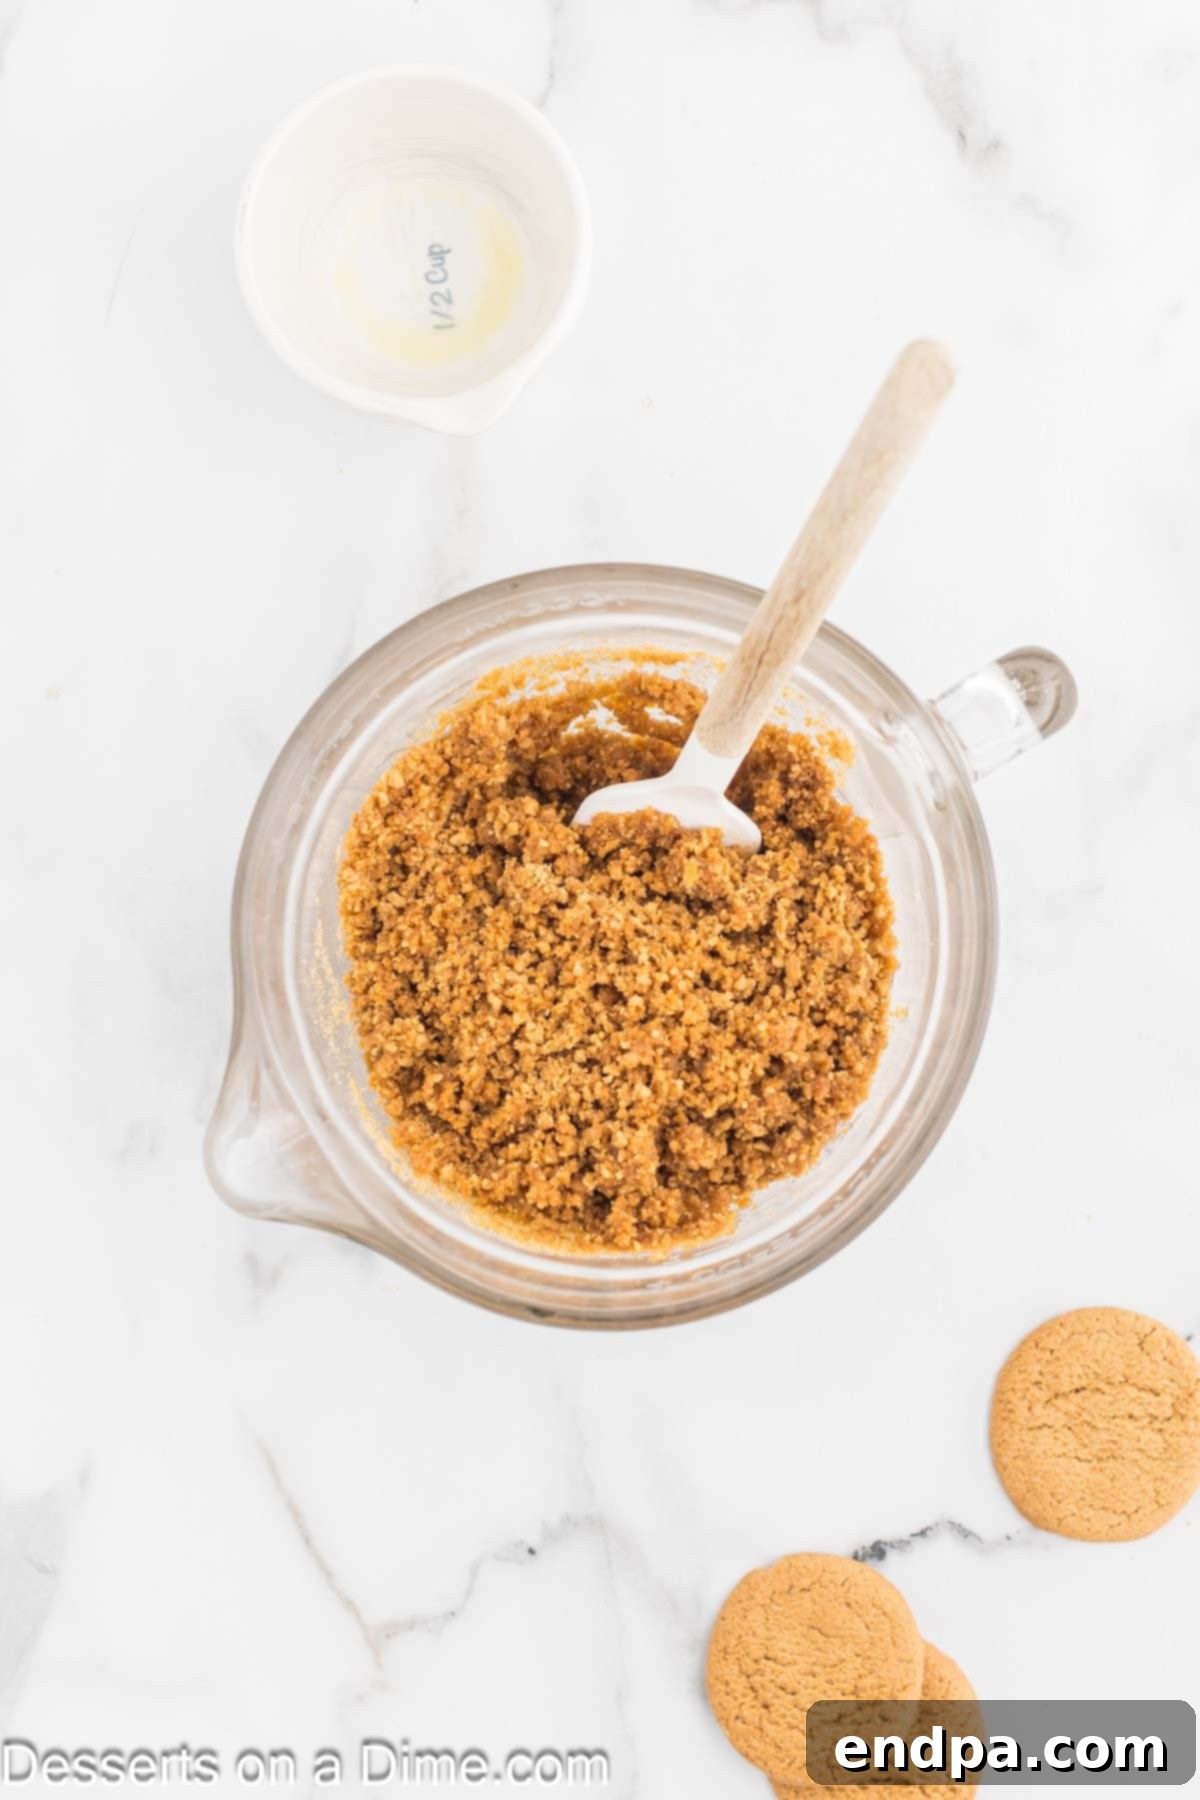
Step 2 – Create the Crust Mixture: In a large mixing bowl, combine the gingersnap cookie crumbs and the melted butter. Use a fork or your hands to mix until the crumbs are thoroughly moistened and resemble wet sand. For perfectly fine crumbs, a food processor is ideal, but if you don’t have one, simply place the cookies in a sturdy Ziploc bag and crush them with a rolling pin until uniformly fine.
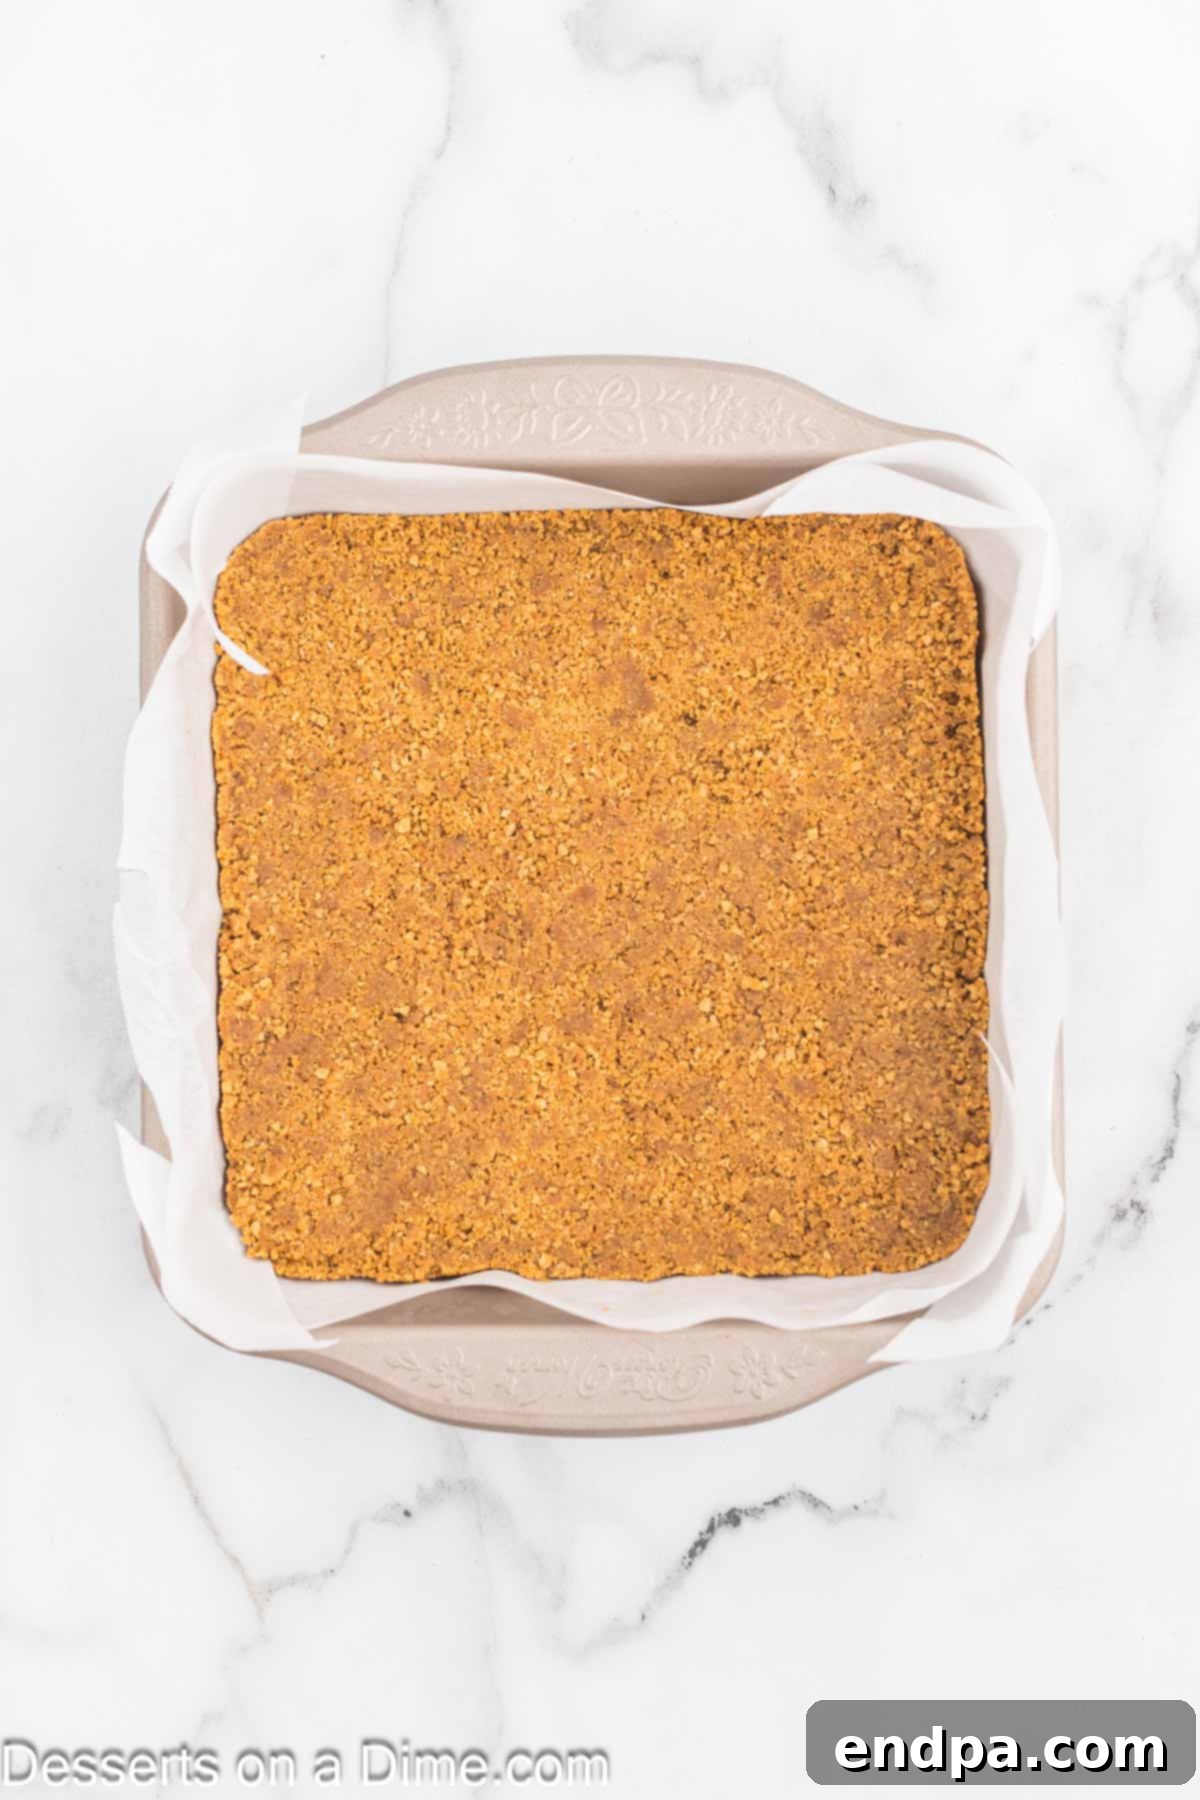
Step 3 – Press and Chill the Crust: Evenly spread the cookie mixture into the bottom of the prepared baking dish. Press it down firmly and uniformly across the entire surface. A flat-bottomed glass or the back of a spoon can help achieve an even, compact layer. Once pressed, place the pan in the freezer for 20-30 minutes. This crucial chilling period helps the crust set firmly before adding the moist layers, preventing it from becoming soggy.
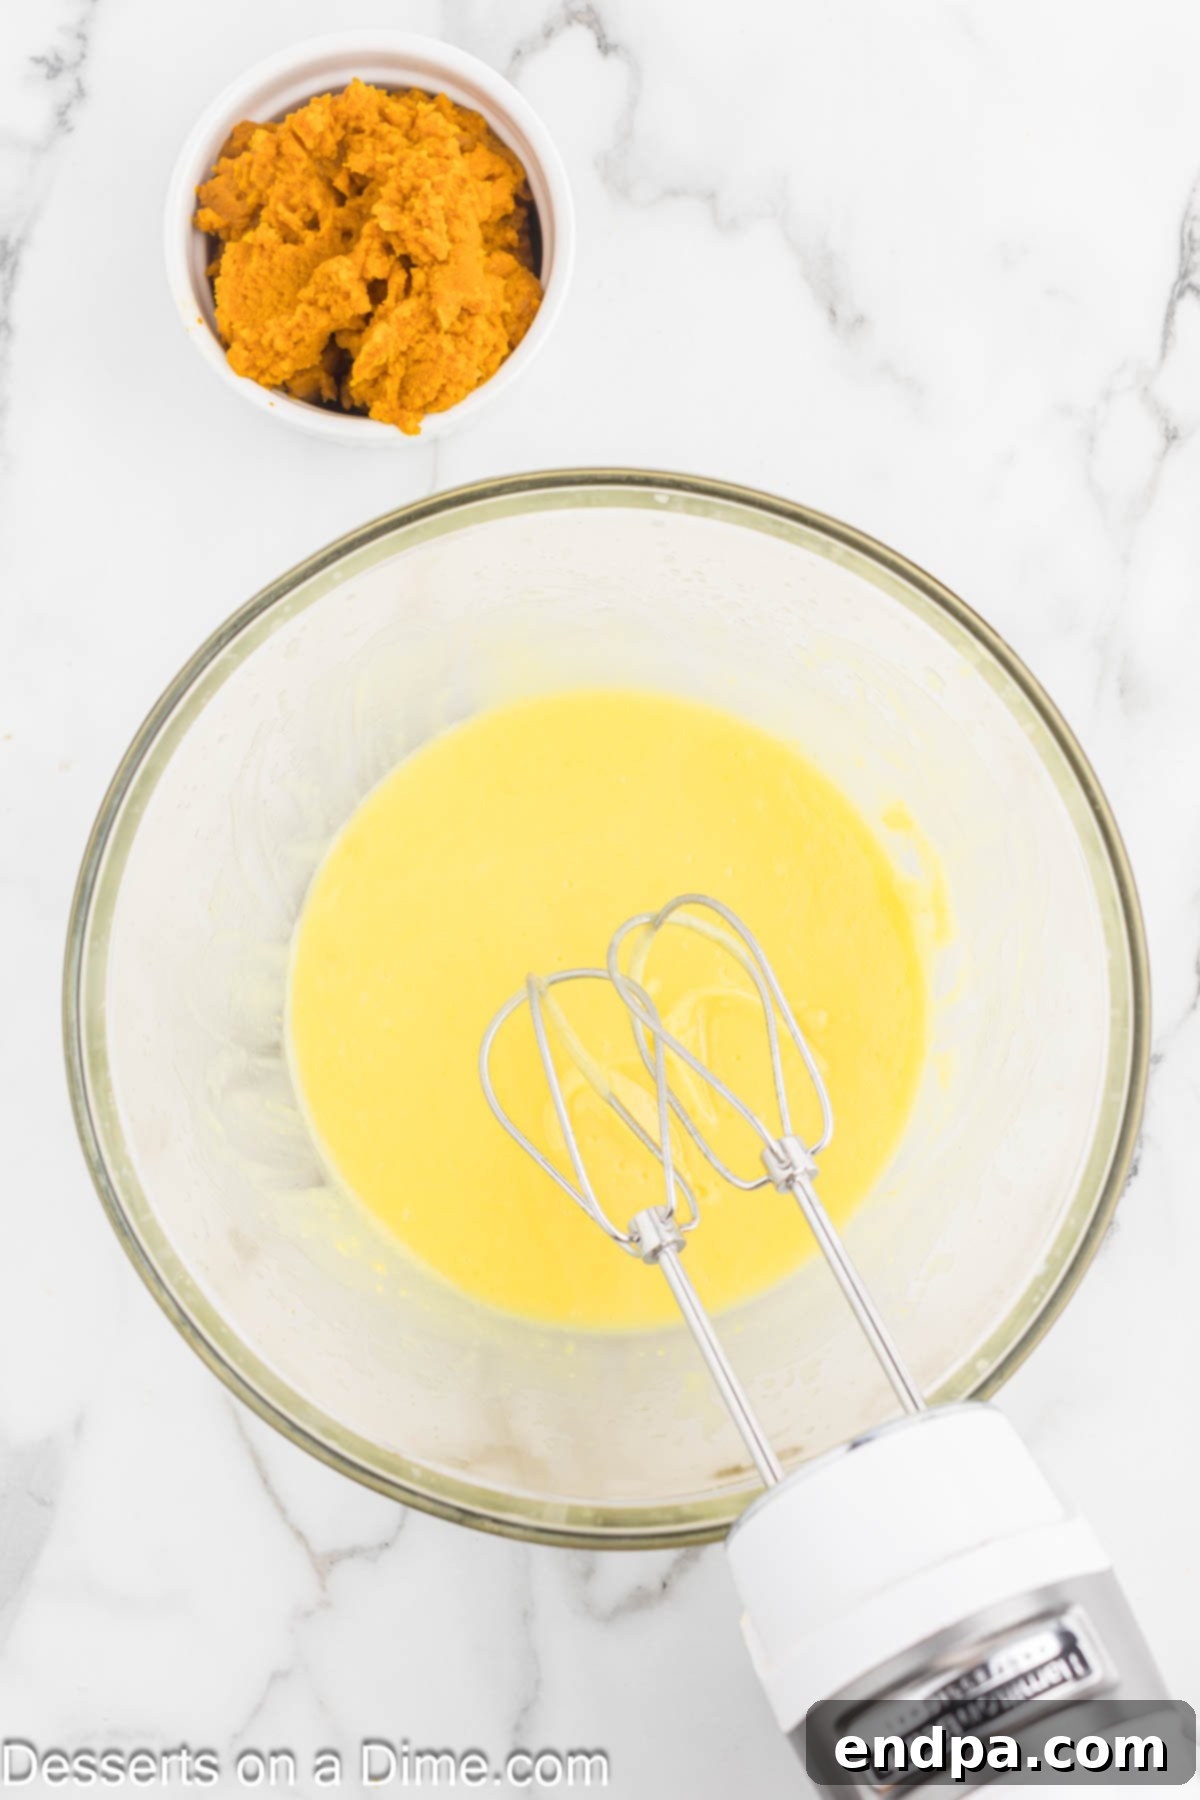
Step 4 – Prepare the Pumpkin Pudding Layer: In a separate mixing bowl, whisk together the vanilla pudding mix and milk until well combined and smooth. Continue whisking for about 2 minutes until it starts to thicken slightly. Then, gently stir in the pure pumpkin puree until no streaks of pumpkin remain. Place this mixture in the refrigerator for 10-15 minutes to allow it to thicken further, achieving a perfect pudding consistency.
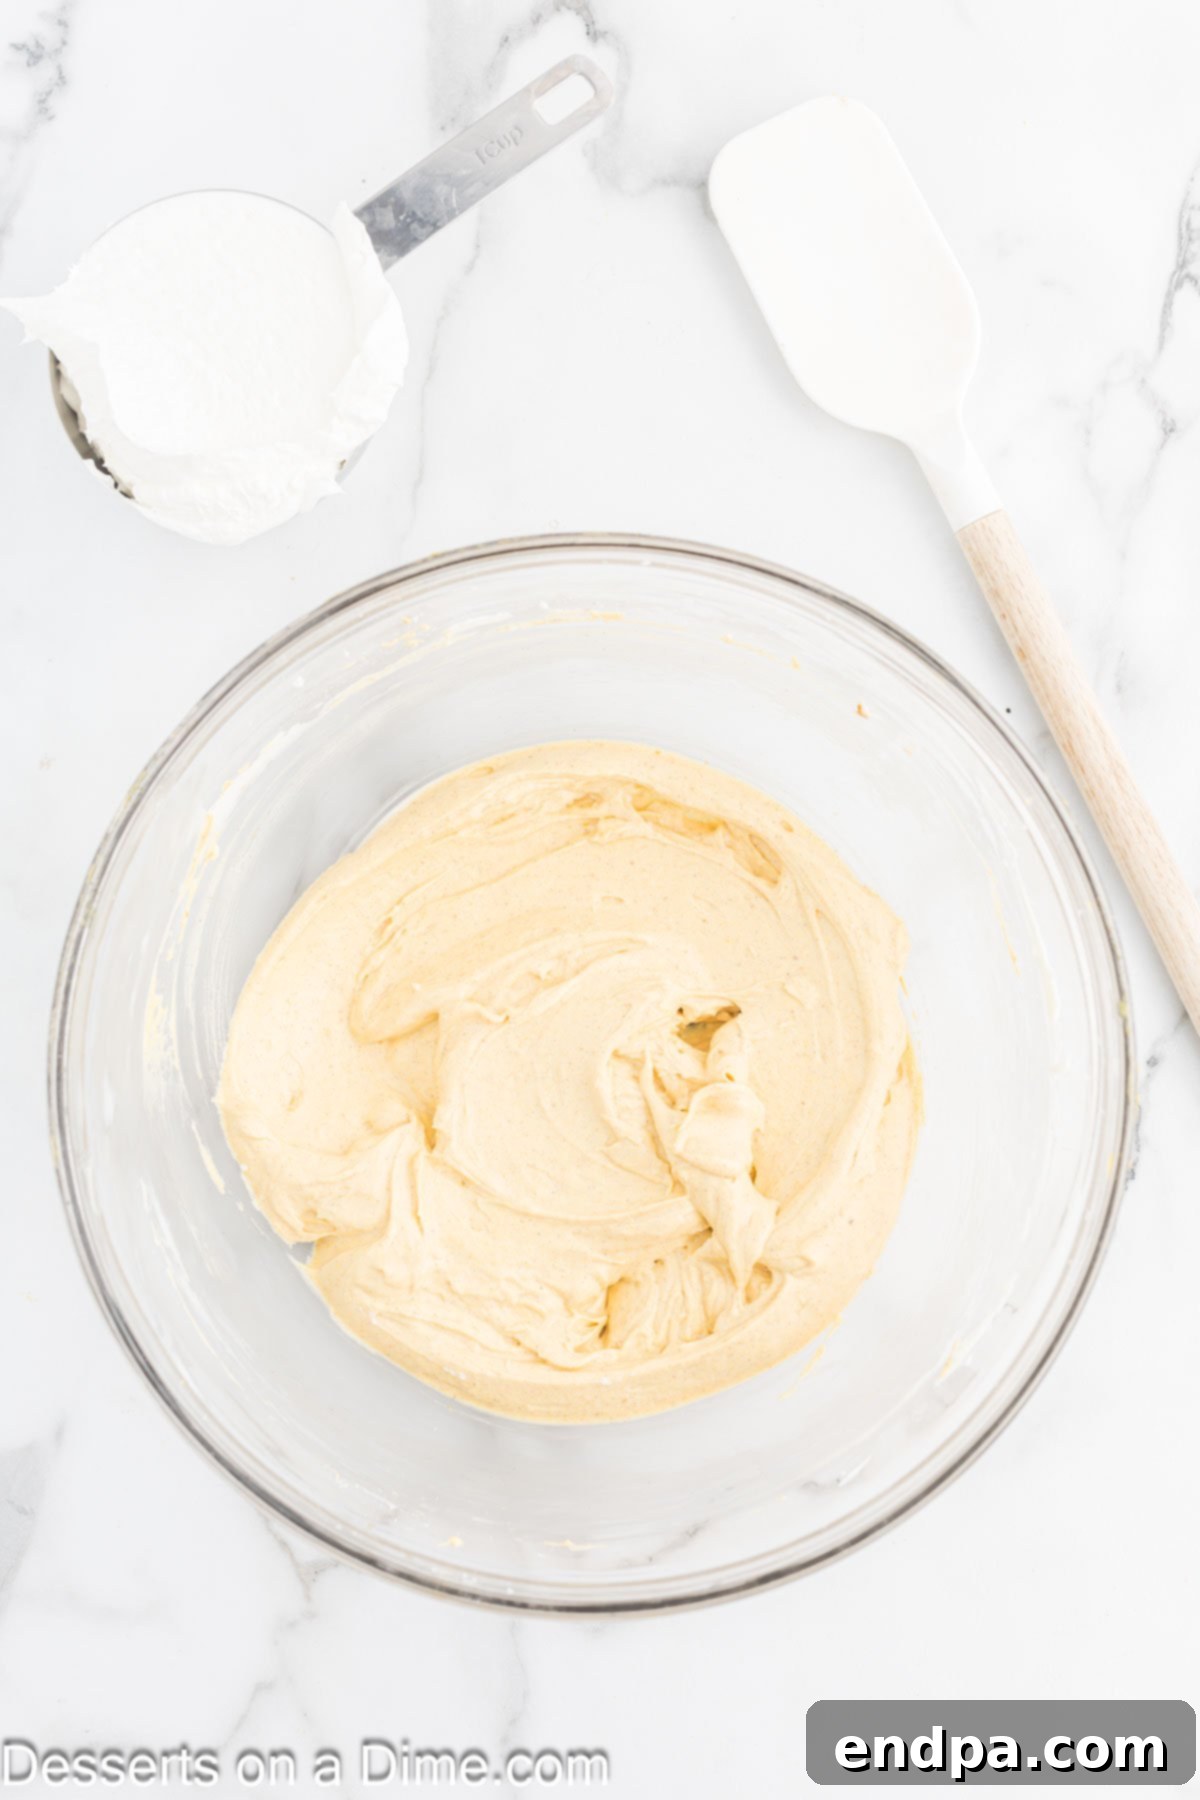
Step 5 – Mix the Cream Cheese Layer: Using another clean mixing bowl, beat the softened cream cheese with an electric mixer until it is light and fluffy, about 2-3 minutes. This aeration is important for a smooth texture. Next, add the sifted powdered sugar, the remaining pumpkin puree (for this layer), vanilla extract, and pumpkin pie spice. Beat until everything is just combined and smooth. Finally, gently fold in about 1 cup of the whipped topping using a spatula, being careful not to deflate the mixture. Reserve the remaining whipped topping for the final garnish.
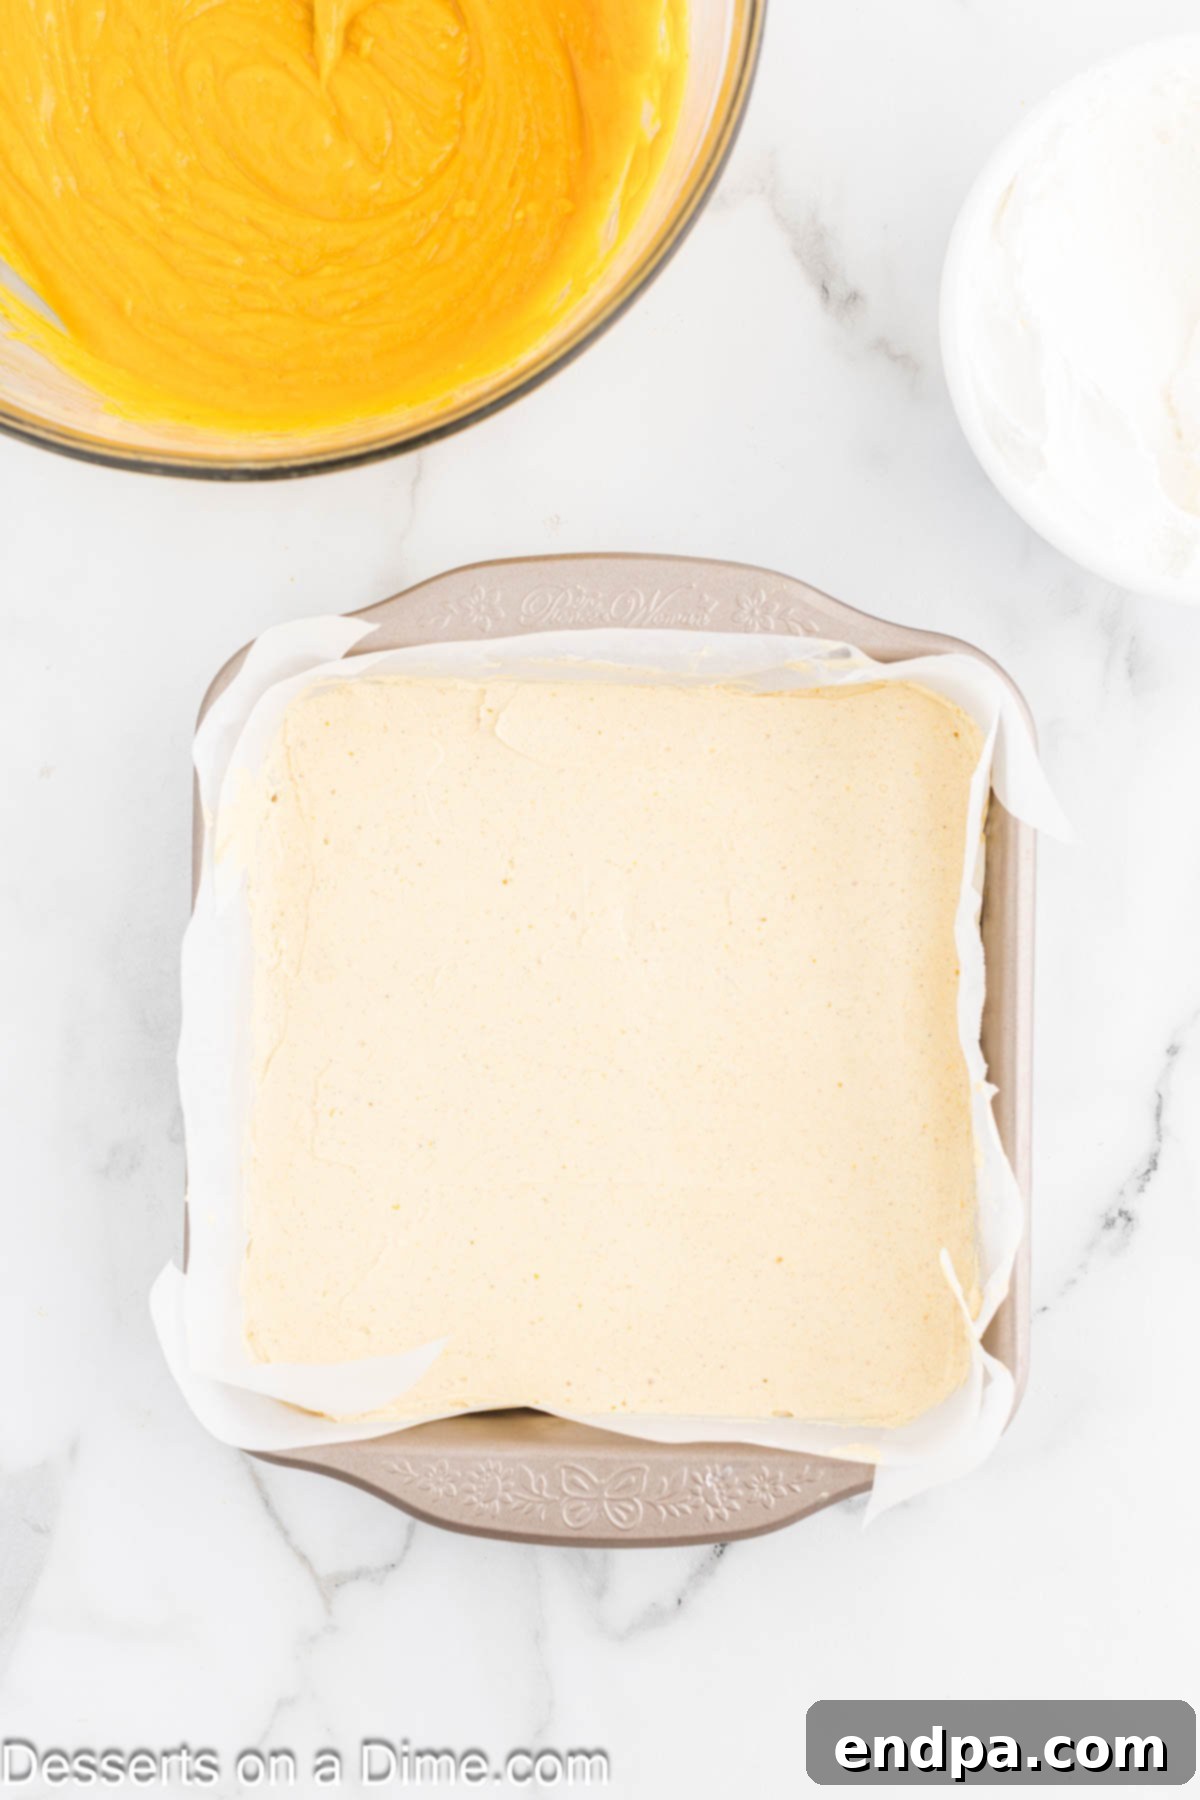
Step 6 – Assemble the Layers: Retrieve your chilled gingersnap crust from the freezer. Carefully spread the pumpkin-cream cheese layer evenly over the crust. Take your time to create a smooth, consistent layer, spreading gently to avoid disturbing the crust beneath. This is your luscious second layer.
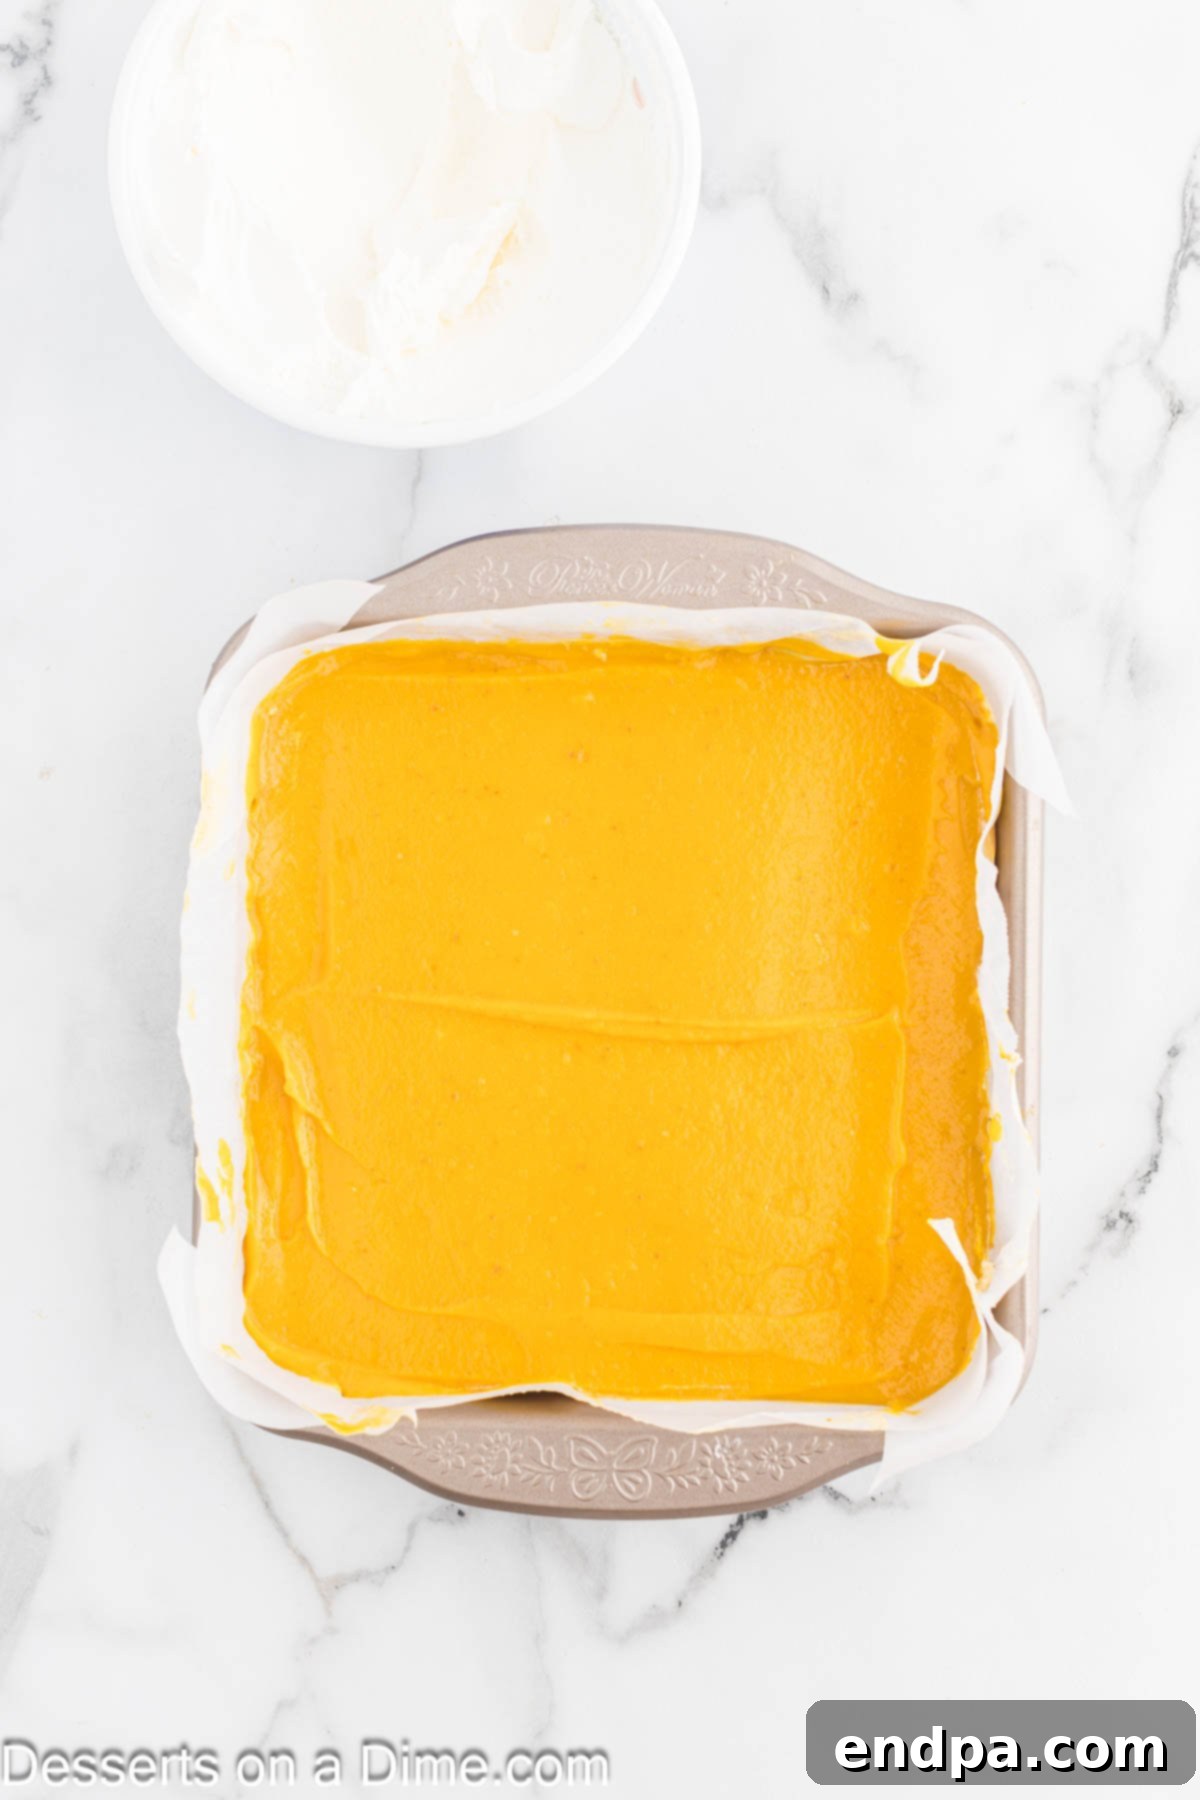
Step 7 – Add Final Layers and Chill: Next, gently spread the thickened pumpkin pudding mixture over the cream cheese layer. Again, spread carefully to keep the layers distinct. Finally, dollop and spread the remaining reserved whipped topping over the top. Once assembled, cover the pan loosely with plastic wrap and refrigerate for at least 4 hours, or ideally overnight. This extended chilling time is crucial for the layers to set completely, ensuring clean slices and optimal flavor development. When ready to serve, lift the bars out of the pan using the parchment paper handles, garnish with chopped pecans, slice, and enjoy!
Perfect Serving Suggestions
Once your Pumpkin Dream Bars are perfectly chilled and ready, it’s time to serve them! Here are a few ideas to make them even more special:
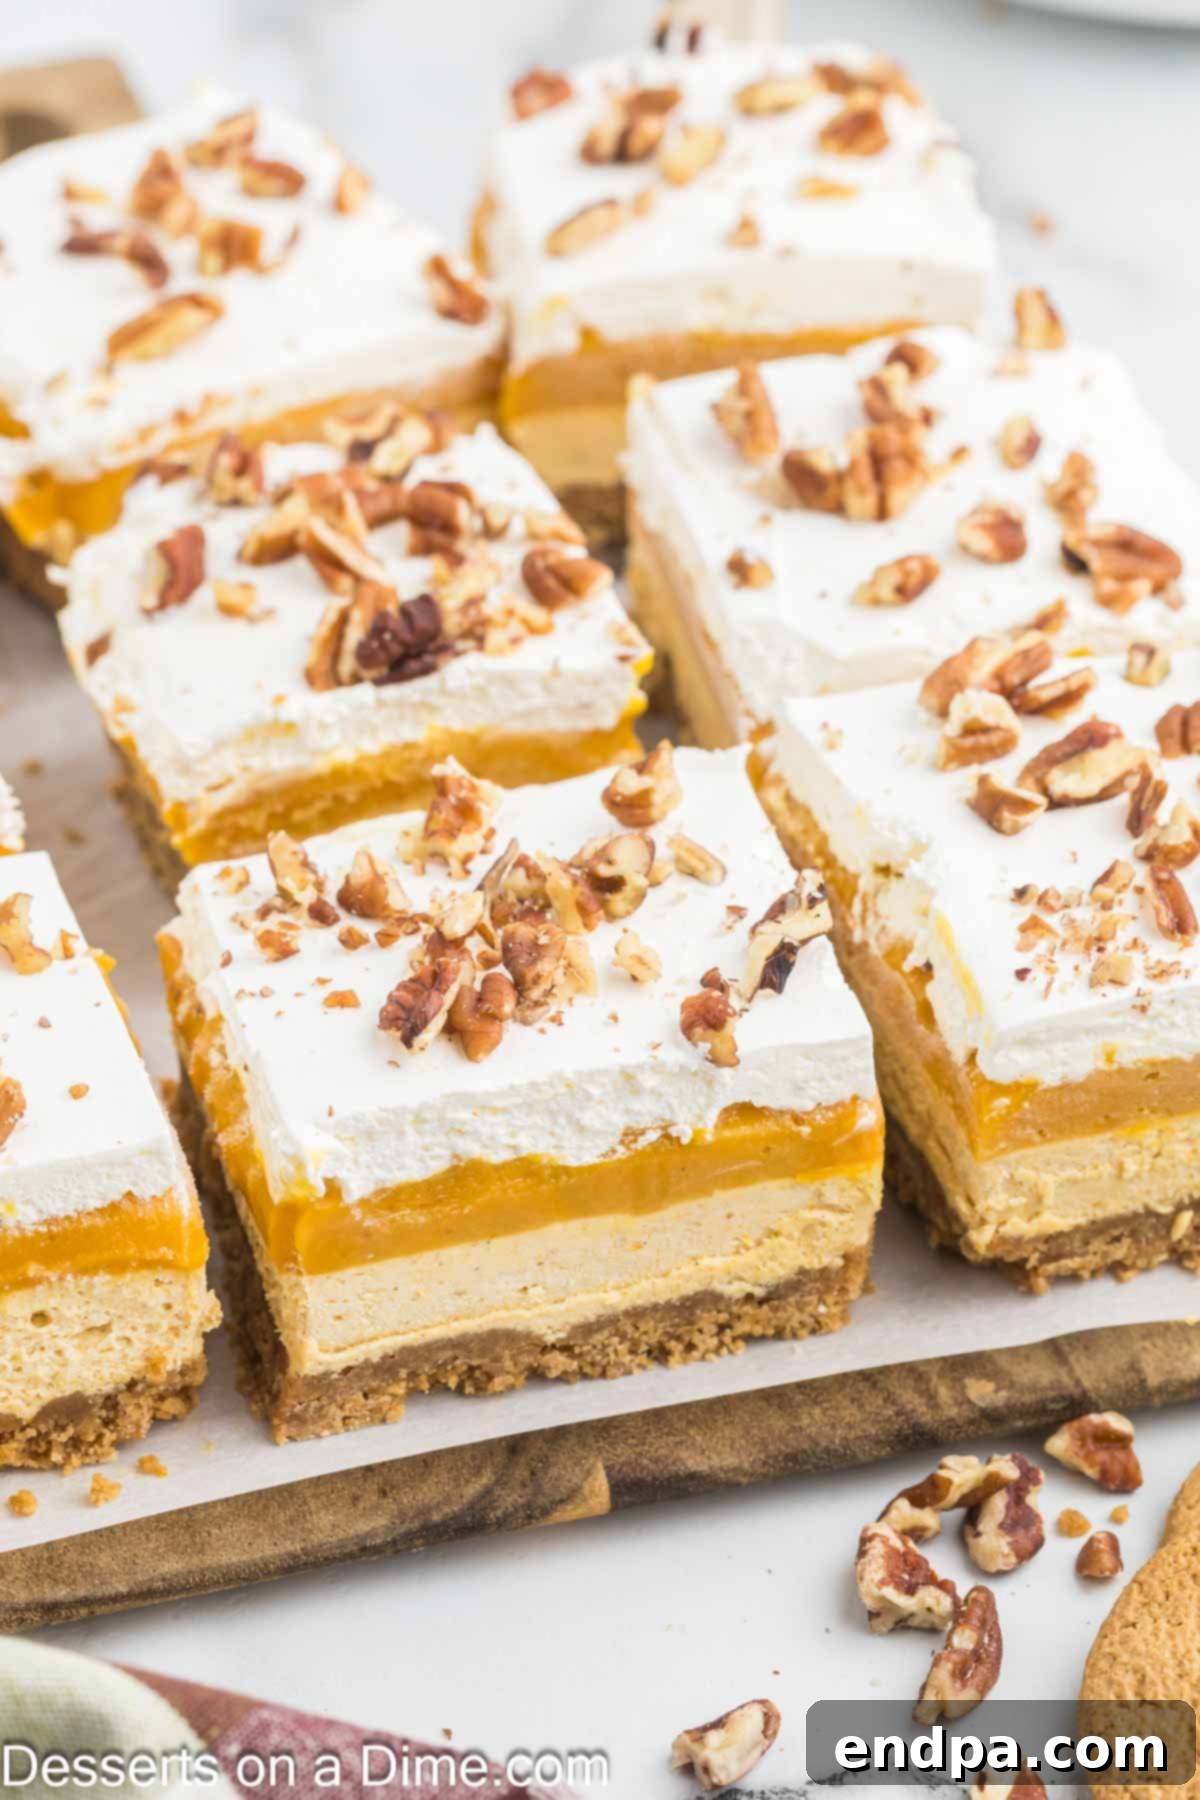
- Classic Presentation: Cut the chilled bars into neat squares or rectangles. The parchment paper handles will make this incredibly easy. A sharp, warm knife will ensure clean cuts.
- Garnish Galore:
- Extra Nuts: A sprinkle of additional chopped pecans or walnuts on top of each bar adds more texture and visual appeal.
- Gingersnap Dust: Crush a few extra gingersnap cookies and sprinkle the crumbs over the whipped topping for an elegant touch that ties into the crust.
- Mini Chocolate Chips: For chocolate lovers, a scattering of mini chocolate chips (dark or white) provides a delightful contrast.
- Caramel Drizzle: A light drizzle of caramel sauce can elevate the presentation and add another layer of rich flavor.
- Cinnamon or Pumpkin Pie Spice: A dusting of ground cinnamon or pumpkin pie spice through a small sieve gives a beautiful, aromatic finish.
- Pairing Perfection:
- Serve alongside a hot cup of coffee, espresso, or a spiced chai latte for a cozy autumn treat.
- A scoop of vanilla bean ice cream or a dollop of extra whipped cream on the side can make this dessert even more indulgent.
Storage Tips for Freshness
Proper storage is essential to keep your Pumpkin Dream Bars tasting fresh and delicious. Since these are a no-bake dessert with dairy components, refrigeration is a must.
- Refrigeration: Always store any leftover bars in an airtight container in the refrigerator. This prevents them from absorbing odors from other foods and keeps the layers firm. They will remain fresh and delightful for up to 5 days.
- Preventing Condensation: To avoid condensation forming on the surface (which can make the topping watery), you can place a piece of plastic wrap directly on the surface of the bars before sealing the container.
- Freezing (Not Recommended): While some no-bake desserts can be frozen, these Pumpkin Dream Bars, particularly due to the whipped topping and pudding layers, do not freeze well. Freezing can alter the texture, making the pudding grainy and the whipped topping separate when thawed. It’s best to enjoy them fresh from the refrigerator within their optimal shelf life.
- Make Ahead: These bars are an excellent make-ahead dessert. Preparing them the day before an event allows ample chilling time and reduces stress on the day of your gathering. Just add the final pecan garnish right before serving.
Pro Tips for Pumpkin Dream Bar Perfection
Achieving perfectly layered and delicious Pumpkin Dream Bars is simple with a few expert tricks up your sleeve. These tips will ensure your dessert is a showstopper every time:
- Line the Pan for Easy Removal: This is arguably the most important tip! Always line your baking pan with parchment paper, leaving an overhang on at least two sides. These “sling” handles allow you to easily lift the entire slab of chilled bars out of the pan, making slicing and serving mess-free.
- Freeze the Crust Thoroughly: Don’t rush this step. Allowing the gingersnap crust to freeze for the recommended 20-30 minutes ensures it becomes solid and forms a stable base. A properly chilled crust prevents the subsequent creamy layers from seeping into it, maintaining distinct layers and a firm foundation.
- Ample Chilling Time is Non-Negotiable: The bars need at least 4 hours in the refrigerator to set completely. This allows all the layers to firm up, meld flavors, and become sliceable without oozing. For the absolute best results and easiest cutting, I highly recommend leaving them to chill overnight.
- Softened Cream Cheese is Key: Always ensure your cream cheese is at room temperature before beating. Cold cream cheese will result in a lumpy texture and can be difficult to mix smoothly. Take it out of the fridge at least an hour before you plan to start the recipe.
- Sift Powdered Sugar: Powdered sugar can clump easily. Sifting it before adding to the cream cheese layer will ensure a super smooth, lump-free filling.
- Don’t Overmix the Cream Cheese Layer: Once the powdered sugar and other ingredients are incorporated, mix just until smooth. Overmixing can incorporate too much air or make the cream cheese mixture too thin. When folding in the whipped topping, use a gentle hand to maintain its airy texture.
- Achieve Clean Slices: For perfect, clean-cut bars, use a long, sharp knife. For each cut, dip the knife in hot water, wipe it clean, and then make a single, decisive slice. Repeat this process for every cut to prevent dragging and messy layers.
- Make Ahead for Stress-Free Entertaining: These bars are an ideal make-ahead dessert. You can prepare them a full day in advance, storing them in the refrigerator. This frees up your time on the day of your event and ensures the bars are perfectly set and flavorful.
- Distinguish Pumpkin Puree from Pumpkin Pie Filling: Always double-check your can labels! Pumpkin puree is pure cooked pumpkin, while pumpkin pie filling is sweetened and spiced. Using the wrong one will significantly alter the flavor and sweetness of your bars.
Frequently Asked Questions (FAQs)
Here are some common questions about making these delightful Pumpkin Dream Bars:
- Can I use homemade whipped cream instead of Cool Whip?
Yes, absolutely! Homemade whipped cream can add an even fresher flavor. Ensure it’s whipped to stiff peaks so it holds its shape within the layers and as a topping. Be aware that homemade whipped cream might not be as stable over several days as a store-bought whipped topping. - How far in advance can I make these Pumpkin Dream Bars?
These bars are an excellent make-ahead dessert. You can prepare them 1-2 days in advance. In fact, an overnight chill often yields the best texture and allows the flavors to fully meld. Just add any garnishes, like chopped nuts, right before serving. - What kind of pumpkin puree should I use?
Always use pure canned pumpkin puree, which contains 100% pumpkin. Do NOT use pumpkin pie filling, as it already has spices and sweeteners added, which would throw off the recipe’s balance. - Can I freeze Pumpkin Dream Bars?
Freezing is generally not recommended for these bars. The dairy-based layers (pudding, cream cheese, whipped topping) can separate or become grainy after thawing, resulting in a less-than-ideal texture. It’s best to enjoy them fresh from the refrigerator within 5 days. - How do I get perfectly clean slices?
The key to clean slices is a well-chilled dessert and a warm, sharp knife. After removing the bars from the pan (using the parchment paper handles), dip a long, sharp knife into hot water, wipe it dry, and then make a swift, clean cut. Repeat this process for each slice, warming and cleaning the knife every time. - Can I use other types of cookies for the crust?
Yes, you can! Graham cracker crumbs or Oreo cookie crumbs are excellent alternatives to gingersnaps. Biscoff cookies also make a wonderful spiced crust. Just maintain the 1 ½ cup crumb to 5 tablespoons melted butter ratio.
More Delectable Pumpkin Recipes
If you’re still craving more pumpkin goodness, explore these other fantastic recipes:
- Pumpkin Roll Recipe
- Dulce De Leche Pumpkin Pie
- Pumpkin Pie Cupcake Recipe
- Easy Classic Pumpkin Pie Recipe
- Pumpkin Chocolate Chip Cookies
Go ahead and try these luscious Pumpkin Dream Bars this fall! With their easy preparation and incredible layered flavors, I think you will be absolutely hooked. Please let me know what you think in the comment section below!
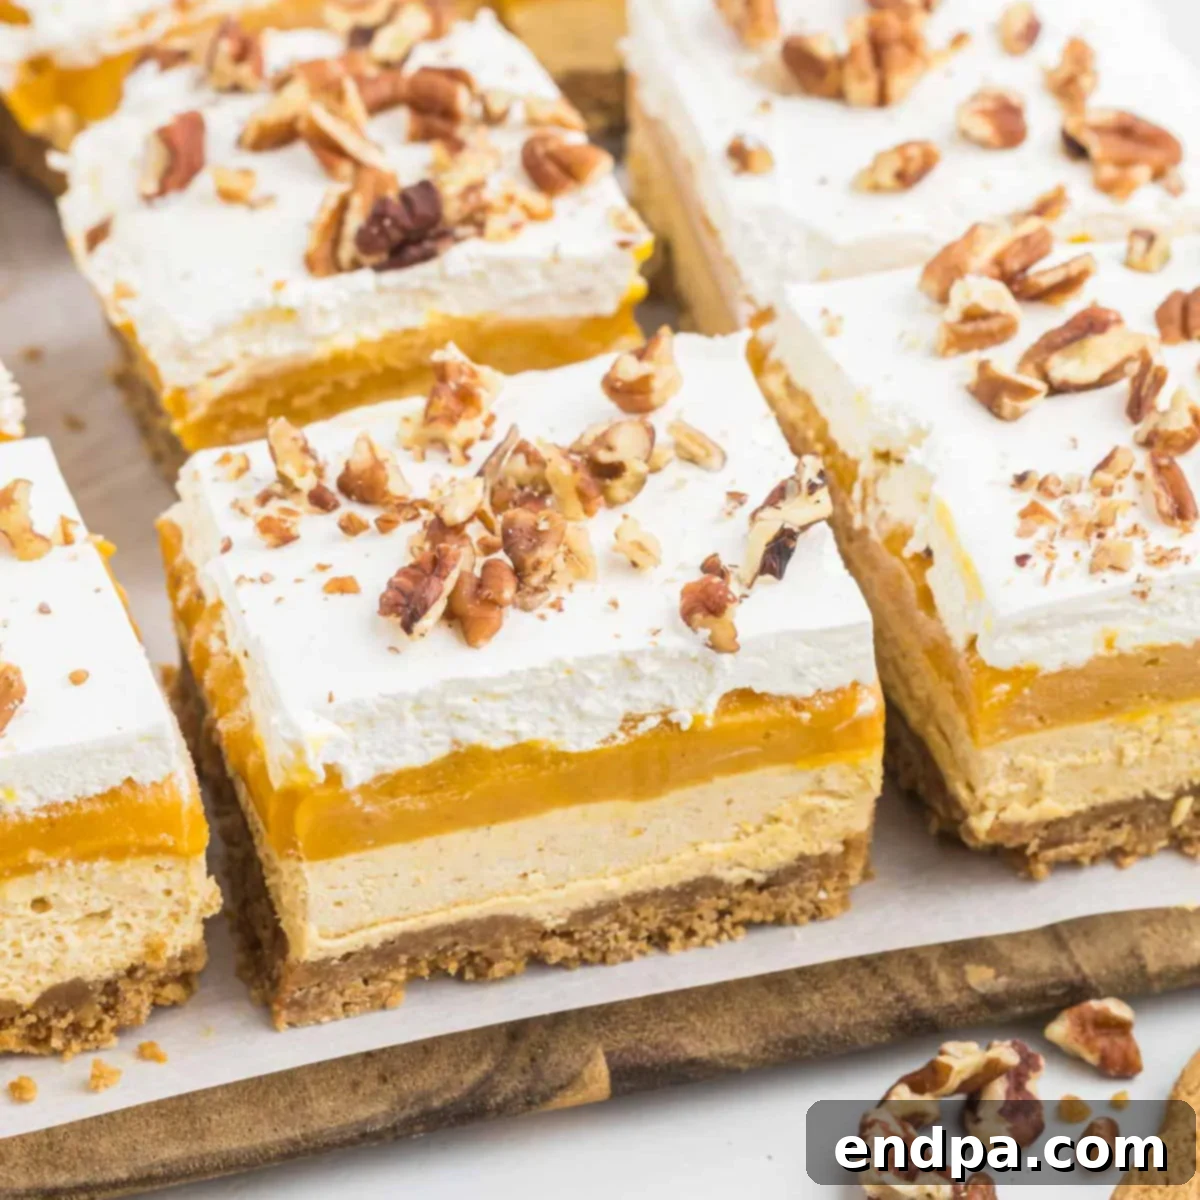
Pumpkin Dream Bars
Pumpkin Dream Bars feature luscious layers of pumpkin, cream cheese, and gingersnap crust. This easy no-bake dessert is packed with incredible pumpkin flavor, perfect for fall and holidays.
Ingredients
For the Crust:
- 1 1/2 cup Gingersnap Cookie Crumbs
- 5 Tbsp Melted Butter
For the Pudding Layer:
- 1 box Vanilla Pudding Mix (3.4 oz)
- 1/2 cup Pure Pumpkin Puree
- 1 cup Milk
For the Cream Cheese Layer:
- 1 pkg Cream Cheese (8 oz, room temperature)
- 1/2 cup Powdered Sugar
- 1/4 cup Pure Pumpkin Puree
- 1/2 tsp Vanilla Extract
- 1/2 tsp Pumpkin Pie Spice
- 8 oz Whipped Topping (Cool Whip, divided)
Topping:
- Chopped Pecans
Instructions
- Line an 8×8 inch baking pan with parchment paper, leaving an overhang on two sides.
For the Crust:
- In a mixing bowl, combine the gingersnap cookie crumbs and melted butter.
- Press this mixture evenly into the bottom of the prepared pan.
- Place in the freezer for 20-30 minutes while you prepare the other layers.
For the Pudding Layer:
- In a mixing bowl, whisk together the milk with the pudding mix until combined. Then stir in the pumpkin puree.
- Refrigerate for 10-15 minutes to allow the pudding to thicken.
For the Cream Cheese Layer:
- In a separate mixing bowl, beat the cream cheese until light and fluffy.
- Add in the powdered sugar, pumpkin puree, vanilla extract, and pumpkin pie spice until well combined and smooth.
- Then gently fold in 1 cup of the whipped topping (Cool Whip) and reserve the remaining for the final topping.
Assemble the Bars:
- Spread the cream cheese layer on top of the prepared, chilled cookie crust.
- Then spread the pumpkin pudding layer evenly over the cream cheese layer.
- Finally, top with the remaining whipped topping (Cool Whip) and refrigerate the bars for at least 4 hours (preferably overnight) before serving.
- When serving, carefully remove the bars from the pan using the parchment paper handles, slice, and garnish with chopped pecans. Enjoy!
Nutrition Facts
Carbohydrates 24g,
Protein 3g,
Fat 16g,
Saturated Fat 10g,
Polyunsaturated Fat 1g,
Monounsaturated Fat 4g,
Trans Fat 0.2g,
Cholesterol 34mg,
Sodium 201mg,
Potassium 157mg,
Fiber 1g,
Sugar 14g,
Vitamin A 2829IU,
Vitamin C 1mg,
Calcium 74mg,
Iron 1mg
