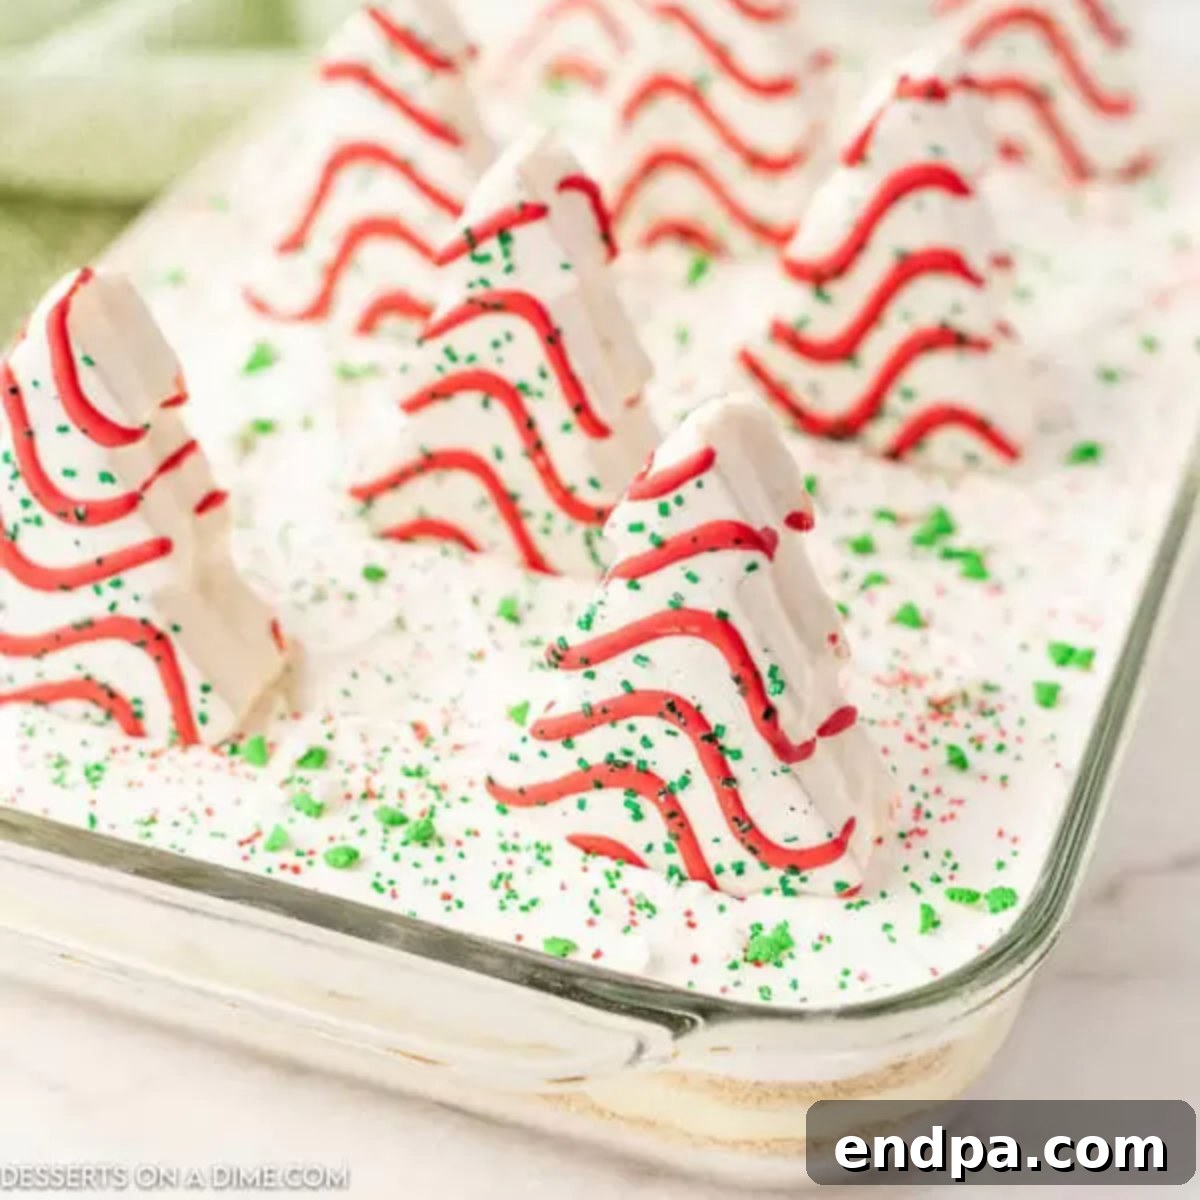
Welcome to the enchanting world of holiday desserts, where every bite is a celebration! This festive Christmas Dirt Cake Recipe is more than just a dessert; it’s a delightful experience waiting to unfold on your holiday table. Imagine layers of creamy, dreamy goodness, perfectly blended with the beloved crunch of Oreo cookies and smooth, rich pudding. Topped with whimsical Christmas tree cakes, this dessert isn’t just a treat for the taste buds but also a feast for the eyes, guaranteed to capture the festive spirit and earn rave reviews from everyone who tries it. Get ready to create a new cherished Christmas tradition that is as easy to make as it is utterly delicious.
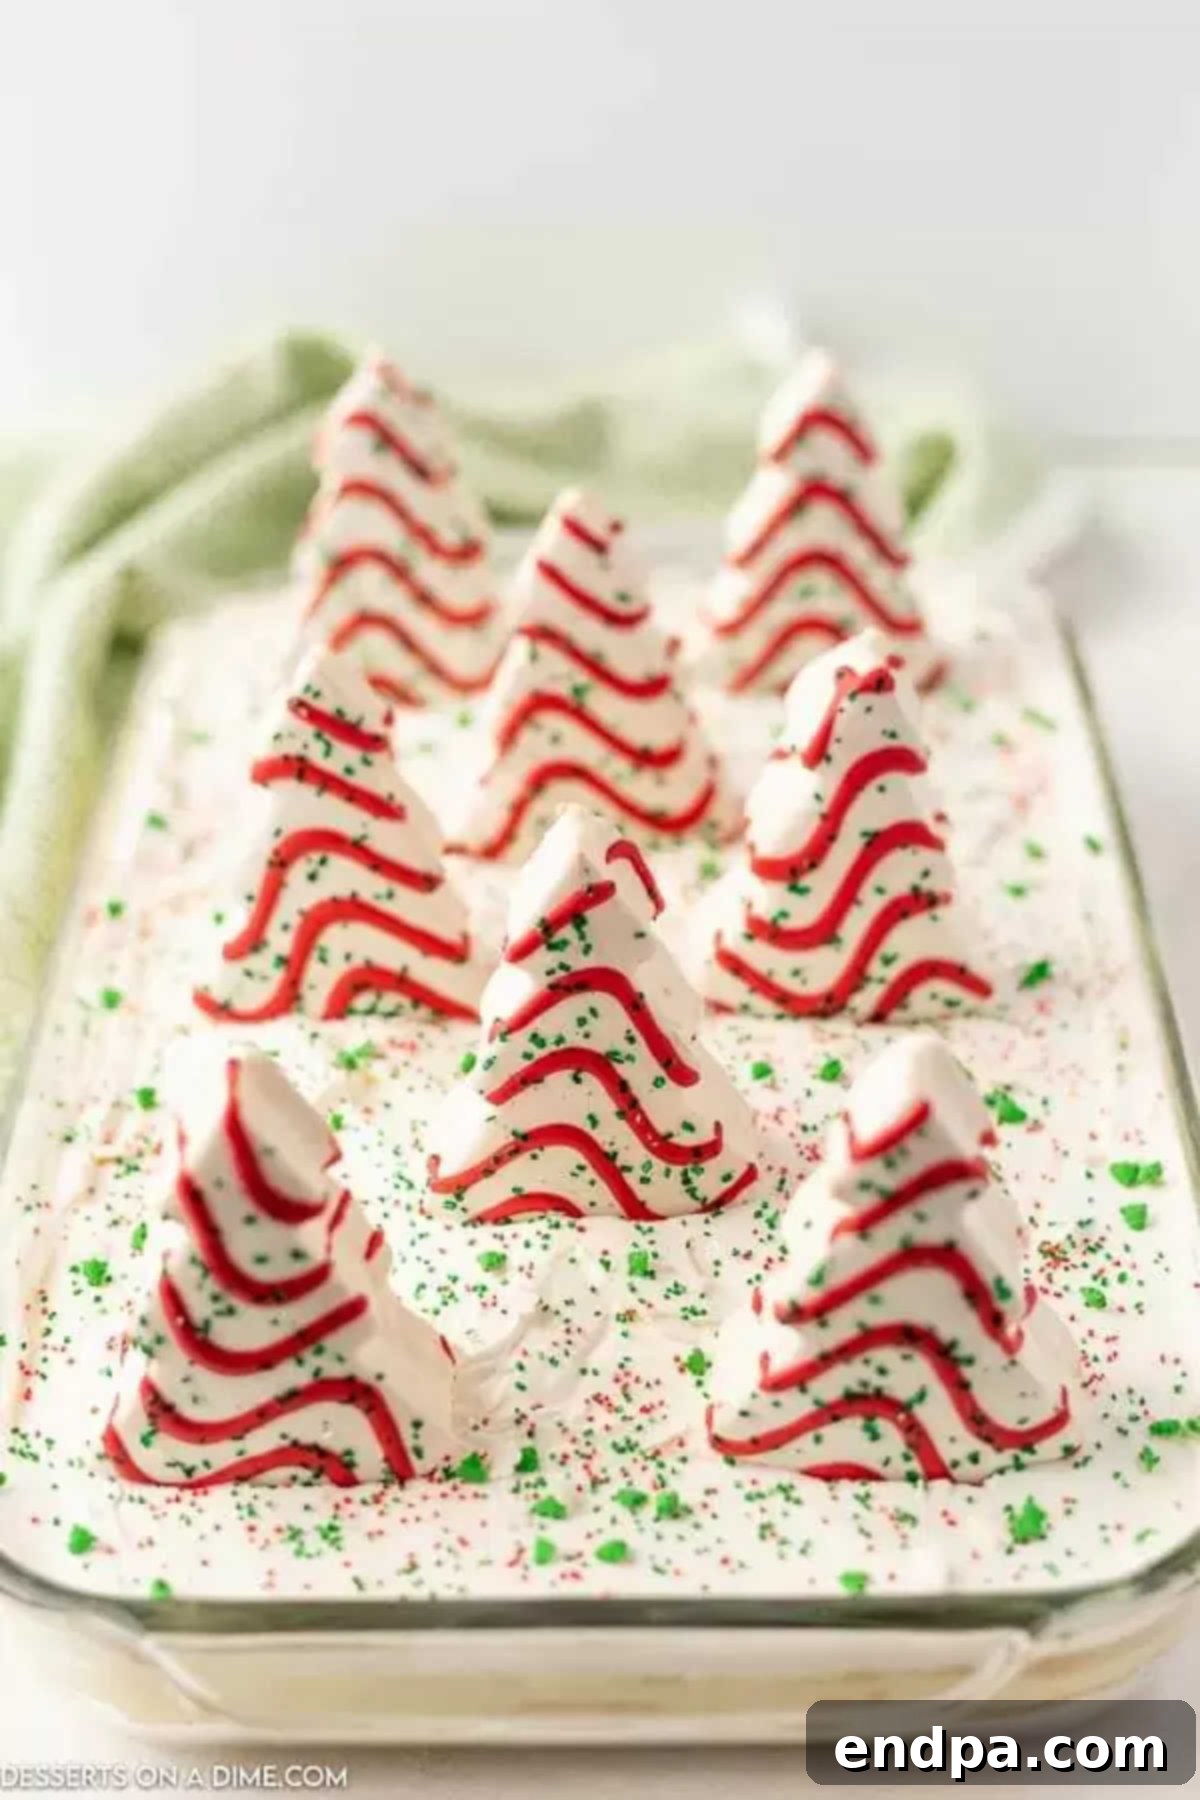
Dirt cake has long been a beloved dessert, cherished for its simplicity and irresistible flavor profile. While it’s a popular choice year-round, we’ve given it a special holiday makeover to transform it into the ultimate Christmas dessert. This enhanced version of the classic Oreo Dirt Cake combines the familiar comfort of crushed cookies and velvety pudding with seasonal decorations, making each spoonful feel truly decadent and special. It’s a perfect no-bake option for busy holiday hosts, ensuring you can whip up something spectacular without the stress of oven time.
The adorable Little Debbie Christmas Tree snack cakes perched on top are the secret to this dessert’s undeniable charm and festive appeal. They instantly elevate the “dirt” theme into a magical winter wonderland, making it an instant conversation starter. Your guests, young and old, will be captivated by its charm and clamor for this recipe year after year. Its straightforward preparation means you can effortlessly integrate this delectable treat into your annual Christmas traditions, creating lasting memories around the dessert table.
Beyond this fabulous Christmas Dirt Cake, consider adding other delightful treats to your holiday spread. Explore our festive Grinch Brownies, cheerful Christmas Rice Krispie Treats, the addictively good Christmas Crunch Recipe, or the super easy Santa Hat Cupcakes. Each of these recipes brings its own unique flavor and festive spirit, ensuring your holiday dessert selection is truly spectacular and diverse.
Table of contents
- Why We Love This Recipe
- Equipment You Will Need
- Ingredients
- How to Make Christmas Dirt Cake
- Storage
- Can You Make in Advance?
- Pro Tips and Variations
- Serving Suggestions
- Frequently Asked Questions
- More Christmas Desserts
Why We Love This Easy Christmas Dirt Cake Recipe
Once you experience the joy of this Christmas Dirt Cake, it will undoubtedly secure a permanent spot in your collection of favorite holiday dessert recipes. There are so many reasons to adore this incredible treat, and each one makes it perfectly suited for your festive gatherings:
- Effortless Preparation: This is a no-bake wonder, meaning you spend less time hovering over the oven and more time enjoying the festivities. It’s incredibly simple to assemble, making it perfect for even novice bakers.
- Crowd-Pleasing Flavor: The combination of crunchy Golden Oreos, a creamy, sweet base, and rich vanilla pudding creates a universally loved flavor profile. It appeals to both adults and children, guaranteeing smiles all around.
- Visually Stunning: The layers are beautiful, and the festive topping of Little Debbie Christmas Tree Cakes and colorful sprinkles makes it an absolute showstopper. It instantly adds a touch of holiday magic to any dessert table.
- Customizable Fun: While we love the classic Christmas theme, this recipe offers endless possibilities for customization. Change the cookie flavor, pudding type, or even the snack cakes to suit different occasions or preferences.
- Make-Ahead Convenience: Being able to prepare this dessert in advance is a huge bonus during the busy holiday season. It allows flavors to meld beautifully and frees up precious time on the day of your event.
- Nostalgic Charm: Dirt cake evokes a sense of playful nostalgia for many, and adding a Christmas twist only enhances this feeling. It’s a dessert that brings back fond memories and creates new ones.
- Perfect for Potlucks: If you need a reliable dessert to bring to a holiday potluck or party, this dirt cake travels well and is always a hit. Just remember to add the fragile tree cakes right before serving!
We eagerly anticipate making this dessert every Christmas, and it’s so versatile that we often modify it to enjoy throughout the entire year. Its ease and deliciousness are truly unmatched, making it a must-try for your next holiday celebration.
Equipment You Will Need
To whip up this delightful Christmas Dirt Cake, you’ll need a few basic kitchen tools:
- 9×13 Inch Baking Pan: This is the ideal size for assembling and serving the dirt cake. A glass or ceramic dish works wonderfully for presentation.
- Food Processor or Ziplock Bag with Rolling Pin: Essential for crushing the Oreo cookies into fine crumbs.
- Large Mixing Bowls: You’ll need at least two – one for the cream cheese mixture and another for the pudding.
- Electric Mixer (Handheld or Stand Mixer): Crucial for creaming the butter and cream cheese until smooth and fluffy.
- Whisk: For thoroughly combining the milk and instant pudding mix.
- Rubber Spatula: Perfect for folding ingredients gently and scraping down the sides of bowls.
- Measuring Cups and Spoons: For accurate ingredient measurements.
Ingredients for Christmas Dirt Cake
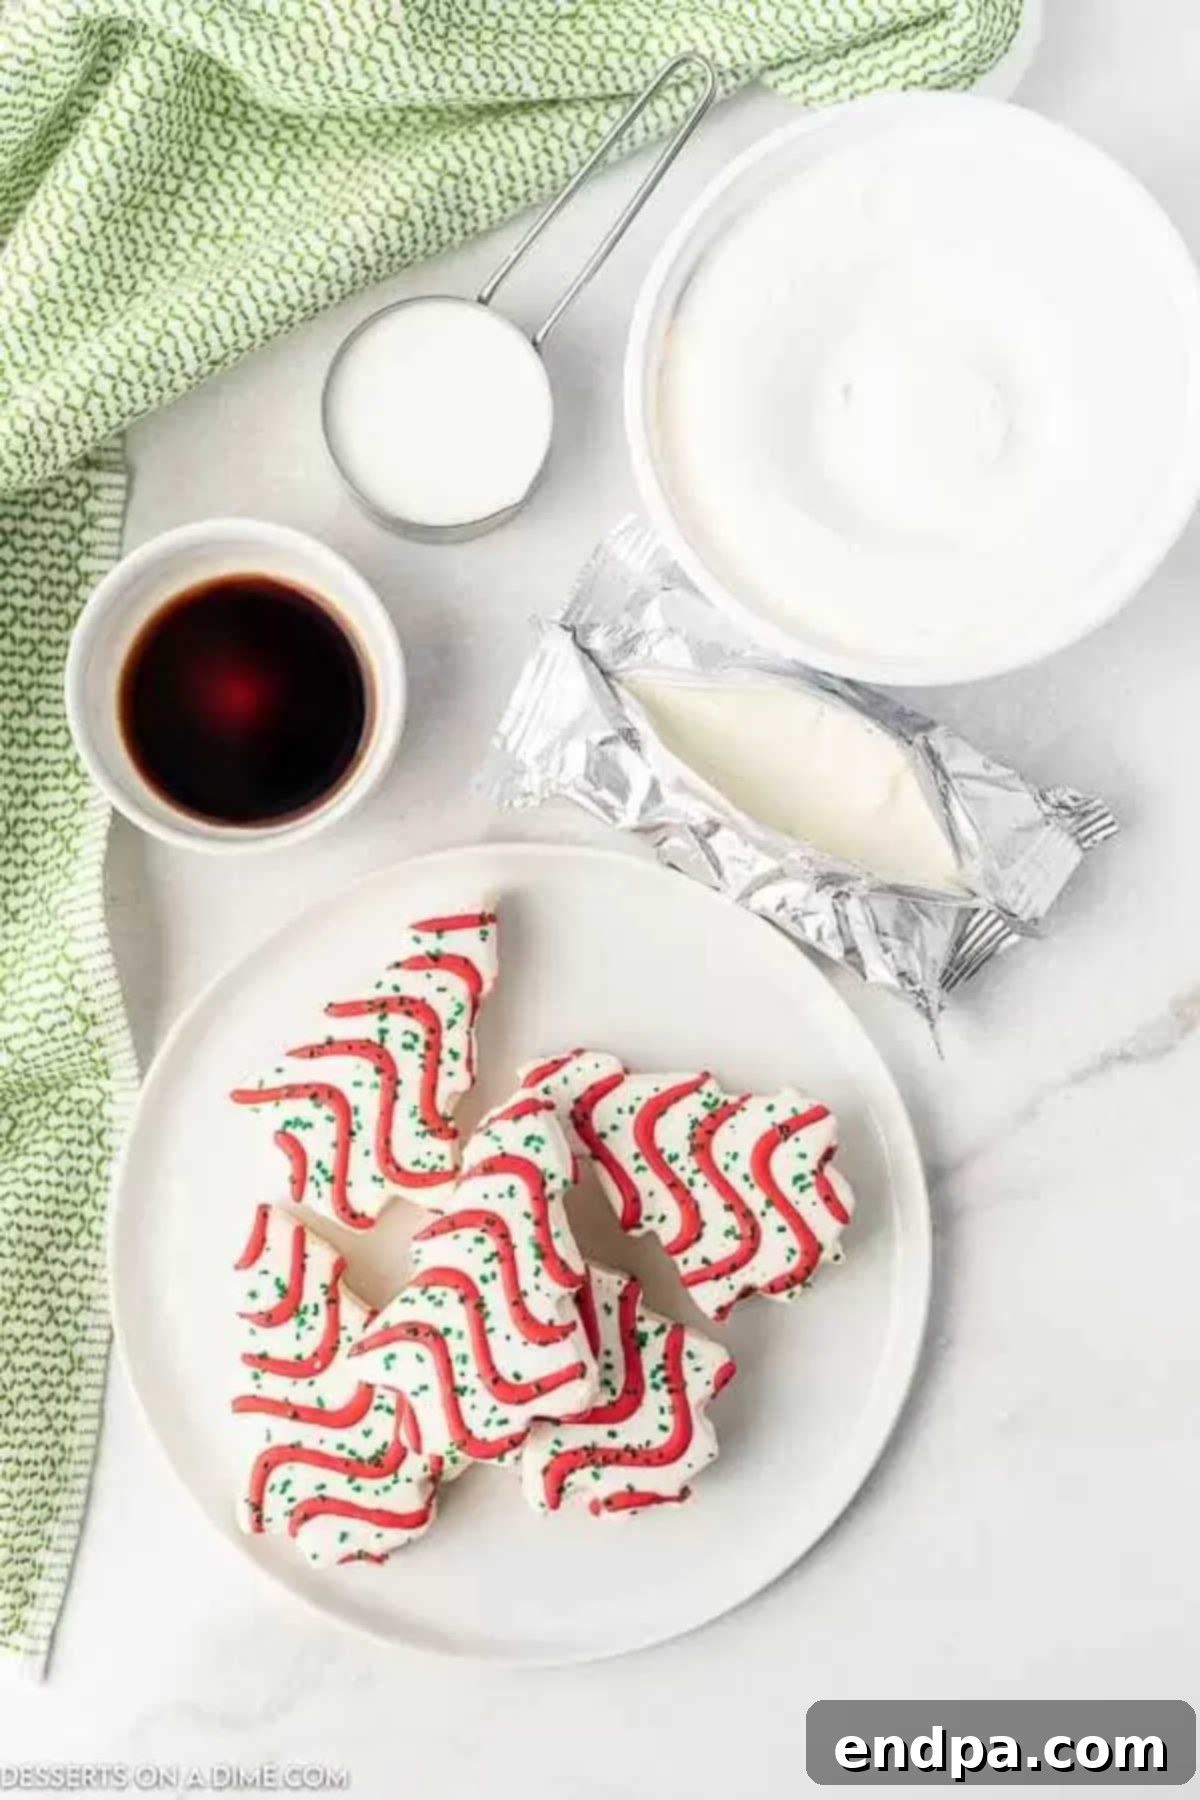
Crafting the perfect Christmas Dirt Cake begins with selecting the right ingredients. Each component plays a vital role in achieving that irresistibly creamy, crunchy, and festive treat:
- Golden Oreos: While traditional Oreos work, Golden Oreo cookies offer a lighter, more vanilla-centric base that perfectly complements the festive theme and other creamy ingredients. Their subtle sweetness and golden hue add to the holiday aesthetic. You’ll need one 15.5 oz package.
- Cream Cheese: Ensure your cream cheese is completely softened to room temperature. This is crucial for achieving a smooth, lump-free, and delightfully creamy texture in your filling. An 8 oz block is needed.
- Unsalted Butter: Like the cream cheese, the butter must be softened. This allows it to blend seamlessly into the creamy mixture, contributing to the richness and luxurious mouthfeel of the dirt cake. You’ll need 1/2 cup.
- Powdered Sugar: Also known as confectioners’ sugar, this fine sugar dissolves easily into the cream cheese and butter mixture, ensuring a silky-smooth and perfectly sweet filling without any grainy texture. You’ll need 1 cup.
- Cool Whip (Whipped Topping): This fluffy, airy ingredient adds lightness and a delicate sweetness to the dessert. You can opt for a store-brand whipped topping, or for an extra touch of homemade goodness, consider making your own Homemade Whipped Cream. Ensure it’s thawed before use. Two 16 oz containers are required.
- Instant Vanilla Pudding Mix: The “instant” part is key here! It acts as the primary setting agent for our creamy layers, ensuring the dirt cake holds its shape beautifully. Vanilla is a classic choice, but white chocolate or even cheesecake pudding mix would be absolutely delicious variations. You’ll need two 3.3 oz packages.
- Whole Milk: Using whole milk provides the richest, creamiest base for your instant pudding. While other milk types can be used, whole milk will give you the most luxurious consistency and flavor. You’ll need 3 cups.
- Little Debbie Christmas Tree Cakes: These iconic, seasonally available snack cakes are the star of the show for decorating. Their festive shape and delicious flavor make them an indispensable part of this Christmas Dirt Cake. Be sure to stock up early as they can become difficult to find closer to Christmas!
- Christmas Sprinkles: Add a final flourish of color and sparkle with your favorite Christmas-themed sprinkles. Whether they are red, green, gold, or a festive mix, they add an extra layer of holiday cheer.
You can find the precise measurements and instructions in the full recipe card located further down the page.
How to Make Christmas Dirt Cake: A Step-by-Step Guide
Creating this show-stopping Christmas Dirt Cake is surprisingly simple and incredibly fun. Follow these easy steps to assemble your festive masterpiece:
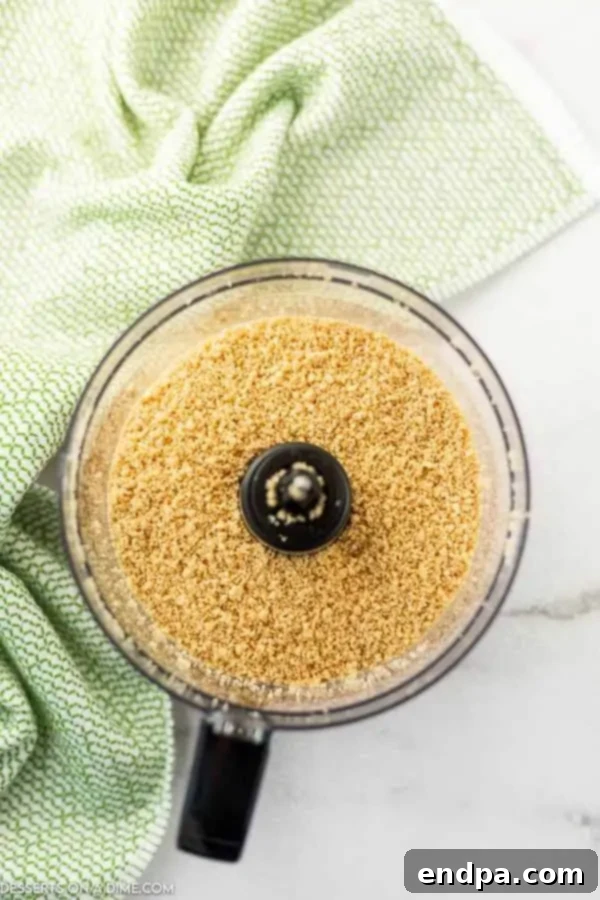
Step 1: Prepare the Oreo Cookie Base. First, take your Golden Oreos and crush them thoroughly. A food processor makes this job quick and easy, yielding fine, even crumbs. If you don’t have a food processor, simply place the cookies in a large resealable plastic bag and crush them with the back of a wooden spoon or a rolling pin until finely crushed. Once crushed, evenly spread about two-thirds of the Oreo crumbs into the bottom of a 9×13 inch baking pan. This will form the delicious, crunchy base layer of your dirt cake.
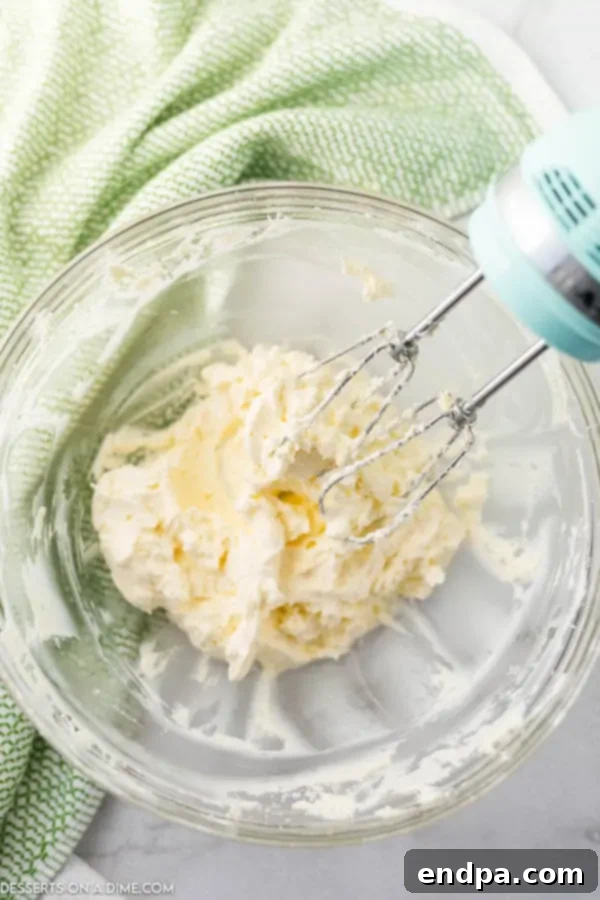
Step 2: Create the Creamy Layer. In a large mixing bowl, combine the softened cream cheese and softened butter. Using an electric mixer (either a handheld or stand mixer), beat these ingredients together until the mixture is light, fluffy, and completely smooth, with no lumps of cream cheese or butter remaining. This creaming process incorporates air, making the subsequent layers wonderfully airy. Next, gradually add the powdered sugar and mix until fully combined. Finally, gently fold in one 16 oz container of thawed Cool Whip until the mixture is uniform and smooth.
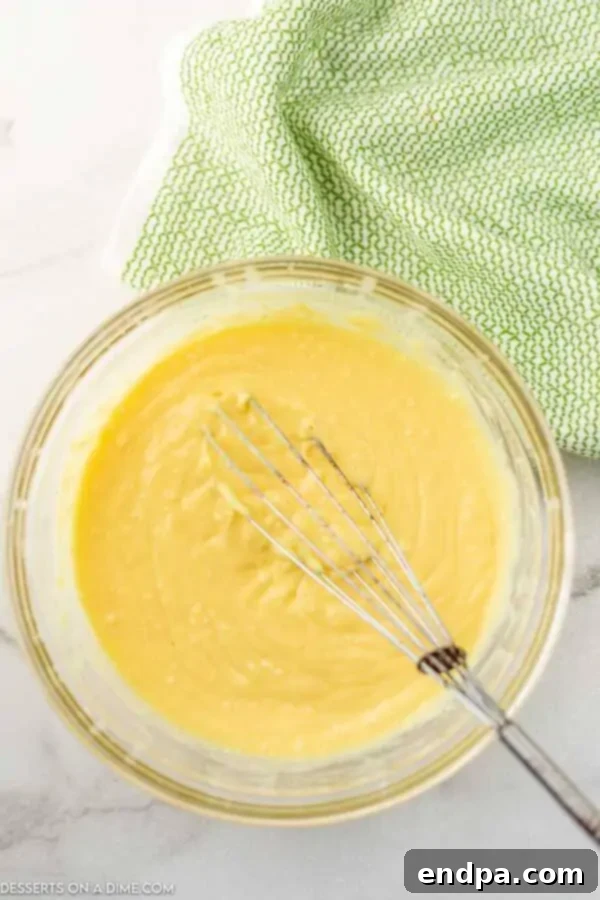
Step 3: Prepare the Pudding. In a separate, clean mixing bowl, whisk together the cold milk and the instant vanilla pudding mixes. Continue whisking vigorously for about 2-3 minutes, or until the pudding begins to thicken considerably. It’s important to use instant pudding and whisk until it’s noticeably thick, as this helps set the entire dessert firmly.
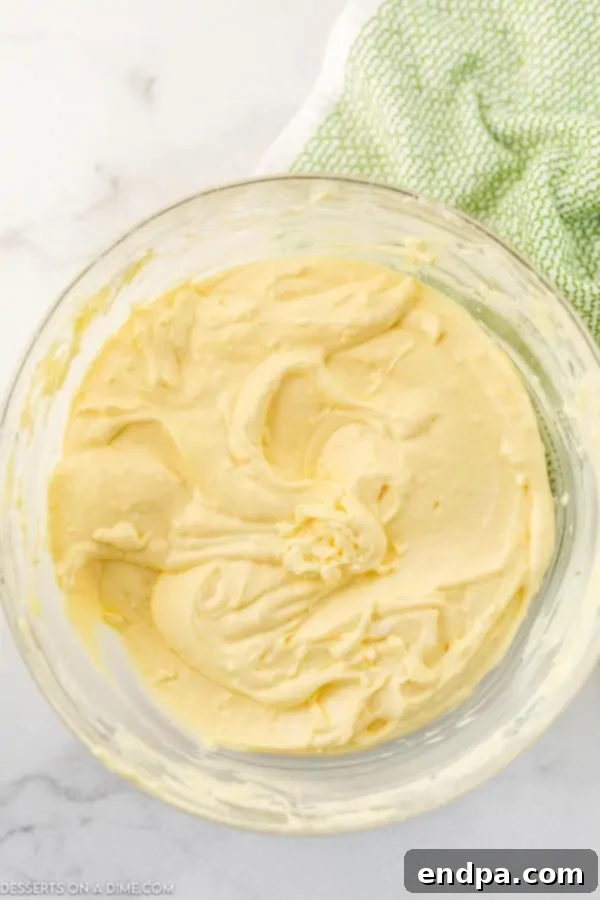
Step 4: Combine Layers and Assemble. Gently fold the whisked pudding mixture into the cream cheese and Cool Whip mixture from Step 2. Mix until just combined and smooth. Be careful not to overmix, which can deflate the whipped topping. Once fully incorporated, carefully pour this luscious creamy mixture evenly over the crushed Oreo cookie base in your 9×13 inch baking dish. Spread it gently with a spatula to create a smooth, even layer.
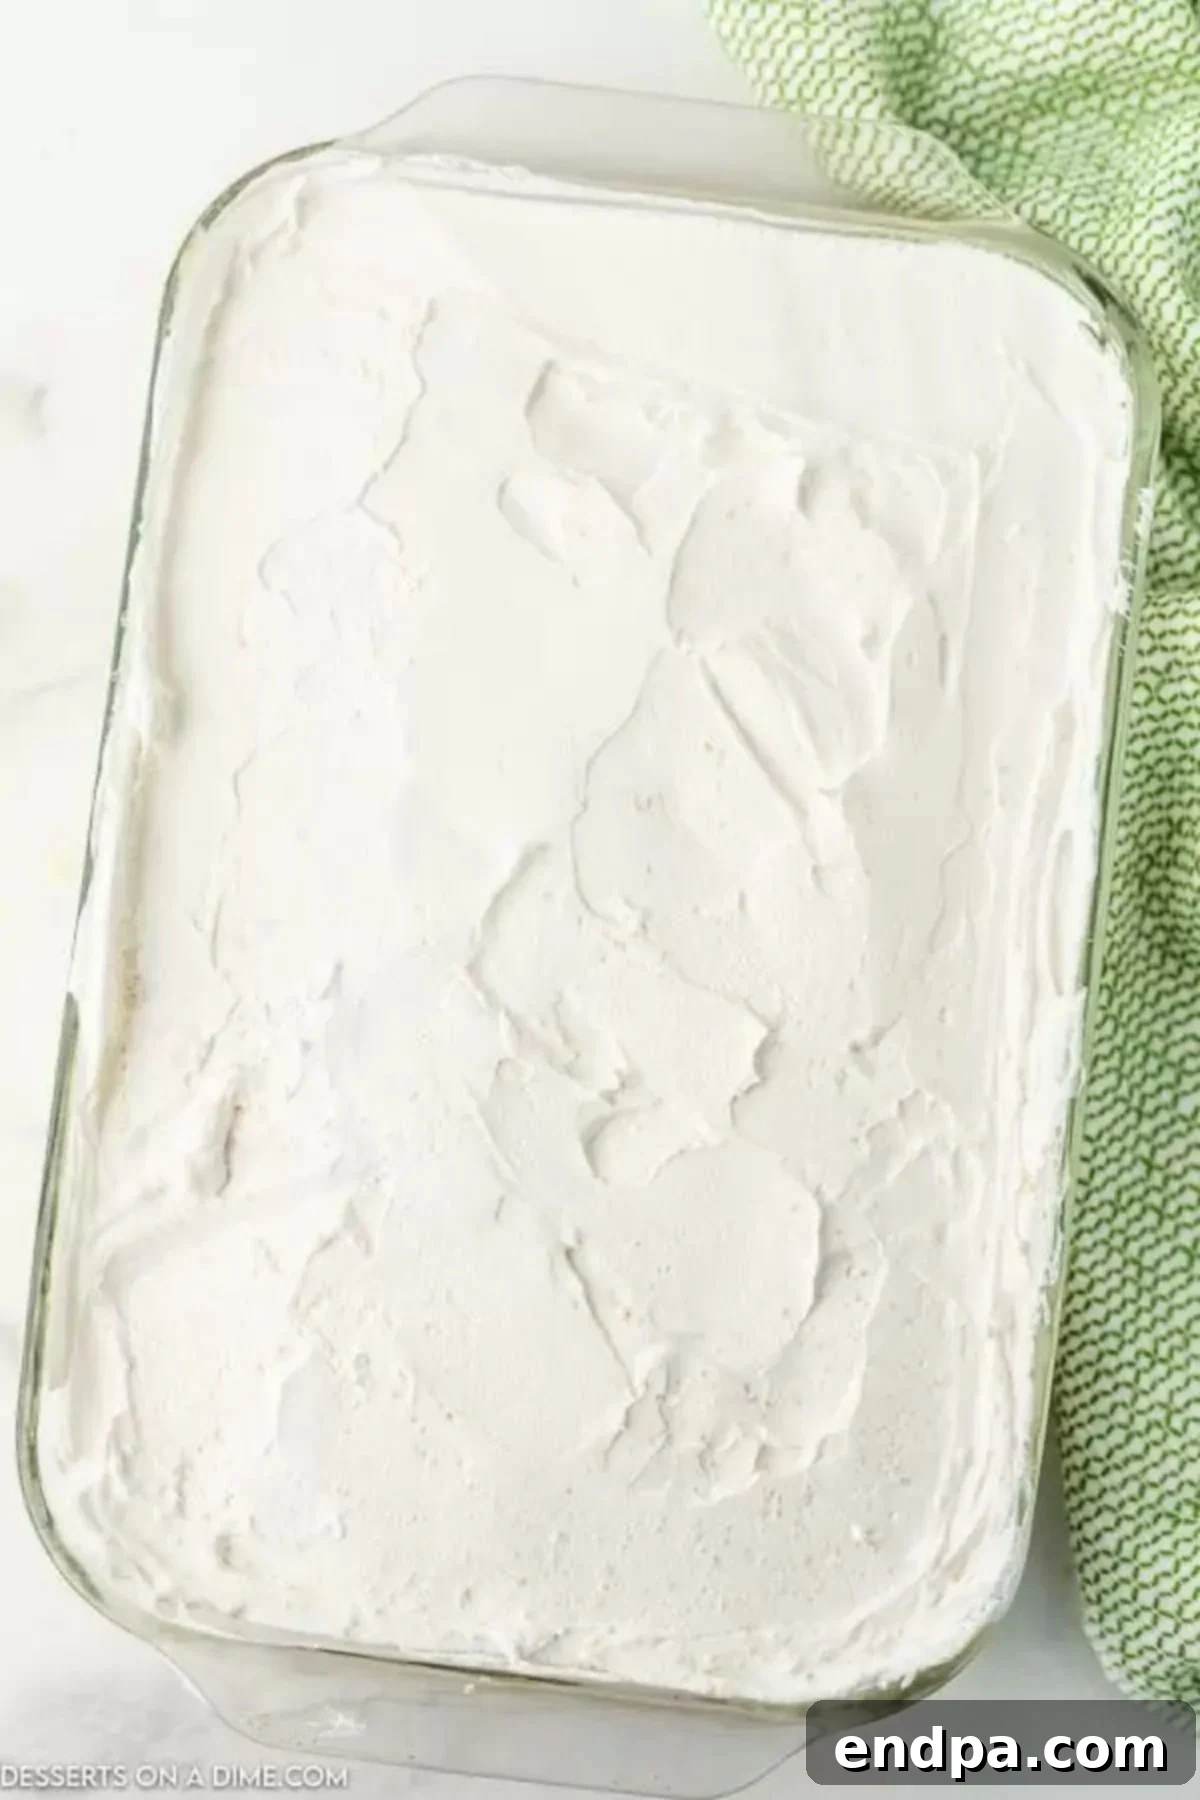
Step 5: Add Top Layers and Chill. Now, it’s time to add the finishing touches before chilling. Sprinkle the remaining crushed Oreos over the creamy pudding layer. Then, gently spread the second 16 oz container of thawed Cool Whip over the top of the crushed Oreos. Cover the baking dish tightly with plastic wrap and refrigerate for a minimum of 2 hours. This chilling time is essential for the pudding and cream cheese layers to set properly, ensuring a firm and perfectly sliceable dessert.
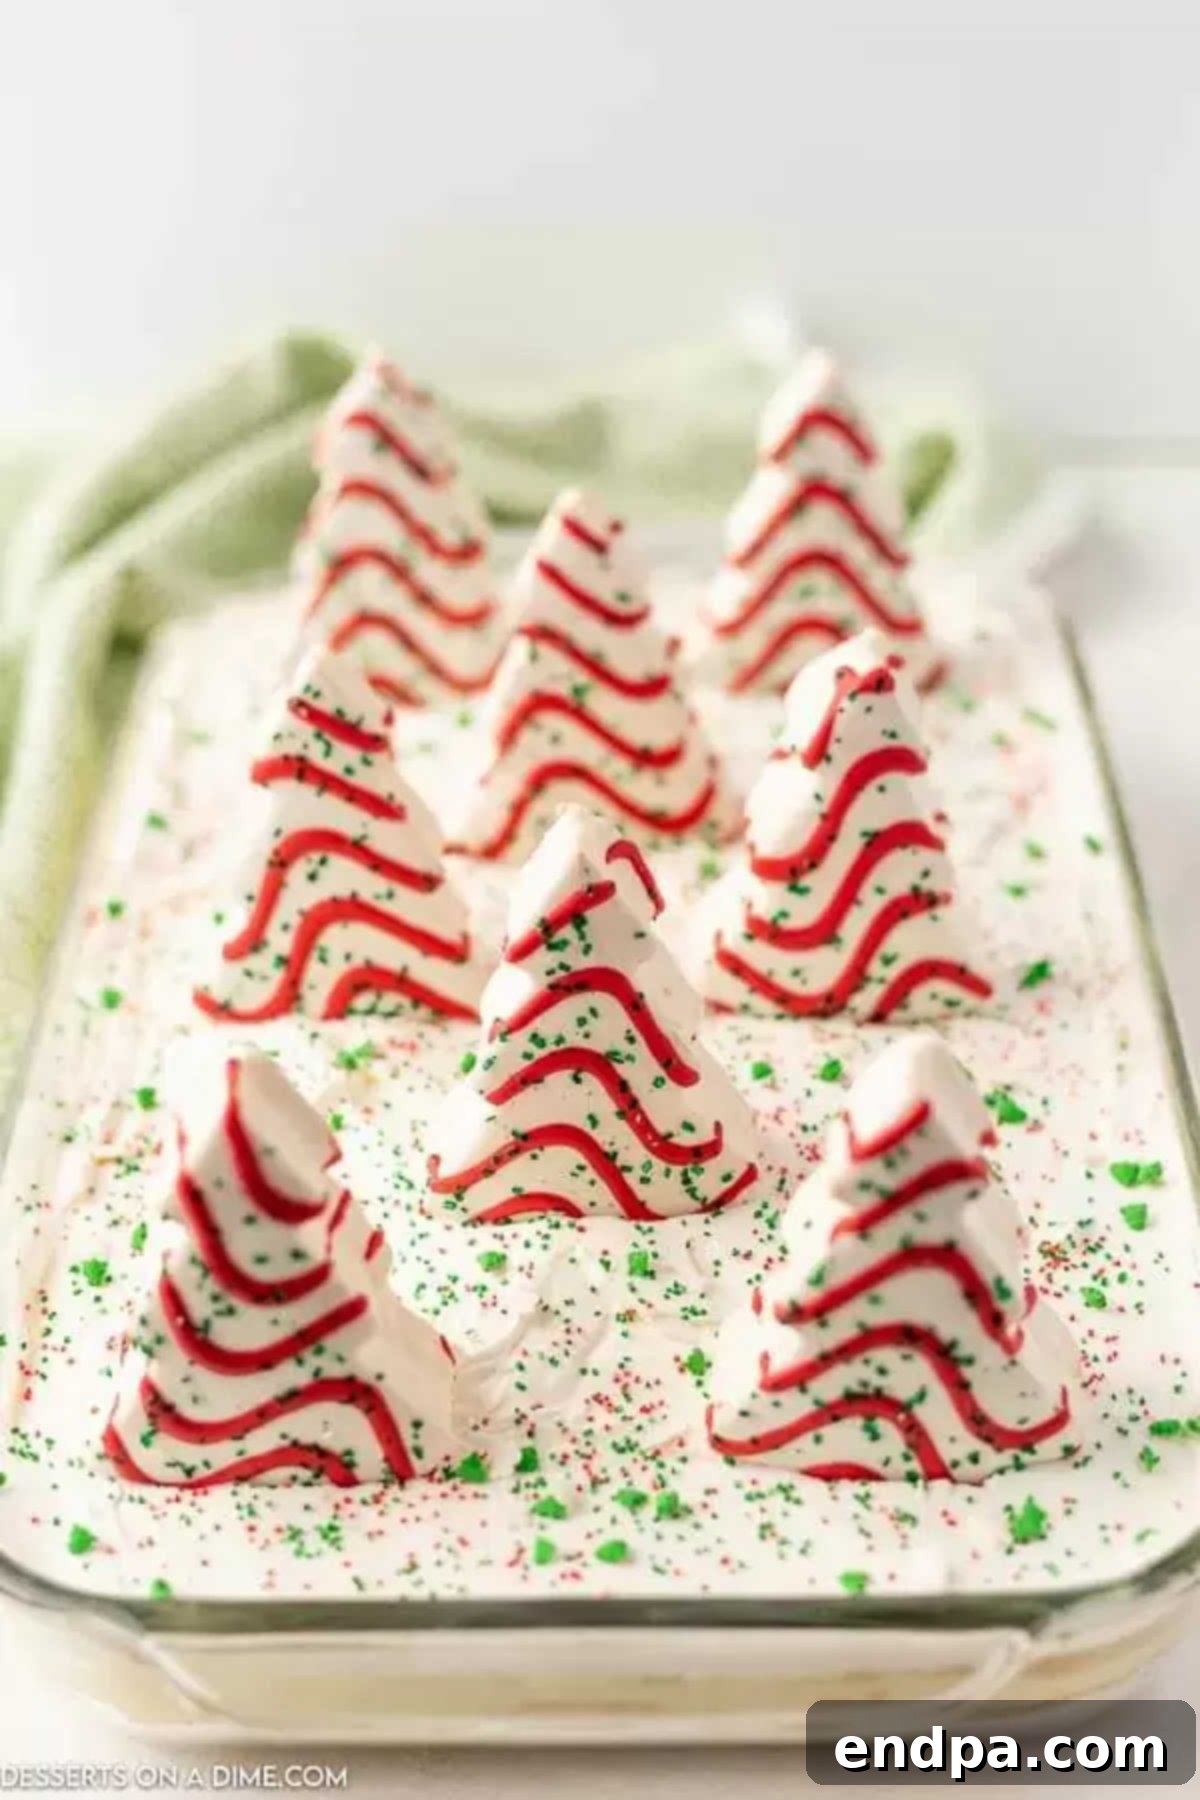
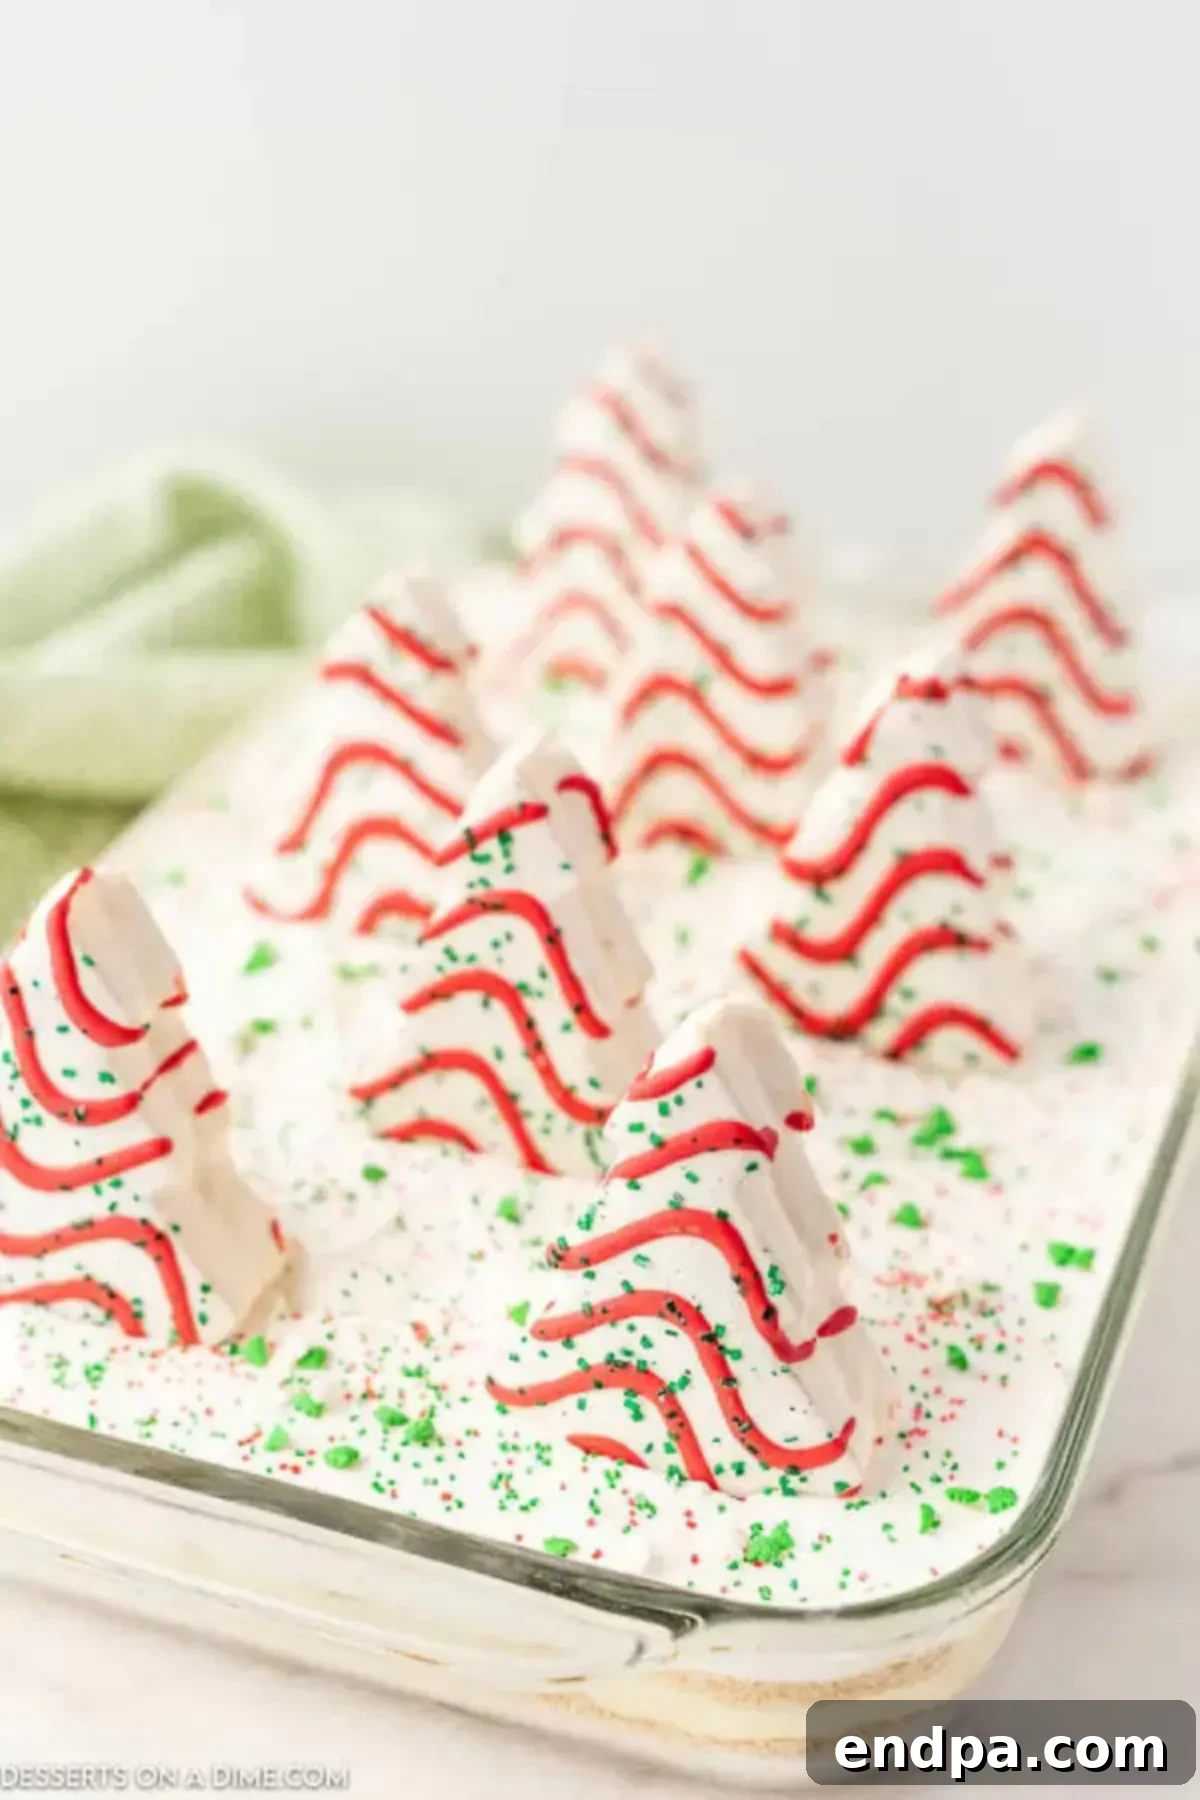
Step 6: Decorate and Serve. Just before you’re ready to serve, remove the chilled Christmas Dirt Cake from the refrigerator. Arrange the Little Debbie Christmas Tree Cakes artfully across the top. Finish with a generous sprinkle of festive Christmas sprinkles to add that extra sparkle. Slice into individual portions and prepare for delighted faces!
Storage Instructions for Christmas Dirt Cake
Proper storage is key to enjoying your Christmas Dirt Cake for days to come. Any leftover portions should be covered tightly with plastic wrap or transferred to an airtight container and promptly placed in the refrigerator. When stored correctly, this delicious dessert will maintain its freshness and delightful texture for up to 5 to 7 days. Ensure it’s well-sealed to prevent it from absorbing any odors from other foods in your fridge. While the flavors may deepen over time, the Oreo cookies will gradually soften, so enjoying it within the first few days is ideal for the best textural experience.
Can You Make Christmas Dirt Cake in Advance?
Absolutely! This Christmas Dirt Cake is an excellent make-ahead dessert, which is a fantastic advantage during the busy holiday season. You can prepare the entire dessert, up to the point of adding the final decorations, up to 24 hours in advance. This allows the creamy layers to set perfectly and the flavors to meld beautifully, creating an even more harmonious taste experience.
However, there’s a crucial tip to remember: always wait to add the Christmas sprinkles and the Little Debbie Christmas Tree Cakes until just before you plan to serve. If these decorative elements are added too early, especially the tree cakes, they can absorb moisture from the dessert, become soggy, and might even topple over, compromising the presentation. Preparing the base ahead of time and doing the quick decorative finish ensures your Christmas Dirt Cake looks and tastes its very best!
Pro Tips and Variations for the Perfect Christmas Dirt Cake
Elevate your Christmas Dirt Cake with these expert tips and creative variations, ensuring your dessert is always a showstopper:
- Softened Ingredients are Key: Always make sure your cream cheese and butter are completely softened to room temperature before mixing. This ensures a smooth, lump-free, and perfectly creamy filling. If they are too cold, your mixture will be chunky and difficult to combine. Take them out of the fridge at least 30-60 minutes before you start.
- Instant Pudding is a Must: For the correct consistency, always use instant pudding mix, not cook-and-serve. Instant pudding contains ingredients that help it set quickly and firmly when combined with cold milk, which is essential for the dirt cake’s structure. Using the wrong type can result in a runny dessert.
- Thoroughly Chill: Do not skimp on the refrigeration time. A minimum of 2 hours, and preferably longer (up to 4-6 hours or overnight), allows all the layers to firm up properly, making it easier to slice and serve.
- Decorate Just Before Serving: As mentioned, save the Little Debbie Christmas Tree Cakes and sprinkles for the last minute. The moisture from the cake can soften the snack cakes and cause them to lose their shape.
- Cookie Crushing Technique: For a varied texture, you can crush some Oreos more finely for the base and leave some slightly chunkier for the top sprinkle, adding a delightful textural contrast.
Exciting Variations to Try:
- Pudding Flavor Adventures: While vanilla is a classic, don’t hesitate to experiment! Chocolate pudding creates a rich, dark dirt cake, perfect for chocolate lovers. White chocolate pudding enhances the creamy base, while peppermint pudding could add a unique holiday twist. You could even use cheesecake-flavored instant pudding for a decadent twist.
- Oreo Cookie Transformations: Golden Oreos offer a bright, vanilla flavor, but any Oreo flavor can be used. Try classic chocolate Oreos for a traditional “dirt” look, or explore seasonal varieties like peppermint or red velvet for an extra festive touch. Peanut butter Oreos would also be a delicious choice for a different flavor profile.
- Alternative Toppings & Decorations:
- Different Snack Cakes: If Little Debbie Christmas Tree Cakes are unavailable, consider other holiday-themed snack cakes or even brownies cut into festive shapes using cookie cutters.
- Candy Decorations: Add crushed candy canes for a minty crunch, mini chocolate chips, or festive M&Ms. Gummy worms are a classic dirt cake topping that can be added for a non-holiday version.
- Whipped Topping Enhancements: Swirl a little peppermint extract into your Cool Whip for a subtle mint flavor, or add a few drops of green food coloring for a more vibrant Christmas look.
- Coconut Snow: Lightly toasted coconut flakes sprinkled on top can mimic snow, adding texture and flavor.
- Year-Round Enjoyment: This recipe isn’t just for Christmas! Skip the Christmas tree cakes and festive sprinkles, and instead top with gummy worms, chocolate rocks, or seasonal fruit for a fantastic dessert any time of year. For Halloween, try orange-colored sprinkles and candy corn. For Valentine’s Day, use red velvet Oreos and heart sprinkles.
- Individual Servings: For easy serving and portion control, consider assembling this dirt cake in individual clear cups or jars. This creates charming “Christmas Dirt Cups” that are perfect for parties and minimize mess.
Serving Suggestions
The Christmas Dirt Cake is a dessert that delights on its own, but a few thoughtful serving suggestions can enhance the experience even further:
- A Dusting of Cocoa Powder: For an extra “earthy” feel, lightly dust the top with a bit of cocoa powder before adding the Christmas tree cakes and sprinkles.
- Alongside Hot Beverages: Pair slices of this rich dirt cake with a warm mug of hot chocolate, coffee, or a spiced chai tea for a cozy holiday treat.
- With a Side of Ice Cream: A small scoop of vanilla bean or peppermint stick ice cream would be a delightful accompaniment, adding another layer of creamy indulgence.
- Festive Presentation: Serve on a holiday platter or an elegant cake stand to truly showcase its beauty. Consider garnishing the platter with a few extra Christmas sprinkles or a sprig of fresh mint.
Frequently Asked Questions About Christmas Dirt Cake
Here are some common questions you might have when making this delightful Christmas Dirt Cake:
- What kind of Oreos are best for dirt cake?
While classic chocolate Oreos are traditional for a “dirt” appearance, Golden Oreos are fantastic for a Christmas Dirt Cake as they offer a lighter vanilla flavor that complements the festive theme and other ingredients beautifully. However, you can certainly use any flavor of Oreo you prefer! - Can I use homemade whipped cream instead of Cool Whip?
Yes, you can! Homemade whipped cream will add an even richer, fresher flavor to your dirt cake. Just be sure to stabilize it slightly with a touch of powdered sugar or a small amount of cream cheese during whipping to ensure it holds its shape well in the dessert. - My dirt cake isn’t setting. What went wrong?
The most common reasons for a runny dirt cake are not using instant pudding mix (using cook-and-serve instead) or not whisking the pudding and milk long enough for it to thicken. Ensure your milk is cold, and whisk vigorously for at least 2-3 minutes. Also, sufficient chilling time is crucial for the cake to set properly. - How many Little Debbie Christmas Tree Cakes do I need?
The number of cakes depends on how you arrange them and the size of your dish. For a 9×13 inch pan, typically 6-8 cakes are sufficient to make a lovely display, but feel free to add more if you like a denser topping. - Can I freeze Christmas Dirt Cake?
While you can technically freeze dirt cake, it’s generally not recommended. The texture of the Cool Whip and pudding can change slightly upon thawing, becoming a bit watery. Also, the Oreos will become very soft. It’s best enjoyed fresh from the refrigerator within its recommended storage time.
I’m so excited for you to make this incredibly easy and delicious Christmas Dirt Cake. It’s sure to bring joy and festive cheer to your holiday gatherings. Please come back and leave a star rating and comment after you try it!
Pin
Christmas Dirt Cake Recipe
Ingredients
- 1 pkg Golden Oreos 15.5 oz
- 8 oz Cream Cheese softened
- 1/2 cup Butter softened
- 1 cup Powdered Sugar
- 2 16 oz Cool Whip
- 2 pkg Instant Vanilla Pudding Mix (3.3 oz)
- 3 cups Milk
- Little Debbie Christmas Tree Cakes
- Christmas Sprinkles
Instructions
- Crush the Oreos in a food processor or blend and place 2/3 of them in the bottom of a 9X13 pan. Set aside.
- Cream together the cream cheese and butter with a hand held mixer or stand up mixer until smooth. Then mix in the powdered sugar and 16 oz cool whip.
- Then in a separate bowl, whisk together the milk and vanilla pudding mixes. Then fold this mixture into the cream cheese mixture.
- Pour this mixture over the Oreos in the 9X13 pan.
- Then top with the remaining crushed up Oreos and the remaining cool whip.
- Cover and refrigerate the cake for a minimum of 2 hours before serving.
- Decorate the cake with the sprinkles and Little Debbie Christmas trees right before serving and enjoy!
Recipe Video
Nutrition Facts
Pin This Now to Remember It Later
Pin Recipe
