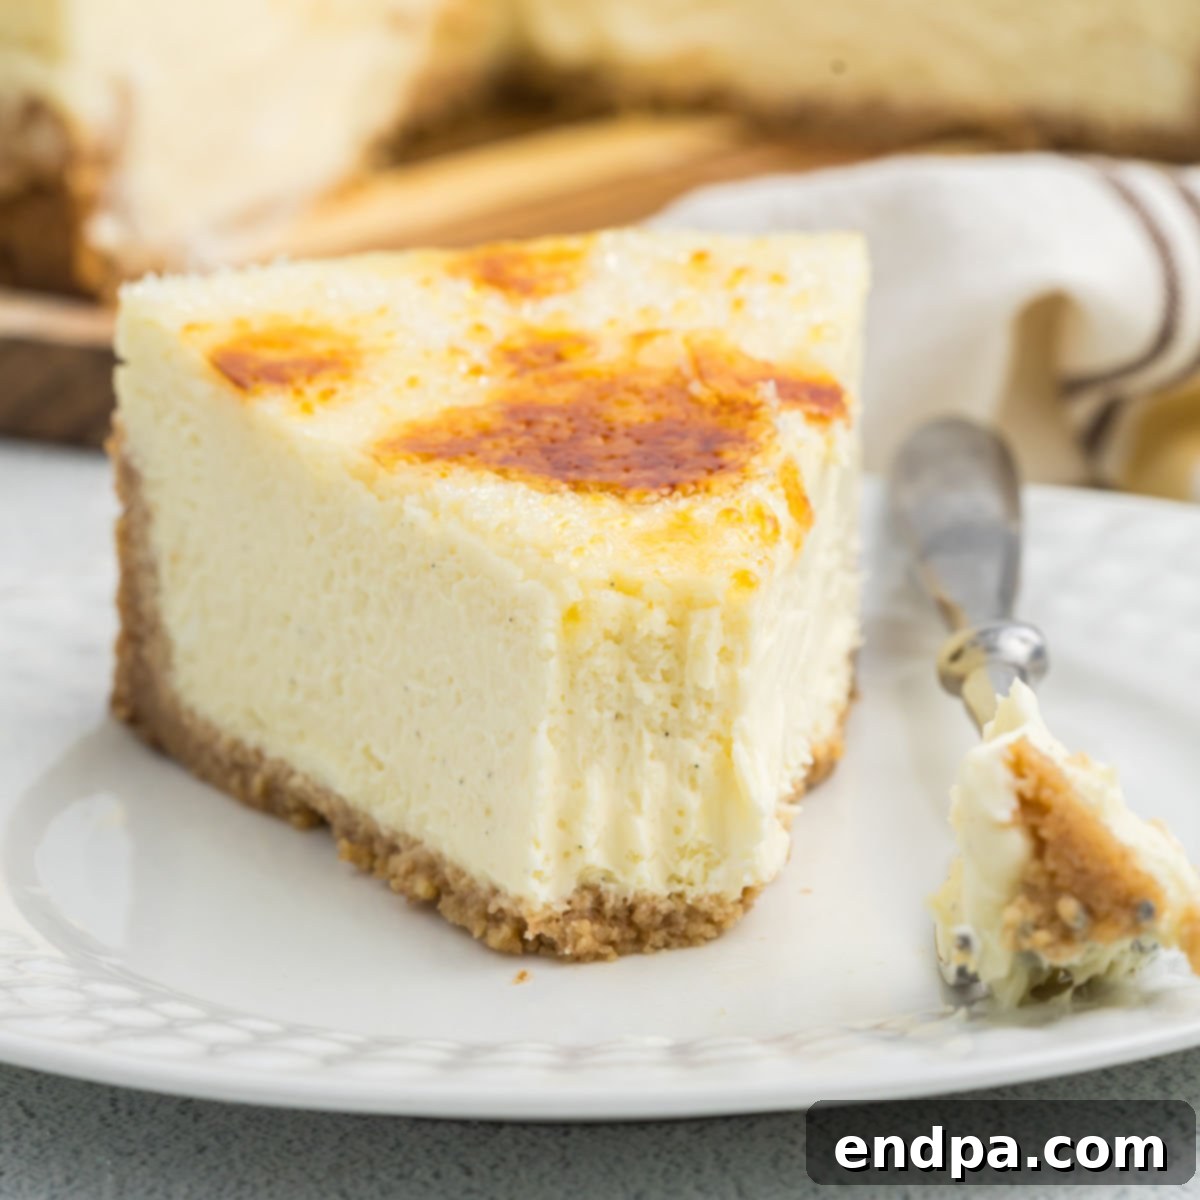
Indulge in a dessert masterpiece that flawlessly marries two beloved classics: the rich, creamy decadence of cheesecake and the irresistible crunch of caramelized sugar from crème brûlée. This **Cheesecake Brulee** recipe offers an unparalleled sensory experience, starting with a buttery, golden graham cracker crust that provides the perfect foundation. Prepare to impress your guests and delight your taste buds with this surprisingly simple yet utterly sophisticated creation that will quickly become your new favorite dessert.
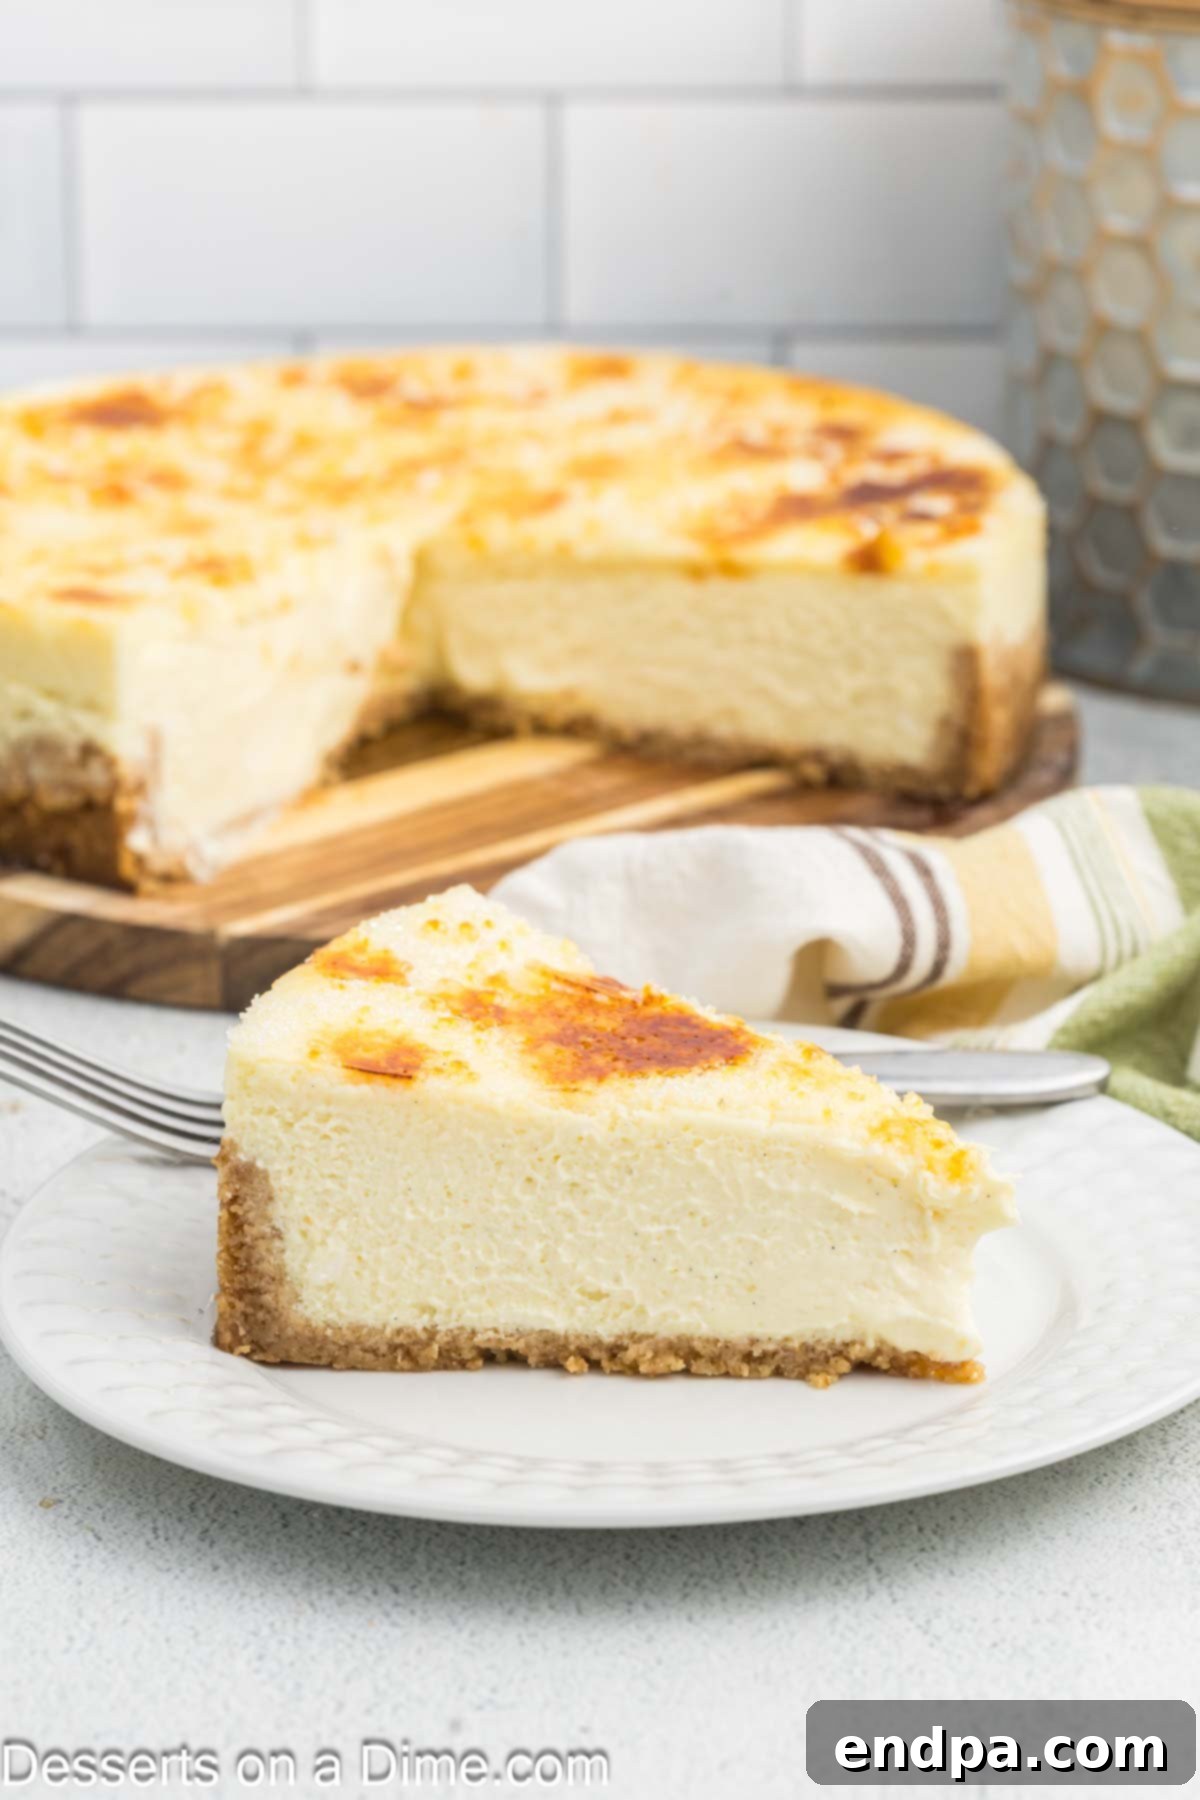
This dessert triumphantly combines the best of both worlds, creating a harmonious blend of textures and flavors. If you’re a connoisseur of classic cheesecake recipes, you’ll find this iteration to be a truly delightful twist. The velvety smooth cheesecake filling, infused with aromatic vanilla, is beautifully complemented by the brittle, sugary crust achieved through the traditional brûlée technique. It’s a dessert that elevates any meal, turning an ordinary occasion into an extraordinary one. Its consistent popularity over the years among my friends and family is a testament to its irresistible charm. Once you try it, you’ll understand why it has earned a permanent spot in my recipe rotation.
I find immense joy in crafting cheesecakes for every celebration and season. Beyond this exceptional Cheesecake Brulee, I frequently prepare a variety of crowd-pleasers such as the indulgent Cookies and Cream Cheesecake, the tropical Banana Cream Cheesecake, and the delightfully sweet Honey Bun Cheesecake. For those who appreciate a zesty touch, my Lemon Blueberry Cheesecake and vibrant Key Lime Cheesecake are perennial favorites. Additionally, I adore the nutty richness of Butter Pecan Cheesecake and the comforting flavors of Pecan Pie Cheesecake. This wide array ensures there’s always a perfect cheesecake for any craving or event.
Table of contents
- Why You’ll Adore This Cheesecake Brulee
- Essential Ingredients for Perfection
- The Buttery Graham Cracker Crust
- The Silky Cheesecake Layer
- The Signature Caramelized Topping
- Creative Substitutions and Exciting Variations
- Detailed Step-by-Step Instructions
- Presentation and Serving Tips
- Optimal Storage for Freshness
- Expert Tips for a Flawless Cheesecake
- Frequently Asked Questions
Why You’ll Adore This Cheesecake Brulee
This Cheesecake Brulee recipe truly stands out, not just for its exquisite taste, but for its approachable nature. It’s incredibly simple to prepare, guided by clear, concise step-by-step instructions that ensure success even for novice bakers. I consider myself more of a home cook than a professional pastry chef, yet I can effortlessly create this impressive dessert. Forget the myth that homemade cheesecake is daunting; this recipe debunks it completely, proving that a rich, indulgent cheesecake can be enjoyed freshly baked any time of the year. Its unique combination of creamy and crunchy textures, alongside the decadent vanilla flavor and torched sugar, makes it an absolute showstopper. This dessert isn’t just about satisfying a sweet tooth; it’s about creating a memorable culinary experience with minimal stress. You’ll be amazed at how easily you can achieve such a restaurant-quality dessert right in your own kitchen.
For those looking to explore different dessert avenues, whether for dietary considerations or simply to try something new, I’ve also experimented with lighter options. If you’re curious about healthier alternatives, I recommend trying a Cottage Cheese Cheesecake for a protein-packed twist or exploring various Keto Fat Bomb Recipes for low-carb indulgence. But for pure, unadulterated dessert bliss, this Cheesecake Brulee remains a top choice.
Essential Ingredients for Perfection
Crafting the perfect Cheesecake Brulee begins with selecting high-quality ingredients and understanding their role in achieving that flawless texture and flavor. Each component, from the buttery crust to the silky cheesecake filling and the crisp caramelized topping, contributes to the final masterpiece. Using ingredients at the specified temperature is key for optimal blending and a smooth, lump-free batter. Let’s delve into what you’ll need to create this extraordinary dessert.
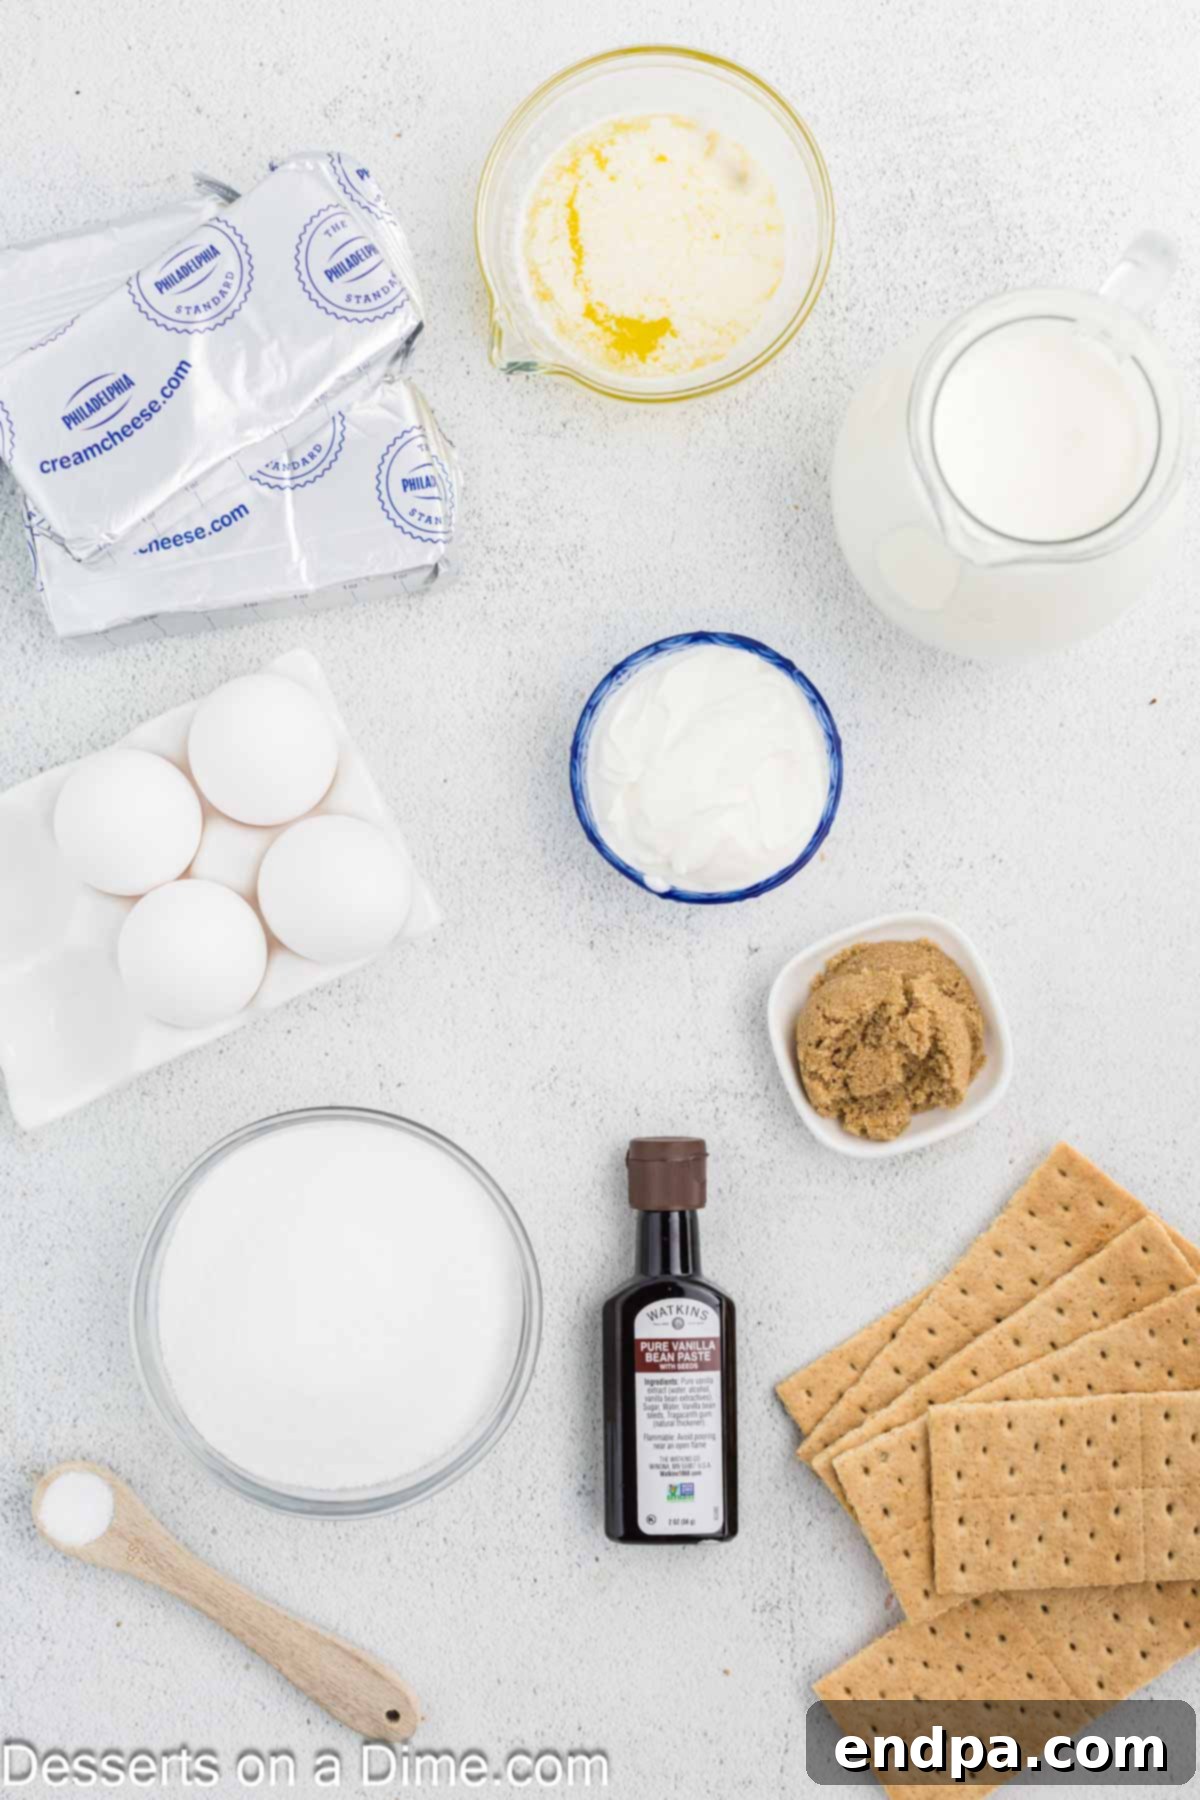
The Buttery Graham Cracker Crust
- Graham Cracker Sheets: The foundation of our cheesecake, regular honey graham crackers provide a classic, subtly sweet, and sturdy base. Crushing them finely ensures a cohesive crust.
- Butter: Melted butter binds the graham cracker crumbs together, creating a rich, firm, and flavorful crust that won’t crumble when sliced.
- Brown Sugar: A touch of brown sugar in the crust adds depth and a nuanced sweetness that perfectly complements the graham crackers. For a truly homemade touch, consider making your own with this Homemade Brown Sugar Recipe.
The Silky Cheesecake Layer
- Cream Cheese: The star of the show! Ensure it’s softened at room temperature for at least 30-60 minutes. This is crucial for a smooth, lump-free batter that bakes evenly and results in a velvety texture.
- Vanilla Bean Pods: Using fresh vanilla bean pods imparts an incredibly rich, complex, and authentic vanilla flavor that truly elevates the cheesecake. The tiny specks of vanilla seeds are also visually appealing.
- Eggs: Large eggs, also at room temperature, are essential for binding the cheesecake batter and providing structure. Adding them one at a time prevents overmixing and helps maintain the cheesecake’s delicate texture.
- Heavy Whipping Cream: Make sure this is cold from the refrigerator. Heavy cream adds a luscious richness and contributes to the cheesecake’s incredibly smooth and creamy mouthfeel.
- Sour Cream: Opt for full-fat sour cream for the ultimate rich taste and luxurious texture. It adds a slight tang that balances the sweetness of the cheesecake beautifully.
The Signature Caramelized Topping
- Granulated Sugar: This simple yet magical ingredient is all you need to create the iconic, glassy, caramelized topping. When torched, it transforms into a crisp, sugary shell that defines the “brulee” in Cheesecake Brulee.
For the precise measurements and a detailed breakdown of each ingredient, please refer to the complete recipe card conveniently located at the bottom of this page. This comprehensive list ensures you have everything ready for a seamless baking experience.
Creative Substitutions and Variations
While this Cheesecake Brulee recipe is perfect as written, it also offers wonderful flexibility for personalization. Don’t hesitate to experiment with these creative substitutions and variations to tailor the dessert to your taste preferences or available ingredients:
- Crust Alternatives: If you don’t have graham crackers, or simply want to try something different, consider these delicious options for your crust:
- Vanilla Wafers: These lend a softer, sweeter vanilla flavor to the base.
- Tea Biscuits: Such as shortbread or digestive biscuits, will give a more buttery and less sweet crust, adding a sophisticated touch.
- Cinnamon Graham Crackers: For an extra layer of warmth and spice that beautifully complements the vanilla cheesecake. Simply substitute them directly for the honey grahams.
- Vanilla Flavor Options: While vanilla bean pods offer the most authentic and intense flavor, there are excellent alternatives:
- Vanilla Bean Paste: Use 1 tablespoon of vanilla bean paste in place of the pods. It provides a similar depth of flavor and visual specks to vanilla beans. If using paste, mix it into the cheesecake batter along with the sour cream.
- Vanilla Extract: If vanilla beans or paste are unavailable, 1 tablespoon of high-quality pure vanilla extract can be used. Add it with the wet ingredients, usually with the sour cream and heavy cream.
- Flavor Enhancements:
- Citrus Zest: Add 1-2 teaspoons of finely grated lemon or orange zest to the cheesecake batter for a bright, refreshing note that cuts through the richness.
- Chocolate Drizzle: After chilling and before torching, you could drizzle melted chocolate over the cheesecake for a chocolate-brulee fusion.
- Fruit Topping: While the brûlée is the star, a light serving of fresh berries (raspberries, strawberries) alongside each slice can add a lovely tart contrast.
Detailed Step-by-Step Instructions
Follow these precise steps to create your magnificent Cheesecake Brulee. Each instruction is designed to guide you to a perfectly creamy cheesecake with a crisp, caramelized topping. Remember, patience and attention to detail are your best allies in baking.
Step 1. Begin by preheating your oven to 325 degrees Fahrenheit (160°C). This ensures the oven is at the correct temperature for even baking from the moment your cheesecake enters.
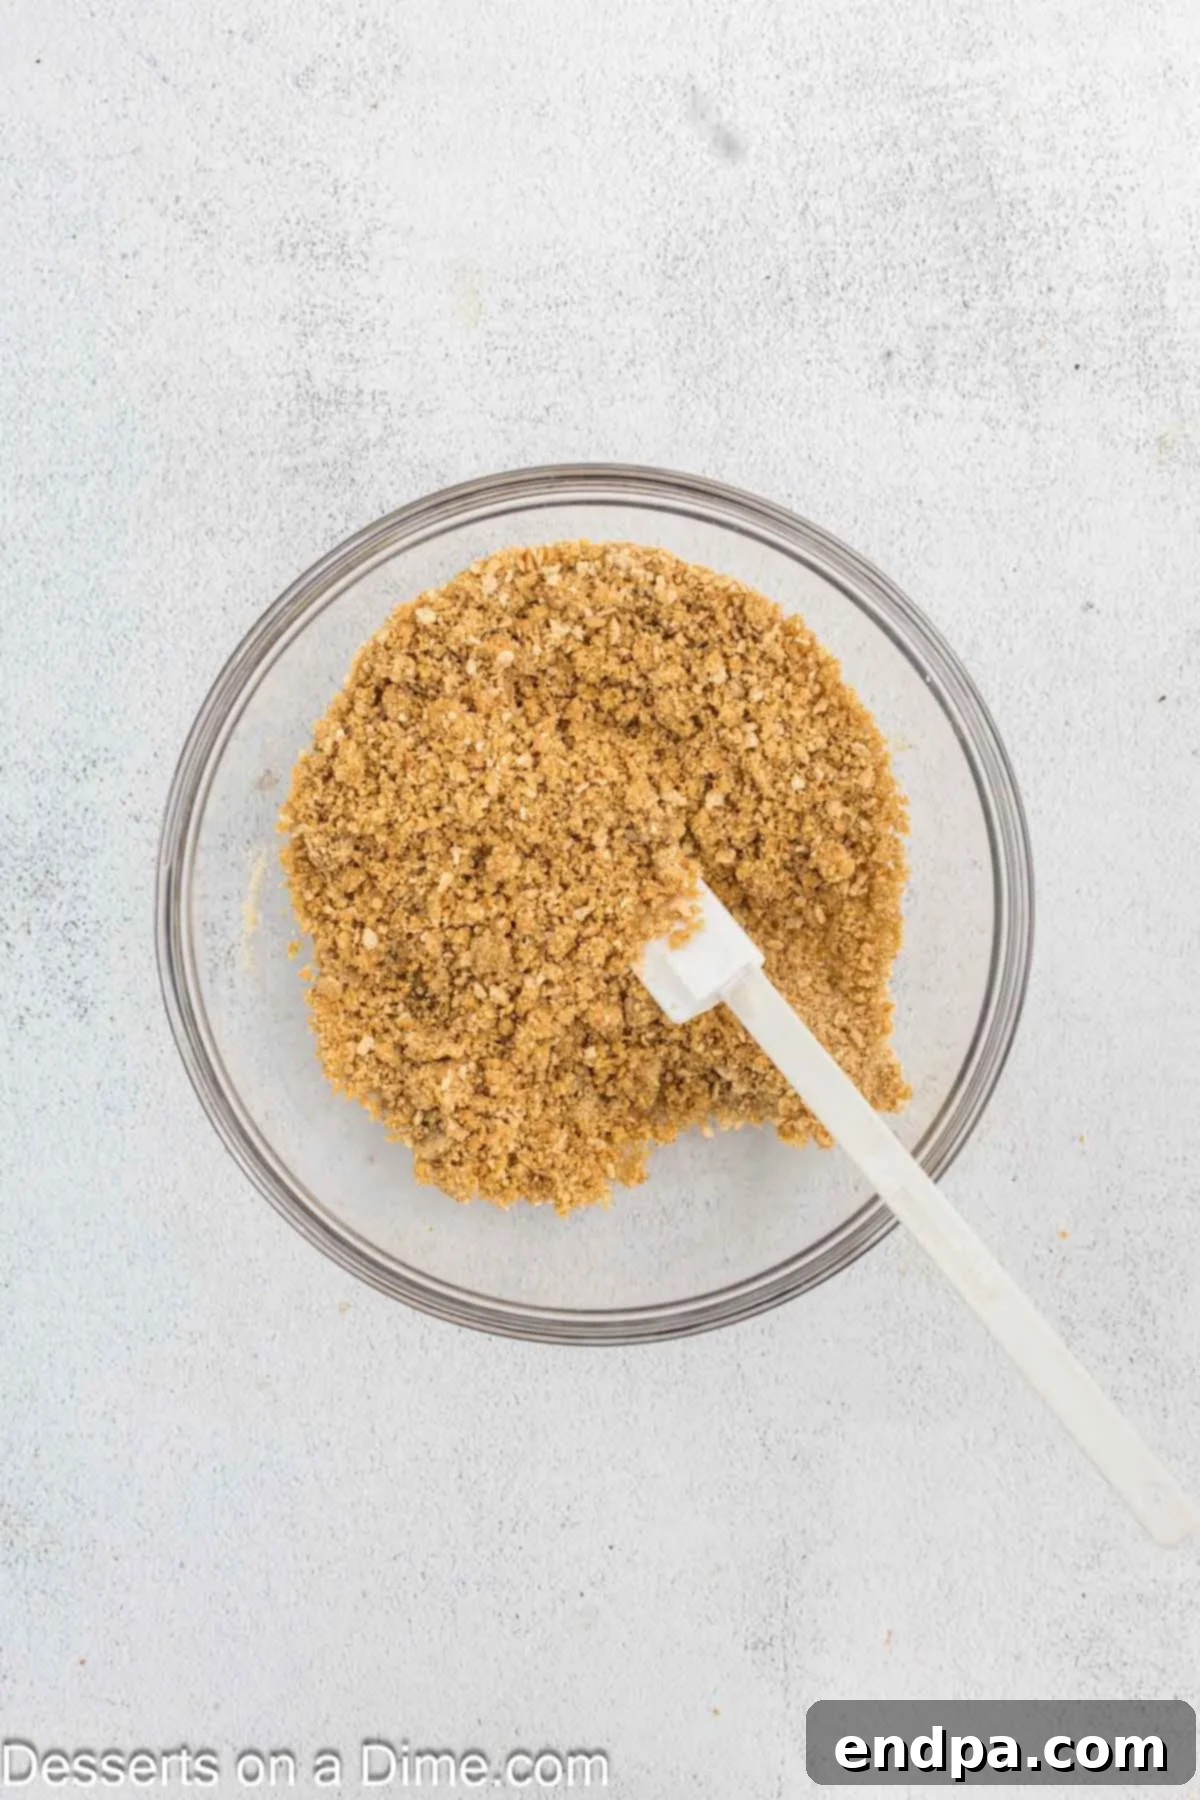
Step 2. Prepare the crust. Place the graham cracker sheets into a food processor and pulse until they form fine, even crumbs. Transfer the crumbs to a medium mixing bowl. Add the melted butter and brown sugar, mixing thoroughly until the crumbs are uniformly moistened. For a subtle flavor enhancement, a pinch of kosher salt can also be added to the mixture. This ensures a well-seasoned crust.
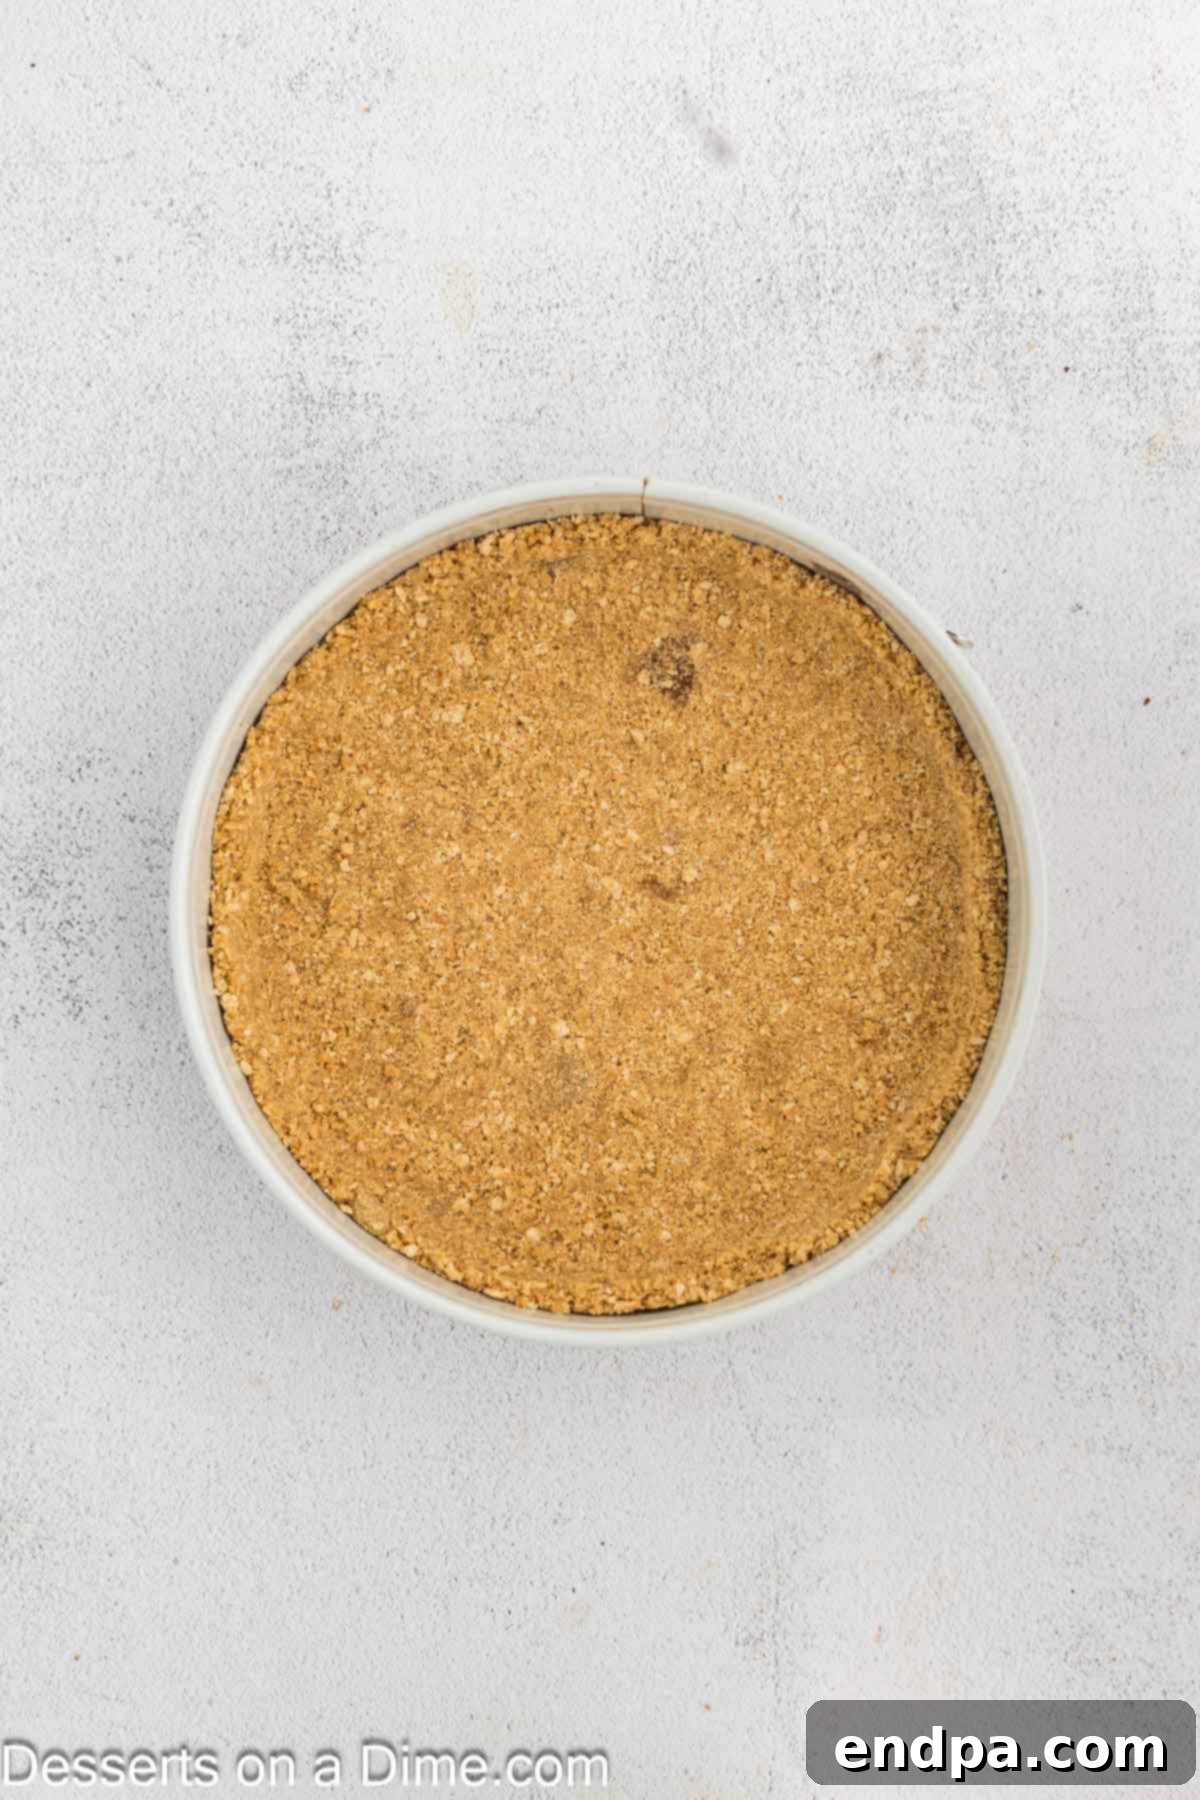
Step 3. Press the crumb mixture firmly and evenly into the bottom of a 9-inch springform pan. Extend the mixture about ½ inch up the sides of the pan to create a sturdy rim. Bake the crust in the preheated oven for 8 minutes. This brief bake helps set the crust and prevents it from becoming soggy. After baking, remove the pan from the oven and allow the crust to cool completely at room temperature while you prepare the filling.
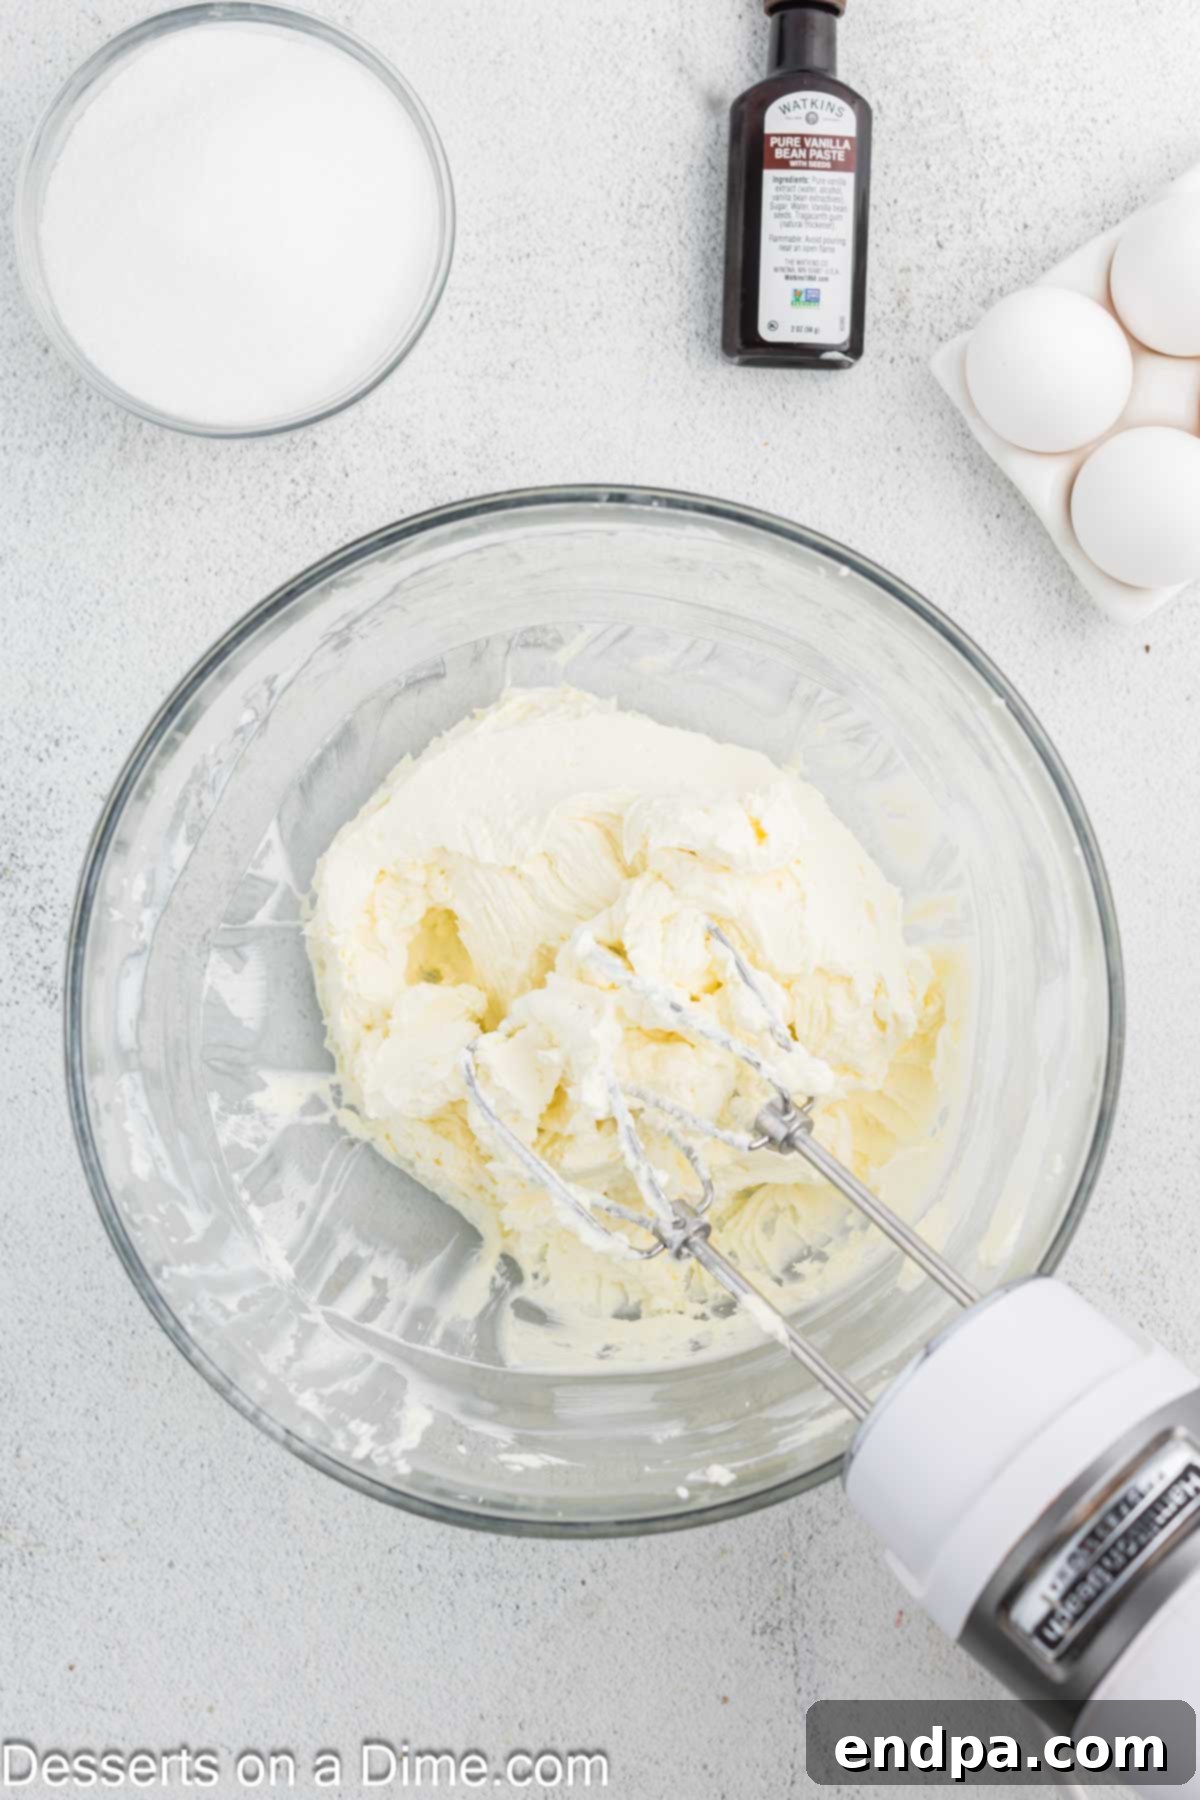
Step 4. Now, prepare the luscious cheesecake batter. In a large mixing bowl, beat the softened cream cheese with an electric mixer (using the paddle attachment if you have a stand mixer) until it is light, fluffy, and smooth. This should take a few minutes. Gradually mix in the granulated sugar until it is fully incorporated and the mixture is creamy. Periodically scrape down the sides of the bowl with a spatula to ensure all ingredients are well combined and no lumps remain. Next, split open the vanilla bean pods lengthwise with a small sharp knife and scrape out the fragrant seeds. Add these seeds to the cream cheese mixture and beat for another 2 minutes until the vanilla is evenly distributed and the mixture is wonderfully aromatic.
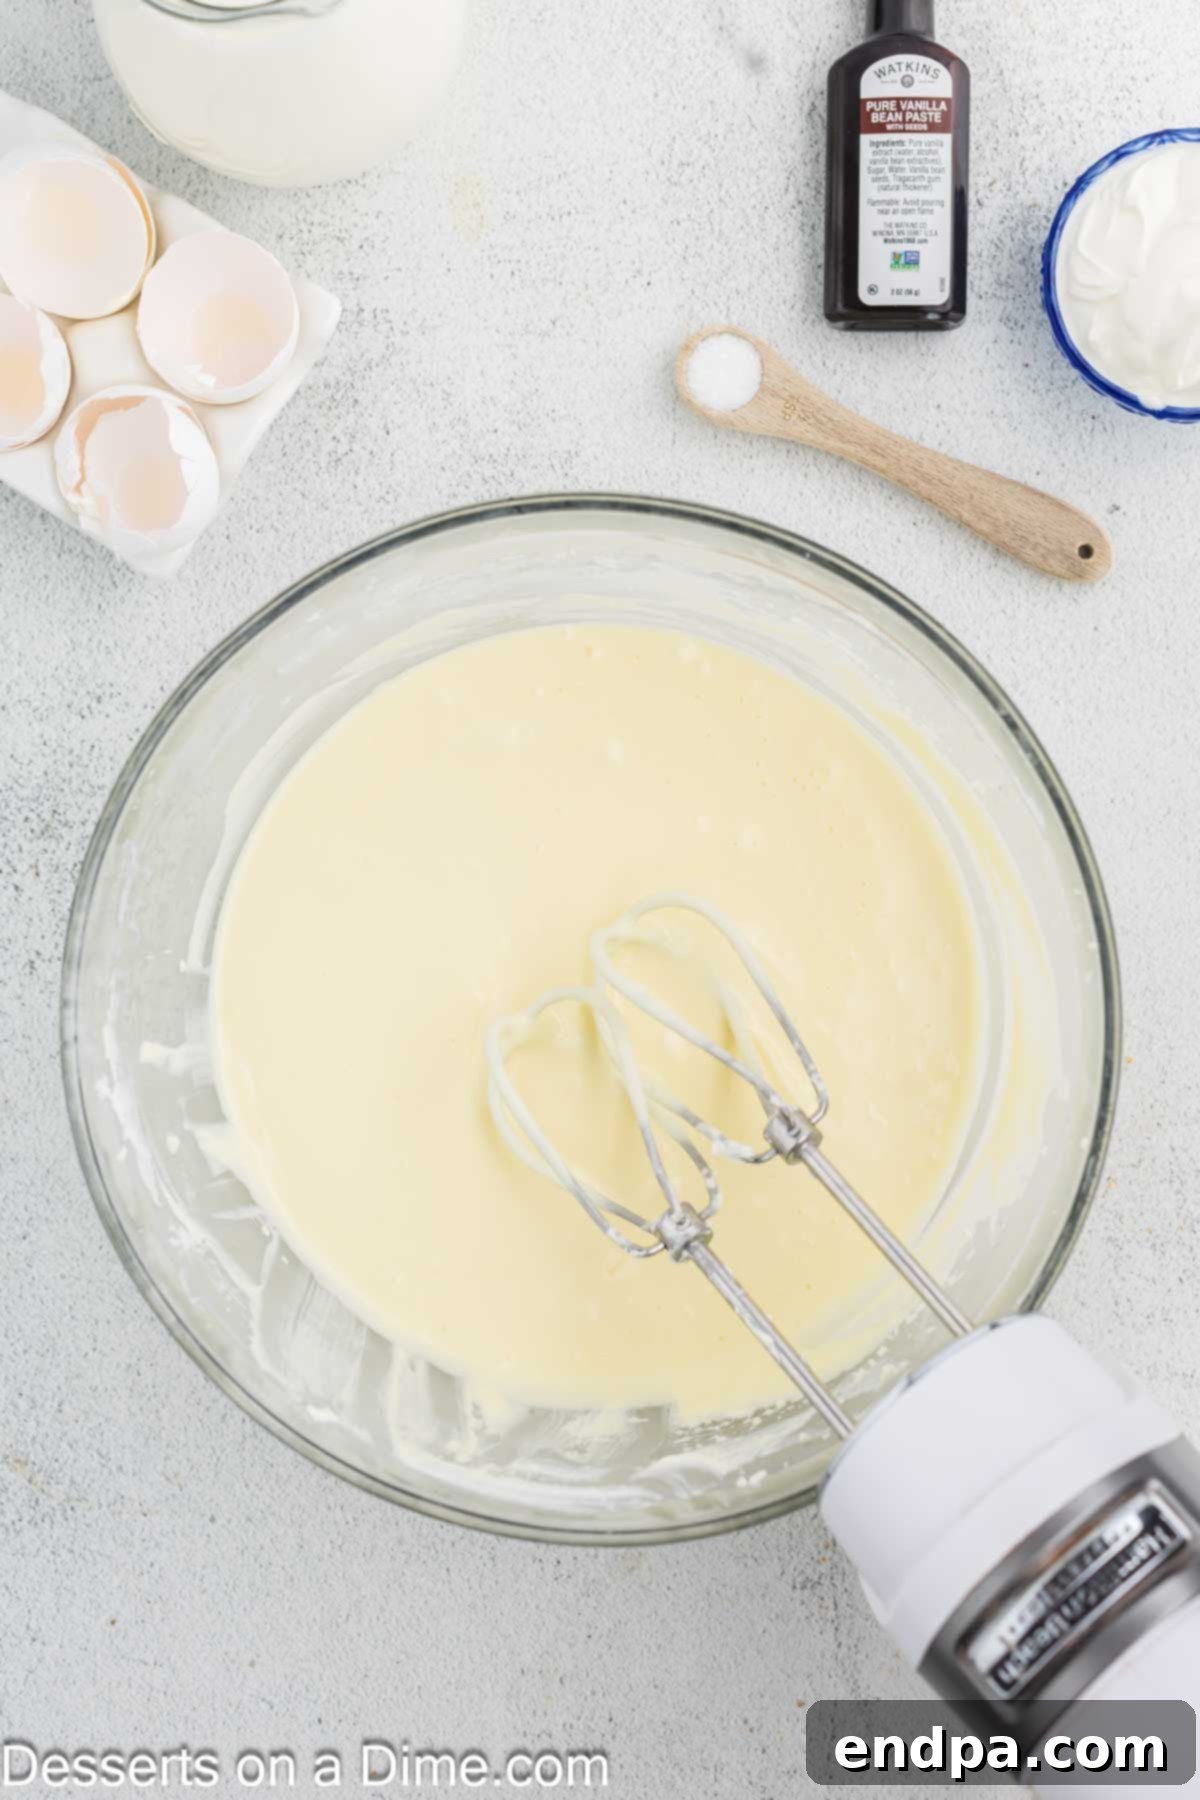
Step 5. Gently incorporate the eggs. Add them one at a time, beating on low speed after each addition until just combined. The key here is not to overmix the batter once the eggs are added, as overmixing can introduce too much air, which can cause the cheesecake to puff up significantly during baking and then crack as it cools. Beat just enough to incorporate each egg before adding the next.
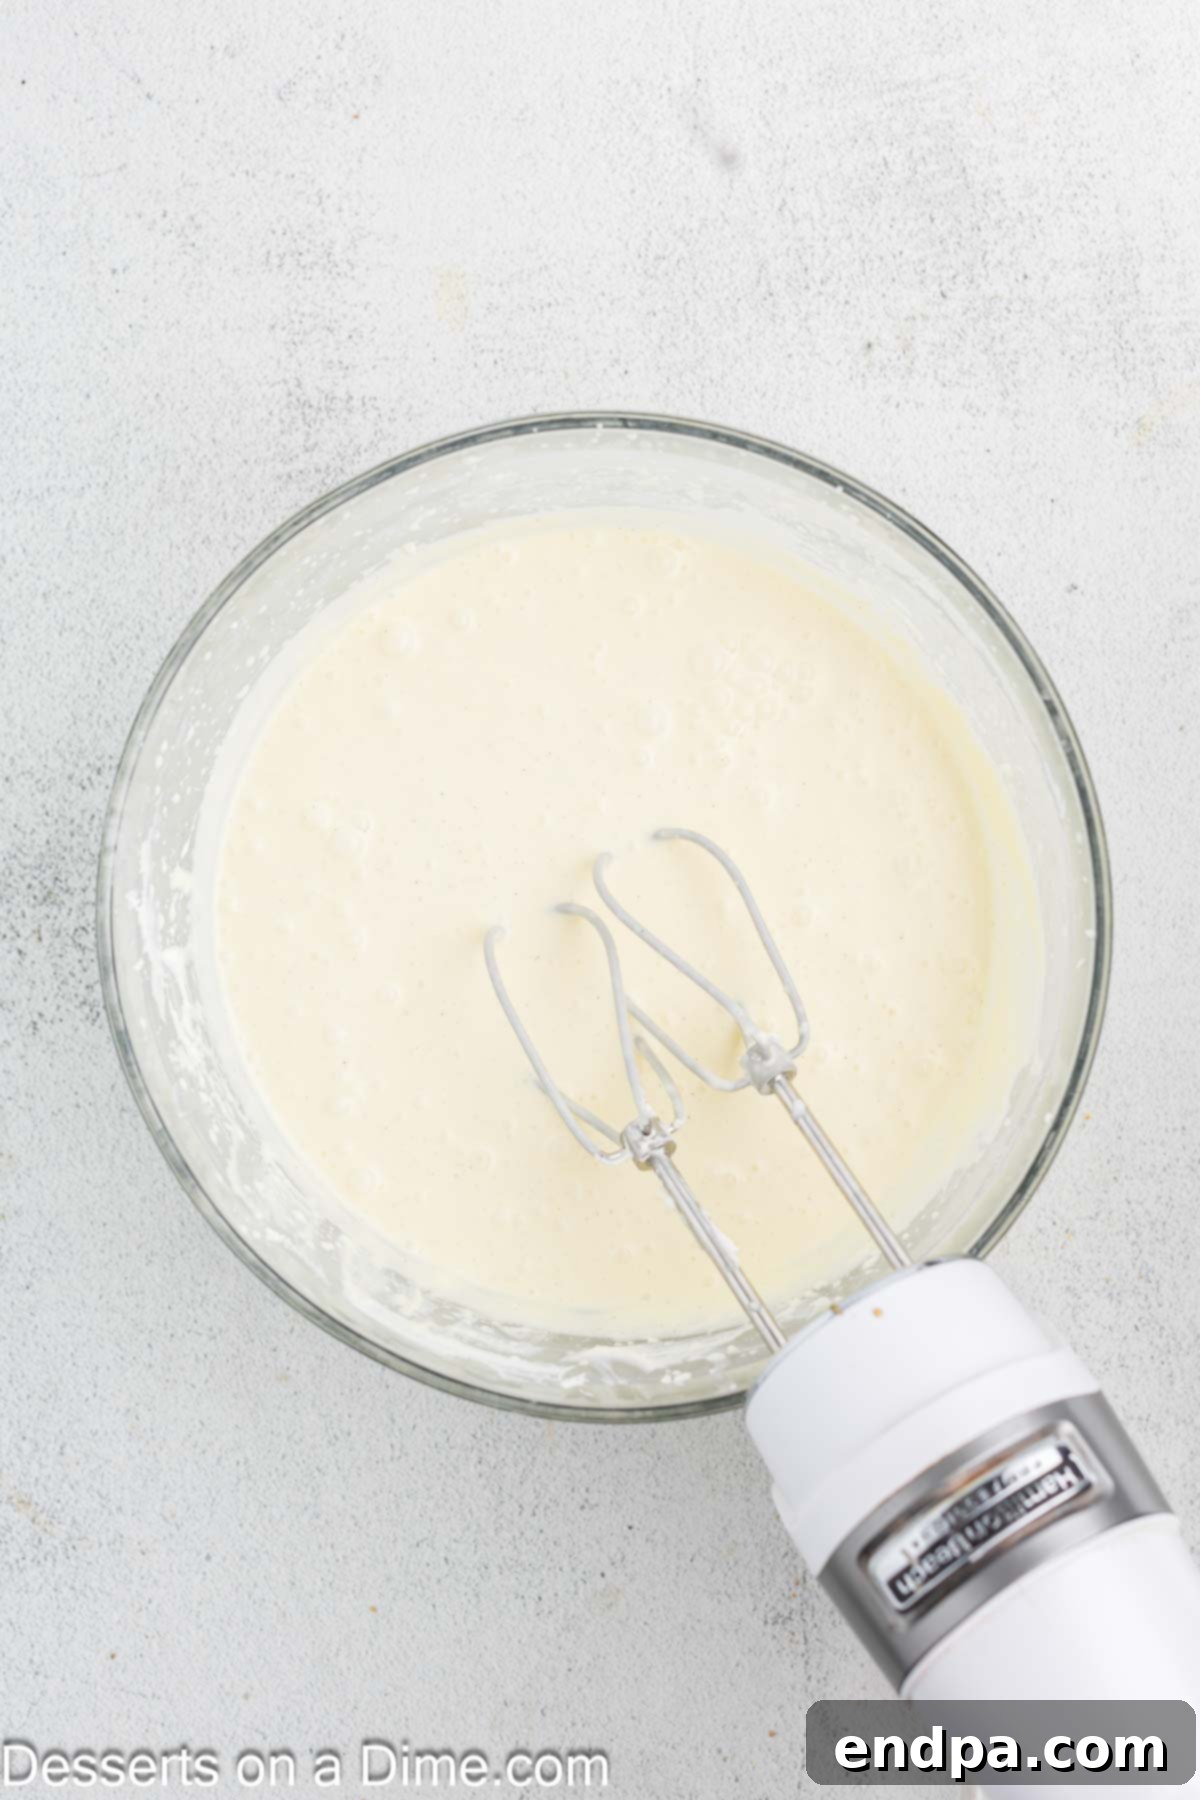
Step 6. Keep the mixer speed on low and carefully add the full-fat sour cream, cold heavy whipping cream, and salt to the batter. Mix just until these ingredients are thoroughly combined and no streaks remain. Again, avoid overmixing to maintain the desired creamy texture and prevent cracks in the finished cheesecake. Both a stand mixer or a hand mixer will work effectively for this step.
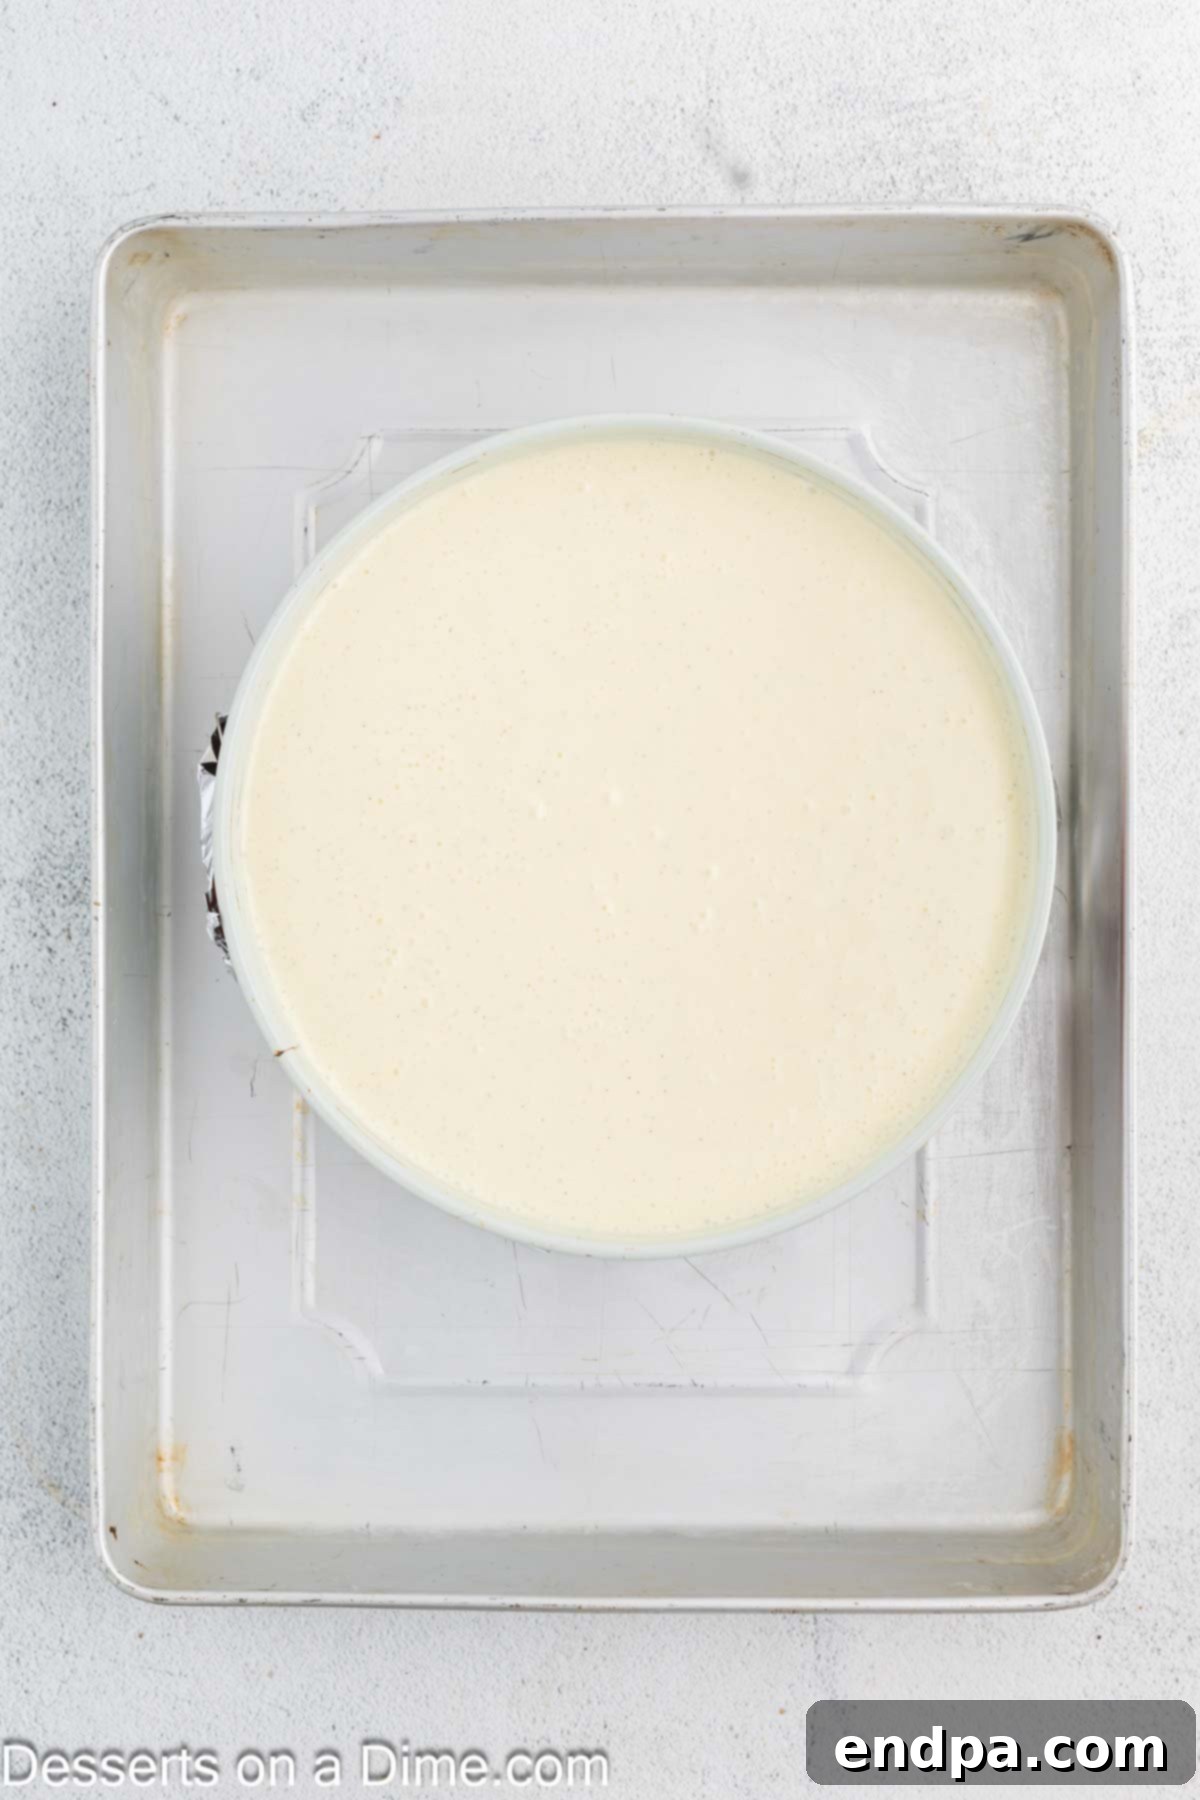
Step 7. Pour the prepared cheesecake batter over the cooled graham cracker crust in the springform pan. Use a spatula to gently smooth out the top surface as much as possible for an even finish. To prepare for the water bath, wrap the bottom and sides of the springform pan with a few layers of heavy-duty aluminum foil. This prevents any water from seeping into the crust or cheesecake during baking, which is vital for a smooth, crack-free top.
- Step 8. Create a water bath. Place the foil-wrapped springform pan into a larger roasting pan. Carefully pour boiling water into the roasting pan around the cheesecake pan. Continue to add water until it reaches about halfway up the sides of the cheesecake pan. A water bath helps the cheesecake bake gently and evenly, preventing cracks and ensuring a creamy, silky texture.
- Step 9. Carefully transfer the roasting pan with the cheesecake and water bath to your preheated oven. Bake for approximately 55-65 minutes. The cheesecake is ready when the edges appear set and firm, but the center still has a slight jiggle when gently nudged. This slight jiggle indicates that it’s perfectly cooked and will continue to set as it cools.
- Step 10. Once baking is complete, turn off the oven, but do not remove the cheesecake immediately. Instead, crack open the oven door about an inch or two. Allow the cheesecake to sit inside the cooling oven for an additional 45 minutes. This gradual cooling process is crucial for preventing cracks on the surface of the cheesecake.
- Step 11. After the gradual cooling period in the oven, remove the cheesecake from the oven and carefully lift the springform pan out of the hot water bath. Remove the aluminum foil. Let the cheesecake cool completely at room temperature on a wire rack for about 1-2 hours. Once cooled, transfer the cheesecake to the refrigerator and chill for at least 4 hours, or ideally, overnight. This chilling period is essential for the cheesecake to firm up properly and achieve its optimal dense, creamy texture.
Presentation and Serving Tips
The final steps are where the “brulee” magic happens, transforming a delicious cheesecake into an unforgettable dessert with a dazzling caramelized topping.
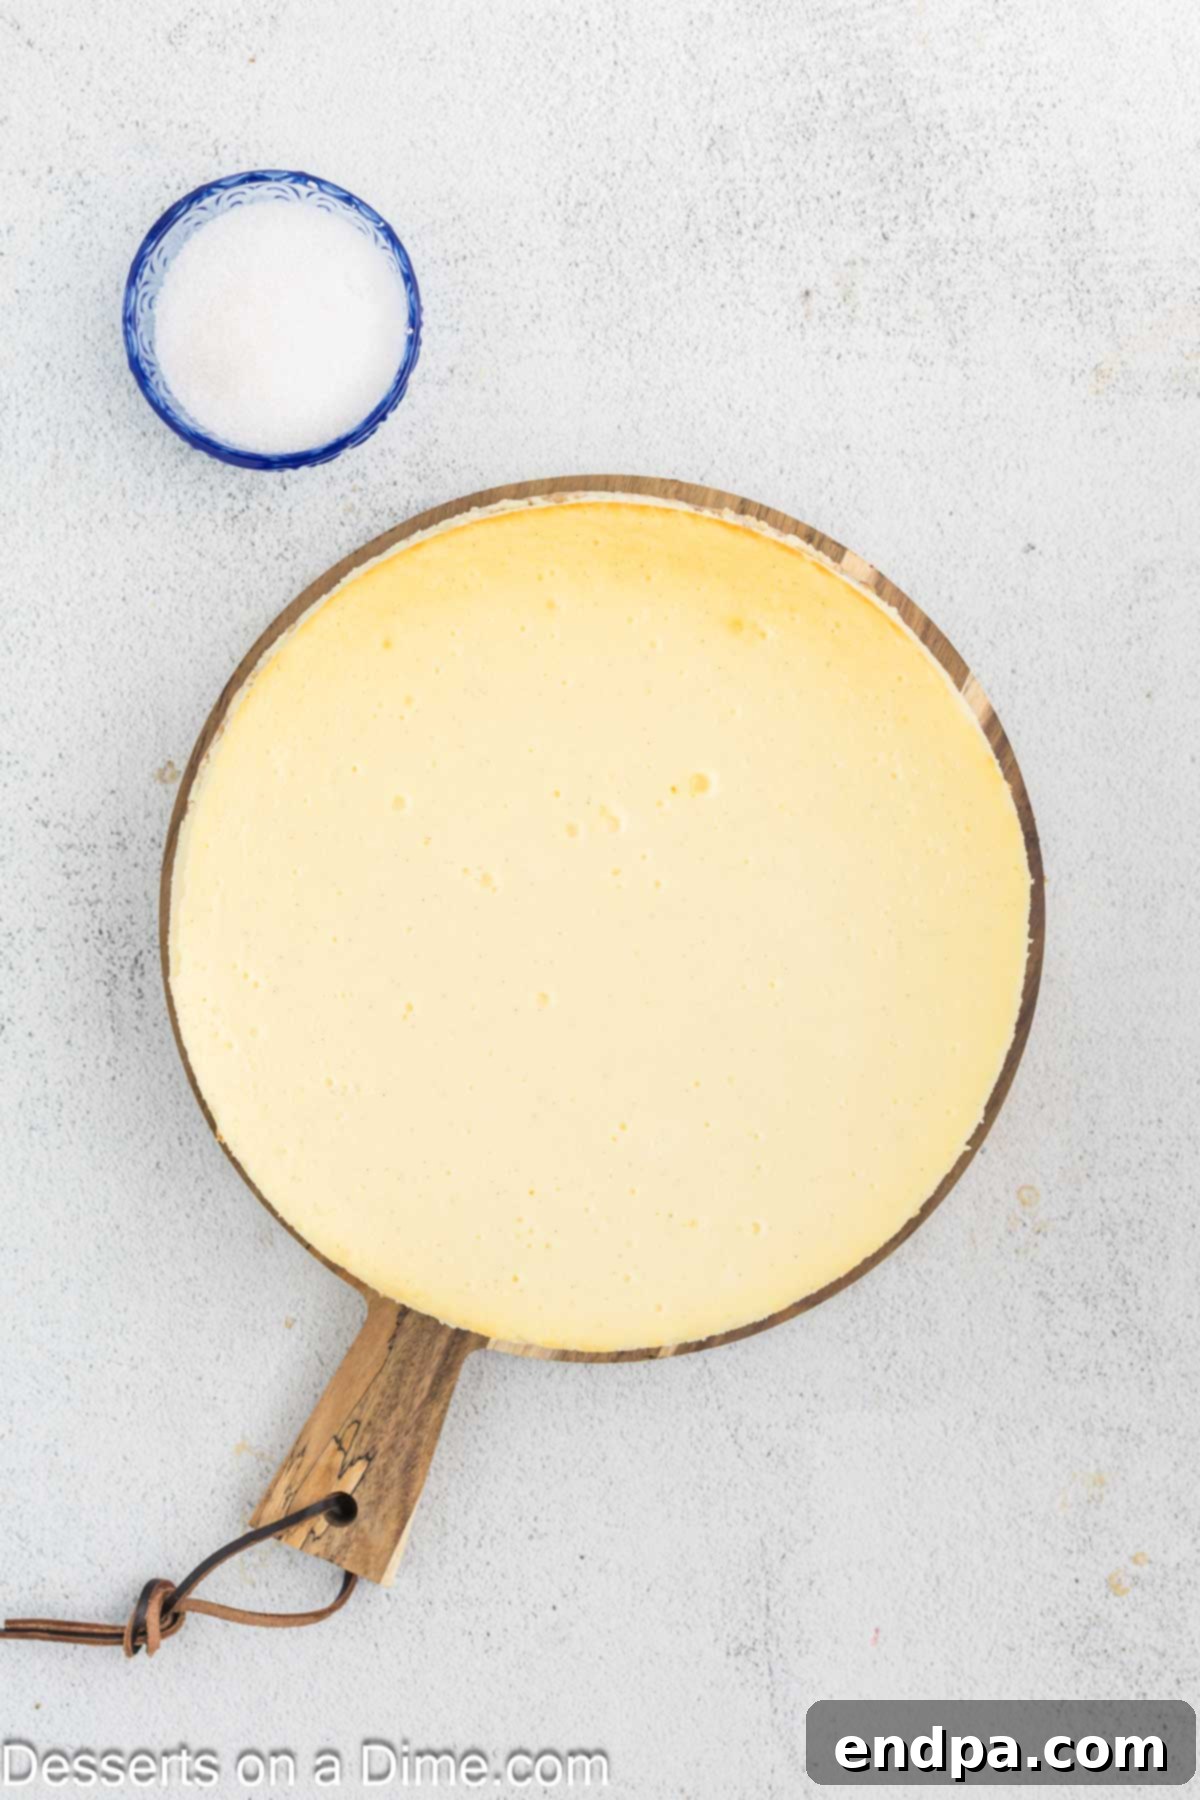
Step 12. Once the cheesecake is thoroughly chilled, carefully release it from the springform pan. Run a thin, sharp knife around the edge of the cheesecake before unlatching the springform and lifting the ring away. This helps ensure clean sides and a beautiful presentation.
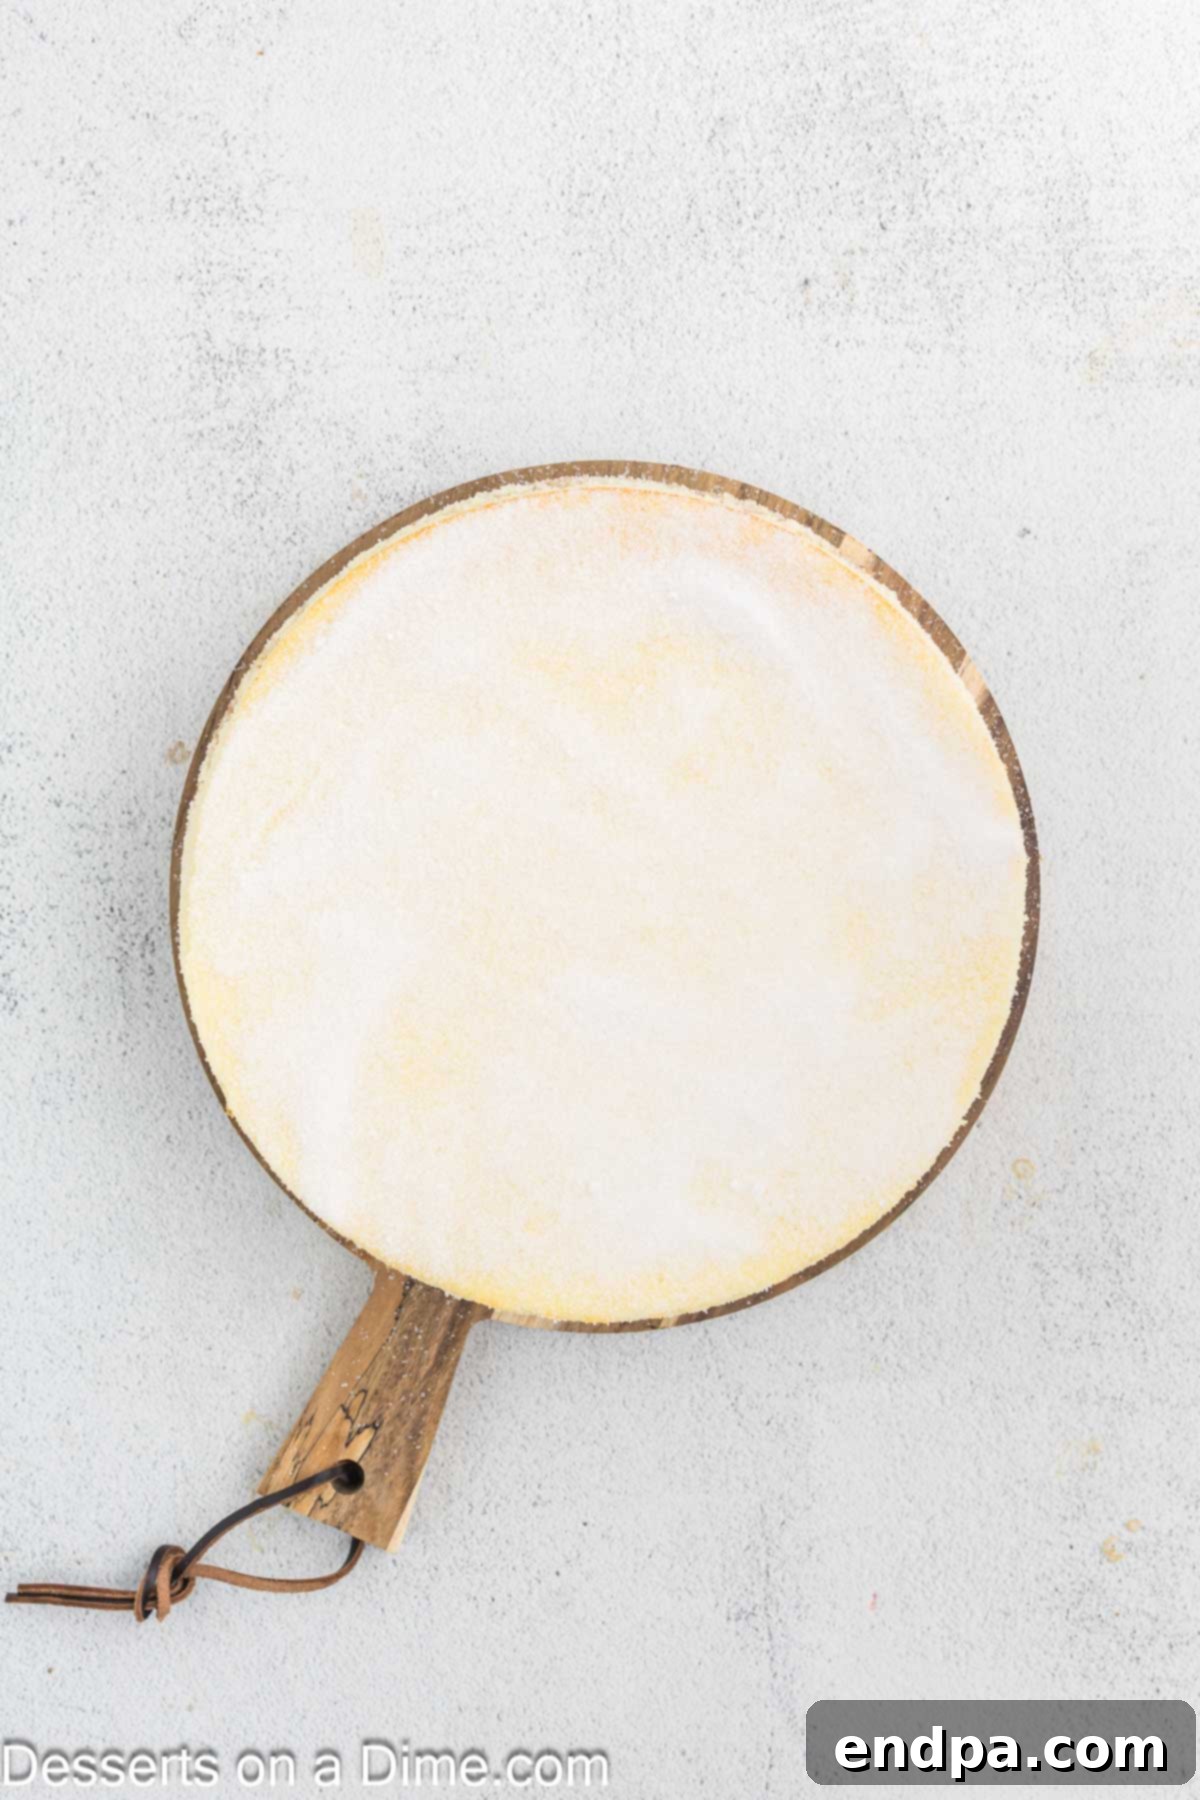
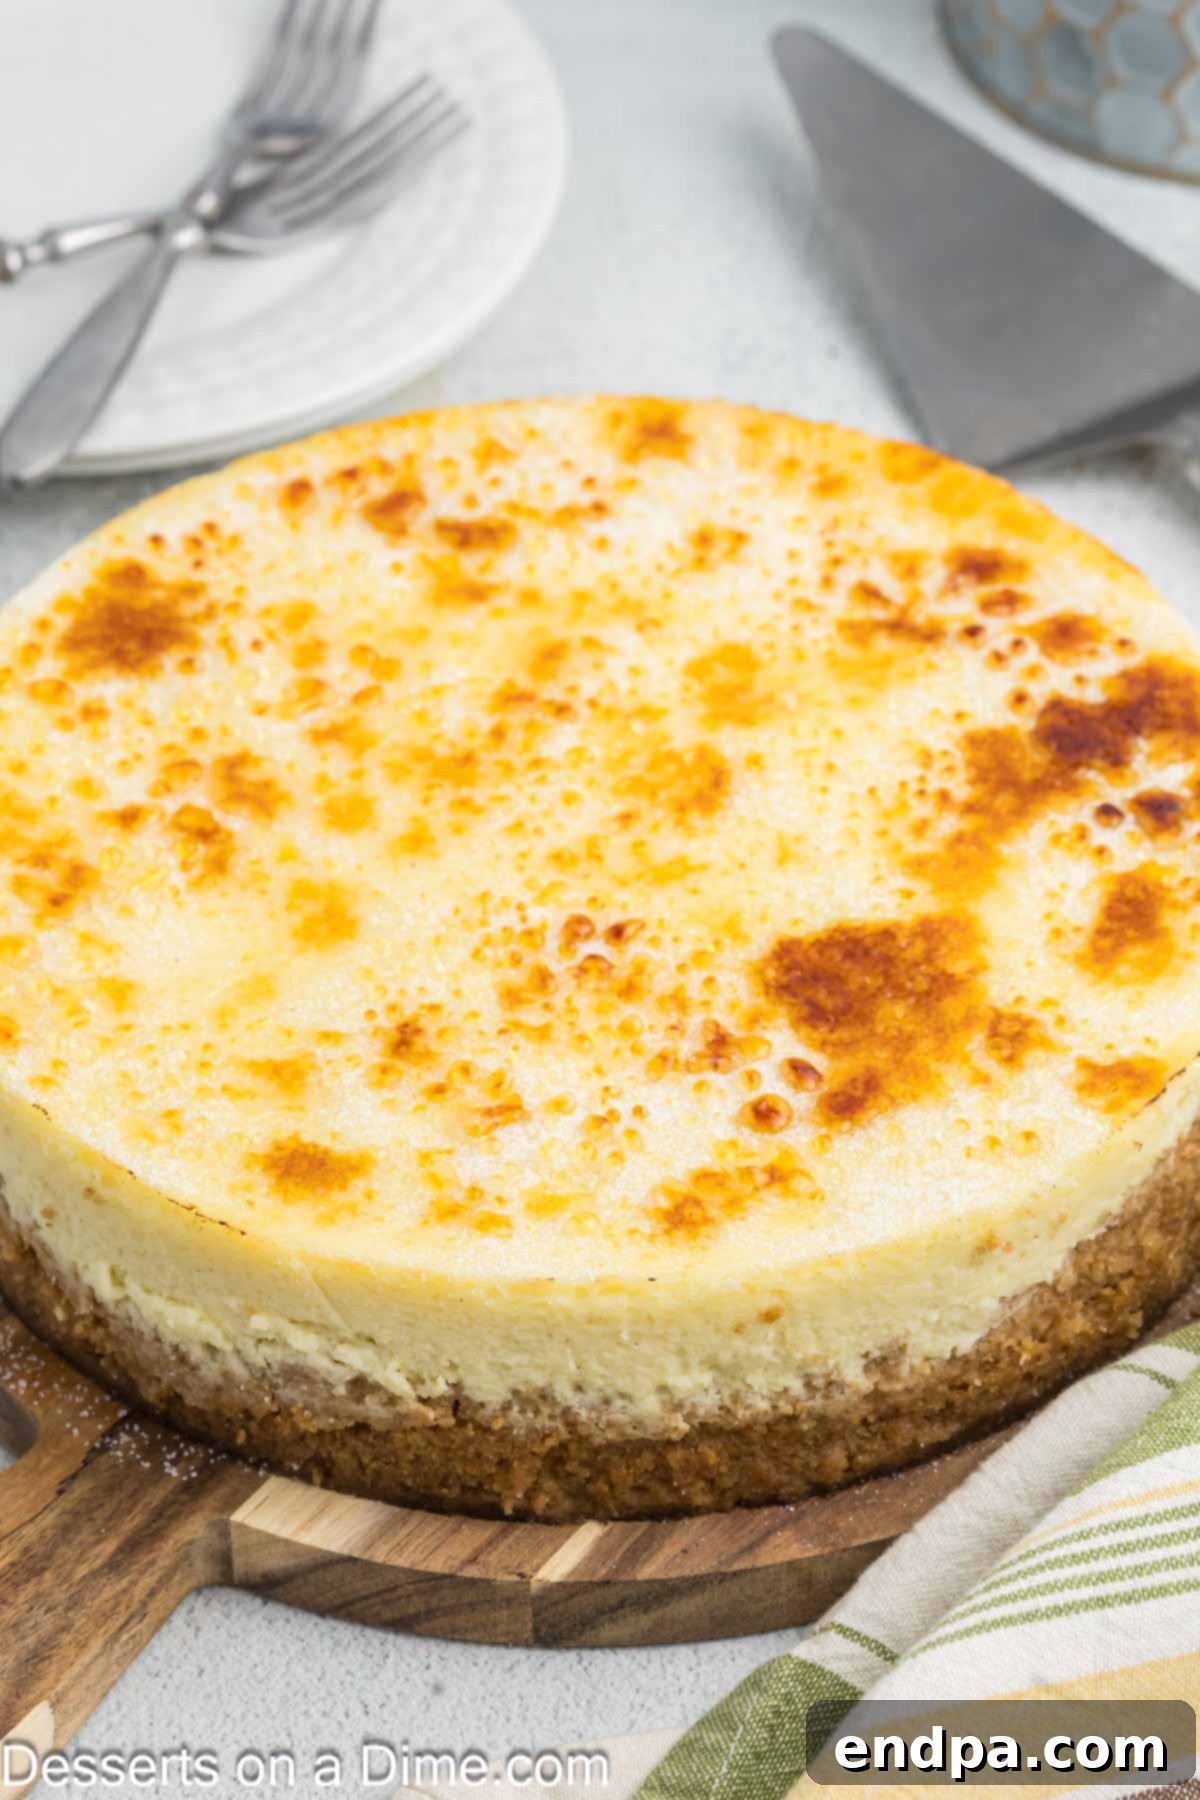
Step 13. Evenly sprinkle the granulated sugar over the entire top surface of the cheesecake. The sugar layer should be thin but consistent. Then, using a kitchen torch, begin to caramelize the sugar. Move the flame steadily and evenly across the surface in small circles, holding the torch a few inches away. The sugar will bubble, melt, and turn into a beautiful golden-amber color. It’s crucial to keep the torch on the lowest effective setting and to keep it moving constantly to prevent the sugar from burning and the cheesecake itself from warming too much. The goal is a uniform, crackling crust, not scorched sugar.
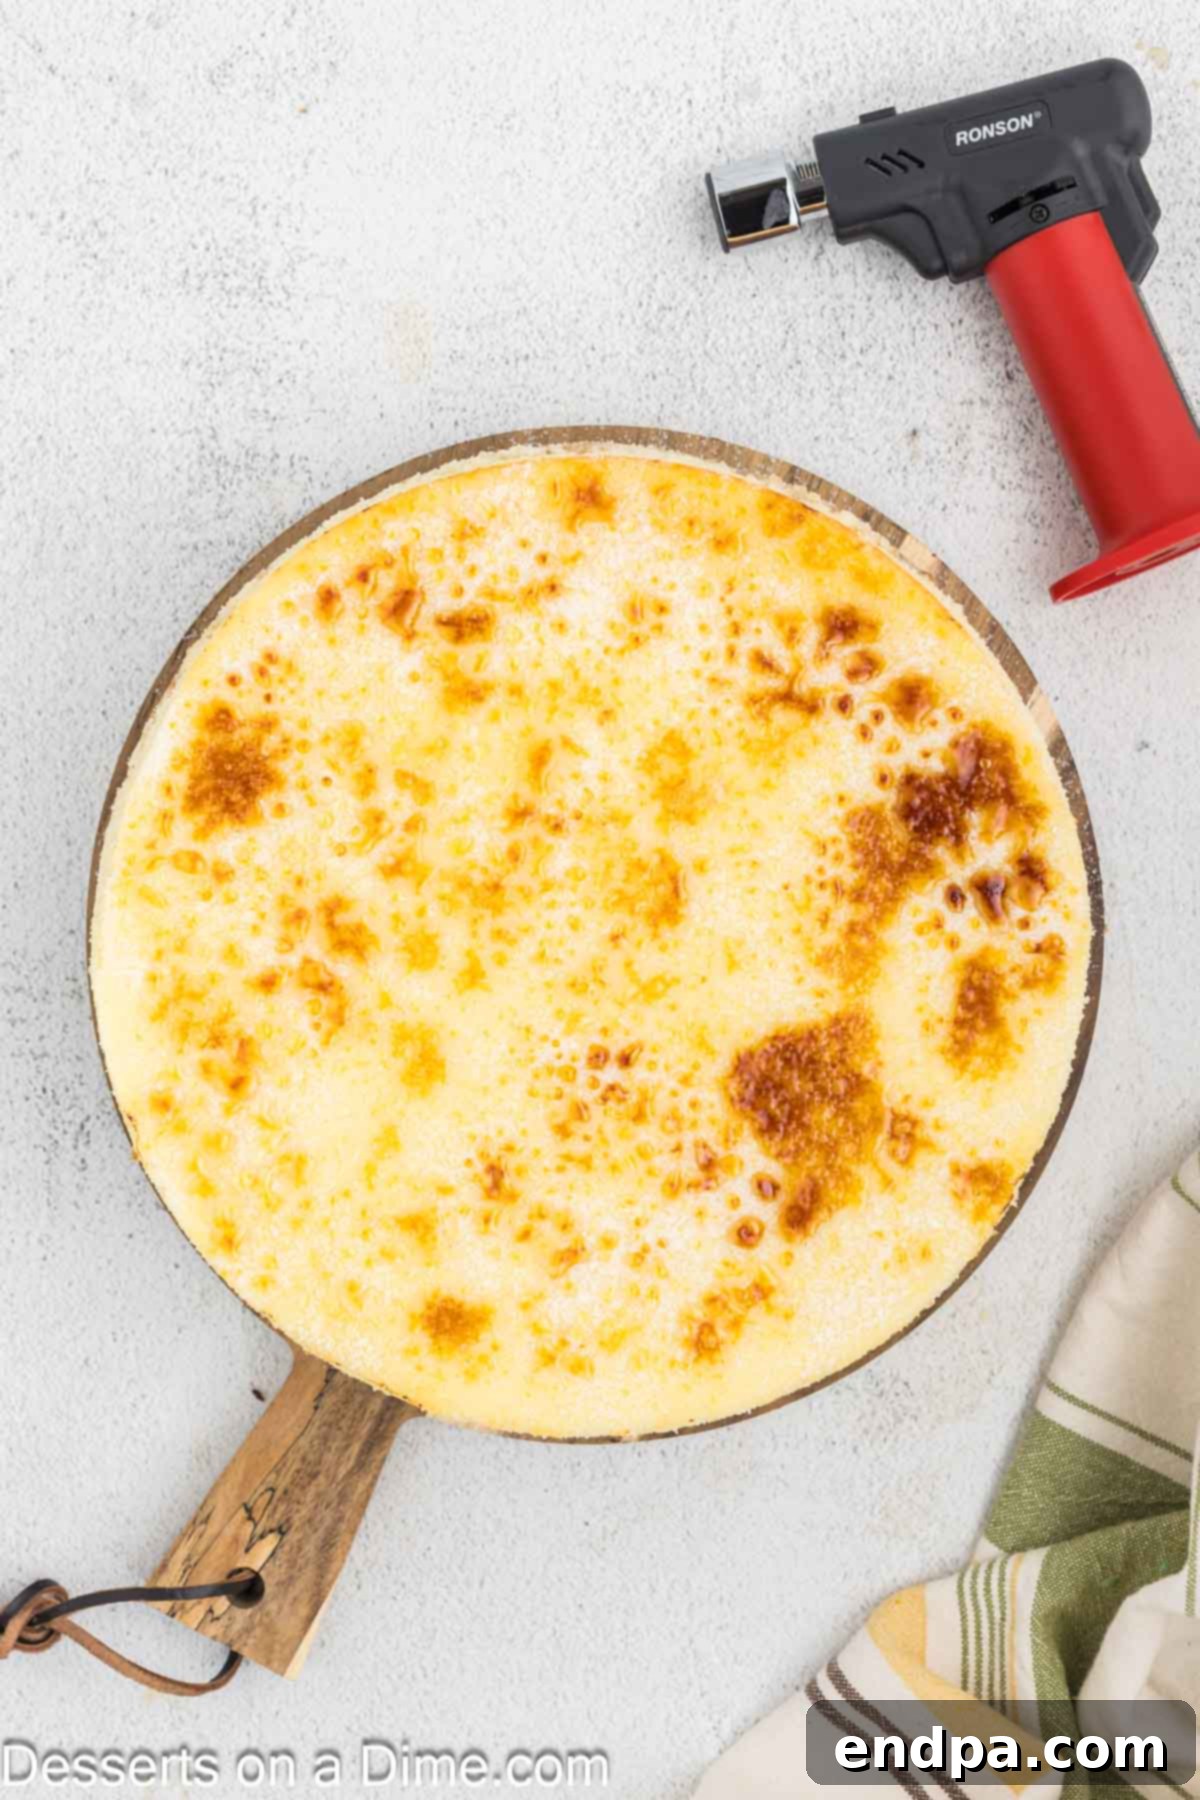
Step 14. Once the entire surface is caramelized to a beautiful golden brown, remove the torch and allow the caramelized sugar layer to harden for approximately 5 minutes at room temperature. As it cools, it will transform into that characteristic brittle, glassy shell that is so satisfying to crack.
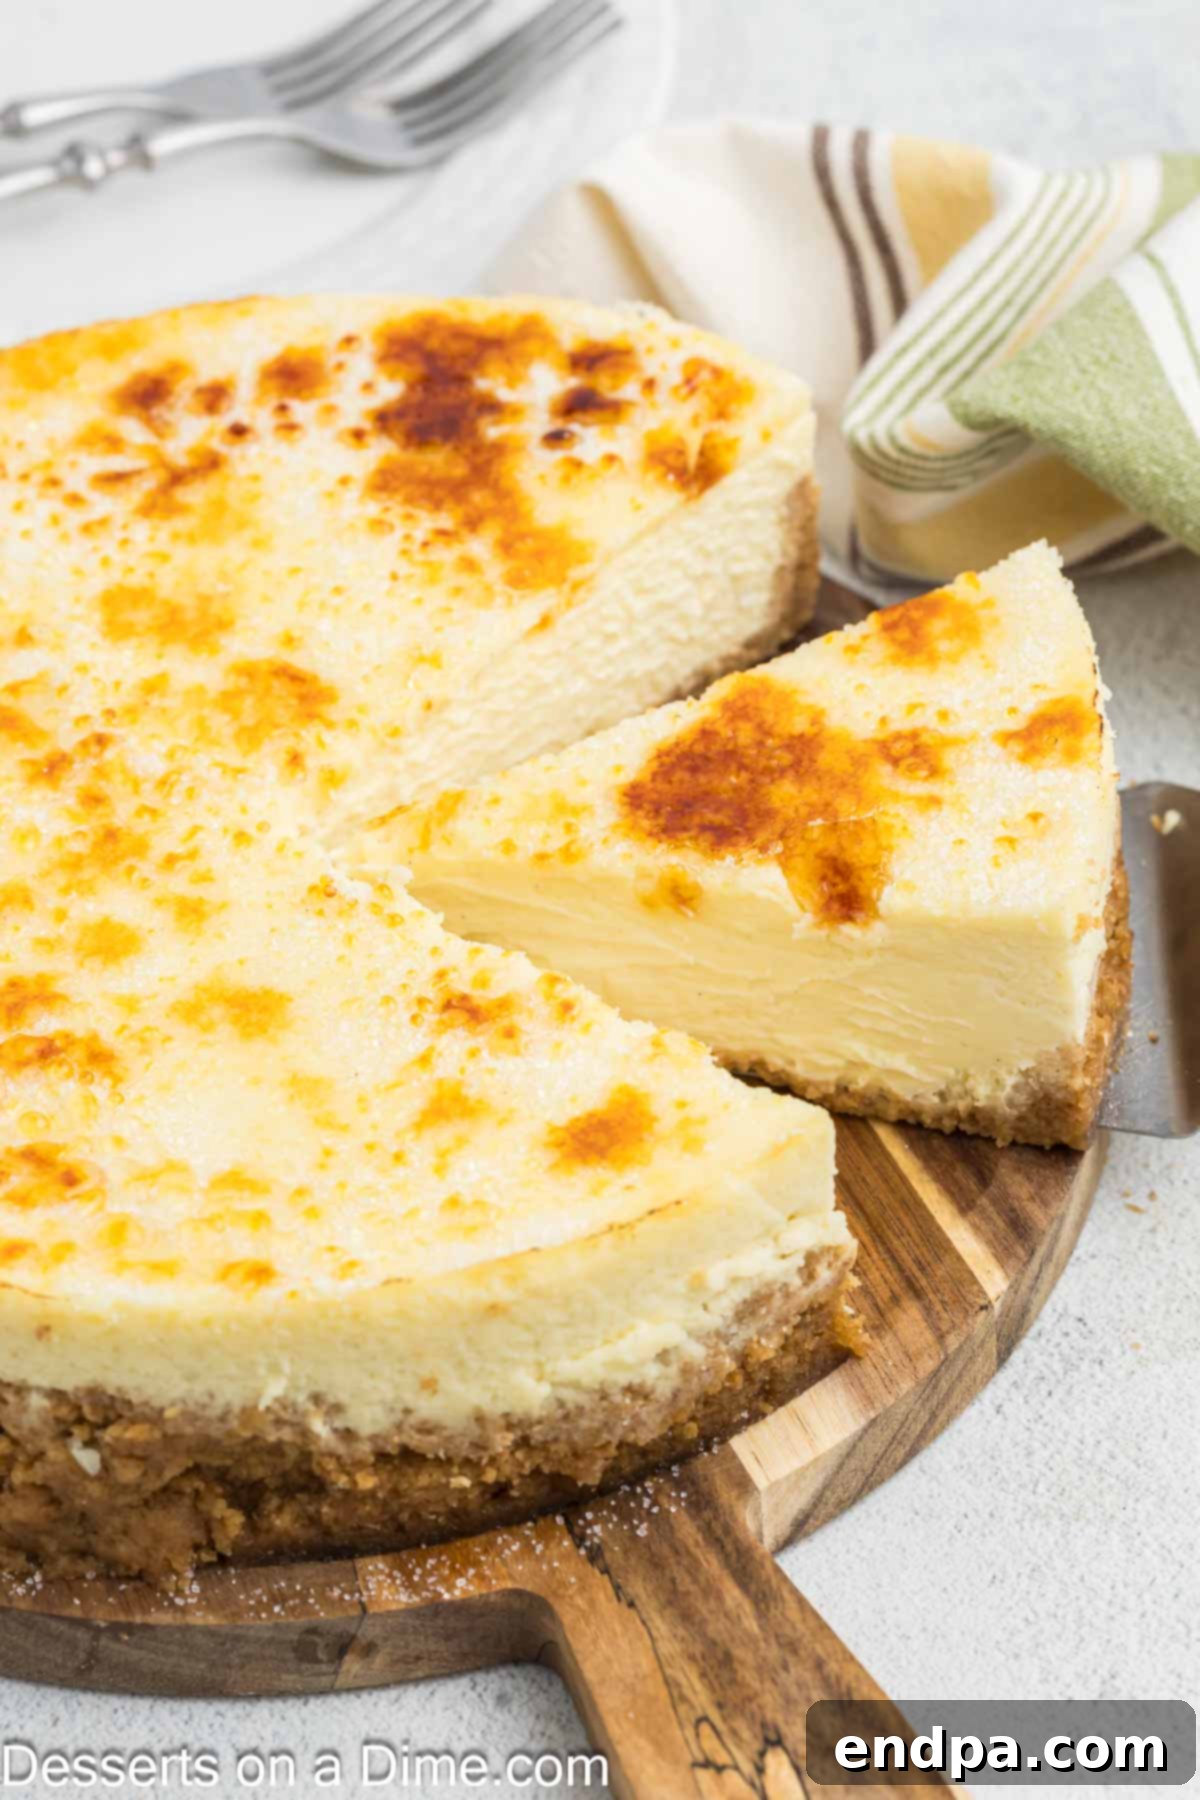
Step 15. The Cheesecake Brulee is now ready to be sliced, served, and savored! Use a hot, sharp knife (dipping it in hot water and wiping dry between cuts can help achieve cleaner slices) to cut through the hardened sugar topping and creamy cheesecake. Serve immediately to enjoy the perfect contrast of warm, crisp sugar and cold, silky cheesecake.
Optimal Storage for Freshness
To ensure your Cheesecake Brulee remains as delicious as possible, proper storage is key. Store any leftovers by covering the cheesecake loosely with plastic wrap or placing it in an airtight container. Refrigerate it for up to 5 days. It’s important to note that the signature caramelized sugar topping will naturally soften over time in the refrigerator due to moisture absorption. If you wish to recapture that delightful crispness when serving leftover slices, you can lightly torch the top of each individual slice just before serving. This quick re-torching will bring back the brittle texture, making your second-day cheesecake feel just as fresh and exciting as the first.
Expert Tips for a Flawless Cheesecake
Achieving a perfect Cheesecake Brulee is easier than you think, especially with these insider tips:
- Room Temperature Ingredients are Non-Negotiable: This is arguably the most critical tip for any cheesecake. Ensure your cream cheese, eggs, and sour cream are at true room temperature. Cold ingredients won’t emulsify properly, leading to a lumpy batter and a less creamy, often dense, cheesecake. Plan ahead and take them out of the refrigerator at least an hour before you start mixing.
- Always Use Full-Fat Cream Cheese: For the ultimate rich flavor and luxurious texture, always opt for full-fat cream cheese. Low-fat varieties contain more water, which can alter the consistency and flavor of your cheesecake, making it less decadent and more prone to cracks.
- Scrape the Bowl Thoroughly: During the mixing process, frequently stop and scrape down the sides and bottom of your mixing bowl with a rubber spatula. This simple action ensures that all ingredients are fully incorporated, preventing pockets of unmixed cream cheese or sugar and resulting in an impeccably smooth batter.
- Do Not Overmix the Batter (Especially After Adding Eggs): Overmixing introduces too much air into the batter. While it might seem to make the batter fluffier, this air will cause the cheesecake to rise excessively during baking and then dramatically deflate and crack as it cools. Mix only until the ingredients are just combined.
- Embrace the Gradual Oven Cool-Down: Do not skip the step of letting the cheesecake cool gradually inside the turned-off oven with the door ajar. This controlled cooling environment prevents a sudden temperature drop, which is a major culprit behind cheesecake cracks and an uneven set.
- Patience is a Virtue: Allow Ample Cooling Time: Resist the urge to rush the cooling and chilling process. The cheesecake needs sufficient time to cool completely at room temperature and then chill in the refrigerator for at least 4 hours (or ideally overnight). This crucial period allows the cheesecake to fully set, develop its rich texture, and become firm enough for clean slicing.
Frequently Asked Questions
Crème Brûlée is a classic French dessert consisting of a rich, creamy custard base, typically made with egg yolks, sugar, and cream, topped with a contrasting layer of hardened caramelized sugar. In our Cheesecake Brulee, we’ve taken the luscious creaminess of a traditional cheesecake and married it with the signature caramelized sugar topping of a crème brûlée, offering the best of both worlds in one incredible dessert.
While a kitchen torch provides the best and most controlled way to caramelize the sugar, you do have an alternative: your oven’s broiler. Sprinkle the sugar evenly, then place the cheesecake under the broiler for a very short time (keep the oven door slightly ajar and watch it *constantly*). The main risk is that the intense heat of the broiler can warm the cheesecake, potentially melting it, or burn the sugar very quickly. It’s much easier, safer, and yields a superior, more even caramelization with a dedicated kitchen torch.
Cheesecakes commonly crack due to sudden temperature changes or overmixing. Ensure all ingredients are at room temperature, avoid overmixing the batter (especially after adding eggs), and always allow the cheesecake to cool gradually in the oven before transferring it to the counter and then the refrigerator. The water bath also plays a crucial role in preventing cracks by creating a moist, even baking environment.
Absolutely! Cheesecake Brulee is an excellent dessert for making ahead. You can bake and chill the cheesecake (without the caramelized topping) up to 2-3 days in advance. Store it covered in the refrigerator. When you’re ready to serve, simply sprinkle the sugar and torch it for that fresh, crisp brûlée effect. This makes it perfect for entertaining.
If You Love Cheesecake, Try These Recipes
Cakes
Cinnamon Roll Cheesecake
Cakes
Mini Red Velvet Cheesecake
Cakes
Cookie Butter Cheesecake
Cookies
Strawberry Cheesecake Cookies
I’m genuinely thrilled for you to try making this exquisite Crème Brûlée Cheesecake. It’s a dessert that truly captivates with its contrasting textures and rich flavors. Please don’t hesitate to share your experience and thoughts. Leave a comment below with your star rating – I’d love to hear how it turns out for you!
Cheesecake Brulee
Ingredients
For the Crust:
- 10 Graham Cracker Sheets
- 1/4 cup Butter melted
- 2 Tbsp Brown Sugar
For the Cheesecake Layer:
- 3 pkg Cream Cheese softened 8 oz each, room temperature
- 1 1/3 cup Granulated Sugar
- 2 Vanilla Bean Pods
- 4 Large Eggs room temperature
- 1 1/2 cups Heavy Whipping Cream
- 1/2 cup Full Fat Sour Cream
- 1/4 teaspoon Salt
For the Topping:
- 1/4 cup Granulated Sugar
Instructions
For the Crust:
- Preheat the oven to 325 degrees Fahrenheit (160°C).
- Pulse the graham crackers in a food processor until they are fine crumbs. Mix together the crust ingredients (graham cracker crumbs, melted butter, and brown sugar) in a mixing bowl until uniformly moistened.
- Press this mixture firmly and evenly into the bottom of a 9-inch springform pan, extending about ½ inch up the sides of the pan.
- Bake the crust for 8 minutes, then remove from oven and cool completely at room temperature.
For the Cheesecake Batter:
- In a large mixing bowl, beat the softened cream cheese with an electric mixer until it is light, fluffy, and completely smooth.
- Gradually mix in the granulated sugar for 1-2 minutes until fully combined and creamy. Scrape down the sides of the bowl as needed to ensure even mixing.
- Split open the vanilla bean pods with a small knife and scrape the seeds into the cream cheese mixture. Beat for 2 minutes until the vanilla is well combined and fragrant.
- Slowly add the large eggs, one at a time, beating on low speed until each egg is just fully combined before adding the next. Be careful not to overmix at this stage.
- Keeping the mixer speed on low, mix in the sour cream, cold heavy whipping cream, and salt until all ingredients are thoroughly combined and the batter is smooth.
- Pour the prepared cream cheese mixture evenly over the cooled crust in the springform pan. Use a spatula to gently smooth out the top surface.
- Wrap the bottom and sides of the springform pan with several layers of heavy-duty aluminum foil to create a waterproof barrier.
- Place the foil-wrapped springform pan into a larger roasting pan. Carefully pour boiling water around the cheesecake pan until it reaches approximately halfway up the sides of the cheesecake pan, creating a water bath.
- Bake the cheesecake in the preheated oven for 55-65 minutes. The cheesecake is done when the edges are set and slightly puffed, but the center still has a slight, gentle jiggle when the pan is carefully nudged.
- Turn the oven off and crack the oven door open about an inch or two. Allow the cheesecake to cool gradually inside the oven for an additional 45 minutes to prevent cracking.
- Remove the cheesecake from the oven and carefully lift the springform pan out of the water bath. Remove the aluminum foil and let the cheesecake cool completely at room temperature on a wire rack for 1-2 hours.
- Once fully cooled, transfer the cheesecake to the refrigerator and chill for at least 4 hours, or preferably overnight, to allow it to firm up and achieve optimal texture.
For Serving:
- When ready to serve, carefully release the chilled cheesecake from the springform pan by running a thin knife around the edge before unlatching.
- Evenly sprinkle the granulated sugar over the entire top surface of the cheesecake. Using a kitchen torch set to the lowest effective flame, caramelize the sugar by moving the flame steadily and evenly in small circles until it melts, bubbles, and turns a beautiful golden-amber color. Ensure the torch is constantly moving to prevent burning.
- Allow the caramelized sugar layer to harden for approximately 5 minutes at room temperature. Once the topping is firm and crisp, the Cheesecake Brulee is ready to slice, serve, and enjoy!
Recipe Notes
For the creamiest, smoothest cheesecake texture, it is absolutely essential to use room temperature ingredients (cream cheese, eggs, sour cream). Cold ingredients will lead to lumps in the batter and an uneven bake.
Always use full-fat cream cheese for the best flavor and a rich, luxurious consistency. Low-fat alternatives can result in a drier cheesecake with less flavor.
If you prefer not to use vanilla bean pods, you can substitute with 1 tablespoon of vanilla bean paste for a similar depth of flavor and visual appeal. Alternatively, 1 tablespoon of good quality pure vanilla extract can be used. If opting for paste or extract, mix it into the cheesecake batter with the sour cream and heavy cream.
Nutrition Facts
Pin This Now to Remember It Later
Pin Recipe
