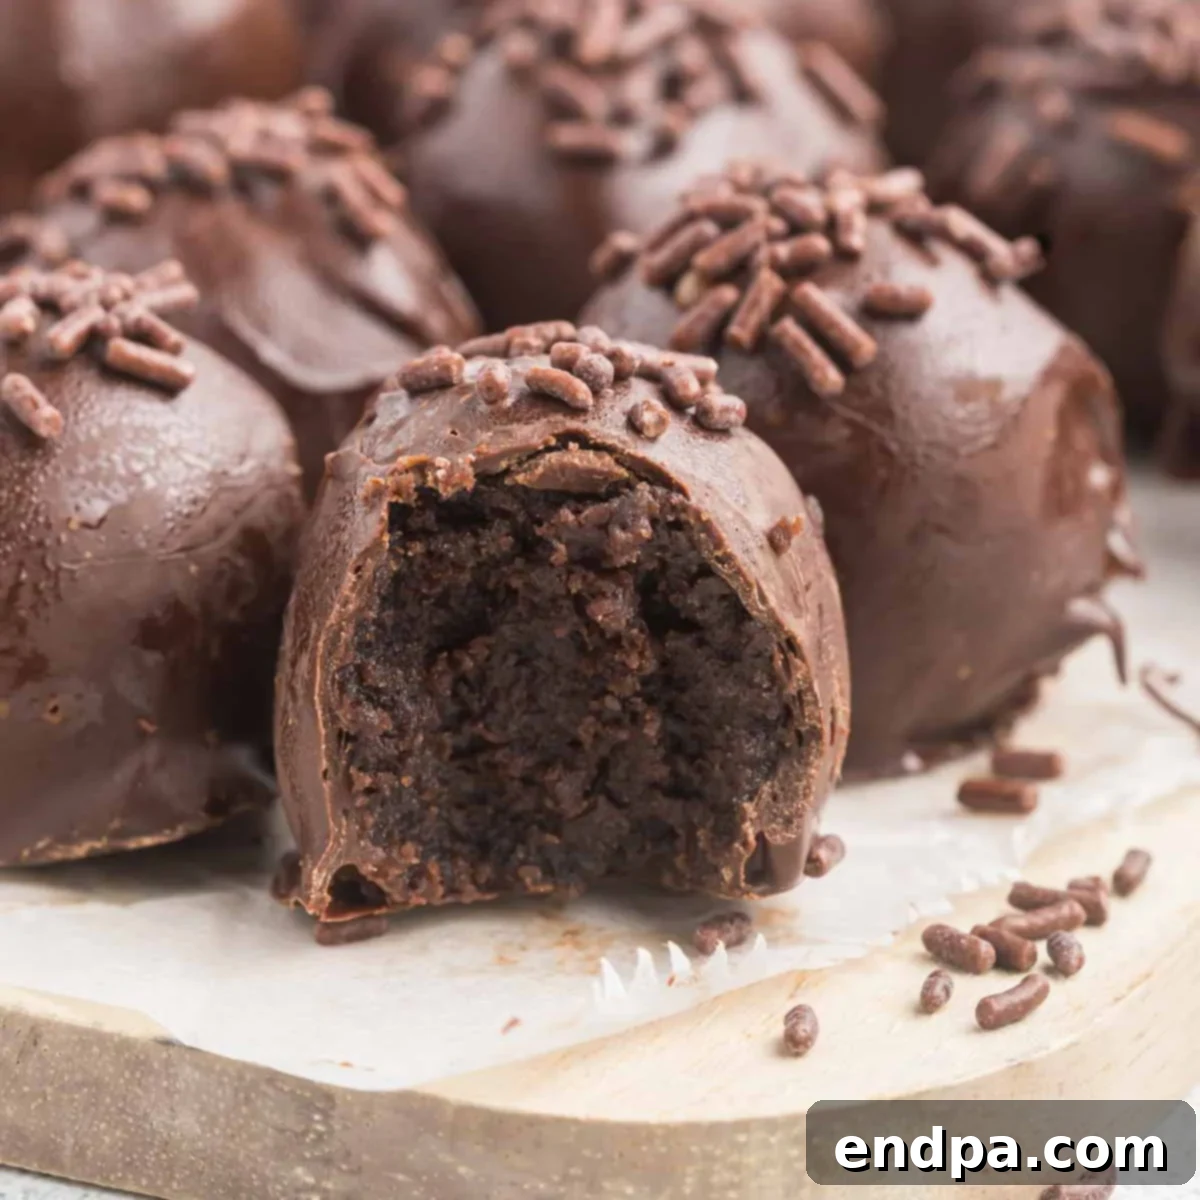
Indulge in the ultimate chocolate experience with these decadent Brownie Truffles. Each bite-sized treat is crafted from a rich, fudgy brownie base, expertly blended with cream cheese for an irresistible melt-in-your-mouth texture, and then generously coated in a luxurious layer of melted chocolate. Whether you’re planning a sophisticated party, a casual get-together, or simply craving a moment of pure bliss, these homemade brownie truffles are surprisingly simple to make and guaranteed to impress even the most discerning chocolate connoisseurs. Forget complicated desserts; this recipe offers an elegant yet effortless way to enjoy the classic flavor of brownies in a delightful, pop-able form.
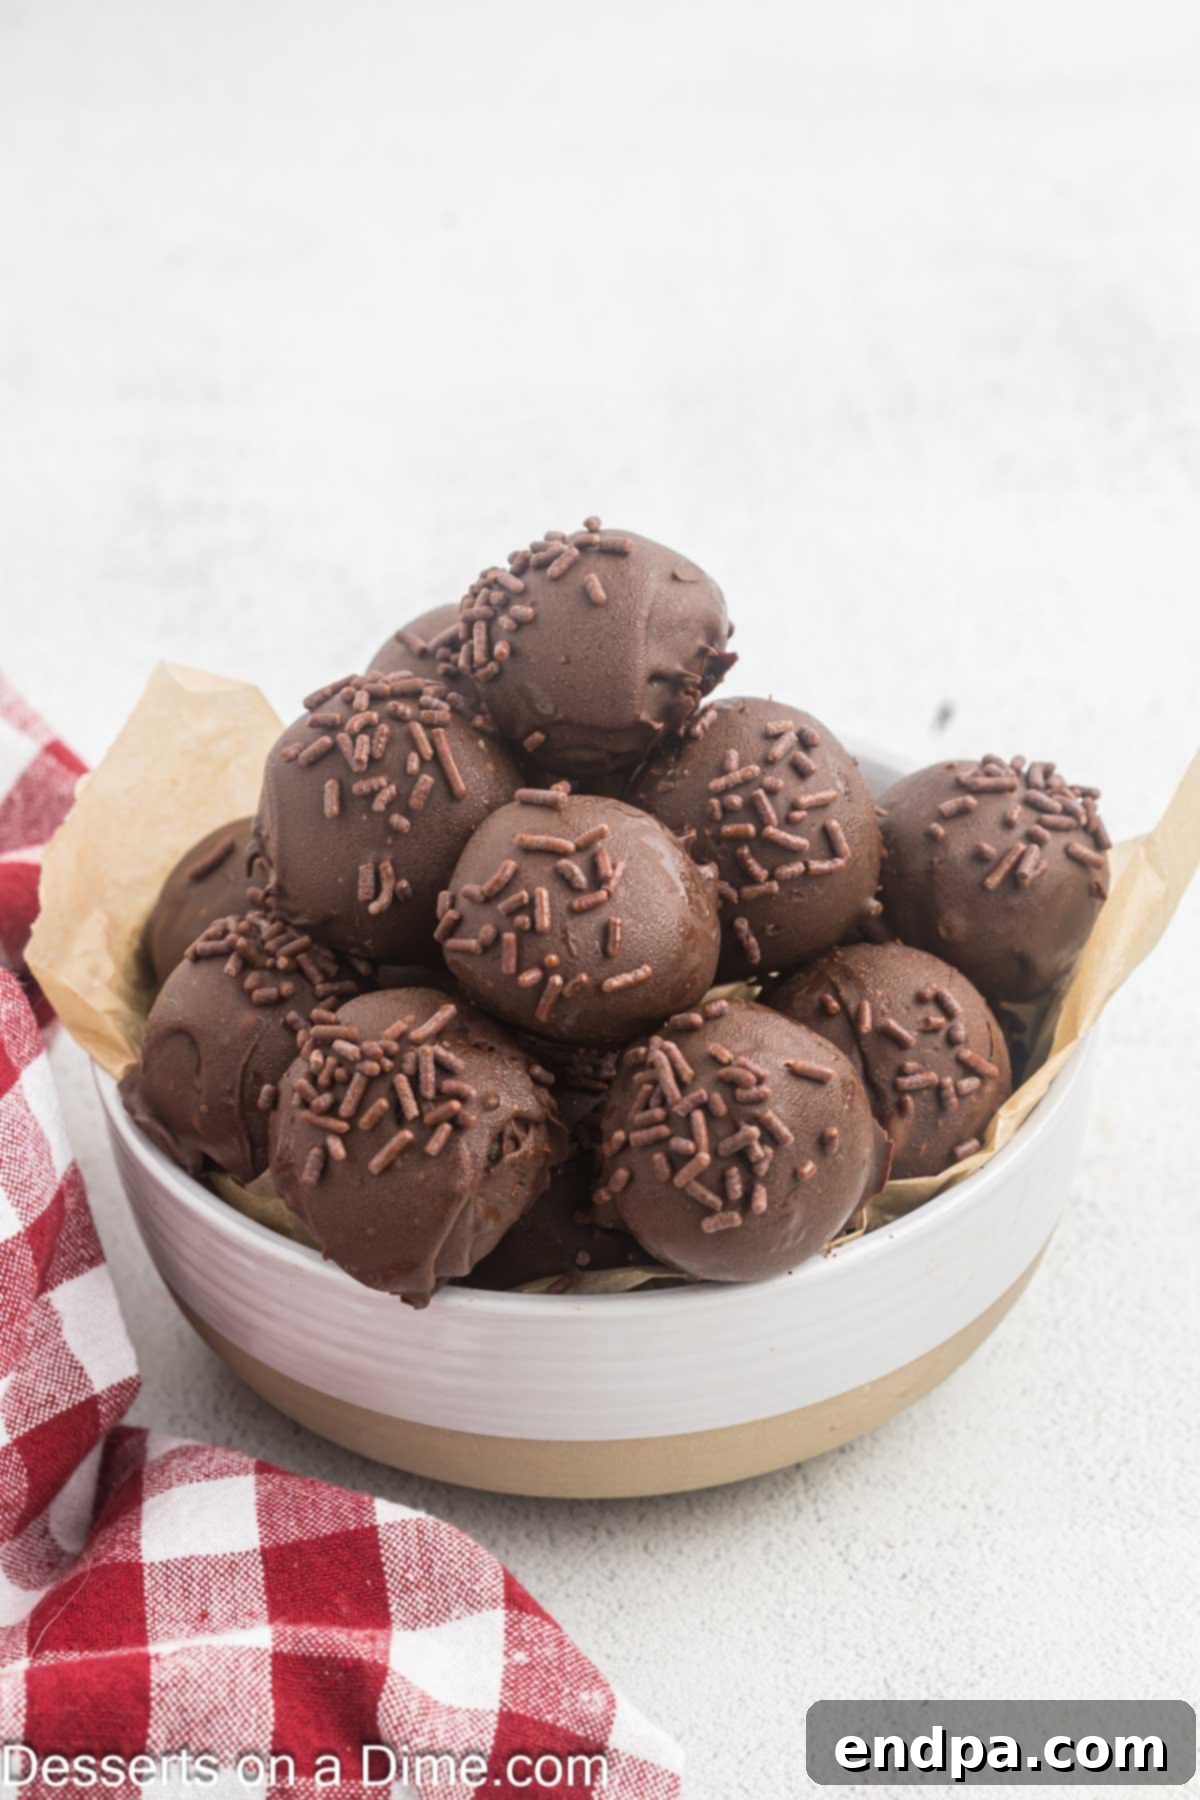
For anyone who considers themselves a true devotee of chocolate, this Brownie Truffles recipe is about to become a cherished favorite. Imagine everything you adore about the chewy, rich essence of brownies, concentrated into perfectly portioned, bite-sized truffles. These elegant confections are not only a showstopper at any gathering, but they also require just a handful of staple ingredients, making them incredibly accessible for home bakers of all skill levels. They embody simplicity without compromising on taste or presentation.
If you have a passion for crafting delicious truffles, you’ll also want to explore our delightful recipes for Carrot Cake Truffles, refreshingly sweet Strawberry Truffles, and the ever-popular Sugar Cookie Truffles. And for dedicated brownie enthusiasts eager for more variations, be sure to try our indulgent Buckeye Brownie Bites Recipe and the uniquely satisfying Buckeye Brownie Cookies Recipe.
Table of Contents
- Why You’ll Adore These Brownie Truffles
- Essential Equipment for Truffle Making
- Key Ingredients for Success
- Easy Step-by-Step Instructions
- Creative Variations & Serving Ideas
- Proper Storage for Freshness
- Expert Tips for Perfect Brownie Truffles
- Frequently Asked Questions (FAQ)
Why You’ll Adore These Brownie Truffles
There are countless reasons why these brownie truffles have become a beloved staple. First and foremost, they are an absolute celebration of chocolate. If you find joy in truly rich and satisfying Chocolate Desserts, then this recipe will undoubtedly claim a top spot on your favorites list. I’ve been making these for years, and they consistently deliver a delightful experience, never failing to bring smiles to those who taste them. The depth of flavor, combined with the contrasting textures, creates a truly memorable treat.
Beyond their incredible taste, these truffles stand out for their incredible ease and affordability. Preparing them for parties or special occasions doesn’t require extensive time or a significant financial outlay, making them a stress-free option for entertaining. They offer the luxurious feel of a gourmet dessert without the fuss. We’re big fans of brownies in all forms, and these truffles offer a unique twist on the classic. We also frequently enjoy making our Buckeye Brownies Recipe, which shares a similar spirit of indulgence and simplicity.
The beauty of these truffles lies in their versatility. They’re perfect for holiday cookie exchanges, birthday parties, baby showers, or as a thoughtful homemade gift. Their individual portion size makes them easy to serve and enjoy, preventing the messy slicing often associated with traditional brownies. Plus, they can be customized with various toppings and chocolate types, allowing you to tailor them to any palate or theme.
Essential Equipment for Truffle Making
To embark on your brownie truffle adventure, gather these basic kitchen tools:
- 9×13 Inch Baking Pan: For baking the brownies.
- Large Mixing Bowl: To combine the crumbled brownies and cream cheese.
- Rubber Spatula or Sturdy Spoon: For mixing the thick brownie and cream cheese mixture.
- Small Cookie Scoop (1-inch or 1.5-inch): Crucial for creating uniform truffle balls.
- Parchment Paper: For lining baking sheets, preventing sticking, and making cleanup a breeze.
- Baking Sheets: For chilling and setting the truffles.
- Microwave-Safe Bowl: For melting the chocolate coating.
- Fork or Dipping Tools: For dipping the brownie balls into the melted chocolate.
Key Ingredients for Success
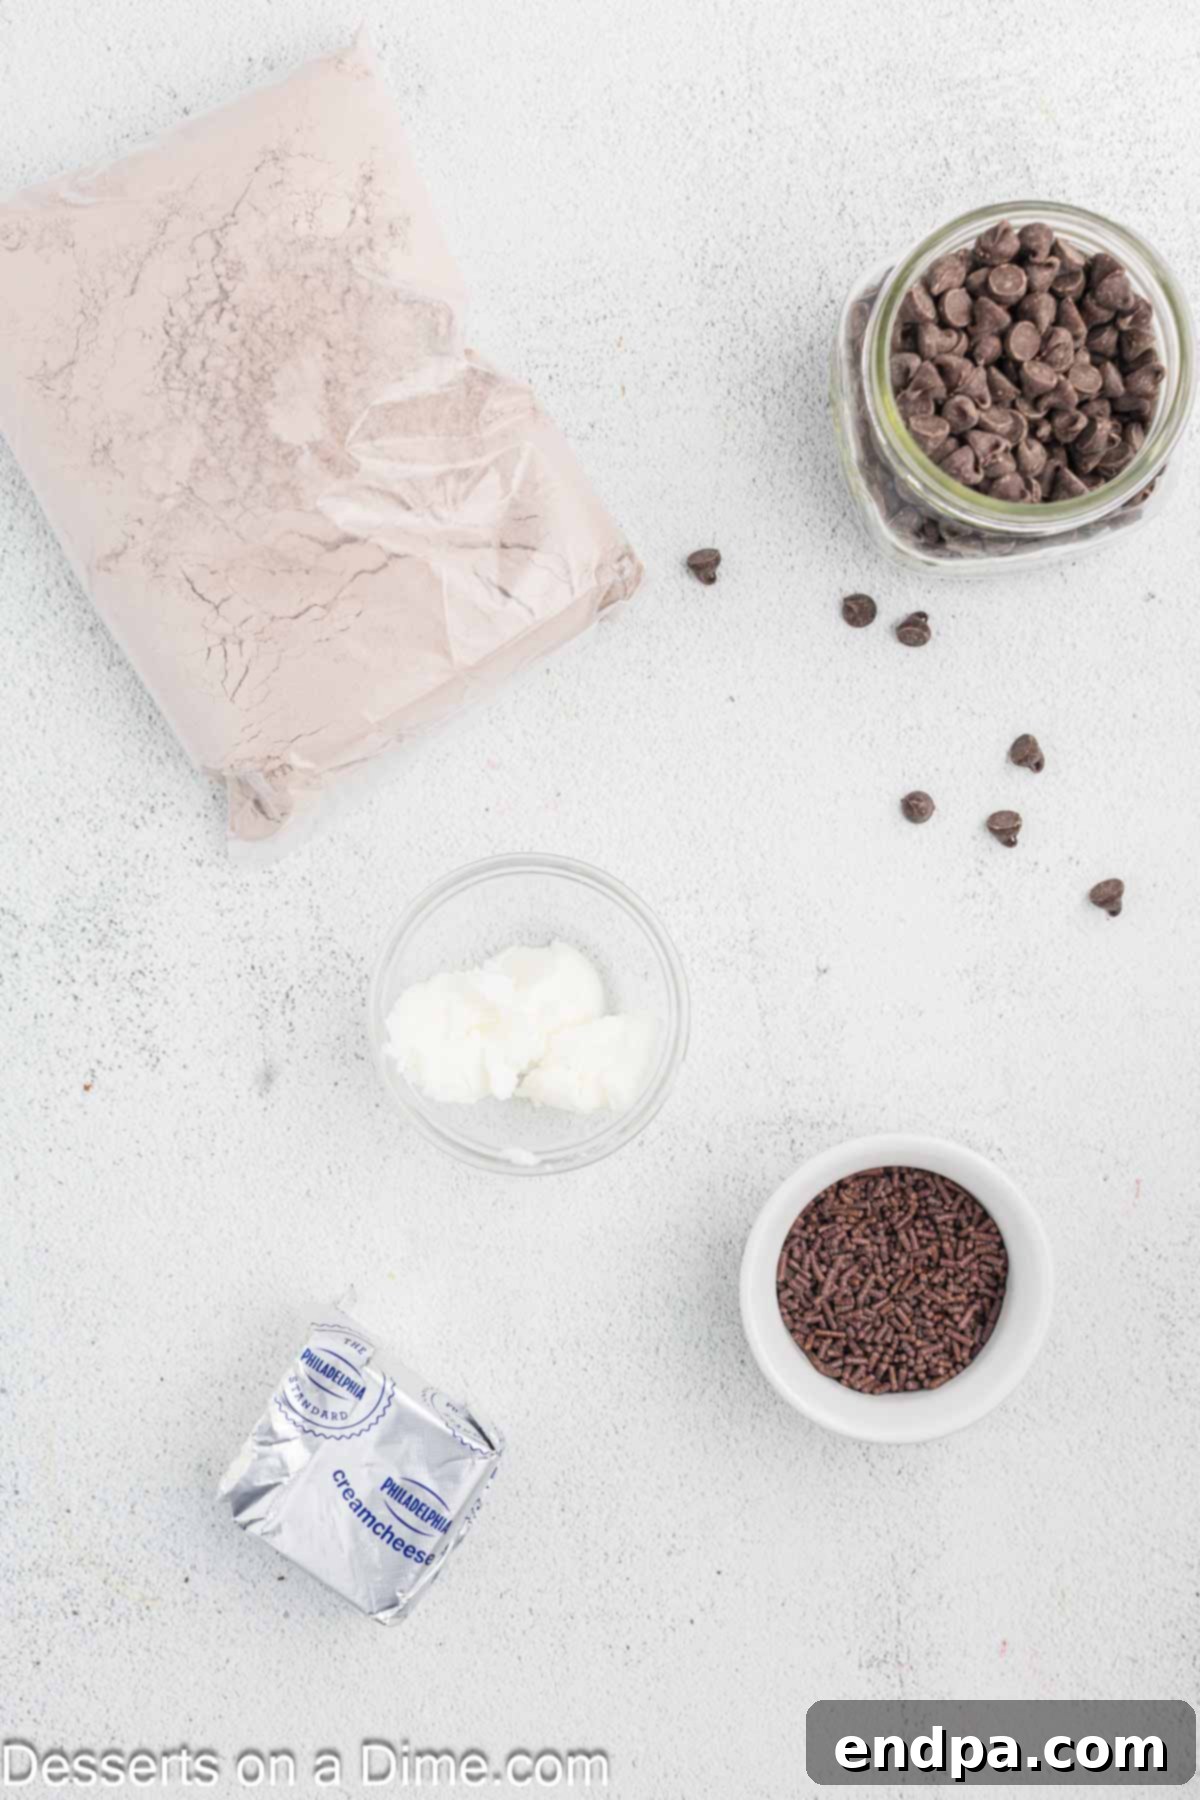
Achieving perfectly moist and flavorful brownie truffles starts with selecting the right ingredients. Here’s what you’ll need and why each component is vital:
- Brownie Fudge Mix: This recipe brilliantly utilizes a boxed brownie mix for convenience, significantly cutting down on prep time. Any brand of your choice will work wonderfully. You’ll need to prepare the brownies in a standard 9×13 inch baking pan according to the package instructions. Remember to have the additional ingredients specified on your brownie mix box (like eggs, oil, and water) on hand. For those who prefer a completely homemade approach, our Easy One Bowl Brownies recipe is an excellent alternative, offering a simple from-scratch base.
- Cream Cheese: The cream cheese is the secret to the truffles’ luscious, dense, and pliable texture. It binds the brownie crumbs together, adding a tangy richness that perfectly complements the chocolate. Ensure it’s softened to room temperature before mixing; this makes it much easier to incorporate smoothly into the crumbled brownies, preventing lumps and ensuring a uniform consistency for your truffle centers.
- Semi-Sweet Chocolate Chips: The quality of your chocolate chips directly impacts the flavor and smoothness of your truffle coating. Opt for a reputable brand like Ghirardelli for the best results, as their chocolate melts beautifully and provides a superior taste. While semi-sweet is recommended for a balanced sweetness, feel free to experiment with other varieties. Milk chocolate will yield a sweeter truffle, dark chocolate will offer a more intense cocoa flavor, and white chocolate can create a stunning visual contrast and a different flavor profile.
- Shortening: A small amount of shortening is essential for achieving a smooth, glossy, and easily dippable chocolate coating. It helps to thin the melted chocolate, making it less prone to seizing and ensuring an even, thin layer over each truffle. This step is key for a professional-looking finish.
- Chocolate Sprinkles: While entirely optional, chocolate sprinkles add a delightful festive touch and an extra layer of chocolatey texture. They instantly elevate the visual appeal of your truffles, making them even more inviting. You can also get creative with other toppings, as suggested in our Pro Tips.
The complete, detailed list of ingredients with precise measurements can be found in the recipe card at the bottom of the page, ensuring you have everything you need for these irresistible treats.
Easy Step-by-Step Instructions
Creating these delightful Brownie Truffles is a straightforward process. Follow these detailed steps to ensure perfect results every time:
- Step 1: Prepare the Brownies. Begin by preparing the brownie batter according to the instructions on your boxed brownie mix. Bake them in a 9×13 inch pan until a toothpick inserted into the center comes out with moist crumbs. Once baked, allow the brownies to cool completely at room temperature. This is a crucial step; warm brownies will lead to a messy mixture.
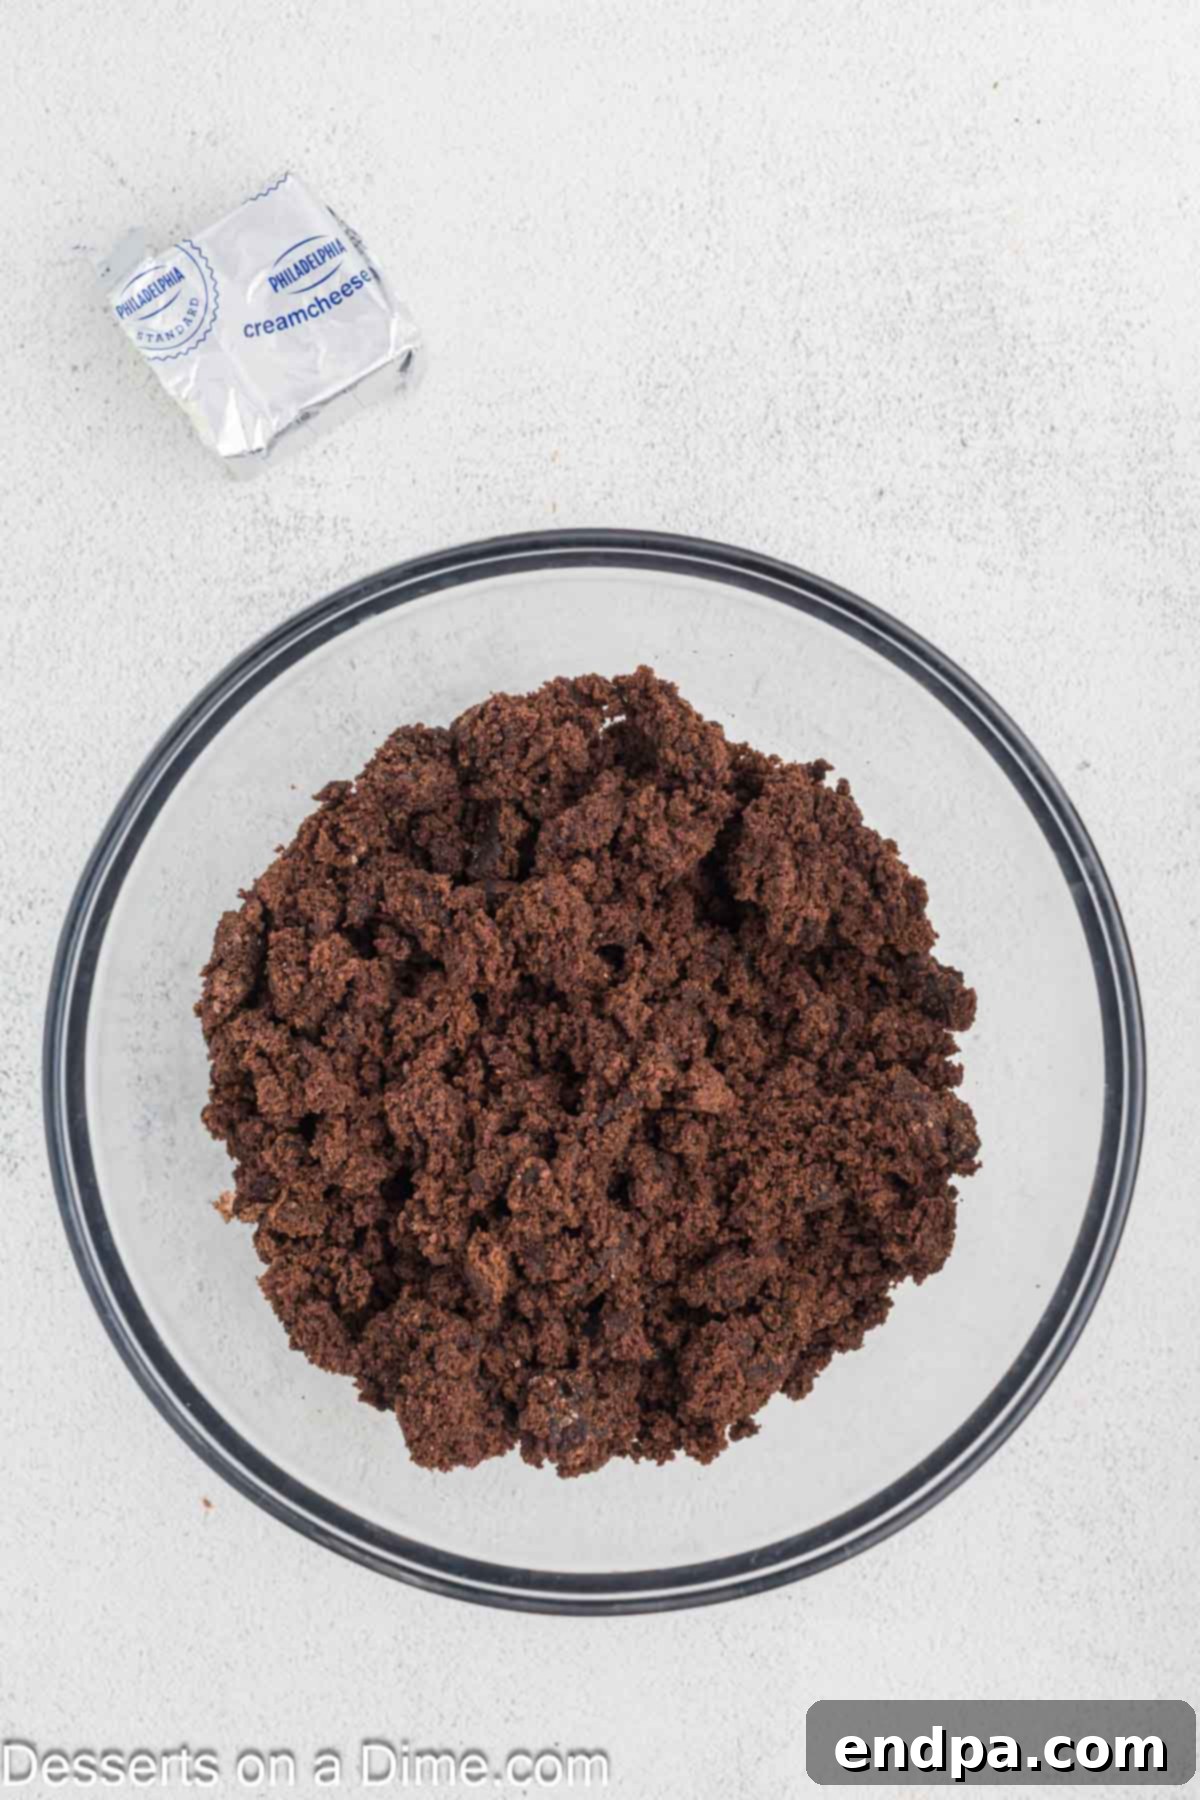
Step 2: Crumble the Brownies. Once fully cooled, carefully remove the brownies from the pan. The very edges of the brownies can sometimes be a bit tougher; for the softest truffles, gently trim and discard these outer layers. Crumble the remaining, softer brownie interior into a large mixing bowl. Use your hands or a fork to mash the crumbled brownies together, ensuring there are no large chunks left.
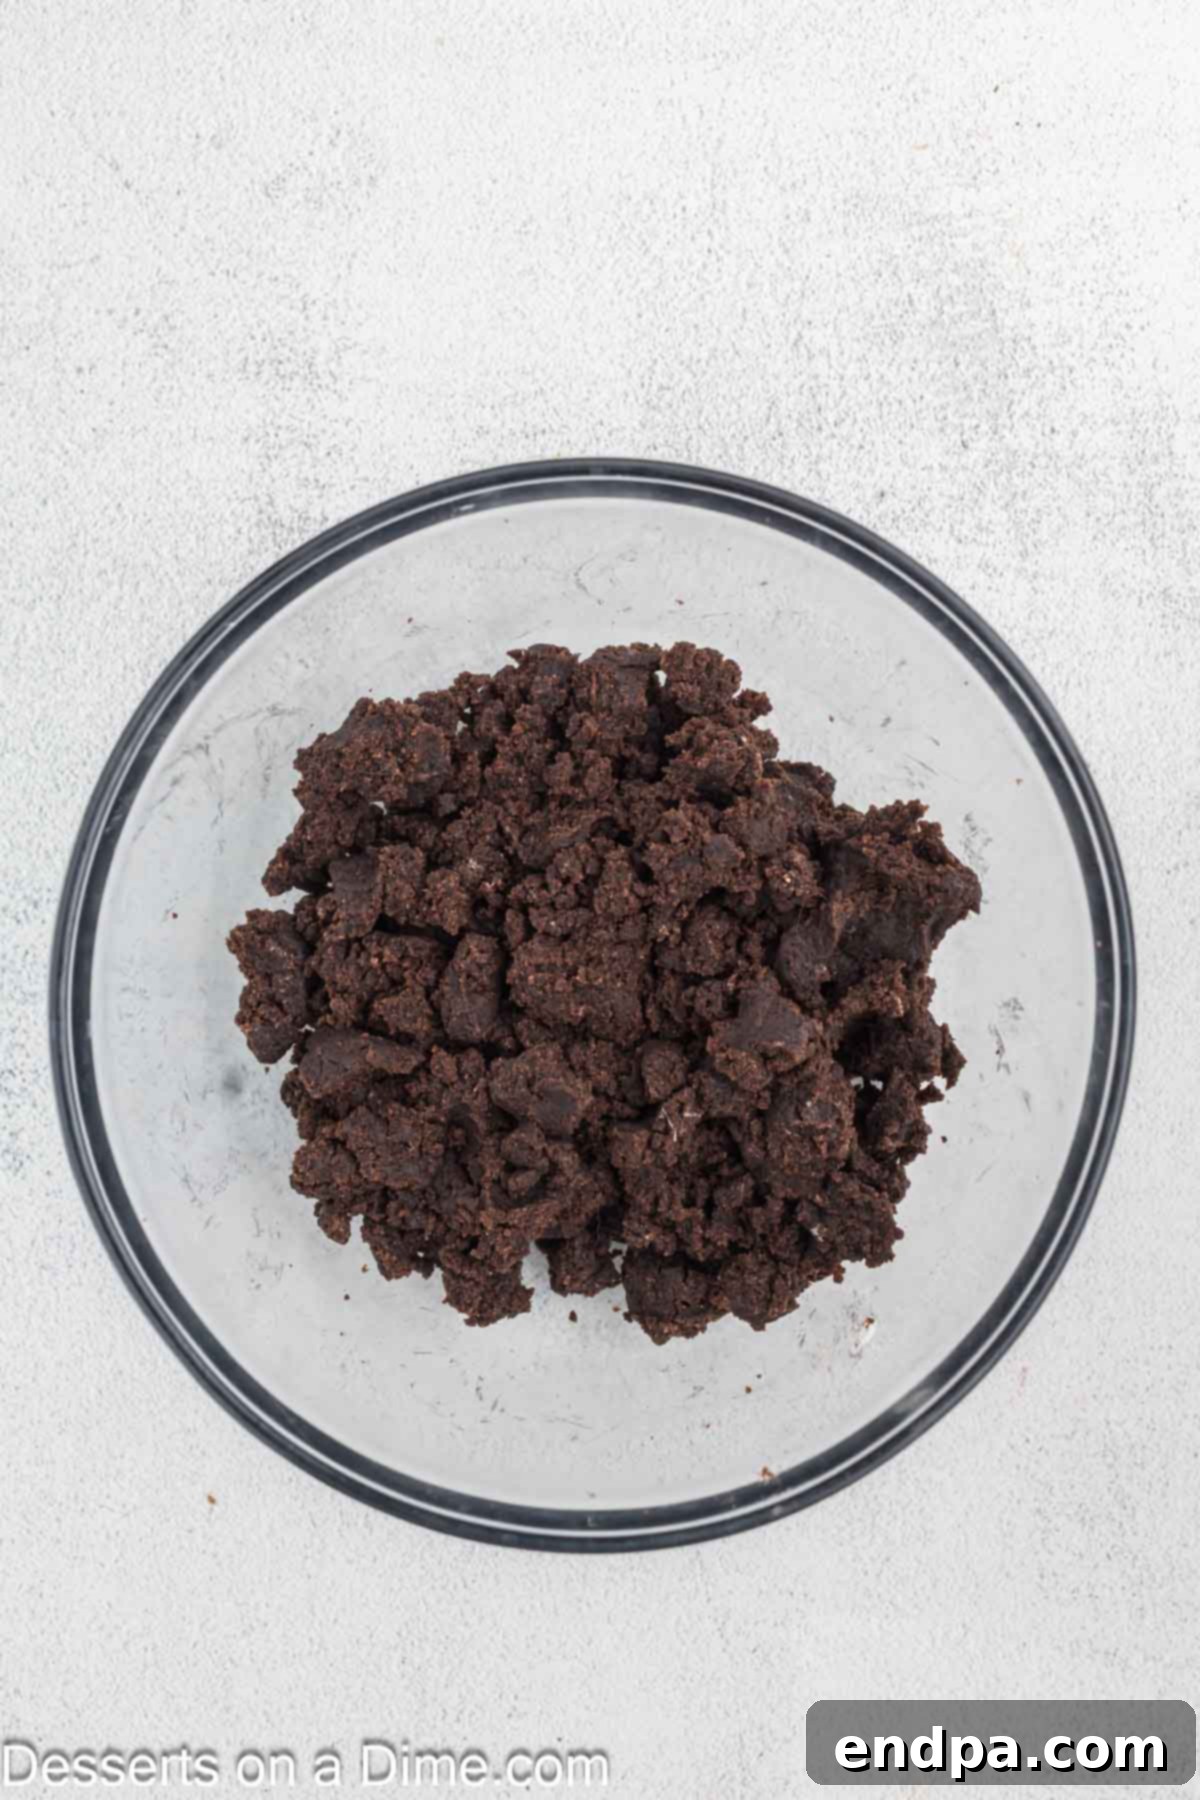
Step 3: Combine with Cream Cheese. Add the softened cream cheese to the crumbled brownies in the bowl. Using a sturdy spoon or your hands, thoroughly mix the cream cheese into the brownie crumbs until a thick, uniform dough-like mixture forms. It’s perfectly normal for this mixture to be quite dense – that’s what gives the truffles their satisfying chewiness.
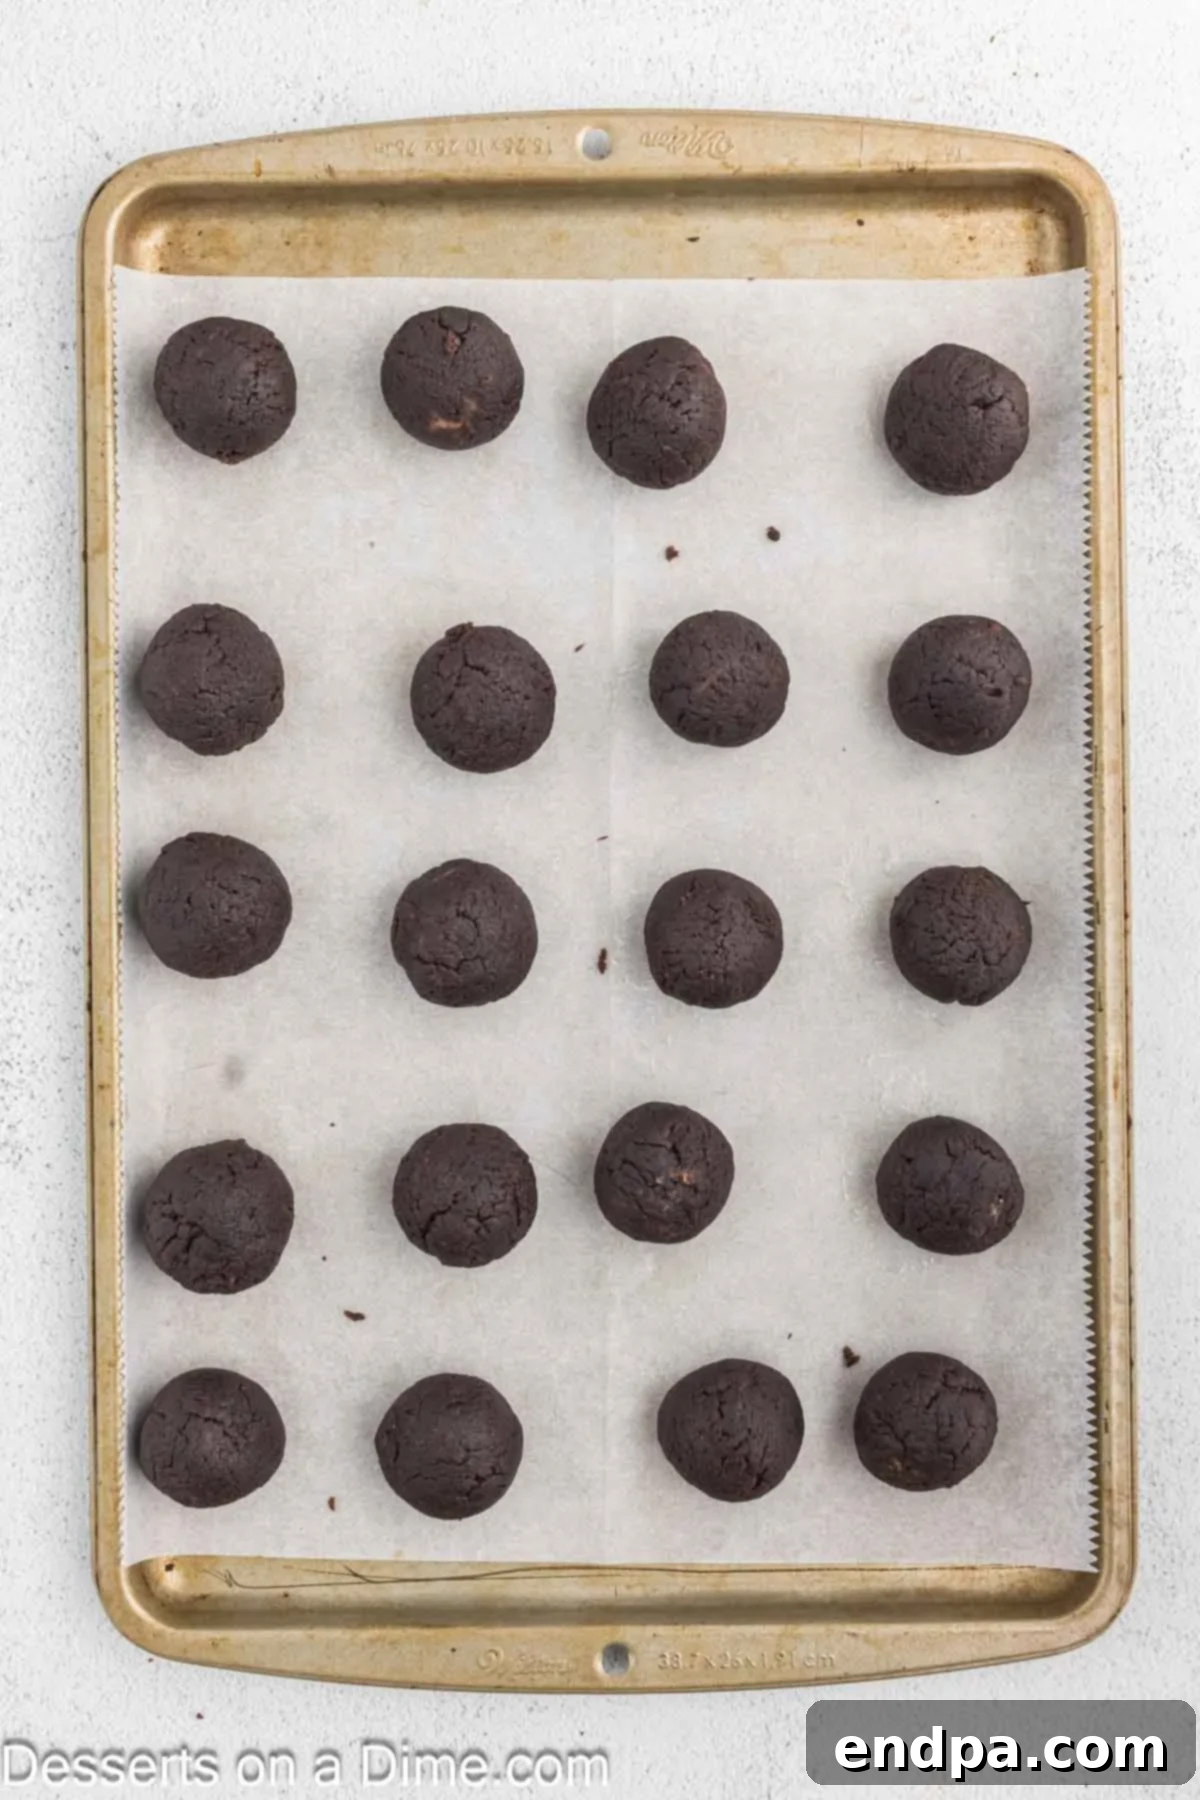
Step 4: Form and Chill Truffles. Line a baking sheet with parchment paper. Using a small cookie scoop (a 1.5-inch scoop is ideal for bite-sized truffles), portion out the brownie mixture and roll it between your palms to form smooth, round balls. Place them onto the prepared baking sheet. Once all truffles are formed, transfer the baking sheet to the freezer for at least 30 minutes. This chilling step is essential for the truffles to firm up, making them much easier to dip into the chocolate coating without falling apart.
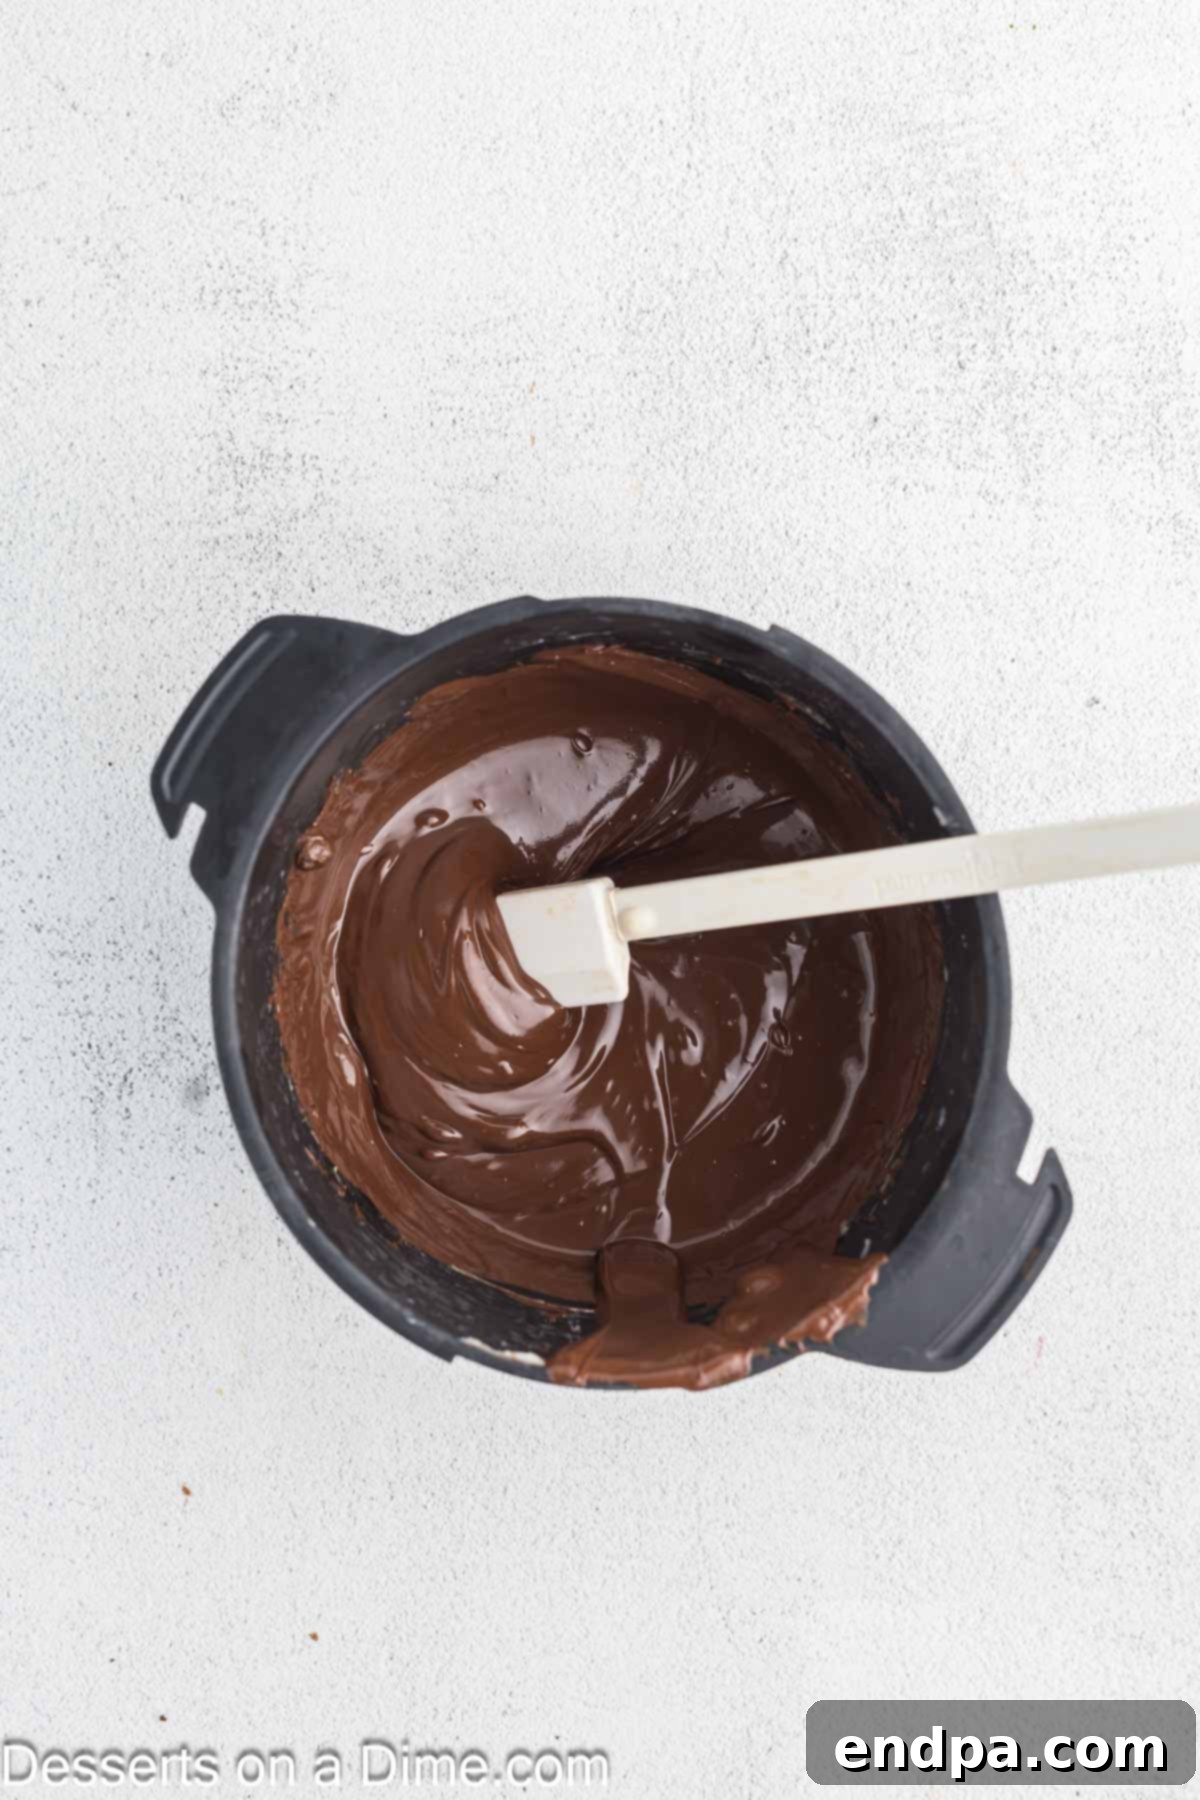
Step 5: Melt the Chocolate Coating. While the truffles are chilling, prepare your chocolate coating. Place the semi-sweet chocolate chips and shortening in a microwave-safe bowl. Heat in the microwave in 30-second intervals, stirring thoroughly after each interval. Continue this process until the chocolate is completely melted and smooth, with no lumps remaining. Be careful not to overheat the chocolate, as this can cause it to seize.
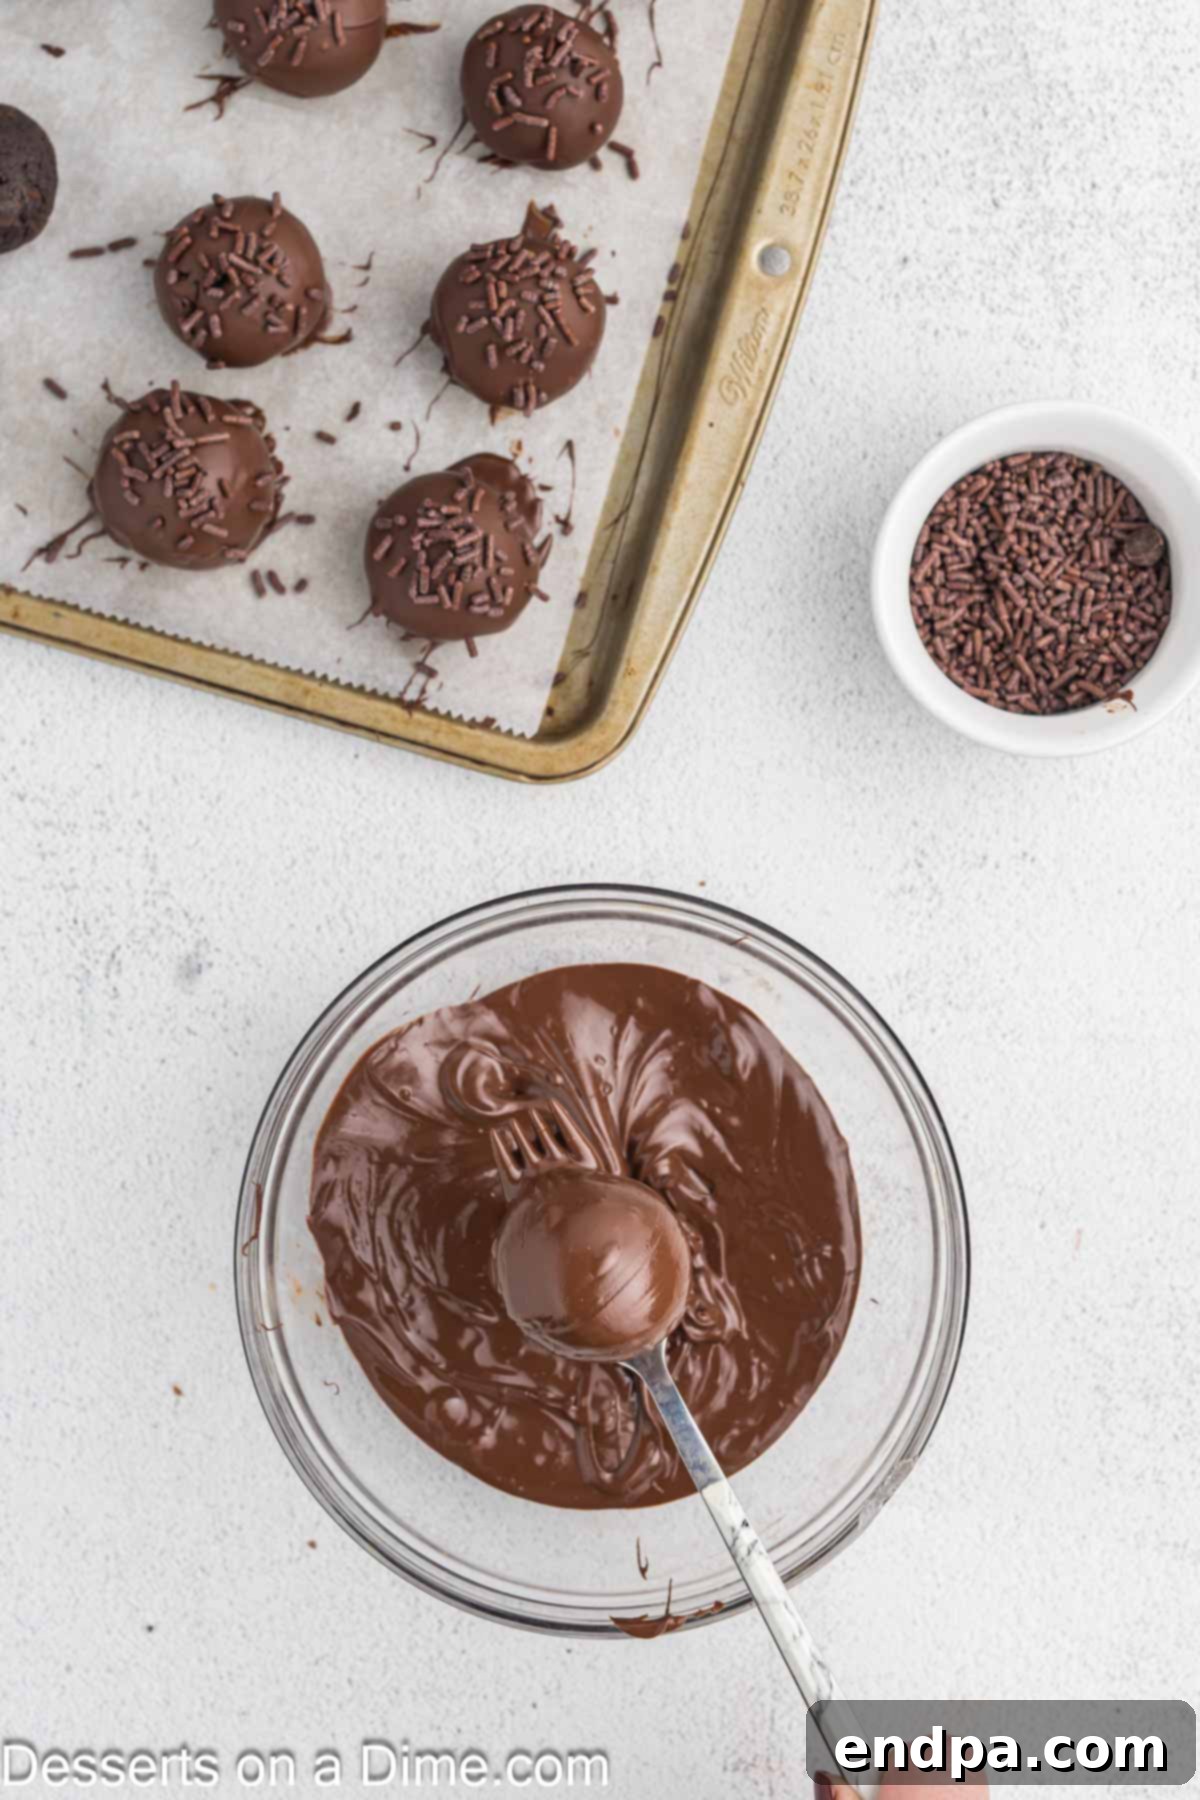
Step 6: Dip the Truffles. Remove the chilled brownie balls from the freezer. Using a fork or a specialized dipping tool, carefully dip each brownie ball into the melted chocolate, ensuring it’s completely covered. Gently tap the fork against the edge of the bowl to allow any excess chocolate to drip off, creating a thin, even coating. This prevents a thick, clumpy layer of chocolate and ensures the truffle’s delicate balance of flavors.
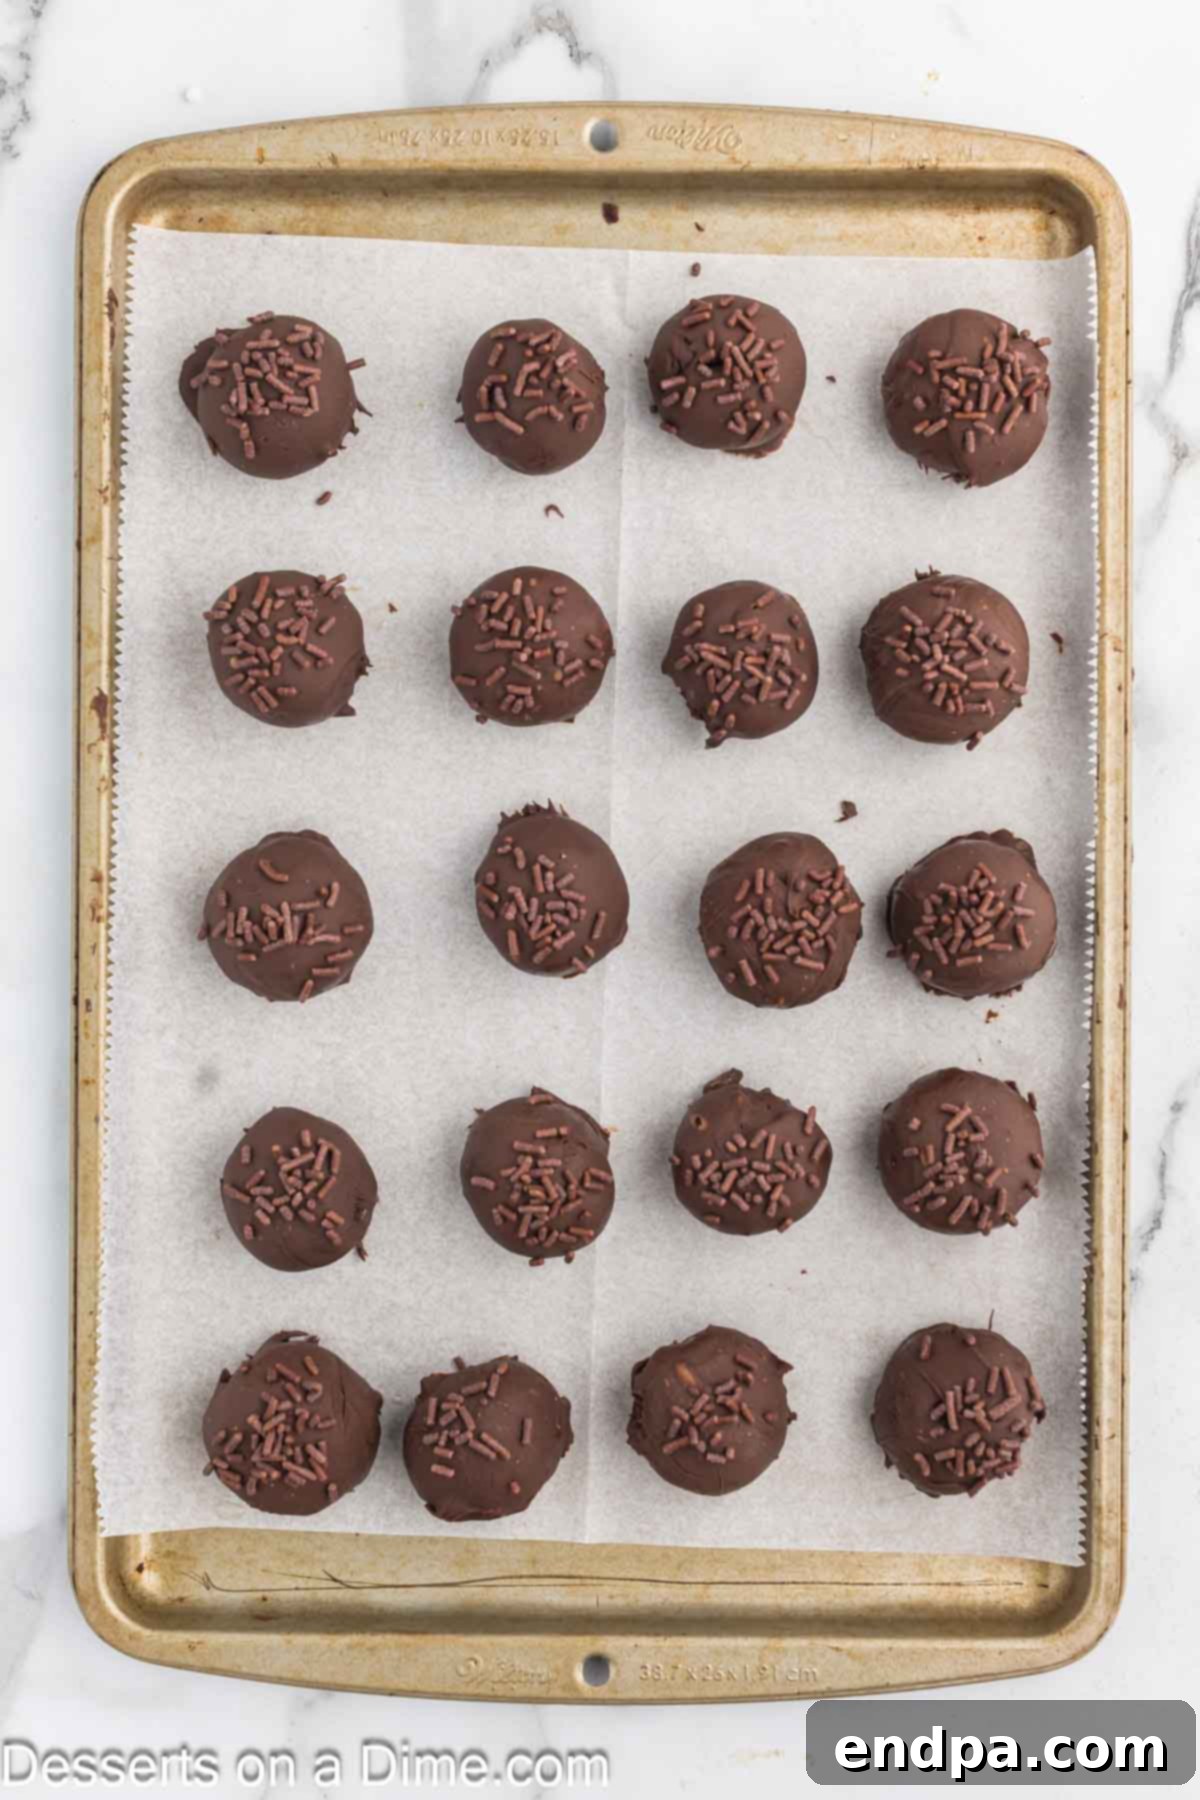
Step 7: Add Toppings and Set. Immediately after dipping, place the coated truffles back onto the parchment-lined baking sheet. If using chocolate sprinkles or any other toppings, sprinkle them on right away, before the chocolate coating begins to set. Once all truffles are coated and topped, return the baking sheet to the freezer for another 10-15 minutes, or until the chocolate shell is firm and set. Your luscious Brownie Truffles are now ready to be enjoyed!
Creative Variations & Serving Ideas
While classic Brownie Truffles are undeniably delicious, their simple base makes them incredibly adaptable to a myriad of flavor combinations and presentations. Unleash your creativity with these exciting variations and serving suggestions:
Flavor Twists:
- Mint Chocolate Truffles: Add a few drops of peppermint extract to the brownie-cream cheese mixture and/or to the melted chocolate coating for a refreshing kick. Top with crushed peppermint candies.
- Peanut Butter Swirl: After dipping in chocolate, drizzle melted peanut butter over the truffles for a classic pairing. You can also mix a tablespoon or two of creamy peanut butter into the brownie mixture.
- Spiced Truffles: Incorporate a pinch of cinnamon, nutmeg, or even a touch of chili powder into the brownie mixture for a warm, unexpected flavor profile.
- Nutty Crunch: Roll the formed truffles in finely chopped toasted nuts (pecans, walnuts, almonds) before dipping, or sprinkle them on top of the wet chocolate coating.
- White Chocolate Dream: Use white chocolate for the coating and drizzle with melted dark chocolate for an elegant contrast. You can also mix a small amount of white chocolate into the brownie base.
- Espresso Boost: Add a teaspoon of instant espresso powder to the brownie mix or the truffle mixture to deepen the chocolate flavor and add a subtle coffee note.
Serving Suggestions:
- Elegant Platter: Arrange truffles on a beautiful serving platter, perhaps with a dusting of cocoa powder or a few fresh berries for garnish.
- Mini Dessert Bar: Offer a variety of truffle flavors alongside other mini desserts like mini cheesecakes or fruit tarts for an impressive spread.
- Coffee Companion: Serve them alongside a steaming cup of coffee or espresso for a luxurious after-dinner treat.
- Giftable Delights: Place a few truffles in small decorative boxes or cellophane bags tied with a ribbon for thoughtful homemade gifts. They’re perfect for holidays or hostess gifts.
- Dessert Skewers: Alternate truffles with fresh fruit like strawberries or raspberries on small skewers for a fun, interactive dessert.
Proper Storage for Freshness
To keep your delicious Brownie Truffles tasting their best, proper storage is key. Once the chocolate coating has fully set, transfer any leftover truffles to an airtight container or a resealable freezer bag. Store them in the refrigerator, where they will remain fresh and delightful for up to one week. The cool temperature helps maintain their firm texture and prevents the chocolate from melting.
For longer-term enjoyment, these truffles are also excellent for freezing. Place them in a single layer in an airtight freezer-safe container, separating layers with parchment paper if stacking. They will last beautifully in the freezer for up to one month. When you’re ready to enjoy them, simply take them out of the freezer and let them thaw in the refrigerator for a few hours, or at room temperature for about 30 minutes, before serving. Freezing is a fantastic way to prepare a batch in advance for future entertaining or unexpected cravings.
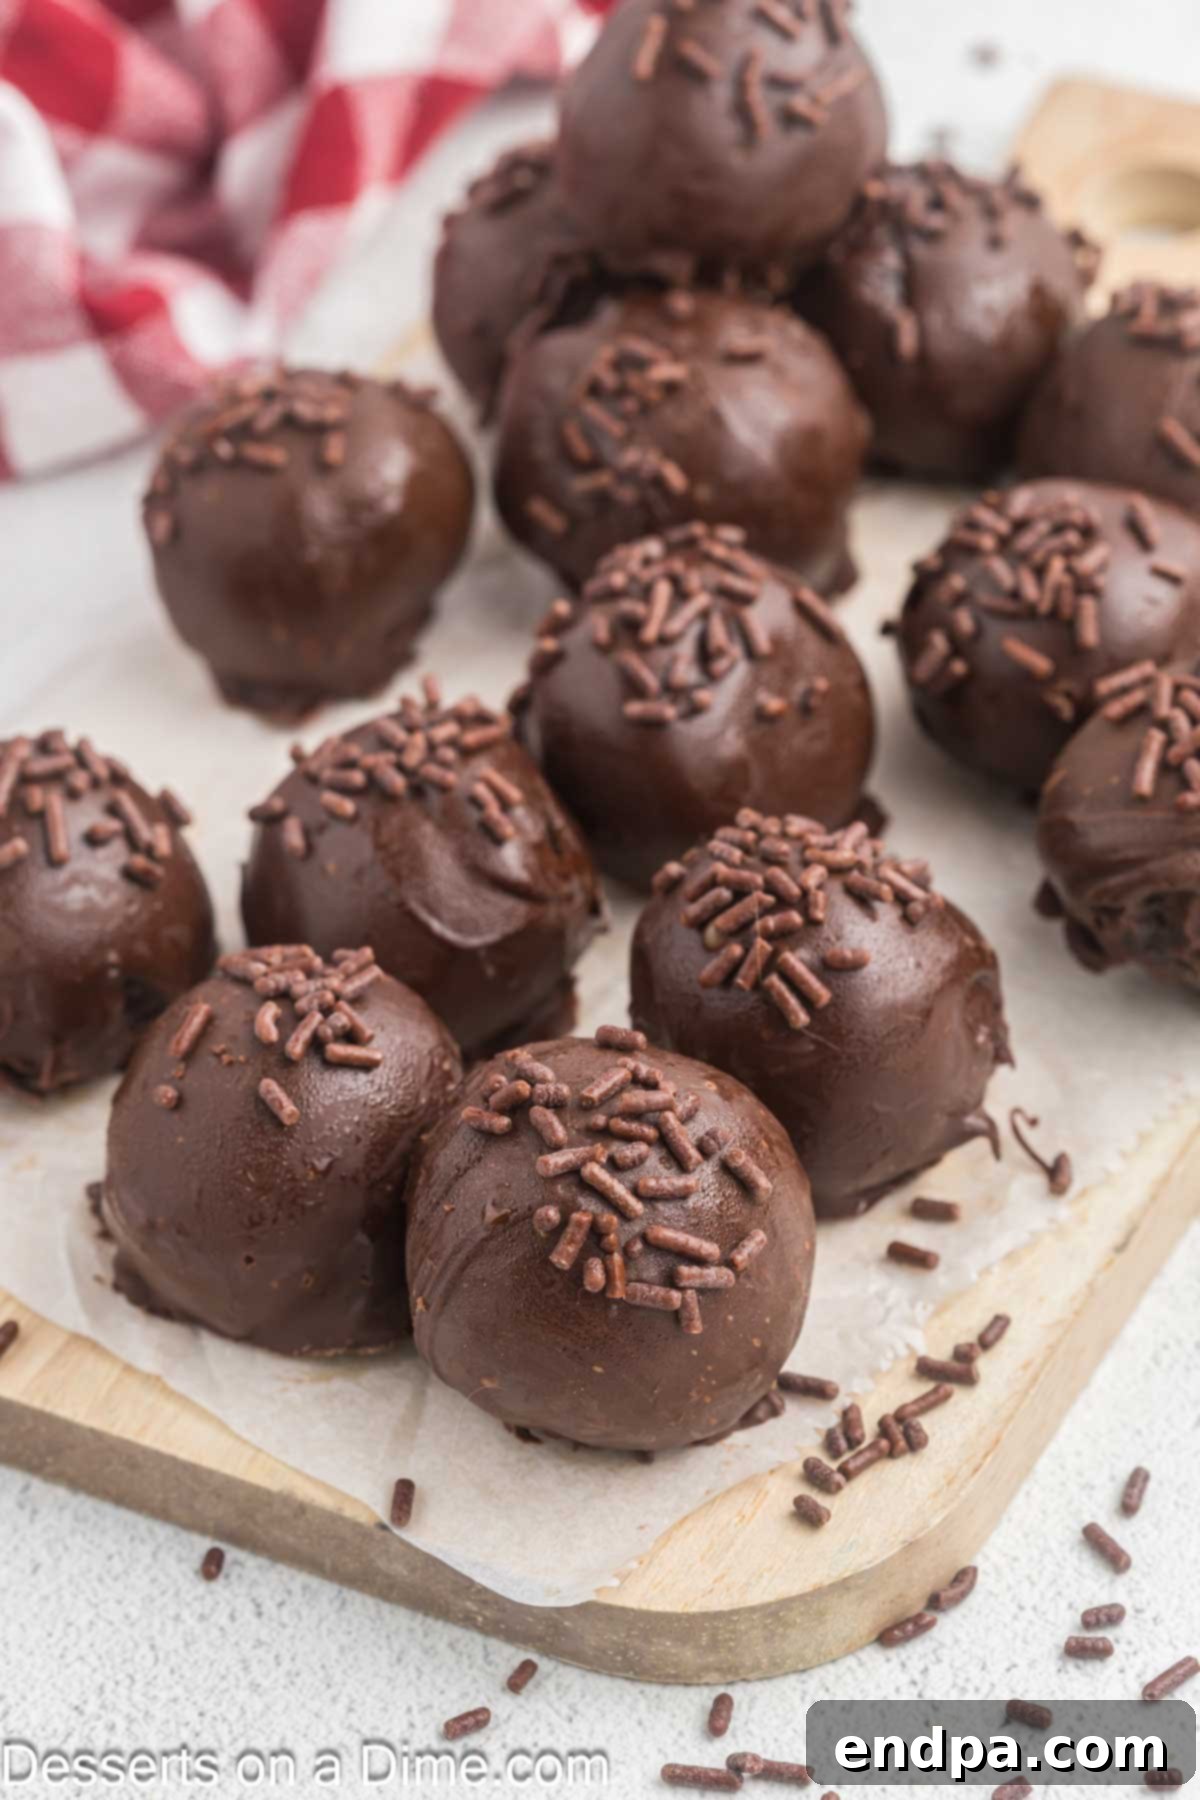
Expert Tips for Perfect Brownie Truffles
Achieving bakery-quality brownie truffles at home is easier than you think with these expert tips:
- Achieve Uniformity with a Cookie Scoop: For consistently sized and perfectly round brownie balls, a small cookie scoop (about 1 to 1.5 inches in diameter) is your best friend. This ensures even cooking (if baking) and a professional appearance for all your truffles.
- Remove Excess Chocolate Effectively: After dipping each brownie ball, gently tap the fork holding the truffle against the rim of the melted chocolate bowl. This allows any excess chocolate to drip back into the bowl, resulting in a thin, smooth, and elegant coating without unsightly pools or thick bases.
- The Importance of Trimming Brownie Edges: For the softest and most pliable truffle mixture, it’s crucial to remove the slightly firmer, sometimes drier, outer edges of your baked brownies. Focus on using the soft, fudgy interior for the best texture in your truffles.
- Creative Topping Ideas: While chocolate sprinkles are a classic, don’t hesitate to experiment with other toppings. Consider dusting with cocoa powder, rolling in finely crushed nuts (like pecans or walnuts), using mini chocolate chips, or even a drizzle of contrasting white chocolate or caramel. Crumbled cookies or toasted coconut flakes also make excellent choices.
- Chill Thoroughly: Do not rush the chilling steps. Firmly chilled brownie balls will hold their shape better during dipping and ensure the chocolate coating sets quickly and smoothly.
- Quality Chocolate Matters: Invest in good quality chocolate chips or melting chocolate for the coating. Higher quality chocolate melts more smoothly and provides a superior taste and finish, making a noticeable difference in the final product.
- Work in Batches: If your kitchen is warm or you’re making a large batch, consider keeping half of the brownie balls in the freezer while you dip the other half. This prevents them from softening too much before they get their chocolate coat.
Frequently Asked Questions (FAQ)
Can I use homemade brownies for this recipe?
Absolutely! While a boxed mix is convenient, a batch of your favorite homemade fudgy brownies works wonderfully. Just ensure they are completely cooled before crumbling and mixing with the cream cheese.
Can I make these truffles ahead of time?
Yes, these truffles are perfect for making in advance. You can store them in an airtight container in the refrigerator for up to a week, or freeze them for up to a month. They’re an ideal make-ahead dessert for parties.
What if my chocolate coating is too thick?
If your melted chocolate seems too thick for dipping, you can add a tiny bit more shortening (half a teaspoon at a time) and stir until it reaches a smoother, more fluid consistency. Be careful not to add too much, as it can make the chocolate greasy.
Do I have to use cream cheese?
The cream cheese is essential for the characteristic moist, dense texture and tangy balance of these truffles. While you could technically bind brownies with other ingredients (like frosting), it wouldn’t be the same “Brownie Truffle” recipe and would significantly alter the flavor and texture.
How many truffles does this recipe yield?
This recipe typically yields about 30 bite-sized truffles, depending on the size you scoop them. Using a 1 to 1.5-inch cookie scoop will give you approximately this amount.
More Bite-Sized Dessert Recipes to Explore
Cakes
Delightful Vanilla Cake Balls Recipe
No Bake Dessert
Refreshing Lemon Truffles
No Bake Dessert
Seasonal Pumpkin Truffles
Don’t wait any longer to create these incredibly luscious Brownie Truffles. They are truly the best way to enjoy a rich, chocolatey treat that’s both simple to prepare and impressive to serve. Give this recipe a try today, and once you do, please take a moment to leave a comment and a star rating. Your feedback helps other dessert lovers discover these amazing bites!
Pin
Brownie Truffles
Ingredients
- 1 box Brownie Fudge Mix to make Brownies in a 9X13 pan
- *Ingredients to prepare the brownies based on the package instructions
- 4 ounces Cream Cheese softened
- 3 cups Semi-Sweet Chocolate Chips
- 2 tsp Shortening
- Chocolate Sprinkles optional
Instructions
- Prepare the fudge brownies based on the package instructions and allow them to cool completely at room temperature.
- Remove the brownies from the pan. Remove the outside layer from the brownies and discard.
- Crumble the remaining brownies into a large bowl. Mash the brownie crumbles together.
- Add in the cream cheese and stir until combined. The mixture will be thick.
- Line a baking sheet with parchment paper.
- Shape the brownie mixture into balls and place them on the prepared sheet.
- Freeze for 30 minutes.
- In a microwave safe bowl, heat the chocolate chips and the shortening in the microwave in 30 second intervals, stirring after each one until fully melted.
- Dip each brownie ball into the melted chocolate with a fork. Make sure that the candy covers the brownie ball completely. Allow the excess melted candy to drip off back into the bowl.
- Place the coated balls back on the baking sheet and top immediately with the sprinkles if using.
- Continue until all the brownie balls have been covered.
- Freeze for 10-15 minutes until set and then the truffles are ready to enjoy!
Recipe Notes
You can use milk chocolate chips instead of semi-chocolate if you prefer.
Gently tapping the fork on the edge of the bowl is the best way to remove any excess chocolate from the coated brownie ball.
Store any leftovers in an airtight container or bag for up to 1 week or freeze the leftovers for up to 1 month.
Nutrition Facts
Pin This Now to Remember It Later
Pin Recipe
