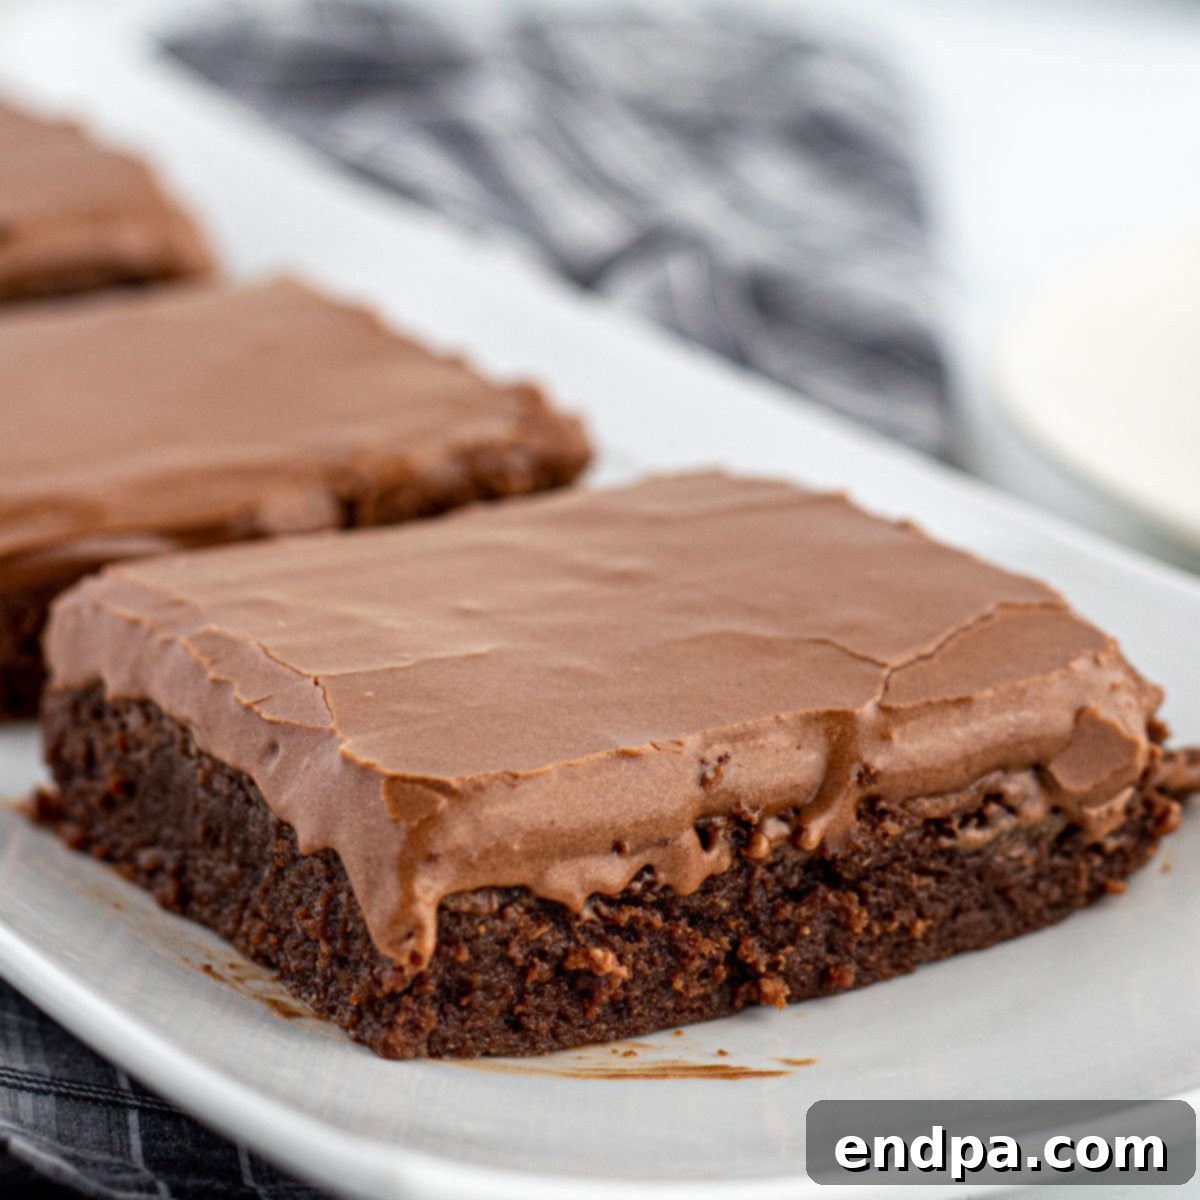
Lunch Lady Brownies are a timeless classic, evoking fond memories of childhood and school cafeteria treats. This incredibly easy-to-make recipe delivers brownies that are exceptionally moist, rich, and bursting with deep chocolate flavor. Each square is generously crowned with a layer of decadent chocolate frosting, creating an irresistible dessert that’s perfect for any occasion. Prepare to be delighted by this nostalgic and utterly delicious homemade brownie experience.
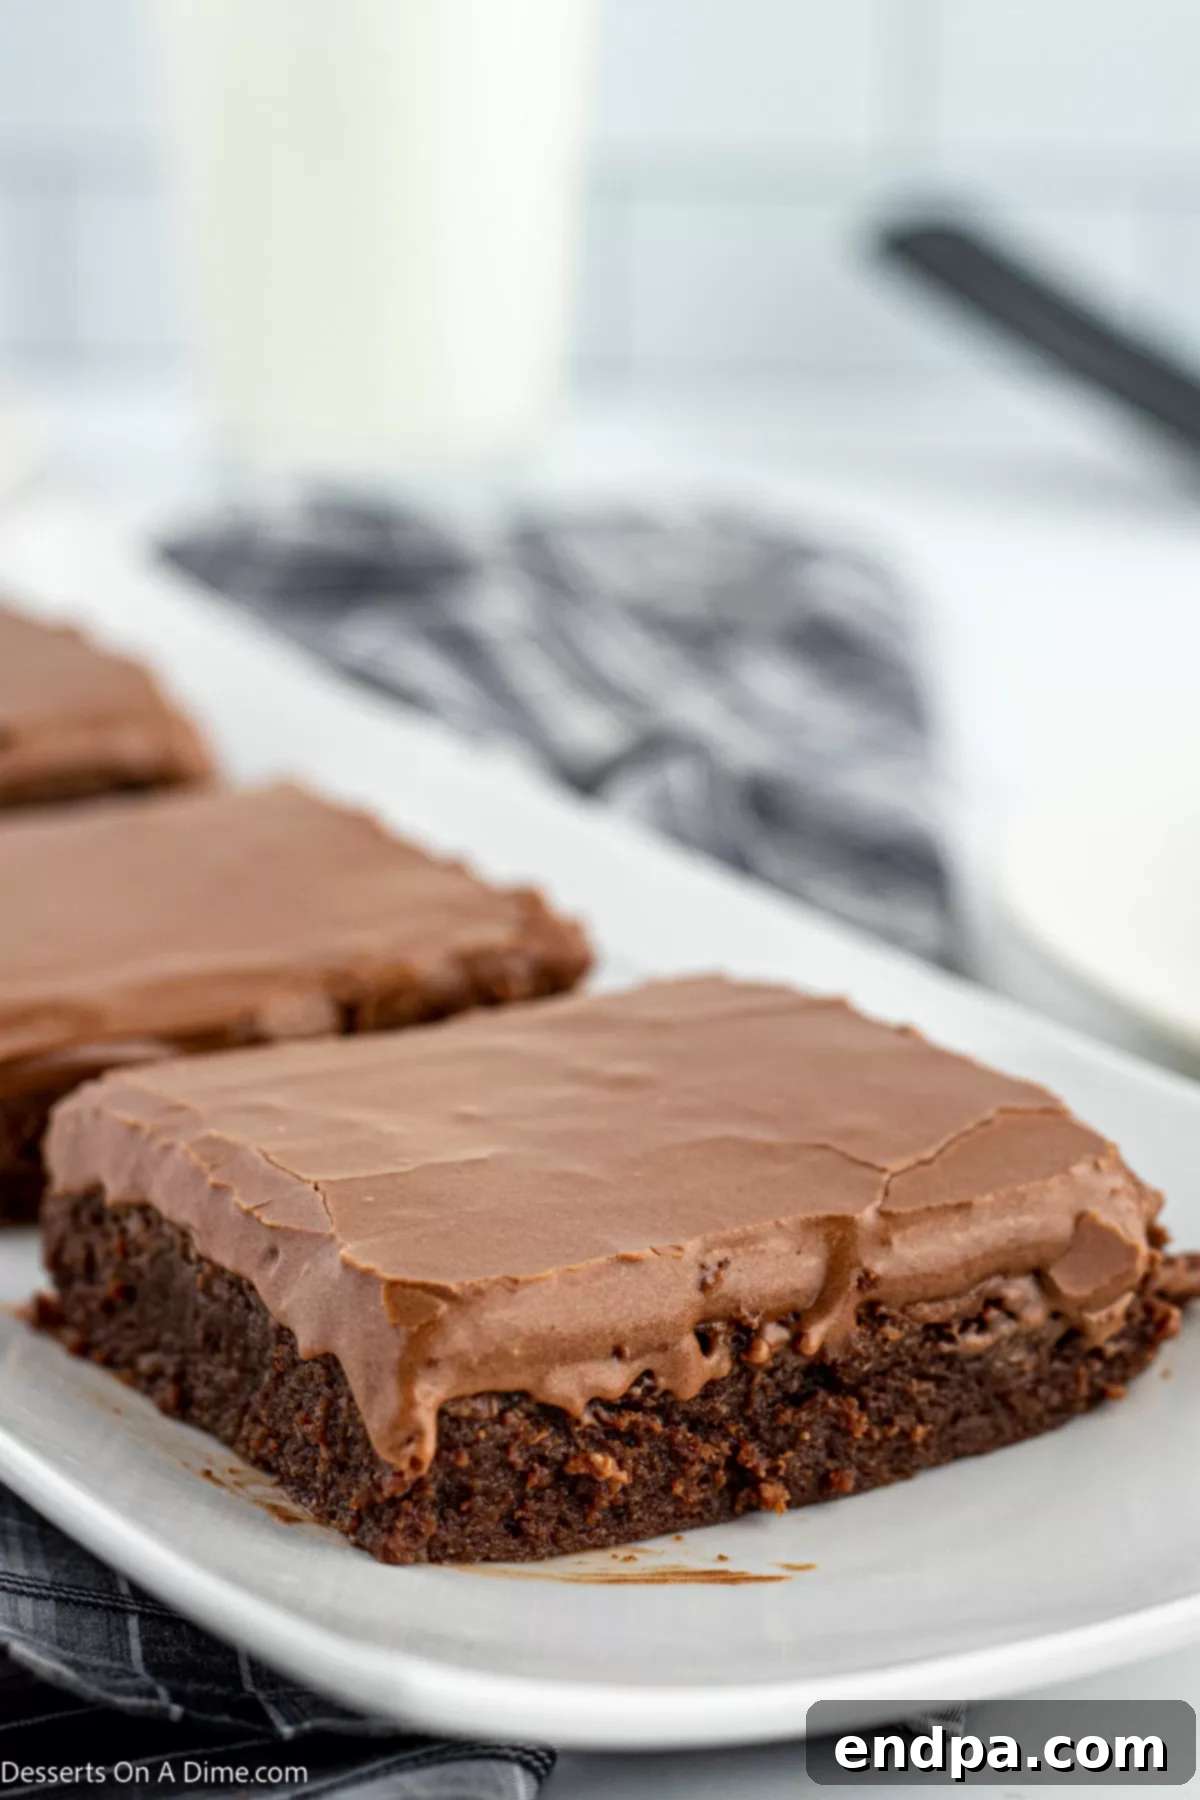
These fudgy chocolate brownies are more than just a dessert; they’re a taste of pure comfort. Just like the beloved cafeteria brownies we grew up with, they strike the perfect balance between gooey indulgence and cake-like tenderness. The rich chocolate base, combined with an extra layer of luscious chocolate frosting, makes these a standout among easy brownie recipes. Whether you’re a seasoned baker or just starting out, this recipe is straightforward and incredibly rewarding.
Despite busy schedules, whipping up a batch of these classic fudgy brownies is surprisingly simple. If you love experimenting with brownies, you might also enjoy our Cream Cheese Brownies, an adventurous Deep Fried Brownies, or the ultimate convenience of Easy One Bowl Brownies. For a delightful fusion of flavors, be sure to try our Brownie Bottom Cheesecake – a true showstopper.
Table of Contents
- Why This Recipe Works
- The Nostalgia Factor: A Trip Down Memory Lane
- Ingredients
- Brownie Base
- Decadent Frosting
- Substitutions and Additions
- How to Make Lunch Lady Brownies
- How to Serve
- Expert Tips for Perfect Brownies
- Common Brownie Baking Problems and Solutions
- Storage
- How to Freeze
- Frequently Asked Questions
- Try These Other Brownie Recipes
Why This Recipe Works
The secret to the exceptionally moist and tender texture of these Lunch Lady Brownies lies in the generous use of eggs. Unlike some brownie recipes that can be overly dry or crumbly, the higher egg content in this recipe acts as a natural binder and leavening agent, contributing to a rich, fudgy interior and a slightly chewy edge. This thoughtful balance of ingredients ensures that every bite is not just sweet, but deeply satisfying with a luxurious mouthfeel.
Furthermore, the harmonious blend of cocoa powder in the brownie base and the generous, smooth chocolate frosting creates a double chocolate experience that’s truly unparalleled. The frosting isn’t just an afterthought; it elevates the entire dessert, adding an extra layer of sweetness and a velvety contrast to the dense brownie. This recipe consistently delivers impressive results, making it a reliable choice for family desserts, potlucks, or simply satisfying a chocolate craving. Once you experience these classic fudgy brownies, you’ll understand why they remain a beloved favorite.
The Nostalgia Factor: A Trip Down Memory Lane
For many, the term “Lunch Lady Brownies” conjures up a specific, cherished memory. It’s the taste of a simpler time, a comforting treat served in school cafeterias that brightened up any midday meal. These brownies weren’t just dessert; they were a moment of pure joy, a reward after a long morning of learning. What made them so special? Often, it was their consistent fudginess, the rich chocolate flavor, and that signature thick, glossy frosting that set them apart.
This recipe aims to replicate that exact nostalgic experience. It’s about bringing back those flavors and textures that are etched in our culinary memories. The secret to their enduring appeal lies not only in their deliciousness but also in their ability to transport us back to carefree days. Making these brownies at home isn’t just baking; it’s an act of preserving a piece of culinary history and sharing a comforting tradition with new generations. They’re a testament to how certain foods can become cultural touchstones, connecting us across time through shared culinary experiences.
Ingredients
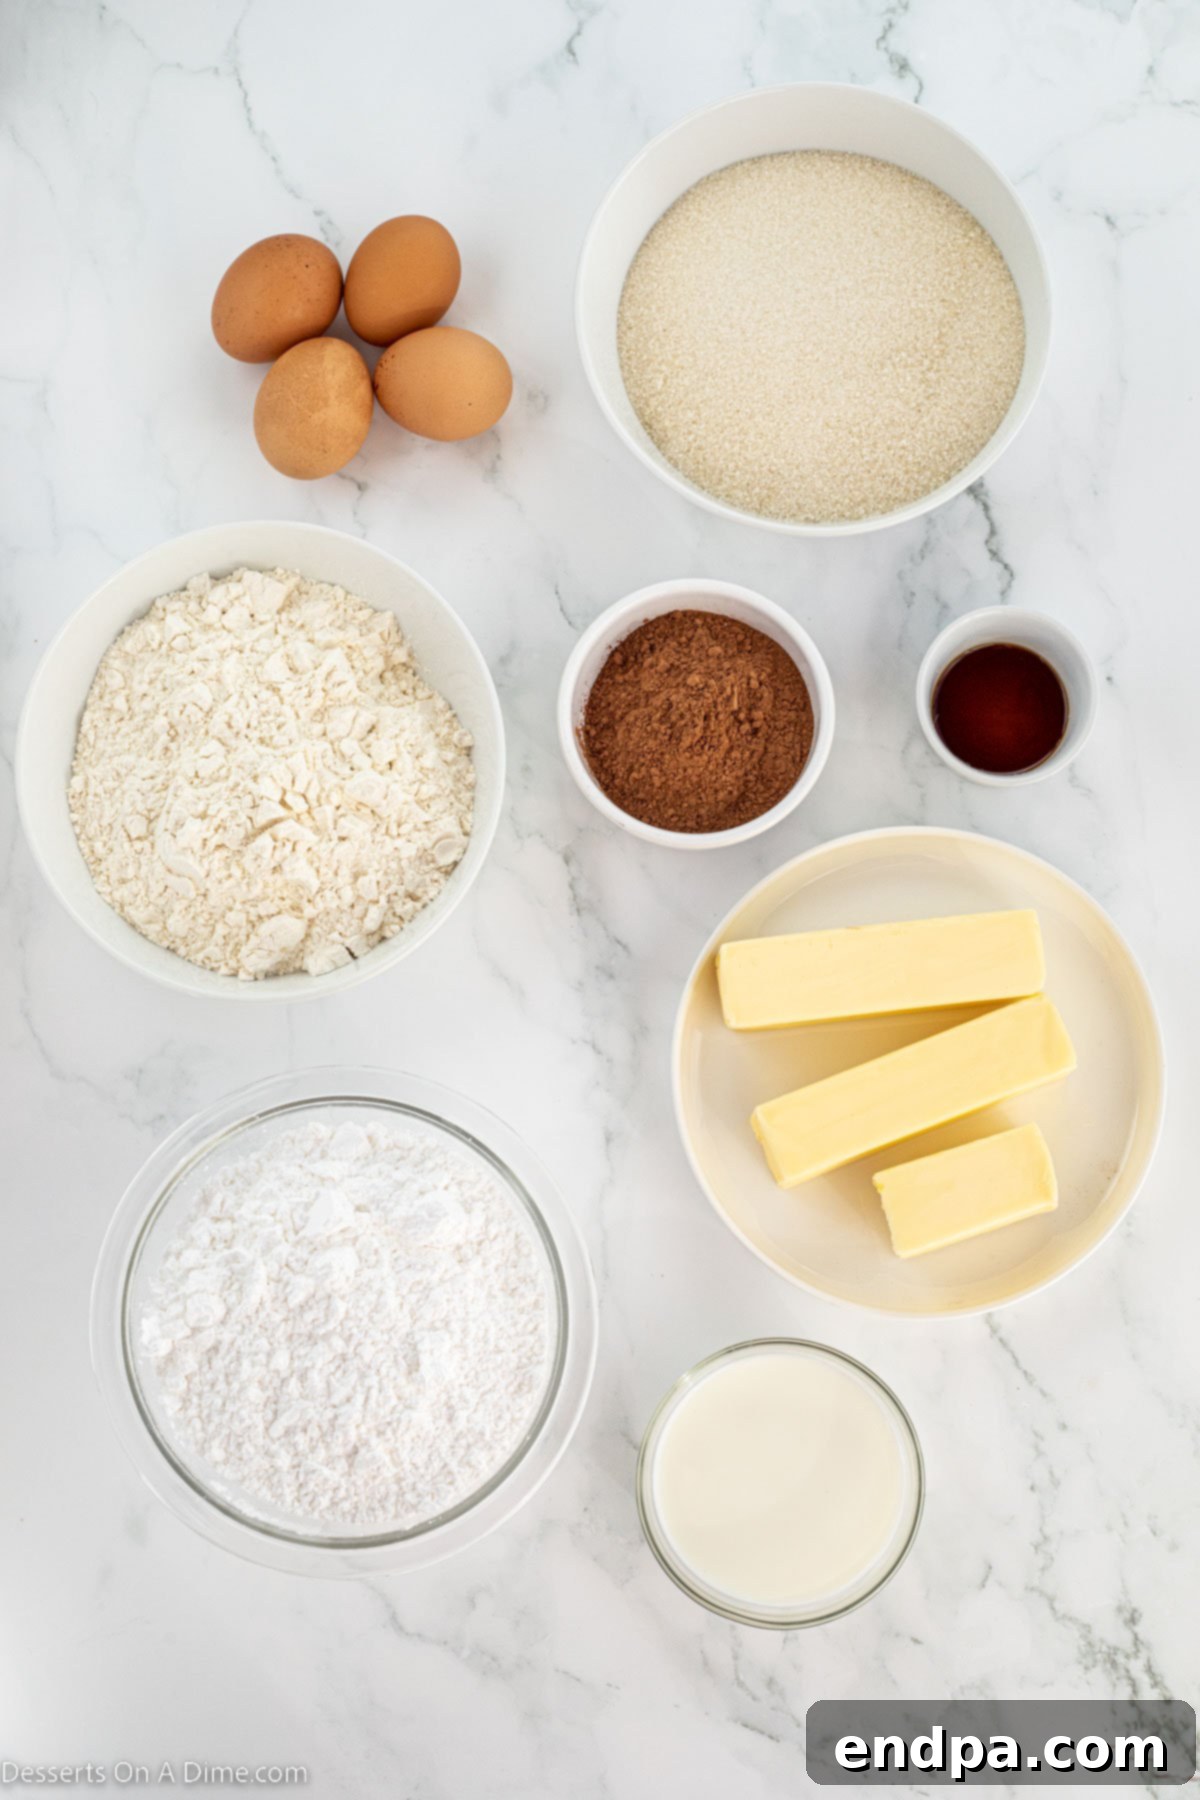
For the Brownie Base:
- Unsalted Butter (Melted): Using unsalted butter allows you to control the salt content in your brownies. Melting it helps create a dense, fudgy texture.
- Unsweetened Cocoa Powder: This is key for a deep, rich chocolate flavor. Ensure you choose a high-quality brand for the best results. Dutch-processed cocoa powder can yield a darker brownie.
- All-Purpose Flour: For optimal results, spoon the flour into your measuring cup and level it off with a straight edge rather than scooping directly from the bag. This prevents over-measuring, which can lead to dry brownies.
- Granulated Sugar: Provides sweetness and contributes to the moist texture of the brownies.
- Large Eggs: The star ingredient for that signature fudgy texture! Eggs add richness, moisture, and act as a natural leavening agent, ensuring your brownies are perfectly tender.
- Pure Vanilla Extract: A crucial flavor enhancer that complements and deepens the chocolate notes. Opt for pure vanilla extract over imitation for the best taste.
For the Decadent Frosting:
- Whole Milk: Whole milk provides the richest flavor and creamiest consistency for your frosting. You can use lower-fat milk, but the texture may be slightly less luxurious.
- Unsalted Butter (Softened): Softened butter creams together smoothly with the other ingredients, creating a light and airy frosting. Ensure it’s at room temperature for easy blending.
- Powdered Sugar (Confectioners’ Sugar): Essential for a smooth, lump-free frosting. Sifting the powdered sugar before mixing is highly recommended to remove any clumps and achieve a truly silky texture.
- Unsweetened Cocoa Powder: Just like in the brownie base, this provides the rich chocolate flavor for the frosting.
For the complete, precise measurements of each ingredient, please refer to the detailed recipe card at the bottom of this page. Quality ingredients make a noticeable difference in the final product!
Substitutions and Additions
One of the joys of baking these classic Lunch Lady Brownies is how versatile they are! While the original recipe is perfect as is, you can easily customize them to suit your preferences or what you have on hand.
- Alternative Frostings: While classic chocolate frosting is undeniably amazing, feel free to get creative.
- Peanut Butter Frosting: A fantastic option for peanut butter lovers, offering a sweet and salty contrast.
- Cream Cheese Frosting: Adds a tangy, rich dimension that pairs beautifully with chocolate.
- Vanilla Buttercream: A simple yet elegant choice that lets the brownie’s chocolate flavor shine.
- Mint Frosting: Add a touch of mint extract to vanilla frosting for a refreshing twist, especially around the holidays.
- Nuts for Texture and Flavor: Adding nuts can introduce a delightful crunch and earthy flavor.
- In the Batter: Fold a cup of chopped pecans or walnuts directly into the brownie mixture before baking for integrated nuttiness.
- On Top: Immediately after frosting, sprinkle chopped nuts (like pecans or walnuts) over the top. The frosting will help them adhere as it sets.
- Divided Household Tip: If some family members prefer nuts and others don’t, simply sprinkle nuts over half of the pan before the frosting sets. This way, everyone gets their preferred brownie!
- Fun with Sprinkles: Sprinkles are an effortless way to make these brownies extra festive and fun.
- Choose holiday-themed sprinkles for Christmas, Halloween, or Valentine’s Day.
- Use rainbow sprinkles for birthdays or everyday celebrations.
- Add a pop of color that appeals to kids and adults alike.
- Boost the Chocolate Factor: For the ultimate chocolate indulgence, incorporate more chocolate into the batter.
- Stir in a cup of chocolate chips (milk, semi-sweet, or dark) into the brownie batter before baking. This creates pockets of melted chocolate throughout the fudgy base.
- Consider adding mini chocolate chips for an even distribution of chocolate.
- Time-Saving Store-Bought Frosting: If you’re short on time, don’t hesitate to use quality store-bought frosting.
- Chocolate fudge frosting is the closest match to the homemade version.
- Vanilla or cream cheese store-bought frostings are also great options for a quick twist. This small shortcut allows you to enjoy homemade brownies with less effort.
- Other Flavor Enhancers:
- Espresso Powder: A teaspoon of instant espresso powder added to the brownie batter can deepen the chocolate flavor without making it taste like coffee.
- Chili Powder: For a subtle, sophisticated kick, a pinch of chili powder can beautifully enhance chocolate.
- Sea Salt Flakes: A sprinkle of flaky sea salt on top of the frosting right before serving balances the sweetness and highlights the chocolate.
Don’t be afraid to experiment! These classic Lunch Lady Brownies are a fantastic canvas for your creativity.
How to Make Lunch Lady Brownies
Creating these nostalgic Lunch Lady Brownies is a straightforward process, ensuring delicious results every time. Follow these steps for the perfect fudgy and moist brownies:
- Step 1: Prepare Your Baking Environment.
Begin by preheating your oven to 350°F (175°C). Next, prepare a 9×13 inch baking pan. For easy removal and clean slices, line the pan with parchment paper, leaving an overhang on the sides. Then, lightly spray the parchment paper with non-stick cooking spray.
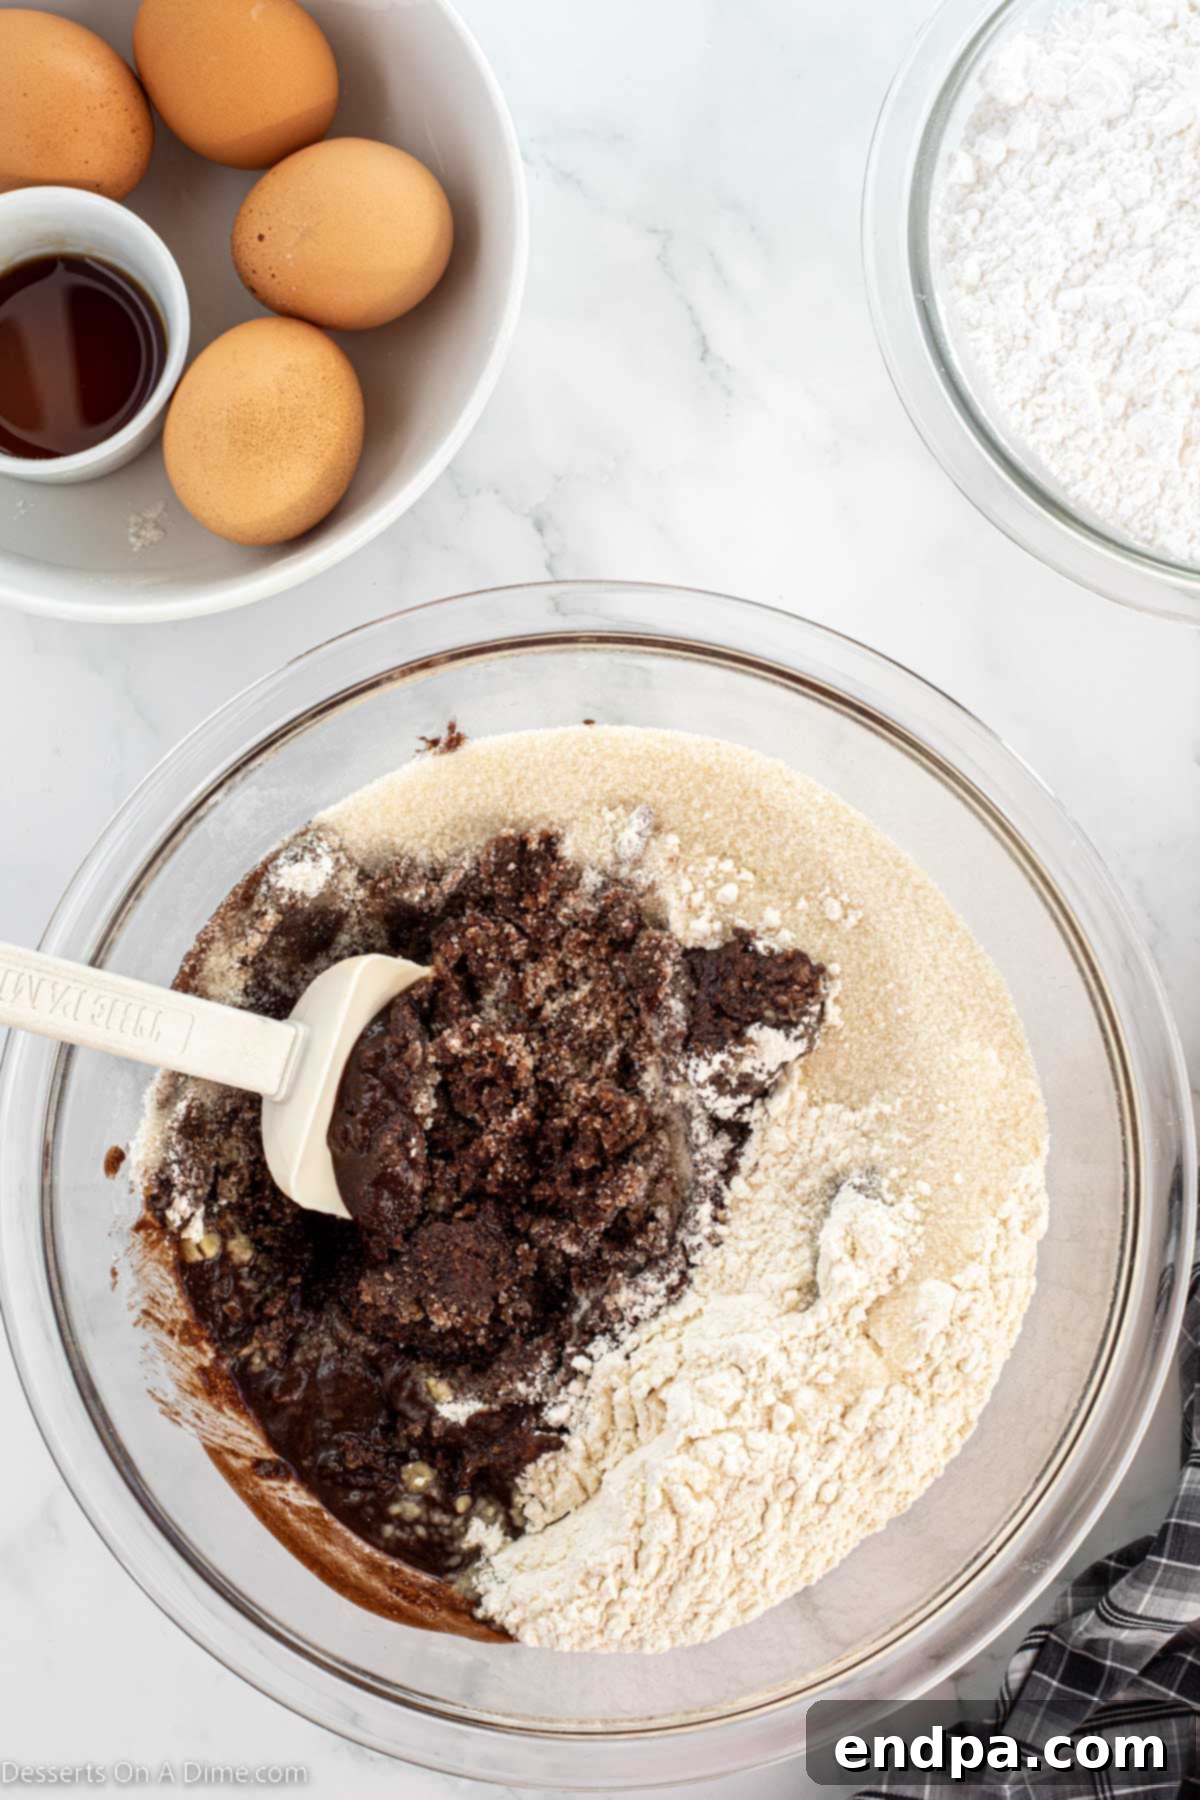
Step 2: Combine Wet and Dry Ingredients (Initial Mix).
In a large mixing bowl, thoroughly stir together the melted butter and unsweetened cocoa powder until a smooth, dark paste forms. This step helps to bloom the cocoa, enhancing its flavor. Once combined, incorporate the all-purpose flour and granulated sugar into the mixture. Stir until just combined; the mixture will be thick and somewhat crumbly at this stage.
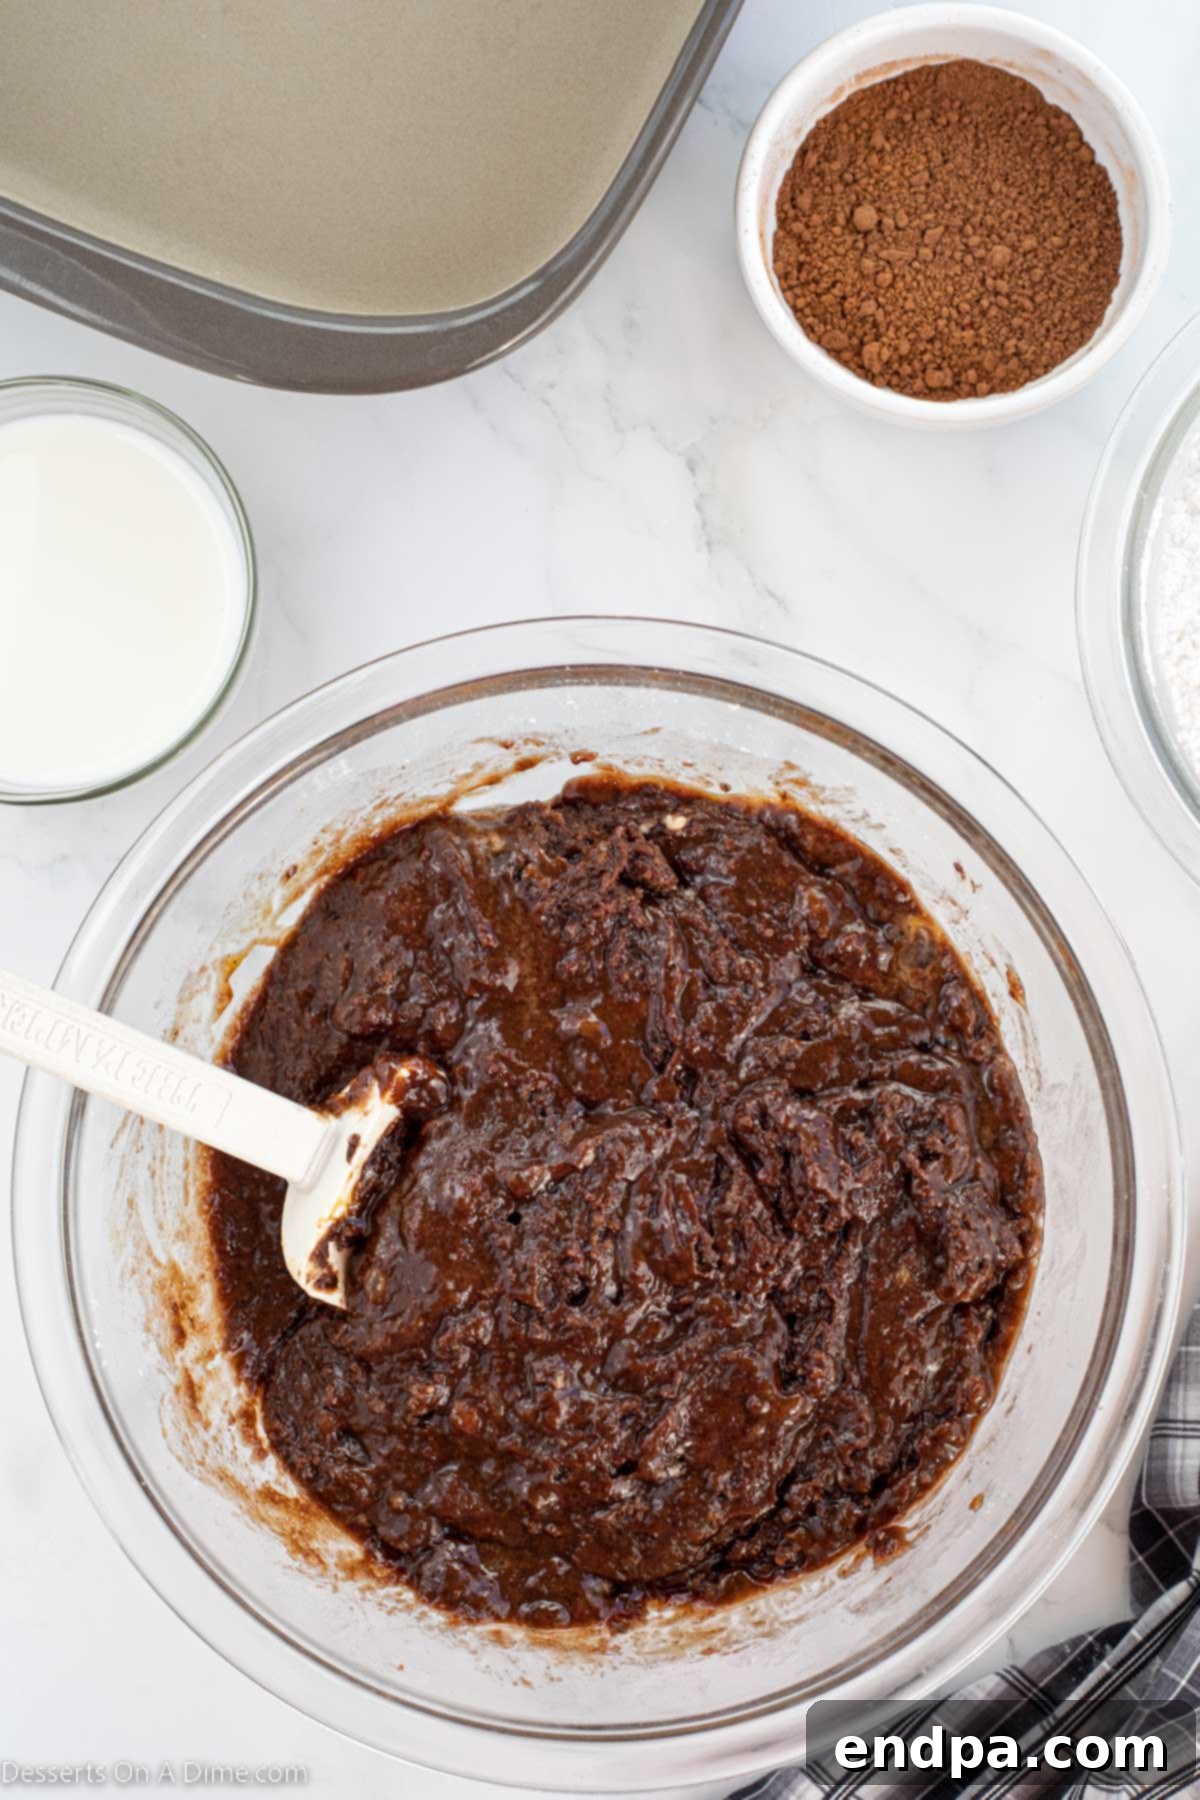
Step 3: Add Eggs and Vanilla.
Introduce the large eggs and pure vanilla extract to the mixture. Mix gently until just combined, being careful not to overmix. Overmixing can incorporate too much air, leading to a cakier, less fudgy brownie. Stop mixing as soon as no streaks of flour or egg yolk are visible.
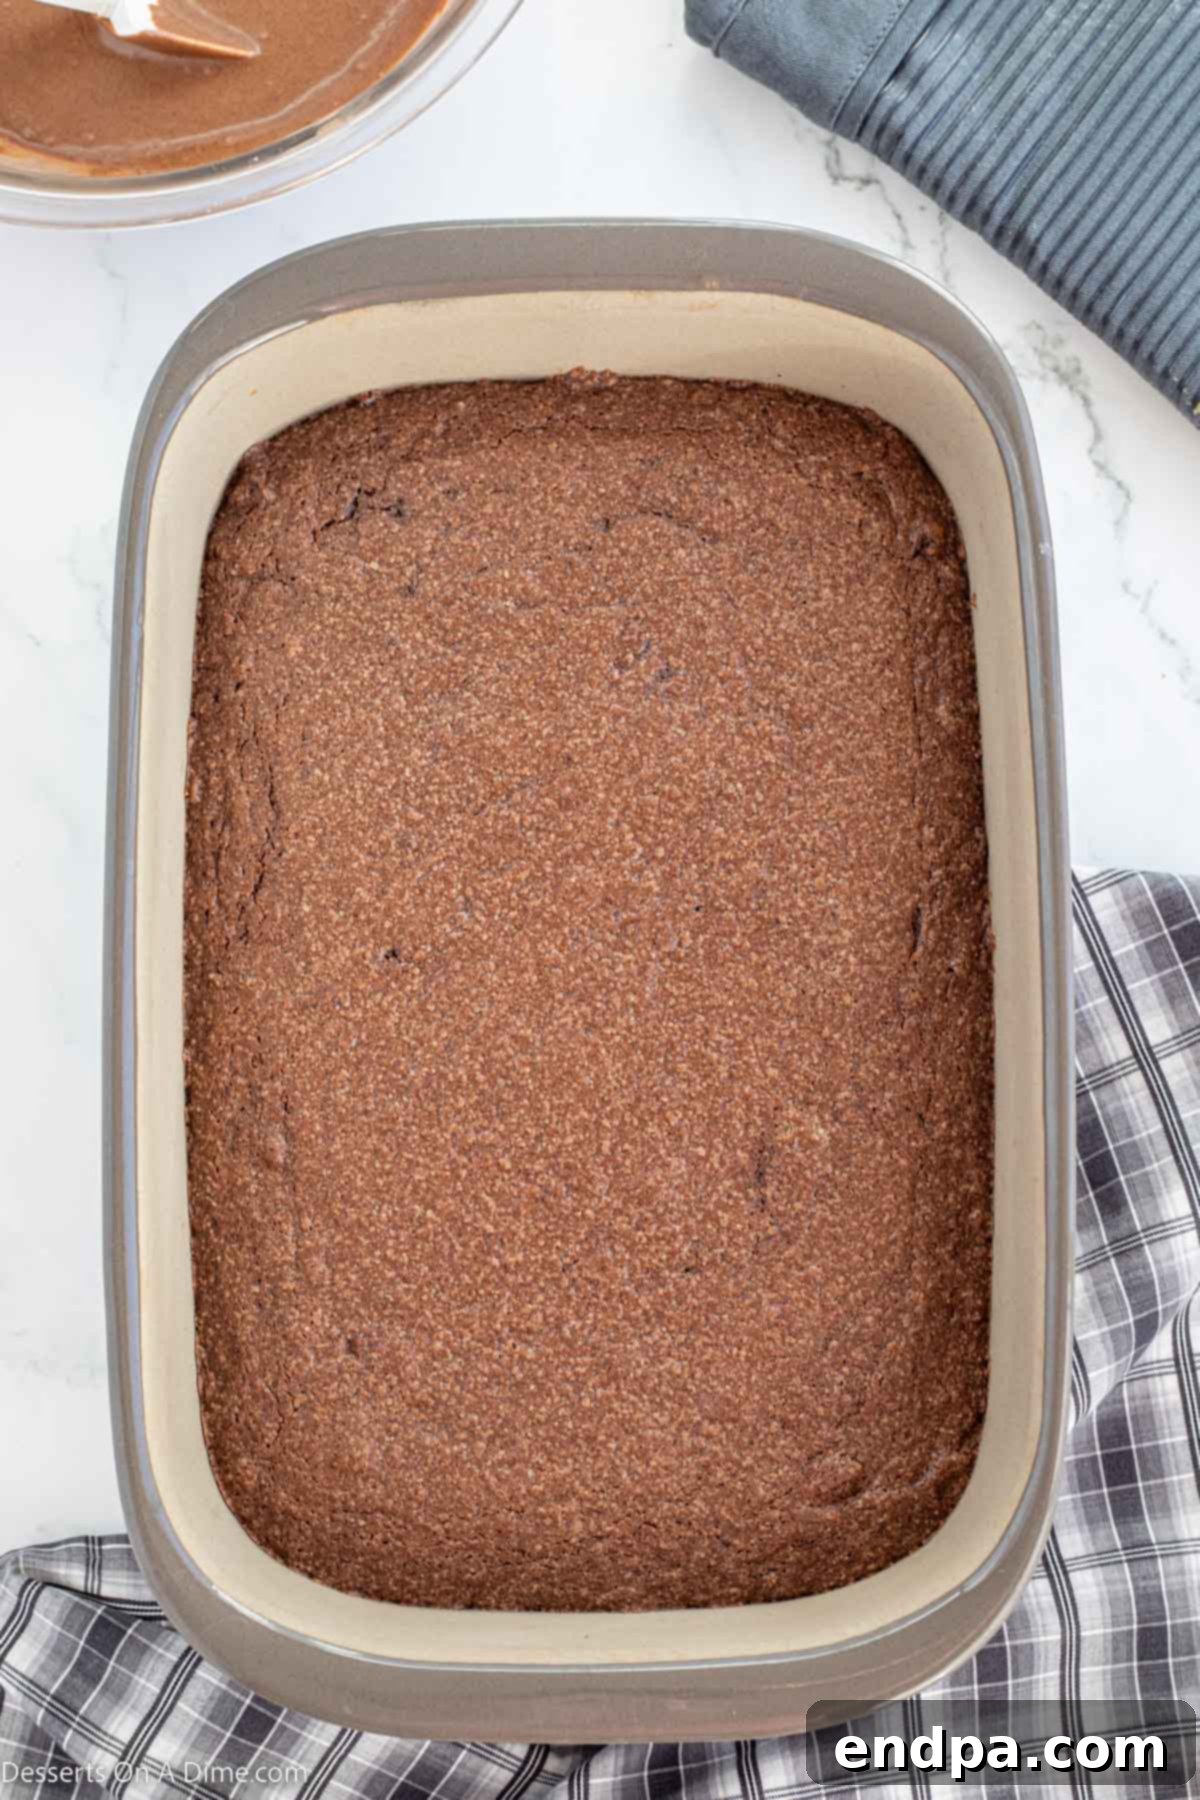
Step 4: Bake the Brownies to Perfection.
Pour the brownie batter evenly into your prepared pan. Bake for 25-30 minutes. The key is to avoid overbaking. Test for doneness by inserting a toothpick into the center of the brownies; it should come out with moist crumbs attached, but not wet batter. If it comes out completely clean, they might be slightly overbaked. For more detailed guidance, see our article on How to Tell if Brownies are Done.
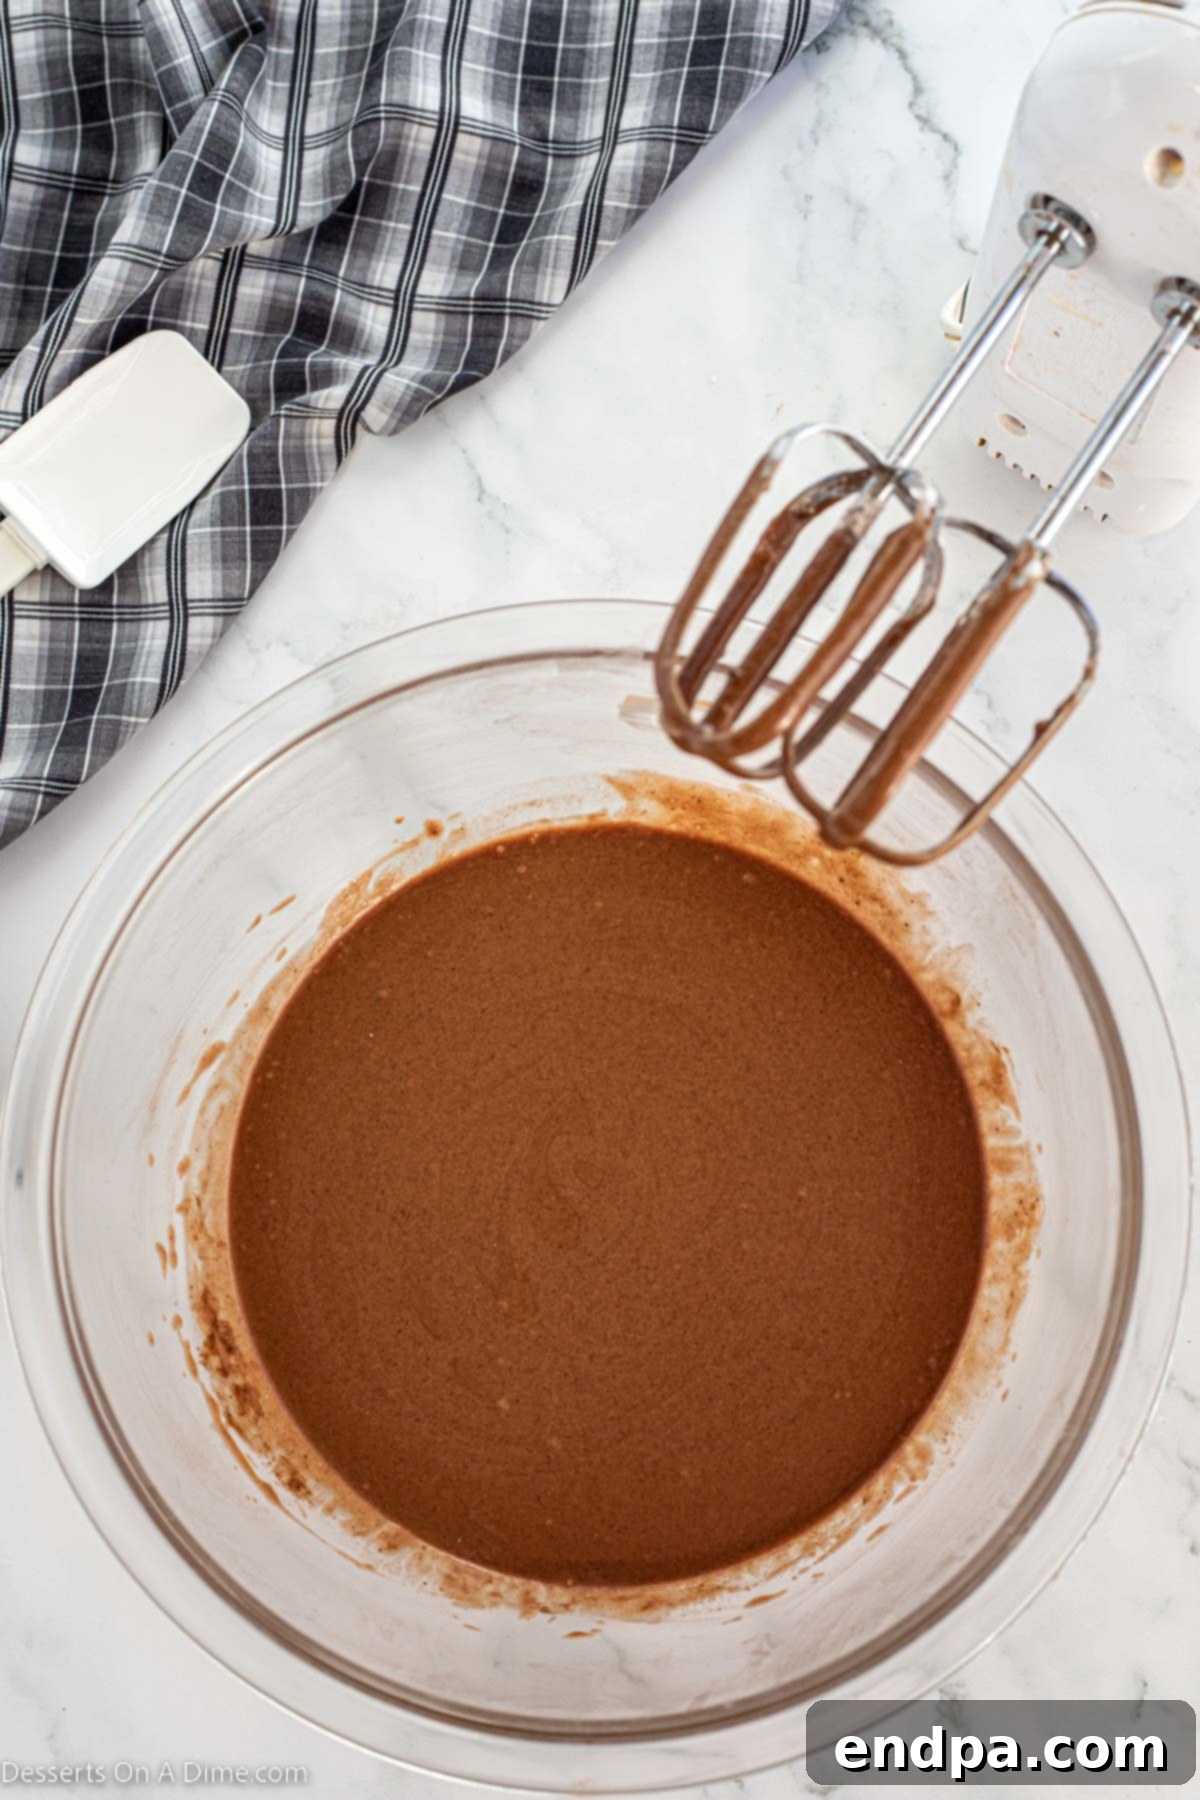
Step 5: Prepare the Decadent Frosting.
While the brownies are baking and starting to cool, prepare the chocolate frosting. In a separate large mixing bowl, combine the softened butter, powdered sugar, unsweetened cocoa powder, and milk. Using an electric mixer, beat all the ingredients together until the frosting is smooth, creamy, and easily spreadable. Adjust milk consistency as needed (see expert tips).
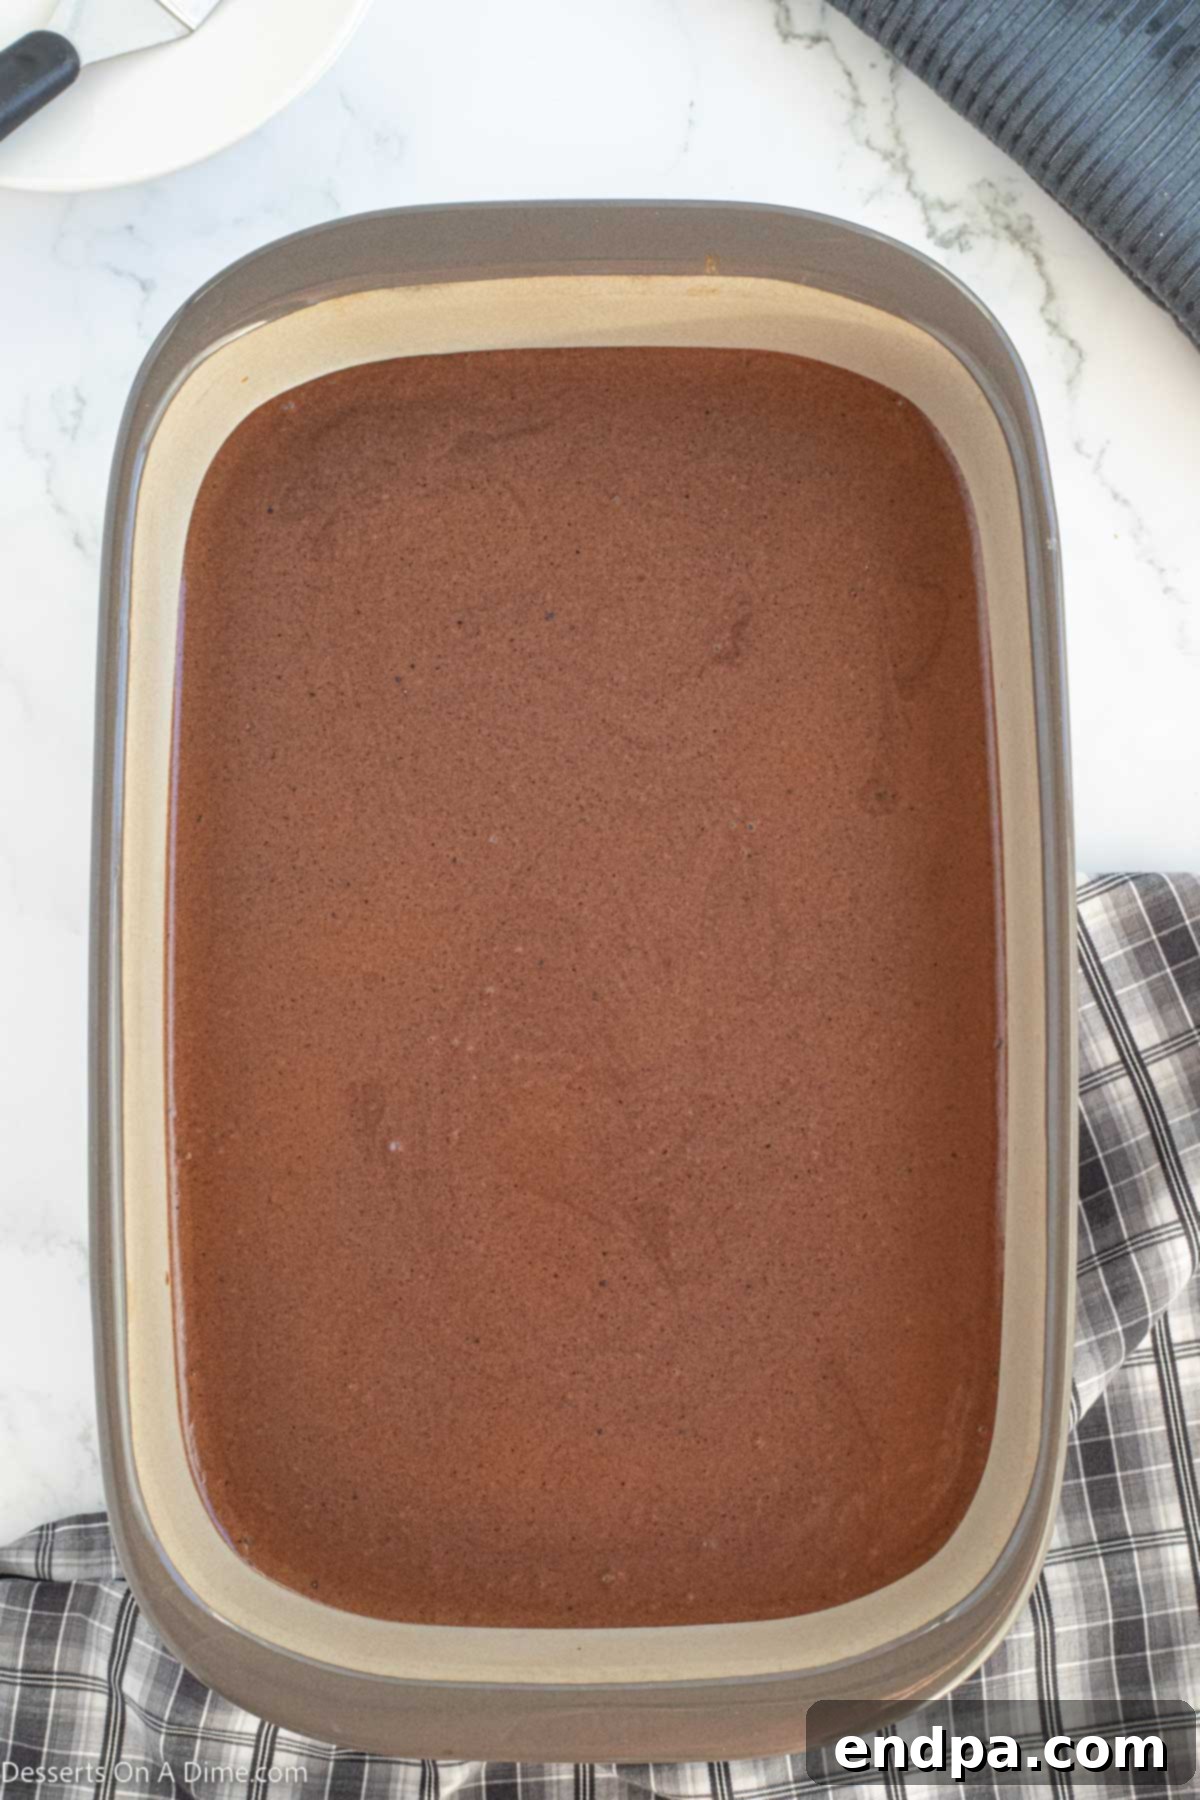
Step 6: Frost the Cooled Brownies.
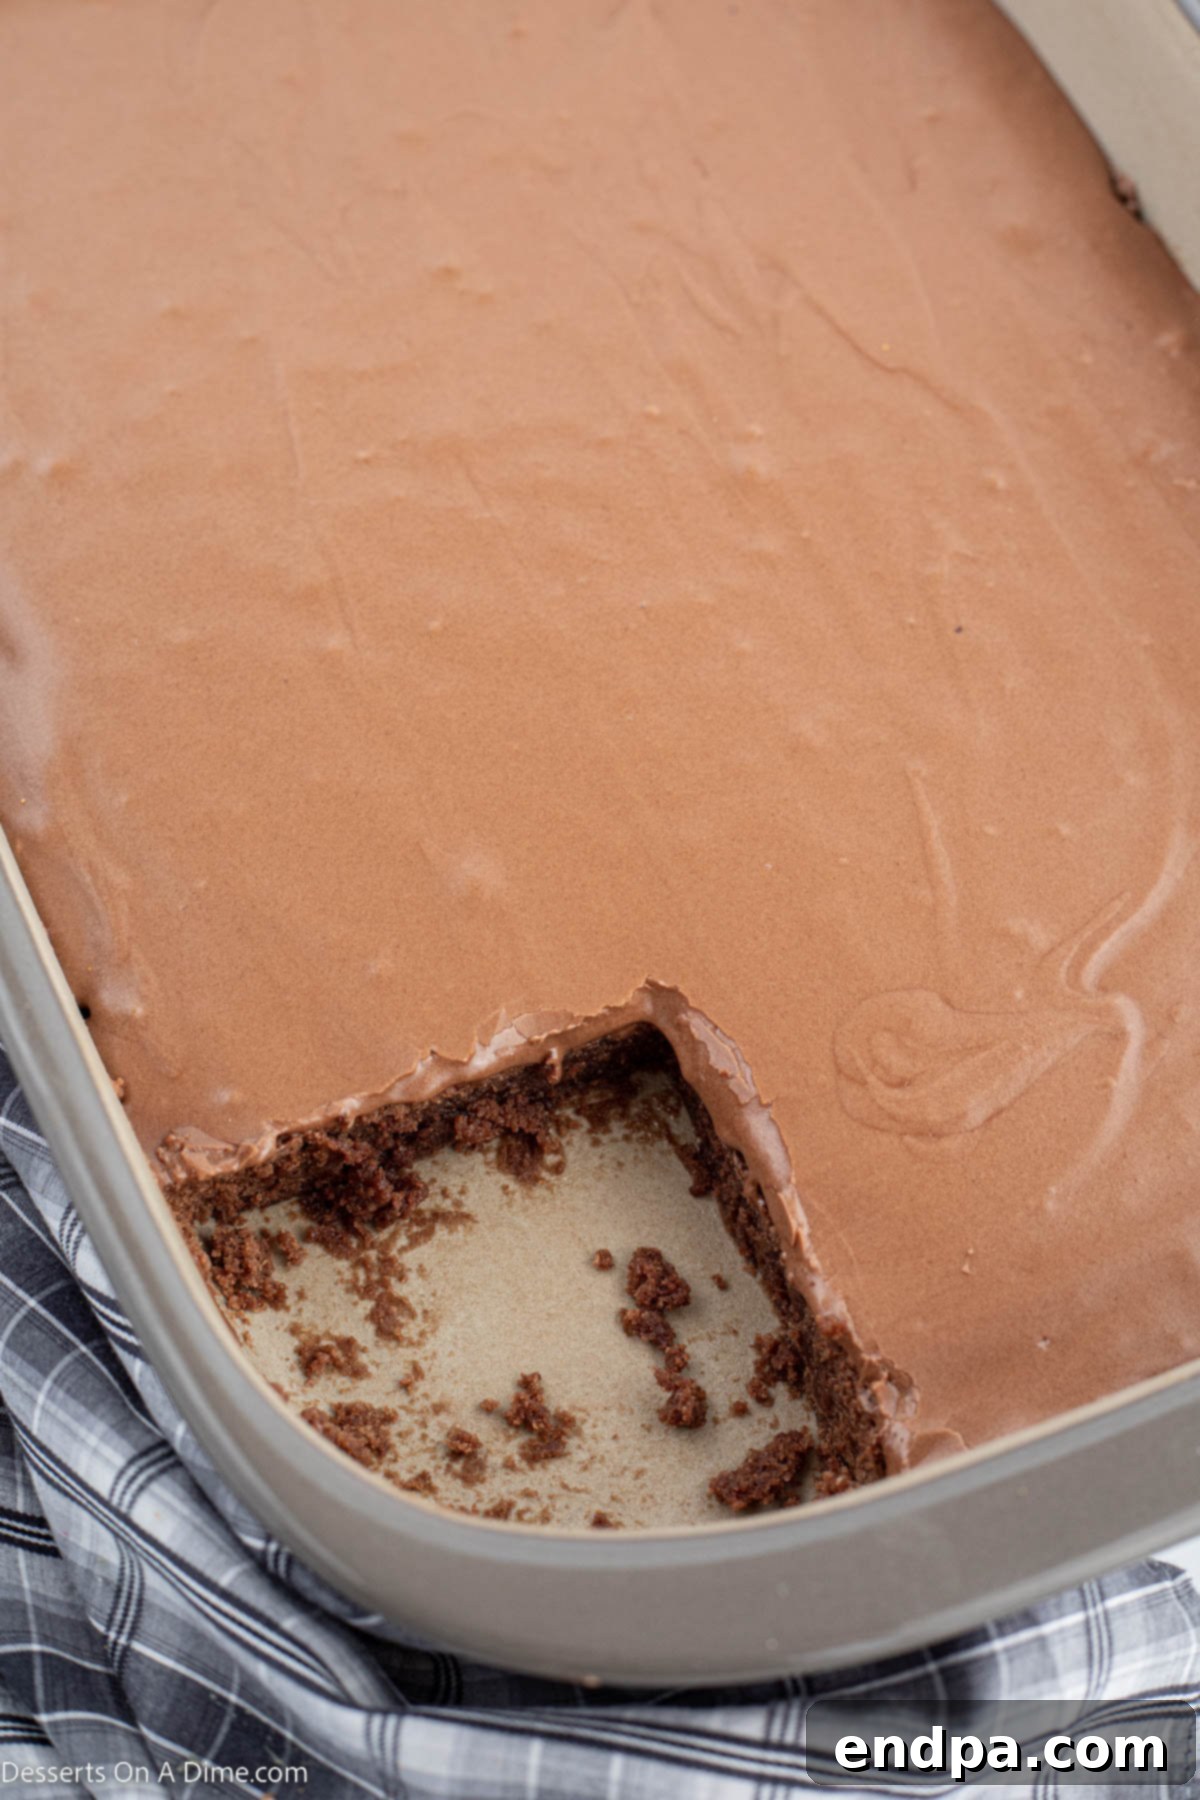
Allow the baked brownies to cool in the pan for about 15-20 minutes. They shouldn’t be piping hot, but a little warmth is fine. Once slightly cooled, evenly spread the prepared chocolate frosting over the entire surface of the brownies using an offset spatula or the back of a spoon. This cooling period is crucial to prevent the frosting from melting.
Step 7: Final Cooling, Cut, and Serve.
For the cleanest cuts and best texture, allow the frosted brownies to cool completely at room temperature. This might take an hour or two. Once fully cooled and the frosting has set, carefully lift the brownies out of the pan using the parchment paper overhang. Cut them into desired squares and serve. Enjoy these truly irresistible homemade treats!
How to Serve
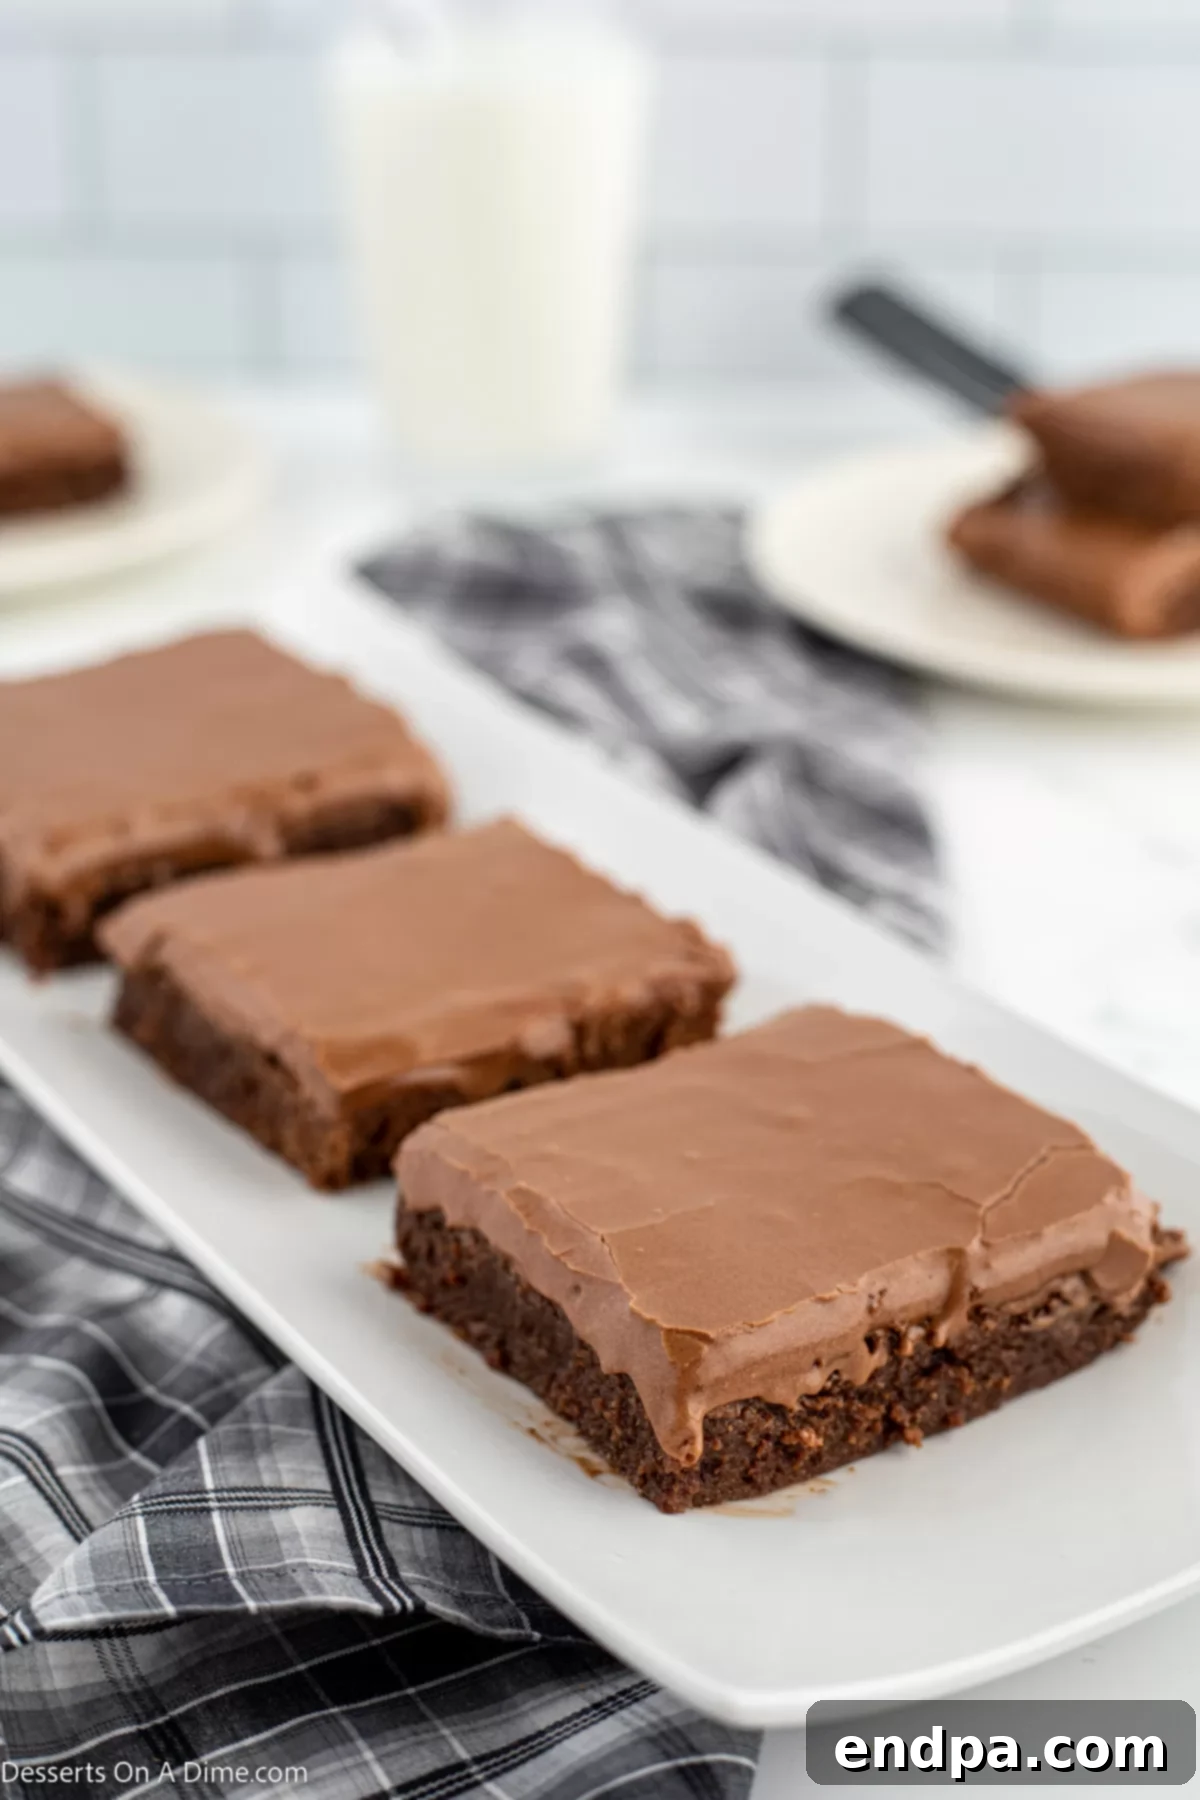
These Lunch Lady Brownies are wonderfully rich and decadent, making them a perfect standalone treat. Once they have cooled completely and the frosting has set, carefully lift them out of the pan using the parchment paper overhang. We recommend cutting them into smaller squares, especially if you’re serving them at parties or gatherings. Their intense chocolate flavor means a little goes a long way, and smaller portions are ideal for sampling alongside other desserts.
For an extra special presentation, consider:
- With a Scoop of Ice Cream: A scoop of vanilla bean or coffee ice cream alongside a warm brownie creates an exquisite hot-and-cold dessert experience.
- A Glass of Cold Milk: The classic pairing! A tall glass of cold milk is the perfect complement to the rich chocolate flavor.
- Fresh Berries: A scattering of fresh raspberries or sliced strawberries adds a bright, slightly tart contrast to the sweetness of the brownies.
- Dusting of Powdered Sugar: For a simple yet elegant touch, dust the cut brownies with a light coating of powdered sugar.
- Whipped Cream or Chocolate Sauce: A dollop of freshly whipped cream or a drizzle of extra chocolate sauce can elevate the dessert.
No matter how you choose to serve them, these brownies are guaranteed to be a crowd-pleaser and disappear quickly!
Expert Tips for Perfect Brownies
Achieving the perfect fudgy brownie is an art, but with these expert tips, you’ll master it in no time and create a batch of Lunch Lady Brownies that rival any bakery!
- No Baking Soda or Powder Needed: Don’t be surprised that this recipe doesn’t call for baking soda or baking powder. The magic lies in the eggs! They act as a natural leavening agent, providing just enough lift for a dense, fudgy, and delightfully chewy brownie without making it too cakey. Trust the process; the eggs will make them perfectly fluffy and delicious.
- Line Your Baking Dish with Foil or Parchment: This is a game-changer for easy cleanup and pristine brownie squares. Line your 9×13 inch baking pan with parchment paper, allowing the paper to overhang on two sides. After baking and cooling, you can simply lift the entire sheet of brownies out of the pan, making it incredibly easy to cut them into neat squares without any sticking. A light spray of cooking oil on the parchment can further prevent sticking.
- Adjusting Frosting Consistency: If your homemade frosting turns out too thick to spread easily, don’t panic! Simply add a tablespoon of milk at a time, mixing thoroughly after each addition, until you achieve your desired smooth, creamy consistency. Conversely, if it’s too thin, add a tablespoon or two of sifted powdered sugar.
- Cool Before Frosting: Patience is a virtue when it comes to frosting brownies. It’s essential that the brownies cool for at least 15-20 minutes before you even think about adding the frosting. They don’t need to be completely cold, but they shouldn’t be hot straight out of the oven, otherwise, the frosting will melt and slide right off, creating a chocolatey mess instead of a beautiful, set layer.
- The Right Pan Size: A 9×13 inch baking pan is the ideal size for this recipe. It ensures the brownies bake evenly and results in that perfect thickness, providing a delightful balance of fudgy center and slightly chewy edges. Using a different size might alter baking time and the final texture.
- Softened Butter for Frosting: For the smoothest, creamiest frosting, always use butter that has been softened to room temperature. This allows it to cream together effortlessly with the powdered sugar and cocoa powder, creating a truly luxurious and lump-free frosting that spreads like a dream.
- Don’t Overmix the Batter: After adding the eggs and vanilla, mix the brownie batter just until the ingredients are combined. Overmixing develops the gluten in the flour, which can lead to a tougher, more cake-like brownie instead of the desired fudgy texture.
- Quality Ingredients Matter: While simple, the quality of your ingredients makes a noticeable difference. Use good quality cocoa powder and pure vanilla extract for the best chocolate flavor.
- Salted vs. Unsalted Butter: The recipe calls for salted butter for the brownies. If you only have unsalted, simply add a pinch (about 1/4 teaspoon) of fine sea salt to the dry ingredients to balance the sweetness.
- Even Baking: Ensure your oven temperature is accurate. An oven thermometer can be a baker’s best friend in preventing under or over-baked goods. Rotate the pan halfway through baking if your oven tends to have hot spots.
Common Brownie Baking Problems and Solutions
Even with a straightforward recipe, baking can sometimes present unexpected challenges. Here are some common issues you might encounter when making brownies and how to troubleshoot them for perfect results every time:
- My Brownies are Too Cakey/Dry:
- Solution: The most common culprit for cakey brownies is overmixing the batter or overbaking. Overmixing incorporates too much air and develops gluten, leading to a lighter, bread-like texture. Ensure you mix only until just combined when adding wet ingredients. For baking, watch the time closely and use the toothpick test: it should come out with moist crumbs, not liquid batter, and definitely not entirely clean. A completely clean toothpick means they are likely overbaked.
- My Brownies are Too Gooey/Undercooked:
- Solution: This indicates insufficient baking time. Ovens can vary, so the specified baking time is a guideline. If a toothpick inserted comes out with wet batter, simply continue baking for an additional 2-5 minutes, then re-test. Make sure your oven temperature is accurate with an oven thermometer.
- The Frosting is Melting/Sliding Off:
- Solution: You likely frosted the brownies while they were still too warm. The residual heat from the brownies will melt the frosting. Always ensure the brownies have cooled significantly, ideally for at least 15-20 minutes, before applying the frosting. For best results, let them cool completely.
- The Edges are Burnt, but the Center is Not Done:
- Solution: This could be due to your oven’s hot spots or baking too close to a heating element. Try rotating the pan halfway through the baking process. If it’s a persistent issue, consider lowering the oven temperature by 25°F (about 15°C) and increasing the baking time slightly to allow for more even cooking. Also, make sure you’re using a light-colored metal pan, as dark pans absorb more heat and can lead to overcooked edges.
- Brownies Stick to the Pan:
- Solution: Ensure you properly prepare your baking pan. Always line it with parchment paper (with an overhang) and lightly grease it with cooking spray. This creates a non-stick barrier, making removal incredibly easy.
- Lumps in My Frosting:
- Solution: This usually happens if the powdered sugar wasn’t sifted or if the butter wasn’t soft enough. Always sift your powdered sugar to remove any clumps. Ensure your butter is truly at room temperature and softened, not melted. If lumps persist, continue beating the frosting with an electric mixer for a few more minutes; sometimes it just needs more time to become smooth.
By understanding these common issues and their solutions, you can confidently bake perfect Lunch Lady Brownies every single time!
Storage
Proper storage is key to keeping your Lunch Lady Brownies fresh and delicious for as long as possible. Follow these guidelines to maintain their wonderful moist texture and rich flavor:
- At Room Temperature: Store the brownies in an airtight container at room temperature. This will keep them fresh and perfectly moist for up to 4 to 5 days. Ensure they are completely cooled before placing them in the container to prevent condensation, which can make them soggy.
- Refrigeration: To extend their shelf life, you can refrigerate the brownies. Place them in an airtight container and store in the refrigerator for up to 7 days. While refrigeration keeps them fresh longer, brownies can sometimes dry out slightly or become firmer when cold. For the best taste and texture, allow them to come to room temperature for about 30 minutes before enjoying.
How to Freeze
Lunch Lady Brownies freeze beautifully, making them an excellent make-ahead treat or a way to preserve leftovers. You can freeze them for up to 3 months without compromising their quality.
- Preparation for Freezing:
- Ensure the brownies are completely cool before freezing. Frost them as usual, then let the frosting set completely.
- Cut the brownies into individual squares.
- For best results and to prevent sticking, place a small piece of parchment paper between each brownie layer if stacking them in a container.
- Wrap individual brownies or small stacks tightly in plastic wrap, then place them in an airtight freezer-safe container or a heavy-duty freezer bag. This double layer of protection helps prevent freezer burn.
- Thawing Frozen Brownies:
- When you’re ready to enjoy them, simply transfer the frozen brownies to the refrigerator to thaw overnight.
- Alternatively, you can thaw individual brownies at room temperature for an hour or two.
- Once thawed, they will be as moist and delicious as when they were first baked.
For more detailed tips and tricks on freezing baked goods, refer to our comprehensive guide on Can You Freeze Brownies?
Frequently Asked Questions
Absolutely! Using store-bought frosting is a fantastic way to save time and effort without sacrificing flavor. This allows you to quickly enjoy delicious homemade brownies even on a busy schedule. If you want to maintain a similar profile to this recipe, opt for a classic chocolate fudge frosting. However, feel free to experiment with other flavors like vanilla, cream cheese, or even a fun seasonal frosting to customize your brownies.
Yes, definitely! Adding mix-ins like chocolate chips or nuts can enhance the texture and flavor of these brownies. You can stir a cup of chocolate chips (semi-sweet, milk, or dark) directly into the brownie batter before baking for an extra burst of chocolate in every bite. For nuts, chopped pecans or walnuts are excellent choices. You can either fold them into the brownie mixture or, for a textural contrast, sprinkle them over the top of the frosting immediately after spreading it, so they adhere as it sets. If you have different preferences in your household, consider adding nuts to only half of the pan!
For ultra-fudgy brownies, there are a few key tips: 1) Avoid overmixing the batter once the flour is added. Mix only until just combined to prevent gluten development, which can lead to a cakier texture. 2) Do not overbake! Brownies are best when slightly underbaked, meaning a toothpick inserted into the center should come out with moist crumbs, not completely clean. 3) Using a higher ratio of fat (butter) and chocolate/cocoa powder to flour also contributes to a fudgier consistency.
This recipe works well with standard unsweetened cocoa powder. If you’re looking for an even darker, richer brownie with a slightly milder chocolate flavor, you can use Dutch-processed cocoa powder. Just ensure it’s unsweetened, regardless of the type, to control the sugar content of the recipe.
While a 9×13 inch pan is recommended for the ideal thickness and baking time for this recipe, you can use other sizes. If using an 8×8 inch square pan, you will need to reduce the baking time, typically by 5-10 minutes, and the brownies will be thicker. If using a larger pan, they will be thinner and may require less baking time. Always adjust baking time and keep a close eye on doneness, testing with a toothpick.
Try These Other Brownie Recipes
If you’re a true brownie connoisseur, or just looking to expand your dessert repertoire, here are some other fantastic brownie recipes to explore after you’ve mastered these classic Lunch Lady Brownies:
- Salted Caramel Brownies Recipe: A delightful blend of sweet and salty, these brownies feature a gooey caramel layer.
- One Bowl Brownies: Perfect for when you need a quick and easy dessert with minimal cleanup.
- Easy Brookie Recipe: Get the best of both worlds with this hybrid dessert, combining brownies and chocolate chip cookies.
- Red Velvet Brownies: A festive and colorful twist on the classic, featuring a hint of cocoa and a striking red hue.
- Brownie Cookies Recipe: All the rich flavor of a brownie in a convenient, chewy cookie form.
- Football Brownies: Fun, themed brownies perfect for game day or any sports-themed gathering.
We hope you enjoy making and sharing these delicious Lunch Lady Brownies. Please come back and leave a star rating and comment after you try them! Your feedback helps other bakers.
Pin
Lunch Lady Brownies
Ingredients
For the Brownies:
- 1 cup Salted Butter melted
- 1/2 cup Unsweetened Cocoa Powder
- 2 cups All Purpose Flour
- 2 cups Granulated Sugar
- 4 Large Eggs
- 1 Tablespoons Vanilla Extract
For the Frosting:
- 1/2 cup Milk
- 1/4 cup Butter softened
- 3 cups Powdered Sugar
- 1/4 cup Unsweetened Cocoa Powder
Instructions
For the Brownies:
- Preheat the oven to 350 degrees F (175°C) and line a 9×13 inch baking pan with parchment paper.
- In a large mixing bowl, stir together the melted butter and unsweetened cocoa powder. Then stir in the flour and sugar.
- Add in the eggs and vanilla extract. Mix until just combined but do not overmix.
- Pour this mixture into the prepared baking pan. Bake for 25-30 minutes until a toothpick inserted into the center of the brownies comes out with moist crumbs attached.
For the Frosting:
- In a large mixing bowl, beat together all the frosting ingredients (milk, softened butter, powdered sugar, unsweetened cocoa powder) until smooth and creamy.
- Let the brownies cool for 15-20 minutes. Spread the frosting evenly on top of the brownies using a spatula.
- Allow the brownies to cool completely for the frosting to set. Then, cut into squares, serve, and enjoy!
Recipe Notes
Nutrition Facts
Pin This Now to Remember It Later
Pin Recipe
