Irresistible Butterfinger Cookies: Your Ultimate Guide to a Crunchy-Sweet Treat
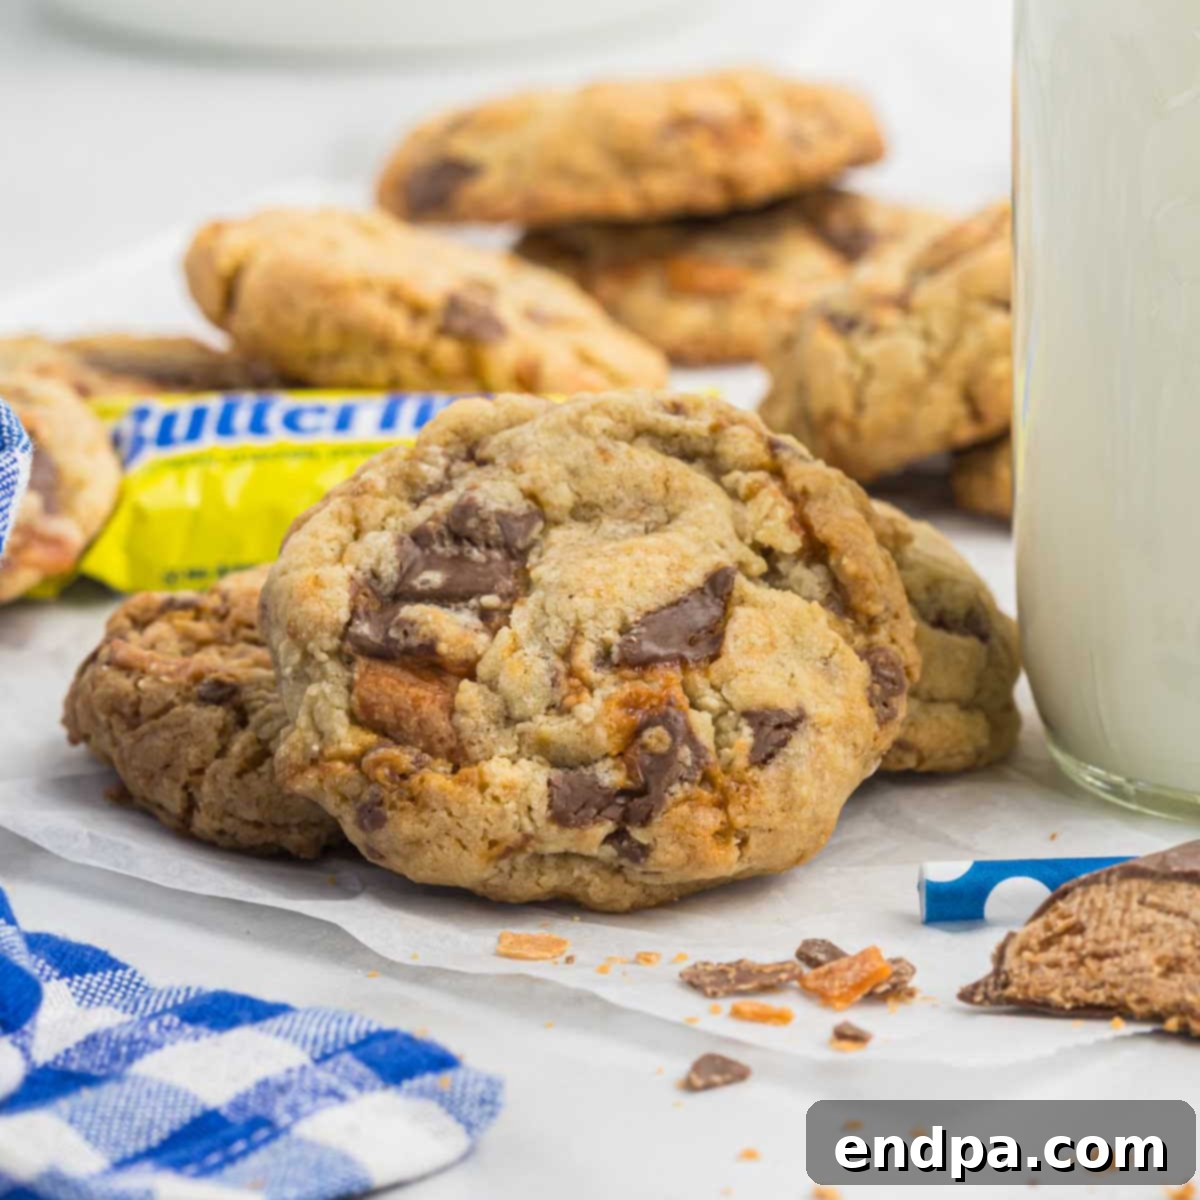
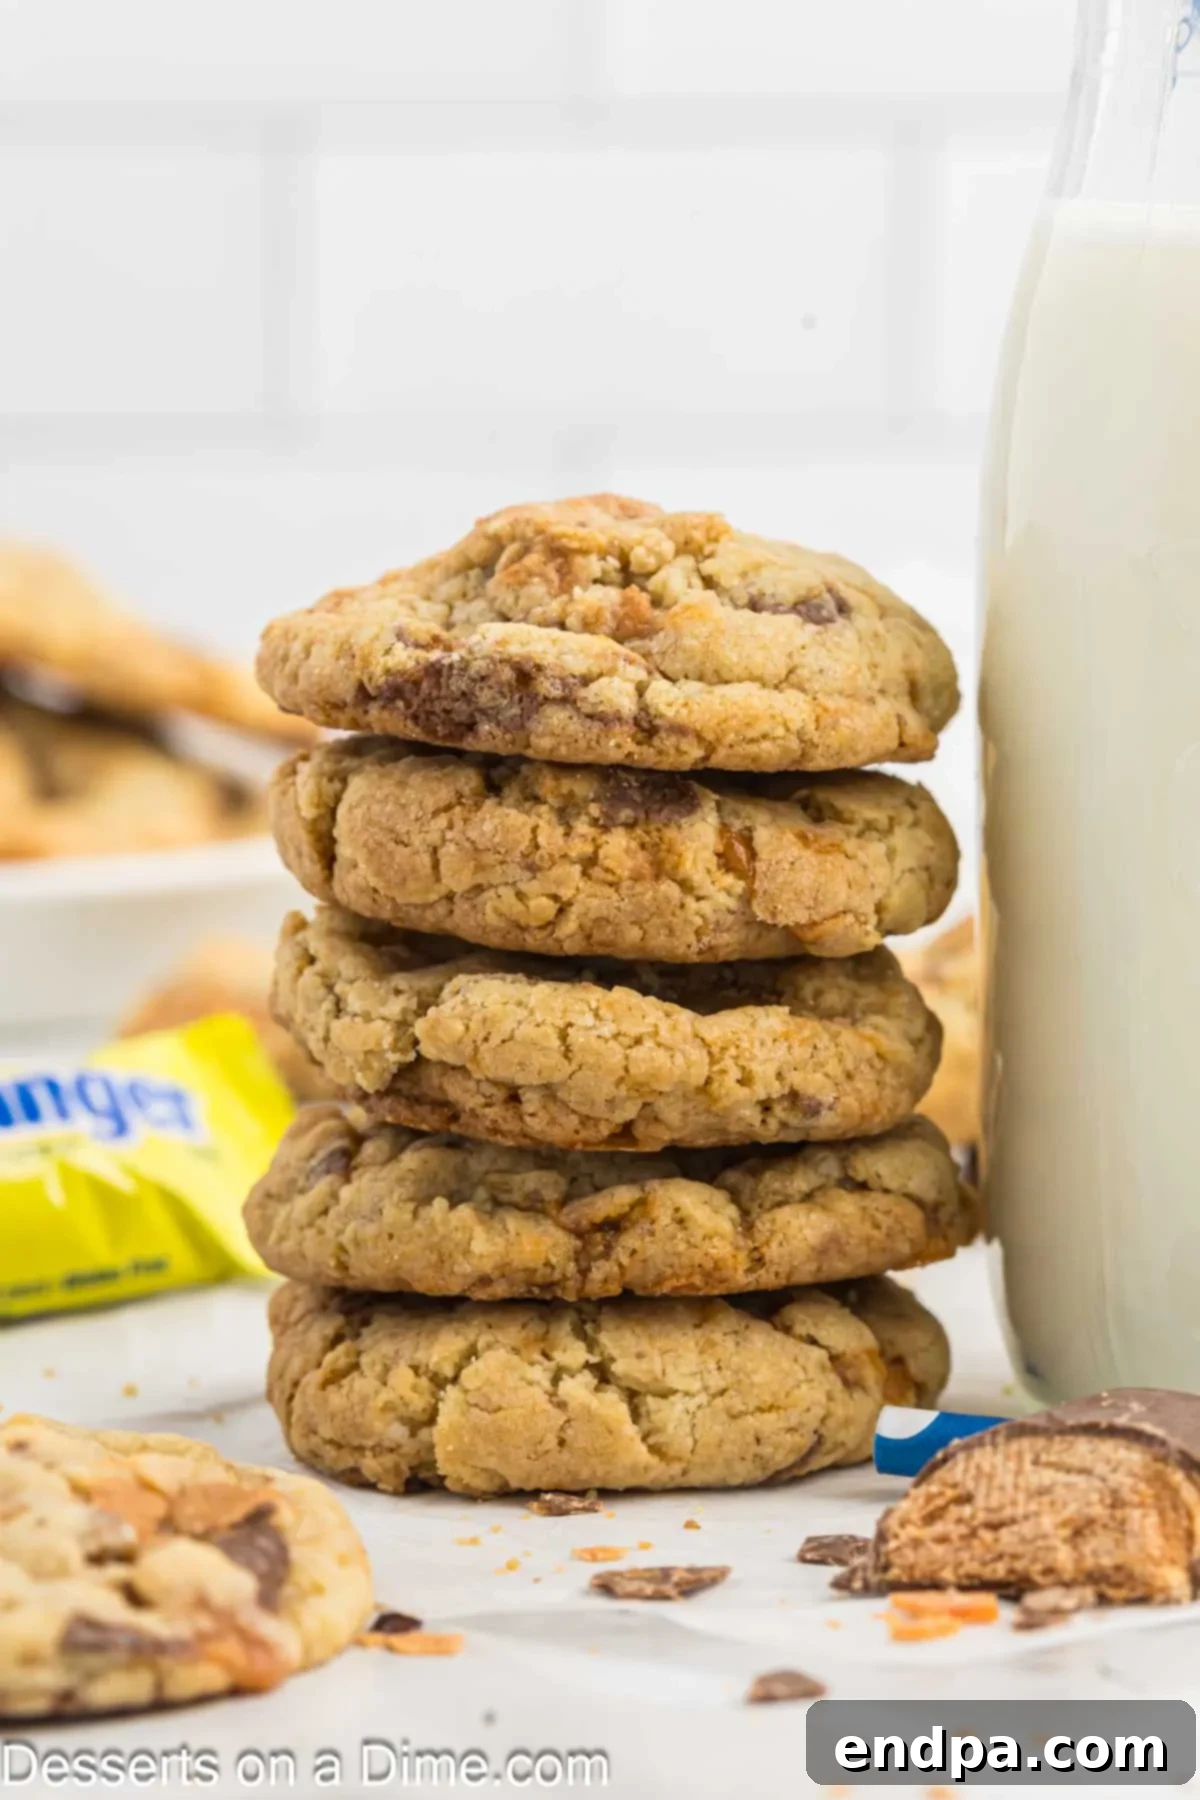
Prepare for an explosion of flavor and texture with these incredibly easy-to-make Butterfinger Cookies. Each bite is loaded with the iconic crunchy, peanut-buttery goodness of Butterfinger candy bars, perfectly complemented by a soft, chewy cookie base. This recipe is a dream come true for anyone who loves the classic combination of chocolate and peanut butter, offering a homemade twist on a beloved candy.
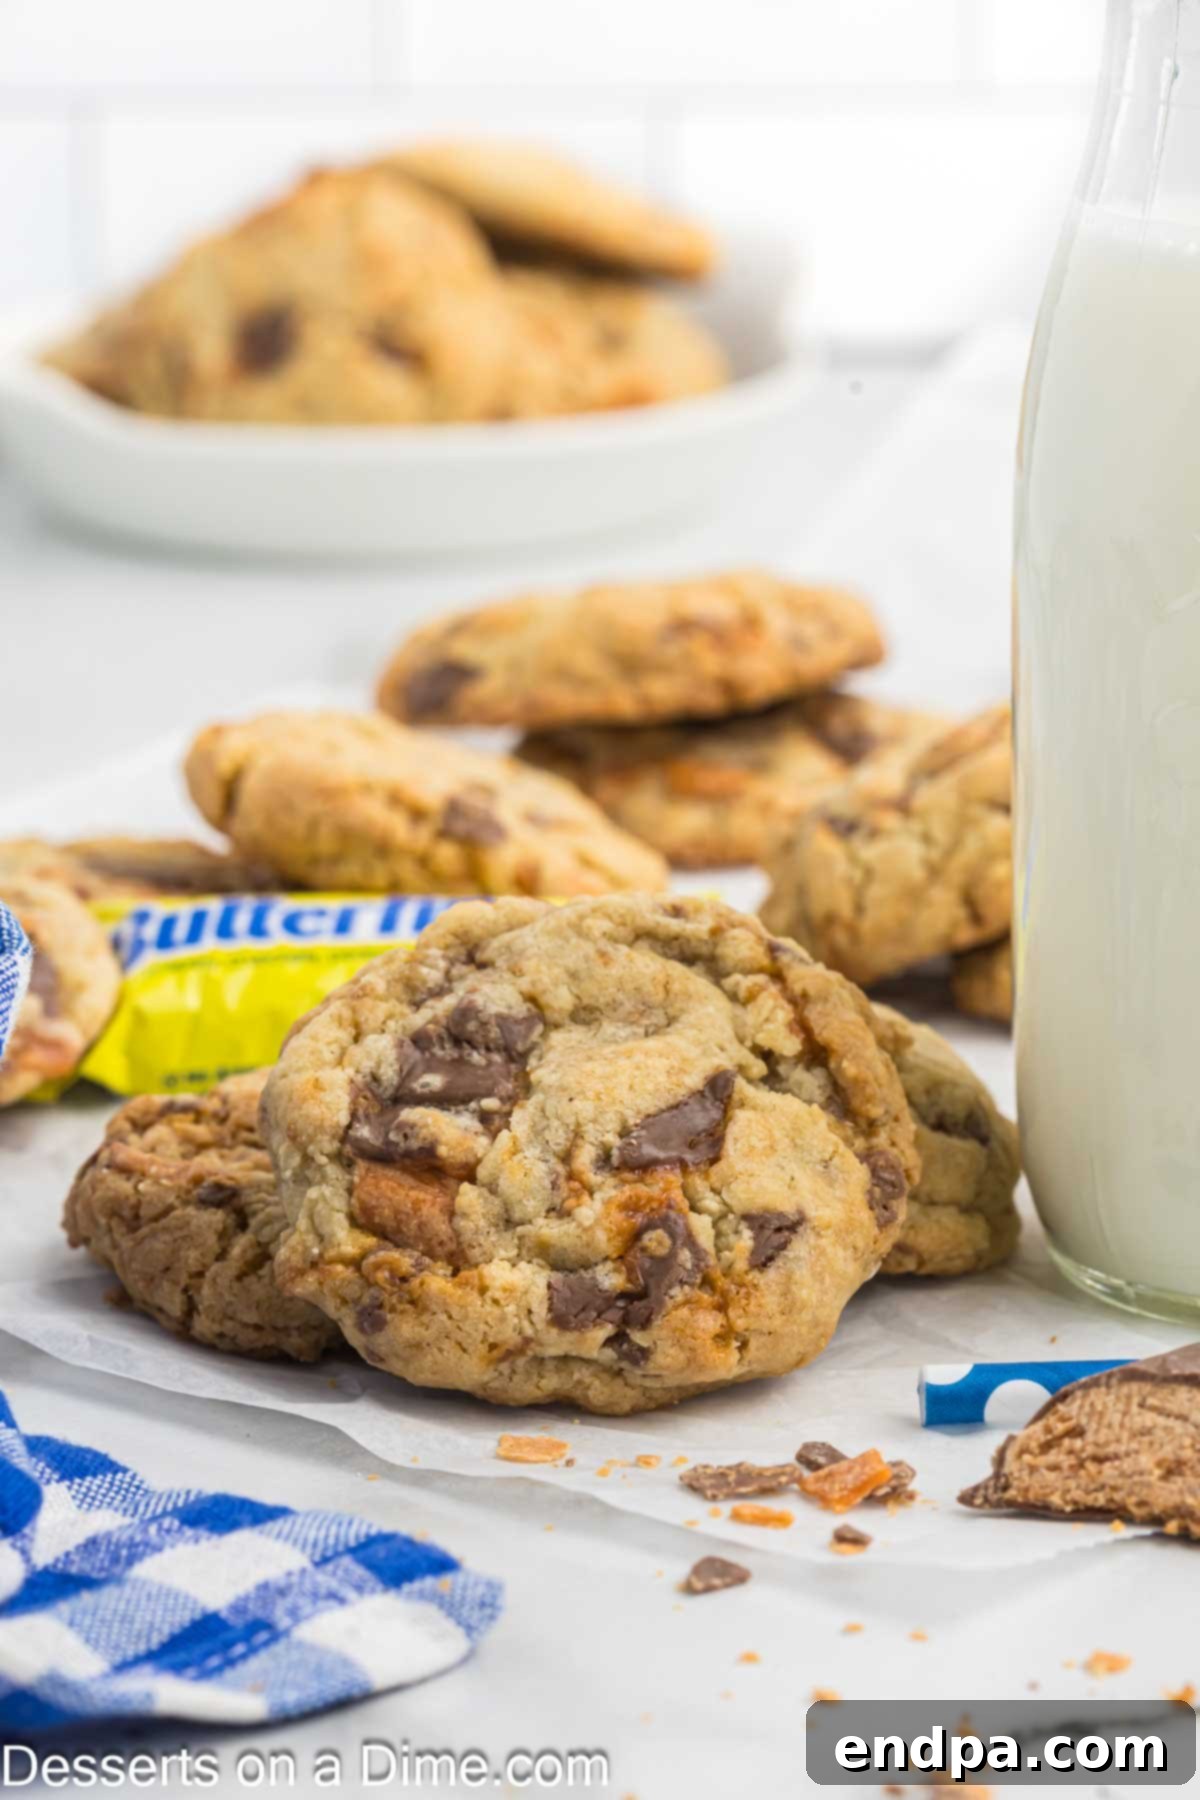
These decadent cookies boast a delightful balance: a tender interior gives way to the crispy, flaky pieces of Butterfinger, creating a truly unique and satisfying experience. Baking with candy bars is a fantastic way to elevate your favorite cookie recipes, and these chewy Butterfinger Cookies are no exception. If you’ve enjoyed experimenting with other candy-infused treats like Milky Way Cookies, you’re in for a real treat with this new addition to your baking repertoire.
And the Butterfinger obsession doesn’t have to stop here! Extend the delightful flavor by trying our other fantastic recipes, including Butterfinger Cupcakes and a refreshing Homemade Butterfinger Ice Cream. For those who adore homemade cookies, we also highly recommend classics like snickerdoodle cookies, festive Pumpkin Cookies with Cake Mix, and timeless Old Fashioned Sugar Cookies.
Table of Contents
- Why You’ll Love These Butterfinger Cookies
- Essential Ingredients for Perfect Butterfinger Cookies
- Creative Variations and Customization Ideas
- Step-by-Step Guide to Baking Butterfinger Cookies
- Storing Your Delicious Butterfinger Cookies
- Expert Tips for Butterfinger Cookie Perfection
- Frequently Asked Questions About Butterfinger Cookies
- The Irresistible Charm of Butterfinger
- Beyond the Cookie Jar: More Butterfinger Delights
- The Ultimate Butterfinger Cookie Recipe
Why You’ll Love These Butterfinger Cookies
These Butterfinger cookies aren’t just a dessert; they’re an experience. Here’s why they’re destined to become a staple in your recipe collection:
Unbeatable Flavor & Texture
The star of the show, Butterfinger candy, brings a truly unique dimension to these cookies. You get that signature crisp, yet chewy, peanut-buttery core enrobed in chocolate, all embedded within a perfectly soft and buttery cookie dough. This creates a fascinating interplay of textures and a rich, sweet, and slightly salty flavor profile that’s simply addictive. It’s a symphony of chocolate and peanut butter that will delight your taste buds.
Surprisingly Simple to Bake
Don’t let the gourmet taste fool you; these cookies are incredibly straightforward to prepare. With minimal prep time and common baking techniques, even novice bakers can achieve impressive results. The recipe relies on standard kitchen equipment and clear instructions, making it a stress-free baking project perfect for a spontaneous craving or a quick treat for guests.
Made with Common Pantry Ingredients
You likely have most of the ingredients for this homemade cookie recipe already in your pantry. Basic baking staples like flour, sugar, butter, and eggs form the foundation, with the exciting addition of Butterfinger candy bars. This accessibility makes it an ideal recipe to whip up whenever the mood strikes, without a special trip to the grocery store.
Perfect for Any Occasion
Whether you’re looking for an everyday indulgence, a crowd-pleasing dessert for a party, a homemade gift, or a festive treat for holidays, these Butterfinger cookies fit the bill. Their unique appeal makes them a conversation starter and a guaranteed hit with both children and adults. They’re particularly wonderful for Halloween with leftover fun-sized candy, but frankly, they’re too good to reserve for just one season!
Essential Ingredients for Perfect Butterfinger Cookies
Crafting the perfect Butterfinger cookie starts with understanding the role each ingredient plays. Using quality ingredients and proper measuring techniques will ensure a deliciously consistent batch every time.
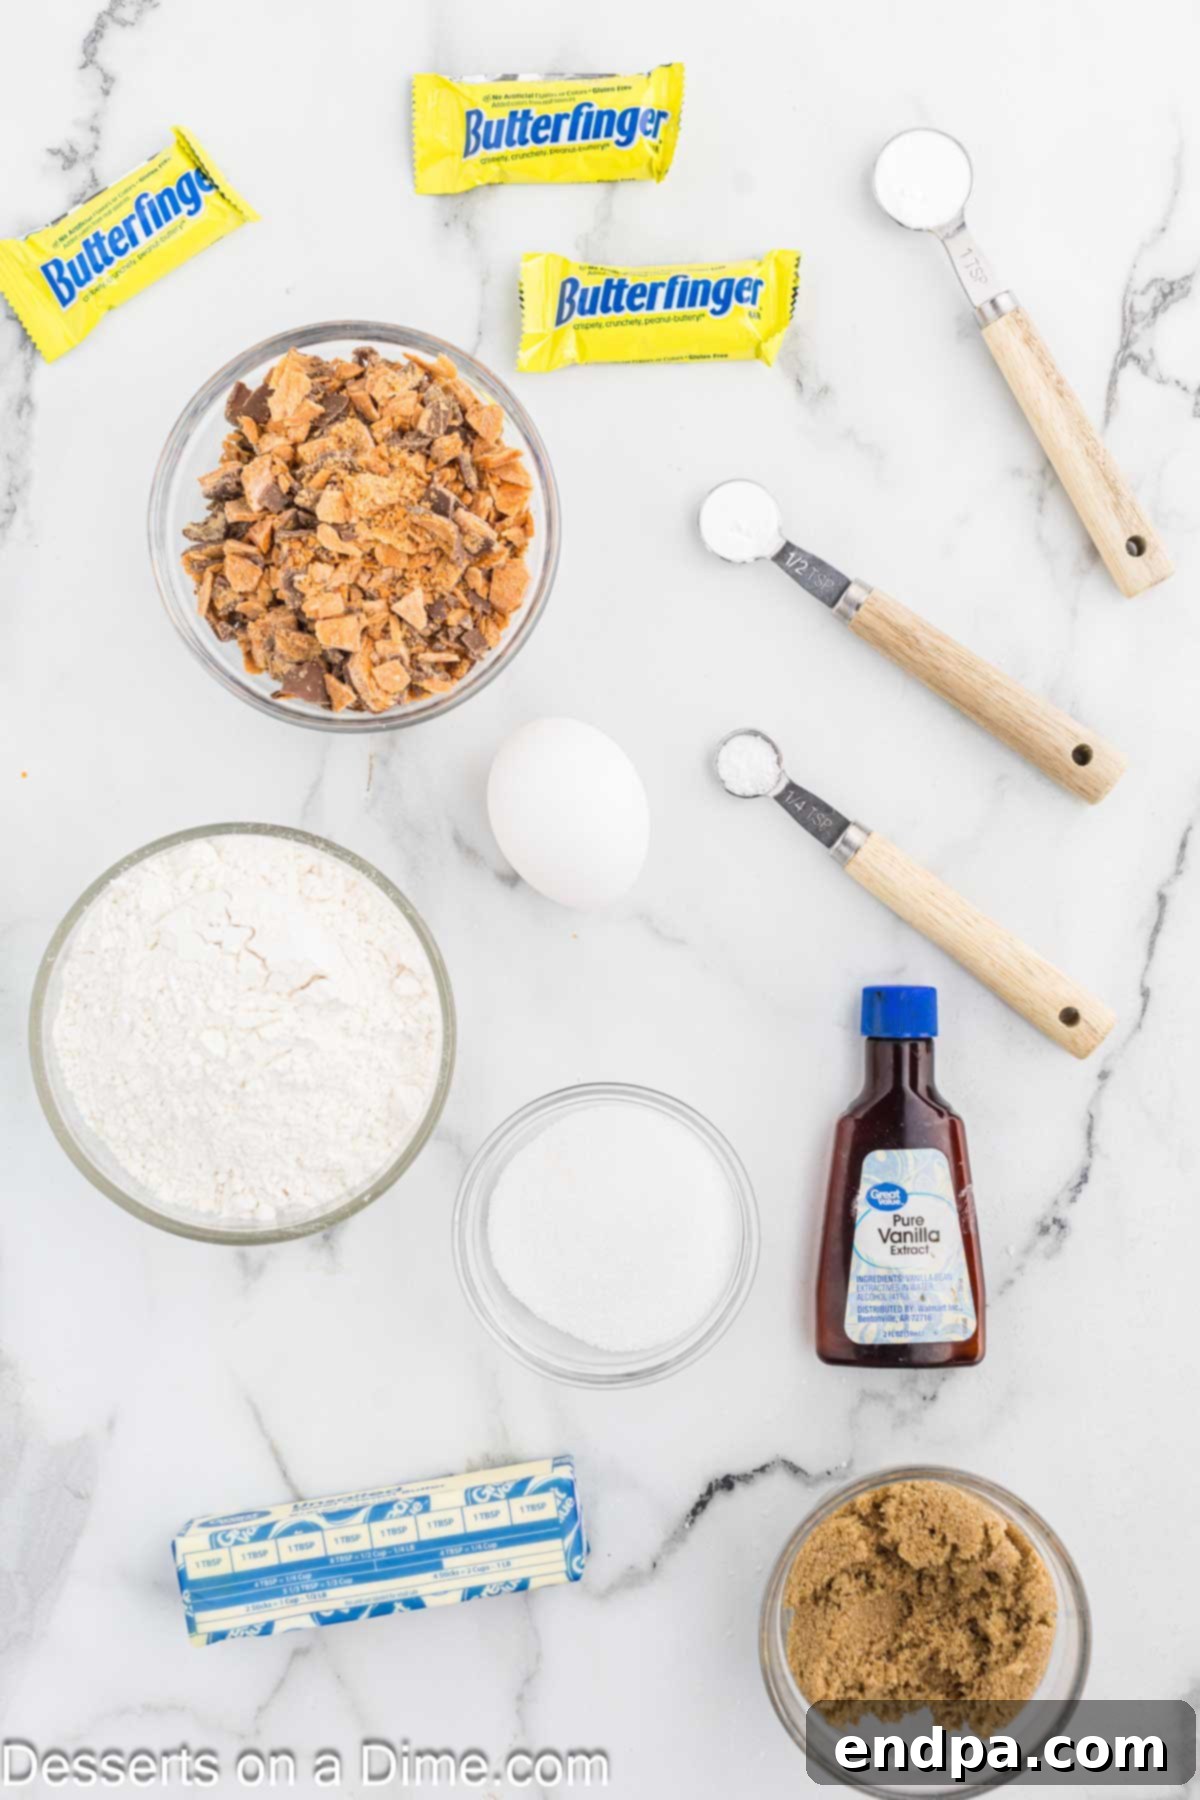
- All-Purpose Flour: The foundation of our cookie structure. For best results, spoon the flour into your measuring cup and then level it off with a straight edge. Scooping directly can pack too much flour, leading to dense, dry cookies.
- Brown Sugar: Adds moisture, chewiness, and a lovely caramel note to the cookies. You can even try a Homemade Brown Sugar Recipe for an extra touch.
- Granulated Sugar: Contributes to the crisp edges and helps the cookies spread slightly, balancing the chewiness from the brown sugar.
- Large Egg: Acts as a binder and adds richness. Ensure your egg is at room temperature before adding it to the batter for better emulsification and a smoother dough.
- Vanilla Extract: Use pure vanilla extract for the best flavor. It enhances all the other sweet notes in the cookie.
- Salted Butter: Provides richness and helps with the tender texture. Allow your butter to soften at room temperature so it creams easily with the sugars. If you only have unsalted butter, simply add an extra pinch of salt to the dry ingredients.
- Baking Soda: A leavening agent that helps the cookies rise and spread, contributing to their signature chewiness. For substitutes, you can explore Best Baking Soda Substitutes.
- Baking Powder: Another leavening agent that works alongside baking soda to give the cookies a soft lift.
- Salt: Essential for balancing the sweetness and enhancing the overall flavor of the cookies, making them taste even richer.
- Chopped Butterfinger Candy Bars: The star ingredient! Roughly chop them into small pieces. This is perfect for using up leftover fun-size bars from Halloween or any full-sized bars you have on hand. Freezing them for a few minutes before chopping can prevent them from melting too much as you work.
Creative Variations and Customization Ideas
While these Butterfinger cookies are spectacular on their own, don’t hesitate to get creative and customize them to your liking. Here are a few ideas to get you started:
- Chocolate Chips: Enhance the chocolate flavor by adding a handful of chocolate chips to the batter alongside the Butterfinger pieces. Milk, semi-sweet, dark, or even white chocolate chips would be delicious.
- Sea Salt Sprinkle: For an irresistible sweet and salty combination, sprinkle a touch of flaky sea salt on top of the cookie dough balls before baking. This simple addition elevates the flavors beautifully.
- Peanut Butter Swirl: For ultimate peanut butter lovers, gently swirl a tablespoon or two of creamy peanut butter into the dough just before adding the Butterfinger pieces.
- Chocolate Drizzle: Once cooled, melt some chocolate (milk, dark, or white) and drizzle it artfully over the finished cookies for an extra touch of elegance and flavor.
- Nutty Additions: Consider adding a quarter cup of chopped peanuts, pecans, or walnuts to the dough for an additional layer of crunch and nutty flavor.
- Spiced Up: A tiny pinch of cinnamon or a hint of nutmeg can add a warm, cozy undertone that complements the peanut butter and chocolate.
Step-by-Step Guide to Baking Butterfinger Cookies
Follow these detailed instructions to achieve perfect Butterfinger cookies every time. Precision and attention to detail make all the difference!
- Prepare Your Oven: Begin by preheating your oven to 350 degrees Fahrenheit (175 degrees Celsius). This ensures the oven is at the correct temperature for even baking. Line your baking sheets with parchment paper or silicone baking mats to prevent sticking and aid in easy cleanup.

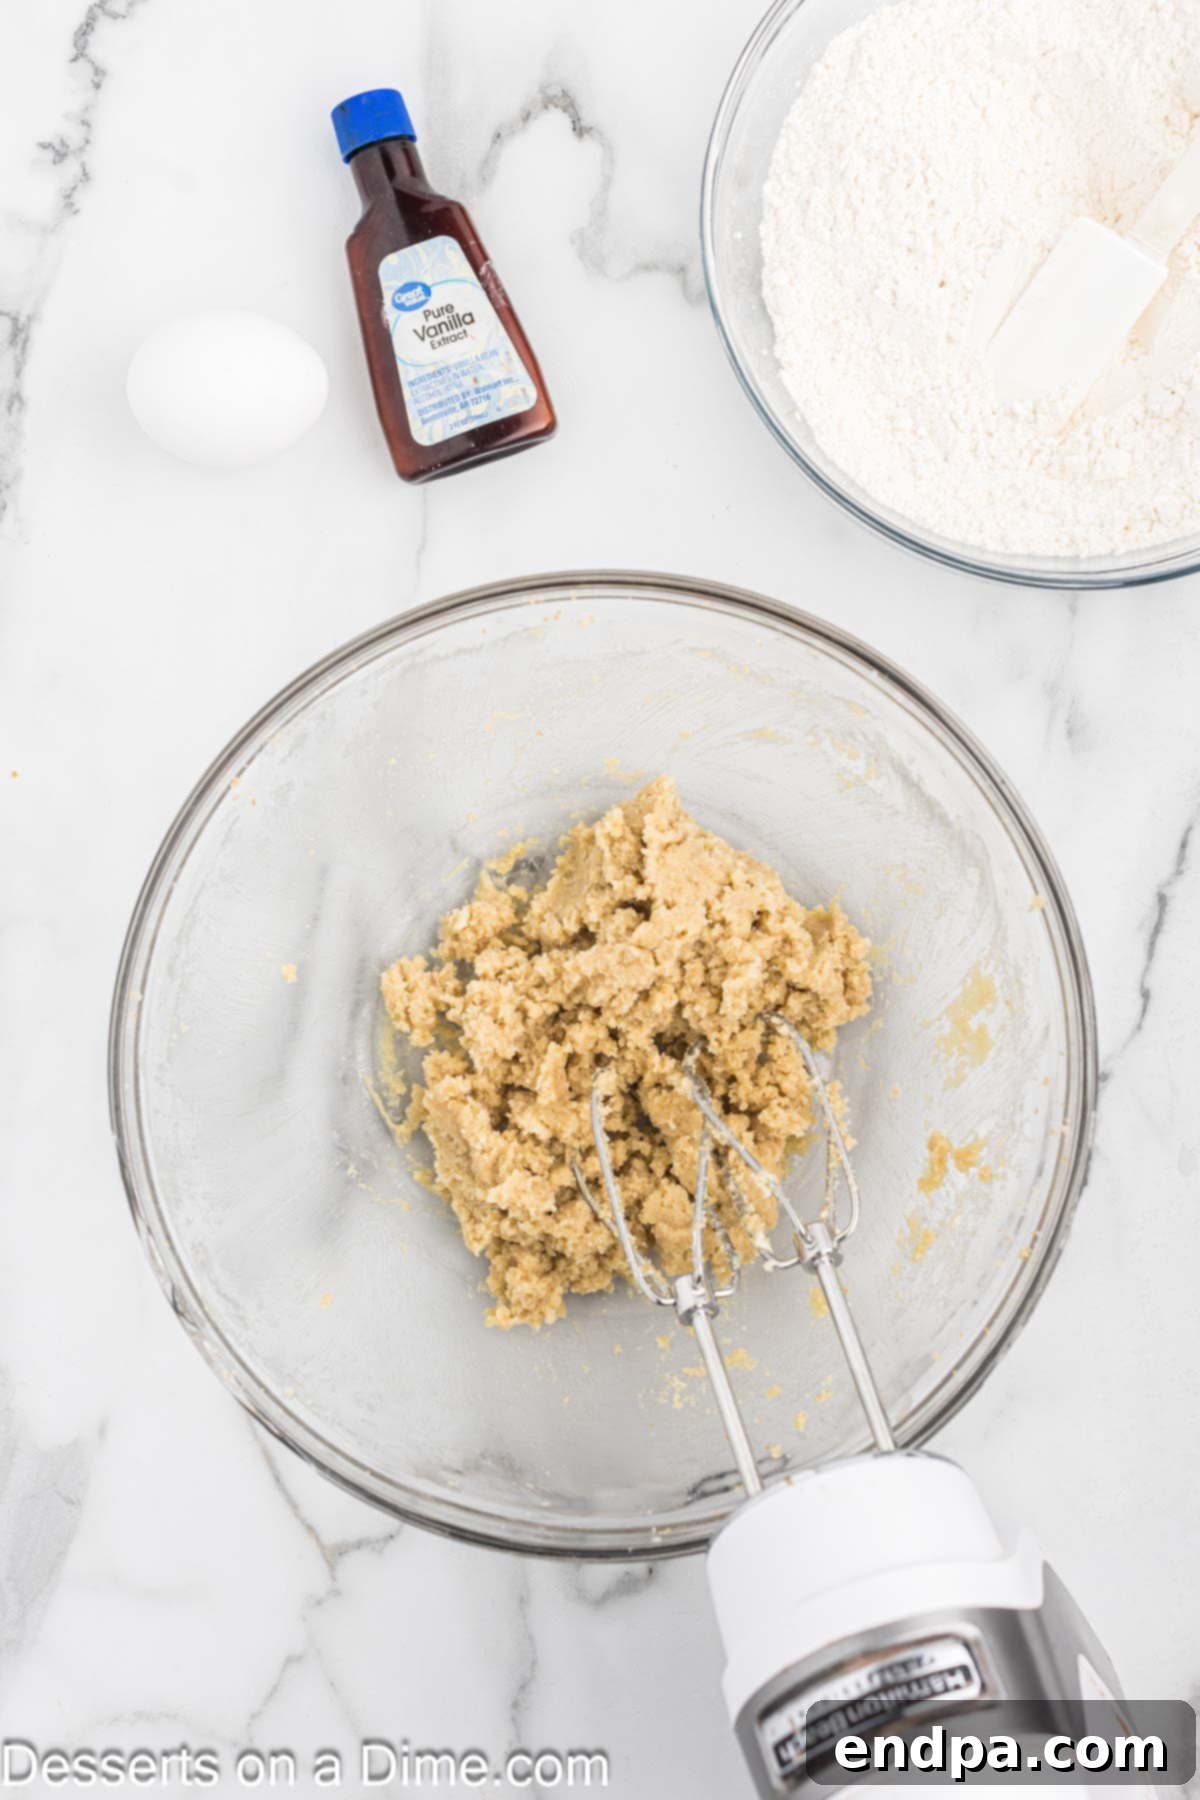
Cream Butter and Sugars: In a medium mixing bowl, combine the softened salted butter, granulated sugar, and brown sugar. Using either a hand mixer or a stand mixer with the paddle attachment, cream these ingredients together on medium speed until the mixture is light, fluffy, and creamy, usually about 2-3 minutes. This process incorporates air, which contributes to the cookies’ texture.

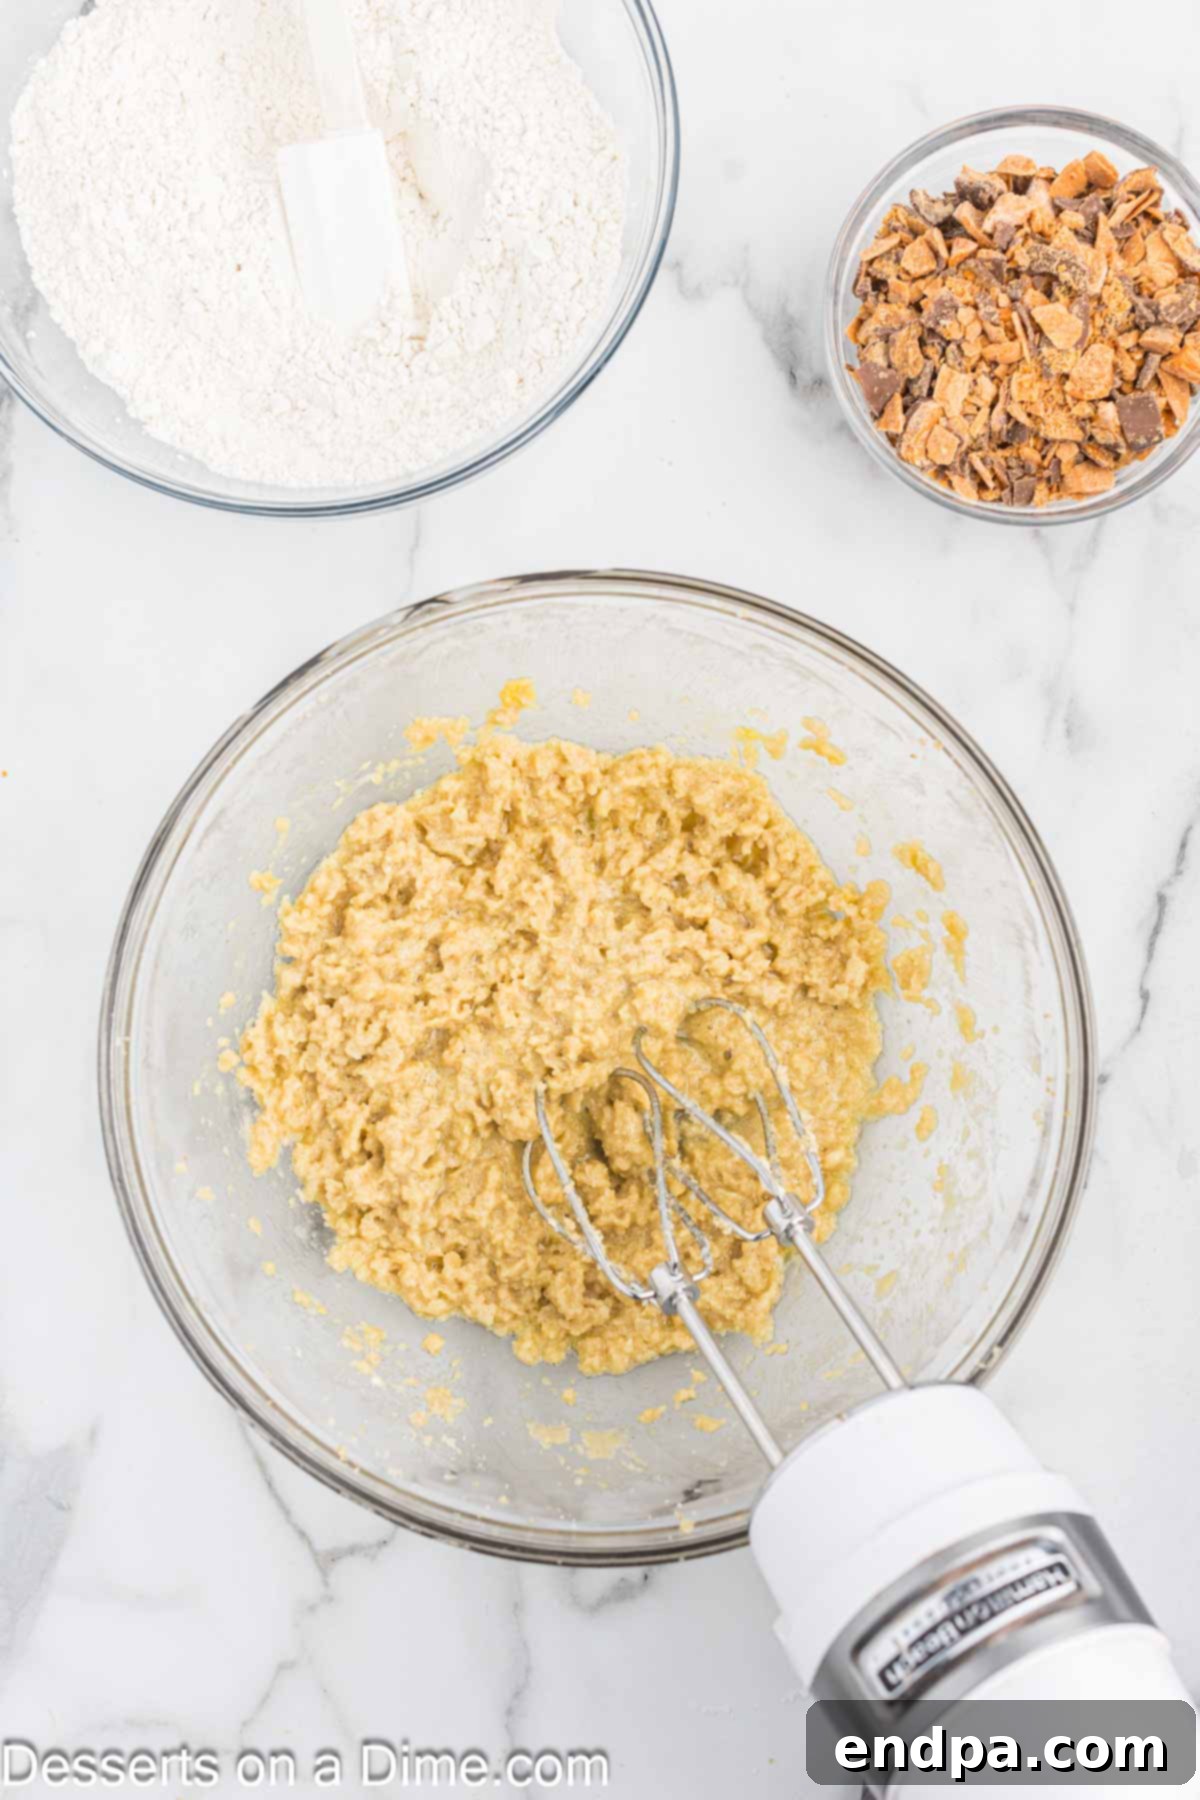
Incorporate Wet Ingredients: Add the room temperature large egg and pure vanilla extract to the creamed butter and sugar mixture. Beat until just combined, scraping down the sides of the bowl as needed. Overmixing at this stage can lead to tougher cookies.
- Whisk Dry Ingredients: In a separate, larger bowl, whisk together the all-purpose flour, baking soda, baking powder, and salt. Make sure these dry ingredients are thoroughly combined to ensure proper distribution throughout the dough.

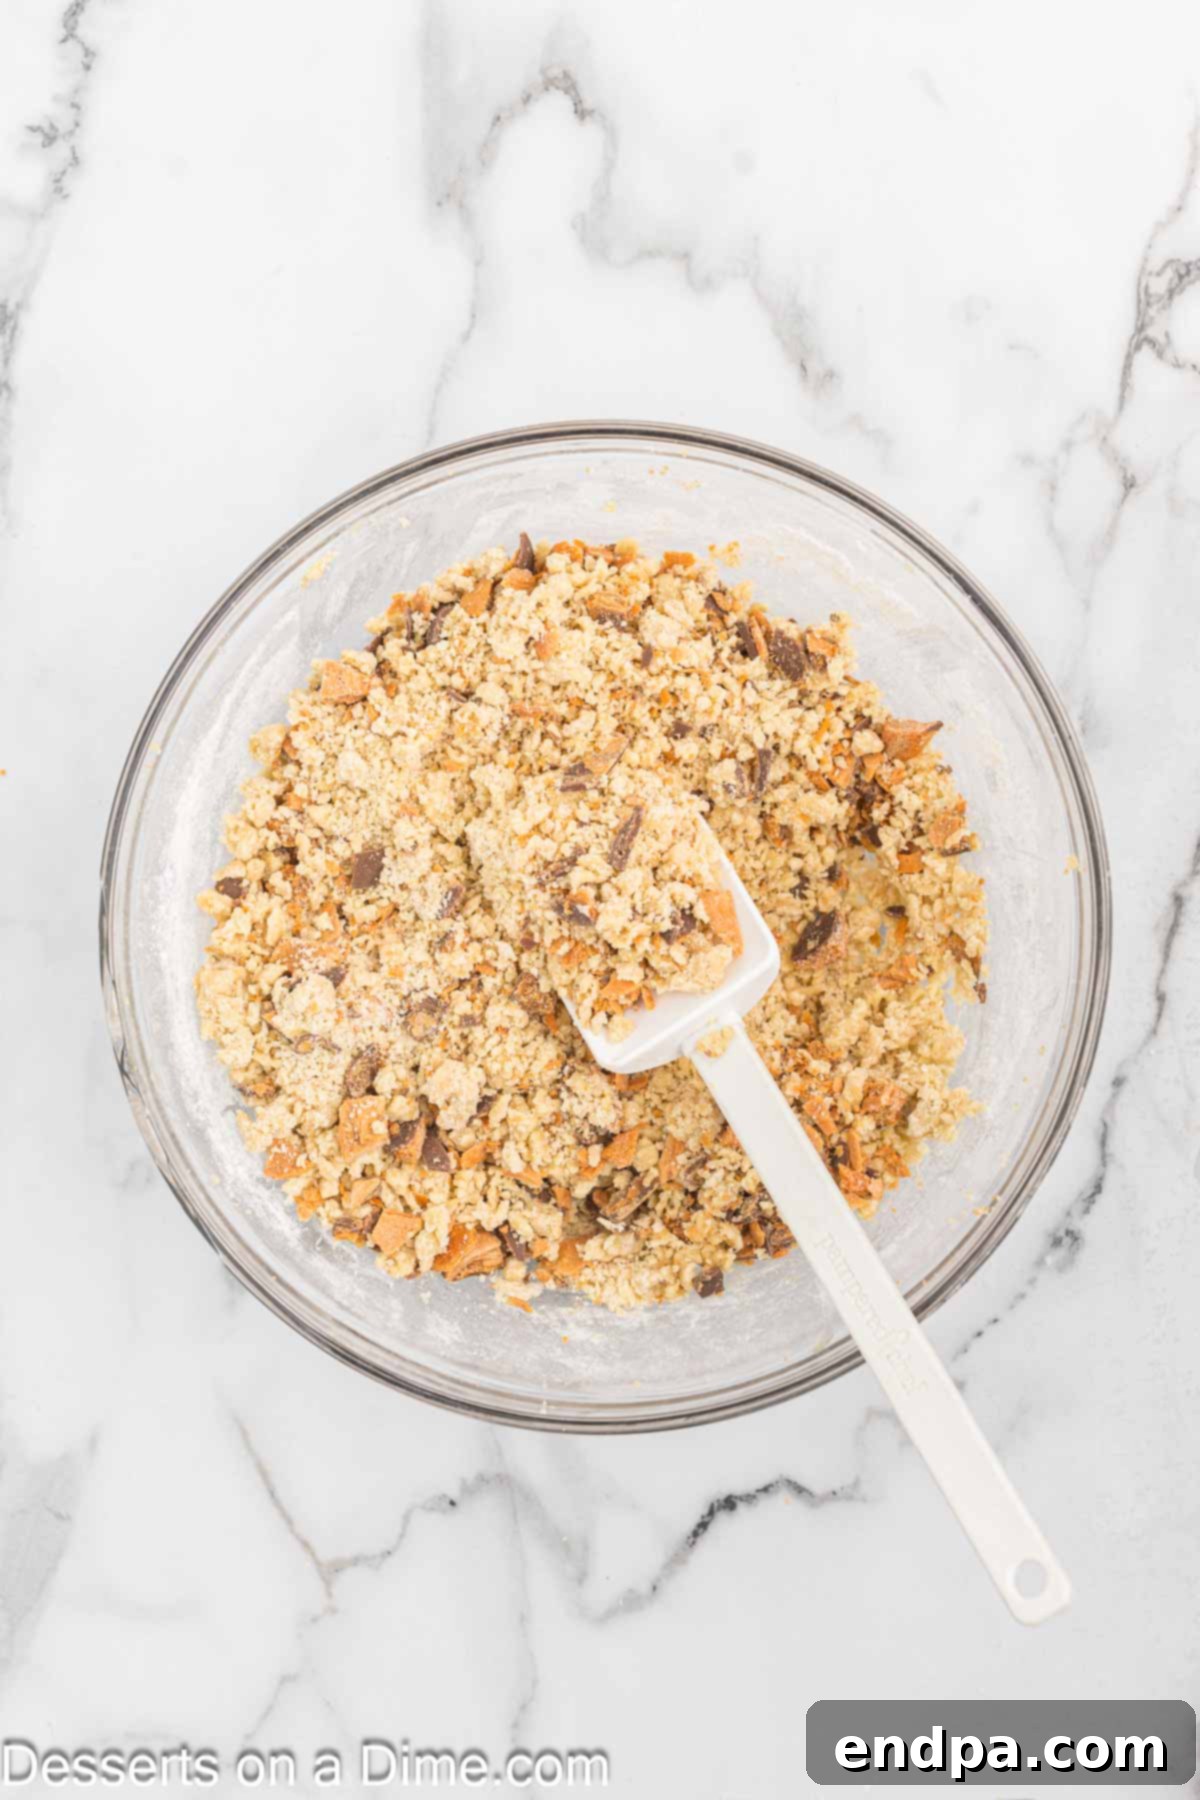
Combine and Fold: Gradually add the dry ingredients into the wet ingredients, mixing on low speed until just combined. Be careful not to overmix; stop as soon as no dry streaks of flour remain. Then, gently fold in the chopped Butterfinger candy bars using a spatula. Once the candy is evenly distributed, cover the bowl and refrigerate the dough for 15-20 minutes. Chilling the dough helps prevent excessive spreading and results in thicker cookies.

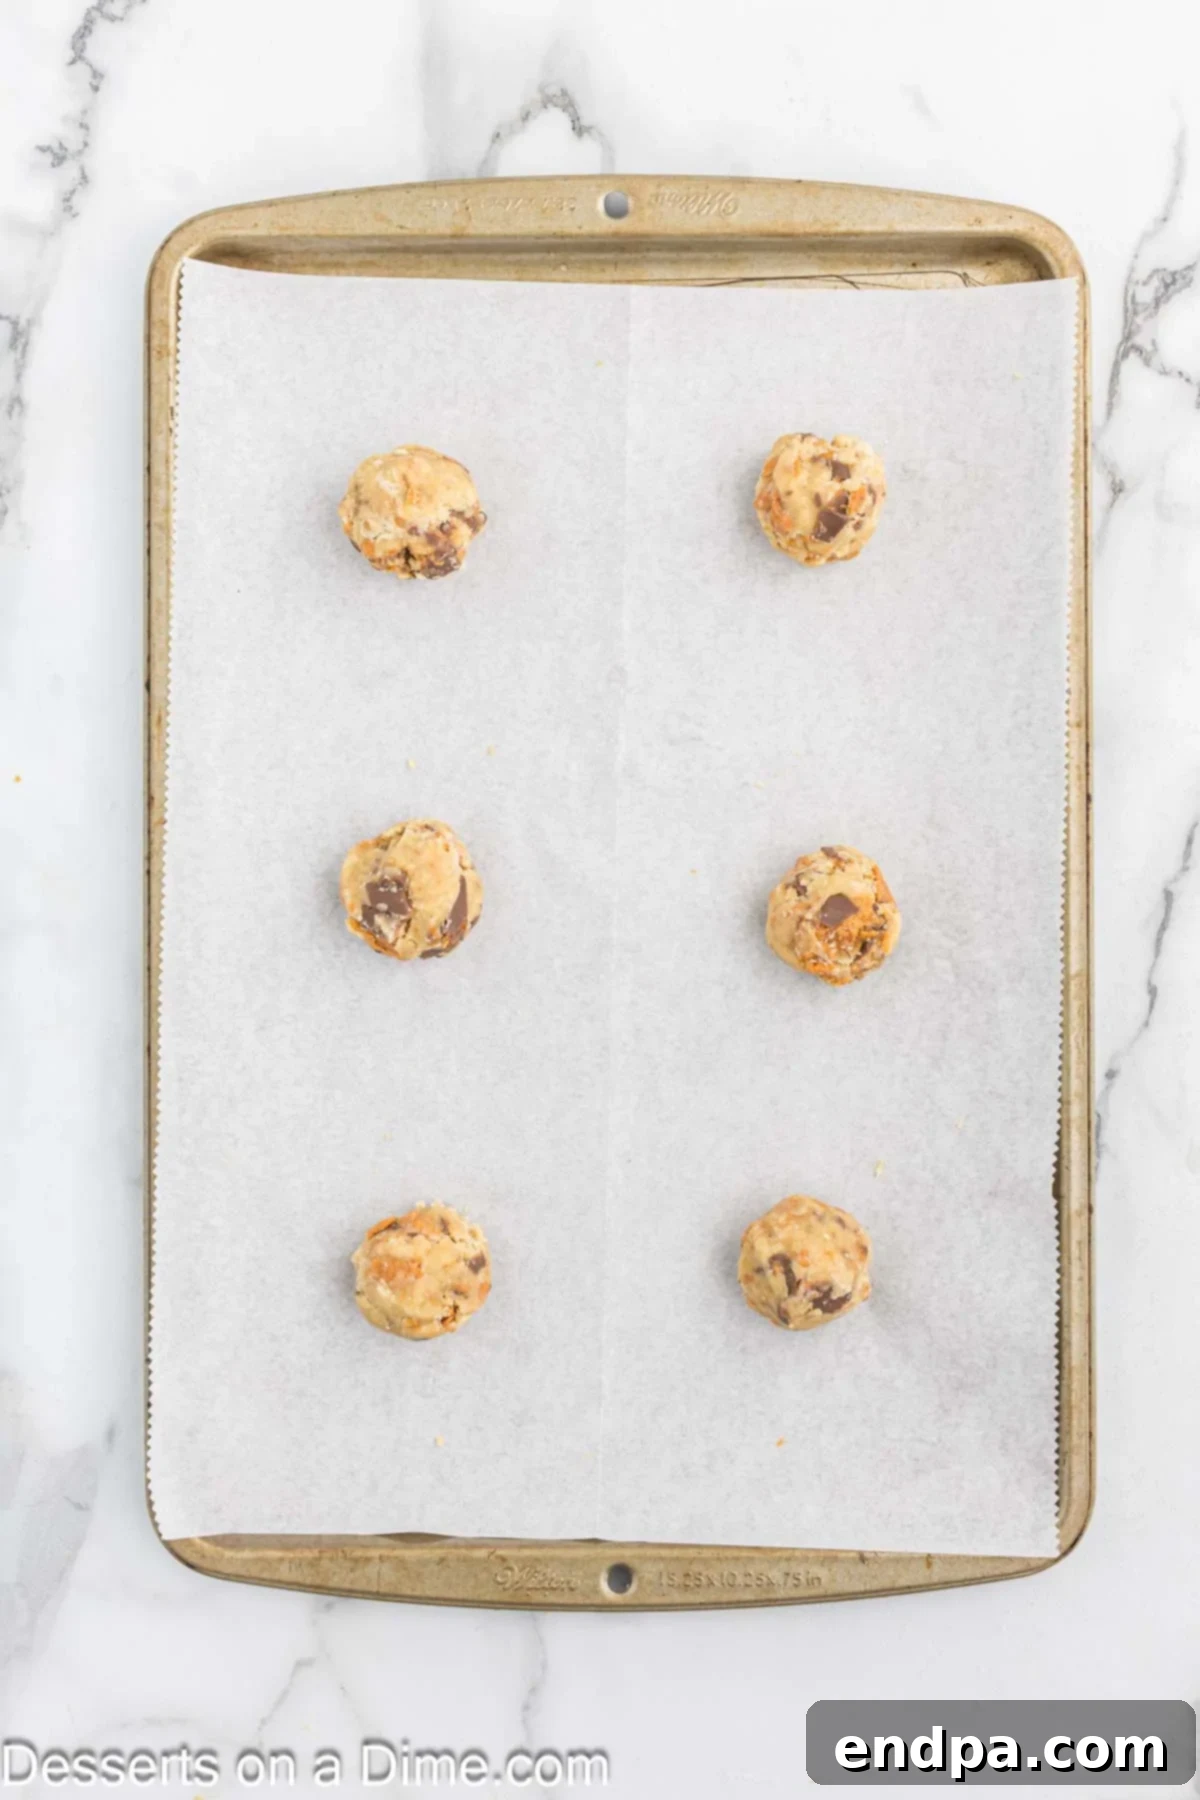
Scoop and Bake: Use a cookie scoop (about 1.5-2 tablespoons) to portion the chilled dough into uniform balls. Place the cookie dough balls onto the prepared baking sheets, leaving about 2 inches between each to allow for spreading. Bake for 10-12 minutes, or until the edges are lightly golden brown and the centers still look slightly soft. Remember that cookies continue to cook slightly after being removed from the oven.

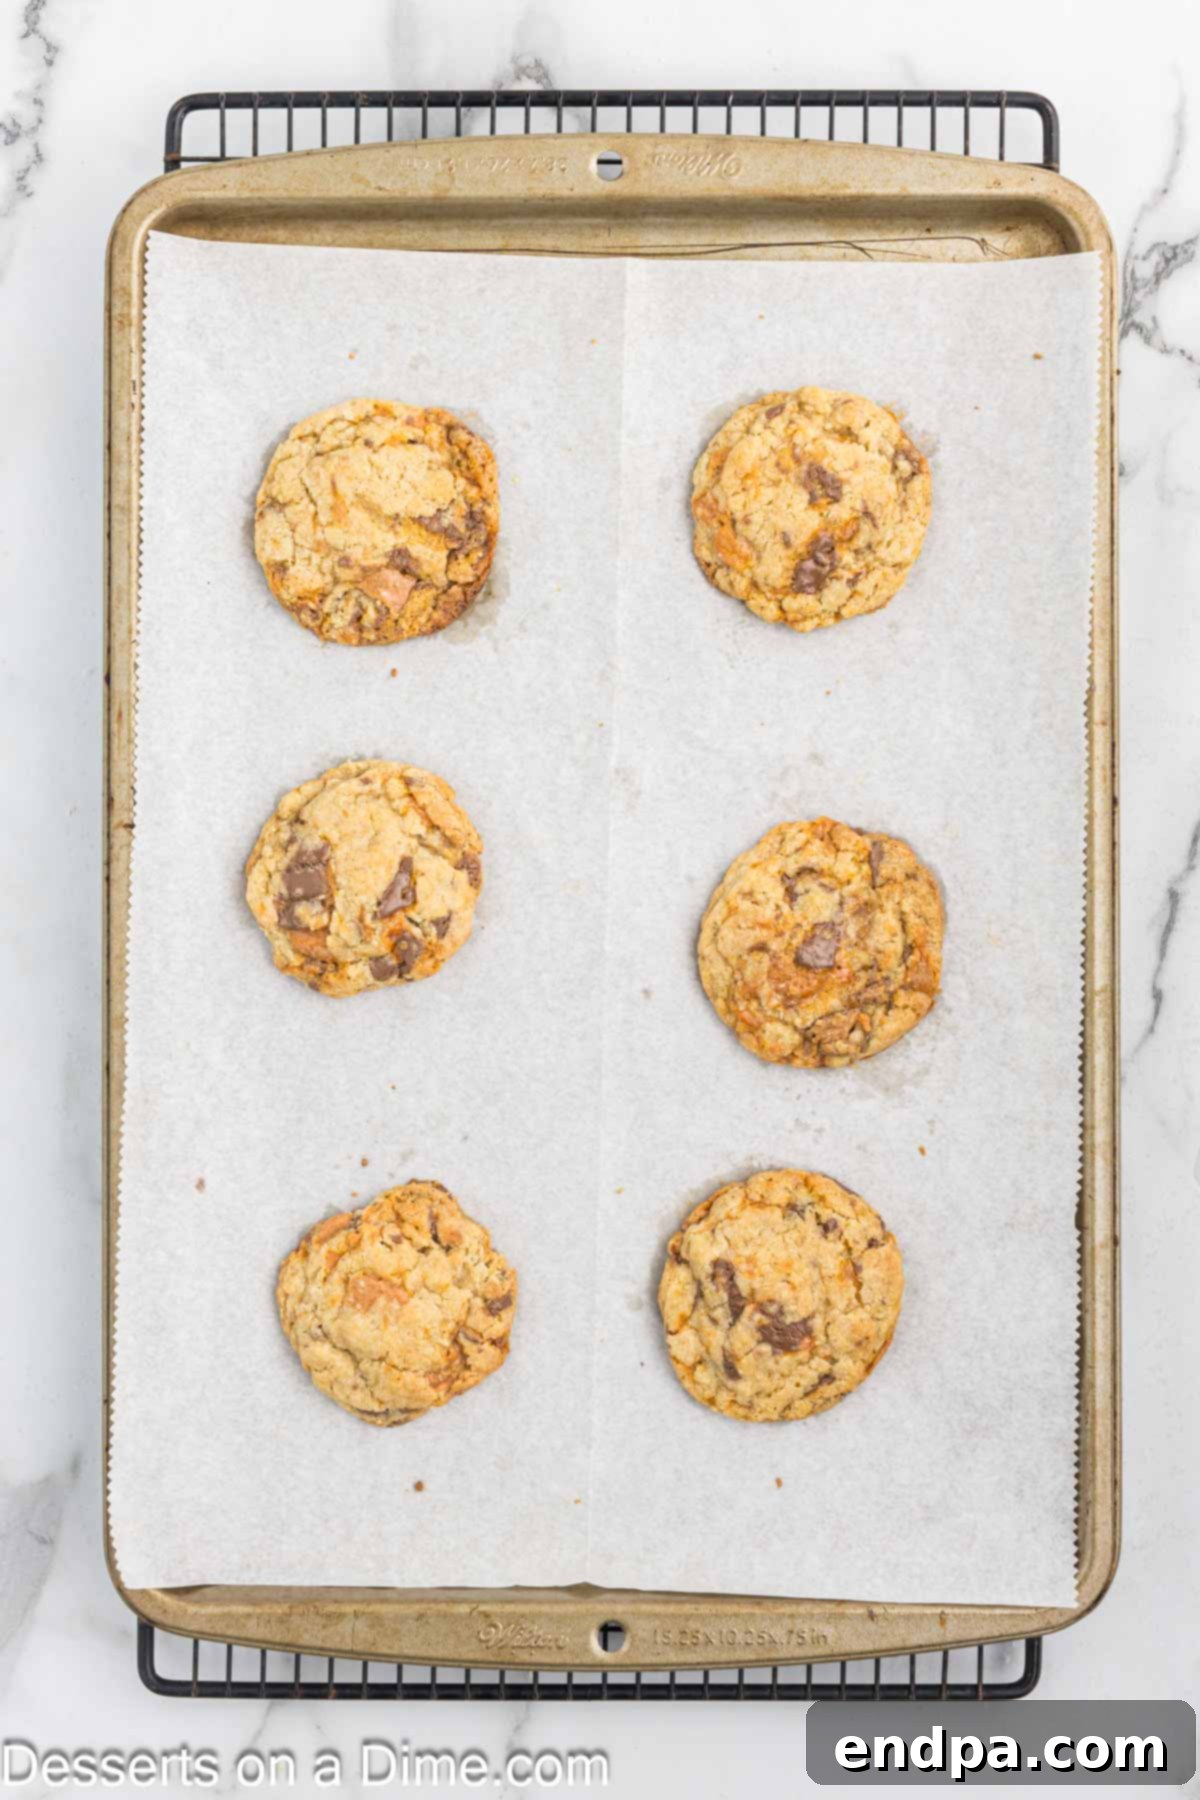
Rest on Baking Sheet: Once baked, remove the baking sheet from the oven and allow the cookies to rest on the hot sheet for 5 minutes. This crucial step allows them to set up and prevents them from breaking when transferred.

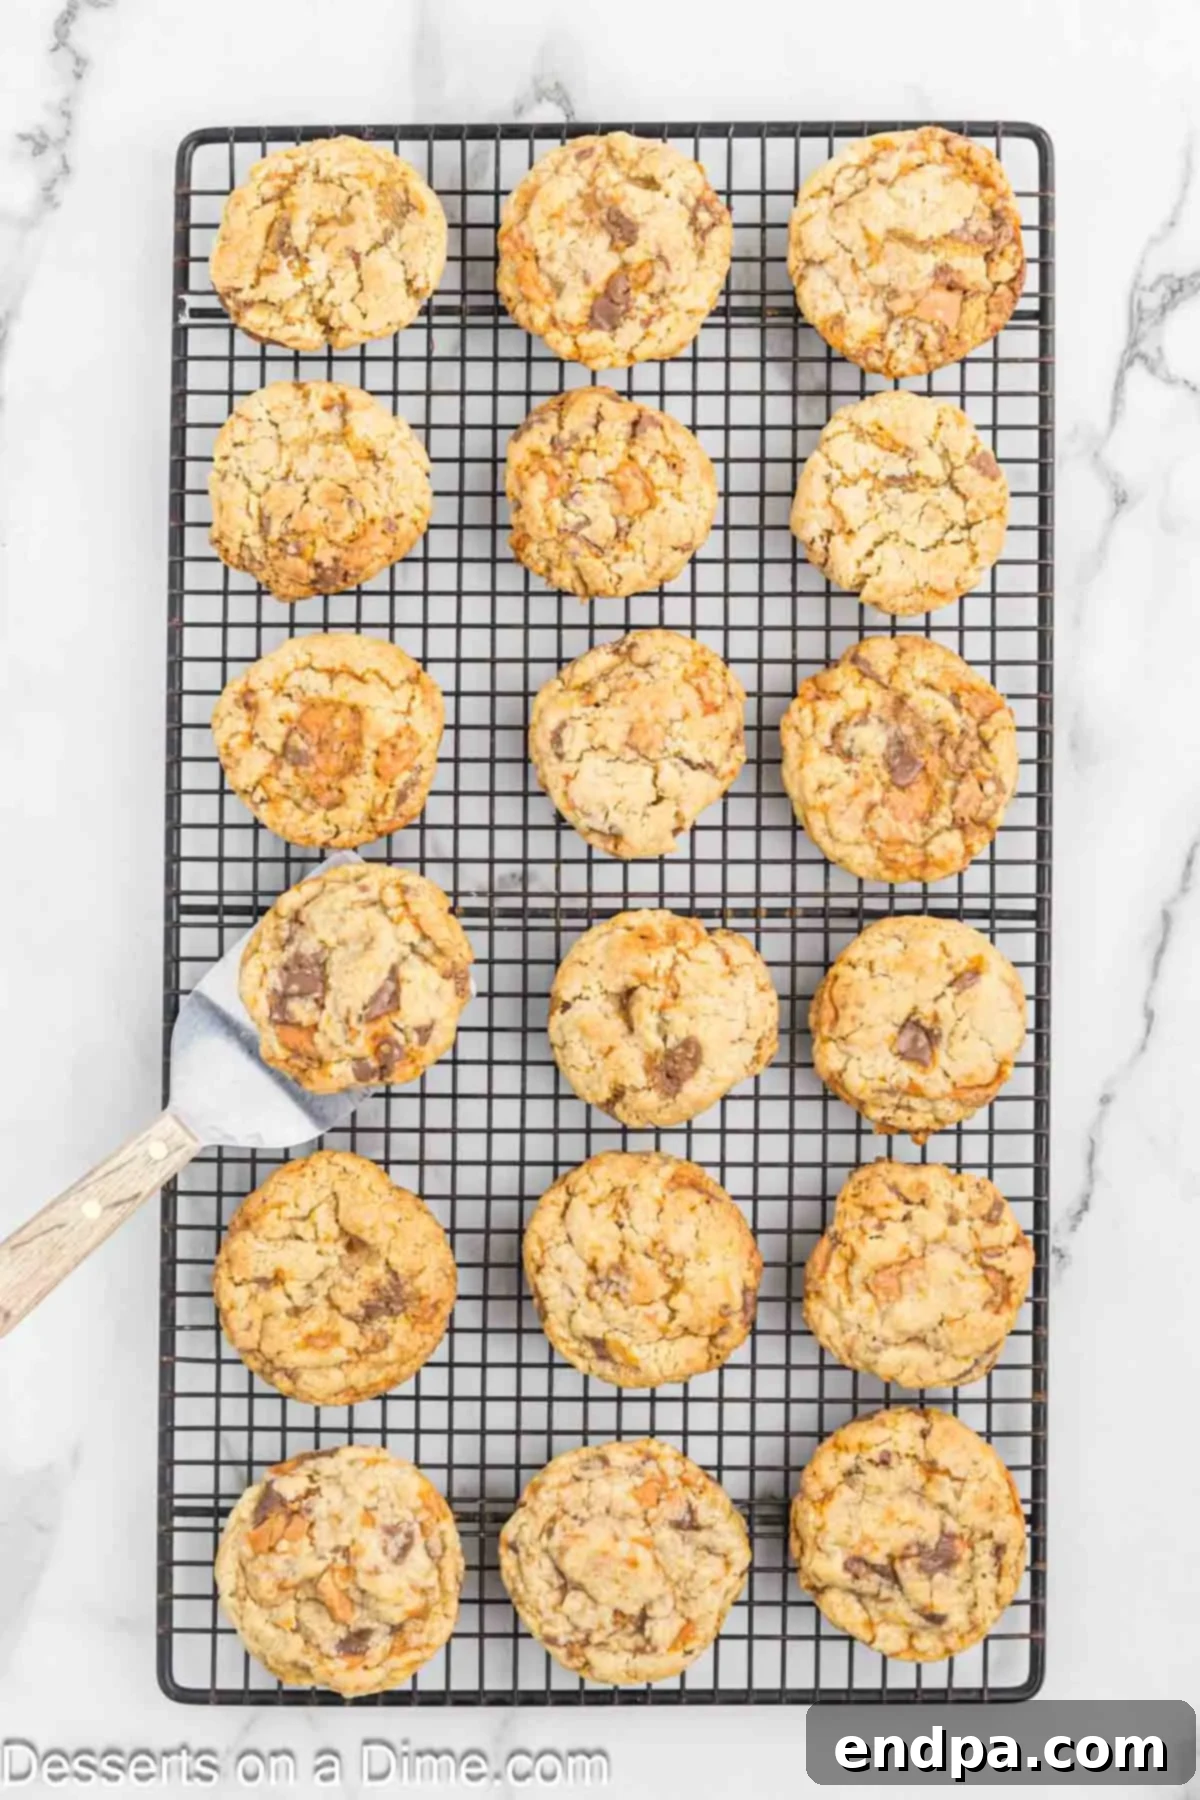
Cool Completely: After resting, carefully transfer the cookies to a wire rack to cool completely. They will firm up further as they cool, achieving that perfect chewy-crispy texture. Once fully cooled, they are ready to be served and enjoyed!
Storing Your Delicious Butterfinger Cookies
Proper storage ensures your Butterfinger cookies remain fresh and delicious for as long as possible. Here are our best tips for both short-term and long-term enjoyment:
Short-Term Storage
Once completely cooled, store your baked Butterfinger cookies in an airtight container or a heavy-duty zip-top bag at room temperature. They will remain fresh and chewy for up to 1 week. To keep them extra soft, you can place a slice of bread in the container with the cookies; the cookies will absorb moisture from the bread.
Freezing Baked Cookies
Baked Butterfinger cookies freeze wonderfully! Arrange completely cooled cookies in a single layer on a baking sheet and freeze for about an hour until firm. Then, transfer the frozen cookies to an airtight freezer-safe container or bag, separating layers with parchment paper to prevent sticking. They can be stored in the freezer for up to 2-3 months. Thaw at room temperature for a few hours before serving.
Freezing Cookie Dough
You can also freeze the unbaked cookie dough for a quick treat later! After chilling the dough, scoop it into individual balls and place them on a parchment-lined baking sheet. Freeze until solid, then transfer the frozen dough balls to an airtight freezer-safe bag or container. Frozen dough can be stored for up to 3 months. When ready to bake, place the frozen dough balls on a prepared baking sheet and bake for an additional 2-3 minutes compared to the fresh dough, or until golden brown.
Expert Tips for Butterfinger Cookie Perfection
Achieving bakery-quality Butterfinger cookies is easy with these expert tips:
- Don’t Overbake the Cookies: This is perhaps the most crucial tip for chewy cookies. Remove the cookies from the oven when the edges are set and lightly browned, but the centers still look slightly soft and underbaked. They will continue to firm up and cook through during the cooling process on the hot baking sheet.
- Room Temperature Ingredients are Key: Ensure all your perishable ingredients, especially butter and eggs, are at room temperature before combining them. Room temperature butter creams better with sugar, creating a smoother, more uniform dough, and room temperature eggs emulsify more easily into the mixture, resulting in a lighter, fluffier texture.
- Measure Flour Accurately: For precise baking, use the spoon and level method for measuring flour. Gently spoon flour into your measuring cup until it overflows, then level it off with the back of a knife. Avoid scooping directly from the bag, as this can compact the flour and add too much to your recipe, leading to dry and dense cookies.
- The Magic of Chilling the Dough: While chilling the dough is optional, we highly recommend it for superior results. Chilling the dough for at least 15-20 minutes, or even up to an hour, solidifies the butter, preventing the cookies from spreading too much in the oven. This results in thicker, chewier cookies with a more concentrated flavor. If you prefer thinner, crispier cookies, you can skip this step.
- Freeze Candy Bars Before Chopping: To make chopping Butterfinger candy bars easier and less messy, place them in the freezer for about 5-10 minutes before cutting. This firms them up, preventing the flaky peanut butter from crumbling excessively and the chocolate from melting onto your hands.
- Line the Pan: Always line your baking sheets with parchment paper or a silicone baking mat. This ensures the cookies don’t stick, promotes even baking, and makes cleanup a breeze.
- Use a Cookie Scoop for Uniformity: A cookie scoop helps create perfectly uniform cookie dough balls, which means your cookies will bake evenly and look professional. Consistent size leads to consistent baking times.
- Avoid Overmixing the Dough: Once you add the dry ingredients to the wet, mix only until just combined. Overmixing develops the gluten in the flour, which can lead to tough, dense cookies. A few streaks of flour are better than an overmixed batter before the Butterfinger pieces are folded in.
Frequently Asked Questions About Butterfinger Cookies
Here are answers to some common questions about making Butterfinger cookies:
Chilling the cookie dough for at least 15-20 minutes before baking is the best way to prevent excessive spreading. This allows the butter in the dough to firm up, helping the cookies hold their shape. Ensuring your butter isn’t too soft or melted when you start can also help.
Several factors can contribute to dense cookies. You might have overmixed the batter after adding the flour, which develops gluten and makes cookies tough. Alternatively, you could have used too much flour (often due to improperly scooping it), or your leavening agents (baking soda/powder) might be old or ineffective.
These cookies tend to be slightly thinner than traditional puffy chocolate chip cookies. The nature of the Butterfinger candy pieces in the dough, particularly the peanut butter core, can cause the cookies to spread a little more during baking, resulting in a delightfully chewy, slightly thinner cookie rather than a super thick, cakey one.
Yes, absolutely! Using pre-packaged Butterfinger bits (often found in the baking aisle) is a convenient shortcut. Just be sure to measure the correct quantity as specified in the recipe. The texture might be slightly different than freshly chopped bars, but the flavor will still be fantastic.
While we haven’t tested it specifically, you can often substitute all-purpose flour with a 1:1 gluten-free baking flour blend (ensure it contains xanthan gum) in cookie recipes. Results may vary slightly in texture, but it’s worth a try if you need a gluten-free option.
The Irresistible Charm of Butterfinger
What makes a Butterfinger cookie so uniquely appealing? It’s the distinctive character of the Butterfinger candy bar itself. Unlike other chocolate bars, Butterfinger boasts a crisp, flaky, and crunchy peanut butter core that shatters with every bite. This unique texture, combined with its rich chocolatey coating and intense peanut flavor, sets it apart. When incorporated into a cookie, that playful crunch becomes a delightful surprise, adding an unexpected dimension to a classic dessert. The candy pieces soften slightly in the oven, creating pockets of gooey, peanut-buttery bliss intertwined with the cookie’s chewiness. It’s a nostalgic flavor that translates perfectly into a comforting, homemade treat, satisfying both your candy craving and your cookie craving in one delicious package.
Beyond the Cookie Jar: More Butterfinger Delights
If these Butterfinger Cookies have captured your heart, you’ll be thrilled to discover the versatility of Butterfinger candy in other dessert applications. Its unique flavor and texture make it a fantastic ingredient to experiment with, adding a crunchy, peanut-buttery punch to a variety of treats. From no-bake wonders to impressive cakes, Butterfinger can elevate any sweet creation. Don’t limit yourself to just cookies; let your Butterfinger journey continue with these other delightful recipes!
More Butterfinger Recipes
No Bake Dessert
Butterfinger Pie Recipe
Cakes
Butterfinger Cake
No Bake Dessert
Butterfinger Balls
The Ultimate Butterfinger Cookie Recipe
Get ready to bake a batch of these extraordinary Butterfinger Cookies. This recipe combines simplicity with incredible flavor, making it a perfect choice for any baker. Enjoy the crisp, chewy texture and the delightful peanut butter crunch in every bite!
Butterfinger Cookies
Rating: 5 out of 5 stars (based on 1 review)
Prep Time: 30 minutes
Cook Time: 10 minutes
Resting Time (on baking sheet): 5 minutes
Total Time: 45 minutes
Yields: 24 cookies
Cuisine: American
Course: Dessert
Author: Carrie Barnard
Ingredients
- 1 3/4 cups All-Purpose Flour
- 1/2 cup Brown Sugar
- 1/4 cup Granulated Sugar
- 1 Large Egg (room temperature)
- 1 teaspoon Vanilla Extract
- 1/2 cup Salted Butter (softened)
- 1 teaspoon Baking Soda
- 1/2 teaspoon Baking Powder
- 1/4 teaspoon Salt
- 1 cup Chopped Butterfingers (approximately 8 fun size Butterfingers)
Instructions
- Preheat the oven to 350 degrees Fahrenheit (175°C). Line baking sheets with parchment paper.
- In a medium bowl, cream together the softened butter, granulated sugar, and brown sugar until the mixture is light and creamy.
- Stir in the room temperature egg and vanilla extract until just combined.
- In a separate bowl, whisk together the flour, baking soda, baking powder, and salt.
- Gradually add the dry ingredients into the wet butter mixture, mixing on low speed until just combined. Do not overmix.
- Gently fold the chopped Butterfingers into the cookie dough until evenly distributed.
- Cover the bowl and refrigerate the dough for 15-20 minutes. This step is optional but recommended for thicker cookies.
- Scoop the chilled cookie dough onto the prepared baking sheets, leaving about 2 inches between each cookie.
- Bake for 10-12 minutes, or until the edges are lightly golden brown and the centers are still slightly soft.
- Allow the cookies to rest on the baking sheet for 5 minutes before transferring them to a wire rack to cool completely.
- Serve and enjoy your delicious homemade Butterfinger Cookies!
Recipe Notes
- Always spoon and level your flour for accurate measurements.
- Ensure butter and egg are at room temperature for the best dough consistency.
- Chilling the dough yields thicker, chewier cookies. For thinner cookies, skip the chill time.
- Store cooled cookies in an airtight container at room temperature for up to 1 week.
Nutrition Facts (Approximate per serving)
Calories: 129kcal, Carbohydrates: 19g, Protein: 2g, Fat: 5g, Saturated Fat: 3g, Polyunsaturated Fat: 0.4g, Monounsaturated Fat: 1g, Trans Fat: 0.2g, Cholesterol: 17mg, Sodium: 130mg, Potassium: 36mg, Fiber: 0.4g, Sugar: 10g, Vitamin A: 128IU, Calcium: 15mg, Iron: 1mg.
We are so excited for you to try these incredible Butterfinger Cookies. They truly are a delightful combination of classic candy and homemade baking. Please consider sharing your experience by leaving a comment or rating once you’ve made them!
Pin This Now to Remember It Later
Pin Recipe
