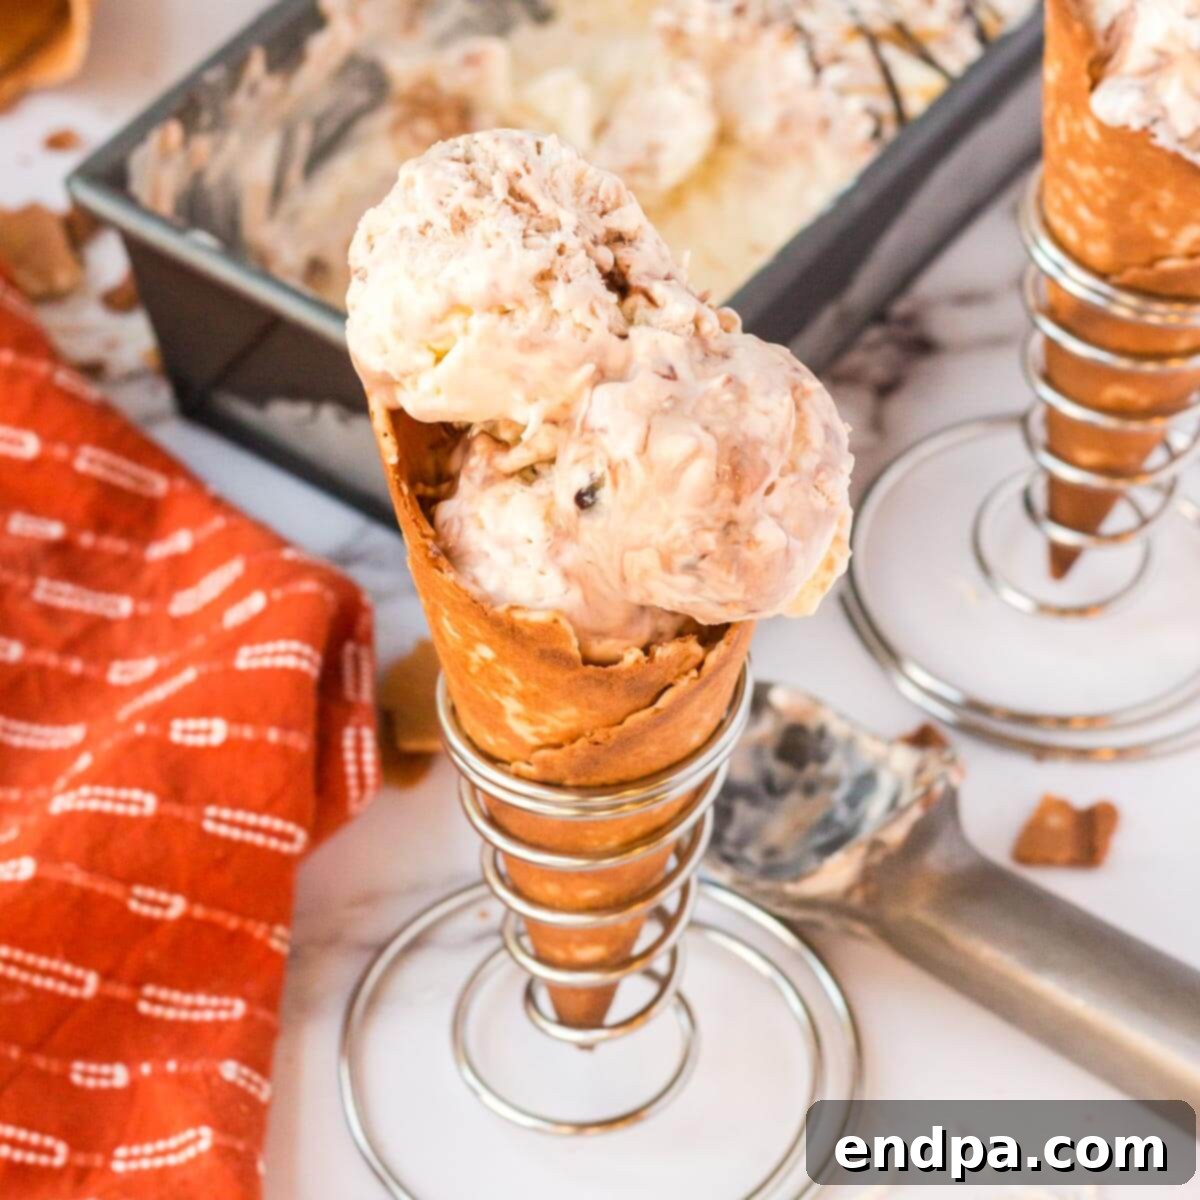
Samoa Ice Cream Recipe: Indulge in No-Churn Homemade Delight
Prepare to fall in love with our incredible Samoa Ice Cream recipe! This homemade, no-churn sensation brings together all the beloved flavors of your favorite Girl Scout cookie – the classic Samoa. Each decadent spoonful is a harmonious blend of toasted coconut, rich chocolate, and luscious caramel, creating a frozen treat that’s impossible to resist.
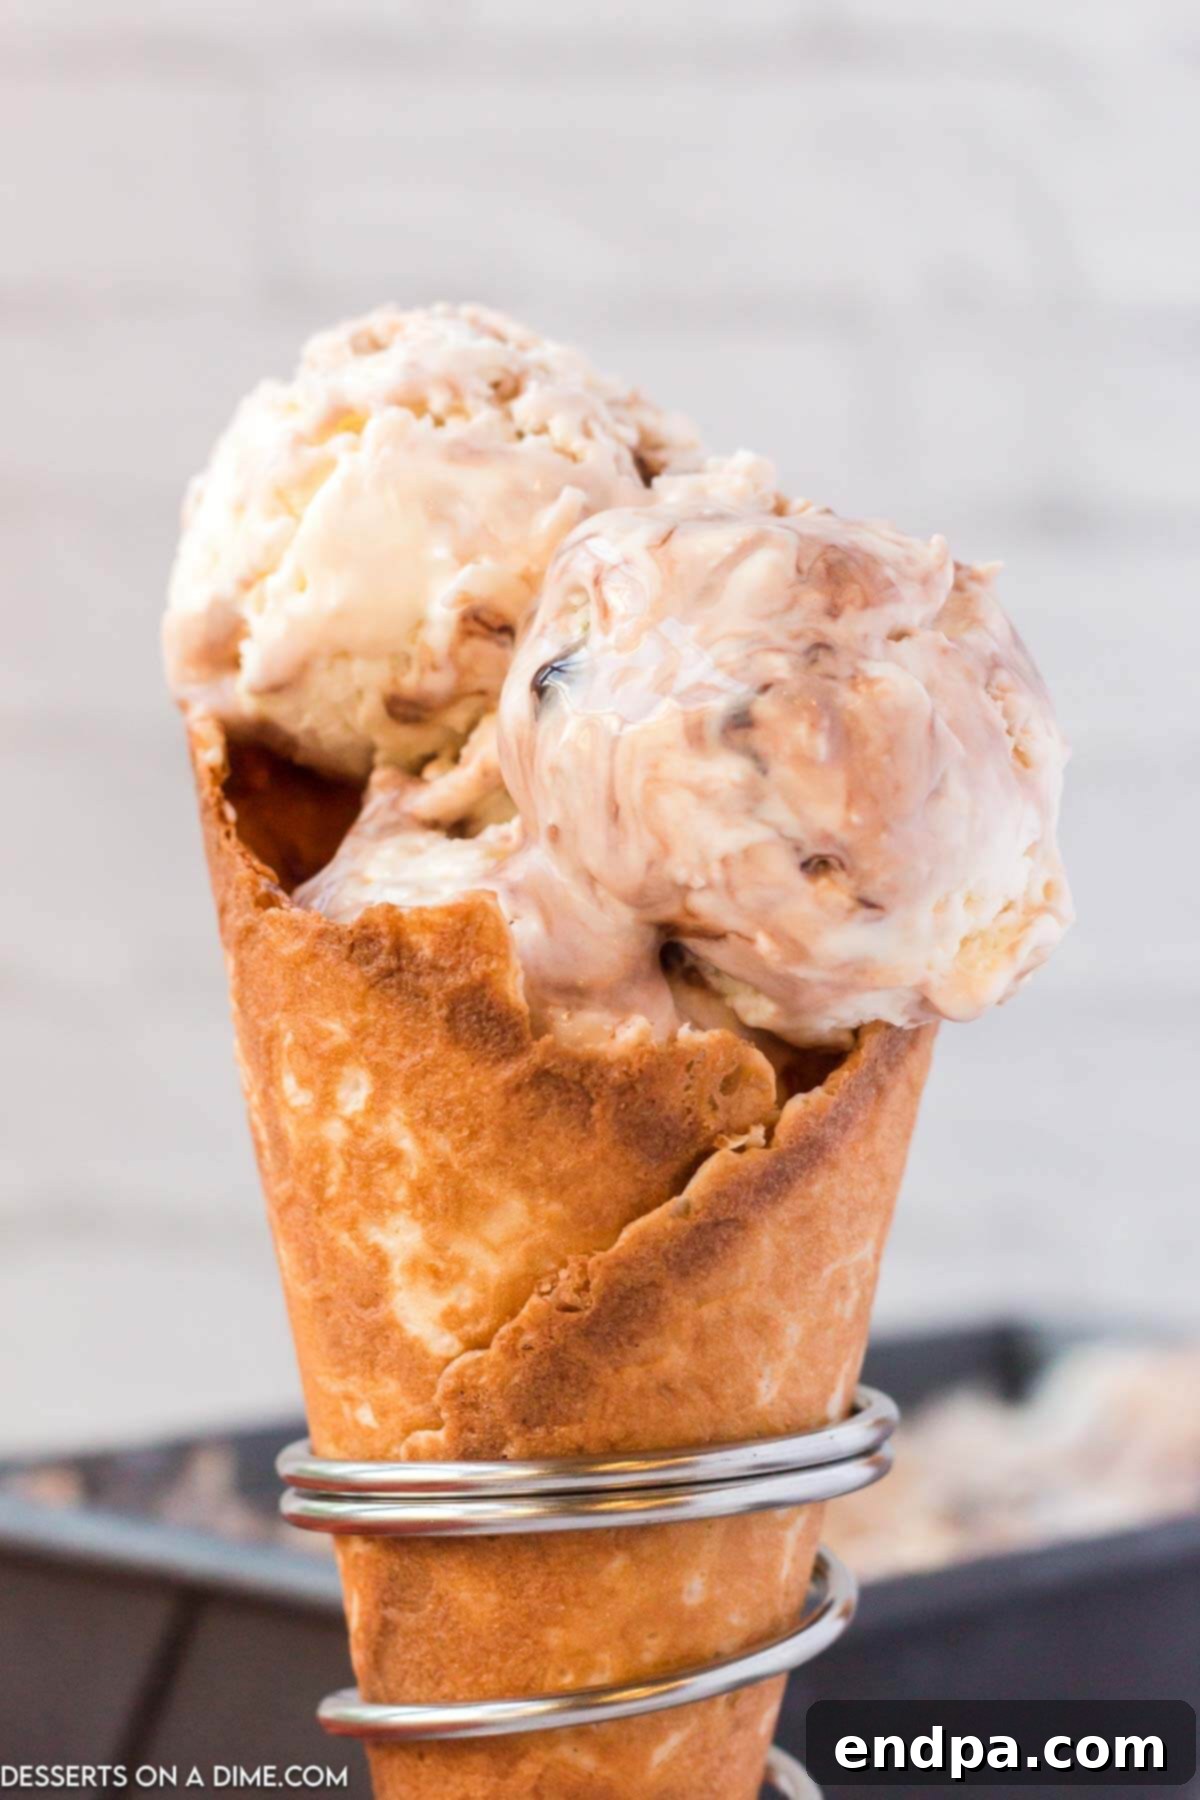
Creating this irresistible ice cream recipe is surprisingly simple, especially since it’s a no-churn method – meaning no ice cream maker is required! Our easy-to-follow instructions will guide you to a creamy, dreamy dessert that rivals any store-bought premium ice cream. If you’re a fan of the iconic Samoa cookie, with its distinctive shortbread base, chewy toasted coconut, drizzled caramel, and chocolate coating, then this frozen dessert is about to become your new obsession.
Table of Contents
- Why You’ll Love This No-Churn Samoa Ice Cream Recipe
- What Makes Samoa Cookies So Special?
- The Story Behind the Name: Why Are They Called Samoas?
- Essential Ingredients for Samoa Ice Cream
- Equipment Needed for No-Churn Ice Cream
- Variations to Customize Your Samoa Ice Cream
- Step-by-Step Guide: How to Make Samoa Ice Cream at Home
- Storing Your Homemade Samoa Ice Cream
- Expert Tips for the Perfect No-Churn Ice Cream
- Serving Suggestions for Samoa Ice Cream
- Frequently Asked Questions (FAQ)
- More Delicious No-Churn Ice Cream Recipes
Why You’ll Love This No-Churn Samoa Ice Cream Recipe
There are countless reasons why this Samoa Ice Cream will quickly become a household favorite. It’s not just a dessert; it’s an experience!
- Effortlessly Easy No-Churn Method: Forget about bulky ice cream makers! This recipe uses a simple technique that combines whipped cream with sweetened condensed milk, yielding a remarkably creamy texture without any special equipment. It’s perfect for beginners and seasoned dessert makers alike.
- Authentic Samoa Cookie Flavor: We’ve meticulously crafted this recipe to capture the iconic taste profile of the beloved Girl Scout Samoa cookie. Every bite delivers that perfect balance of chewy toasted coconut, rich chocolate, and gooey caramel, reminiscent of the cookie you adore.
- Only 5 Core Ingredients: You read that right! With just five main ingredients, you can whip up this luxurious dessert. This simplicity makes it a fantastic last-minute treat for guests or a quick indulgence for yourself. Minimal ingredients mean less shopping and more time enjoying!
- Customizable to Your Liking: While the classic combination is perfect as is, this recipe is highly adaptable. Easily add more chocolate, extra coconut, or even a sprinkle of sea salt to tailor it precisely to your taste preferences.
- Impressive for Any Occasion: Whether you’re hosting a summer BBQ, a birthday party, or simply craving something sweet on a weeknight, this Samoa Ice Cream is sure to impress. Its vibrant flavors and beautiful swirls make it a show-stopping dessert.
What Makes Samoa Cookies So Special?
Before diving into the ice cream, let’s appreciate the inspiration: the Samoa cookie itself. Known as Caramel deLites in some regions, these Girl Scout cookies are a masterpiece of texture and flavor. They start with a crisp shortbread cookie ring, which is then generously coated with toasted coconut flakes and draped with rich, chewy caramel. Finally, a decadent chocolate stripe drizzle completes the ensemble, providing that signature chocolatey finish. It’s the unique combination of these distinct elements – the crunch, the chew, the sweet, and the salty (from the caramel interacting with the chocolate) – that makes Samoas a perennial favorite and the second most popular Girl Scout cookie.
The Story Behind the Name: Why Are They Called Samoas?
The name “Samoas” has sparked curiosity among cookie enthusiasts for years, leading to a couple of popular theories about its origin. The most widely accepted theory suggests the cookies were named after the tropical island nation of Samoa. This makes perfect sense, as Samoa is renowned for its abundant coconut production, which happens to be a key ingredient in these iconic cookies and a top export for the country. It’s a subtle nod to the exotic, rich flavor that coconut brings to the cookie.
Another whimsical theory proposes that the name “Samoas” is a playful phonetic twist, sounding strikingly similar to “some more.” This idea resonates with countless fans who find themselves reaching for “some more” of these addictively delicious treats after just one bite. While the delightful wordplay might seem coincidental, it perfectly captures the irresistible nature of the cookie.
An interesting side note is that while the name “s’mores” (referring to the campfire treat) sounds somewhat similar, that name was already well-established. Thus, “Samoas” emerged as the unique identifier for this particular Girl Scout cookie. Regardless of its true etymology, the name has become synonymous with a beloved flavor profile that continues to captivate taste buds, much like our popular Fried Ice Cream.
Essential Ingredients for Samoa Ice Cream
Making this incredible no-churn ice cream requires only a handful of readily available ingredients. Quality ingredients will elevate the flavor, so choose wisely!
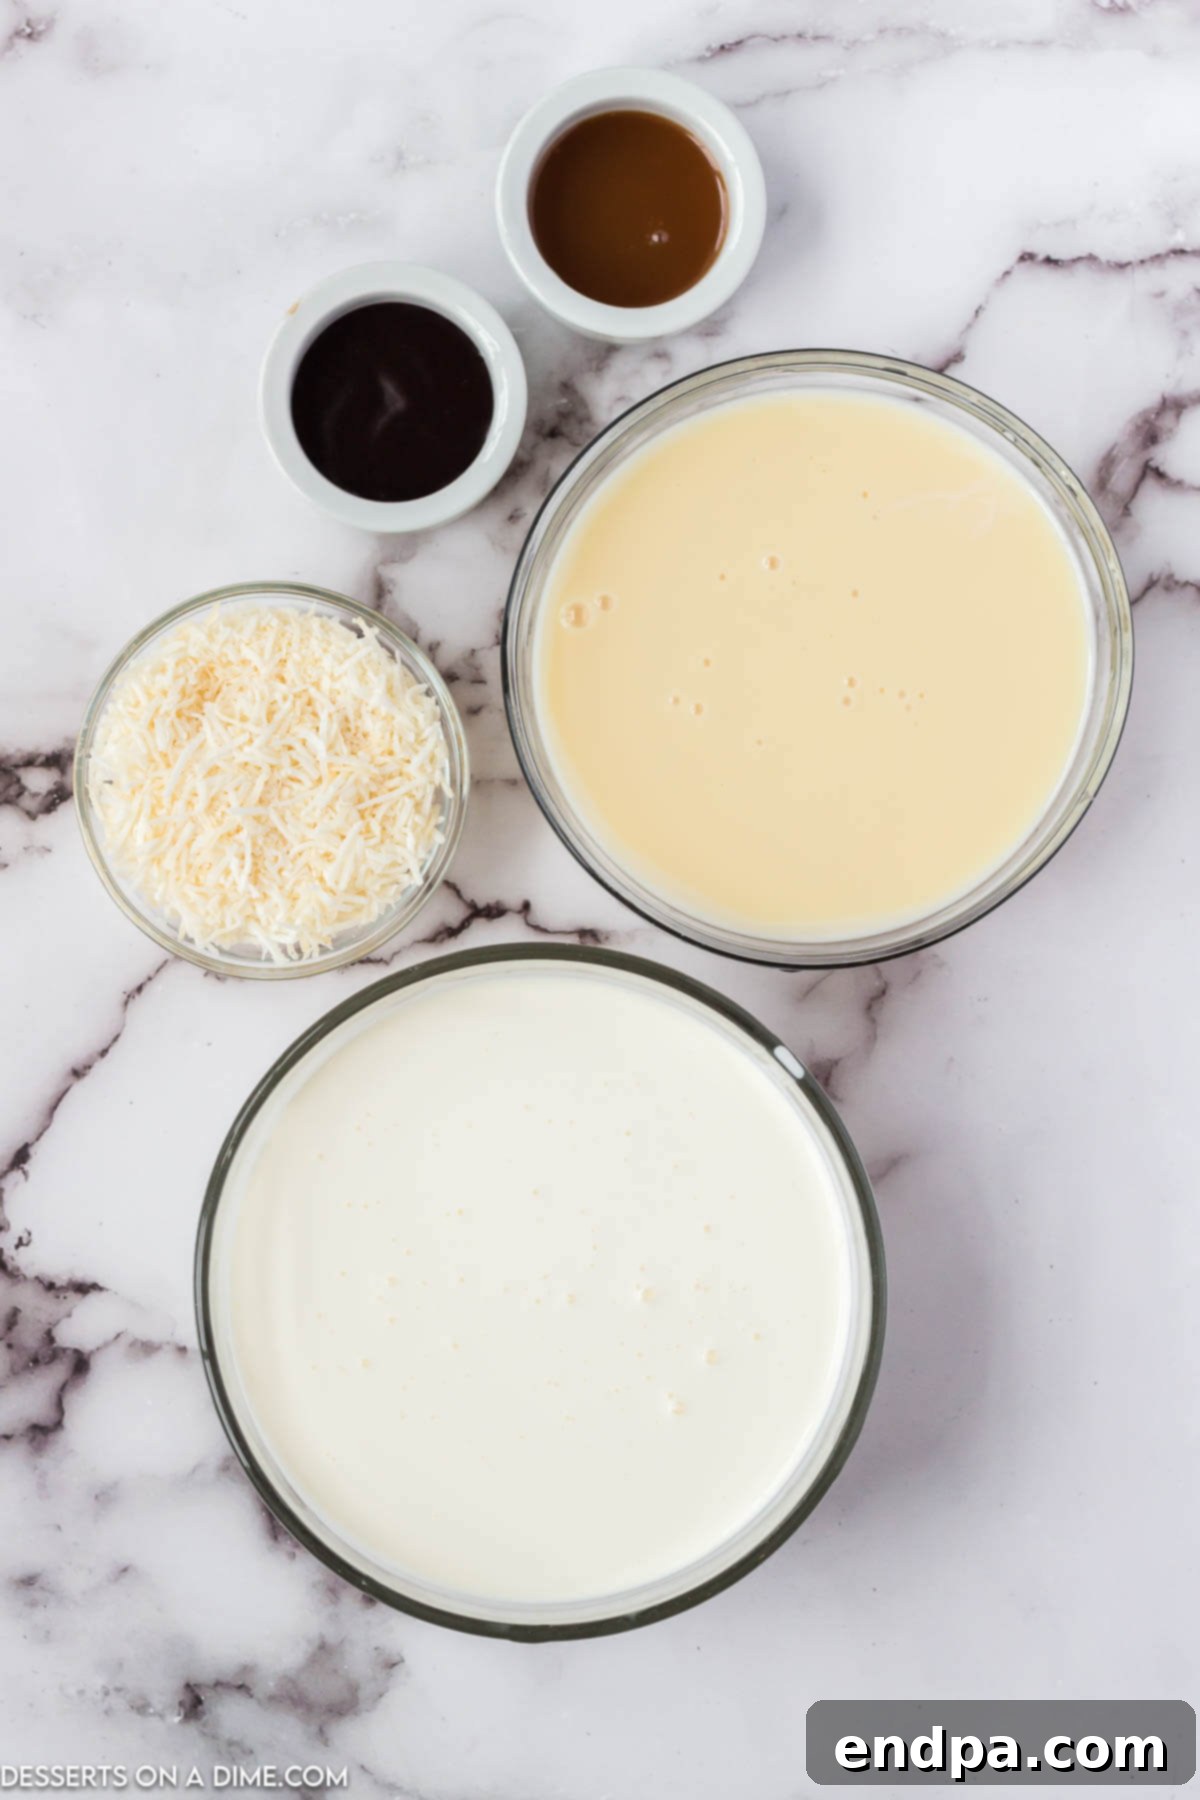
- Heavy Whipping Cream (2 cups): This is the foundation of our no-churn ice cream. Ensure it is very cold before whipping; chilling your mixing bowl and beaters beforehand can also make a significant difference in achieving stiff peaks quickly.
- Sweetened Condensed Milk (14 oz can): The magical ingredient that provides sweetness and an incredibly creamy texture without requiring an ice cream machine. Do NOT substitute this with regular milk or evaporated milk, as it won’t yield the same results.
- Shredded Coconut (½ cup): Unsweetened shredded coconut is preferred here to balance the sweetness from the condensed milk and syrups. If you can find toasted shredded coconut, that’s even better for an extra layer of flavor, or you can toast it yourself lightly in a pan before adding.
- Chocolate Syrup (¼ cup): A good quality chocolate syrup will make a noticeable difference in the final taste. For an even richer, more decadent chocolate flavor, consider using our Homemade Hot Fudge Sauce Recipe once cooled.
- Caramel Syrup (¼ cup): A thick, delicious caramel syrup is essential for that signature Samoa taste. You can use store-bought or try our amazing Homemade Caramel Sauce Recipe for an elevated flavor profile.
You’ll find the exact measurements and full recipe details conveniently listed in the recipe card at the bottom of this page.
Equipment Needed for No-Churn Ice Cream
One of the beauties of no-churn ice cream is its minimal equipment requirement. Here’s what you’ll need:
- Large Mixing Bowl: Essential for whipping the heavy cream. A metal bowl chilled in the freezer works best.
- Electric Hand Mixer or Stand Mixer: To achieve those perfect stiff peaks in your heavy cream. A whisk can work, but it will require significant arm strength and time.
- Rubber Spatula: Ideal for gently folding in the condensed milk and coconut, ensuring you don’t lose the air incorporated into the whipped cream.
- 9×5 Inch Loaf Pan or Freezer-Safe Container: For freezing your ice cream mixture. A loaf pan is common, but any airtight container works.
- Measuring Cups and Spoons: For accurate ingredient measurements.
- Knife or Skewer: For swirling the chocolate and caramel syrups into the ice cream base.
Variations to Customize Your Samoa Ice Cream
While the classic Samoa Ice Cream is perfection, feel free to get creative with these delicious variations:
- Add Samoa Cookie Pieces: For an extra layer of texture and an even more authentic Samoa experience, crumble actual Samoa (or Caramel deLites) cookies into the mixture before freezing, or sprinkle them on top when serving.
- Chocolate Chips or Chunks: Stir in a handful of semi-sweet, milk, or dark chocolate chips or finely chopped chocolate chunks into the ice cream base. This adds delightful bursts of chocolate throughout.
- A Touch of Sea Salt: A tiny sprinkle of flaky sea salt on top before freezing or serving can enhance the caramel and chocolate flavors, creating a delicious salted caramel effect.
- Toasted Coconut Boost: For an intensified coconut flavor, lightly toast an additional ½ cup of shredded coconut in a dry pan until golden brown and fragrant. Fold half into the ice cream base and sprinkle the other half on top.
- White Chocolate Drizzle: Instead of or in addition to dark chocolate, drizzle some melted white chocolate over the top for a different flavor dimension.
- Nutty Addition: While not traditional for Samoas, finely chopped pecans or walnuts could add a lovely crunch. Our Candied Pecans Stovetop Recipe would be a delicious addition sprinkled on top.
Step-by-Step Guide: How to Make Samoa Ice Cream at Home
Creating this decadent Samoa ice cream is a straightforward process that yields incredibly delicious results. Follow these steps for a perfect batch every time!
- Step 1: Whip the Heavy Cream to Stiff Peaks.
In a large, chilled mixing bowl, pour in your cold heavy whipping cream. Using an electric hand mixer or a stand mixer fitted with a whisk attachment, beat the cream on high speed for 2-3 minutes. Continue beating until stiff peaks begin to form. This means when you lift the beaters, the cream holds its shape firmly. This step is crucial for the airy, light texture of no-churn ice cream.
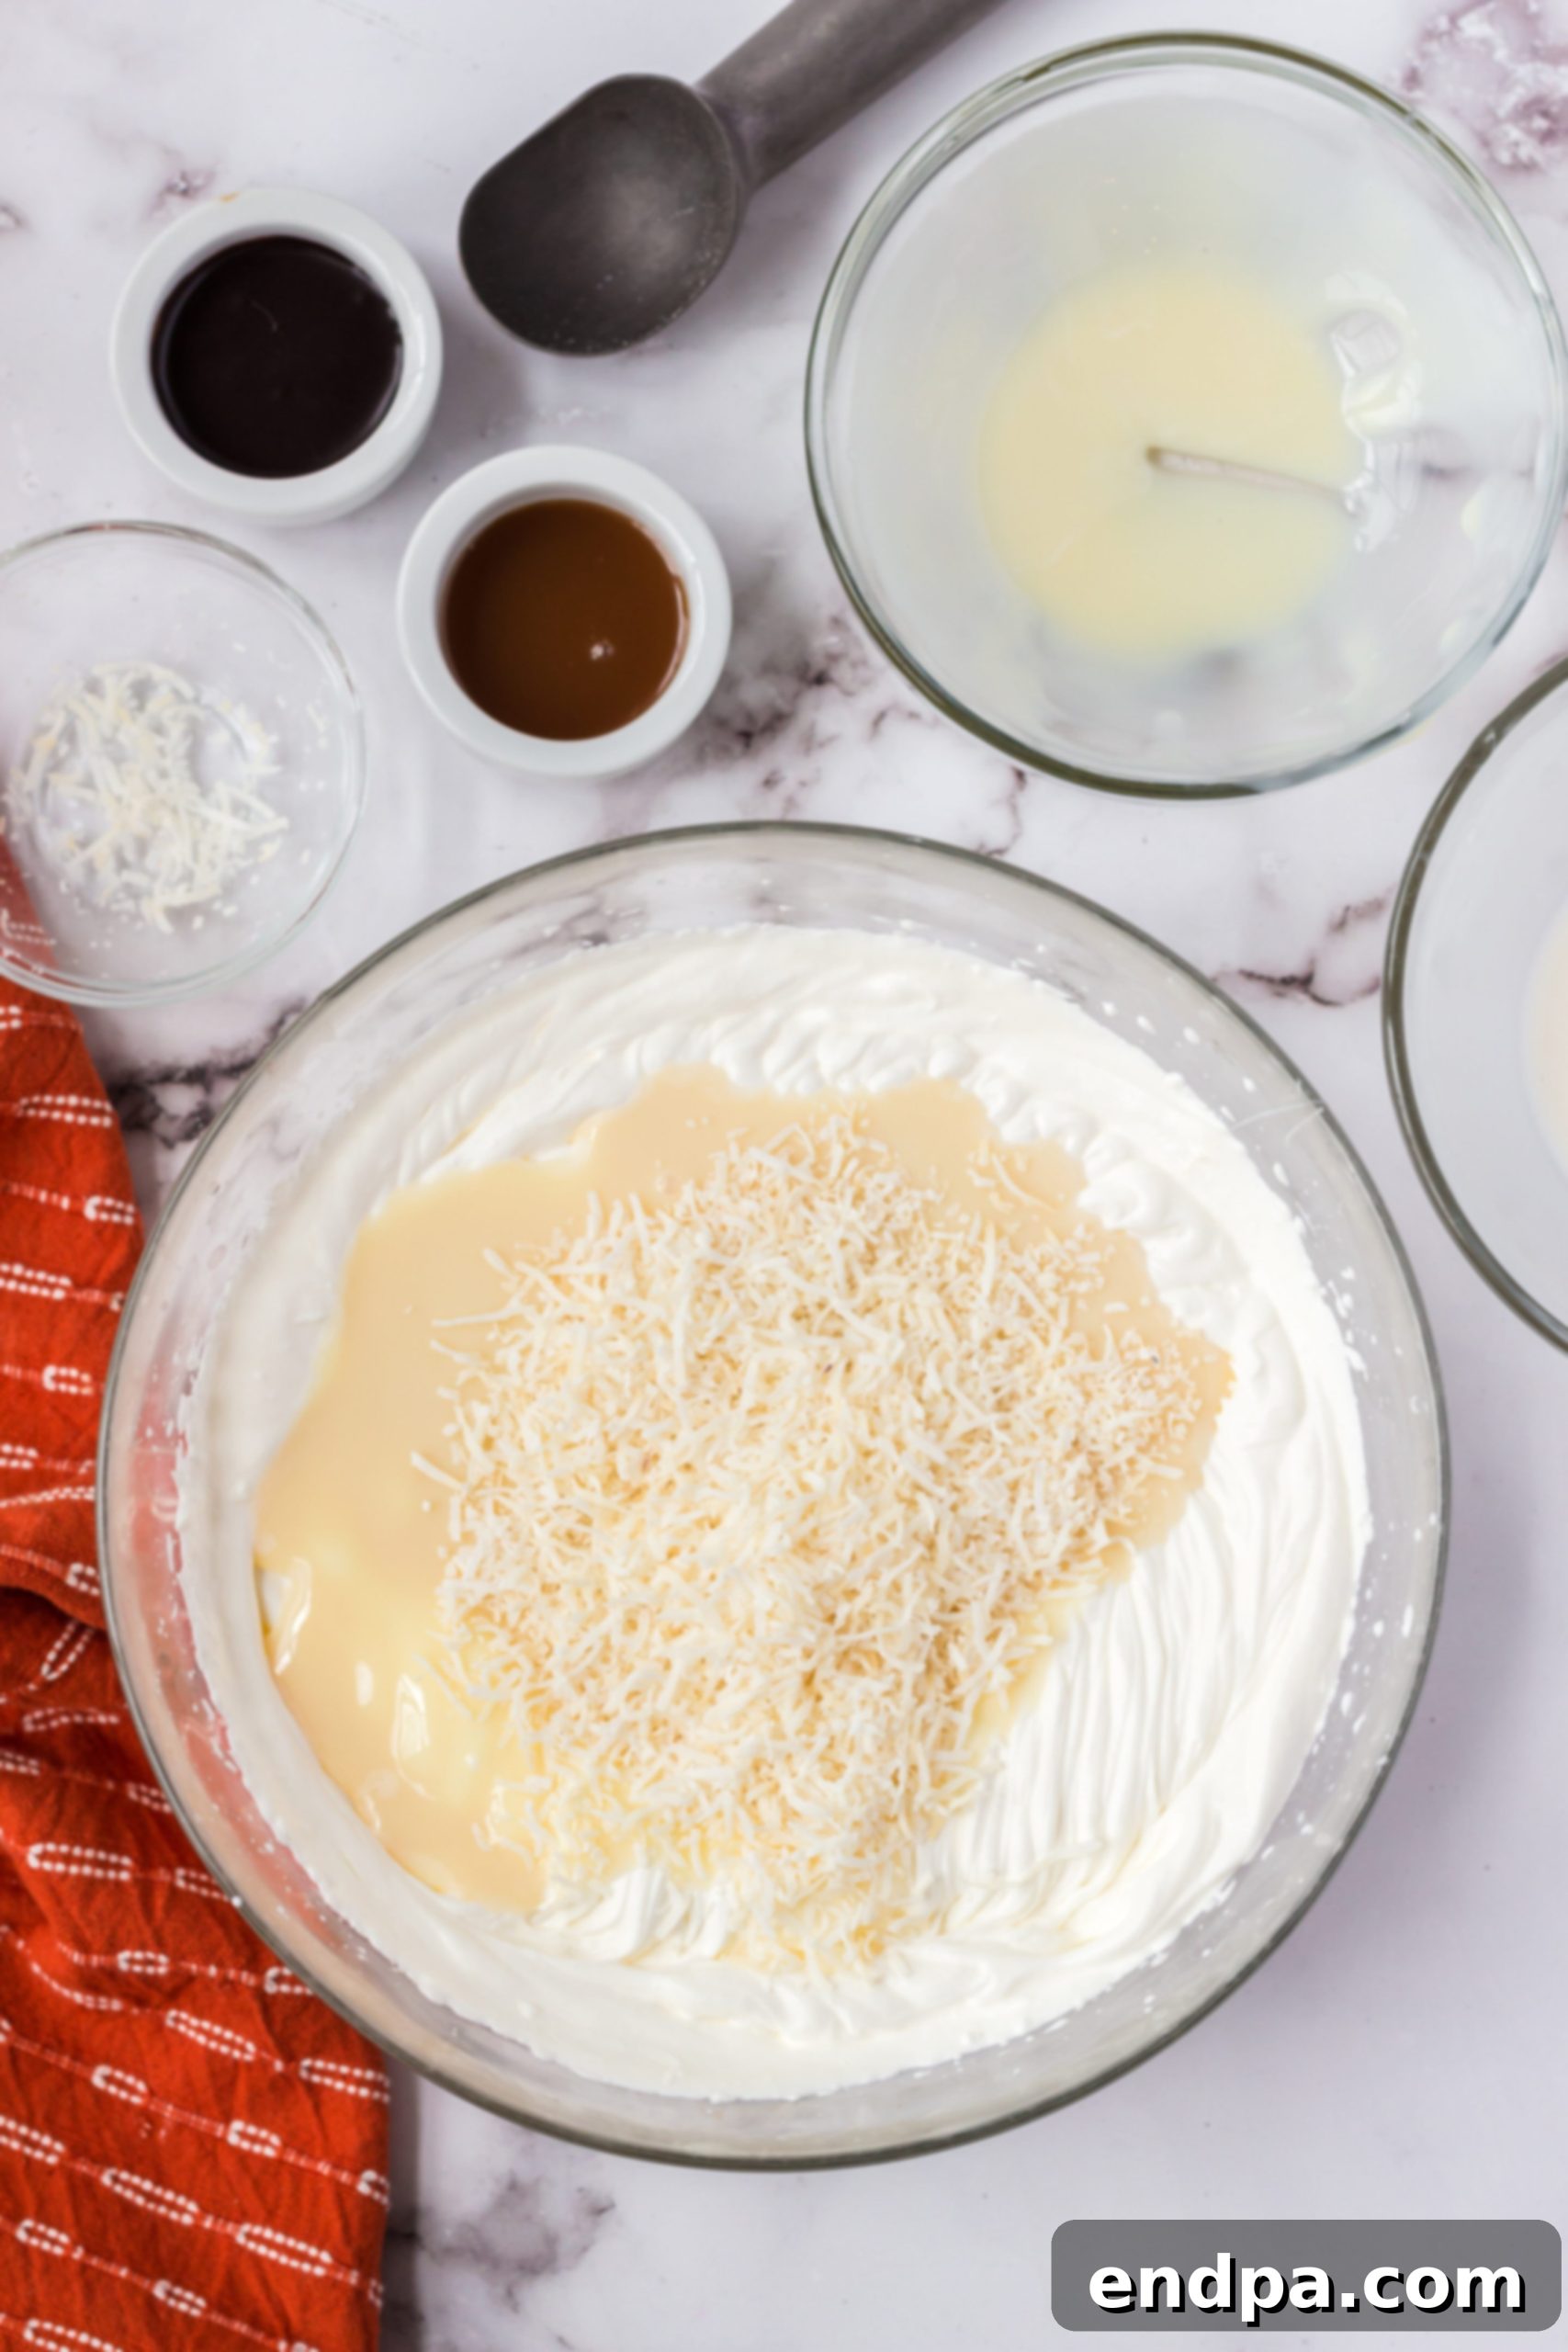
Step 2: Gently Fold in Sweetened Condensed Milk and Coconut.
Once your heavy cream has reached stiff peaks, very gently fold in the sweetened condensed milk and shredded coconut using a rubber spatula. The key here is to be extremely gentle to avoid deflating the whipped cream. Folding rather than stirring preserves the air, which contributes to the light and creamy texture of the finished ice cream. Ensure the ingredients are just combined.
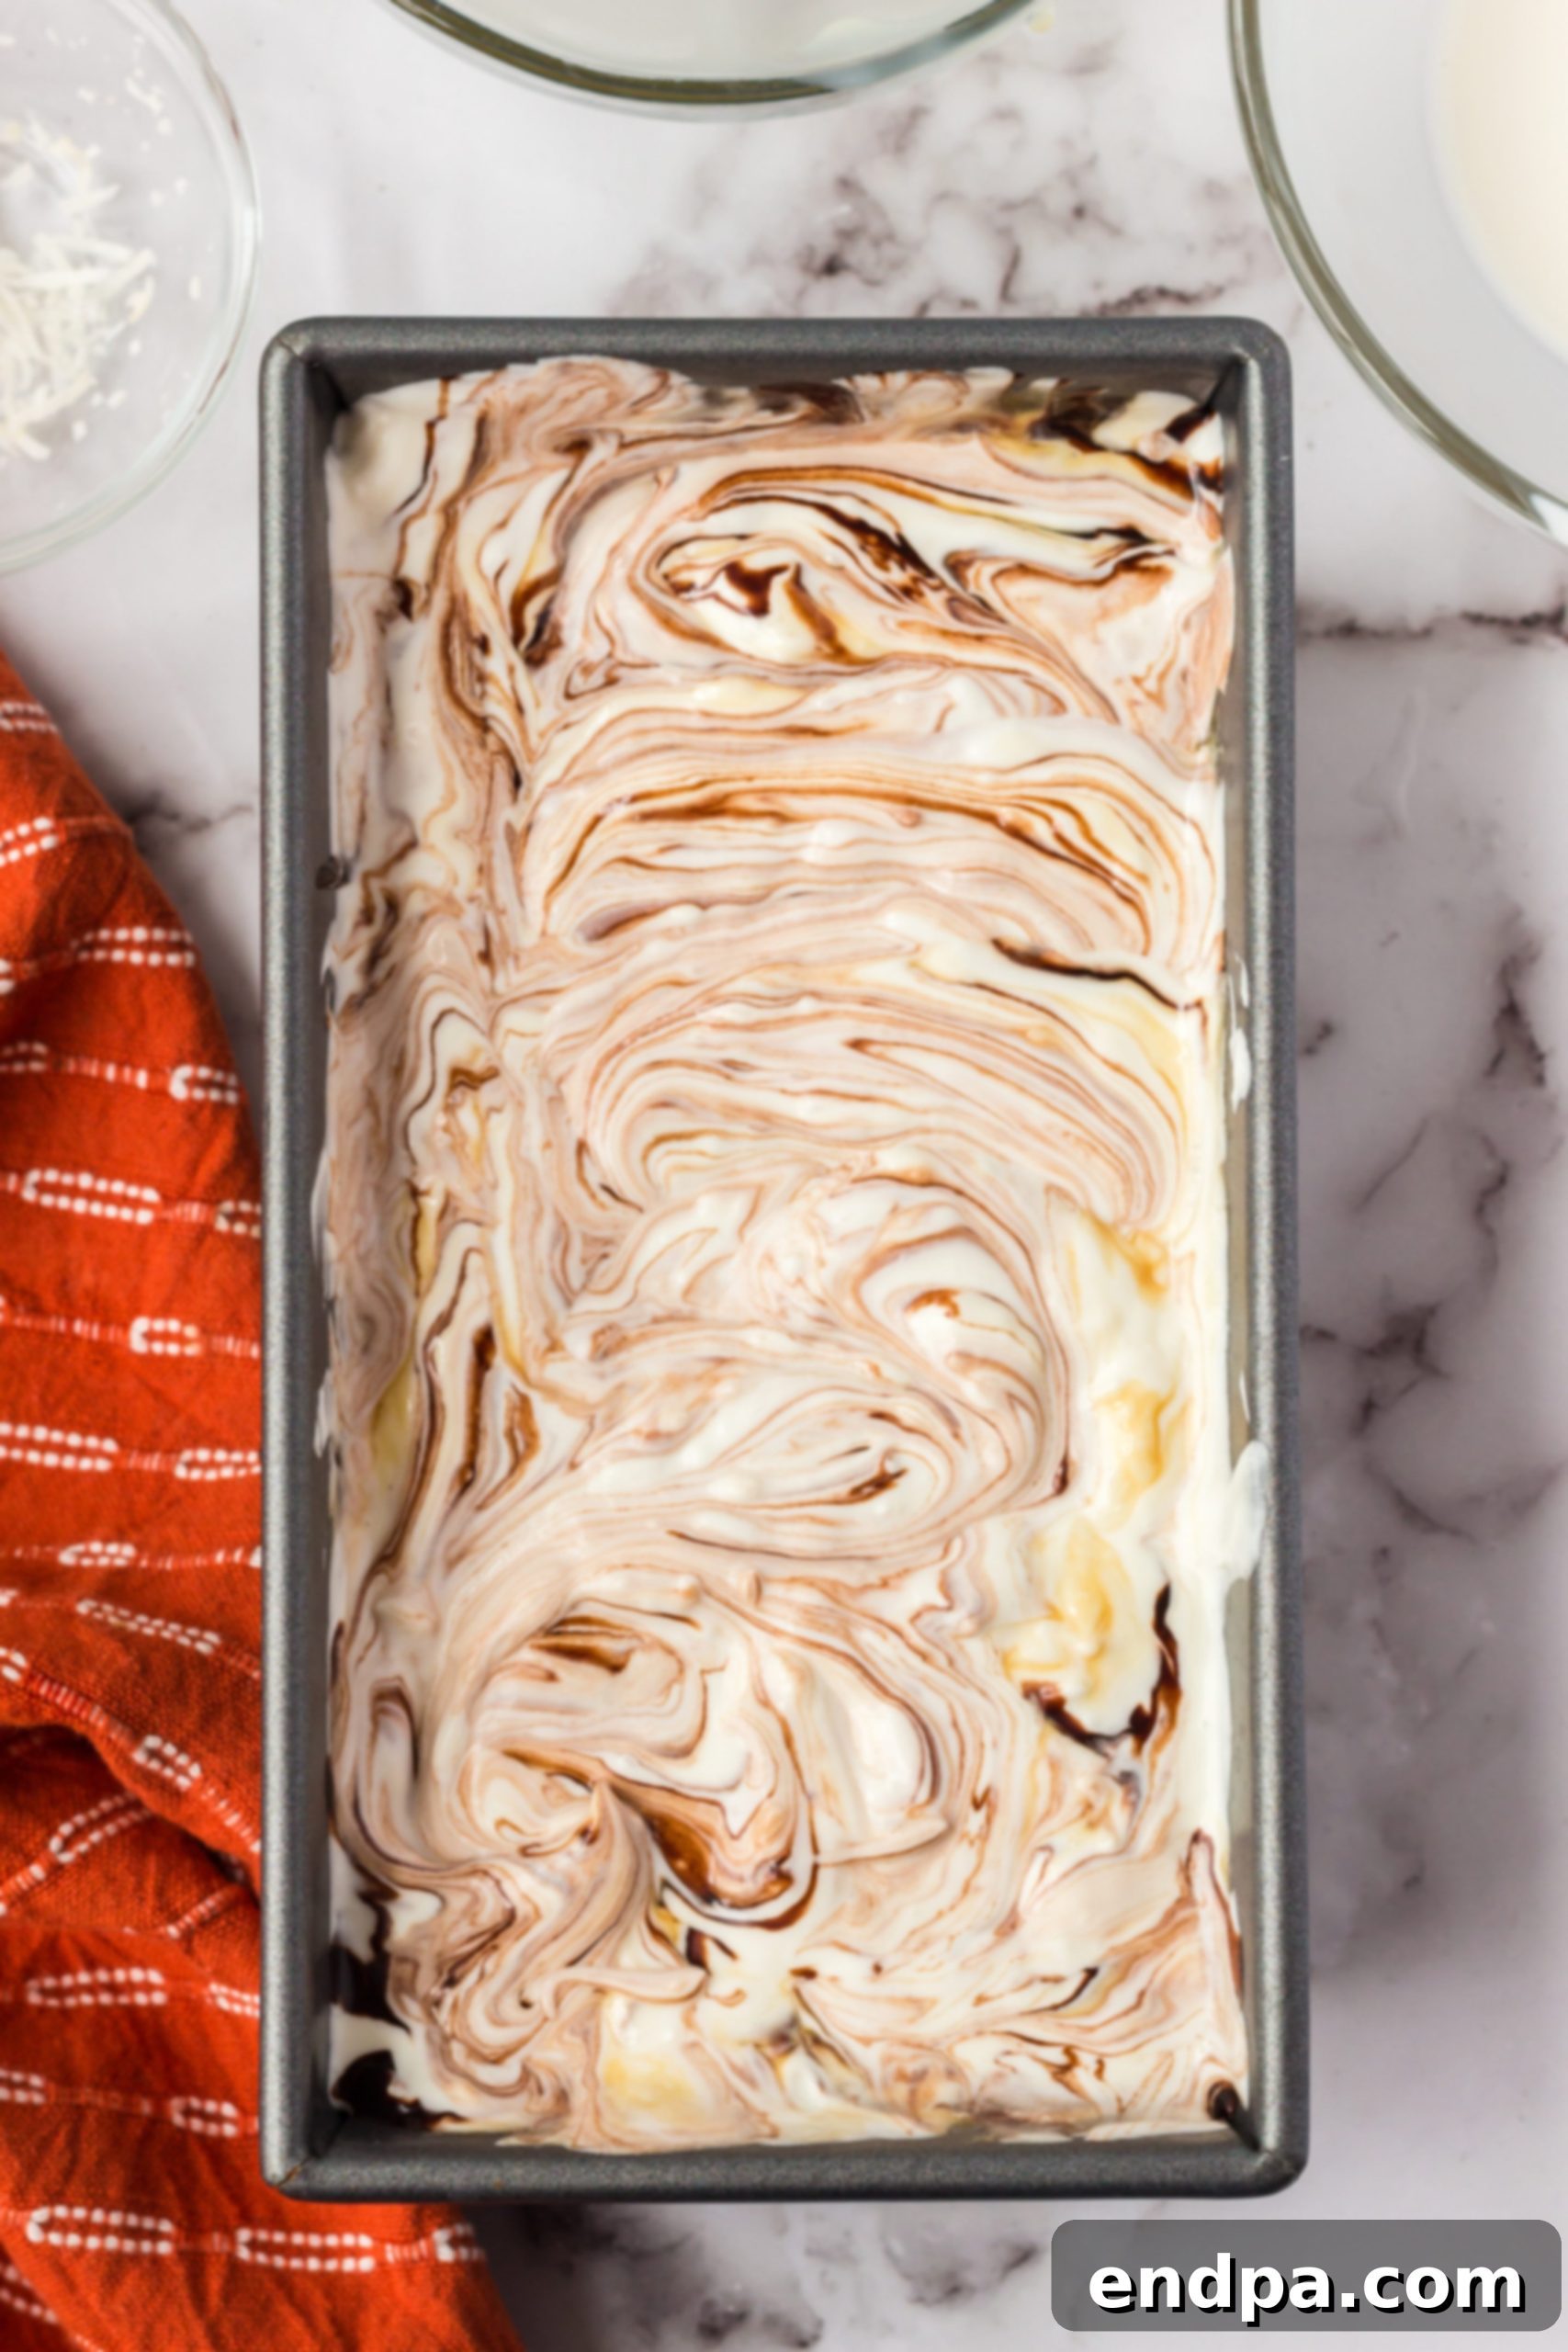
Step 3: Pour into Pan and Drizzle with Syrups.
Carefully pour the ice cream mixture into a 9×5 inch loaf pan or another freezer-safe container. Once the base is in the pan, generously drizzle the chocolate syrup and caramel sauce directly over the top. Don’t be shy with the drizzles – these are your flavor streaks!
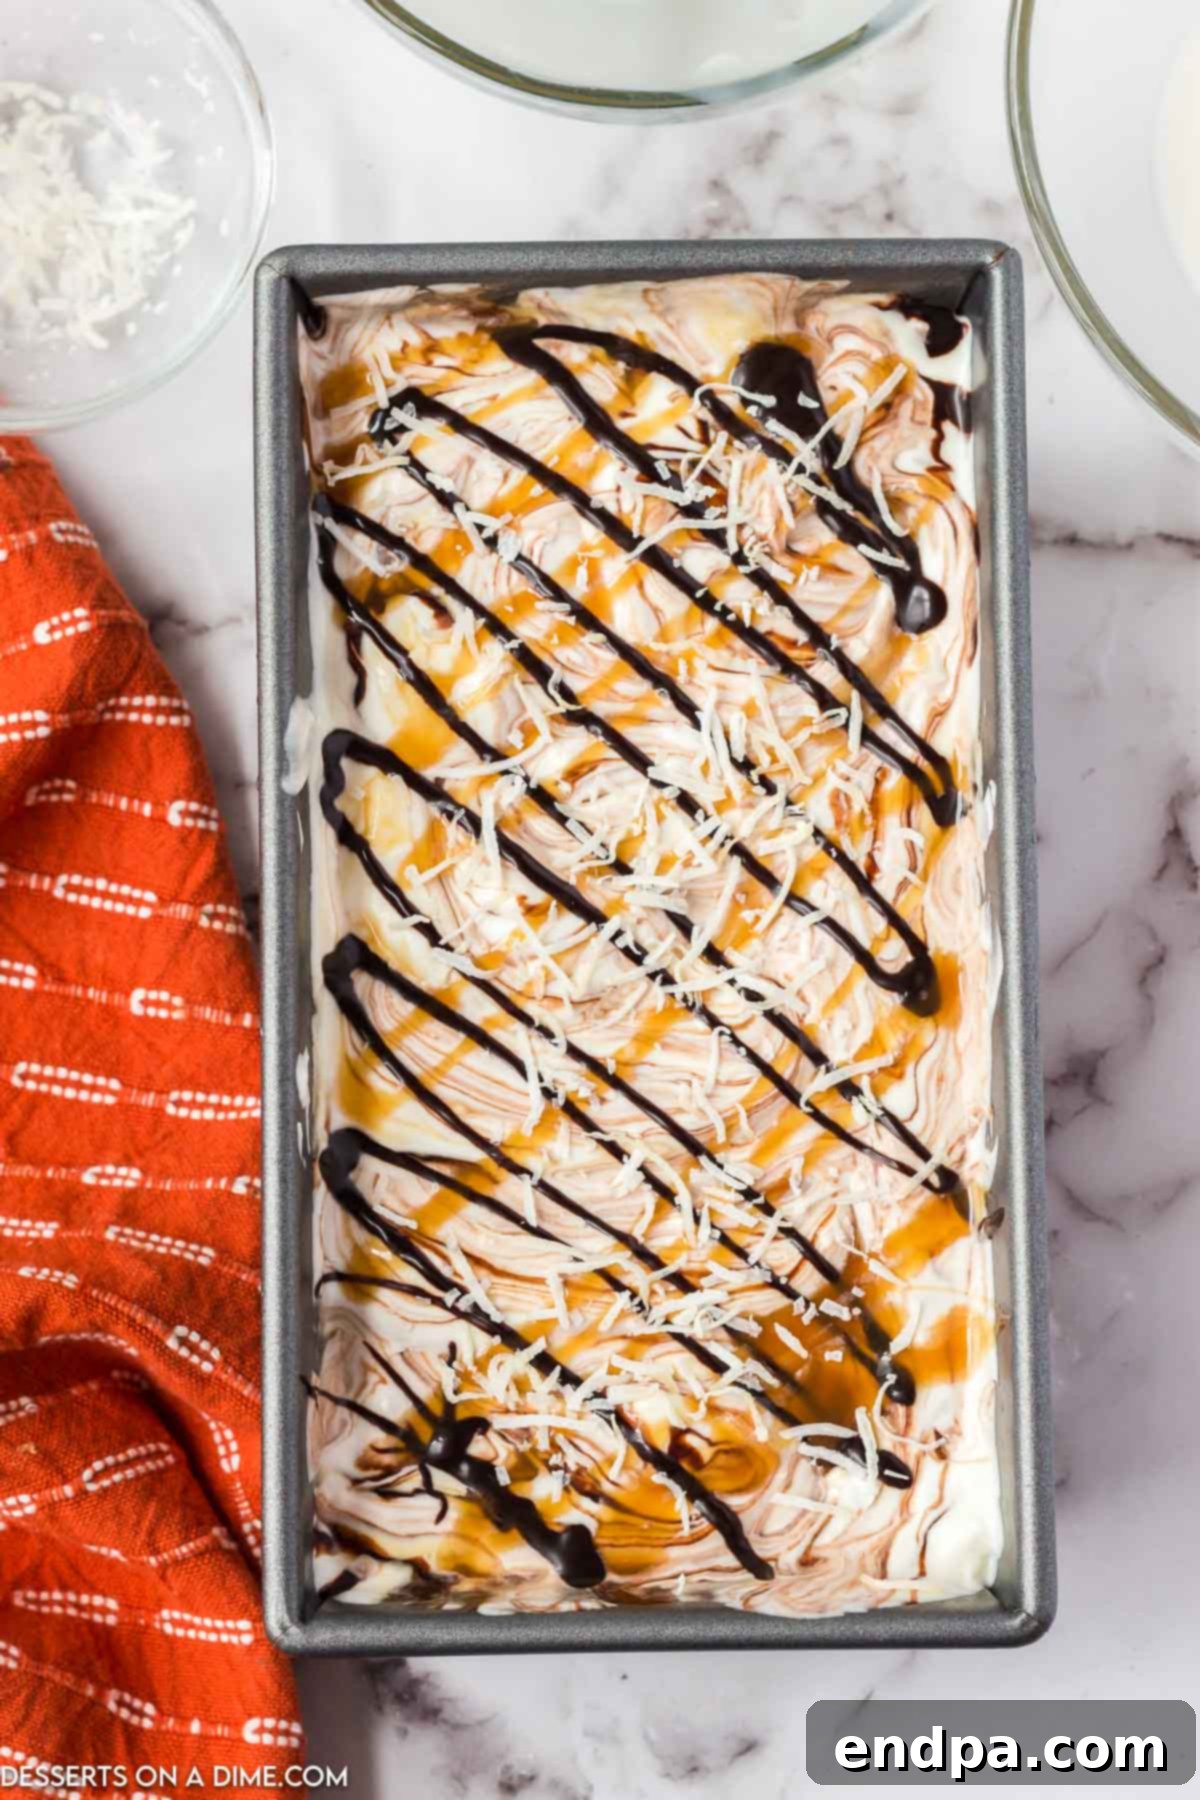
Step 4: Create a Swirl and Freeze.
Using a knife or a skewer, gently swirl the chocolate and caramel sauces into the ice cream base. The goal is to create beautiful, ribbon-like streaks, not to fully mix the sauces into the base. Lightly swirl for an appealing marbled effect. Once swirled, you can add a final, extra drizzle of both syrups on top for an even richer finish. Cover the pan tightly with plastic wrap or an airtight lid and freeze for a minimum of five hours, or preferably overnight, to allow it to chill and set completely.
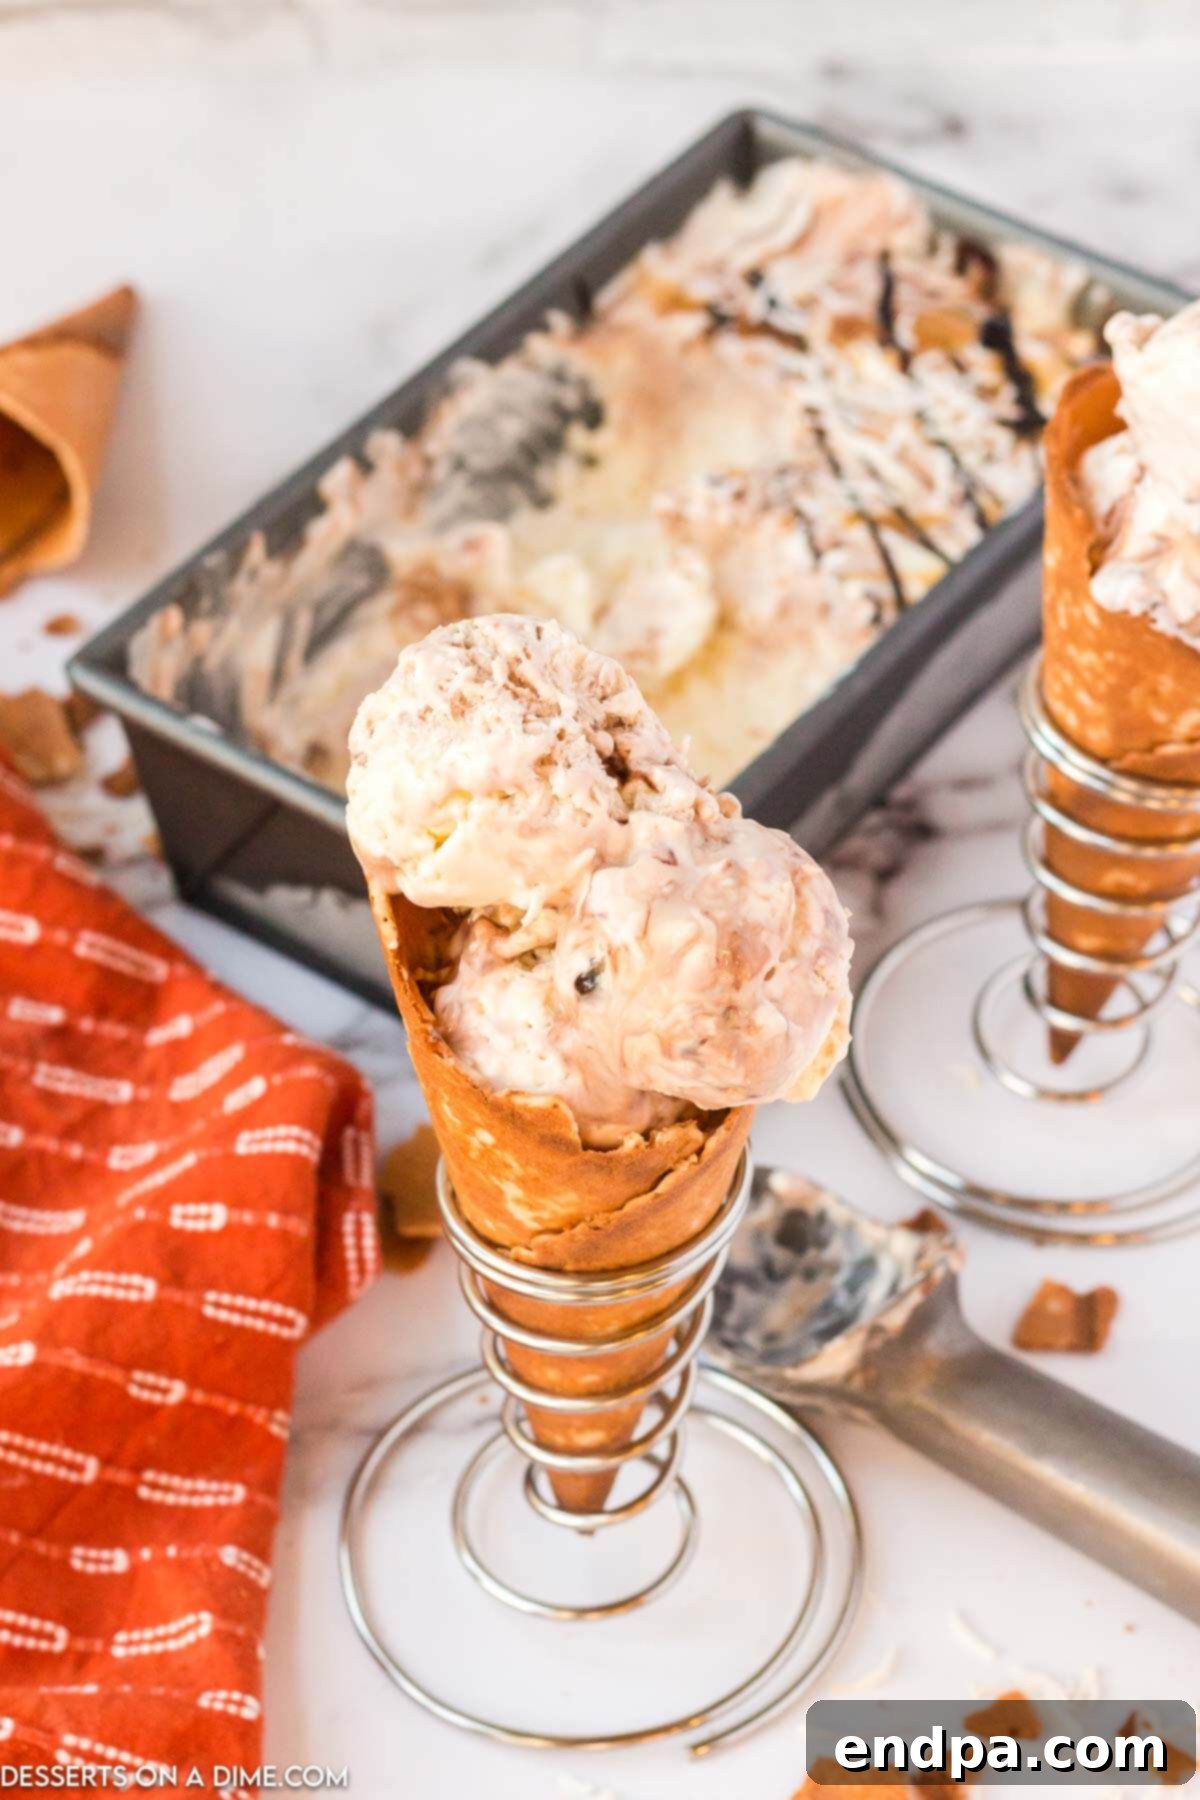
Step 5: Scoop and Serve.
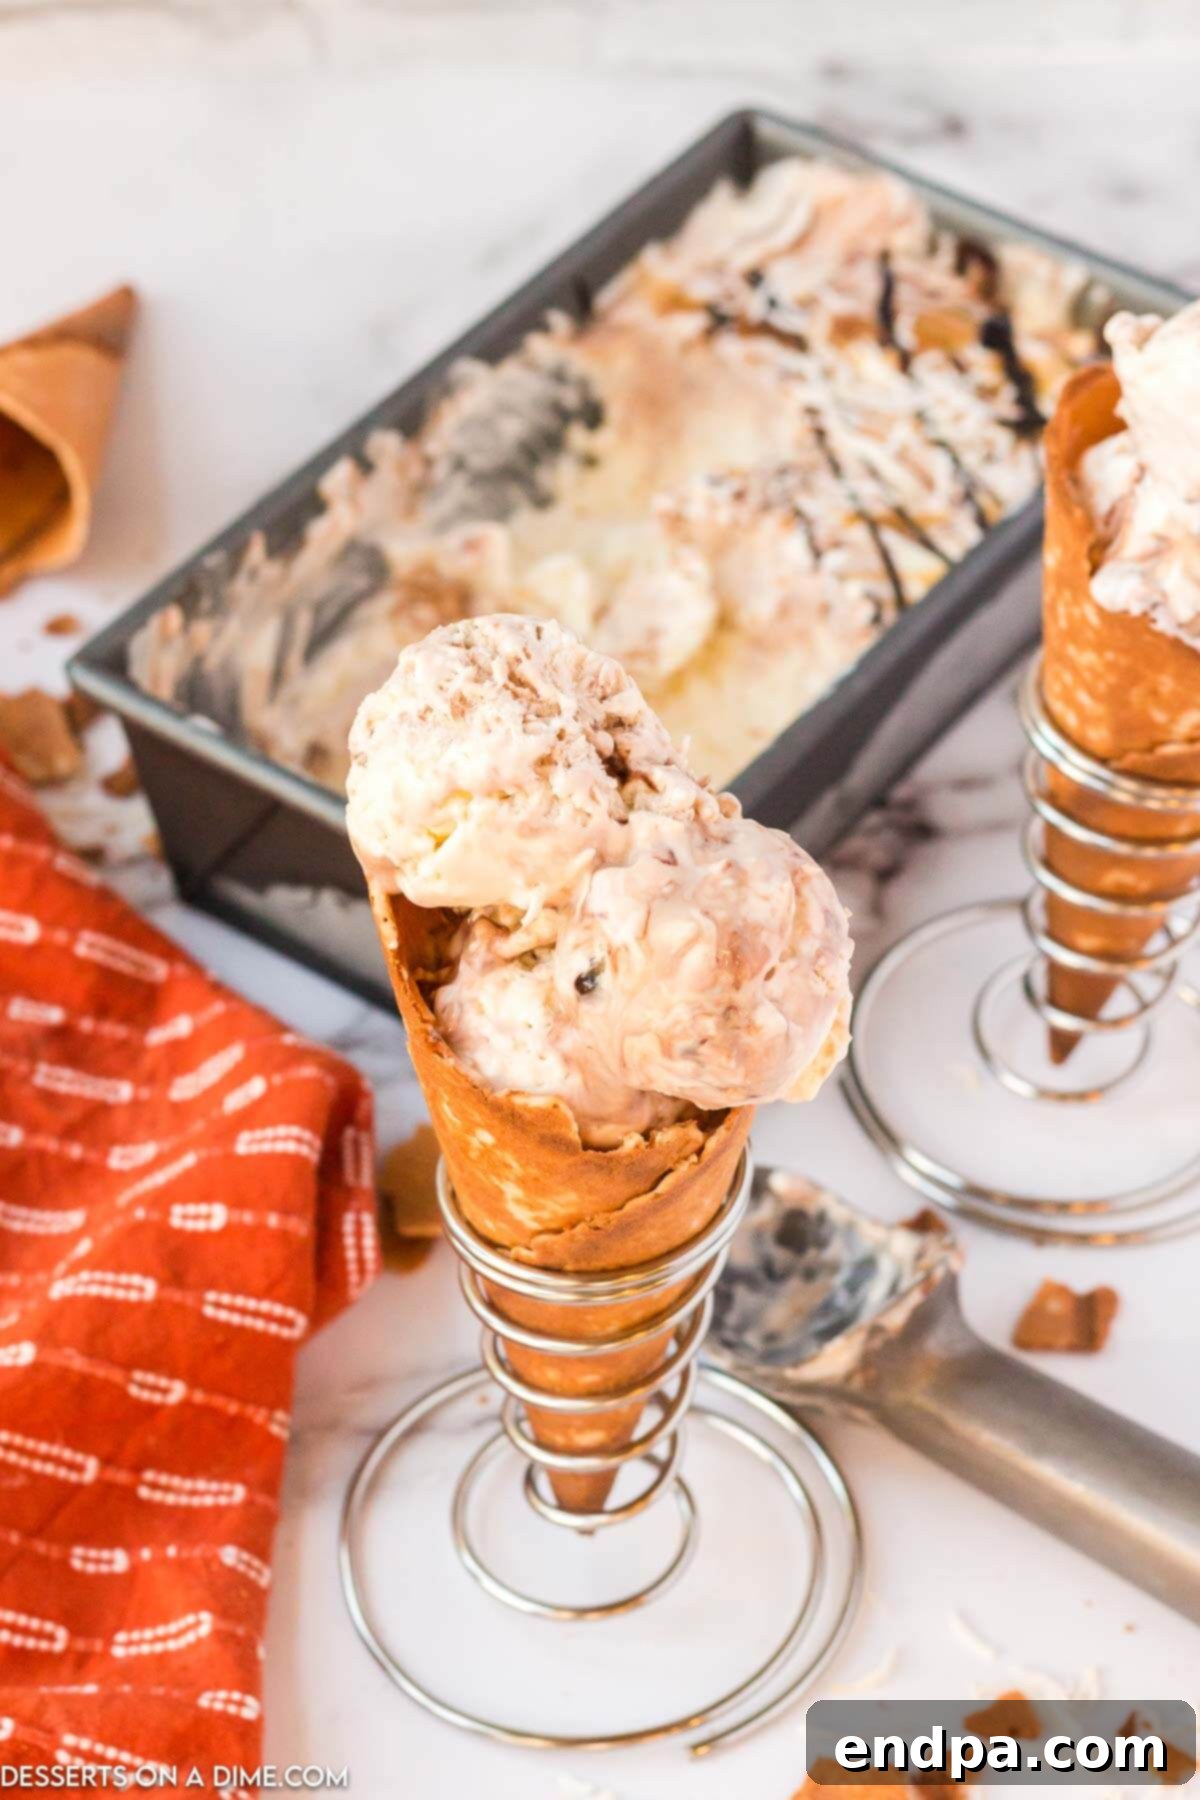
Once thoroughly frozen, your homemade Samoa Ice Cream is ready to be enjoyed! Remove it from the freezer a few minutes before serving to allow it to soften slightly for easier scooping. Serve it in cones, bowls, or as part of a grander dessert. It’s also incredibly delicious drizzled with Brown Sugar Syrup for an extra layer of sweetness.
Storing Your Homemade Samoa Ice Cream
Proper storage is key to maintaining the creamy texture and fresh flavor of your homemade Samoa Ice Cream. You can store this delicious treat in the freezer for up to 2 months. To prevent ice crystals from forming and preserve its delightful consistency, follow these tips:
- Airtight Container: Always transfer your ice cream to a high-quality, airtight freezer-safe container. This minimizes exposure to air, which is the primary cause of freezer burn and ice crystal formation.
- Direct Contact Layer: For an extra layer of protection, press a piece of plastic wrap or parchment paper directly onto the surface of the ice cream before securing the lid. This creates a barrier against air and helps keep the top layer smooth and free of crystals.
- Location in Freezer: Store the ice cream at the back of your freezer, where temperatures are most consistent. Avoid storing it in the freezer door, which experiences frequent temperature fluctuations.
Expert Tips for the Perfect No-Churn Ice Cream
Achieve truly exceptional homemade Samoa Ice Cream with these tried-and-true tips:
- Chill Your Equipment: For the best results when whipping heavy cream, make sure your mixing bowl (preferably metal) and whisk attachment (if using a stand mixer) are thoroughly chilled. Pop them in the freezer for 10-15 minutes before you start. Cold equipment helps the cream whip up faster and hold stiff peaks more effectively.
- Enhance Coconut Flavor: If you’re a true coconut lover, amplify the flavor by adding a tablespoon of coconut syrup or a teaspoon of coconut extract to the heavy cream before you begin whipping. This creates a deeply decadent and aromatic coconut base that perfectly complements the other Samoa flavors.
- Balance Sweetness: Given the inherent sweetness of condensed milk, chocolate syrup, and caramel, opting for unsweetened shredded coconut flakes is highly recommended. This helps to balance the overall sweetness, preventing the ice cream from becoming overly cloying and allowing the distinct flavors to shine through.
- Gentle Folding is Key: When incorporating the sweetened condensed milk and coconut into the whipped cream, use a light, folding motion with a rubber spatula. Avoid vigorous stirring, as this can deflate the whipped cream and result in a less airy, dense ice cream texture. Preserve that precious air!
- Master the Swirl: For that visually appealing and flavor-packed marble effect, gently swirl the chocolate and caramel sauces into the ice cream base with a knife or skewer. Don’t stir them completely in; you want distinct ribbons of flavor, not a uniform mix.
- Freeze Overnight for Best Scoopability: While the ice cream technically sets in about five hours, allowing it to freeze overnight (for at least 8-12 hours) will ensure it’s perfectly firm, easy to scoop, and has developed its full, creamy consistency.
- Quality Ingredients Matter: Since this recipe uses only a few ingredients, the quality of each one plays a significant role. Invest in good quality heavy cream, a brand of sweetened condensed milk you trust, and your favorite chocolate and caramel syrups for the best flavor outcome.
Serving Suggestions for Samoa Ice Cream
This Samoa Ice Cream is fantastic on its own, but here are some ideas to elevate your dessert experience:
- Classic Cone or Bowl: The simplest way to enjoy it! A scoop or two in a waffle cone or a chilled bowl lets the Samoa flavors truly shine.
- Ice Cream Sundae Bar: Set up an Ice Cream Sundae Bar and offer this Samoa ice cream as a star flavor. Provide extra Ice Cream Sundae Toppings like chopped Girl Scout Samoa cookies, more toasted coconut, extra caramel or chocolate drizzles, whipped cream, and cherries.
- Ice Cream Sandwiches: For an ultimate treat, sandwich a scoop of Samoa ice cream between two actual Girl Scout Samoa cookies. This creates an incredibly decadent and easy ice cream sandwich that’s bursting with flavor.
- Affogato Style: Pour a shot of hot espresso over a scoop of Samoa ice cream for a delightful coffee-dessert fusion.
- With Cake or Brownies: Serve a scoop alongside a warm brownie, a slice of chocolate cake, or even a simple vanilla pound cake for a harmonious dessert pairing.
- Magic Shell Topping: Drizzle with a homemade Magic Shell Recipe for a fun, hardening chocolate coating that adds another layer of chocolatey goodness.
Frequently Asked Questions (FAQ)
- Q: Do I need an ice cream maker for this recipe?
- A: No! This is a “no-churn” recipe, which means it’s designed to be made without an ice cream maker. The combination of whipped heavy cream and sweetened condensed milk creates a wonderfully creamy texture in your freezer.
- Q: Can I use light whipping cream instead of heavy whipping cream?
- A: It’s strongly recommended to use heavy whipping cream (with at least 36% fat content). Light whipping cream will not whip up as thick and stable, which is essential for the creamy, airy texture of no-churn ice cream.
- Q: Can I use sweetened shredded coconut?
- A: You can, but keep in mind that sweetened condensed milk, chocolate syrup, and caramel syrup are already quite sweet. Using unsweetened shredded coconut helps balance the overall sweetness of the ice cream. If you prefer a very sweet dessert, go for sweetened coconut.
- Q: How long does homemade no-churn ice cream last in the freezer?
- A: When stored properly in an airtight container with plastic wrap pressed directly on the surface, this ice cream can last for up to 2 months in the freezer. After that, it might start to develop ice crystals and lose some of its optimal texture.
- Q: Can I make this dairy-free or vegan?
- A: You would need to adapt the recipe significantly. Look for plant-based heavy cream alternatives (like full-fat coconut cream, chilled and whipped) and dairy-free sweetened condensed milk. Ensure all syrups are also dairy-free.
- Q: What if my whipped cream doesn’t get stiff peaks?
- A: Ensure your heavy cream is very cold. Also, make sure your mixing bowl and beaters are chilled. Humidity can also sometimes affect whipping. Keep beating, and if it’s still not firming up, try chilling everything further or ensuring your cream has adequate fat content (heavy cream, not whipping cream or light cream).
More Delicious No-Churn Ice Cream Recipes
If you’ve enjoyed the ease and deliciousness of this Samoa Ice Cream, you’ll love exploring other no-churn varieties. Here are some of our other favorite easy frozen treats:
- Dulce de Leche Ice Cream
- Homemade S’mores Ice Cream Recipe
- Nutter Butter Ice Cream
- Cinnamon Toast Crunch Ice Cream Recipe
- Cookie Monster Ice Cream Recipe
- Christmas Ice Cream
Give this incredible Samoa Ice Cream recipe a try for an explosion of coconut, caramel, and chocolate flavor that will transport you straight to cookie heaven. We’re confident it will become a new favorite in your dessert rotation!
Samoa Ice Cream
Our Samoa Ice Cream recipe captures everything you adore about your favorite Girl Scout cookie. Each bite is packed with tons of coconut, chocolate, and caramel, making it an irresistible no-churn homemade treat.
Prep Time: 10 mins
Freeze Time: 5 hrs
Total Time: 5 hrs 10 mins
Servings: 8
Cuisine: American
Course: Dessert
Calories: 431 kcal
Author: Carrie Barnard
Ingredients
- 2 cups heavy whipping cream
- 14 oz can sweetened condensed milk
- ½ cup shredded coconut
- ¼ cup chocolate syrup
- ¼ cup caramel syrup
Instructions
- Whip the heavy cream in a large mixing bowl until stiff peaks begin to form.
- Gently fold in the sweetened condensed milk and shredded coconut, being careful not to deflate the whipped cream.
- Pour the mixture into a 9×5 inch loaf pan. Drizzle the chocolate syrup and caramel syrup generously on top. Use a knife to lightly swirl the sauces into the ice cream base to create a marbled effect.
- Cover tightly with plastic wrap or an airtight lid and freeze for a minimum of five hours, or preferably overnight, to allow it to chill and set completely before serving.
Recipe Notes
You can store this ice cream in an airtight container in the freezer for up to 2 months. For best results, press a layer of plastic wrap directly onto the surface of the ice cream before covering with a lid to prevent ice crystals.
For an intensified coconut flavor, consider adding a tablespoon of coconut syrup or a teaspoon of coconut extract to the heavy cream before whipping.
Given the sweetness from the condensed milk and syrups, using unsweetened shredded coconut flakes is recommended to achieve a balanced flavor profile.
Nutrition Facts
Calories: 431 kcal
Carbohydrates: 41g
Protein: 6g
Fat: 28g
Saturated Fat: 18g
Polyunsaturated Fat: 1g
Monounsaturated Fat: 7g
Cholesterol: 84mg
Sodium: 125mg
Potassium: 285mg
Fiber: 1g
Sugar: 40g
Vitamin A: 1013 IU
Vitamin C: 2mg
Calcium: 186mg
Iron: 1mg
Pin This Now to Remember It Later
Pin Recipe
