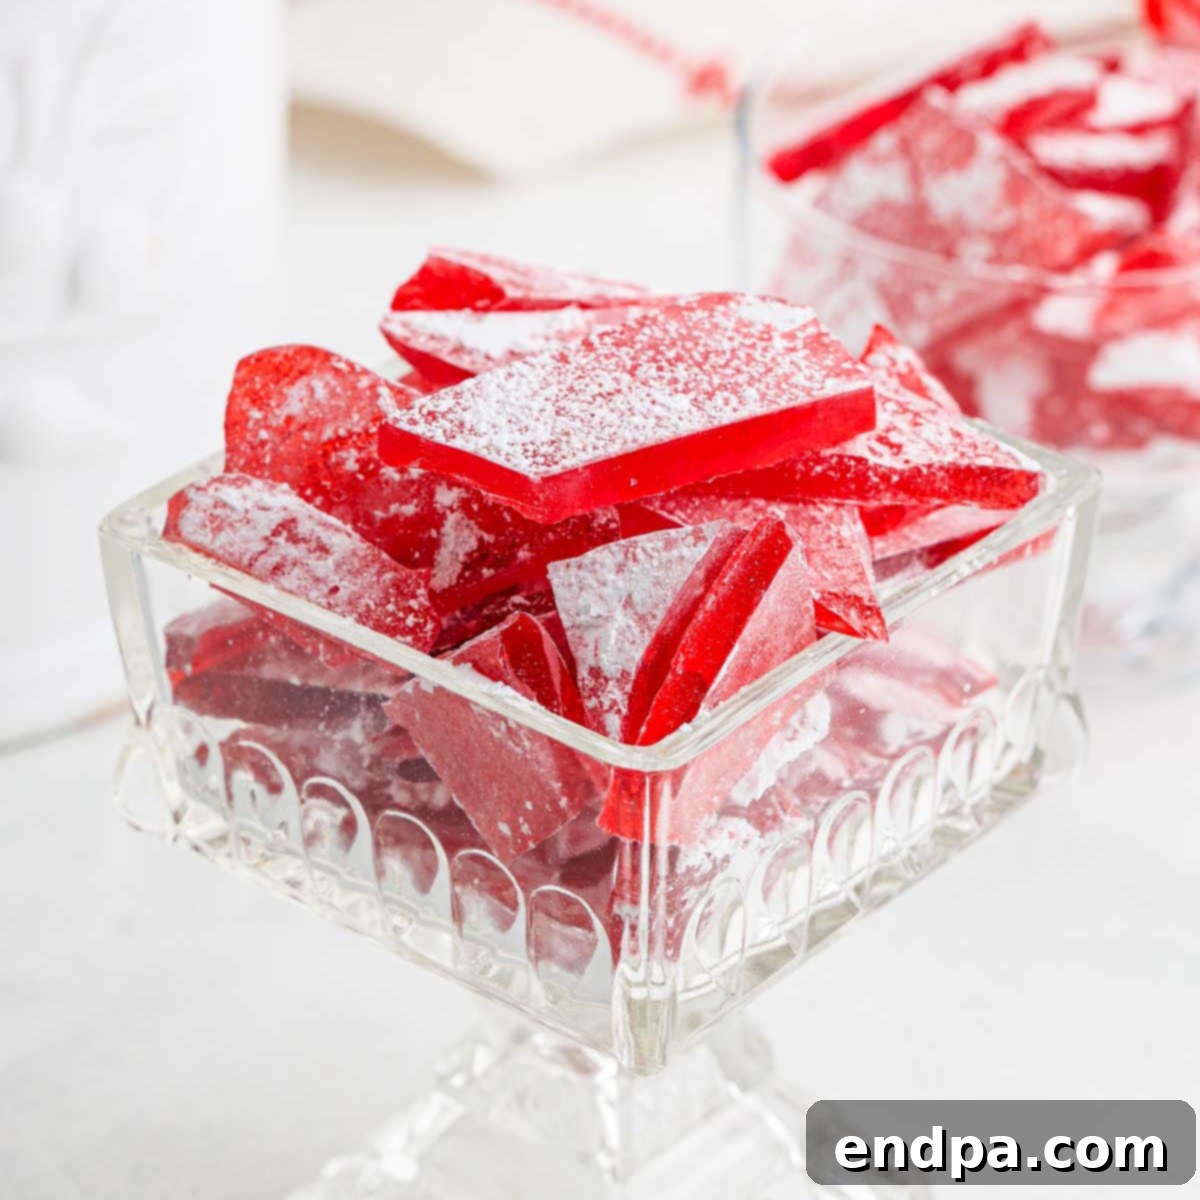
Embark on a delightful journey into the world of homemade confections with this incredibly simple and satisfying Hard Candy Recipe. Crafted with just a few basic ingredients, this versatile recipe empowers you to create vibrant, flavorful hard candies that can be customized to suit any occasion or preference. Forget complicated techniques; even novice candy makers will find success and joy in producing these sweet, shimmering treats right in their own kitchen.
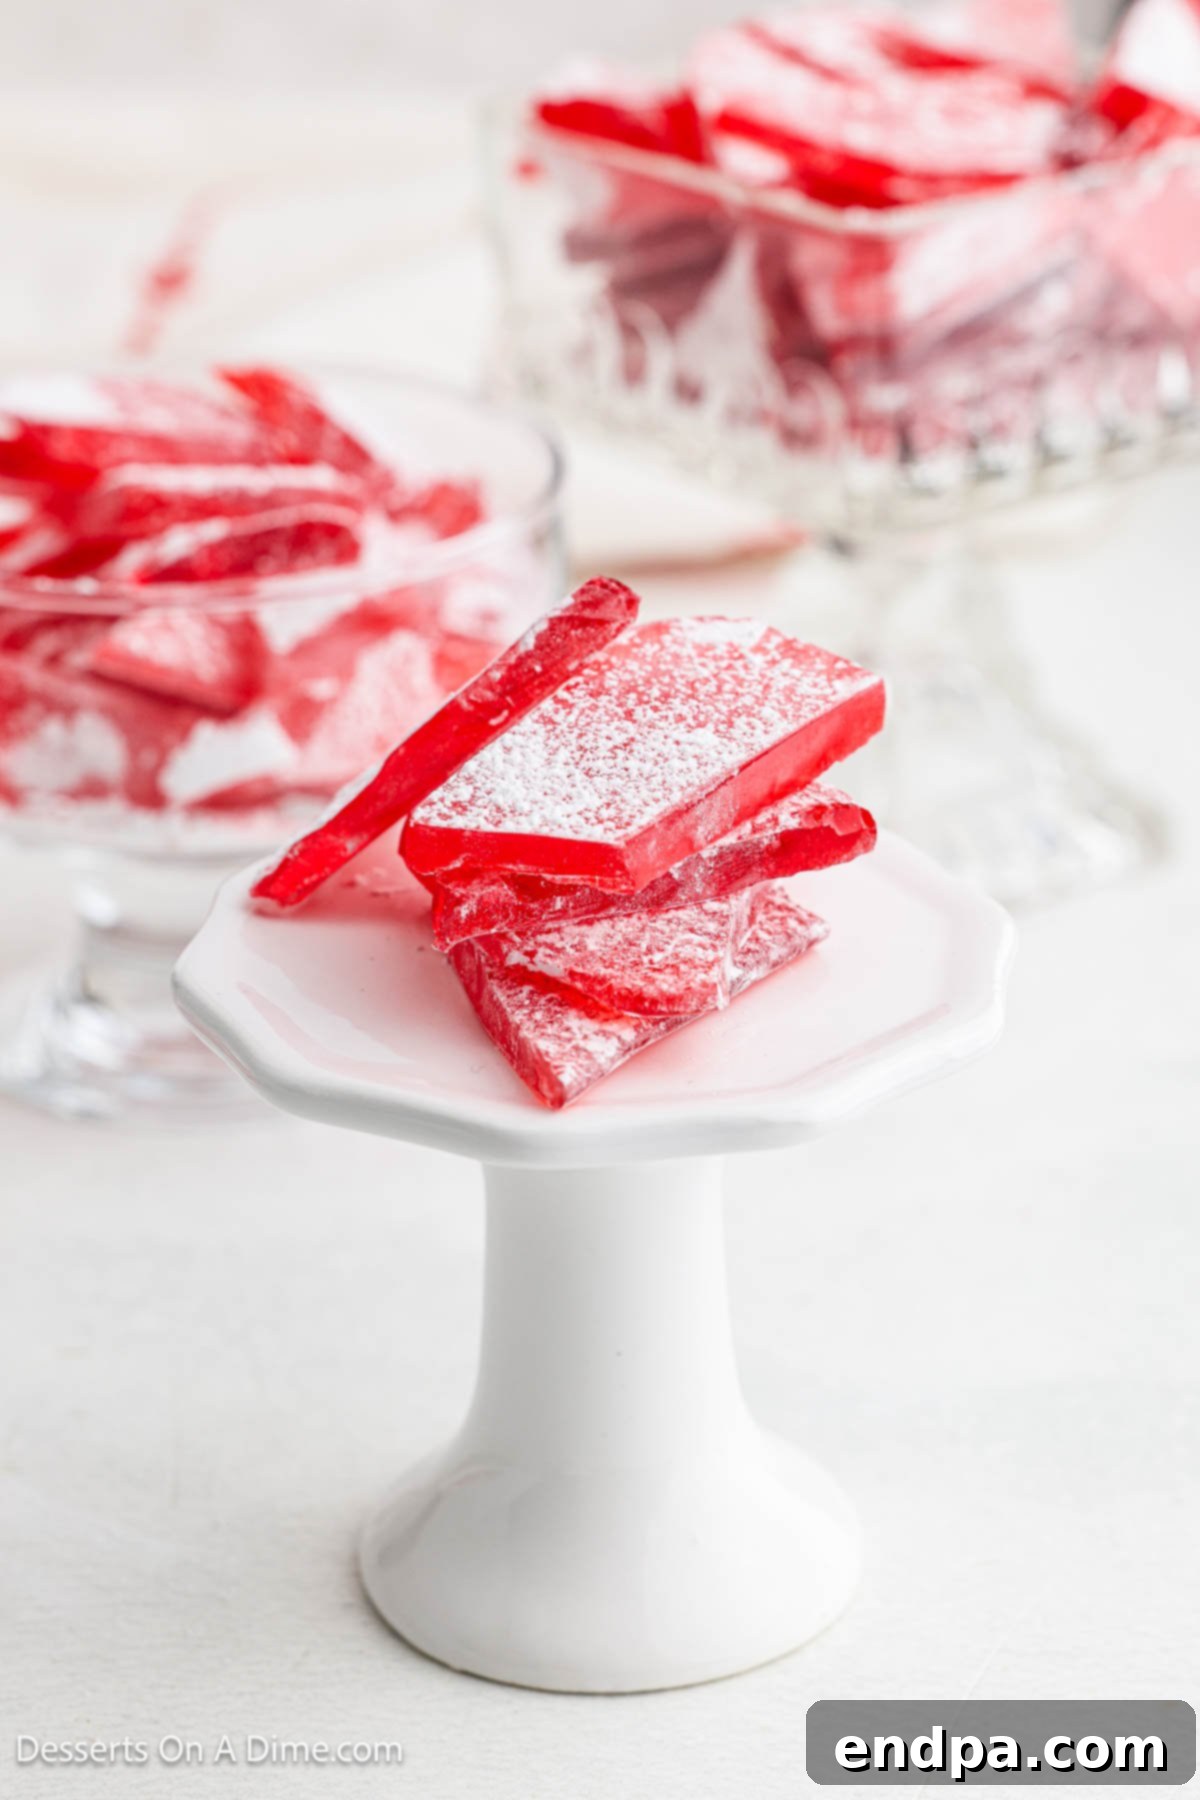
Making your own hard candy is a truly rewarding experience, opening up a realm of endless possibilities for flavors, colors, and shapes. This recipe stands out for its straightforward approach, requiring minimal ingredients and no prior candy-making expertise. Within a surprisingly short amount of time, you’ll be able to transform simple pantry staples into exquisite, brittle candies that are perfect for snacking, gifting, or decorating desserts. If you’ve enjoyed other easy candy projects like Old Fashioned Divinity Candy or Cool Whip Candy, you’ll find this hard candy recipe equally enchanting and perhaps even more versatile.
Table of contents
- Why You’ll Adore This Hard Candy Recipe
- Ingredients for Perfect Hard Candy
- Step-by-Step Guide to Crafting Hard Candy
- Storing Your Homemade Hard Candy
- Expert Tips for Hard Candy Success
- Frequently Asked Questions (FAQ) About Hard Candy
Why You’ll Adore This Hard Candy Recipe
There are countless reasons to fall in love with making homemade hard candy. This particular recipe offers a sweet blend of simplicity, customization, and pure joy that makes it a standout. Each batch promises a delightful crunch and a burst of flavor, leaving a truly satisfying sensation.
Beyond its inherent deliciousness, this hard candy is a fantastic option for various occasions. It’s incredibly cost-effective to make, turning readily available ingredients into impressive treats. This makes it an ideal choice for thoughtful, handcrafted gifts during the Christmas season, Valentine’s Day, or any special holiday. The ability to easily change the color and flavoring allows for endless creativity, ensuring your candies perfectly match the theme or recipient’s taste. Imagine vibrant red and green candies for Christmas, delicate pinks for Valentine’s Day, or bright pastels for Easter – the possibilities are limited only by your imagination. It’s a nostalgic treat that brings back fond memories for many and creates new ones for those experiencing homemade candy for the first time.
Ingredients for Perfect Hard Candy
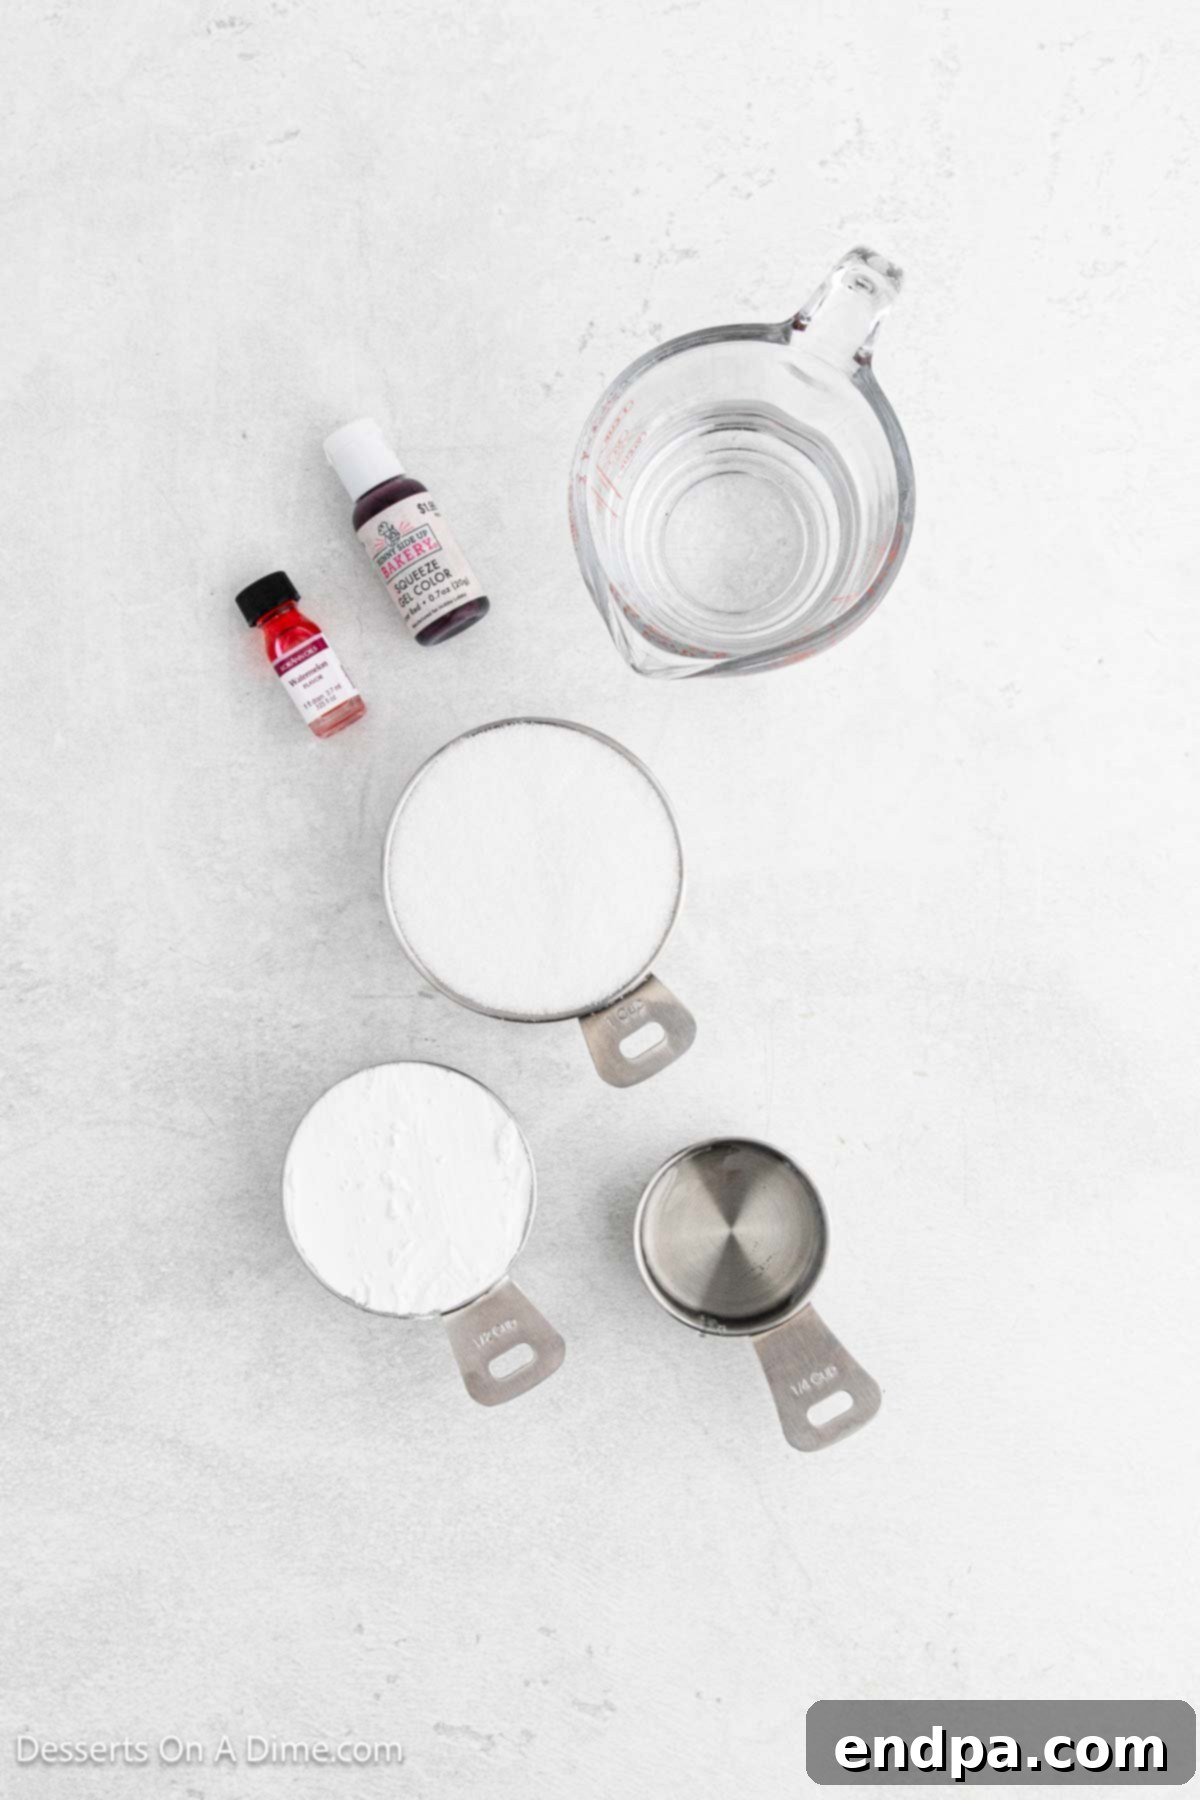
The beauty of this hard candy recipe lies in its minimalist ingredient list. Each component plays a vital role in achieving that signature crisp texture and sweet flavor. Let’s delve into what you’ll need and why each ingredient is important:
- Granulated Sugar and Water: This forms the base of our candy. Sugar, when heated with water, creates a syrup that, once it reaches a very high temperature, becomes hard and brittle upon cooling. The sugar provides the sweetness and the structural integrity of the candy.
- Light Corn Syrup: This is a crucial ingredient for preventing crystallization. Without corn syrup, your hard candy might turn out grainy or sugary. Corn syrup, an invert sugar, helps to inhibit sugar crystals from forming during the cooking process, resulting in a smooth, clear, and perfectly brittle hard candy.
- Flavoring Oil: The magic of flavor! We recommend using concentrated flavoring oils, such as those from LorAnn Oils, for an intense and true-to-life taste. Extracts can be used, but you’ll likely need a larger quantity to achieve a comparable flavor intensity, and they can sometimes introduce too much liquid, affecting the candy’s texture. For this recipe, watermelon flavoring oil was used, but the choice is entirely yours. Consider classic options like peppermint, cinnamon, cherry, or citrus.
- Powdered Sugar (Confectioners’ Sugar): This fine sugar is used as a dusting agent. It prevents the candy from sticking to your prepared surface and helps with easy handling once broken into pieces. Sifting it before use is essential to ensure it’s free of lumps, guaranteeing a smooth and even coating.
- Food Coloring (Optional): While some flavoring oils (like watermelon or cherry) naturally impart a lovely color, food coloring allows you to achieve more vibrant or specific hues. Gel food coloring is generally preferred over liquid food coloring as it’s highly concentrated and won’t significantly alter the moisture content of your candy mixture. Add it carefully, drop by drop, until you reach your desired shade.
Step-by-Step Guide to Crafting Hard Candy
Creating homemade hard candy might seem intimidating at first, but by following these detailed steps, you’ll achieve perfect results every time. Precision, especially with temperature, is key to success!
Essential Equipment:
- Heavy-bottomed medium saucepan
- Candy thermometer
- Silicone baking mat or aluminum foil
- Cookie sheet/baking pan
- Rubber spatula
- Mallet or rolling pin (for breaking)
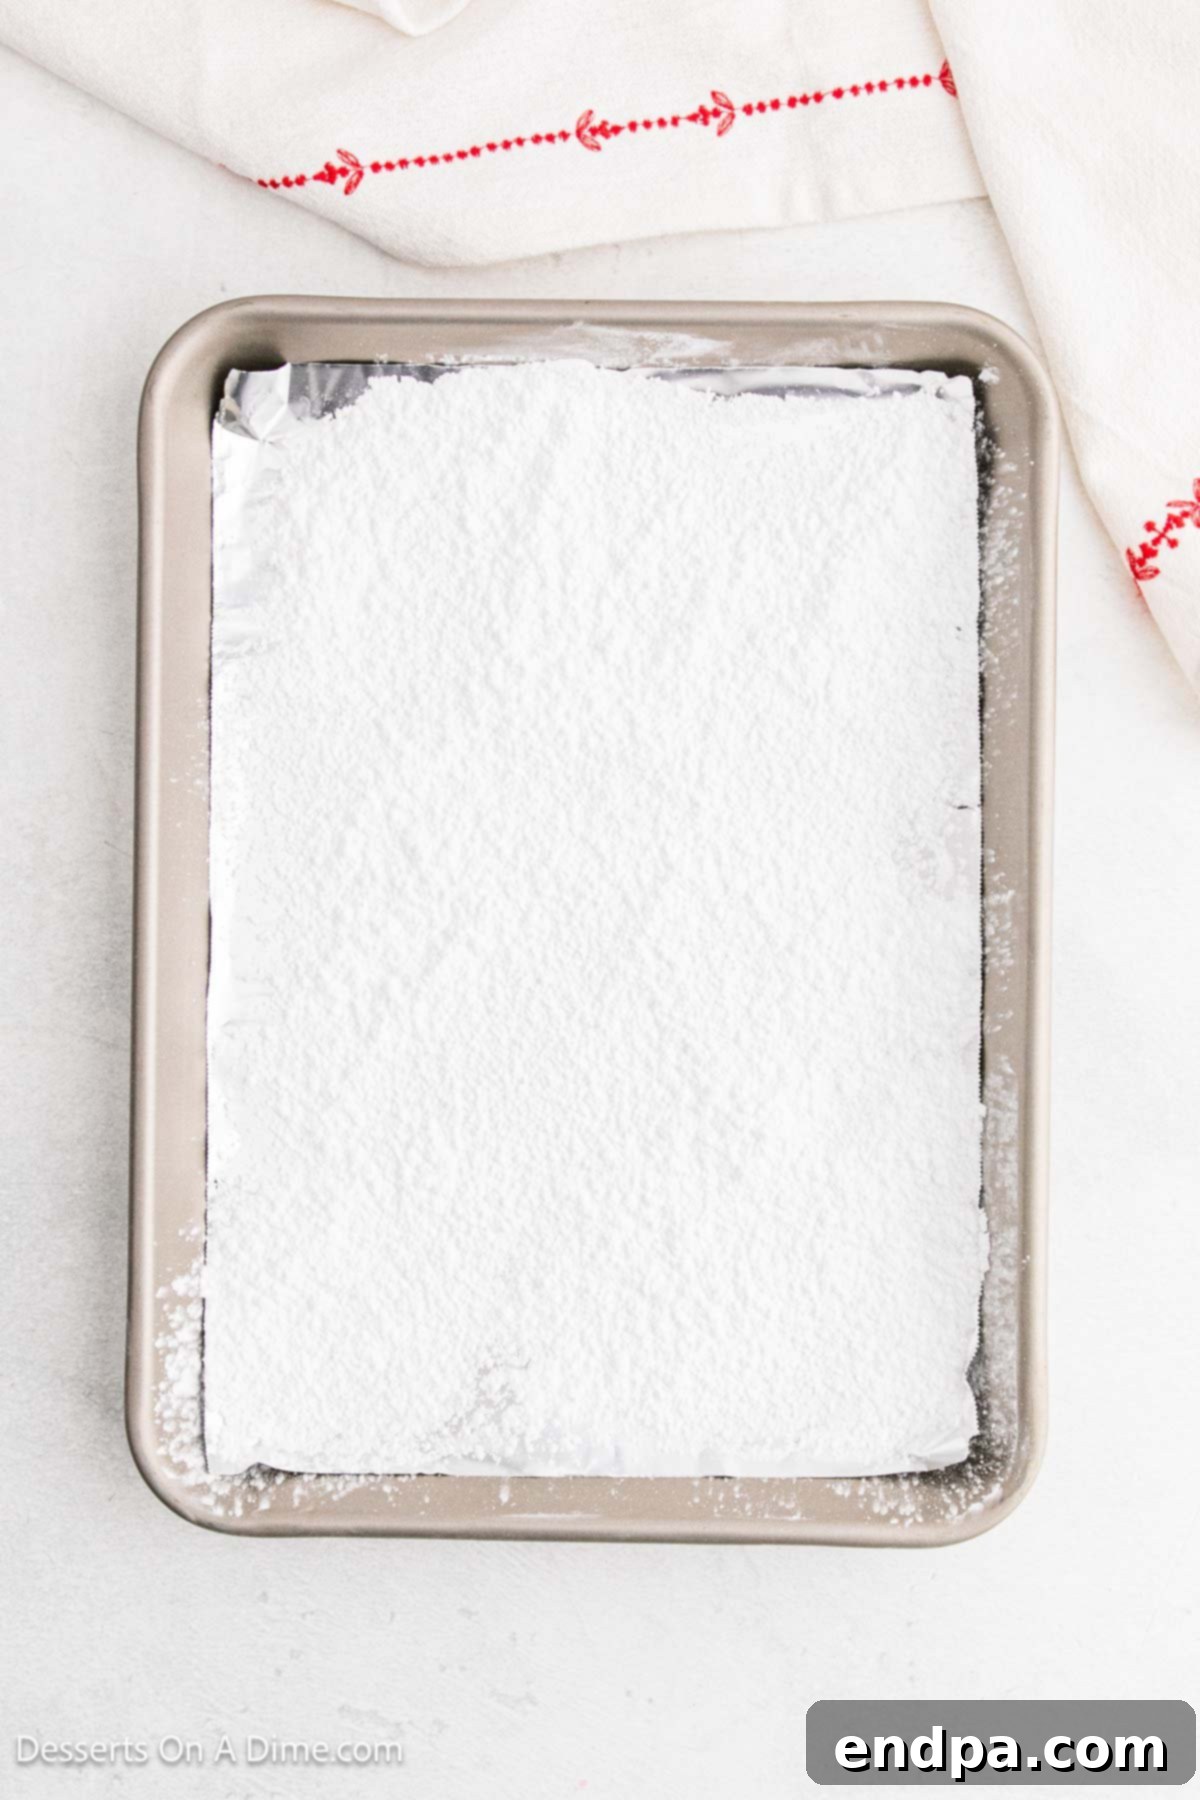
Step 1. Prepare Your Workstation. Begin by thoroughly preparing a sturdy cookie sheet or baking pan. Line it with heavy-duty aluminum foil, ensuring it covers the sides, or use a high-quality silicone baking mat. This step is crucial for easy removal. Next, lightly spray the entire surface (including the sides if using foil) with a non-stick cooking spray, then generously dust it with sifted powdered sugar. This double layer of protection prevents the hot candy from adhering and makes cleanup significantly easier.
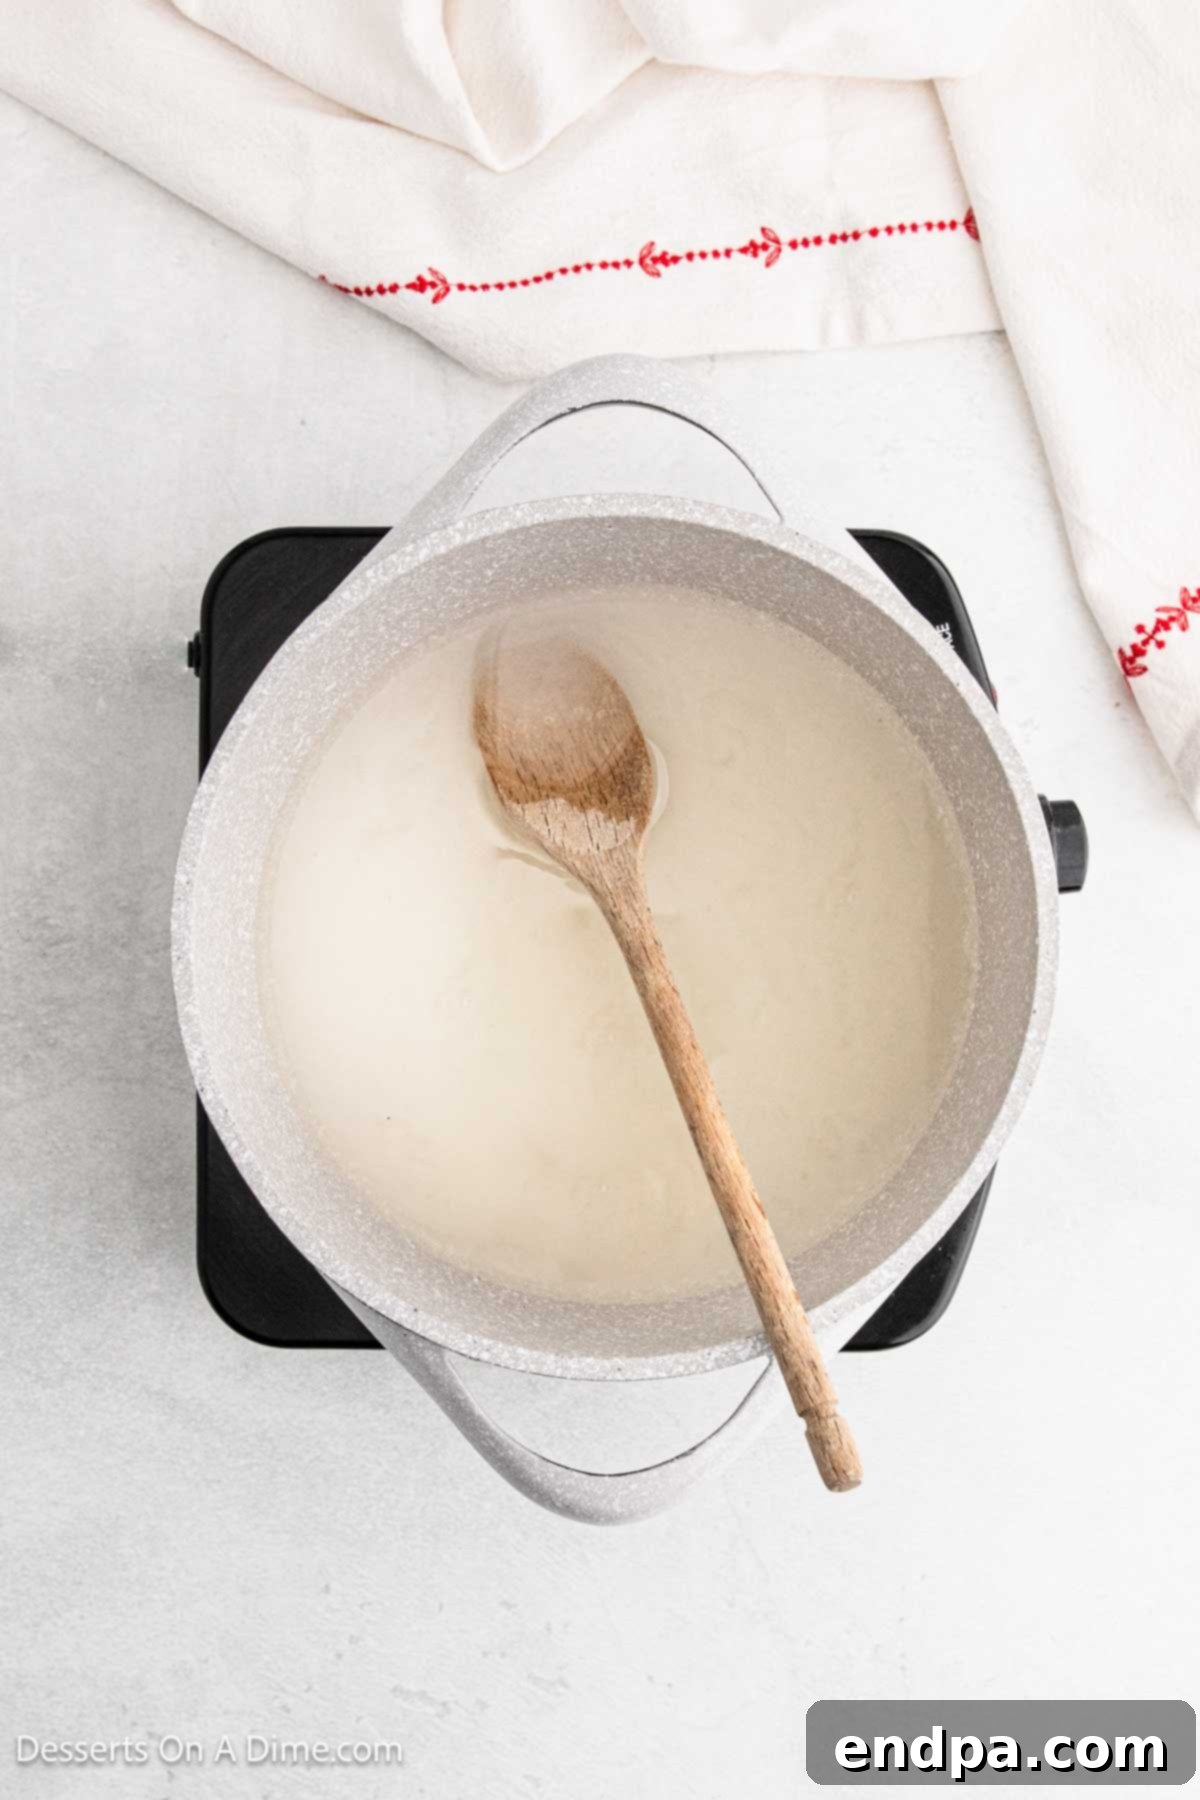
Step 2. Combine Sugar Syrup. In a medium-sized, heavy-bottomed saucepan, combine the granulated sugar, water, and light corn syrup. Stir these ingredients together over medium heat until the sugar completely dissolves. Continuously stirring during this initial stage helps to prevent burning and ensures a homogenous mixture. Once the sugar is dissolved and the mixture begins to simmer, stop stirring.
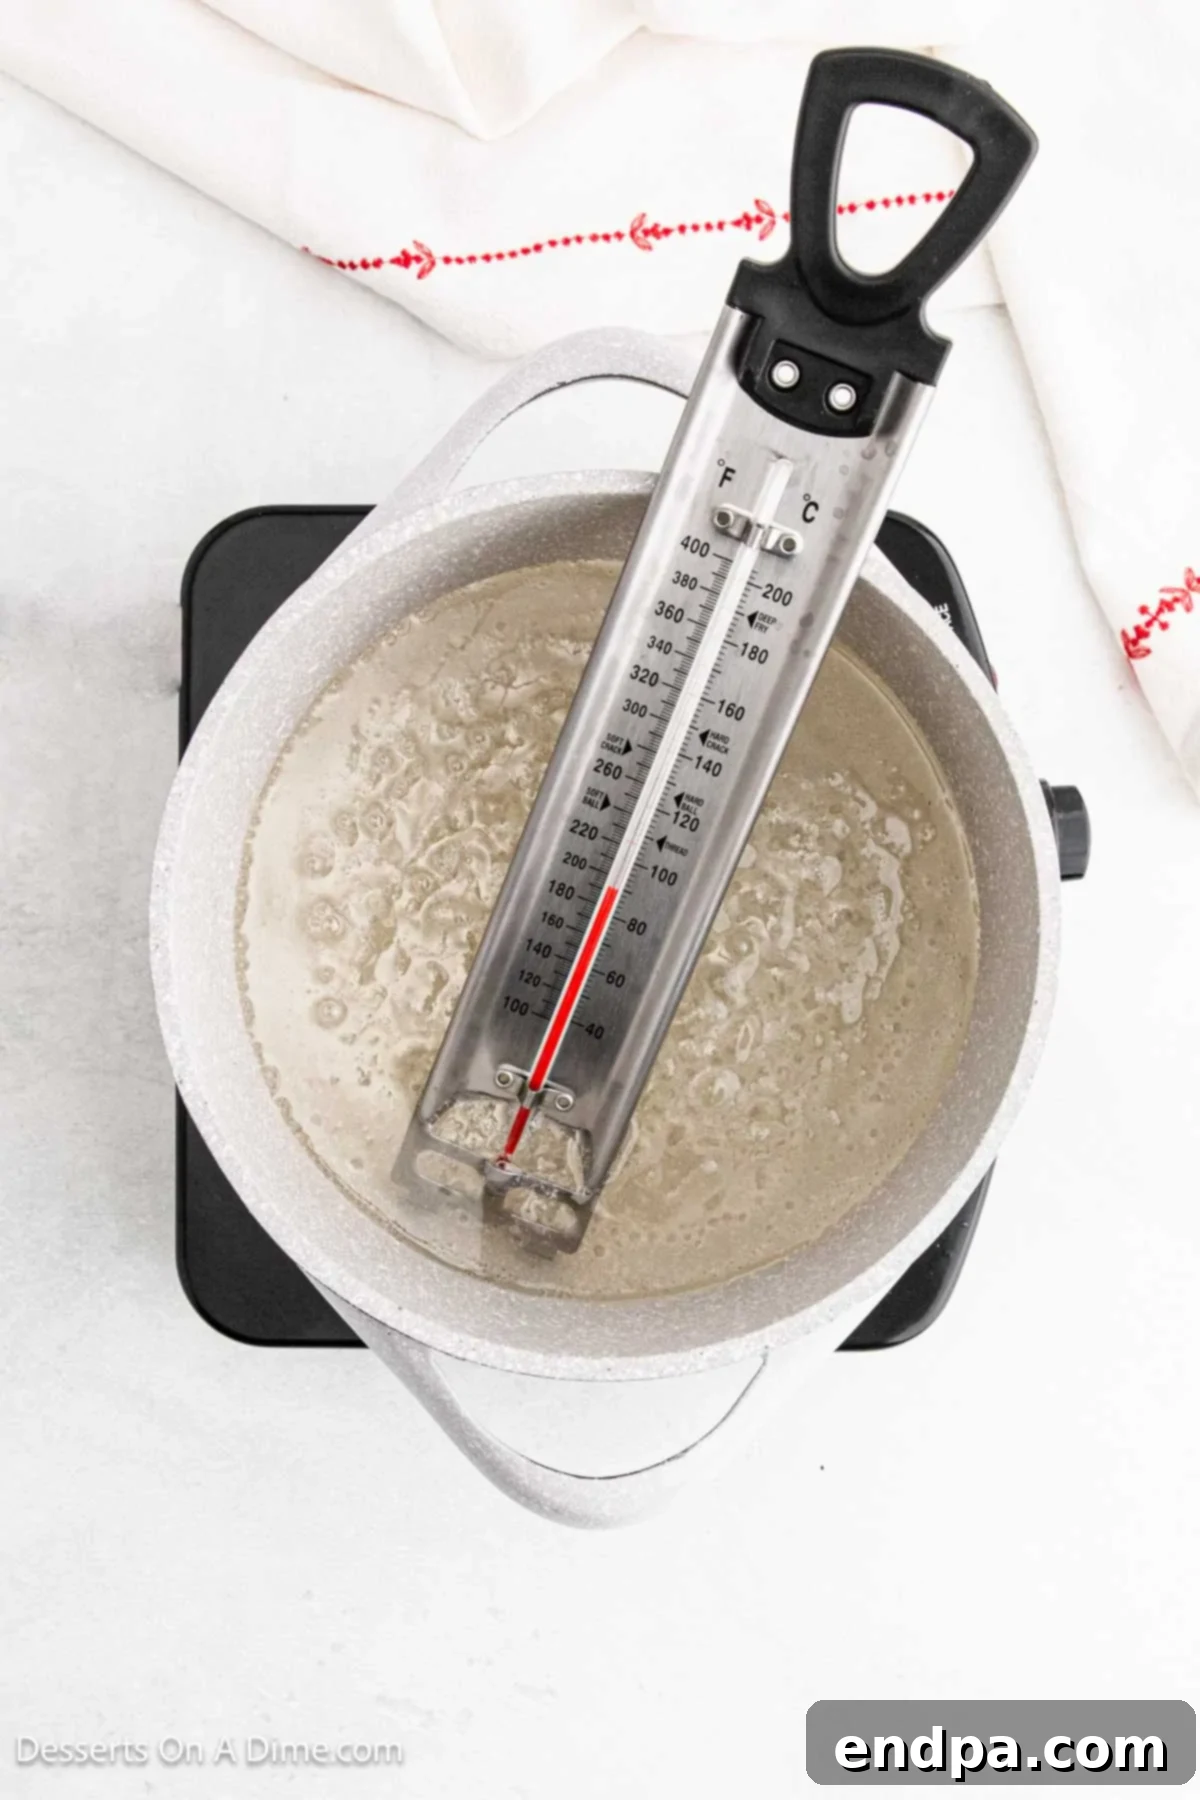
Step 3. Reach Hard Crack Stage. Clip your candy thermometer to the side of the saucepan, ensuring the tip does not touch the bottom. Allow the mixture to boil undisturbed for approximately 10-12 minutes, or until the thermometer registers precisely 310 degrees Fahrenheit (154 degrees Celsius). This is known as the “hard crack stage,” where the sugar syrup becomes extremely brittle. Watch the thermometer closely as the temperature can rise quickly towards the end. My mixture typically takes around 12 minutes to reach this critical temperature.

Step 4. Infuse Flavor and Color. As soon as the candy reaches 310°F, immediately remove the saucepan from the heat. Allow it to sit undisturbed for about one minute until the vigorous boiling action subsides and the mixture calms down. This brief resting period helps prevent the flavoring oils from evaporating too quickly due to the extreme heat. Now, carefully add your ½ teaspoon of flavoring oil and any desired food coloring. Stir gently but thoroughly with a clean, heat-proof rubber spatula until the flavor and color are evenly incorporated. Work quickly, as the mixture will start to cool and thicken.
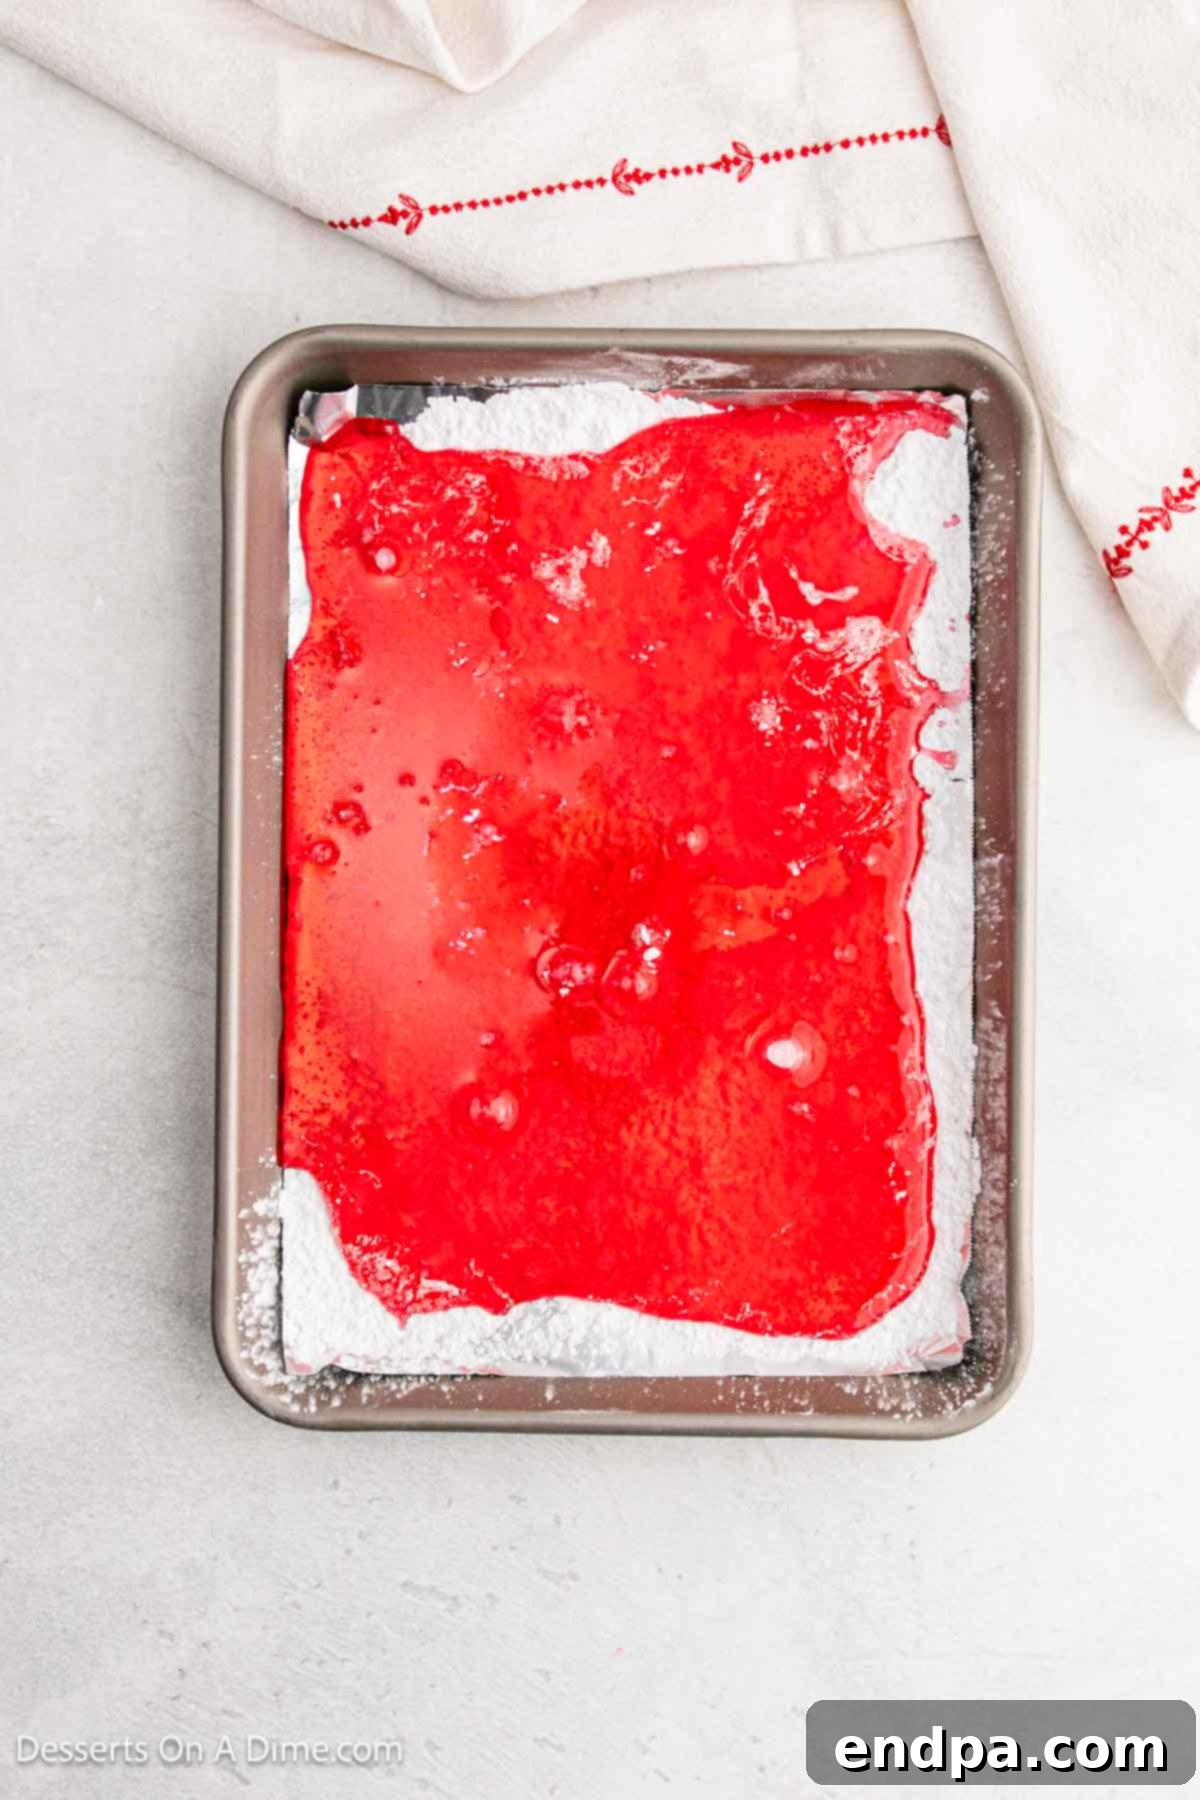
Step 5. Pour and Spread. Without delay, pour the hot candy mixture onto your prepared baking sheet. It will be thick and sticky. Use a rubber spatula to quickly and evenly spread the mixture into a thin layer across the entire surface of the pan. Aim for a consistent thickness, as this will ensure uniform cooling and texture in your finished candies. Speed is essential here, as the candy will begin to set rapidly.
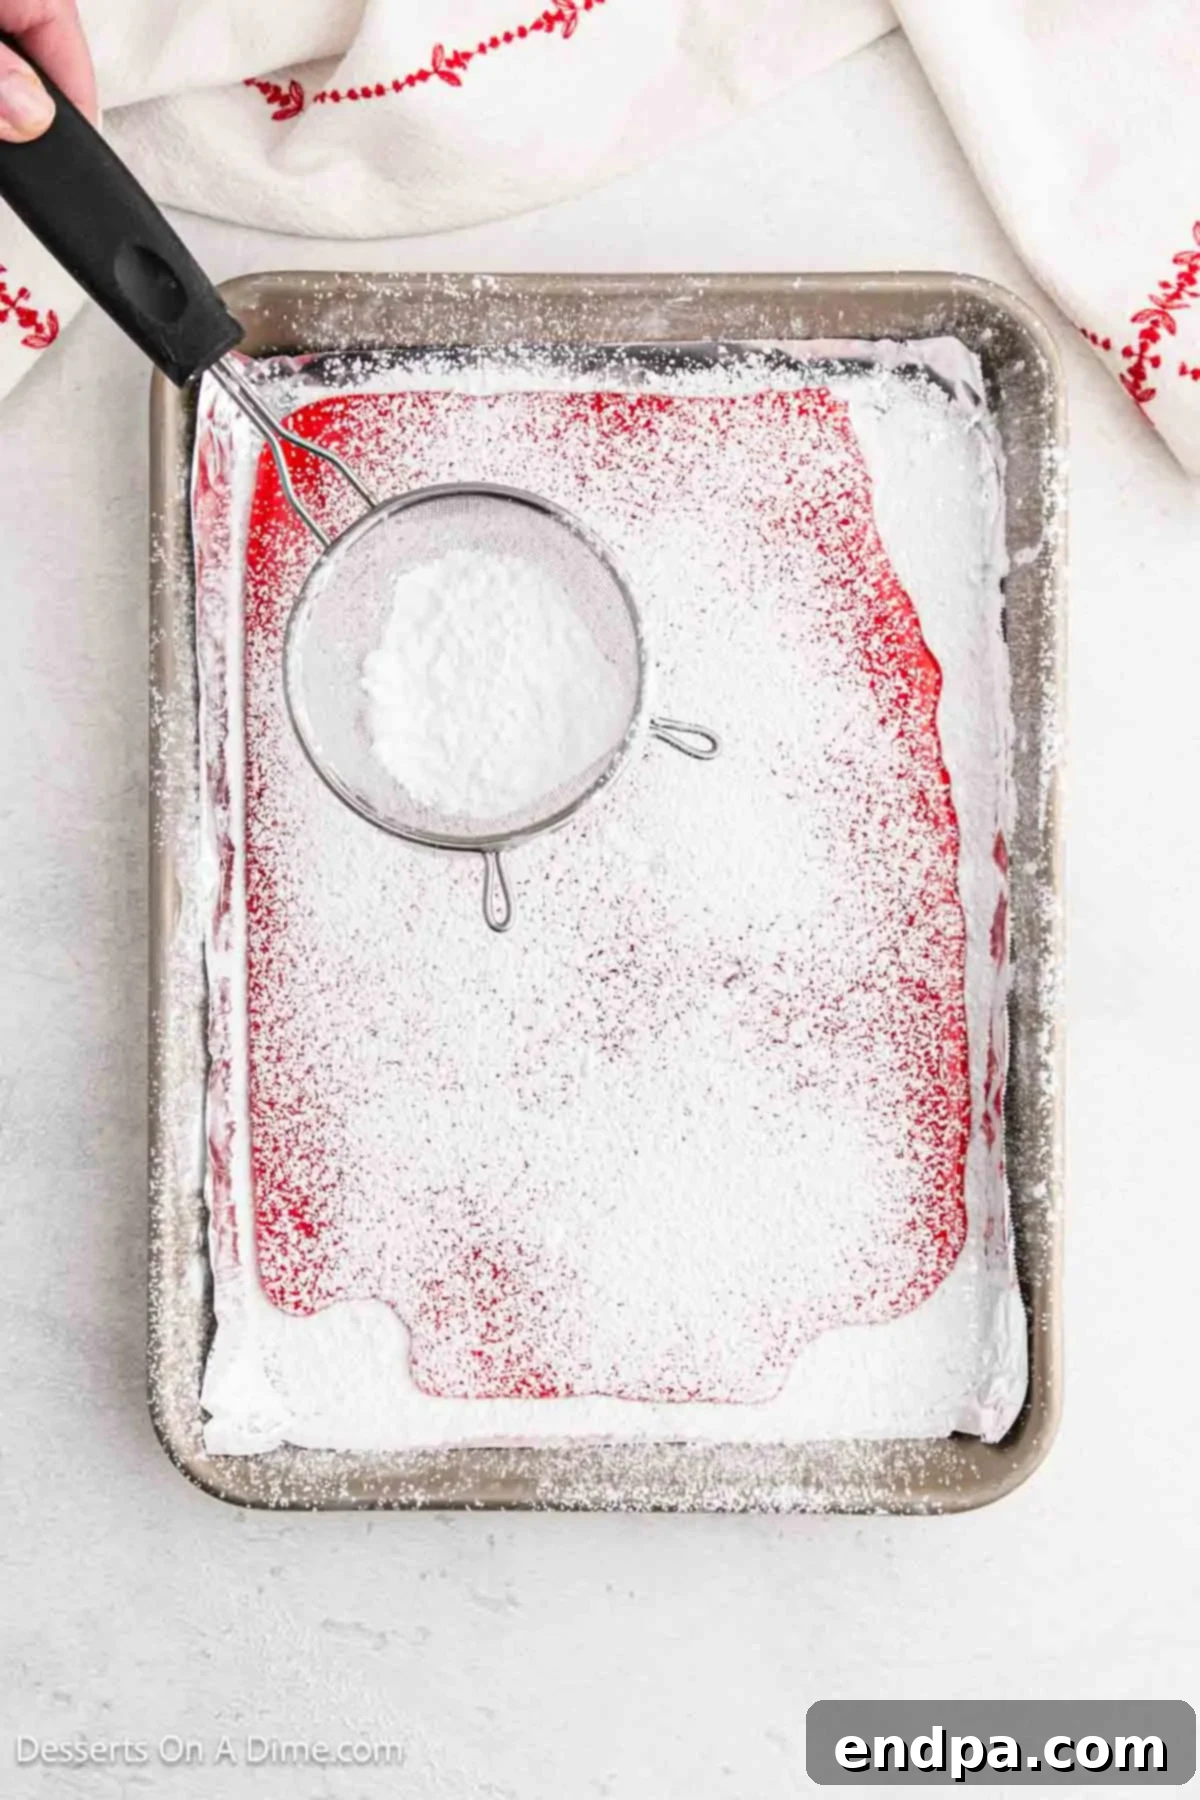
Step 6. Dust for Perfection. Once the candy mixture is spread smoothly across the pan, immediately sprinkle the remaining powdered sugar over the entire surface. This not only adds a lovely finish but also further aids in preventing stickiness and making the candy easier to handle once it has hardened.
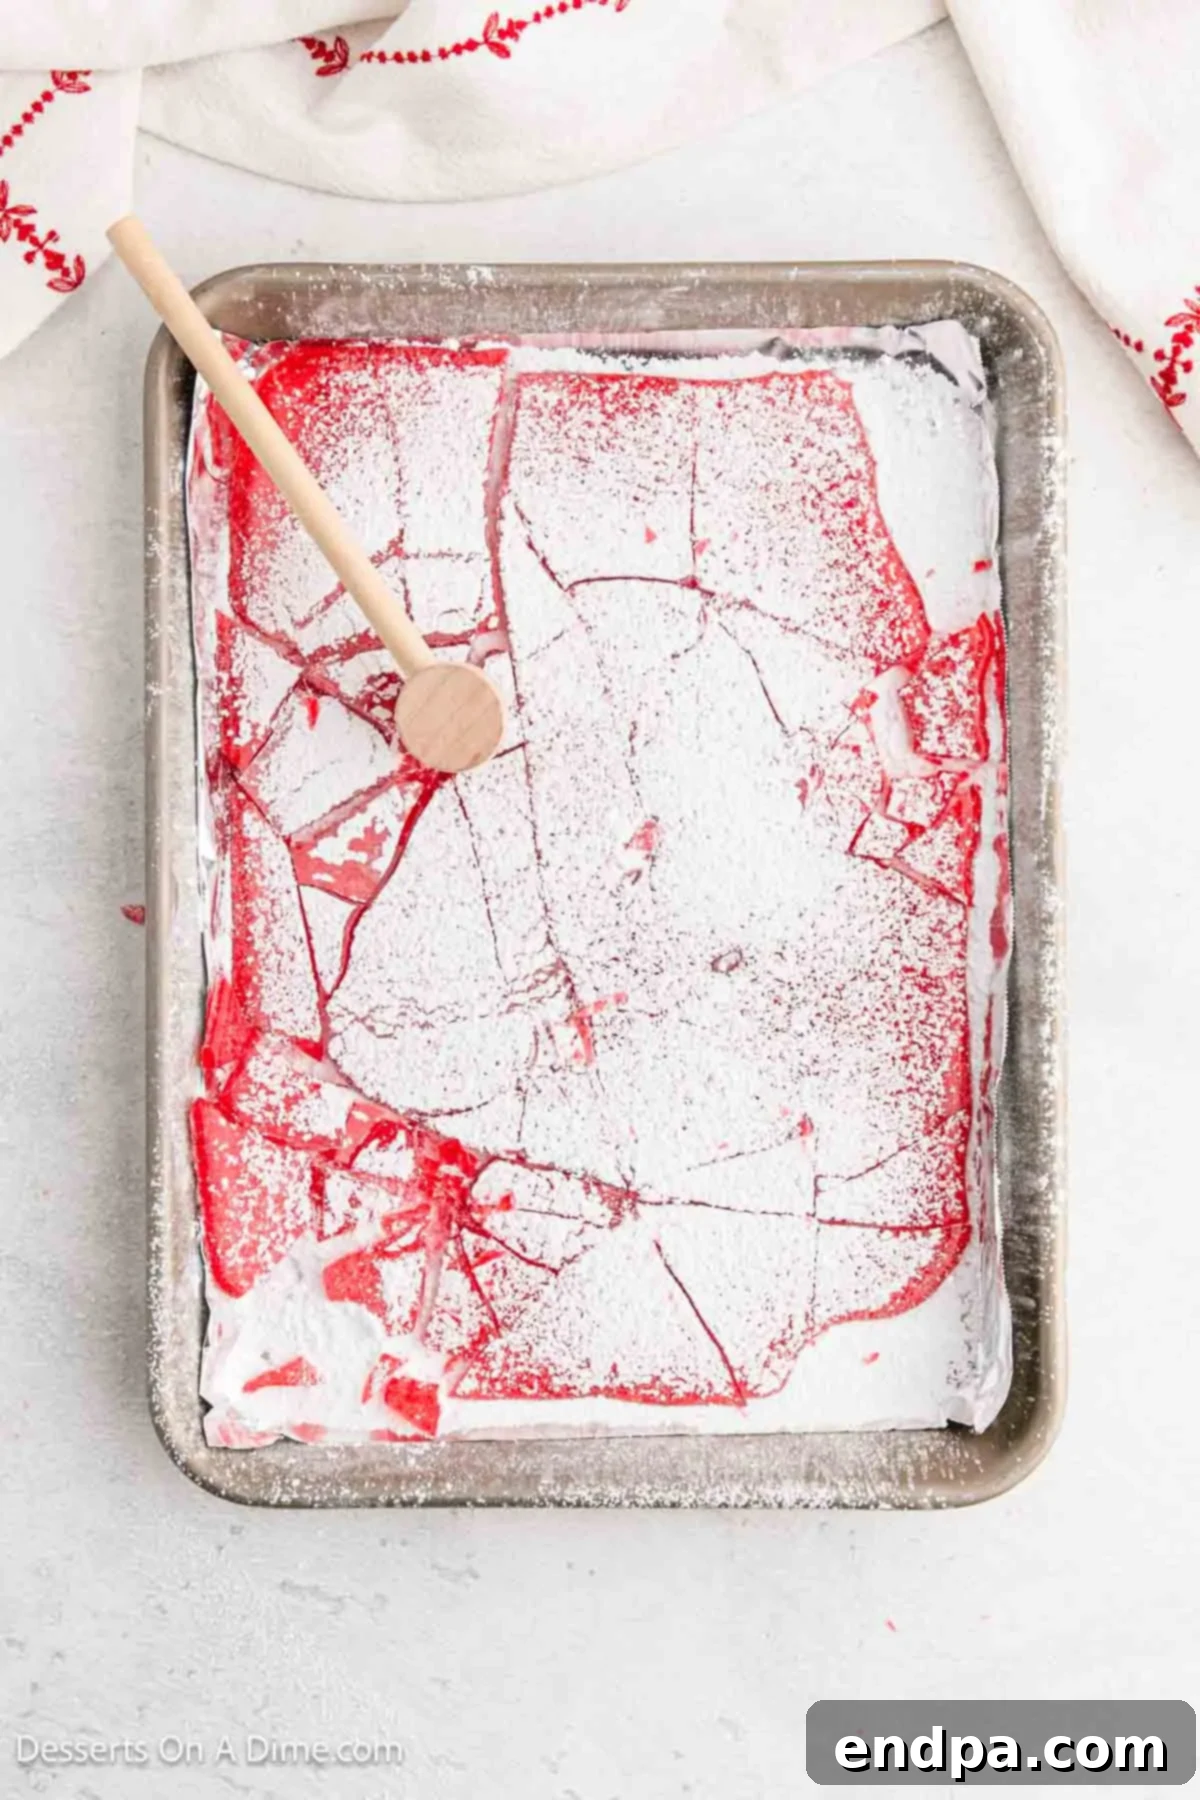
Step 7. Cool and Break. Allow the candy to cool completely and set, which typically takes between 30 minutes to 1 hour, depending on your room’s temperature and humidity. Do not rush this process by placing it in the fridge. Once fully hardened, carefully lift the candy from the pan (the foil or silicone mat will make this easy). Place the hardened candy on a clean, sturdy surface and use a small mallet or the end of a rolling pin to break it into small, irregular pieces. You can also use a heavy chef’s knife to gently score the candy before it fully sets, then break along those lines.
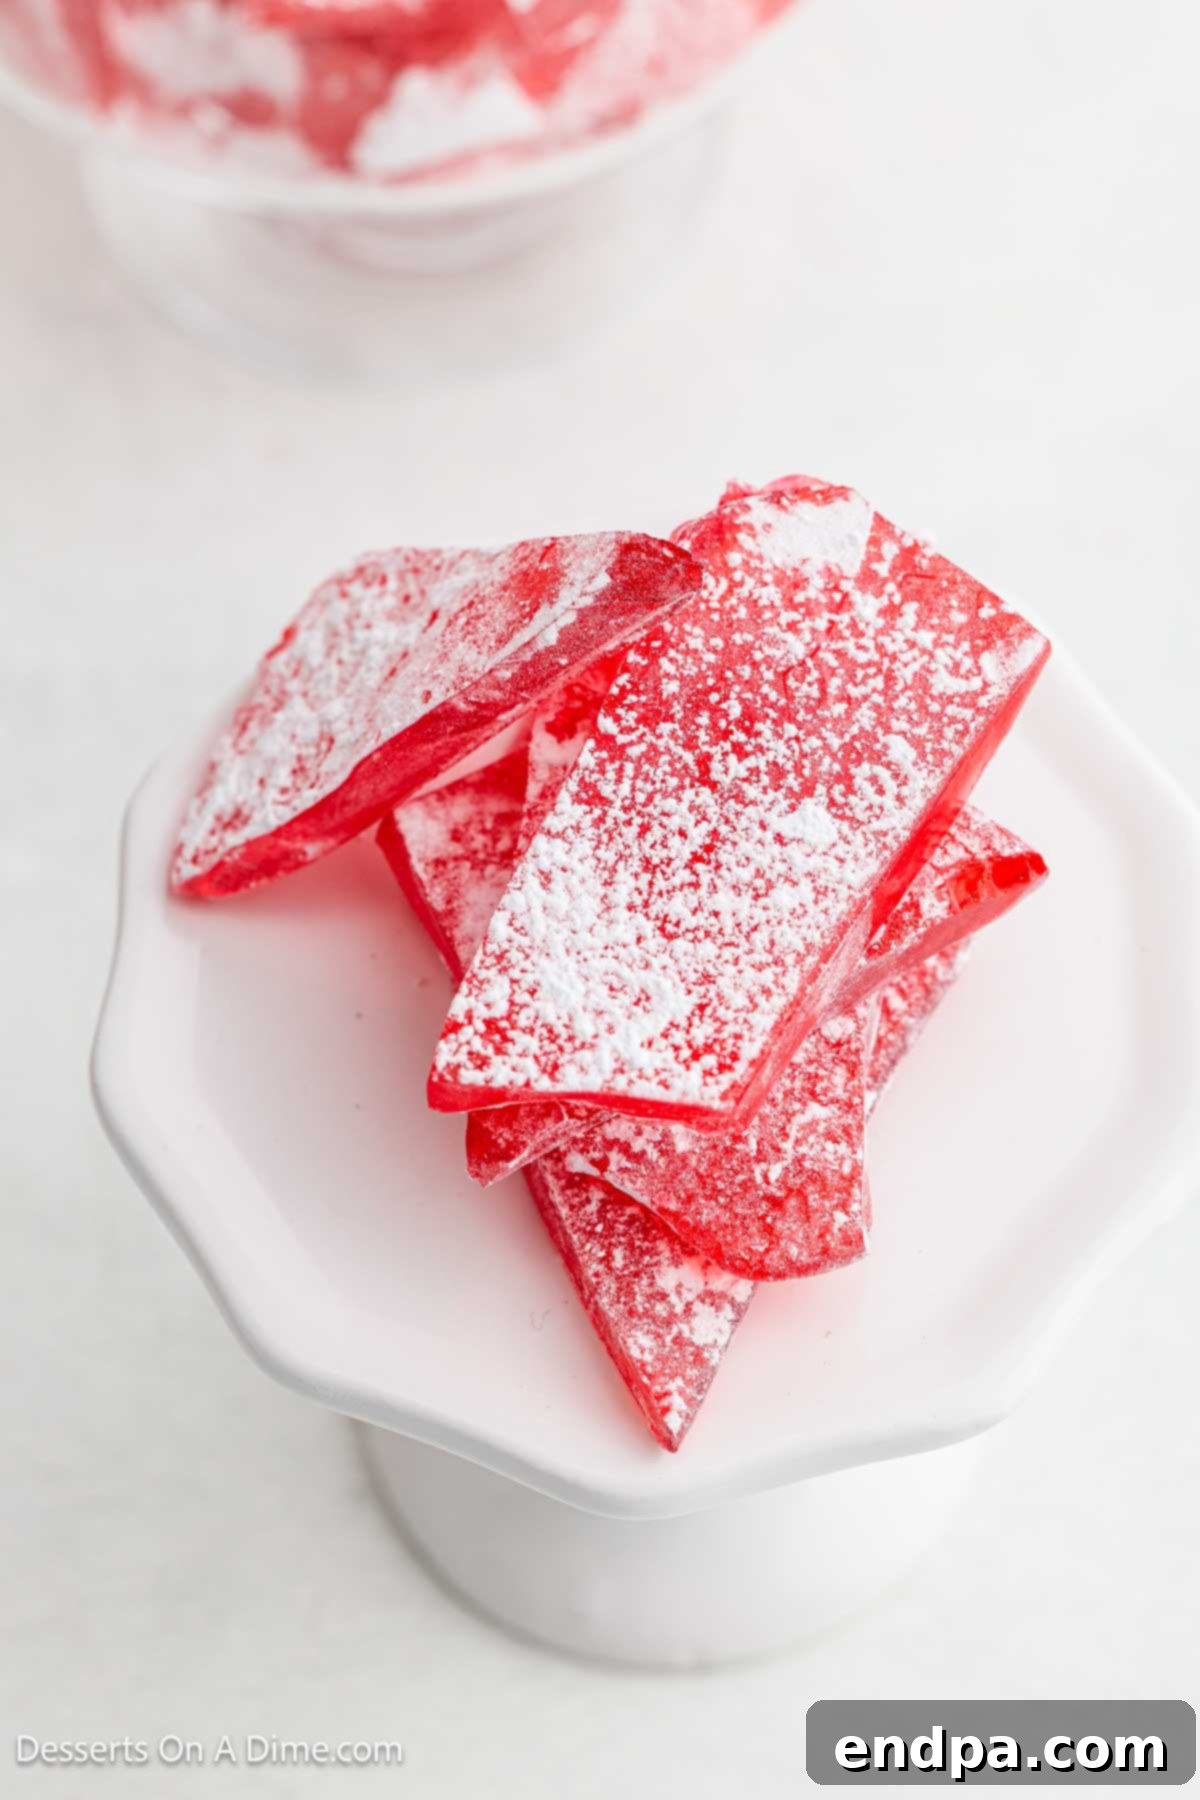
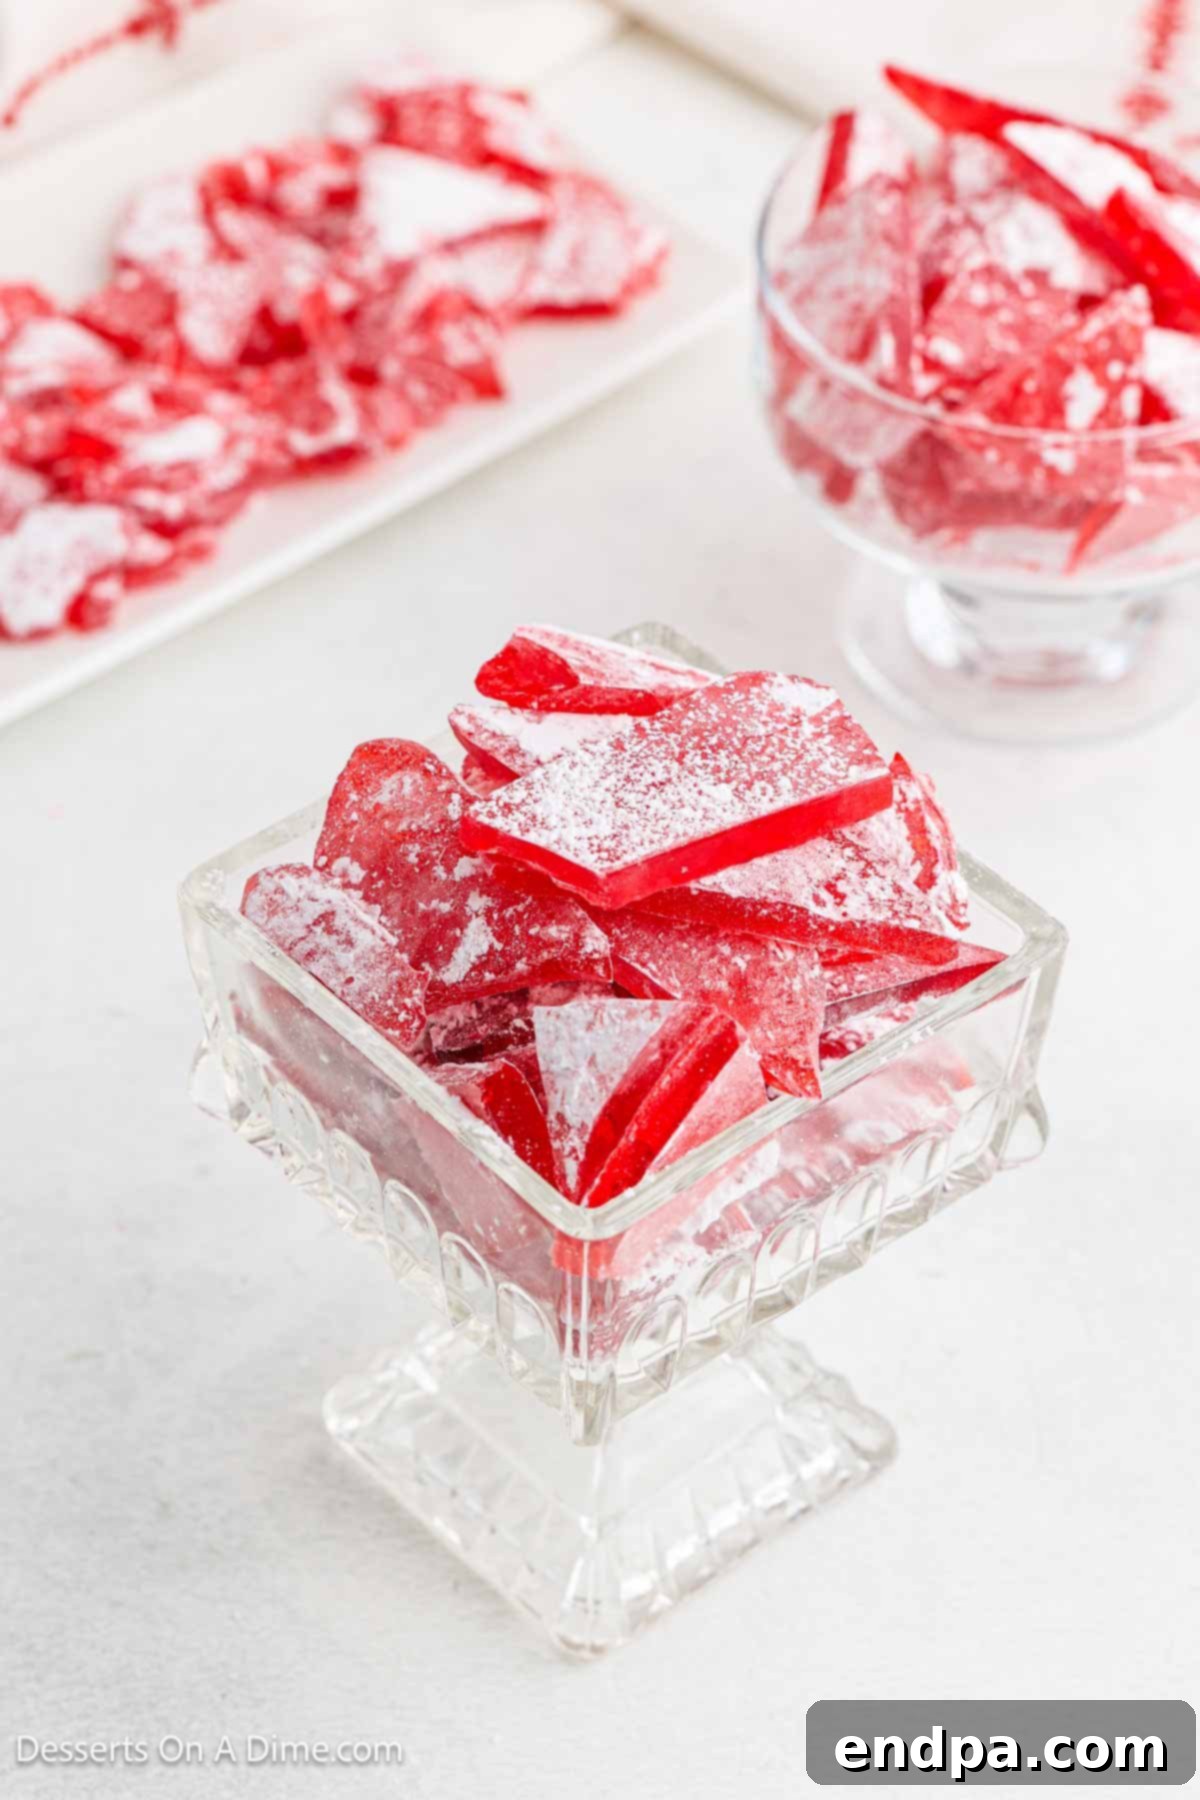
Step 8. Enjoy Your Creation! Your delicious homemade hard candy is now ready to be enjoyed! These little shards of sweetness are perfect for a quick treat, a festive addition to a candy dish, or packaged as thoughtful gifts. Revel in the satisfaction of having made such a wonderful confection from scratch.
Storing Your Homemade Hard Candy
Proper storage is essential to maintain the crisp texture and extend the shelf life of your homemade hard candy. Once the candy has completely cooled and been broken into pieces, store it in an airtight container at room temperature. A cool, dark pantry or cupboard is ideal. Avoid storing hard candy in the refrigerator or freezer, as the humidity and condensation can cause the candy to become sticky and “sweat.” This moisture can degrade the texture, turning your brittle candy chewy and losing its desirable snap. When stored correctly, homemade hard candy can remain fresh and delicious for several weeks.
Expert Tips for Hard Candy Success
Achieving perfect hard candy is a blend of precision and a few clever tricks. Here are some pro tips to ensure your candy-making experience is smooth and successful:
- Choosing Your Flavoring: Flavoring oils are generally more concentrated and heat-stable than extracts, delivering a stronger and purer taste in hard candy. If using extracts, you might need to use a larger quantity (often 1.5 to 2 times the amount of oil), but be mindful of adding too much liquid, which can affect the candy’s set. Remember that different flavors have varying strengths; for instance, a peppermint oil will be much more potent than a fruit-flavored oil like watermelon. Adjust the amount to your taste preference, starting with a smaller amount and adding more if needed.
- Vibrant Food Coloring: Food coloring is entirely optional, but it’s a fantastic way to enhance the visual appeal of your hard candy. While some flavor oils impart a subtle hue, gel food coloring will give you vibrant, rich colors without adding significant liquid. Add it drop by drop at the same time as your flavoring oil until you achieve your desired shade. Consider matching the color to your chosen flavor for an intuitive experience (e.g., green for apple, red for cherry).
- Double the Delight: This recipe makes a moderately sized batch of hard candy. If you’re planning to give it as gifts, serve it at a party, or simply want more to enjoy, consider doubling the recipe. Just be sure to use a larger, heavy-bottomed saucepan to accommodate the increased volume and ensure even heating.
- Combatting Sugar Crystals: Sugar crystals are the arch-nemesis of smooth hard candy. If you notice any crystals forming on the sides of your saucepan during the boiling process, gently wipe them down with a wet pastry brush. This dissolves the crystals and prevents them from interfering with the smooth texture of your candy.
- Score for Uniformity: For more evenly sized pieces, you can lightly score the candy with a large, sharp knife shortly after pouring it onto the baking sheet and before it completely hardens. Once the candy has fully set, you can then break it along these scored lines, making for cleaner breaks and more uniform shapes.
- Creative Candy Molds: If you prefer shaped candies over irregular shards, silicone candy molds are a fantastic alternative. Make sure to thoroughly spray the molds with cooking spray before pouring the hot candy mixture into them. Work quickly and carefully, as the hot sugar can be dangerous. Allow the candy to cool completely in the molds before gently popping them out.
- Safety First with Hot Sugar: When working with boiling sugar, extreme caution is necessary. Sugar syrup reaches very high temperatures and can cause severe burns. Always use a heavy-bottomed pan, wear oven mitts, and keep children and pets away from the cooking area. Do not taste the hot sugar mixture.
Frequently Asked Questions (FAQ) About Hard Candy
Where can I find flavoring oils?
LorAnn Flavoring Oils, a popular and reliable brand, can often be found in the baking aisle of most larger grocery stores. However, depending on the store, they might also be located in the craft section alongside specialty baking items. Online retailers are also an excellent source, offering a wider variety of flavors.
What kind of flavor is best for hard candy?
The “best” flavor is entirely subjective and depends on your personal preference! Some popular and highly recommended options include classic cinnamon, refreshing peppermint, various fruit flavors like cherry, orange, lemon, grape, and watermelon, or even more unique choices such as butter rum or root beer. Don’t hesitate to experiment and find your favorites!
How do I clean the pot and spoon after making candy?
Cleaning sticky candy residue from pots and utensils can be a challenge. The easiest method is to fill the pot with hot water immediately after pouring the candy and place all sticky utensils (spatula, thermometer) inside. Let them soak for several hours or overnight. The hot water will gradually dissolve the hardened sugar mixture, making cleanup effortless.
Can I place the candy in the fridge or freezer to help it set faster?
While tempting to speed up the cooling process, it is strongly advised against placing hard candy in the refrigerator or freezer. The rapid temperature change and introduction to humidity will cause the candy to “sweat” or become sticky, altering its final taste and brittle texture. Patience is key for perfectly hard candy.
Why is my candy chewy instead of hard and brittle?
The most common reason for chewy hard candy is that the sugar mixture did not reach the correct temperature. It is absolutely crucial to use a reliable candy thermometer and ensure the mixture boils until it reaches precisely 310 degrees Fahrenheit (the hard crack stage). If you don’t have a candy thermometer, you can perform a cold water test: drop a small amount of the hot syrup into very cold water. If it immediately forms brittle, hard threads that snap easily, it’s ready. If it’s still pliable, continue cooking.
What if my candy is grainy or appears cloudy?
Grainy or cloudy hard candy typically indicates sugar crystallization. This can happen if the sugar isn’t fully dissolved at the beginning, if sugar crystals splash onto the sides of the pan and fall back into the syrup during cooking, or if the mixture is stirred too much after boiling begins. To prevent this, ensure all sugar is dissolved initially, avoid stirring once boiling, and wipe down the sides of the pan with a wet pastry brush if crystals appear.
How long does homemade hard candy last?
When stored correctly in an airtight container at room temperature, away from humidity, homemade hard candy can last for several weeks, often up to 2-3 months. Over time, it may slightly lose some of its vibrant color or intense flavor, but it should remain perfectly safe and delicious to eat.
More Easy Candy Recipes
Easy Candy
Rocky Road Candy
Easy Candy
Candy Popcorn
Easy Candy
How to Make Rock Candy
All Recipes Dessert
Chocolate Turtles
We truly hope you’ll try this easy and fun Hard Candy recipe. It’s an incredibly satisfying project that yields delicious results, perfect for sharing, gifting, or simply enjoying yourself. Don’t forget to leave a comment and a star rating once you’ve made your own batch!
Pin
Hard Candy Recipe
Ingredients
- 1 cup granulated sugar
- 1/2 cup water
- 1/4 cup light corn syrup
- 1/2 teaspoon flavoring oil I used Lorann Oils Watermelon
- 1/2 cup powdered sugar
- Food Coloring optional
Instructions
- Prepare a small sheet pan with foil or a silicone baking mat. Dust with powdered sugar.
- Combine the sugar, water and corn syrup in a medium saucepan using medium high heat. Bring to a boil.
- Allow to boil for 10-12 minutes until the candy reaches 310 degrees using a candy thermometer. It took my mixture 12 minutes.
- Immediately remove from heat and allow to sit for 1 minute. The mixture should be calm and no longer bubbling.
- Add flavoring oil and combine. If you are using food coloring, also add that now until it is the desired color.
- Quickly pour the mixture on the prepared pan before the mixture starts to solidify. Use a rubber spatula to smooth the mixture evenly.
- Sprinkle the remaining powdered sugar on top of the candy.
- Allow to set for 30 minutes to 1 hour.
- Break into pieces using a mallet or end of the rolling pin.
Recipe Video
Recipe Notes
You can use different flavor oils or extract. Adjust the amount based on the strength of what you are using.
Food coloring is optional. The flavor oils will result in different colors of candy, but you can intensify the color with food coloring.
Double the recipe to make a larger batch of candy.
Nutrition Facts
Pin This Now to Remember It Later
Pin Recipe
