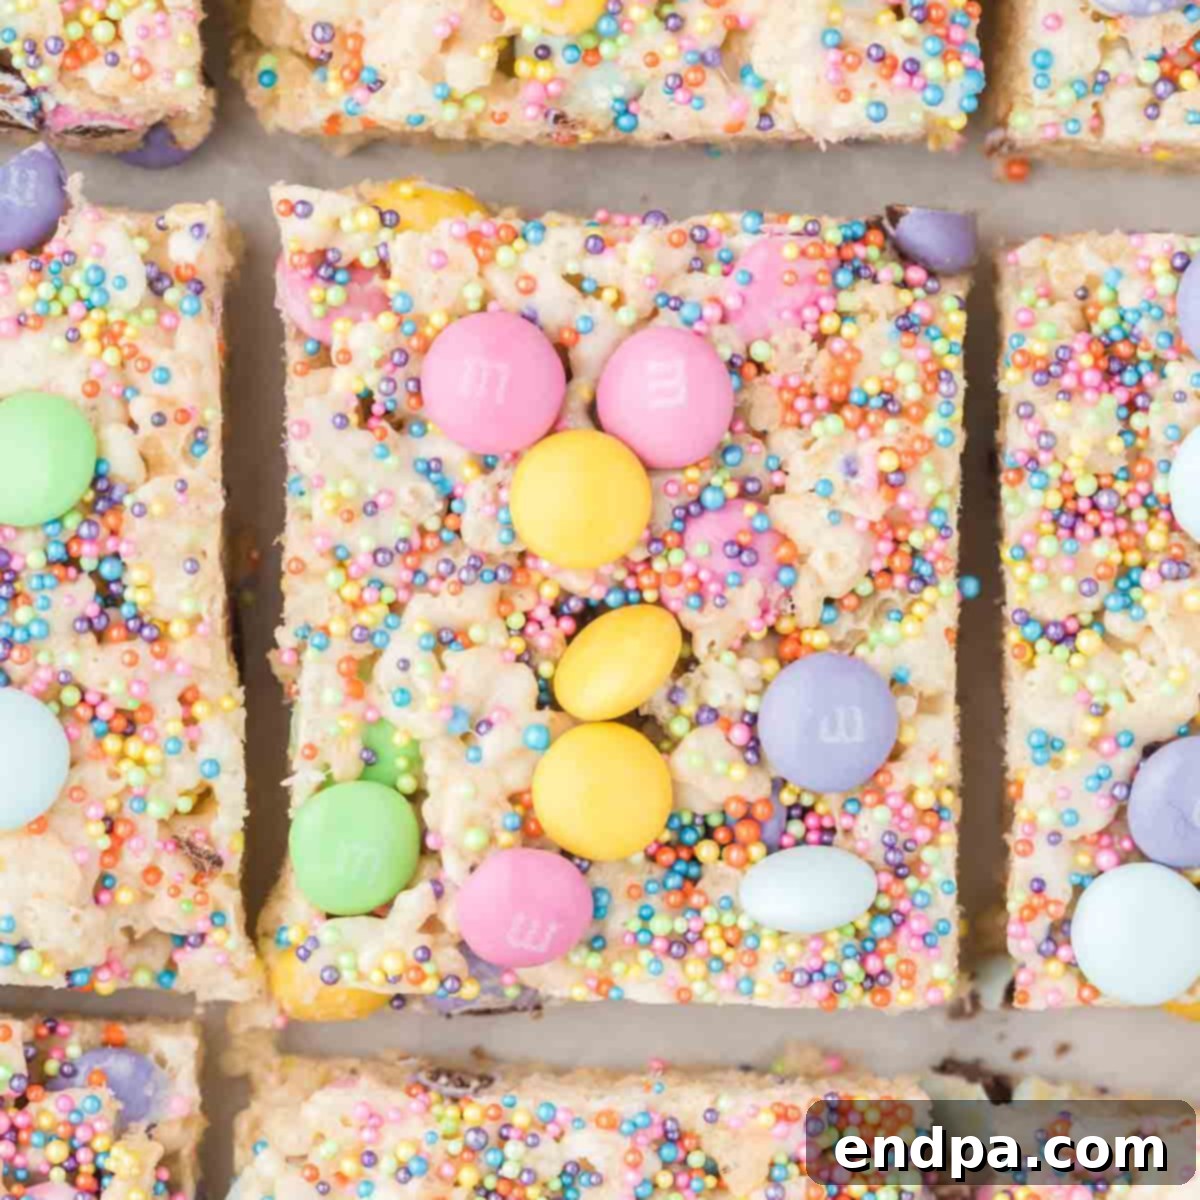
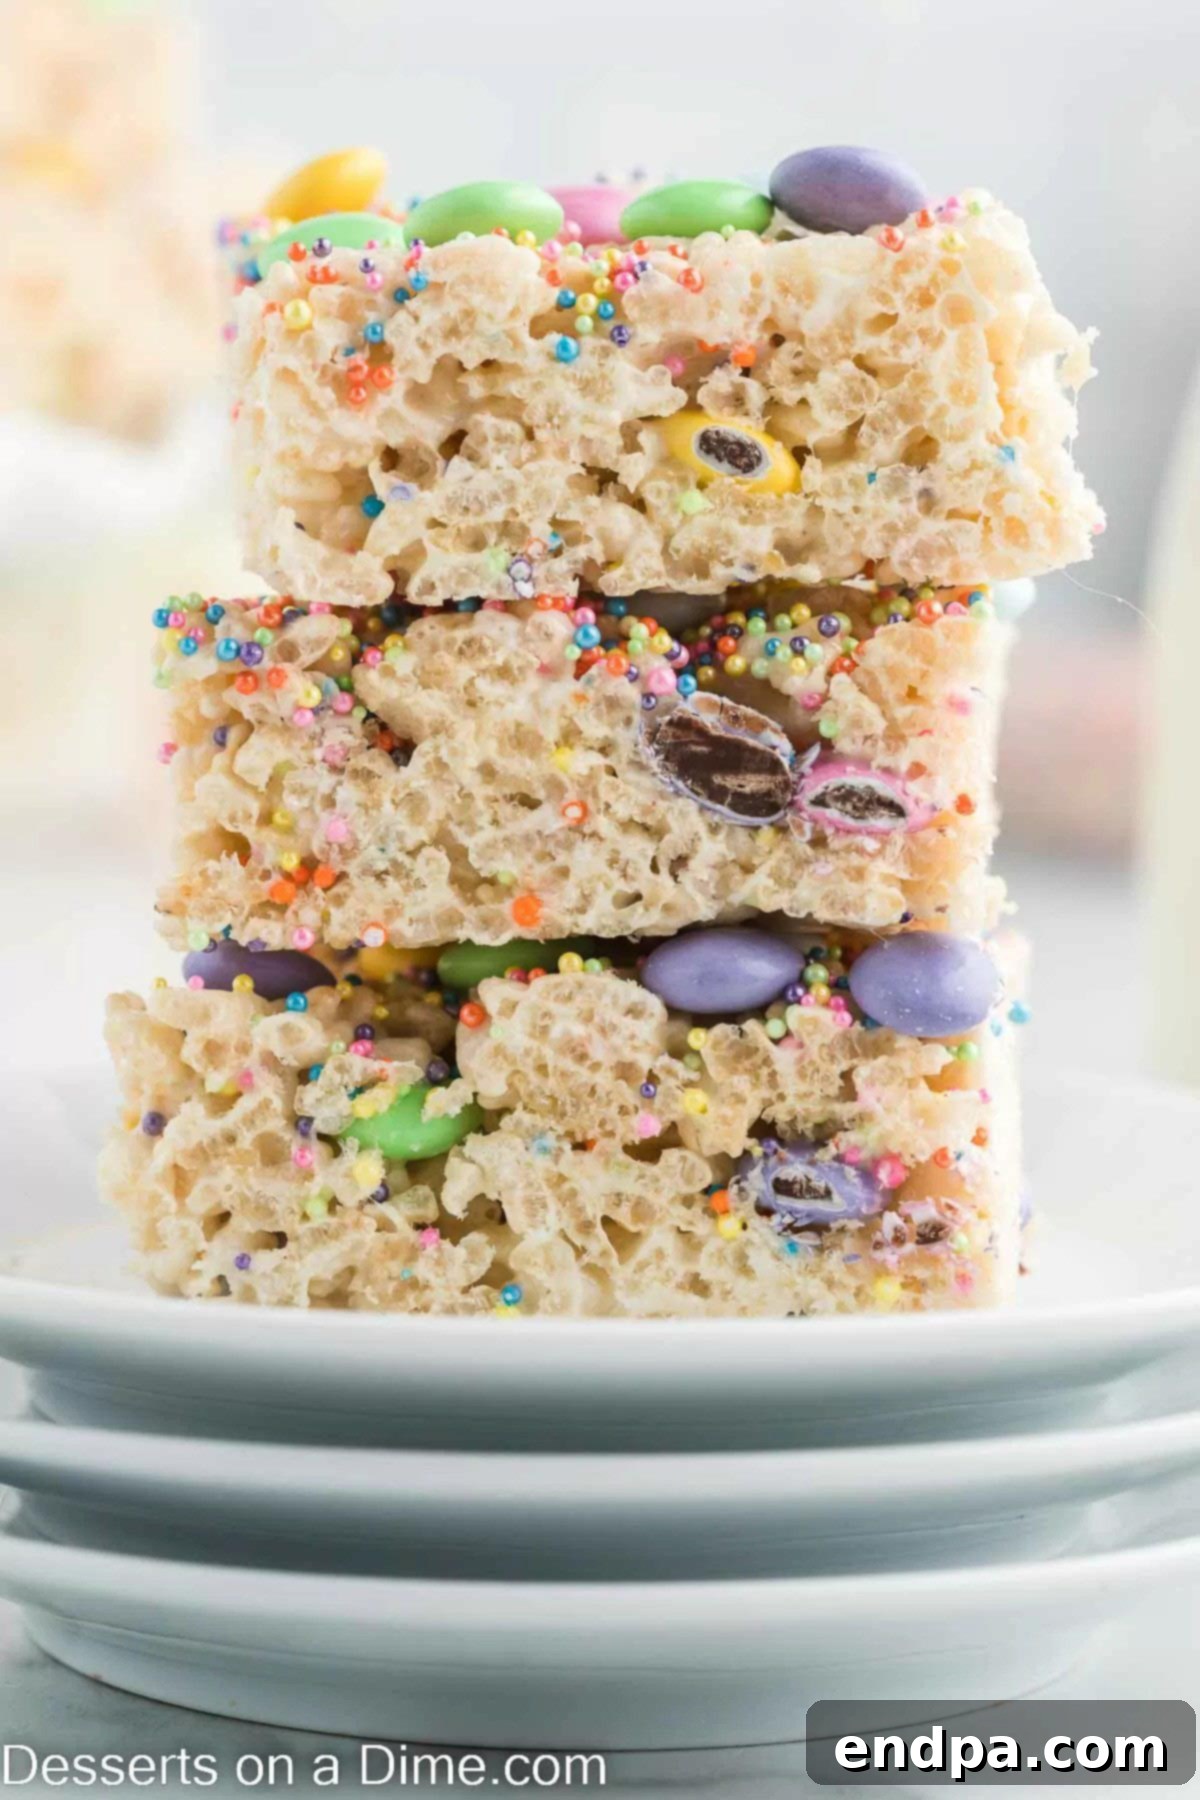
Easter Rice Krispie Treats offer a delightful blend of simplicity, vibrant colors, and irresistible flavor, making them the ultimate festive dessert for your spring celebrations. These easy-to-make marshmallow treats, generously studded with pastel M&M’s and cheerful sprinkles, transform a classic favorite into an eye-catching Easter delight that’s perfect for sharing with family and friends.
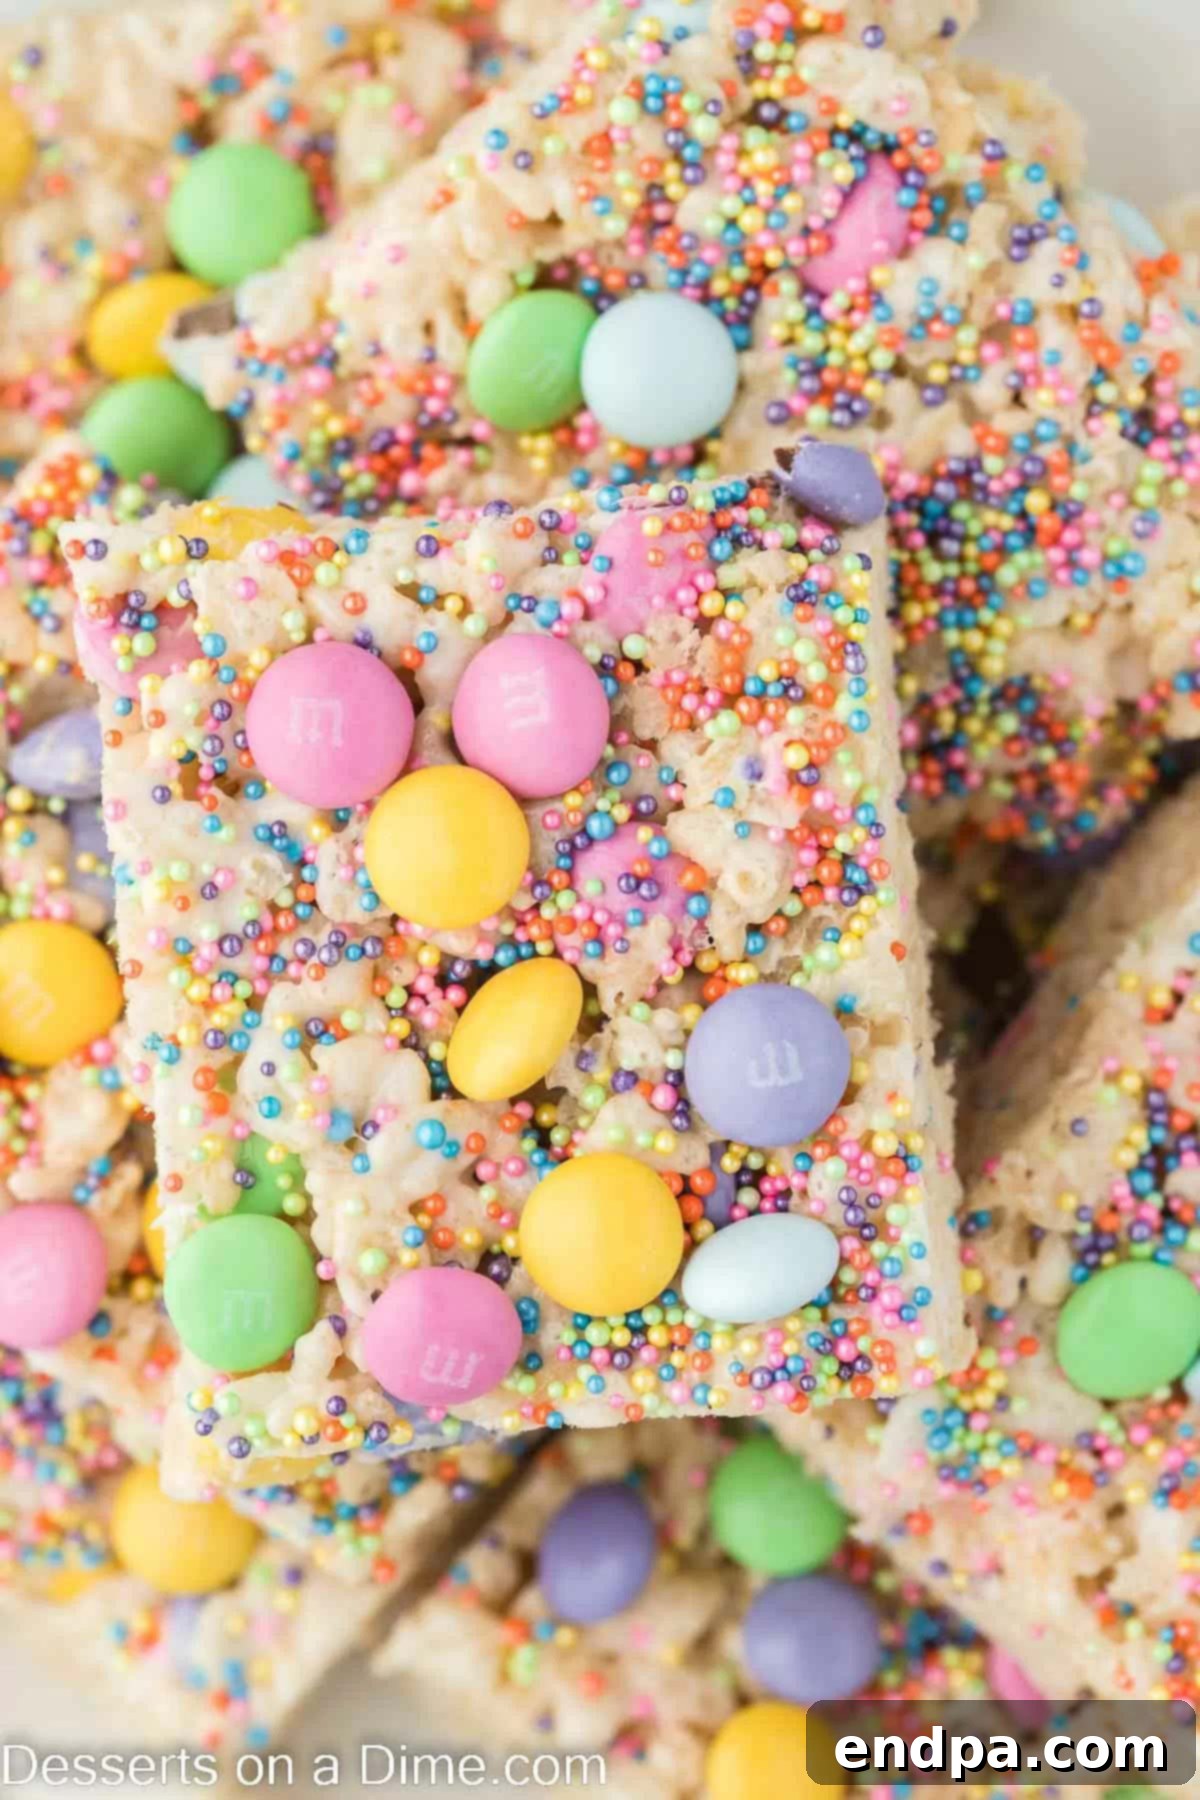
As one of the most beloved Easter desserts, these Rice Krispie Treats are not just fun; they’re incredibly versatile. The addition of colorful candies and sprinkles elevates this timeless recipe, turning ordinary into extraordinary. Rice Krispie Treat recipes are consistently a family favorite due to their wonderfully gooey and chewy texture. Beyond Easter, we also love creating treats like Neapolitan Rice Krispie Treats for year-round enjoyment.
Looking for more enchanting and delicious holiday treats? Be sure to explore our recipes for Easter Egg Rice Krispie Treats, Chocolate Easter Bark, and Easter Bunny Cookies. These charming additions will undoubtedly add an extra layer of joy to your Easter festivities.
Surprise and delight your loved ones this Easter with these effortlessly prepared Rice Krispie Treats. They’re a fantastic addition to any holiday table or basket. If you’re a fan of Rice Krispie Treats, don’t miss our comprehensive guide to the 25 Best Rice Krispie Treats Recipes for inspiration all year long. For other seasonal and themed variations, try our Lucky Charms Treats, the adorable Bunny Bait Recipe, or for a unique cake-inspired twist, indulge in Cake Batter Rice Krispie Treats.
Table of Contents
- Why We Love This Recipe
- Ingredients
- Substitutions and Additions
- How to Make Easter Rice Krispie Treats
- Recipe Tips for Perfect Treats
- Storage Guidelines
- Frequently Asked Questions
- More Festive Easter Desserts
- Easter Rice Krispie Treats Recipe Card
Why We Love This Recipe
There are countless reasons why these Easter Rice Krispie Treats are a perennial favorite, especially during the spring holiday. They represent the perfect intersection of ease, deliciousness, and festive charm.
- Effortlessly Simple: This is a true no-bake dessert recipe, meaning you won’t need to heat up your oven, saving you time and energy. It’s an ideal choice for busy holiday schedules or warm spring days.
- Delicious for All Ages: Both adults and children are sure to adore the sweet, chewy, and satisfying taste of these Rice Krispie Treats. Their familiar flavor combined with festive additions makes them universally appealing.
- Budget-Friendly Ingredients: Made with readily available and inexpensive pantry staples like cereal, marshmallows, and butter, this recipe is incredibly economical. You can create a large batch of treats without breaking the bank.
- Quick to Prepare: From start to finish, these treats come together in under an hour, with minimal active preparation time. This makes them a fantastic last-minute dessert option or a fun activity to do with kids.
- Highly Customizable: While we love the pastel M&M’s and sprinkles, this recipe is a blank canvas for your creativity. Easily adapt the candies, colors, and shapes to suit any holiday or personal preference.
- Perfect for Sharing: Whether you’re bringing them to a potluck, packing them for school lunches, or setting up a dessert spread, these treats are easy to transport and serve. They hold their shape well and are perfect for grab-and-go enjoyment.
- A Touch of Nostalgia: Rice Krispie Treats evoke fond childhood memories for many, offering a comforting and familiar sweetness that brings a smile to everyone’s face. Adding an Easter twist makes them even more special.
Beyond Easter, we also enjoy creating themed treats like these Patriotic Rice Krispie Treats for summer celebrations, showcasing just how versatile the basic recipe can be.
Essential Ingredients for Your Easter Rice Krispie Treats
Crafting these delightful Easter Rice Krispie Treats requires just a few simple ingredients, most of which you likely already have on hand. The magic happens when these humble components come together to create a perfectly gooey and festive dessert.
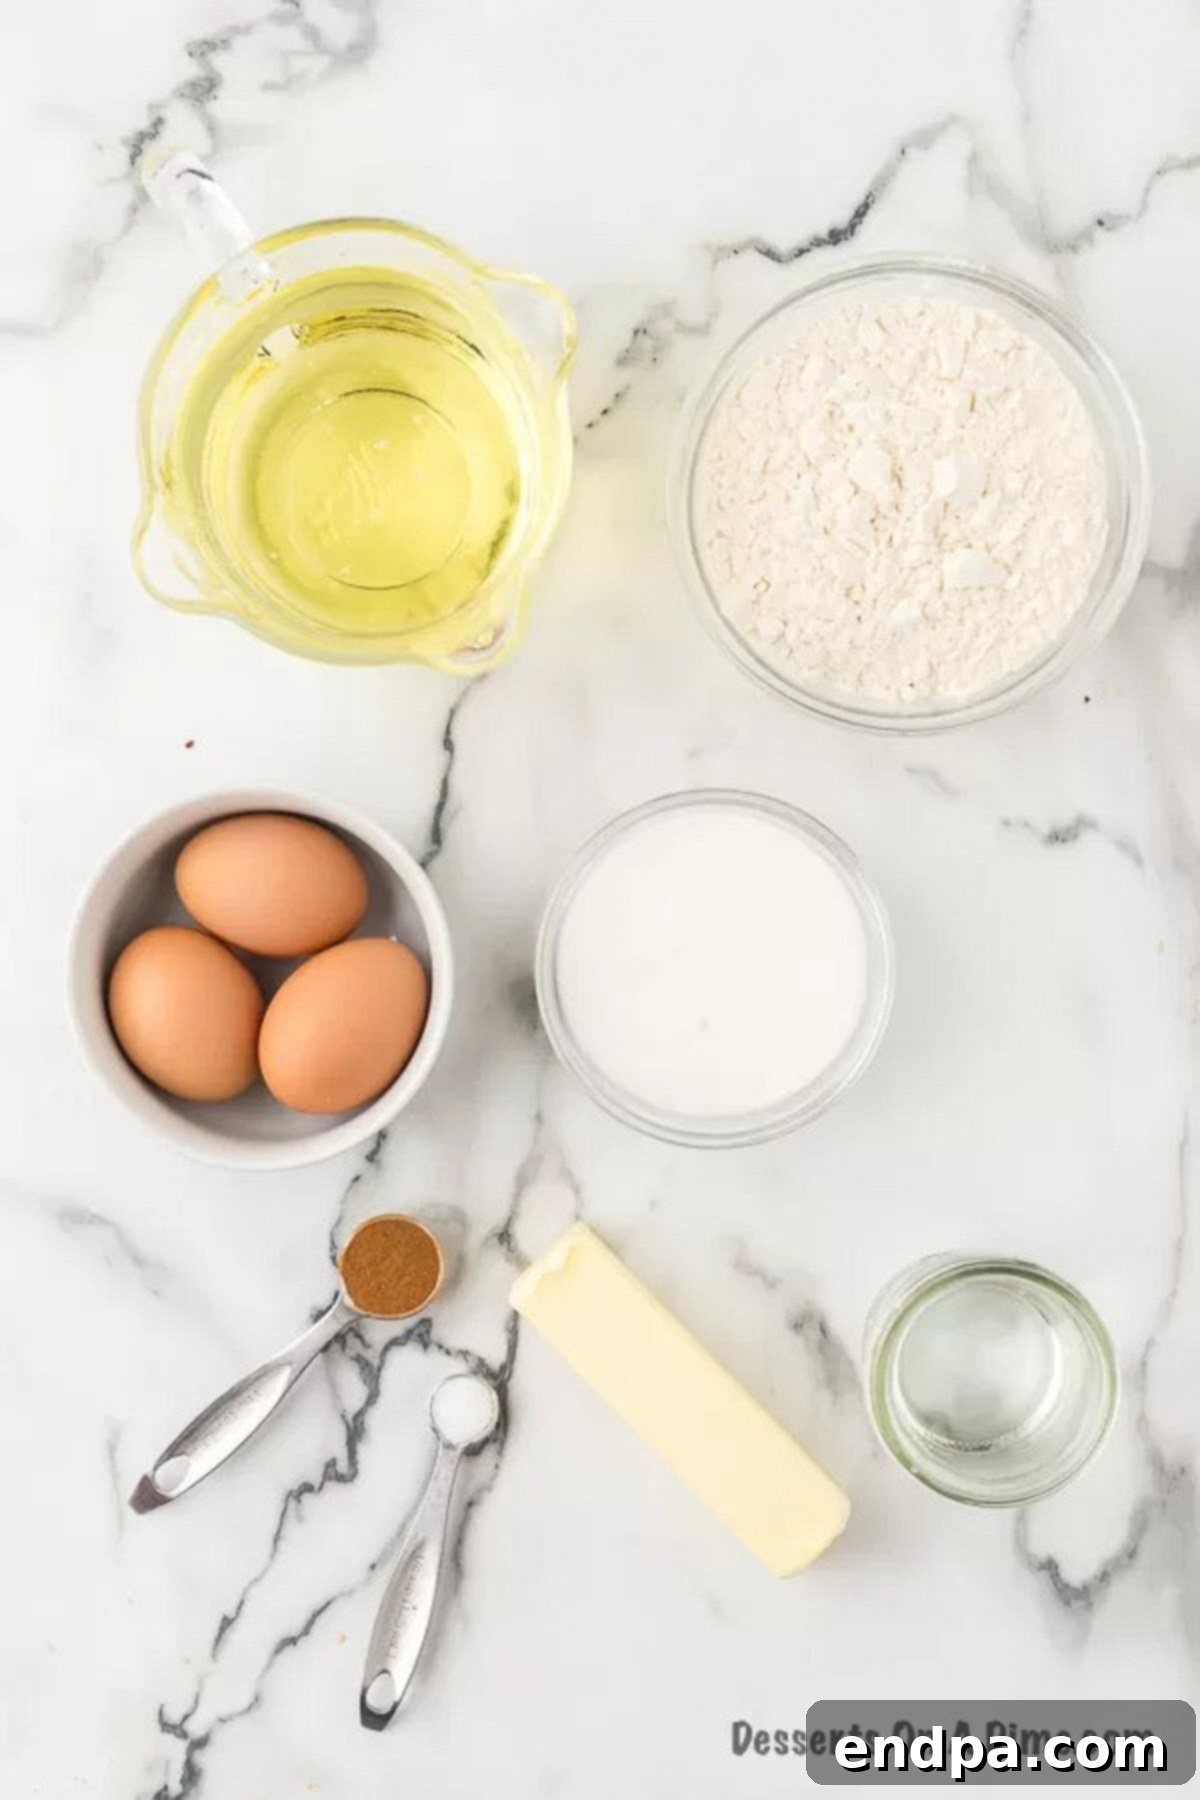
Here’s what you’ll need:
- Rice Krispie Cereal: The foundation of our treats, providing that signature crispy texture.
- Butter: Essential for richness, flavor, and preventing the marshmallows from sticking. We recommend using unsalted butter to control the overall sweetness.
- Mini Marshmallows (10 oz bag): These melt more quickly and evenly than large marshmallows, ensuring a smoother, gooier binding agent for your cereal.
- Pastel M&M’s (Easter M&M’s): These colorful chocolate candies add a delightful crunch, a pop of chocolate flavor, and instantly give your treats an Easter theme.
- Pastel Sprinkles: A final touch of festive color and fun. Choose a mix of jimmies and nonpareils for varied texture.
The complete ingredient list with precise measurements can be found in the recipe card towards the bottom of this page.
Creative Substitutions and Additions for Your Treats
One of the best aspects of making Rice Krispie Treats is how easily they can be customized. Feel free to get creative with these suggestions to make your Easter Rice Krispie Treats truly unique and tailored to your taste!
- Vary the Candy: Instead of traditional M&M’s, consider incorporating other festive Easter candies. Crushed robin eggs, colorful Cadbury mini eggs, or even chopped chocolate bunnies can add different textures and flavors. For a softer, chewier element, you could gently press marshmallow peeps into the warm treats. Alternatively, a scattering of colorful Easter Jelly Beans on top adds a burst of fruitiness and a vibrant visual appeal, making them a true favorite Easter treat with their beautiful pastel colors.
- Infuse with Food Coloring: For an extra festive touch, add a few drops of gel food coloring to the melted marshmallow mixture. Swirl in pastel shades like soft green, lavender purple, or pretty pink to create beautifully colored treats that perfectly match your Easter decor. You can even divide the mixture and create multiple colored layers for a rainbow effect.
- Cut into Fun Shapes: Ditch the squares and use Easter-themed cookie cutters to transform your treats. After pressing the mixture into the pan and allowing it to slightly cool but still be pliable, use cutters to create adorable Easter bunny, chick, or Easter egg shapes. This is a delightful way to present these treats, especially for children.
- Add Extra Marshmallows for Gooeyness: For those who love an extra-gooey texture, stir in about 1-2 cups of mini marshmallows *after* you’ve combined the melted marshmallow-butter mixture with the cereal. The residual heat will soften them slightly, creating pockets of soft, melted marshmallow throughout the treats.
- Top with Frosting: Elevate your Rice Krispie Treats by adding a layer of frosting. A simple vanilla buttercream or a tangy cream cheese frosting can add incredible flavor and moisture. Once frosted, you can then add additional sprinkles, M&M’s, or even edible glitter for a truly decadent presentation.
- Experiment with Other Cereals: While Rice Krispies are classic, other cereals can bring a new dimension. Mixing in a cup of Fruity Pebbles Cereal will add an explosion of bright colors and a fruity flavor profile that complements the sweetness of the marshmallows. You could also try a blend of Rice Krispies and another light, crispy cereal.
- Enhance Flavor with Vanilla Extract: For a warmer, more nuanced flavor, stir in a teaspoon of vanilla extract with the melted butter and marshmallows. This simple addition deepens the overall taste and adds a hint of bakery-style sophistication to your homemade treats.
- White Chocolate Drizzle: Melt some white chocolate (or colored candy melts) and drizzle it over the cooled treats for an elegant finish. You can tint the white chocolate with food coloring for extra pastel flair.
How to Make Easter Rice Krispie Treats
Creating these festive Easter Rice Krispie Treats is incredibly straightforward, requiring just a few simple steps. Follow this guide for perfectly gooey and colorful results:
- Step 1: Prepare Your Pan – Start by thoroughly spraying a 9×13 inch baking pan with non-stick cooking spray. This crucial step will ensure your treats don’t stick and are easy to remove once set. You can also line the pan with parchment paper for even easier removal.
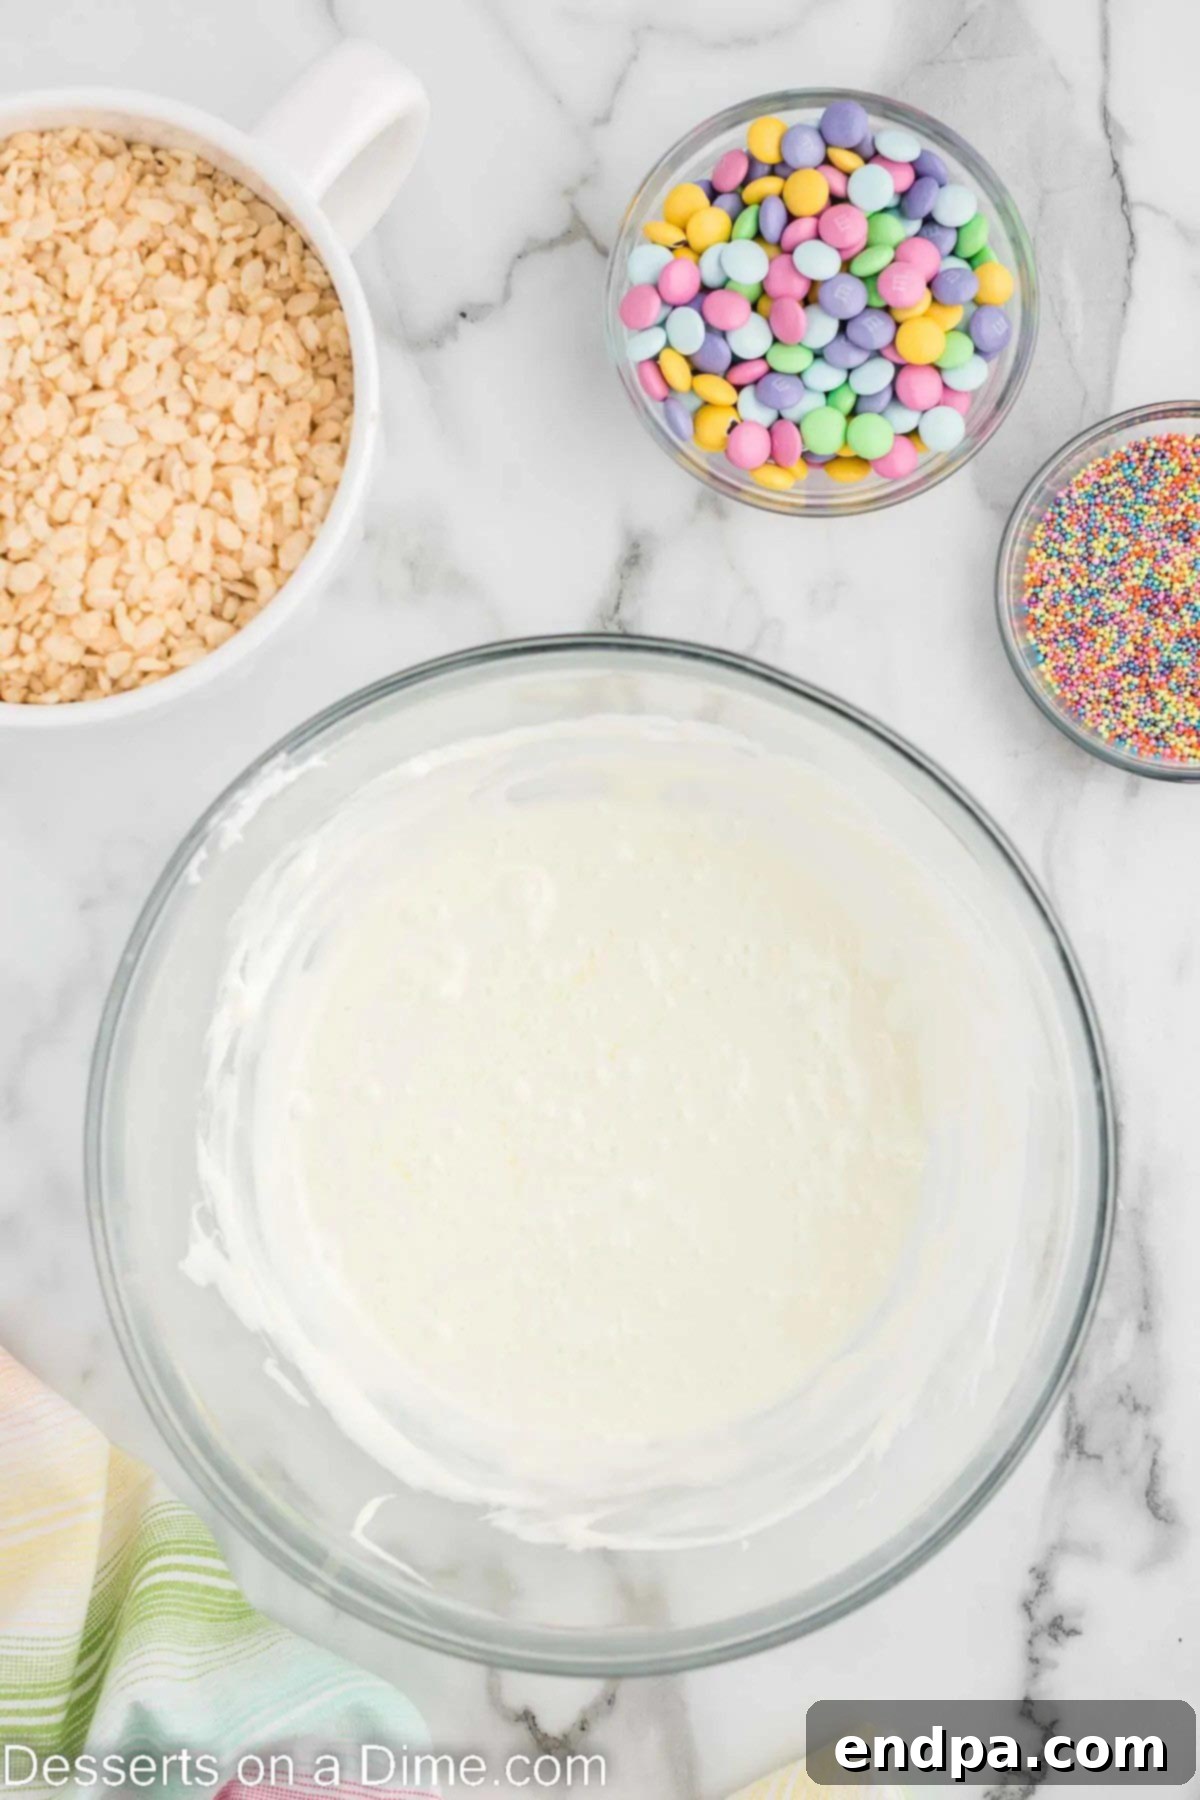
Step 2: Melt Butter and Marshmallows. In a large, microwave-safe bowl, combine the butter and mini marshmallows. Heat the mixture in 30-second intervals in the microwave, stirring well with a sturdy spoon or spatula after each interval. Continue until the mixture is completely melted and smooth, with no lumps remaining. Be careful not to overheat.
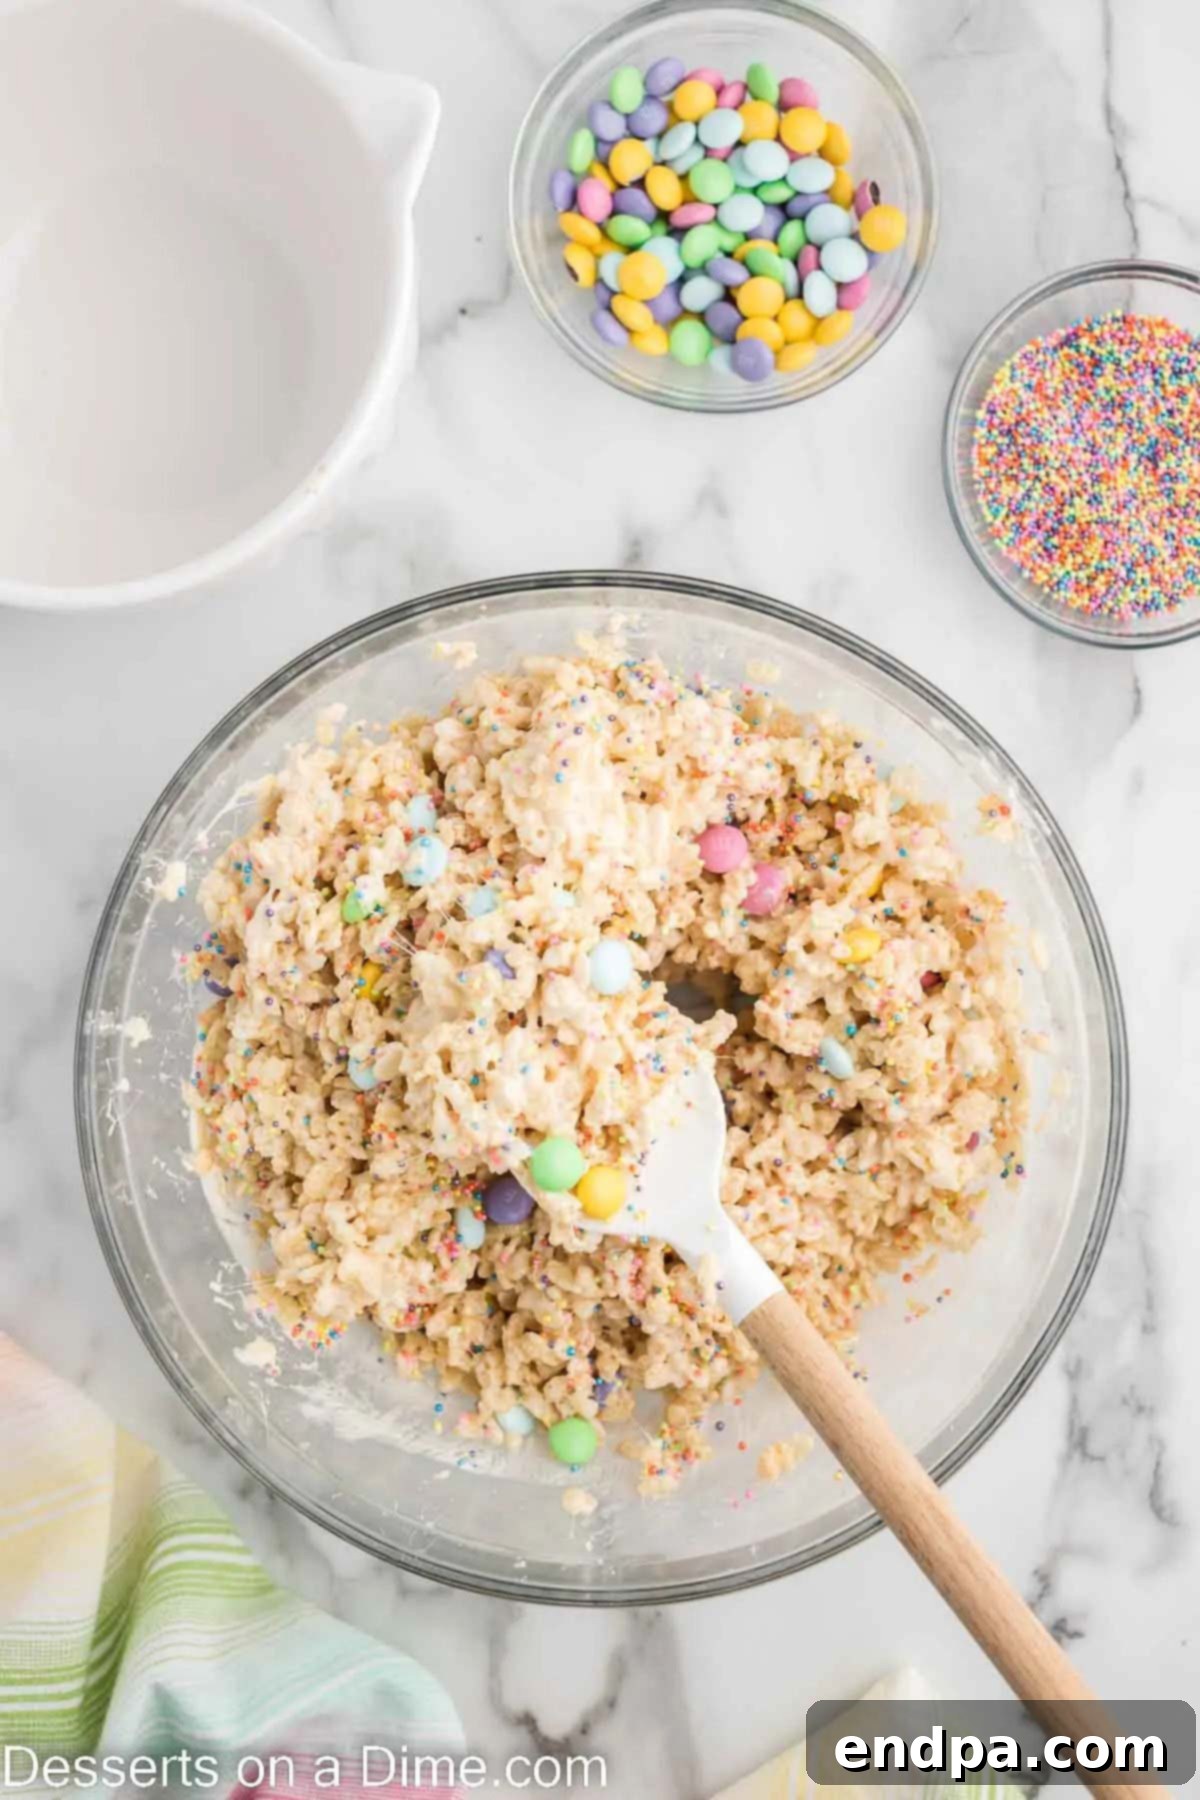
Step 3: Combine Cereal and Candies. Once the marshmallow mixture is smooth, carefully stir in the Rice Krispie cereal. Mix gently until the cereal is evenly coated. Then, add about half of the pastel M&M’s and sprinkles, folding them into the mixture until just distributed. Be gentle to avoid breaking the M&M’s.
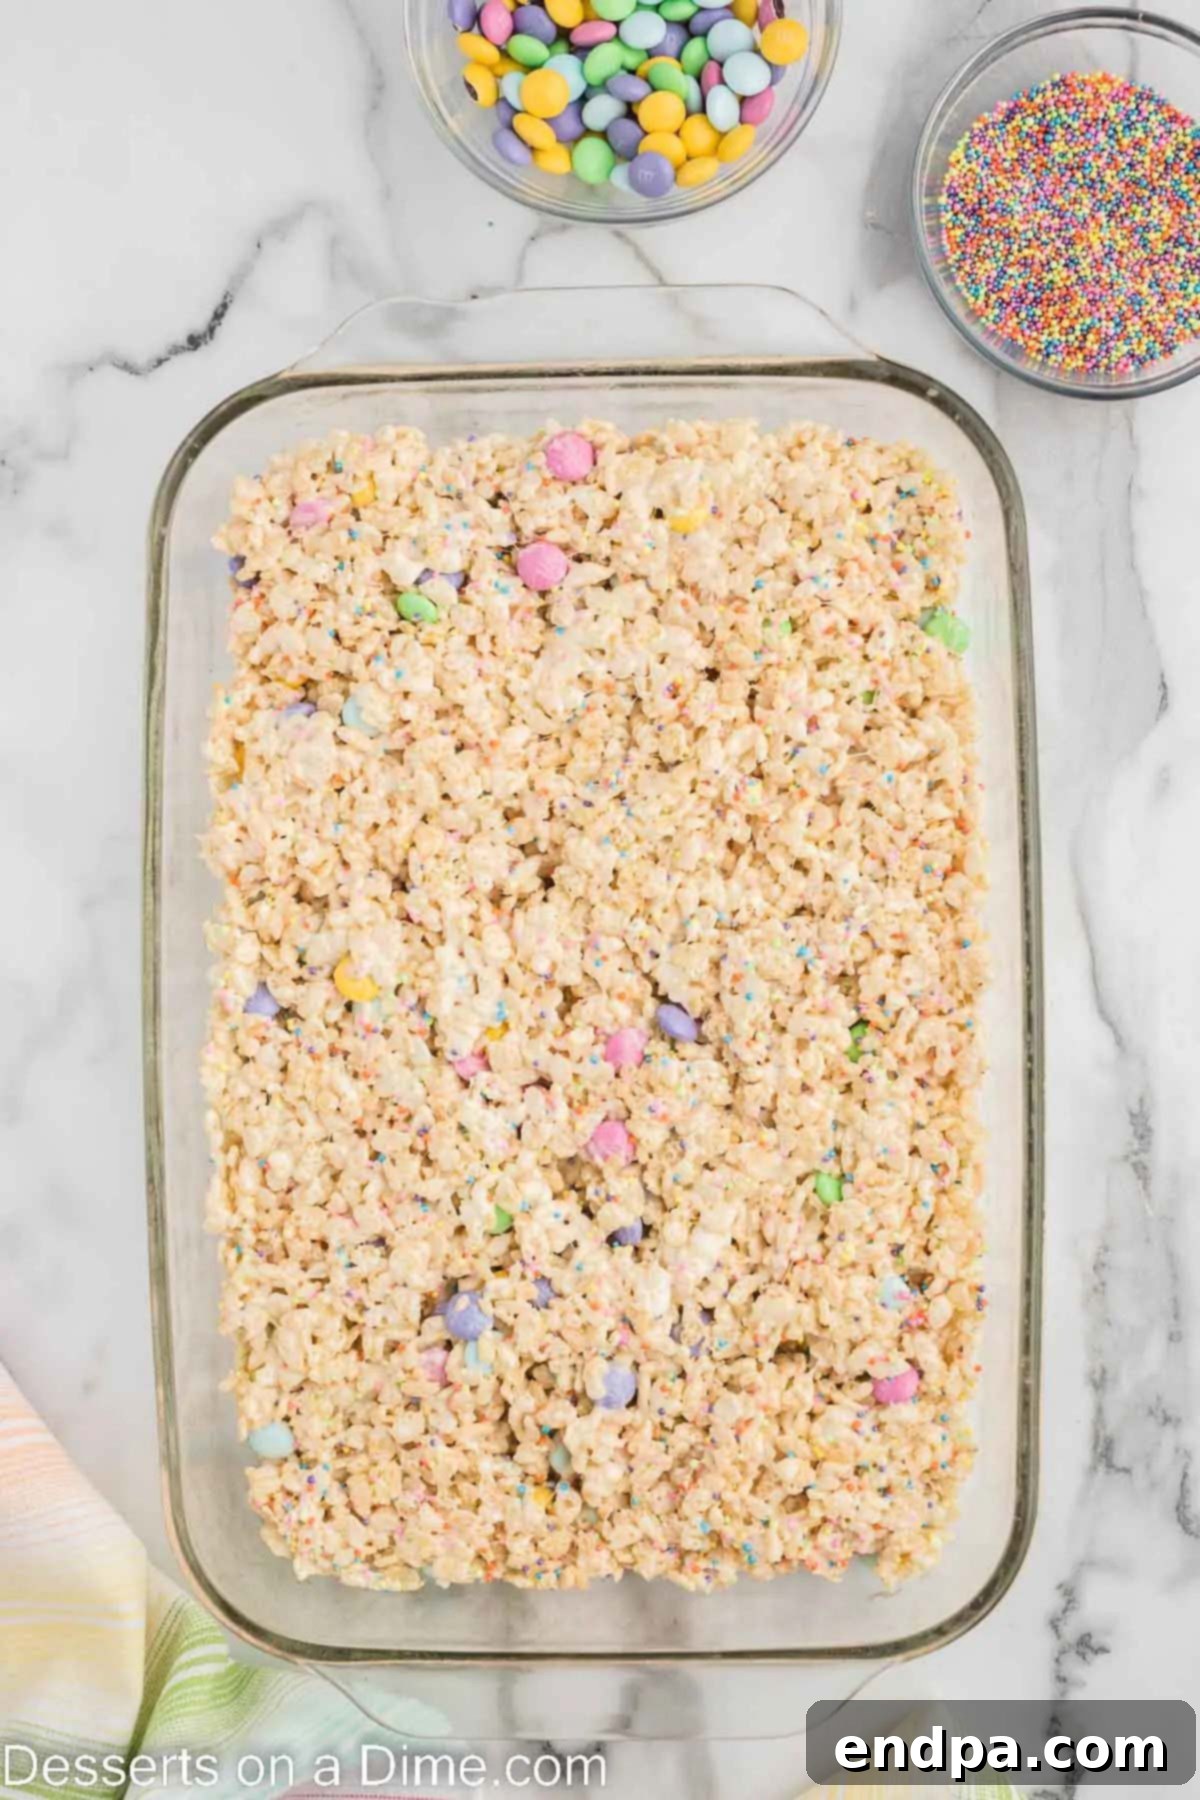
Step 4: Press into Pan. Transfer the crispy rice cereal mixture into your prepared 9×13 inch baking dish. To press the mixture into an even layer without it sticking to your hands, lightly spray a piece of wax paper or parchment paper with non-stick cooking spray and use it to gently press the mixture down. Remember, do not pack the mixture too firmly, as this can result in hard, dense treats.
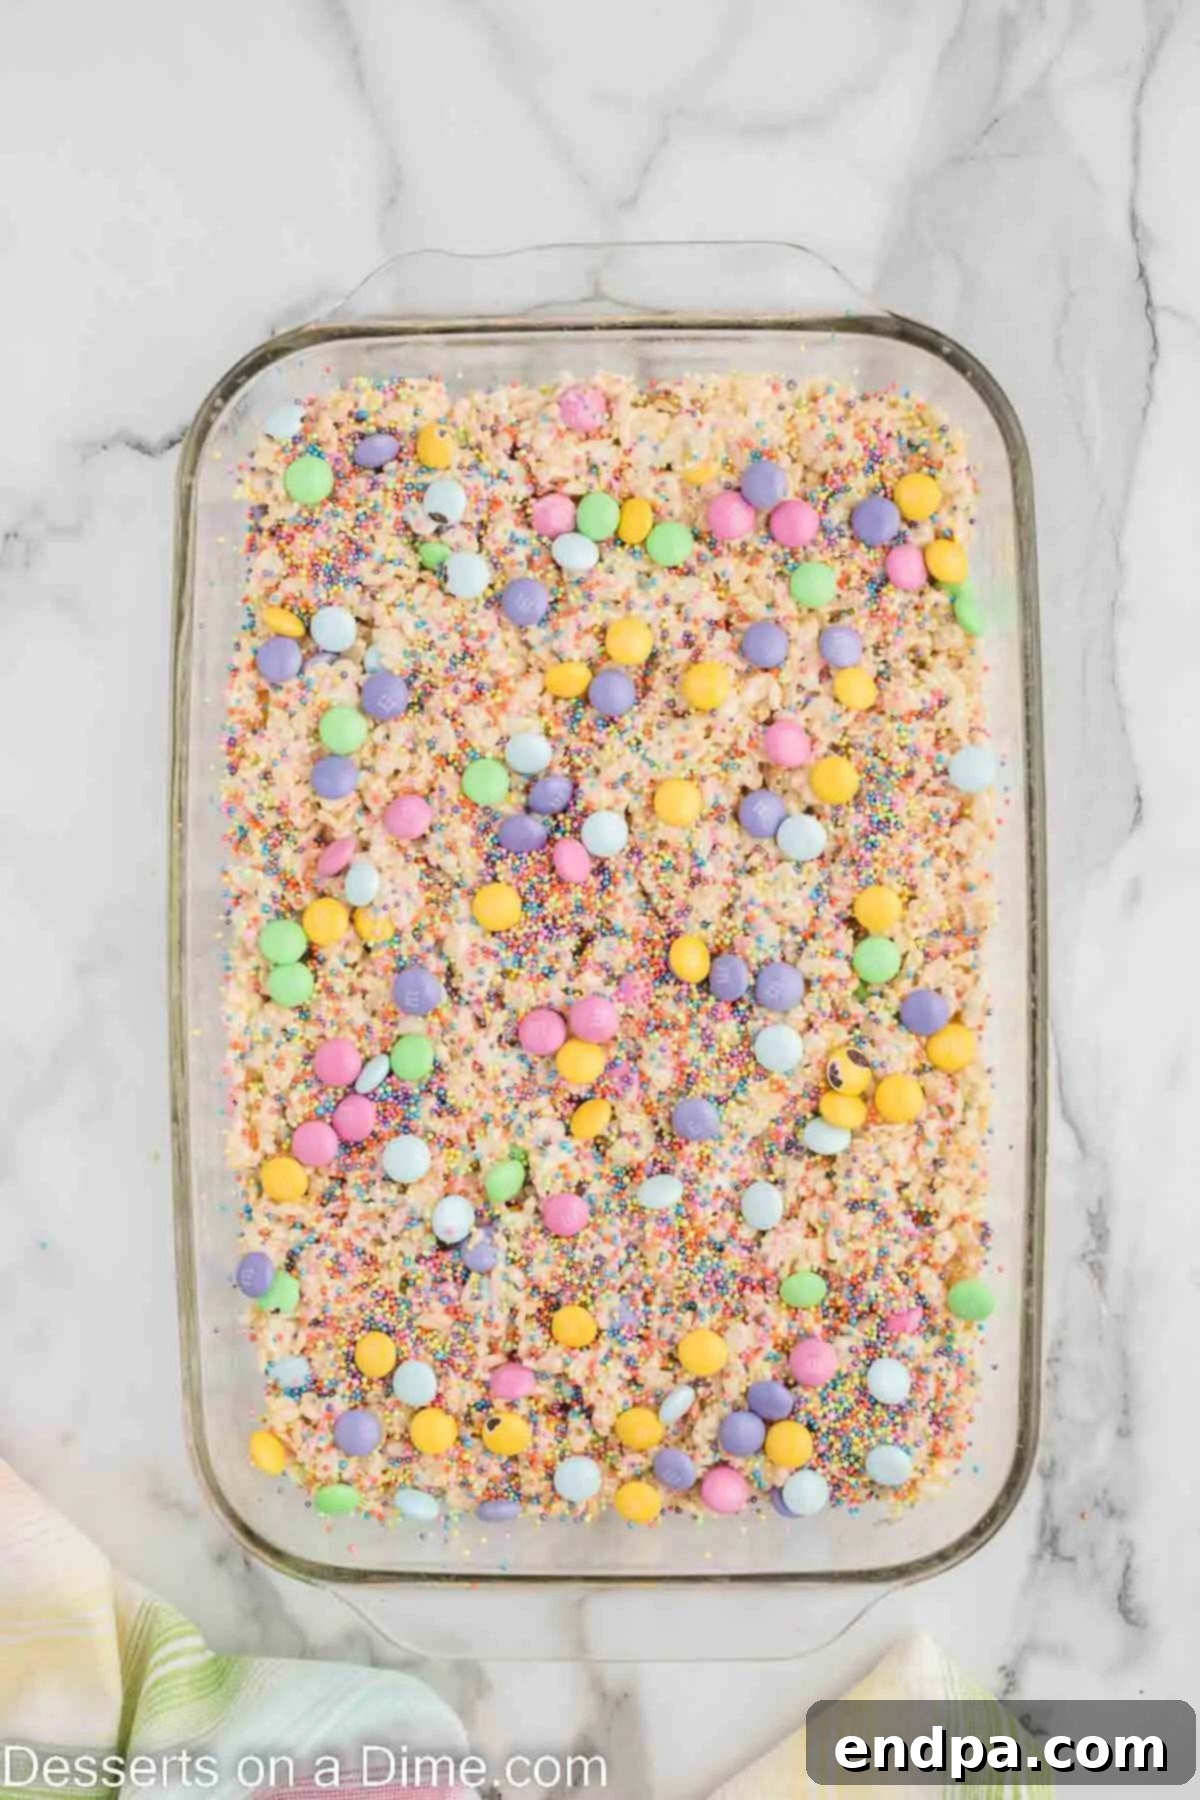
Step 5: Add Toppings and Set. Immediately sprinkle the remaining M&M’s and pastel sprinkles over the top of the pressed Rice Krispie Treats. Gently press them down lightly with your hands or the back of a spatula to ensure they adhere to the surface. Allow the treats to set at room temperature for at least 30 minutes. Once firm, they are ready to slice, serve, and enjoy!
Recipe Tips for Perfectly Gooey Treats
Achieving the perfect batch of Easter Rice Krispie Treats is simple with these helpful tips. Paying attention to these details will ensure your treats are always soft, chewy, and delicious.
- Handle M&M’s Gently: When incorporating the M&M’s into the cereal mixture, be sure to stir them in very gently. Over-mixing or aggressive stirring can cause the chocolate coating to break or melt slightly, leading to smudged colors and a less appealing appearance. You want those vibrant pastel candies to remain intact.
- Allow Treats to Fully Set: Patience is key! Resist the urge to cut into the bars immediately. Allowing them to set at room temperature for at least 30 minutes is crucial. This gives the marshmallow mixture time to cool and firm up, making the treats much easier to cut into neat, clean squares without them falling apart or sticking excessively.
- Choose the Right Pan Size: We typically make these treats in a 9×13 inch pan, which yields bars of standard thickness. However, if you prefer thicker, bakery-style bars that are wonderfully chewy, opt for an 8×8 inch square pan. Adjusting the pan size changes the density and bite of your final product.
- Avoid Overmixing Ingredients: Once the cereal and candies are added to the melted marshmallow mixture, stir only until the ingredients are just combined and evenly coated. Overmixing can cause the treats to become dense and hard, losing their signature soft and gooey texture.
- Press Gently into the Pan: When pressing the mixture into the baking pan, use a light touch. Firmly compacting the ingredients will squeeze out the air, resulting in tough, brittle bars that lack that delightful chewiness. Instead, gently spread and press the mixture just enough to create an even layer.
- Utilize Parchment Paper: For incredibly easy removal and cleanup, line your baking pan with parchment paper before spraying it with cooking spray. Once the treats have set, you can simply lift the entire block out of the pan, making slicing a breeze.
- Properly Melt Butter and Marshmallows: Whether you’re melting the butter and marshmallows in the microwave or on the stovetop, remember to heat them in short increments (30 seconds for microwave, low heat for stovetop). Stir continuously between intervals until the mixture is completely smooth and melted. This prevents scorching the marshmallows, which can lead to a burnt taste and a hard final texture.
- Use Fresh Ingredients: The quality and freshness of your ingredients significantly impact the outcome. Ensure your marshmallows are fresh and soft, not stale, as this affects how well they melt and bind the cereal. Using fresh butter also contributes to a richer flavor.
- Prepare Ahead: These treats are excellent for making a day or two in advance. Simply store them as directed below, and they’ll be ready to serve when you are.
Storage Guidelines for Freshness
Proper storage is essential to keep your Easter Rice Krispie Treats perfectly gooey and delicious. Follow these simple guidelines to maintain their optimal texture and flavor:
Do NOT store these treats in the refrigerator. While it might seem intuitive to refrigerate desserts, the cold temperature will cause the marshmallows to firm up significantly, making the treats hard and less enjoyable. They are always best when left to cool and stored at room temperature.
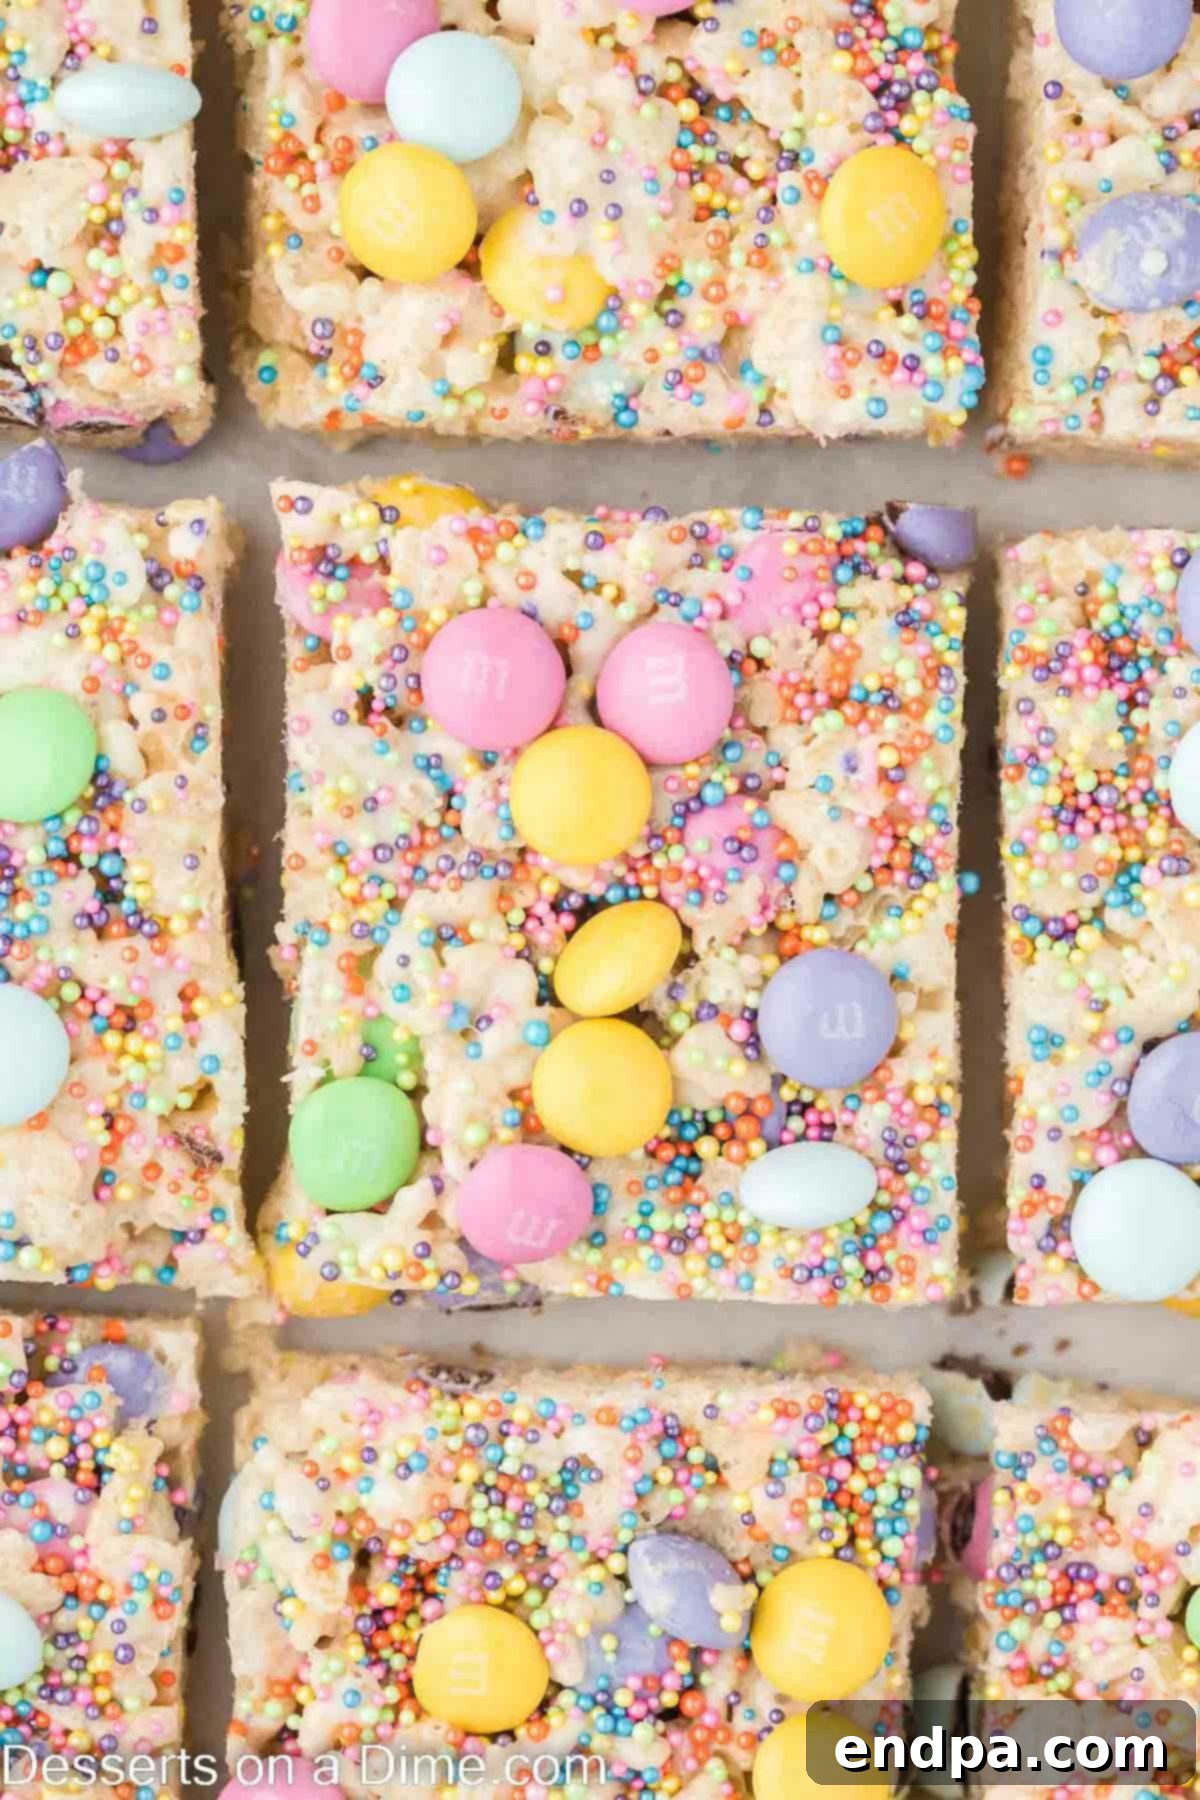
To store leftovers, place the treats in an airtight container. This prevents them from drying out and keeps them fresh. Store the covered container at room temperature for up to 1 week. If stacked, you can place a piece of parchment paper between layers to prevent them from sticking together.
Frequently Asked Questions About Easter Rice Krispie Treats
How long will these Easter Treats last?
When stored properly in an airtight container at room temperature, these delightful Easter Rice Krispie Treats will remain fresh and enjoyable for about one week. Beyond that, they may start to lose their optimal gooey texture.
Can I use Large Marshmallows instead of Mini Marshmallows?
While this recipe specifically calls for mini marshmallows because they melt more evenly and quickly, you can certainly use large marshmallows if that’s what you have on hand. As a general rule, a 10 oz bag of mini marshmallows is roughly equivalent to 40 large marshmallows or about 5 cups of mini marshmallows. Just be aware that the melting process might take a little longer, and the resulting texture might be slightly less uniform compared to using mini marshmallows.
How can I cut Rice Krispie Treats neatly?
For the cleanest cuts, it’s easiest to remove the entire block of treats from the pan once they have fully set. We highly recommend lining your baking pan with parchment paper, allowing you to simply lift the whole sheet of treats onto a cutting board. To achieve perfect squares, use a really sharp knife. For even smoother slicing, lightly spray the knife blade with non-stick cooking spray before each cut, and wipe it clean regularly to prevent sticky buildup. Another excellent option is to use a pizza cutter, also sprayed with non-stick spray, to glide through the treats effortlessly. Both methods will help ensure your Rice Krispies look pristine and ready for presentation.
Can I make these treats ahead of time?
Absolutely! These Easter Rice Krispie Treats are an excellent make-ahead dessert. You can prepare them up to 2-3 days in advance of your event. Just ensure they are stored in an airtight container at room temperature to maintain their freshness and soft texture.
Are these Easter Rice Krispie Treats gluten-free?
The base recipe, using Rice Krispie cereal, butter, and marshmallows, is often gluten-free. However, it’s crucial to check the labels of all your ingredients, especially the Rice Krispie cereal, M&M’s, and sprinkles, as some brands may contain gluten or be processed in facilities with gluten-containing products. Always look for certified gluten-free labels if you are serving individuals with celiac disease or gluten sensitivities.
More Festive Easter Desserts to Enjoy
If you’re planning an elaborate Easter spread or simply looking for more ways to infuse sweetness into your holiday, explore these other fantastic Easter dessert ideas:
- Peeps Rice Krispie Treats Recipe
- Easter Dirt Cups Recipe
- Mini Easter Cheesecakes
- Easy Easter Chocolate Covered Pretzels
- Easter Chocolate Covered Oreos
- Bunny Butt Cupcakes
We hope you enjoy making and sharing these festive Easter Rice Krispie Treats. Don’t forget to come back and leave a star rating once you’ve tried the recipe!
Easter Rice Krispie Treats
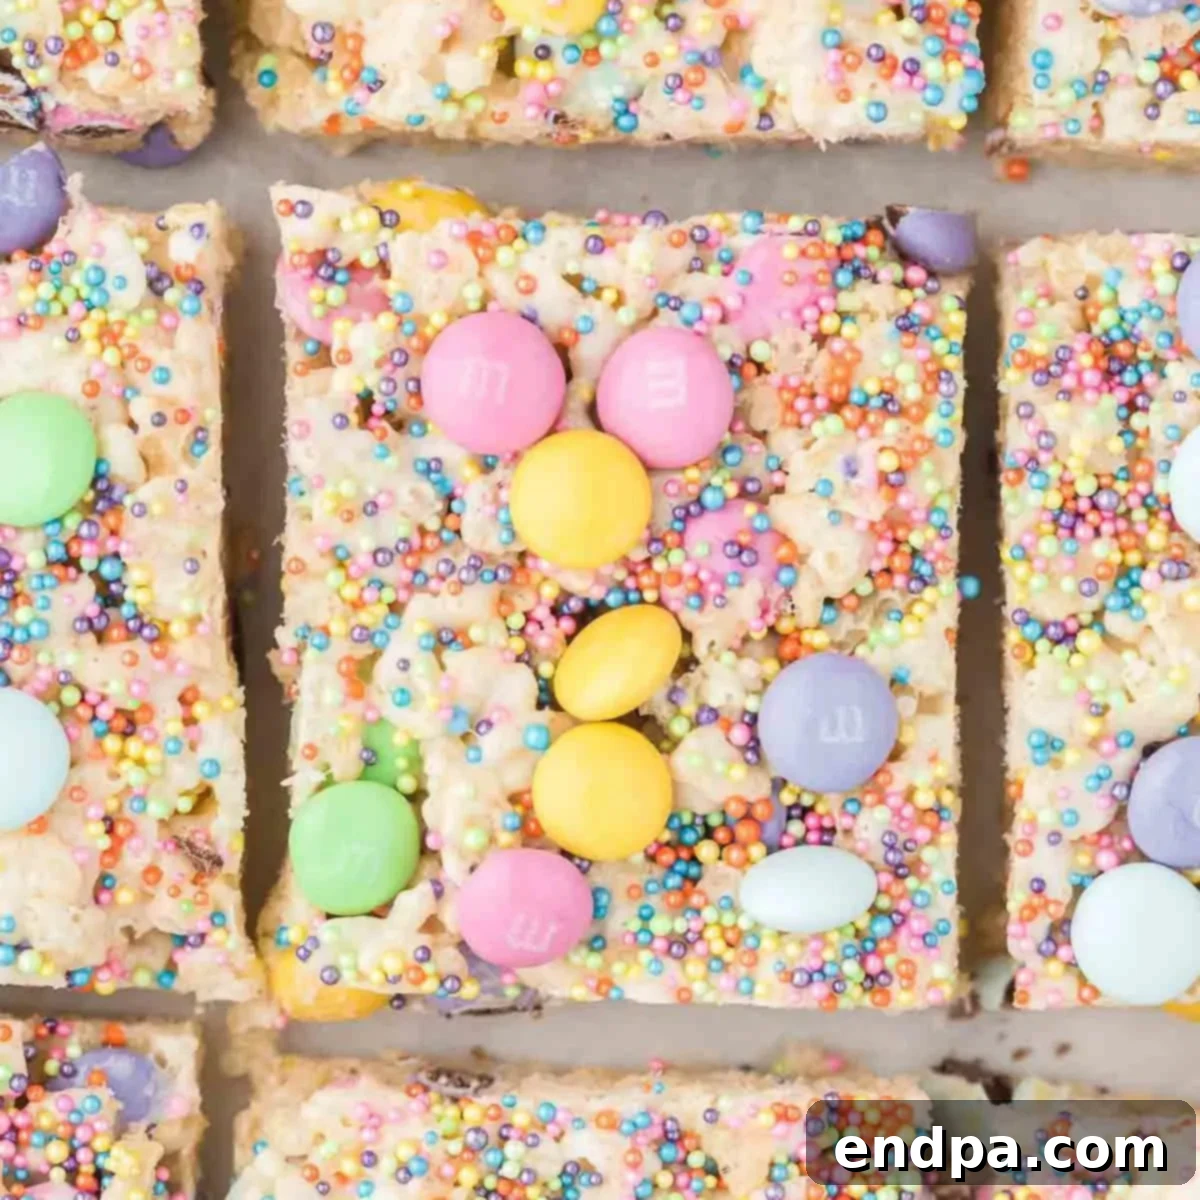
Easter Rice Krispie Treats are a fun, easy, and festive Easter treat. Loaded with pastel M&M’s and sprinkles, these no-bake treats are perfect for any spring celebration.
5 mins
10 mins
30 mins
45 mins
12
American
Dessert
277
Carrie Barnard
Ingredients
- 6 cups Rice Krispie Cereal
- 4 Tbsp Butter
- 10 oz Mini Marshmallows
- 1 cup Pastel M&Ms (Easter M&Ms)
- 1/2 cup Pastel Sprinkles
Instructions
- Spray a 9×13 inch baking pan with non-stick cooking spray.
- Place the butter and marshmallows in a large microwave-safe mixing bowl. Heat in 30-second intervals, stirring after each, until the mixture is melted and smooth.
- Carefully mix in the cereal and half of the M&M’s and sprinkles until just combined.
- Press the mixture into the 9×13 inch pan. Use a piece of parchment paper sprayed with non-stick cooking spray to gently press the mixture into the pan (do not over-press to avoid hard treats). Sprinkle the remaining sprinkles and M&M’s on top and gently press them down.
- Allow the treats to set at room temperature for at least 30 minutes. Then, the Rice Krispie treats are ready to slice, serve, and enjoy!
Recipe Notes
Be gentle when mixing the M&M’s into the cereal mixture to prevent them from breaking or smudging their colors.
Do not store these treats in the refrigerator, as it can make them hard. They are best left to cool and stored at room temperature in an airtight container for up to 1 week to keep them gooey and delicious!
Nutrition Facts
Calories: 277kcal, Carbohydrates: 49g, Protein: 2g, Fat: 9g, Saturated Fat: 5g, Polyunsaturated Fat: 0.2g, Monounsaturated Fat: 1g, Trans Fat: 0.2g, Cholesterol: 13mg, Sodium: 134mg, Potassium: 20mg, Fiber: 1g, Sugar: 32g, Vitamin A: 1087IU, Vitamin C: 9mg, Calcium: 23mg, Iron: 5mg
