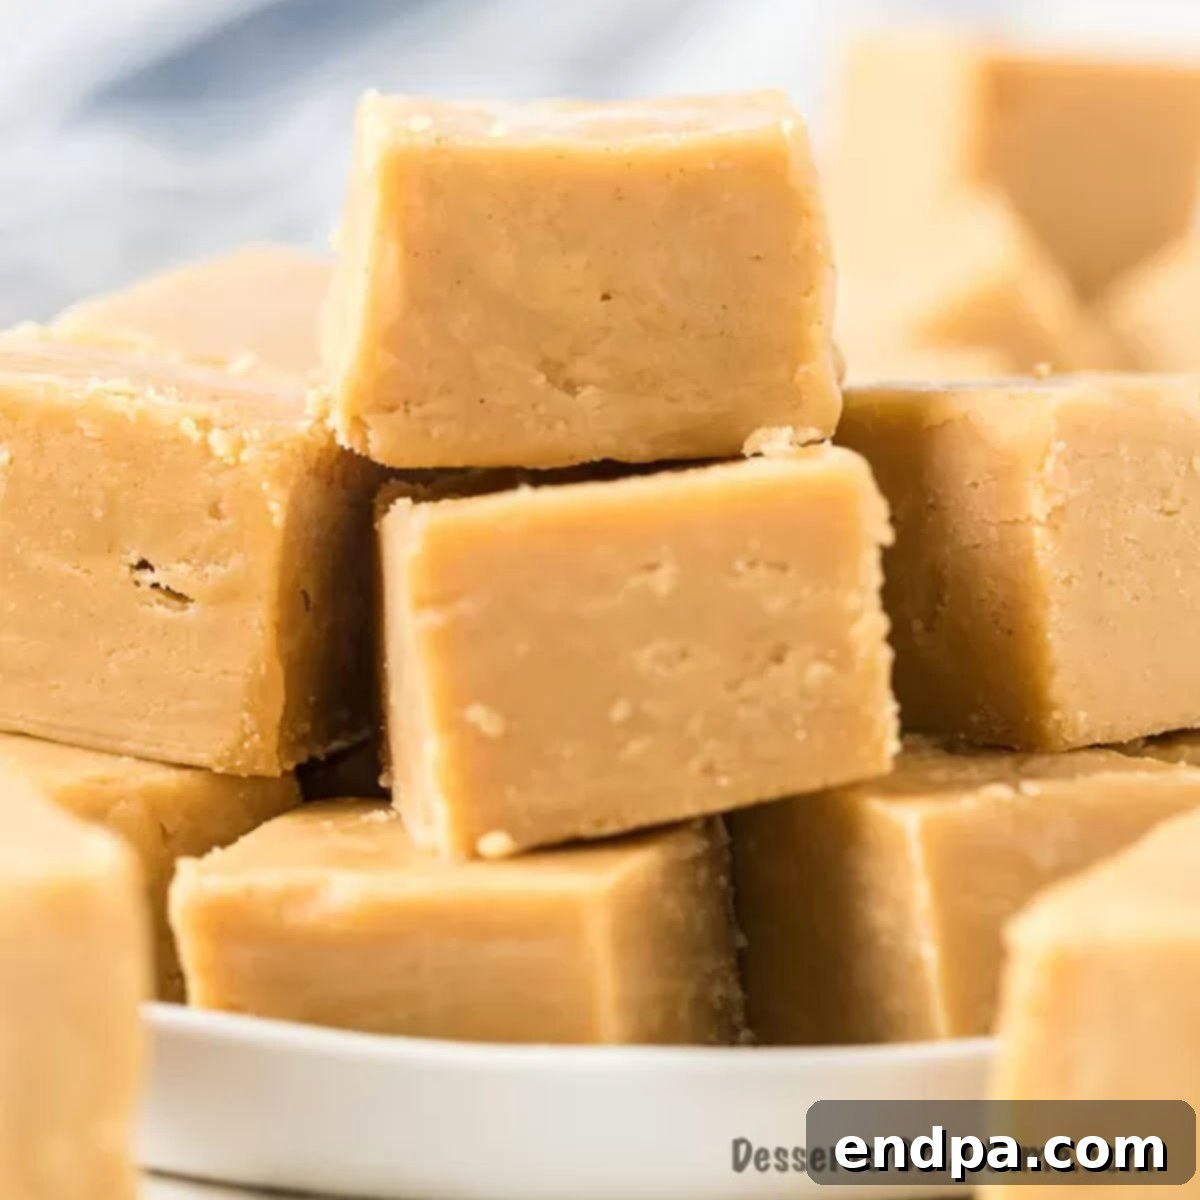
3-Ingredient Peanut Butter Fudge: Your Go-To Easy Dessert
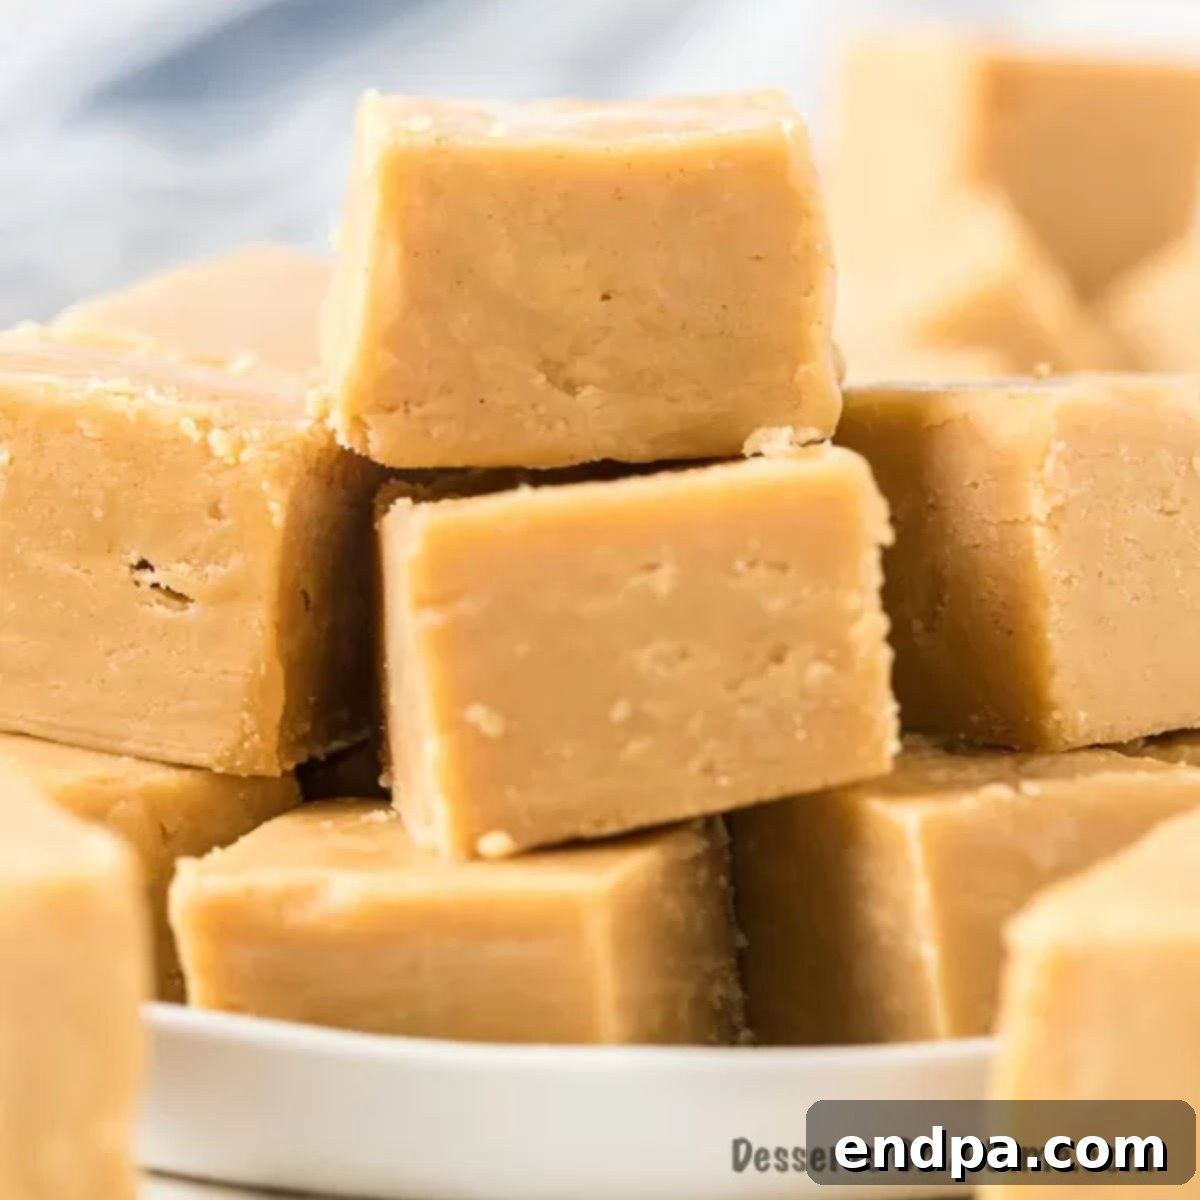
Prepare to fall in love with the simplest, most decadent dessert you’ll ever make! This incredible 3-Ingredient Peanut Butter Fudge recipe delivers a rich, creamy, and unbelievably smooth treat that literally melts in your mouth. Forget complicated candy thermometers and endless stirring; with just a few pantry staples and minimal effort, you can whip up a batch of this luscious fudge in minutes. It’s truly a game-changer for anyone craving a quick sweet fix, a delightful holiday treat, or a thoughtful homemade gift for friends and family.
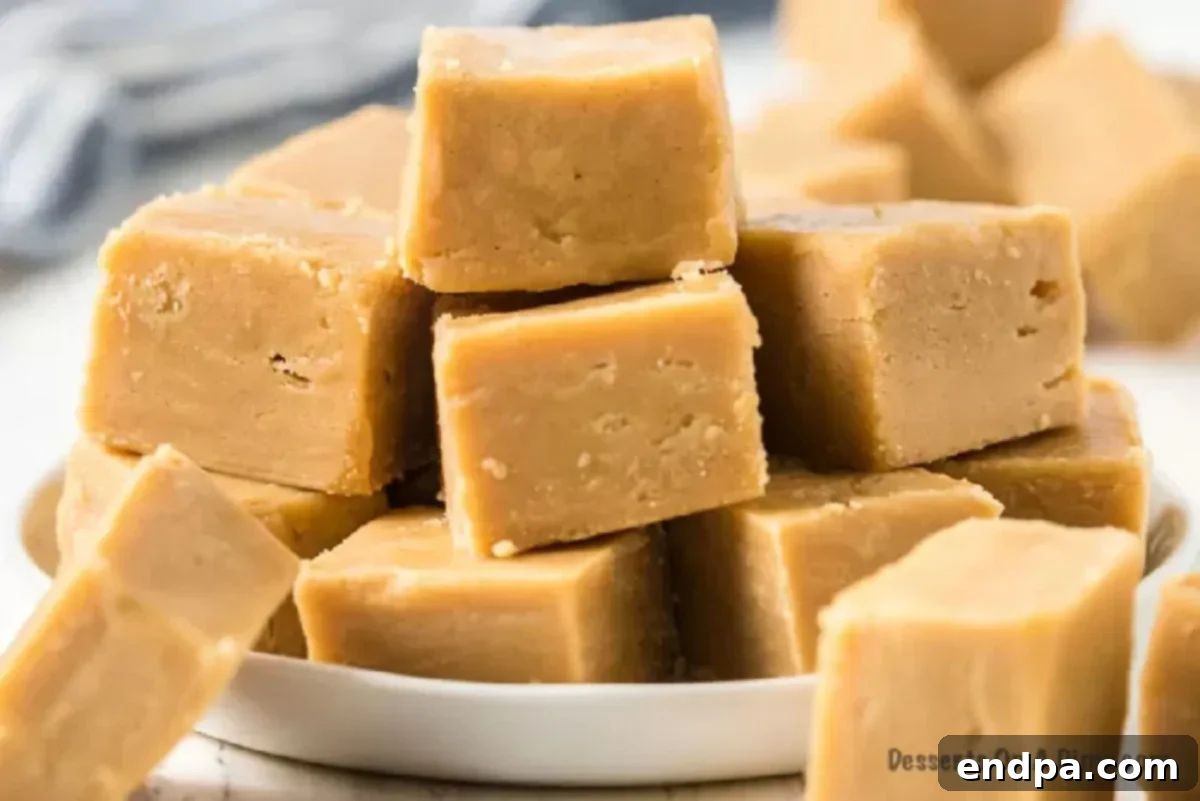
Whether you’re hosting a party, looking for a comforting snack, or preparing festive goodies, this versatile peanut butter fudge fits every occasion. Serve it plain to let its pure peanut flavor shine, drizzle it with melted chocolate for an extra touch of elegance, or sprinkle a pinch of flaky sea salt on top to enhance its sweetness. It’s a crowd-pleaser that appeals to both kids and adults, making it an essential addition to your dessert repertoire.
The rich peanut flavor makes this recipe one of our absolute favorite Peanut Butter Desserts. If you enjoy simple, delicious fudge, you might also love our equally amazing Salted Caramel Fudge Recipe and the festive Maple Fudge, both perfect for elevating your holiday dessert spread!
Why This Fudge Will Become Your Favorite
There are countless reasons why this easy peanut butter fudge is a standout dessert. Its simplicity and incredible flavor make it an instant classic that you’ll return to again and again. Here’s why you’ll adore it:
- Unbelievably Simple Ingredients: You truly only need three common pantry staples to create this fantastic fudge. This makes it incredibly convenient for last-minute cravings or unexpected guests, eliminating the need for extensive grocery lists.
- Luxuriously Creamy Texture: Each bite offers a smooth, rich, and velvety texture that quite literally melts in your mouth. This decadent quality is what sets homemade fudge apart, and this recipe absolutely delivers.
- Remarkably Quick to Make: From start to finish, the active preparation time for this fudge is minimal. Most of the waiting involves chilling, making it a perfect no-bake option when you need a sweet treat in a hurry without turning on the oven.
- Infinitely Customizable: While delicious on its own, this fudge is also a fantastic base for creativity. You can easily add chocolate drizzles, mix in chopped nuts, or sprinkle a pinch of flaky sea salt to personalize it and elevate its appeal.
- A Universal Crowd-Pleaser: The classic combination of sweet and salty peanut butter flavor is universally loved. This fudge is consistently a hit at potlucks, family gatherings, holiday parties, and even as an everyday indulgence, ensuring smiles from both children and adults.
- Perfect for Gifting: Homemade treats always make the best gifts. This fudge is easy to portion, holds up well, and looks beautiful when packaged, making it ideal for holiday baskets, hostess gifts, or a simple gesture of appreciation.
Essential Ingredients for Perfect Peanut Butter Fudge
The magic of this recipe lies in its simplicity. With just three core ingredients, you can create a truly spectacular dessert. Quality ingredients make a difference, so here’s a closer look at what you’ll need:
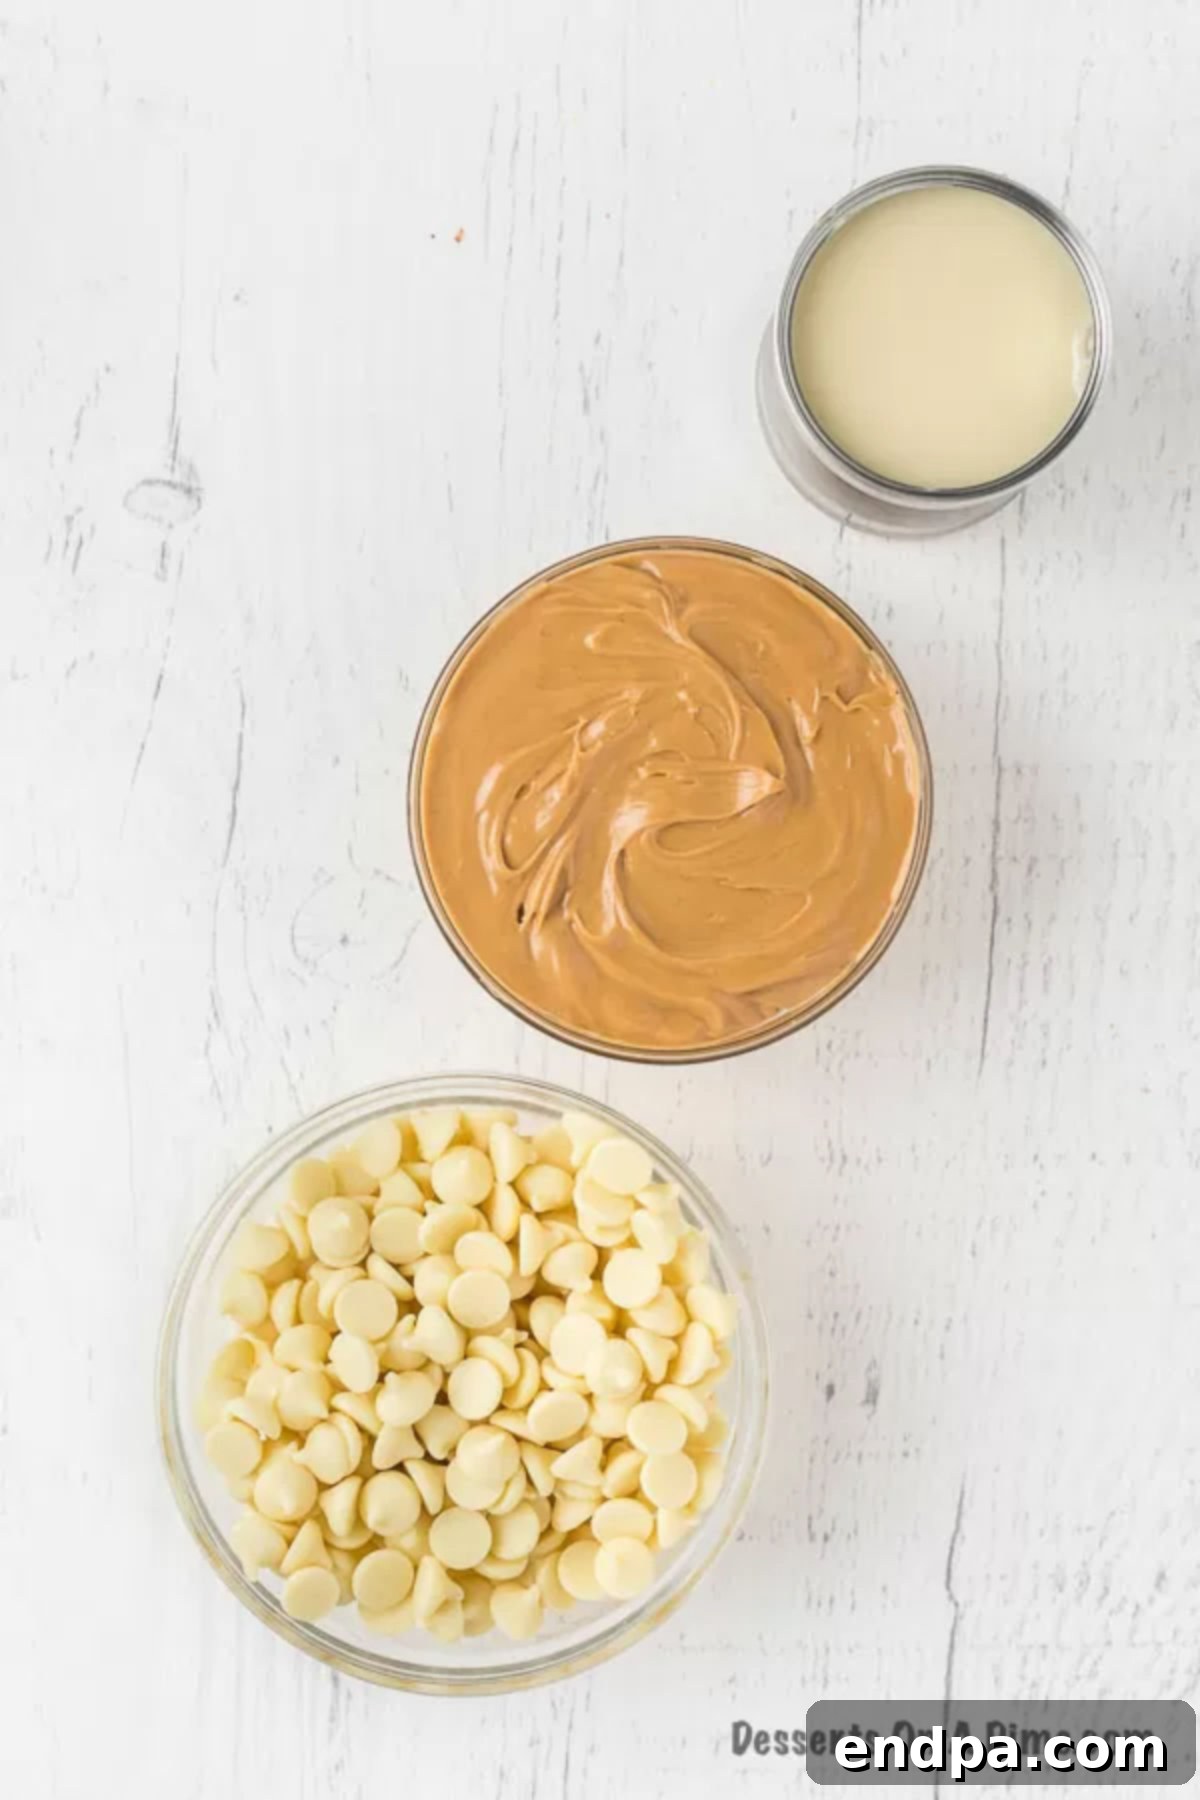
- White Chocolate Chips: These chips form the sweet, creamy foundation of our fudge. When melted, they provide the structure and a mild sweetness that beautifully complements the peanut butter. Ensure you use good quality white chocolate for the best flavor and texture.
- Creamy Peanut Butter: This is the star of the show! It’s crucial to use a good quality, creamy peanut butter for this recipe. Avoid natural peanut butter that requires stirring, as its oil tends to separate and can prevent the fudge from setting properly, leading to a grainy or oily texture. A classic brand like Jif or Skippy works perfectly.
- Sweetened Condensed Milk: This ingredient is essential for both sweetness and consistency. It binds the other ingredients together and helps the fudge achieve its perfectly set, yet wonderfully soft and melt-in-your-mouth texture without any extra cooking or tempering.
That’s it! Just three ingredients stand between you and a batch of homemade peanut butter heaven.
Creative Variations to Personalize Your Fudge
While this 3-ingredient peanut butter fudge is perfect as is, it also serves as a fantastic base for customization. Feel free to experiment with these variations to add your unique touch:
- Marshmallow Creme Dream: For an even softer, fluffier texture that’s reminiscent of a melt-in-your-mouth cloud, stir in about 1 cup of marshmallow creme (Fluff) with the sweetened condensed milk. This adds an extra layer of sweetness and a delightful airy quality.
- A Touch of Powdered Sugar: While not strictly necessary for taste, a light dusting of powdered sugar on top of the set fudge can add a beautiful finish and a subtle extra sweetness, enhancing its visual appeal, especially for gifting.
- Classic Chocolate Twist: Craving a classic peanut butter and chocolate combo? Simply substitute half or all of the white chocolate chips with semi-sweet or milk chocolate chips for a rich, traditional chocolate fudge version. You can even swirl both white and dark chocolate for a marbled effect!
- Candy Mix-Ins for Extra Fun: Elevate your fudge with fun mix-ins! Stir in a handful of peanut butter chips, chopped peanut butter cups (like Reese’s), or colorful Reese’s Pieces during the final mixing step. This adds texture, extra flavor, and a festive look.
- Salty Perfection: A sprinkle of flaky sea salt over the top of the fudge just before it sets enhances the peanut butter flavor and creates a delicious sweet-and-salty contrast that is absolutely irresistible.
- Nutty Crunch: For those who love a bit of crunch, fold in half a cup of finely chopped peanuts or pecans after stirring in the sweetened condensed milk. This adds a wonderful textural element.
- Extract Enhancement: A few drops of vanilla extract, almond extract, or even a touch of maple extract can subtly alter and enhance the flavor profile of your fudge. Add it along with the condensed milk.
Easy Step-by-Step Instructions
Making this peanut butter fudge is incredibly straightforward. Follow these simple steps for perfect results every time:
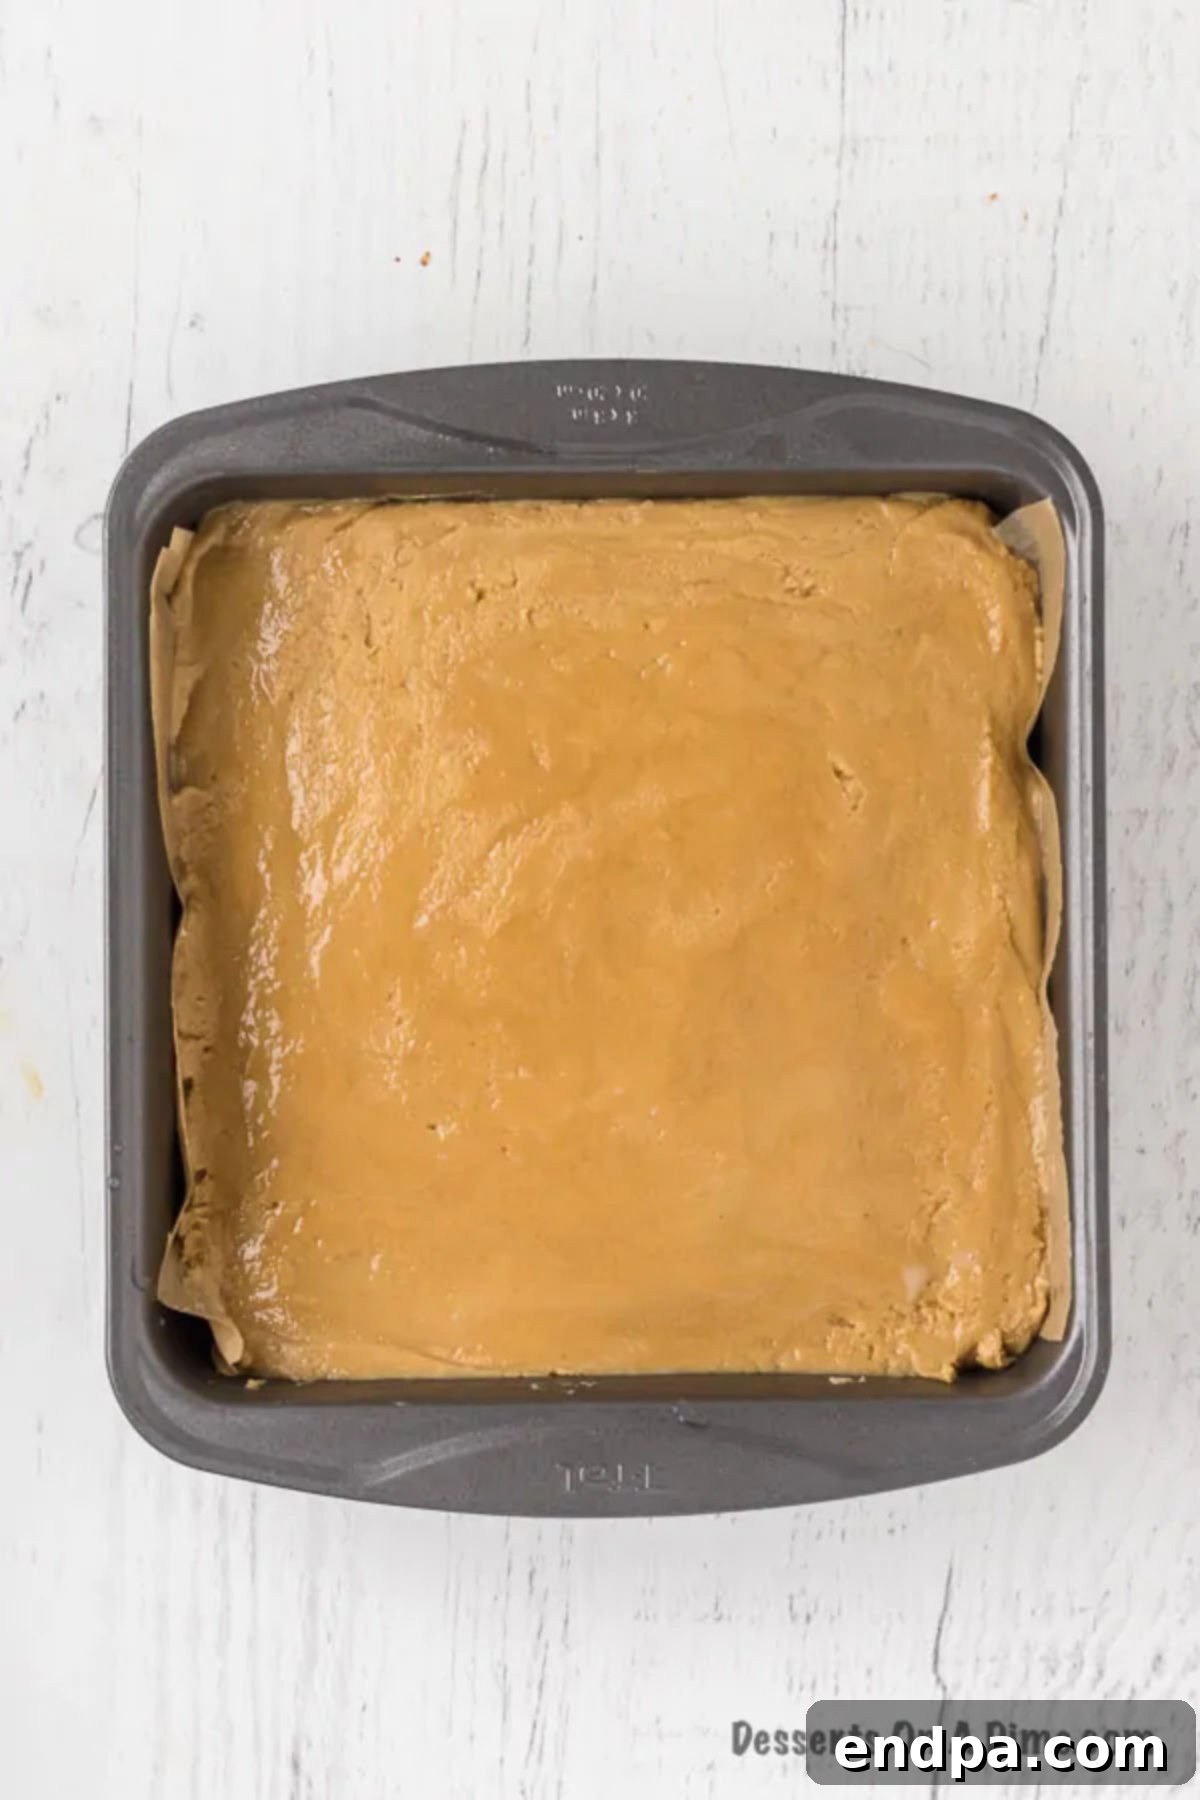
Preparation is Key: Begin by preparing an 8×8 inch baking pan. Lightly spray the bottom and sides with cooking spray to prevent sticking. Then, line the pan with parchment paper or aluminum foil, ensuring there’s an overhang on the sides. This “sling” will make it incredibly easy to lift the set fudge out of the pan later. Set your prepared pan aside.
Tips for Perfectly Cut Fudge
Achieving clean, professional-looking cuts on your fudge makes it even more appealing, especially when serving or gifting. Follow these tips to cut your fudge like a pro:
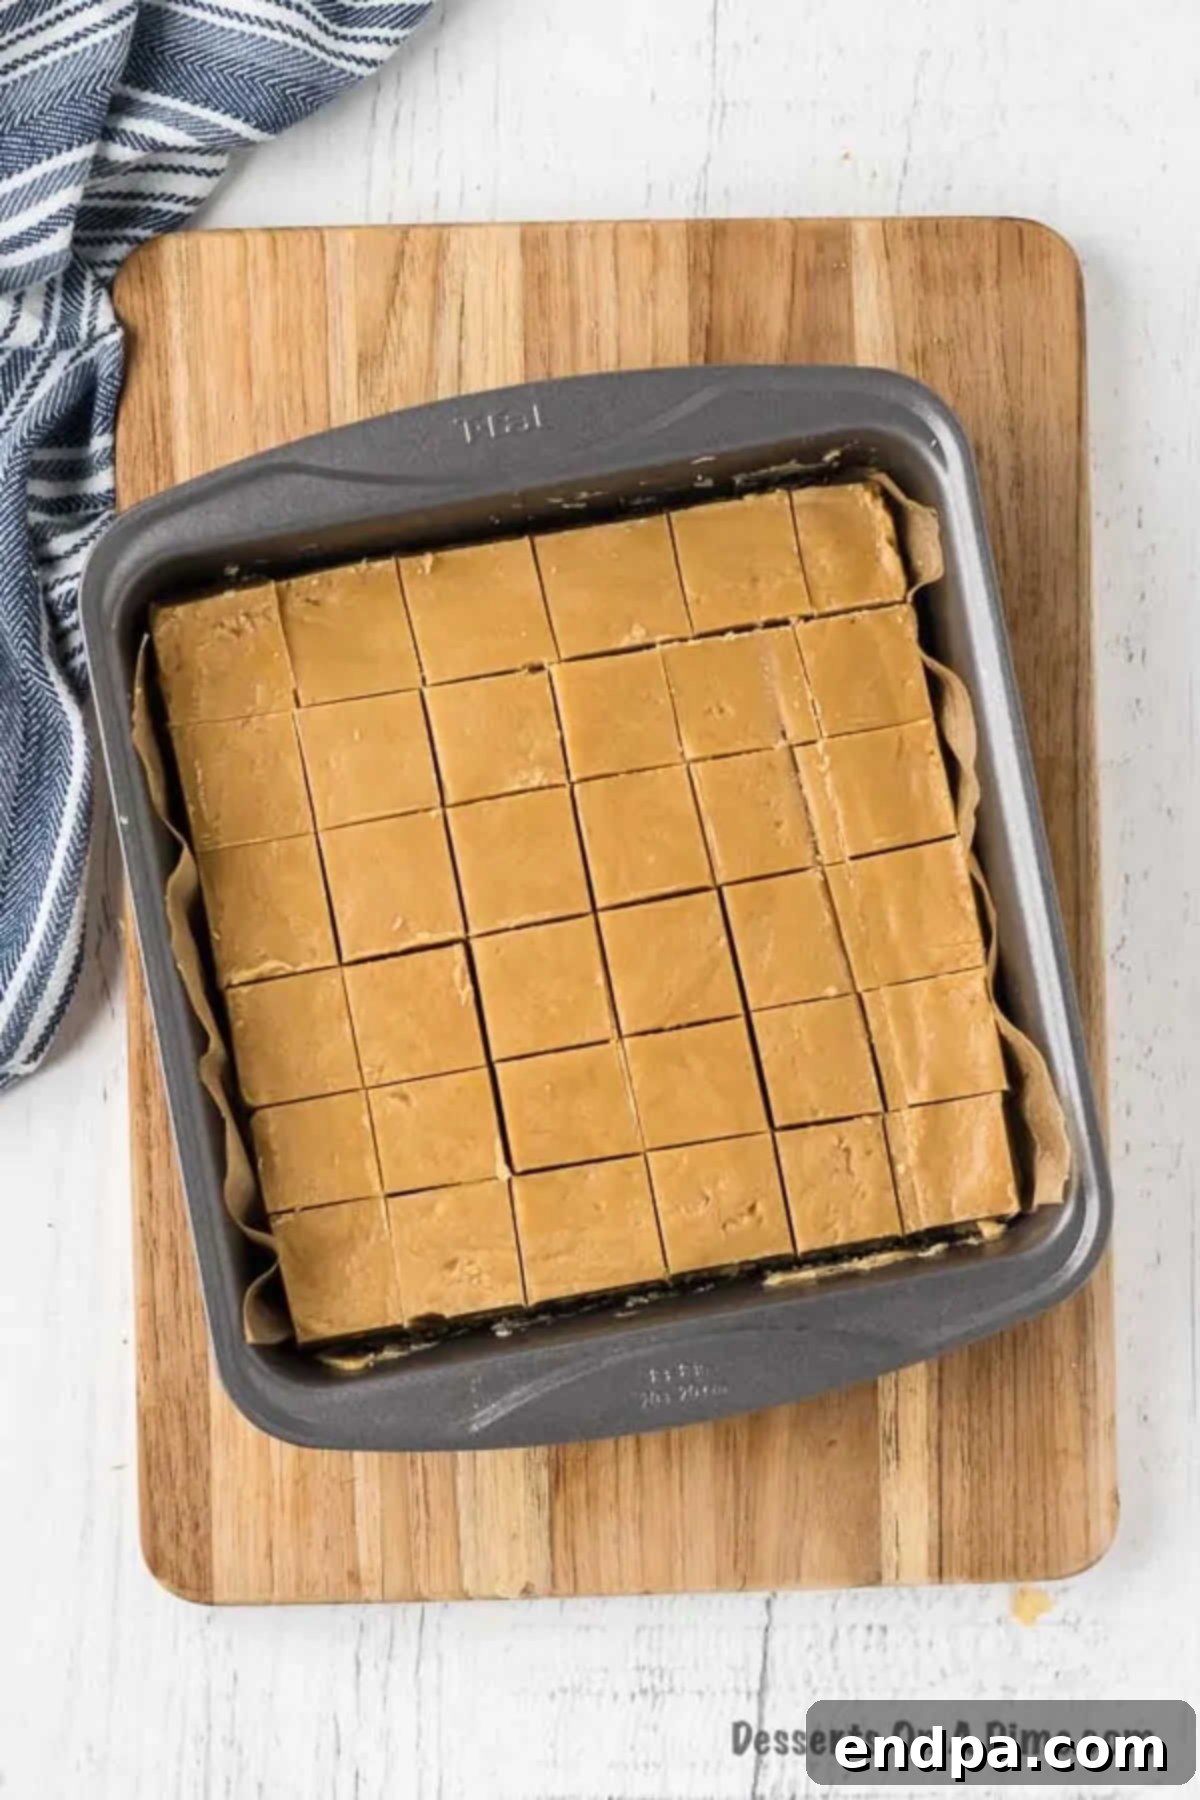
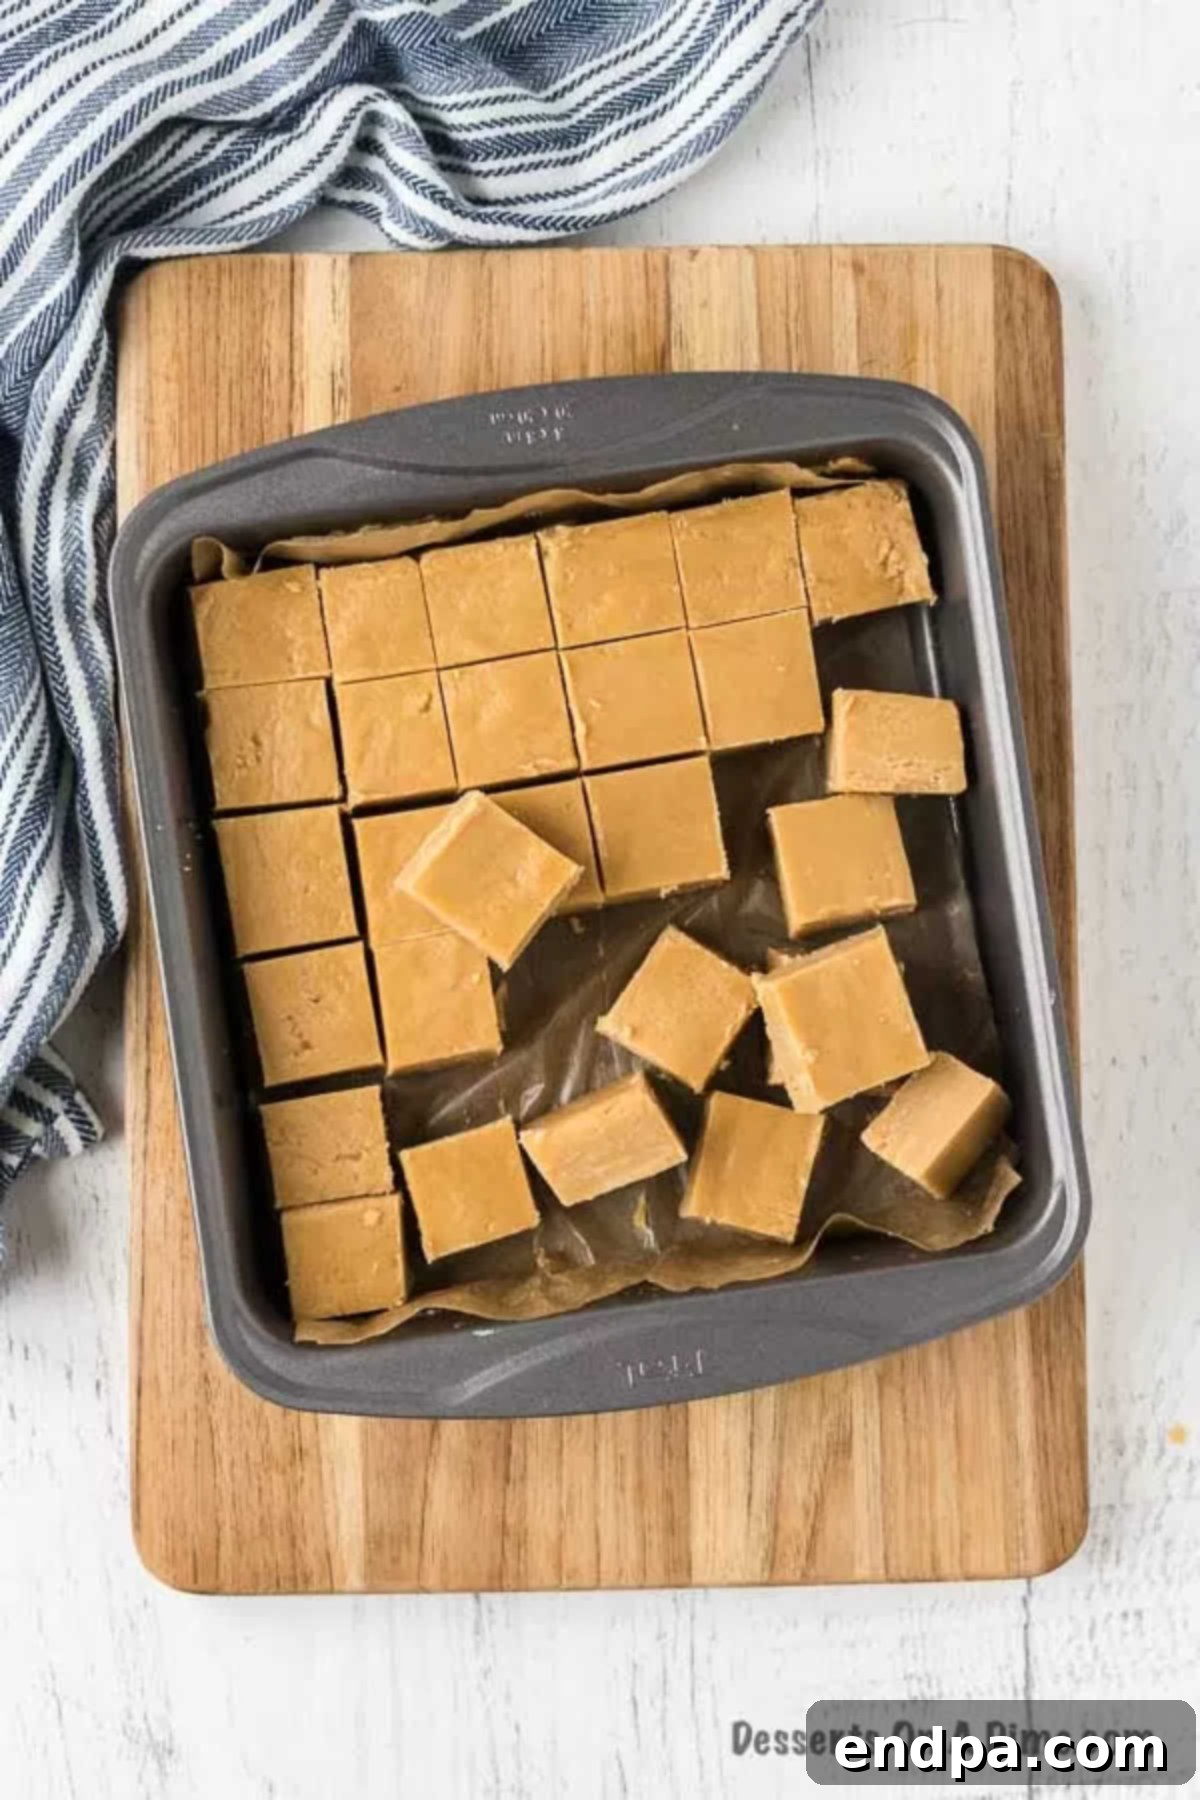
- Easy Removal from the Pan: The parchment paper or foil overhang is your best friend here! Once the fudge is fully set, simply use the overhang to lift the entire block of fudge out of the baking pan and onto a clean cutting board. This prevents any damage to the edges and makes cutting much easier.
- The Warm Knife Trick: For the cleanest, smoothest cuts, run a sharp knife under very hot water for about 30 seconds. Quickly wipe it dry with a clean cloth before making each cut. The warm blade glides through the fudge, preventing sticking and creating crisp edges. Re-warm and wipe the knife between every few cuts.
- Use a Sharp Knife: A sharp, non-serrated knife is essential for precise cuts. A dull knife will drag and tear the fudge, resulting in messy edges.
- Keep it Cold: Always cut fudge when it is cold and firm, straight out of the refrigerator. Fudge that has reached room temperature will be softer and stickier, making it harder to cut cleanly. If you’re cutting a large batch, you might even consider placing the fudge back in the fridge for a few minutes if it starts to soften.
- Measure for Uniformity: For uniform squares or bars, use a ruler to mark your cuts before slicing. This is especially helpful if you’re aiming for a professional presentation or portioning for gifts.
- Clean Between Cuts: For truly perfect squares, wipe your knife clean after every single cut to remove any sticky residue. This prevents peanut butter fudge from transferring onto subsequent slices and keeps your edges pristine.
Frequently Asked Questions About Peanut Butter Fudge
Even with simple recipes, questions can arise. Here are some common queries about making and storing this delicious peanut butter fudge:
Why is my Peanut Butter Fudge grainy?
Grainy fudge is often a result of sugar crystals forming. In this microwave no-bake recipe, graininess can occur if the white chocolate and peanut butter mixture is not stirred thoroughly enough after melting, or if the sweetened condensed milk is not fully incorporated. Ensure you stir well until everything is completely smooth before chilling.
How to store this easy peanut butter fudge?
To maintain its freshness and creamy texture, store your peanut butter fudge in an airtight container at room temperature for up to 1 week. If you prefer to keep it cooler or need to store it for longer, refrigerate it in an airtight container for up to 2-3 weeks. If storing on a tray, cover it tightly with plastic wrap to prevent it from drying out.
Can I freeze peanut butter fudge?
Yes, this fudge freezes beautifully! Freezing is an excellent option for making holiday treats or special occasion desserts in advance, saving you valuable time later. To freeze, wrap individual pieces or the entire block tightly in plastic wrap, then place in a freezer-safe airtight container or freezer bag. It will last in the freezer for up to 2 months.
Do I need to thaw frozen fudge before serving?
No, you absolutely don’t need to thaw it! Many people actually find frozen peanut butter fudge to be incredibly delicious, enjoying its firmer, almost ice cream-like texture. You can serve it directly from the freezer, or let it sit at room temperature for about 10-15 minutes if you prefer a slightly softer consistency.
Can I use natural peanut butter?
We strongly recommend against using natural peanut butter (the kind that separates with oil on top) for this recipe. Its different oil content and texture can prevent the fudge from setting properly and often results in an oily or grainy final product. Stick to creamy, processed peanut butter like Jif or Skippy for the best results.
What if my chocolate chips don’t melt smoothly?
If your chocolate chips are stubborn, ensure you’re microwaving in short 30-second intervals and stirring vigorously after each. If the mixture is still clumpy, you can try adding a teaspoon of vegetable oil or shortening to help smooth it out. Overheating can cause chocolate to seize, so low and slow is key.
Expert Tips for Fudge-Making Success
While this recipe is incredibly simple, a few expert tips can ensure your 3-ingredient peanut butter fudge turns out absolutely perfect every single time:
- Always Use Creamy Peanut Butter: This cannot be stressed enough. Natural peanut butter (the kind that separates with oil on top) has a different consistency and oil content, which can lead to an oily, separated, or grainy fudge that won’t set properly. Stick to classic creamy varieties like Jif or Skippy for the best, most consistent results.
- Prepare the Pan Meticulously: Don’t skip the step of greasing and lining your baking pan. Spraying with cooking spray and then lining with parchment paper (leaving an overhang) is crucial for easy removal of the fudge once it’s set. This saves you frustration and ensures clean, intact blocks of fudge.
- Mix Thoroughly and Patiently: After melting the white chocolate and peanut butter, and especially after adding the sweetened condensed milk, stir the mixture until it is completely smooth and uniform. Any streaks or lumps can result in an inconsistent texture. Stirring for an extra minute ensures all ingredients are fully emulsified.
- Mind the Temperature of Your Melted Chocolate: When melting the white chocolate and peanut butter, use short bursts in the microwave (30 seconds at a time) and stir well between each. Overcooking or overheating chocolate can cause it to seize and become grainy. It’s better to melt slowly and stir thoroughly.
- Do Not Overheat on the Stove (if applicable): If you choose to melt your ingredients on the stovetop instead of the microwave (using a double boiler or very low heat), watch it closely. Chocolate burns easily. Stir constantly and remove from heat as soon as it’s mostly melted, allowing residual heat to finish the job while stirring.
- Proper Storage is Key to Freshness: Once set, store your fudge in an airtight container. This prevents it from drying out and maintains its delicious creamy texture. It keeps well at room temperature for about a week, or longer in the refrigerator.
- Cutting is an Art: For clean, neat squares, always cut your fudge when it is cold and firm. Use a sharp knife that has been warmed under hot water and wiped dry before each slice. This allows the blade to glide through cleanly without sticking.
- Consider the Climate: In very warm or humid climates, your fudge might benefit from being stored in the refrigerator to maintain its firmness and prevent it from becoming too soft.
- Add Mix-Ins Strategically: If you’re incorporating extras like chopped nuts, candies, or sprinkles, stir them in after the sweetened condensed milk has been fully combined, right before spreading the fudge into the pan. This ensures even distribution without affecting the melting process.
- Chill for Full Setting: Resist the urge to cut into your fudge too early! Allow it to chill in the refrigerator for at least 2 hours (or even longer if possible) to ensure it’s fully set and firm enough for perfect slices. Patience truly pays off here.
Serving Suggestions and Gifting Ideas
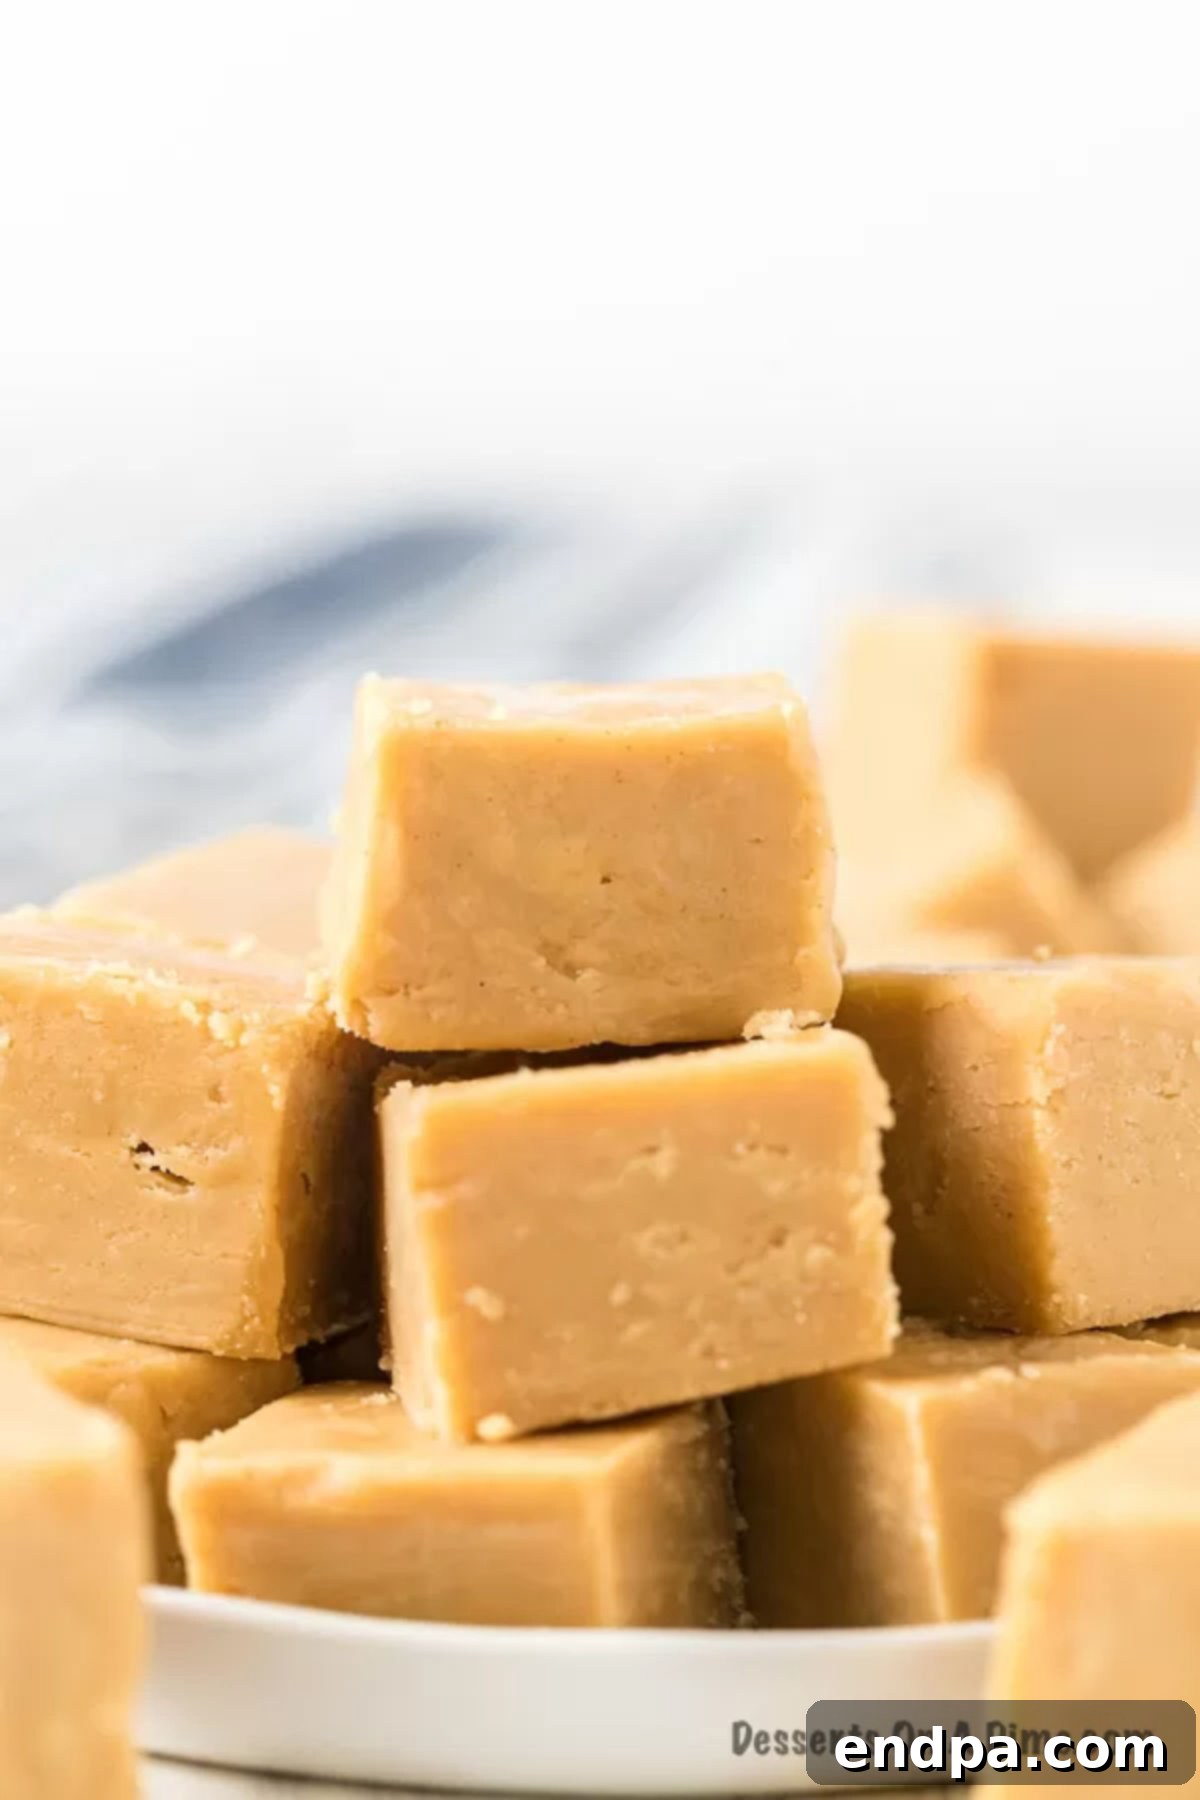
This 3-ingredient peanut butter fudge is incredibly versatile, making it perfect for a wide range of occasions. Here are some ideas for serving and gifting this delightful treat:
Serving Suggestions:
- Classic Standalone Treat: Serve the fudge simply cut into squares on a decorative platter. Its rich flavor and creamy texture are more than enough to impress.
- Dessert Platter Addition: Include peanut butter fudge as part of a larger dessert spread. It pairs wonderfully with other small bites like cookies, brownies, and fruit.
- Coffee or Tea Companion: A small square of fudge is the perfect accompaniment to a hot cup of coffee, tea, or even hot chocolate.
- Ice Cream Topping: Roughly chop a few pieces of fudge and sprinkle them over vanilla or chocolate ice cream for an instant upgrade. You can even warm them slightly for a gooey texture.
- Milkshake Booster: Blend a few pieces of fudge into a vanilla milkshake for an extra decadent peanut butter shake.
Gifting Ideas:
- Holiday Treat Boxes: Arrange various squares of fudge, perhaps with different variations (chocolate swirl, sea salt sprinkle), in a festive box lined with parchment paper. Tie with a ribbon for a beautiful homemade gift.
- Hostess Gifts: A small, elegantly packaged box of homemade fudge makes a thoughtful and appreciated gift for dinner hosts or party throwers.
- Teacher or Neighbor Appreciation: Show your gratitude with a small bag or jar filled with these delicious squares. It’s a personal touch that goes a long way.
- Care Packages: Fudge travels well, making it an excellent addition to care packages for college students, military personnel, or loved ones far away.
- Birthday Treats: Instead of a traditional cake, offer a selection of different fudges for a unique birthday celebration.
No matter how you choose to serve or gift it, this homemade peanut butter fudge is sure to be a hit!
More Irresistible Fudge Recipes
If you loved making this easy peanut butter fudge, you’re in luck! There are many other simple and delicious fudge recipes waiting to be discovered. Expand your fudge-making repertoire with these fantastic options:
- Peanut Butter Chocolate Chip Fudge
- Homemade Hot Fudge Sauce Recipe
- 3 Minute Microwave Fudge
- Oreo Fudge Recipe
- Homemade Chocolate Fudge Recipe
- Butterscotch Fudge
We hope you enjoy trying this incredibly easy and delicious 3-ingredient peanut butter fudge recipe. It’s sure to become a cherished favorite for quick treats and special occasions alike. Don’t forget to share your creations!
3-Ingredient Peanut Butter Fudge Recipe
This peanut butter fudge is the creamiest and most decadent fudge you can imagine, yet it’s incredibly easy to make. With just 3 ingredients, this no-bake recipe is quick, simple, and always a hit.
Prep Time: 10 minutes
Refrigerate Time: 2 hours
Total Time: 2 hours 10 minutes
Servings: 24 squares
Cuisine: American
Course: Dessert
Calories per serving: 228 kcal
Author: Carrie Barnard
Ingredients
- 12 ounces white chocolate chips
- 1 ½ cups creamy peanut butter (do not use natural peanut butter)
- 1 (14-ounce) can sweetened condensed milk
Instructions
- Lightly spray an 8-inch square baking pan with cooking spray, then line the bottom with waxed paper or parchment paper, leaving an overhang. Set aside.
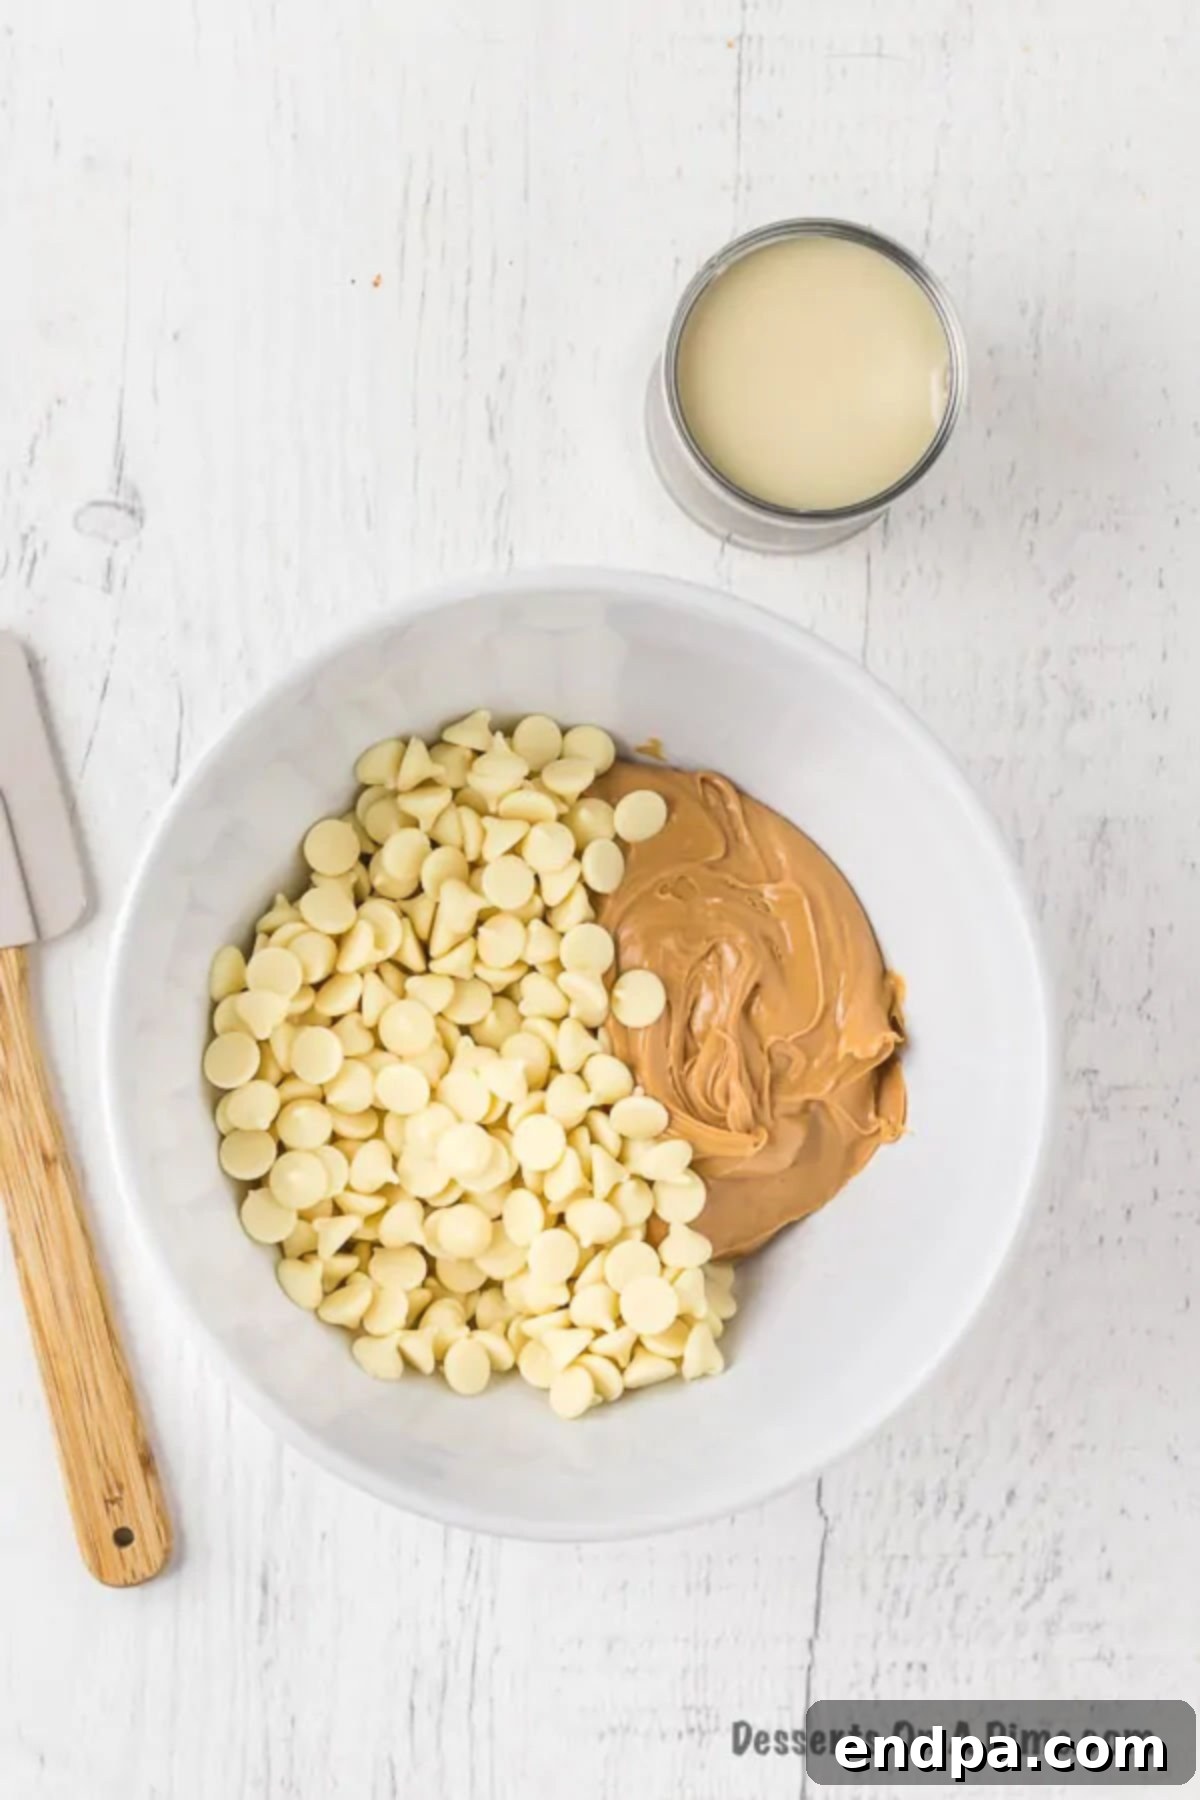
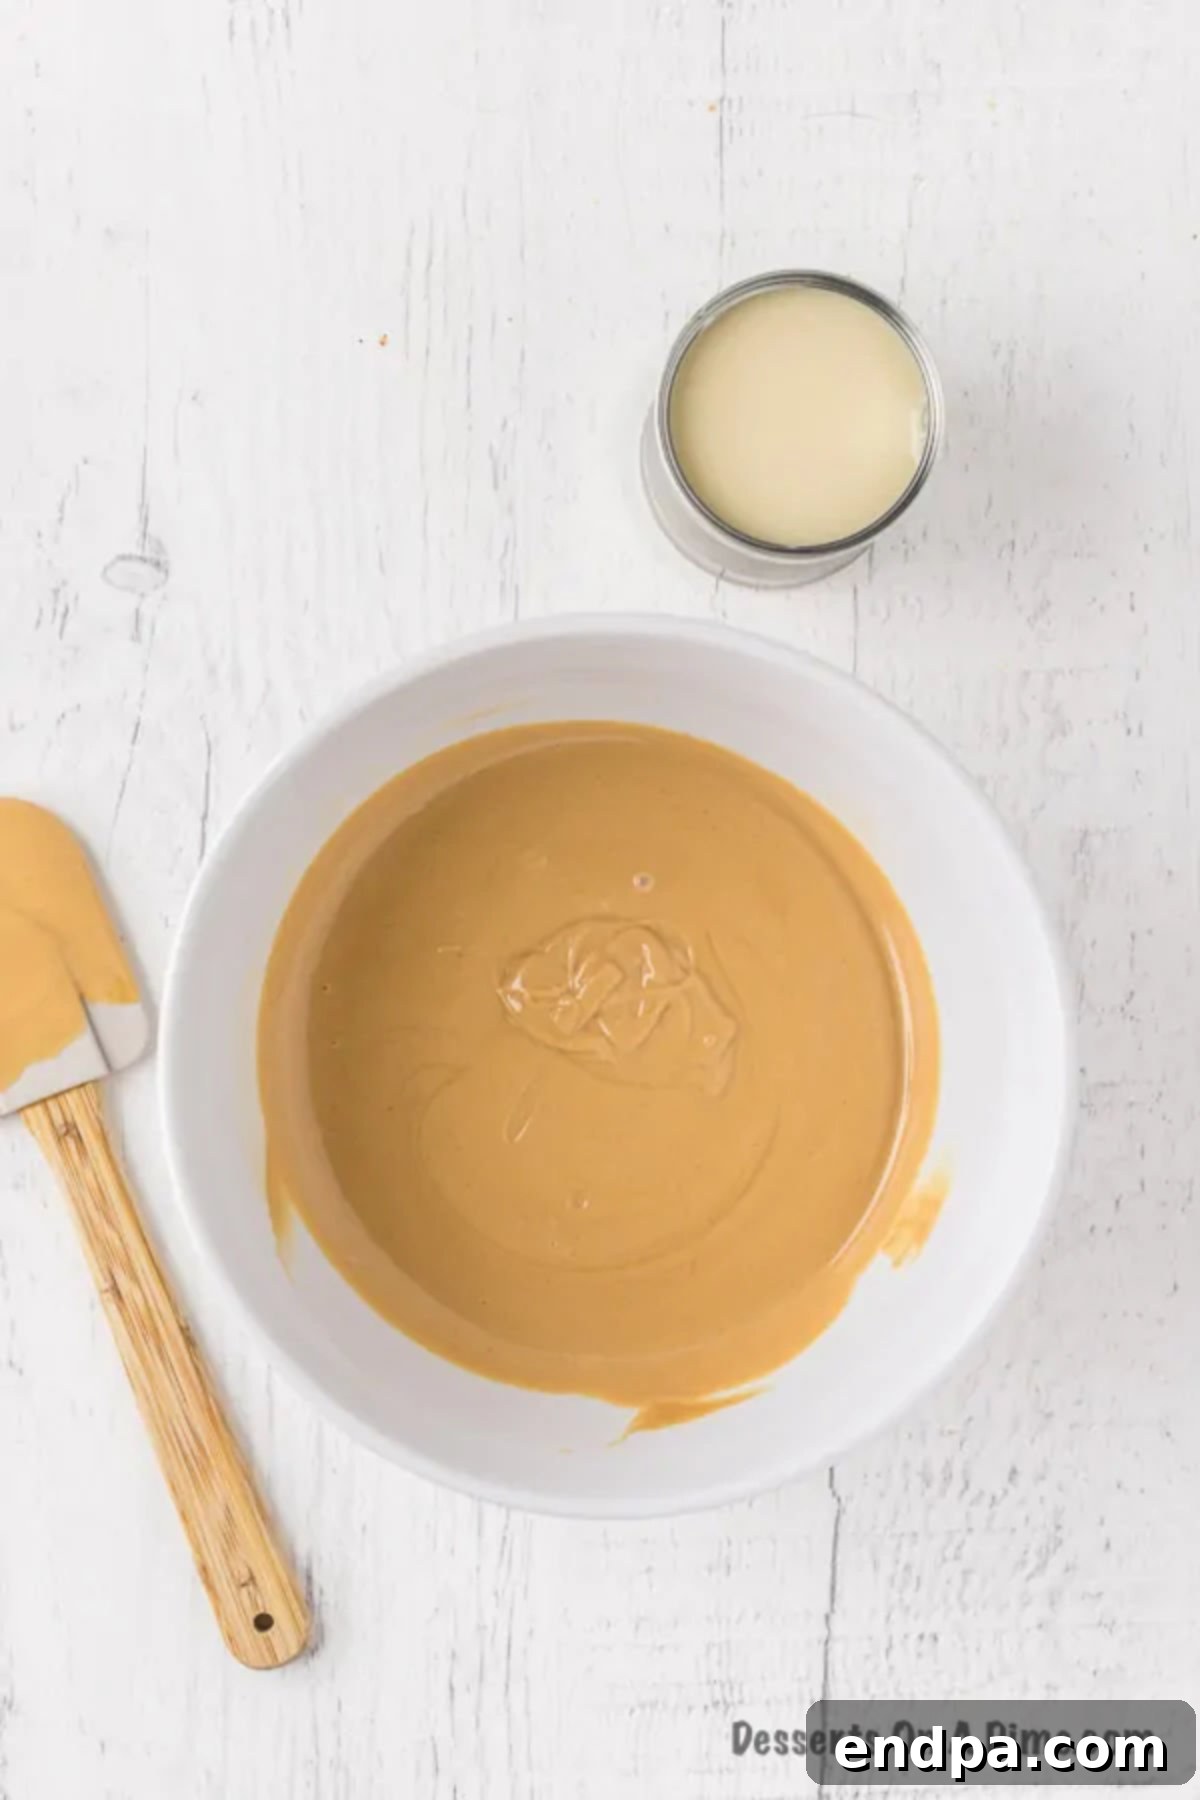
- Combine the white chocolate chips and peanut butter in a large microwave-safe bowl.
- Microwave in 30-second intervals, stirring well after each interval, until the chocolate chips and peanut butter are both melted and the mixture is smooth and uniform.
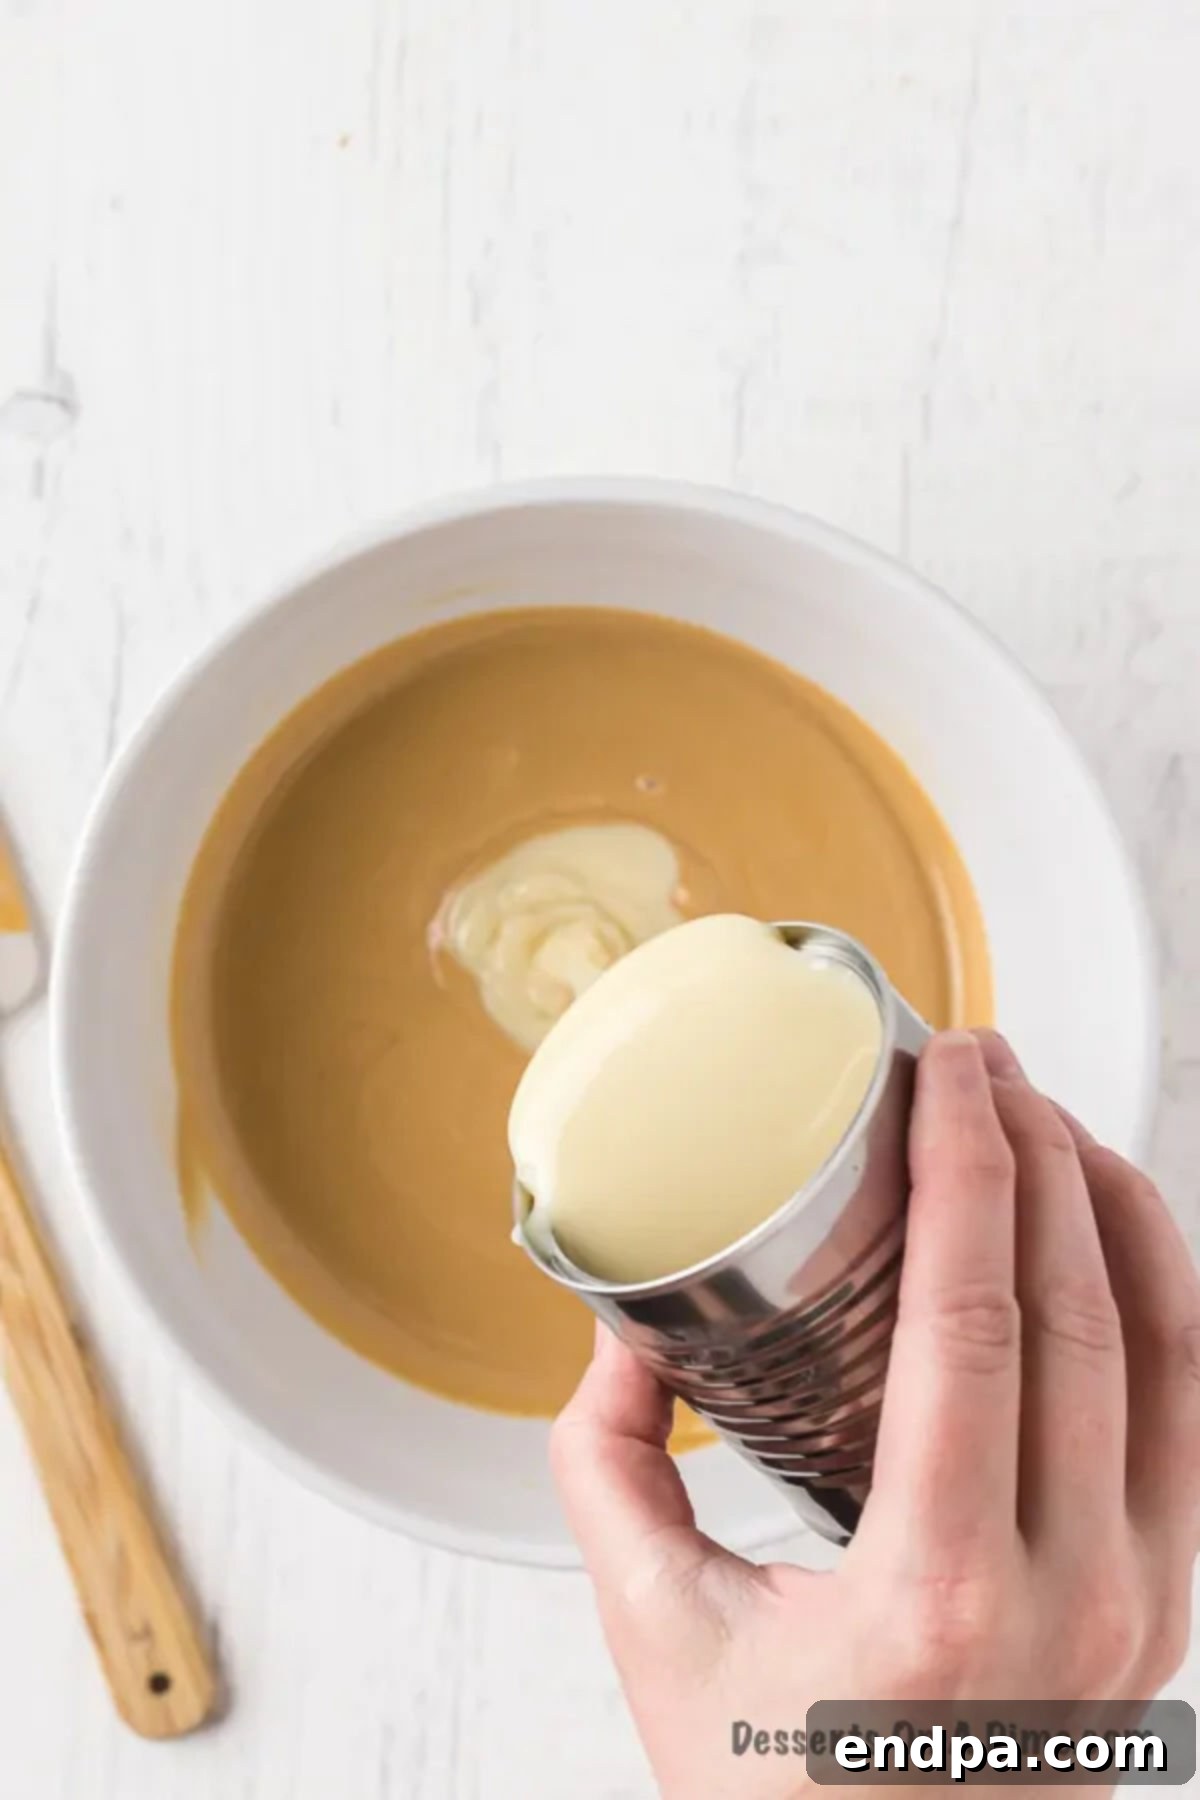
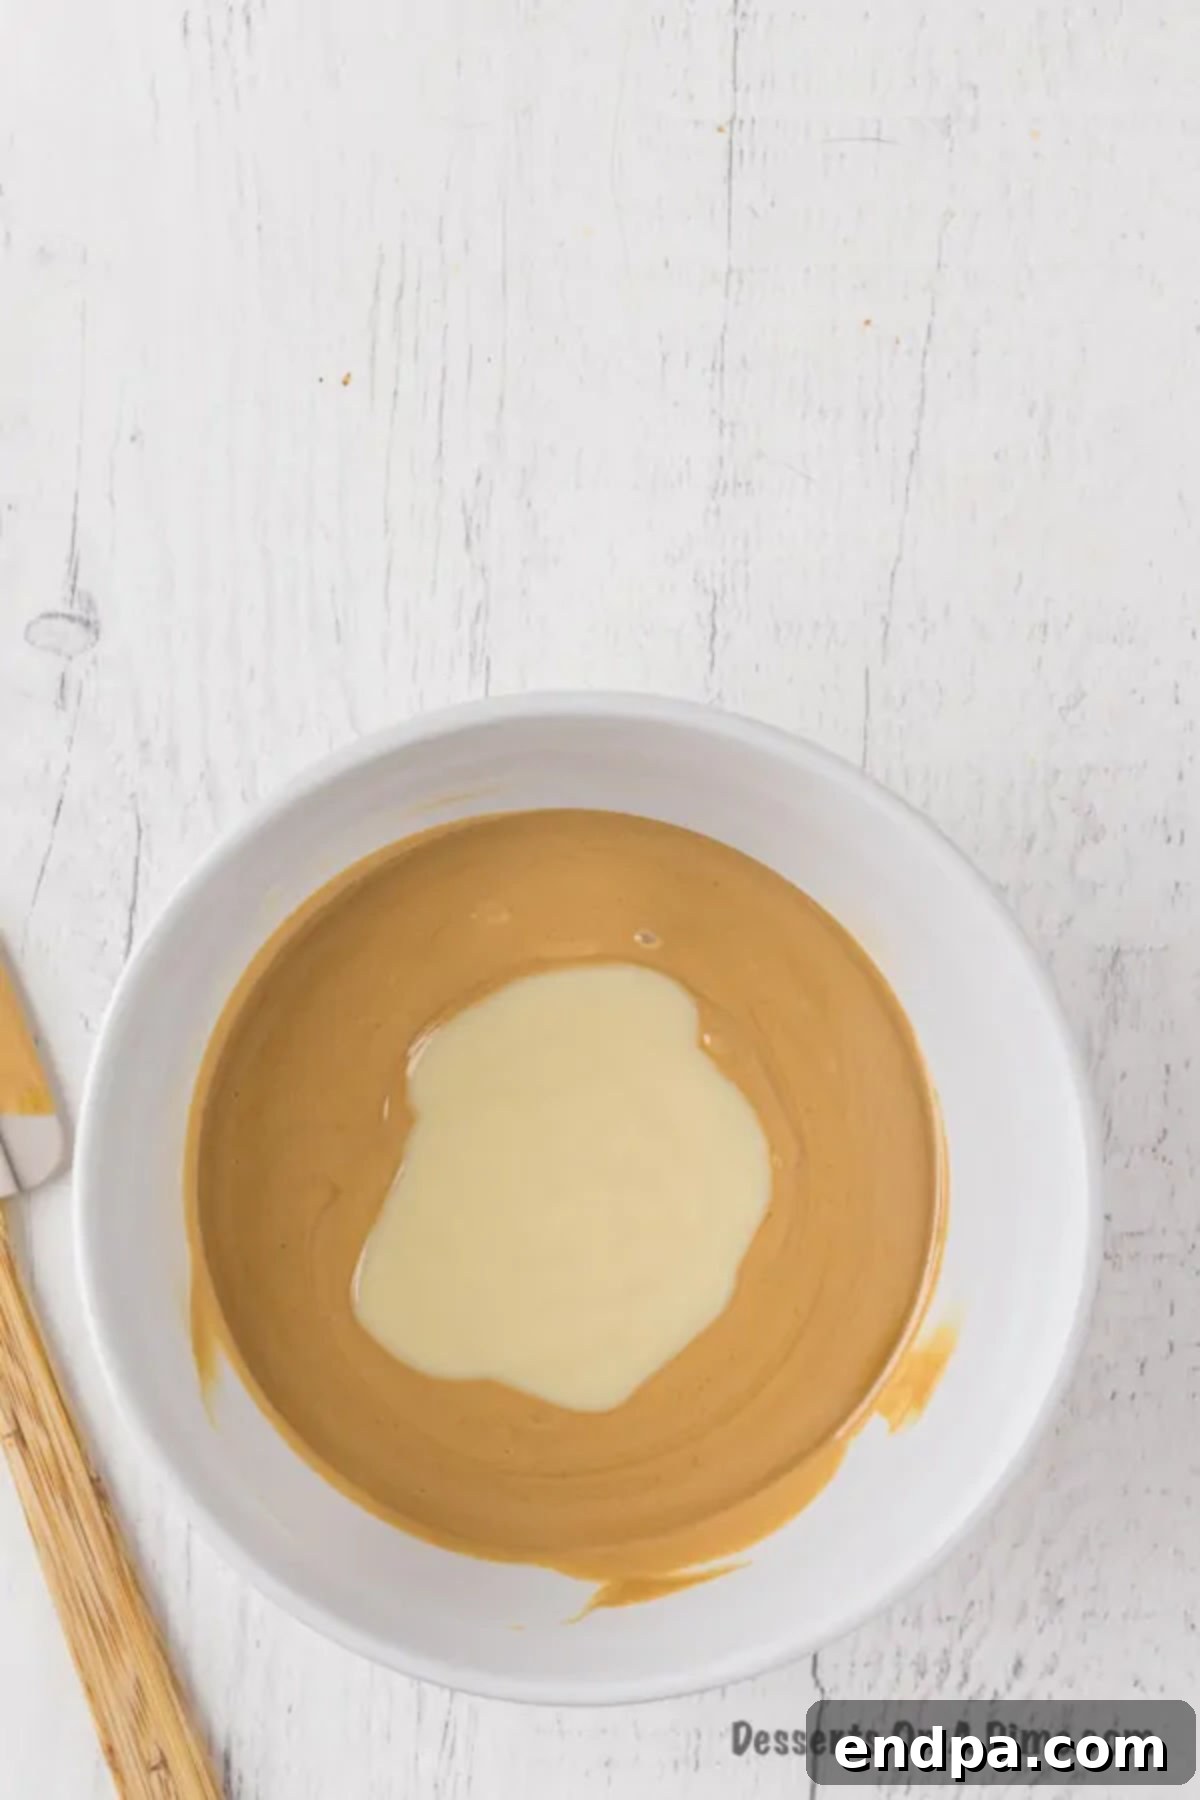
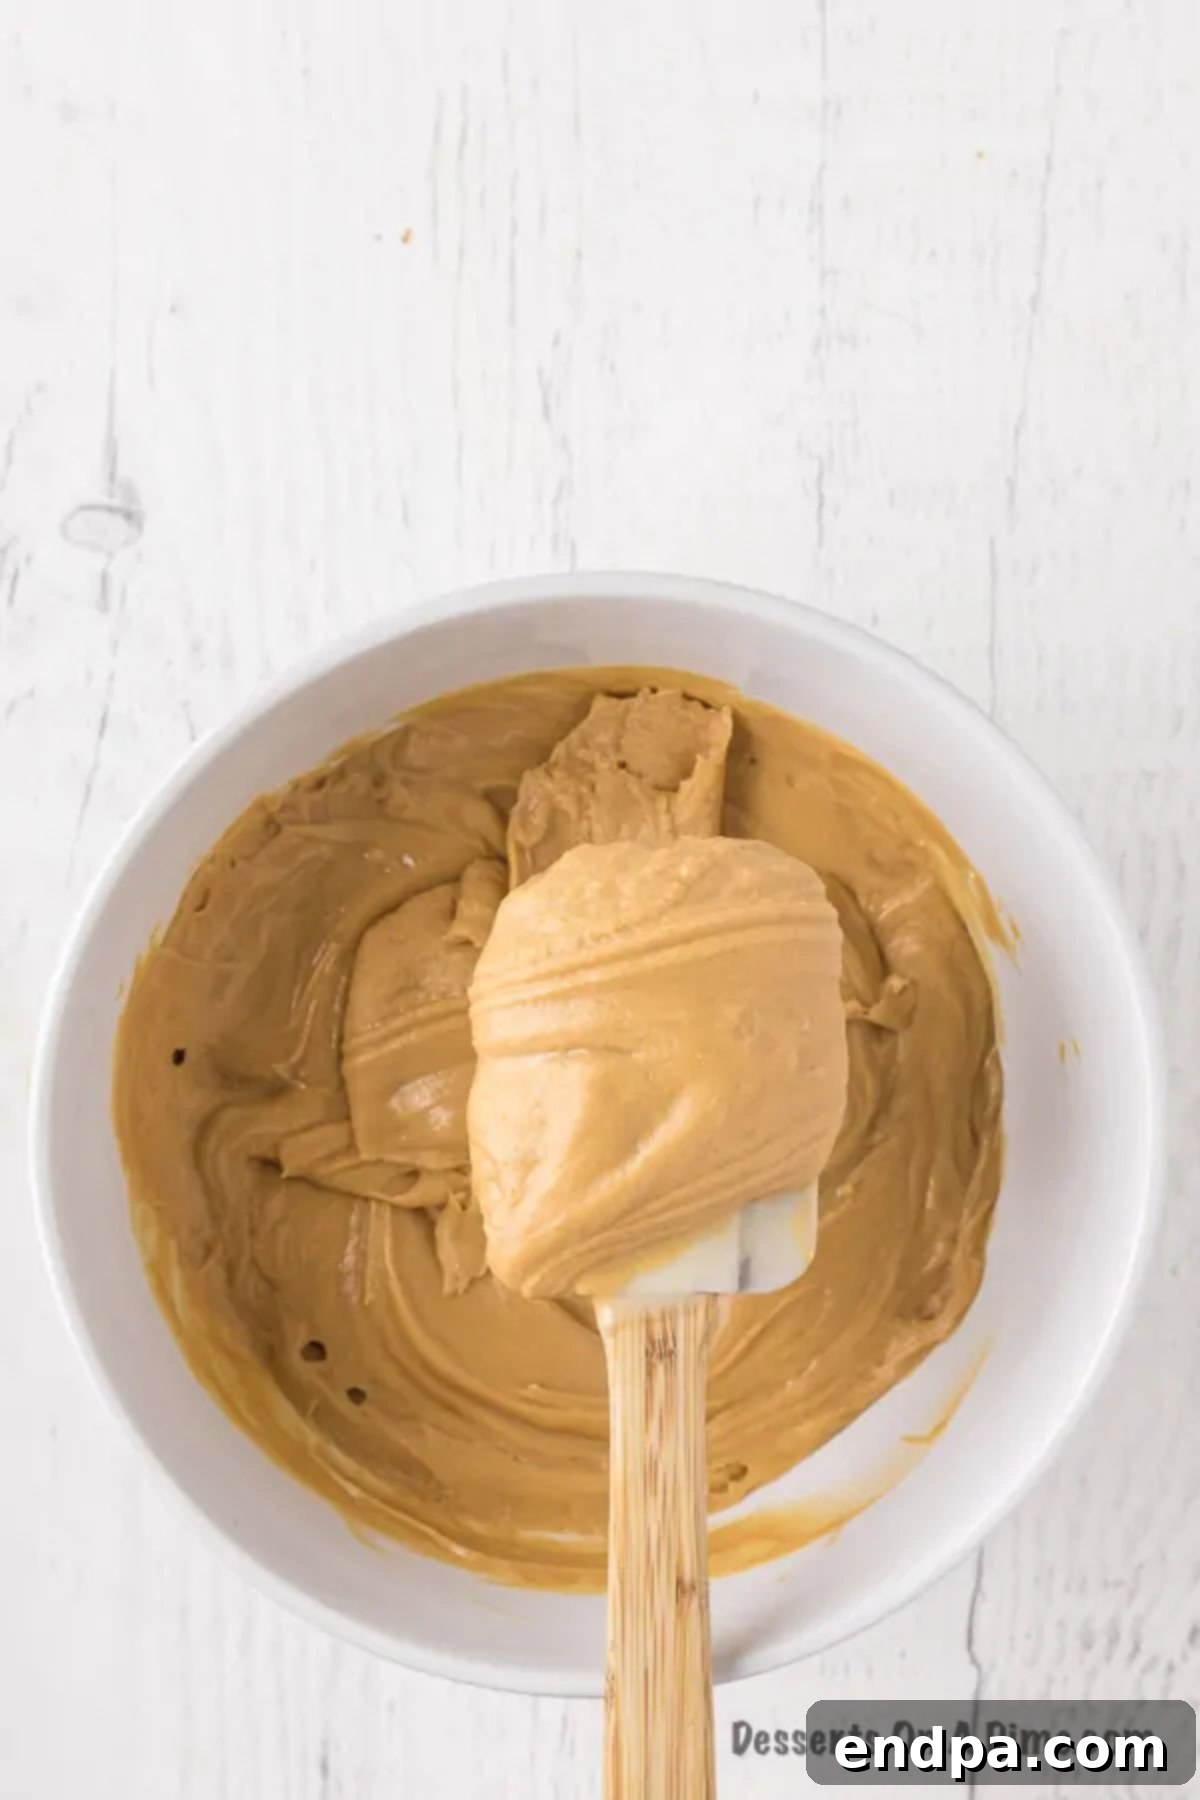
- Add the sweetened condensed milk and stir vigorously until fully combined and smooth.
- Scrape the mixture into the prepared baking dish and spread evenly.
- Refrigerate until fully set, about 2 hours.
- Once firm, lift the fudge out of the pan using the parchment paper overhang. Place on a cutting board, slice into desired squares, and serve.
Nutrition Facts (per serving)
- Calories: 228 kcal
- Carbohydrates: 21g
- Protein: 6g
- Fat: 14g
- Saturated Fat: 5g
- Cholesterol: 9mg
- Sodium: 109mg
- Potassium: 211mg
- Fiber: 1g
- Sugar: 19g
- Vitamin A: 52IU
- Vitamin C: 1mg
- Calcium: 85mg
- Iron: 1mg
