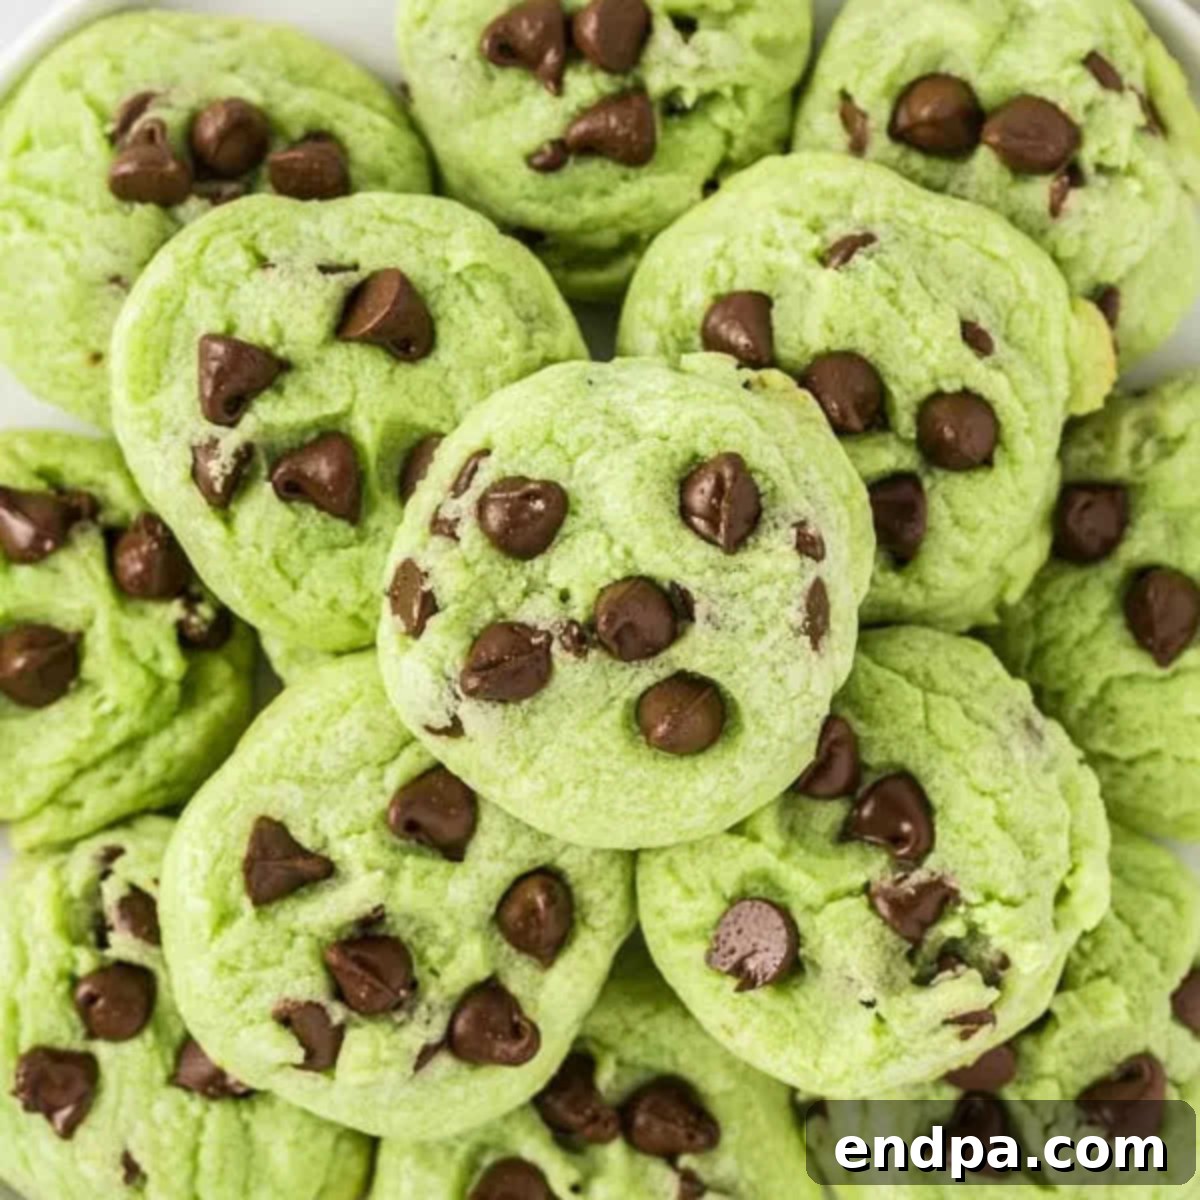
Prepare for a delightful treat that perfectly marries two iconic flavors: **Mint Chocolate Chip Cookies**! These vibrant green cookies are an absolute celebration of refreshing mint and rich chocolate, creating a sensation that is both comforting and exciting. Each bite promises a soft, chewy texture loaded with premium chocolate chips and an unmistakable burst of cool, invigorating peppermint flavor. If you find yourself craving **mint desserts** or are searching for that perfect cookie recipe to brighten your day, these homemade Mint Chocolate Chip Cookies are an absolute must-try. They’re not just a dessert; they’re an experience.

The timeless combination of mint and chocolate has captured hearts for generations, and there’s no better way to enjoy it than in a freshly baked cookie. This remarkably easy cookie recipe takes everything you adore about this classic pairing and transforms it into soft, melt-in-your-mouth delights. You’ll savor a generous abundance of both chocolate and mint in every single soft and chewy morsel, making these an instant favorite for anyone who appreciates a unique and flavorful dessert.
Here in our kitchen, mint is a cherished flavor, inspiring a variety of beloved recipes. Beyond these fabulous Mint Chocolate Chip Cookies, we also frequently whip up our popular Chocolate Andes Mint Cookies and our irresistible Copycat Thin Mint Cookies. Each of these recipes is designed to be straightforward and accessible, even for the busiest home bakers. But if you’re ever in the mood for something entirely different, don’t hesitate to explore our Cherry Chocolate Chip Cookies for another exciting flavor adventure.
Table of Contents
- Why You’ll Love This Recipe
- Key Ingredients for Success
- Delicious Variations to Try
- Step-by-Step: How to Make Mint Chocolate Chip Cookies
- Storage Tips for Freshness
- Frequently Asked Questions
- Expert Tips for Perfect Cookies
- More Irresistible Mint Desserts
Why You’ll Love This Recipe for Mint Chocolate Chip Cookies
This recipe isn’t just easy; it’s a triumph of flavor and convenience, promising a batch of exquisite cookies in under 30 minutes! The entire family will fall head over heels for these Mint Chocolate Chip Cookies, thanks to their irresistibly soft texture and the generous infusion of both rich chocolate and bright mint flavor. They’re a fantastic choice for any occasion, from a casual after-school snack to a festive party dessert.
If you’re already a fan of our Classic Chocolate Chip Cookie Recipe, then you’re in for an even greater delight with this minty twist. Imagine that same beloved soft and chewy base, but elevated with a striking green hue and the cool, invigorating taste of peppermint. It’s a simple adaptation that yields a dramatically different and utterly delicious result. These cookies are not only a feast for the taste buds but also a visual treat, making them perfect for holidays, celebrations, or just adding a touch of vibrant fun to your dessert spread. Their quick prep time also means you can satisfy those cookie cravings without much fuss, making them a go-to for busy weeknights or impromptu gatherings.
Key Ingredients for Success
Crafting the perfect Mint Chocolate Chip Cookie begins with selecting the right ingredients. Each component plays a crucial role in achieving that ideal balance of flavor and texture. Here’s a closer look at what you’ll need to create these delectable treats:
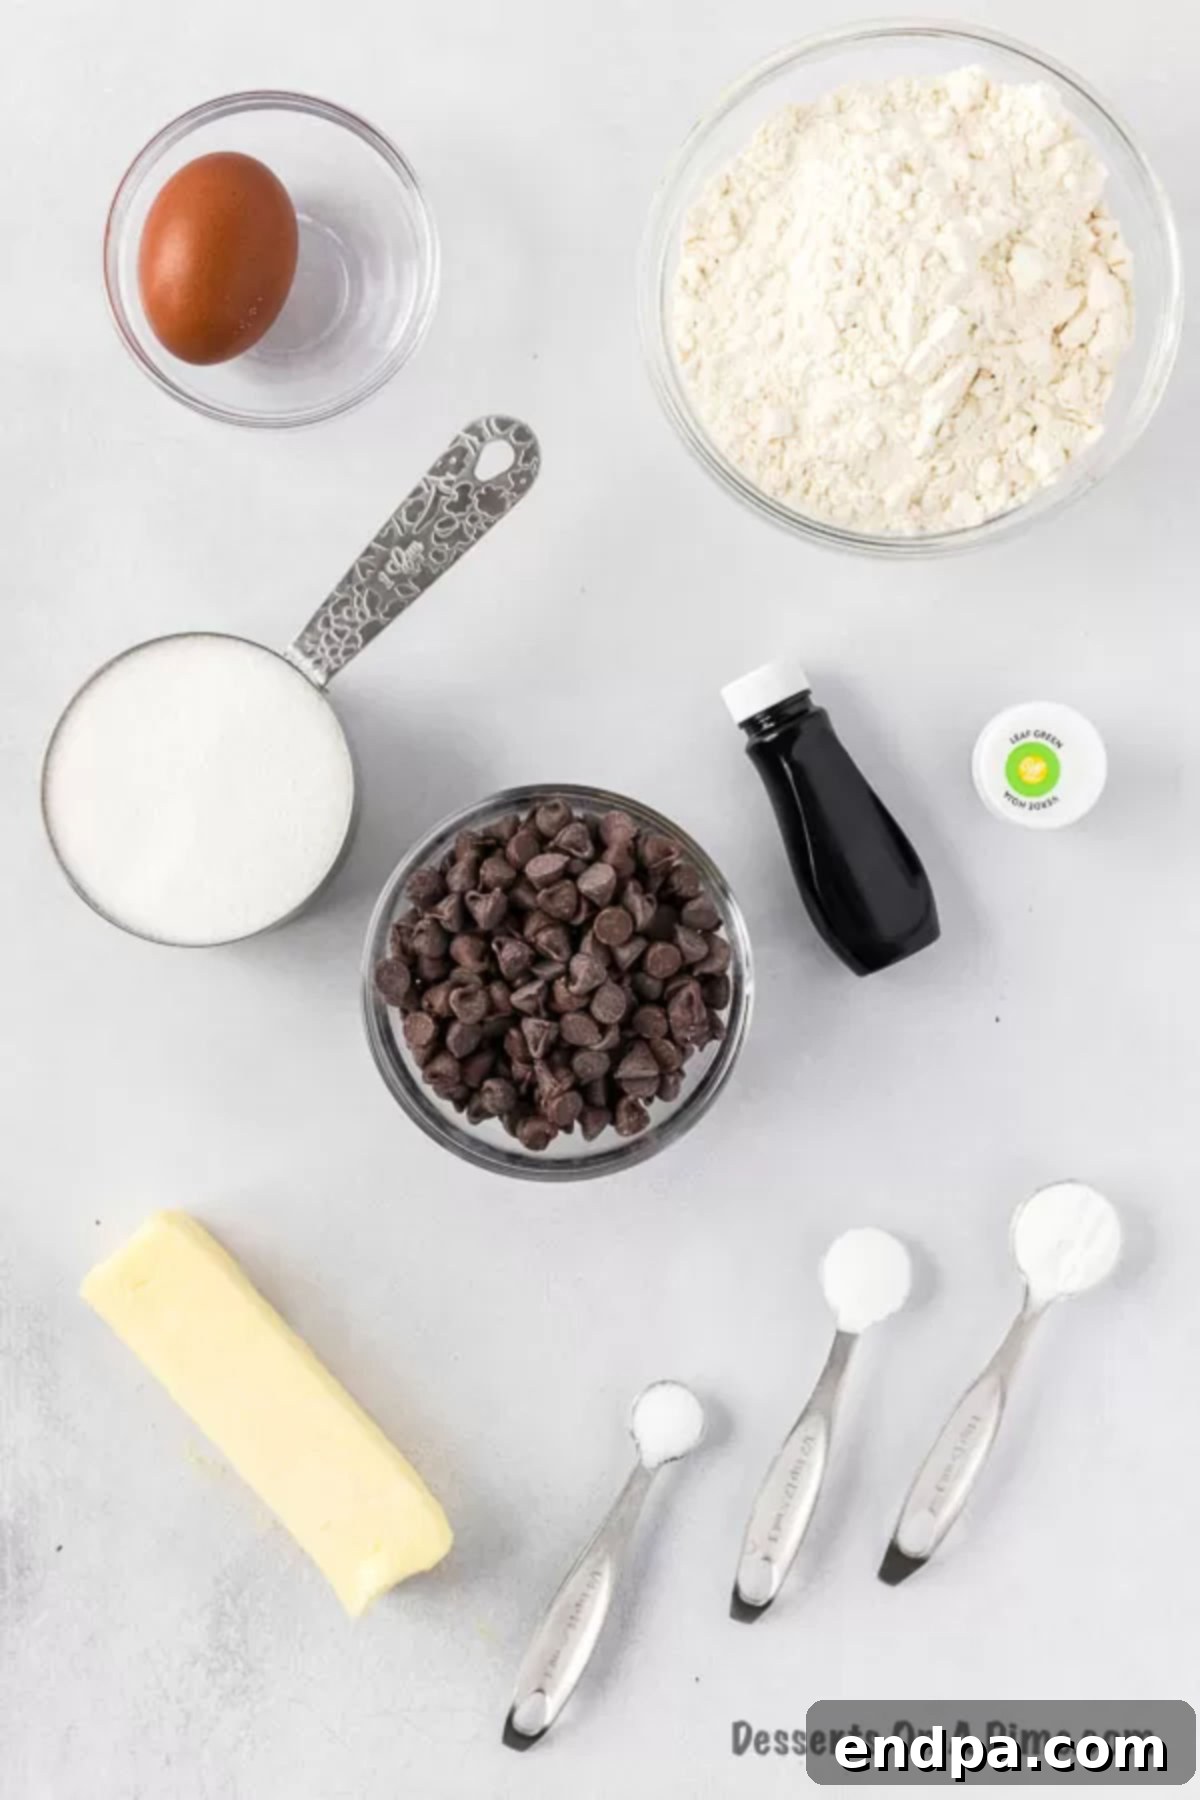
- Unsalted Butter: The foundation of any good cookie, unsalted butter allows you to control the salt content in your recipe. Ensure your butter is at **room temperature** and softened. This crucial step enables it to cream properly with the sugar, creating a light and fluffy base that contributes to the cookies’ soft texture. Cold butter won’t incorporate well, leading to dense cookies.
- Granulated Sugar & Brown Sugar: A blend of both sugars provides the perfect balance of sweetness and chewiness. Granulated sugar offers crisp edges, while brown sugar (especially homemade brown sugar, if you’re feeling ambitious) adds moisture and a delightful caramel note, making the cookies wonderfully soft and chewy.
- Large Eggs: Eggs bind the ingredients together, add moisture, and contribute to the cookie’s structure. Make sure your eggs are also at room temperature for better incorporation into the batter.
- Peppermint Extract: This is the star of the mint flavor! **Peppermint extract is significantly stronger and has a cleaner, brighter taste than general mint extract.** Using peppermint ensures that refreshing, distinct minty kick without any “toothpaste” undertones sometimes associated with plain mint extract.
- All-Purpose Flour: The primary dry ingredient that provides structure. To avoid a dense or dry cookie, remember to **spoon and level** your flour into the measuring cup. Never scoop directly from the bag, as this can pack in too much flour.
- Baking Powder & Baking Soda: These leavening agents work together to give your cookies their perfect lift and soft, slightly puffy texture. Baking soda reacts with the acidic brown sugar, while baking powder provides additional aeration.
- Salt: A pinch of salt is vital for balancing the sweetness of the cookies and enhancing all the other flavors, particularly the chocolate and mint. Don’t skip it!
- Green Food Coloring: For that iconic vibrant green hue! We recommend using **gel food coloring** as it provides a much more intense color with just a few drops, without adding excess liquid to your dough. This helps achieve a beautiful, consistent shade.
- Semi-Sweet Chocolate Chips: The perfect companion to the mint. Use a **good quality brand** of semi-sweet chocolate chips, as their flavor will truly shine through. They melt beautifully, creating pockets of rich chocolate throughout each cookie.
For the precise measurements and full instructions, refer to the complete recipe card located at the bottom of this page.
Delicious Variations to Try
While the classic Mint Chocolate Chip Cookie is perfect on its own, this recipe is incredibly versatile, allowing you to experiment with flavors and colors to suit any occasion or preference. Here are some exciting variations to inspire your baking creativity:
- Mint-Free Green Cookies: If you love the vibrant green color but aren’t a fan of mint, simply **omit the peppermint extract**. Replace it with an equal amount of **vanilla extract** to maintain a lovely aroma and flavor profile. These will be delicious vanilla-flavored green cookies, perfect for any celebration where color is key!
- Enhanced Chewiness with Extra Brown Sugar: For an even chewier cookie, you can adjust the sugar ratio. Substitute **½ cup of brown sugar** for ½ cup of the granulated white sugar. The added molasses in the brown sugar will increase moisture, resulting in a wonderfully soft and extra-chewy texture.
- Festive Color Swaps: The green color is iconic, but easily changed! Substitute **red food coloring** for the green to create beautiful cookies perfect for other holidays like Christmas (along with green ones, of course!) or Valentine’s Day. Imagine pink or red cookies with chocolate chips – a delightful twist!
- Mint Baking Chips for Intense Flavor: Instead of relying solely on extract, consider incorporating **mint baking chips**. You can use **½ cup of mint chips** alongside ½ cup of semi-sweet chocolate chips for a double dose of minty chocolate goodness. This adds another layer of texture and a more pronounced mint flavor.
- Elevate with Andes Mints: For a truly luxurious mint chocolate experience, chop up some **Andes mints** and fold them into the dough instead of, or in addition to, the semi-sweet chocolate chips. These melt into creamy pockets of minty chocolate bliss. You could also experiment with **white chocolate chips** for a milder, creamier chocolate contrast against the bold mint.
- Double Chocolate Mint Cookies: Transform these into rich, decadent **Chocolate Mint Chocolate Chip Cookies** by mixing in **cocoa powder** with your dry ingredients. This adds a deep chocolate base to the mint and chocolate chip combination, making them even more indulgent. Start with ¼ to ½ cup of unsweetened cocoa powder, adjusting to your desired chocolate intensity.
Step-by-Step: How to Make Mint Chocolate Chip Cookies
Baking these delightful Mint Chocolate Chip Cookies is a straightforward process, ensuring delicious results even for novice bakers. Follow these simple steps for perfect, chewy cookies every time.
- Step 1: Prepare Your Workspace. Begin by preheating your oven to 350°F (175°C). Line several baking sheets with parchment paper or silicone baking mats. This ensures even baking and prevents sticking, making cleanup a breeze.
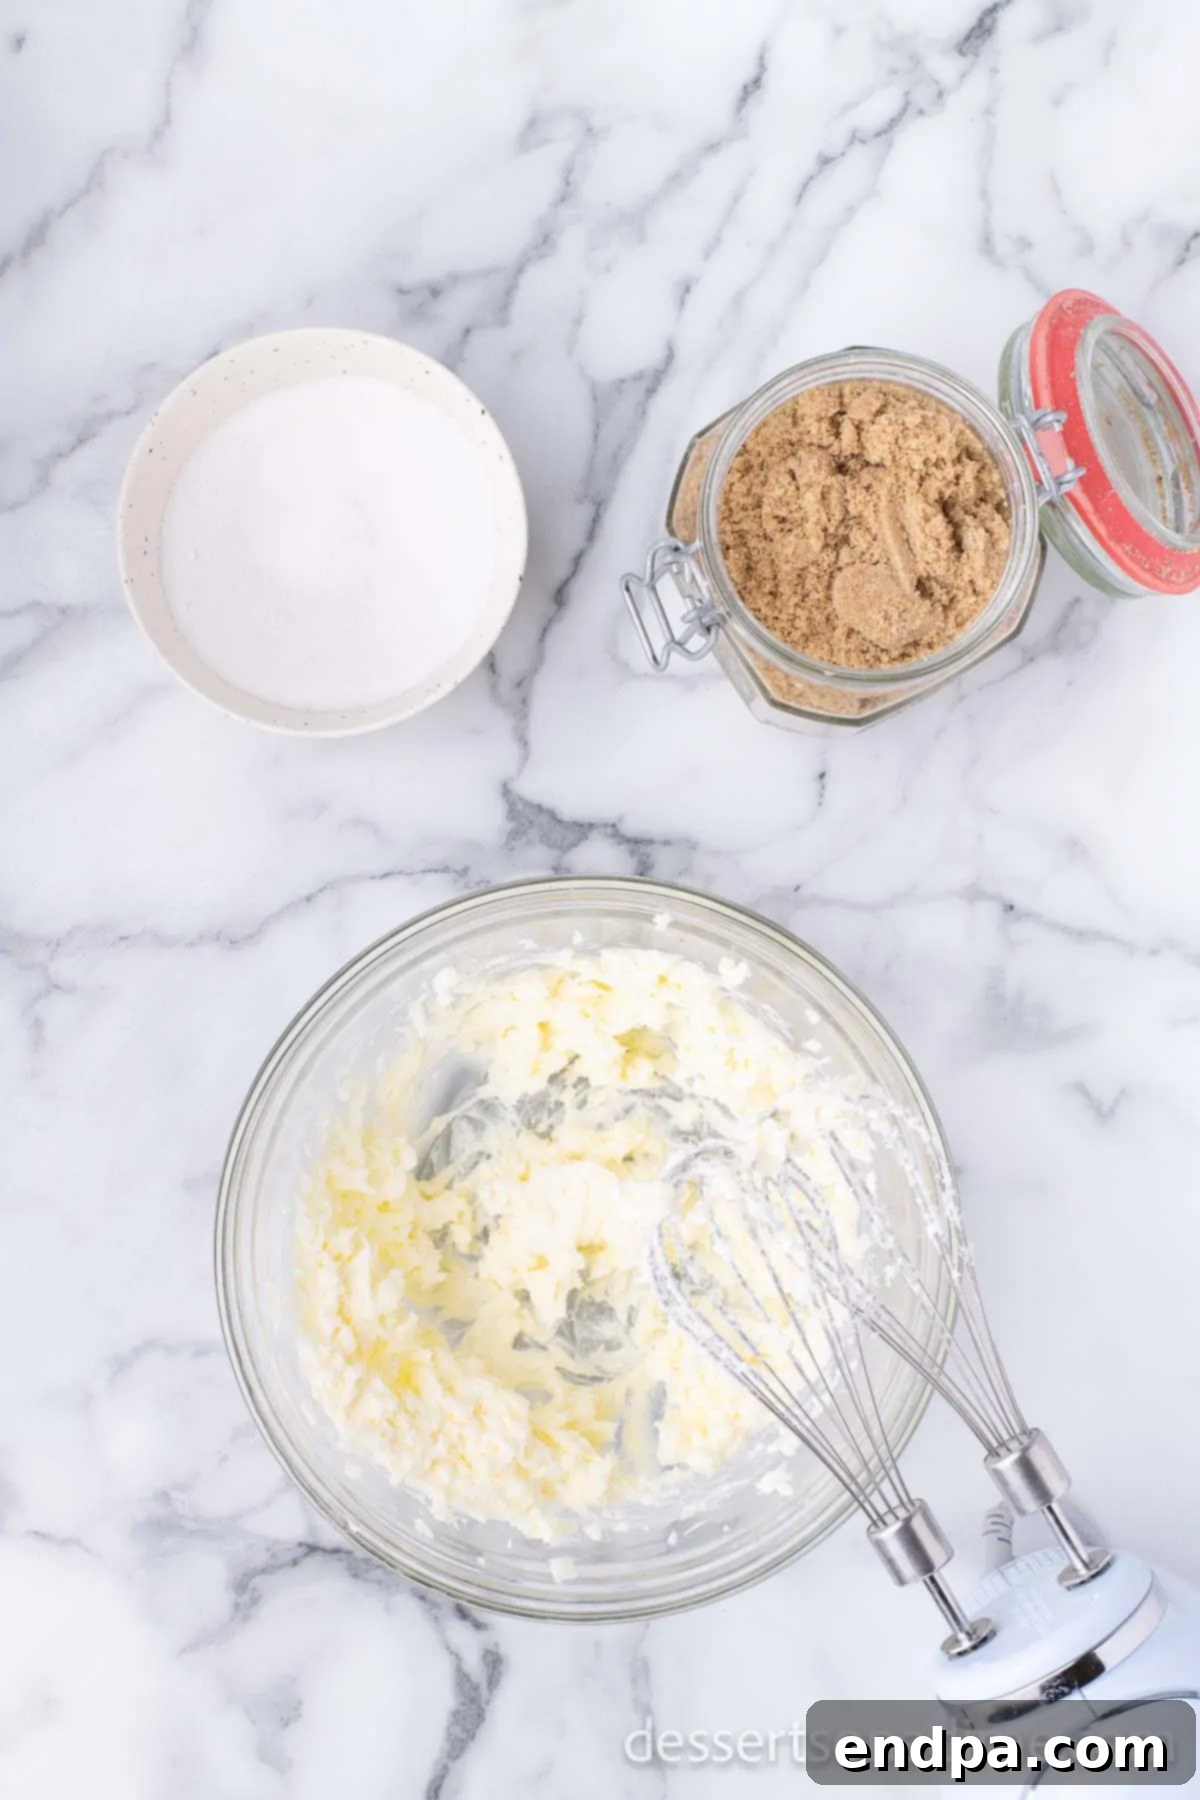
Step 2: Cream Butter and Sugars. In a large mixing bowl, combine the softened unsalted butter with both the granulated sugar and brown sugar. Using an electric mixer (either a stand mixer with the paddle attachment or a handheld mixer), cream the butter and sugars together on medium speed until the mixture is light, fluffy, and noticeably paler in color. This typically takes 2-3 minutes and is crucial for a tender cookie.
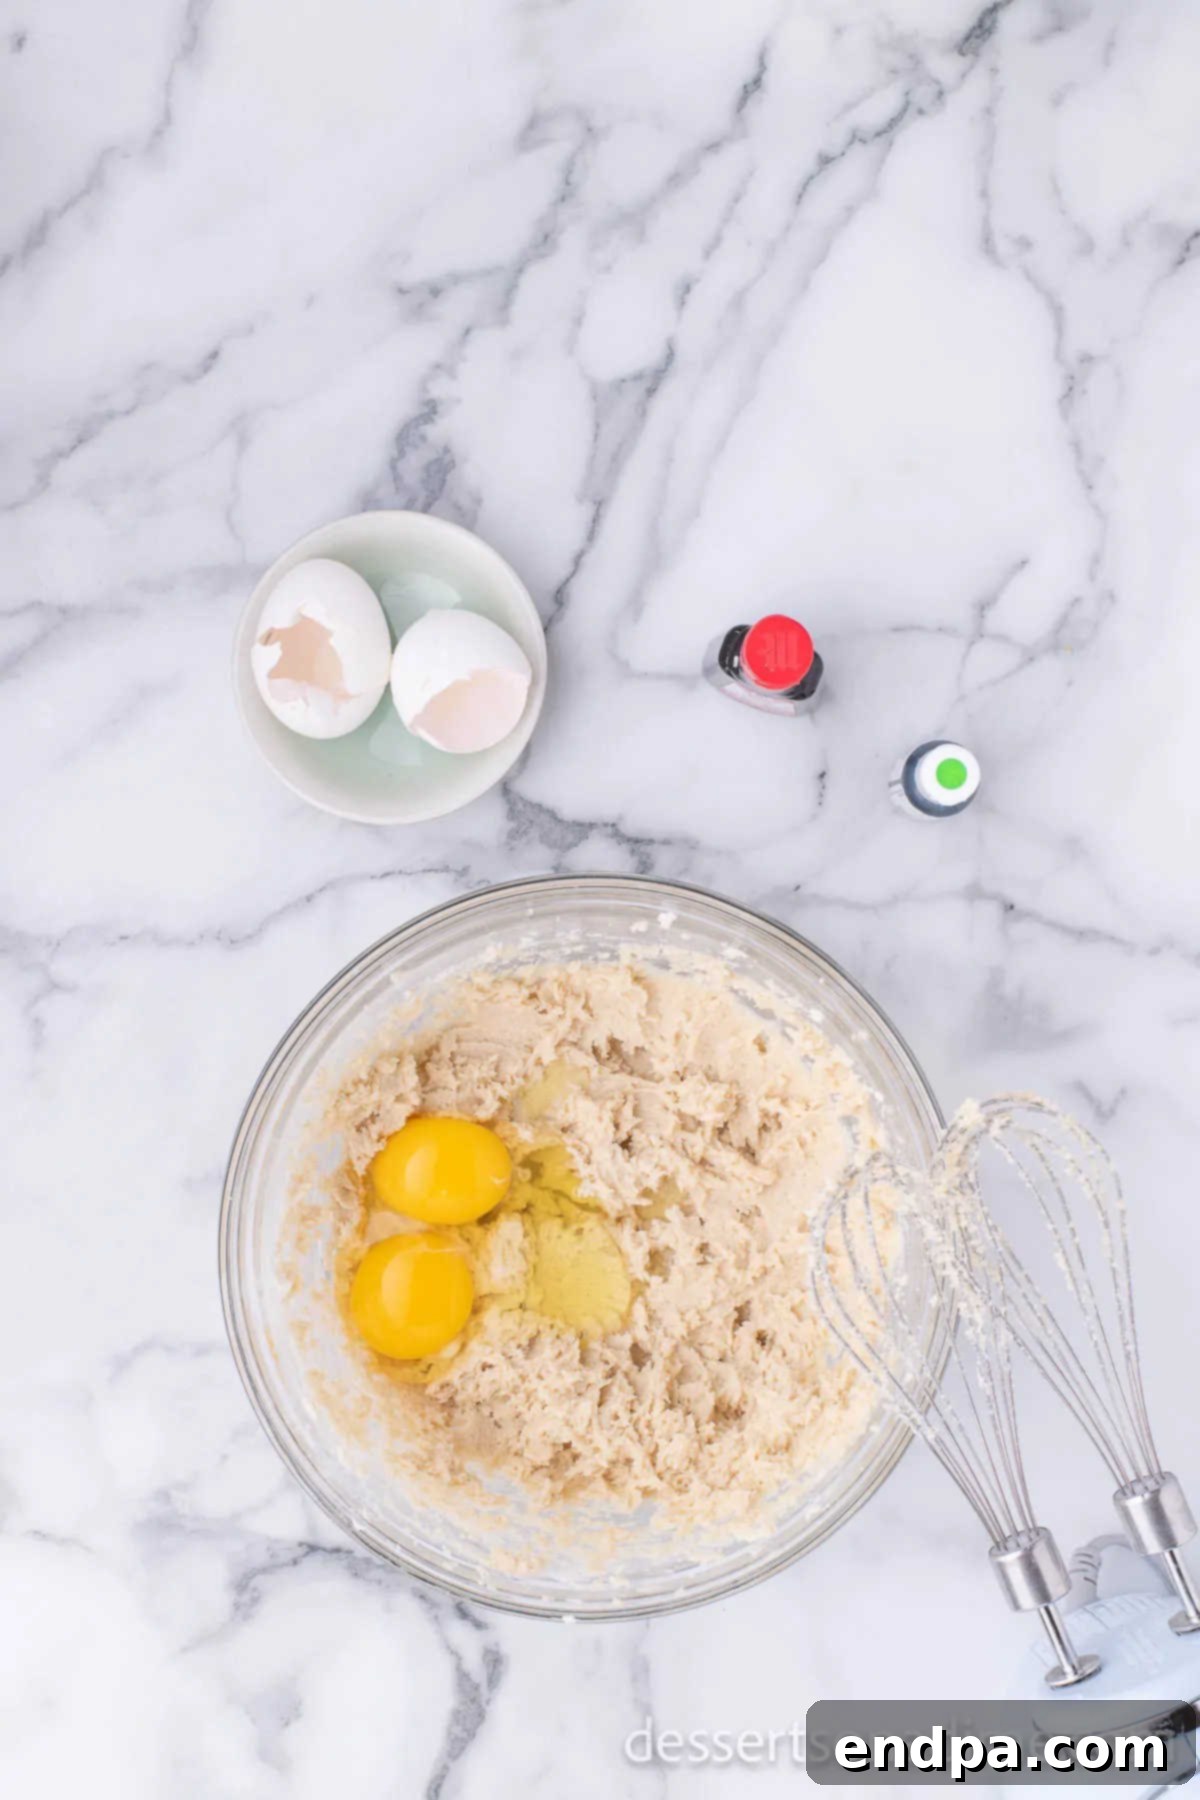
Step 3: Incorporate Eggs and Flavor. Next, add the large eggs, one at a time, beating well after each addition until fully incorporated. Scrape down the sides of the bowl as needed to ensure everything is evenly mixed. Continue beating for an additional minute or two until the mixture is truly light and fluffy, almost aerated.
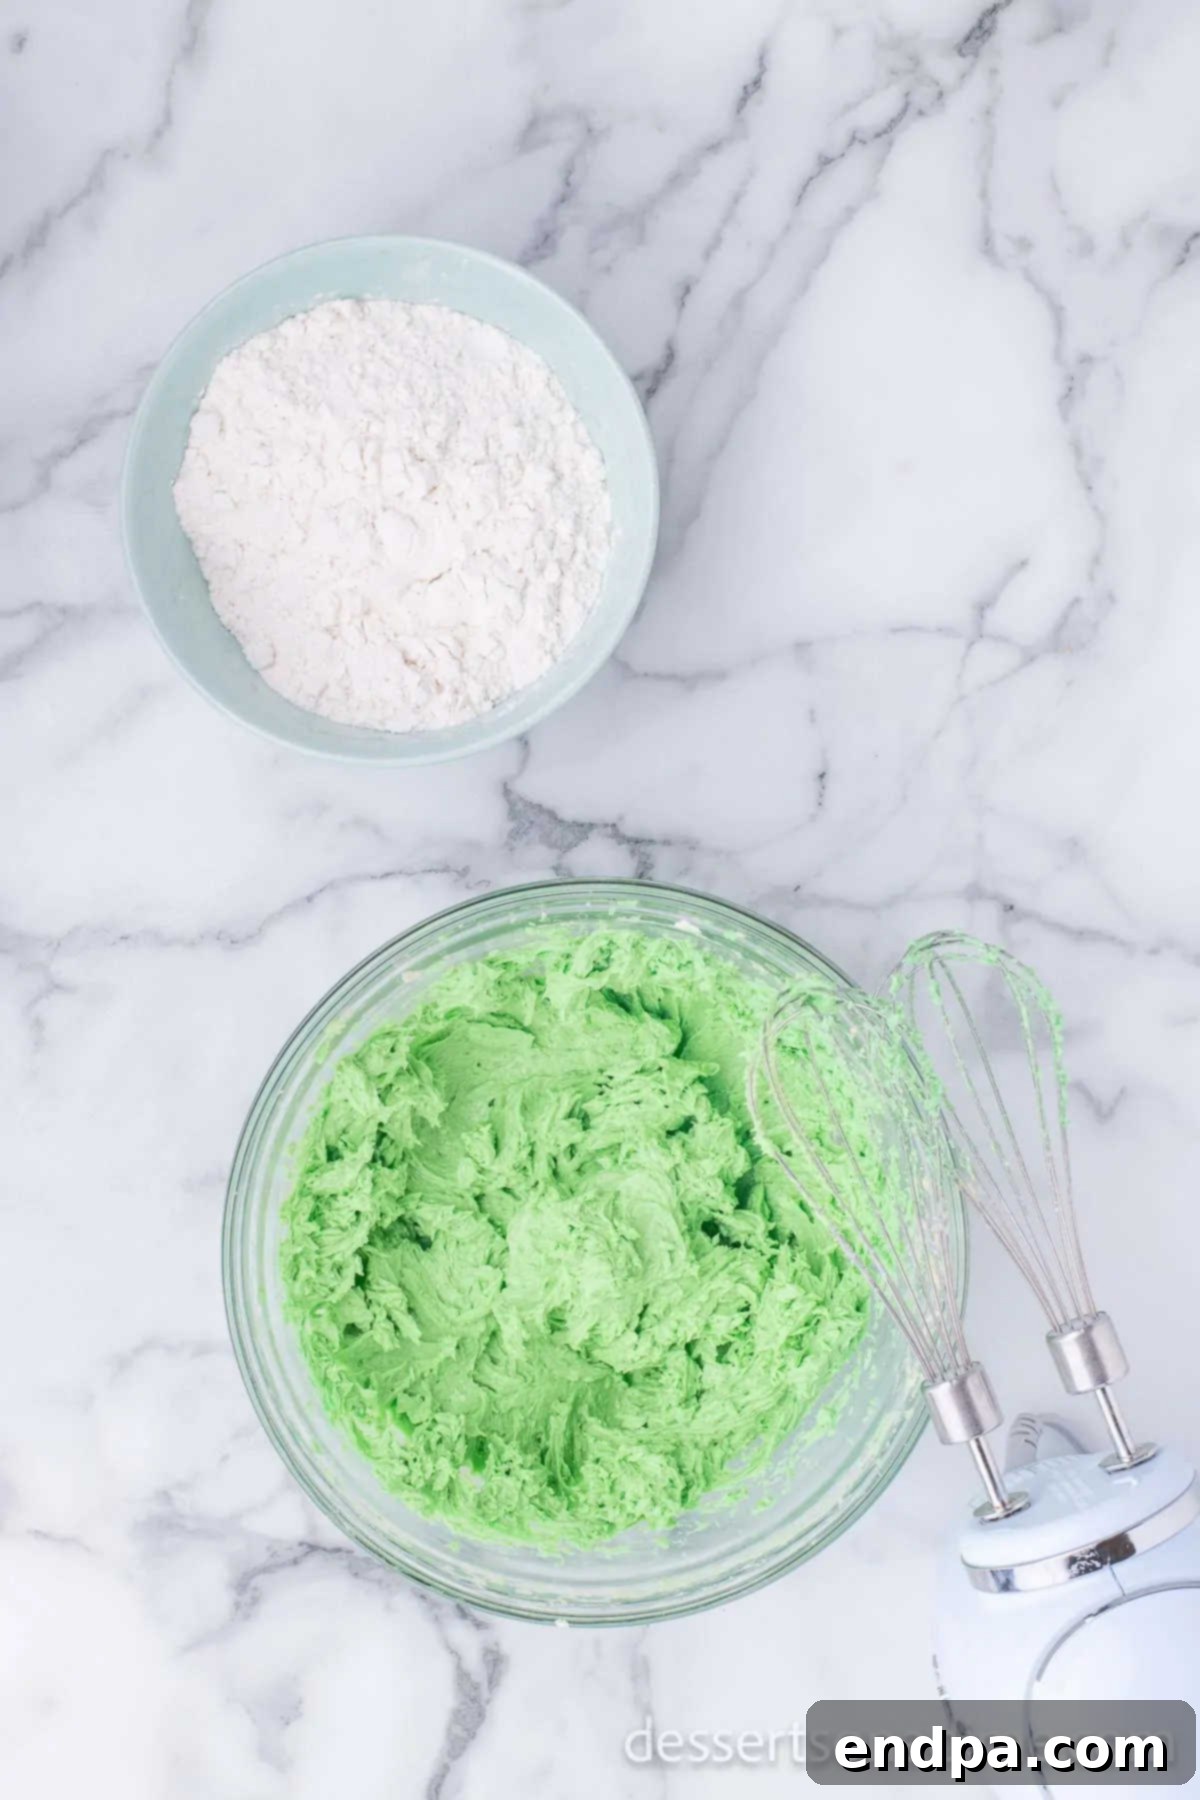
Step 4: Add Mint and Color. Now, it’s time for the signature flavor and color! Stir in the peppermint extract and then add the green gel food coloring. Start with two drops of gel food coloring, which is usually sufficient to achieve a beautiful, vibrant green shade. Continue mixing until the color is evenly distributed throughout the dough. If using liquid food coloring, you may need a bit more to reach your desired intensity.
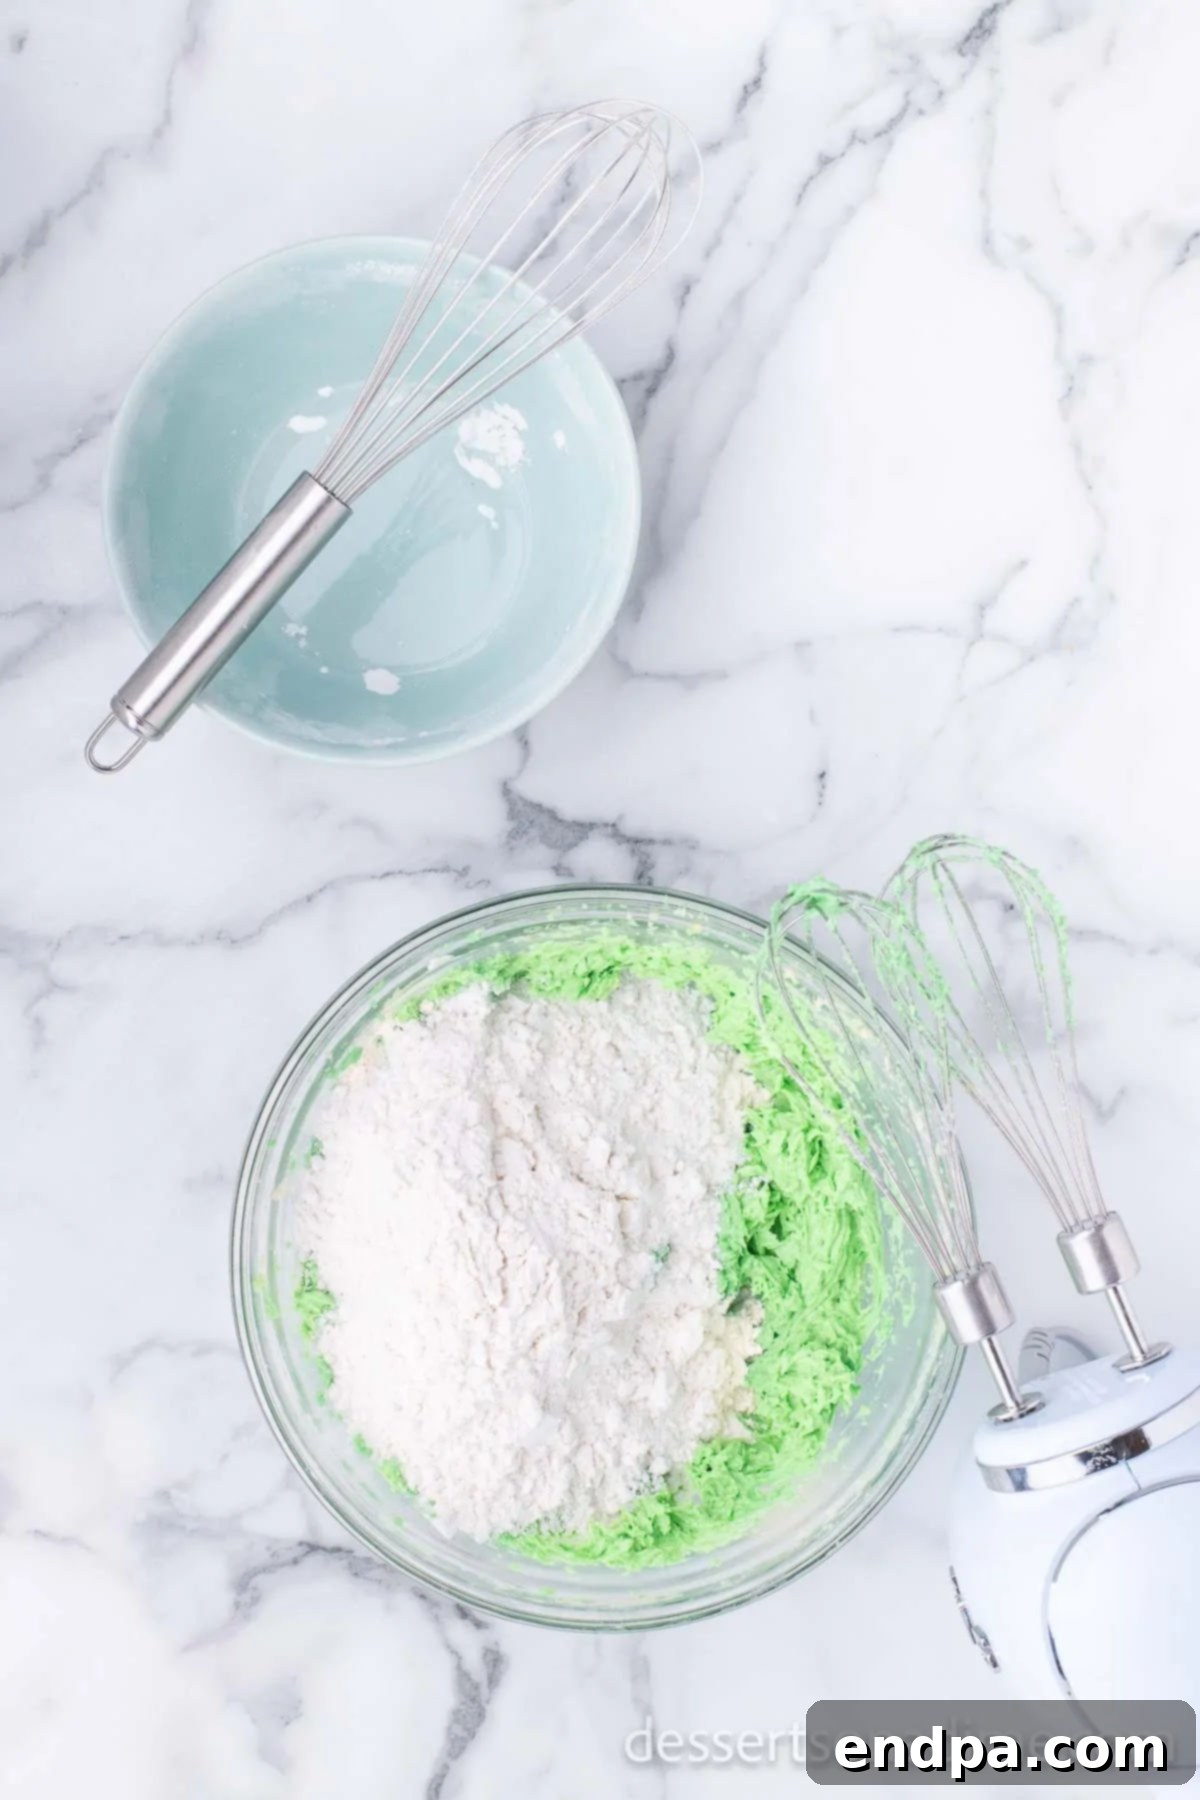
Step 5: Combine Dry Ingredients. In a separate medium bowl, whisk together the all-purpose flour, baking powder, baking soda, and salt. This ensures that the leavening agents and salt are evenly distributed. Gradually add this dry mixture to the wet ingredients in the large bowl, mixing on low speed until *just combined*. Be careful not to overmix, as this can lead to tough cookies.
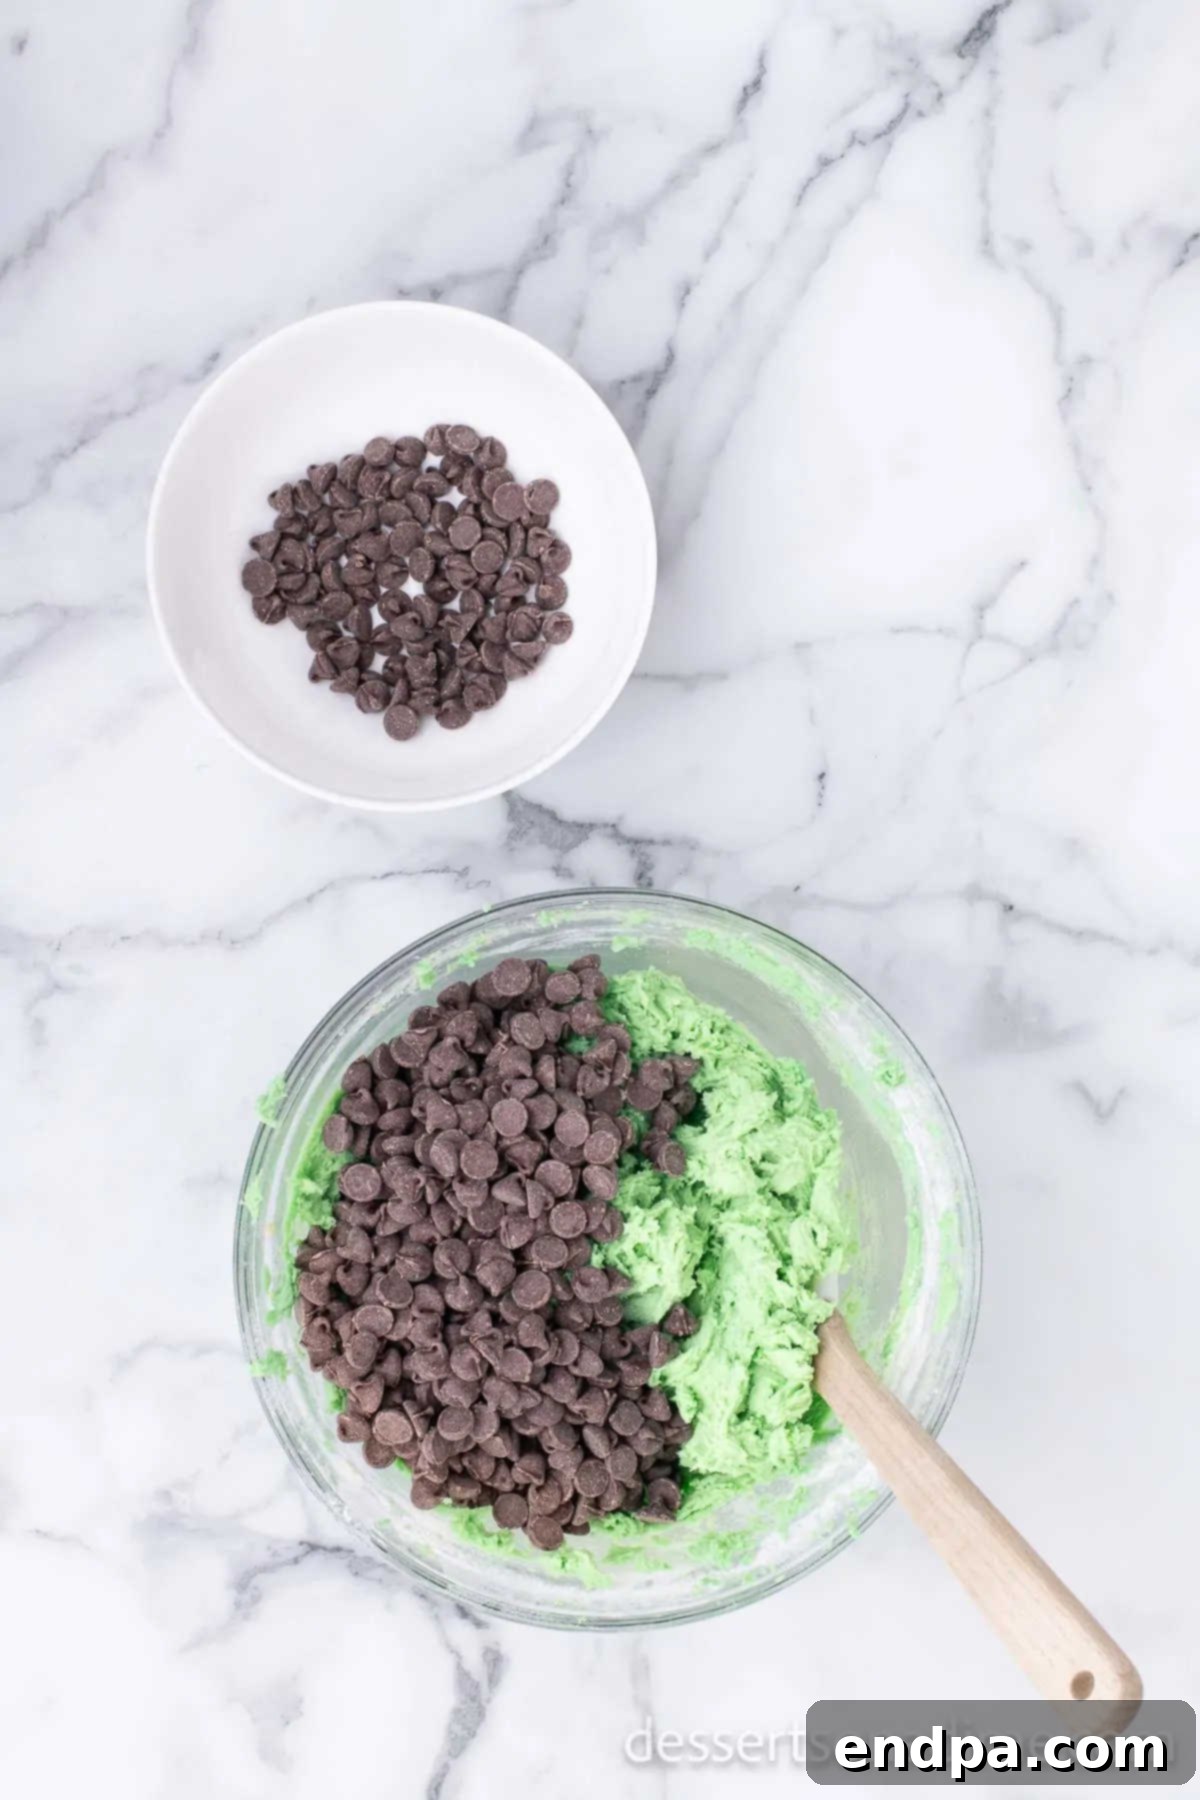
Step 6: Fold in Chocolate Chips. Gently fold in the semi-sweet chocolate chips (and any other baking chips or chopped Andes mints you’re using) by hand with a spatula. Mix until they are evenly distributed throughout the dough, again, being careful not to overmix.
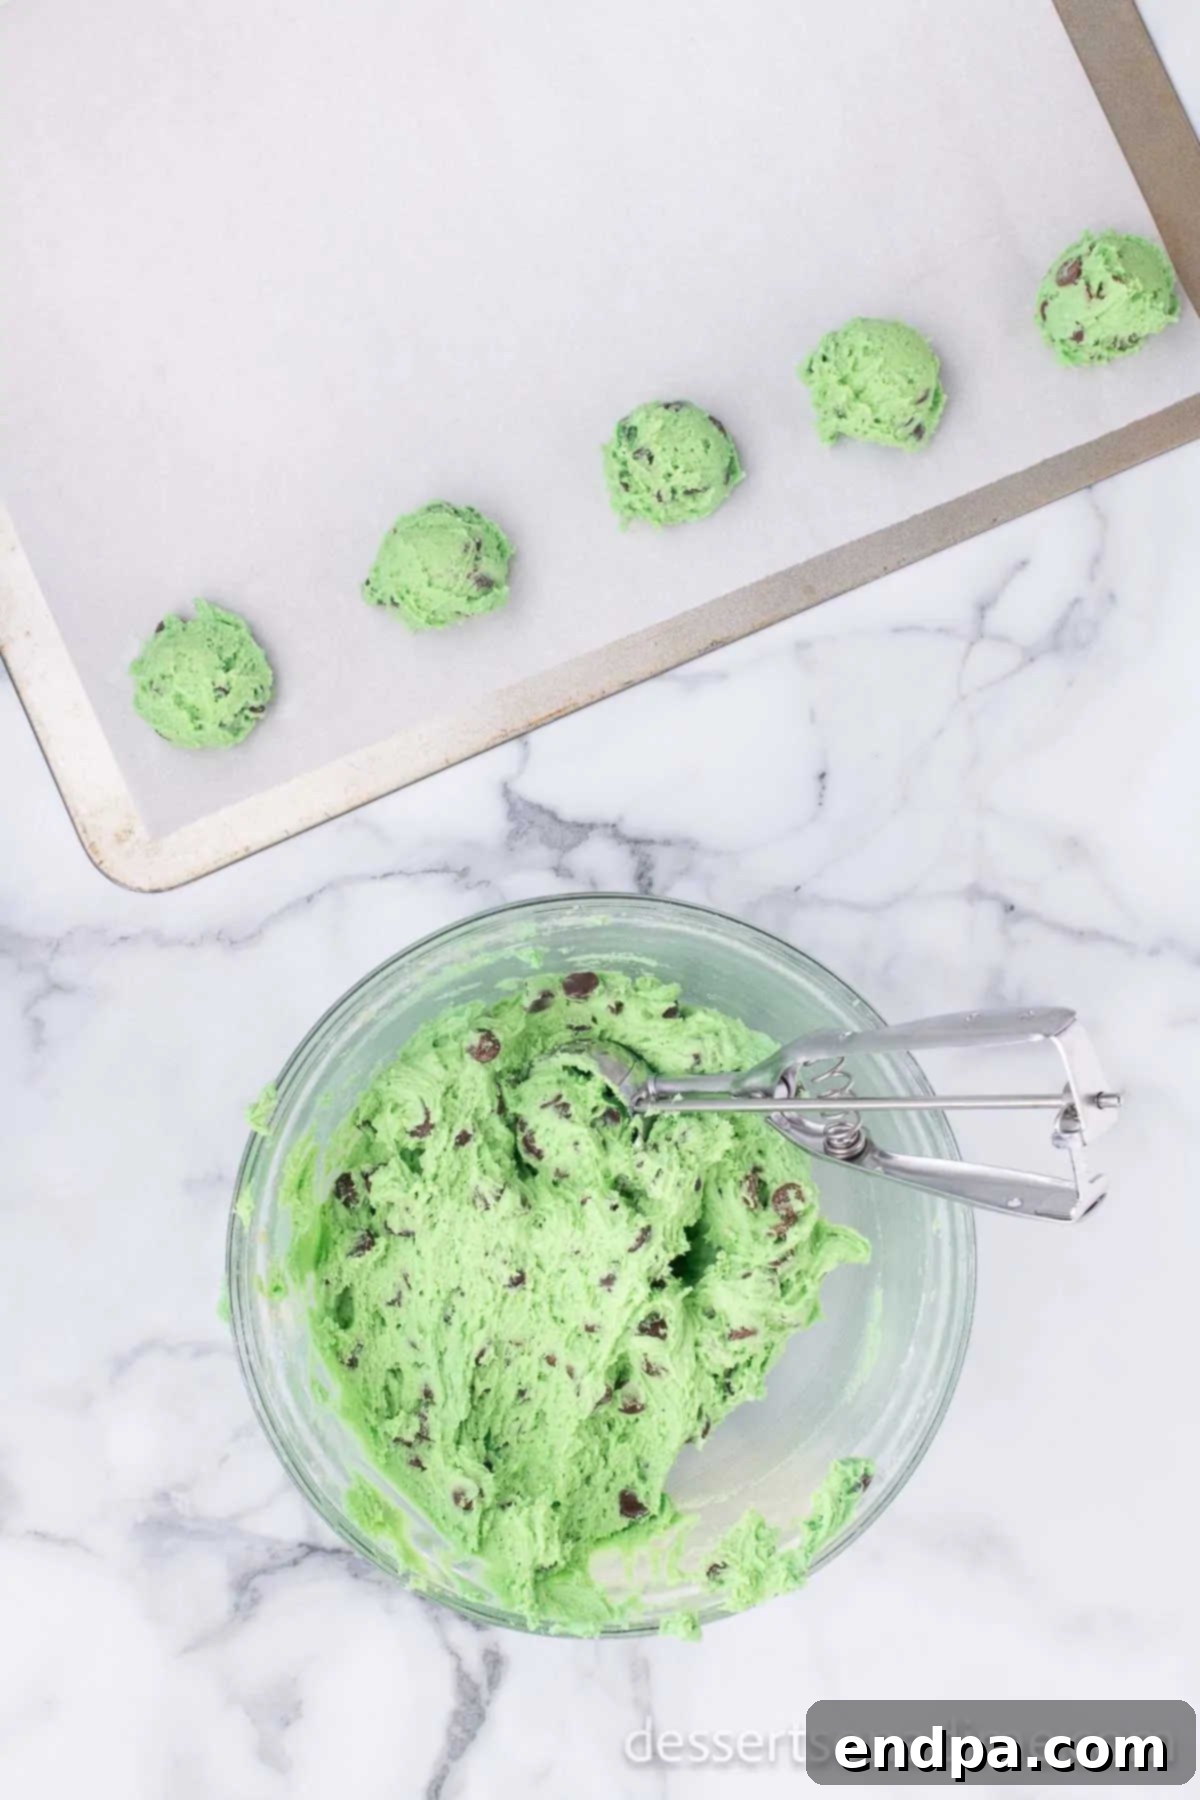
Step 7: Form Cookie Dough Balls. Using a cookie scoop (approximately 1.5-2 tablespoons per scoop), drop rounded balls of cookie dough onto the prepared baking sheets, leaving about 2 inches between each cookie. A cookie scoop is highly recommended for uniform cookies that bake evenly.
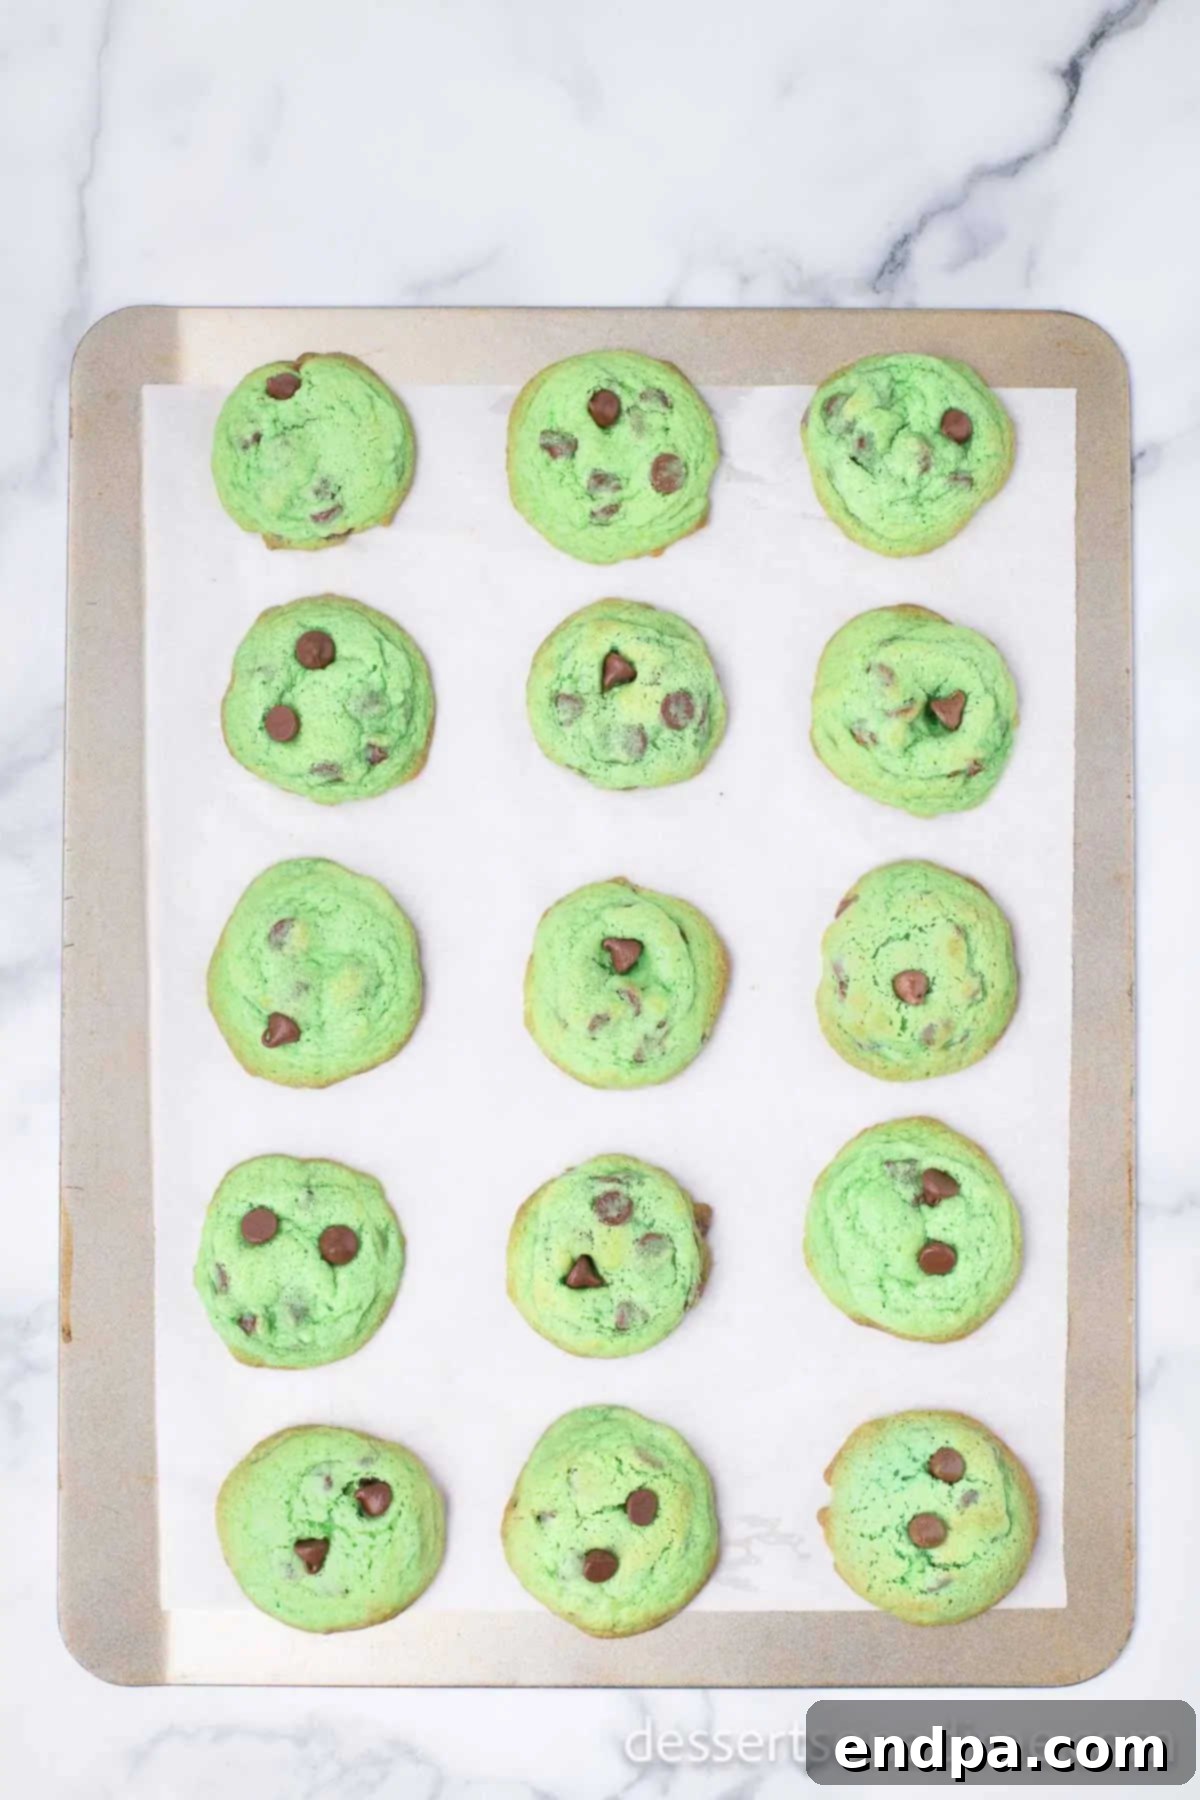
Step 8: Bake to Perfection. Bake the cookies in your preheated oven for 8 to 10 minutes. The edges should appear lightly golden brown, but the centers might still look a little soft. This is perfectly normal! They will continue to set as they cool.

Step 9: Cool and Enjoy. Once baked, allow the cookies to cool on the baking sheets for about 5 minutes. This allows them to firm up slightly before you move them. Then, carefully transfer them to a wire cooling rack to cool completely. Enjoy these refreshing treats warm or at room temperature!
Storage Tips for Freshness
To keep your Mint Chocolate Chip Cookies fresh and delicious for as long as possible, proper storage is key. Here’s how to ensure they retain their perfect texture and flavor:
- Room Temperature Storage: Once the cookies have completely cooled, place them in an airtight container. A cookie jar with a tight-fitting lid or a plastic food storage container works perfectly. Store them at room temperature on your counter or in your pantry. Properly stored, these cookies will remain wonderfully soft and flavorful for up to **one week**. Make sure the container is indeed airtight to prevent them from drying out.
- Freezing Baked Cookies: If you’ve baked a large batch or simply want to extend their shelf life, freezing is an excellent option. Arrange the completely cooled cookies in a single layer on a baking sheet and flash freeze for 1-2 hours until solid. This prevents them from sticking together. Then, transfer the frozen cookies to a freezer-safe bag or container. For best results, place parchment paper between layers of cookies to prevent freezer burn and make it easier to grab just a few at a time. They will stay fresh in the freezer for up to **3 months**. Thaw at room temperature or gently warm in the microwave for a fresh-from-the-oven experience.
- Freezing Cookie Dough: For ultimate convenience, you can also freeze the cookie dough before baking. Scoop the dough into balls as normal and place them on a parchment-lined baking sheet. Flash freeze them for 1-2 hours until solid. Once frozen, transfer the dough balls to a freezer-safe bag or container. When you’re ready for freshly baked cookies, simply place the frozen dough balls on a baking sheet and bake as usual. You may need to add an extra 2-4 minutes to the baking time, as they are going into the oven frozen. This method is perfect for having warm, homemade cookies whenever a craving strikes!
Frequently Asked Questions About Mint Chocolate Chip Cookies
When stored properly in an airtight container at room temperature, these delightful Mint Chocolate Chip Cookies will remain fresh and delicious for up to **one week**. If your family is anything like ours, they probably won’t last that long – they’re just too tasty! However, if you find yourself with leftovers beyond a week, or if you prefer to plan ahead, freezing the cookies is an excellent way to extend their shelf life significantly.
Absolutely! Both baked cookies and raw cookie dough freeze exceptionally well, offering fantastic flexibility for future enjoyment.
**For Baked Cookies:** Once your cookies are completely cool, place them in a freezer bag or an airtight freezer-safe container. To prevent them from sticking together, you might want to place a piece of parchment paper between layers. They can be stored in the freezer for up to **3 months**. To enjoy, simply thaw them at room temperature for an hour or so, or gently warm them in the microwave for a few seconds.
**For Cookie Dough:** This is a wonderful method for enjoying freshly baked cookies on demand. First, scoop the cookie dough into individual balls, just as you would for baking. Place these dough balls on a baking sheet lined with parchment paper, ensuring they don’t touch. Let the dough balls flash freeze for 1 to 2 hours. This step is crucial as it prevents them from sticking together once transferred to a larger container. After flash freezing, transfer them to a freezer-safe bag or container. When you’re ready to bake, simply place the frozen dough balls on a prepared baking sheet and bake as normal. Keep in mind that the cooking time may need to be increased by 2-4 minutes compared to baking from fresh dough.
Flat cookies can often be attributed to a few common issues. Ensure your butter is softened but not melted, as melted butter can lead to spreading. Also, make sure your baking soda and baking powder are fresh and active. Over-creaming the butter and sugar can incorporate too much air, causing cookies to collapse. Finally, if your oven isn temperature is too low, cookies may spread before they set. Using a cold baking sheet for each batch can also help prevent excessive spreading.
Yes, absolutely! While semi-sweet chocolate chips provide a classic balance, feel free to experiment. Dark chocolate chips will offer a more intense, slightly bitter contrast to the sweet mint, while milk chocolate chips will yield a creamier, sweeter result. You can also mix different types, or incorporate white chocolate chips or chopped Andes mints for varied flavor and texture.
Expert Tips for Perfect Mint Chocolate Chip Cookies
Achieving bakery-quality Mint Chocolate Chip Cookies is easier than you think with a few expert insights. These pro tips will help ensure your cookies are perfectly chewy, flavorful, and beautiful every single time:
- Choose Peppermint Extract Wisely: This is crucial for the signature mint flavor! **Always use peppermint extract, not general mint extract.** Mint extract, especially in baked goods, can sometimes have an unpleasant, artificial taste reminiscent of toothpaste. Peppermint extract provides a clean, vibrant, and refreshing mint flavor that is essential for these cookies to truly shine.
- Parchment Paper is Your Best Friend: For effortless baking and quick cleanup, **always line your baking sheets with parchment paper or silicone baking mats.** This not only prevents your cookies from sticking but also promotes even baking and keeps your pans spotless, which is particularly helpful if you’re baking multiple batches.
- Uniformity with a Cookie Scoop: To ensure all your cookies bake evenly and look consistently appealing, **invest in a good quality cookie scoop.** It makes portioning the dough incredibly fast and easy, creating perfectly rounded, uniform cookie dough balls. This uniformity is key to consistent baking times and perfect results across your entire batch.
- Measure Flour Precisely: Over-measuring flour is a common baking mistake that can lead to dry, dense cookies. To avoid this, **spoon your all-purpose flour into a measuring cup and then level it off with the back of a knife.** Never scoop directly from the bag, as this compacts the flour and results in using more than the recipe calls for.
- Chill Sticky Dough: If your cookie dough feels overly sticky or is difficult to handle and scoop, don’t fret! Simply **place the mixing bowl with the dough into the refrigerator for 15-30 minutes.** A slight chill will firm up the butter and make the dough much easier to work with, leading to better-shaped cookies.
- Don’t Overbake for Softness: This is perhaps the most important tip for soft, chewy cookies. **Resist the urge to overbake!** Cookies will continue to cook and firm up slightly as they cool outside the oven. When you remove them, they should look set around the edges but may still appear a little soft or slightly underdone in the very center. Trust the process – this is how you achieve that perfect chewy interior.
- Room Temperature Ingredients: Beyond just butter and eggs, having all your cold ingredients (like milk, if used in other recipes) at room temperature helps them emulsify better with other ingredients, creating a smoother, more uniform batter. This leads to a superior texture in your finished cookies.
More Irresistible Mint Desserts
If you’ve fallen in love with the refreshing flavor of mint in these cookies, you’re in for a treat! There’s a whole world of delicious mint-infused desserts to explore. Here are some of our other favorite minty creations that you’re sure to enjoy:
- Andes Mint Cookies Recipe: Dive deeper into the world of Andes mints with these dedicated cookies, featuring the beloved chocolate-mint candy in every bite.
- Homemade Mint Chocolate Chip Ice Cream: Cool down with a classic! This recipe brings the iconic ice cream flavor to your kitchen, with creamy mint and flecks of rich chocolate.
- Thin Mint Cupcakes Recipe: Turn your favorite Girl Scout cookie into a delightful cupcake! These feature a moist chocolate cupcake base topped with a luscious mint frosting.
- Grasshopper Pie: A light, airy, and incredibly refreshing no-bake pie with a creamy mint filling and a chocolate cookie crust. It’s a retro classic for a reason!
- Mint Chocolate Brownies: Indulge in rich, fudgy brownies topped with a layer of cool mint frosting and a decadent chocolate ganache. A triple threat of flavor!
Now it’s your turn to create magic in your kitchen with this incredible Mint Chocolate Chip Cookies Recipe. We can’t wait to hear how much you love them!
Pin
Mint Chocolate Chip Cookies
10
10
5
25
32
American
Dessert
174
Carrie Barnard
Ingredients
- 1 cup unsalted butter softened at room temperature
- 1/2 cup granulated sugar
- 1/2 cup brown sugar
- 2 Large Eggs room temperature
- 1/2 teaspoon Peppermint Extract
- 2 1/4 cups All Purpose Flour
- 2 teaspoons baking powder
- 1/2 teaspoon Baking Soda
- 1/2 teaspoon Salt
- Gel Green Food Coloring
- 12 ounces Semi-Sweet Chocolate Chips
Instructions
- Preheat the oven to 350 degrees Fahrenheit (175°C). Line baking sheets with parchment paper.
- In a large mixing bowl, beat together the softened butter, granulated sugar, and brown sugar with an electric mixer until the mixture is light, fluffy, and pale in color (about 2-3 minutes).
- Beat in the large eggs one at a time, ensuring each is fully incorporated before adding the next. Continue beating until the mixture is light and aerated (about 2 minutes).
- Add the peppermint extract and green gel food coloring. Mix until the color is evenly incorporated throughout the dough. (Two drops of gel food coloring should be plenty for a nice green shade; use slightly more if using regular liquid food coloring to achieve desired vibrancy).
- In a separate bowl, whisk together the all-purpose flour, baking powder, baking soda, and salt.
- Gradually add the dry ingredients to the wet ingredients, mixing on low speed until just combined. Be careful not to overmix the dough. Gently stir in the semi-sweet chocolate chips by hand.
- Drop rounded scoops of cookie dough onto the parchment-lined baking sheets, leaving about 2 inches between each cookie.
- Bake for 8-10 minutes, or until the edges are lightly golden and the centers are set but still look slightly soft.
- Allow the cookies to cool on the baking sheets for 5 minutes before transferring them to a wire rack to cool completely.
- Serve and enjoy your delicious Mint Chocolate Chip Cookies!
Nutrition Facts
Calories
174kcal
,
Carbohydrates
19g
,
Protein
2g
,
Fat
10g
,
Saturated Fat
6g
,
Polyunsaturated Fat
0.4g
,
Monounsaturated Fat
3g
,
Trans Fat
0.2g
,
Cholesterol
26mg
,
Sodium
87mg
,
Potassium
80mg
,
Fiber
1g
,
Sugar
10g
,
Vitamin A
198IU
,
Calcium
29mg
,
Iron
1mg
Pin This Now to Remember It Later
Pin Recipe
