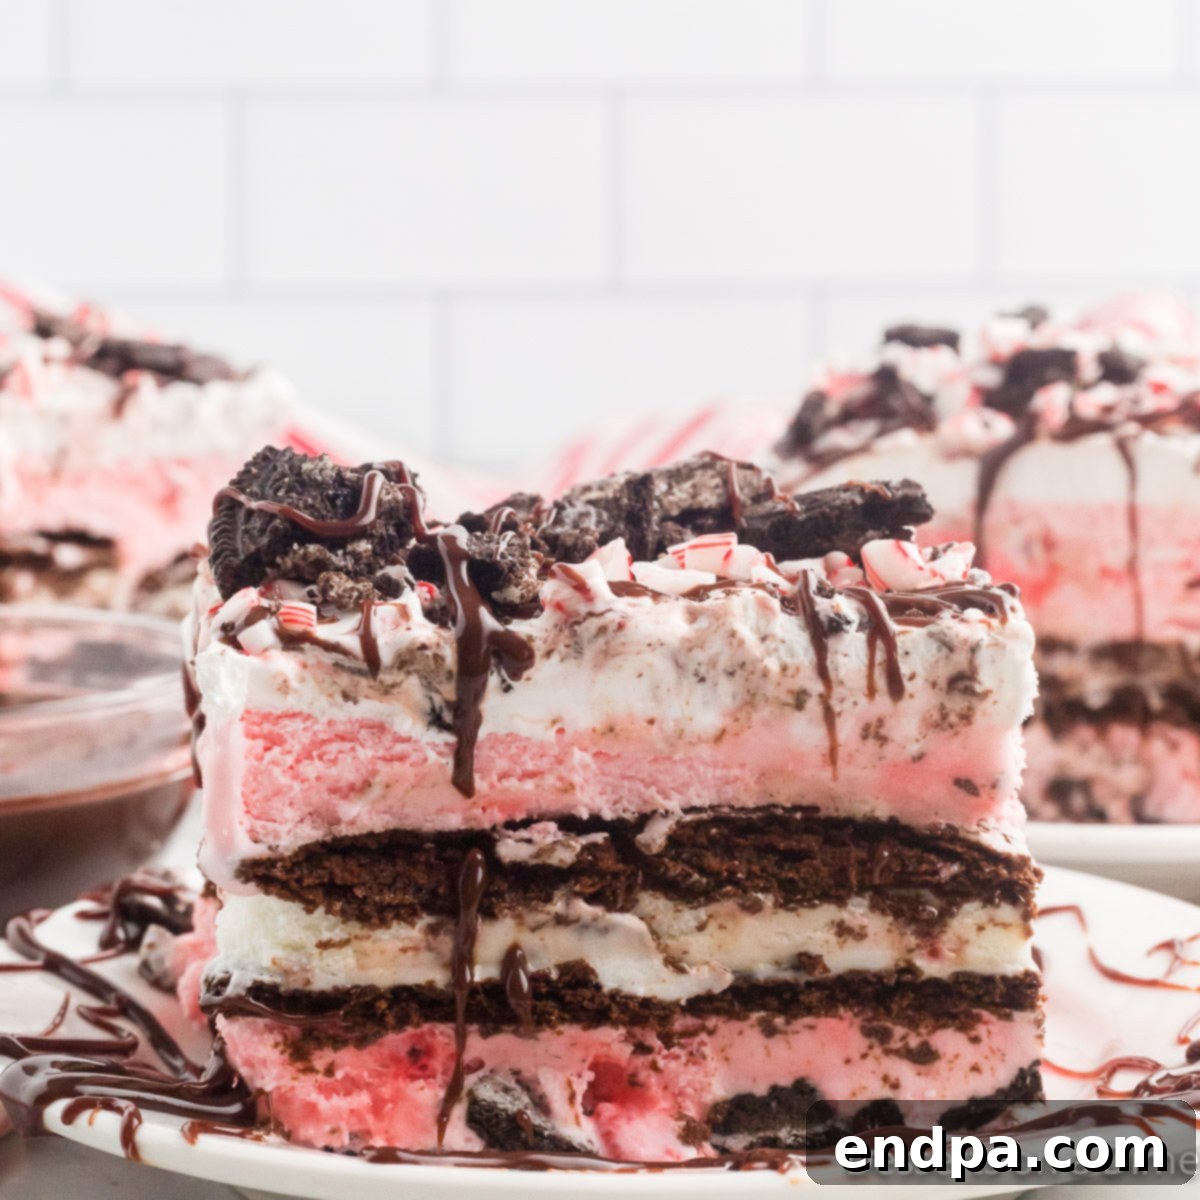
The Ultimate Christmas Ice Cream Cake: A Festive No-Bake Holiday Delight
The holiday season is a magical time, filled with warmth, cheer, and, of course, incredible desserts. While traditional treats have their charm, why not surprise your loved ones with something truly spectacular this year? Our Christmas Ice Cream Cake is a dazzling, no-bake masterpiece that combines layers of rich, creamy ice cream, satisfying crunch, and festive flavors into one show-stopping creation. Forget the stress of baking; this recipe is designed for ease and maximum holiday impact, making it the perfect centerpiece for your Christmas dinner, festive parties, or simply a joyful family treat.
Imagine a dessert that captures the very essence of Christmas in every delightful bite. This easy-to-make ice cream cake features the vibrant taste of peppermint, beautifully complemented by the classic crunch of Oreo cookies. From its visually appealing layers to its irresistible blend of textures and tastes, this peppermint ice cream cake recipe is guaranteed to be a hit. If you’re a fan of festive treats like Peppermint Oreo Balls or a classic Chocolate Peppermint Bark, you’re going to adore this indulgent holiday dessert.
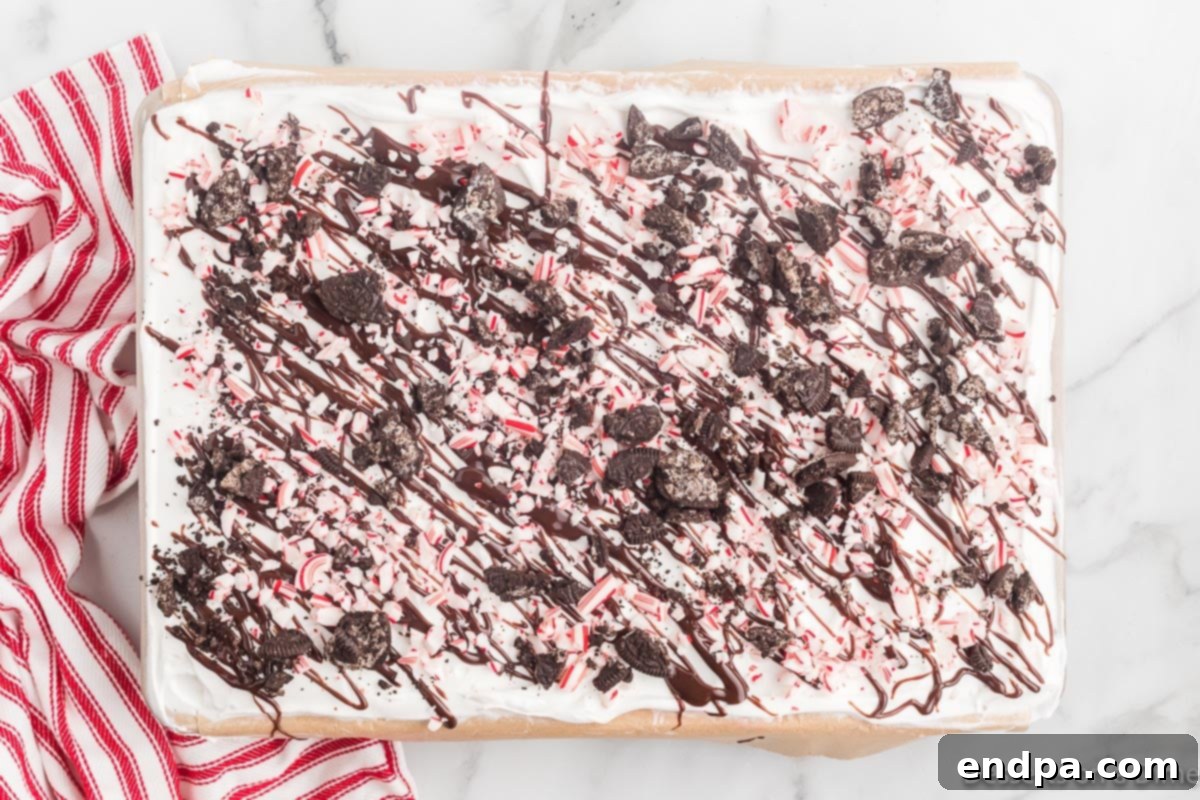
What’s Inside This Guide: Your Christmas Ice Cream Cake Journey
- Why You’ll Adore This Recipe
- Gather Your Essential Ingredients
- Creative Variations & Delicious Additions
- Step-by-Step Assembly Guide
- Expert Pro Tips for Success
- Frequently Asked Questions
- More Festive Peppermint Desserts
- Complete Christmas Ice Cream Cake Recipe
Why You’ll Adore This Christmas Ice Cream Cake
This Christmas Ice Cream Cake isn’t just a dessert; it’s an experience. Here’s why it’s destined to become your new favorite holiday tradition:
- A Dazzling Holiday Centerpiece: With its vibrant layers and festive toppings, this ice cream cake is visually stunning. It effortlessly captures the holiday spirit, making it an impressive centerpiece that will earn compliments from every guest. It’s the kind of dessert that looks like it took hours of effort, but is surprisingly simple to assemble!
- Unforgettable Creamy & Decadent Flavor: Indulge in the luxurious combination of rich, smooth ice cream paired with soft, cake-like layers. Every spoonful offers a delightful contrast of textures and a burst of refreshing peppermint, all harmonizing to create an incredibly satisfying and truly decadent dessert experience.
- Effortlessly Easy & No-Bake: Ditch the oven and the stress! This recipe is entirely no-bake, meaning less time slaving in the kitchen and more time enjoying the festivities. Its simple assembly process ensures that even novice bakers can create a professional-looking dessert with minimal fuss.
- Perfect for Any Holiday Gathering: Whether you’re hosting an intimate family dinner, a lively holiday party, or contributing to a potluck, this ice cream cake scales beautifully. It’s a crowd-pleaser that stays perfectly chilled, making it ideal for larger celebrations.
- Infinitely Customizable to Your Taste: While we adore the peppermint and Oreo combination, this recipe is a canvas for your creativity. Easily swap out ice cream flavors, experiment with different cookie bases, or go wild with various toppings and decorations to perfectly match your holiday theme or personal preferences.
Gather Your Essential Ingredients
Crafting this delightful Christmas Ice Cream Cake requires just a few simple, readily available ingredients. Opt for quality components to ensure the best flavor and texture for your holiday treat.
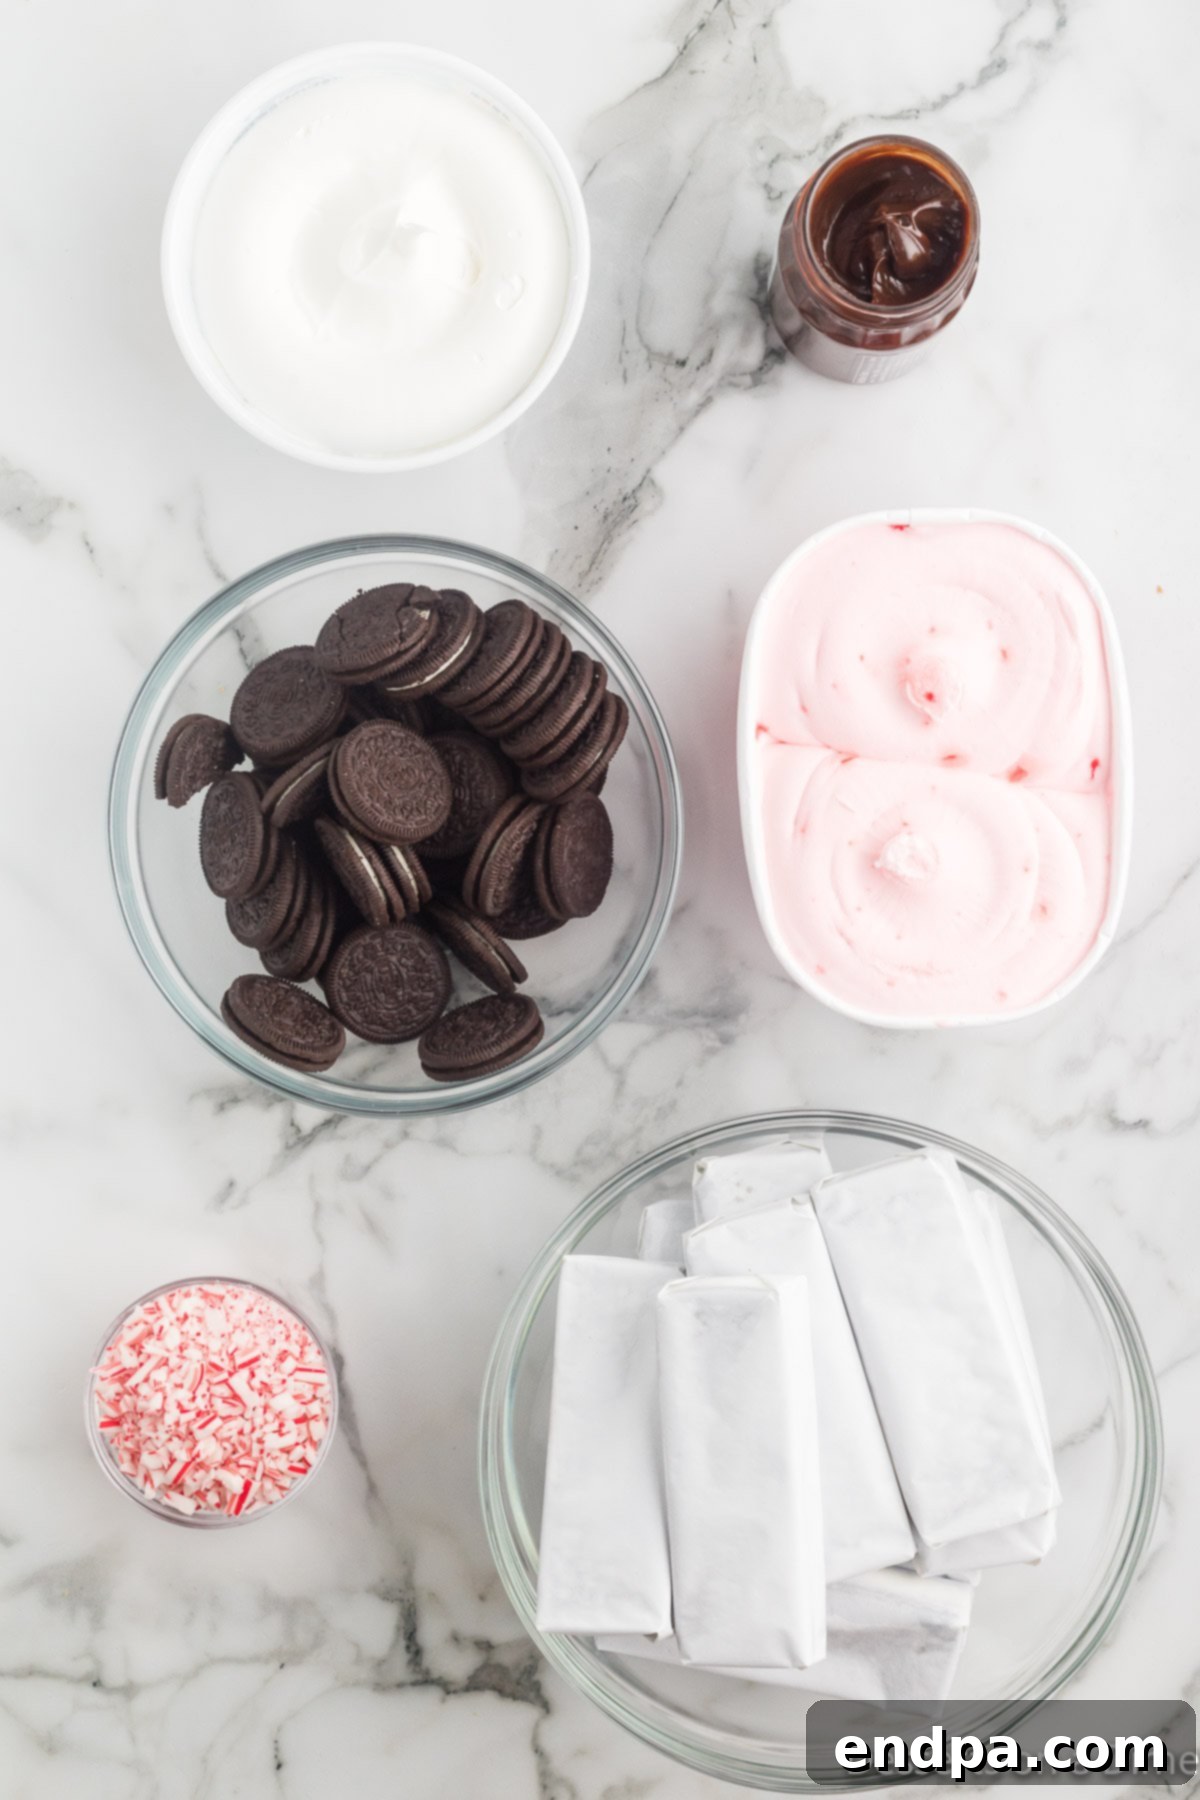
- Oreo Cookies: We recommend using classic regular Oreo cookies. Their crisp texture and iconic chocolate flavor provide a perfect contrast to the creamy ice cream. Avoid double-stuffed varieties as they can be too soft and sweet for the base.
- Peppermint Ice Cream: The star of our show! Any brand of your favorite peppermint ice cream will work wonders. Ensure it’s slightly softened before use for easier spreading and a perfectly smooth layer. The festive pink hue often found in peppermint ice cream adds to the holiday charm.
- Ice Cream Sandwiches: These are the secret to the cake’s delightful layered structure and add an extra touch of cake-like softness. They provide a convenient and delicious middle layer, making assembly a breeze.
- Whipped Cream or Whipped Topping: Whether you prefer homemade whipped cream for its fresh taste or the convenience of store-bought whipped topping (like Cool Whip), this provides a light, airy finish to your cake.
- Hot Fudge Topping: A generous drizzle of rich hot fudge sauce elevates the decadence of this dessert. Our Hot Fudge Sauce Recipe is a fantastic choice if you want to make it from scratch.
- Candy Canes: Crushed candy canes are essential for that classic festive look and a wonderful minty crunch on top. They add a vibrant red and white sparkle.
For the complete, precise measurements and detailed instructions, be sure to scroll down to our full recipe card at the bottom of this post.
Creative Variations & Delicious Additions
One of the best things about this Christmas Ice Cream Cake is how adaptable it is! Feel free to get creative and customize it to suit your family’s preferences or your holiday theme. Here are some ideas to inspire you:
- Explore Different Ice Cream Flavors: While peppermint is wonderfully festive, don’t hesitate to swap it for other delicious options. Consider mint chocolate chip for a double dose of mint, classic vanilla ice cream, rich chocolate, or even seasonal flavors like gingerbread or eggnog. You can also layer two different ice cream flavors for an even more dynamic taste and visual appeal.
- Homemade Peppermint Ice Cream: If you enjoy making things from scratch, a homemade peppermint ice cream recipe can add an extra special touch. It allows you to control the intensity of the mint flavor and the quality of ingredients.
- Alternative Cookie Bases: Instead of Oreos, try crushed shortbread cookies for a buttery base, gingerbread snaps for a spicy kick, or chocolate wafer cookies for a deeper chocolate flavor. You could even use a layer of brownies or a thin sheet of sponge cake!
- Festive Sprinkles & Edible Glitter: Add a burst of color and sparkle with Christmas-themed sprinkles, edible glitter, or even silver and gold dragees. These instantly elevate the cake’s holiday aesthetic.
- Additional Candy & Toppings: Beyond candy canes, consider other crushed candies like peppermint M&Ms, chocolate-covered pretzels for a salty-sweet crunch, or even mini chocolate chips.
- Fresh Fruit for a Lighter Touch: If you prefer a fresher element, top the cake with vibrant fresh berries like raspberries, strawberries, or pomegranate seeds. The tartness can beautifully cut through the richness of the ice cream.
- Elevate with Chocolate Goodness: For true chocolate lovers, go all out! Drizzle with extra Hot Fudge Sauce, a luscious Homemade Caramel Sauce, or sprinkle with chocolate shavings or mini chocolate curls. A layer of chocolate ganache before freezing can also be incredibly decadent.
- Nutty Additions: Toasted chopped pecans, walnuts, or almonds can add a wonderful textural contrast and nutty flavor profile.
- Cream Cheese Frosting Layer: For an extra rich and tangy layer, consider a thin spread of cream cheese frosting over the ice cream sandwiches before the final ice cream layer. This works exceptionally well with red velvet or gingerbread flavored ice cream.
Step-by-Step Assembly Guide
Creating this festive Christmas Ice Cream Cake is a straightforward process. Follow these simple steps for a perfect, layered dessert every time:
- Step 1: Prepare Your Pan. Start by lining a standard 9×13-inch baking pan with parchment paper or wax paper. Make sure the paper extends over the edges of the pan on two sides. This overhang will act as convenient “handles” later, making it incredibly easy to lift the entire frozen cake out of the pan for neat slicing and serving.
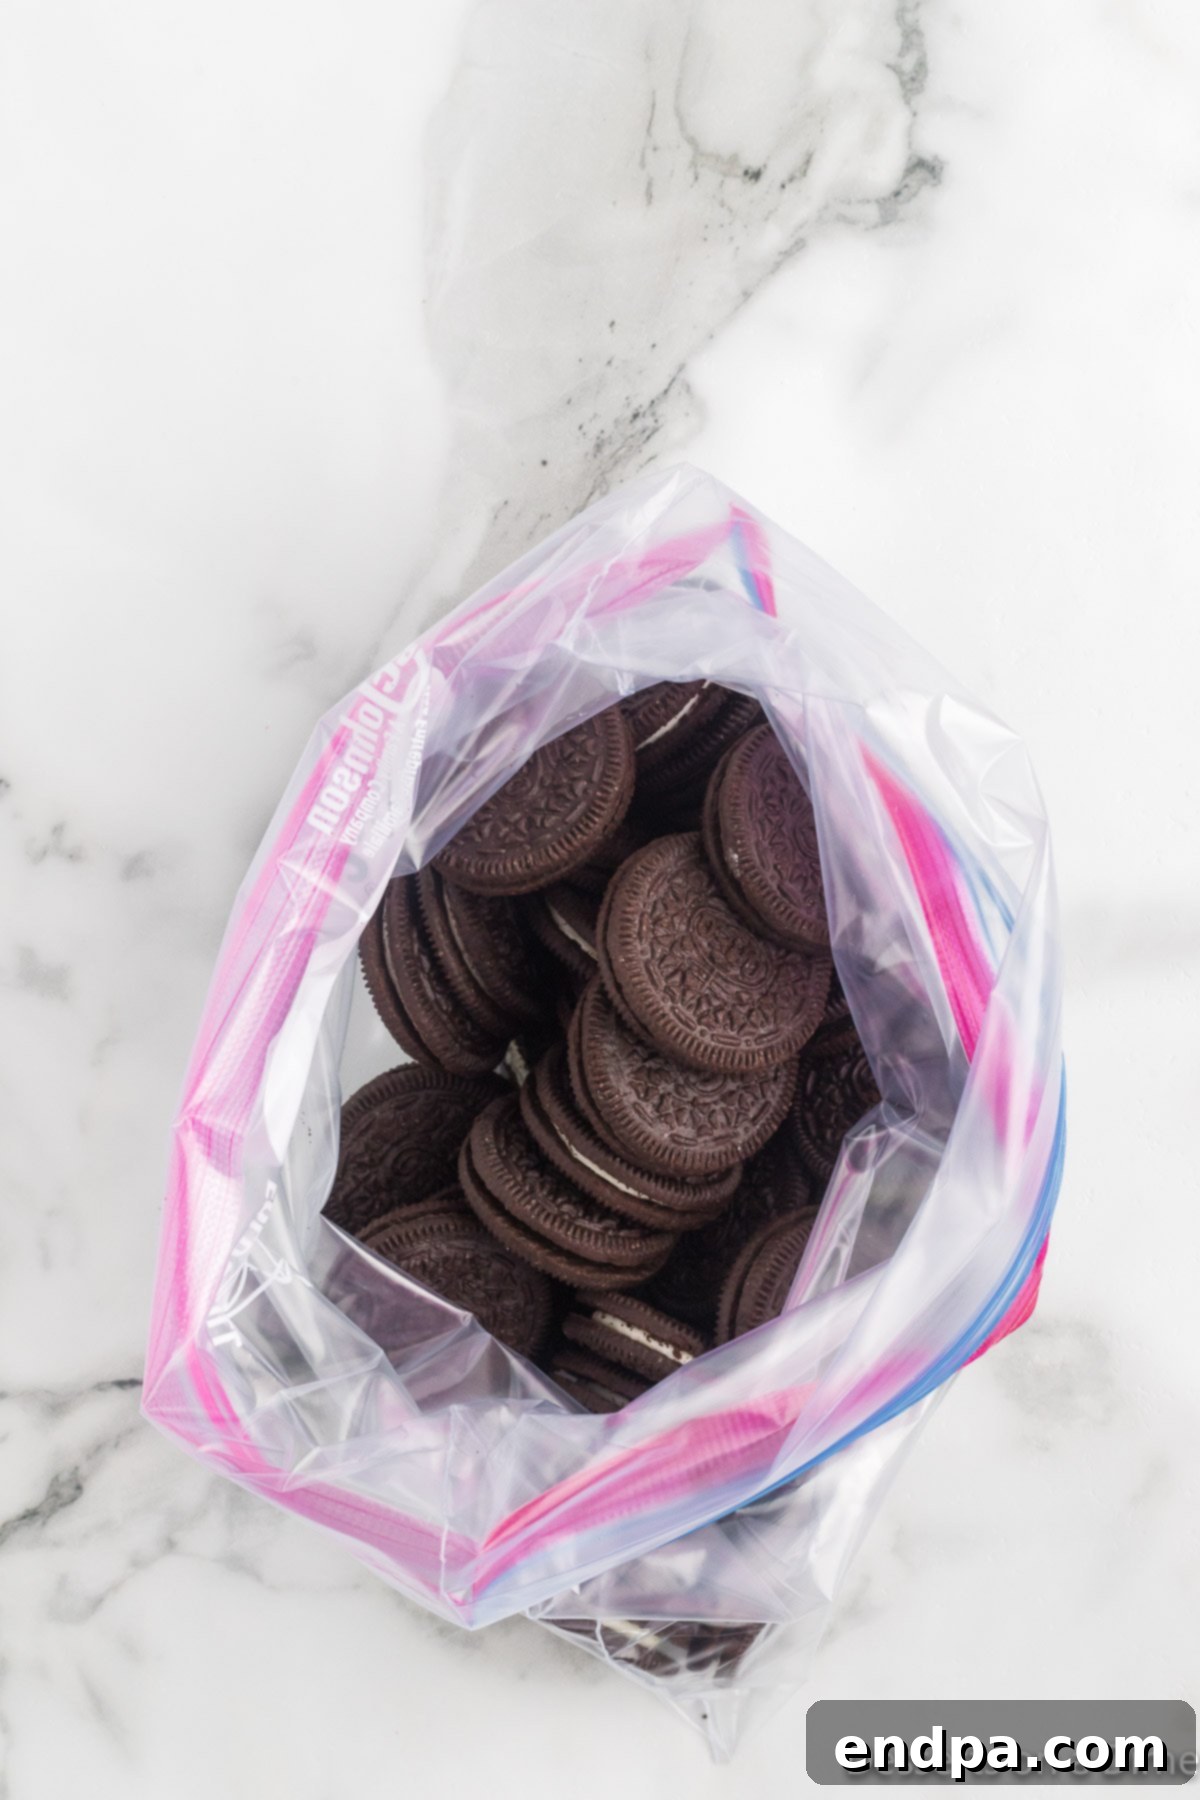
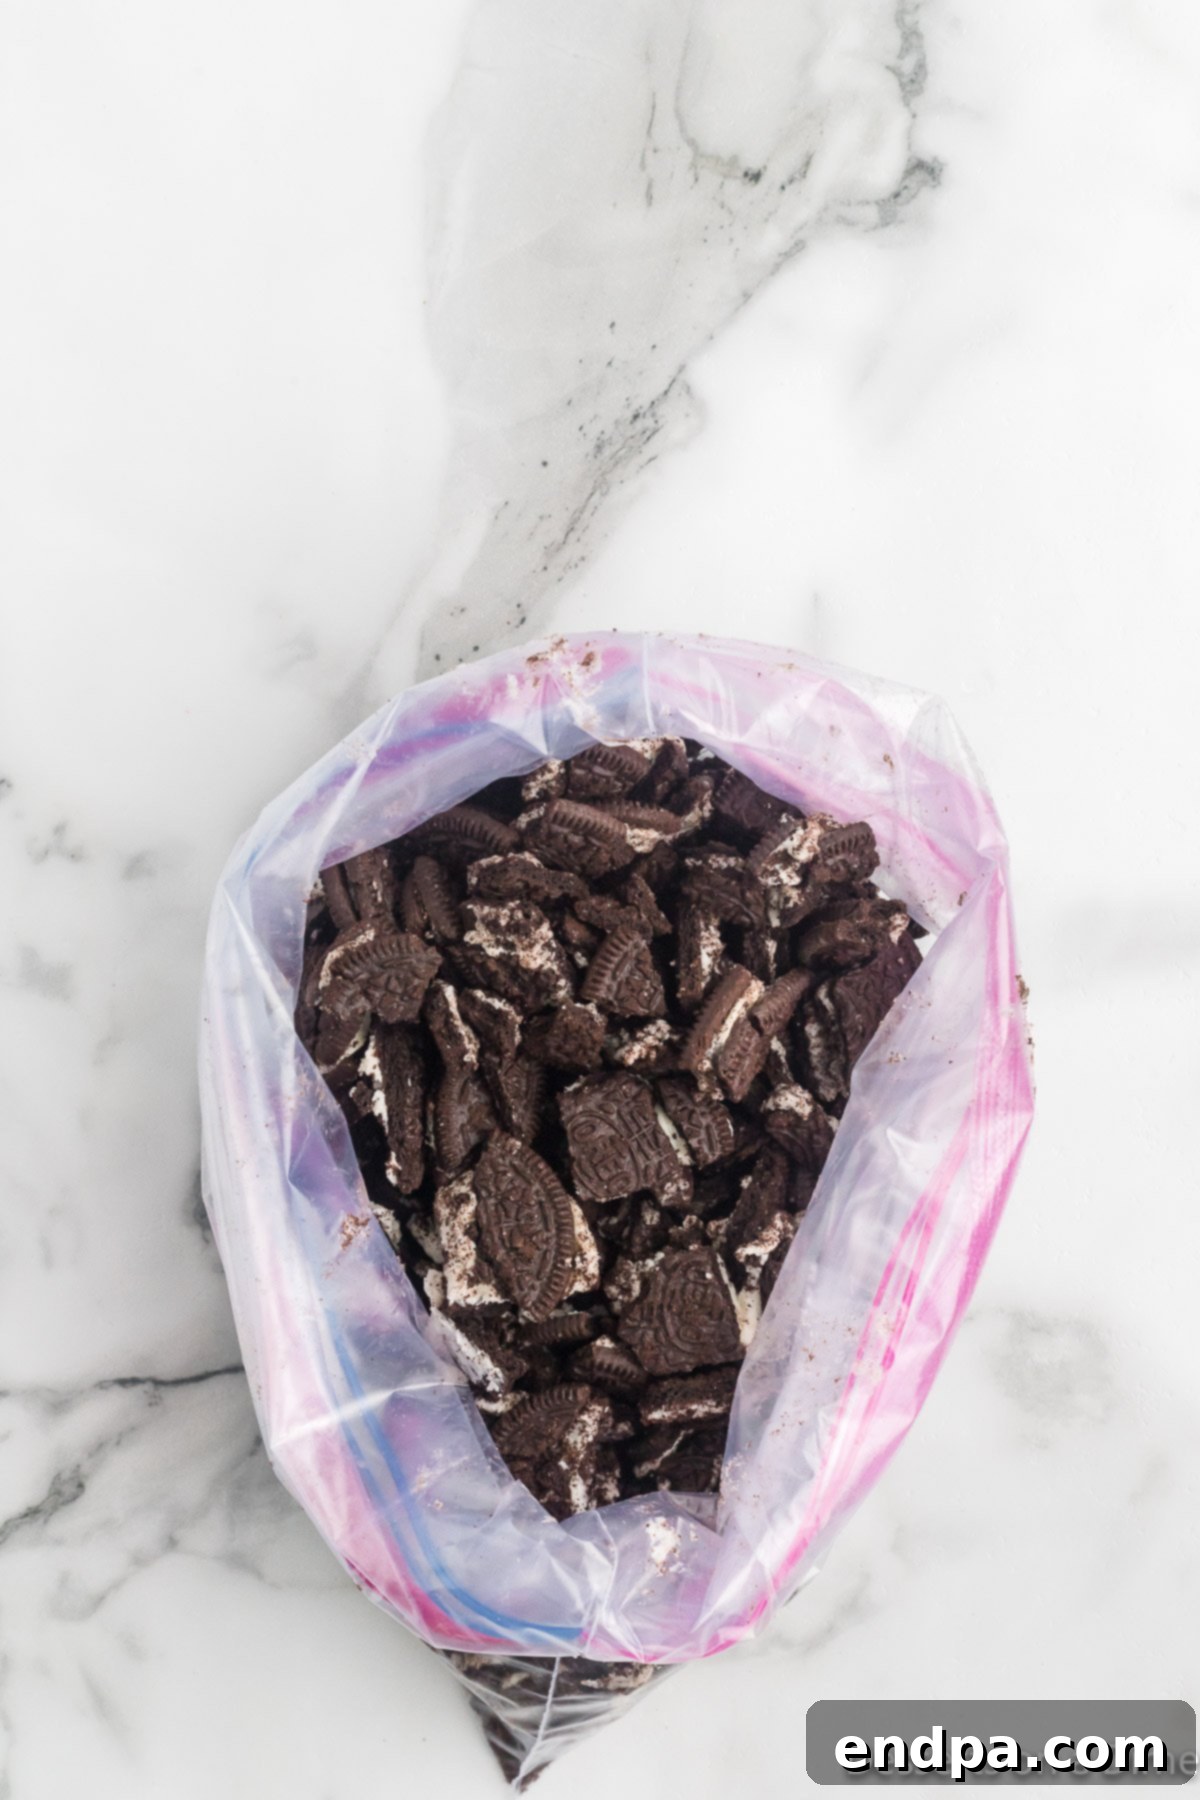
Step 2: Crush the Cookies. Place your Oreo cookies into a large, sturdy ziplock bag. Seal the bag tightly, removing as much air as possible. Using a rolling pin, the bottom of a heavy glass, or the back of a wooden spoon, crush the cookies into large, chunky pieces. Avoid turning them into fine crumbs; a variety of textures adds to the appeal.
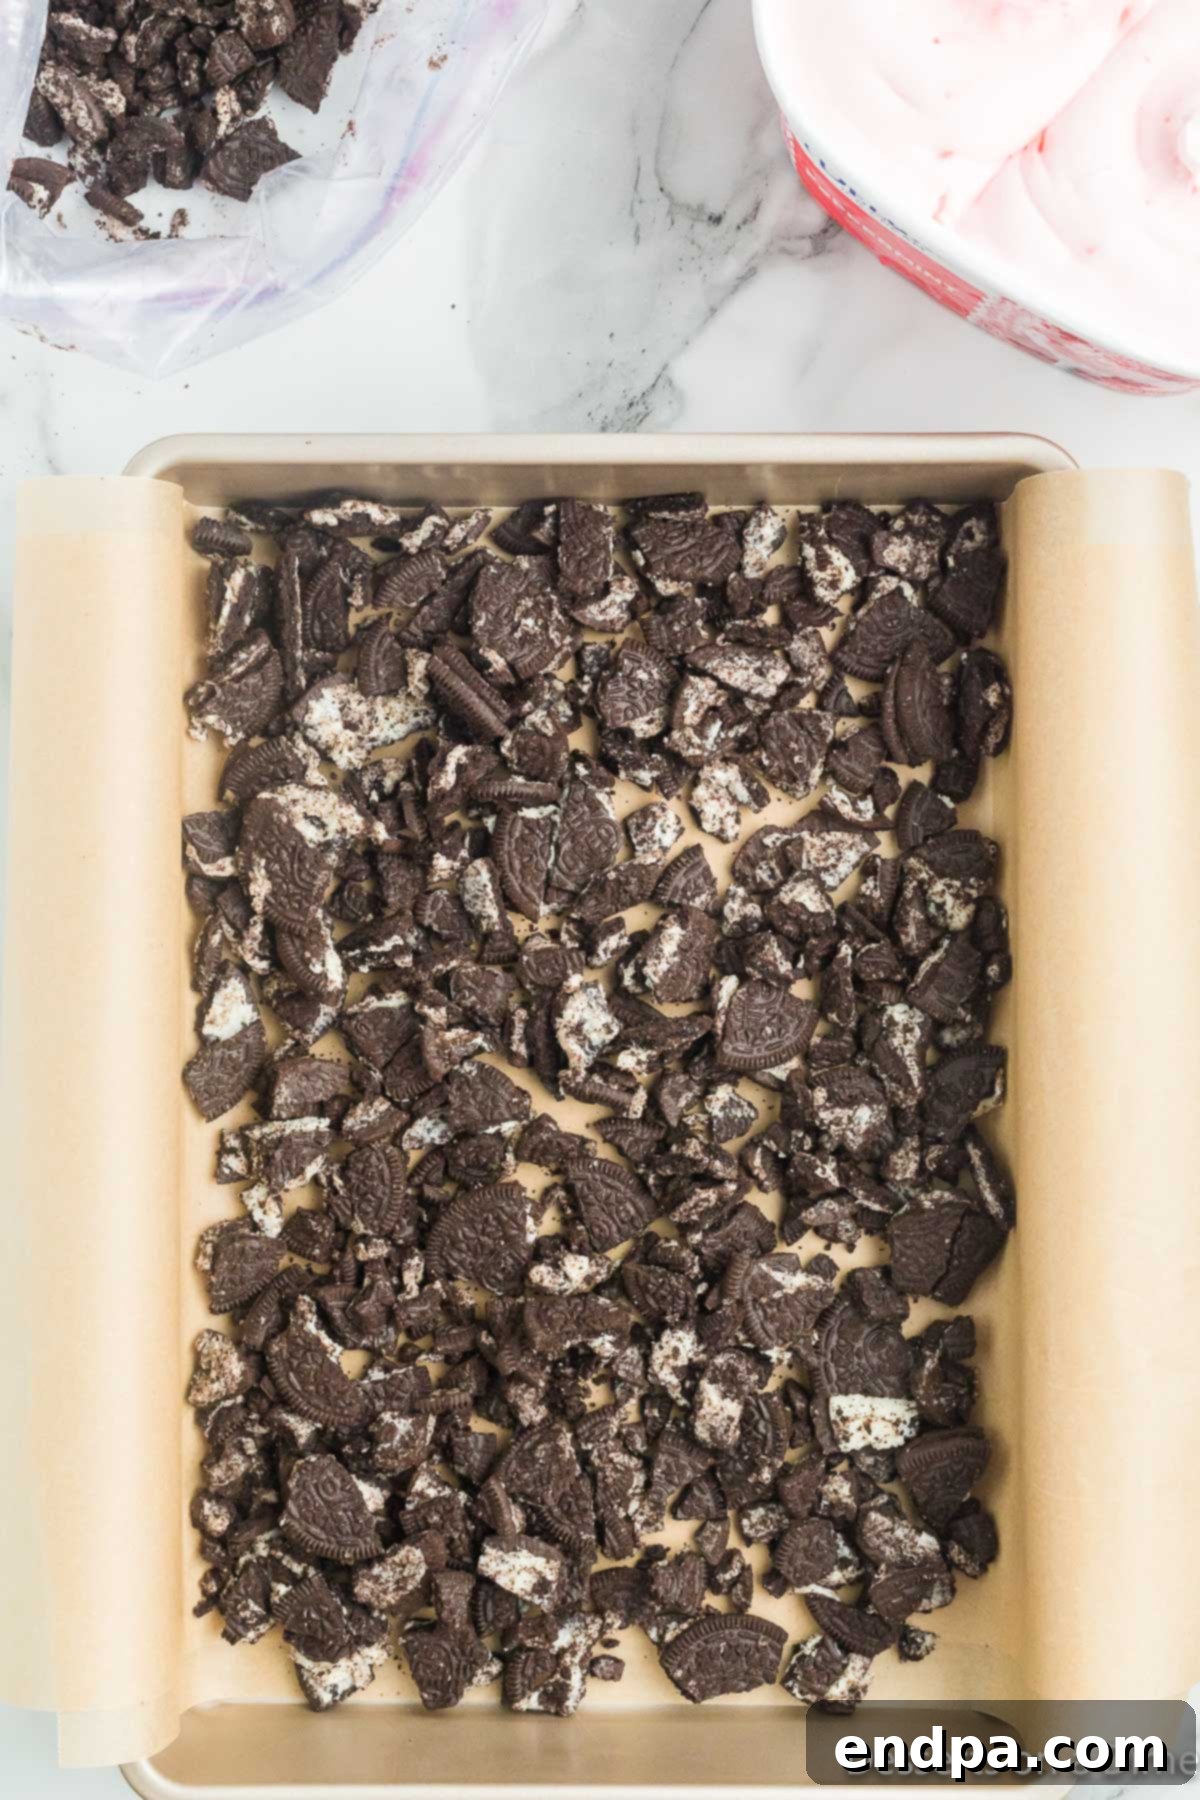
Step 3: Create the Base Layer. Pour the majority of the crushed Oreo cookies into the bottom of your prepared pan. Gently press them down to form an even, firm layer. Make sure to reserve about ¼ to ½ cup of the crushed cookies for the final topping later. This base provides a wonderful crunchy foundation for your cake.
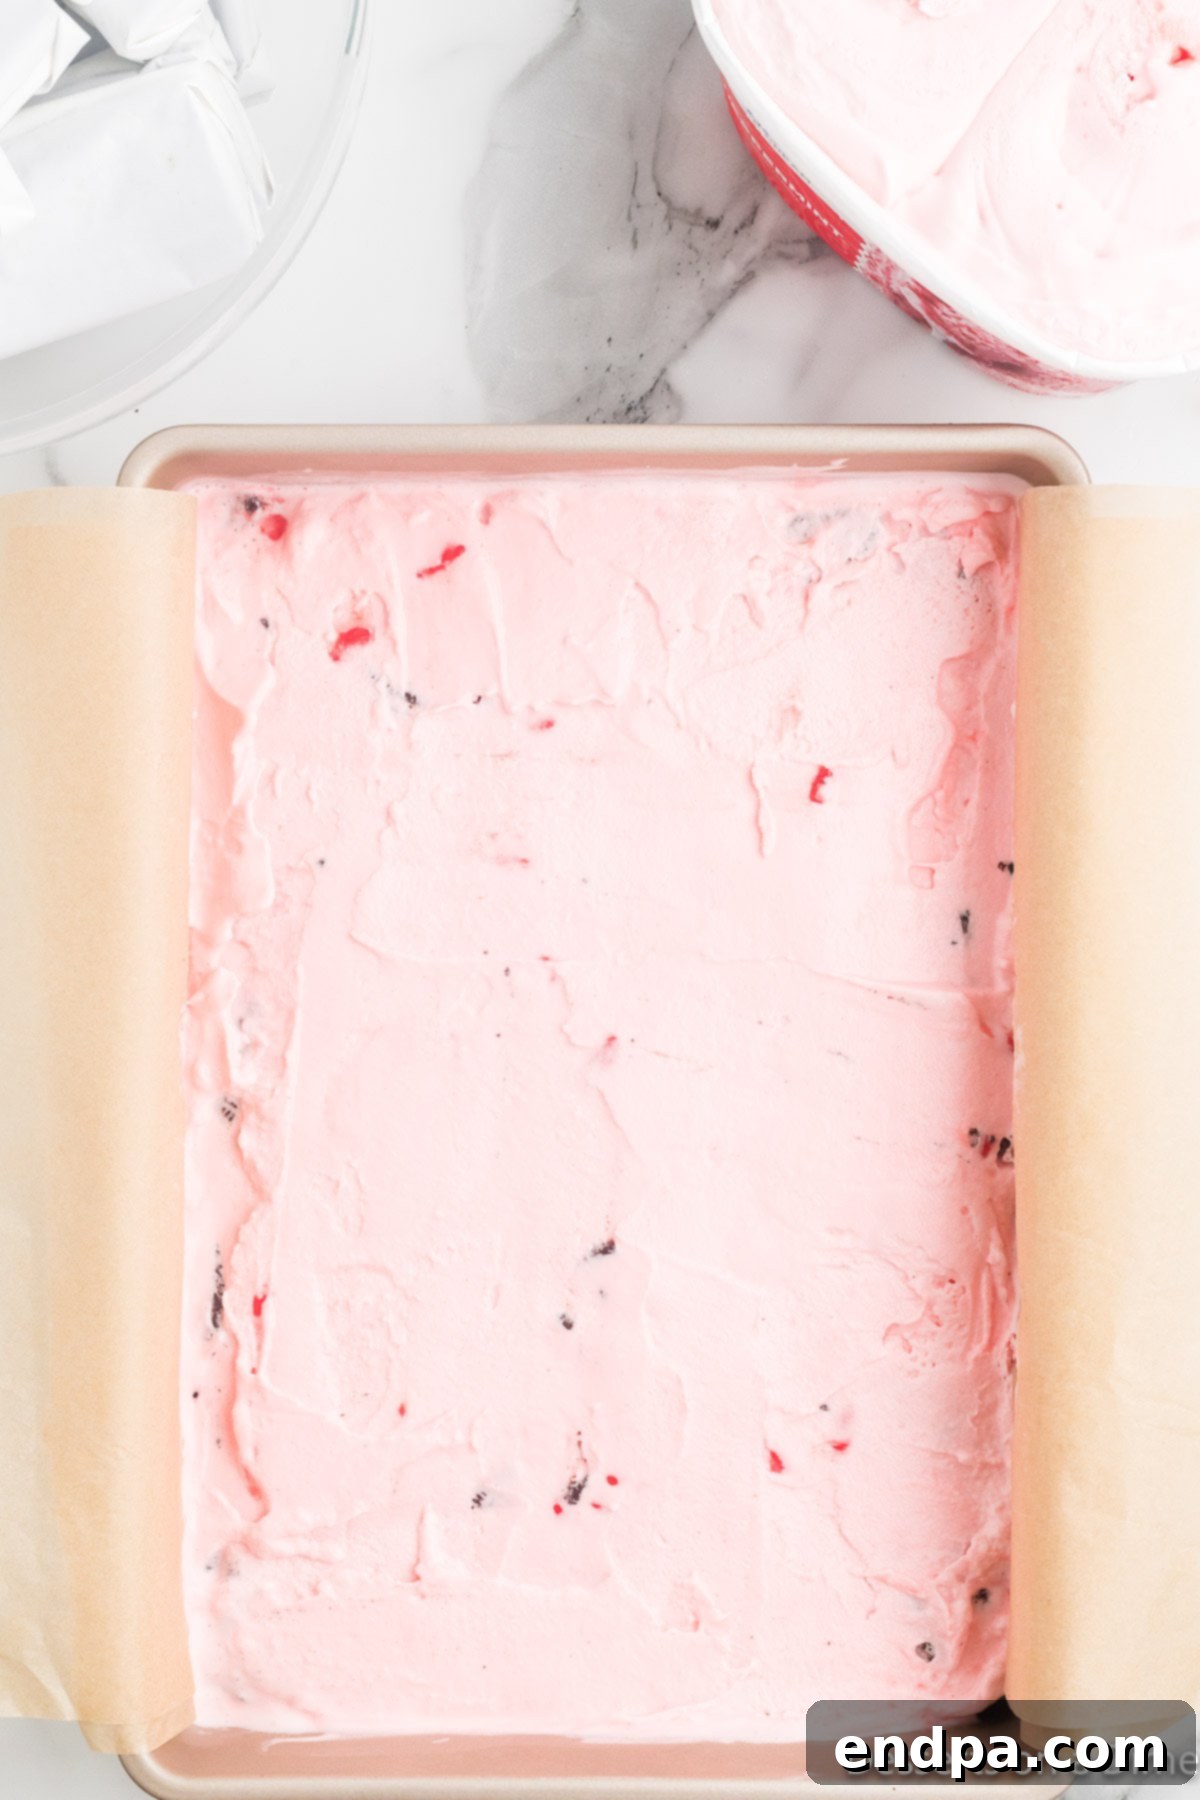
Step 4: First Ice Cream Layer. Take your slightly softened peppermint ice cream and spread half of it evenly over the crushed Oreo base in the pan. Work quickly to ensure the ice cream doesn’t melt too much. Use an offset spatula for smooth, consistent coverage. Once spread, place the pan in the freezer for 10-15 minutes to allow this layer to firm up slightly.
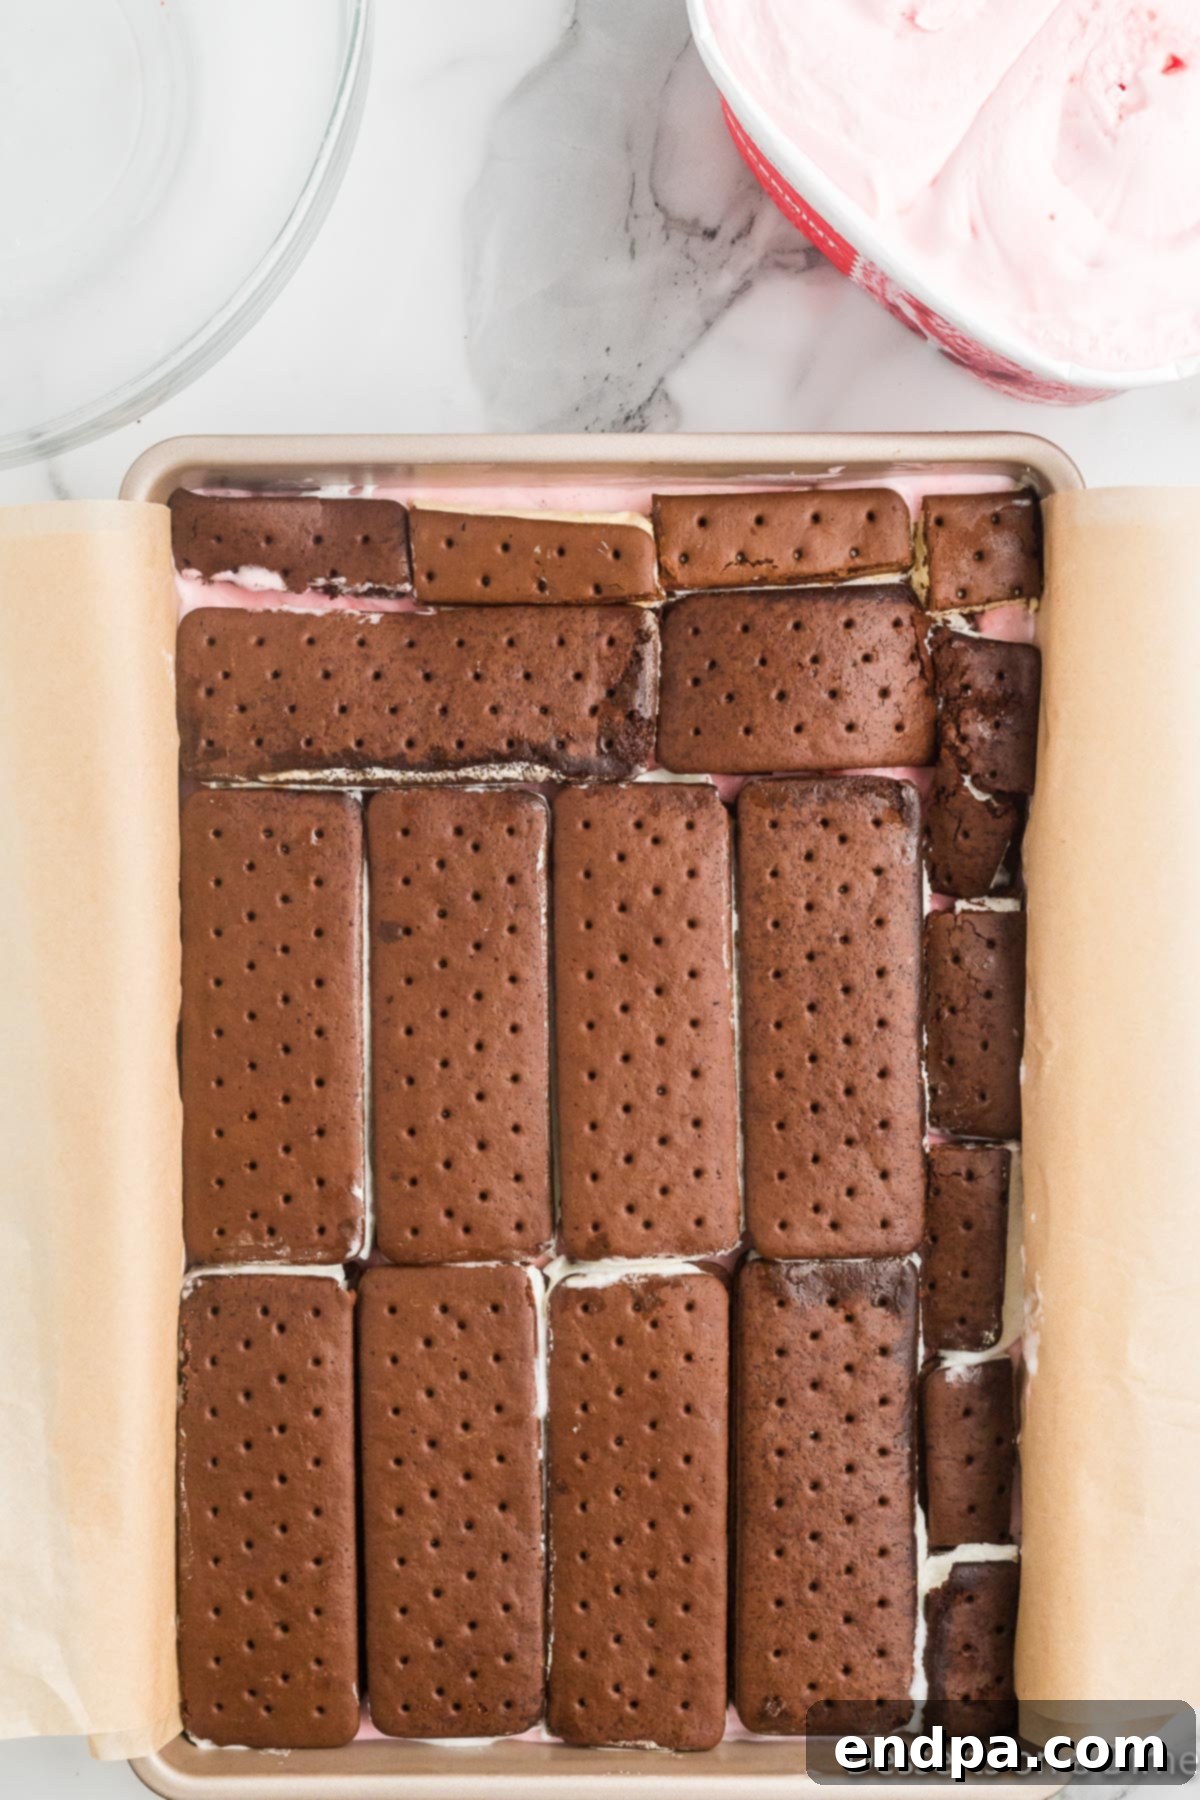
Step 5: Add Ice Cream Sandwiches. Carefully unwrap your ice cream sandwiches. Arrange them in a single layer over the partially frozen peppermint ice cream. You might need to gently cut or break some of the sandwiches to fit snugly and cover the entire surface of the pan. This layer adds a delightful cakey texture to the middle of your dessert.
Step 6: Final Ice Cream Layer. Spread the remaining half of the softened peppermint ice cream evenly over the layer of ice cream sandwiches. Ensure it reaches all the edges and creates a smooth top surface. Cover the pan tightly with plastic wrap to prevent freezer burn and odors, then return it to the freezer for a minimum of 3-4 hours, or preferably overnight, until the cake is completely firm.
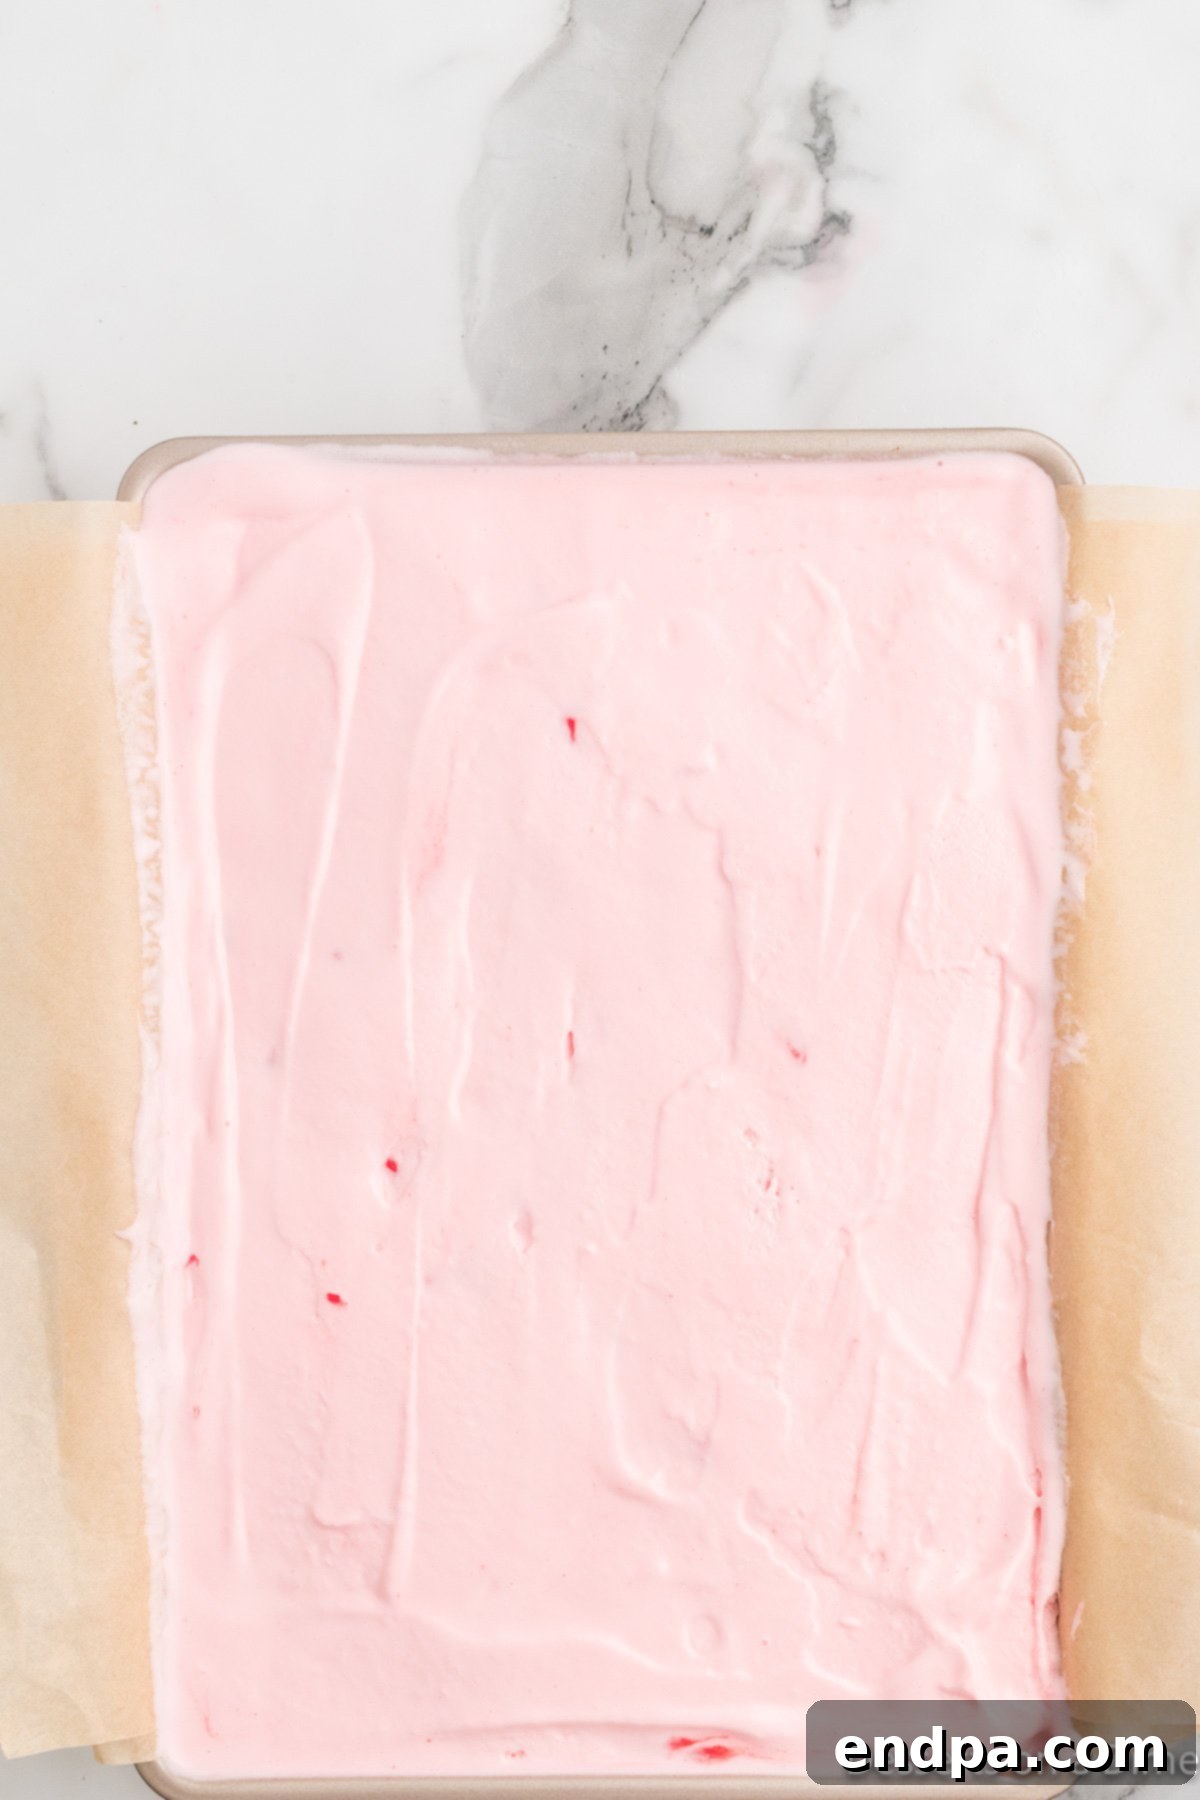
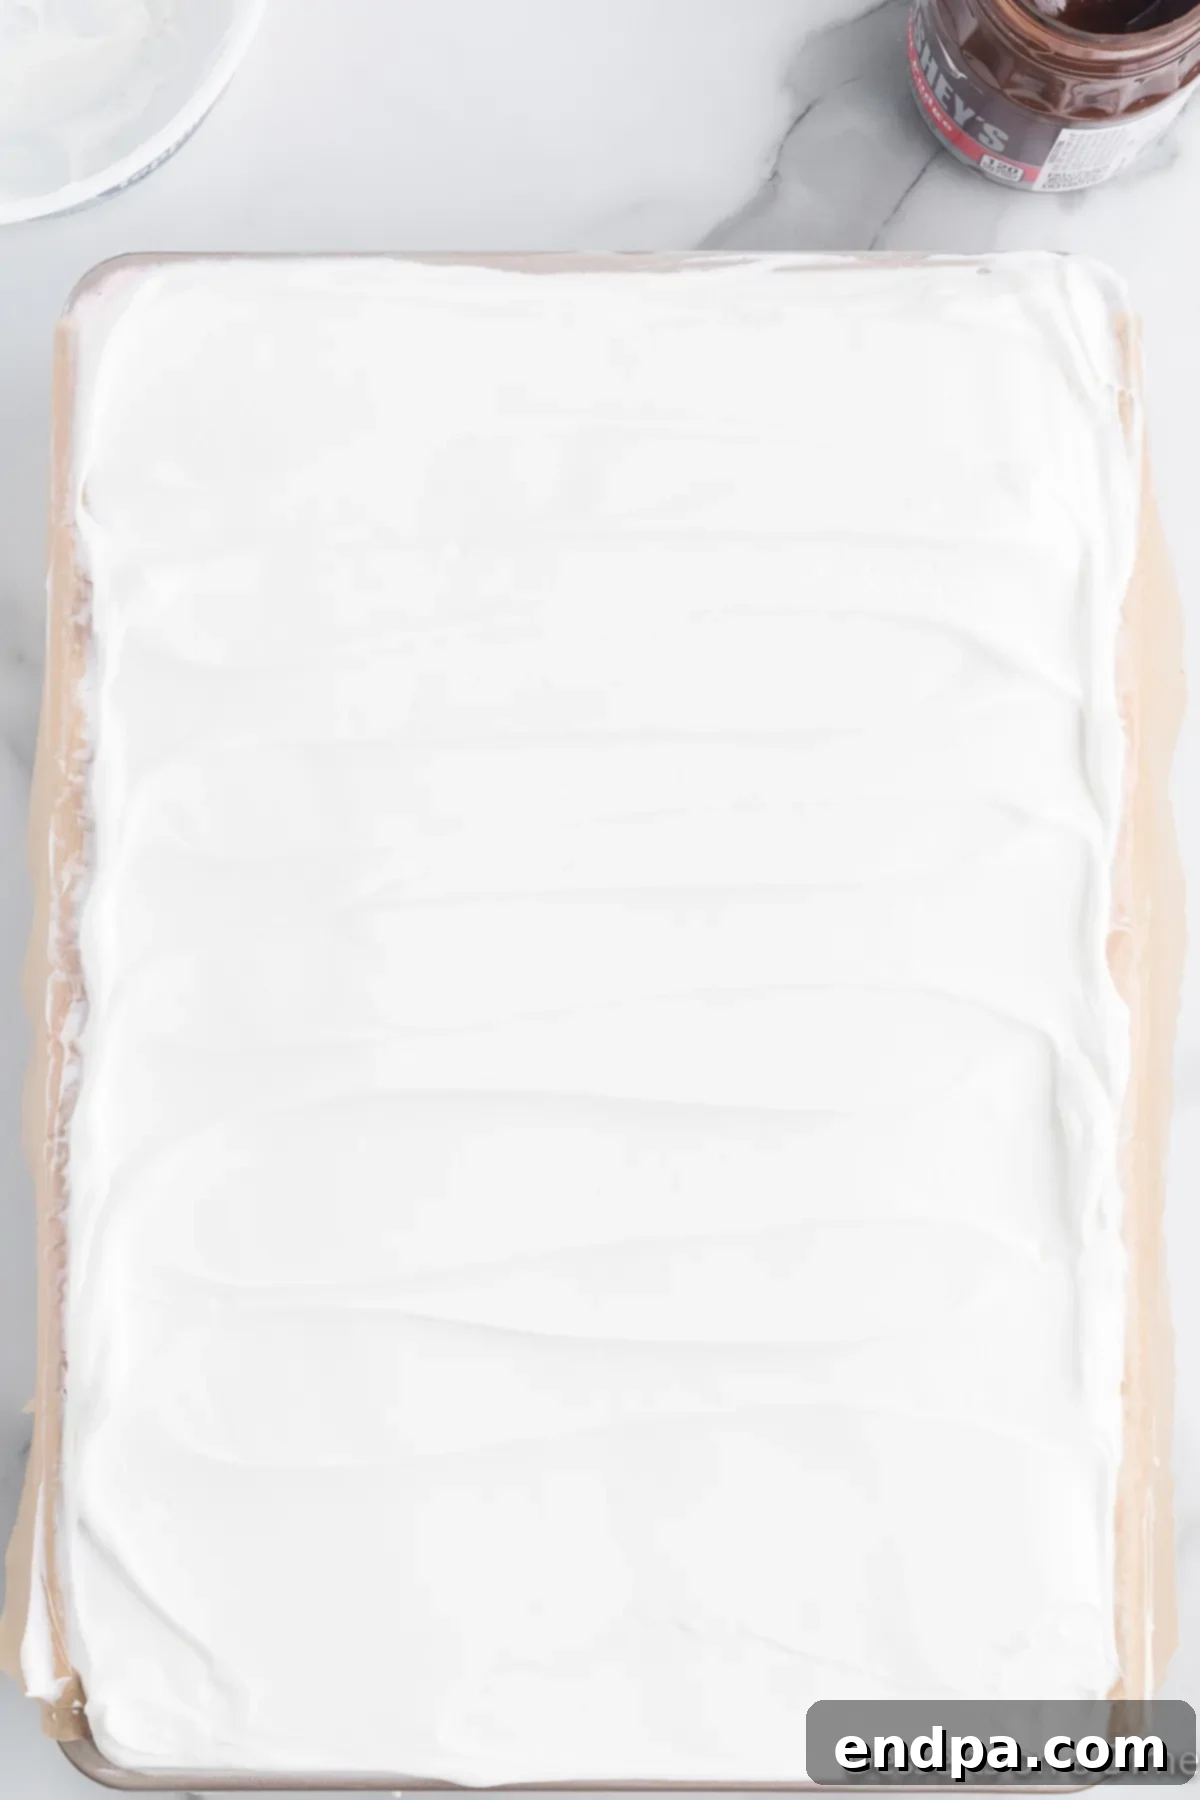
Step 7: The Grand Topping. Just before you are ready to serve, remove the cake from the freezer. Use the parchment paper overhang to gently lift the entire cake out of the pan and onto a serving platter. Evenly spread the whipped topping over the frozen cake. This fresh layer adds a soft contrast to the firm ice cream.
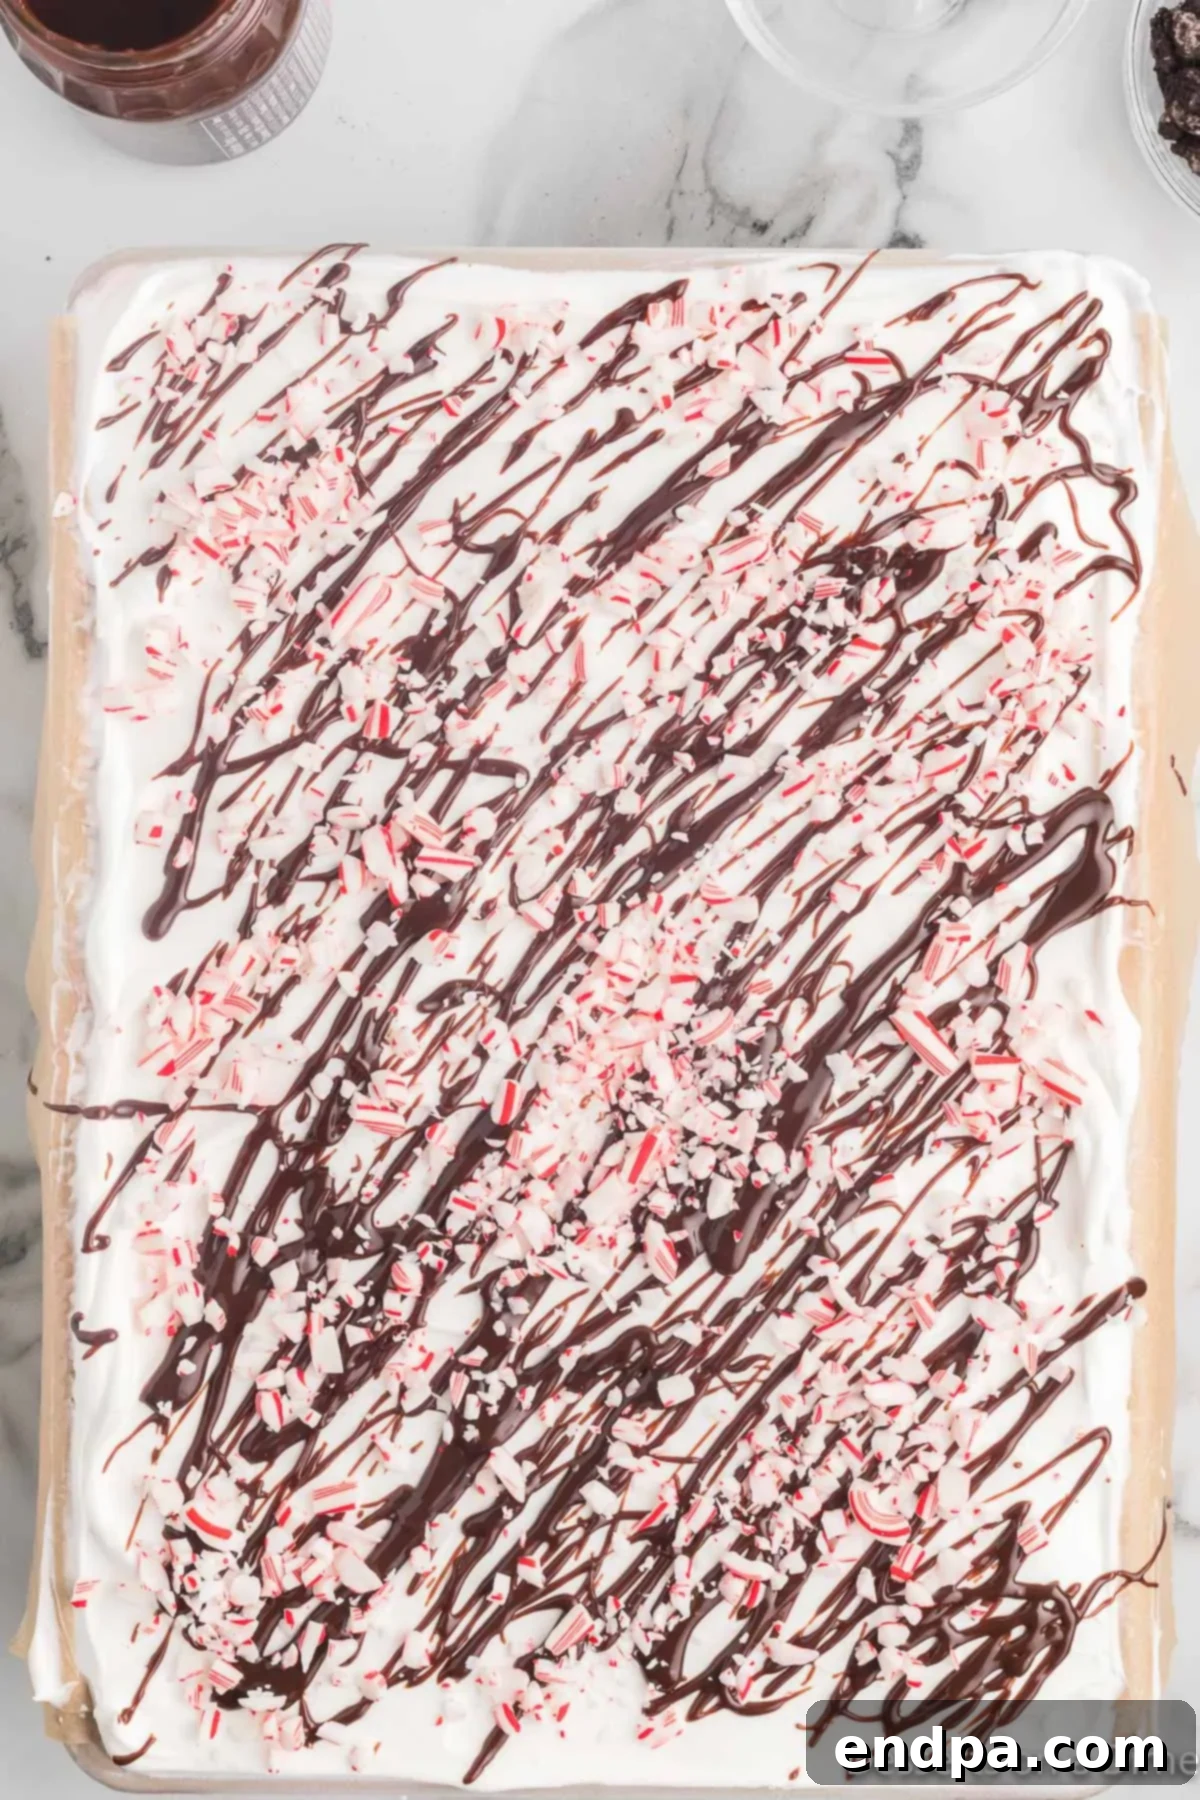
Step 8: Final Garnishes. Drizzle a generous amount of hot fudge topping over the whipped cream. Then, sprinkle the reserved crushed Oreo cookies and the crushed candy canes evenly over the entire surface. The combination of chocolate, mint, and crunch creates an irresistible visual and textural appeal.
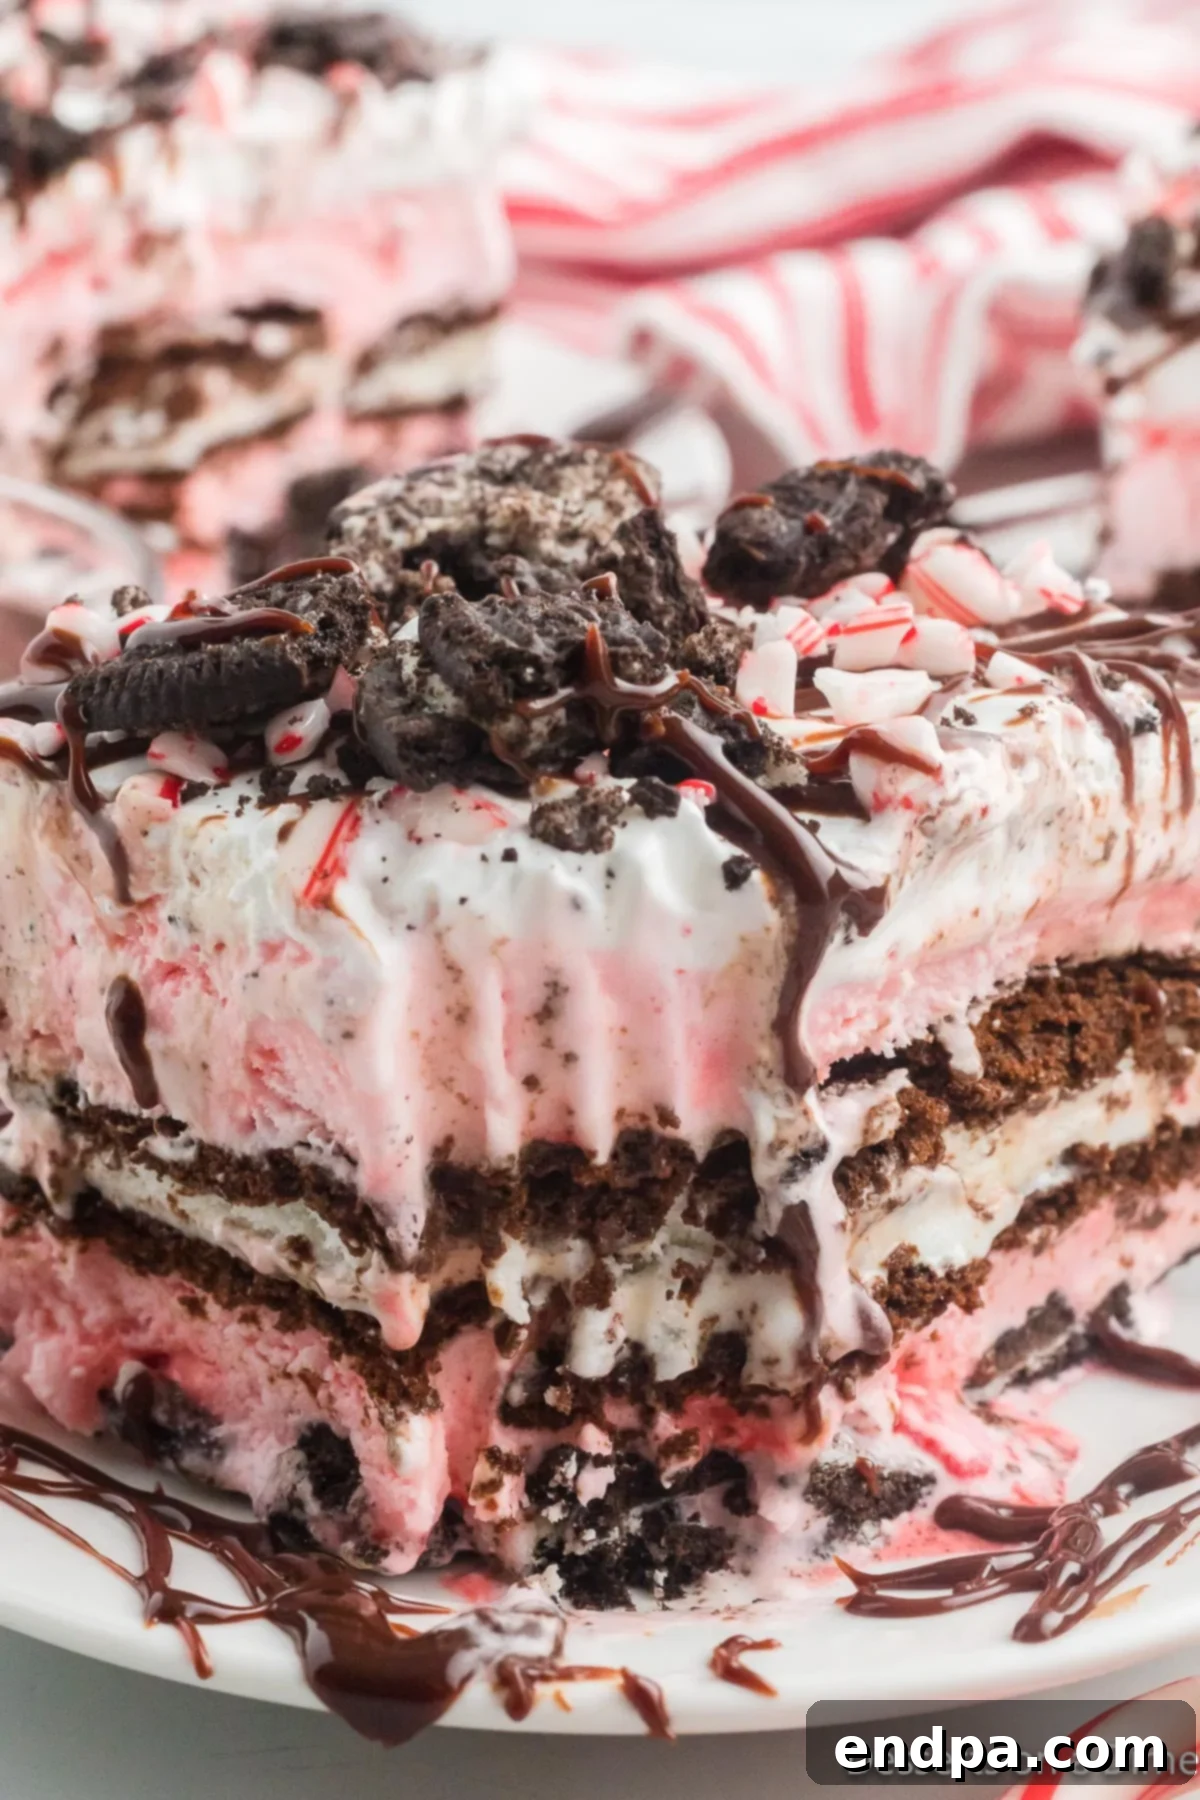
Step 9: Slice and Serve. For clean slices, dip a sharp knife in warm water and wipe it clean between each cut. This will prevent the ice cream from sticking and give you beautifully presented pieces. Serve immediately and enjoy the festive delight!
Expert Pro Tips for Success
Achieving a perfect Christmas Ice Cream Cake is easier with these expert tips:
- Stick to Regular Oreos: For the best results and a satisfying crunch that holds up against the ice cream, always choose regular Oreo cookies. Double-stuffed varieties can become too soft and gooey when frozen, altering the intended texture of the base layer.
- Perfectly Softened Ice Cream: The key to smooth, even layers is properly softened ice cream. Allow your ice cream to sit at room temperature for about 15-30 minutes, or until it’s soft enough to spread easily with a spoon or spatula but not completely melted or soupy. This makes it manageable without creating a messy final product.
- Freeze Between Layers: Patience is key! Freezing each layer for 10-15 minutes before adding the next one is crucial. This step helps each layer set firmly, prevents colors from bleeding, and ensures your cake maintains distinct, beautiful layers when sliced. It also helps prevent premature melting during assembly.
- Gentle Layer Handling: When spreading the ice cream, use gentle, even strokes. Avoid excessive stirring or blending of the layers, which can mix colors and textures, compromising the clean lines and visual appeal of your ice cream cake.
- Use the Right Spatula: An offset spatula or a sturdy rubber spatula is your best friend for spreading the ice cream and whipped topping smoothly and evenly. Its flat surface allows for precise application across the entire pan.
- Chill Before Final Topping: For the neatest presentation, ensure your assembled ice cream cake is thoroughly frozen (at least 1-2 hours) before you add the whipped cream, hot fudge, and crushed candy cane toppings. A very cold surface will prevent the whipped cream from melting too quickly and the fudge from running.
- The Warm Knife Trick: To achieve beautifully clean and sharp slices, dip a long, sharp knife into a tall glass of warm water. Wipe the blade dry, make your cut, and then repeat the process for each slice. This warms the blade just enough to glide through the frozen layers without tearing or dragging.
- Plan Ahead: This ice cream cake is an excellent make-ahead dessert. You can assemble and freeze it up to a week in advance. Just add the whipped topping and garnishes right before serving for the freshest look.
Frequently Asked Questions About Christmas Ice Cream Cake
A: Leftover Christmas Ice Cream Cake should be stored immediately in the freezer. For best results, place individual slices or the remaining cake in an airtight container or wrap it tightly with plastic wrap followed by aluminum foil. This helps prevent freezer burn and keeps the flavors fresh for up to one week.
A: Absolutely! This ice cream cake is a fantastic make-ahead dessert, perfect for reducing holiday stress. You can prepare the entire cake, up to the point of adding the whipped topping and garnishes, and freeze it tightly covered in plastic wrap and foil for up to a week. When you’re ready to serve, simply remove it from the freezer, add the fresh whipped topping, hot fudge, and candy cane sprinkles, then slice and enjoy.
A: The ideal way to soften ice cream for easy spreading is to remove it from the freezer and let it sit at room temperature for approximately 15 to 30 minutes. The exact time will depend on the temperature of your kitchen and how hard the ice cream is. You want it pliable enough to spread smoothly without being completely melted or liquid.
A: Yes, if your ice cream cake has been frozen for a long period (e.g., overnight or several hours), it will be very firm. Allowing it to sit at room temperature for about 10-15 minutes before cutting will make it much easier to slice neatly and serve without it crumbling or being too hard to cut through. Remember to use the warm knife trick mentioned in our pro tips for the cleanest cuts!
A: Definitely! Homemade whipped cream adds an extra touch of freshness and richness to the cake. Just ensure it’s freshly made and spread right before serving to maintain its light and airy texture. You can also stabilize homemade whipped cream slightly if you need it to hold up longer.
More Festive Peppermint Christmas Desserts You’ll Love
If you can’t get enough of that refreshing peppermint flavor during the holidays, be sure to check out these other delightful recipes:
- Irresistible Chocolate Peppermint Cookies
- White Chocolate Peppermint Cookies
- Classic Candy Cane Cookies
- Refreshing Mint Chocolate Chip Ice Cream Cake
Christmas Ice Cream Cake Recipe
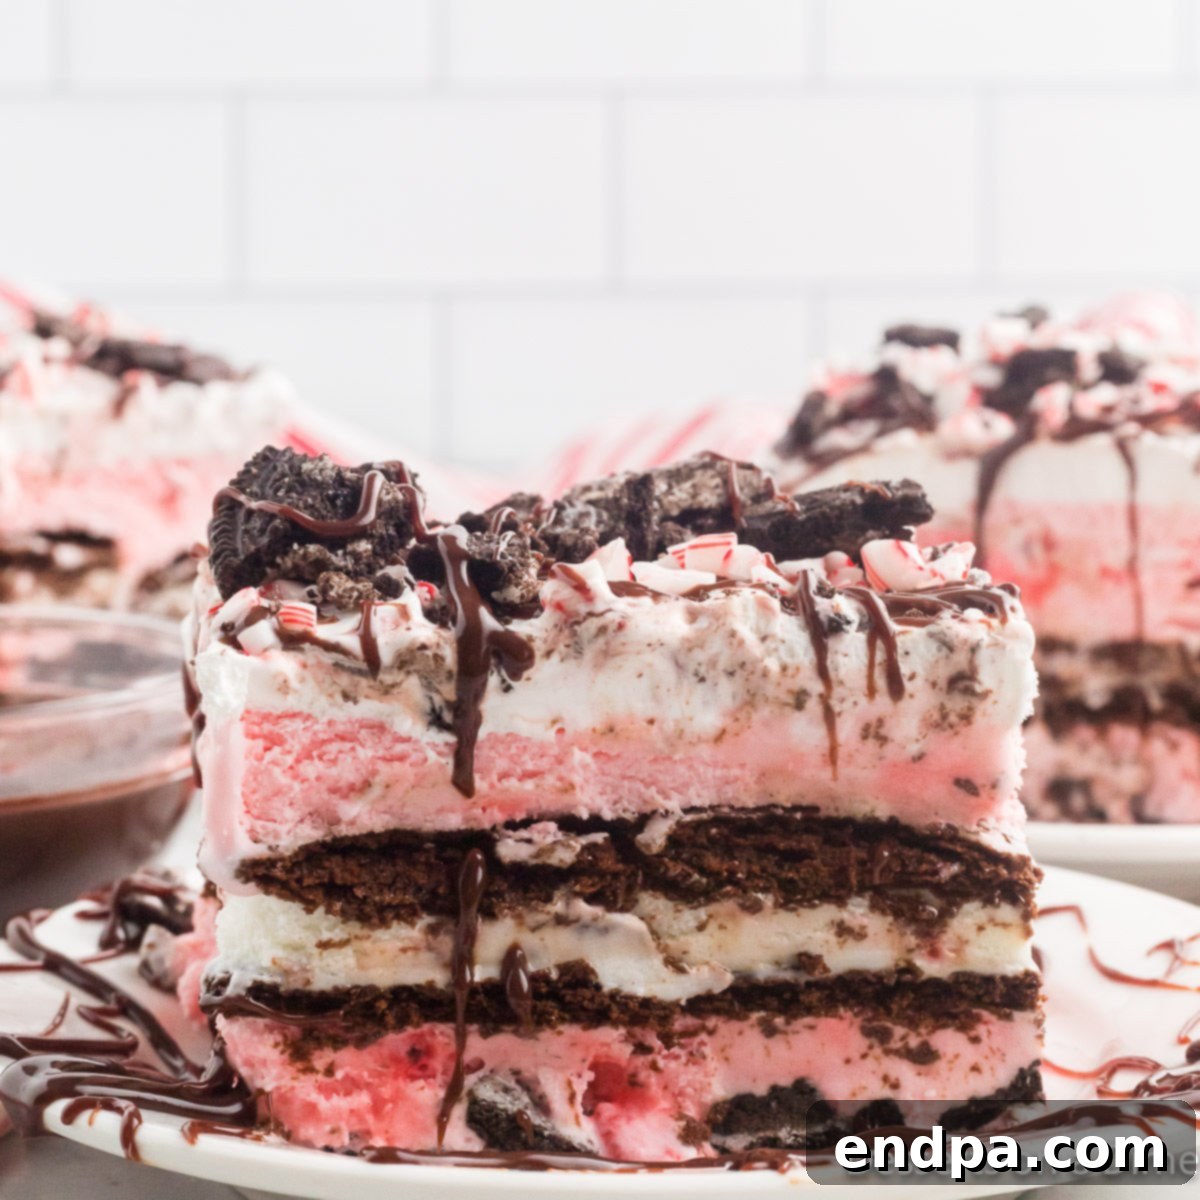
This festive Christmas Ice Cream Cake is the ultimate holiday dessert! Layers of creamy peppermint ice cream, crunchy Oreo cookies, and ice cream sandwiches, all topped with whipped cream, hot fudge, and crushed candy canes create a truly unforgettable seasonal treat. It’s a no-bake wonder that’s perfect for any festive gathering.
Ingredients
- 1 pkg Oreo Cookies (14 ounces), regular, not double-stuffed
- 1 gallon Peppermint Ice Cream, softened
- 12 Ice Cream Sandwiches
- 8 ounces Whipped Topping (Cool Whip or homemade whipped cream)
- Hot Fudge Topping, for drizzling
- ¼ cup Crushed Candy Canes, for garnish
Instructions
- Prepare Your Pan: Line a 9×13-inch baking pan with parchment paper or wax paper, ensuring the paper overhangs the pan on two sides for easy lifting.
- Crush Oreos: Place Oreo cookies in a ziplock bag and crush them into large pieces using a rolling pin or the back of a spoon.
- Form Cookie Base: Pour most of the crushed Oreo cookies into the bottom of the prepared pan and press down gently to form an even layer. Reserve about ¼ to ½ cup for topping.
- First Ice Cream Layer: Spread half of the softened peppermint ice cream evenly over the crushed Oreo base. Freeze for 10-15 minutes to set.
- Layer Ice Cream Sandwiches: Unwrap and arrange the ice cream sandwiches in a single layer over the partially frozen peppermint ice cream. Trim as needed to fit.
- Final Ice Cream Layer: Spread the remaining softened peppermint ice cream evenly over the ice cream sandwiches. Cover the pan tightly with plastic wrap.
- Freeze Thoroughly: Freeze for at least 3-4 hours, or ideally overnight, until the cake is completely firm.
- Add Whipped Topping: Just before serving, lift the cake from the pan using the parchment paper overhang. Spread the whipped topping evenly over the frozen cake.
- Garnish: Drizzle hot fudge topping generously over the whipped cream. Sprinkle with the reserved crushed Oreos and crushed candy canes.
- Slice and Serve: Use a sharp knife dipped in warm water and wiped clean between each cut for neat slices. Serve immediately and enjoy your festive dessert!
Recipe Notes
To store leftovers, place them in an airtight container or wrap tightly and freeze for up to one week. For easier slicing, allow the cake to sit at room temperature for 10-15 minutes before cutting.
Nutrition Facts
Calories: 862 kcal | Carbohydrates: 105g | Protein: 15g | Fat: 43g | Saturated Fat: 25g | Polyunsaturated Fat: 3g | Monounsaturated Fat: 11g | Cholesterol: 154mg | Sodium: 357mg | Potassium: 728mg | Fiber: 2g | Sugar: 85g | Vitamin A: 1517IU | Vitamin C: 2mg | Calcium: 473mg | Iron: 0.4mg
Love this recipe? Pin it now to save for later!
Pin Recipe
