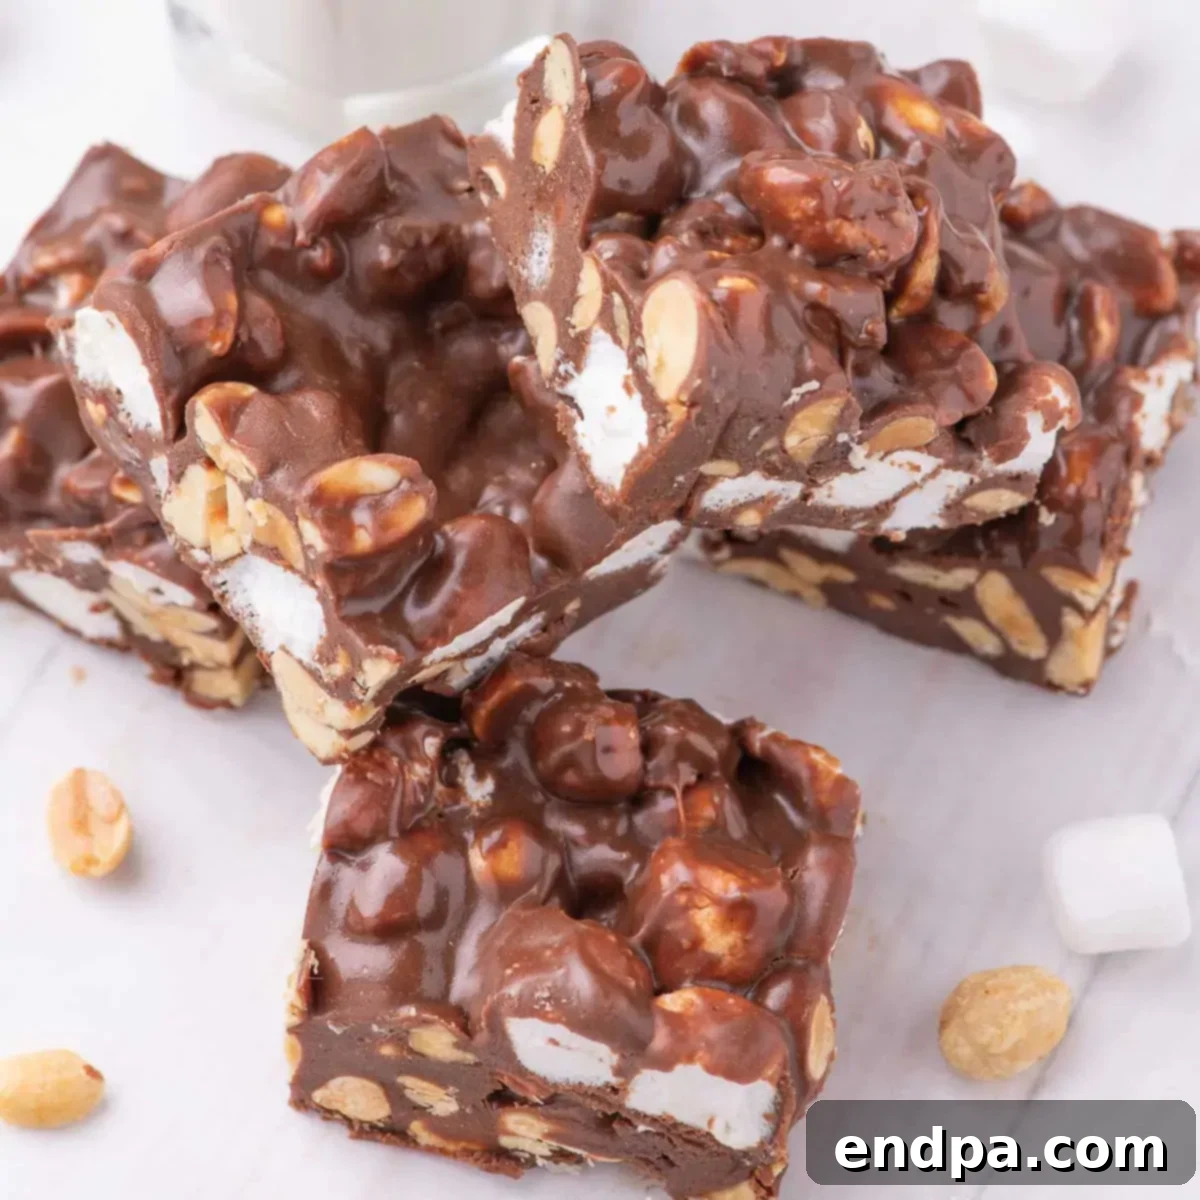
Indulge your sweet tooth with a delightful treat that’s incredibly easy to prepare: homemade Rocky Road Candy. This classic no-bake dessert is renowned for its irresistible blend of creamy chocolate, crunchy nuts, and soft marshmallows, making it a favorite for holidays, celebrations, or simply a spontaneous craving. You’ll be amazed by how quick and simple this recipe is, yielding impressively festive and utterly delicious results every time.
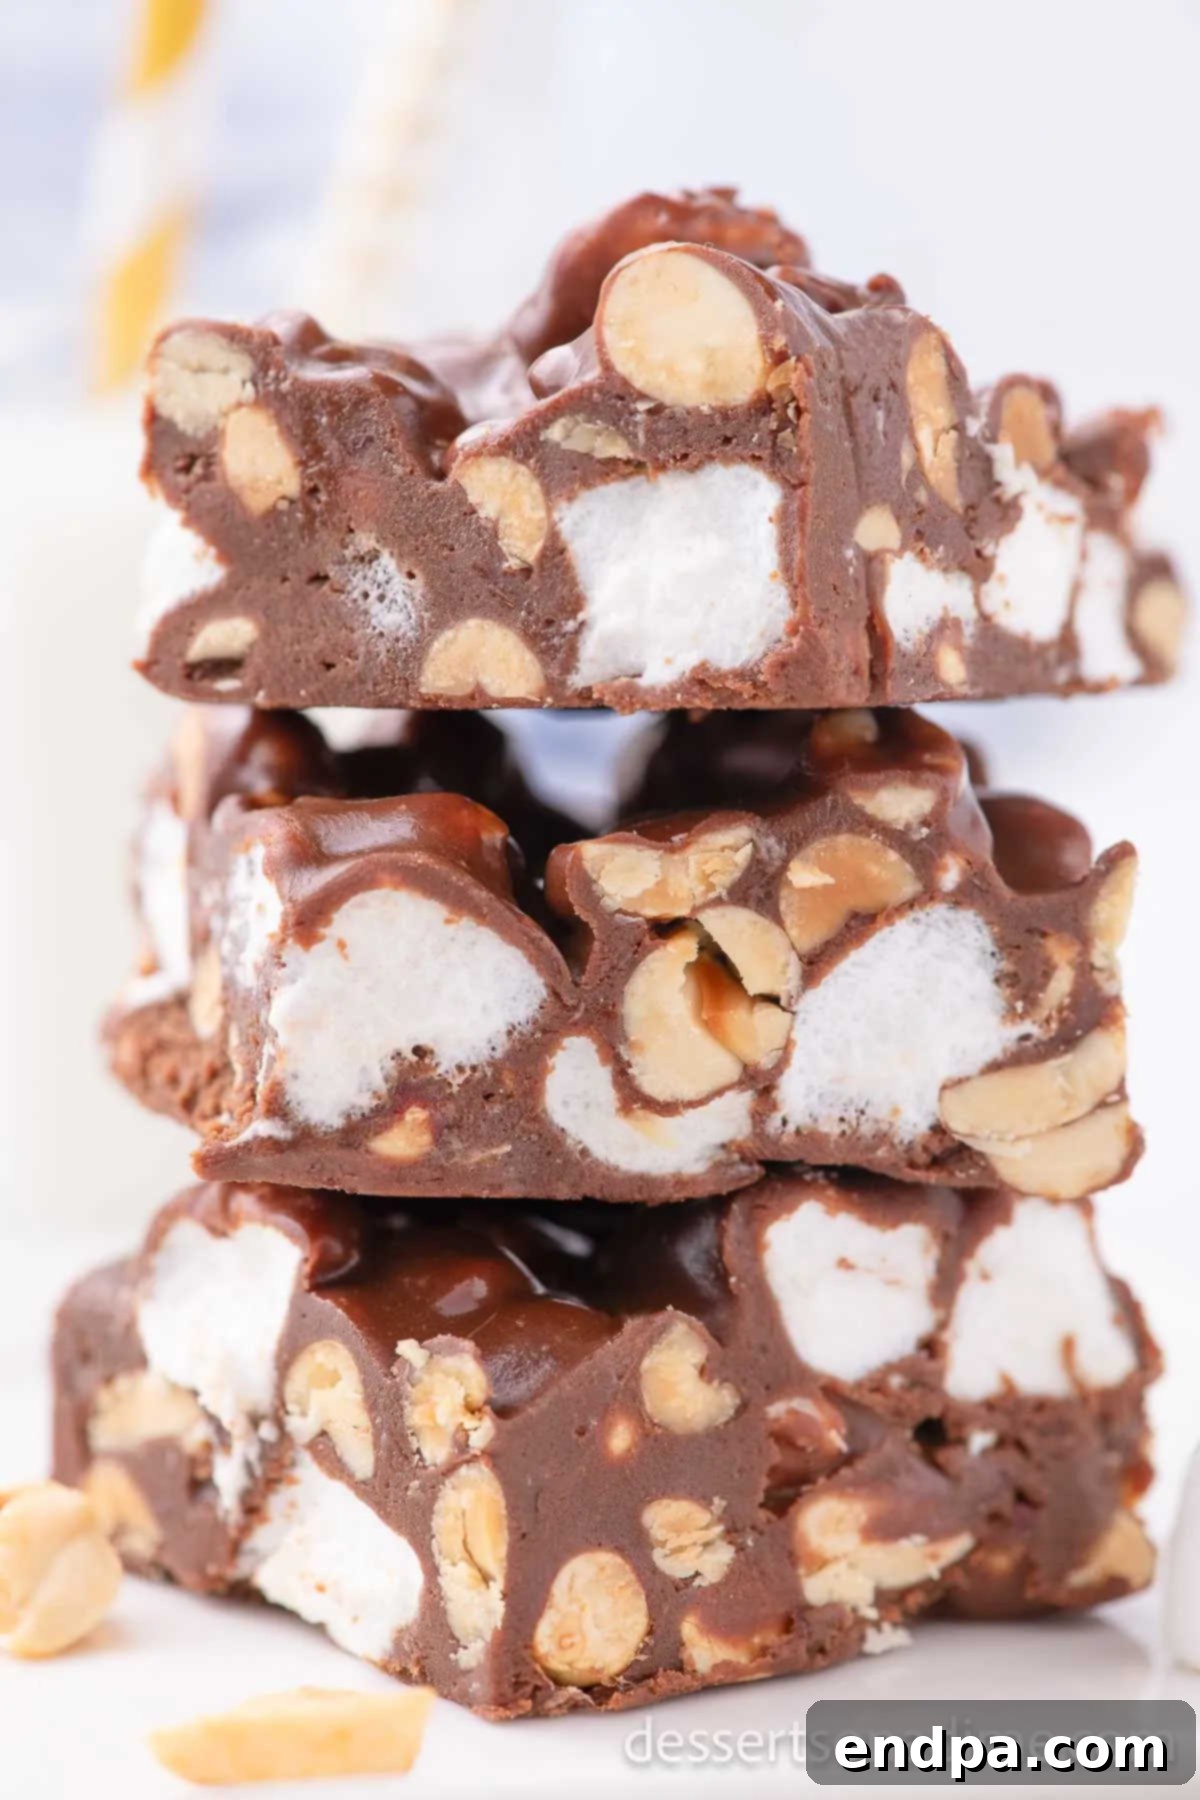
For years, this Rocky Road recipe has been a beloved staple in our home, fitting perfectly into our collection of easy candy recipes. Its minimal ingredient list – just five core items – makes it an ideal option for busy parents and beginner cooks alike. The joy of creating such a decadent treat with so little effort is truly unmatched. It’s perfect for adding to a dessert tray, alongside other crowd-pleasers like 2-Ingredient Chocolate Peanut Butter Fudge or Crock Pot Chocolate Peanut Clusters. If you’re looking for more fun homemade candies, you might also enjoy learning How to Make Rock Candy or a classic Hard Candy Recipe. For chocolate lovers, Chocolate Covered Cherries and Chocolate Turtles are always a hit.
Table of contents
- What is Rocky Road Candy?
- Why You’ll Love This Easy Rocky Road Recipe
- Ingredients for the Best Rocky Road Candy
- How to Make Rocky Road Candy Step by Step
- Expert Recipe Tips for Perfect Rocky Road
- Storage and Freezing Rocky Road Candy
- Frequently Asked Questions About Rocky Road
- More Easy Candy Recipes
What is Rocky Road Candy?
At its heart, homemade Rocky Road Candy is a delightful no-bake fudge, a confectionery creation celebrated for its rich texture and harmonious blend of flavors. Originating in Australia, traditional Rocky Road typically combines chocolate with marshmallows and nuts, though variations abound globally. This recipe focuses on the classic preparation, featuring velvety melted chocolate generously studded with crunchy peanuts and chewy mini marshmallows. The result is a wonderfully sweet and salty treat that’s incredibly satisfying.
What makes Rocky Road so universally appealing is its versatility and simplicity. It requires no oven, making it an excellent choice for a quick dessert or when you need to free up oven space during busy holiday baking seasons. Whether you’re making it for Christmas, Easter, birthdays, Valentine’s Day (especially festive with red and pink sprinkles!), or simply as an everyday indulgence, this candy effortlessly adapts to any occasion. It’s a guaranteed crowd-pleaser that offers a perfect balance of textures and tastes in every bite.
Why You’ll Love This Easy Rocky Road Recipe
There are countless reasons why this easy Rocky Road Candy recipe should be your next kitchen adventure. First and foremost, its incredible simplicity. With only a handful of ingredients and no baking required, it’s a fantastic recipe for novice cooks and a time-saver for seasoned bakers. It comes together in minutes, with most of the time spent chilling, allowing you to focus on other tasks.
Beyond its ease, the taste is truly unforgettable. The smooth, rich chocolate base perfectly complements the airy chewiness of mini marshmallows and the satisfying crunch of dry roasted peanuts. This delightful interplay of textures and the sweet-and-salty flavor profile create an addictive treat that everyone will adore. It’s also incredibly customizable, allowing you to adapt it to your preferences or whatever ingredients you have on hand. Whether you’re preparing a large batch for a party, a thoughtful homemade gift, or a small indulgence for your family, this Rocky Road Candy delivers big on flavor with minimal fuss.
Ingredients for the Best Rocky Road Candy
Creating this irresistible Rocky Road Candy requires just five simple ingredients, each playing a crucial role in achieving that perfect balance of flavor and texture. High-quality ingredients can elevate your candy from good to extraordinary.
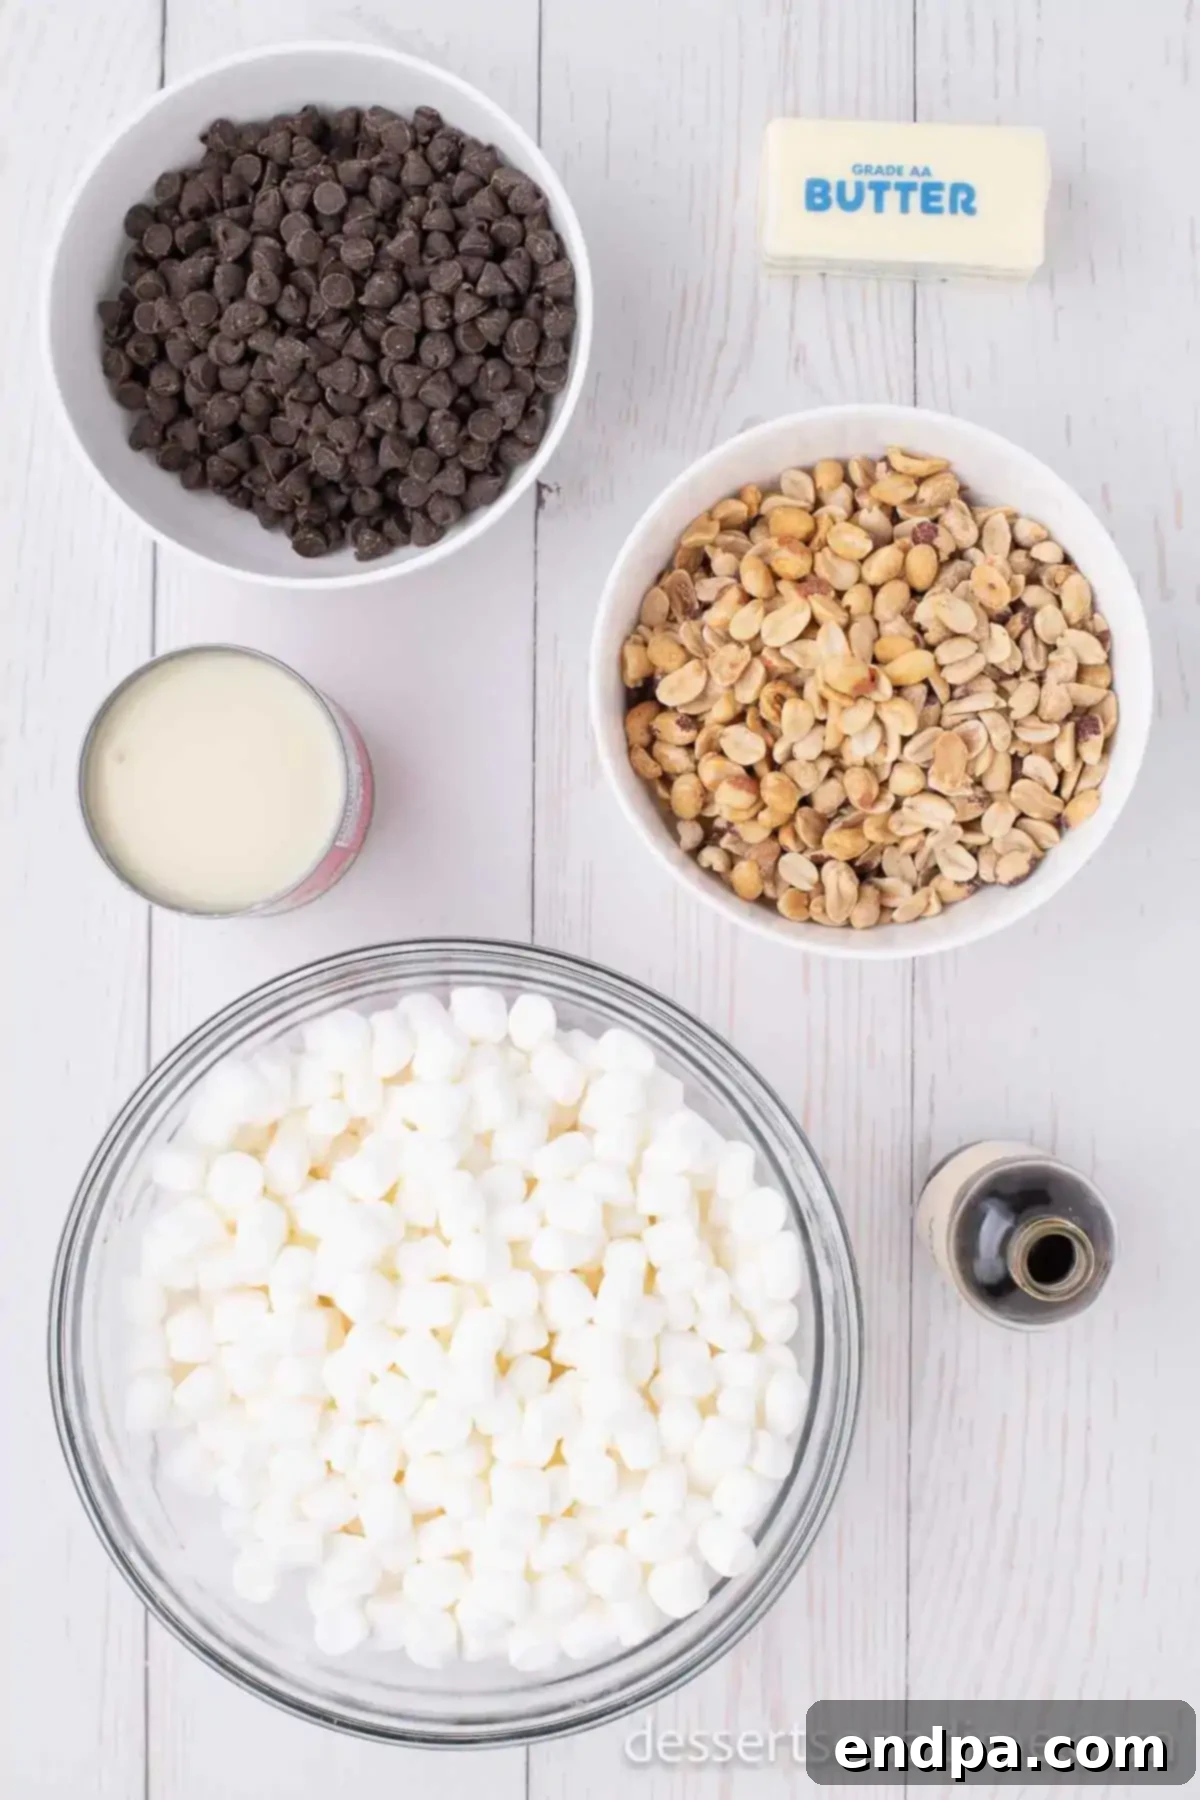
- Semi-Sweet Chocolate Chips: These form the rich, decadent base of your Rocky Road. Semi-sweet offers a balanced chocolate flavor that isn’t overly sugary, pairing beautifully with the other sweet components. You can certainly experiment with milk chocolate for a sweeter profile or dark chocolate for a more intense, sophisticated taste.
- Butter: A small amount of butter adds a luscious creaminess and helps achieve that smooth, melt-in-your-mouth texture in your chocolate fudge base. It also contributes to the candy’s overall richness.
- Sweetened Condensed Milk: This is the secret ingredient that binds everything together, creating a perfectly smooth and fudgy consistency without the need for complex candy-making techniques. It adds both sweetness and a wonderful creaminess.
- Dry Roasted Peanuts: The peanuts provide the essential crunch and a delightful salty contrast that is characteristic of Rocky Road. Dry roasted peanuts are preferred for their intense flavor and crisp texture. If you have allergies or prefer other nuts, feel free to substitute.
- Mini Marshmallows: These soft, pillowy additions are what give Rocky Road its signature chewy texture and visual appeal. Mini marshmallows are ideal as they distribute evenly throughout the mixture, ensuring every bite is perfectly balanced.
The complete, detailed list with exact measurements can be found in the recipe card below.
How to Make Rocky Road Candy Step by Step
Making this Rocky Road Candy is a straightforward process, perfect for a fun afternoon activity or a quick dessert creation. Follow these simple steps for a flawless batch:
- Step 1: Prepare Your Pan. Begin by lining a 13×9 inch baking pan with parchment paper or wax paper. Ensure the paper extends slightly over the edges, creating “handles” that will make it incredibly easy to lift the set candy out later. This step is crucial for effortless removal and cleanup.
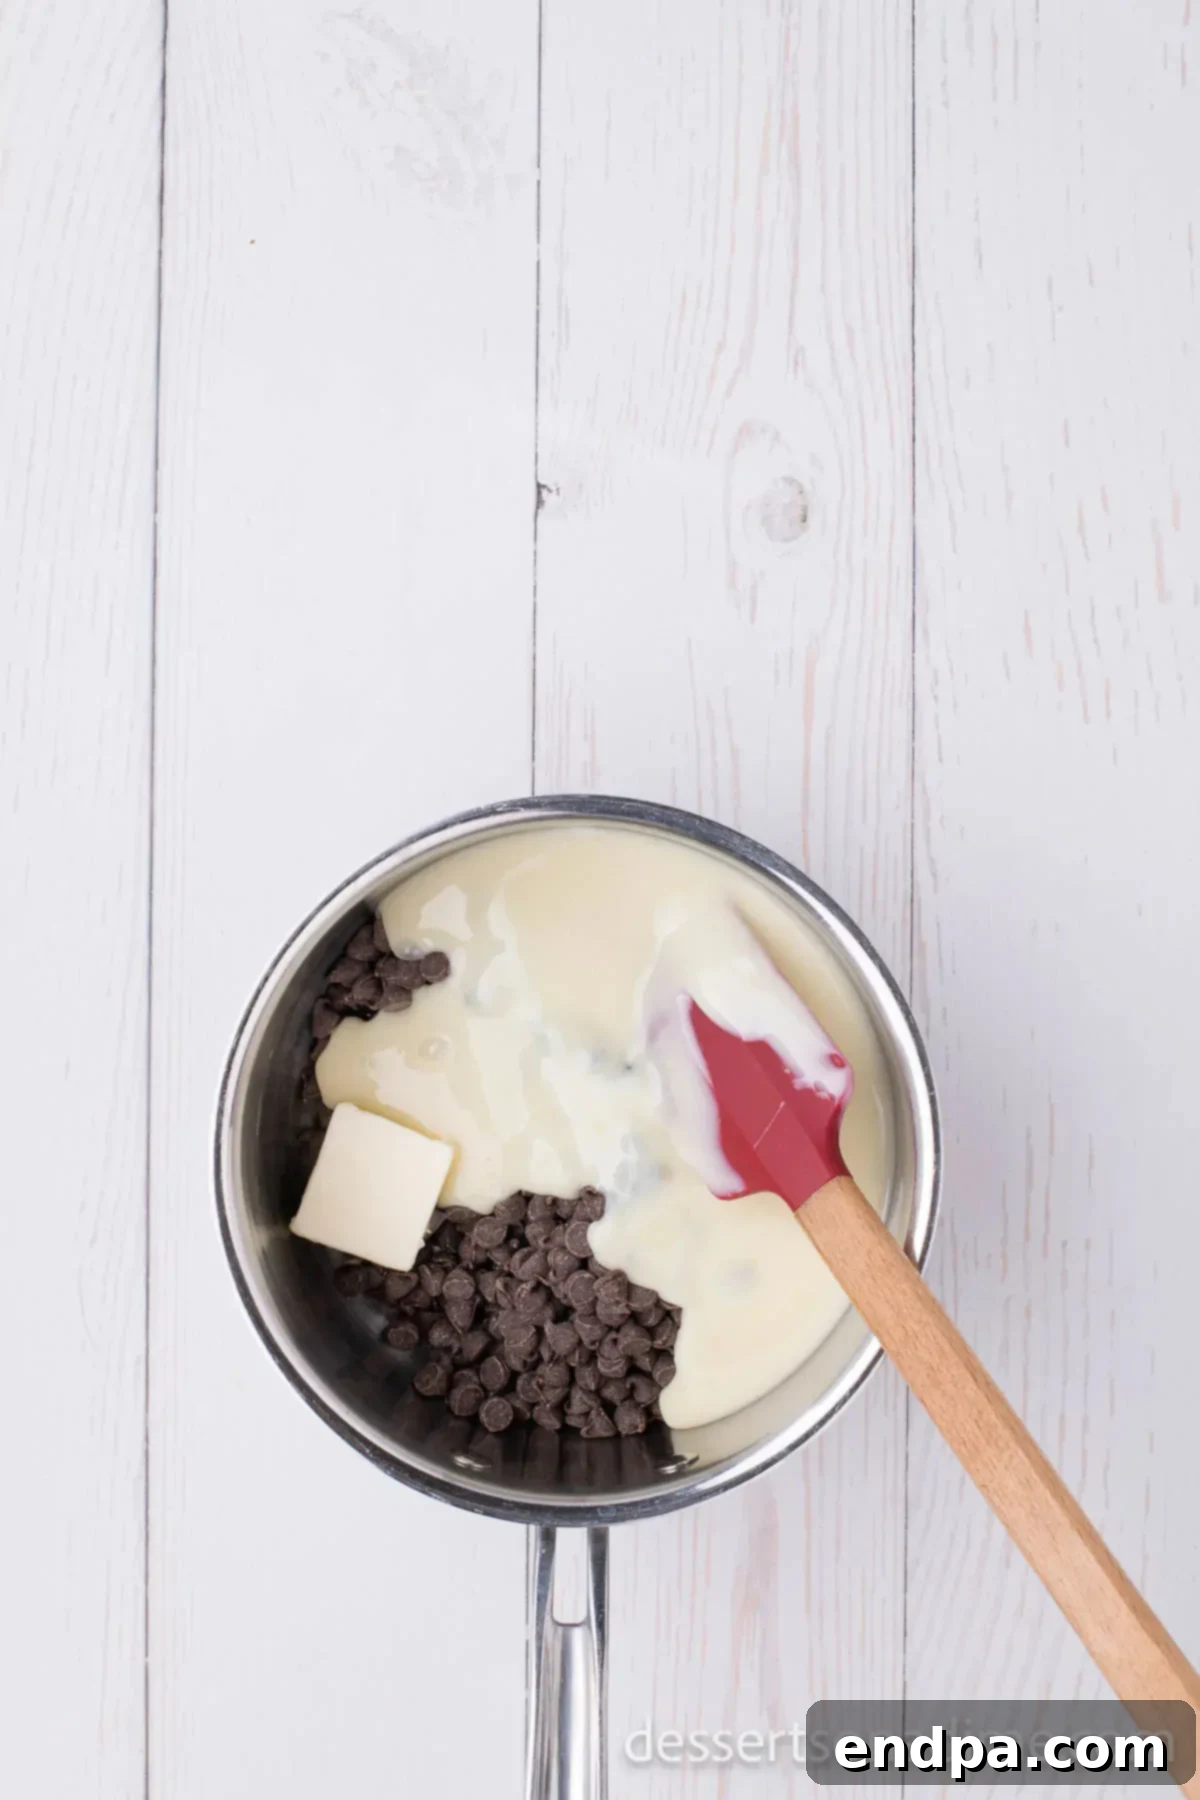
Step 2: Create the Chocolate Base. In a medium to large saucepan, combine the semi-sweet chocolate chips, butter, and sweetened condensed milk. Place the pan over medium-low heat. Stir constantly using a spatula or spoon to ensure the mixture melts smoothly and evenly. Consistent stirring is key to prevent the chocolate from scorching or sticking to the bottom of the pan.
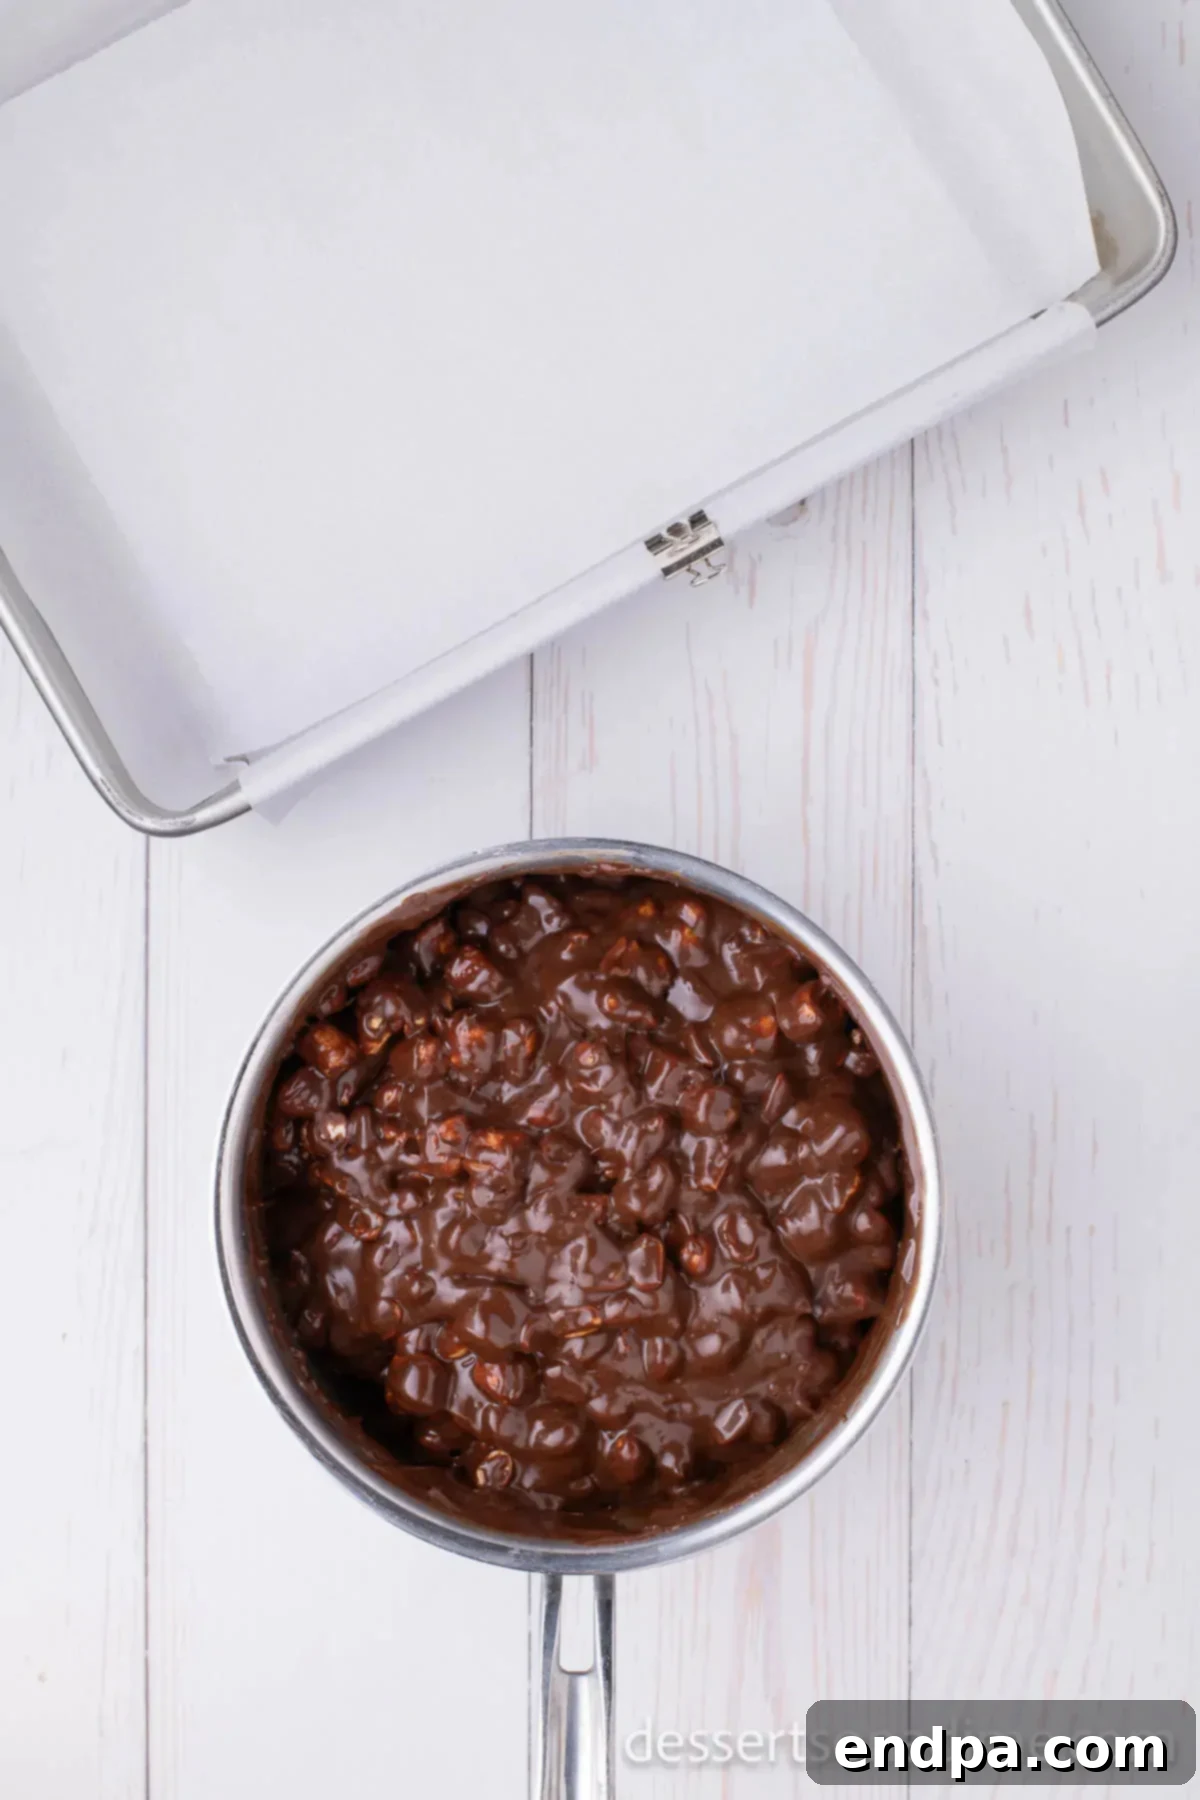
Step 3: Mix in the Goodies. Once the chocolate mixture is fully melted and smooth, remove the pan from the heat. Allow it to cool slightly for a few minutes. This brief cooling period is important before adding the marshmallows, preventing them from completely melting. Then, gently fold in the dry roasted peanuts and mini marshmallows until they are well combined and coated in the rich chocolate. Stir carefully to maintain the marshmallow shape.
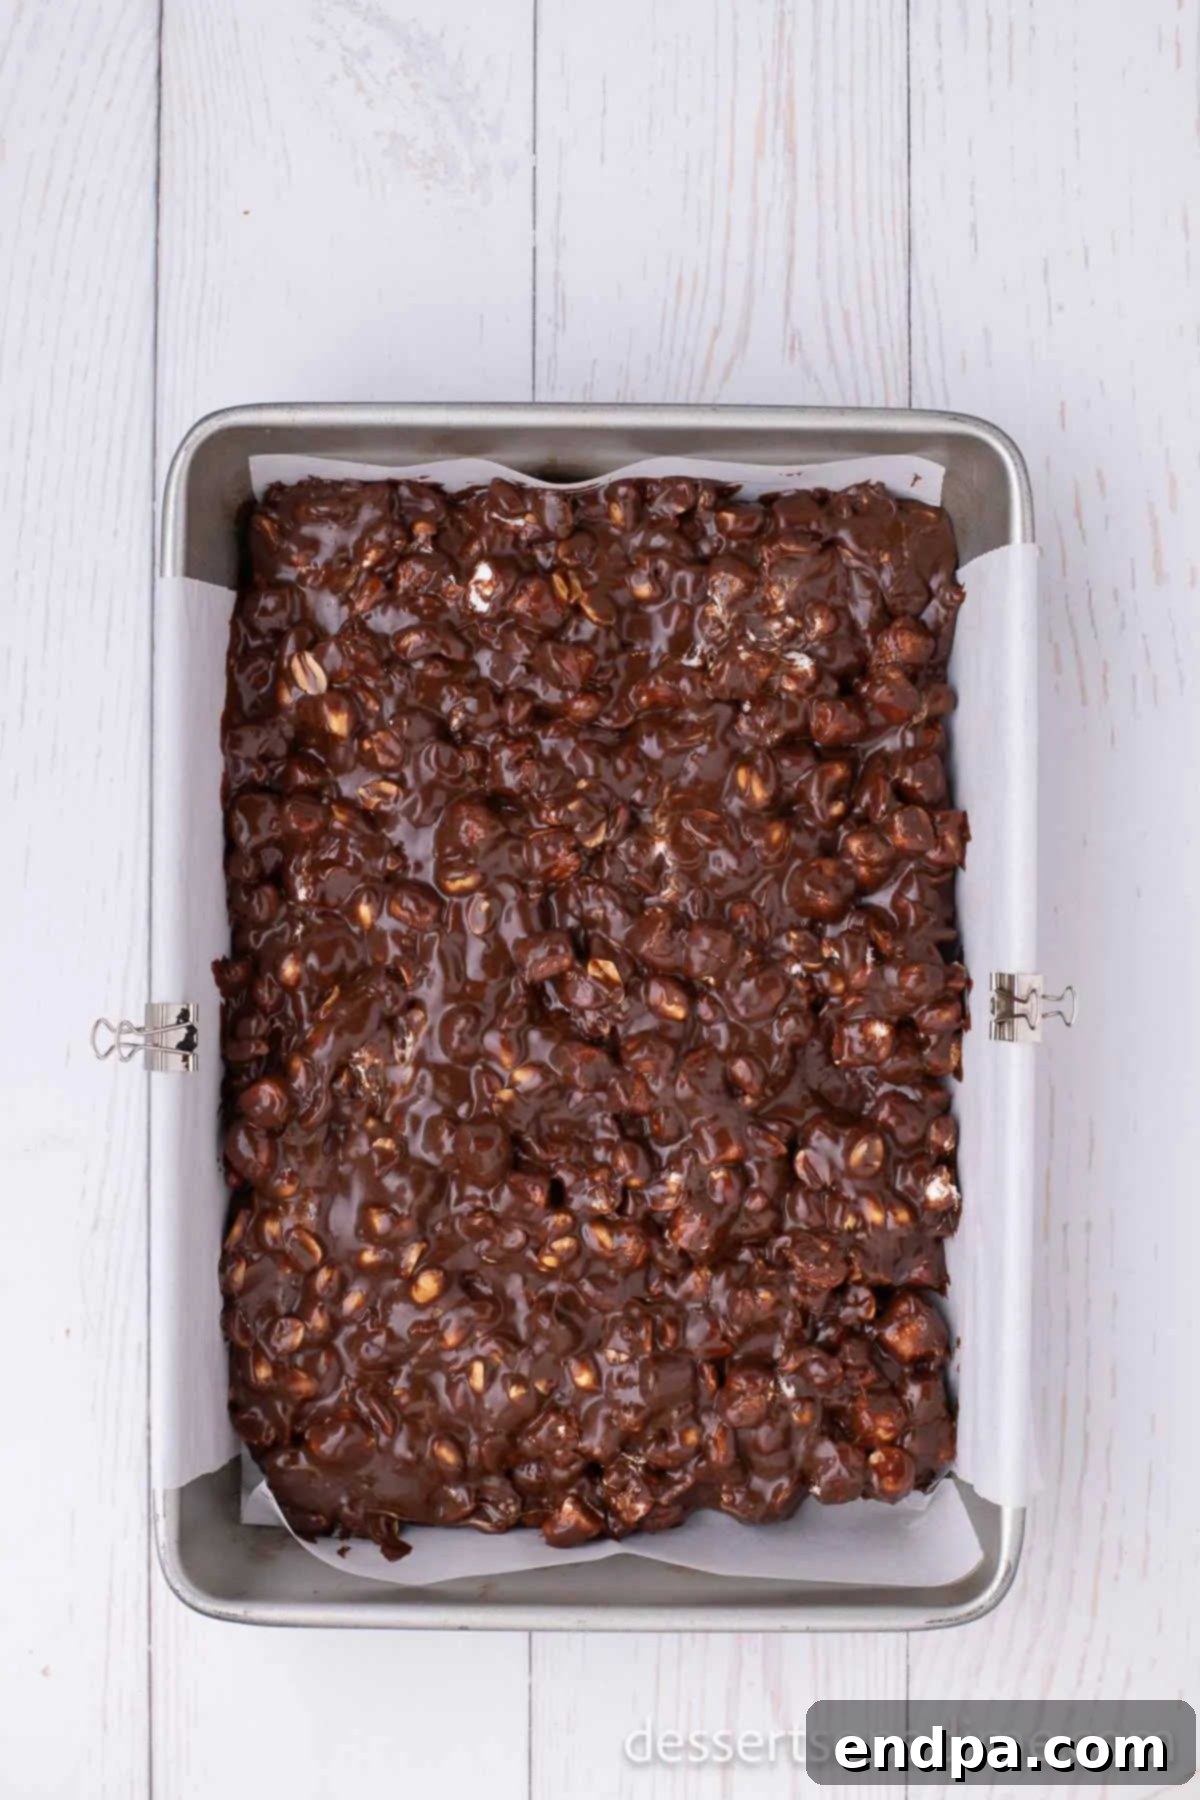
Step 4: Chill to Set. Carefully spread the Rocky Road mixture evenly into your prepared baking pan. You can use an offset spatula or the back of a spoon to smooth the top. Once evenly distributed, place the pan in the refrigerator for 2 to 3 hours, or until the candy is completely set and firm to the touch. This chilling time is essential for developing the perfect texture.
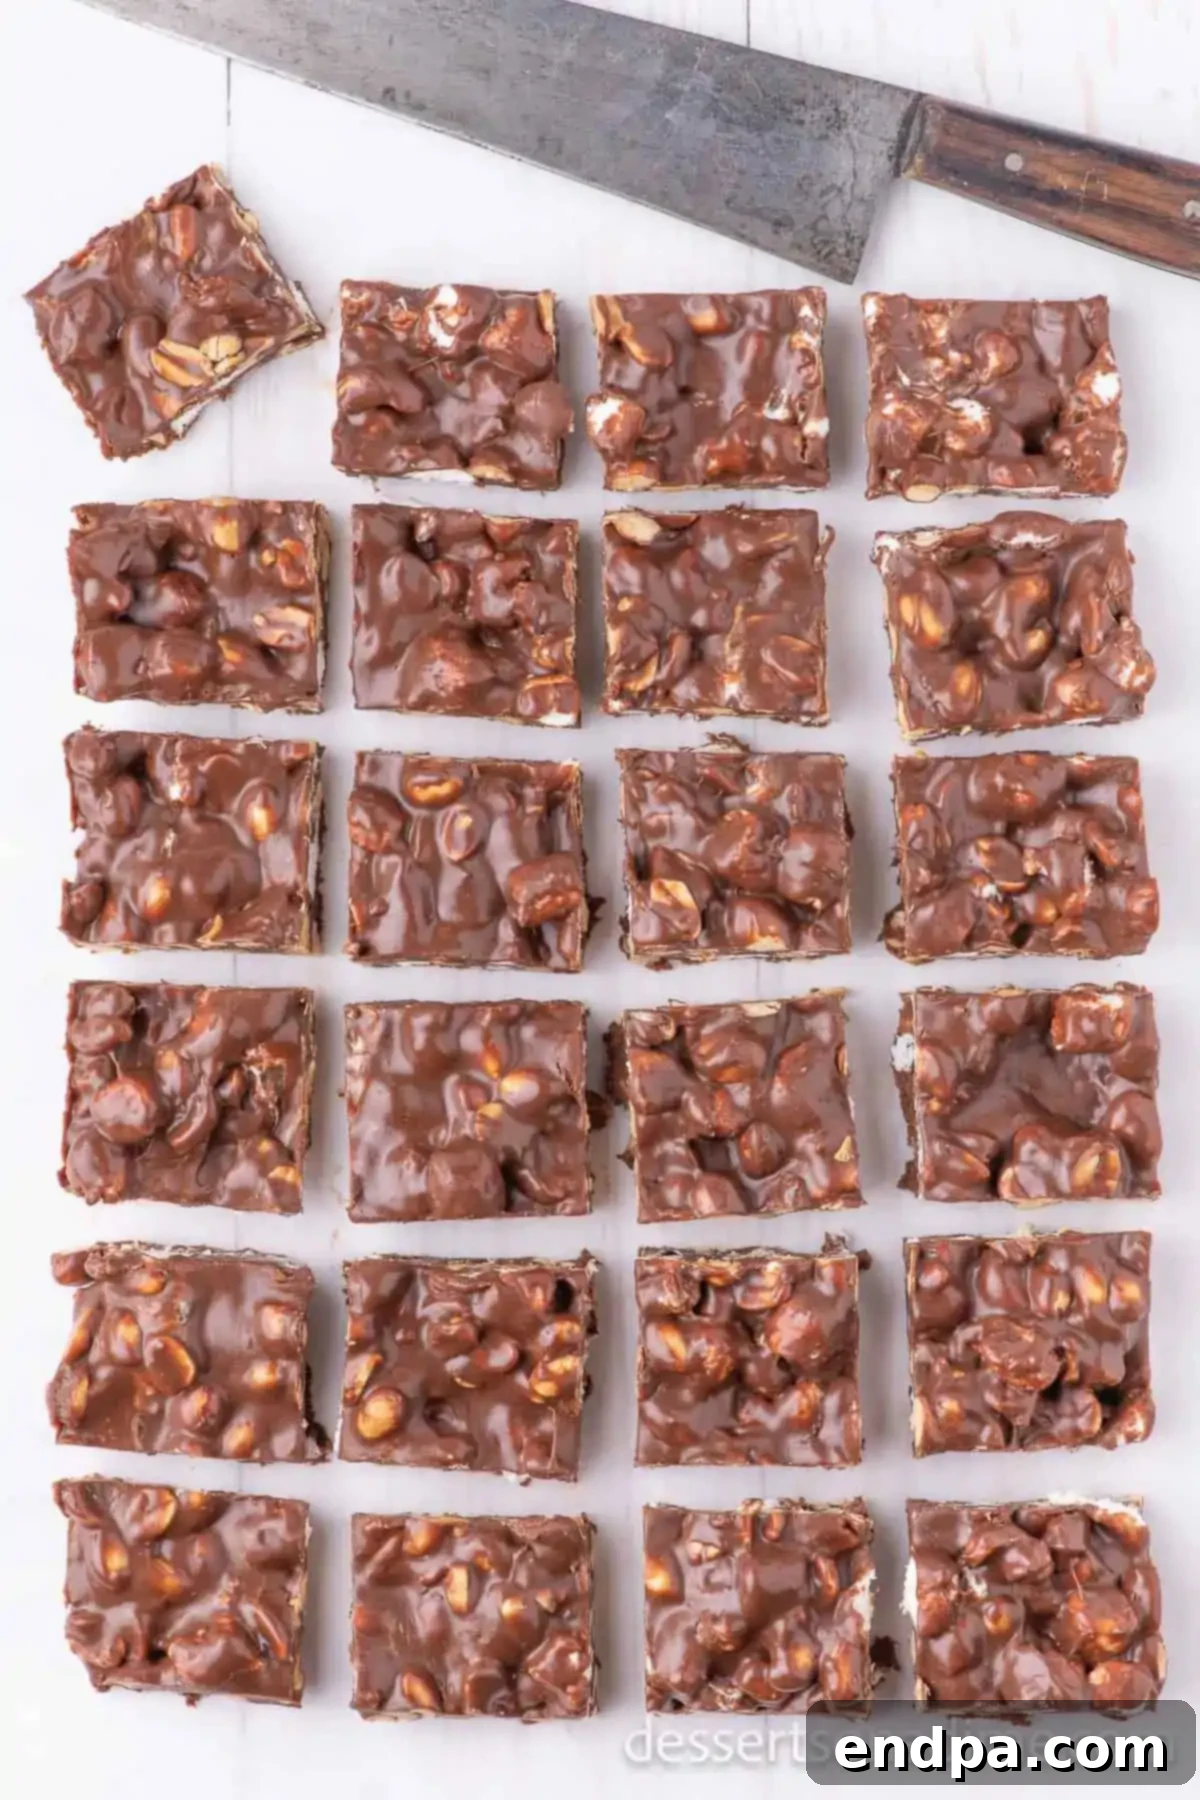
Step 5: Cut and Serve. Once fully chilled and firm, lift the entire slab of Rocky Road from the pan using the parchment paper handles. Place it on a cutting board. Using a sharp knife, cut the candy into desired squares or rectangular bars. For cleaner cuts, you can lightly grease your knife blade. Serve immediately and enjoy your homemade, delectable Rocky Road Candy!
Expert Recipe Tips for Perfect Rocky Road
While this Rocky Road recipe is incredibly simple, a few expert tips can ensure your candy turns out perfectly every time and allows for creative customization:
- Choose Your Nuts Wisely: While peanuts are traditional, feel free to get creative! Chopped pecans, walnuts, almonds, or even cashews can be substituted based on your preference or to accommodate allergies. We highly recommend using salted nuts, as the hint of salt provides a wonderful contrast to the sweet chocolate and truly elevates the flavor profile.
- Mastering the Melt: Always melt the chocolate mixture slowly over low to medium-low heat. Constant stirring is key to achieving a smooth, velvety consistency and preventing the chocolate from scorching or clumping. If you prefer, you can also melt the chocolate chips and butter in a microwave-safe bowl in 30-second intervals, stirring after each, then stir in the condensed milk.
- The Importance of a Lined Pan: Lining your baking pan with parchment paper or wax paper is not just a suggestion; it’s a game-changer! It ensures effortless removal of the set candy and makes cleanup a breeze.
- Non-Stick Assistance: When spreading the sticky Rocky Road mixture into the pan, a spoon or spatula sprayed lightly with non-stick cooking spray can be incredibly helpful. It prevents the mixture from adhering to your utensil, making it easier to spread evenly.
- Customize Your Chocolate: Don’t limit yourself to semi-sweet chocolate chips. Feel free to use dark chocolate chips for a richer, more intense flavor, or milk chocolate chips for a sweeter, creamier taste. A combination of different chocolate types can also create a unique depth of flavor.
- Elevate with Sea Salt: For an extra gourmet touch, consider sprinkling a pinch of flaky sea salt over the top of the Rocky Road fudge once it’s spread into the pan, before chilling. This enhances the sweet and salty dynamic even further.
- Perfect Marshmallow Placement: To prevent your mini marshmallows from melting completely, ensure you remove the chocolate mixture from the heat and allow it to cool slightly before folding them in. This helps them retain their shape and chewy texture.
- Add More Flavor and Texture: Beyond nuts and marshmallows, consider adding other mix-ins like dried cranberries or cherries, crushed pretzels for extra saltiness, shredded coconut, or even your favorite crushed cookies or candies. The possibilities are endless!
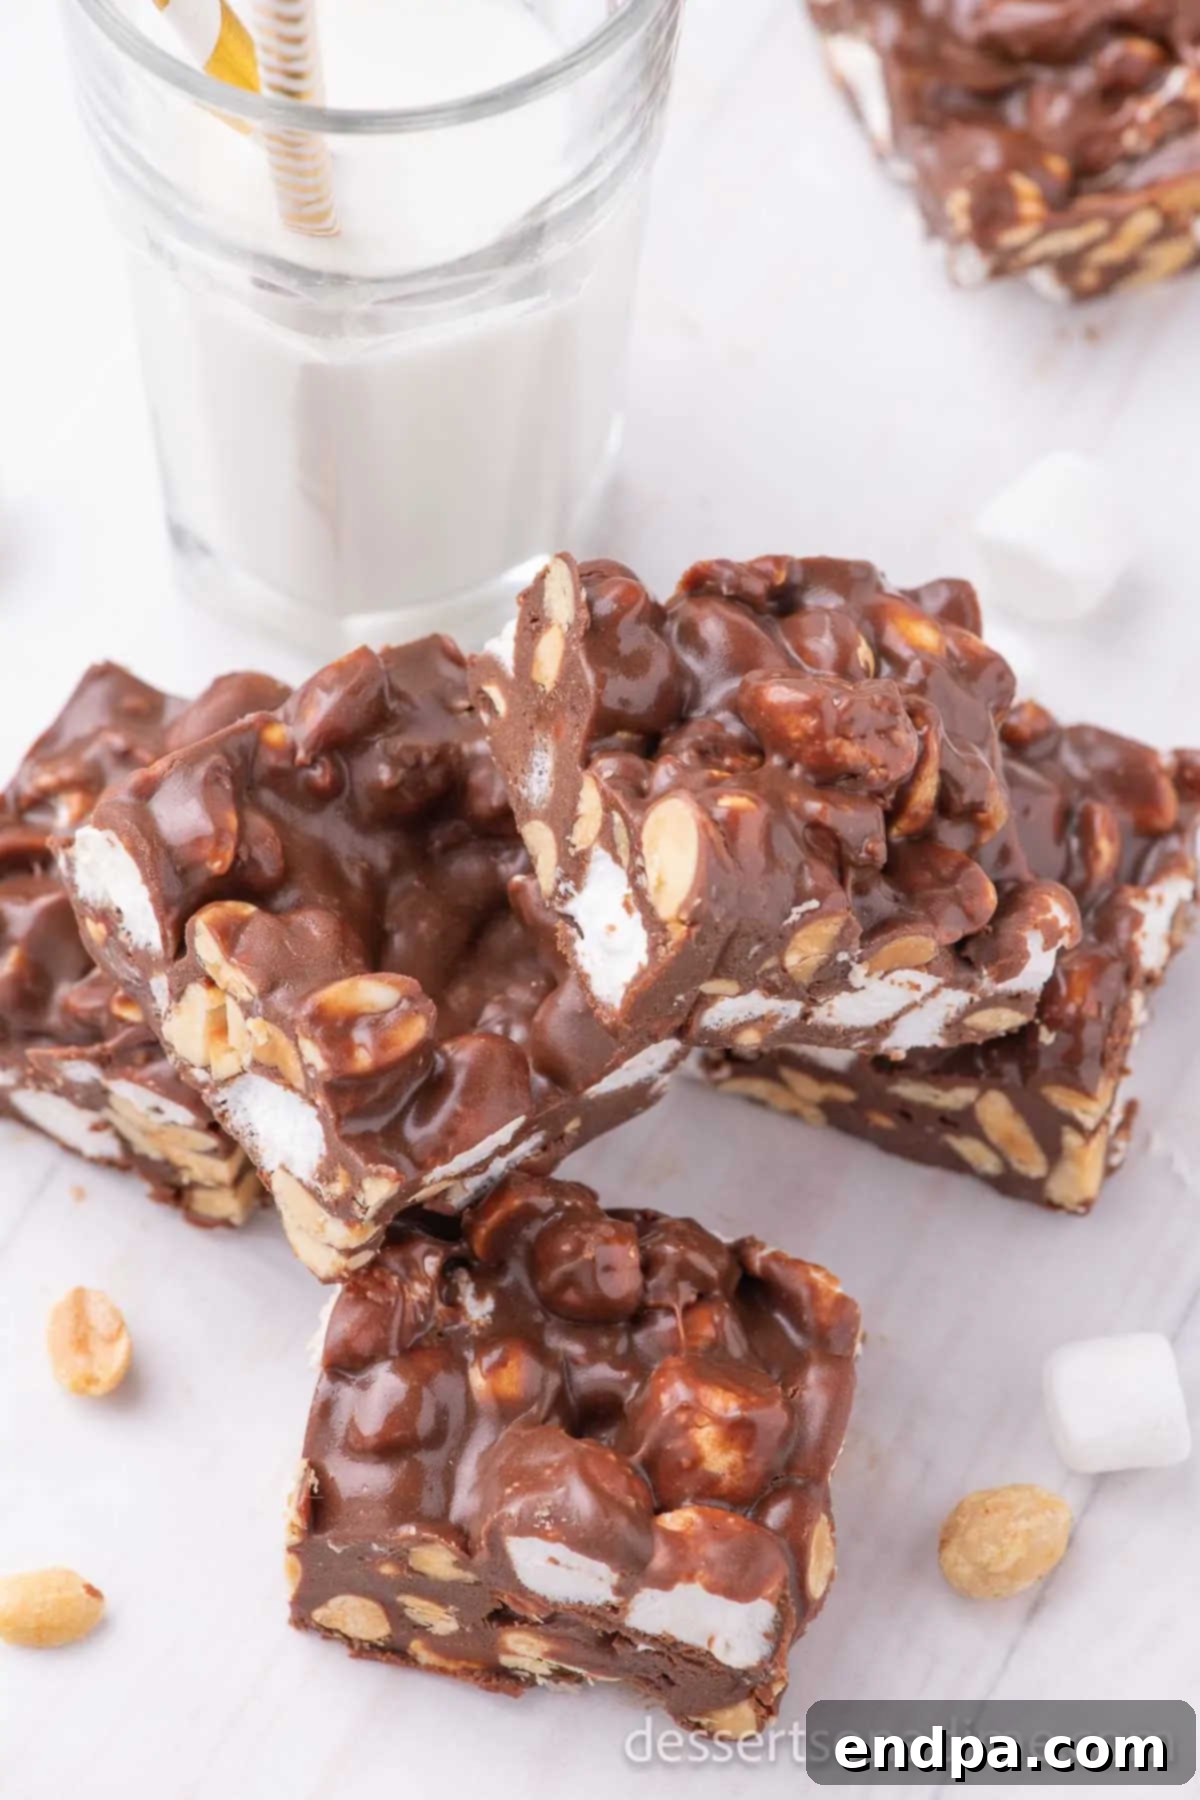
Storage and Freezing Rocky Road Candy
Proper storage ensures your homemade Rocky Road Candy remains fresh and delicious for as long as possible. Given how quickly this decadent treat tends to disappear in our home, you might not have many leftovers, but it’s always good to be prepared!
Refrigeration
Once your Rocky Road Candy has been cut into squares, any leftovers should be stored in an airtight container in the refrigerator. When stored correctly, it will maintain its optimal freshness and texture for at least 1 week. Keeping it refrigerated helps the chocolate stay firm and prevents the marshmallows from becoming too sticky. You can stack the pieces, but placing a small sheet of wax paper between layers can help prevent sticking.
This easy-to-make, truly decadent treat is a family favorite for a reason, so enjoy it knowing it stores well!
How to Freeze
For longer-term storage, Rocky Road Fudge freezes exceptionally well, allowing you to prepare it ahead of time, especially during busy holiday seasons. You can freeze this candy for up to a month without compromising its quality.
To freeze, first ensure the Rocky Road candy has come to room temperature after being chilled and cut into slices. Then, arrange the slices in a single layer on a baking sheet lined with parchment paper and flash freeze for about 30 minutes to an hour until firm. This prevents them from sticking together. Once individually firm, transfer the slices to an airtight freezer-safe container. I also recommend placing small squares of wax paper in between the fudge slices when layering them in the container; this further helps prevent sticking and makes it easy to grab just one piece at a time.
When you’re ready to enjoy, simply remove the desired amount from the freezer and let it thaw in the refrigerator or at room temperature for a short while until softened enough to eat. Freezing Rocky Road is a fantastic way to prepare for future events or simply to always have a delightful treat on hand.
Frequently Asked Questions About Rocky Road
Here are some common questions you might have about making and enjoying Rocky Road Candy:
- Can I use different kinds of chocolate? Yes, absolutely! While semi-sweet is traditional, you can easily substitute milk chocolate for a sweeter candy or dark chocolate for a richer, less sweet version. White chocolate can also be used, though it will change the flavor profile significantly.
- What nuts can I use instead of peanuts? Any chopped nuts will work beautifully! Almonds, walnuts, pecans, or cashews are all excellent choices. For an extra touch, you can lightly toast them before adding them to the mixture to enhance their flavor.
- How long does rocky road last? When stored in an airtight container in the refrigerator, homemade Rocky Road Candy typically lasts for up to 1 week. If frozen properly, it can last for up to a month.
- Can I make it without marshmallows? While marshmallows are a signature ingredient for Rocky Road, you can certainly omit them if you prefer. The candy will still be delicious, more like a simple chocolate fudge with nuts. However, it won’t have the classic “rocky road” texture without the soft, chewy marshmallows.
- Is rocky road a good gift? Yes, homemade Rocky Road Candy makes an excellent gift! Its attractive appearance, delicious taste, and homemade charm are always appreciated. Package it in a decorative box or tin, and it’s perfect for holidays, hostess gifts, or party favors.
More Easy Candy Recipes
If you loved making this simple Rocky Road Candy, you’re in for a treat! Here are more fantastic and easy candy recipes that are perfect for any occasion:
- Old Fashioned Divinity Candy Recipe
- Chocolate Peanut Butter Cups Recipe
- Sugar Cookie Fudge Recipe
- Crock Pot Fudge
- Homemade Twix Bars Recipe
- Homemade Mounds Bar Recipe
Now it’s your turn to whip up this incredibly easy and delicious Rocky Road Candy recipe. We’re confident it will become a new favorite in your home. Don’t forget to leave a comment once you’ve tried it!
Rocky Road Candy
Ingredients
- 12 ounces Semi Sweet Chocolate Chips
- 2 tablespoons Butter
- 14 oz. Sweetened Condensed Milk
- 2.5 cups Dry Roasted Peanuts
- 16 ounce Mini Marshmallows
Instructions
- Line 13×9 pan with parchment or wax paper.
- Melt chocolate chips, butter and condensed milk in a medium to large pan over medium/low heat, stirring constantly to keep it from scorching.
- Once melted, remove chocolate mixture from heat and allow to cool slightly.
- Stir peanuts and marshmallows into chocolate mixture.
- Spread rocky road mixture into prepared pan.
- Chill until set, approximately 2 – 3 hours.
- Cut into squares and serve.
Recipe Notes
Nutrition Facts
Pin This Now to Remember It Later
Pin Recipe
