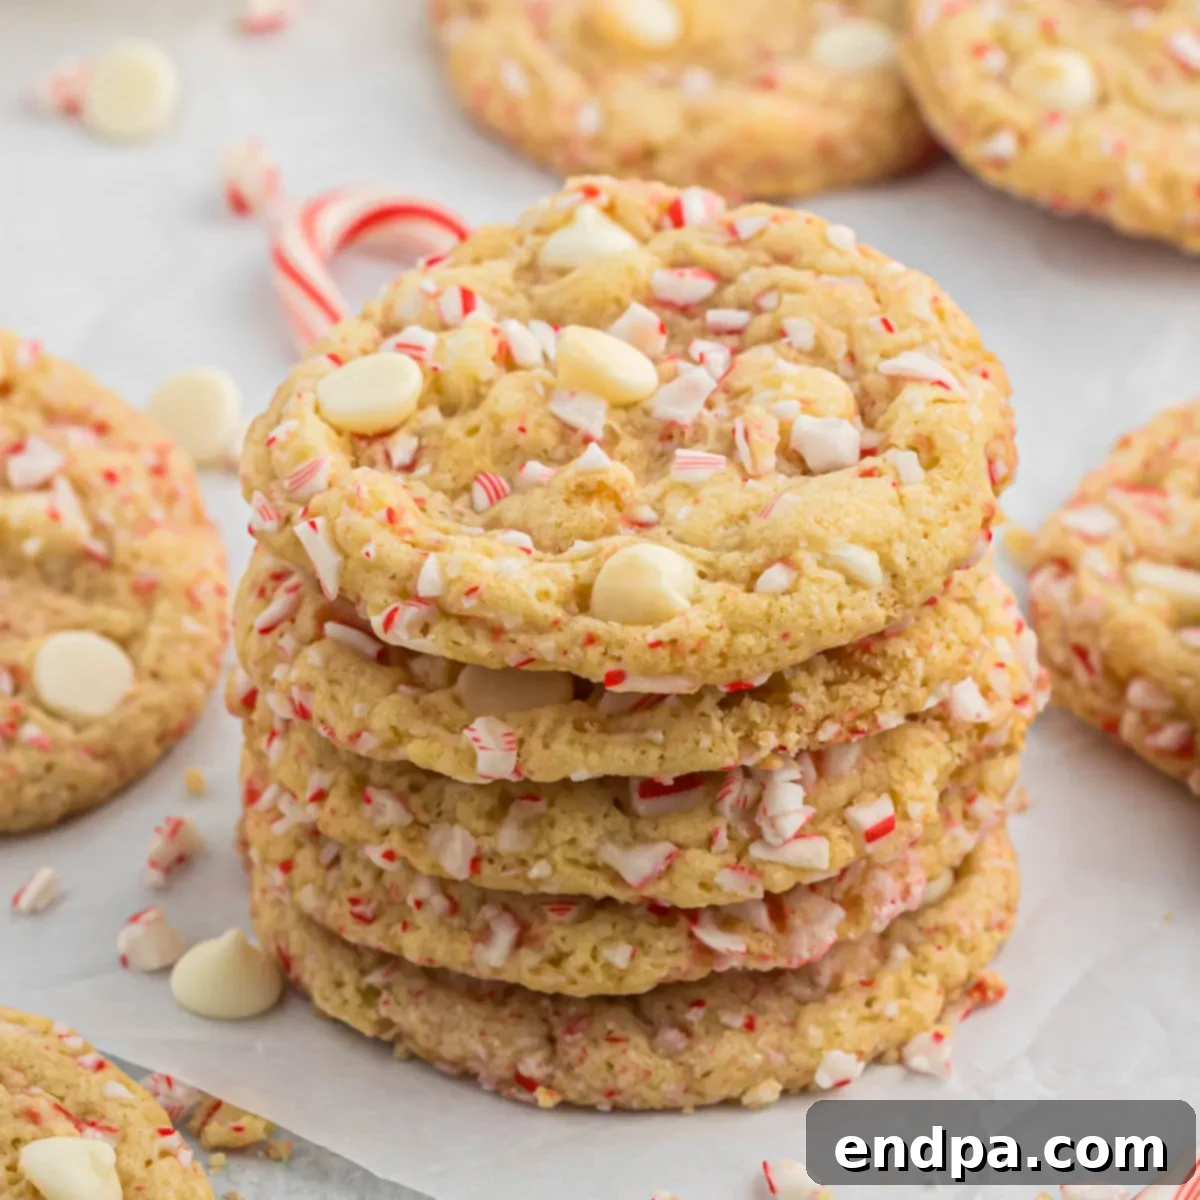
White Chocolate Peppermint Cookies are a quintessential holiday favorite, bringing together the refreshing zing of peppermint with the creamy sweetness of white chocolate. These delightful treats offer a perfect blend of flavors and textures, making them a must-bake for festive gatherings and cozy winter evenings. Each bite delivers a soft, fluffy cookie generously studded with crunchy crushed candy canes and decadent white chocolate chips, creating an irresistible experience for your taste buds.

Beyond their incredible taste, these Peppermint White Chocolate Cookies boast a wonderfully festive appearance, making them ideal for holiday gifting, cookie exchanges, or simply brightening your own dessert table. The vibrant red and white flecks of candy cane against the pale backdrop of white chocolate chips truly capture the spirit of the season. If you’re searching for a simple yet stunning recipe to add to your holiday baking repertoire, look no further than these charming and flavorful cookies.
This recipe also complements other beloved festive treats perfectly. For a deeper dive into peppermint delights, explore our Chocolate Dipped Peppermint Cookies or our wider collection of peppermint desserts. Christmas baking is a joyous tradition, and we also enjoy classics like our hearty Cowboy Cookies Recipe.
Should you crave more of that luxurious white chocolate flavor, be sure to try our indulgent White Chocolate Fondue and our incredibly simple White Chocolate Covered Oreos. These recipes offer versatile ways to enjoy the rich, sweet notes of white chocolate in various forms.
What’s in this post: White Chocolate Peppermint Cookies
- Why You’ll Adore These Cookies
- Essential Ingredients
- Creative Variations
- Easy Step-by-Step Baking Guide
- Expert Baking Tips
- Frequently Asked Questions
- More Delightful Peppermint Recipes
- White Chocolate Peppermint Cookies Full Recipe
Why You’ll Adore These Cookies
- Unmistakable Peppermint Bliss: For anyone who eagerly anticipates the arrival of peppermint season, these cookies are an absolute dream. The infusion of peppermint extract provides that signature cool, minty kick, perfectly complementing the sweetness of the white chocolate and making every bite a refreshing burst of holiday cheer. It’s a flavor profile that instantly transports you to festive winter wonderland.
- Effortless Homemade Perfection: Don’t be intimidated by homemade cookies! This recipe is designed with simplicity in mind, ensuring that even novice bakers can achieve bakery-quality results. With clear instructions and readily available ingredients, you can whip up a batch of these delectable cookies with confidence, making holiday baking a joy rather than a chore.
- Irresistibly Delicious Texture: These aren’t just pretty cookies; they’re incredibly satisfying. The texture is a highlight – soft and wonderfully fluffy on the inside, with perfectly golden edges. The melted white chocolate chips add pockets of creamy richness, while the crushed candy canes provide a delightful crunch, creating a multi-faceted sensory experience that will have everyone reaching for more.
- Visually Stunning for Holidays: Beyond their taste, these cookies are a feast for the eyes. The vibrant specks of red and white from the crushed candy canes, contrasted with the creamy white chocolate, make them visually appealing and undeniably festive. They instantly elevate any holiday cookie platter, making them perfect for parties, gifts, or simply a beautiful addition to your own table.
- A Versatile Crowd-Pleaser: Whether you’re hosting a large holiday gathering, attending a potluck, or just enjoying a quiet evening at home, these White Chocolate Peppermint Cookies are sure to be a hit. Their universal appeal makes them a favorite among both children and adults, ensuring there are no leftovers. They also make thoughtful and much-appreciated homemade gifts for friends, family, and neighbors.
Essential Ingredients
Crafting these sensational white chocolate peppermint cookies requires a thoughtful selection of staple baking ingredients, each playing a crucial role in achieving their perfect flavor and texture. Starting with high-quality components ensures the best possible outcome for your festive treats.
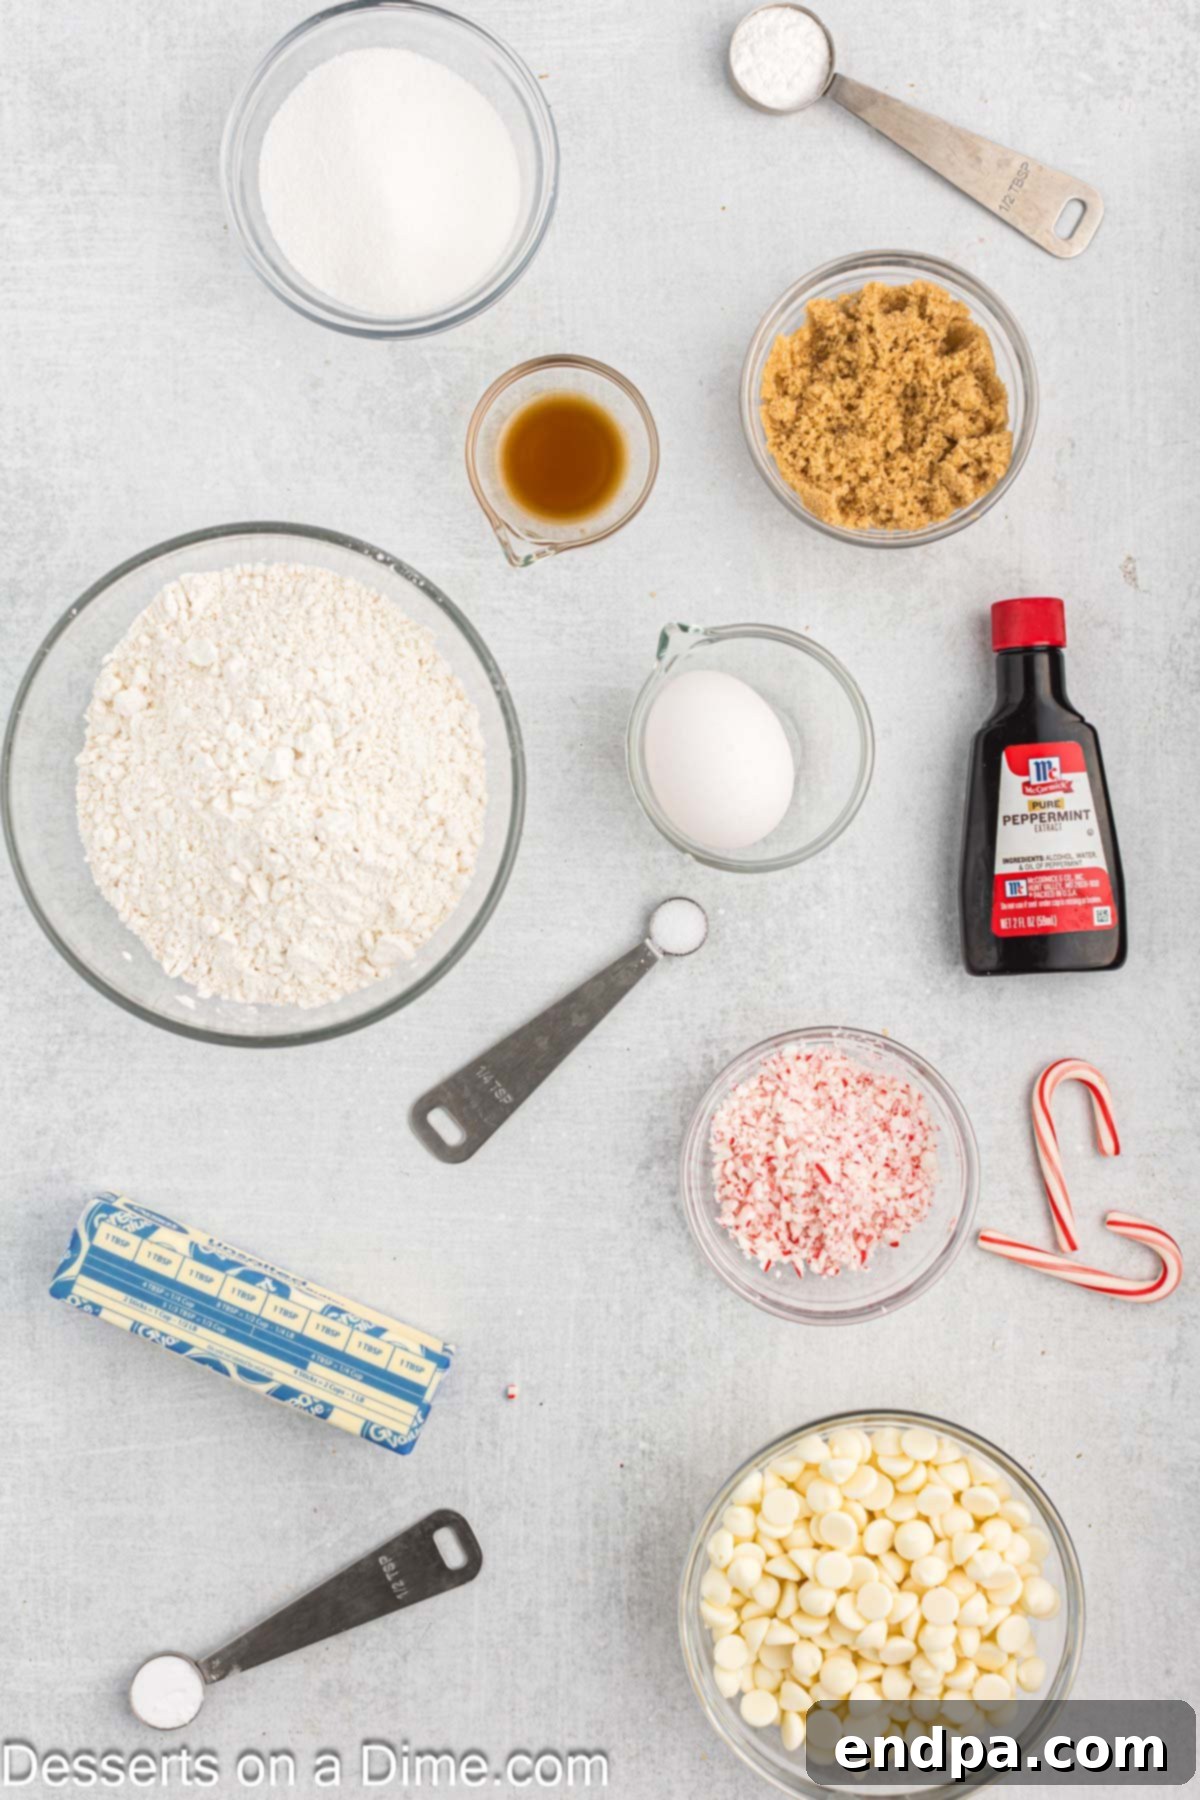
- All-Purpose Flour: The foundational ingredient, providing structure and body to our cookies. Ensure it’s properly measured for the right consistency.
- Baking Soda: A leavening agent that helps the cookies rise and achieve that desirable soft, fluffy texture.
- Brown Sugar: Contributes to the cookie’s chewiness and adds a subtle molasses flavor that pairs beautifully with the other ingredients.
- Granulated Sugar: Provides sweetness and helps with the crispness of the cookie edges.
- Large Egg: Acts as a binder, holding the ingredients together and adding richness.
- Peppermint Extract: The star flavor! Use a good quality extract for an authentic and refreshing peppermint taste.
- Vanilla Extract: Enhances all the other flavors, adding warmth and depth to the cookie base.
- White Chocolate Chips: These provide creamy, sweet pockets throughout the cookie, a perfect counterpoint to the mint.
- Miniature Candy Canes: Crushed and divided, they offer a delightful crunch, a burst of intense peppermint, and a festive visual appeal.
For the precise measurements and a complete ingredient list, please refer to the detailed recipe card conveniently located at the bottom of this post. It contains all the information you’ll need to gather your supplies before you begin baking.
Creative Variations for Your Peppermint Cookies
While the classic White Chocolate Peppermint Cookie is undeniably delicious, there’s always room for a little culinary creativity! Here are some fantastic variations to customize this recipe and make it truly your own, catering to different tastes and occasions:
- Alternative Peppermint Candies: If miniature candy canes aren’t available or you prefer a different texture, feel free to substitute them with other crushed peppermint candies. Peppermint disks or starlight mints can work just as well, providing that same cooling minty flavor and appealing crunch.
- Chocolate Chip Swaps: Not a fan of white chocolate, or just want to try something different? Swap out the white chocolate chips for an equal amount of milk chocolate chips, semi-sweet chocolate chips, or even dark chocolate chips for a richer, more intense chocolate-peppermint experience. A combination of different chocolate types can also be wonderfully decadent!
- Nutty Additions: Introduce a delightful textural contrast by adding your favorite nuts to the cookie dough. Macadamia nuts, pecans, or walnuts would all be excellent choices, contributing a buttery richness and a satisfying crunch that complements the peppermint and chocolate flavors beautifully. Chop them finely for even distribution.
- Chocolate Drizzle Finish: For an extra touch of elegance and flavor, melt some white or dark chocolate and drizzle it artfully over the cooled cookies. This not only enhances the visual appeal but also adds another layer of chocolatey goodness.
- Peppermint Glaze: Instead of, or in addition to, the candy cane sprinkle, consider a simple peppermint glaze. Whisk powdered sugar with a tiny bit of milk or water and a drop or two of peppermint extract until smooth. Drizzle over cooled cookies for an extra minty kick.
- Cocoa Powder for Chocolate Base: For a chocolate cookie base, replace a small portion (e.g., ¼ cup) of the all-purpose flour with unsweetened cocoa powder. This will create a darker, more intensely chocolatey cookie that pairs wonderfully with the white chocolate and peppermint.
- Festive Sprinkles: After adding the extra chocolate chips, or even on top of a chocolate drizzle, sprinkle some festive red and green sprinkles for an even more vibrant holiday look.
Easy Step-by-Step Baking Guide
Baking these delightful White Chocolate Peppermint Cookies is a straightforward process when you follow these simple steps. Precision and attention to detail at each stage will ensure your cookies come out perfectly soft, flavorful, and wonderfully festive.
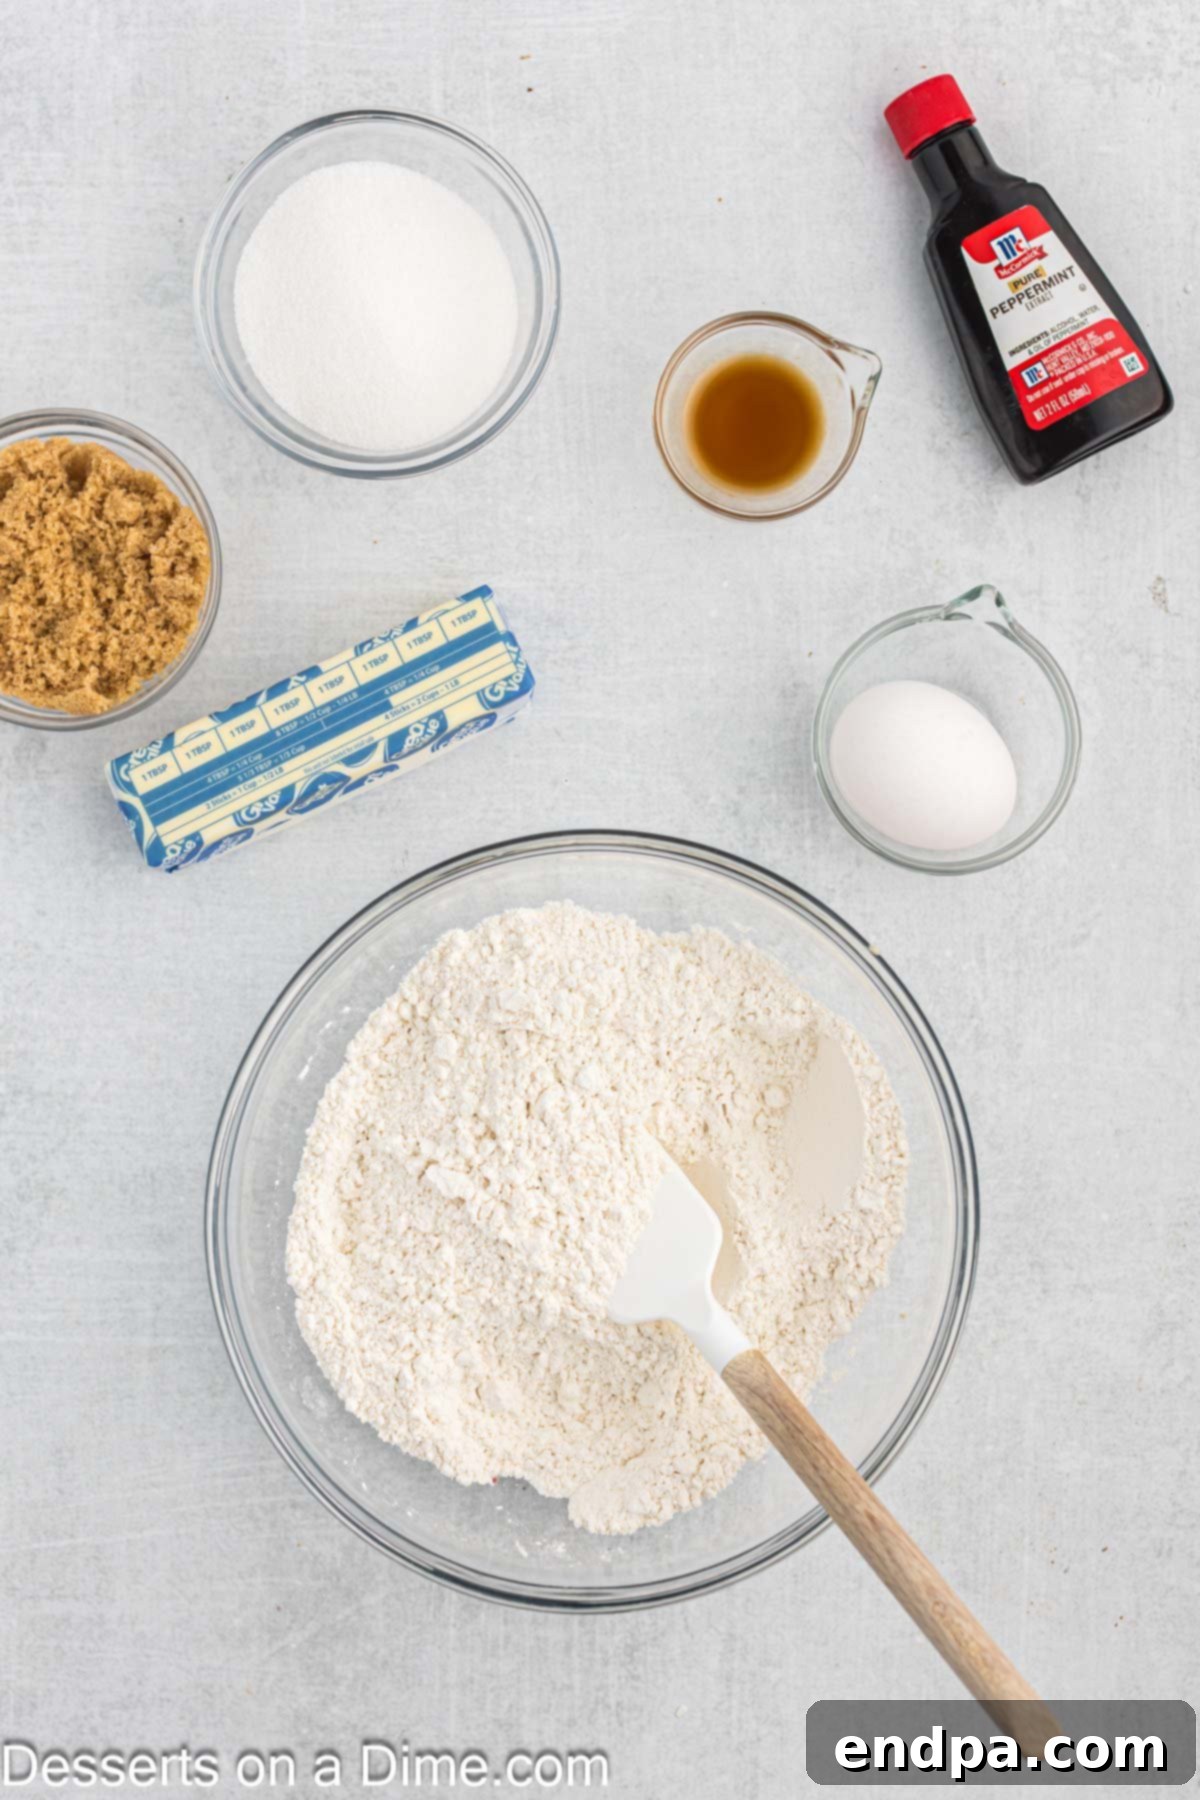
Step 1: Prepare Dry Ingredients. Begin by preheating your oven to 350°F (175°C). In a medium-sized mixing bowl, thoroughly combine your dry ingredients: all-purpose flour, baking powder, baking soda, and salt. Whisk them together until they are well integrated, then set this bowl aside. This ensures even distribution of leavening agents throughout the dough.
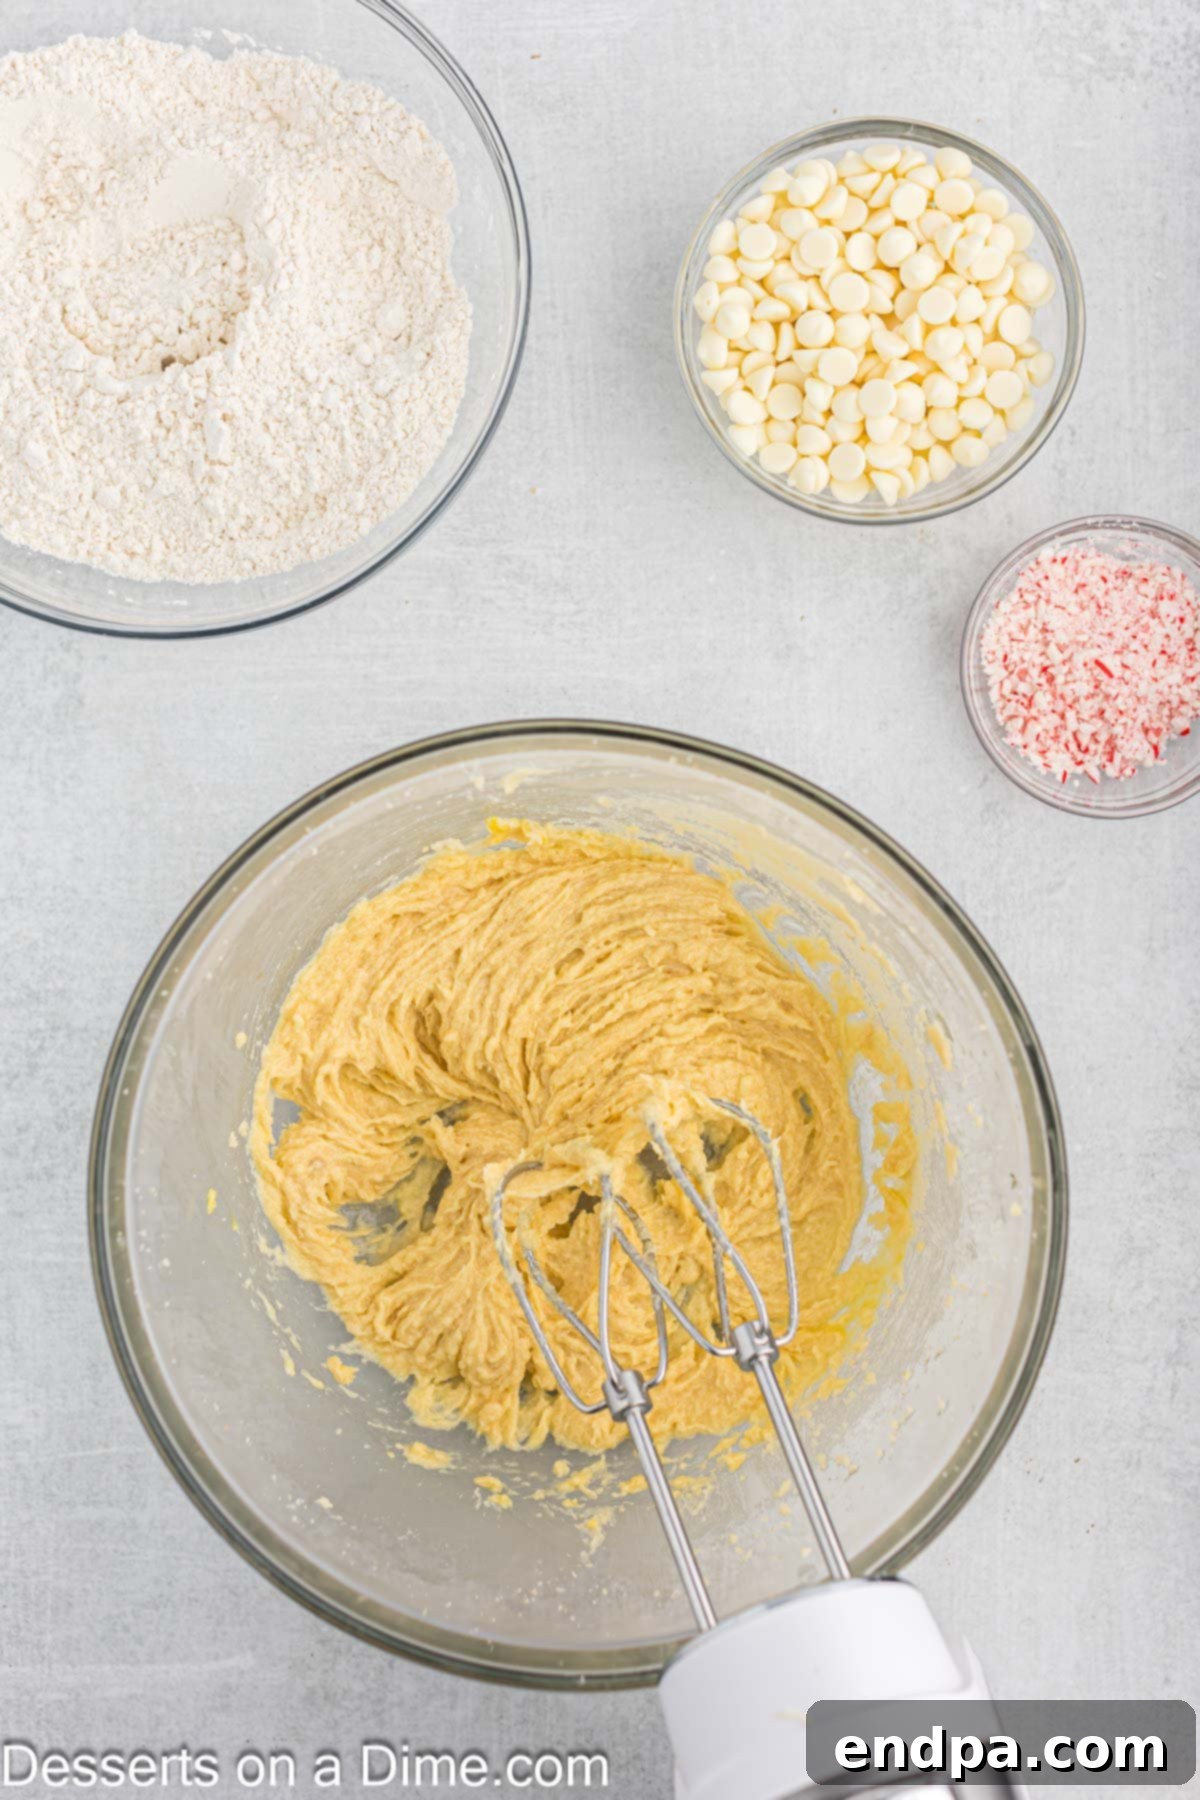
Step 2: Cream Wet Ingredients. In a separate, larger mixing bowl, using either a stand mixer fitted with a paddle attachment or an electric hand mixer, cream together the softened butter with both the brown sugar and granulated sugar. Beat on medium speed until the mixture becomes light, fluffy, and pale in color, typically taking 2-3 minutes. This step incorporates air, making your cookies tender. Next, add the large egg, peppermint extract, and vanilla extract, mixing until just combined and smooth.
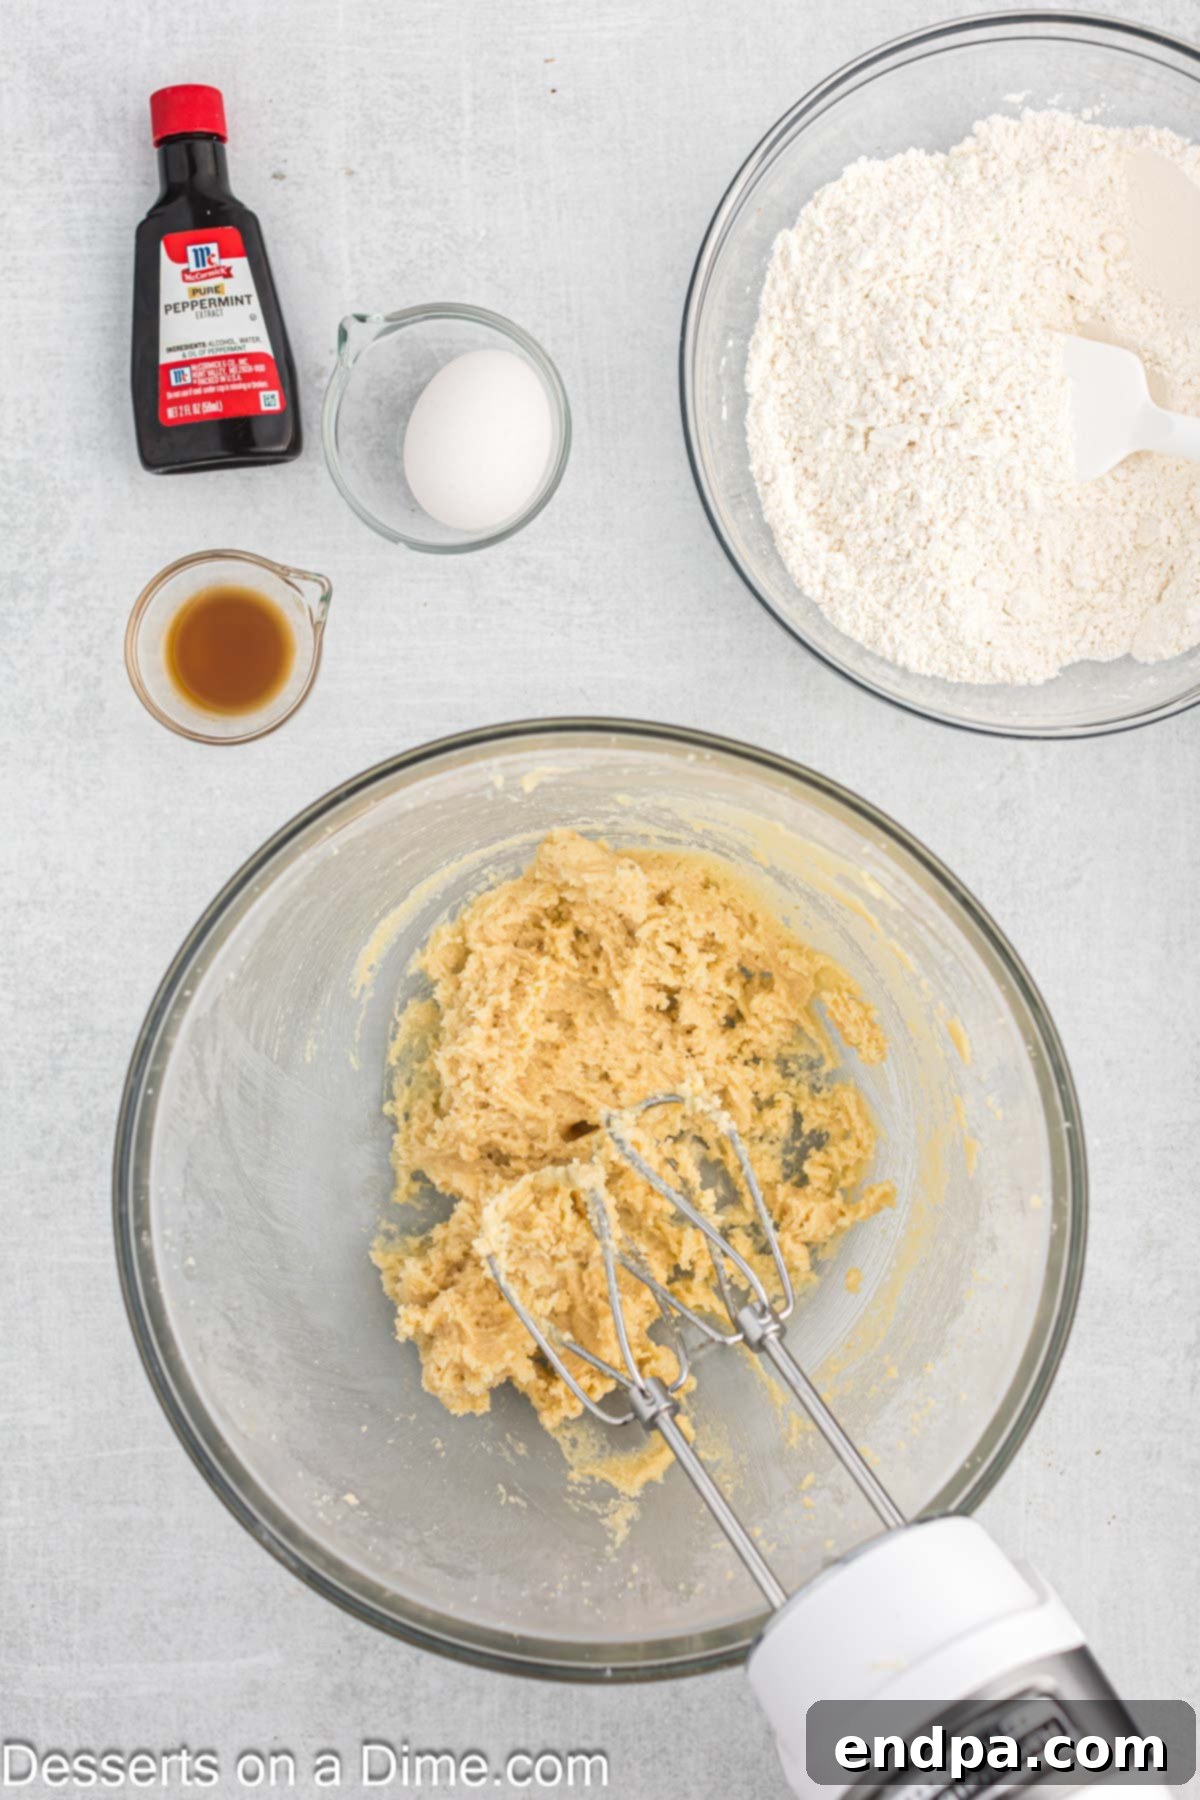
Step 3: Combine Wet and Dry. Reduce your mixer speed to low. Gradually add the prepared dry ingredient mixture into the wet ingredients, mixing only until just combined. Be careful not to overmix the dough, as overworking the flour can result in tough cookies. Stop mixing as soon as no streaks of flour are visible.
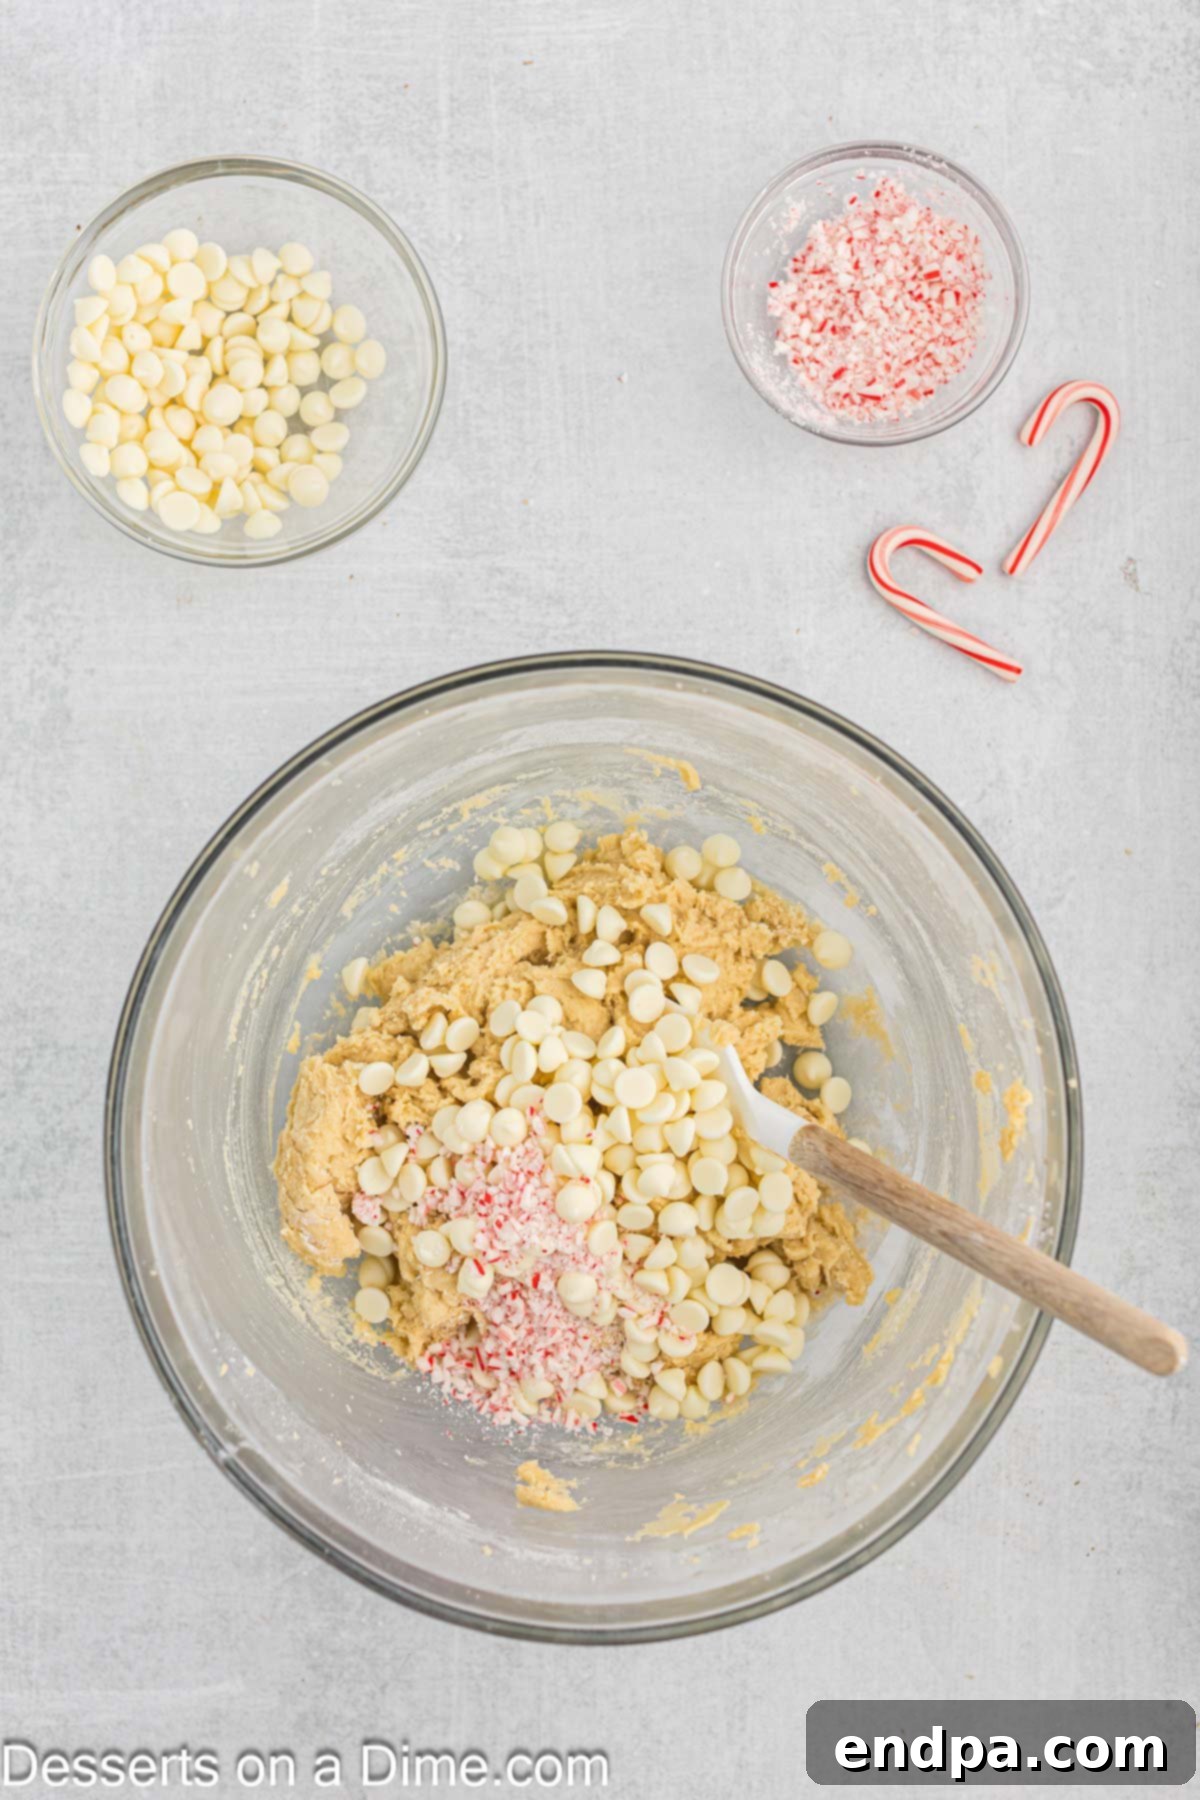
Step 4: Fold in Flavorful Mix-ins. Remove the bowl from the mixer. Gently fold in half of the crushed candy canes and approximately ¾ cup of the white chocolate chips by hand. Use a spatula to carefully incorporate these delicious additions without crushing them too much or deflating the dough.
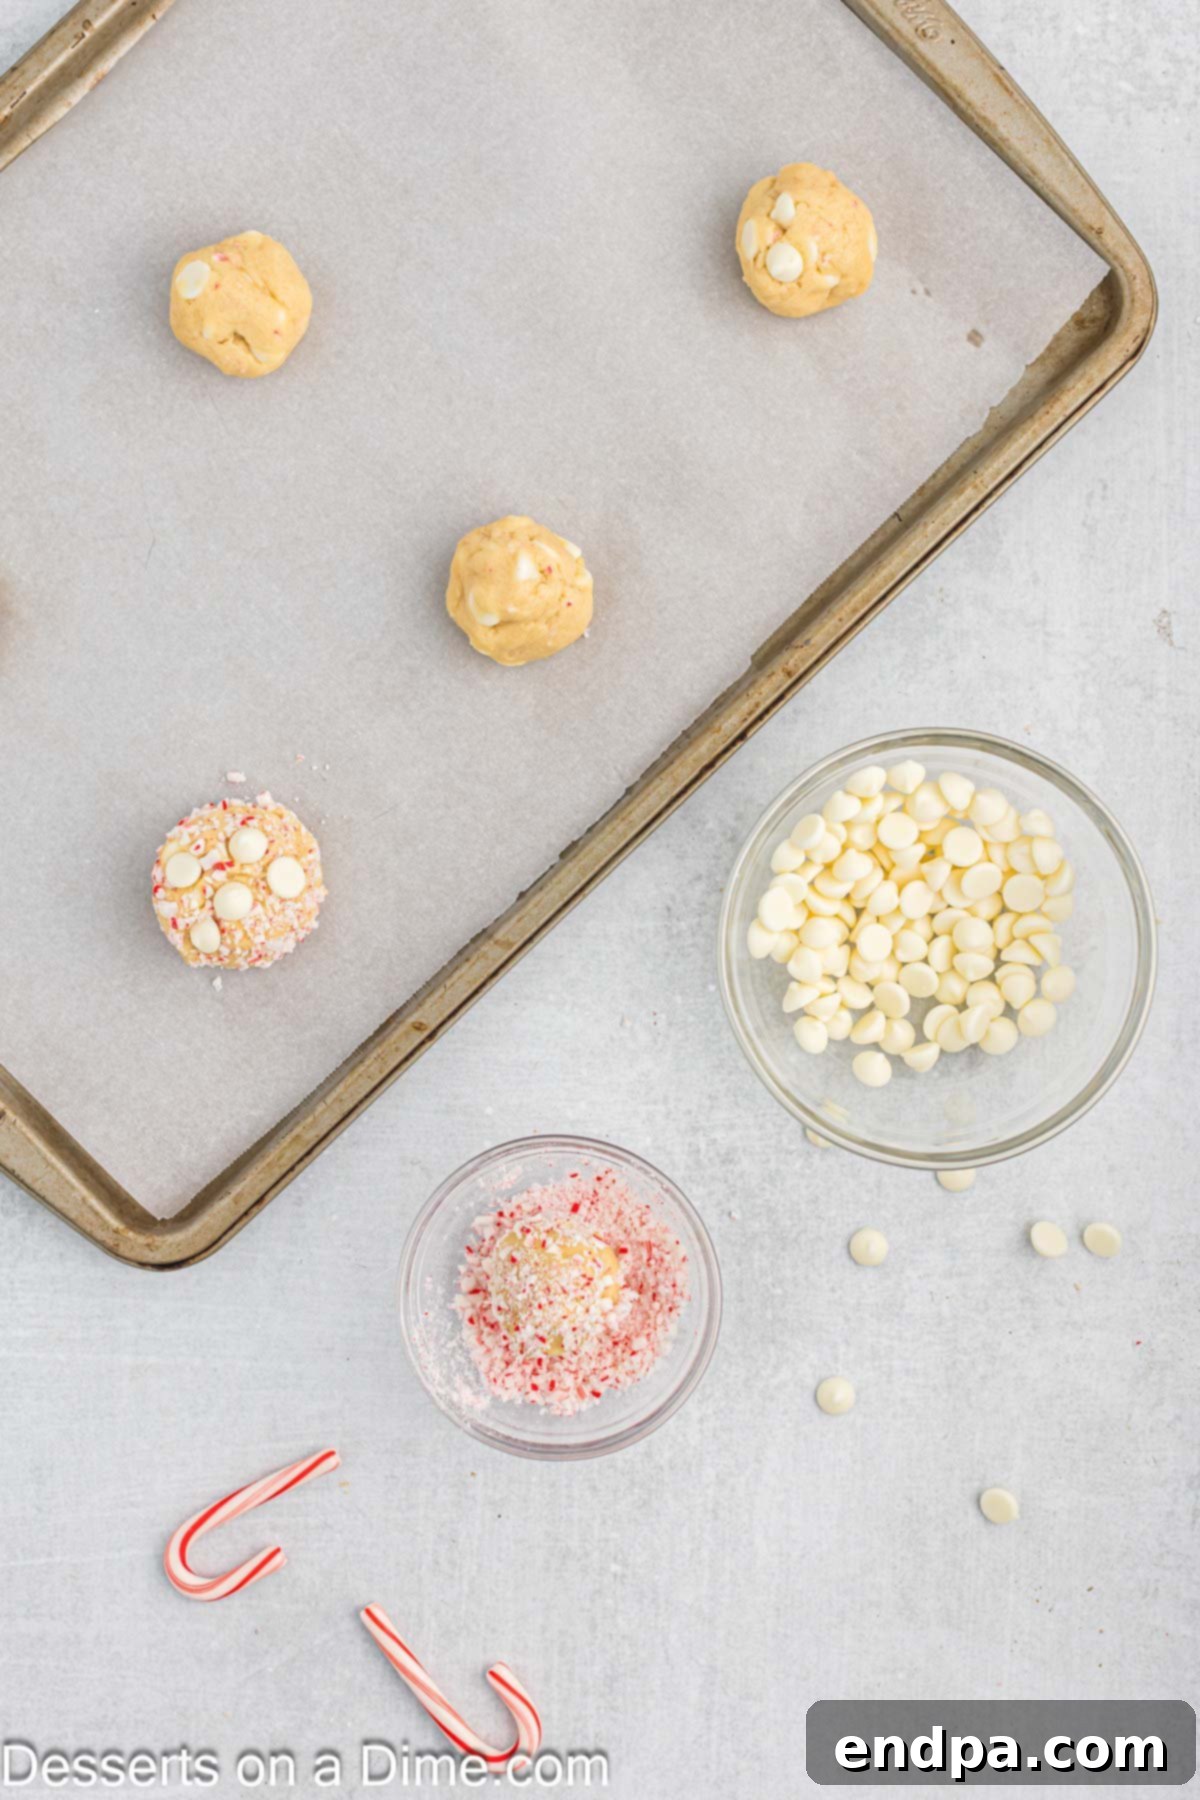
Step 5: Form and Coat Cookies. Scoop out the cookie dough, forming balls roughly 1 ½ to 2 tablespoons in size. For an extra festive touch, gently roll each dough ball in the remaining crushed candy canes to coat the exterior. Place the coated dough balls onto a baking sheet lined with parchment paper, ensuring they are spaced a couple of inches apart to allow for spreading.

Step 6: Top with Extra Chips. For a beautiful presentation and even more white chocolate goodness, press the remaining white chocolate chips gently onto the tops of each dough ball on the baking sheet. This ensures visible chocolatey goodness on the surface of the baked cookies.

Step 7: Bake to Perfection. Transfer the baking sheet to your preheated oven. Bake for approximately 9 to 11 minutes, or until the edges of the cookies begin to turn a very light golden brown. It’s crucial not to overbake them; they should still appear slightly soft in the center when removed from the oven, as they will continue to set as they cool. Overbaking can lead to dry, hard cookies.

Step 8: Cool and Enjoy. Once baked, remove the cookies from the oven and allow them to cool on the baking sheet for about 5 minutes. This allows them to firm up slightly before handling. Then, carefully transfer the cookies to a wire rack to cool completely. Once fully cooled, they are ready to serve and enjoy their delightful peppermint and white chocolate flavors!

Expert Baking Tips for Flawless Cookies
Achieving bakery-perfect cookies is easier than you think with a few professional tricks up your sleeve. These pro tips will help ensure your White Chocolate Peppermint Cookies are nothing short of spectacular:
- Always Line Your Baking Sheets: This is a game-changer! Always line your baking sheets with parchment paper or silicone baking mats. This not only prevents sticking but also promotes even baking and prevents excessive spreading, helping your cookies maintain their shape and texture. It also makes cleanup a breeze.
- Do Not Overmix the Cookie Dough: Overmixing is one of the most common mistakes in baking. Once you add the dry ingredients to the wet, mix only until they are just combined and no streaks of flour remain. Overmixing develops the gluten in the flour, leading to tough, chewy cookies instead of soft, tender ones.
- Measure Flour Correctly: For accurate measurements, spoon your flour into the measuring cup and then level it off with the back of a knife. Scooping flour directly from the bag can compact it, leading you to use too much flour, which can result in dry, dense cookies.
- Use Room Temperature Ingredients: Ensure your butter and egg are at room temperature. Softened butter creams more effectively with sugar, incorporating more air for a lighter cookie, and room temperature eggs emulsify better with the butter mixture, creating a smoother dough.
- Chill the Dough (Optional but Recommended): If you have time, chilling the cookie dough for at least 30 minutes (or even overnight) can make a significant difference. It helps the flavors meld, prevents excessive spreading, and results in a more chewy and flavorful cookie.
- Don’t Overbake: Pay close attention to the baking time. Cookies are often done when the edges are lightly golden brown, but the centers still look slightly soft. They will continue to cook slightly from residual heat on the baking sheet after being removed from the oven. Overbaking leads to dry, crumbly cookies.
- Evenly Sized Cookies: For consistent baking and appearance, use a cookie scoop to ensure all your dough balls are roughly the same size. This way, they will bake uniformly.
Frequently Asked Questions About White Chocolate Peppermint Cookies
Here are some common questions and helpful answers to guide you in making the perfect batch of White Chocolate Peppermint Cookies:
To maintain their freshness and soft texture, store any leftover White Chocolate Peppermint Cookies in an airtight container at room temperature. They will remain fresh for up to one week. For an extra tip to keep them exceptionally soft, place a slice of plain bread in the container with the cookies; the cookies will absorb moisture from the bread, keeping them tender.
Crushing candy canes is straightforward! The easiest methods are using a food processor or a sturdy ziploc bag. If using a food processor, pulse until you reach your desired consistency, from coarse chunks to fine dust. For the ziploc bag method, place the candy canes inside, seal it tightly (removing excess air), and then use a rolling pin or the flat side of a meat tenderizer to crush them until finely broken.
Absolutely, the cookie dough freezes beautifully! To do so, first form your dough into individual balls as specified in the recipe. Place these dough balls on a baking sheet lined with parchment paper and flash freeze them for about 2 hours, or until solid. Once frozen, transfer the solid dough balls to an airtight freezer-safe container or a heavy-duty freezer bag. They can be stored in the freezer for up to 3 months. When you’re ready to bake, simply place the frozen dough balls on a prepared baking sheet and add an extra few minutes to the baking time, as they will be baking from a frozen state rather than room temperature. You can find more detailed instructions on how to freeze cookie dough here.
Cookie spreading can happen for a few reasons. Ensure your butter isn’t too soft or melted; it should be softened but still firm. Chilling the dough before baking helps solidify the butter, preventing excessive spread. Also, accurately measuring flour (spooned and leveled, not scooped) is crucial, as too little flour can make dough too wet. Lastly, make sure your oven temperature is accurate; an oven that runs too cool can cause cookies to spread before setting.
While both provide peppermint flavor, peppermint oil is significantly more concentrated than peppermint extract. If you choose to use peppermint oil, use it very sparingly – typically, you’d only need 1/4 to 1/2 the amount of oil compared to extract. Start with a tiny drop and taste a small piece of dough (if safe to do so) to avoid an overwhelming mint flavor.
More Delightful Peppermint Recipes
If your love for peppermint knows no bounds, you’re in for a treat! The refreshing and festive flavor of peppermint is incredibly versatile and shines in a variety of desserts. After mastering these White Chocolate Peppermint Cookies, why not explore more ways to incorporate this beloved holiday flavor?
You might also want to try making our irresistible Peppermint Oreo Balls, a simple no-bake treat that’s perfect for parties. For a classic holiday confection, our easy Peppermint Bark offers layers of rich chocolate and crunchy peppermint. And for a truly decadent and smooth dessert, you’ll adore our creamy White Chocolate Peppermint Fudge. Each of these recipes offers a unique way to savor the magic of peppermint during the holiday season.
We genuinely hope you enjoy baking and sharing these incredible White Chocolate Peppermint Cookies. They are truly a highlight of our holiday baking traditions, and we’re sure they’ll become a favorite in your home too. Once you’ve had a chance to bake them, please come back and share your experience and leave a comment. We love hearing from you!
Pin
White Chocolate Peppermint Cookies
White Chocolate Peppermint Cookies are a holiday favorite. The peppermint flavor and white chocolate chips taste amazing in these soft and fluffy cookies.
Ingredients
- 1 1/2 cups All Purpose Flour
- 1 teaspoon Baking Powder
- 1/2 teaspoon Baking Soda
- 1/4 teaspoon Salt
- 1/2 cup Butter softened
- 1/4 cup Brown Sugar
- 1/2 cup Granulated Sugar
- 1 Large Egg
- 1/2 teaspoon Peppermint Extract
- 1/2 teaspoon Vanilla Extract
- 1 cup White Chocolate Chips divided
- 6 Miniature Candy Canes crushed and divided
Instructions
- Preheat your oven to 350 degrees Fahrenheit (175°C).
- In a small mixing bowl, whisk together the dry ingredients: flour, baking powder, baking soda, and salt. Set aside.
- In a separate large bowl, using an electric mixer, beat the softened butter with the brown sugar and granulated sugar until the mixture is light and fluffy. Add the egg, peppermint extract, and vanilla extract, mixing until well combined.
- Reduce the mixer speed to low. Gradually add the dry ingredients into the wet ingredients, mixing only until just combined. Be careful not to overmix the dough.
- Gently fold in half of the crushed candy canes and ¾ cup of the white chocolate chips by hand.
- Scoop the cookie dough into approximately 1 ½ to 2 tablespoon-sized balls. Roll each ball in the remaining crushed candy canes and place them onto a baking sheet lined with parchment paper.
- Press the remaining white chocolate chips onto the top of each dough ball on the baking sheet for added visual appeal.
- Bake for 9-11 minutes, or until the edges of the cookies begin to brown slightly. Do not overbake; keep a close eye on them during the last few minutes.
- Allow the cookies to cool on the baking sheet for 5 minutes before carefully transferring them to a wire rack to cool completely. Once cooled, your delightful cookies are ready to serve and enjoy!
Recipe Notes
Nutrition Facts
Pin This Now to Remember It Later
Pin Recipe
