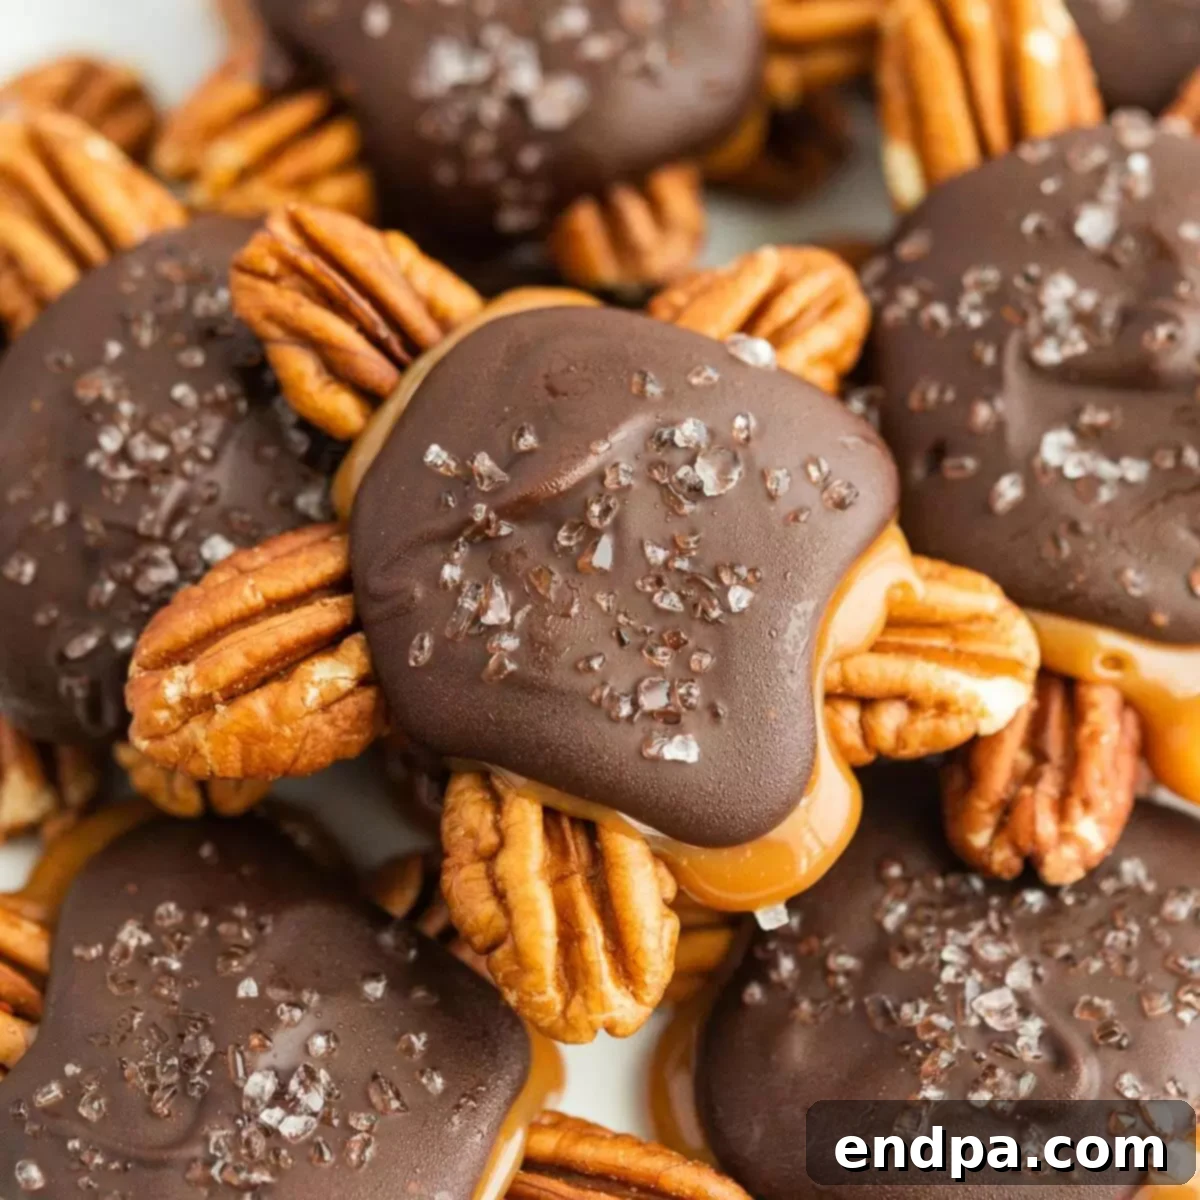
Homemade Chocolate Turtles are an iconic *sweet and salty treat* that beautifully marries the rich crunch of pecans, the luscious chewiness of creamy caramel, and the smooth, decadent coating of premium chocolate. These classic candies are surprisingly simple to craft right in your own kitchen, making them the ultimate indulgence for personal enjoyment, thoughtful gifting, or sharing during festive holiday celebrations.
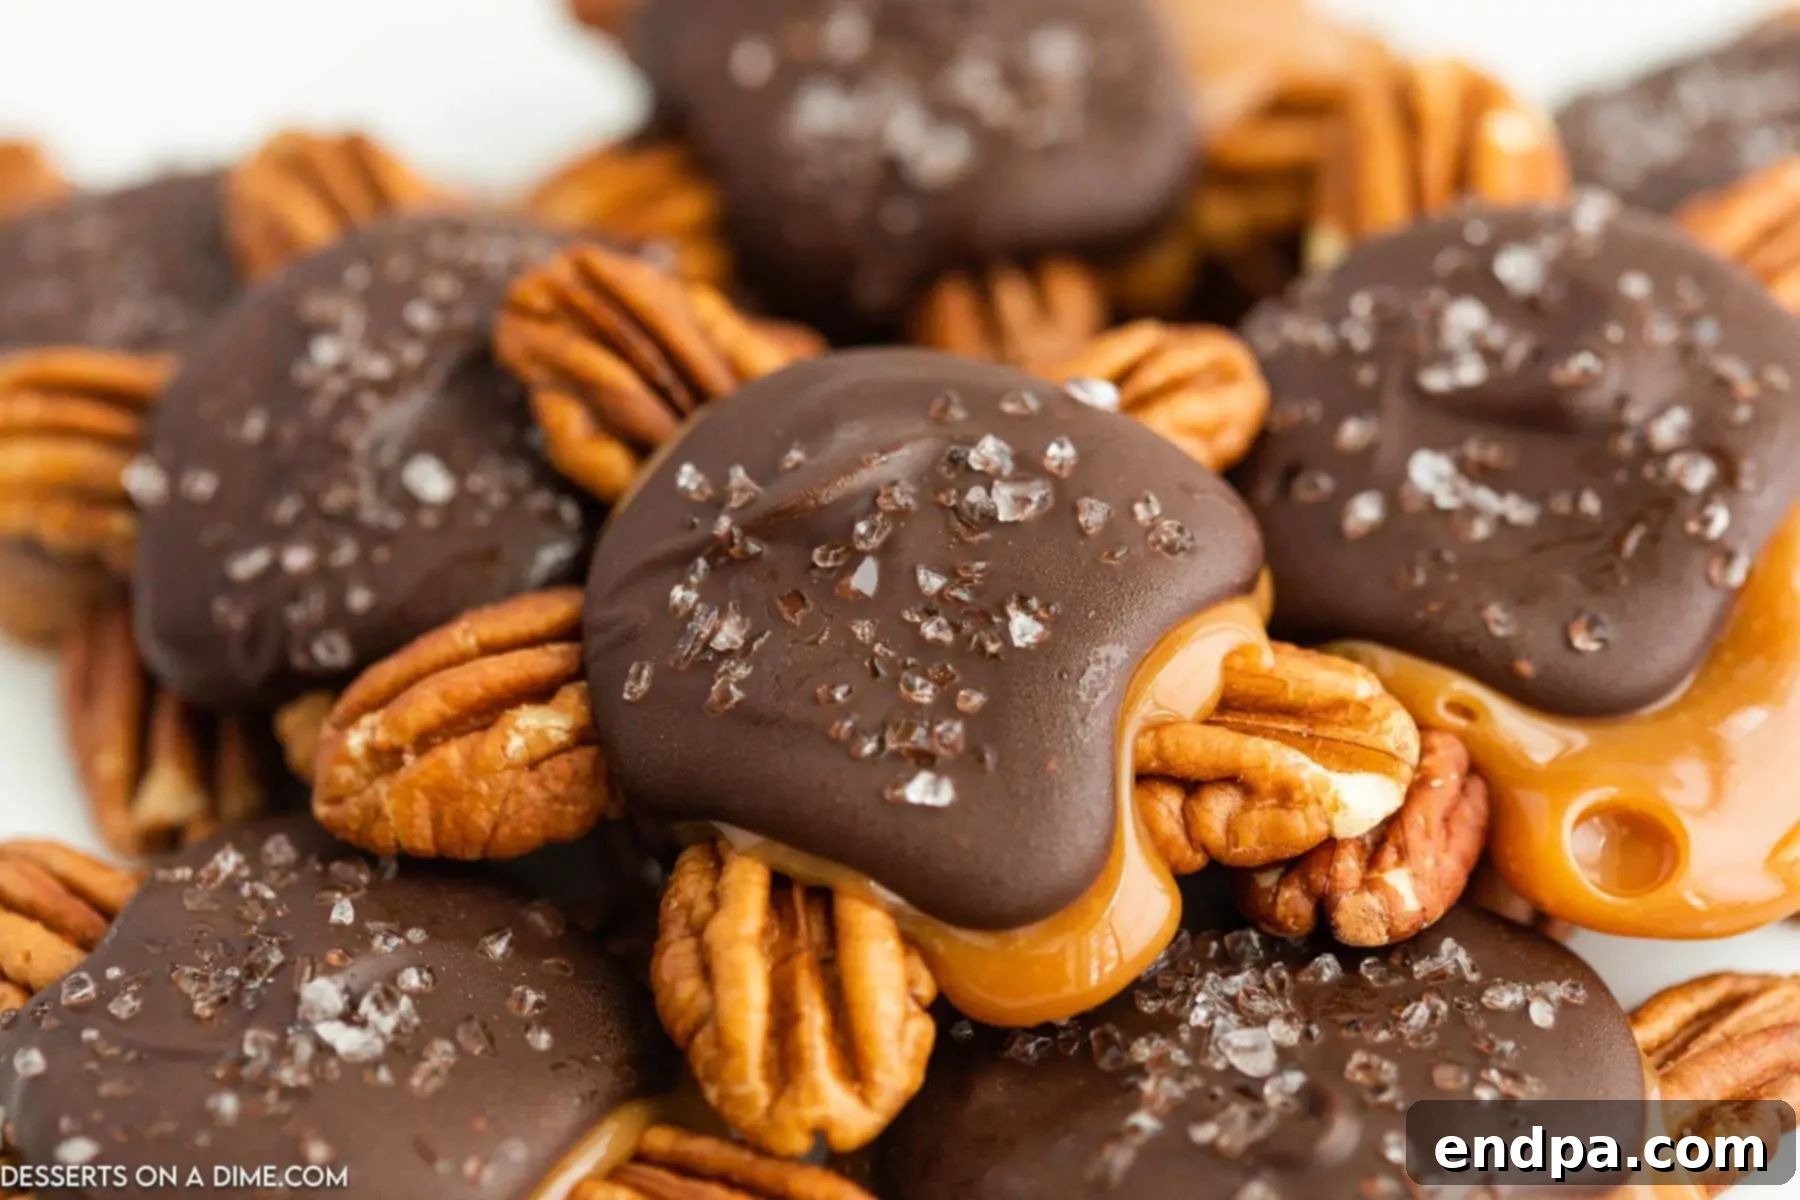
There’s an undeniable magic in **Chocolate Turtles**, a confection that has charmed generations with its harmonious blend of textures and flavors. Each bite delivers a delightful contrast: the earthy, buttery notes of perfectly toasted pecans, followed by the soft, gooey embrace of golden caramel, all enveloped in a rich layer of your favorite chocolate. This elegant simplicity, combined with their irresistible taste, makes them an everlasting favorite, especially for special occasions and holiday gatherings. Our **easy chocolate turtle recipe** demystifies the process, proving that gourmet candy-making doesn’t require advanced culinary skills. With just a few staple ingredients, you can transform humble nuts, caramels, and chocolate into sophisticated, bite-sized delights that are guaranteed to impress any crowd.
Beyond their ease of preparation, **homemade chocolate turtles** offer a level of freshness and customization that store-bought versions simply can’t match. You control the quality of ingredients, allowing you to tailor them to your precise preferences – whether that means opting for dark chocolate for a more intense flavor, or adding an extra sprinkle of flaky sea salt to amplify that coveted sweet-and-salty balance. These attributes make them not just a dessert, but a heartfelt expression of care, perfect for holiday cookie exchanges, hostess gifts, or simply as a well-deserved treat after a long week. Prepare to fall in love with the process and the exquisite results of crafting your very own batch of these decadent **pecan caramel clusters**.
Table of Contents
- Why We Love This Recipe
- Essential Ingredients
- Equipment Needed
- Creative Variations
- Step By Step Guide
- Storage Tips
- Pro Tips for Perfect Turtles
- The Enduring Appeal of Chocolate Turtles
- Frequently Asked Questions
- Serving Suggestions
- More Delicious Candy Recipes
- Recipe Card
Why We Love This Recipe
- Accessible Ingredients – One of the standout features of this **homemade chocolate turtle recipe** is its reliance on readily available, simple ingredients. You won’t need to hunt down exotic items; just a few pantry staples are all it takes to create these exquisite **pecan caramel treats**. This accessibility makes the process enjoyable and stress-free, ensuring that anyone can whip up a batch without complication.
- Effortless Preparation – Despite their elegant appearance and rich flavor, **Chocolate Turtles** are remarkably easy to make. Our step-by-step guide breaks down the process into clear, manageable instructions, making it perfect for novice bakers and seasoned candy makers alike. From melting the caramel to dipping the chocolate, you’ll find the creation process to be a fun and rewarding experience, resulting in minimal fuss and maximum deliciousness.
- Harmonious Flavor Profile – The magic of **Chocolate Turtles** lies in their expertly balanced flavor combination. The earthy, buttery notes of toasted pecans provide a delightful crunch, which is beautifully contrasted by the soft, chewy, and sweet richness of the caramel. Finally, the smooth, slightly bitter notes of high-quality chocolate encapsulate these layers, creating a truly **perfect sweet and salty treat**. A sprinkle of sea salt further elevates this harmony, making each bite an unforgettable experience.
- Ideal for Gifting – When it comes to thoughtful presents, **homemade candy** always stands out. These **decadent chocolate turtles** make exceptional gifts for holidays, birthdays, or any special occasion. Arrange them elegantly in a decorative box or clear cellophane bag, and you have a personalized, gourmet treat that shows how much you care. They’re a wonderful way to spread cheer and share the joy of homemade goodness.
- Guaranteed Crowd-Pleaser – There’s a reason **classic chocolate turtles** have remained a beloved confection for generations. Their universal appeal ensures they’ll be a hit at any gathering, from casual family dinners to elaborate holiday parties. Expect compliments and requests for the recipe when you serve these delightful **pecan caramel chocolate clusters**. They are the quintessential **holiday dessert** that everyone adores.
Essential Ingredients
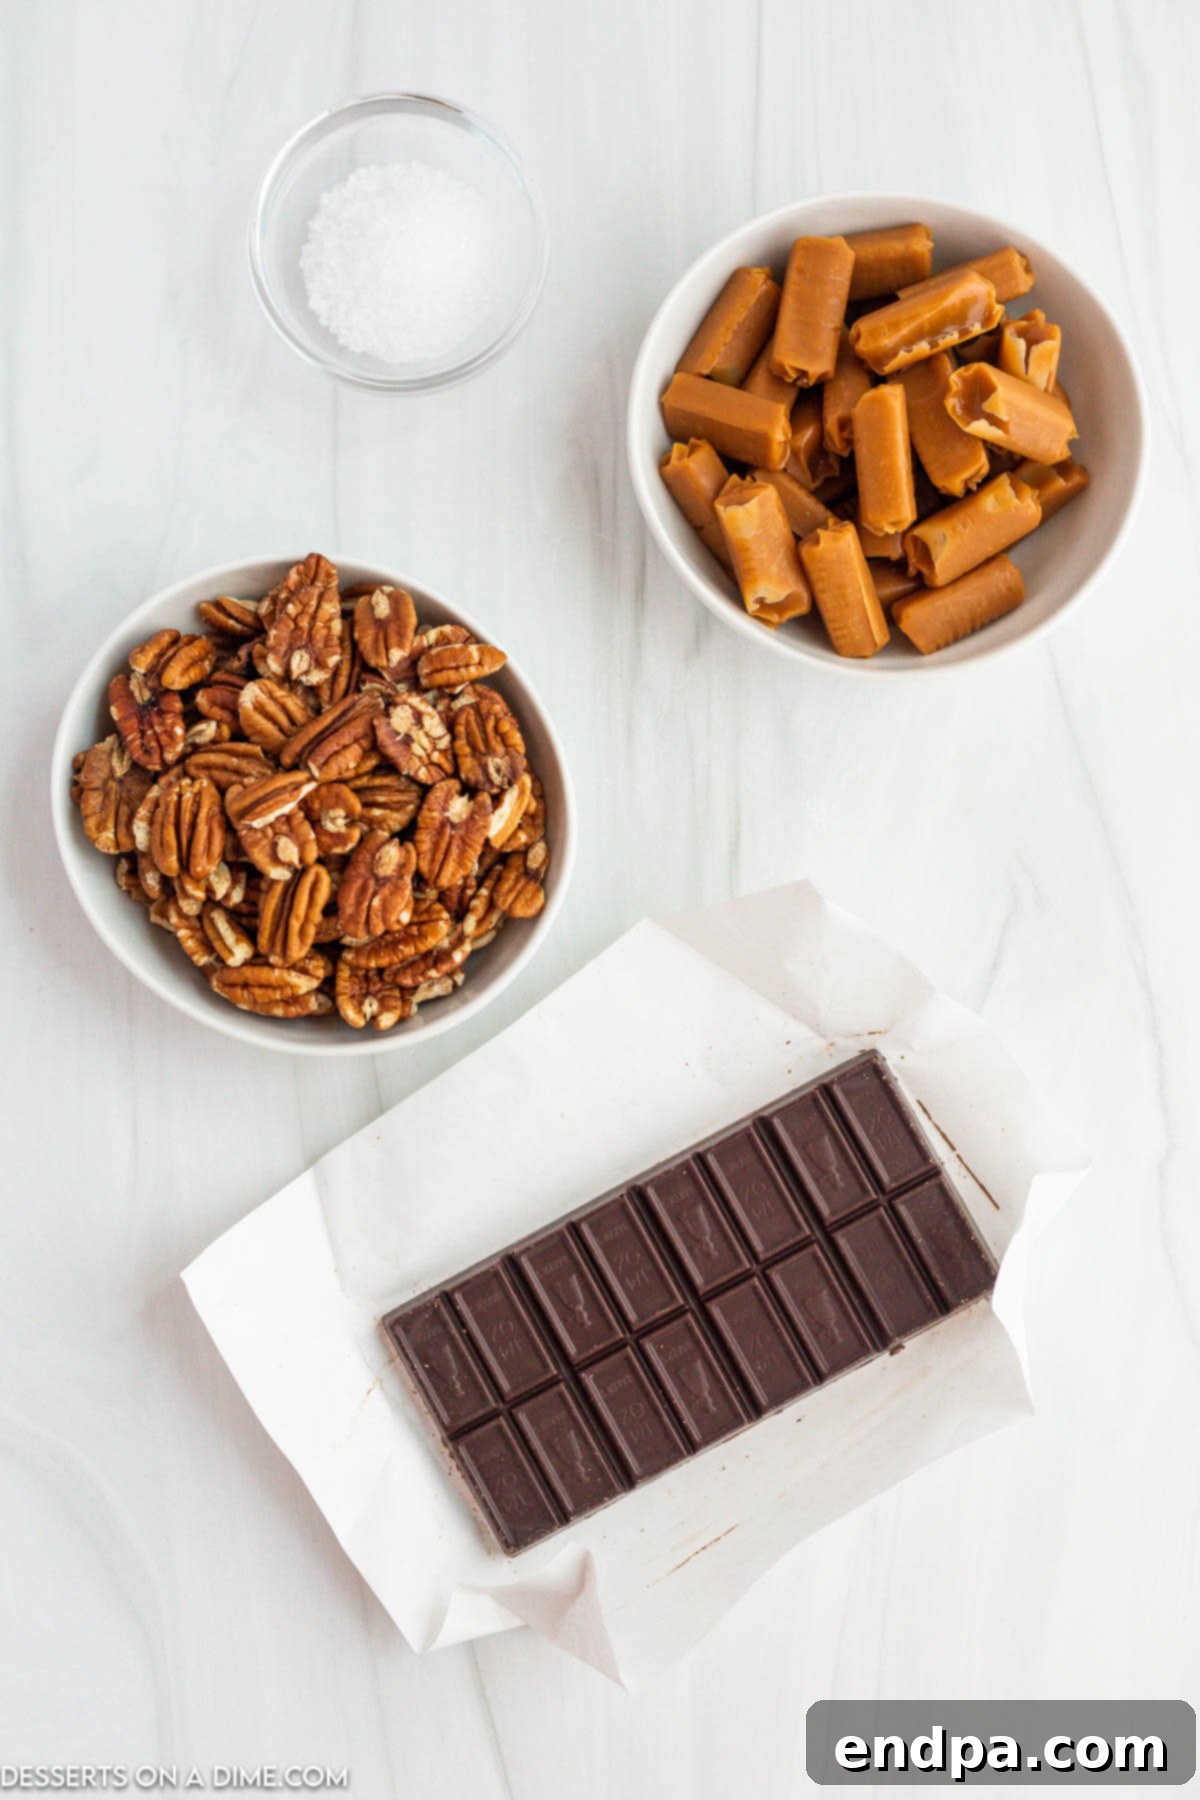
- Pecan Halves – These form the crunchy, nutty foundation of your **chocolate turtles**. Opt for fresh, high-quality pecan halves for the best flavor and texture. Toasting them lightly before assembly can significantly enhance their natural buttery notes, adding another layer of depth to the candy.
- Soft Caramels – The heart of the turtle, the caramel provides a luscious, chewy sweetness. You can use individually wrapped soft caramels (like Kraft Caramels) or a block of pre-made caramel. Ensure they are fresh and soft to achieve that perfect gooey center when melted.
- Heavy Whipping Cream – A small amount of heavy cream is crucial for transforming the firm caramels into a smooth, pourable, and wonderfully chewy consistency. It prevents the caramel from becoming too stiff or grainy, ensuring a velvety texture that perfectly coats the pecans.
- Quality Melting Chocolate – The outer shell of your **gourmet chocolate turtles**. Semi-sweet chocolate chips or melting wafers are recommended for their balanced flavor and ease of melting. You can also choose dark chocolate for a richer, less sweet profile or milk chocolate for a creamier, sweeter finish. Using a good quality chocolate will result in a superior taste and a beautiful, glossy finish.
- Flaky Sea Salt – A sprinkle of flaky sea salt is the secret ingredient that elevates these turtles from delicious to extraordinary. The subtle saltiness provides a brilliant contrast to the rich sweetness of the caramel and chocolate, awakening the palate and highlighting all the individual flavors. Don’t skip this magical touch!
Equipment Needed
Before you begin crafting your delicious **homemade chocolate turtles**, ensure you have the following basic kitchen tools readily available:
- Baking sheets
- Parchment paper or silicone baking mats
- Microwave-safe bowls (at least two)
- Spatula or spoon for stirring
- Measuring spoons and cups
- Optional: Double boiler for melting chocolate (alternative to microwave)
- Optional: Small cookie scoop or piping bag for caramel
Creative Variations
- Milk Chocolate Marvels – For those with a penchant for sweeter treats, swapping semi-sweet chocolate for creamy milk chocolate creates an equally delightful turtle. The milder chocolate flavor beautifully complements the caramel and pecans, making for a truly indulgent bite.
- Bold Dark Chocolate – Elevate your **pecan caramel clusters** with the sophisticated bitterness of dark chocolate. A higher cocoa percentage (60% or more) provides a rich, intense contrast to the sweet caramel, appealing to mature palates and adding an elegant touch.
- Mixed Nut Medley – Don’t limit yourself to just pecans! Experiment with a medley of nuts like walnuts, almonds, or cashews. Lightly toast the nuts before assembly to bring out their unique flavors and add diverse textural elements to your **nutty chocolate treats**.
- Extra Salty Perfection – If you love the **sweet and salty combination**, don’t hesitate to be generous with your sea salt. A coarser, flakier sea salt sprinkled over the freshly dipped chocolate will provide bursts of savory flavor that beautifully cut through the richness.
- Adorable Mini Turtles – Transform these delectable candies into bite-sized delights by arranging smaller clusters of pecans (3-4 halves) and using mini muffin tins. These **mini chocolate turtles** are perfect for portion control, party platters, or for children’s treats.
- Decorative Drizzle – Add an artistic flair by drizzling contrasting chocolate (white, milk, or dark) over the finished turtles once the primary chocolate has set. This not only enhances their visual appeal but also adds another layer of subtle flavor.
- Spiced Caramel Twist – Infuse your caramel with a pinch of cinnamon, nutmeg, or even a dash of pumpkin spice for a seasonal twist. These **spiced caramel pecans** offer a warm, aromatic dimension, particularly delightful during fall and winter holidays.
- White Chocolate Wonders – For a truly different flavor profile, consider using white chocolate as the coating. The sweet, vanilla notes of white chocolate pair surprisingly well with the crunchy pecans and buttery caramel, creating a unique **white chocolate turtle** experience.
- Espresso Infusion – Add a teaspoon of instant espresso powder to your melted chocolate. The coffee notes will deepen the chocolate flavor and provide a subtle, aromatic kick, making your **espresso chocolate turtles** a sophisticated indulgence.
Step By Step Guide
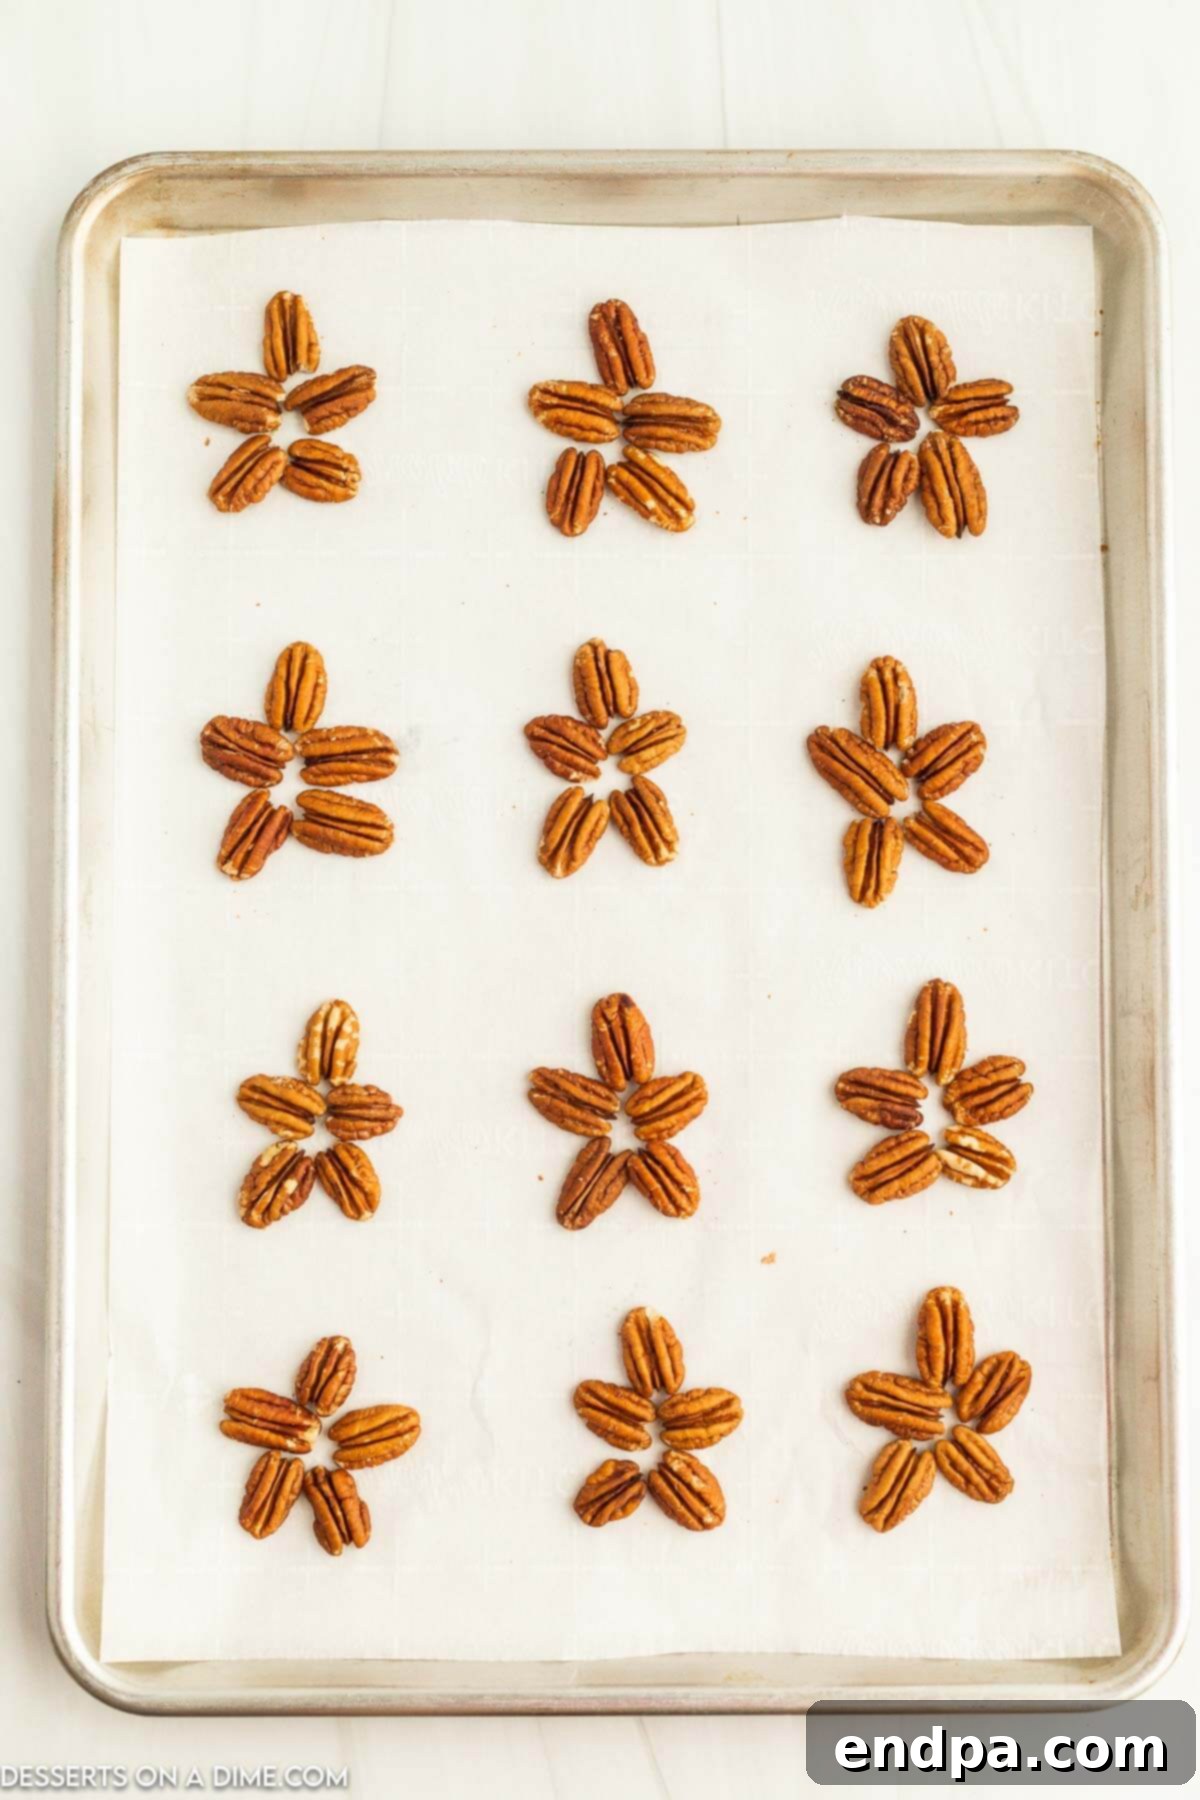
Step 1. Prep Work is Key: Start by preparing your workspace. Line a large baking sheet with parchment paper or a silicone baking mat. This crucial step prevents your **homemade chocolate turtles** from sticking and makes for easy removal once they’ve set. Next, arrange your pecan halves on the lined baking sheet. For a classic ‘turtle’ shape, cluster 3 to 5 pecan halves together, fanning them out slightly like a turtle’s legs. Leave a small space between each cluster to prevent them from merging when the caramel is added. If you’re using toasted pecans, ensure they are cooled before this step.
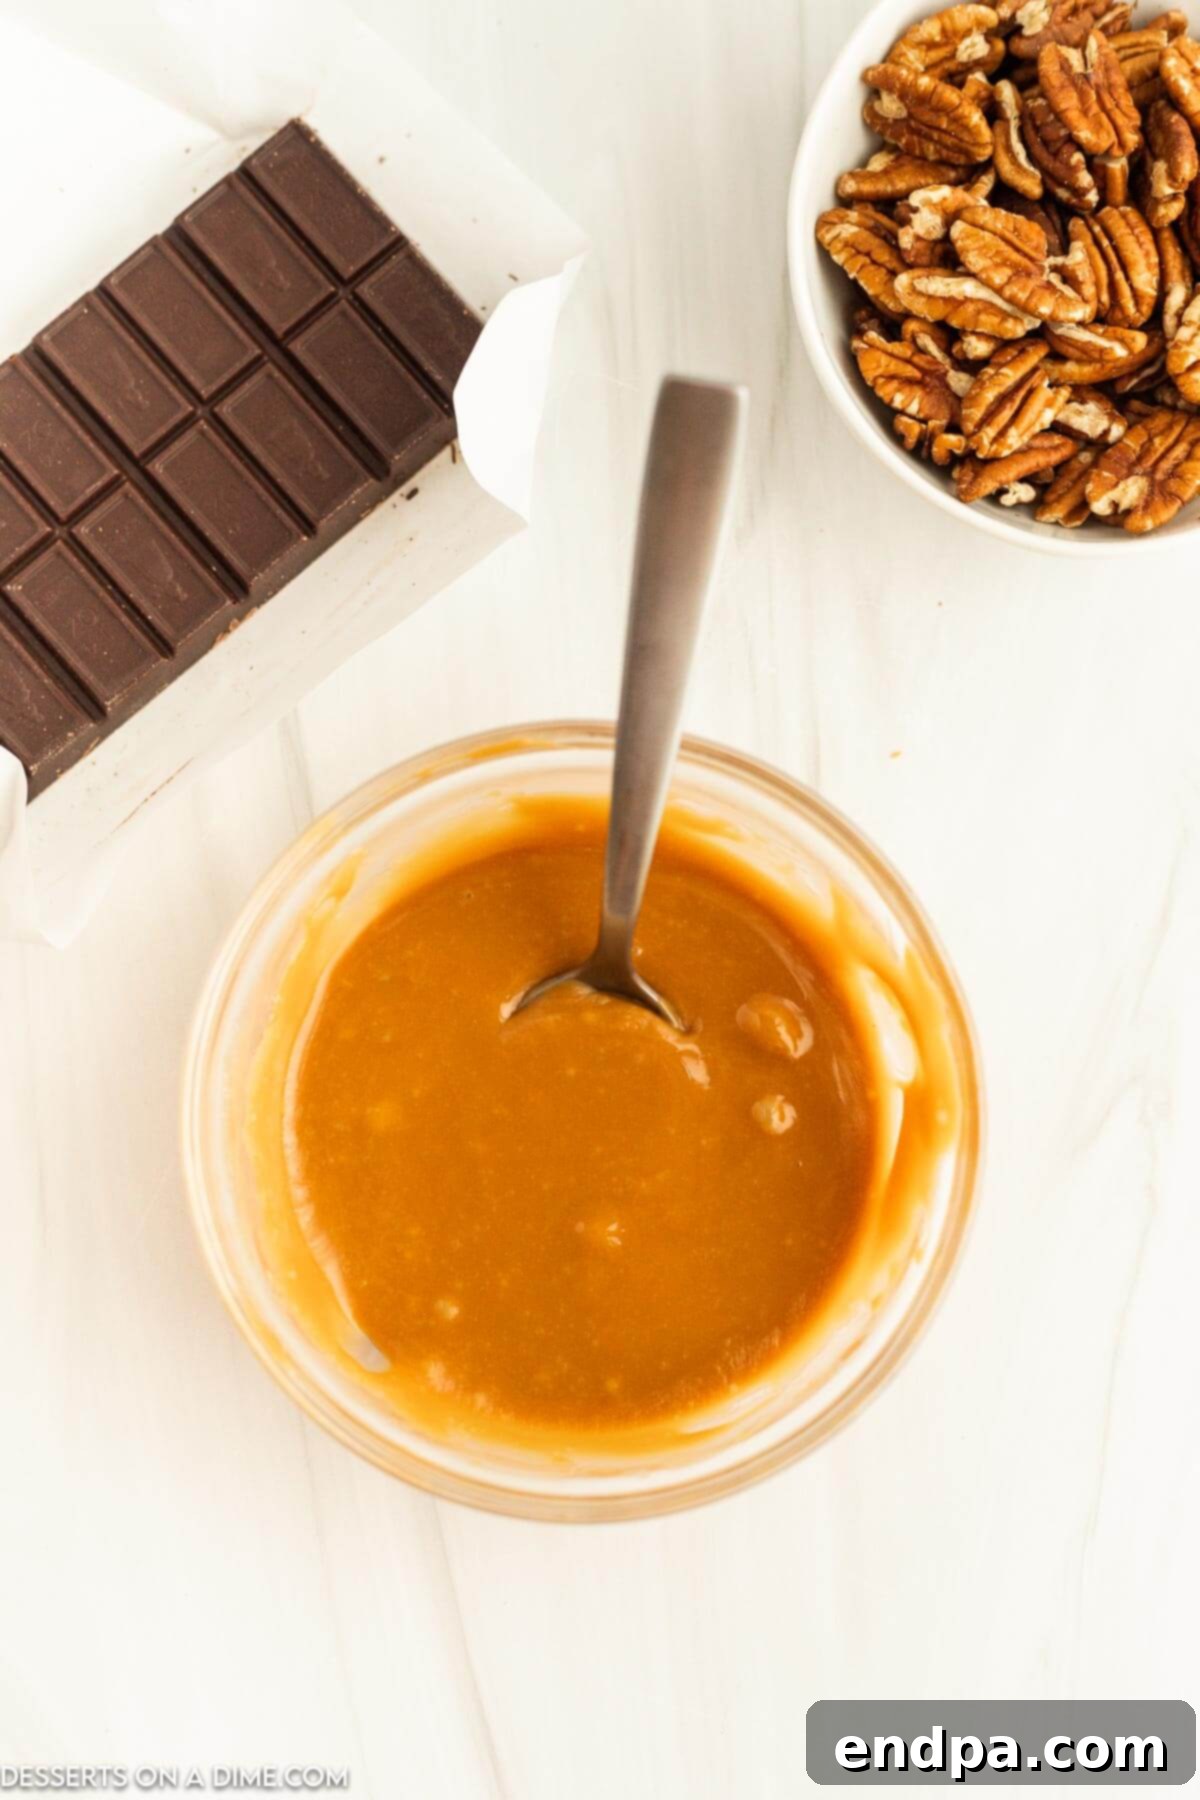
Step 2. Crafting the Creamy Caramel: Carefully unwrap all your soft caramels and place them in a microwave-safe bowl. Add the heavy whipping cream. Microwave on high for 1 minute. After the initial minute, stir the mixture thoroughly with a heat-resistant spatula. The caramels may not be fully melted yet, and that’s expected. Continue microwaving in short 30-second intervals, stirring vigorously after each interval, until the caramel is completely smooth, lump-free, and has a rich, glossy consistency. Be cautious not to overheat, as this can cause the caramel to burn or become grainy. If you prefer a stovetop method, melt the caramels and cream in a small saucepan over low heat, stirring constantly until smooth.
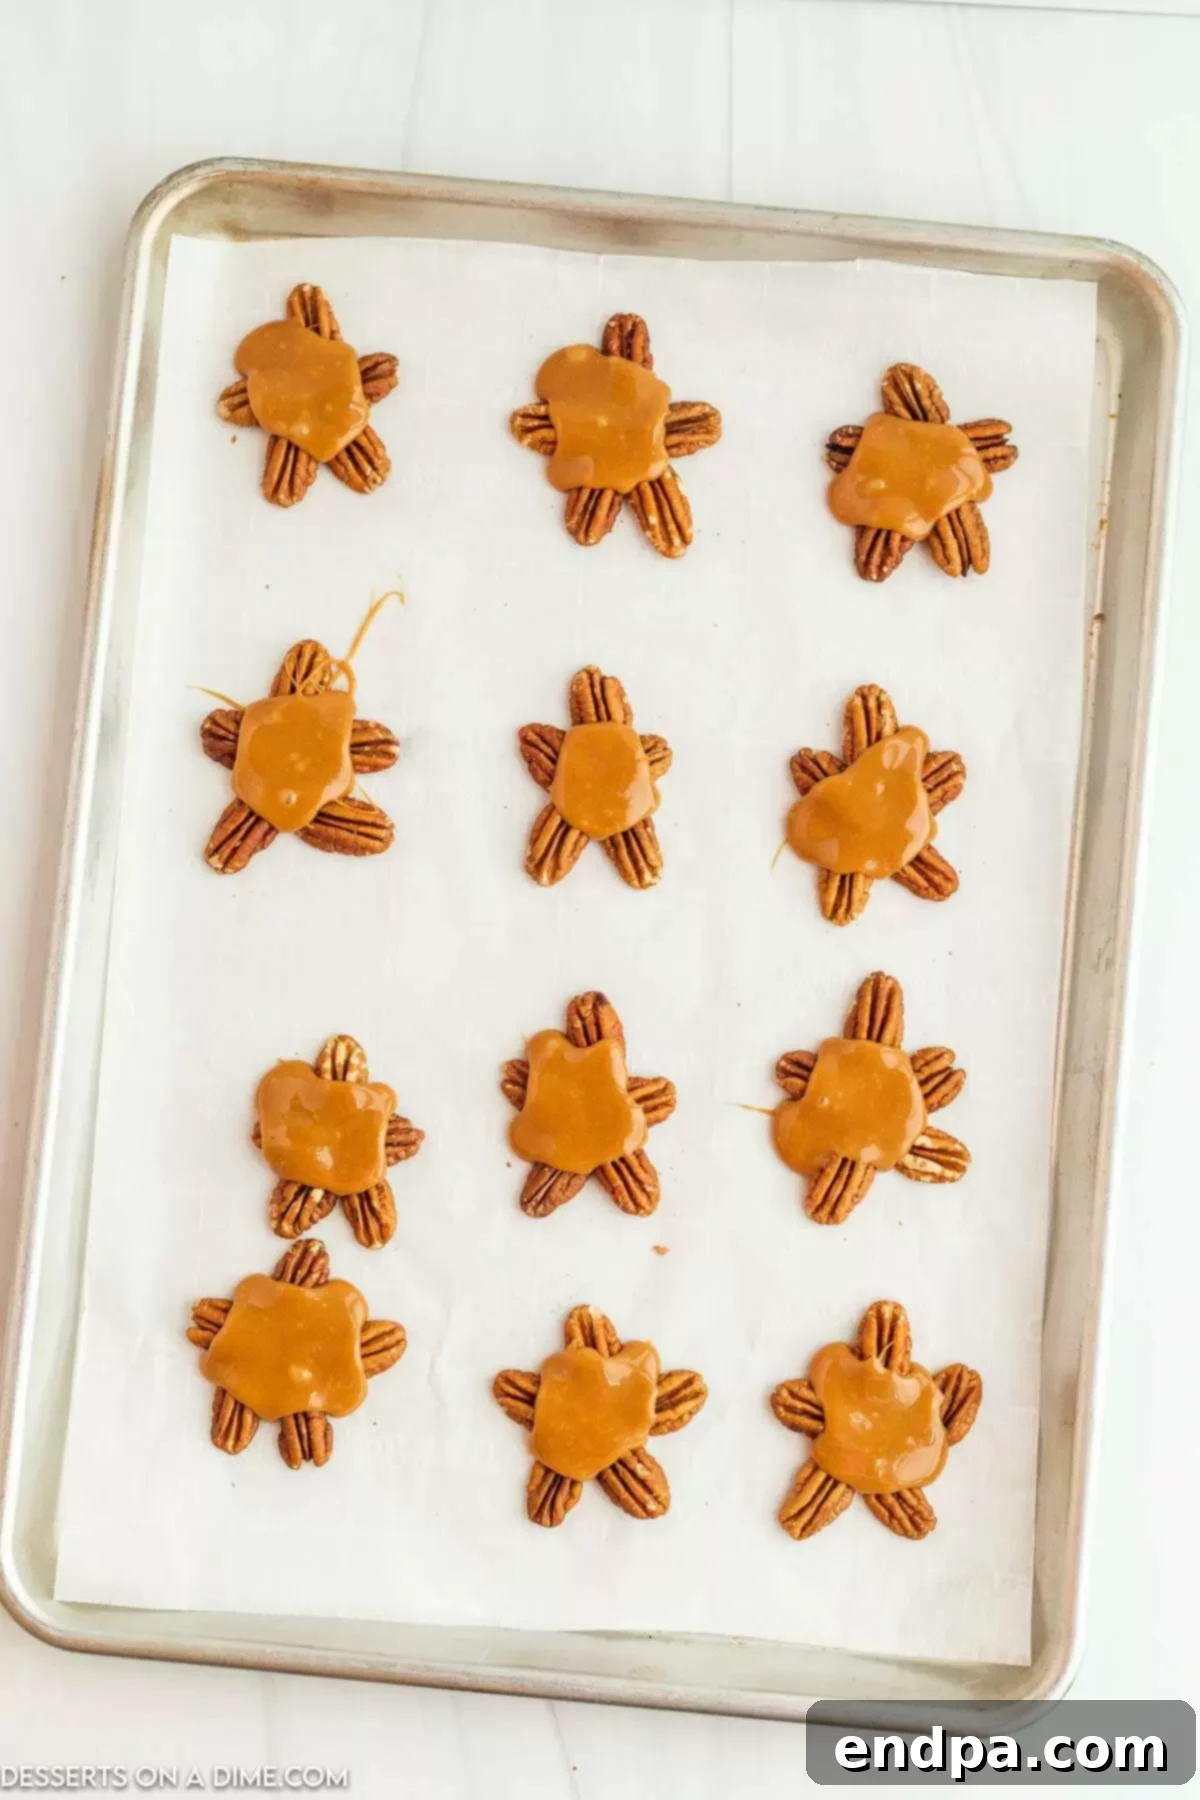
Step 3. Caramelizing the Pecans: Using a spoon, a small cookie scoop, or even a piping bag (with the tip snipped off), carefully spoon about 1 tablespoon of the melted caramel over the center of each pecan cluster. Aim to cover the pecans evenly, allowing the caramel to gently spread but not completely engulf the nuts. This creates the chewy heart of your **pecan caramel clusters**. Once all clusters are topped with caramel, allow them to set for about 15-20 minutes at room temperature, or briefly in the refrigerator, until the caramel is firm enough to handle and holds its shape.
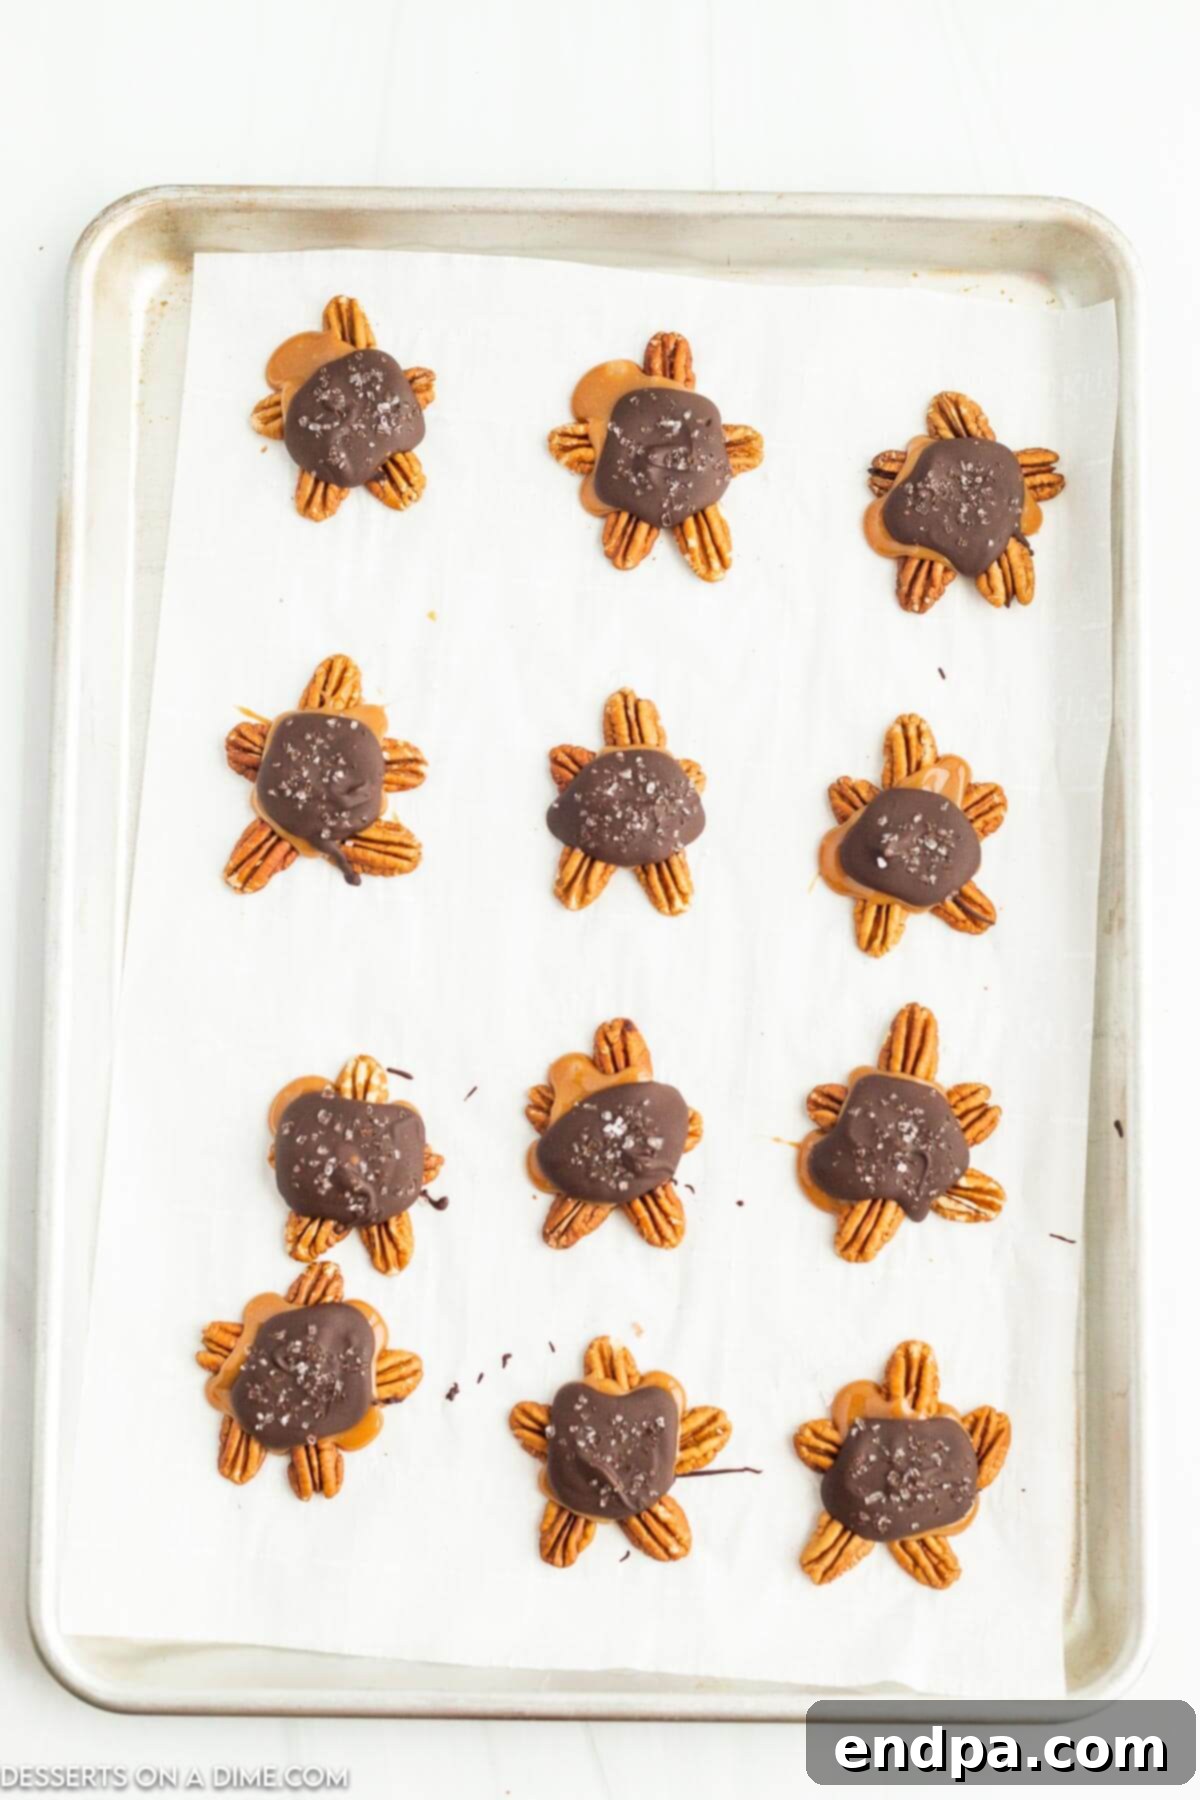
Step 4. Melting the Luxurious Chocolate: While the caramel is setting, prepare your chocolate coating. Place your semi-sweet melting chocolate (chips or wafers) in another clean, microwave-safe bowl. Microwave on high for 1 minute. Remove and stir well. The chocolate might still hold its shape, but stirring helps distribute the heat. Continue to microwave in 30-second intervals, stirring thoroughly after each one, until the chocolate is fully melted and smooth. For an extra glossy finish and to prevent blooming, consider tempering your chocolate if you have the tools and experience. Otherwise, simply ensure it’s melted evenly. Avoid overheating the chocolate, as this can cause it to seize or burn.
- Step 5. Finishing with a Flourish: Now for the final layer! Once the caramel-topped pecans are set, carefully spoon about 2 teaspoons of the melted chocolate over each caramel mound, ensuring it covers the caramel and slightly coats the pecans. Work relatively quickly, as the chocolate will begin to set. Immediately after spooning on the chocolate for each turtle, sprinkle a pinch of flaky sea salt on top. The salt will adhere best while the chocolate is still wet, creating that desirable **sweet and salty chocolate turtle** effect. Repeat this process for all your turtles.
- Step 6. Setting and Savoring: Allow your freshly made **homemade chocolate turtles** to sit at room temperature for at least 15-20 minutes, or until the chocolate has completely hardened and set. You can also place them in the refrigerator for 5-10 minutes to speed up the setting process, especially if your kitchen is warm. Once fully set, they are ready to be carefully peeled off the parchment paper and enjoyed! Arrange them on a platter for serving, or prepare them for gifting.
Storage Tips
- Room Temperature Storage – For immediate enjoyment, **Chocolate Turtles** can be stored in an airtight container at room temperature for up to 5 days. Ensure they are kept away from direct sunlight or heat sources, as this can cause the chocolate to melt or bloom. Layering them with parchment paper will prevent sticking.
- Refrigerator Freshness – To extend their shelf life, place your **pecan caramel clusters** in a sealed container in the refrigerator for up to 2 weeks. The cool temperature will keep the chocolate firm and the caramel fresh. Allow them to come to room temperature for a few minutes before serving for the best texture and flavor.
- Freezer for Long-Term – These **homemade treats** freeze beautifully! Arrange the cooled and set turtles in a single layer on a baking sheet and freeze until solid (about 1-2 hours). Once frozen, transfer them to a freezer-safe airtight container or bag, separating layers with parchment paper to prevent sticking. They can be stored in the freezer for up to 2 months. Thaw at room temperature for a few hours or in the refrigerator overnight before indulging.
Pro Tips for Perfect Turtles
- Invest in Quality Chocolate – The quality of your chocolate significantly impacts the final taste and texture of your **chocolate turtles**. Opt for a reputable brand of baking chocolate or high-quality chocolate chips designed for melting. Good chocolate melts smoothly, sets with a beautiful shine, and offers a superior flavor profile that cheap chocolate simply cannot match. This small upgrade makes a big difference.
- Toast Your Pecans for Flavor – Don’t skip toasting your pecans! This simple step brings out their natural oils and deepens their nutty flavor, adding an extra dimension to your **pecan clusters**. Spread pecan halves on a baking sheet and toast in a preheated oven at 350°F (175°C) for 5-7 minutes, watching carefully to prevent burning. Let them cool completely before use.
- Gentle Caramel Melting – Patience is key when melting caramel. Whether using a microwave or stovetop, melt the caramels slowly and stir frequently to ensure an an even, smooth consistency. Overheating can cause the caramel to seize, become grainy, or even burn, resulting in a bitter taste and undesirable texture. Low and slow is the way to go for perfectly gooey caramel.
- Efficiency is Key – Once your caramel and chocolate are melted, try to work efficiently. Caramel can stiffen quickly as it cools, and chocolate will start to set. Having all your pecans arranged and your ingredients measured beforehand will make the assembly process much smoother and prevent frustration.
- The Parchment Paper Advantage – Always use parchment paper or silicone baking mats. They are non-stick wonders that make transferring your **homemade chocolate turtles** incredibly easy once they’ve set. Without them, you risk your delicious creations sticking to the baking sheet, making removal difficult and messy.
- The Magic of Flaky Sea Salt – The timing of your sea salt sprinkle is crucial. Apply it immediately after spooning the chocolate onto each turtle, while the chocolate is still wet. This ensures the salt adheres properly and provides that delightful burst of flavor that balances the sweetness so perfectly. A coarse, flaky sea salt is preferred for both texture and visual appeal.
- Temperature Control for Chocolate – To achieve a shiny, snap-able chocolate coating, especially if you’re using high-quality chocolate, consider tempering it. While optional for this recipe, tempering prevents ‘blooming’ (white streaks on the chocolate surface) and gives a professional finish. If not tempering, avoid microwaving chocolate at full power for too long; gentle, intermittent heating prevents seizing.
- Uniformity for Best Results – Aim for relatively uniform pecan clusters and consistent amounts of caramel and chocolate for each turtle. This ensures even cooking (if applicable, though these are no-bake) and consistent taste and appearance across your batch of **gourmet candy**.
- Cleanliness for Smooth Chocolate – Ensure your bowls and utensils are completely dry when melting chocolate. Even a tiny drop of water can cause chocolate to seize and become a clumpy, unusable mess. This is particularly important for microwave melting, where condensation can sometimes be an issue.
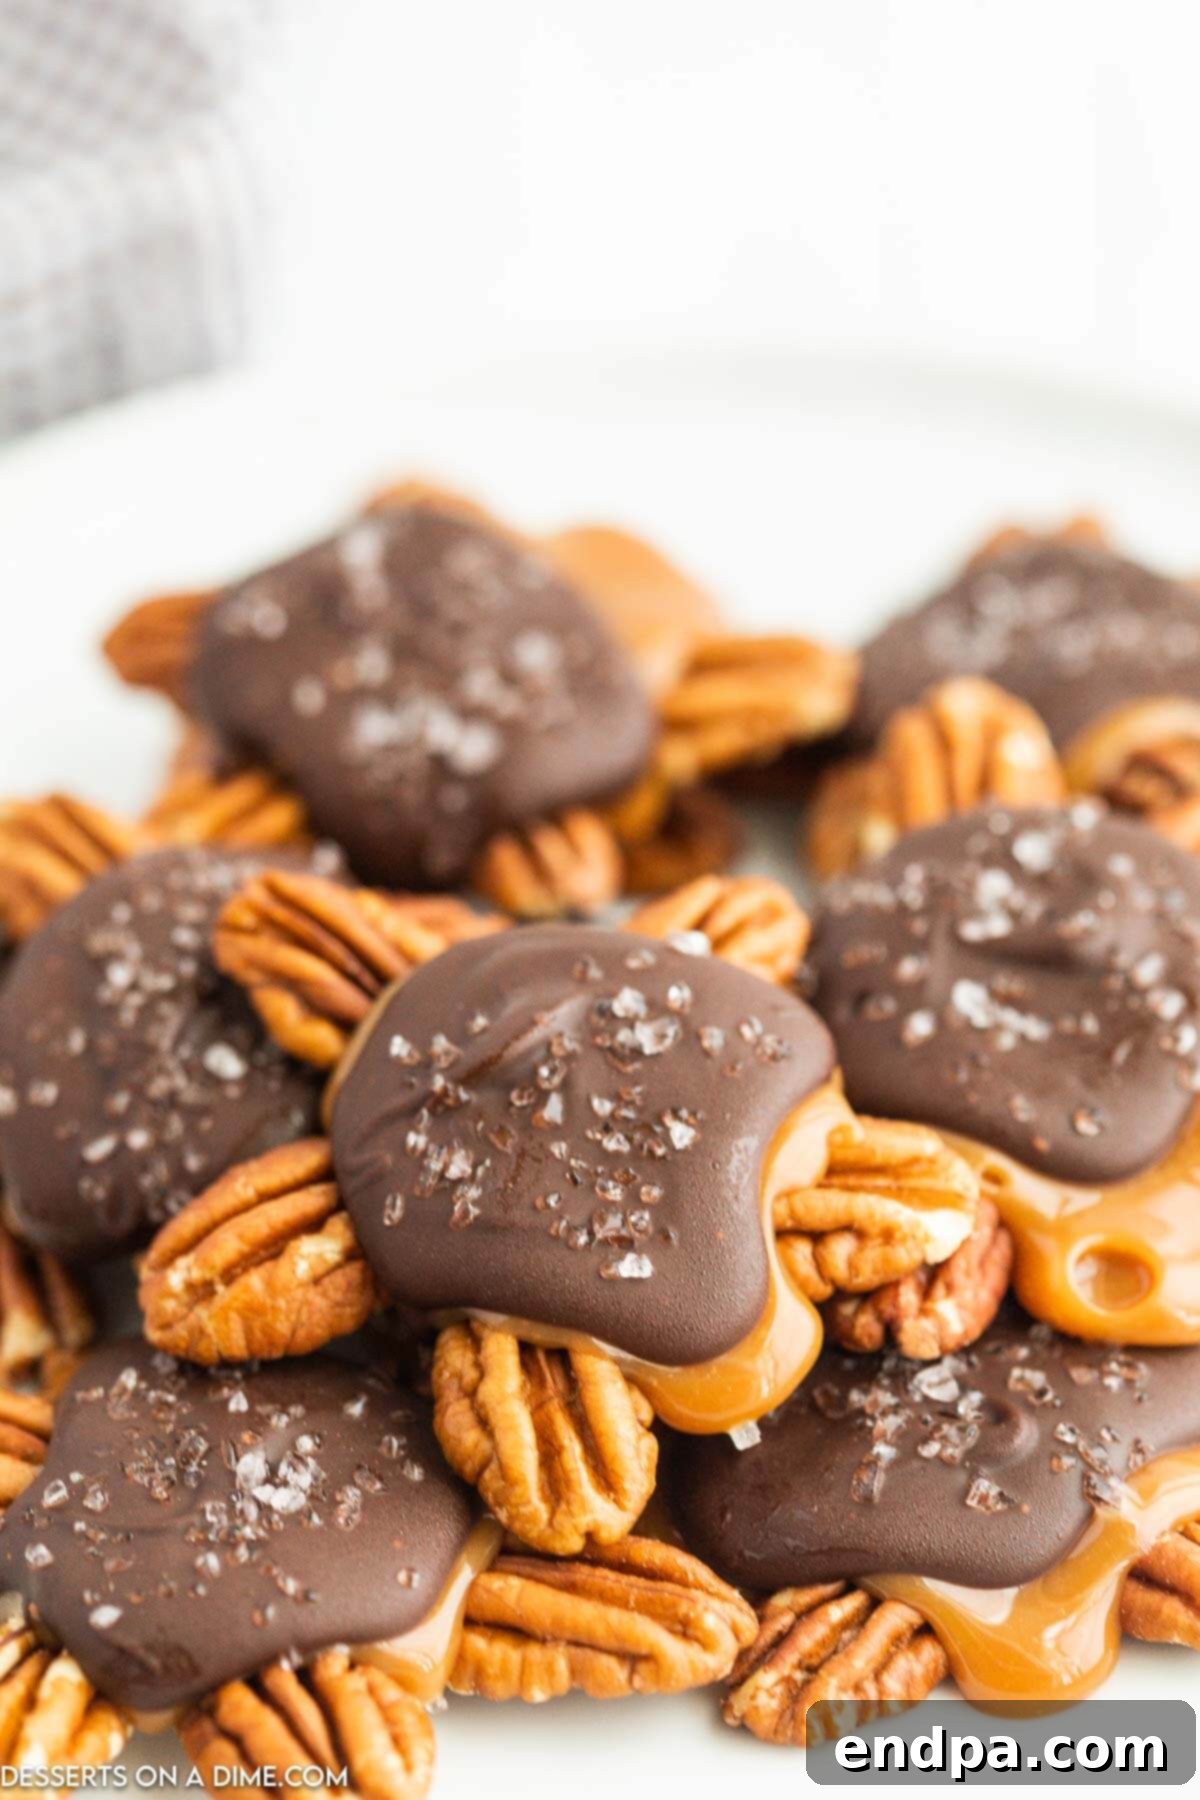
The Enduring Appeal of Chocolate Turtles
For generations, **Chocolate Turtles** have captured hearts and taste buds with their unique blend of flavors and textures. Originating in the early 20th century, these delightful candies quickly became a symbol of simple, homemade indulgence. Their distinctive shape, reminiscent of a turtle, adds a charming touch, making them instantly recognizable and beloved. More than just a confection, they embody the warmth and tradition of holiday baking and thoughtful gifting, remaining a staple in many households for their irresistible combination of crunchy, chewy, and smooth sensations.
Frequently Asked Questions
- Can I use store-bought caramel sauce instead of melting caramels?
While convenient, store-bought caramel *sauce* is typically thinner and may not set firm enough to hold its shape around the pecans. It’s best to use soft, individually wrapped caramels (like Kraft Caramels) or a block of firm caramel, as specified in the recipe, for that classic chewy texture. - My chocolate seized! What went wrong?
Chocolate seizes when it comes into contact with even a tiny amount of water or is overheated. Ensure all your utensils and bowls are completely dry. When microwaving, heat in short bursts and stir frequently. If using a double boiler, make sure no steam or water gets into the chocolate. If it seizes, you can sometimes try to rescue it by stirring in a teaspoon of vegetable oil or melted shortening, but results may vary. - How can I make these even faster?
To speed up the process, you can cool the caramel-topped pecans and chocolate-dipped turtles in the refrigerator for 5-10 minutes. Just be careful not to leave them in for too long, as the chocolate can develop a dull finish if chilled too quickly. - Can I use other nuts?
Absolutely! While pecans are traditional, walnuts, almonds, or even cashews can be used for delicious variations. Toasting any alternative nuts will enhance their flavor. - How do I prevent the chocolate from blooming (white streaks)?
Chocolate blooming, those grayish-white streaks, occurs due to improper cooling or temperature fluctuations. To minimize this, ensure the chocolate is melted gently and allowed to set at a consistent room temperature, not in a very cold refrigerator or freezer. Using high-quality chocolate also helps. Tempering chocolate is the professional way to prevent blooming, but it’s not strictly necessary for home cooks if you follow careful melting and setting instructions.
Serving Suggestions
Once your **homemade chocolate turtles** have fully set, they are ready to be savored. Serve them on their own as a delightful after-dinner treat, alongside a cup of coffee or hot cocoa, or as part of a larger dessert platter during holidays and special occasions. They make excellent additions to cookie exchanges, bake sales, or as a thoughtful gesture for neighbors and friends. For an elegant presentation, place them in mini paper candy cups.
Try More Delicious Candy Recipes
- Cool Whip Candy
- Hard Candy Recipe
- Old Fashioned Divinity Candy Recipe
- Rocky Road Candy
I truly hope you enjoy crafting and indulging in these magnificent **Homemade Chocolate Turtles**. Their irresistible blend of crunchy pecans, gooey caramel, and rich chocolate, perfectly balanced with a hint of sea salt, is guaranteed to impress. There’s nothing quite like the satisfaction of creating such a beloved classic candy from scratch. Please share your experience and let me know how these delightful **sweet and salty treats** turned out by leaving a comment and a star rating below. Happy candy making!
Recipe Card
Pin
Chocolate Turtles
Ingredients
- 4 ounces Pecan Halves
- 8 ounces Caramels
- 1 Tablespoon Heavy Whipping Cream
- 6 ounces Semi-Sweet Melting Chocolate
- 1 teaspoon Sea Salt
Instructions
- Line a baking sheet with parchment paper. Place 5 pecan halves in a cluster in a star shape onto the baking sheet.
- Place the caramels and heavy whipping cream in a microwave safe bowl. Microwave for 1 minute. Stir and then continue to microwave in 30 second intervals, stirring after each interval until fully melted and smooth.
- Pour approximately 1 tablespoon of the melted caramel on top of each pecan cluster. Allow the mixture to set for the caramel to harden.
- Place the chocolate in a microwave safe bowl. Microwave for 1 minute. Stir and then continue to microwave in 30 second intervals, stirring after each interval until fully melted and smooth.
- Pour approximately 2 teaspoons of the chocolate over the top of the caramel. Sprinkle the sea salt on top.
- Allow the turtles to sit at room temperature for 15-20 minutes for the chocolate to harden. Then they are ready to serve and enjoy!
Recipe Notes
Nutrition Facts
Pin This Now to Remember It Later
Pin Recipe
