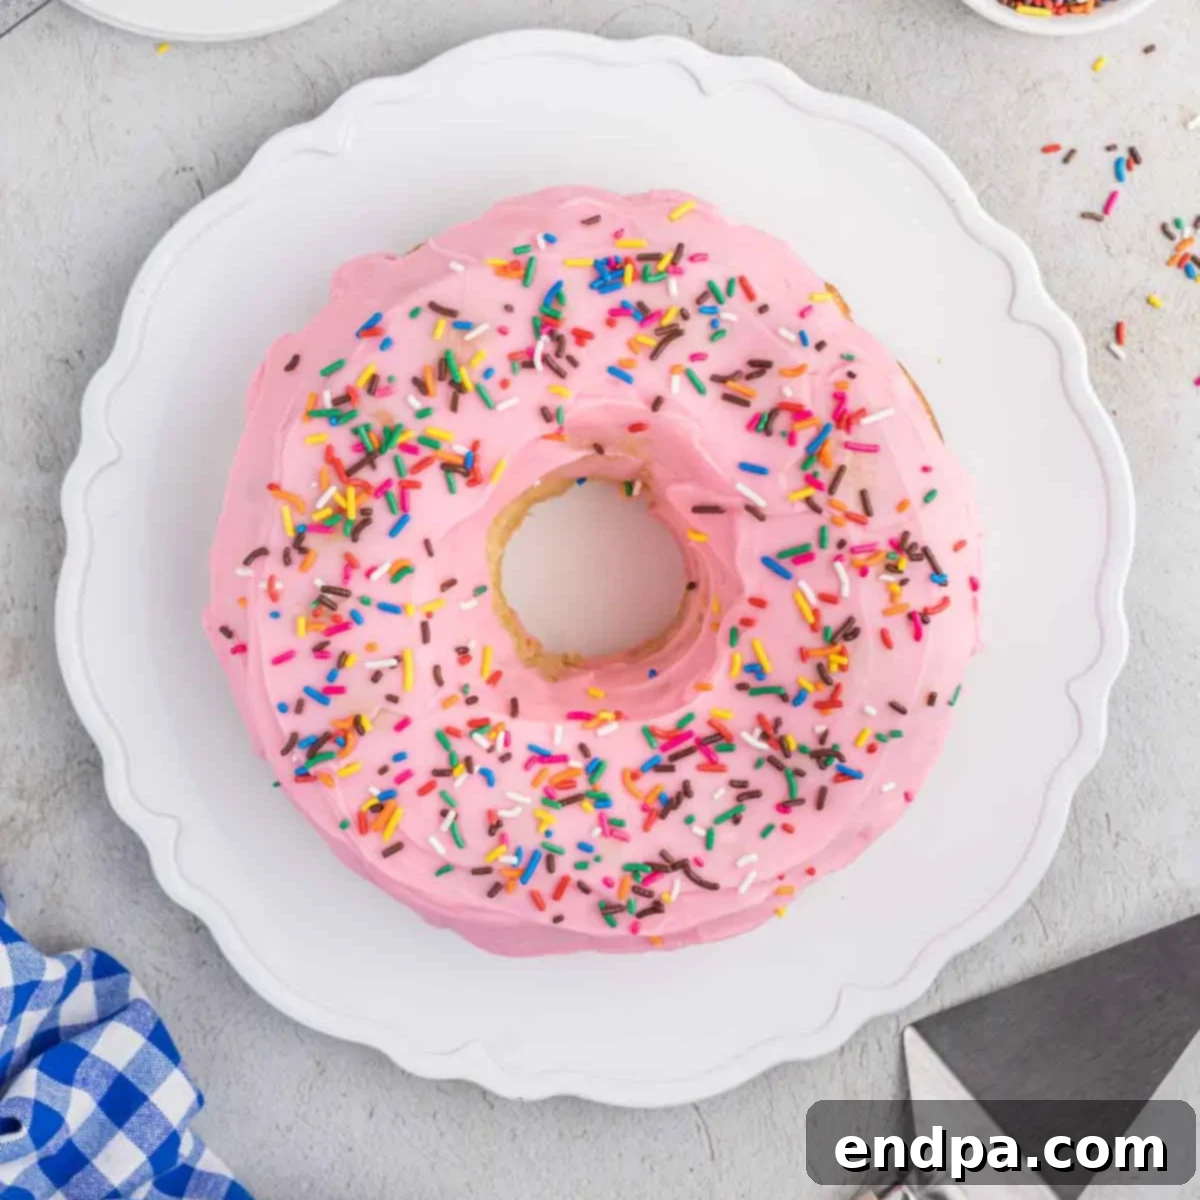
Delightful Donut Cake Recipe: Your Guide to a Bakery-Style Treat at Home
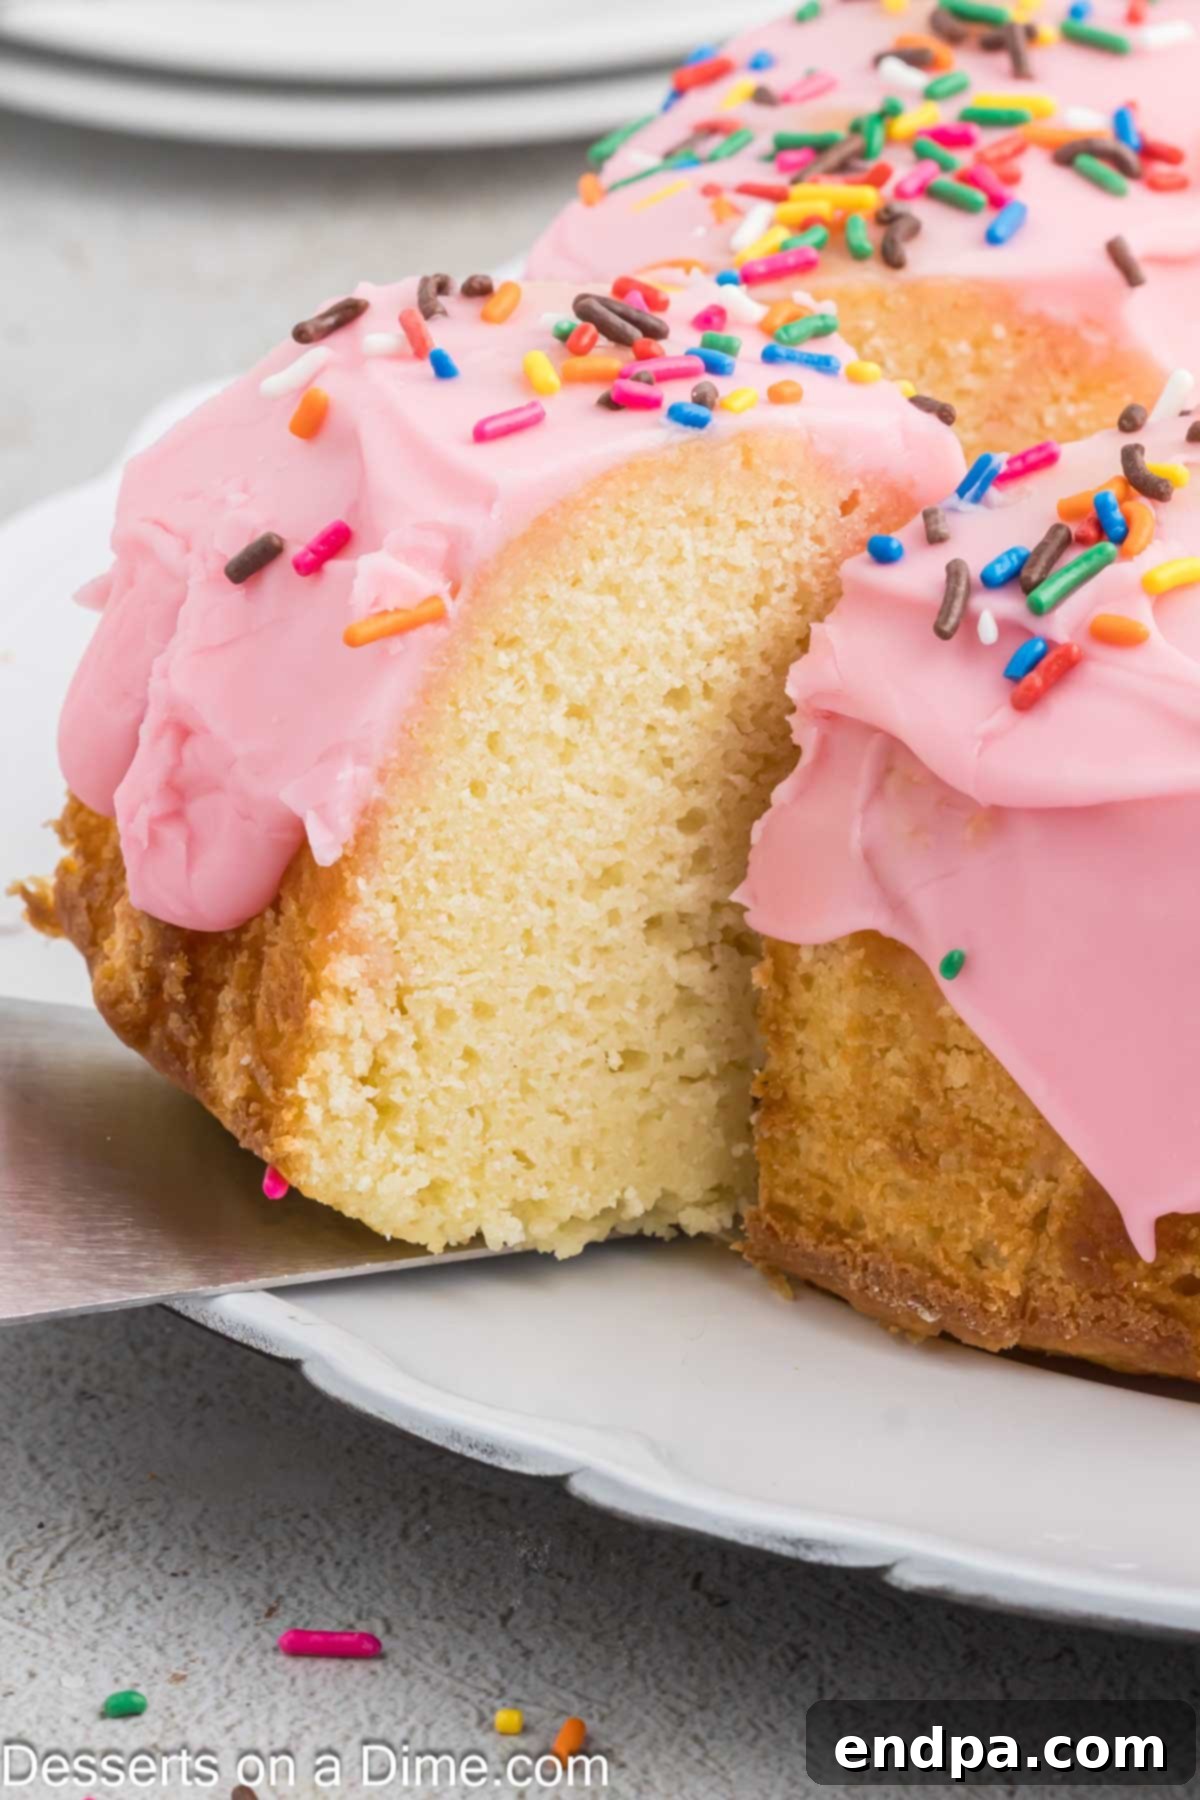
Imagine the beloved taste of a classic cake donut, but in a grand, shareable form. Our Donut Cake recipe delivers just that – a wonderfully soft and fluffy bundt cake that captures the essence of your favorite pastry, complete with a luscious frosting and a playful scattering of sprinkles. This isn’t just any cake; it’s a celebration in itself, beautifully presented in a bundt pan and surprisingly simple to whip up right in your own kitchen. Each delightful bite transports you to a gourmet donut shop, offering that perfect balance of sweetness and tender texture.
The charm of this particular cake creation lies in its exquisite texture – incredibly soft, moist, and fluffy, mimicking the ideal cake donut. Topped with a vibrant, perfectly sweet pink icing, it’s a feast for both the eyes and the palate. The best part? You can effortlessly customize the icing color to match any holiday, party theme, or personal preference, making it a versatile dessert for all occasions. This makes the Donut Cake not just a treat, but a canvas for your creativity, ensuring it always fits the mood and moment.
If you appreciate the elegance and ease of a bundt cake, you’ll surely love exploring more of our delightful recipes. Be sure to try our Blueberry Bundt Cake for a fruity twist or the comforting Banana Bundt Cake for another irresistibly delicious dessert option. These recipes are perfect for expanding your baking repertoire with minimal fuss and maximum flavor.
Table of Contents
- Why You’ll Adore This Donut Cake
- Essential Ingredients for a Perfect Donut Cake
- For the Cake Batter: Crafting the Foundation
- For the Irresistible Glaze: The Finishing Touch
- Creative Variations and Customization Ideas
- Step-by-Step Guide to Baking Your Donut Cake
- Storage Best Practices for Your Donut Cake
- Pro Tips for Donut Cake Perfection
- Freezing Your Donut Cake for Later Enjoyment
Why You’ll Adore This Donut Cake
This isn’t just another cake recipe; it’s a labor of love made incredibly simple, using mostly common pantry staples. We’ve designed this recipe so that anyone, regardless of their baking experience, can create a stunning and delicious homemade cake with these straightforward instructions. The result is a wonderfully moist and flavorful cake that tastes absolutely divine – far superior to store-bought alternatives. Its inherent simplicity yet impressive outcome makes it a winning choice for both novice and experienced bakers alike.
It’s our go-to recipe for everything from festive birthdays and special anniversaries to casual weekend gatherings. The versatility is unmatched: you can easily transform its appearance by changing the color of the luscious icing and experimenting with a wide array of sprinkles to match any theme or mood. Imagine vibrant rainbow sprinkles for a child’s party, elegant metallic sprinkles for a more sophisticated event, or seasonal sprinkles for holiday celebrations. The visual appeal of this cake is just as delightful as its taste, making it a true showstopper.
Perhaps the biggest draw is the ability to enjoy the authentic, delectable flavor of donuts without the hassle and mess of deep-frying. Say goodbye to hot oil, special thermometers, and complicated techniques. This donut cake offers all the delightful taste and texture you crave, baked conveniently in your oven, making it an incredibly easy and enjoyable baking project for home cooks. It truly delivers that classic cake donut experience in an entirely new and exciting format, elevating it to a dessert marvel.
Essential Ingredients for a Perfect Donut Cake
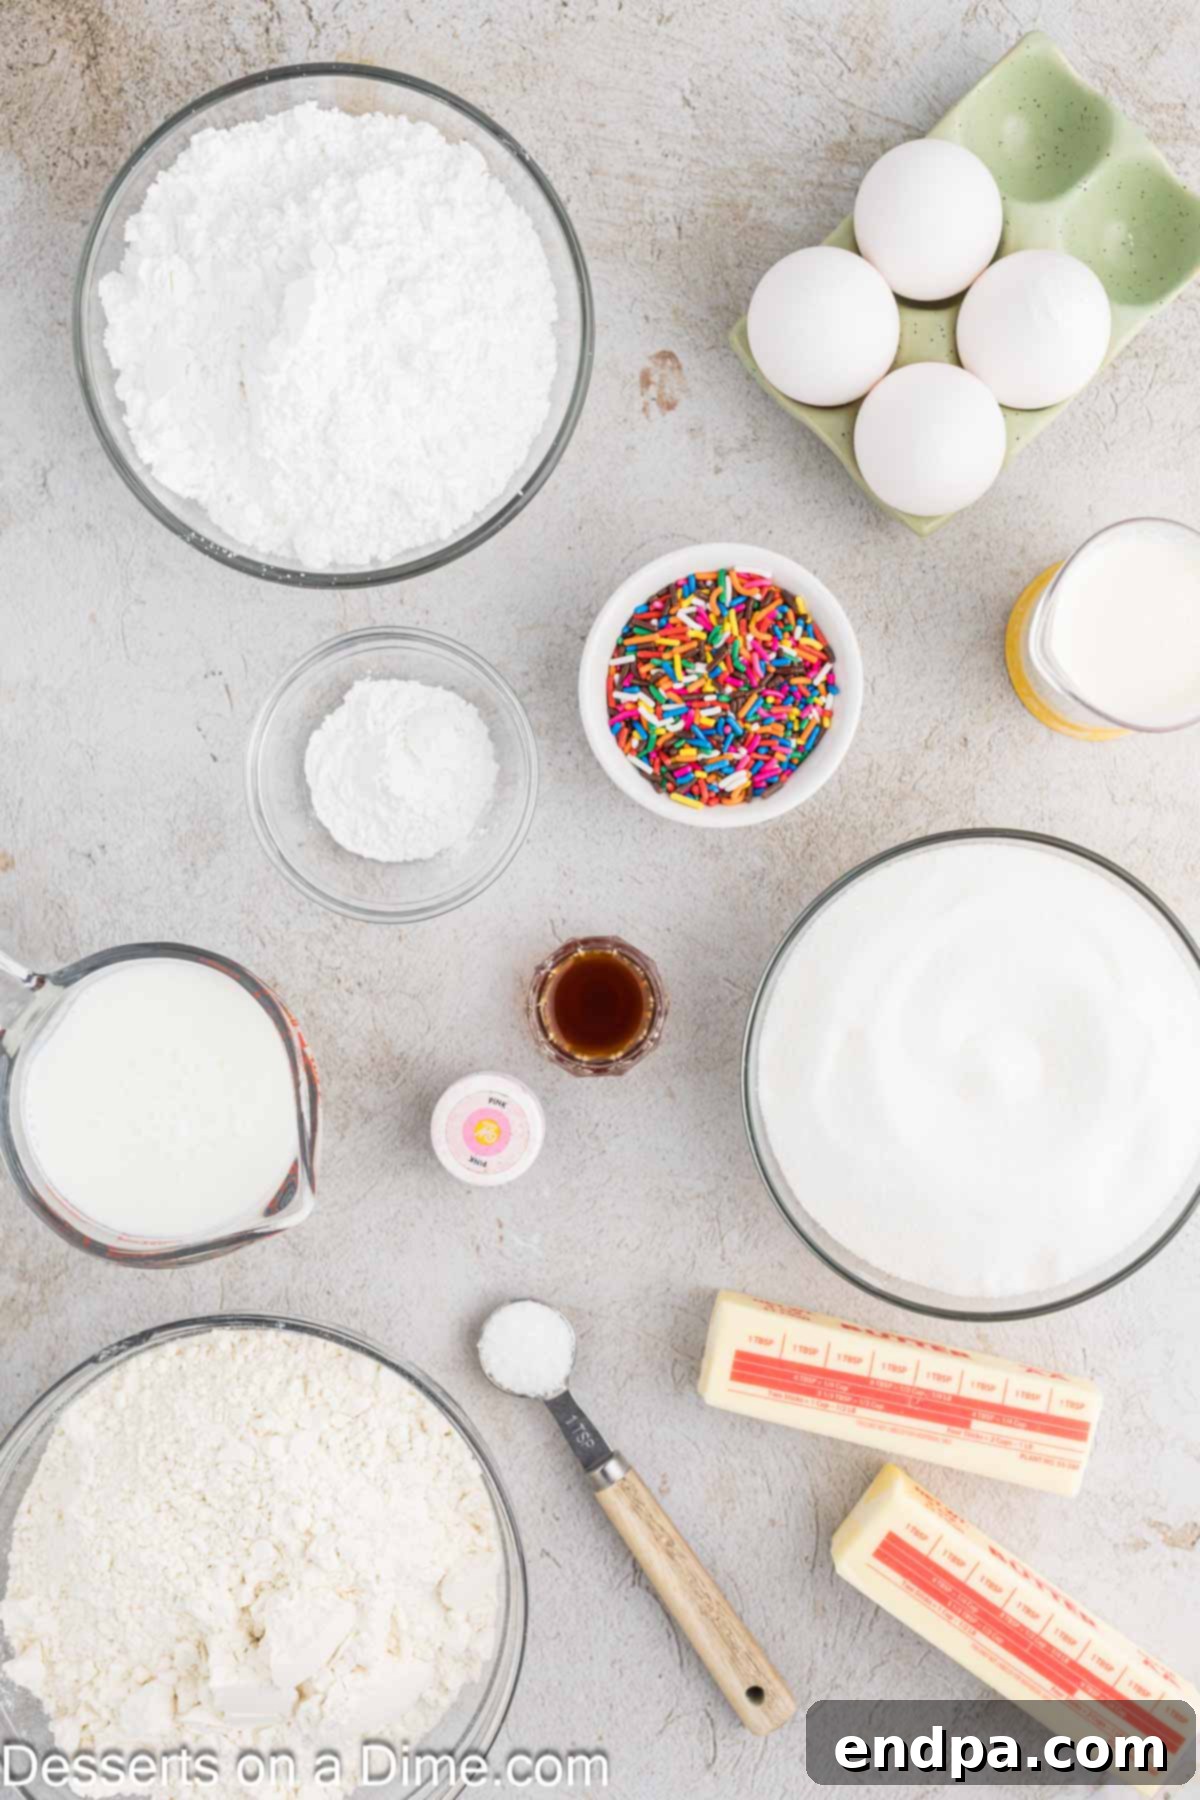
For the Cake Batter: Crafting the Foundation
- Unsalted Butter: Ensure your butter is softened at room temperature. This is crucial for a smooth, homogenous batter and for incorporating air during the creaming process, resulting in a lighter cake. Using unsalted butter allows you to control the exact amount of salt in the recipe, ensuring perfect flavor balance.
- Large Eggs: Like the butter, bringing your large eggs to room temperature helps them emulsify better with the other ingredients. This leads to a smoother batter and a more uniform, tender crumb in your finished donut cake. Room temperature ingredients blend more easily, preventing a curdled batter.
- Granulated Sugar: This classic baking staple provides the essential sweetness that makes this cake a true dessert. Beyond flavor, sugar also plays a vital role in achieving the cake’s desirable tender texture by interfering with gluten development, contributing to its melt-in-your-mouth quality.
- Pure Vanilla Extract: Don’t skimp on quality here! Pure vanilla extract adds a rich, aromatic depth that elevates the entire flavor profile of the cake, truly mimicking that classic donut taste. It’s a foundational flavor that brings warmth and sweetness to every bite.
- Cake Flour: This is a secret weapon for achieving that signature soft and fluffy donut-like texture. Cake flour has a lower protein content than all-purpose flour, leading to less gluten development and a more tender, delicate crumb that is incredibly light and airy. If you don’t have it, you can easily make a substitute at home with all-purpose flour and cornstarch.
- Baking Powder: Our primary leavening agent, baking powder, is essential for giving the cake its lift and airy structure. It ensures the cake rises beautifully and achieves that light, springy consistency characteristic of a perfect cake donut, preventing a dense result.
- Salt: A small but mighty ingredient, a pinch of salt is vital for balancing the sweetness and enhancing all the other flavors in the cake, making them pop. It prevents the cake from tasting bland and brings out the best in the vanilla and buttermilk.
- Buttermilk: This ingredient is a game-changer for moisture and richness. The acidity in buttermilk reacts with the baking powder, contributing to a lighter texture, and its tanginess adds a subtle depth of flavor that’s simply irresistible. It contributes significantly to the cake’s moistness and unique flavor profile. You can even make your own homemade buttermilk if you’re in a pinch!
For the Irresistible Glaze: The Finishing Touch
- Powdered Sugar: Also known as confectioners’ sugar or icing sugar, this finely milled sugar is essential for creating a smooth, lump-free glaze. Its fine texture dissolves easily, ensuring a silky, appealing finish. I highly recommend sifting it first if it appears lumpy to achieve the best possible consistency.
- Heavy Cream: Using heavy cream instead of milk for the glaze is a game-changer. It creates a richer, more luxurious, and decadently smooth topping. The higher fat content of heavy cream provides a beautiful sheen and a delightful mouthfeel, making the glaze truly irresistible.
- Food Coloring and Sprinkles: These are entirely optional but highly encouraged for adding a festive touch and personal flair! Food coloring allows for endless customization to suit any theme or occasion, while sprinkles bring a fun texture and a vibrant visual appeal that screams “celebration!”
The precise measurements for each of these ingredients can be found in the detailed recipe card at the bottom of this page, ensuring you have everything you need for baking success.
Creative Variations and Customization Ideas
While this donut cake is spectacular as is, it’s also wonderfully adaptable! Don’t hesitate to experiment with these ideas to inspire your creativity and make this cake uniquely yours, tailoring it to your taste or occasion:
- Zesty Citrus Flavor: For a bright and refreshing twist, add 1 to 2 tablespoons of fresh lemon or orange juice to your glaze. This not only imparts a delightful tang that cuts through the sweetness but also brightens the overall flavor profile of the cake. For an even more intense citrus experience, consider folding a teaspoon of finely grated lemon or orange zest into the cake batter itself.
- Endless Sprinkle Possibilities: Unleash your imagination with sprinkles! The type and color of sprinkles can dramatically change the cake’s appearance. Choose different varieties to match specific holidays (e.g., red and green for Christmas, pastels for Easter, patriotic colors for national holidays) or celebration themes (e.g., glittery gold for an anniversary, iridescent for a unicorn party). Beyond classic jimmies, consider nonpareils, sanding sugar for sparkle, or even edible glitter for extra flair.
- Warm Spice Infusion: For a cozy, comforting flavor reminiscent of an old-fashioned, spiced cake donut, consider adding ½ to 1 teaspoon of ground cinnamon or a pumpkin pie spice blend to your cake batter along with the dry ingredients. This will infuse the cake with a delightful warmth. You could even dust the finished cake with a cinnamon-sugar mixture before glazing for an extra layer of spice and texture.
- Decadent Chocolate Drizzle: Instead of or in addition to the traditional glaze, melt some chocolate chips (dark, milk, or white) and drizzle artfully over the cooled cake. This adds a rich, chocolatey dimension that perfectly complements the cake’s flavor and texture.
- Crunchy Nutty Topping: For added texture and a nutty flavor, toast some finely chopped nuts like pecans, walnuts, or almonds. Sprinkle them over the glaze while it’s still wet so they adhere beautifully. This adds a delightful crunch that contrasts with the soft cake.
Step-by-Step Guide to Baking Your Donut Cake
Baking this donut cake is a straightforward and rewarding process. Follow these detailed steps precisely to achieve a perfect, bakery-quality result right in your own kitchen.
- Step 1: Prepare Your Oven. Begin by preheating your oven to 350 degrees Fahrenheit (175 degrees Celsius). It is absolutely crucial that your oven is at the correct temperature before the cake goes in, as this ensures even baking and proper rising. Use an oven thermometer for accuracy if possible.
- Step 2: Prepare Your Bundt Pan. A well-prepared bundt pan is the secret to a beautiful, intact cake that releases effortlessly. Generously coat the entire interior of your bundt pan with softened unsalted butter, ensuring every crevice and intricate design is thoroughly covered. Then, lightly dust it with a thin, even layer of all-purpose flour, tapping out any excess. This creates a non-stick barrier that helps the cake release cleanly and preserves its stunning shape. Alternatively, a high-quality non-stick baking spray specifically formulated for baking (containing flour) can be used for convenience.
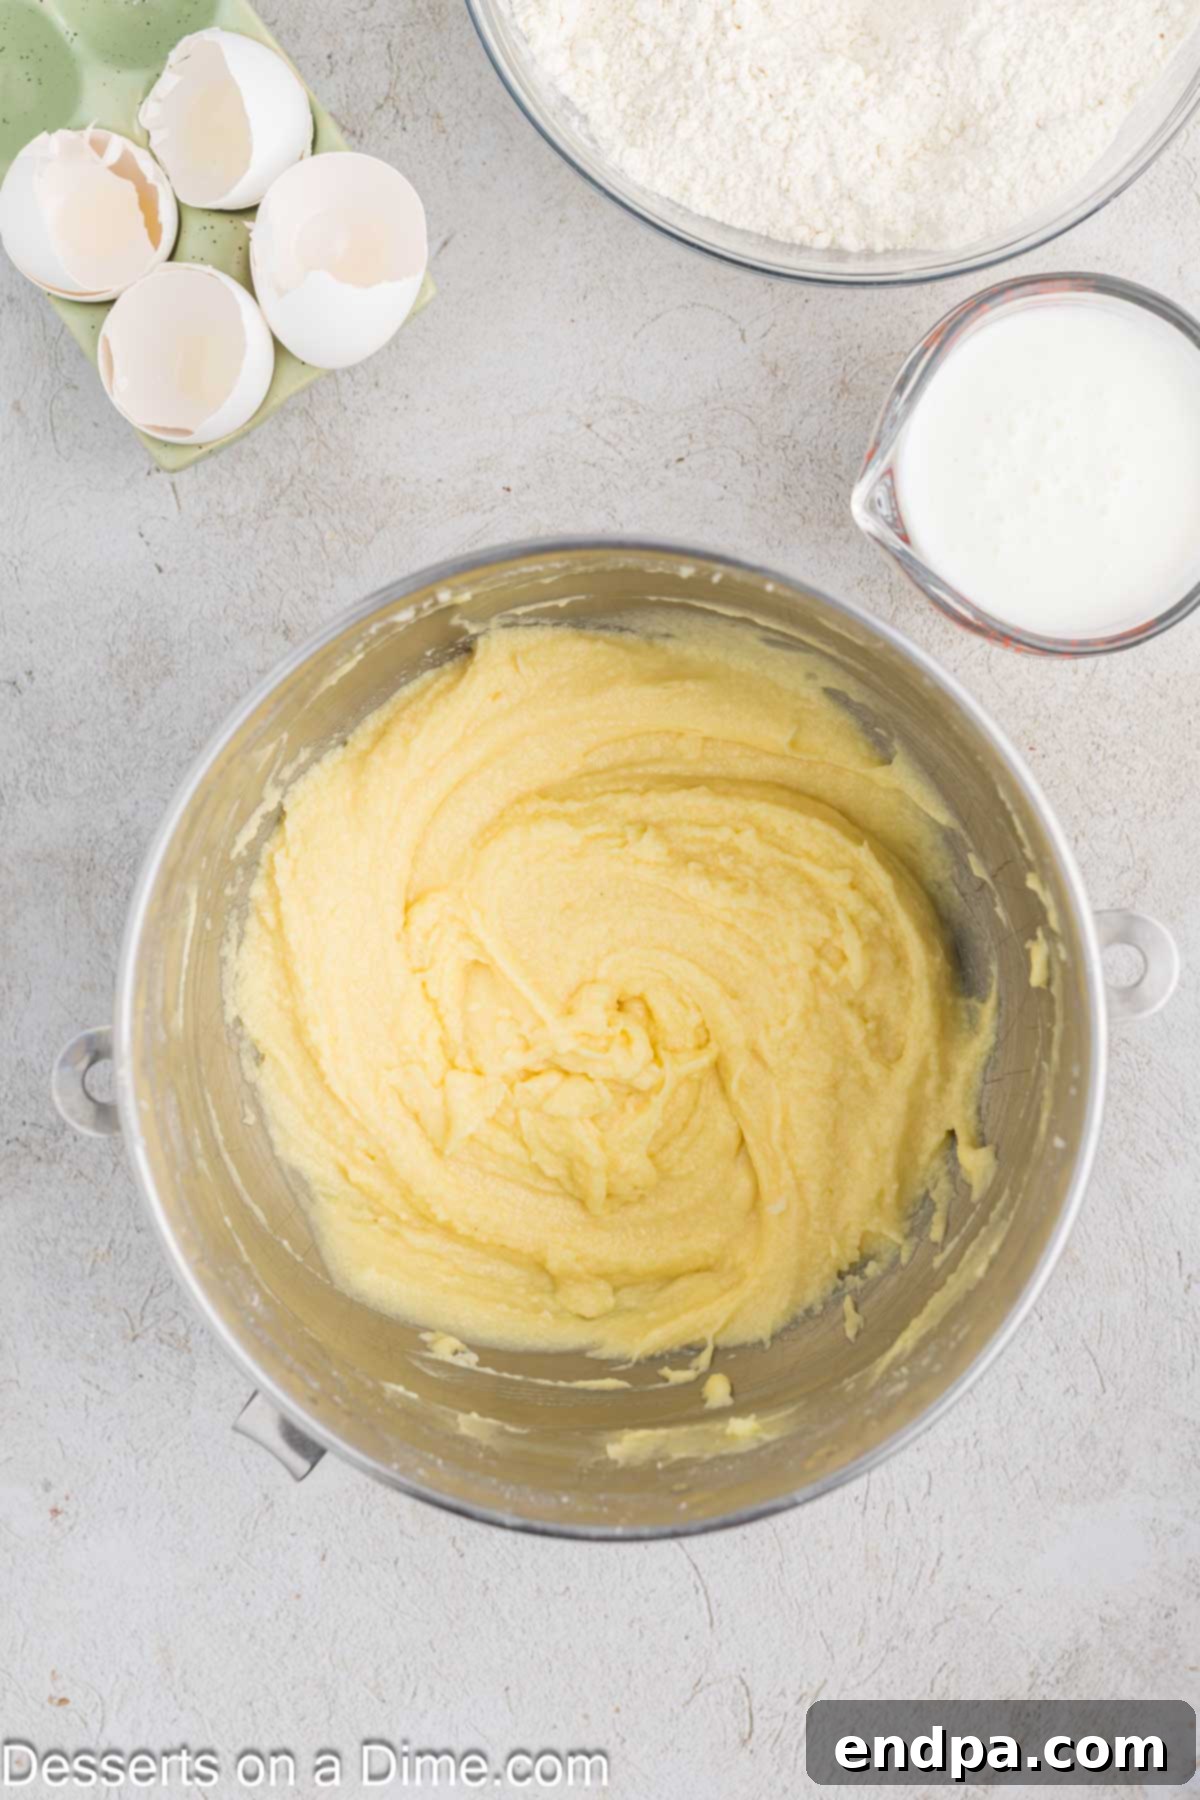
Step 3: Cream Butter and Sugar. In a large mixing bowl, preferably the bowl of a stand mixer fitted with a paddle attachment, combine the softened unsalted butter and granulated sugar. Beat them together on medium-high speed for 3-5 minutes until the mixture becomes wonderfully light, fluffy, and pale in color. This creaming process incorporates essential air, which contributes significantly to the cake’s tender and airy texture. Once creamed, reduce the mixer speed to low and add the room temperature eggs one at a time, mixing well after each addition until just fully incorporated into the batter. Scrape down the sides of the bowl frequently with a spatula to ensure everything is evenly combined and no butter or sugar is clinging to the edges.
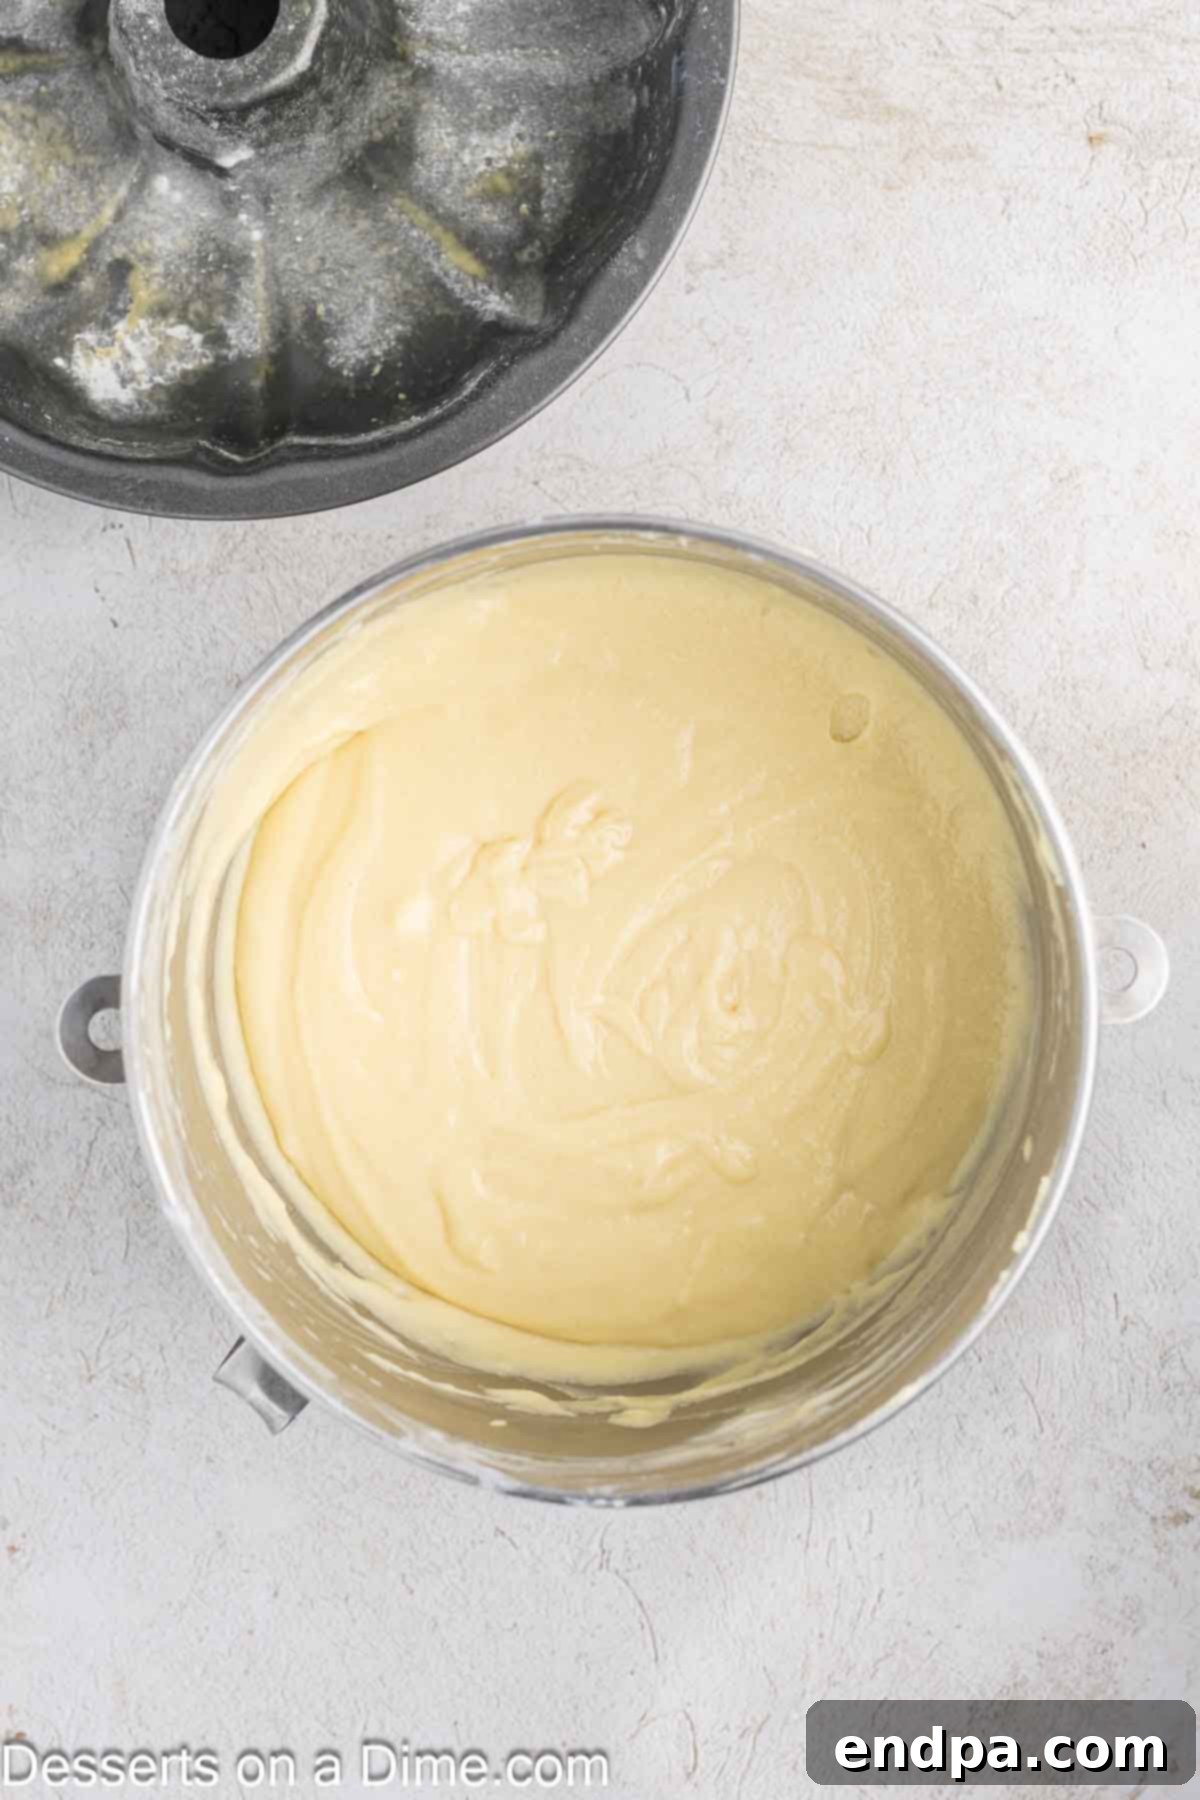
Step 4: Incorporate Wet and Dry Ingredients. After the eggs are fully blended into the mixture, mix in the pure vanilla extract until just combined. In a separate, medium-sized bowl, whisk together your dry ingredients: the cake flour, baking powder, and salt. Now, with the mixer on low speed, begin to alternate adding the dry flour mixture and the buttermilk to your butter and sugar mixture. Start and end with the flour mixture, adding about one-third of the flour, then half of the buttermilk, another third of the flour, the remaining buttermilk, and finally the last third of the flour. Mix only until just combined after each addition to avoid overmixing, which can lead to a tough, dry cake. Scrape down the sides and bottom of the bowl regularly to ensure all ingredients are thoroughly incorporated into a smooth batter.
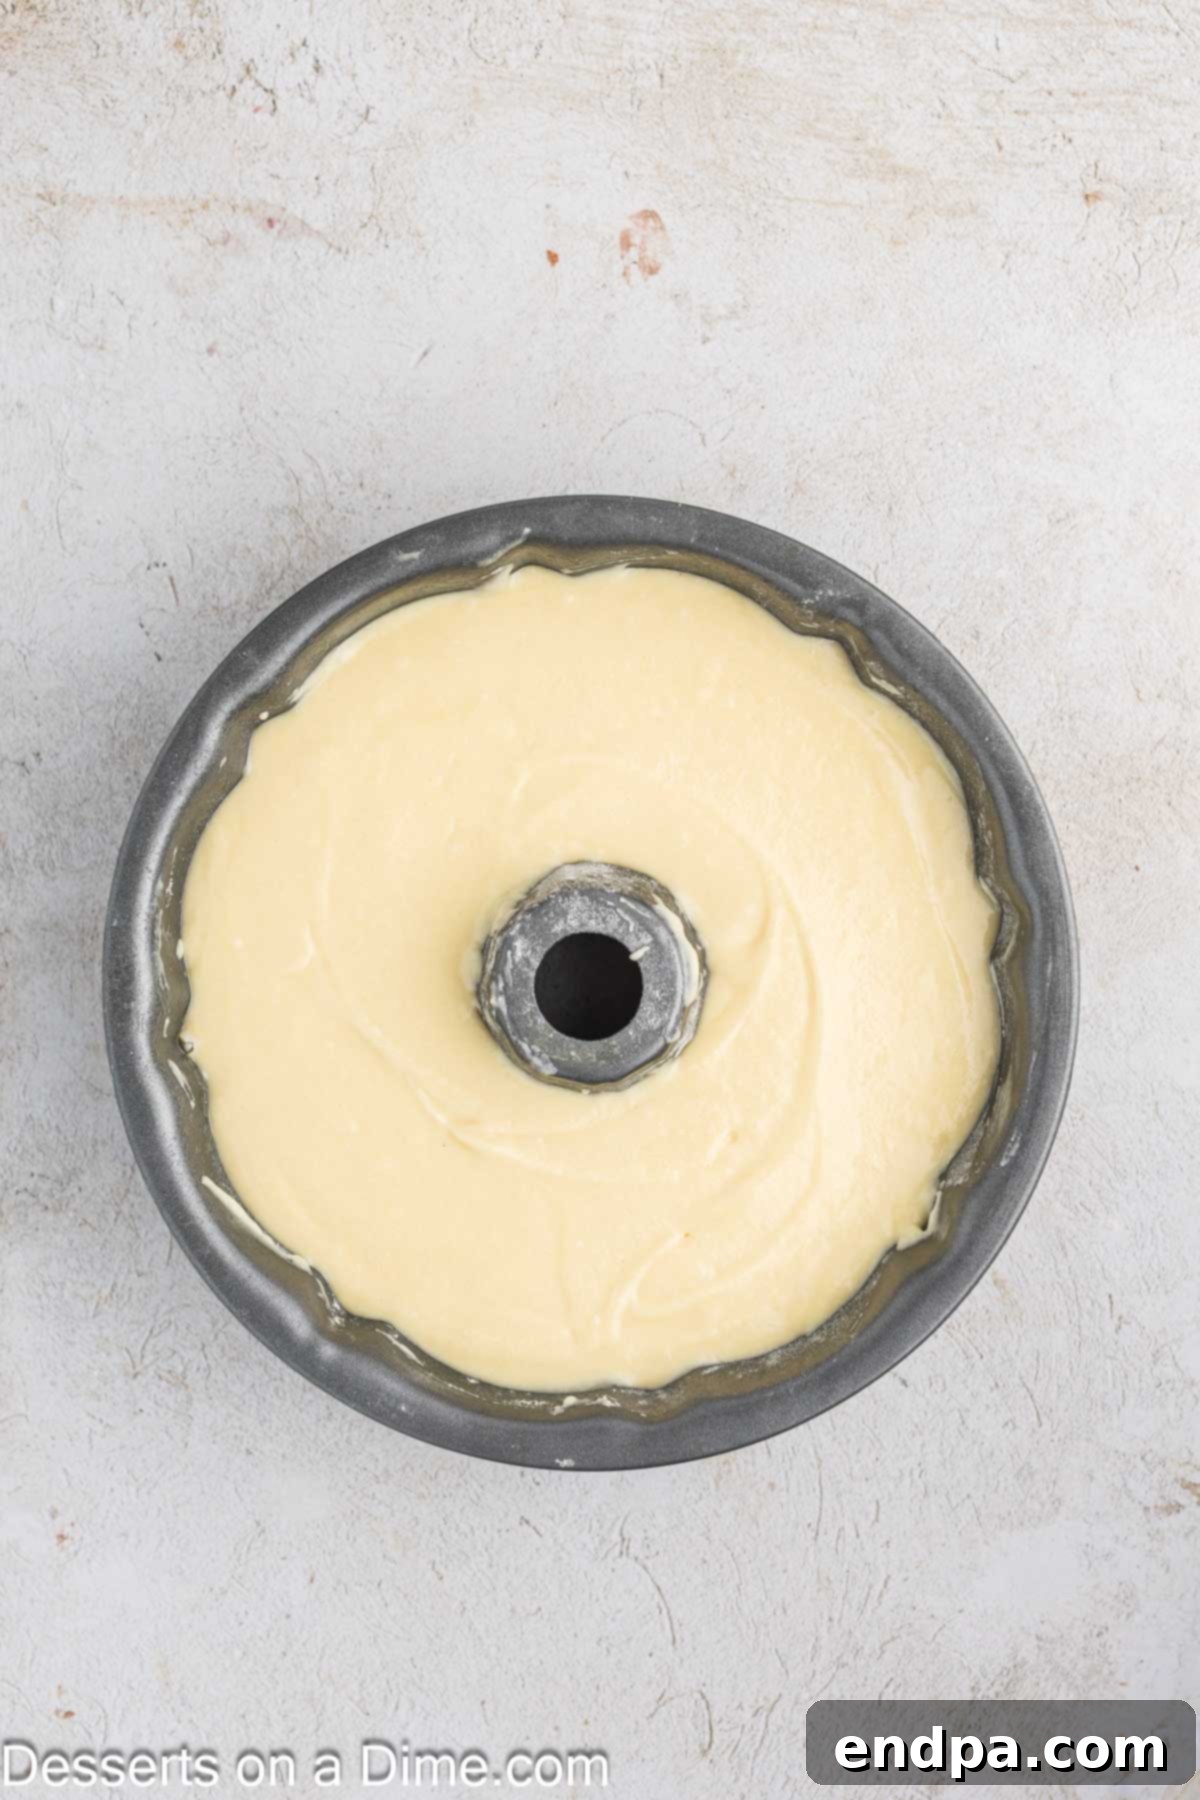
Step 5: Fill the Bundt Pan. Once your cake batter is perfectly combined and smooth, carefully pour it evenly into the prepared bundt pan. Gently smooth the top surface with a spatula to ensure even distribution, but avoid packing it down. Giving the pan a gentle tap on the counter a couple of times can help release any large air bubbles trapped in the batter, leading to a more uniform cake texture.
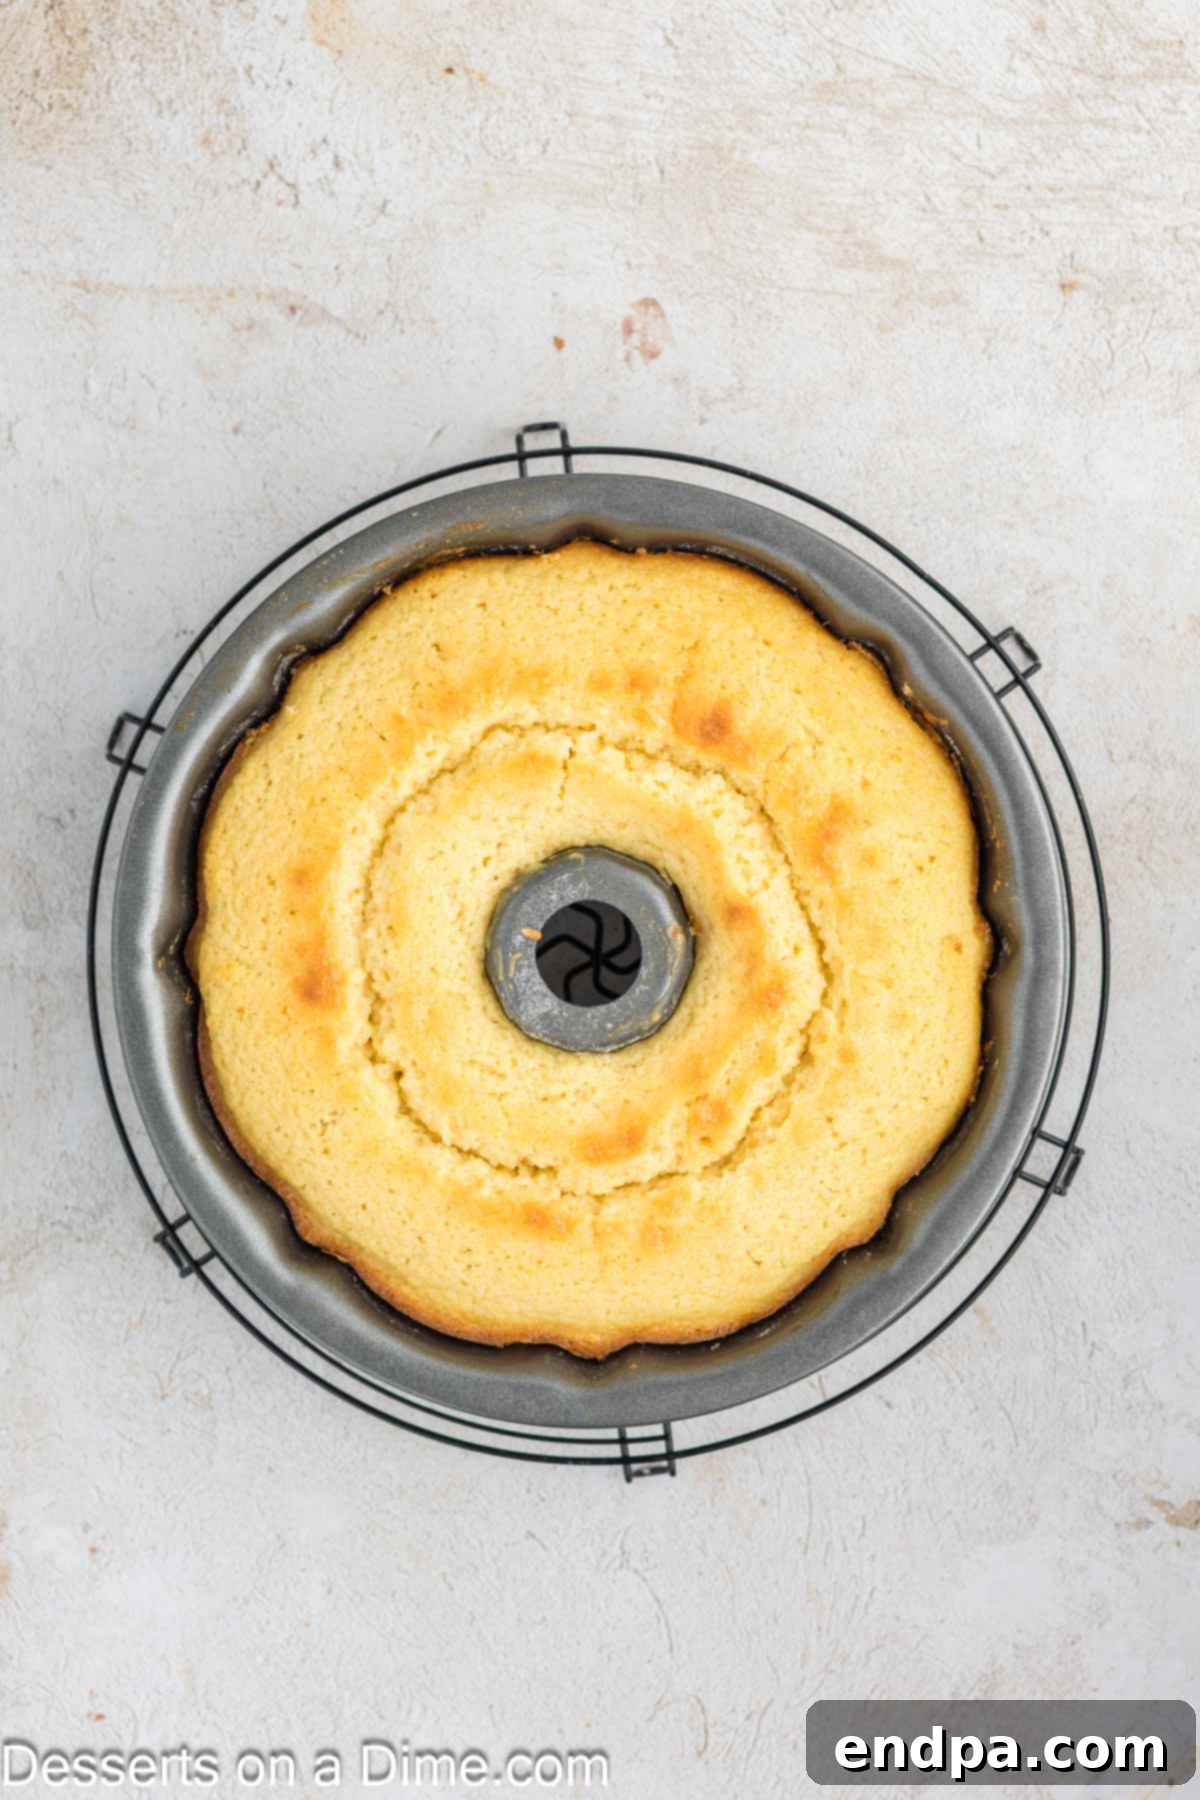
Step 6: Bake and Cool. Transfer the bundt pan to your preheated oven and bake for approximately 42-48 minutes. Baking times can vary significantly depending on your specific oven, so it’s essential to monitor the cake closely starting around the 35-minute mark. The cake is done when a wooden skewer or toothpick inserted into the thickest part comes out clean or with a few moist crumbs attached. Avoid overbaking, as this can result in a dry, crumbly cake. Once baked, remove the cake from the oven and allow it to cool in the bundt pan on a wire rack for precisely 10 minutes. This crucial cooling period allows the cake to firm up slightly and contract from the sides of the pan, making it much easier to remove. After 10 minutes, carefully invert the cake onto a serving plate or platter, then gently lift the pan away. Allow the cake to cool completely on the wire rack before proceeding to glaze. This can take 1-2 hours.
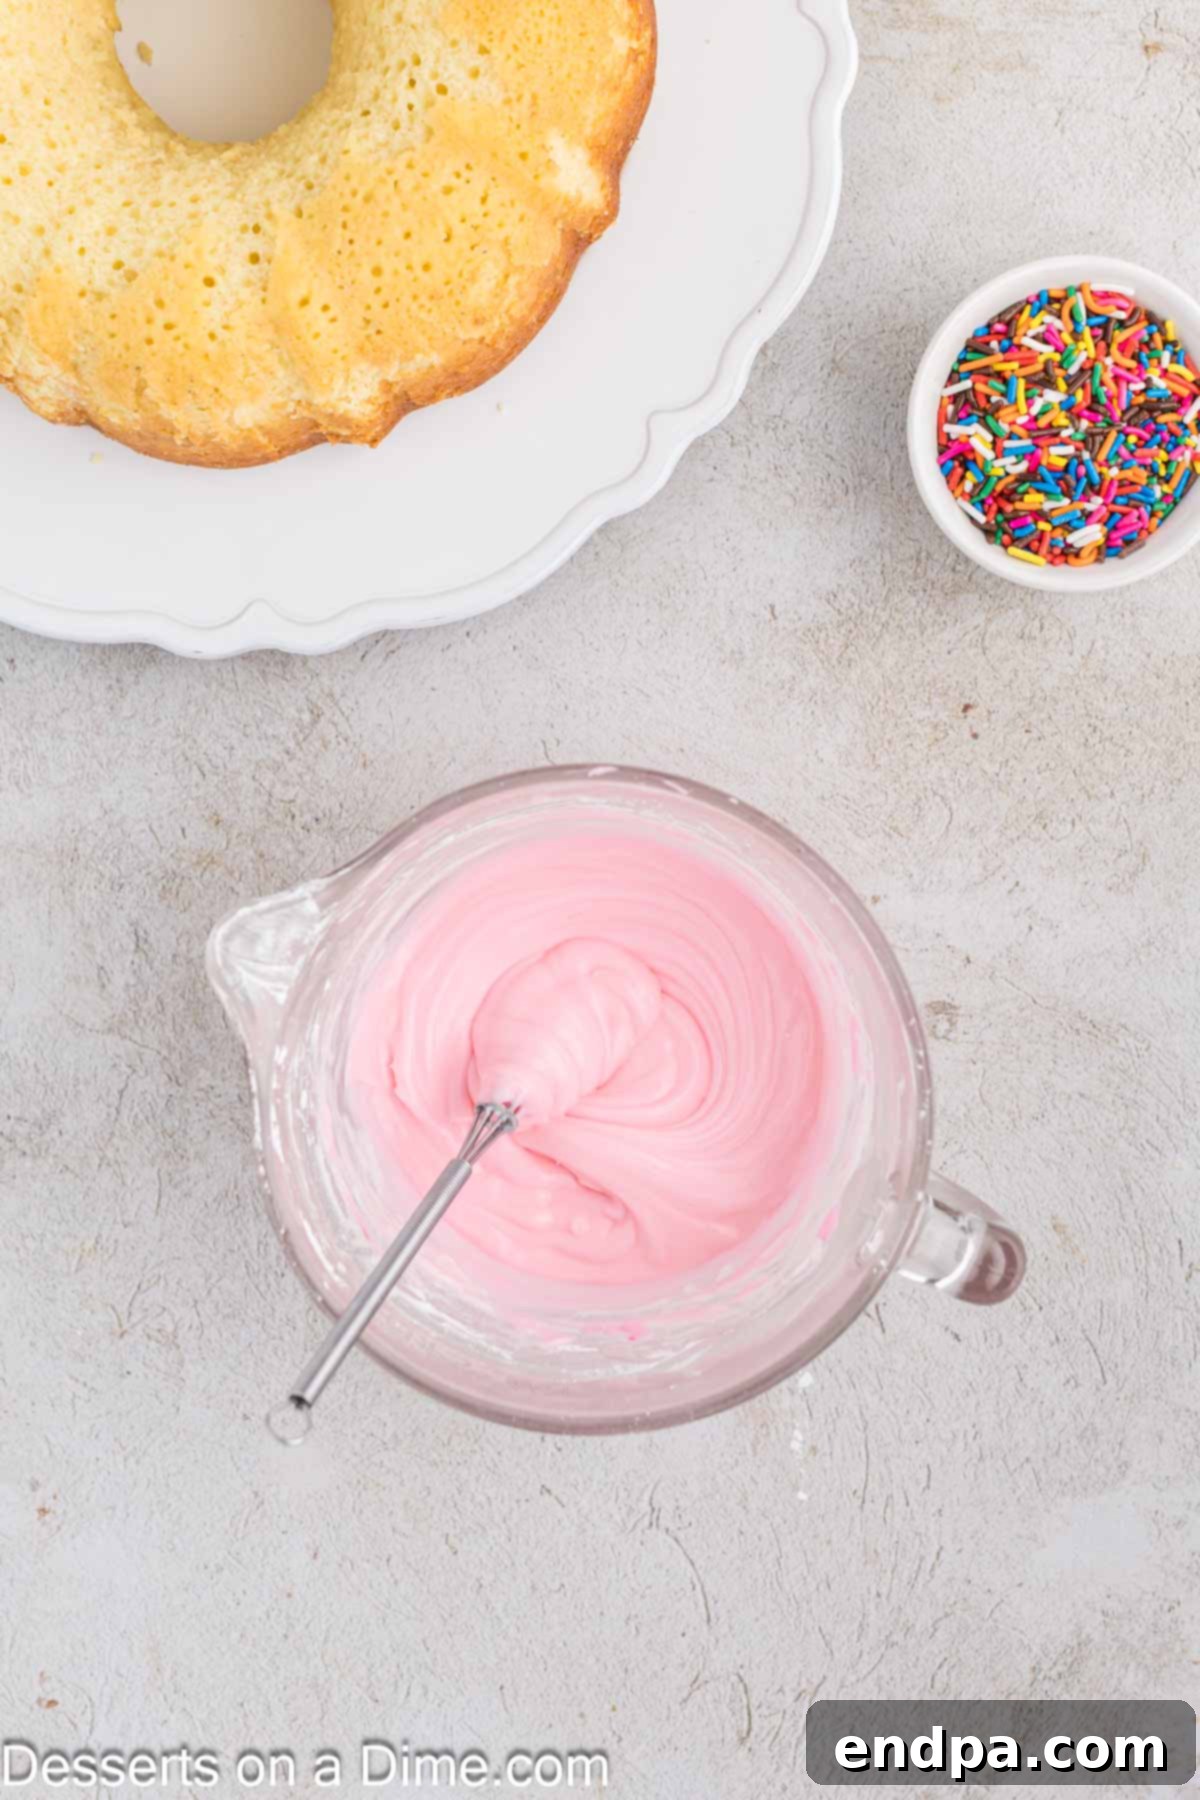
Step 7: Prepare the Glaze. While your beautiful cake is cooling, it’s the perfect time to prepare the luscious glaze. In a small mixing bowl, whisk together the sifted powdered sugar and heavy cream. Begin with 4 tablespoons of heavy cream and gradually add more, one tablespoon at a time, until the glaze reaches your desired consistency. You’re aiming for a consistency that is thick enough to coat the back of a spoon but thin enough to drizzle smoothly over the cake without being too runny. If you’re planning to add food coloring for that extra pop of visual appeal, mix it in now until you achieve your preferred vibrant shade.
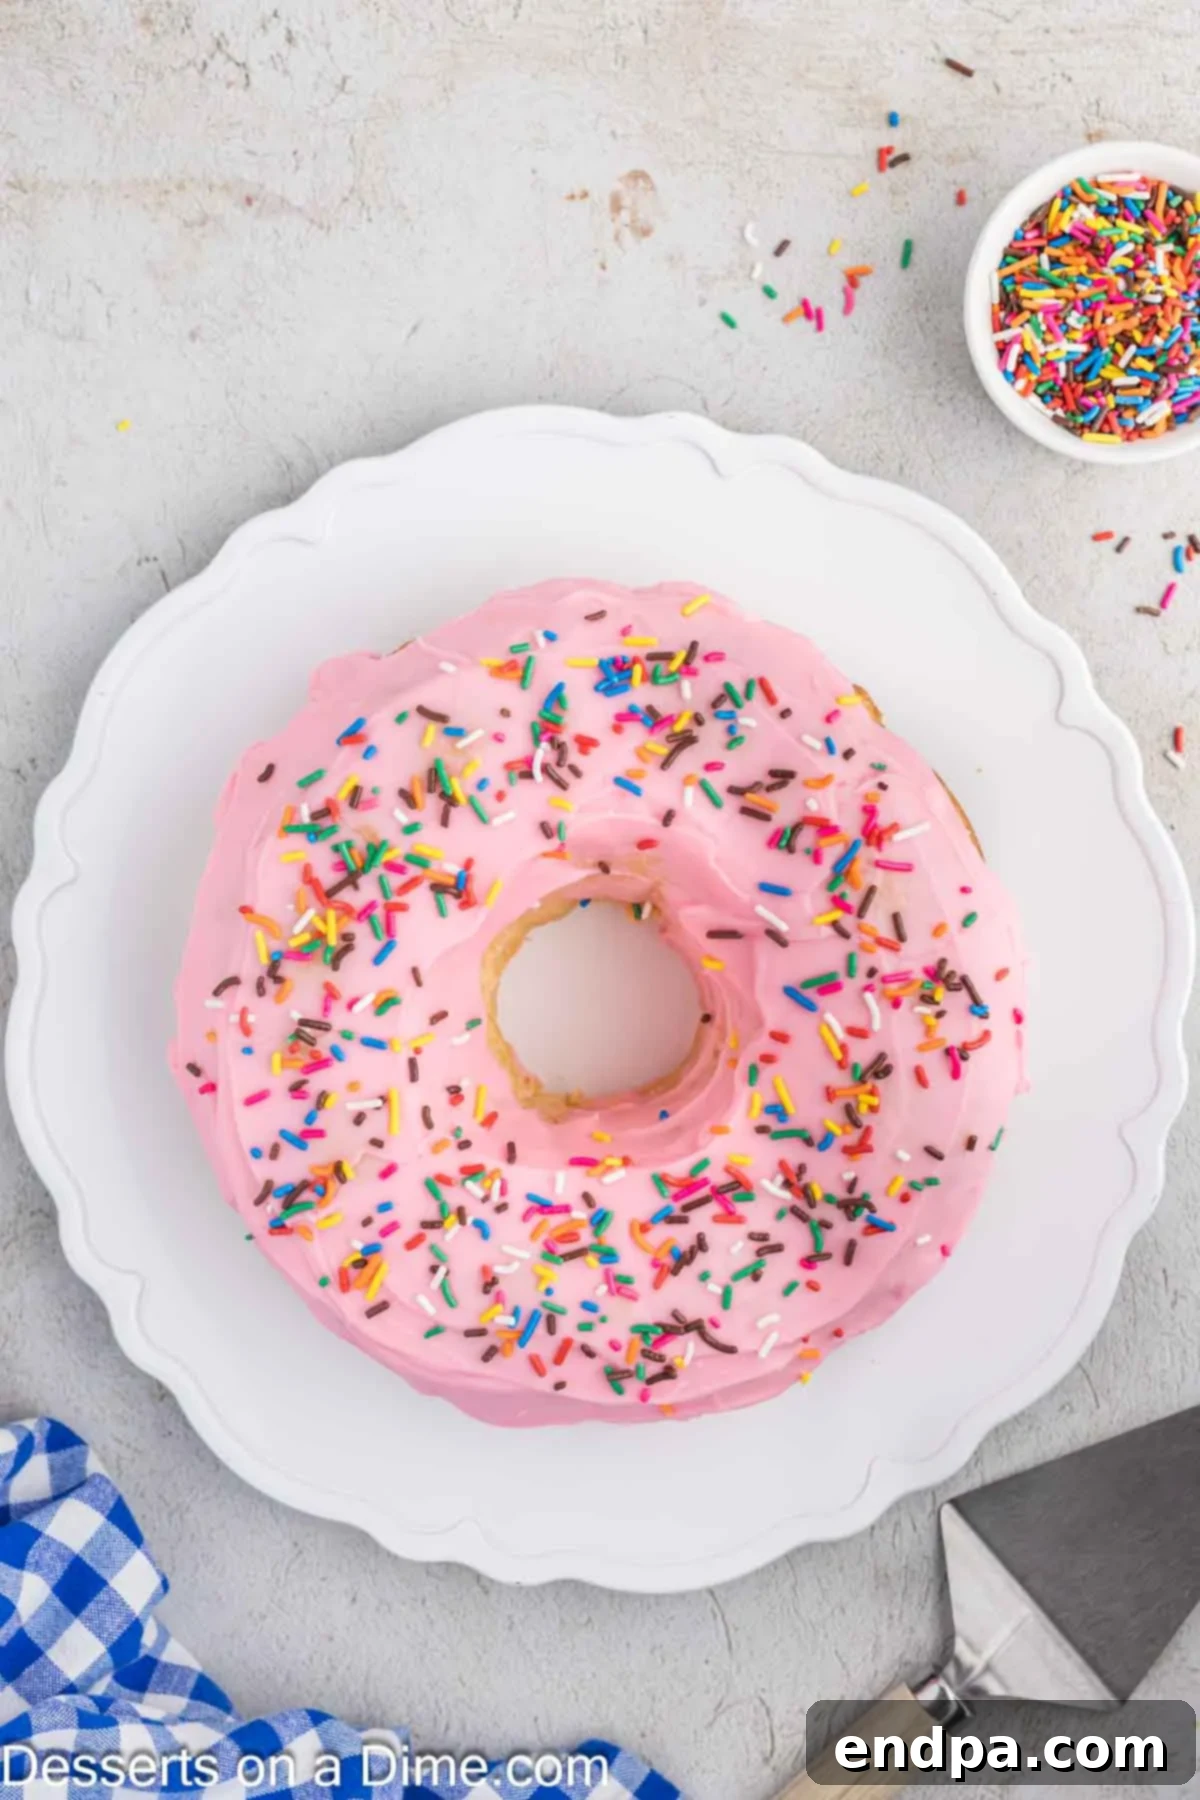
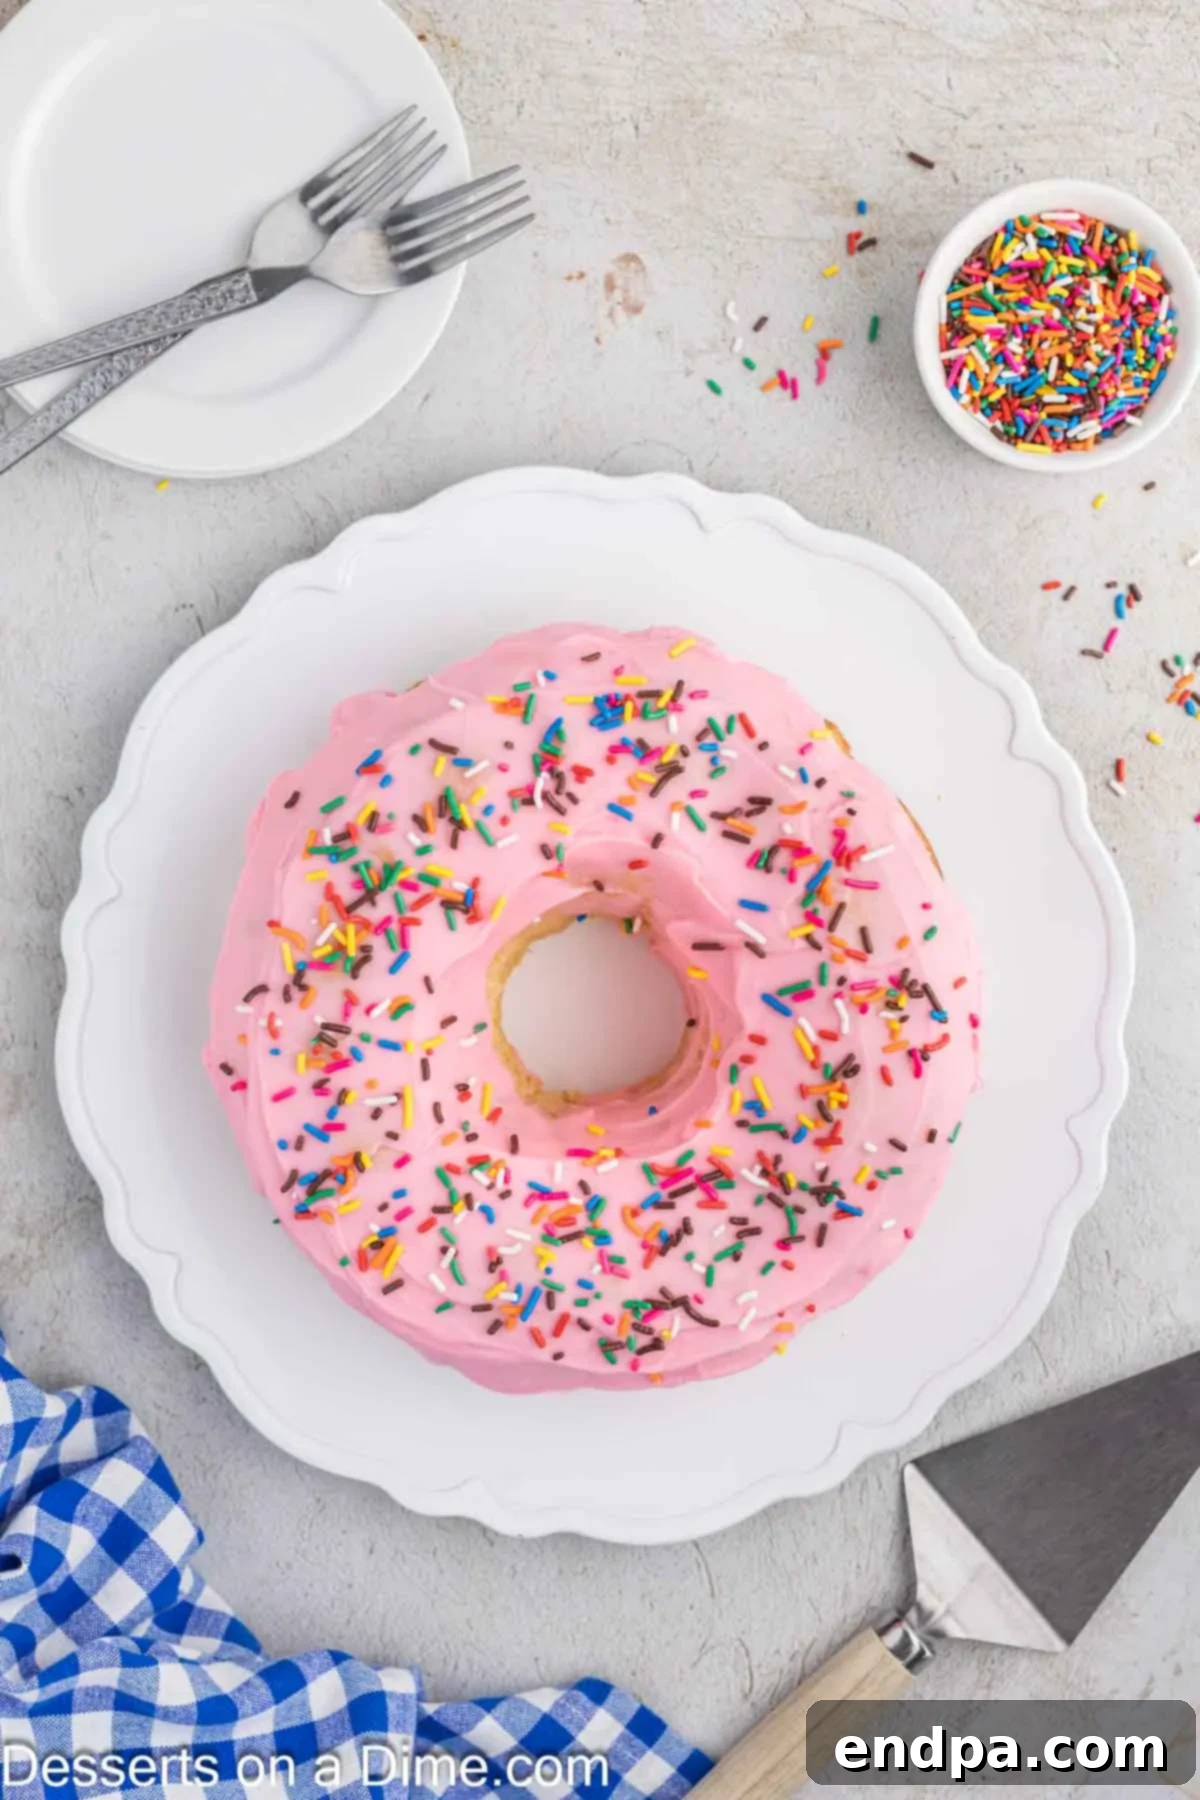
Step 8: Glaze and Garnish. Once the cake has cooled completely (this is absolutely crucial for a successful glaze!), evenly pour the prepared glaze over the top. Allow it to drip naturally and gracefully down the sides, creating an appealing and artful finish. For that signature donut cake look, generously sprinkle with your favorite colorful sprinkles while the glaze is still wet, ensuring they adhere beautifully. Once the glaze sets slightly, slice and serve this magnificent dessert to rave reviews!
Storage Best Practices for Your Donut Cake
To keep your delicious donut cake fresh and moist, ensuring every slice is as delightful as the first, proper storage is key:
- Room Temperature Storage: This cake, particularly if topped with a standard powdered sugar and cream glaze, can be stored at room temperature for up to 3 days. To prevent it from drying out and to maintain its delightful texture, ensure it is covered tightly with plastic wrap or placed in an airtight cake container. Keep it away from direct sunlight or heat sources.
- Refrigeration: For extended freshness, especially in warmer climates or if your glaze contains ingredients that might spoil quicker (like cream cheese in a variation), you can store the cake in the refrigerator for up to a week. Again, an airtight container is essential to protect its moisture and flavor from other refrigerator odors. For the best taste and texture, bring individual slices to room temperature for about 20-30 minutes before serving.
Pro Tips for Donut Cake Perfection
Achieving a perfect donut cake every single time is easy when you follow these expert recommendations. These tips will help ensure your cake is moist, flavorful, and beautifully presented:
- Cool Completely Before Glazing: This is arguably the most important tip for a beautifully glazed cake! The cake must be entirely cool, to the touch, before you even think about pouring on the glaze. If the cake is even slightly warm, the glaze will melt, absorb into the cake, and create a sticky mess rather than forming a beautiful, distinct, and even layer on top. Patience is truly a virtue here – allow ample time for cooling.
- Effortless Cake Removal from the Bundt Pan: To ensure your cake slides out flawlessly and retains its intricate bundt shape, a thorough preparation of the bundt pan is non-negotiable. Generously butter every single nook, cranny, and design with softened butter, then dust it completely with flour, tapping out any excess. When it’s time to remove the cake, after its initial 10-minute cooling period in the pan, place a sturdy serving plate or platter on top of the bundt pan. Invert the entire assembly, holding the plate and pan firmly together. Then, with gentle but firm jiggling and a bit of a wiggle, the cake should gracefully release from the pan and settle onto your serving dish. If it’s stubborn, a gentle tap on the bottom of the inverted pan can sometimes help.
- Do Not Substitute Buttermilk: Seriously, this is a foundational ingredient for this recipe, so do not substitute it with regular milk. Buttermilk is an indispensable ingredient in this recipe. Its unique acidity reacts with the leavening agents (baking powder) to produce an incredibly moist, tender crumb and contributes a subtle tangy flavor that perfectly complements the sweetness of the cake. Regular milk simply will not yield the same rich results, tender texture, or complex flavor. If you don’t have buttermilk on hand, refer to our guide on how to easily make your own homemade buttermilk substitute using milk and lemon juice or vinegar.
- Precision in Pan Preparation: As reiterated, taking your time to thoroughly coat your bundt pan with butter and flour is non-negotiable. This meticulous preparation ensures the cake releases smoothly without any parts sticking, preserving its beautiful and impressive shape, which is a key part of its appeal.
- Room Temperature Ingredients Are Key: For all ingredients like butter and eggs, bringing them to room temperature before mixing is essential. Room temperature ingredients emulsify properly, meaning they combine smoothly and evenly. This creates a smoother, more uniform batter, which in turn leads to a finer crumb, a more consistent texture, and ultimately, a more tender and delicious final baked cake. Cold ingredients can cause the batter to curdle and result in a less desirable texture.
- Measure Flour Correctly: For the most accurate measurement of cake flour (or any flour), avoid scooping directly from the bag with your measuring cup, as this can compact the flour and lead to too much being used. Instead, spoon the flour lightly into your measuring cup until it’s overflowing, then level it off with a straight edge (like the back of a knife). This method prevents adding too much flour, which can result in a dense, dry cake.
- Don’t Overmix the Batter: Once you start adding the dry flour mixture and buttermilk, mix only until the ingredients are just combined. Overmixing develops the gluten in the flour too much, which can make the cake tough, chewy, and rubbery instead of wonderfully soft and tender. A few lumps are perfectly acceptable and often indicate you haven’t overmixed.
Freezing Your Donut Cake for Later Enjoyment
Absolutely! This delightful donut cake freezes beautifully, making it perfect for meal prep, saving a portion for future cravings, or even for preparing ahead of a big event.
- How to Freeze: Ensure the cake is completely cooled before freezing. For best results, it’s often better to freeze the cake *before* applying the glaze. Wrap the unglazed cake tightly first in plastic wrap, ensuring no air can get in, then add another layer of aluminum foil. This double layer provides optimal protection against freezer burn and helps preserve its freshness and texture. You can freeze the entire cake or individual slices.
- Freezer Duration: Properly wrapped, the donut cake can be stored in the freezer for up to 3 months without compromising its quality, taste, or texture. Label with the date for easy tracking.
- Thawing and Serving: When you’re ready to enjoy it, transfer the frozen cake (or slices) to the refrigerator and allow it to thaw overnight. Once thawed, you can then apply your fresh glaze and sprinkles, then slice and serve. If you froze a glazed cake, thaw it similarly in the refrigerator and let it come to room temperature for about an hour before serving for the best texture and flavor.
More Donut Recipes You’ll Love
All Recipes Dessert
Baked Apple Cider Donuts
St. Patricks Day Desserts
Rainbow Donuts
Easy Candy
Glazed Donut Popcorn
All Recipes Dessert
Cake Mix Donuts
Ready to impress? Go ahead and bake this incredible Donut Cake Recipe for a truly fabulous and unforgettable dessert experience. We’re confident it will become a new family favorite and a go-to for all your celebrations! Please share your thoughts and a star rating once you’ve tried it – your feedback helps fellow bakers! Happy baking!
Donut Cake Recipe
15
45
10
1
10
12
American
Dessert
514
Carrie Barnard
Ingredients
For the Cake:
- 1 cup Butter softened at room temperature (2 sticks)
- 4 Large Eggs room temperature
- 2 cups Granulated Sugar
- 2 teaspoons Vanilla Extract
- 3 Cups Cake Flour
- 3 1/2 teaspoons Baking Powder
- 1 teaspoon Salt
- 1 1/2 cups Buttermilk
For the Glaze:
- 2 cups Powdered Sugar
- 4-6 Tablespoons Heavy Cream
- Food coloring and Sprinkles Optional
Instructions
- 1. Preheat the oven to 350 degrees F (175°C).
- 2. Prepare a bundt pan by generously coating it with softened butter and dusting it evenly with flour. Ensure all nooks and crannies are covered to prevent sticking.
- 3. In the bowl of a stand mixer (or a large bowl with a hand mixer), beat the butter with the granulated sugar on medium speed until the mixture is light and fluffy.
- 4. Reduce the mixer speed to low and add the room temperature eggs one at a time, mixing well after each addition until fully blended. Scrape down the sides of the bowl.
- 5. Once the eggs are combined, mix in the pure vanilla extract.
- 6. In a separate bowl, whisk together the cake flour, baking powder, and salt.
- 7. Alternate adding the dry ingredients mixture and the buttermilk to the butter and sugar mixture. Begin and end with the flour mixture, mixing on low speed until just combined after each addition. Avoid overmixing. Scrape the sides of the bowl as needed.
- 8. Pour the smooth cake batter evenly into the prepared bundt pan.
- 9. Bake for 42-48 minutes, or until a toothpick inserted into the center of the cake comes out clean.
- 10. Allow the cake to cool in the bundt pan on a wire rack for 10 minutes. Then, carefully invert the cake onto a serving plate or platter and let it cool completely on the wire rack before glazing.
- 11. While the cake cools, prepare the glaze.
- 12. In a small mixing bowl, whisk together the sifted powdered sugar and heavy cream. Start with 4 tablespoons of cream and add more gradually until you reach your desired drizzling consistency.
- 13. If using, mix in food coloring at this stage to achieve your preferred color.
- 14. Finally, pour the glaze evenly over the completely cooled cake. Top with sprinkles if desired, then slice and enjoy your homemade Donut Cake!
Recipe Notes
– Store the donut cake at room temperature for up to 3 days, or in the refrigerator for up to a week, in an airtight container to maintain freshness.
– For easy removal from the bundt pan: after the initial 10-minute cooling, place a plate over the pan, invert, and gently jiggle until the cake is released onto the plate or platter.
Nutrition Facts
Carbohydrates 78g,
Protein 7g,
Fat 20g,
Saturated Fat 12g,
Polyunsaturated Fat 1g,
Monounsaturated Fat 5g,
Trans Fat 1g,
Cholesterol 104mg,
Sodium 494mg,
Potassium 104mg,
Fiber 1g,
Sugar 55g,
Vitamin A 676IU,
Vitamin C 0.03mg,
Calcium 125mg,
Iron 1mg
