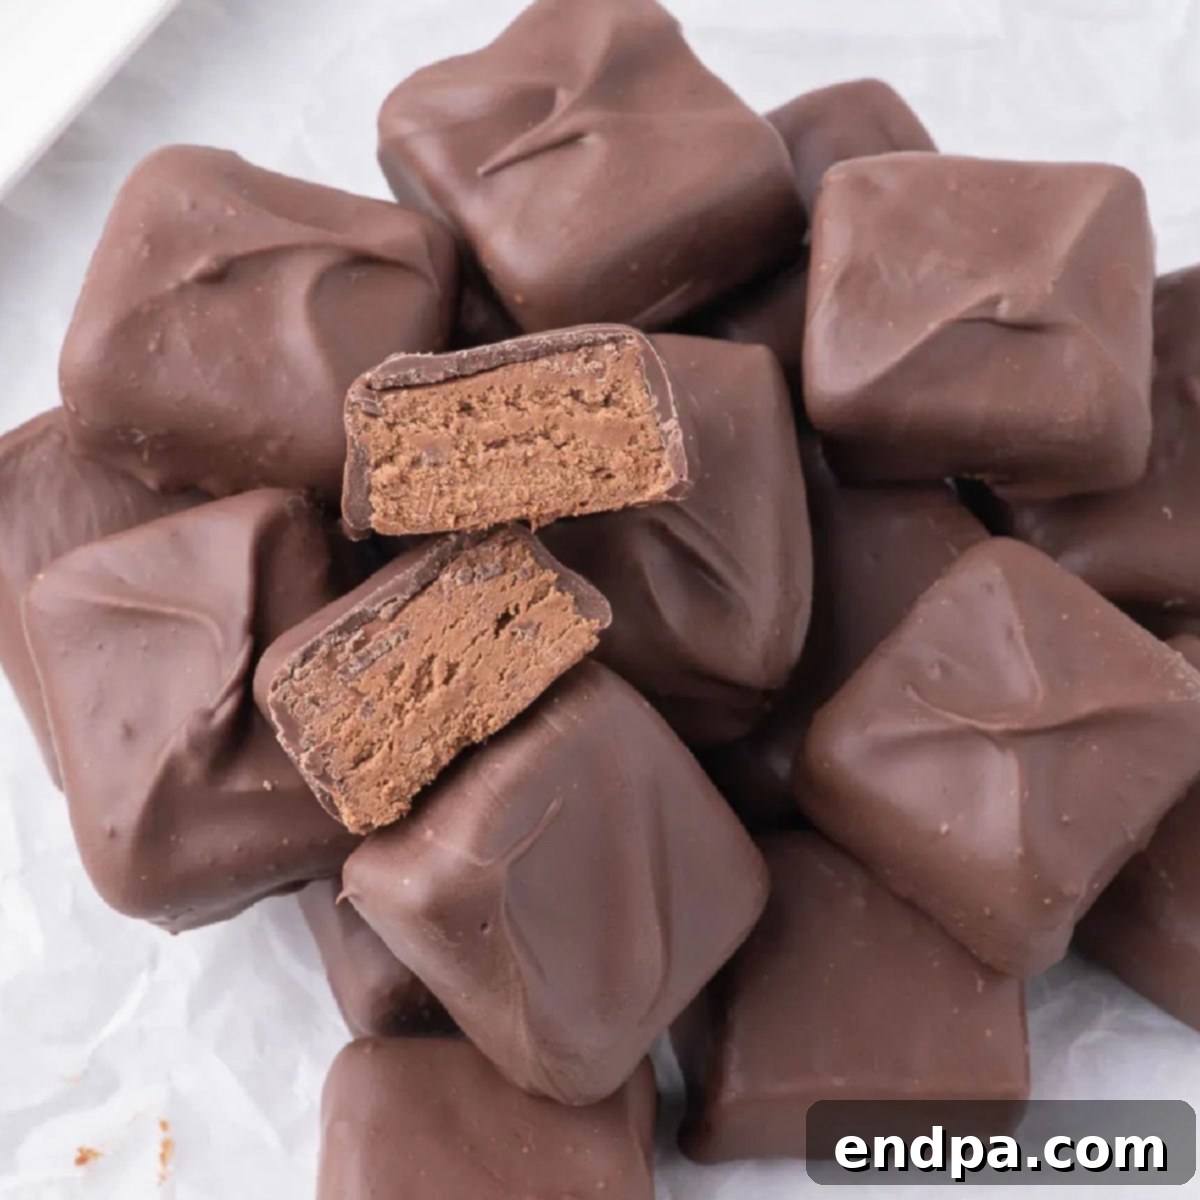
Cool Whip Candy: A Delectable 3-Ingredient Dessert That Tastes Like a Dream
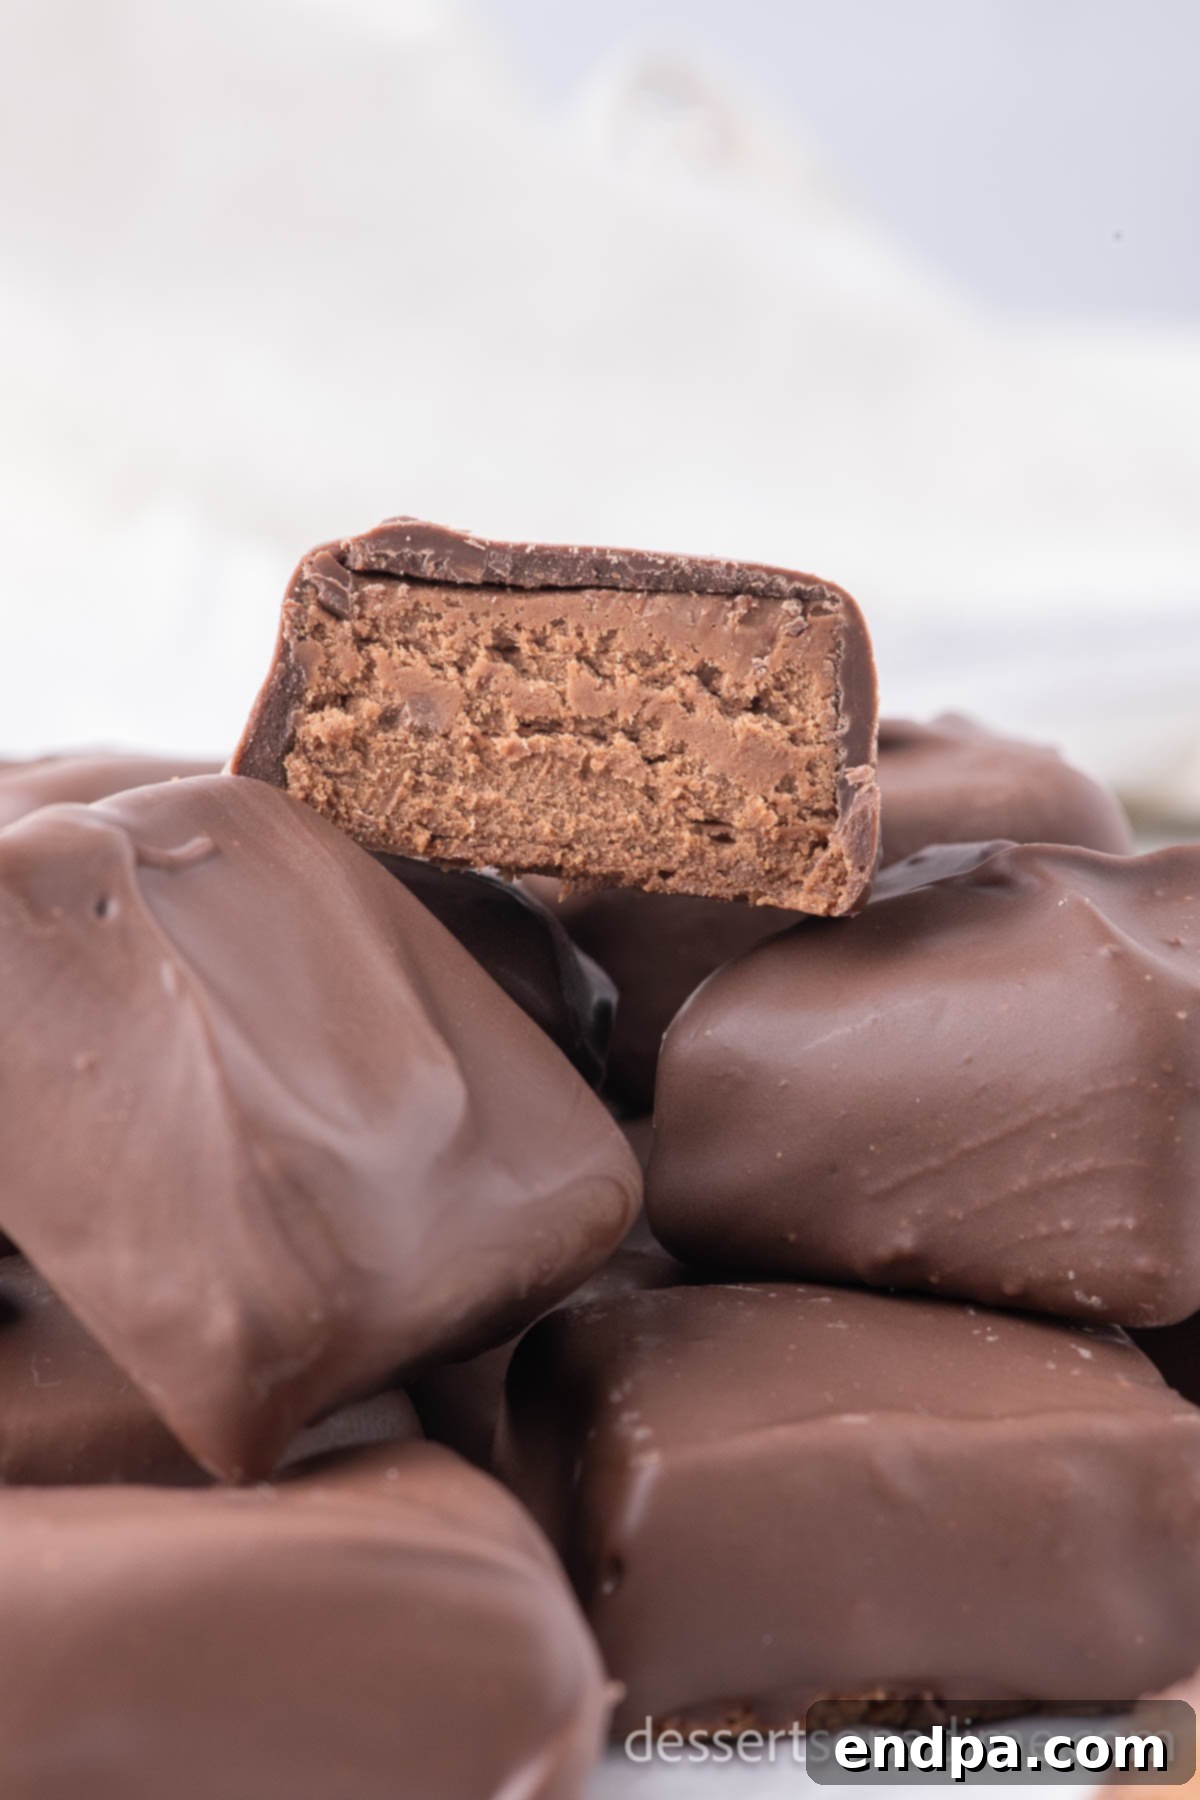
Have you ever craved the light, airy nougat of a classic Three Musketeers bar but wished for an even easier way to satisfy that craving? Look no further than this incredible Cool Whip Candy recipe! With just three simple ingredients, you can whip up a batch of these delightful treats that are remarkably similar to your favorite candy bar. They feature a wonderfully light and fluffy center, perfectly encased in a rich, decadent chocolate coating.
This recipe isn’t just easy; it’s practically effortless, making it the perfect choice for a quick dessert, a sweet snack, or a thoughtful homemade gift. Whether you’re a seasoned baker or a beginner in the kitchen, you’ll be amazed at how quickly and beautifully these candies come together. Get ready to impress your family and friends with a homemade confection that tastes gourmet but requires minimal fuss!
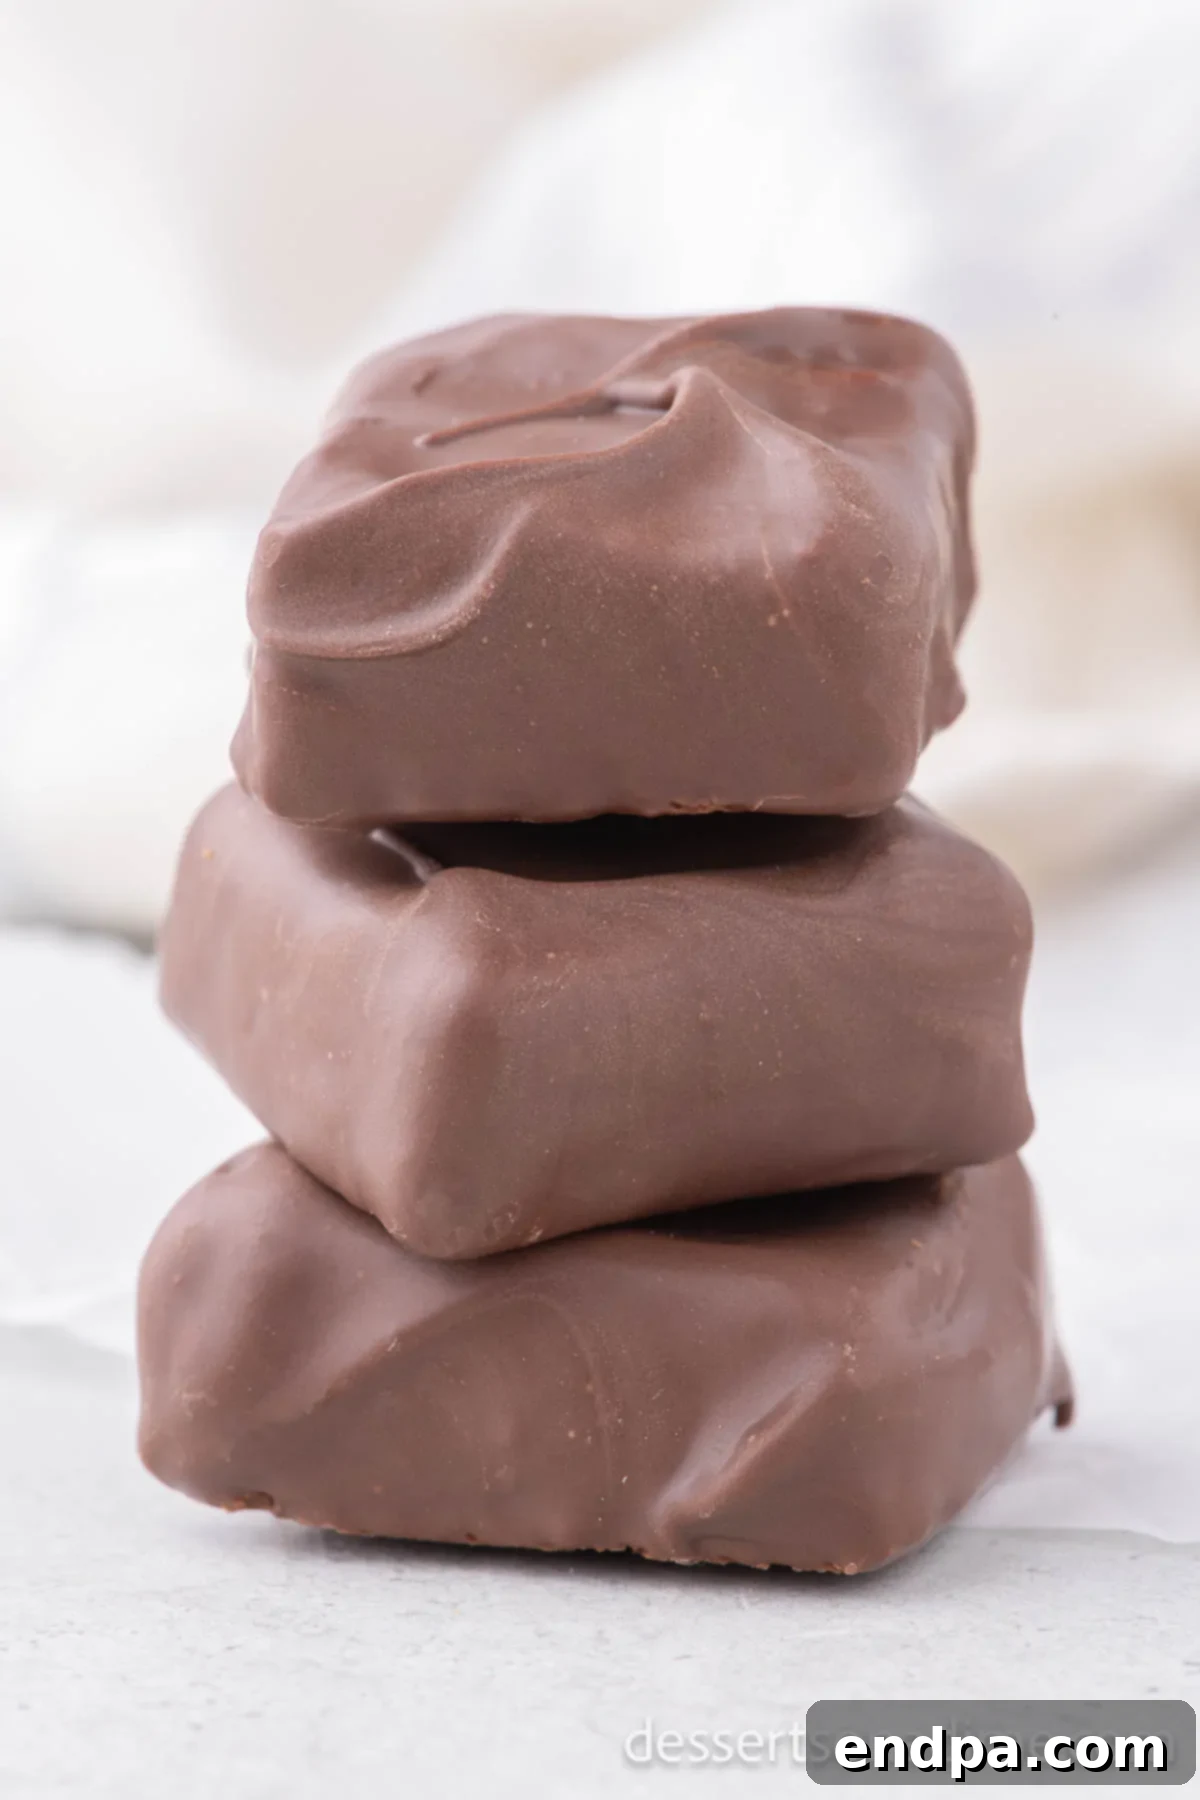
For years, I’ve enjoyed creating easy candy recipes that bring joy without the stress. Beyond this delightful Cool Whip Candy, some other family favorites include Butterscotch Bars, Homemade Mounds Bars, and even fun Homemade Rock Candy. My loved ones also adore when I prepare Hard Candy and classic Chocolate Turtles. This Cool Whip Candy definitely holds its own among these cherished treats, proving that sometimes the simplest recipes yield the most satisfying results.
Table of Contents
- Why This Recipe Works
- Essential Ingredients
- Creative Variations & Substitutions
- Easy Step-by-Step Instructions
- Proper Storage for Freshness
- Expert Pro Tips for Perfect Candy
- Frequently Asked Questions
Why This 3-Ingredient Cool Whip Candy Recipe is a Must-Try
This copycat Three Musketeers recipe is an absolute game-changer, and it all boils down to its incredible simplicity and delicious outcome. With only three main ingredients, you’ll be amazed at how quickly and effortlessly you can create a treat that rivals store-bought candy bars. The magic truly happens as Cool Whip transforms into a light, fluffy nougat-like center once frozen, providing the perfect contrast to its rich chocolate shell.
Beyond its incredible ease, this recipe is also remarkably cost-effective. You won’t need to purchase a long list of expensive specialty items to achieve a decadent dessert. It’s a fantastic no-bake option, ideal for warmer months when you don’t want to turn on your oven, or simply when you’re short on time but still want to make something special. The combination of its airy texture and delightful chocolate flavor makes it a universally loved treat. If you enjoy simple desserts, you’ll also love trying Cool Whip Cake Mix Cookies for another easy winner!
Essential Ingredients for Your Cool Whip Candy
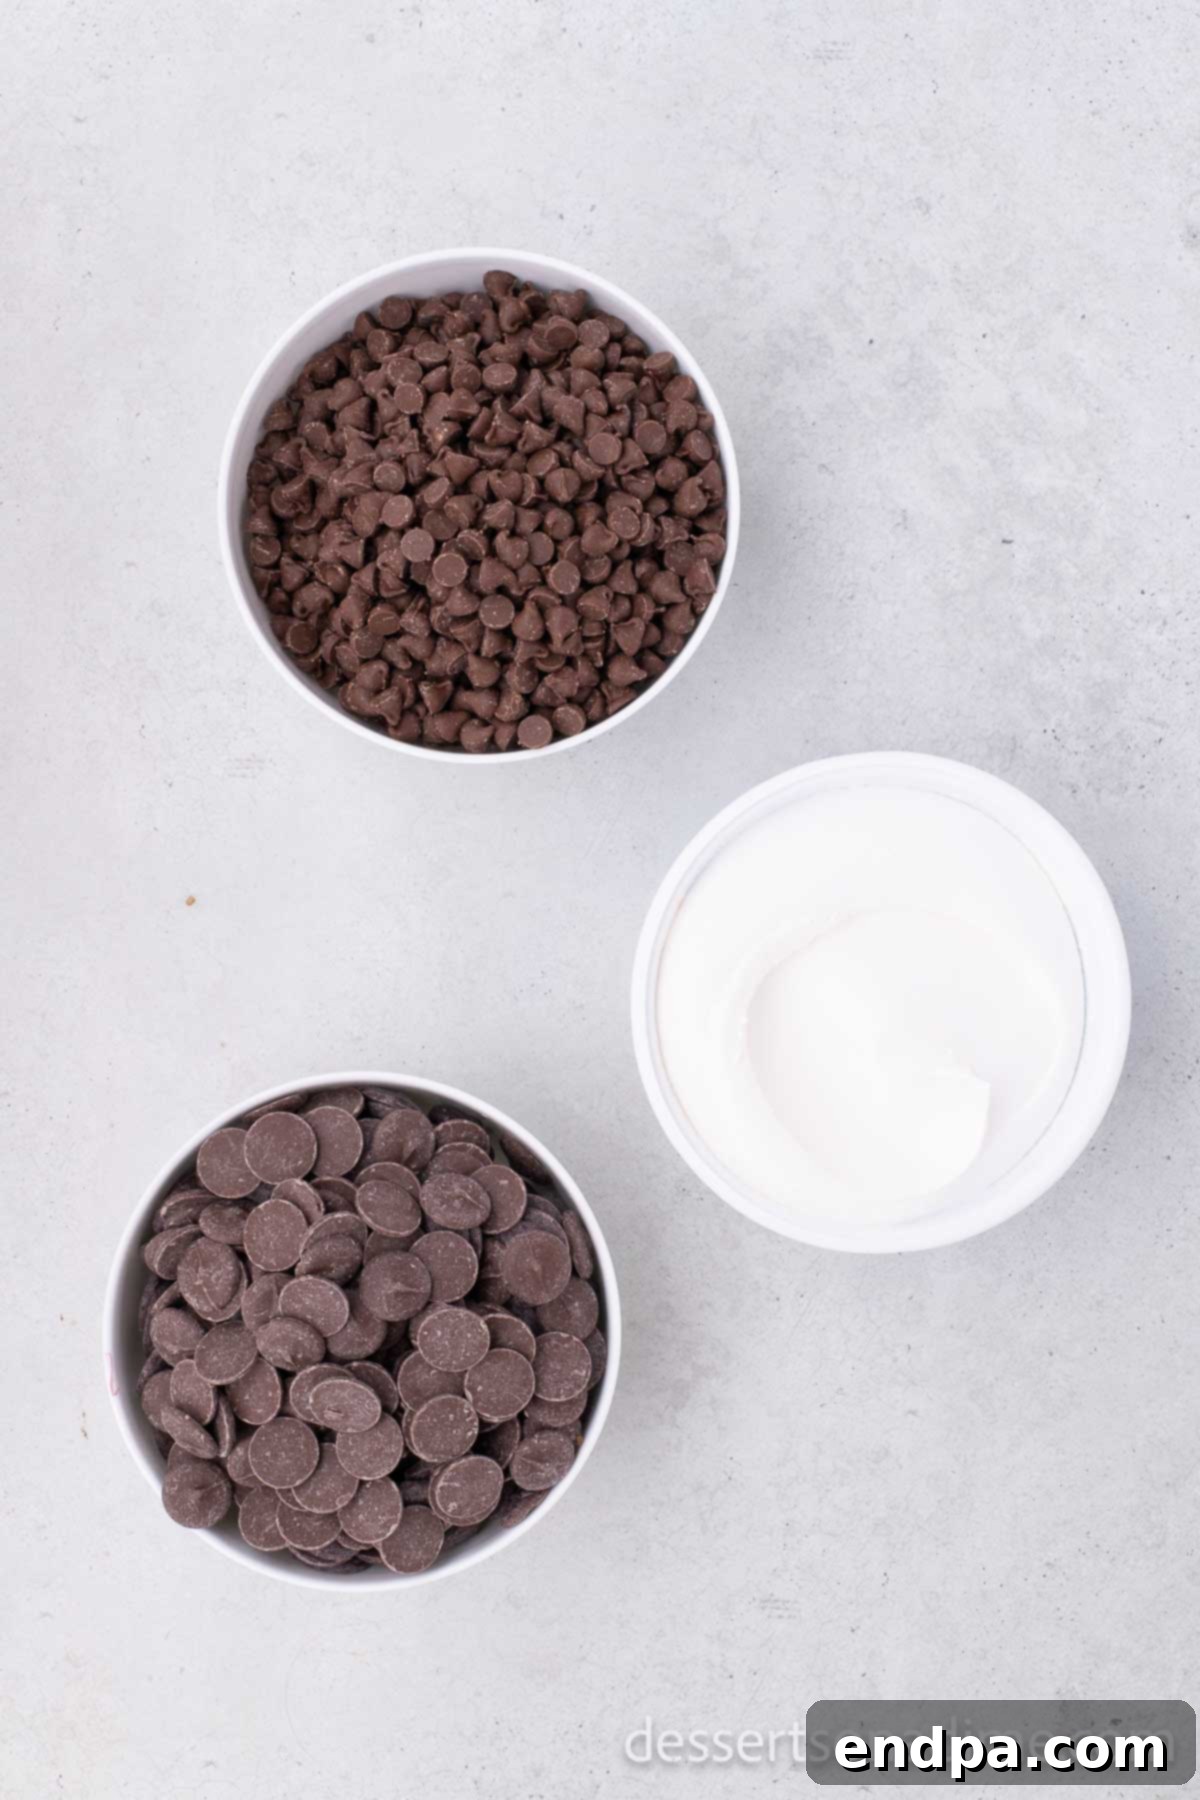
Creating this irresistible candy requires just three key components. The quality of these ingredients plays a significant role in the final taste and texture, so choosing good products is recommended for the best results. Here’s a closer look at what you’ll need:
- Milk Chocolate Chips: While any brand of milk chocolate chips will work, opting for a higher quality brand like Ghirardelli or Guittard can really elevate the flavor of your candy’s interior. This forms the base of the fluffy nougat, so a delicious chocolate choice here will shine through.
- Cool Whip (Thawed): This is the star ingredient that creates the signature light and airy texture. It’s crucial that your Cool Whip is completely thawed before you begin, as this allows it to mix smoothly with the melted chocolate. Do not use frozen Cool Whip, as it will result in a lumpy mixture.
- Chocolate Melting Wafers: These are ideal for the outer coating because they melt smoothly and harden beautifully, giving your candy a professional, glossy finish without the need for tempering. Brands like Ghirardelli or Wilton melting wafers are excellent choices. They provide a crisp, firm shell that holds its shape and prevents the interior from becoming sticky at room temperature.
The precise quantities for these ingredients are provided in the full recipe card below. Remember, with such a short ingredient list, each component truly gets to shine!
Creative Variations and Substitutions to Customize Your Candy
While the classic Cool Whip Candy is undeniably delicious, it’s also incredibly versatile! Don’t be afraid to get creative and experiment with different flavors and toppings to make this treat uniquely yours. Here are some ideas to inspire you:
- Experiment with Chocolate Types:
- Dark Chocolate: For a richer, less sweet candy, substitute dark chocolate chips and dark chocolate melting wafers. This creates a more intense chocolate experience that many adults prefer.
- White Chocolate: A white chocolate version offers a creamy, sweet alternative. Use white chocolate chips for the interior and white candy melts for the coating. You could even tint the white candy melts with food coloring for festive occasions!
- Semi-Sweet Chocolate: This offers a balanced flavor profile, falling between milk and dark chocolate, and is a popular choice for many desserts.
- Add Delicious Toppings:
- Sprinkles: Before the chocolate coating fully sets, sprinkle your favorite colorful sprinkles over the candies for a fun and festive look. This is especially great for birthdays or holidays.
- Chopped Nuts: Finely chopped peanuts, almonds, or pecans can be sprinkled on top of the wet chocolate for added texture and a nutty flavor.
- Sea Salt: A delicate sprinkle of flaky sea salt on the still-wet chocolate coating can perfectly balance the sweetness and add a gourmet touch.
- Shredded Coconut: For a Mounds-bar-like twist, sprinkle toasted shredded coconut on top.
- Crushed Peppermint: During the holidays, crushed candy canes can be a wonderful addition, offering a cool, minty crunch.
- Flavor Extracts: A tiny drop (start with ¼ teaspoon) of peppermint extract, almond extract, or even orange extract can be folded into the Cool Whip and melted chocolate mixture for an added burst of flavor before freezing.
- Different Pan Sizes: While an 8×8 inch pan is recommended for ideal thickness, you can adjust the pan size for different candy thicknesses. A 9×13 inch pan will yield thinner candies, while a smaller pan would make them thicker, just be sure to adjust freezing times accordingly.
These variations allow you to tailor the Cool Whip Candy to any preference or occasion, making it a truly adaptable dessert.
Easy Step-by-Step Instructions to Make Your Cool Whip Candy
Follow these straightforward steps to create your delightful 3-ingredient Cool Whip Candy. Precision in freezing times is key to achieving the perfect texture.
- Step 1: Prepare Your Baking Dish. Begin by lining an 8×8 inch square baking dish with parchment paper. Ensure the paper extends up the sides, creating “handles” that will make it easy to lift the frozen mixture out later. Set this prepared pan aside.
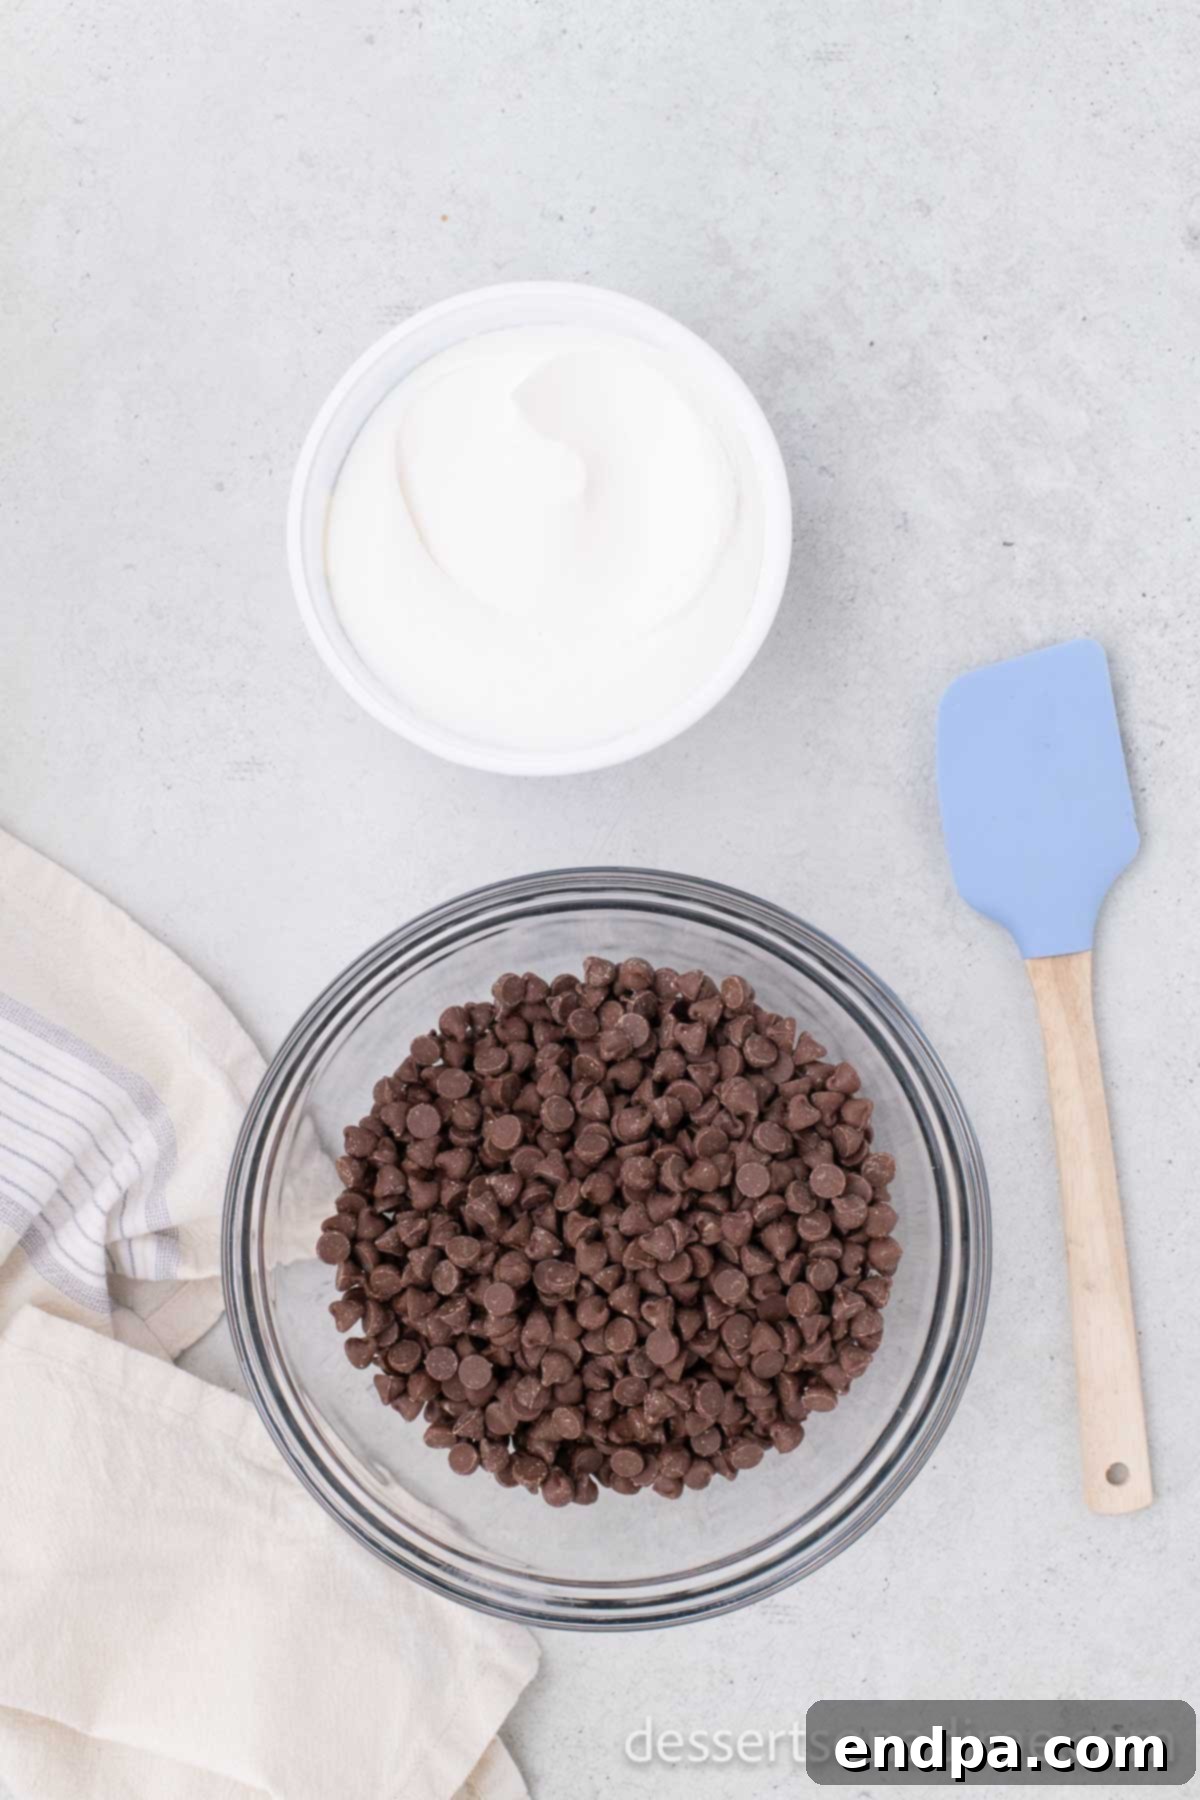
Step 2: Melt the Chocolate Chips. Place your milk chocolate chips in a large, microwave-safe mixing bowl. It’s crucial to melt chocolate gradually to prevent it from burning or seizing. Heat the chocolate in 20-second intervals, stirring thoroughly after each interval. Continue this process, reducing to 15-second intervals as the chocolate begins to melt, until it is completely smooth and free of any lumps. Patience here will yield perfectly melted chocolate.
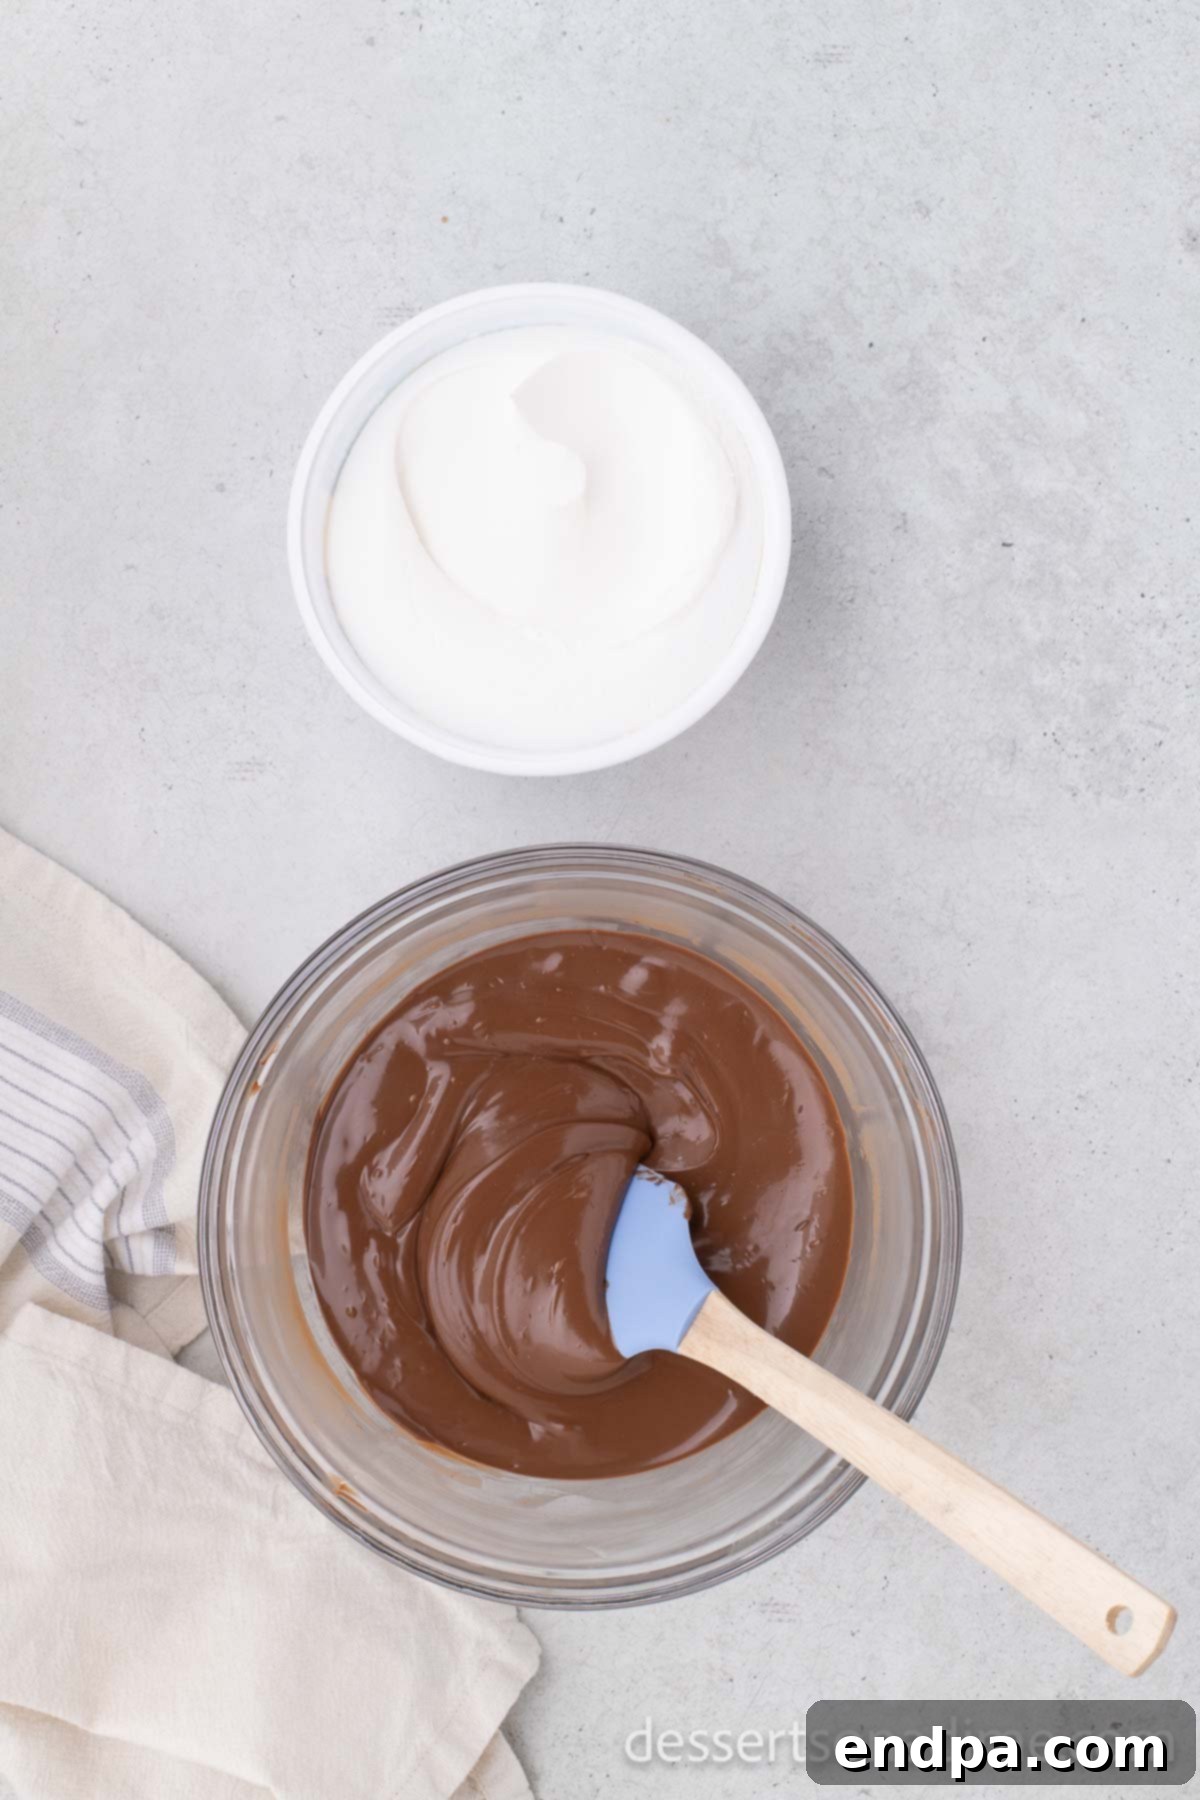
Step 3: Combine with Cool Whip. Once the chocolate is perfectly melted, add the thawed Cool Whip directly into the bowl with the warm chocolate. Using a rubber spatula, gently fold the Cool Whip and melted chocolate together. Continue folding until the mixture is uniform in color and no streaks of white or unmixed chocolate remain. The mixture will be thick and airy, which is exactly what you want for that nougat-like texture.
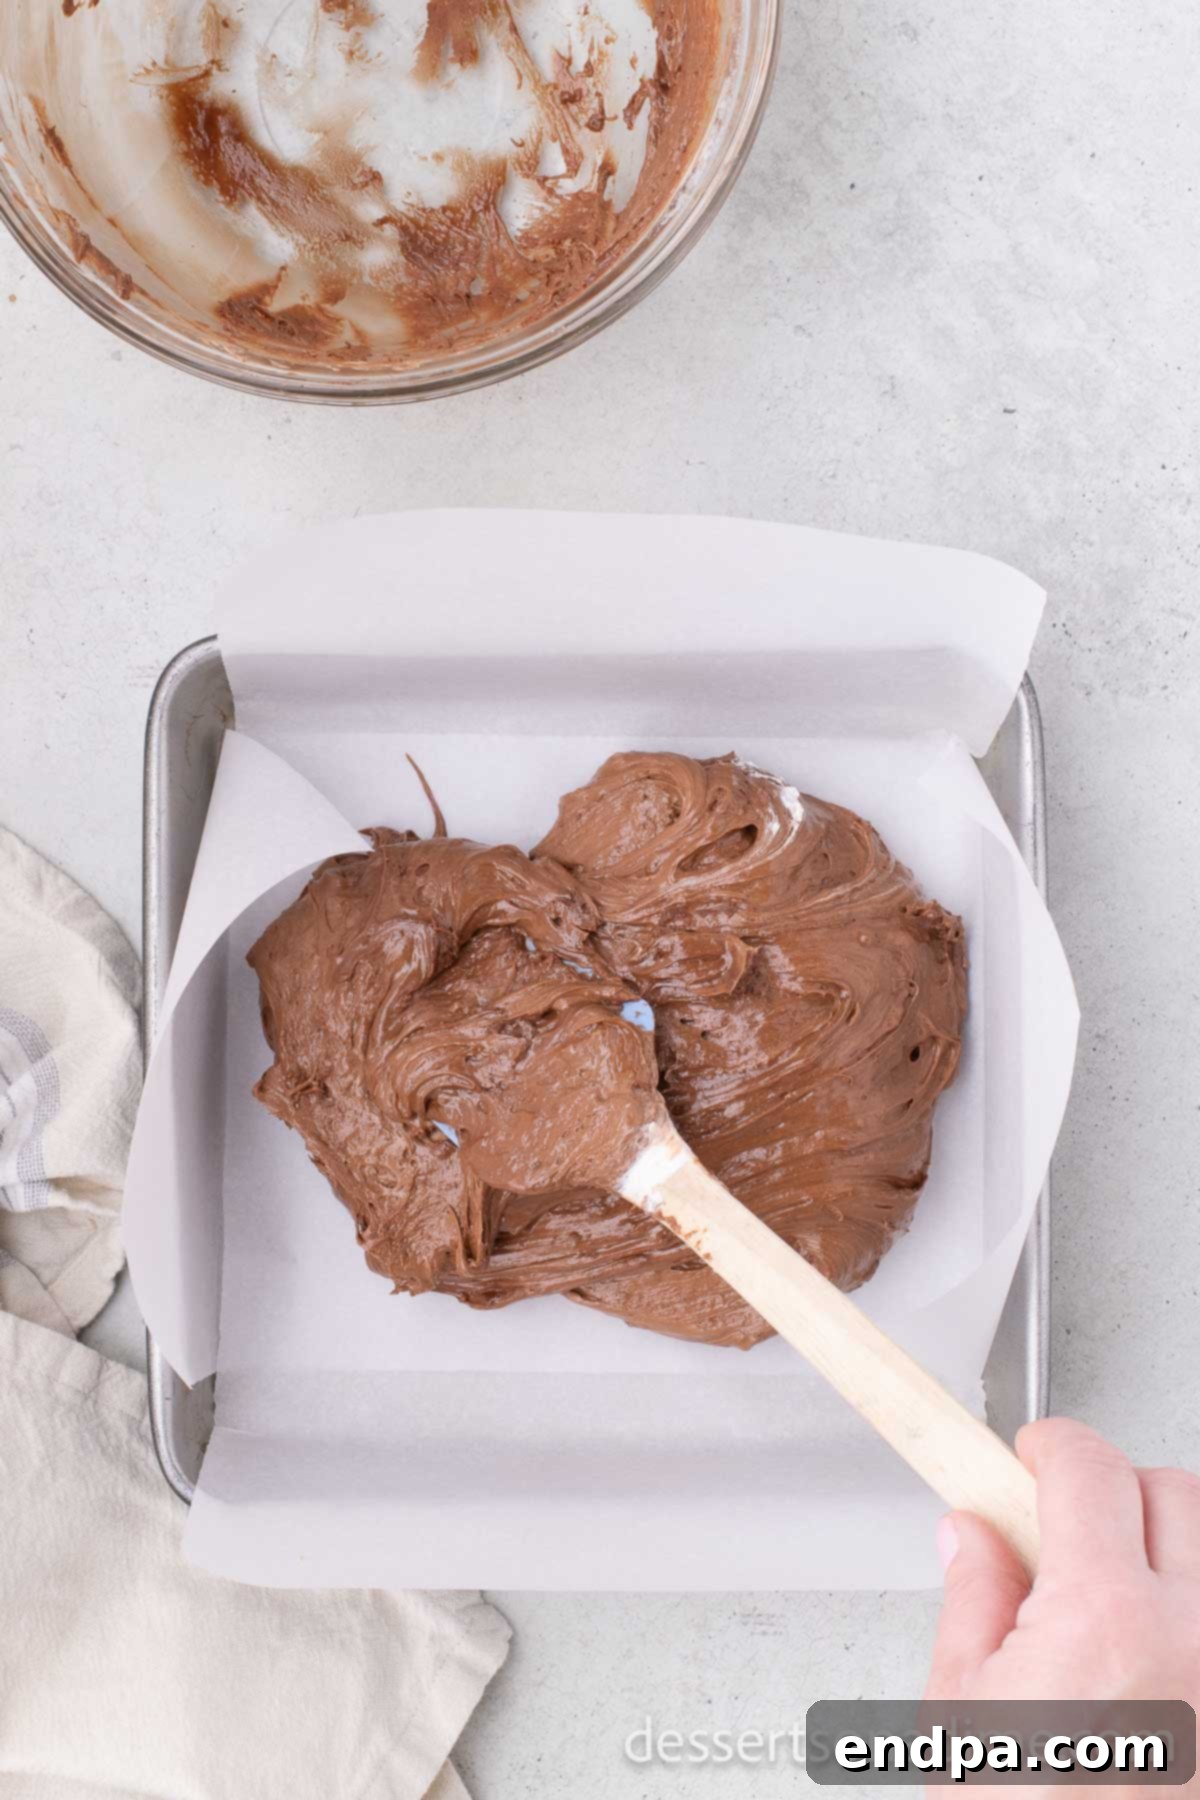
Step 4: Spread the Mixture. Carefully transfer the thick chocolate and Cool Whip mixture into your prepared 8-inch square baking dish. Use your rubber spatula or the back of a spoon to gently spread the mixture evenly across the bottom of the pan, ensuring a consistent thickness throughout. Smooth out the top surface as much as possible.
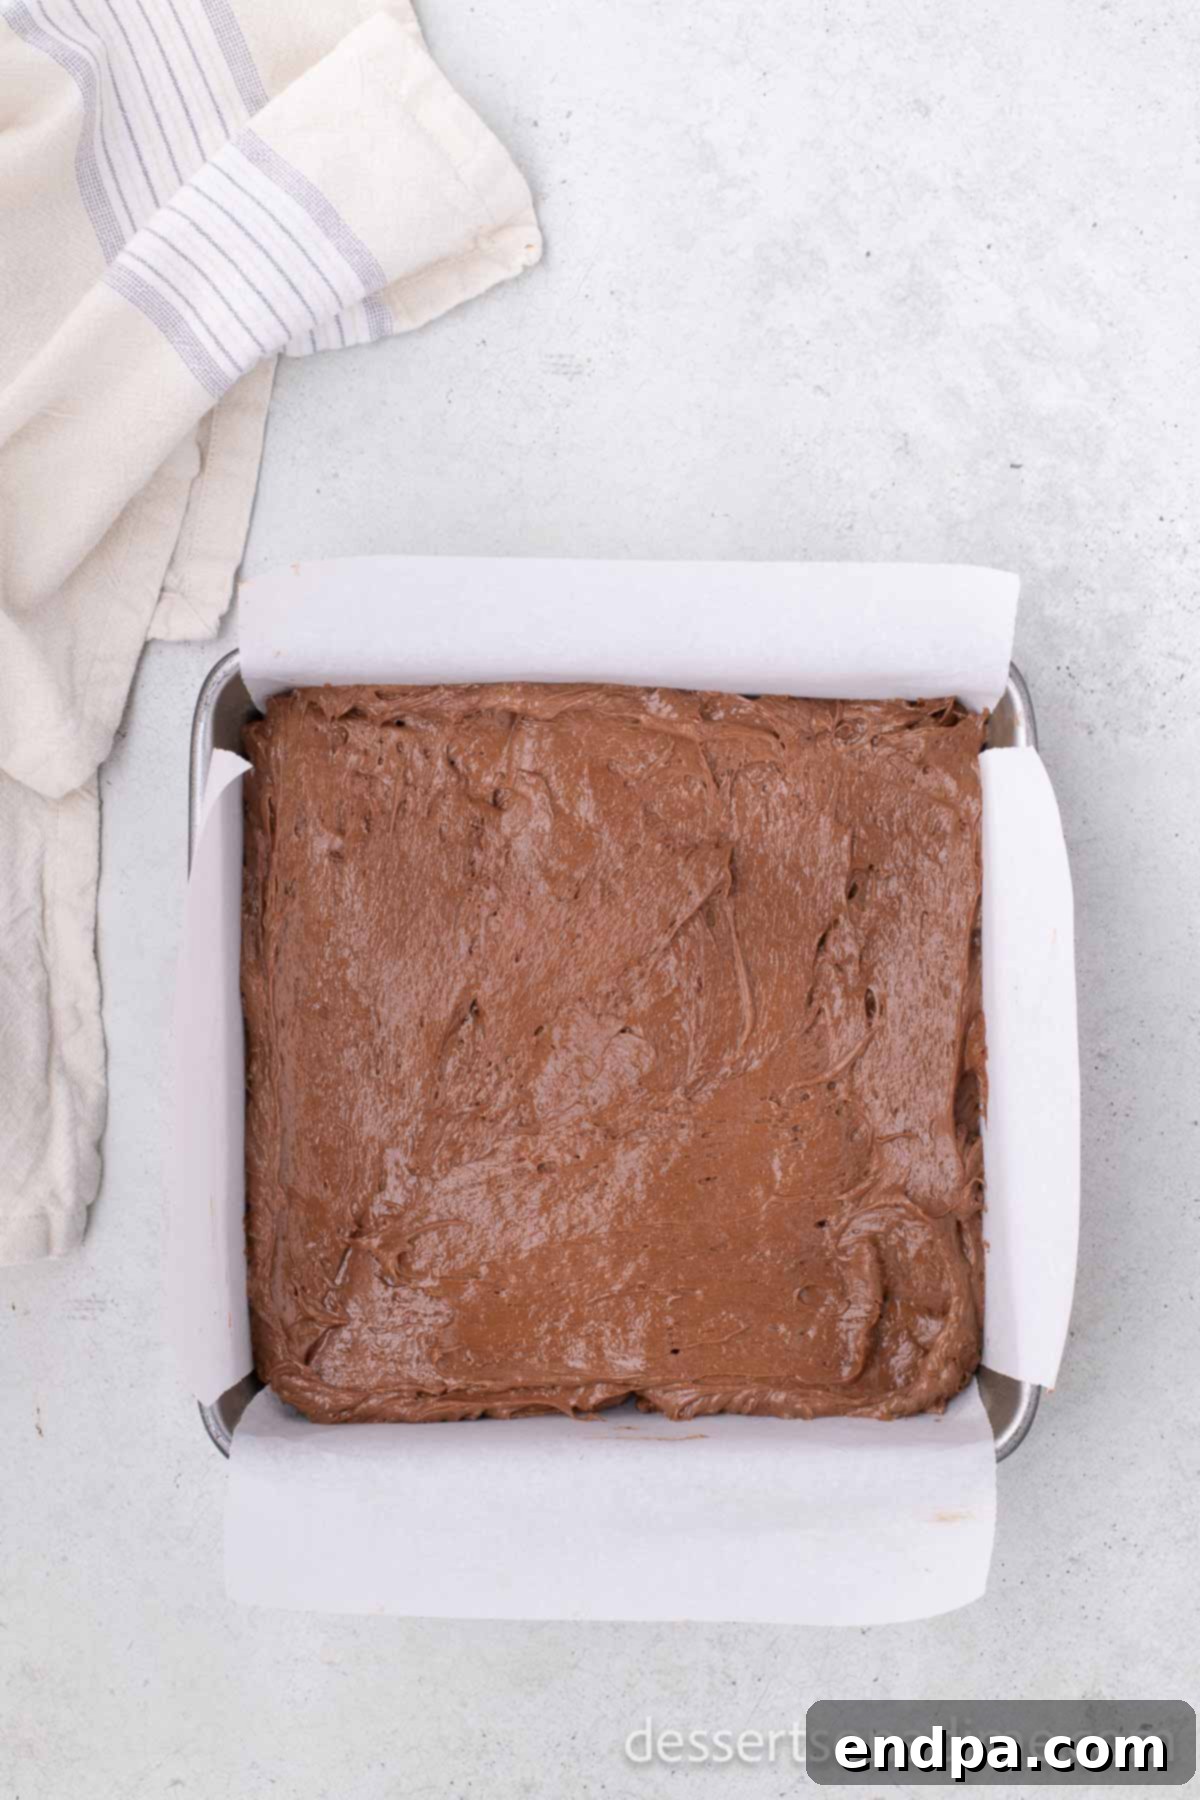
Step 5: Initial Freeze. Place the baking dish into the freezer and allow the mixture to freeze for a minimum of 30 minutes, or until it is completely solid and firm to the touch. This initial freeze is crucial for allowing the candy to hold its shape when cut.
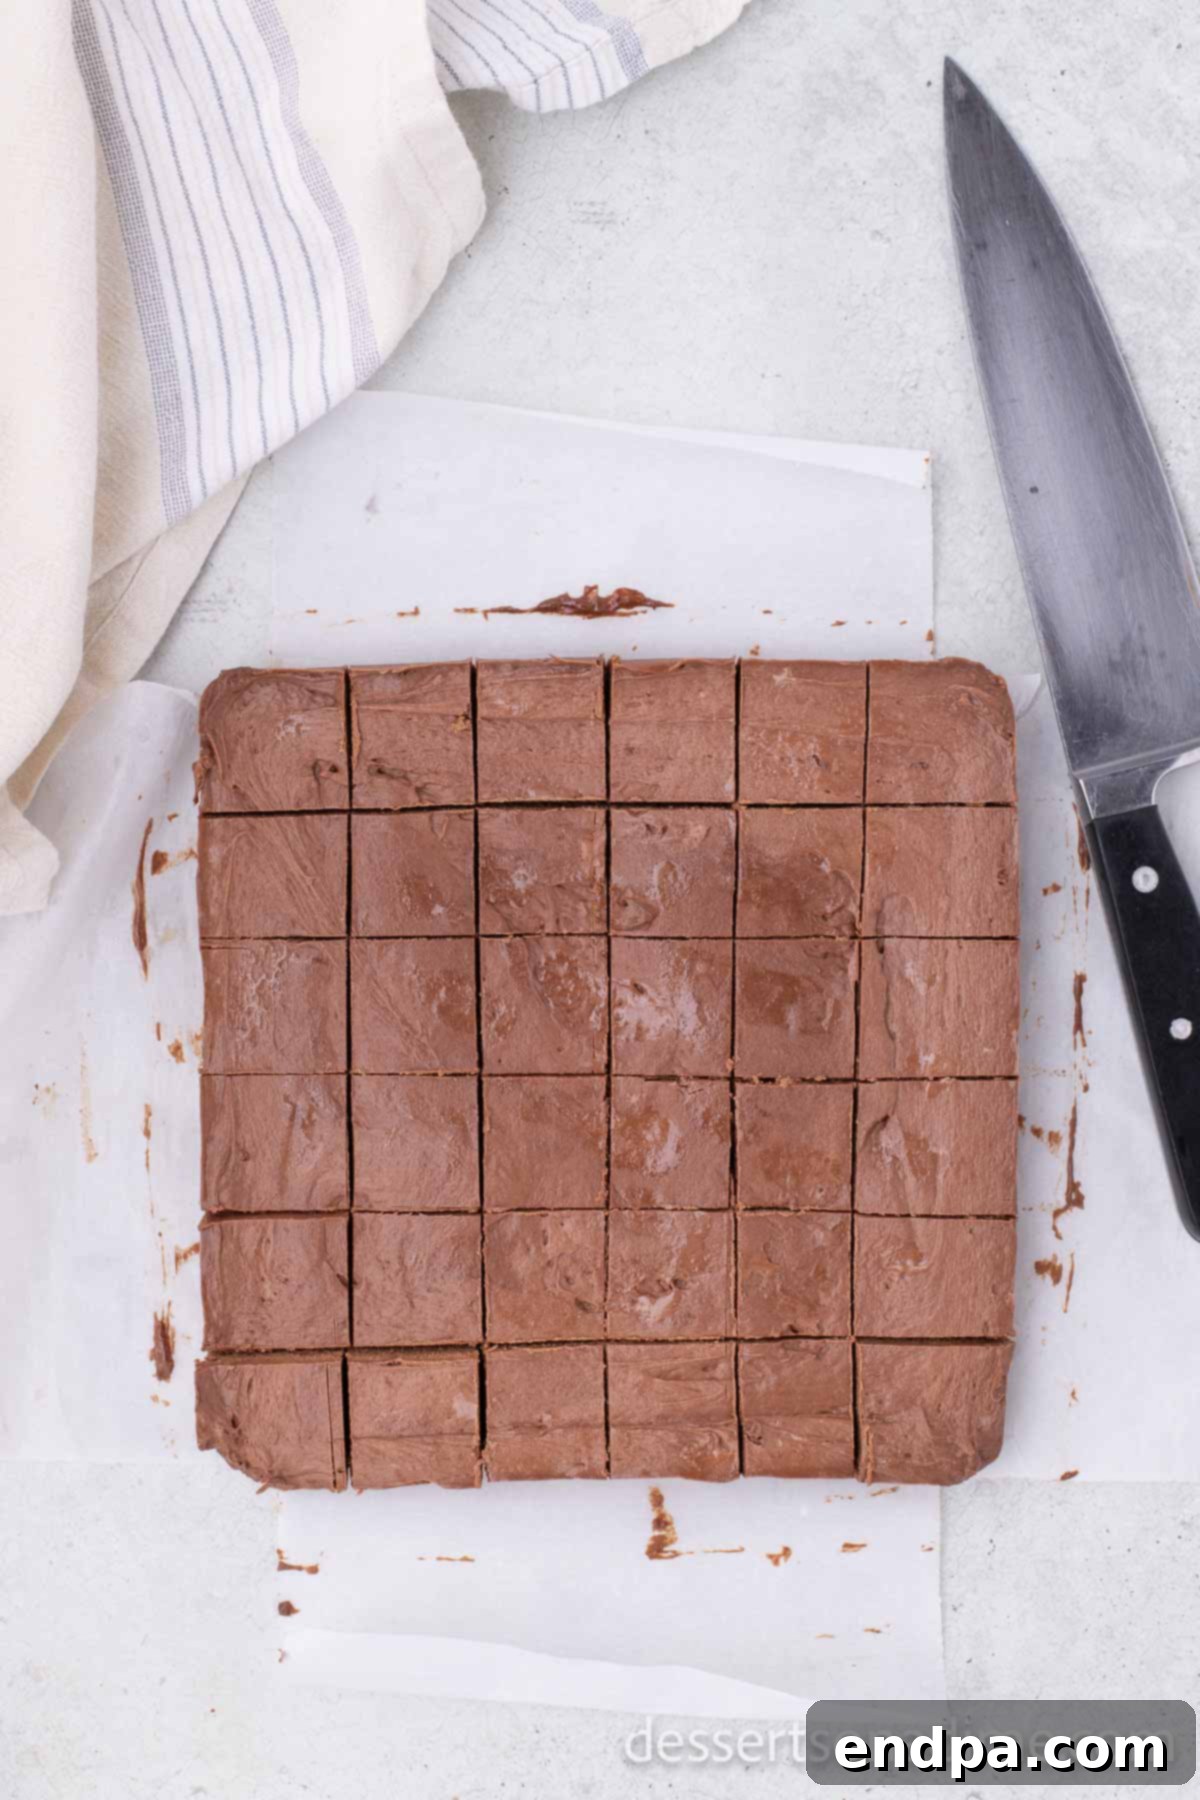
Step 6: Cut into Pieces. Once thoroughly frozen, remove the slab from the pan using the parchment paper handles. Place it on a cutting board. Using a sharp knife, cut the solid chocolate mixture into approximately 36 square pieces. You can make them larger or smaller depending on your preference, but consistent sizing will make dipping easier.
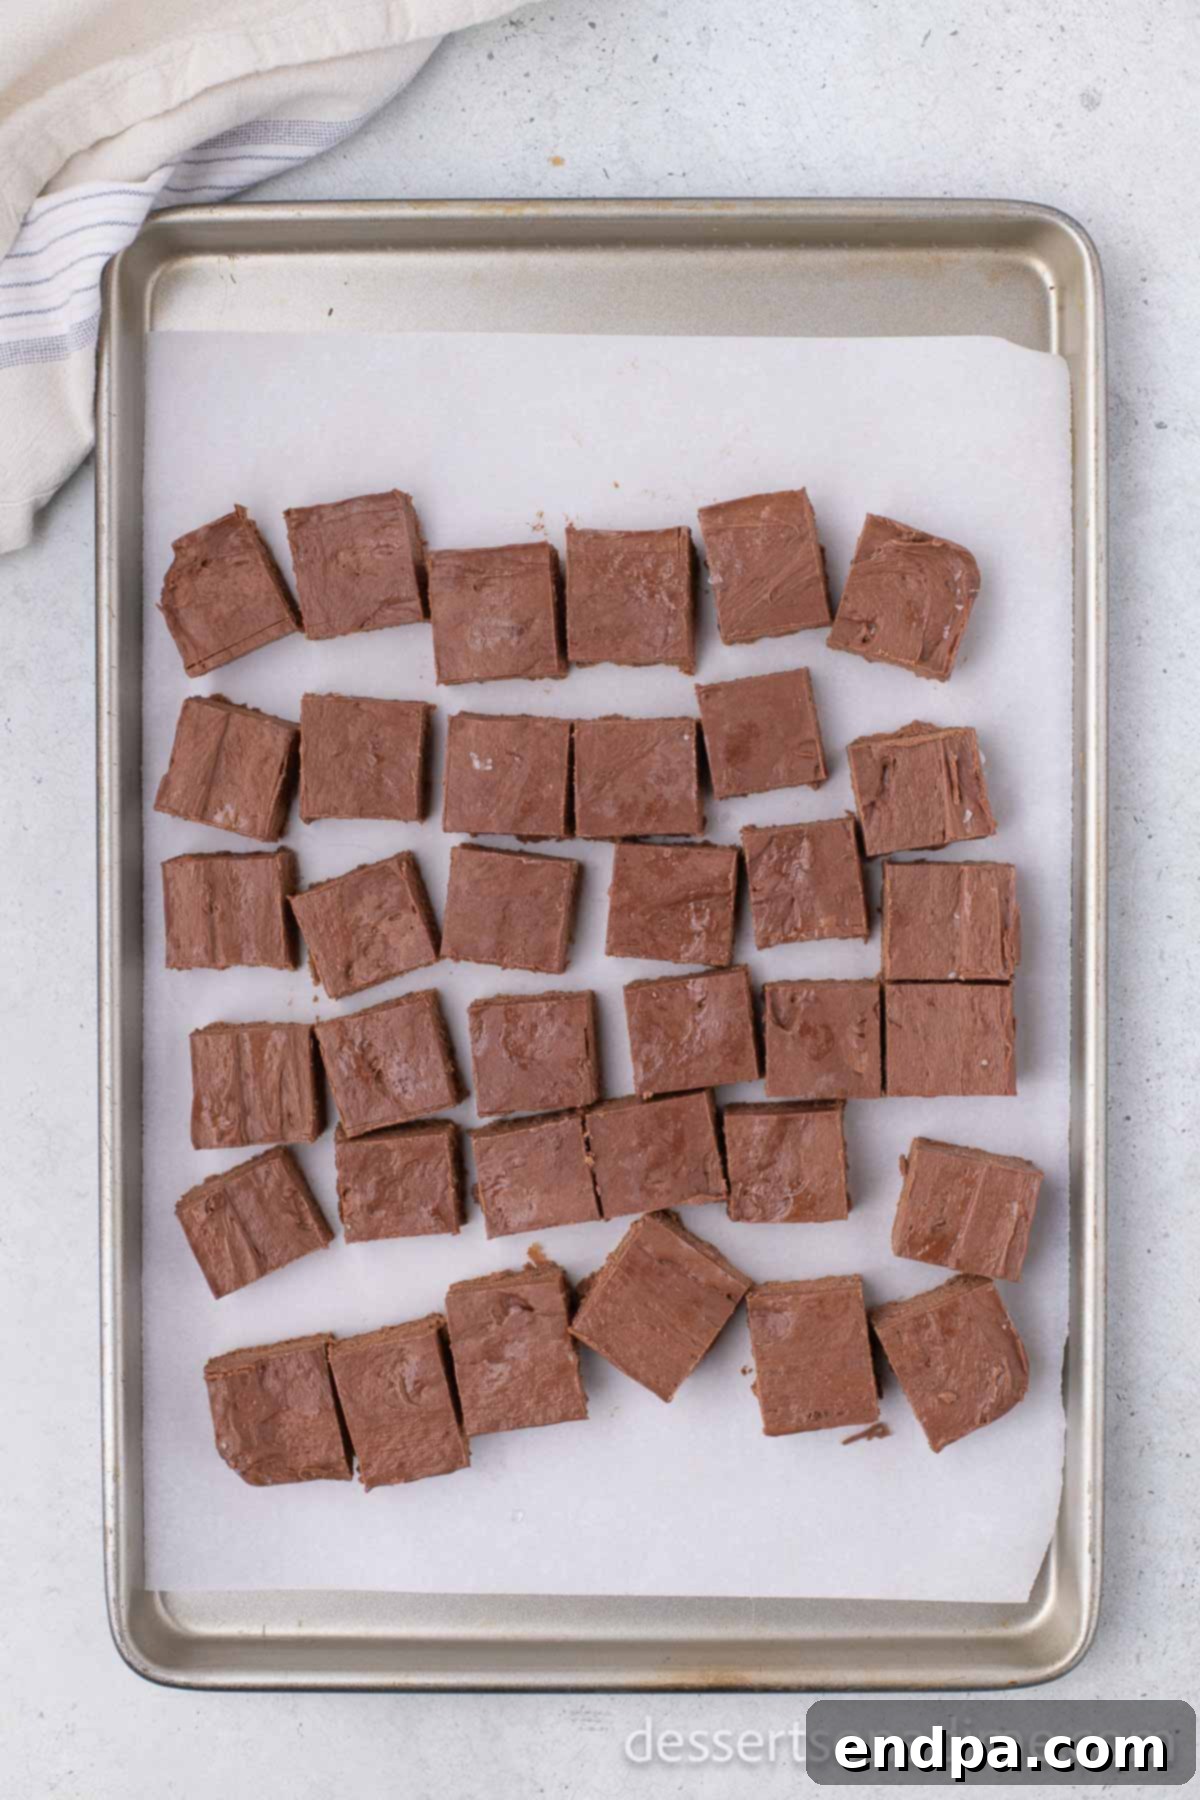
Step 7: Second Freeze. Arrange the cut candy squares in a single layer on a baking sheet lined with wax paper or fresh parchment paper. Return the baking sheet to the freezer for an additional 30 minutes. This second freeze ensures the candy pieces are very firm and cold, which helps the melted chocolate coating set quickly and evenly without melting the interior.
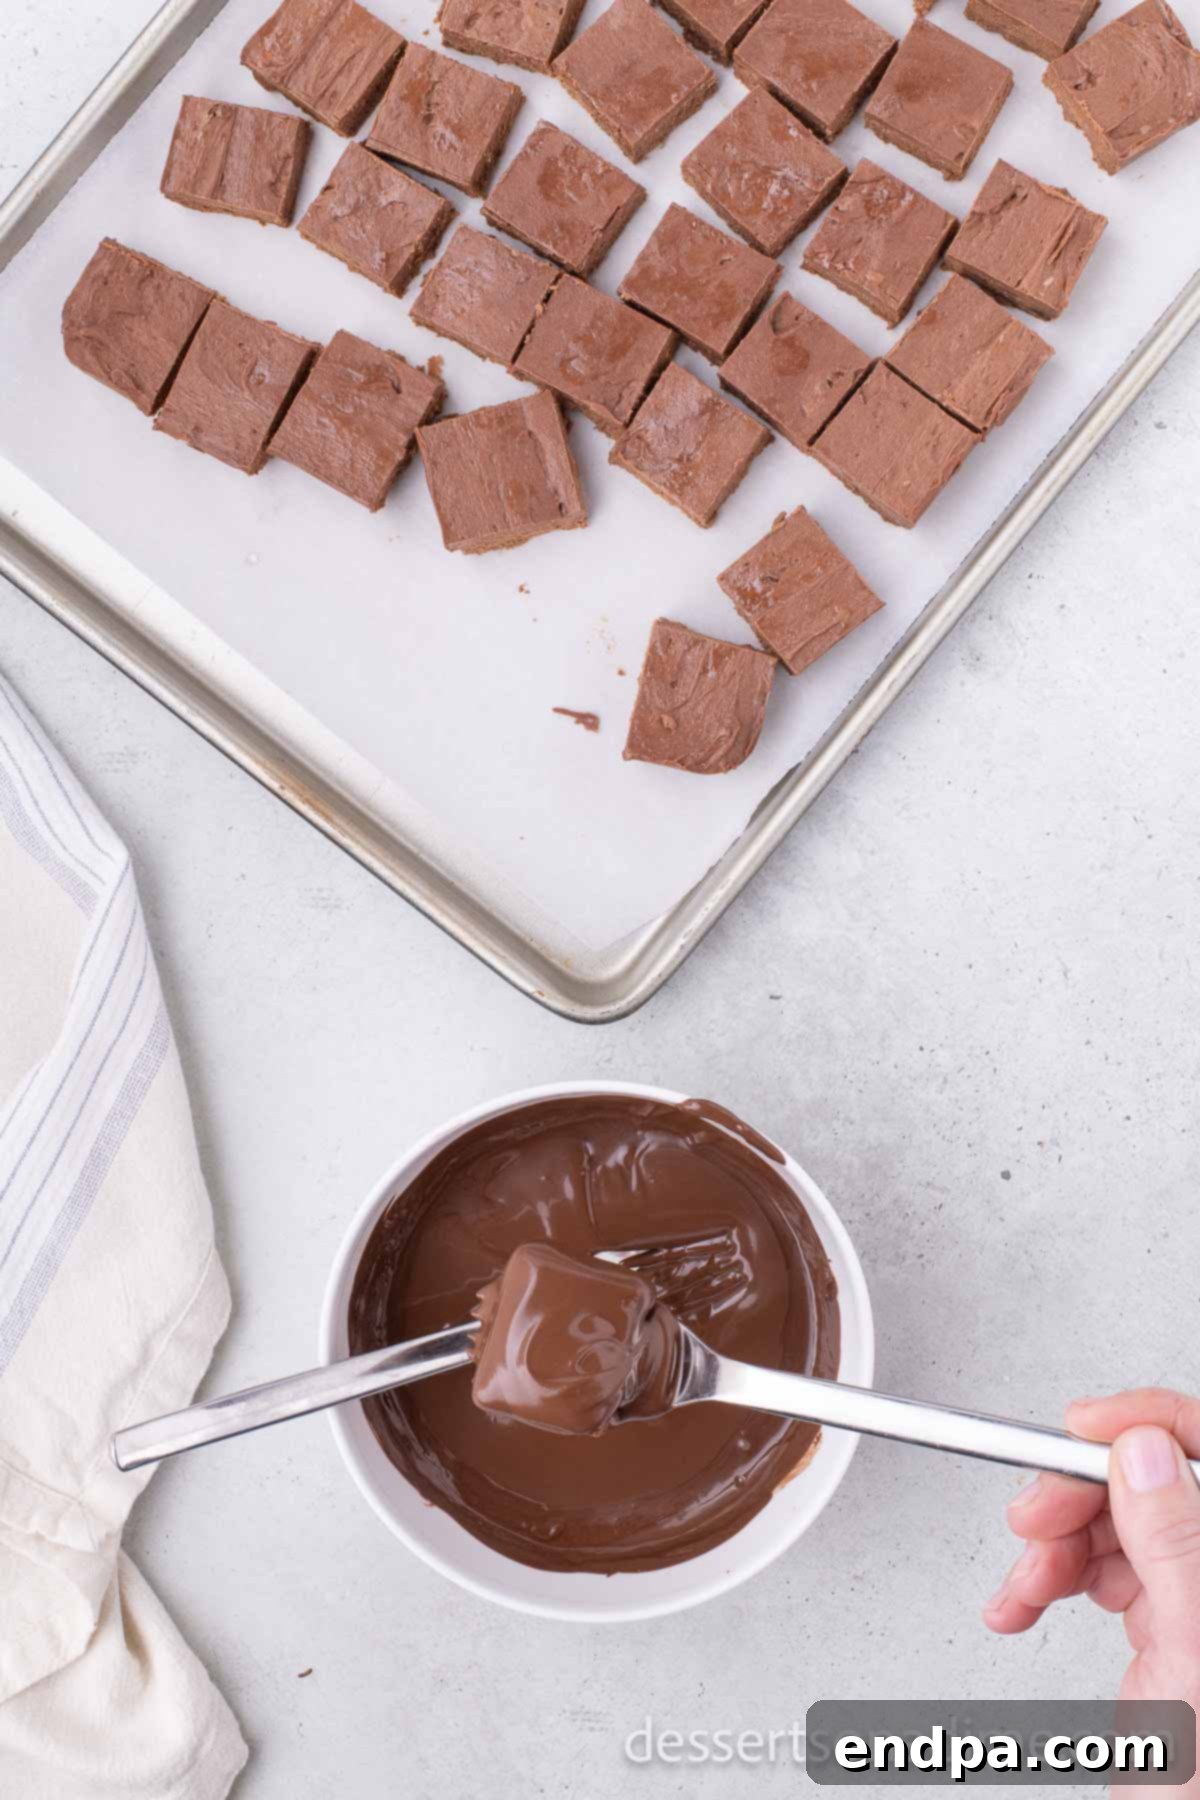
Step 8: Melt and Dip. While the candy is chilling for its second freeze, melt the chocolate melting wafers in a small, deep bowl according to the package instructions. A deep bowl makes dipping easier. Once the candy pieces are thoroughly chilled, remove them from the freezer. Using two forks, gently dip each candy square into the melted chocolate, ensuring it’s fully coated. Carefully tap the forks against the edge of the bowl to remove any excess chocolate, which helps achieve a smooth, thin coating.
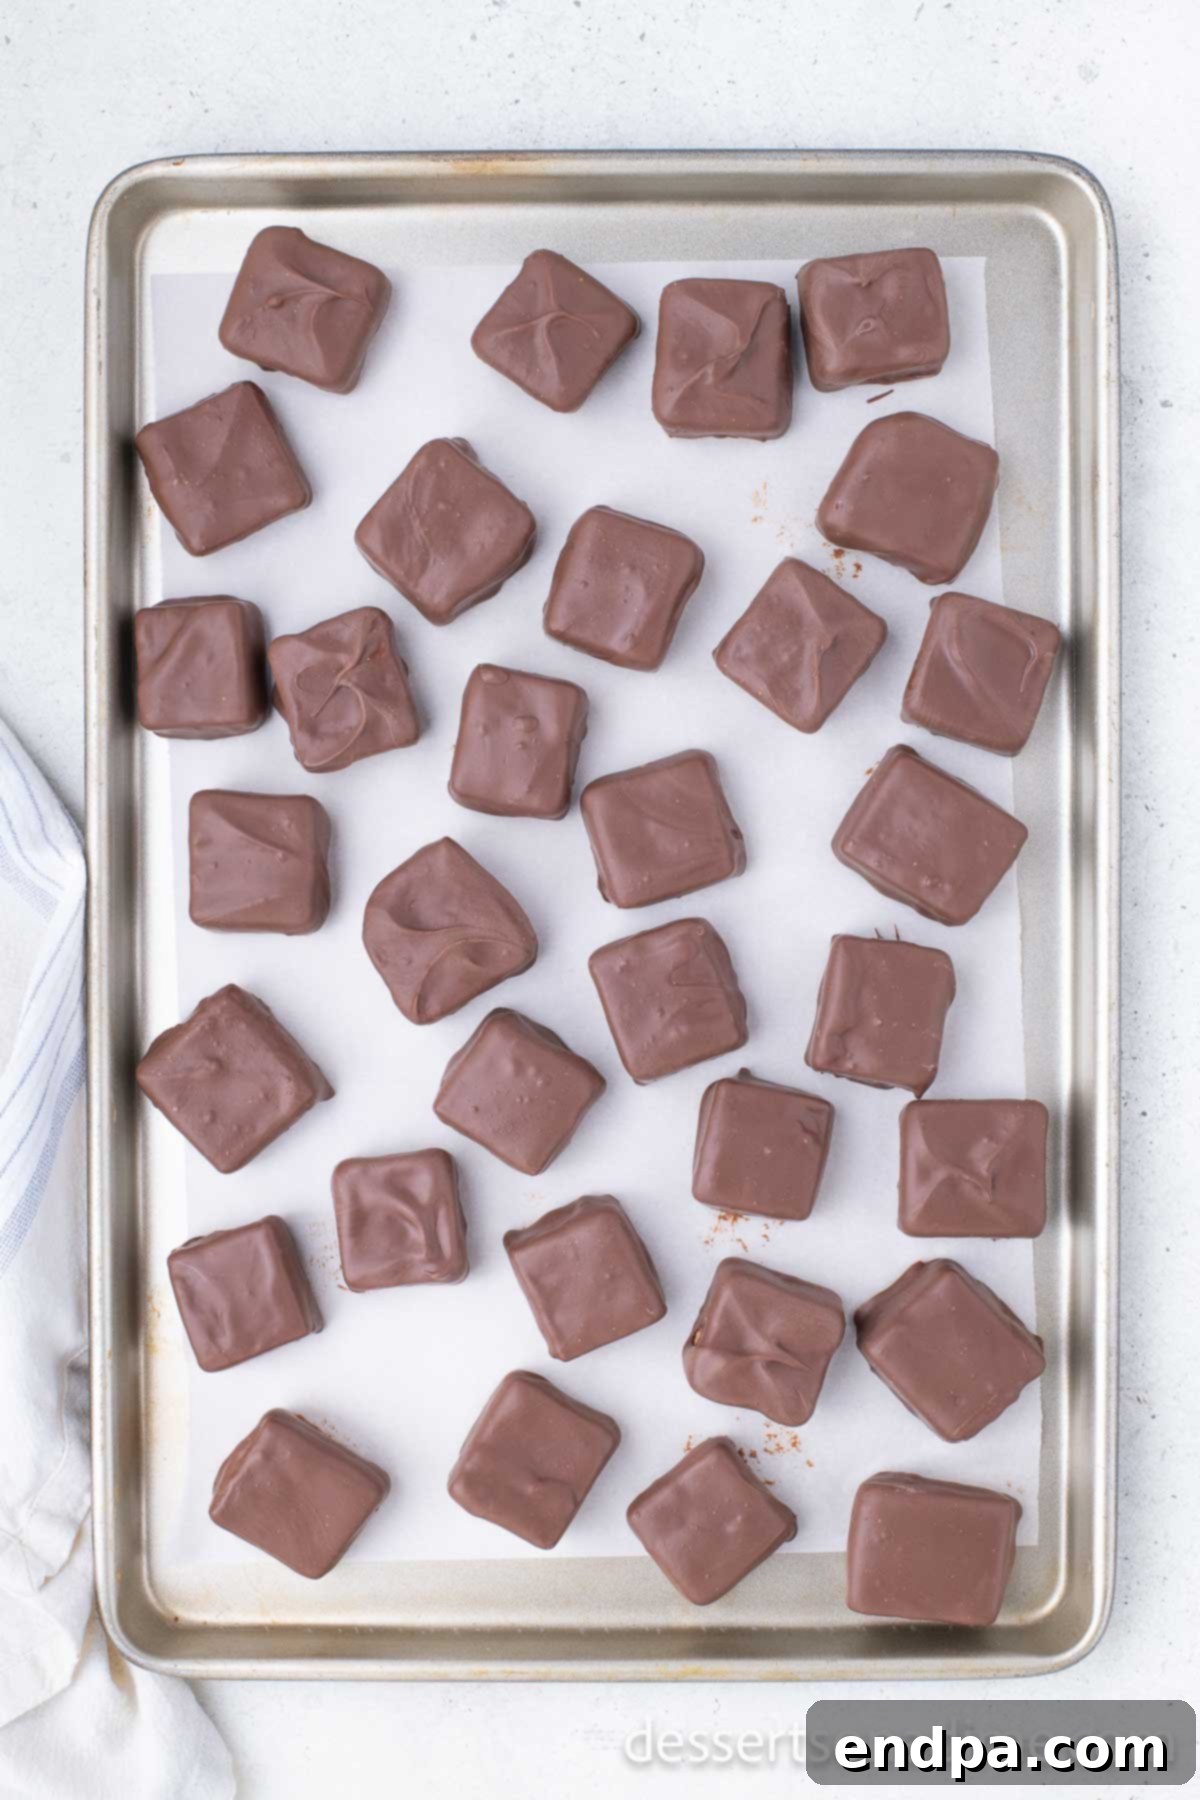
Step 9: Final Set. Place each chocolate-coated candy back onto the wax paper-lined baking sheet. Repeat the dipping process for all the candy squares. Once all pieces are coated, return the entire baking sheet to the freezer for another 20-30 minutes, or until the chocolate coating is completely firm and set. This final chill ensures the chocolate is crisp and ready for enjoyment. Once set, your Cool Whip Candy is ready to serve!
Proper Storage for Your Cool Whip Candy
To keep your Cool Whip Candy tasting fresh and maintaining its perfect texture, proper storage is essential. Due to the Cool Whip base, these candies need to be kept cold. Once the chocolate coating has fully set, transfer the candies to an airtight container or a freezer-safe bag. Arrange them in a single layer if possible, or separate layers with parchment paper to prevent sticking. Store any leftover candies in the freezer until you’re ready to enjoy them.
When you’re ready for a treat, you can enjoy them directly from the freezer for a firmer, almost ice-cream-like experience, or let them sit at room temperature for a few minutes to soften slightly, achieving a more nougat-like consistency. Stored correctly in the freezer, these delightful candies will retain their quality for up to 30 days, making them an excellent make-ahead dessert option for parties, holidays, or simply stocking your snack stash.
Expert Pro Tips for Perfect Cool Whip Candy Every Time
Achieving candy perfection is easy with these insider tips and tricks:
- Prioritize Quality Chocolate: Since this recipe has only three ingredients, the flavor of each component truly stands out. Investing in good quality milk chocolate chips and melting wafers makes a significant difference in the overall taste and smooth texture of your candy. I personally recommend Ghirardelli for its superior flavor and melt consistency.
- Ensure Cool Whip is Fully Thawed: For a smooth, uniform mixture, your Cool Whip must be completely thawed but still cold before mixing. If it’s still partially frozen, you’ll end up with lumps that won’t blend into the chocolate seamlessly.
- Melt Chocolate Carefully: When melting your chocolate chips, always do so in short intervals (20 seconds initially, then 15 seconds) and stir diligently between each heating period. Overheating chocolate can cause it to seize and become thick and grainy, making it unusable for the interior mixture.
- Fold Gently Until Just Combined: When incorporating the thawed Cool Whip into the melted chocolate, use a gentle folding motion with a rubber spatula. Overmixing can deflate the Cool Whip, leading to a denser candy. Fold until just combined and uniformly colored.
- Freeze Until Completely Solid: It is absolutely paramount to allow the candy mixture ample time to freeze solid after each stage (initial slab, and cut pieces). This ensures that the pieces are firm enough to cut cleanly and to be dipped without falling apart or melting into the warm chocolate coating. A soft interior will make dipping messy and prevent the coating from setting properly.
- Use a Deep, Narrow Bowl for Dipping: When melting your chocolate wafers for dipping, choose a bowl that is deep enough for full immersion but narrow enough that the melted chocolate forms a sufficient pool for dipping. This makes the coating process much easier and less wasteful.
- Tap Off Excess Chocolate: After dipping each candy piece, gently tap the forks against the edge of the bowl. This helps to remove any excess chocolate, ensuring a thin, even coating and preventing puddles of chocolate at the base of your candies once set.
- Consider Tempering Chocolate (Optional for Shine): If you want a professional, super glossy, and snap-able chocolate coating, you can temper your melting wafers or use couverture chocolate. However, for most home bakers, good quality melting wafers provide a perfectly acceptable, easy-to-use alternative.
- Gift-Giving Made Easy: These candies make excellent homemade gifts! Once fully set, arrange them in small decorative boxes or cellophane bags tied with a ribbon. Keep them chilled until gifting.
By following these tips, you’ll consistently create batches of delicious, perfectly textured Cool Whip Candy that everyone will love.
Frequently Asked Questions About Cool Whip Candy
I do not recommend using homemade whipped cream for this particular recipe. Cool Whip is a stabilized whipped topping, meaning it holds its shape much better when frozen and thawed compared to homemade whipped cream. Homemade whipped cream contains more water and less stabilizer, which would likely result in a much softer, more watery, and less consistent texture for the candy’s interior. For the best, most reliable results and the correct nougat-like consistency, stick with Cool Whip.
Absolutely! While the recipe calls for chocolate melting wafers for ease and a smooth finish, you can certainly experiment with other types of chocolate. Feel free to use white chocolate, dark chocolate, semi-sweet chocolate, or even flavored candy melts to customize your candies. Just be aware that some types of chocolate might require tempering for a perfectly smooth, shiny, and snap-able finish, especially if you’re using high-quality chocolate bars rather than melting wafers. Always follow the melting instructions for your chosen chocolate.
When stored properly in an airtight container or freezer bag in the freezer, Cool Whip Candy can last for up to 30 days. Keeping it frozen helps maintain its structure, flavor, and prevents it from becoming too soft. If left at room temperature, the candy will soften considerably due to the Cool Whip base.
You’ll need a few basic kitchen items: an 8×8 inch baking dish, parchment paper, a microwave-safe mixing bowl (preferably large), a rubber spatula for folding, a sharp knife for cutting, a baking sheet, wax paper (or more parchment paper), and a small, deep bowl for melting and dipping the chocolate coating. Two forks are also very helpful for dipping the candy pieces.
This is a fantastic recipe for getting kids involved in the kitchen! Younger children can help by stirring the melted chocolate (once cooled slightly), folding in the Cool Whip, and arranging the cut candy pieces on the baking sheet. Older children can assist with cutting (under supervision) and dipping, making it a fun and interactive activity for the whole family.
More Easy Candy Recipes You’ll Love
Easy Candy
Old Fashioned Divinity Candy Recipe
Easy Candy
Rocky Road Candy
Easy Candy
How to Make Rock Candy
Easy Candy
Chocolate Covered Cherries
Don’t miss out on making this incredibly simple yet utterly delightful Cool Whip Candy. It’s a treat that promises to become a new family favorite. Once you’ve made it, please come back and share your experience with a comment and a star rating!
Pin
Cool Whip Candy
Cool Whip Candy boasts a mere 3 ingredients and delivers a taste remarkably similar to a classic 3 Musketeers Bar. It’s an incredibly easy treat, perfect for any dessert craving or snack time.
Prep Time: 5 mins
Cook Time: 10 mins
Freeze Time: 1 hr 30 mins
Total Time: 1 hr 45 mins
Servings: 36
Cuisine: American
Course: Dessert
Calories: 178 kcal
Author: Carrie Barnard
Ingredients
- 2 bags Milk Chocolate Chips (11 ounces each)
- 8 ounces Cool Whip (thawed)
- 24 ounces Chocolate Melting Wafers
Instructions
- Line an 8X8 baking dish with parchment paper, allowing excess to hang over the edges for easy lifting. Set aside.
- Place the milk chocolate chips in a large microwave-safe mixing bowl. Heat in 20-second intervals, stirring well after each, then continue in 15-second intervals until the chocolate is fully melted and smooth.
- Add the thawed Cool Whip into the melted chocolate. Using a rubber spatula, gently fold the mixture together until completely combined and uniform in color. The mixture will be thick.
- Spread the mixture evenly into the prepared 8-inch square baking dish, ensuring a flat top surface.
- Freeze the mixture for at least 30 minutes, or until it is firm and solid.
- Once frozen, use the parchment paper to lift the slab from the pan. Cut the mixture into approximately 36 square pieces. Place these pieces in a single layer on a baking sheet lined with wax paper and freeze for another 30 minutes.
- In a separate small, deep bowl, melt the chocolate melting wafers according to package instructions until smooth.
- Remove the chilled candy pieces from the freezer. Using two forks, dip each square into the melted chocolate, ensuring it’s fully coated. Gently tap the forks on the edge of the bowl to remove any excess chocolate.
- Place the coated candy back onto the wax paper-lined baking sheet to set. Continue until all candies are coated.
- Return the baking sheet to the freezer for 20-30 minutes, or until the chocolate coating is completely firm and set.
- Your Cool Whip Candy is now ready to serve and enjoy!
Recipe Notes
After the chocolate is fully set, you can transfer the candies to an airtight freezer bag or container for long-term storage.
Store any leftover candies in the freezer until you are ready to enjoy them, where they will keep well for up to 30 days.
Nutrition Facts
Calories: 178kcal, Carbohydrates: 27g, Protein: 2g, Fat: 7g, Saturated Fat: 3g, Polyunsaturated Fat: 1g, Monounsaturated Fat: 1g, Trans Fat: 0.03g, Cholesterol: 4mg, Sodium: 126mg, Potassium: 46mg, Fiber: 1g, Sugar: 19g, Vitamin A: 52IU, Vitamin C: 0.1mg, Calcium: 33mg, Iron: 1mg
Pin This Now to Remember It Later
Pin Recipe
