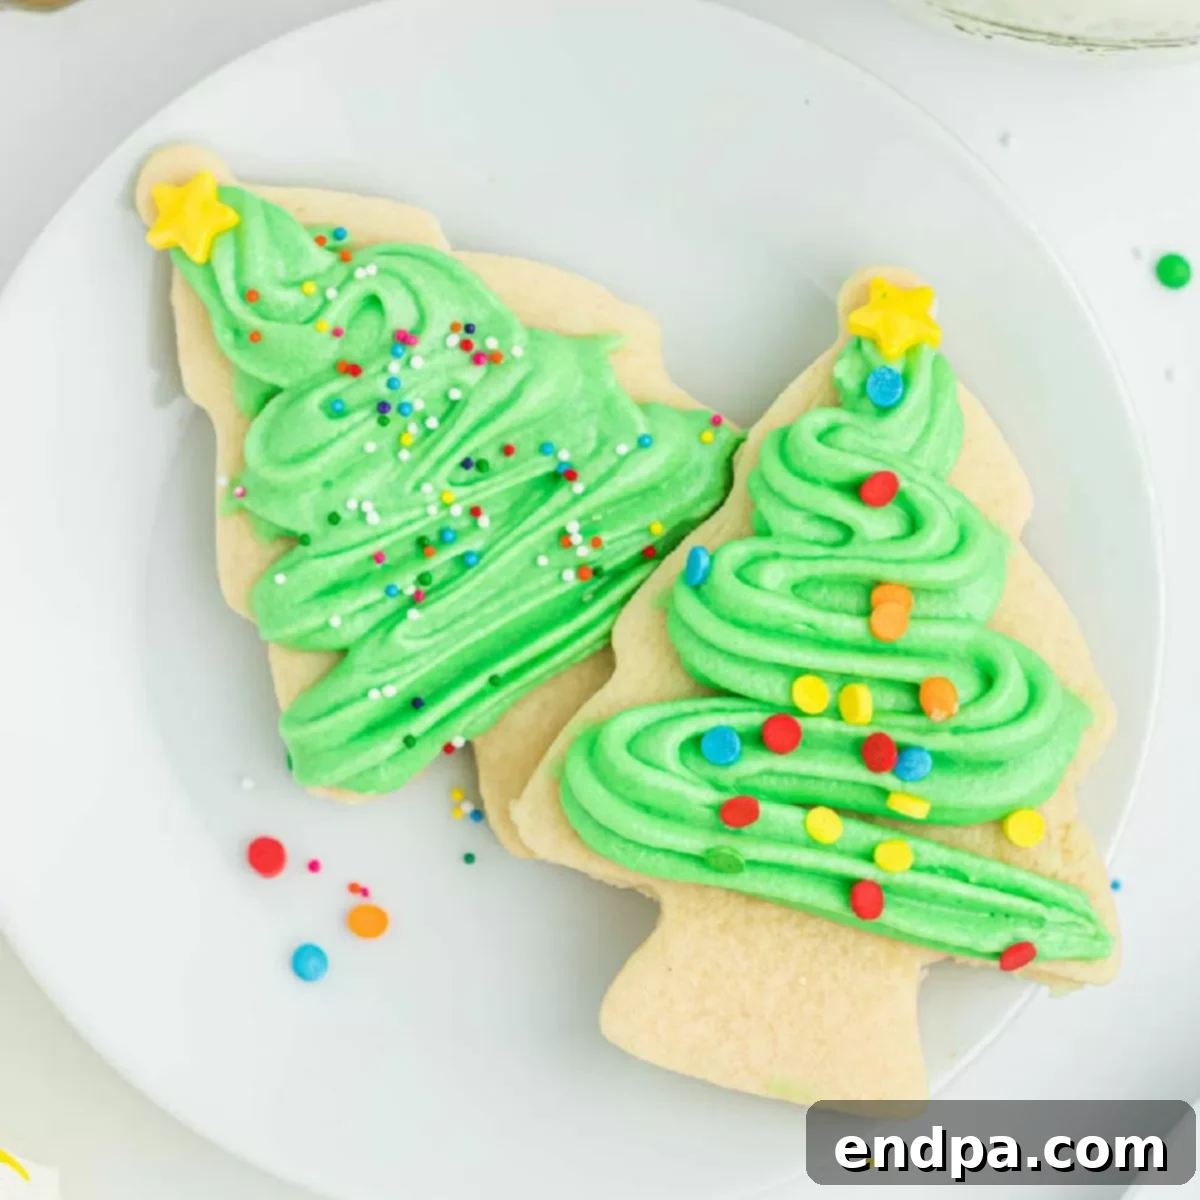
Festive Christmas Tree Sugar Cookies: A Delightful Holiday Baking Tradition
Step into the enchanting world of holiday baking with our ultimate recipe for Christmas Tree Sugar Cookies. These aren’t just any cookies; they are soft, tender, and beautifully buttery, providing the perfect canvas for vibrant icing and festive sprinkles. Imagine the joy of creating these cheerful treats, a delightful tradition that brings warmth and sweetness to any holiday gathering. From their irresistible flavor to the endless decorating possibilities, these Christmas Tree Sugar Cookies are sure to become a beloved staple in your seasonal repertoire.
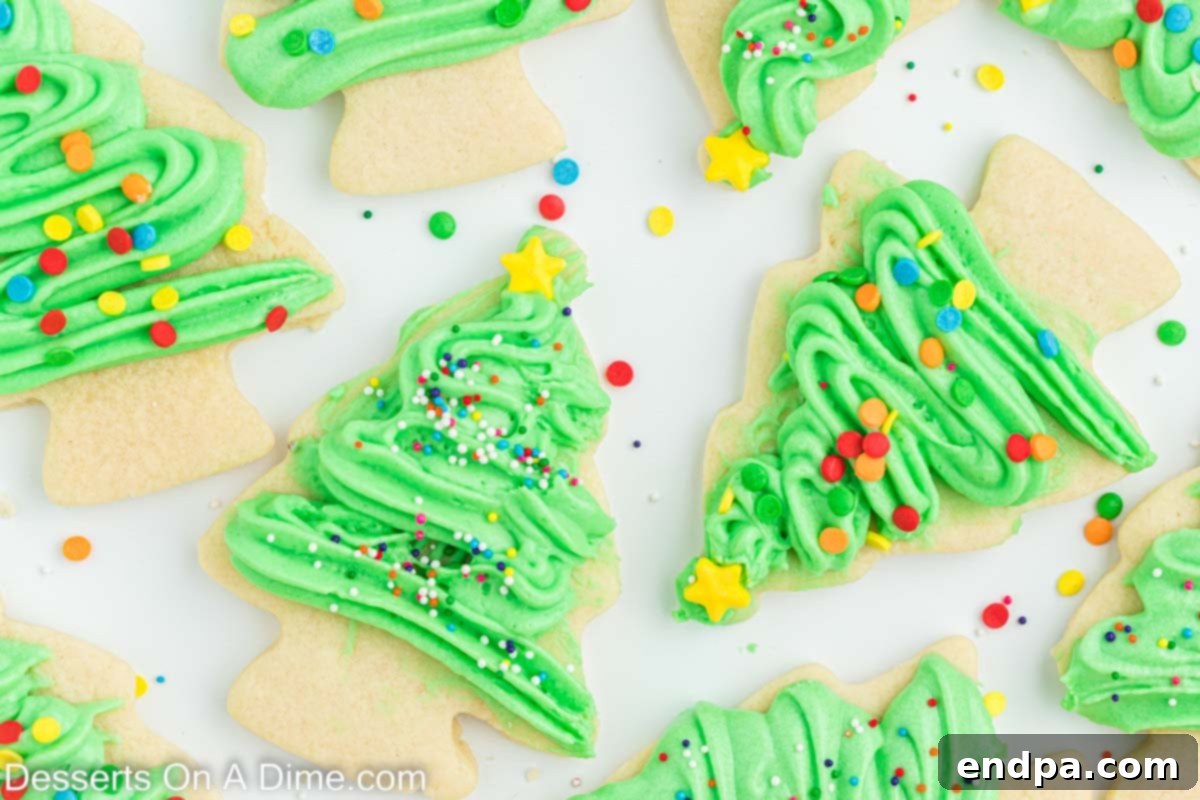
Our Christmas Tree Sugar Cookies are more than just a dessert; they are an experience. Each bite delivers a perfect balance of buttery richness and delicate sweetness, with a tender texture that melts in your mouth. Designed to hold their shape impeccably, these cookies are ideal for aspiring bakers and seasoned decorators alike. Unleash your creativity with colorful cream cheese frosting, dazzling sprinkles, and any other festive toppings your heart desires. This recipe is wonderfully straightforward, making it an excellent choice for a fun-filled afternoon of holiday baking with family and friends.
Whether you’re preparing for a lively cookie exchange, hosting a festive holiday party, or simply looking to add a touch of homemade charm to your dessert table, these cookies are an absolute must-try. Their whimsical Christmas tree shape and vibrant decorations make them an instant hit with everyone, from the youngest children to the young at heart. Alongside these delightful sugar cookies, we also love making other festive treats like our Meringue Christmas Trees and the impressive Christmas Tree Cupcake Cake, ensuring your holiday spread is truly spectacular.
Why These Cookies are a Holiday Favorite
- Unforgettable Festive Fun: These sugar cookies are the epitome of holiday cheer! They offer a wonderful opportunity for family bonding, inviting everyone to partake in the joyful process of decorating. Kids especially love transforming simple cookies into miniature Christmas trees with colorful icing and shimmering sprinkles, making baking a memorable holiday activity.
- Perfectly Soft and Richly Buttery: Our recipe guarantees cookies that are delightfully soft and incredibly buttery, without being crumbly. This tender texture, combined with their ability to maintain intricate shapes during baking, makes them ideal for showcasing your most elaborate icing designs. Each cookie is a little masterpiece!
- Infinitely Customizable Decorations: The beauty of sugar cookies lies in their versatility. You can personalize each Christmas tree cookie to match any holiday theme or color scheme. Experiment with various icing colors, from traditional green to snowy white or even whimsical pastels. Add different types of sprinkles, edible glitter, or small candies to create truly unique and eye-catching designs.
- Ideal for Sharing and Gifting: Baked with love, these cookies are perfect for sharing the holiday spirit. Package them in beautiful tins for thoughtful homemade gifts, bring them to office parties, or contribute them to a lively cookie exchange. They are always a welcome sight and a delightful treat to share with loved ones.
- Made with Simple Pantry Staples: You’ll appreciate how easily these festive cookies come together using common ingredients you likely already have in your pantry. No need for exotic items; just basic flour, butter, sugar, and eggs form the foundation of these irresistible treats, making them accessible to bake anytime the holiday spirit strikes.
Essential Ingredients for Perfect Cookies
Crafting these delectable Christmas Tree Sugar Cookies begins with selecting high-quality ingredients. Here’s a closer look at what you’ll need and why each component is crucial for achieving that perfect taste and texture:
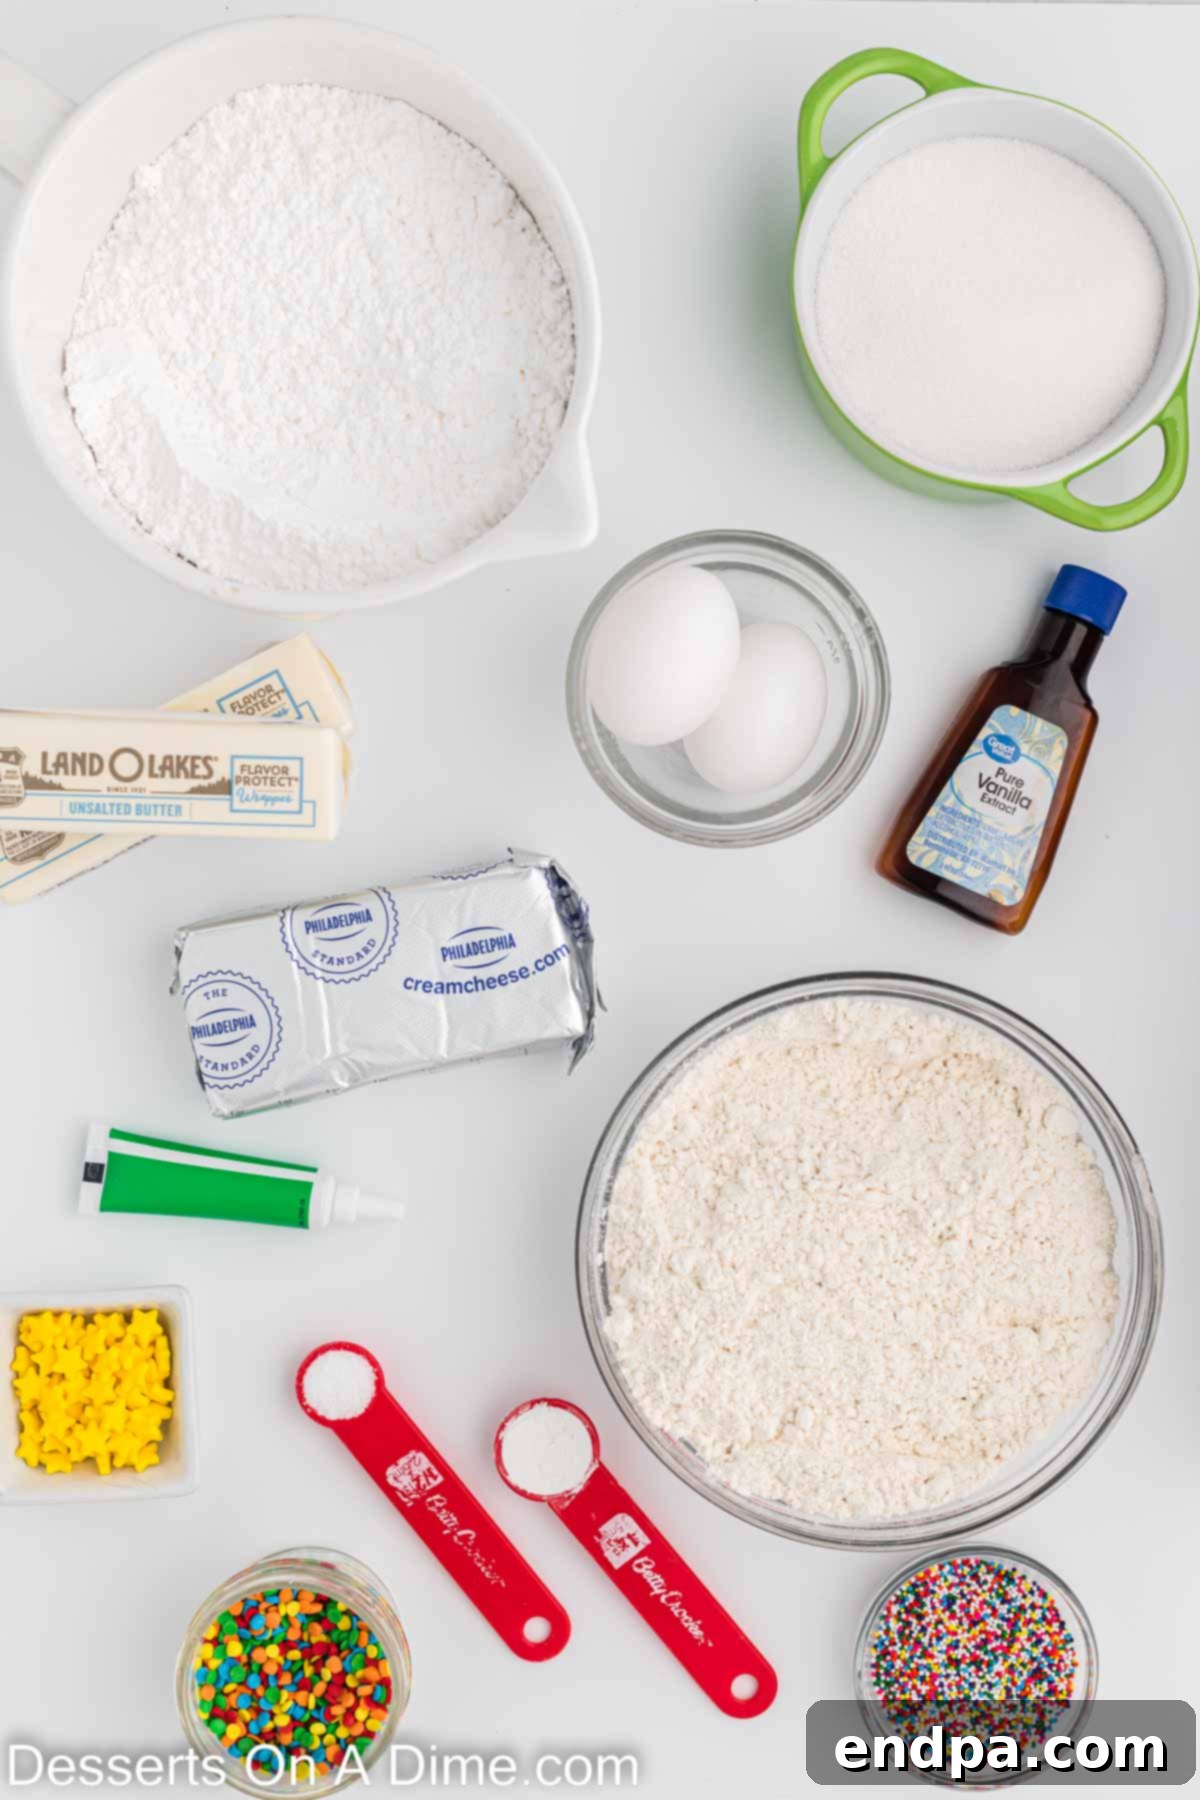
For the Cookie Dough:
- All-Purpose Flour: This is the backbone of our cookies. For the best results, always spoon your flour into the measuring cup and level it off with a straight edge. This method prevents over-packing, which can lead to dense, tough cookies. Properly measured flour ensures a tender crumb that holds its shape.
- Baking Powder: A crucial leavening agent that helps the cookies rise slightly, giving them a lovely, soft texture without spreading too much. It contributes to that perfect balance between chewy and crispy.
- Salt: Don’t skip the salt! It balances the sweetness of the sugar and enhances all the other flavors in the cookie, preventing them from tasting flat.
- Unsalted Butter: Softened to room temperature, unsalted butter is key to a rich, buttery flavor and a tender texture. Room temperature butter creams beautifully with sugar, incorporating air for a light, fluffy dough. If using salted butter, reduce the added salt in the recipe by ¼ teaspoon.
- Granulated Sugar: Regular white granulated sugar provides the perfect sweetness and contributes to the slightly crisp edges while keeping the center soft. When creamed with butter, it helps create the essential structure of the cookie.
- Large Eggs: At room temperature, eggs emulsify better with the butter and sugar, binding the dough and providing essential structure and richness. They also help the cookies achieve a desirable chewiness.
- Pure Vanilla Extract: A splash of high-quality pure vanilla extract is indispensable for enhancing the overall aroma and deep flavor of these classic sugar cookies. Avoid imitation vanilla for the best taste experience.
For the Creamy Dreamy Frosting:
- Cream Cheese: Softened at room temperature, cream cheese is the secret to a luscious, tangy, and incredibly smooth frosting. It adds a delightful complexity that perfectly complements the sweet sugar cookie.
- Butter (Softened): Combined with cream cheese, softened butter forms the rich base of the frosting, ensuring a smooth texture and creamy consistency that’s easy to spread or pipe.
- Powdered Sugar (Confectioners’ Sugar): Sifted powdered sugar is essential for a silky-smooth frosting free of lumps. Its fine texture dissolves easily, creating a perfect consistency for decorating.
- Vanilla Extract: Just like in the cookies, vanilla extract brightens the frosting’s flavor, adding a warm, comforting note.
- Green Gel Food Coloring: Gel food coloring is highly concentrated and provides vibrant, consistent color without significantly thinning out your frosting. This ensures your Christmas trees have that iconic, rich green hue.
- Festive Sprinkles: The crowning glory of our Christmas trees! Use a mix of colorful holiday sprinkles, nonpareils, or edible glitter to add texture, sparkle, and a wonderfully cheerful finish.
For the complete, detailed ingredient list and step-by-step recipe instructions, please scroll down to the recipe card below!
Creative Twists and Variations to Make Them Yours
While our classic Christmas Tree Sugar Cookies are perfect as they are, there’s always room for a little creativity! Feel free to customize this recipe to suit your taste and holiday theme with these fun variations:
- Elegant Royal Icing: For a more traditional and durable finish, swap the cream cheese frosting for royal icing. Royal icing hardens completely, creating a glossy, smooth surface that’s perfect for intricate designs, stacking, and gifting. It also allows for more precise piping work.
- Diverse Frosting Flavors: Don’t limit yourself to green cream cheese frosting! These versatile sugar cookies pair beautifully with various frostings. Consider a rich chocolate buttercream, a classic vanilla buttercream, or even a flavored cream cheese frosting like peppermint or orange zest.
- Time-Saving Store-Bought Dough: Short on time during the busy holiday season? No problem! You can use pre-made, refrigerated sugar cookie dough as a convenient shortcut. Simply roll it out, cut into your favorite tree shapes, and bake according to package directions before decorating.
- Endless Sprinkle Options: The sky’s the limit when it comes to sprinkles! Beyond classic red and green, explore rainbow sprinkles, shimmering metallic sugar, delicate edible pearls, or even rustic sanding sugar for different textures and visual appeals. Match them to your party decor or your favorite holiday colors.
- Adventurous Icing Colors: While a vibrant green is traditional for Christmas trees, why not experiment? Decorate with elegant white icing for a snowy effect, a frosty blue for a winter wonderland theme, or even multiple colors for a playful, whimsical look. Let your imagination guide you!
- Flavor Boosters for the Dough: Infuse your cookie dough with extra festive flavors. A splash of almond extract adds a sophisticated nutty note, lemon extract provides a bright citrusy lift, or incorporate orange zest for a zesty, aromatic twist that complements the vanilla beautifully.
- Additional Toppings for Texture and Sparkle: Elevate your decorated cookies with extra toppings. A dusting of edible glitter adds magical sparkle, mini chocolate chips can serve as adorable ornaments, or crushed candy canes provide a refreshing peppermint crunch and festive color.
Baking Your Festive Trees: Step-by-Step Guide
Follow these detailed instructions to create your perfect batch of Christmas Tree Sugar Cookies. Each step is designed for clarity, ensuring a delightful baking experience and delicious results.
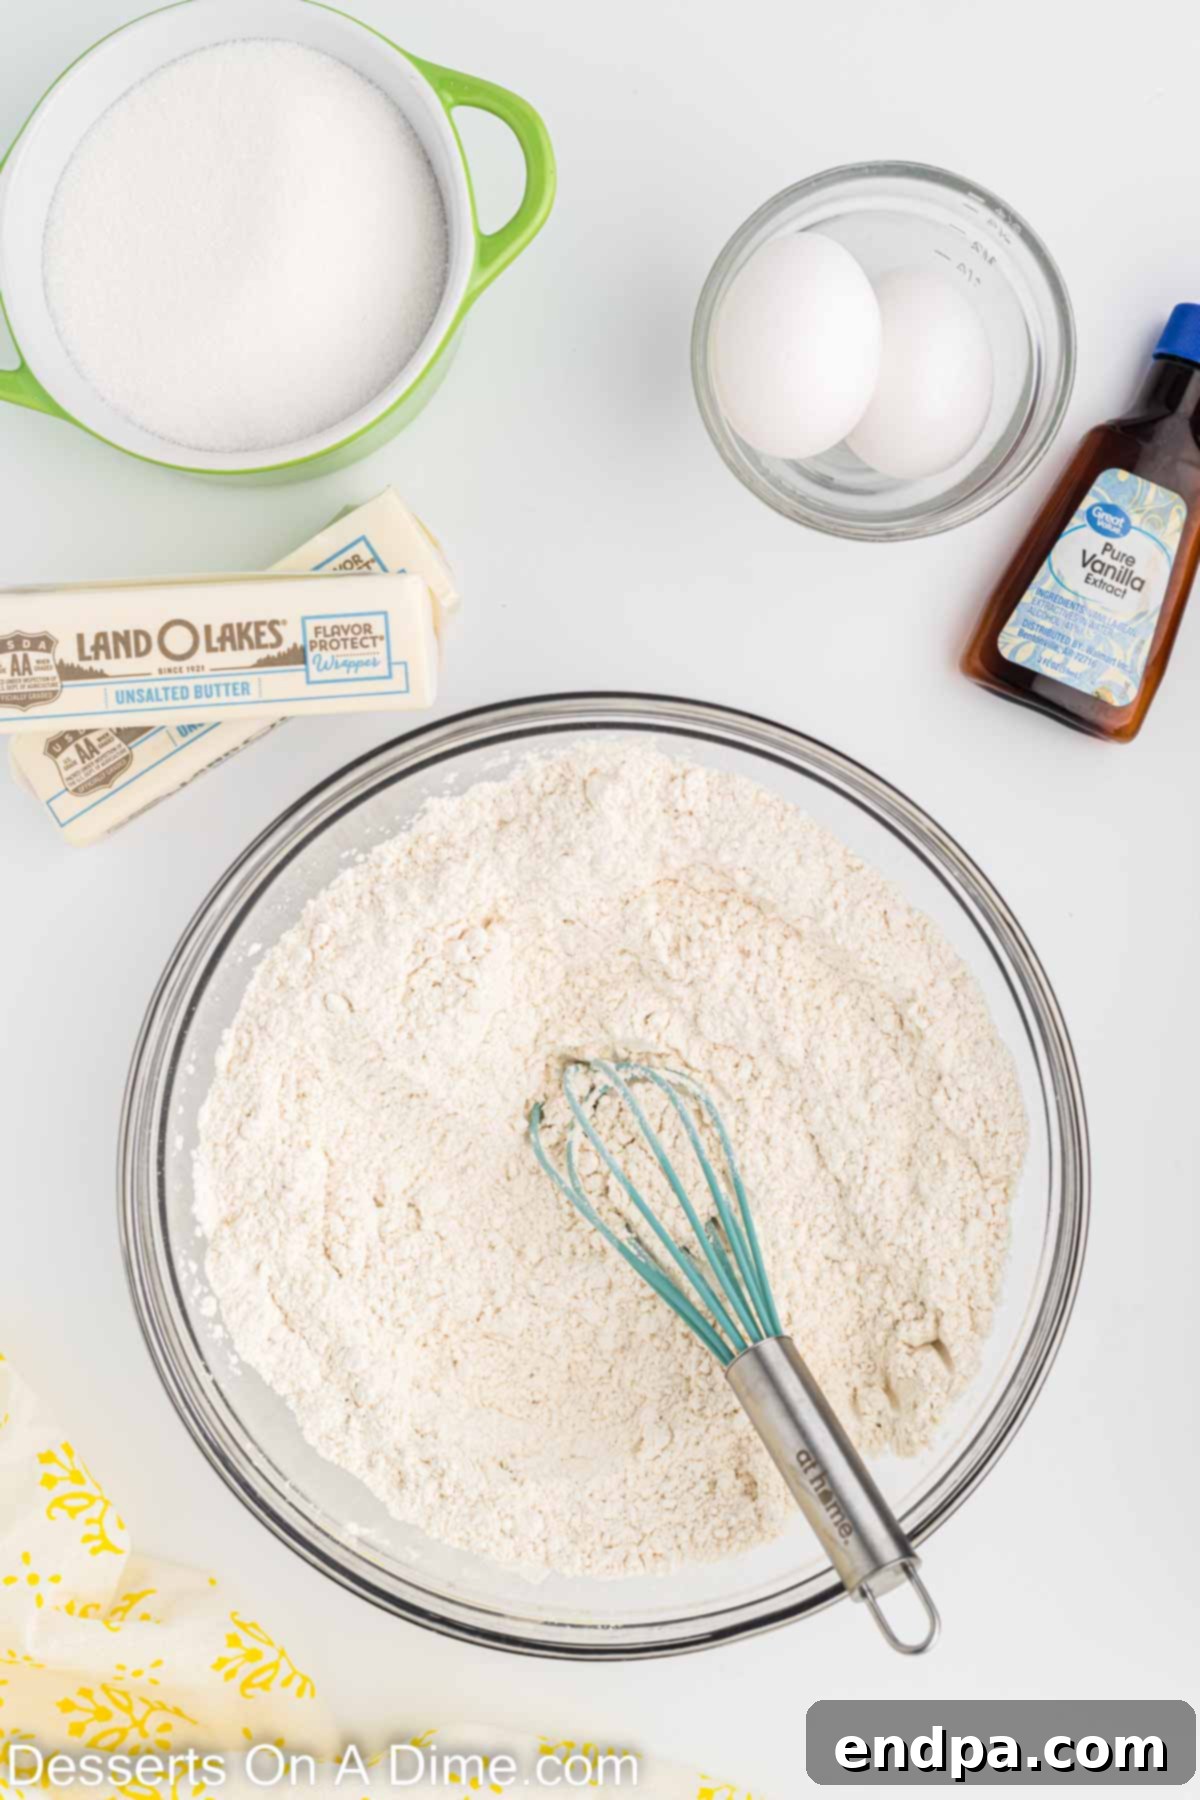
Step 1: Prepare the Dry Ingredients. In a medium mixing bowl, combine the all-purpose flour, baking powder, and salt. Whisk them together thoroughly until uniformly mixed. This ensures the leavening and seasoning are evenly distributed throughout your cookies. Set this bowl aside.
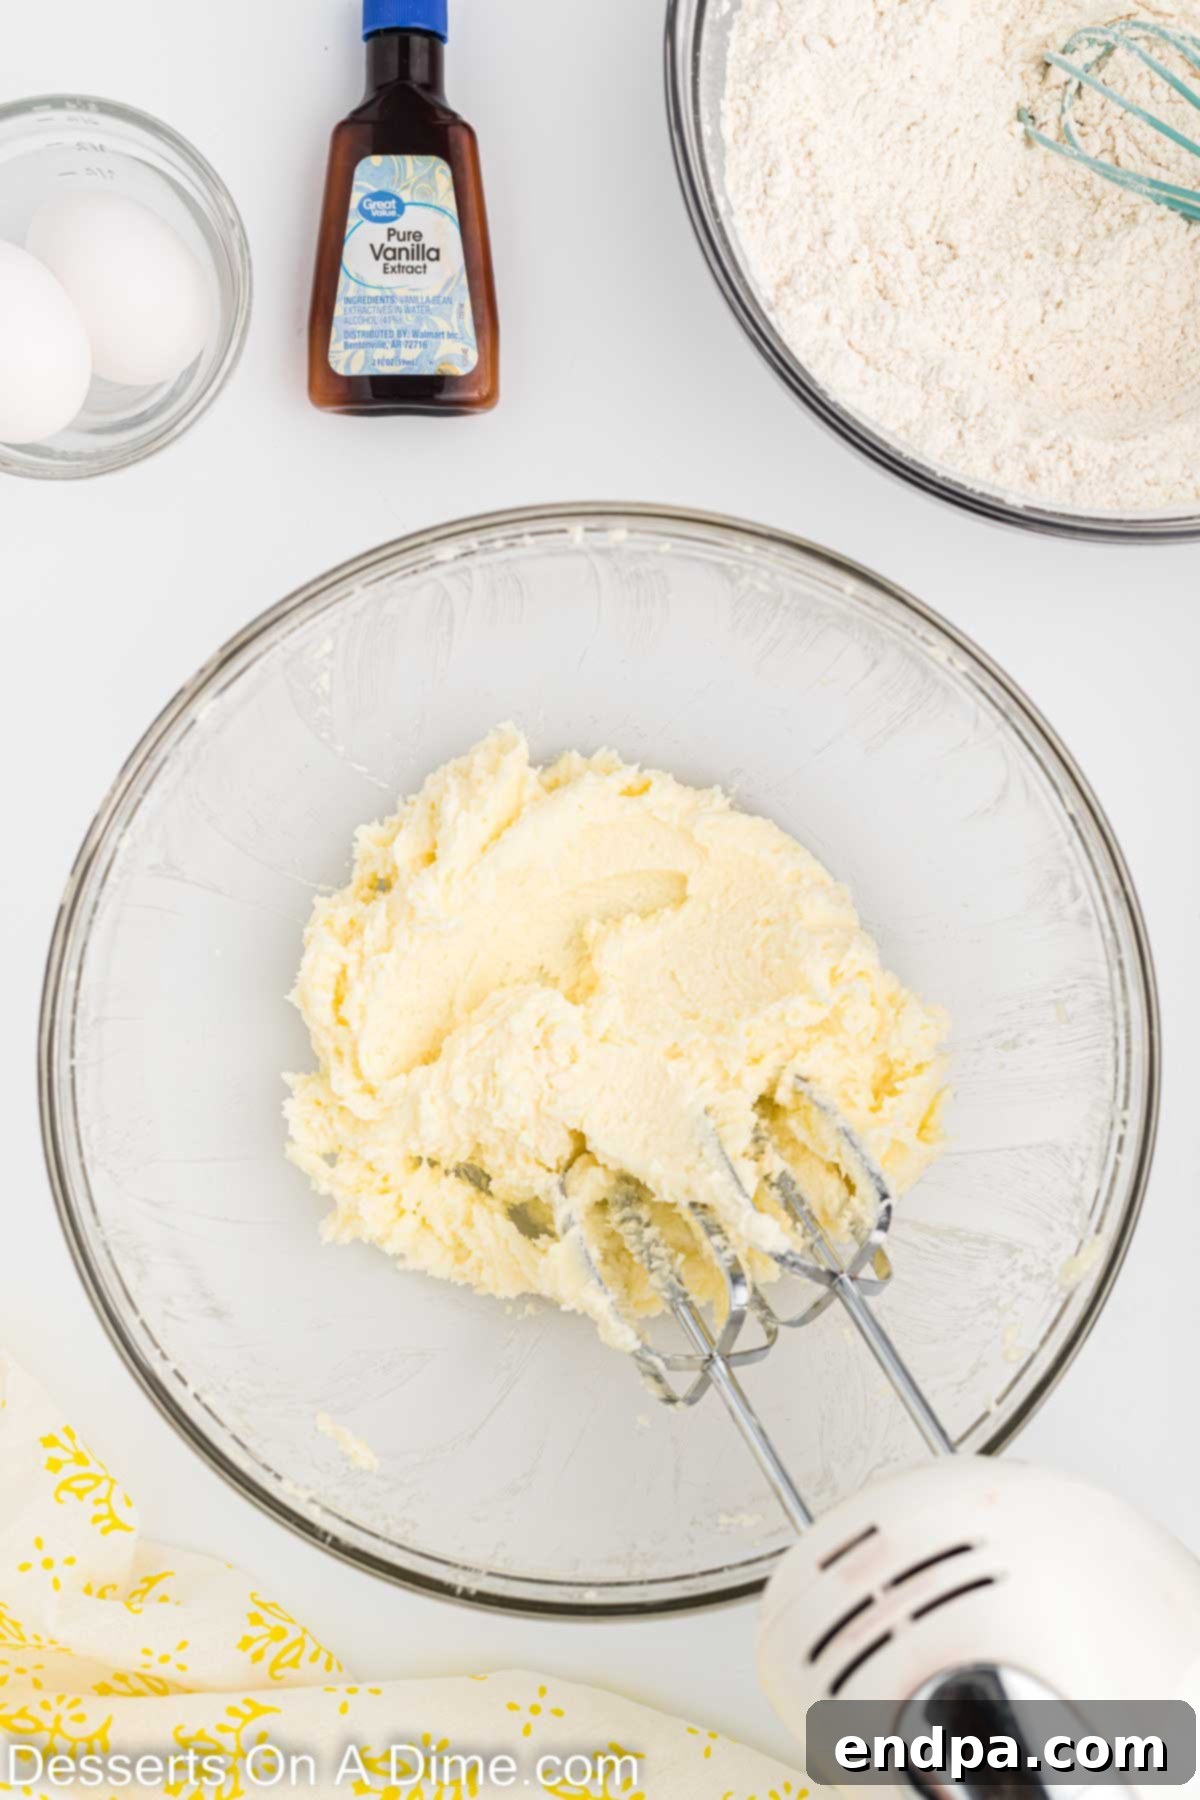
Step 2: Cream Wet Ingredients. In a separate, larger bowl (preferably using a stand mixer with a paddle attachment or a hand mixer), beat together the softened unsalted butter and granulated sugar. Cream them on medium speed until the mixture is light, fluffy, and pale in color, typically 2-3 minutes. This process incorporates air, crucial for tender cookies. Next, add the large eggs one at a time, beating well after each addition until fully combined. Finally, mix in the pure vanilla extract until just incorporated.
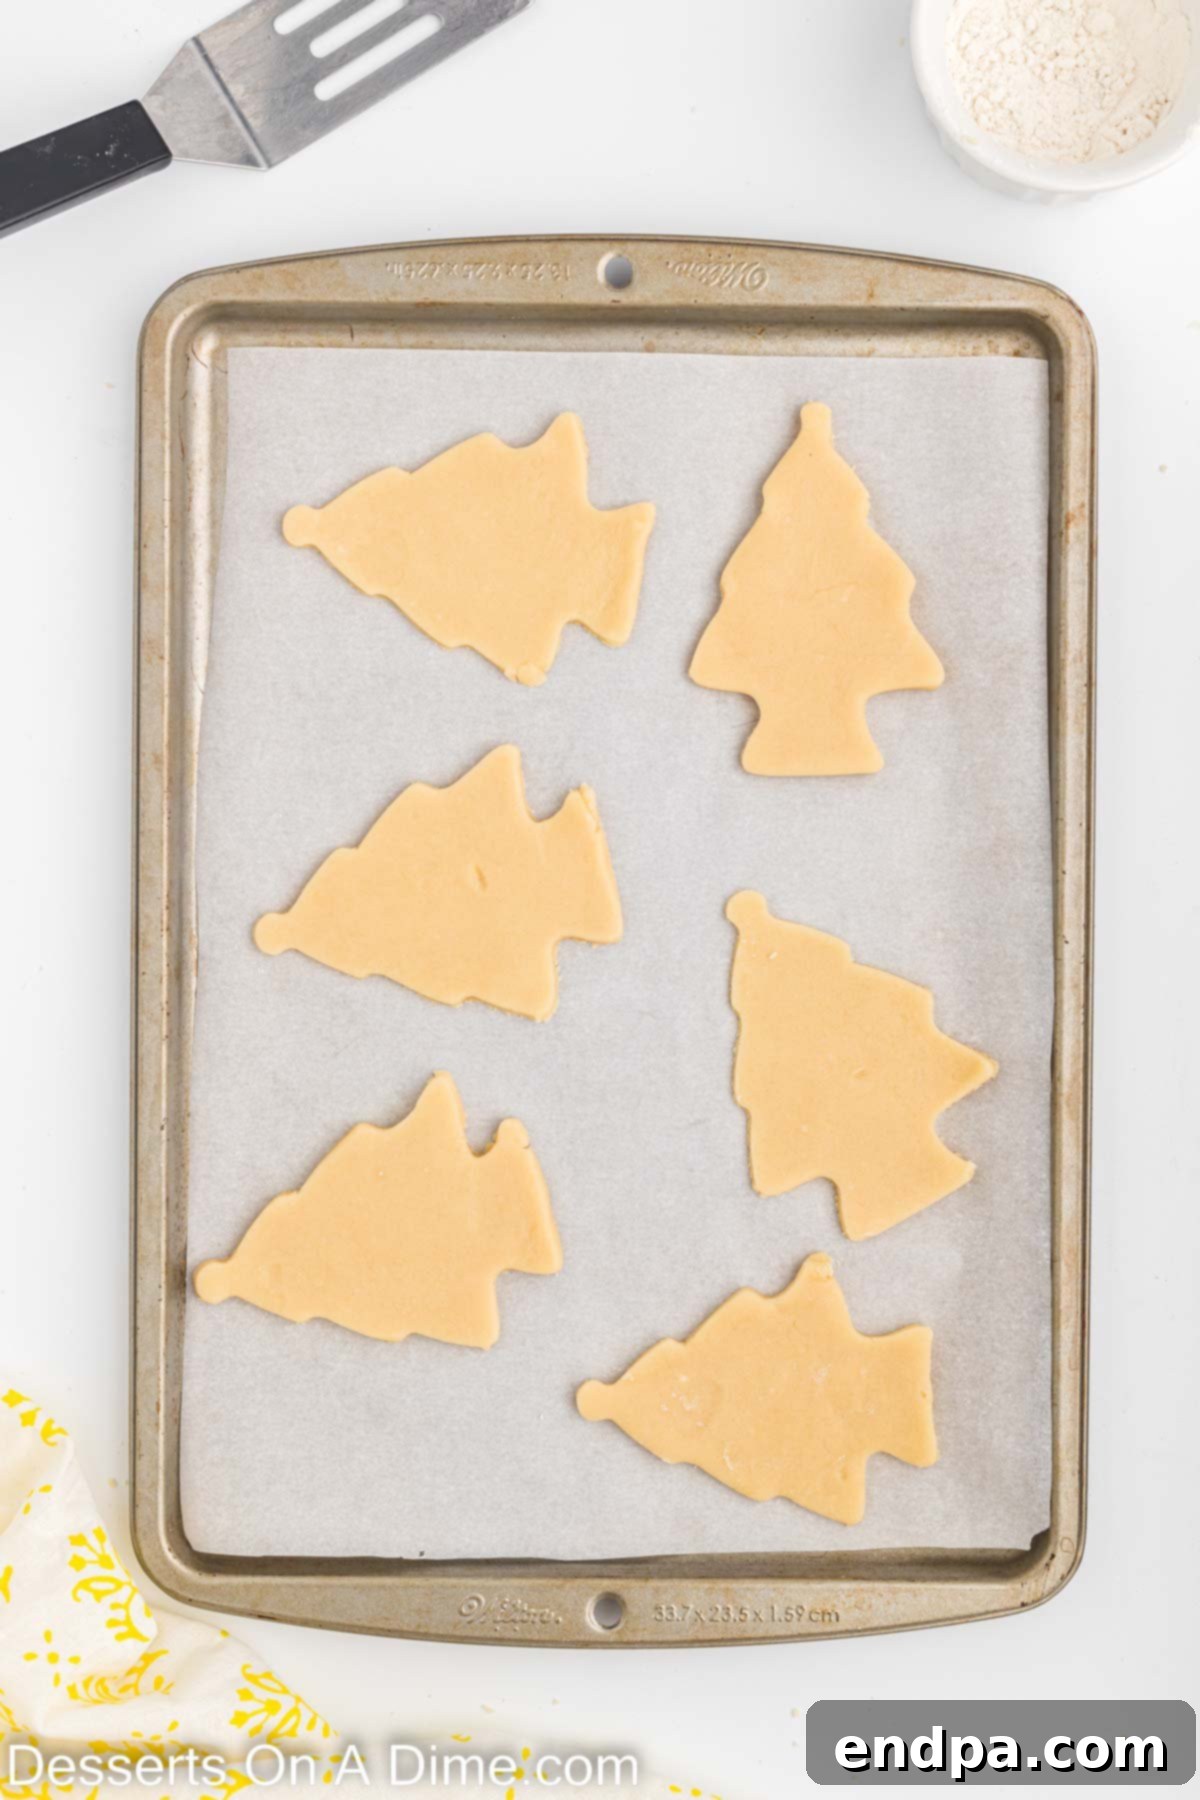
Step 3: Form and Cut the Cookies. Gradually add the whisked dry ingredients from Step 1 to the wet mixture from Step 2. Mix on low speed until just combined, being careful not to overmix the dough, which can lead to tough cookies. Divide the dough into 2-3 manageable balls. On a lightly floured surface, roll out one ball of dough to approximately ¼ inch thickness. Use your favorite Christmas tree-shaped cookie cutters to cut out the cookies. Carefully transfer these delicate shapes to a baking sheet lined with parchment paper, spacing them about an inch apart. Repeat with the remaining dough.
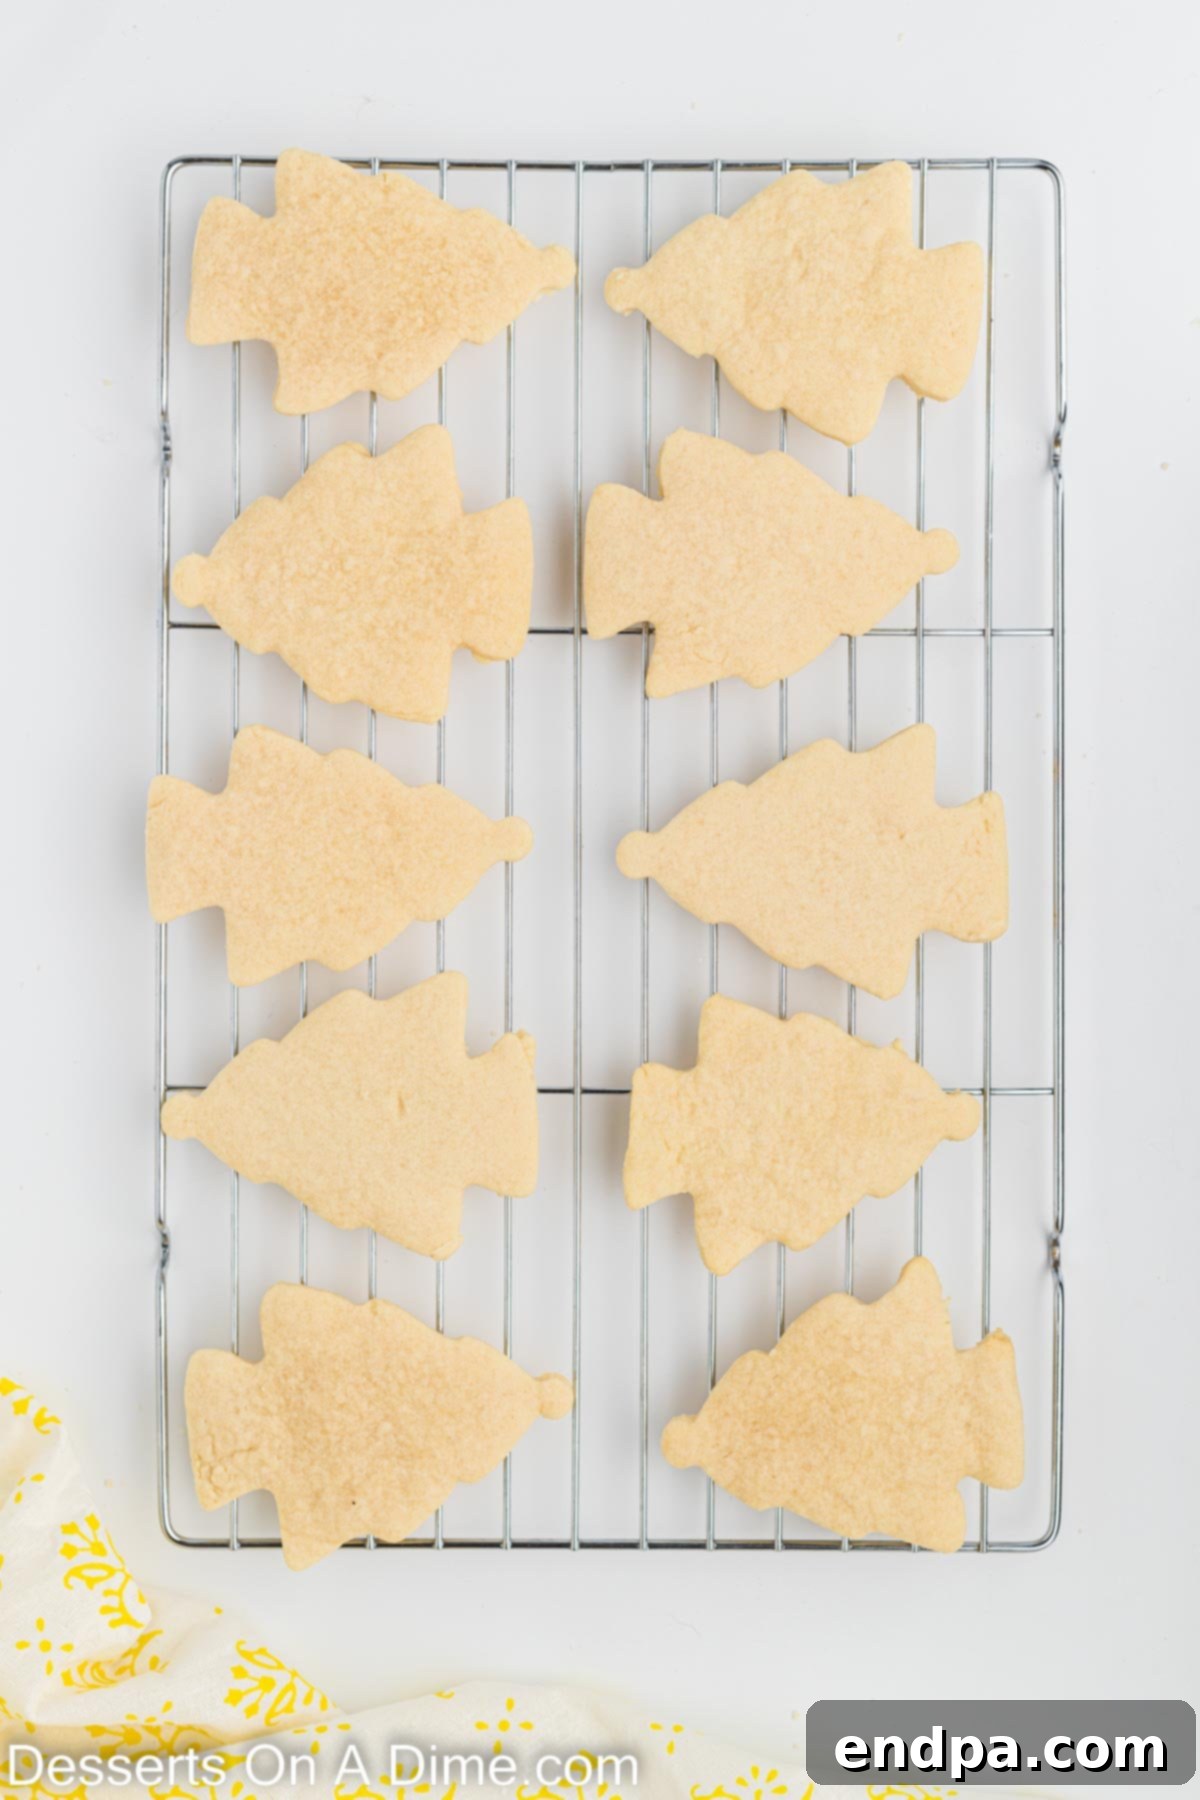
Step 4: Bake and Cool. Preheat your oven to 350°F (175°C). Bake the cookies for 7-8 minutes, or until the edges are very lightly golden and the centers are just set. Avoid overbaking to maintain their soft texture. Once baked, remove the cookies from the oven and let them cool on the baking sheet for about 5 minutes. This allows them to firm up slightly before you transfer them to a wire rack to cool completely. Ensuring they are fully cool is critical before frosting to prevent melting.
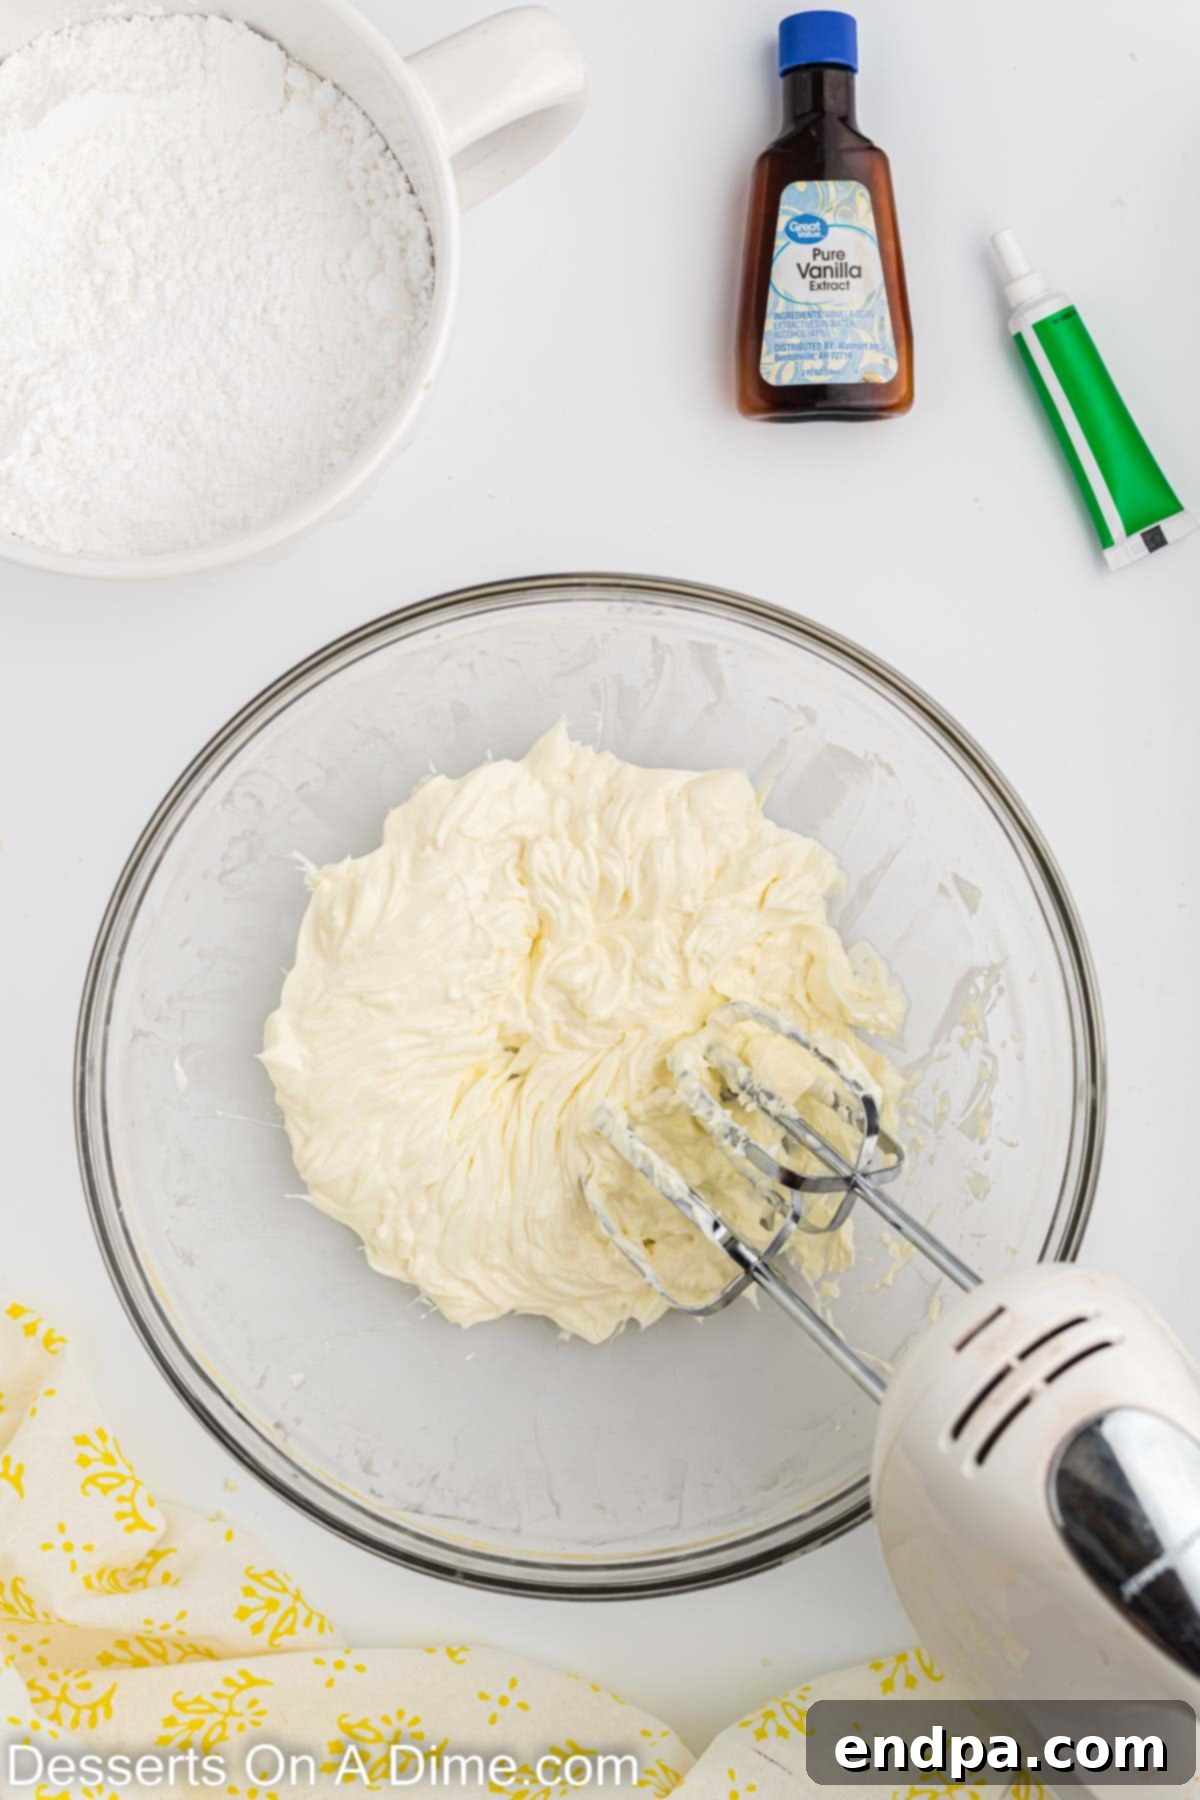
Step 5: Begin the Frosting. While your cookies are cooling, it’s time to prepare the delectable cream cheese frosting. In a large mixing bowl, beat together the softened cream cheese and softened butter. Continue beating on medium speed until the mixture is completely smooth, creamy, and free of any lumps. Scrape down the sides of the bowl as needed to ensure everything is well combined.
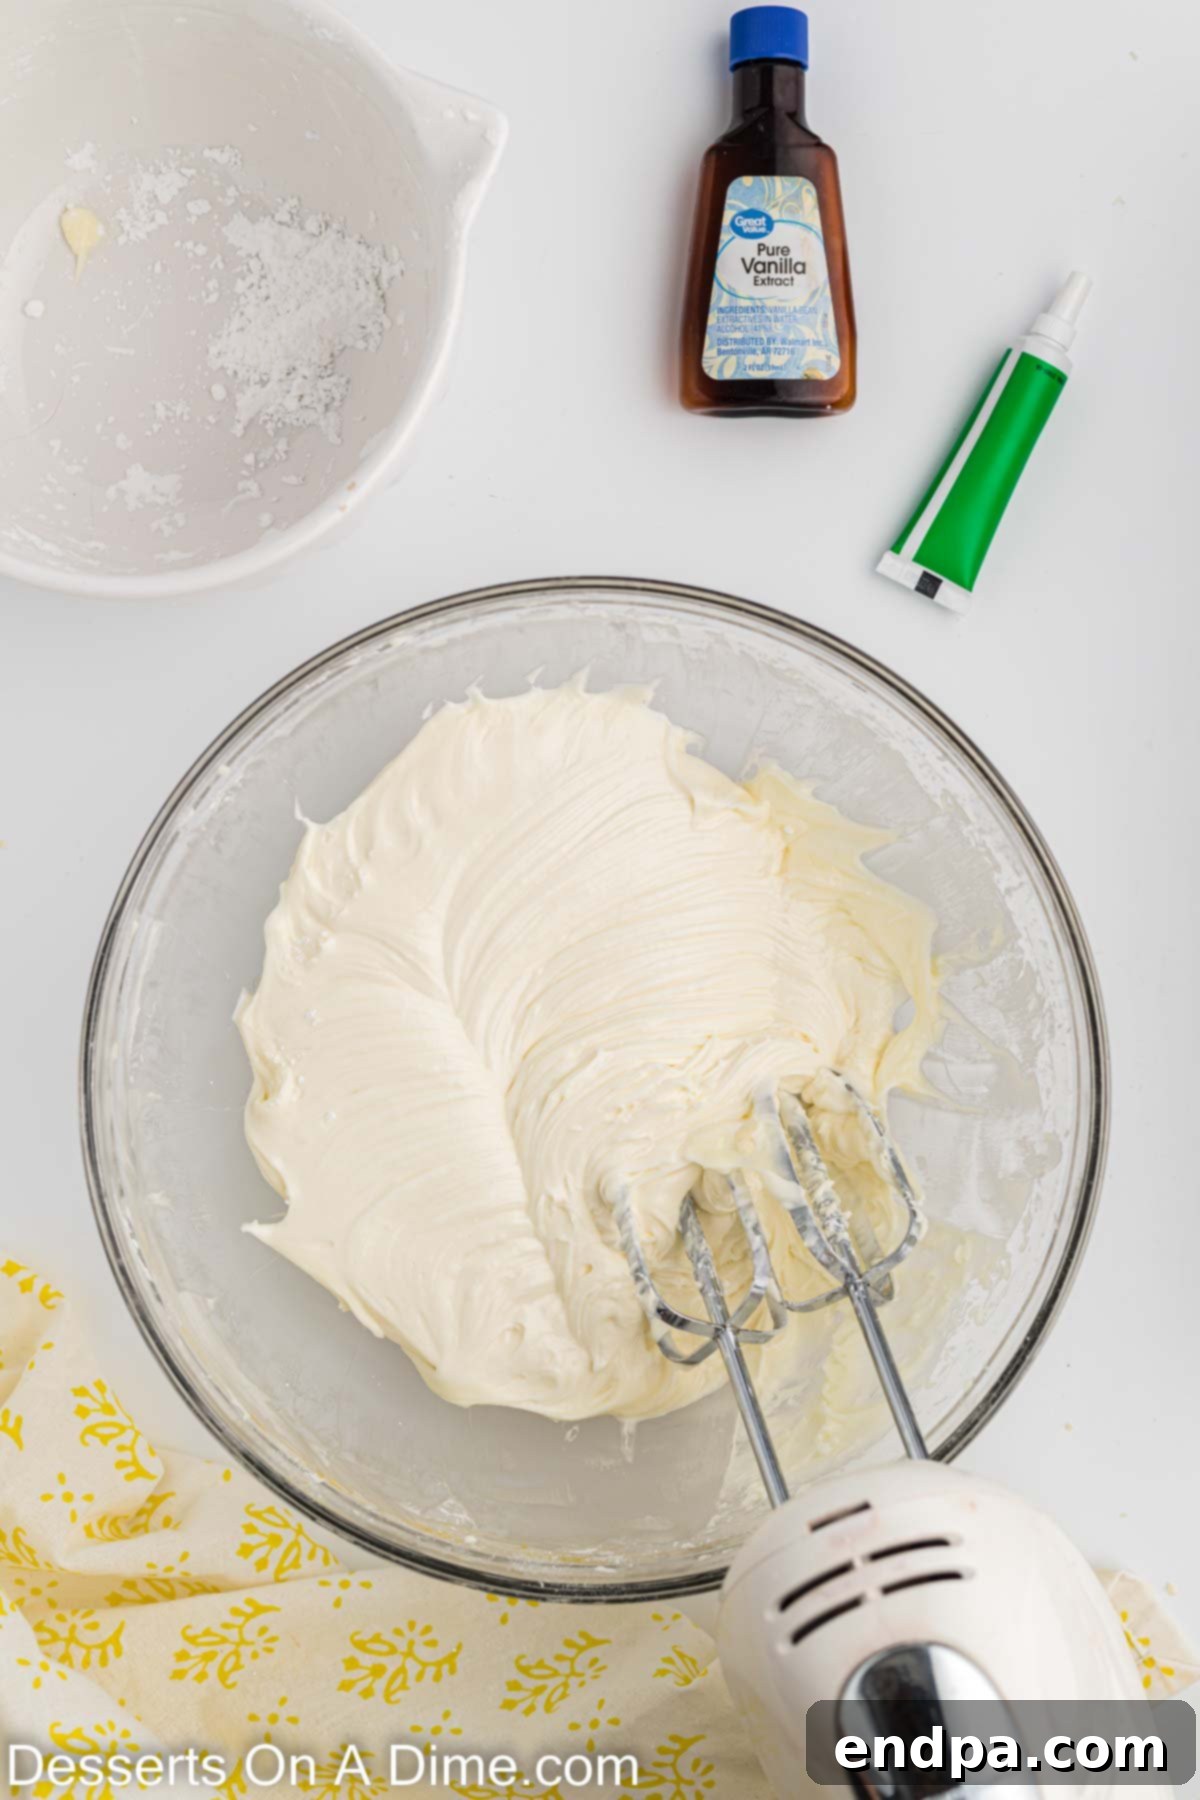
Step 6: Finish the Frosting Base. With the mixer on low speed, gradually add the powdered sugar (preferably sifted to prevent lumps) to the cream cheese and butter mixture. Once all the powdered sugar is added, incorporate the vanilla extract. Mix on low until all ingredients are just combined. Then, increase the speed to medium-high and beat the frosting for 1-2 minutes until it becomes wonderfully smooth, light, and fluffy.
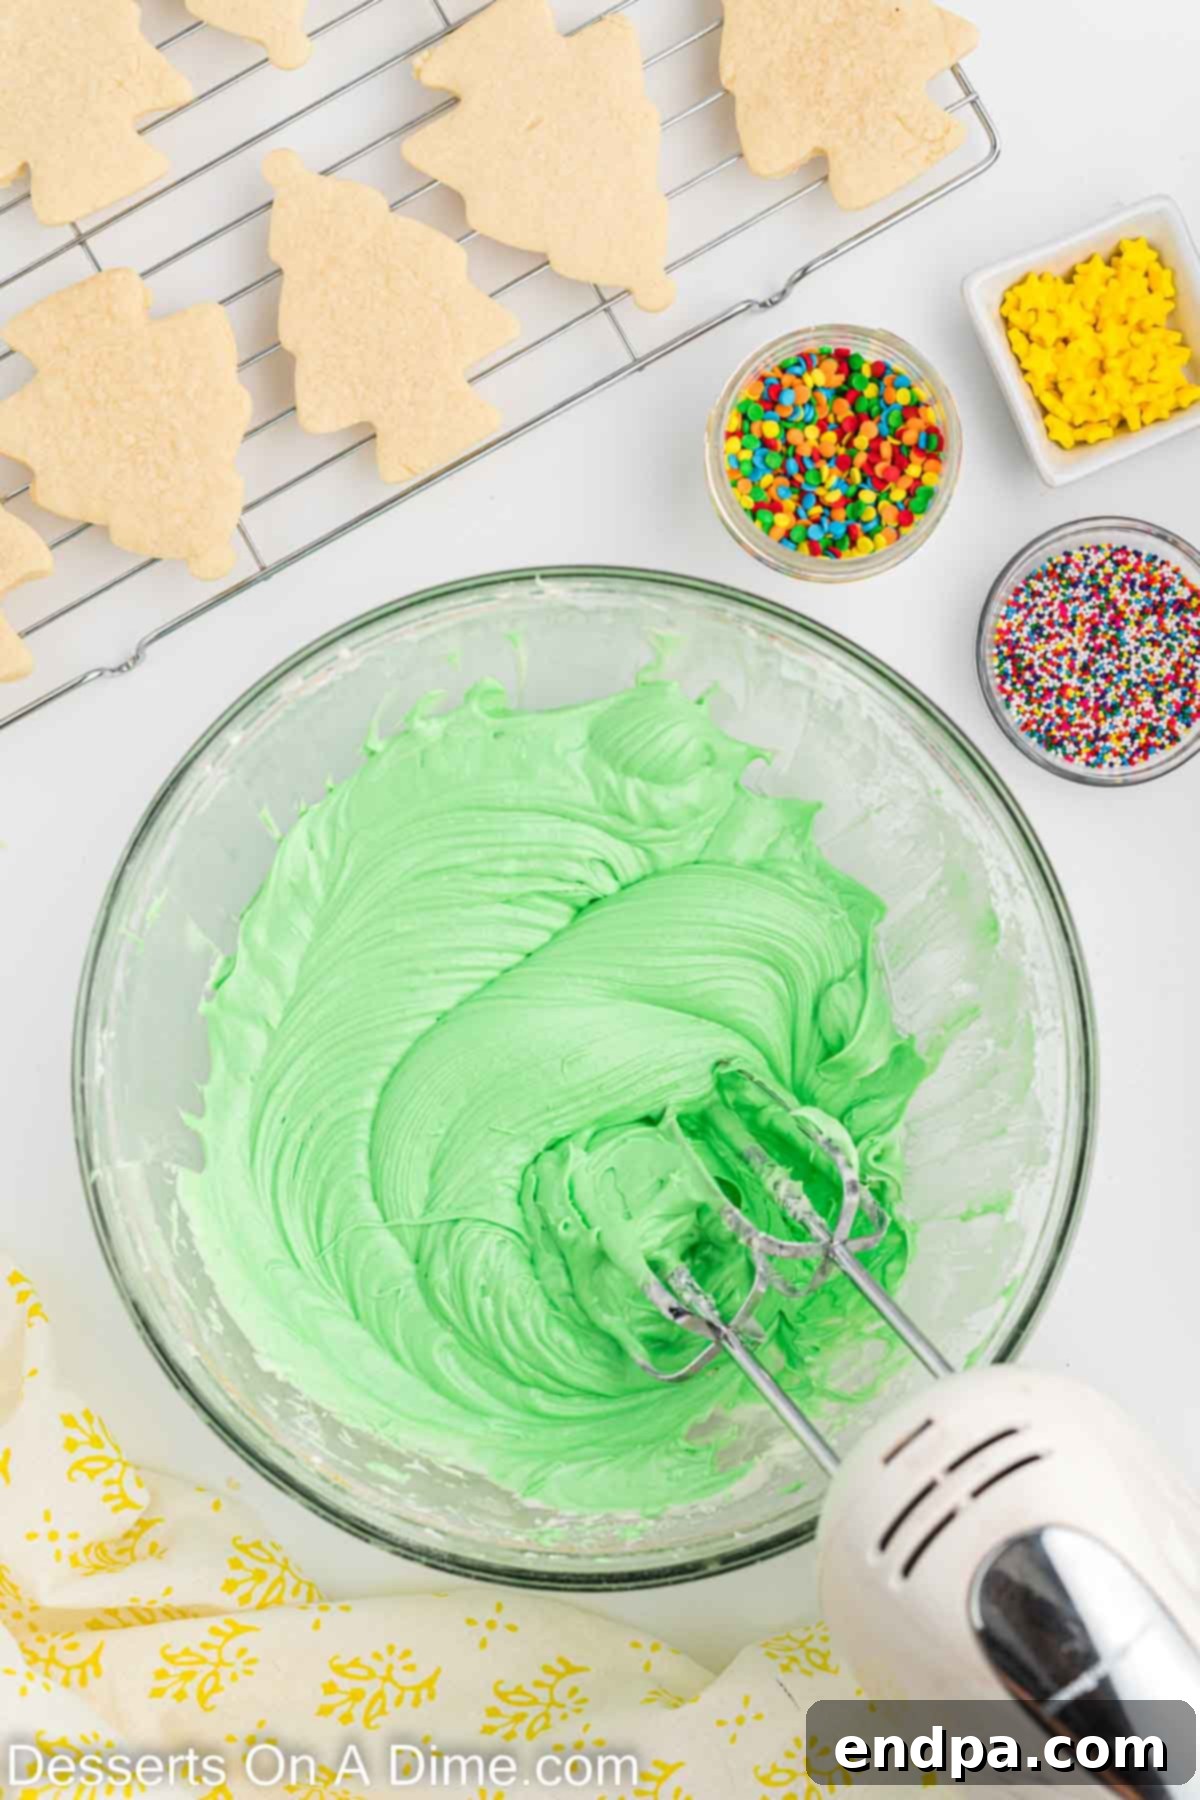
Step 7: Color the Frosting. Now for the festive touch! Add green gel food coloring to the frosting, a little at a time. Mix on low speed until you achieve your desired shade of green. Gel food coloring is recommended as it provides vibrant color without altering the consistency of your frosting as much as liquid food coloring. You can create a deep forest green or a lighter, more whimsical shade.
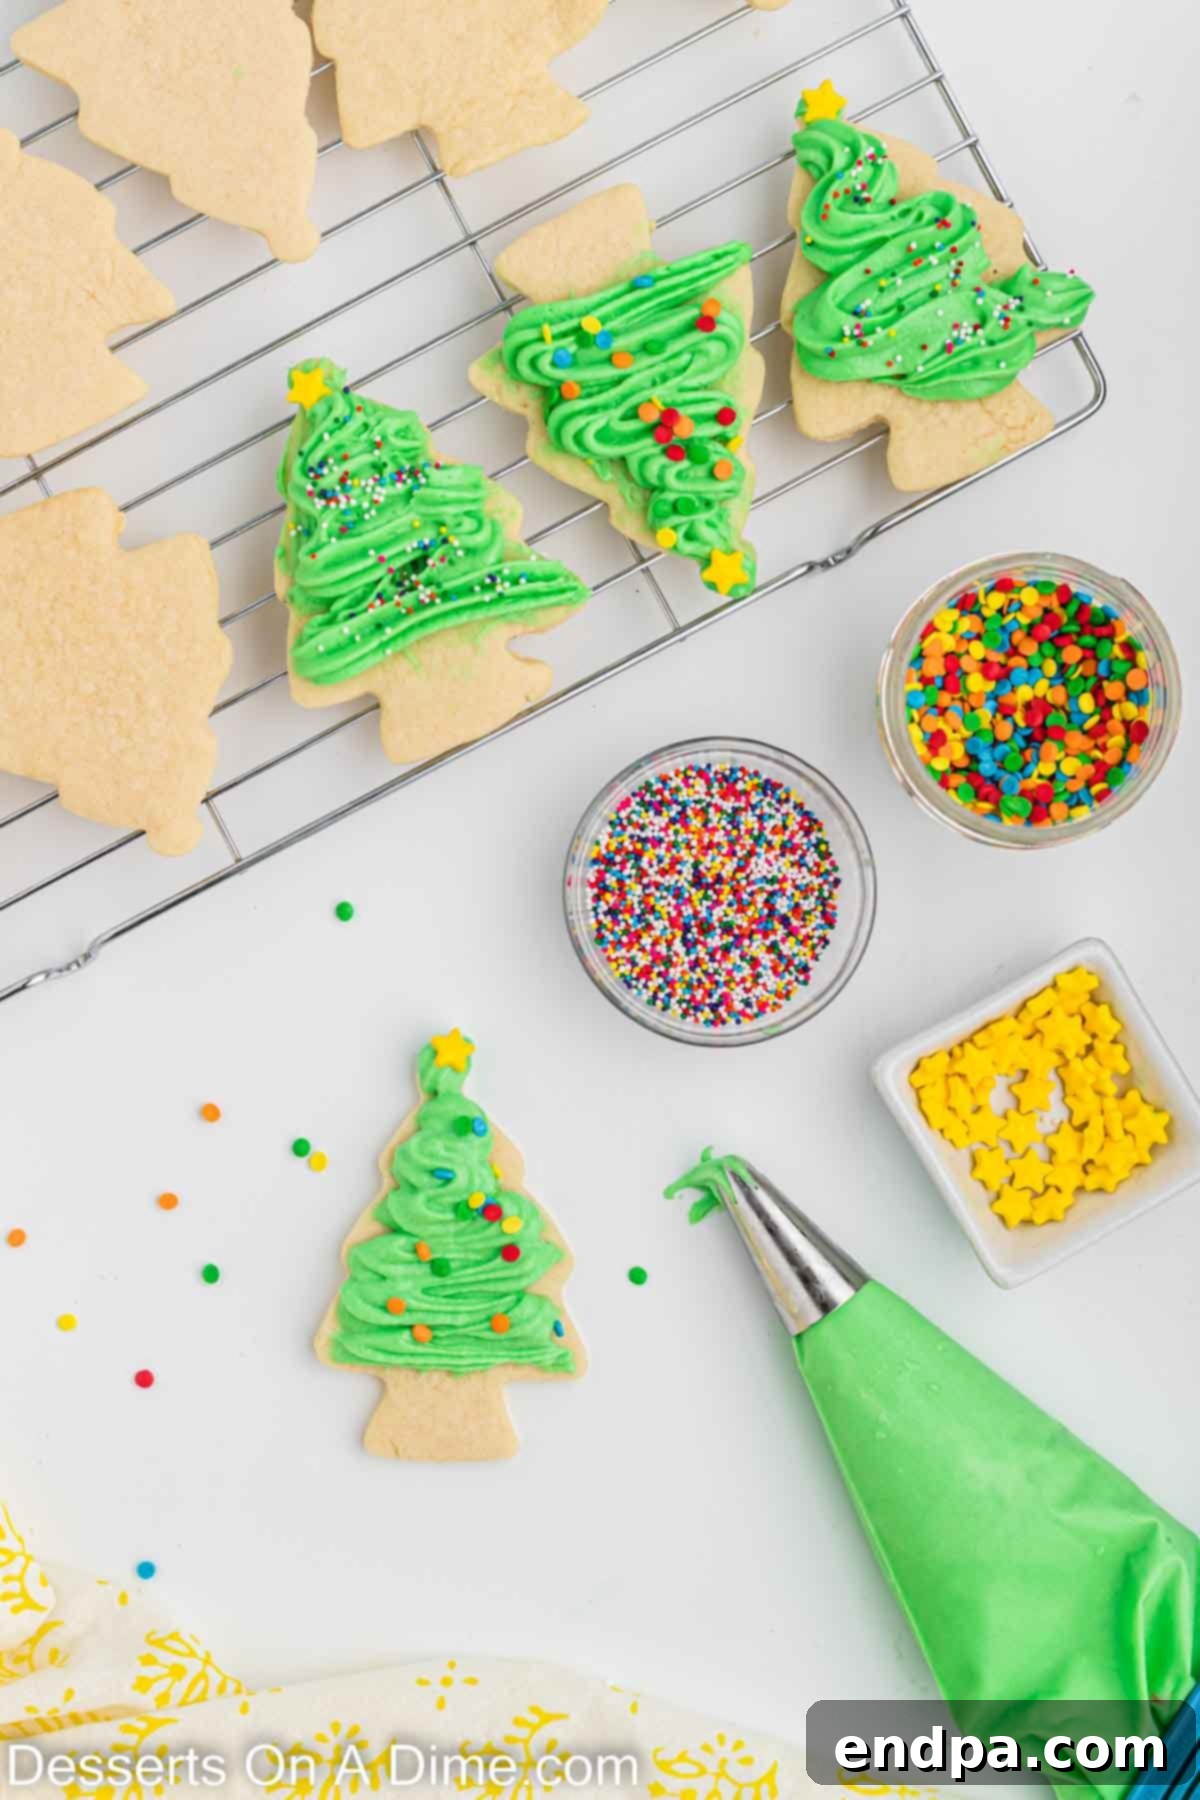
Step 8: Decorate Your Trees. Transfer the green frosting to a piping bag fitted with your chosen decorative tip. A star tip, ribbon tip, or a leaf/petal tip all work wonderfully for creating different “tree” textures. Pipe the green frosting onto each completely cooled Christmas tree cookie, creating festive patterns. While the frosting is still wet, generously sprinkle your chosen holiday sprinkles on top to resemble ornaments. Arrange your beautifully decorated Christmas Tree Sugar Cookies on a serving platter and get ready to enjoy your delicious works of art!
Expert Tips for Cookie Perfection
Achieving bakery-quality sugar cookies is simple with these expert tips. Pay attention to these details, and your Christmas Tree Sugar Cookies will be nothing short of spectacular:
- Always Use Room Temperature Ingredients: This is a golden rule for baking! Ensure your butter, eggs, and cream cheese (for frosting) are at room temperature. This typically takes about 30 minutes to an hour. Room temperature ingredients emulsify better, creating a smoother dough and a more consistent, creamy frosting.
- Avoid Overmixing the Dough: Once you add the flour to the wet ingredients, mix only until just combined. Overmixing develops the gluten in the flour, leading to tough, dense cookies. A light, tender crumb is what we’re aiming for.
- Invest in Pure Vanilla Extract: The quality of your vanilla makes a significant difference. Pure vanilla extract offers a rich, complex flavor that imitation vanilla simply cannot replicate, enhancing both the cookies and the frosting.
- Chill the Dough for Easier Handling: If your dough feels too soft or sticky after mixing, don’t hesitate to refrigerate it for 15-30 minutes. Chilled dough is much easier to roll out, cut, and transfer without losing its shape, resulting in cleaner cookie edges.
- Roll Dough Evenly: Use a rolling pin with thickness guides or simply try to roll your dough to a consistent ¼-inch thickness. This ensures that all your cookies bake evenly, preventing some from being underbaked while others are overbaked.
- Monitor Baking Time Closely: Every oven is different. Begin checking your cookies at the 7-minute mark. Remove them from the oven as soon as the edges are lightly golden, even if the centers still look a little soft. They will continue to set as they cool on the hot baking sheet. Overbaking is the quickest way to dry out sugar cookies.
- Use Parchment Paper or Silicone Mats: Line your baking sheets with parchment paper or silicone baking mats. This prevents sticking, promotes even baking, and makes for easy cleanup, ensuring your beautifully shaped cookies lift off perfectly.
- Don’t Rush the Cooling Process: Patience is key! Ensure your cookies are completely cool before attempting to frost them. Warm cookies will cause the frosting to melt, smudge, and slide right off, ruining your decorative efforts.
Storing Your Holiday Delights
To keep your Christmas Tree Sugar Cookies fresh and delicious for as long as possible, proper storage is essential. Here’s how to ensure they maintain their delightful taste and texture:
Room Temperature: Unfrosted sugar cookies can be stored in an airtight container at room temperature for up to 5 days. If stacking, place parchment paper or wax paper between layers to prevent them from sticking together. If frosted with a non-perishable icing (like royal icing that has fully set), they can also be stored at room temperature.
Refrigerator: If your cookies are frosted with cream cheese frosting, they must be stored in an airtight container in the refrigerator to keep the frosting fresh and safe to eat. They will stay fresh for up to 1 week. Again, use parchment paper between layers if stacking.
Freezer (Unfrosted): To extend their shelf life, unfrosted sugar cookies can be frozen. Once completely cooled, wrap individual cookies tightly in plastic wrap, then place them in an airtight freezer-safe container or freezer bag. They can be frozen for up to 3 months. Thaw at room temperature before decorating or serving.
Freezer (Frosted): If you want to freeze frosted cookies (especially with cream cheese frosting), first place the decorated cookies on a baking sheet and freeze them solid for about 1-2 hours. Once frozen, wrap each cookie individually in plastic wrap, then transfer them to an airtight freezer-safe container. This “flash freezing” prevents the frosting from smudging. Freeze for up to 3 months. Thaw in the refrigerator, then let come to room temperature before serving.
Frosted Cookies: Always allow your icing or frosting to set completely before storing frosted cookies. This prevents smudging, sticking, and keeps your beautiful decorations intact. For royal icing, this can take several hours or even overnight, depending on humidity.
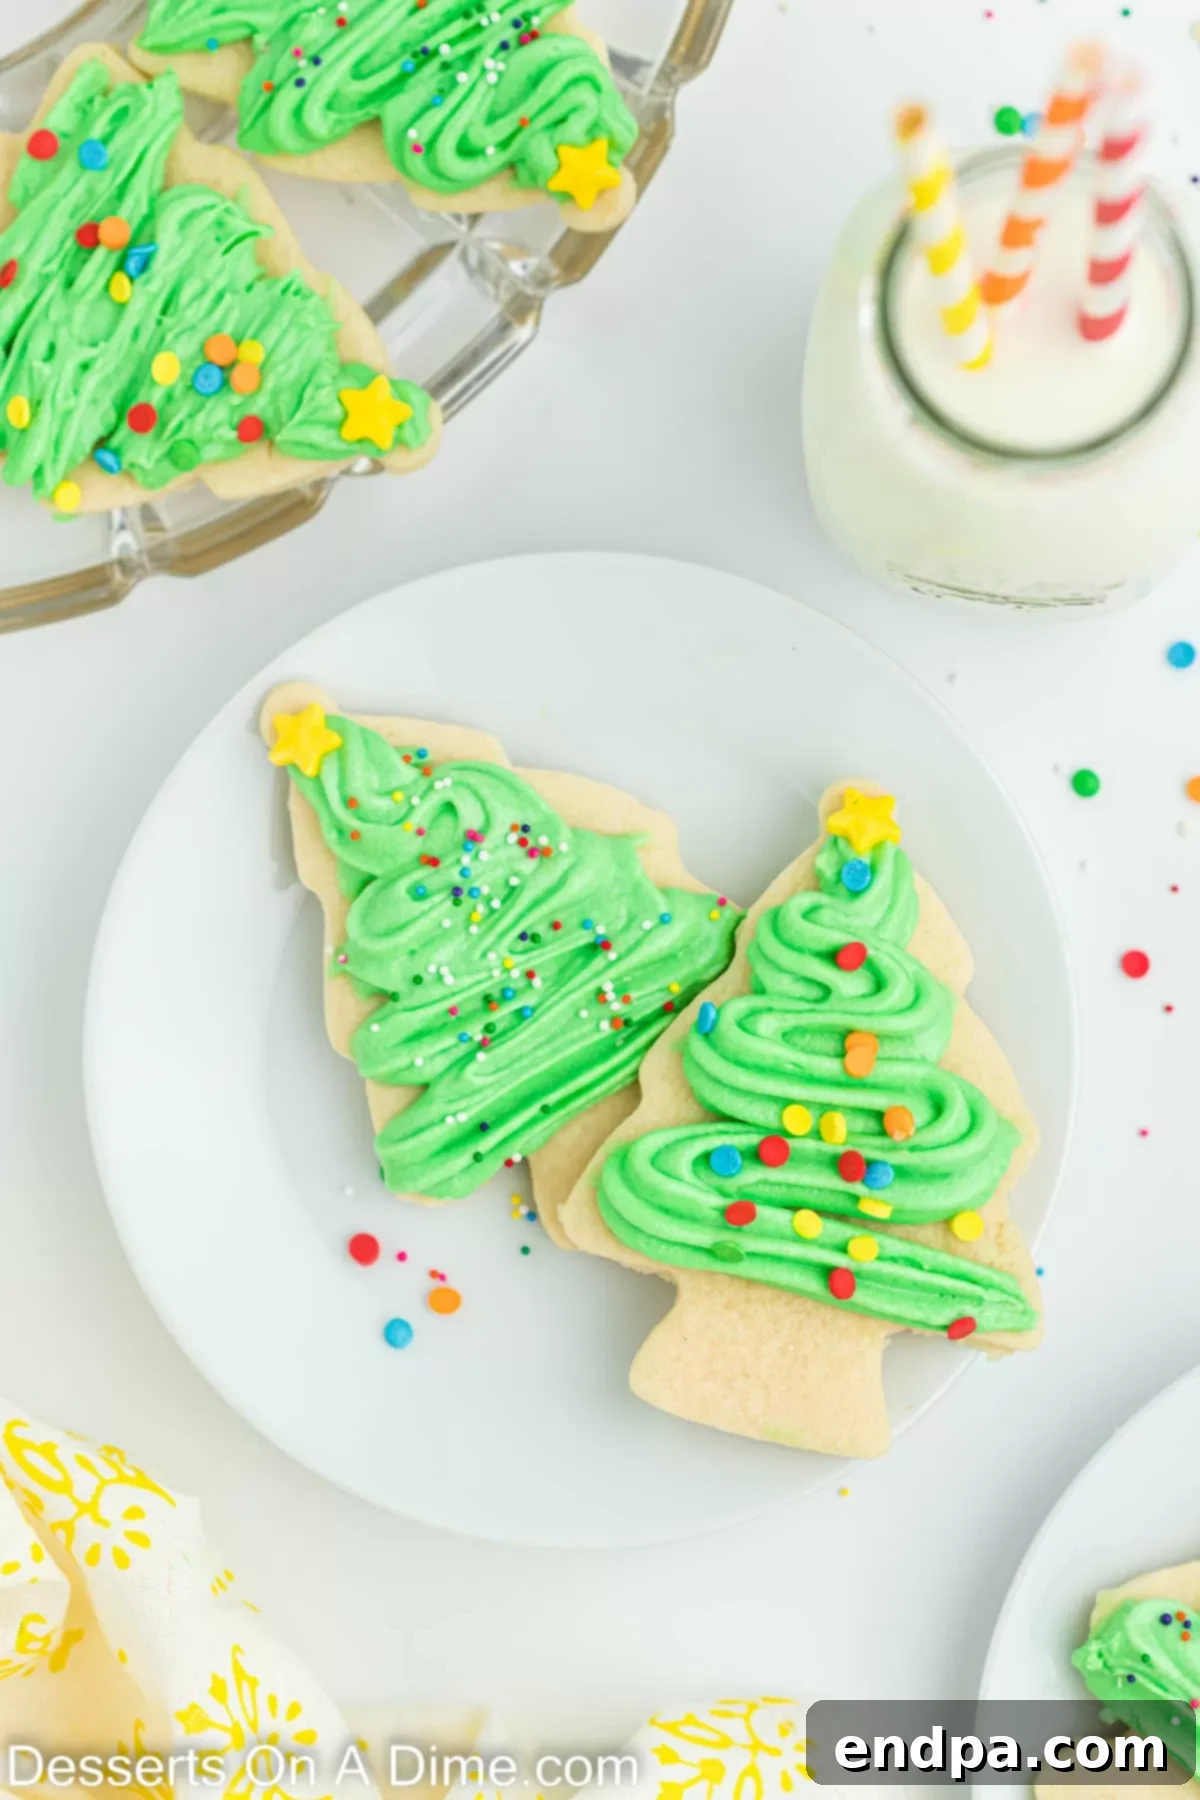
More Festive Treats to Explore
The holiday season is a wonderful time for baking! If you enjoyed making these Christmas Tree Sugar Cookies, you’ll love these other festive and delicious cookie recipes:
- Christmas Pinwheel Cookies
- Christmas Cowboy Cookies
- Christmas Cut Out Sugar Cookie Recipe
- Easy Grinch Cookies Recipe
- Eggnog Cookies
- Christmas Light Cookies
The Ultimate Christmas Tree Sugar Cookie Recipe
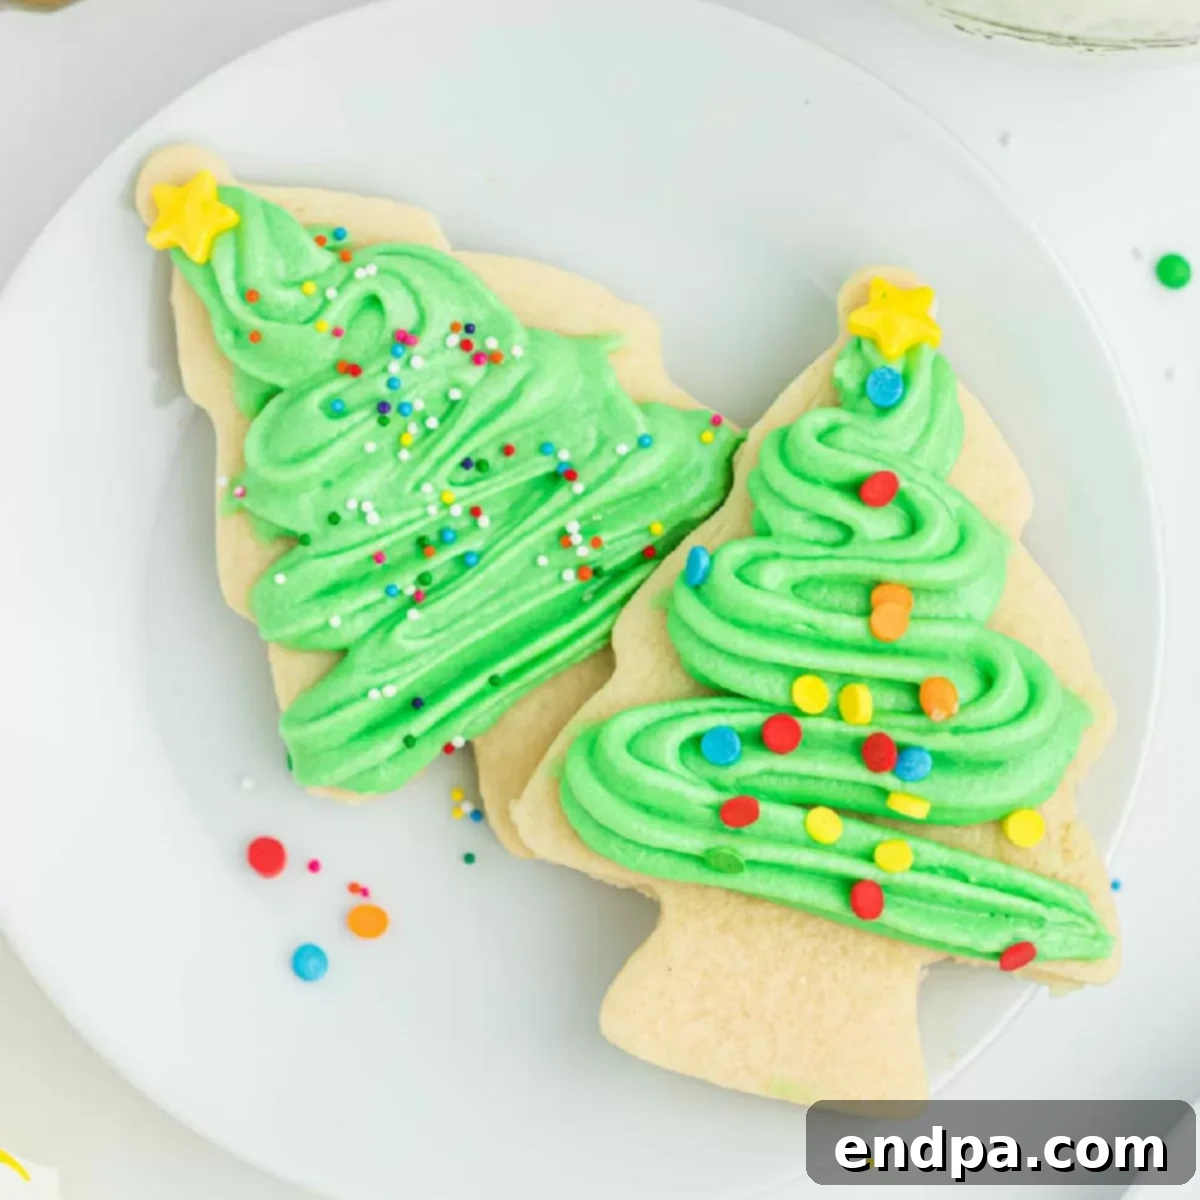
Christmas Tree Sugar Cookies
Christmas Tree Sugar Cookies with tangy cream cheese frosting are a truly delicious and visually appealing holiday treat. This recipe is both festive and delightfully simple to prepare, making it ideal for bakers of all skill levels.
Ingredients
FOR THE COOKIES:
- 2 ½ cups All-Purpose Flour
- 1 tsp Baking Powder
- ½ tsp Salt
- ¾ cup Unsalted Butter, softened
- 1 cup Granulated Sugar
- 2 Large Eggs
- 1 tsp Vanilla Extract
FOR THE CREAM CHEESE FROSTING:
- 8 oz Cream Cheese, softened
- ¼ cup Butter, softened
- 3 cups Powdered Sugar
- ½ tsp Vanilla Extract
- Green Gel Food Coloring
- Sprinkles for decorating
Instructions
FOR THE COOKIES:
- Preheat the oven to 350°F (175°C).
- In a medium mixing bowl, whisk together the flour, baking powder, and salt. Set aside.
- In a separate large bowl, beat together the softened butter and granulated sugar until creamy, light, and fluffy (about 2-3 minutes). Add the eggs one at a time, beating well after each addition until combined. Stir in the vanilla extract.
- Slowly add the dry flour mixture to the butter mixture. Mix on low speed until just combined. Be careful not to overmix the dough.
- Divide the cookie dough into 2-3 balls for easier handling.
- On a lightly floured surface, roll out each dough ball until it is approximately ¼ inch thick. Use a Christmas tree cookie cutter to cut out the shapes. Continue this process until all the dough is used.
- Line a cookie sheet with parchment paper. Using a metal spatula, carefully move the cut cookies to the parchment-lined cookie sheet.
- Bake for 7-8 minutes, or until the cookies are lightly browned around the edges (just a slight change of color).
- Let the cookies cool on the pan for 5 minutes, then carefully transfer them to a wire rack to cool completely (approximately 10 minutes). Ensure they are completely cool before frosting.
FOR THE FROSTING:
- In a large mixing bowl, beat together the softened cream cheese and butter until the mixture is well combined and smooth.
- Add the powdered sugar and vanilla extract. Mix on low speed until all the ingredients are combined. Then, increase the speed and beat until the frosting is smooth and fluffy.
- Add the green gel food coloring, a little at a time, and mix until the frosting reaches your preferred shade of green.
- Place the frosting in a piping bag fitted with either a star tip, ribbon tip, or leaf/petal tip for easy decoration.
- Decorate each of the cooled tree cookies with the green frosting. While the frosting is still wet, top with sprinkles to resemble festive ornaments on your Christmas trees.
- Your delightful Christmas Tree Sugar Cookies are now ready to serve and enjoy!
Recipe Notes
If these cookies are topped with cream cheese frosting, store any leftover cookies in an airtight container in the refrigerator for up to 4 days.
Make sure that all ingredients are at room temperature before preparing both the cookies and the frosting for best results.
Be careful not to overmix the cookie dough as this could cause the cookies to become tough and dense.
Nutrition Facts
Calories 245kcal, Carbohydrates 34g, Protein 2g, Fat 11g, Saturated Fat 7g, Polyunsaturated Fat 1g, Monounsaturated Fat 3g, Trans Fat 0.3g, Cholesterol 44mg, Sodium 118mg, Potassium 35mg, Fiber 0.4g, Sugar 23g, Vitamin A 383IU, Calcium 26mg, Iron 1mg
It’s your turn to create these delightful Christmas Tree Sugar Cookies! We encourage you to embrace the holiday spirit, gather your ingredients, and enjoy the process of bringing these sweet masterpieces to life. Once you’ve baked and decorated your festive trees, please come back and share your experience. We’d love for you to leave a star recipe rating and a comment to let us know how much you loved them!
Pin This Now to Remember It Later
Pin Recipe
