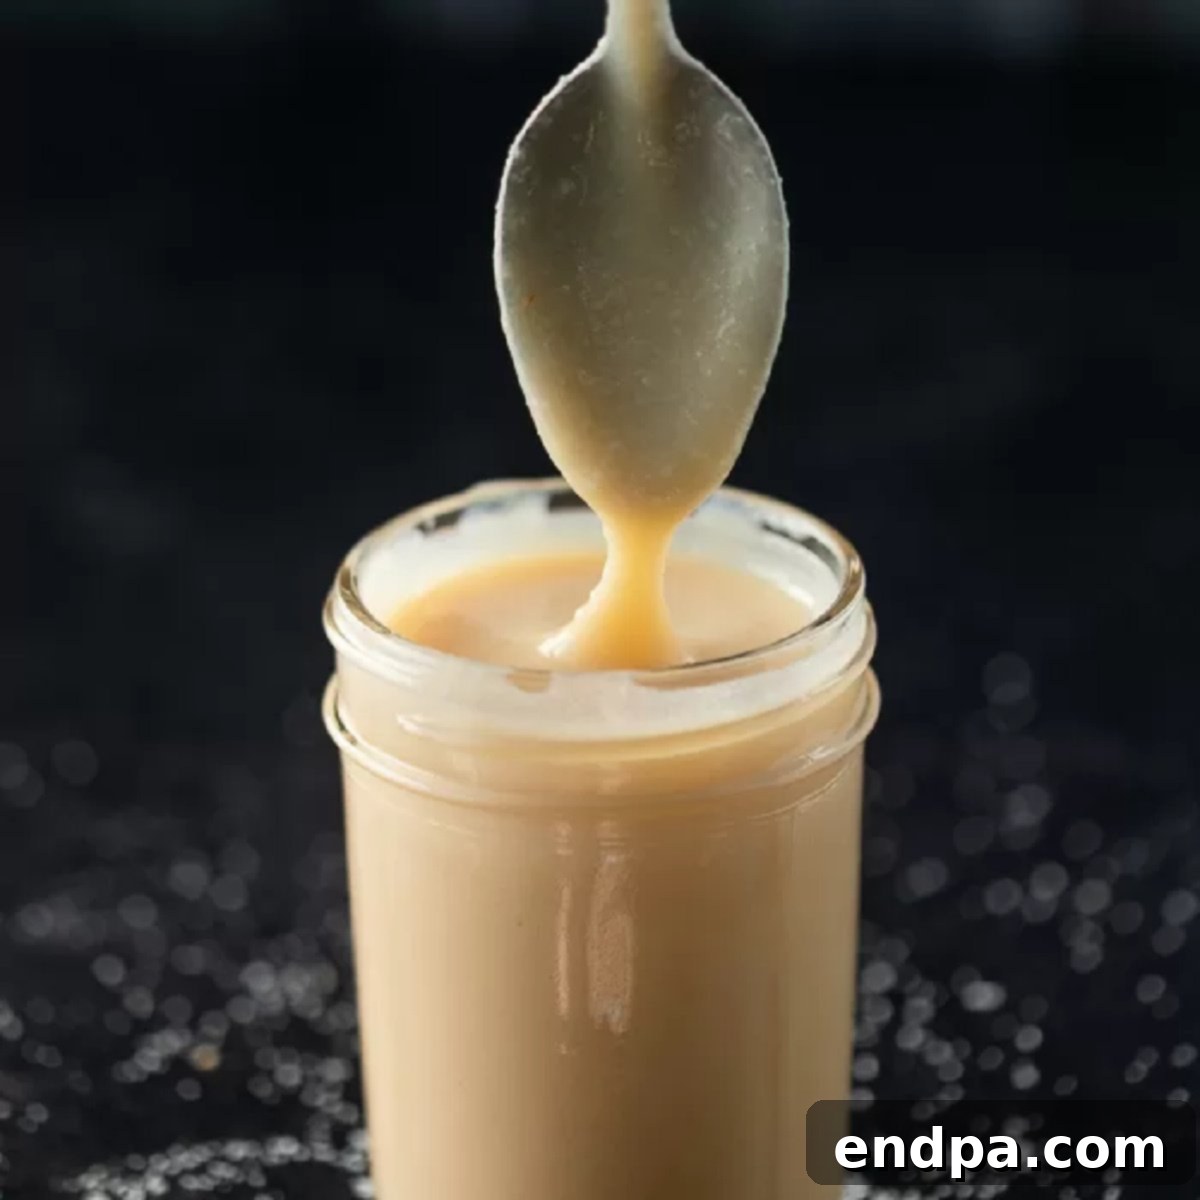
Homemade Sweetened Condensed Milk Recipe is an incredibly simple yet rewarding culinary project you can easily accomplish right in your kitchen. Forget the sometimes overly processed, preservative-laden versions from the grocery store. This effortless, four-ingredient recipe will not only save you a trip but also introduce you to a fresh, creamy, and undeniably delicious alternative that’s perfect for all your baking and dessert needs.
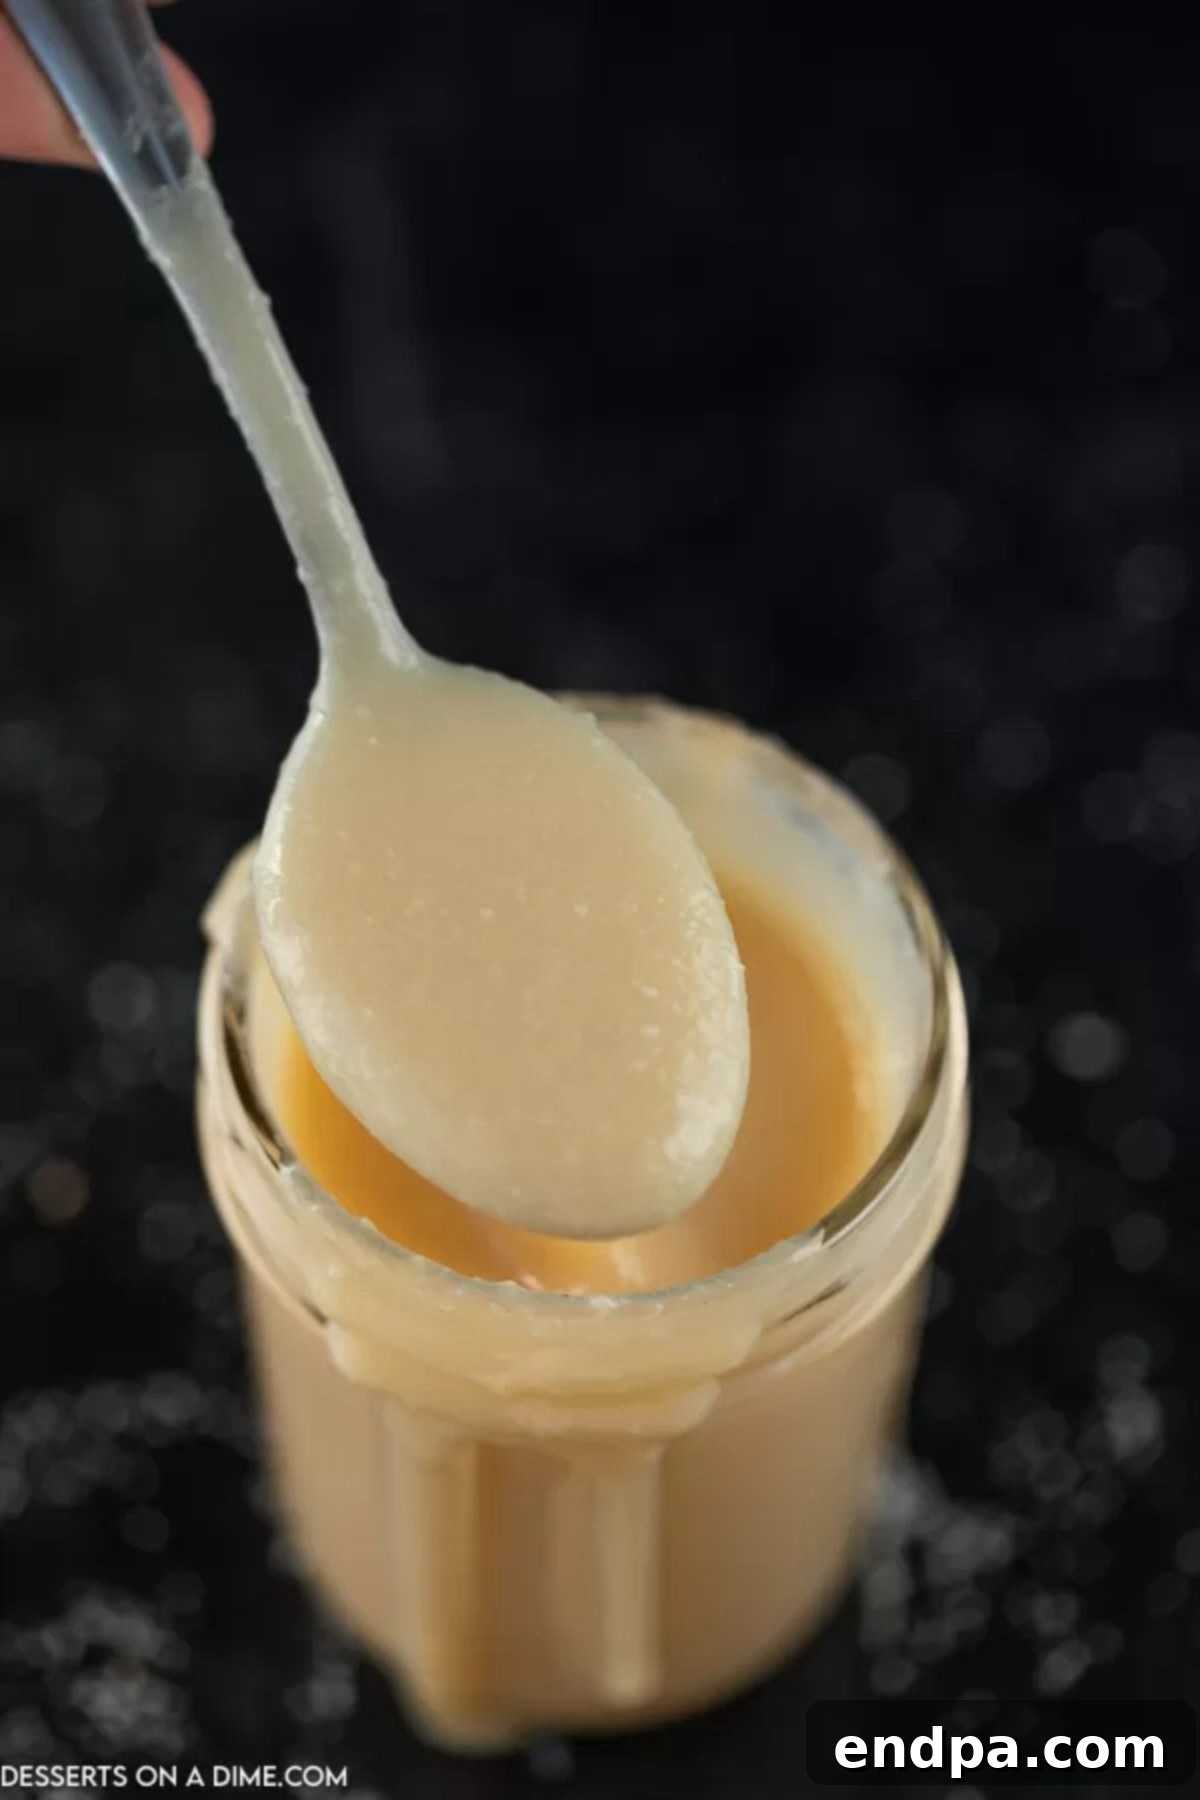
Sweetened condensed milk is a staple in countless dessert recipes, renowned for its rich, decadent texture and sweet, caramelized flavor. From luscious pies to no-churn ice creams, it adds an unparalleled creaminess that truly elevates any treat. Making it yourself means you gain complete control over the quality of ingredients, resulting in a product that tastes infinitely better and is free from unnecessary additives. You’ll be amazed at how quickly these simple ingredients transform into a velvety, golden liquid that rivals, if not surpasses, any store-bought variety.
I recently experimented with making my own at home and was thoroughly impressed by the results. The batch turned out incredibly creamy and bursting with rich flavor. We’ve since used it to create delectable Homemade Peach No-Churn Ice Cream, a tangy Easy Key Lime Pie, and countless other delightful desserts. Once you try this homemade version, you’ll find yourself reaching for it again and again.
Table of Contents
- Why Make Your Own Sweetened Condensed Milk?
- What Exactly is Sweetened Condensed Milk?
- The Simple Ingredients You’ll Need
- Creative Variations and Substitutions
- Step-by-Step Guide: How to Make Homemade Sweetened Condensed Milk
- Storage and Shelf Life Tips
- Frequently Asked Questions (FAQs)
- More Essential Kitchen Hacks
Why Make Your Own Sweetened Condensed Milk?
There are numerous compelling reasons to choose homemade sweetened condensed milk over its store-bought counterpart. First and foremost, making it at home allows you to take full control of the ingredients. Commercial versions often contain stabilizers, thickeners, and preservatives that are simply not needed. With our recipe, you’re using only four wholesome ingredients, ensuring a pure and natural product.
Beyond ingredient control, consider the fresh taste. Homemade always tastes better, and sweetened condensed milk is no exception. The subtle caramel notes and rich creaminess are more pronounced, enhancing the overall flavor of any dessert you incorporate it into. It’s also surprisingly cost-effective. Pantry staples like milk and sugar are usually cheaper than a can of specialized condensed milk, making this a budget-friendly option for avid bakers.
Furthermore, the process is incredibly straightforward. Anyone, regardless of their baking experience, can master this recipe. If you frequently indulge in baking and enjoy creating delicious desserts, having this recipe in your arsenal will prove incredibly convenient. No more last-minute runs to the store when a recipe calls for this essential ingredient – you’ll already have the knowledge and ingredients to whip it up in minutes.
What Exactly is Sweetened Condensed Milk?
Sweetened condensed milk is a delightful dairy product made by heating cow’s milk to remove a significant portion of its water content, resulting in a thick, syrupy consistency. The key differentiator, as its name suggests, is the addition of sugar during the reduction process. This sugar not only sweetens the milk but also aids in its preservation and contributes to its characteristic caramelized flavor profile when heated.
Historically, condensed milk was developed in the mid-19th century as a way to preserve milk without refrigeration, making it a crucial food item during wars and for long voyages. While modern refrigeration has made preservation less of a concern, its unique texture and taste have cemented its place as a beloved ingredient in countless sweet recipes across various cuisines. The heating process slowly caramelizes the sugars, giving it that distinct golden hue and rich, complex sweetness that store-bought versions often struggle to replicate without additives. Understanding this process helps appreciate the simplicity and magic of making it from scratch.
The Simple Ingredients You’ll Need
Our homemade sweetened condensed milk recipe calls for just four fundamental ingredients, most of which you likely already have in your kitchen. Quality matters here, so opt for the best you can find to ensure the most decadent results.
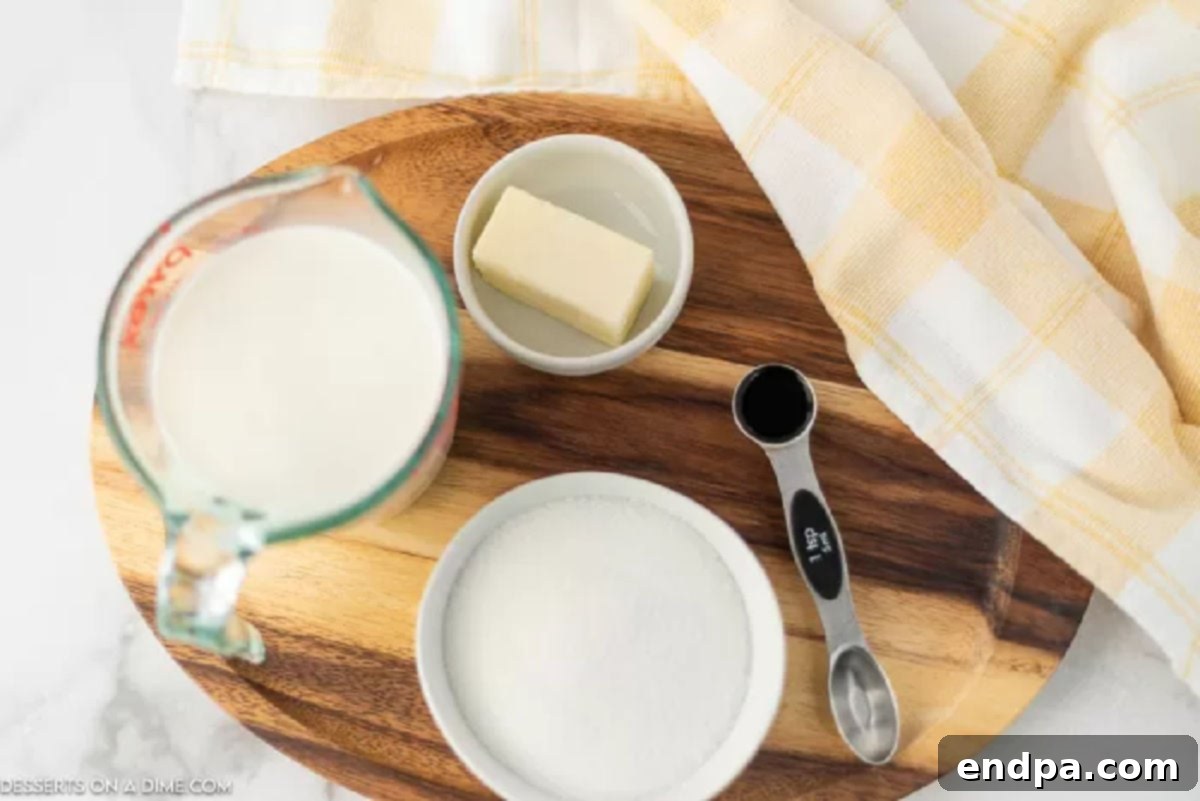
- Whole Milk: This is the cornerstone of our recipe. Using whole milk is paramount because its higher fat content contributes significantly to the creamy texture and rich flavor that defines sweetened condensed milk. Skim or low-fat milk simply won’t yield the same luxurious consistency.
- Granulated Sugar: Standard white granulated sugar is ideal for this recipe. It provides the necessary sweetness and, crucially, caramelizes beautifully during the cooking process, lending that signature golden color and depth of flavor to the milk.
- Butter: We recommend using real butter, preferably salted, as it adds an incredible richness and a silky smoothness to the final product. The small amount of salt in salted butter also helps to balance the sweetness, enhancing the overall taste. If you only have unsalted, a tiny pinch of salt can be added.
- Vanilla Extract: Pure vanilla extract is highly recommended for its ability to infuse a warm, aromatic complexity into the sweetened condensed milk. It elevates the flavor profile, making it even more appealing in your desserts.
You’ll find the complete ingredient list with precise measurements further down in the dedicated recipe section.
Creative Variations and Substitutions
One of the greatest advantages of making sweetened condensed milk at home is the flexibility to customize it to your dietary needs or flavor preferences. Here are some popular variations:
- Dairy-Free Milk Options: If you’re looking to create a dairy-free or vegan version, you can easily substitute whole milk with plant-based alternatives. Full-fat canned coconut milk is an excellent choice as its richness closely mimics dairy milk, resulting in a wonderfully creamy condensed milk. Almond milk and cashew milk can also be used, though you might find the consistency slightly thinner. Ensure you choose unsweetened versions of plant-based milks to control the sugar content.
- Heavy Cream for Extra Richness: For an even more indulgent and thick sweetened condensed milk, consider substituting a portion of the whole milk with heavy whipping cream. This will yield a product with an exceptionally rich mouthfeel and a slightly higher fat content, perfect for ultra-luxurious desserts.
- Alternative Sweeteners: While white granulated sugar is standard, you can experiment with other sweeteners. Brown sugar will impart a lovely molasses flavor and a deeper caramel hue. Natural sweeteners like maple syrup or honey can also be used, but be aware that they will significantly alter the final flavor profile and may require adjustments to the cooking time due to their different sugar compositions. Some artificial sweeteners can also be used, but their chemical structure might prevent proper caramelization and thickening, so proceed with caution.
- Butter Choices and Omission: We typically use salted butter for its richness and ability to subtly enhance the flavors. However, if you prefer, unsalted butter works just as well. For those wanting to reduce fat or make it entirely oil-free (though highly not recommended for texture), you can technically omit the butter. Just note that it adds a wonderful depth and smooth texture that might be missed if left out. Consider substituting with a high-quality vegan butter if making a dairy-free version.
- Flavor Infusions: Beyond vanilla, consider adding other flavor extracts or infusions. A hint of almond extract, a touch of cardamom, or even a subtle orange zest can create unique and exciting variations for specific dessert applications.
Step-by-Step Guide: How to Make Homemade Sweetened Condensed Milk
Crafting your own sweetened condensed milk is a surprisingly simple process that requires just a little patience and attention. Follow these steps for perfect, creamy results every time:
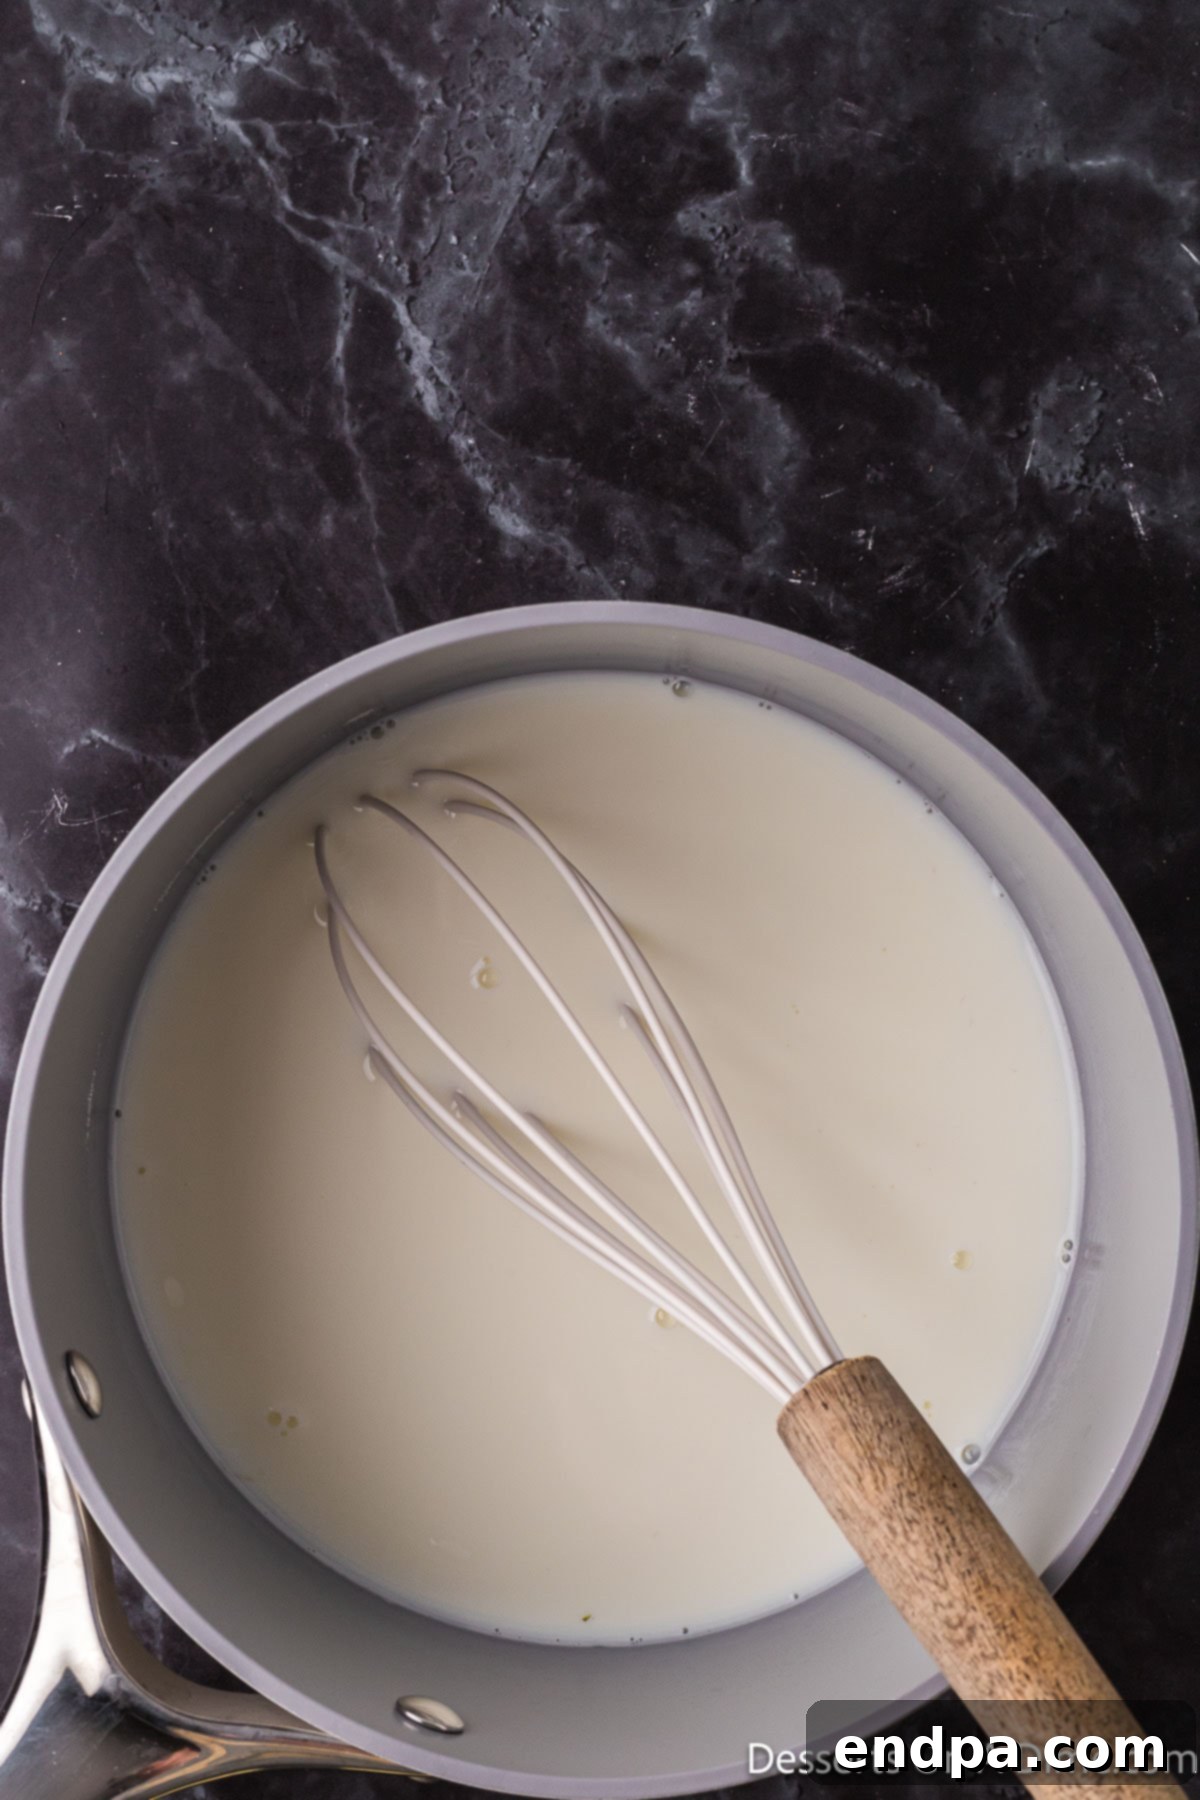
Step 1: Combine Milk and Sugar. Begin by pouring the whole milk and granulated sugar into a medium-sized, heavy-bottomed saucepan. A heavy bottom prevents scorching. Place the saucepan over medium heat. Stir the mixture constantly to dissolve the sugar completely. This is crucial to prevent the sugar from burning at the bottom of the pan. Bring the mixture to a gentle, low simmer, where you see small bubbles forming around the edges, but not a rolling boil.
Step 2: Reduce and Thicken. Once simmering, reduce the heat to low-medium and continue to simmer uncovered. This allows the water to evaporate. Stir frequently, ideally every few minutes, to prevent the milk from sticking to the bottom and forming a skin on top. The goal is to reduce the mixture by about half its original volume. This process typically takes 20-30 minutes, depending on your stove and saucepan. You’ll notice it gradually thickening and turning a pale golden color as it cooks. It should coat the back of a spoon.
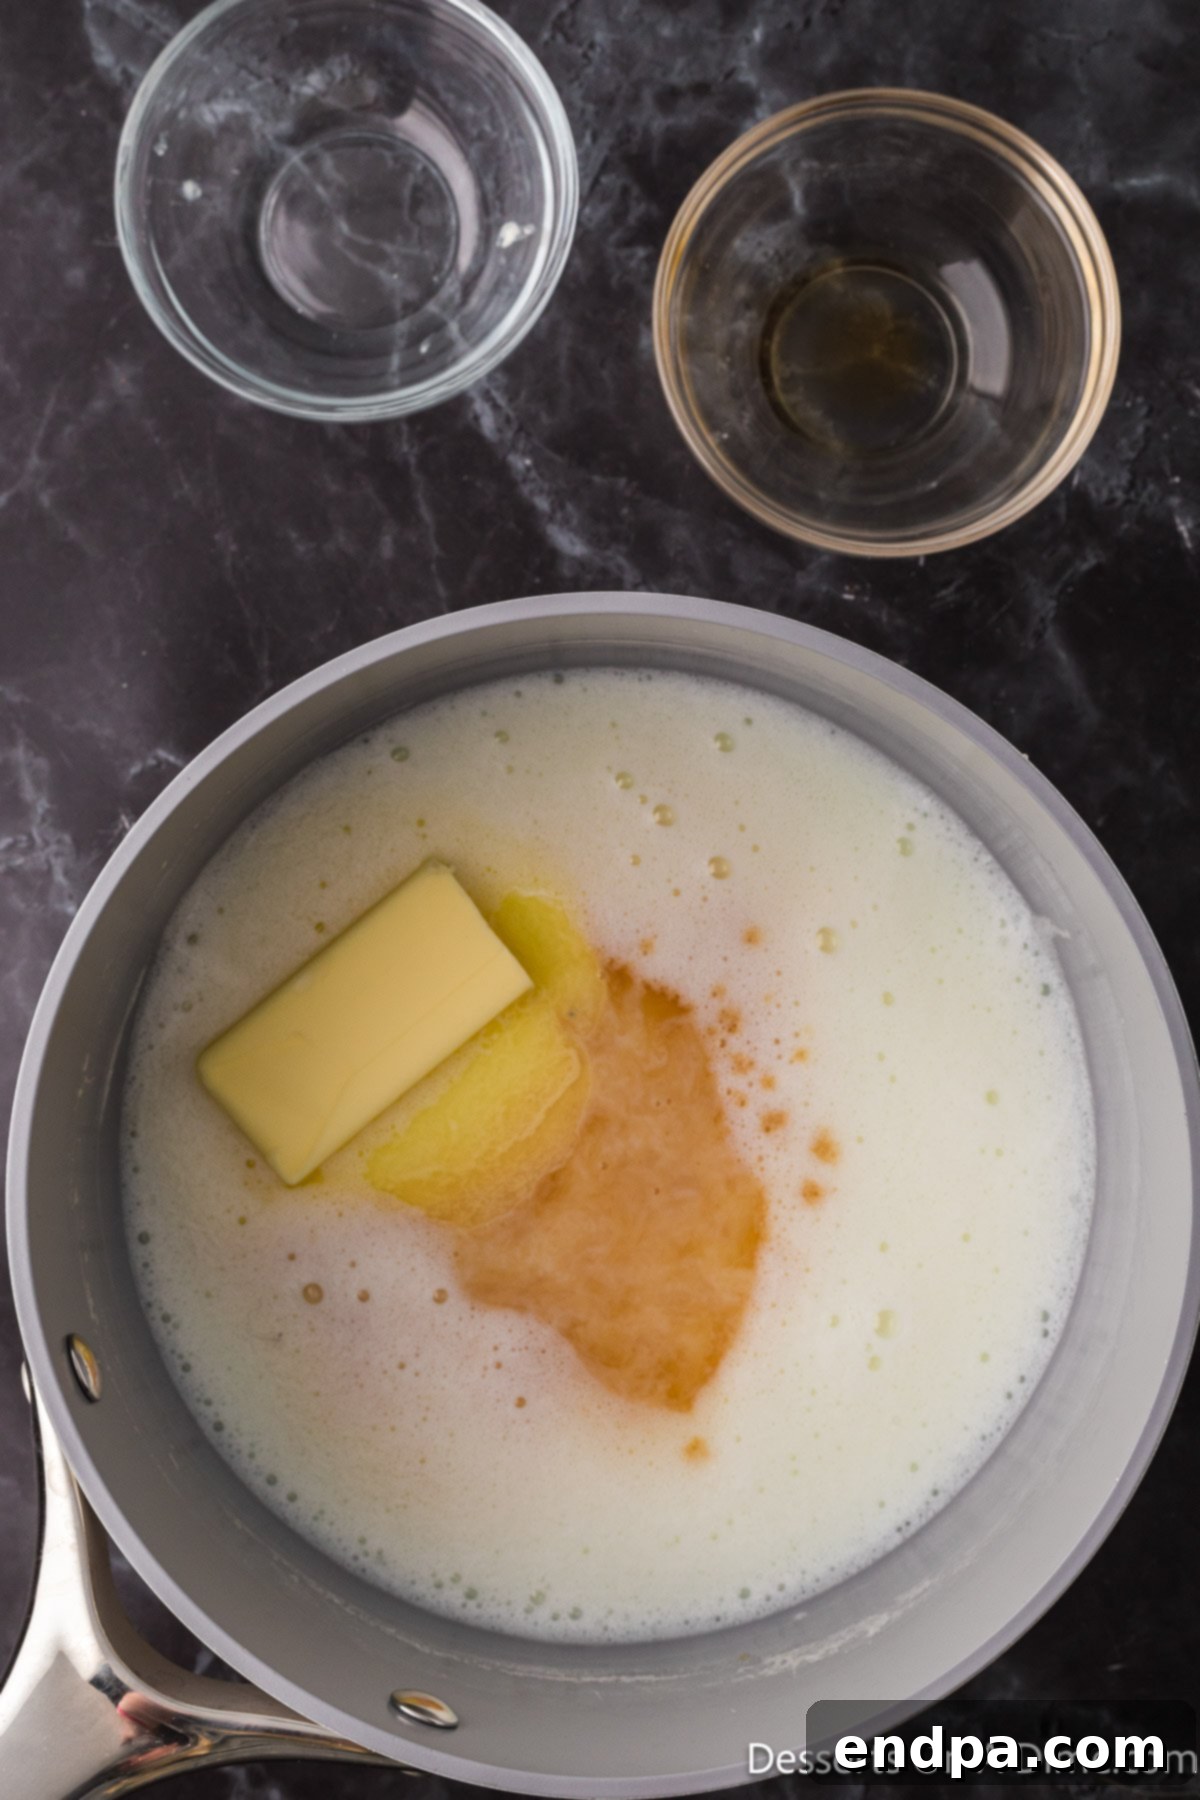
Step 3: Add Flavorings. As soon as the milk has reduced and thickened to your desired consistency (remember it will thicken more as it cools), remove the saucepan from the stovetop. Immediately stir in the butter and vanilla extract. The residual heat from the milk will melt the butter and fully incorporate the vanilla, infusing the condensed milk with rich flavor.
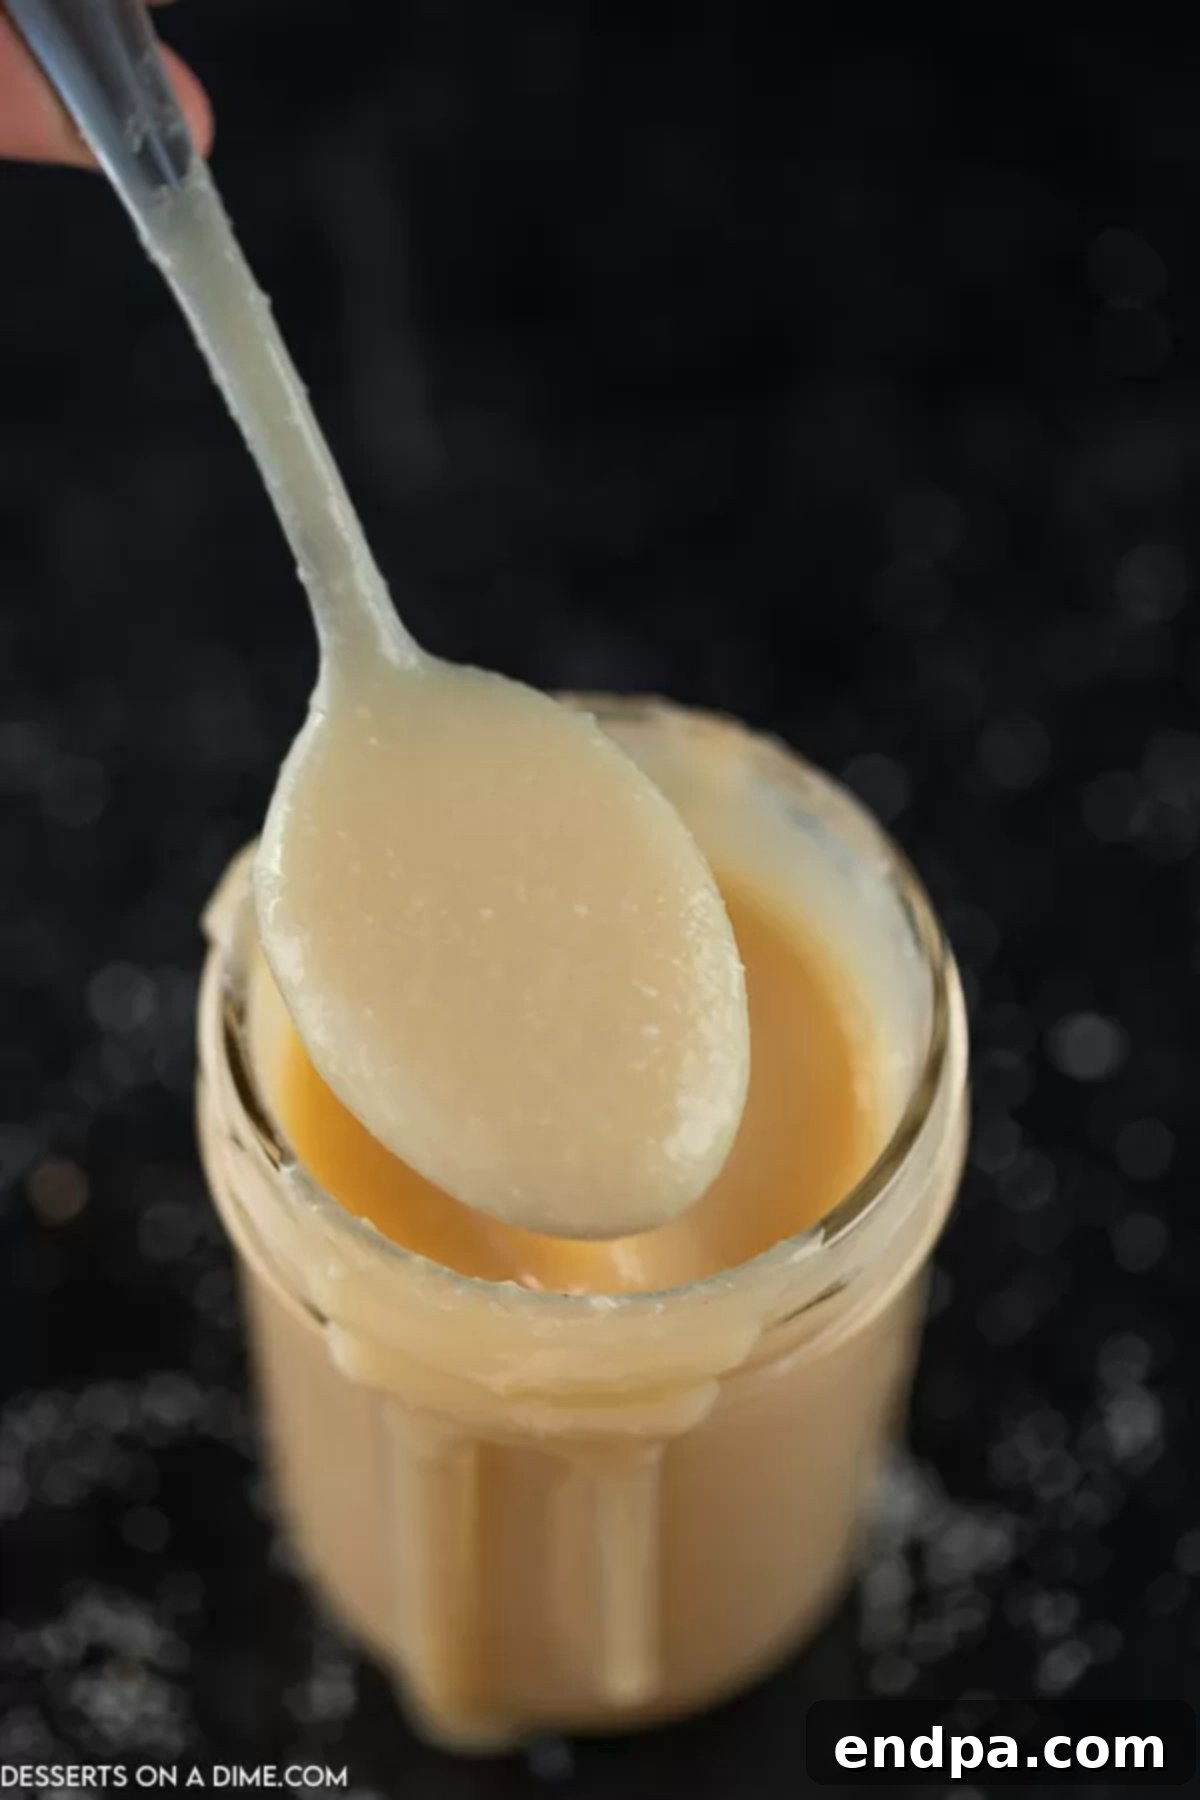
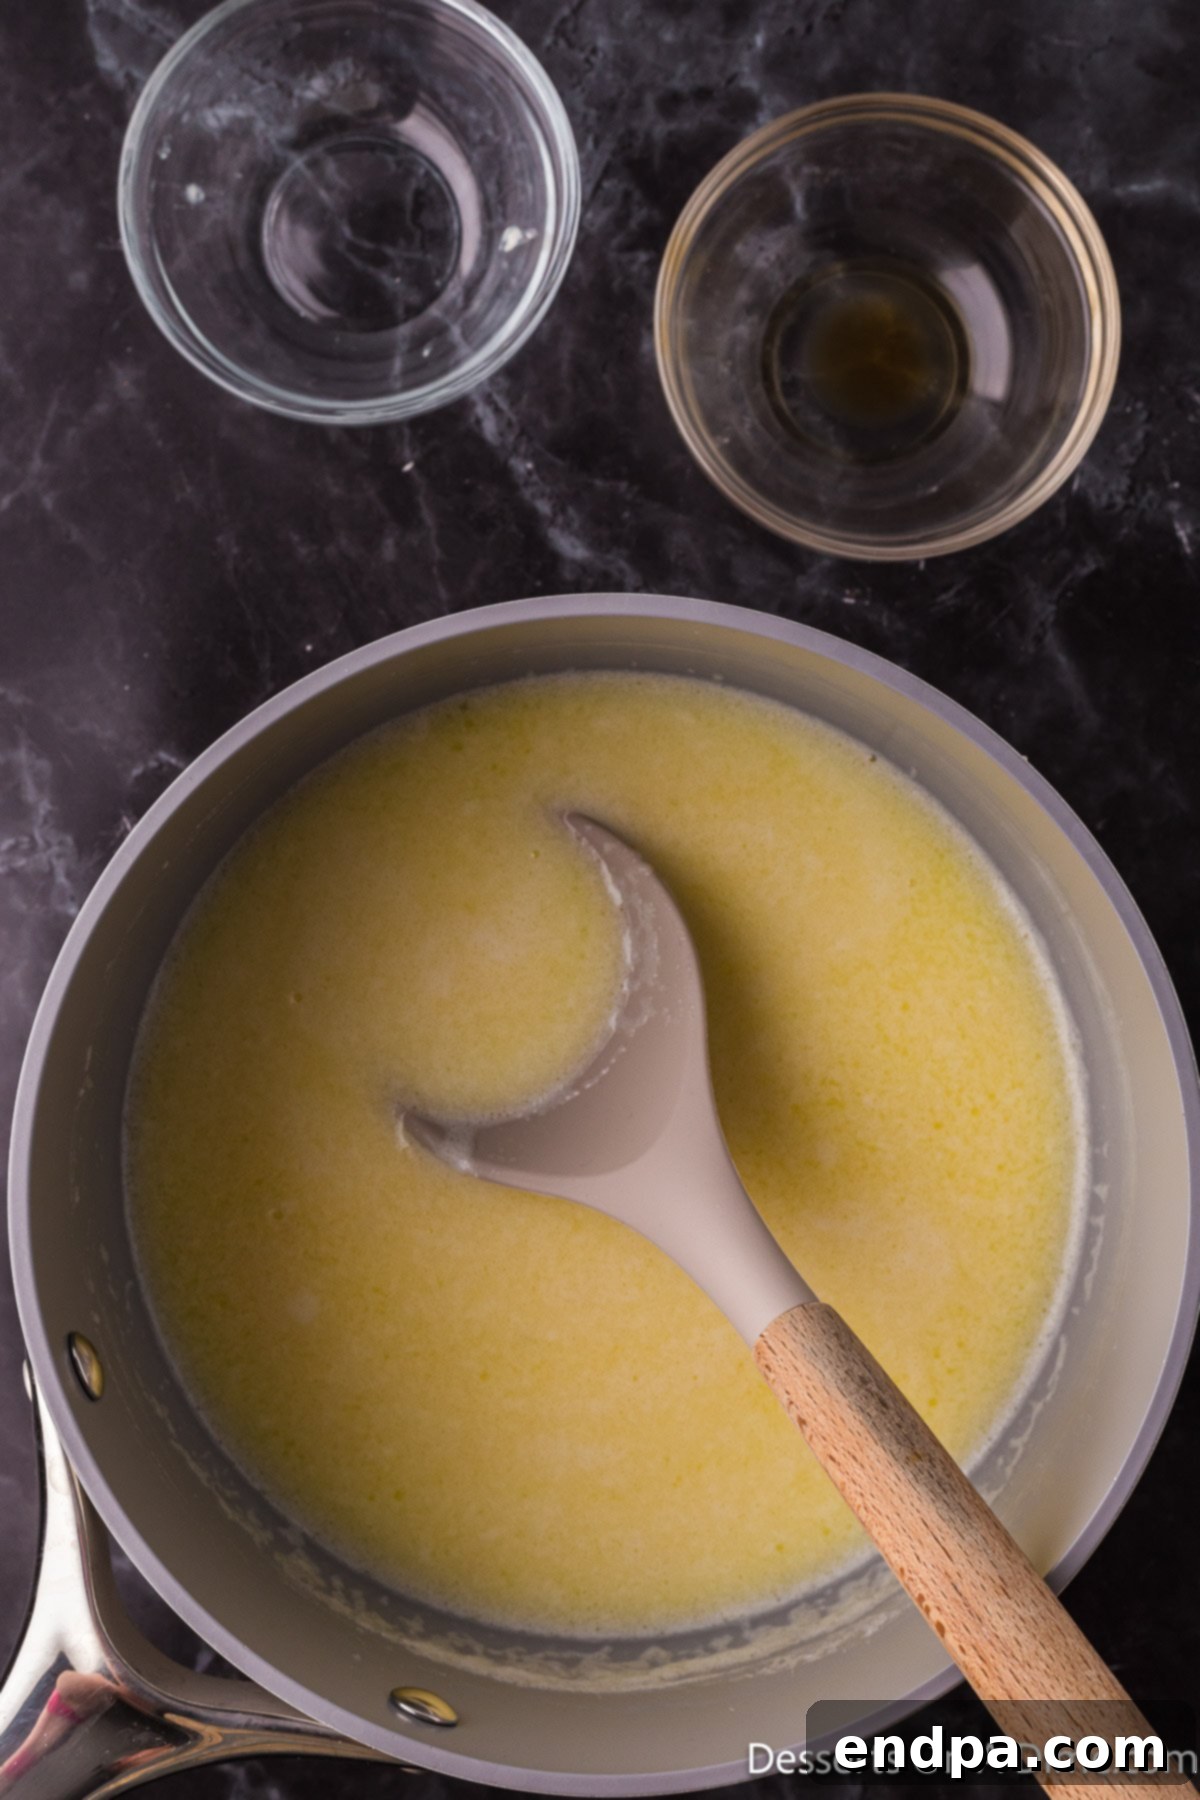
Step 4: Cool and Store. Mix everything together thoroughly until smooth and homogenous. Then, allow the homemade sweetened condensed milk to cool completely to room temperature. As it cools, it will continue to thicken significantly. Once cooled, pour it into an airtight jar or container. It’s now ready to be enjoyed in your favorite recipes or stored for later use.
Pro Tip: Patience is key! Don’t rush the simmering process. Constant, gentle stirring will yield a smoother, more uniform consistency and prevent scorching. The milk will look thinner than you expect when hot, but trust that it will thicken considerably once cooled.
Storage and Shelf Life Tips
Proper storage is essential to maximize the freshness and shelf life of your homemade sweetened condensed milk. Unlike commercially canned versions, which are shelf-stable due to extensive processing, your homemade batch will require refrigeration.
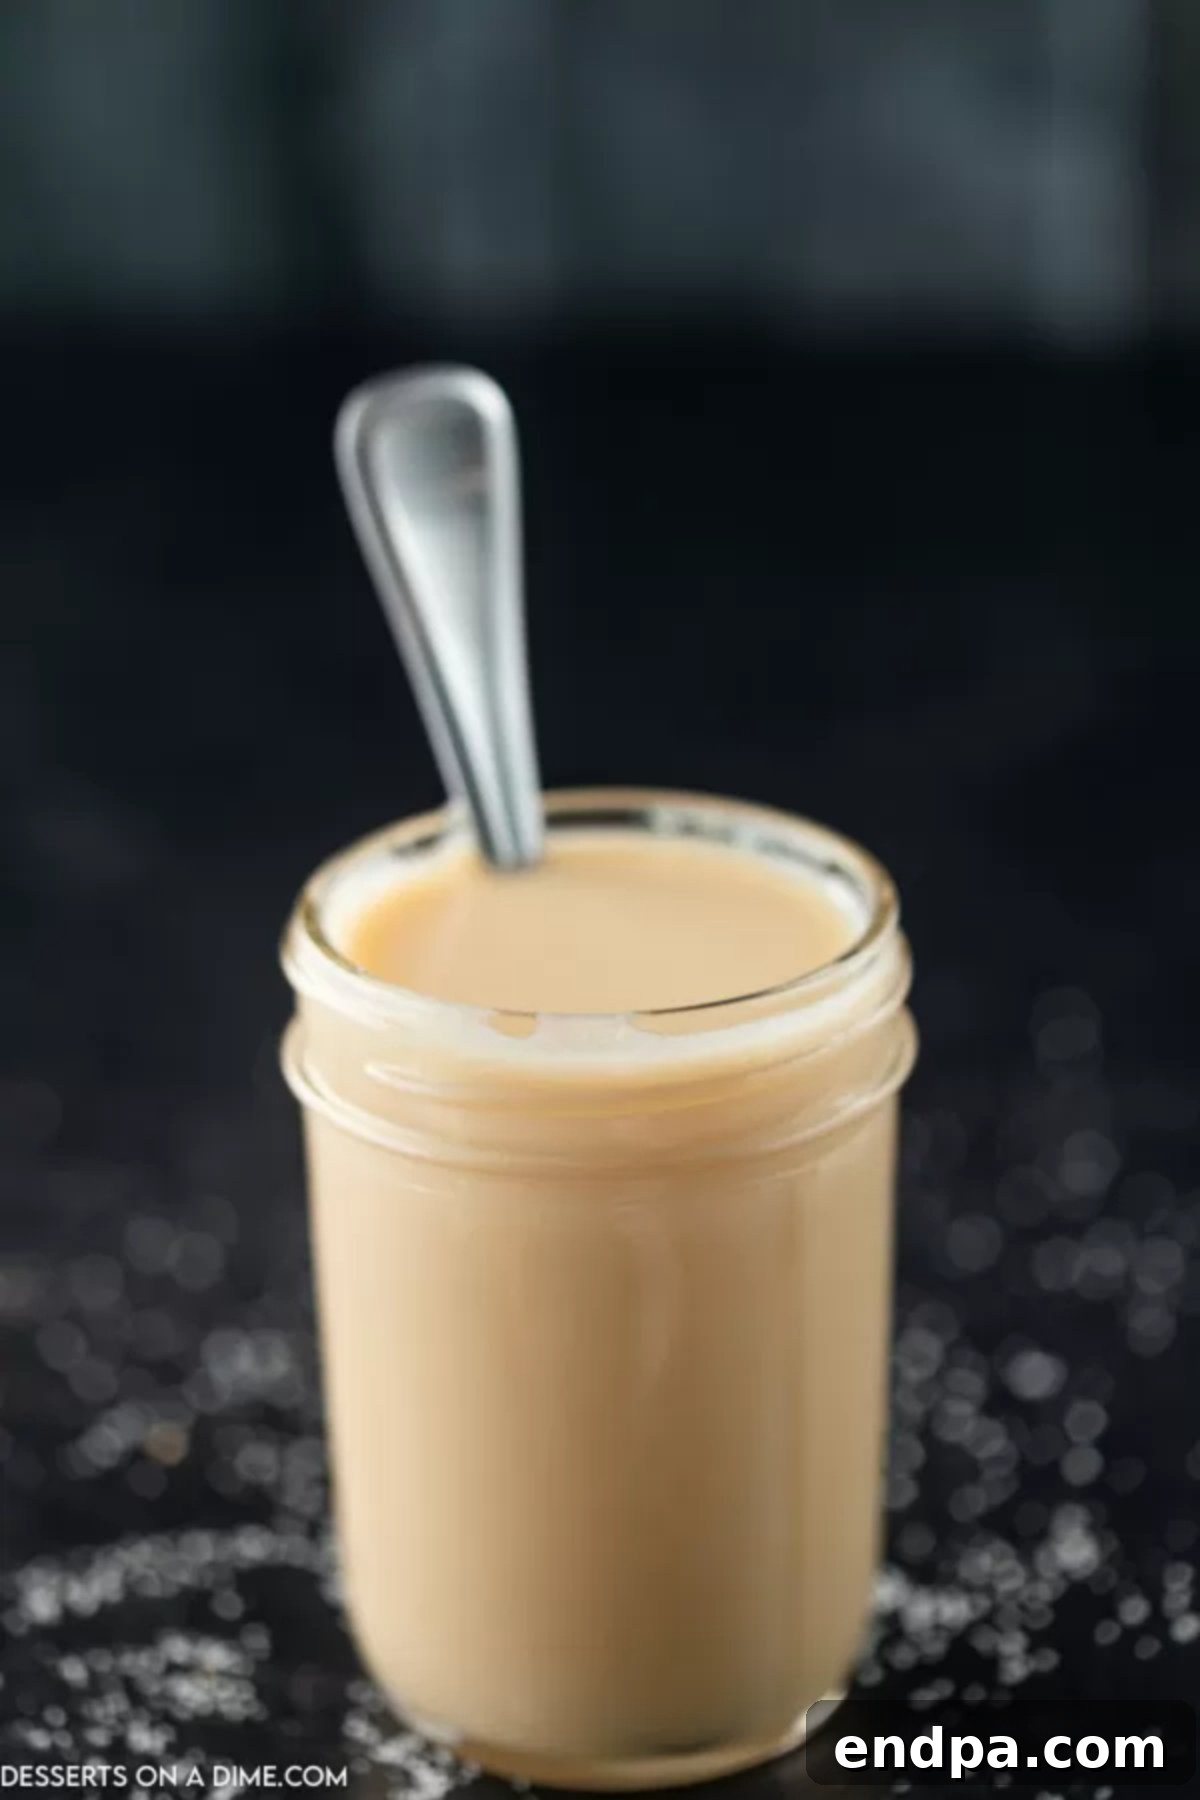
You should store your freshly made sweetened condensed milk in the refrigerator in an airtight container. A mason jar is an excellent choice for this purpose. They are not only practical and easy to clean but also inexpensive and readily available in most homes. Stored correctly, your homemade sweetened condensed milk will maintain its quality and freshness for up to one week in the fridge.
For longer storage, this homemade version freezes beautifully. Transfer it to a freezer-safe container, leaving a little headspace for expansion. It can be frozen for up to 3 months. When you’re ready to use it, simply thaw it in the refrigerator overnight. You might need to give it a good stir or whisk to bring back its original smooth consistency after thawing.
Frequently Asked Questions (FAQs)
What can I use instead of Sweetened Condensed Milk if I don’t have any?
If you find yourself without sweetened condensed milk, evaporated milk can be used as a one-to-one substitute in most recipes. However, keep in mind that the consistency will be similar, but evaporated milk is unsweetened. If your recipe relies on the sweetness of condensed milk, you’ll need to add sugar to taste, typically about 1 cup of sugar per 12-ounce can of evaporated milk, dissolved before use. While it provides the liquid and milk solids, the flavor profile won’t have the same rich, caramelized depth as sweetened condensed milk.
Can homemade sweetened condensed milk be made dairy-free?
Absolutely! This is one of the fantastic benefits of making it yourself. To create a dairy-free version, simply swap out the whole milk for a plant-based alternative. Full-fat canned coconut milk is generally the best option for achieving a creamy consistency similar to dairy milk. Almond milk or cashew milk can also work, but they might yield a slightly thinner product. Ensure you use unsweetened plant-based milk to control the overall sweetness. This makes homemade sweetened condensed milk an excellent choice for those following vegan or dairy-free diets.
Is homemade sweetened condensed milk a good substitute for store-bought?
Yes, without a doubt! Our homemade sweetened condensed milk recipe is a perfect substitute for any recipe that calls for the store-bought version. This recipe yields approximately 1 ¼ cups, which is comparable to a standard 14-ounce can. Not only does it perform identically in recipes, but its superior flavor and natural ingredients often lead to even better-tasting results in your favorite desserts.
What is the difference between Evaporated Milk and Sweetened Condensed Milk?
While both evaporated milk and sweetened condensed milk are concentrated milk products created by reducing the water content of fresh milk, their key difference lies in the sugar content. Evaporated milk is simply milk that has had about 60% of its water removed, resulting in a thicker, slightly caramelized unsweetened product. Sweetened condensed milk undergoes the same water reduction process, but a significant amount of sugar (typically 40-45% by weight) is added before or during cooking. This sugar not only makes it sweet but also contributes to its thicker, syrupy consistency and distinct caramelized flavor, making it unsuitable for savory dishes where evaporated milk might be used.
How long will homemade sweetened condensed milk last?
When stored properly in an airtight container in the refrigerator, your homemade sweetened condensed milk will last for about one week. For extended storage, it can be safely frozen in a freezer-safe container for up to 3 months. Always ensure containers are airtight to prevent absorption of other food odors and to maintain freshness. Label with the date to keep track of its shelf life.
How do I troubleshoot common issues like grainy texture or not thickening?
If your sweetened condensed milk turns out grainy, it’s often due to the sugar crystallizing. Ensure you stir constantly at the beginning to fully dissolve the sugar and avoid high heat, which can cause rapid evaporation and crystallization. If it’s not thickening, it likely hasn’t simmered long enough. The key is to reduce the volume by half, allowing sufficient water to evaporate. Patience and maintaining a consistent low simmer are crucial for achieving the perfect thick, smooth consistency.
What are the best uses for homemade sweetened condensed milk?
The culinary applications for homemade sweetened condensed milk are vast and delicious! It’s a key ingredient in many no-bake desserts like fudge, cheesecakes, and ice creams. It’s also perfect for adding richness to coffees and teas, drizzling over fresh fruit or pancakes, and creating luscious caramel sauces. Think about classic treats like Key Lime Pie, Tres Leches Cake, Magic Cookie Bars, and Vietnamese iced coffee – all benefit immensely from this sweet, creamy concoction.
Recipes Using Sweetened Condensed Milk
Easy Fudge
3 Ingredient Oreo Fudge Recipe
Easy Pie
Kool Aid Pie
Cakes
Tres Leches Cake
Cakes
Better Than Sex Cake Recipe
More Essential Kitchen Hacks
Once you’ve mastered homemade sweetened condensed milk, you might be interested in other kitchen shortcuts that make baking even more enjoyable and accessible:
- Homemade Butterscotch Sauce Recipe
- Easy Homemade Cake Mix Recipe
- Homemade Hot Fudge Sauce Recipe
There’s genuinely no need to purchase expensive, store-bought sweetened condensed milk from the grocery store when you can easily create a fresh, superior batch at home with just a few simple ingredients. Give this recipe a try today, and taste the incredible difference that homemade makes. We encourage you to come back and share your experience!
Homemade Sweetened Condensed Milk Recipe
Homemade Sweetened Condensed Milk is incredibly simple to prepare at home, offering a fresh and delicious alternative to store-bought versions. This easy 4-ingredient recipe yields a creamy, rich product perfect for all your favorite desserts.
5 mins
20 mins
25 mins
10 (approximately 2 Tbsps each)
American
Dessert
128
Carrie Barnard
Ingredients
- 2 cup whole milk
- 3/4 cup granulated sugar
- 4 Tbsp butter
- 1 tsp vanilla extract
Instructions
- Stir together the milk and sugar in a large, heavy-bottomed saucepan. Heat over medium heat and bring the mixture to a low simmer, stirring constantly until the sugar is fully dissolved.
- Simmer uncovered for 20-30 minutes, or until the mixture is reduced by half, whisking frequently to prevent the milk from burning or sticking to the bottom. The milk should visibly thicken and coat the back of a spoon.
- Once the milk has reached the desired reduced consistency, remove the pan from the heat. Stir in the butter and vanilla extract until fully incorporated and smooth.
- Allow the mixture to cool completely to room temperature. It will thicken further as it cools. Once cooled, transfer to an airtight jar and use immediately or store in the refrigerator.
Recipe Notes
This recipe makes approximately 1 ¼ cup of homemade sweetened condensed milk, equivalent to a standard 14-ounce can. For best results, use whole milk and ensure frequent stirring during the simmering process to prevent scorching and ensure a smooth texture.
Nutrition Facts (Per Serving)
Calories: 128kcal, Carbohydrates: 17g, Protein: 2g, Fat: 6g, Saturated Fat: 4g, Trans Fat: 1g, Cholesterol: 17mg, Sodium: 61mg, Potassium: 65mg, Sugar: 17g, Vitamin A: 217IU, Calcium: 55mg, Iron: 1mg
Pin This Now to Remember It Later
Pin Recipe
