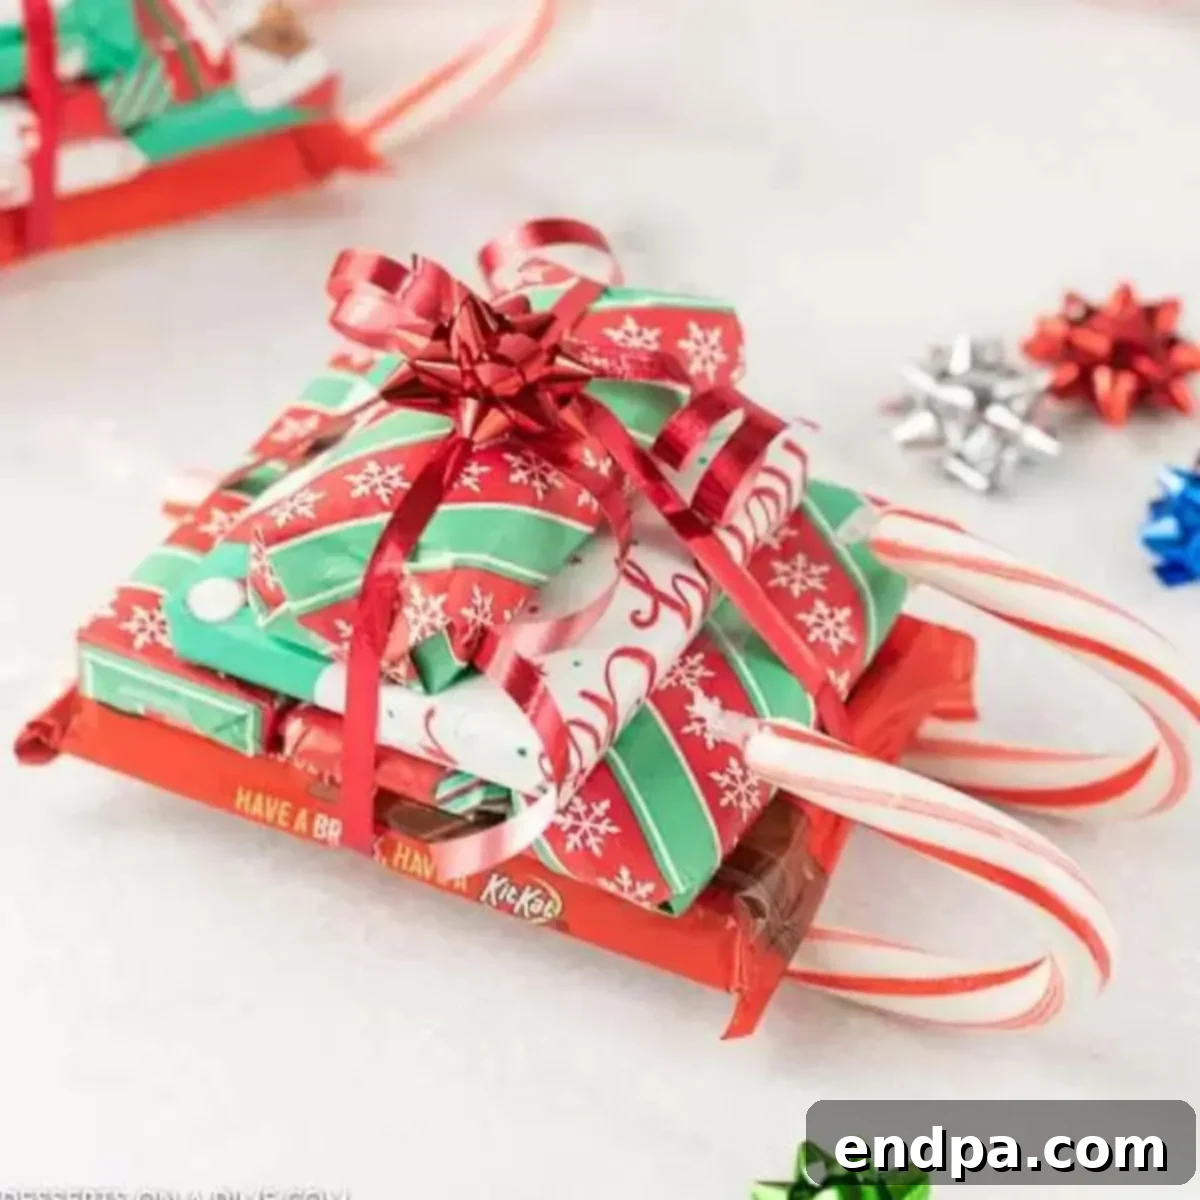
DIY Candy Cane Sleighs: The Ultimate Festive Holiday Craft and Edible Gift
The holiday season brings a unique opportunity to express creativity and share joy with loved ones. Among the myriad of festive activities, crafting homemade gifts holds a special charm. This year, delight your friends, family, neighbors, and co-workers with charming and delicious candy cane sleighs. These festive creations are not only incredibly fun to make but also serve as the perfect, personalized edible gift, sure to bring smiles to everyone’s faces.
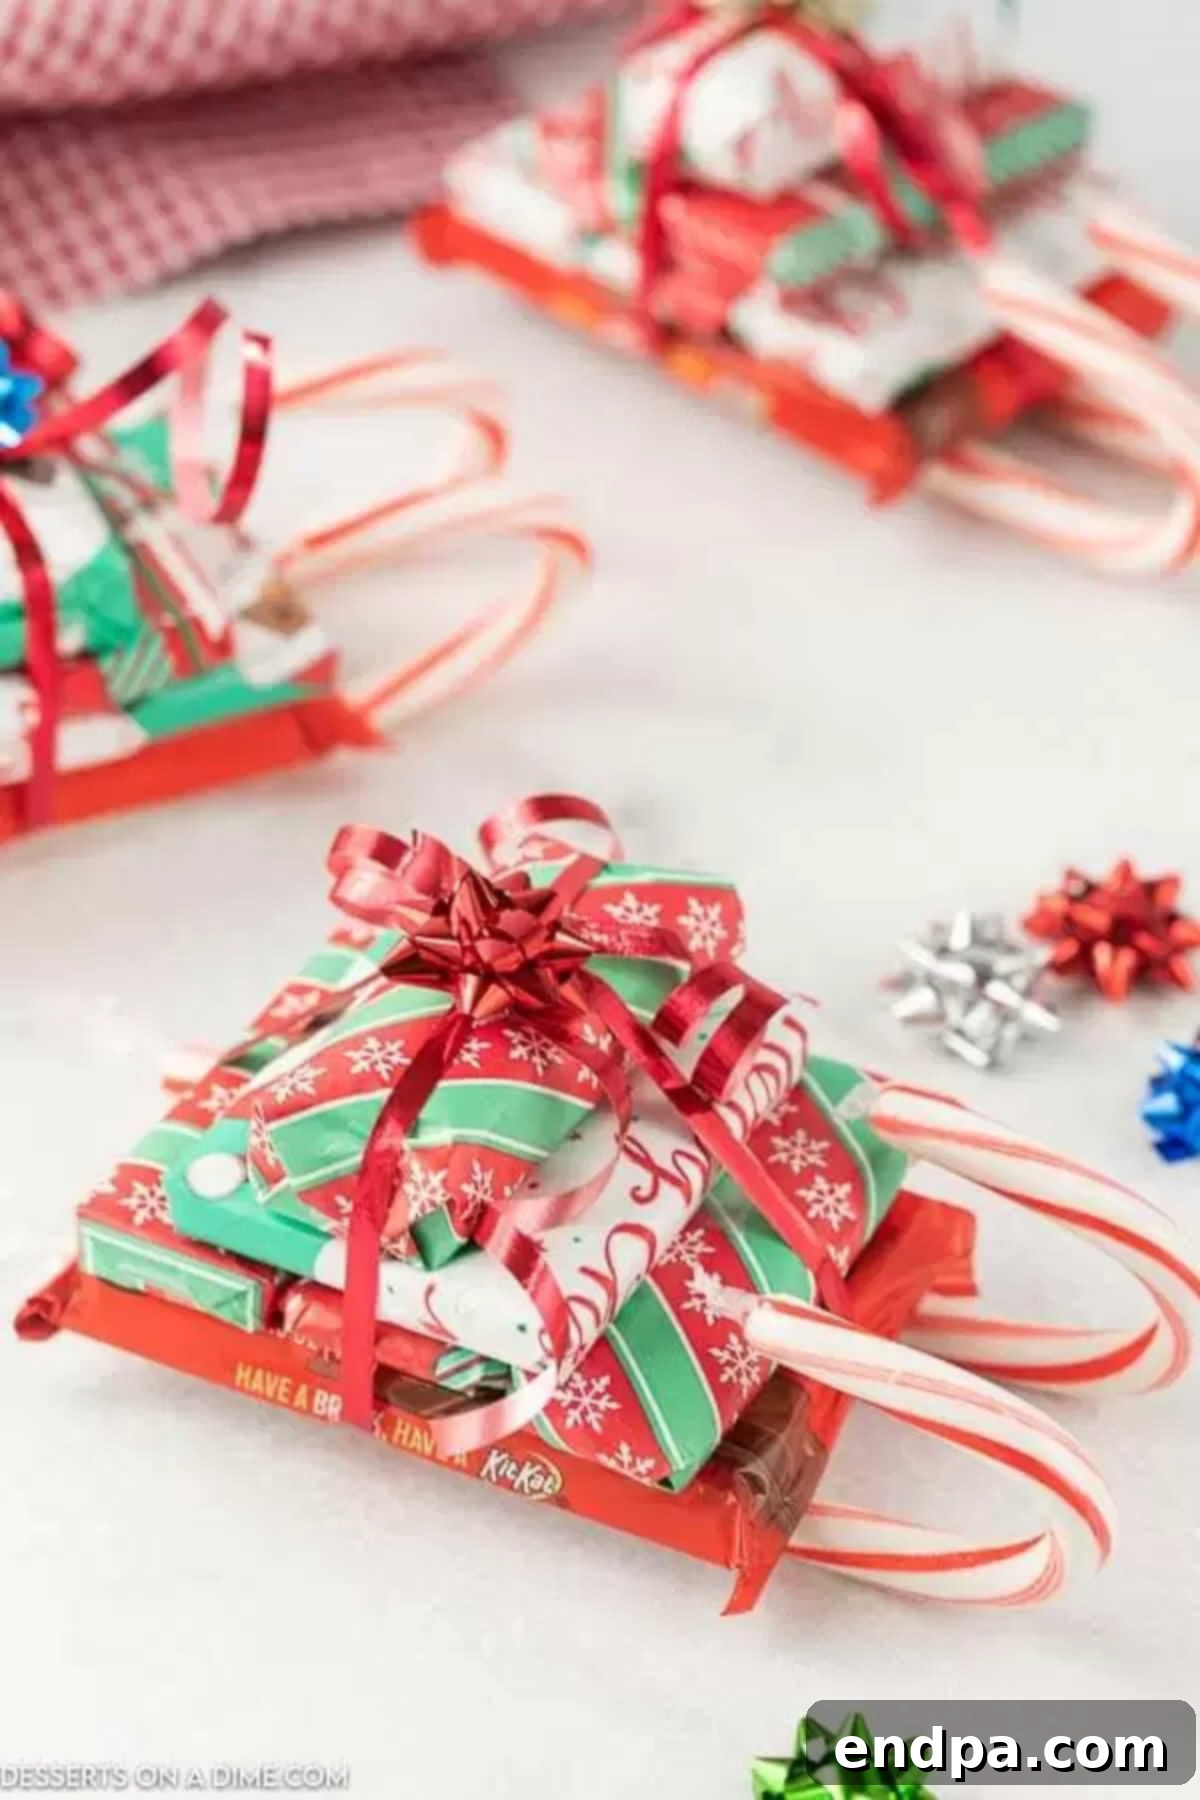
Candy cane sleighs stand out as one of the best Christmas candy crafts, blending the joy of DIY with the sweetness of holiday treats. Whether you’re looking for a fun and engaging classroom activity for children, a cozy project to do at home with your kids, or a unique party favor for your holiday gathering, this craft idea is simply perfect. Its simplicity ensures that even the youngest crafters can participate, making it a wonderful way to create lasting memories during the most wonderful time of the year.
For years, my children and I have cherished the tradition of making these delightful DIY candy cane sleighs. They absolutely adore how straightforward it is to assemble a candy sled, transforming simple candy bars into whimsical gifts. It’s a cherished annual tradition that ranks right alongside baking beloved recipes like Christmas Coal Fudge and festive Candy Cane Cookies.
Table of Contents: Crafting Your Candy Cane Sleighs
- What is a DIY Candy Cane Sleigh?
- Why Craft Candy Cane Sleighs?
- Essential Supplies for Your Candy Sleighs
- How to Make Candy Cane Sleighs: A Step-by-Step Guide
- Choosing the Best Candy for Your Sleigh
- Pro Tips for Crafting Perfect Candy Sleighs
- Creative Variations & Personalization Ideas
- More Delightful Candy Cane Dessert Ideas
- Other Festive Christmas Desserts to Explore
- Candy Cane Sleighs Recipe Card
What is a DIY Candy Cane Sleigh?
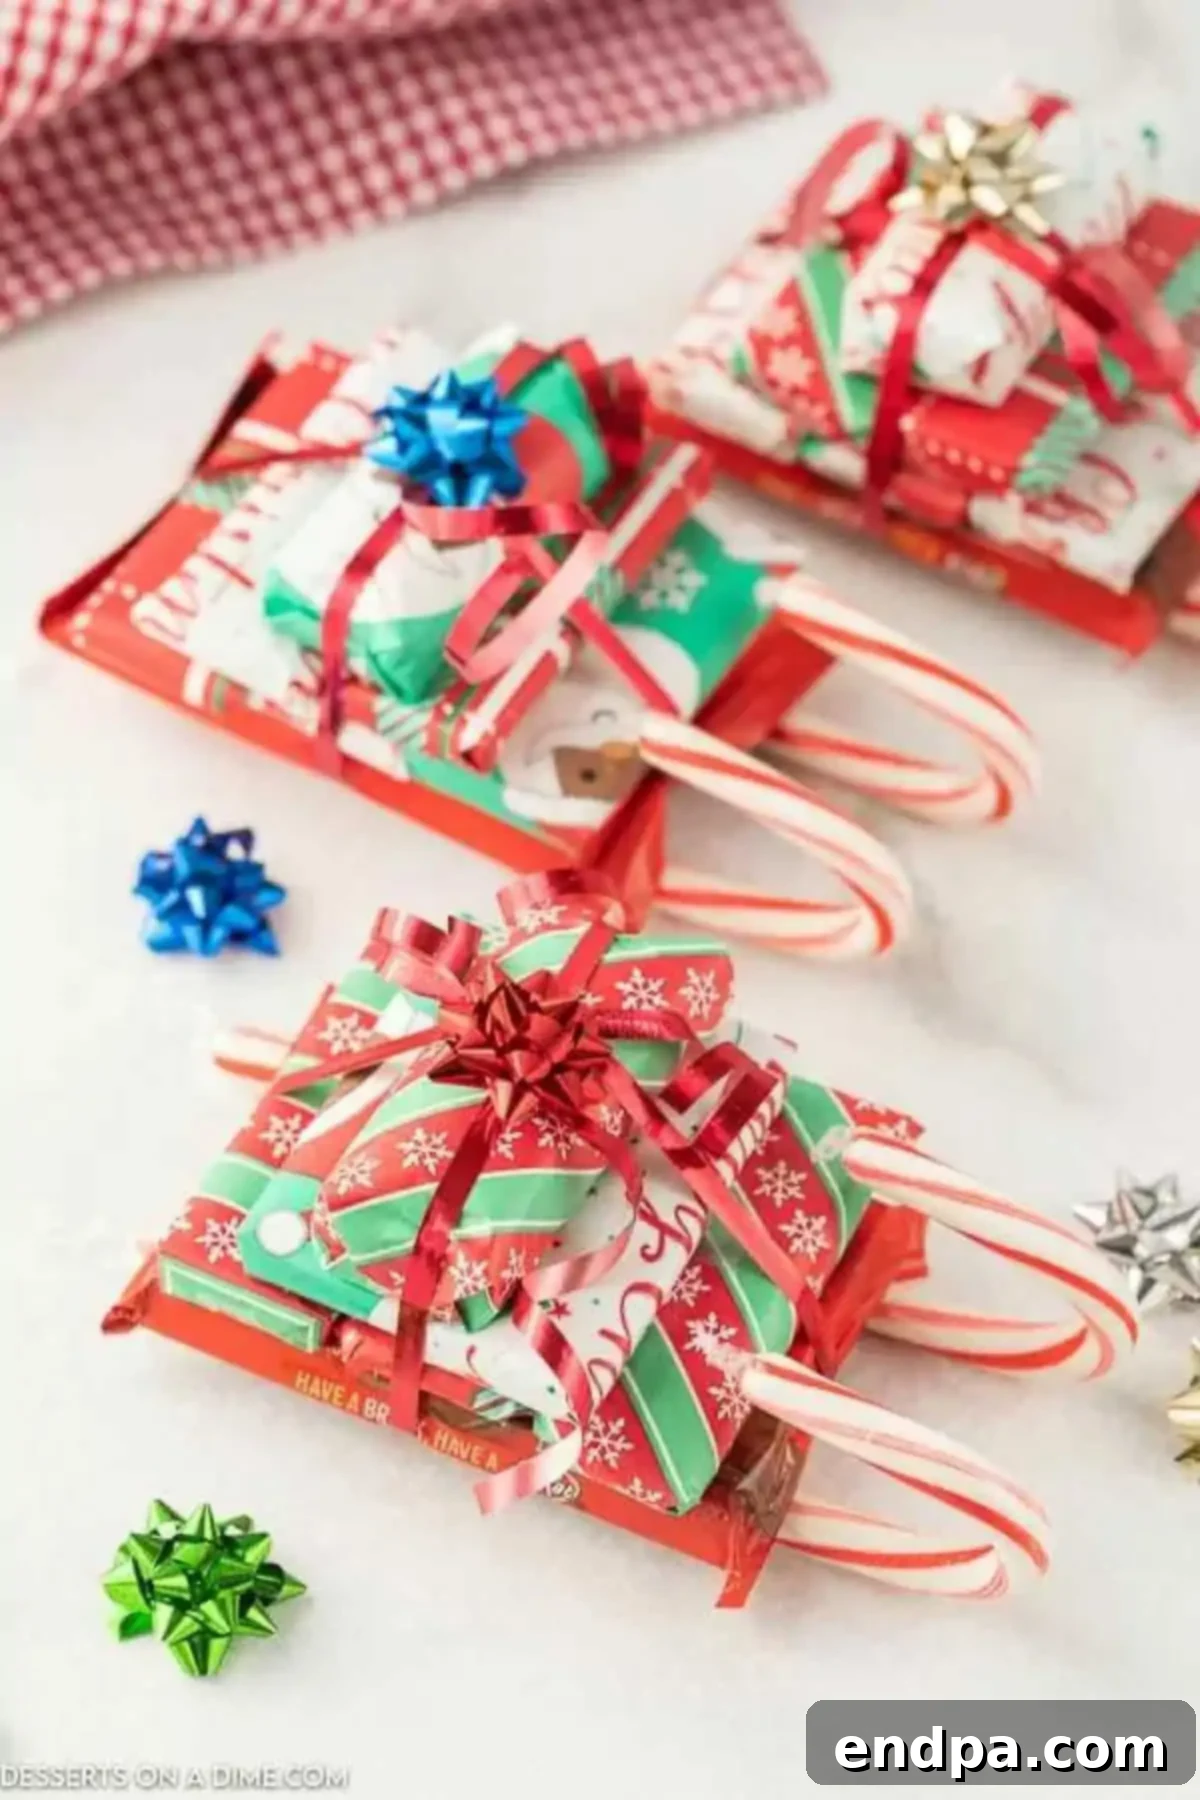
A DIY Candy Cane Sleigh is essentially a miniature, edible sleigh crafted primarily from candy bars and candy canes. It’s a creative way to turn ordinary sweets into an extraordinary presentation. The basic concept involves using a larger, rectangular candy bar as the base of the sleigh, then stacking smaller, wrapped candy bars on top to represent gifts. Two candy canes are attached to the bottom, forming the iconic runners of the sleigh. Finished with festive wrapping paper, ribbons, and miniature bows, these adorable sleighs evoke the magic of Santa’s ride, delivering a sweet cargo. It’s a project that combines simple materials with a touch of holiday imagination to create something truly special.
This craft is remarkably easy to execute, making it suitable for all skill levels, including young children. Kids can actively participate in wrapping the “gifts” (miniature candy bars) and arranging them, while adults can handle the hot glue or assist with trickier parts. It’s an excellent project for school parties, scouting events, family craft nights, or even as a thoughtful gesture for teachers and service workers. The end result is a charming, personalized treat that family and friends will undoubtedly adore and appreciate.
Why Craft Candy Cane Sleighs?
Beyond being simply adorable, candy cane sleighs offer a multitude of benefits, making them a top choice for holiday gifting and crafting:
- Budget-Friendly: Made with readily available and inexpensive candy and craft supplies, these sleighs are a cost-effective way to create numerous gifts without breaking the bank.
- Personalized & Unique: You can customize each sleigh with different candies, wrapping paper patterns, ribbon colors, and mini bows, ensuring every gift is unique and tailored to the recipient’s taste.
- Easy & Quick: The assembly process is straightforward and quick, making it perfect for busy holiday schedules or for crafting in bulk. Most sleighs can be completed in under 20 minutes!
- Fun for All Ages: This craft is genuinely enjoyable for everyone. Younger children can help with wrapping and stacking, while older kids and adults can take on the assembly, fostering teamwork and shared holiday spirit.
- Versatile Gifting: Ideal for teachers, co-workers, neighbors, friends, family members, mail carriers, and even as party favors or small raffle prizes. They fit into almost any holiday gifting scenario.
- Festive & Decorative: Not only are they gifts, but they also double as charming holiday decorations that can be displayed until they’re ready to be enjoyed.
- Creates Lasting Memories: The process of making these sleighs together can become a cherished annual family tradition, creating wonderful memories year after year.
Essential Supplies for Your Candy Sleighs
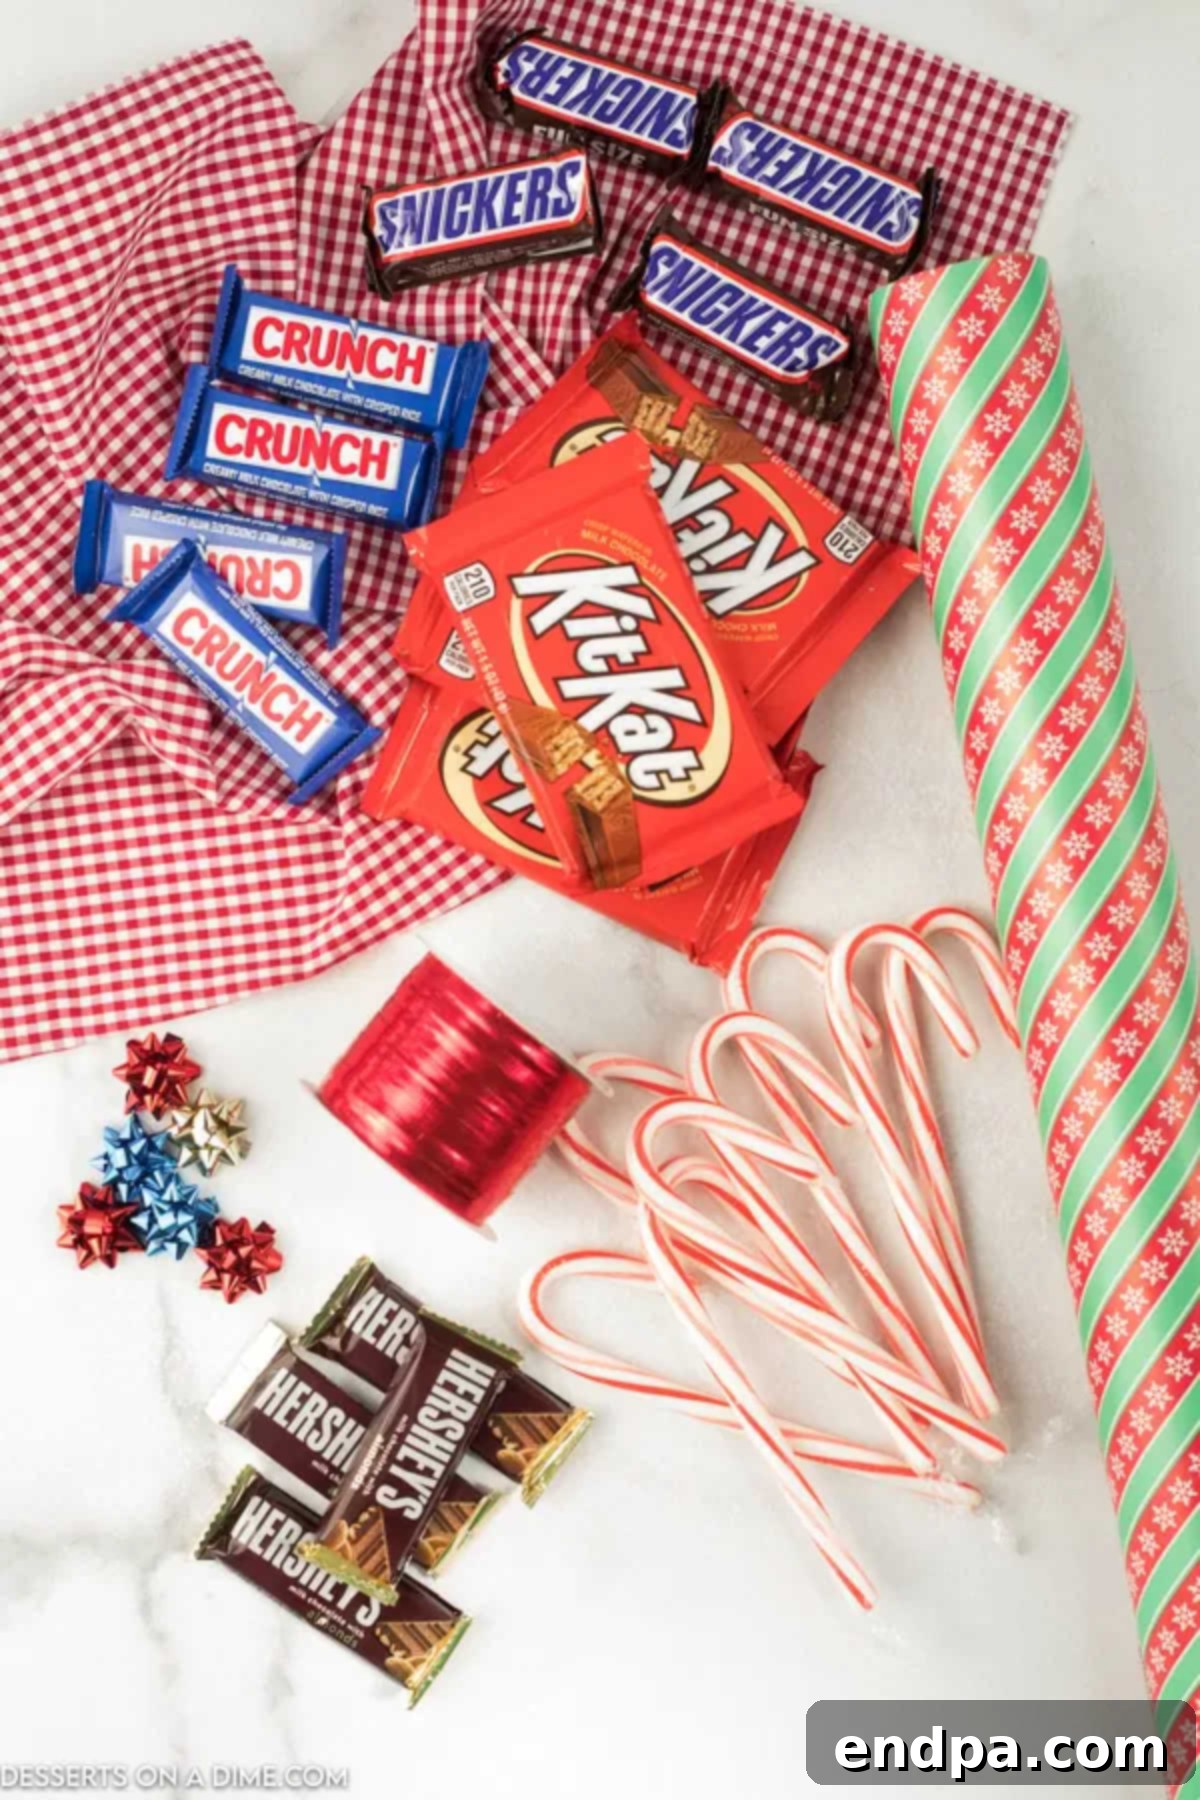
Gathering your supplies is the first exciting step to bringing your candy cane sleighs to life. The beauty of this craft lies in its simplicity; you don’t need an extensive list of items. Here’s what you’ll need, along with some tips for selection:
Crafting Materials:
- Wrapping Paper: Choose festive holiday patterns that will make your “gifts” pop. Consider traditional red and green, elegant silver and gold, or playful designs with snowmen and reindeer. Scraps of wrapping paper are perfect for this project!
- Tape: Standard clear adhesive tape works best for wrapping the mini candy bars securely. Double-sided tape can also be very useful for a cleaner finish, especially when attaching bows or ribbons.
- Mini Bows: These tiny decorative bows add a charming touch to your sleighs, making the stacked candy bars truly resemble little gifts. You can find these in multi-packs at craft stores or dollar stores.
- Ribbon: A spool of thin, festive ribbon is ideal for wrapping around the assembled sleigh. Choose colors that complement your wrapping paper. Inexpensive curling ribbon or satin ribbon works wonderfully.
- Hot Glue Gun & Glue Sticks: A low-temperature hot glue gun is recommended, especially if children are assisting. It provides a quick and strong bond. Alternatively, glue dots offer a mess-free, child-friendly option.
Candy Ingredients:
- Candy Canes: These form the runners of your sleigh. Traditional red and white striped candy canes are classic, but feel free to experiment with different colors and flavors to match your theme. You’ll need two per sleigh.
- Kit Kat Bars (Standard Size): These are excellent for the sleigh’s base due to their flat, sturdy, and rectangular shape, which provides a perfect platform for stacking.
- Mini Candy Bars (Fun Size): A variety pack of mini chocolate bars or other fun-size candies works perfectly as the “gifts” on your sleigh. Choose an assortment to cater to different tastes!
You truly don’t need much to create these delightful and memorable sleighs. The complete list of quantities and detailed instructions are provided in the recipe card section at the bottom of this post.
How to Make Candy Cane Sleighs: A Step-by-Step Guide
Creating these festive candy cane sleighs is a straightforward and enjoyable process. Follow these simple steps to assemble your sweet holiday gifts:
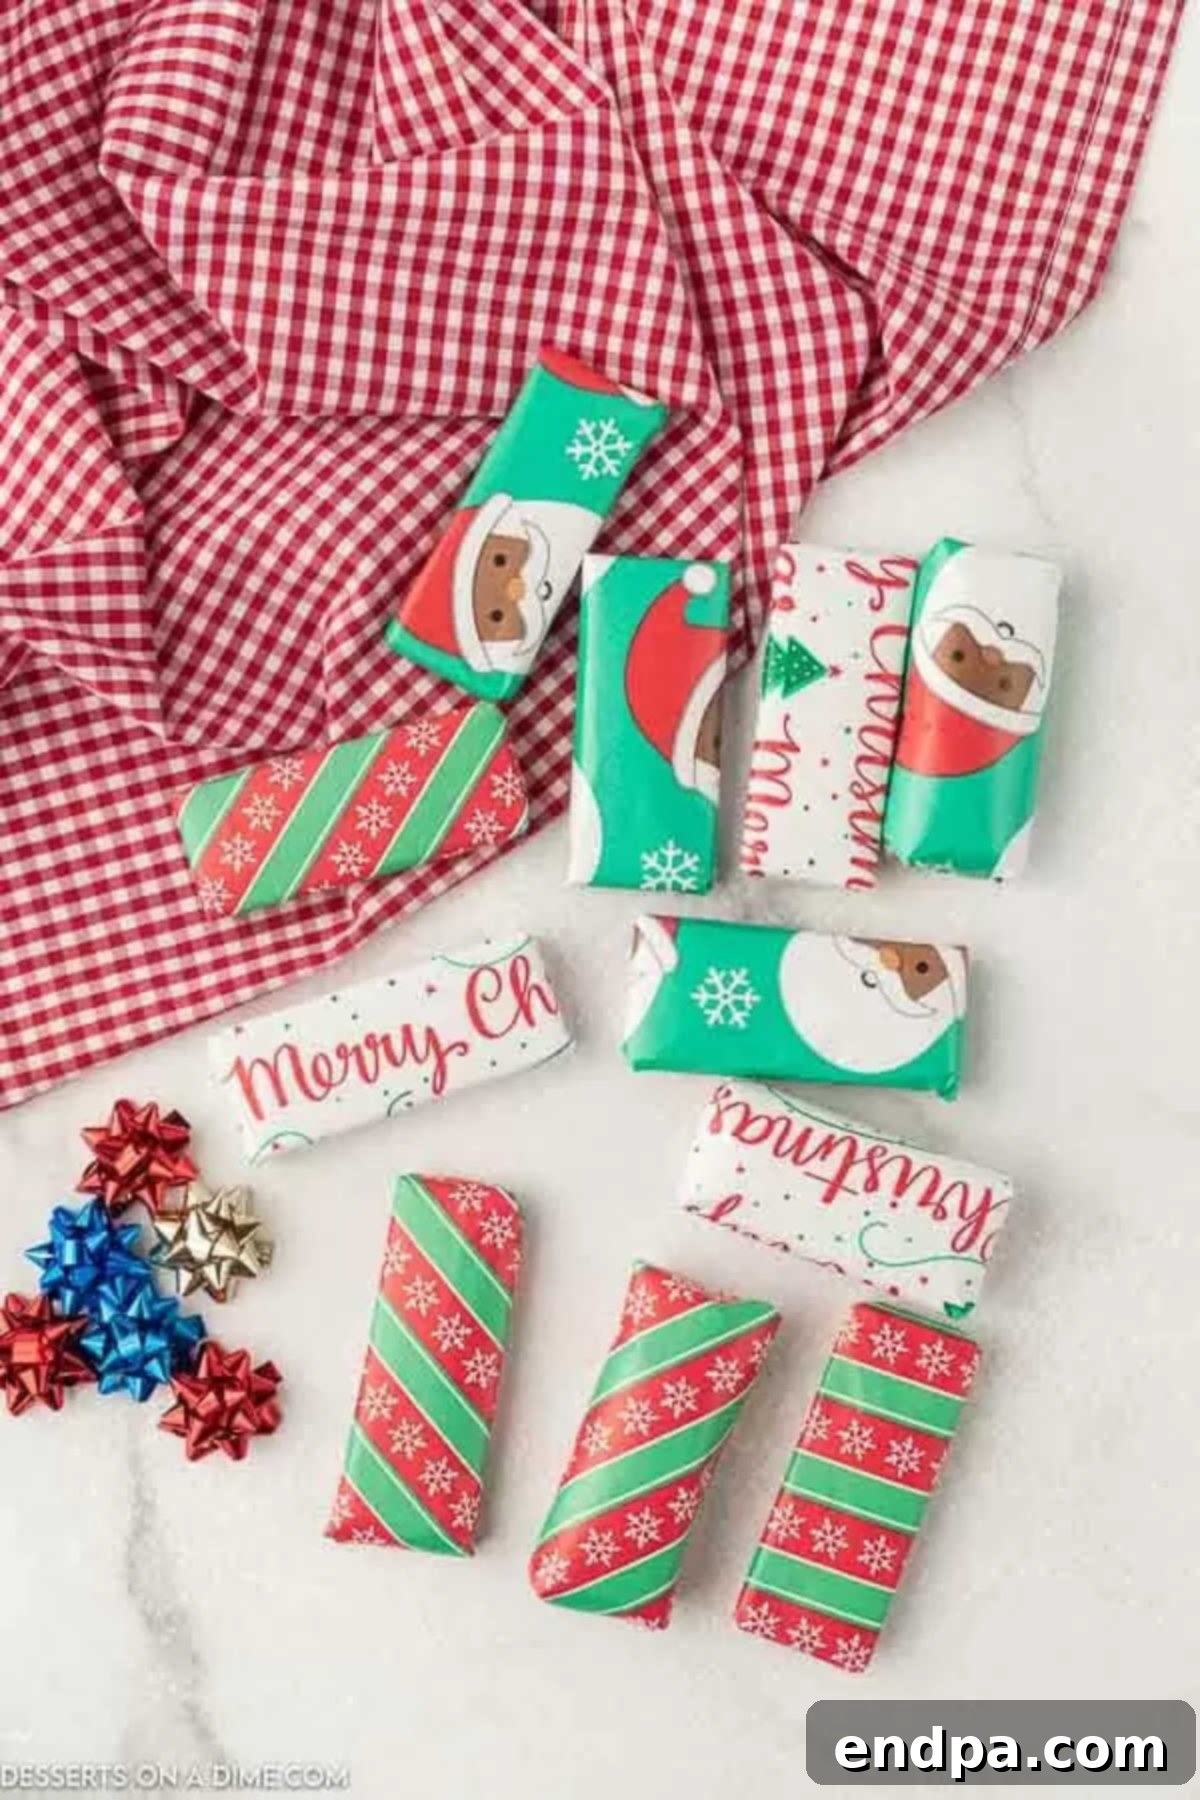
Step 1: Wrap Your Mini Candy “Gifts”
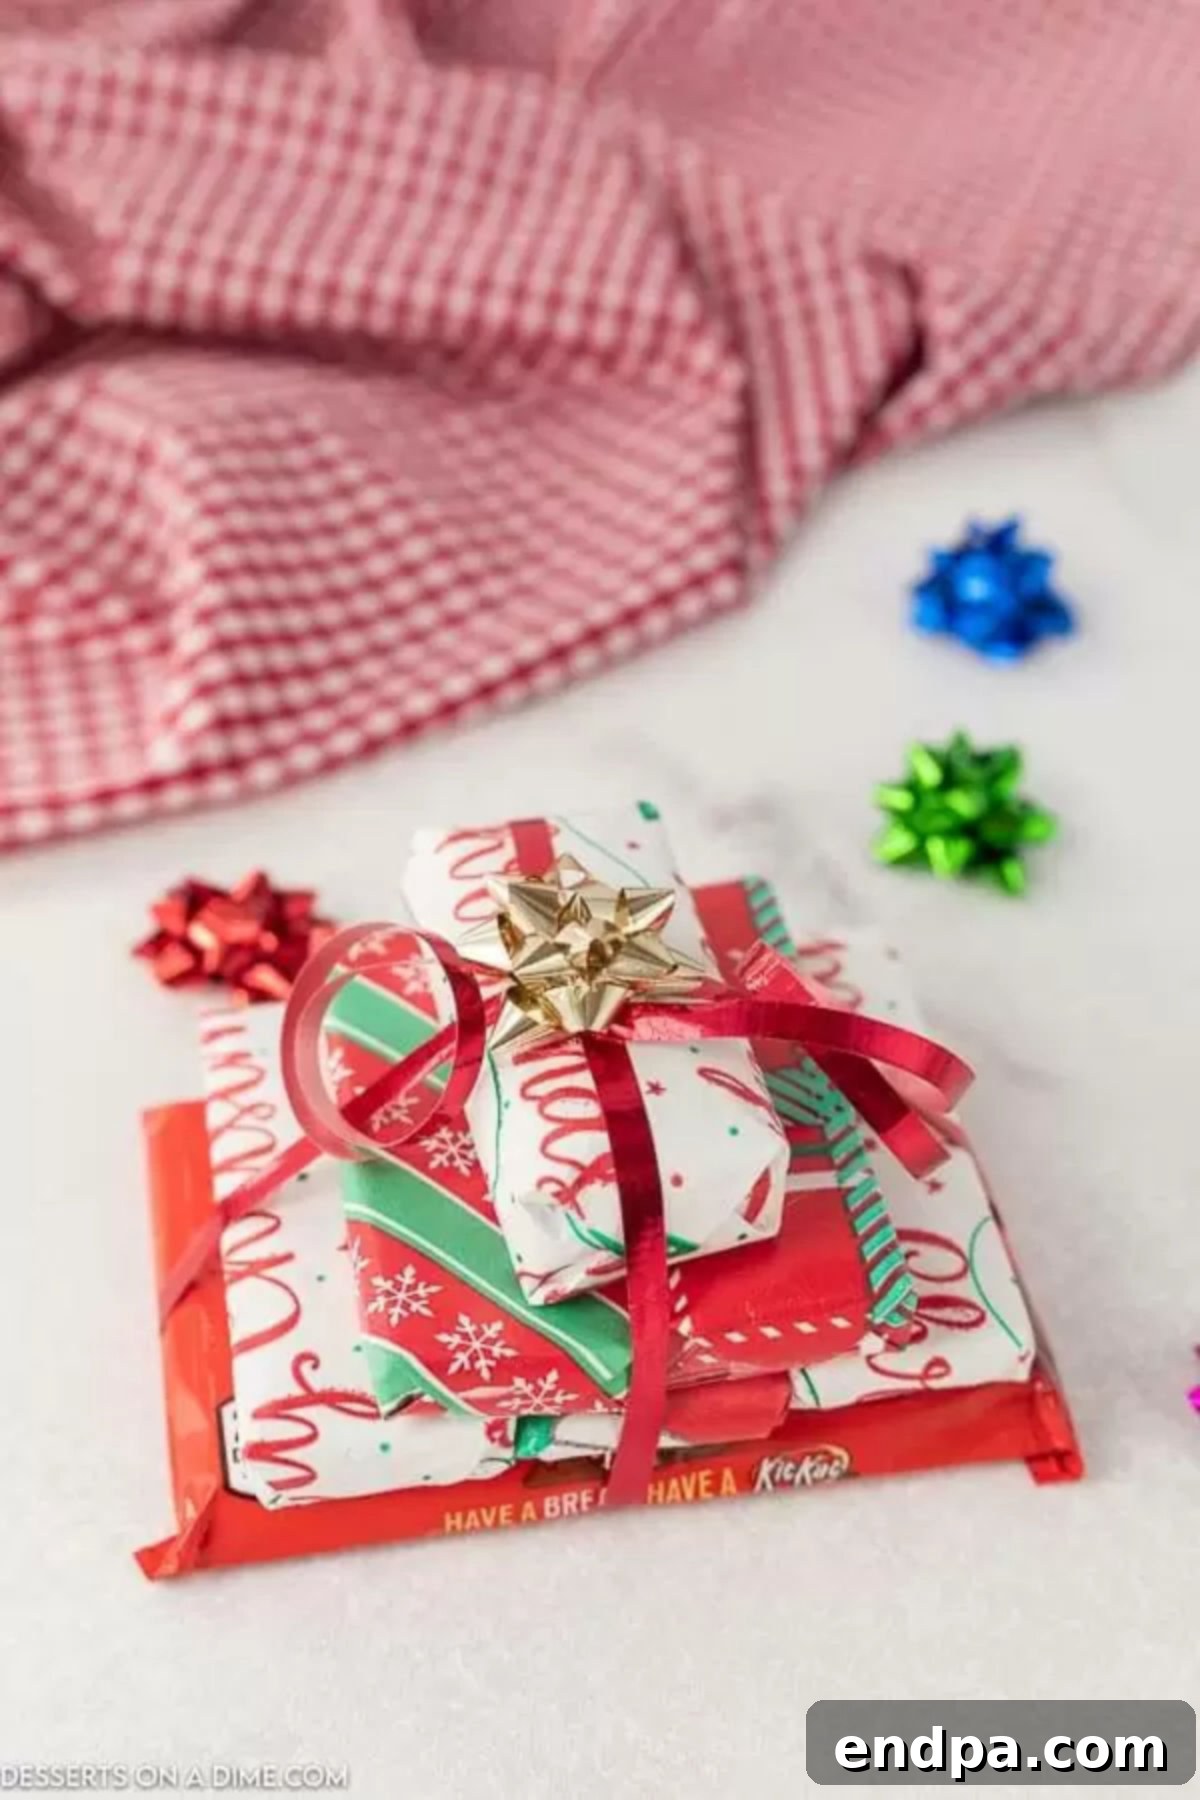
Take all of your mini candy bars and wrap them individually with the festive wrapping paper. Use small pieces of tape to secure the paper neatly. This step is fantastic for involving younger children, as it allows them to pick their favorite papers and practice their wrapping skills. Wrapping the candy bars makes them look like adorable miniature gifts, adding to the festive charm of the sleigh.
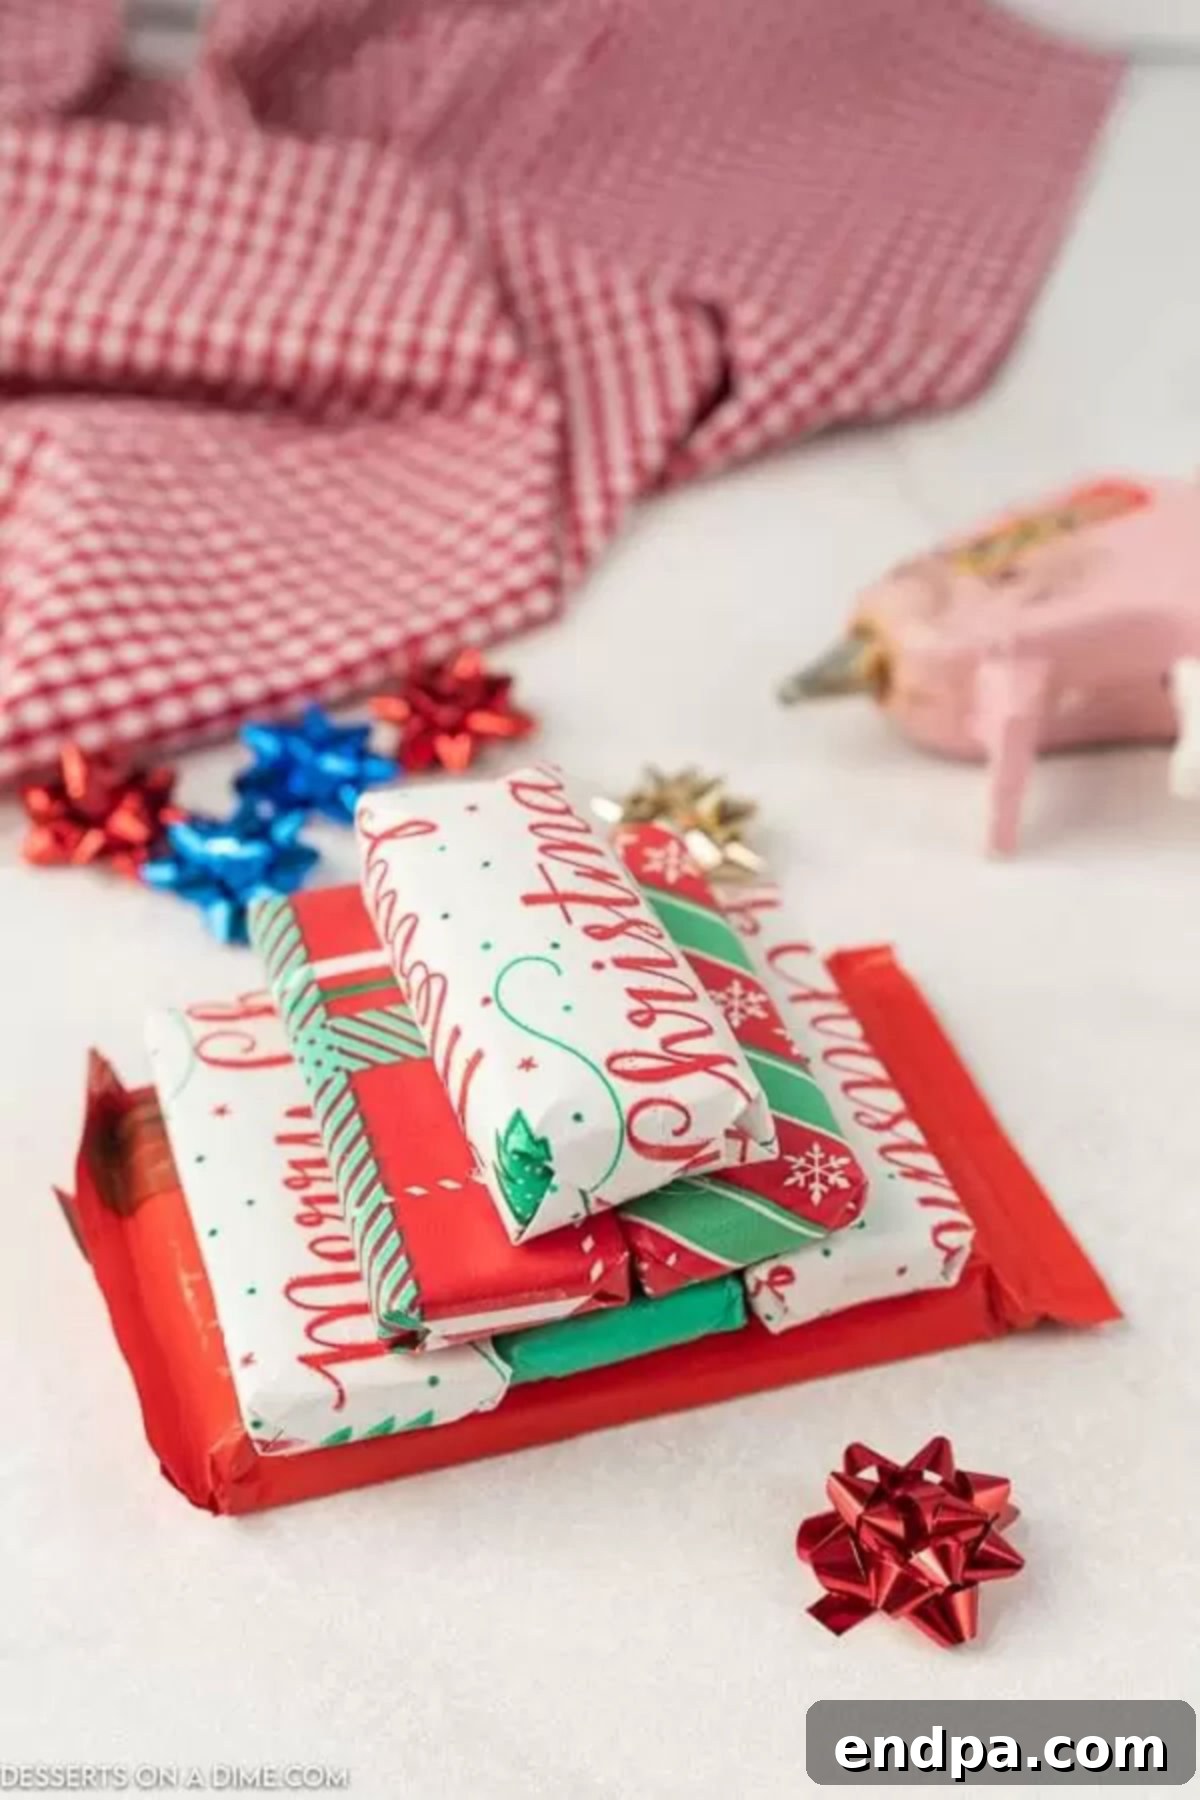
Step 2: Assemble the Candy Stack for the Sleigh Base
Once your mini candy bars are wrapped, it’s time to create the “cargo” for your sleigh. Carefully use a low-temperature hot glue gun to attach the wrapped mini chocolate bars on top of the Kit Kat bar. Arrange them in a way that resembles a pile of gifts, perhaps with two or three bars at the bottom and fewer on top, creating a slight pyramid effect. Be very conservative with the hot glue; a few small dots are usually sufficient. Using too much hot glue can risk melting the chocolate underneath or seeping through and messing up your beautiful wrapping paper. As an alternative, and especially if children are doing the gluing, consider using glue dots for a safer and cleaner adhesion method on the base of your sleigh.
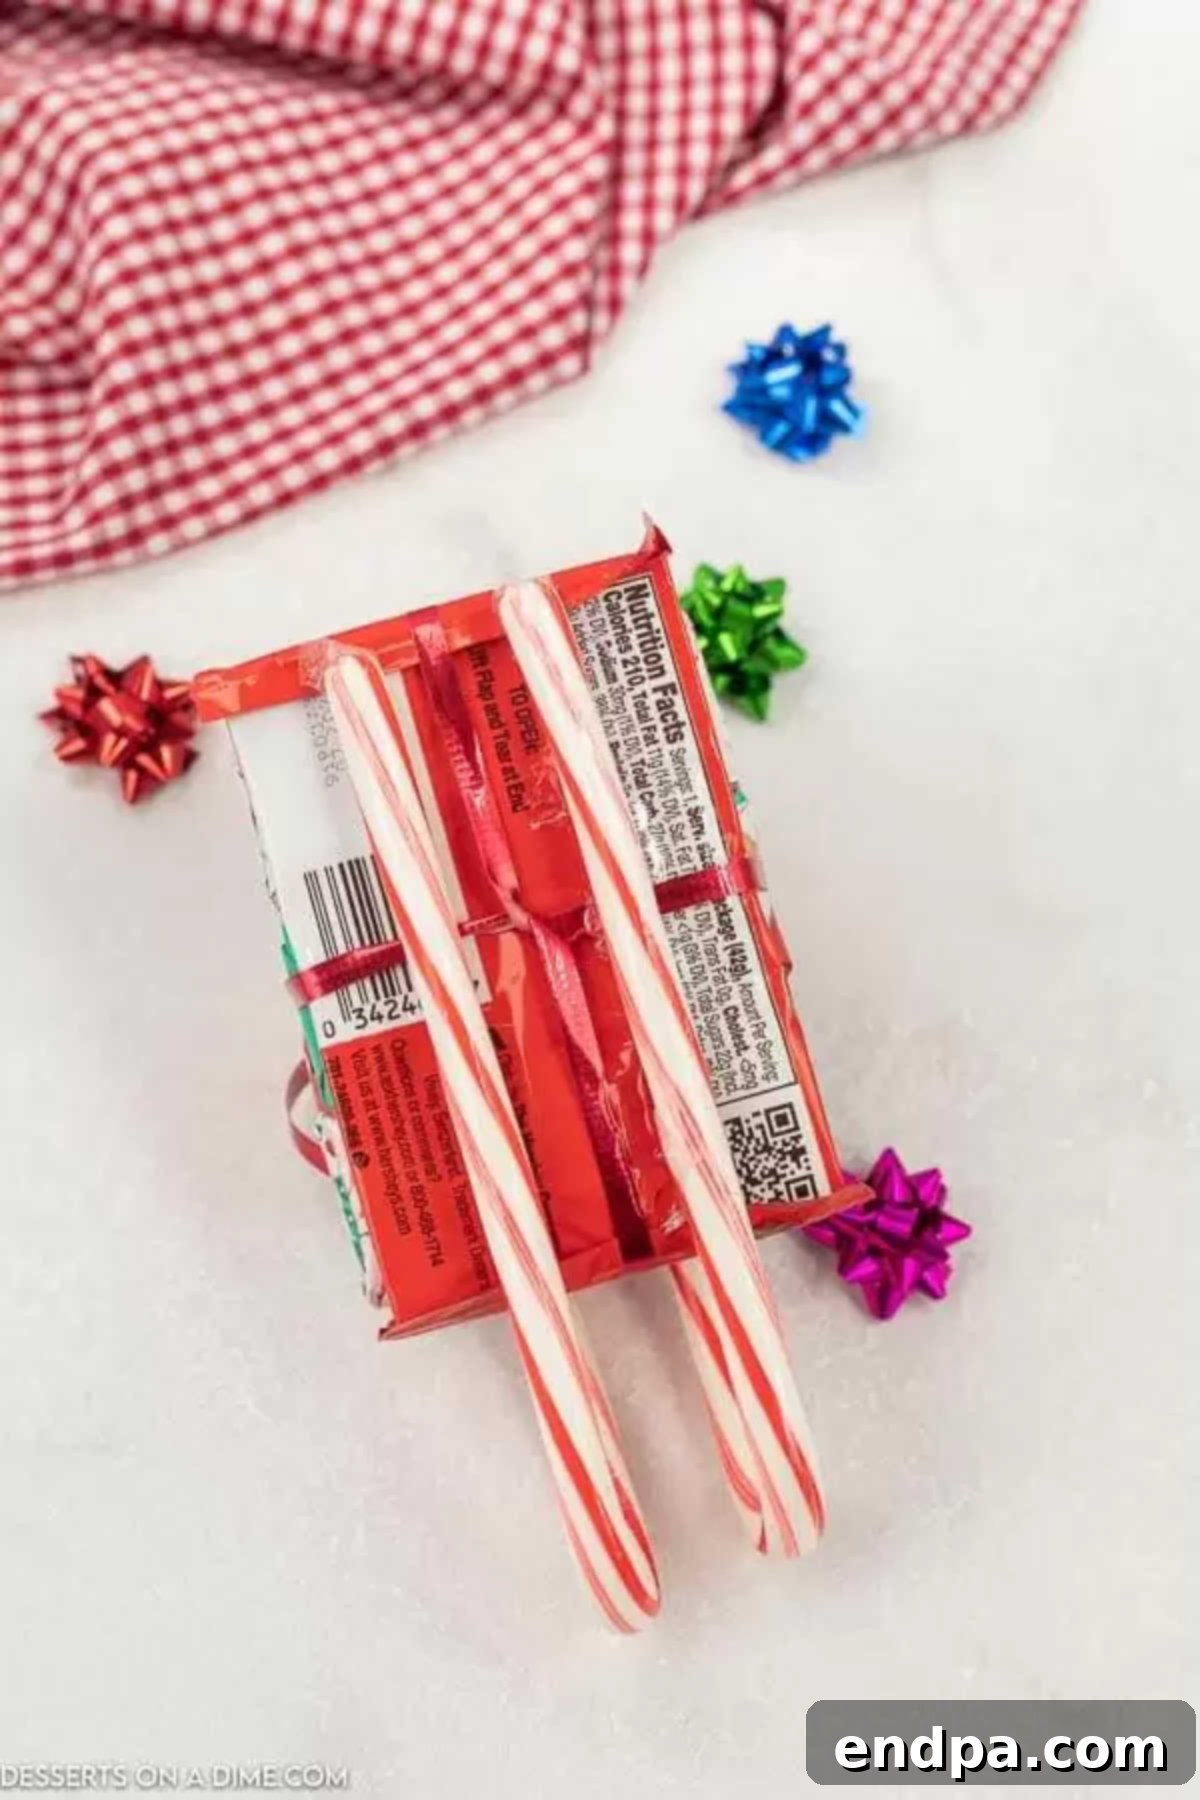
Step 3: Attach the Candy Cane Runners
Now, carefully glue two of the candy canes to the bottom of the Kit Kat bar. These will serve as the sleigh’s runners. Position them parallel to each other, ensuring the curved ends face forward, giving the classic sleigh shape. Again, use hot glue sparingly – just a few dots at the top and bottom of each candy cane where it touches the Kit Kat will provide enough hold. Allow the glue to cool and set completely before moving on to the next step to ensure stability.
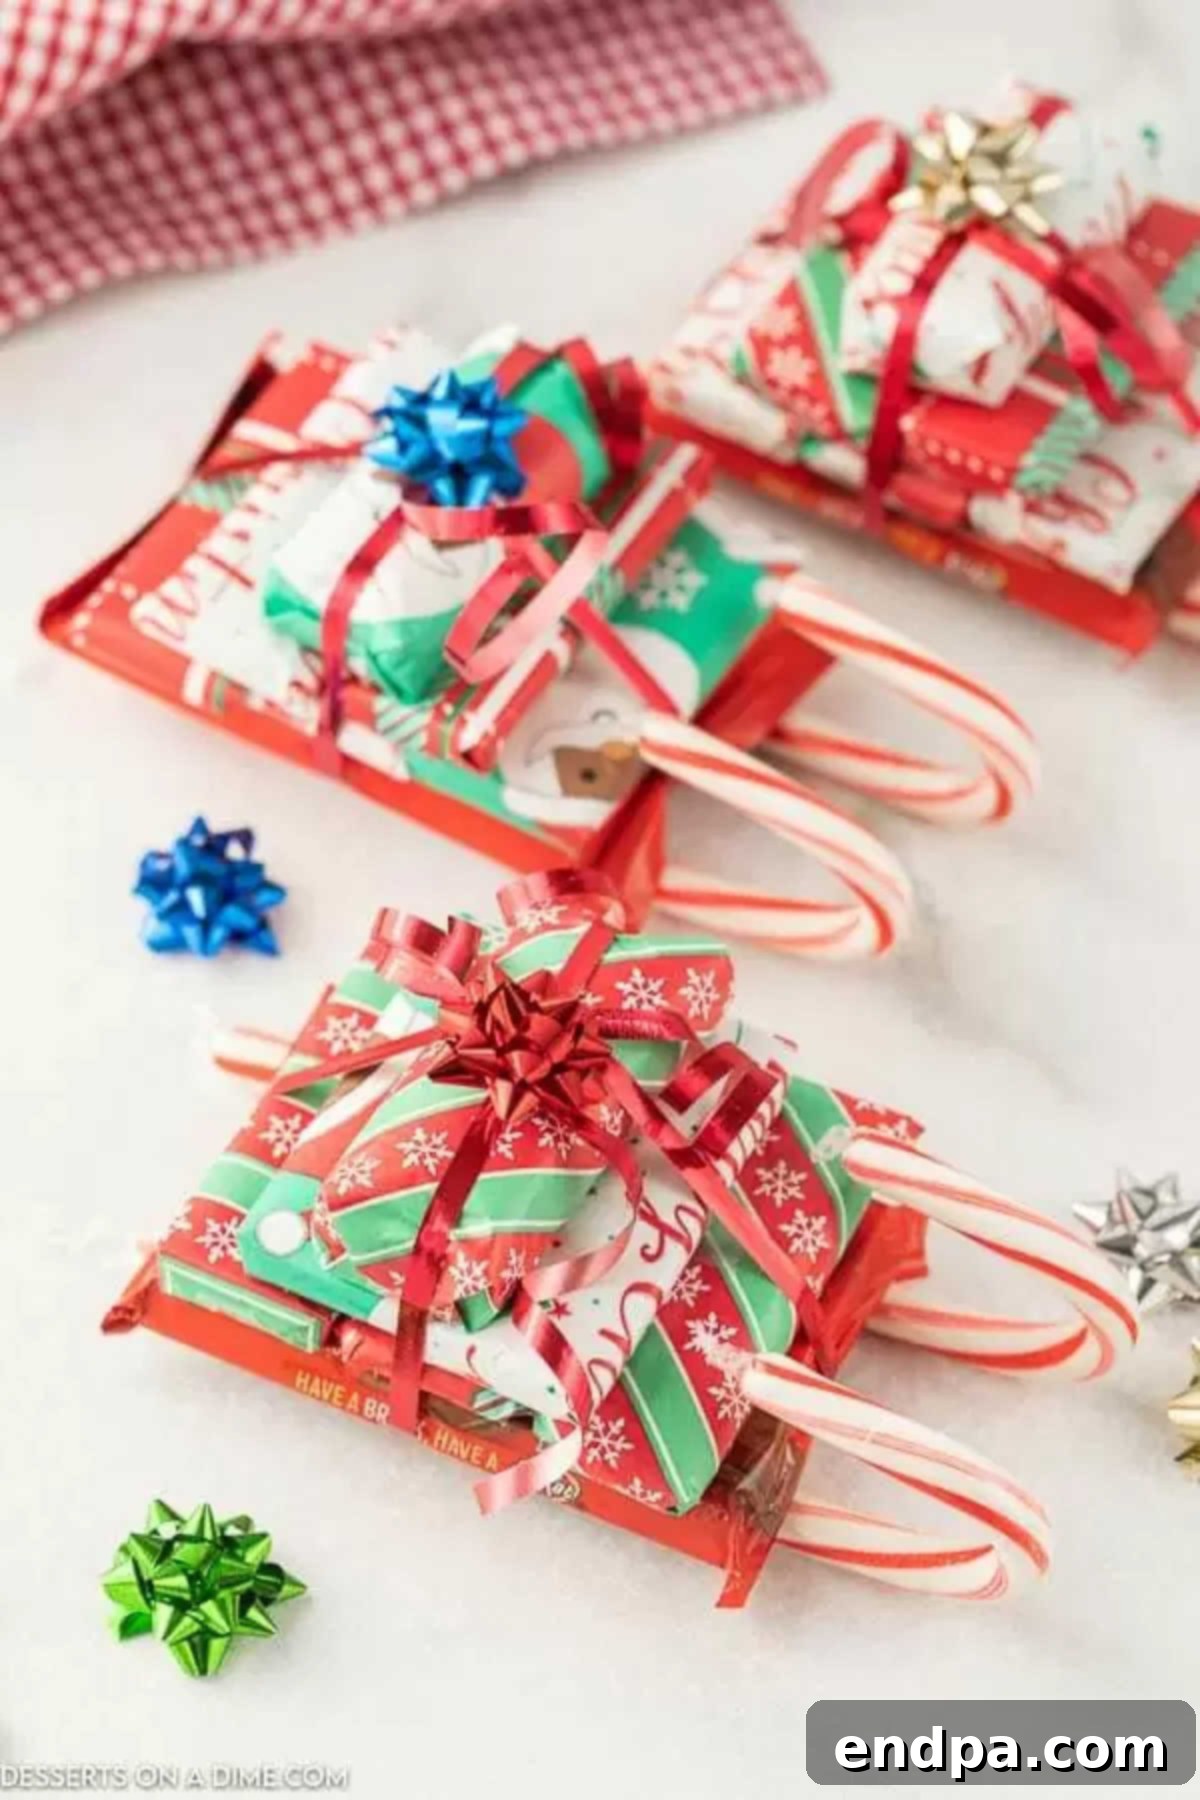
Step 4: Decorate Your Sleigh with Ribbon and a Bow
For the final touch, take your chosen ribbon and wrap it around the entire sleigh, including the stacked candy and the Kit Kat base. You can wrap it horizontally or diagonally, securing the ends with a small piece of tape or a dab of hot glue on the underside. We often use thin, inexpensive curling ribbon, but any type of festive ribbon you have on hand or wish to purchase will work beautifully. To complete the look, top your sleigh with a mini bow, placing it elegantly on the front or side of the stacked candy “gifts.” This adds a polished and adorable finish to your homemade candy cane sleigh.
Choosing the Best Candy for Your Sleigh
The selection of candy is crucial for both the structure and the appeal of your candy cane sleigh. While we’ve provided some excellent suggestions, feel free to get creative and customize your candy choices to suit personal preferences or dietary needs.
- For the Sleigh Base (The “Deck”):
We highly recommend Kit Kat bars because their rectangular shape and flat surface make them ideal for creating a stable and visually appealing sleigh base. However, if Kit Kats aren’t available or you prefer an alternative, any similarly sized, flat candy bar will work. Consider Snickers, Milky Way, Twix, or even larger chocolate bars like Hershey’s if you want a wider sleigh. Just ensure it’s sturdy enough to support the stacked candies.
- For the Sleigh Cargo (The “Gifts”):
This is where you can truly personalize! A bag of assorted “fun size” or “mini” candy bars is perfect, offering a variety of flavors and shapes. Think about popular choices like Snickers Minis, Reese’s Peanut Butter Cups Minis, M&M’s, Hershey’s Kisses, or even fruity candies like Starburst or Skittles if you prefer non-chocolate options. The key is to use candies that are relatively small and can be easily stacked and wrapped. Mixing and matching different types adds visual interest and a delightful surprise for the recipient.
For those with dietary restrictions, consider using nut-free or gluten-free mini candy options, ensuring everyone can enjoy your thoughtful gift.
- For the Sleigh Runners (The “Skis”):
Traditional red and white candy canes are a classic and iconic choice for the sleigh runners, instantly recognizable as a Christmas symbol. However, the world of candy canes has expanded greatly! You can find candy canes in a rainbow of colors and an array of flavors, from peppermint and cherry to sour apple and even sugar cookie. Using different colored candy canes can add a unique twist to your sleighs. For instance, blue and white candy canes could create a “winter wonderland” theme, while green and white could complement specific wrapping paper. Just remember to coordinate your wrapping paper and ribbon choices with the color scheme of your chosen candy canes for a cohesive and stunning look.
Pro Tips for Crafting Perfect Candy Sleighs
To ensure your candy cane sleighs turn out absolutely perfect and impress everyone, here are some expert tips and tricks:
- Assembly Adhesives: You have a few options for securing your sleigh components. Double-sided tape, glue dots, and low-temperature hot glue all work well.
- Low-Temperature Hot Glue: This is generally our preferred method due to its quick drying time and strong hold. However, use it sparingly – just a few small dots are needed. Excessive hot glue can melt the chocolate or ruin the wrapping paper.
- Glue Dots: These are an excellent, mess-free, and child-safe alternative. They provide a good hold for lighter items and are perfect if you’re making these sleighs with younger children.
- Double-Sided Tape: Also a great option for kids’ crafts, offering a clean application without the heat.
When working with children, prioritize safety. For very young crafters, glue dots or double-sided tape are highly recommended over hot glue.
- Chocolate Choices: Don’t limit yourself to just milk chocolate! Feel free to use any type of rectangular chocolate bar you like for the base. Dark chocolate, white chocolate, or even flavored bars can add an extra layer of enjoyment. For the “gifts,” as long as the mini candies are relatively flat and small squares or rectangles, they will stack nicely to create a full and inviting sleigh.
- Candy Cane Creativity: As mentioned, traditional candy canes are classic, but don’t hesitate to switch things up! Experiment with different flavors (like cherry or blue raspberry) or various colors (green, blue, purple, clear). For a truly polished look, coordinate your wrapping paper and ribbon with the specific colors of the candy canes you choose. This creates a cohesive and visually stunning presentation that will surely stand out.
- Adding a Santa Driver: This is a completely optional but incredibly fun addition! Many stores sell small chocolate Santas during the holiday season. You can easily glue a chocolate Santa to the front of your sleigh, making it look like he’s proudly driving his sweet delivery. This simple touch adds a whimsical and magical element that kids especially love.
- Personalized Tags: Elevate your gifts by attaching small, handwritten gift tags. You can include a festive message, the recipient’s name, or a simple “Merry Christmas.” This personal touch makes the gift even more special.
- Themed Sleighs: Beyond general Christmas, consider specific themes. For example, a “Peppermint Wonderland” sleigh could use peppermint-flavored candy canes, white and silver wrapping paper, and peppermints as part of the cargo. A “Chocolate Lover’s Dream” could feature only various types of chocolate mini bars.
- Packaging for Presentation: To protect your beautiful creations and make them easy to transport, consider placing each completed candy cane sleigh in a clear cellophane bag tied with a matching ribbon. This not only keeps them fresh but also adds to the professional presentation.
Creative Variations & Personalization Ideas
Once you master the basic candy cane sleigh, the possibilities for customization are endless. Here are some ideas to spark your creativity and make each sleigh uniquely yours:
- Themed Wrapping Paper: Instead of generic holiday paper, choose specific themes like vintage Christmas, whimsical characters, or elegant minimalist designs.
- Glitter and Embellishments: Add a sprinkle of edible glitter to the “snow” on your sleigh, or attach tiny jingle bells, miniature snowflakes, or small craft gems for extra sparkle.
- Small Toy Additions: For a child’s gift, instead of some candy bars, you could secure a small toy like a miniature car, a doll, or a finger puppet onto the sleigh.
- Personalized Photo Sleigh: Print tiny photos of the recipient or a shared memory and attach them to the wrapped candy “gifts” for a truly heartfelt touch.
- Cookie Sleighs: Instead of mini candy bars, use individually wrapped small cookies or brownies as the “cargo.”
- Different Sleigh “Runners”: While candy canes are classic, you could experiment with other edible stick-like items for the runners, such as pretzel rods or Pocky sticks, although they might be less sturdy.
- Savory Sleighs: For a twist, try making a “savory sleigh” using mini jerky sticks, cheese sticks, or other individually wrapped savory snacks.
More Delightful Candy Cane Dessert Ideas
If you love the festive flavor of candy canes, you’ll definitely want to try these other delicious holiday treats:
- Candy Cane Kiss Cookies
- Easy Candy Cane Pie
- Classic Peppermint Bark
- White Chocolate Peppermint Brownies Recipe
- Chocolate Peppermint Cookies Recipe
Other Festive Christmas Desserts to Explore
The holiday season is a perfect time for baking and enjoying all sorts of delightful desserts. Here are some more Christmas dessert ideas to add to your repertoire:
- Adorable Strawberry Santas
- Fun Santa Cookies
- Easy Snowman Cookies Recipe
Don’t wait! Make this fun candy sleigh craft today and experience the joy of giving a homemade, edible gift. Be sure to come back and leave a star rating for this recipe once you’ve tried it!
Candy Cane Sleighs
20 mins
0 mins
20 mins
4
American
Dessert
322
Carrie Barnard
Ingredients
Supplies:
- Wrapping Paper
- Tape
- Mini Bows
- Ribbon
Ingredients:
- 8 Candy Canes
- 4 Kit Kat Bars
- 20 Mini Candy Bars
Instructions
- Wrap the mini candy bars with the wrapping paper and tape.
- Use a hot glue gun to glue the mini candy bars on top of the large Kit Kat bars.
- Then wrap the entire thing with ribbon and top with a mini bow.
- Next glue 2 of the candy canes to the bottom of the Kit Kat bars.
- Then they are ready to share with your friends and family!
Nutrition Facts
Pin This Recipe Now to Remember It Later
Pin Recipe
