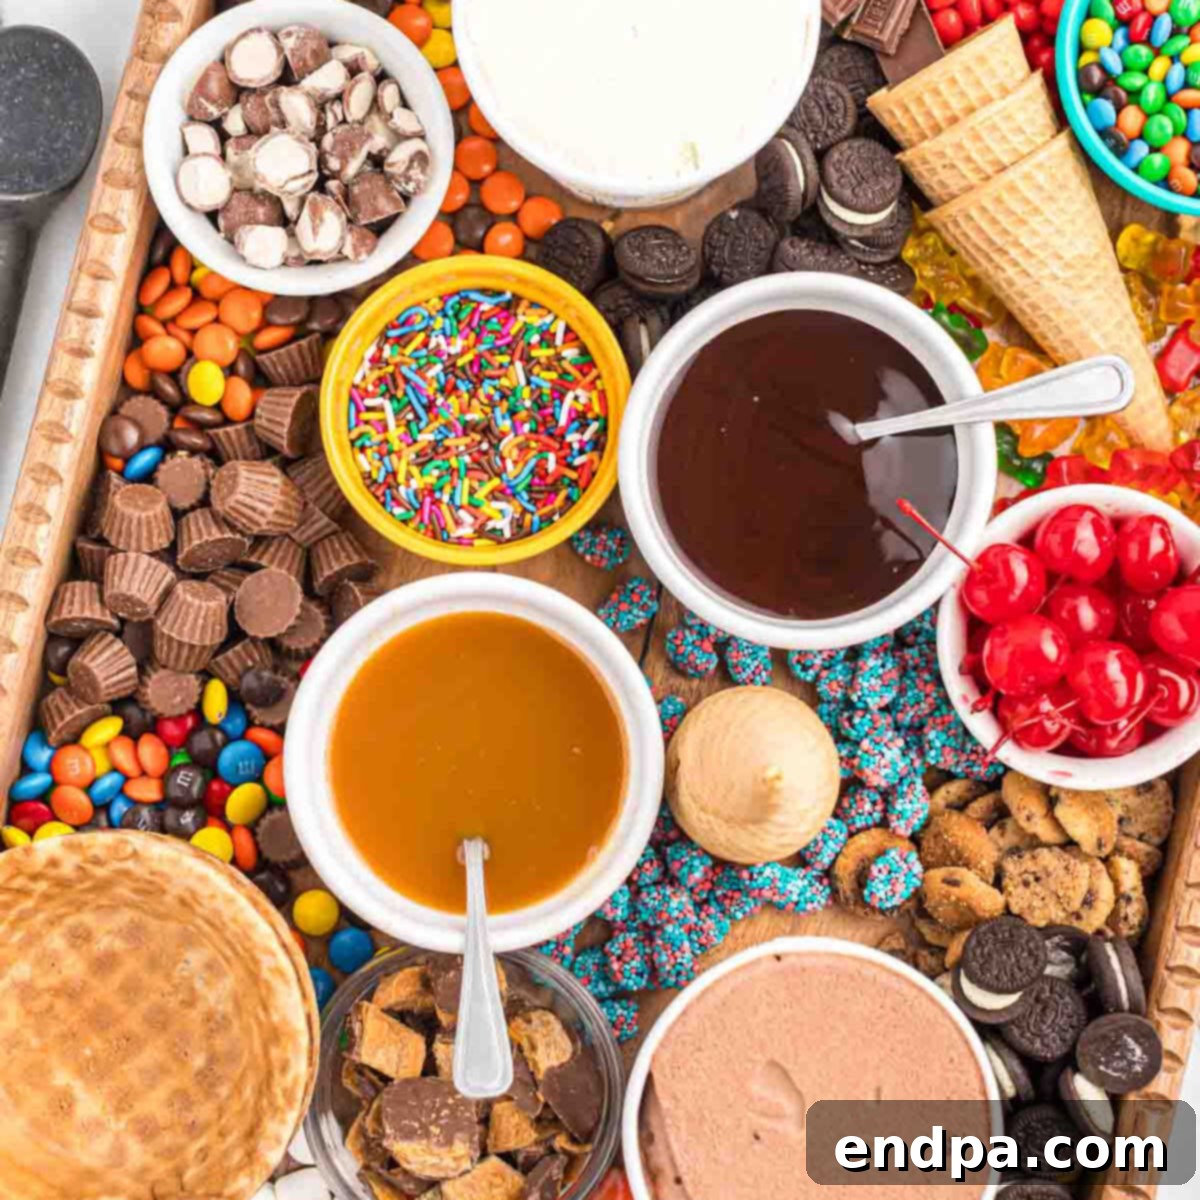
Transform your next gathering into an unforgettable event with an incredibly easy and delightful Ice Cream Charcuterie Board. Perfect for hot summer days, lively parties, cozy movie nights, or simply a fun family treat, this dessert board is designed to impress with minimal effort. Imagine a beautifully arranged spread of diverse ice cream flavors and an array of tempting toppings – a true feast for the eyes and the palate!
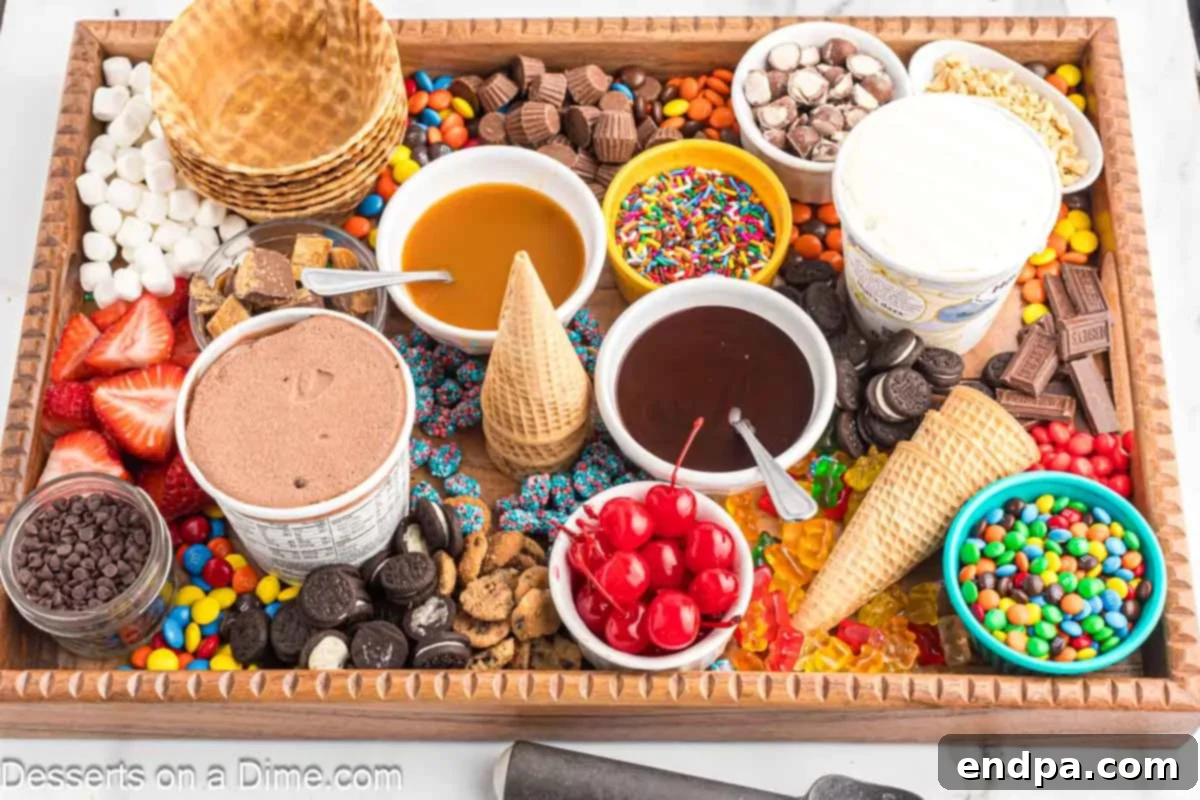
My passion for creating elaborate yet simple charcuterie boards is only rivaled by my love for ice cream! After the tremendous success of our recent Ice Cream Sundae Bar, a brilliant idea sparked: why not merge these two beloved concepts into one spectacular Ice Cream Charcuterie Board? The result was nothing short of fabulous, offering an interactive and visually stunning dessert experience that consistently wows everyone who tries it. It’s a fantastic way to elevate dessert time beyond a simple scoop.
If you enjoy creative dessert presentations, you might also love our American Flag Candy Charcuterie Board for another themed treat.
Table of Contents
- Why You Will Love This Ice Cream Board
- Essential Ingredients for Your Sweet Spread
- Crafting Your Ice Cream Charcuterie Board: A Step-by-Step Guide
- Creative Serving Suggestions
- Tips for the Ultimate Ice Cream Charcuterie Board Experience
- Discover More Easy Ice Cream Recipes
Why You Will Love This Ice Cream Board
An Ice Cream Charcuterie Board isn’t just a dessert; it’s an experience, a conversation starter, and an effortless way to entertain. The beauty lies in its simplicity: you gather your favorite ice cream varieties and a colorful assortment of toppings, then artfully arrange them on a large board. This creates an inviting, interactive dessert station that guests absolutely adore. It eliminates the need for individual plating, allowing everyone to customize their own perfect sundae or cone.
Beyond its incredible ease of assembly, this dessert board is wonderfully versatile. It’s an ideal choice for birthday parties, holiday celebrations, summer BBQs, or simply a spontaneous family treat. Its vibrant appearance makes it look incredibly put-together and festive, yet it requires minimal preparation time. Hosting has never been so relaxed and rewarding!
The customizable nature of an ice cream board means there’s something for everyone, catering to various tastes and dietary preferences. It’s a fantastic solution for entertaining large groups, as it encourages guests to mingle and interact while crafting their unique dessert creations. You’ll find it quickly becomes a go-to for all your entertaining needs, just as it has for us. For more delightful frozen treats, explore our 33 Best Ice Cream Desserts.
Essential Ingredients for Your Sweet Spread
The best part about an ice cream charcuterie board is the freedom to choose whatever you love or have on hand. Don’t feel limited by this list; let it spark your creativity! These are some of our favorite tried-and-true additions that guarantee a crowd-pleasing display:
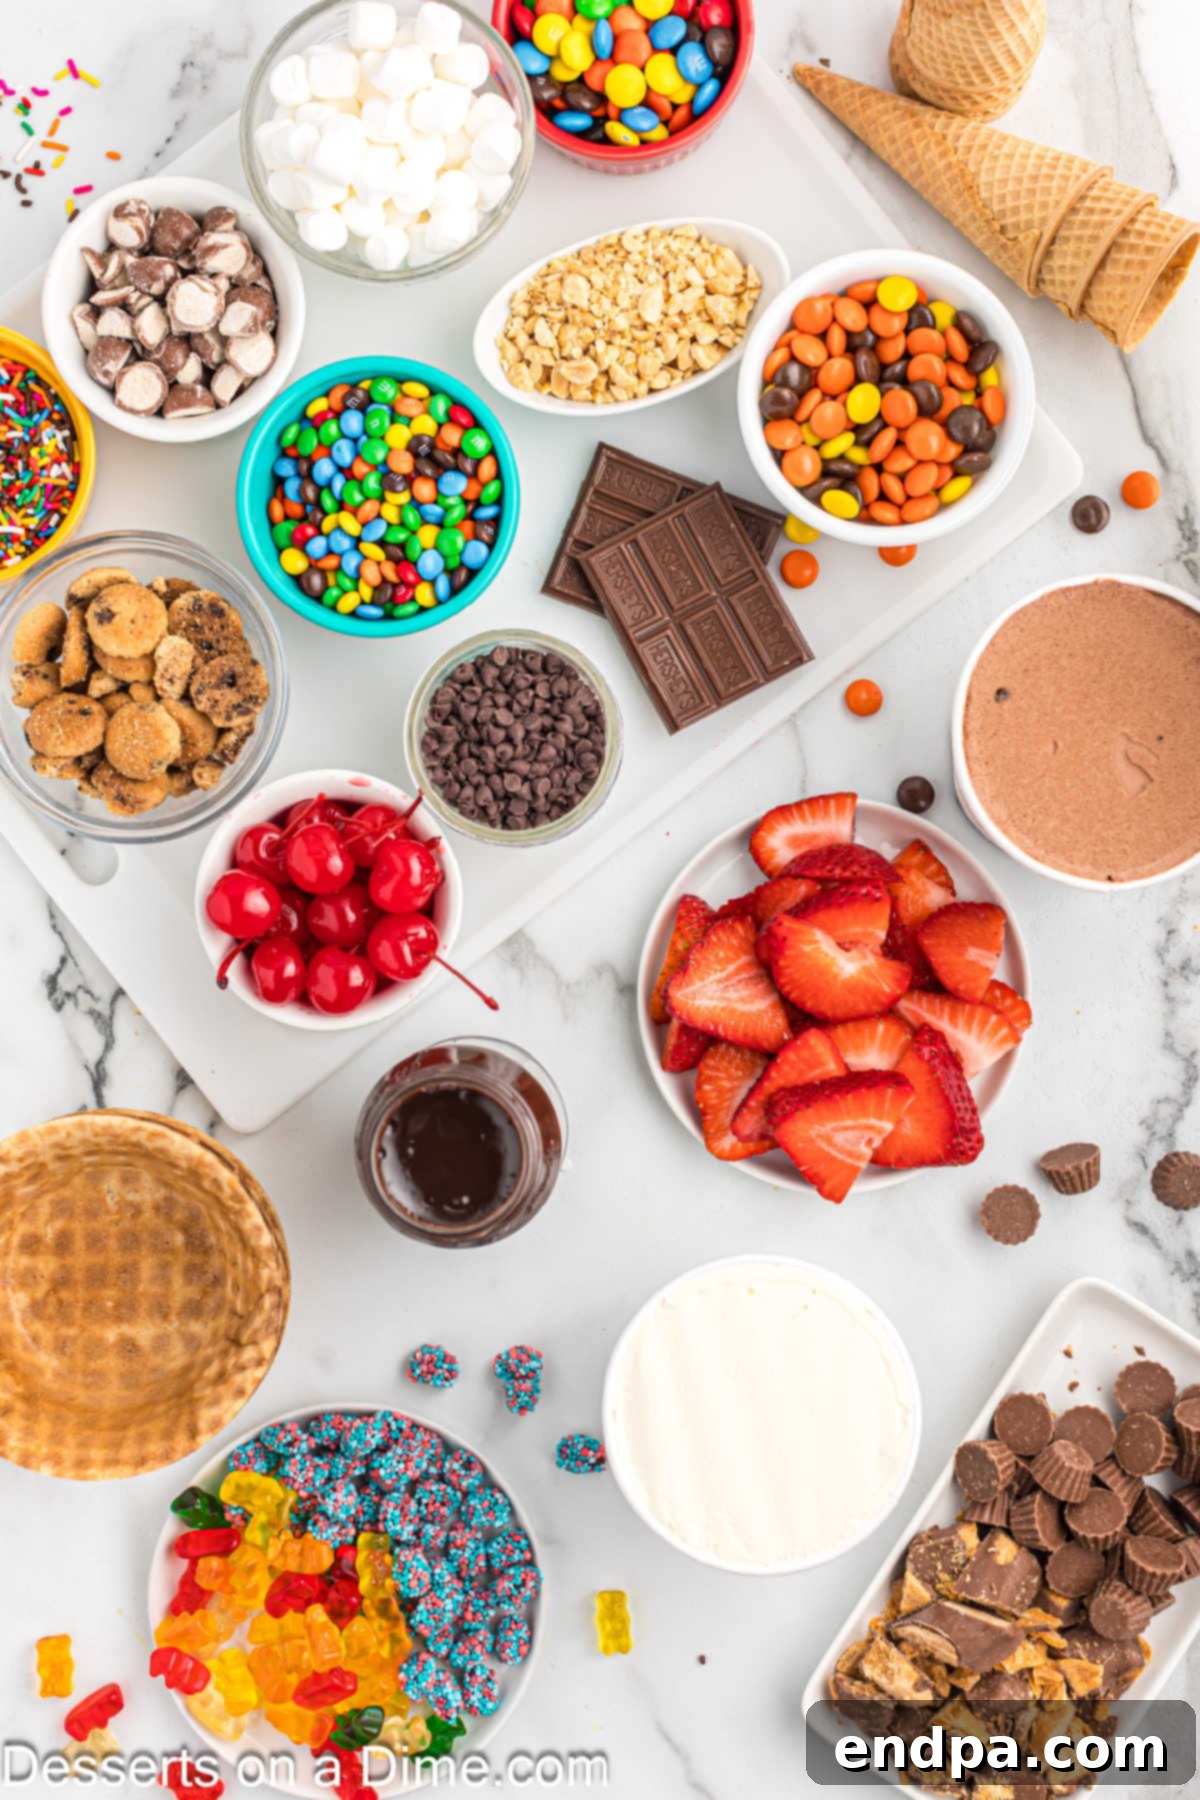
- Ice Cream & Frozen Yogurt: Pints are ideal for a charcuterie board as they fit perfectly and allow for multiple flavor options. Offer a variety of classic and unique flavors. Don’t forget the rich creaminess of homemade options! Try our Kool Aid Ice Cream, whimsical Cotton Candy Ice Cream, indulgent No Churn Chocolate Ice Cream, festive Birthday Cake Ice Cream, or the timeless Vanilla Ice Cream. Include your favorite frozen yogurt for a lighter option.
- Decadent Sauces: No sundae is complete without a generous drizzle!
- Strawberry Topping: Bright and fruity, especially delightful with homemade Strawberry Sauce.
- Hot Fudge Topping: Rich, warm, and utterly irresistible. Our easy hot fudge recipe is simply the best, but a good quality chocolate sauce works too.
- Caramel Topping: Sweet and buttery, make your own homemade caramel sauce in minutes for an extra special touch.
- Peanut Butter Topping: A family favorite, this peanut butter topping is quick, easy, and incredibly popular.
- Magic Shell: Add a fun, hardening chocolate coating with our amazing Magic Shell Recipe.
- Mini Marshmallows: A classic topping, look for different flavors or shapes to add an extra element of fun.
- Crunchy Cookies: Offer a variety of textures and flavors. Animal crackers, mini chocolate sandwich cookies (like Oreos), and chocolate chip cookies are always a hit. Break them into pieces for easy grabbing.
- Assorted Candies: This is the perfect opportunity to use up leftover Halloween candy or simply indulge in your favorites. Popular choices include: thin peanut butter cups, gummy worms, taffy, gummy rings and slices, Mike & Ikes, Swedish fish, Skittles, M&M’s, gummy rainbow drops, vibrant sprinkles, and colorful licorice.
- Fresh Fruit: Not only do fruits add a refreshing contrast, but they also bring beautiful color to your board. Sliced bananas, juicy strawberries, and plump blueberries are excellent choices. Don’t forget a jar of maraschino cherries for that iconic “cherry on top.”
- Whipped Cream: A cloud of fluffy whipped cream is essential. Use store-bought Cool Whip for convenience or impress with our rich Homemade Whipped Cream Recipe.
- Nutty Delights: Add a savory crunch with chopped peanuts, wet walnuts, or sliced almonds.
- Cubes of Cake: For an extra luxurious touch, include bite-sized cubes of Pound Cake or brownie pieces.
For a complete list of ingredients and precise measurements, refer to the detailed recipe card at the bottom of this article. Remember, the goal is variety and visual appeal, so mix and match to your heart’s content!
Crafting Your Ice Cream Charcuterie Board: A Step-by-Step Guide
Assembling your ice cream charcuterie board is a creative and straightforward process. Follow these steps for a stunning and delicious presentation that will delight everyone.
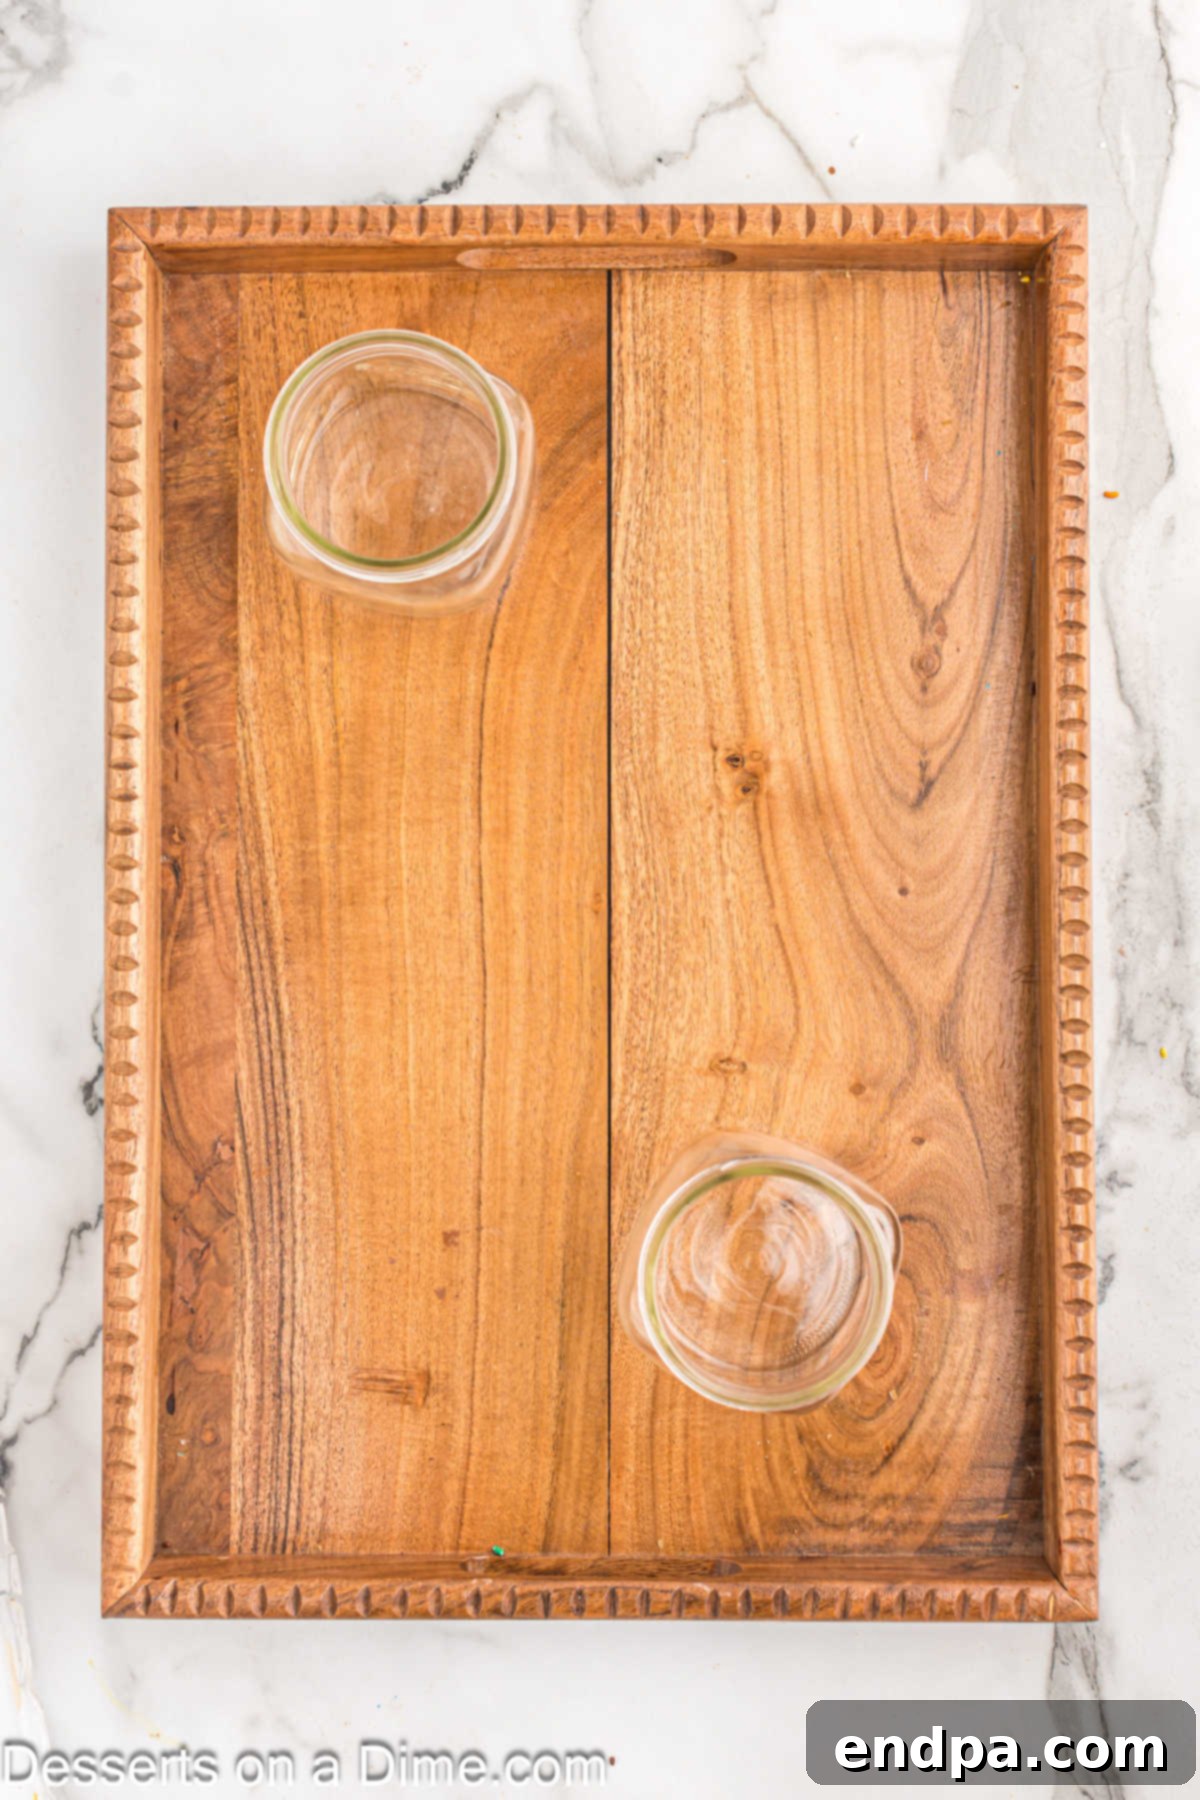
Step 1: Select Your Board. Begin with a generously sized charcuterie board or a large wooden serving platter. Boards with raised edges are particularly helpful as they keep all the delicious items neatly contained. You can find beautiful charcuterie boards online or at home goods stores, but any large, flat surface works.
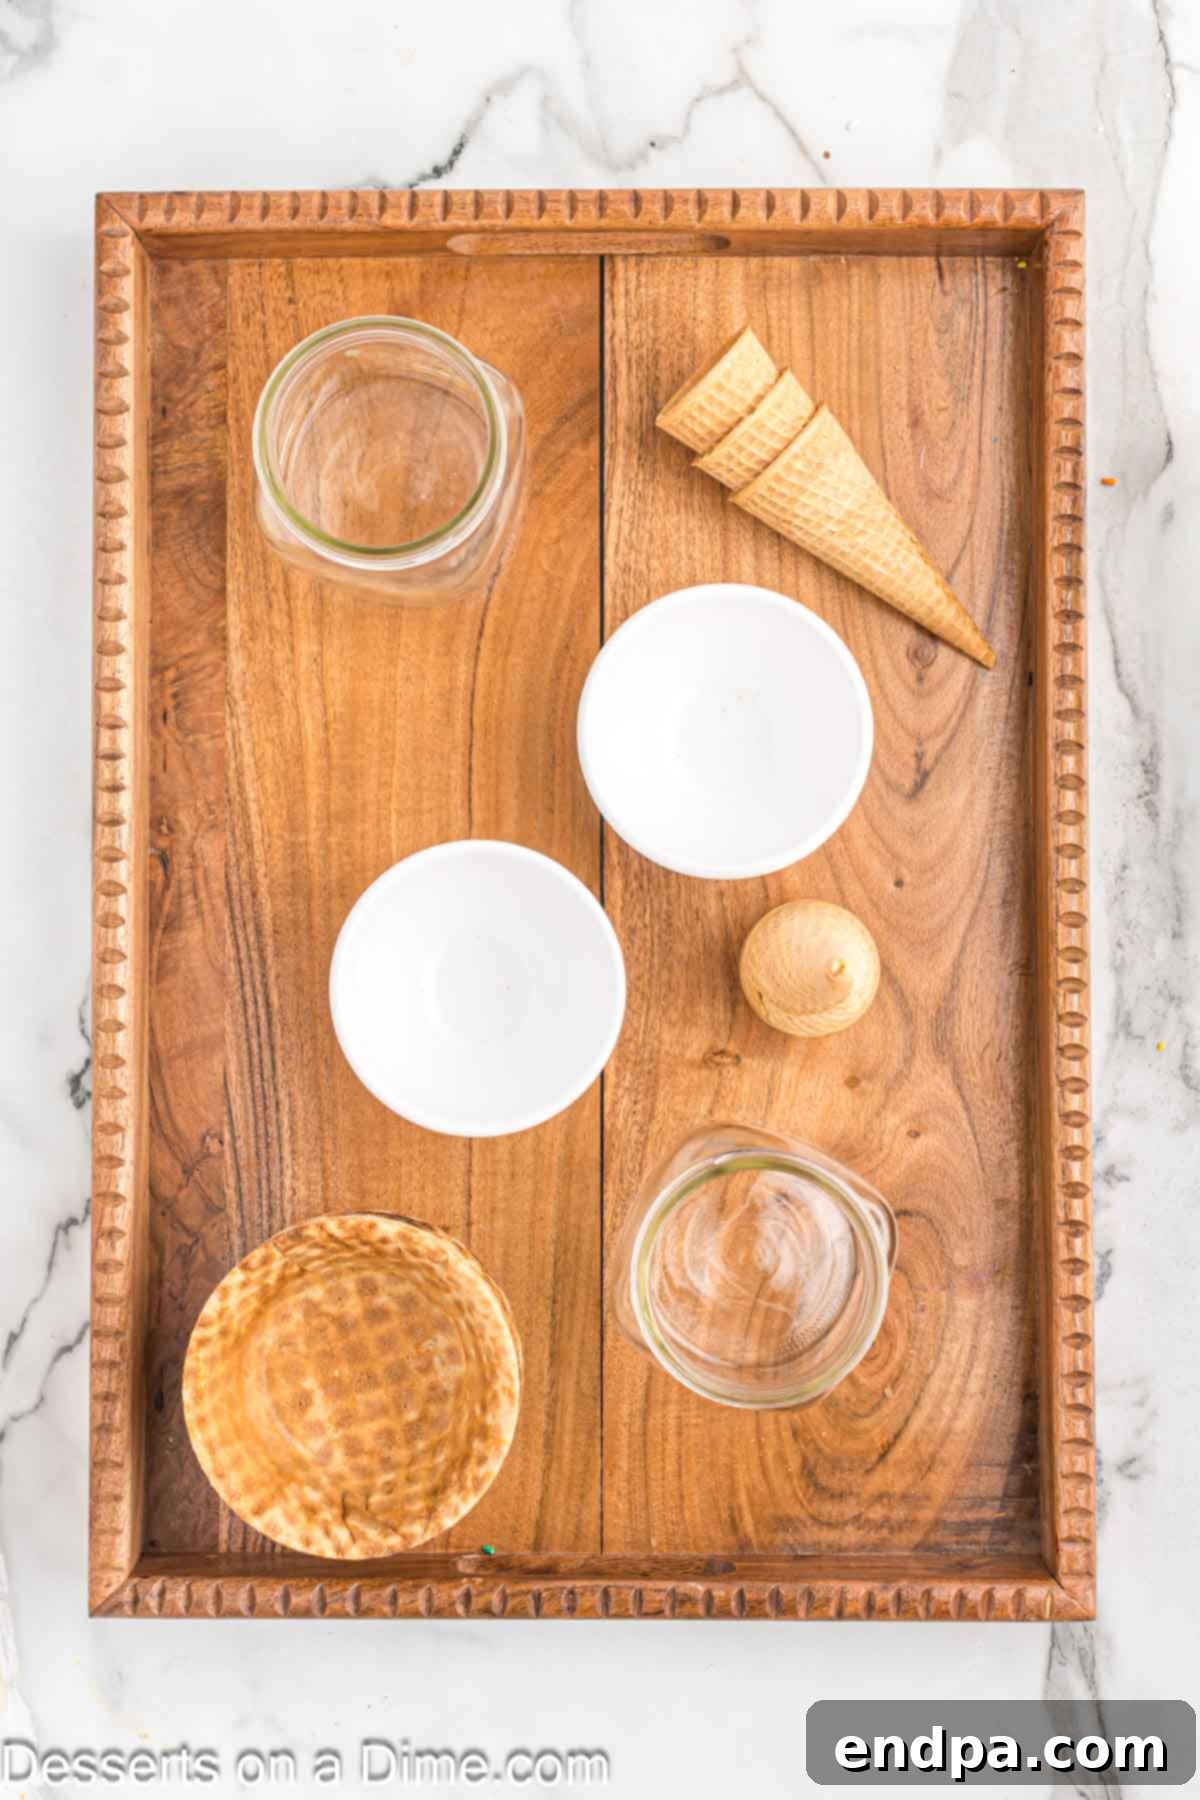
Step 2: Reserve Space for Ice Cream. Before adding any toppings, place empty cans or small containers on the board to mark the spots where your ice cream pints and frozen yogurt will go. This ensures you have perfectly sized spaces for them. Remember, the ice cream will be added last to prevent it from melting prematurely.
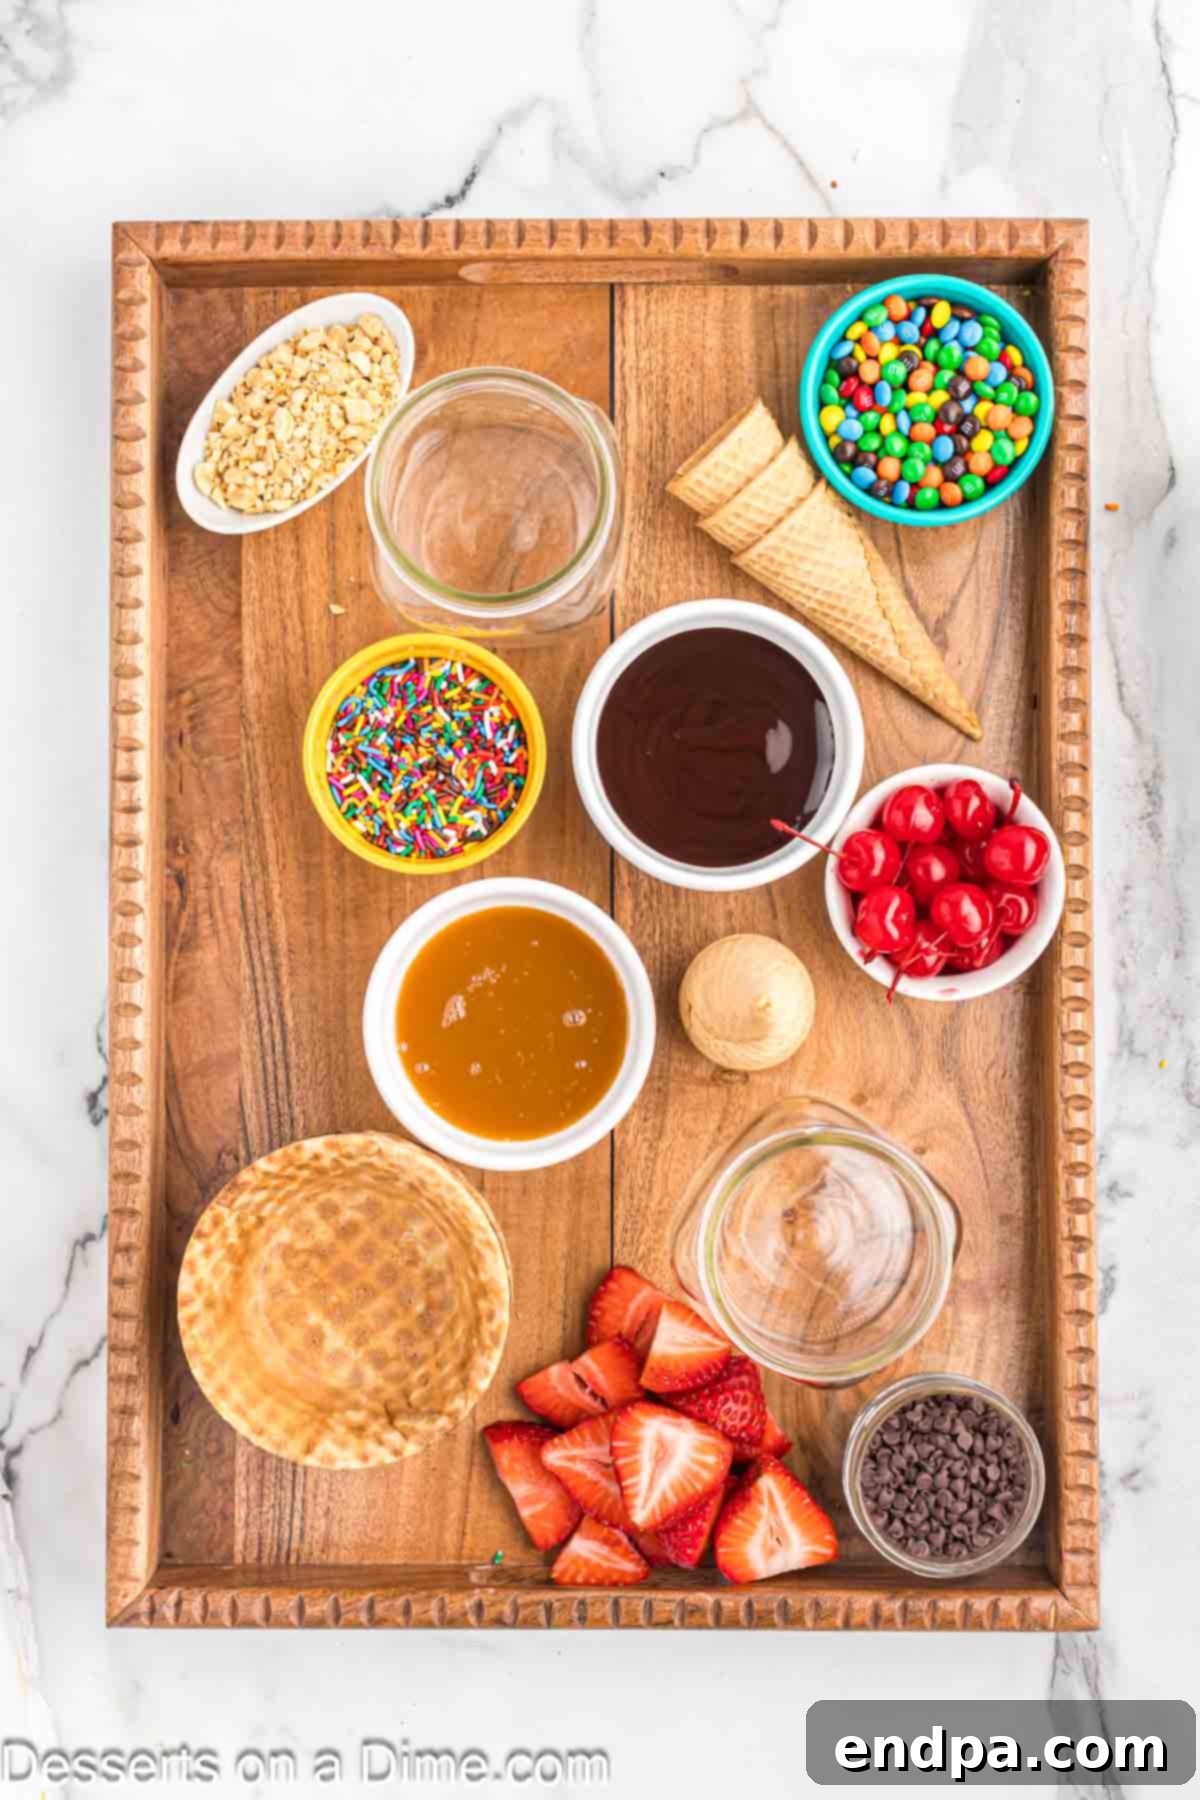
Step 3: Arrange Bowls and Cones. Now, strategically place all the empty bowls for your chosen sauces and smaller toppings. Scatter ice cream cones and waffle bowls around the board, ensuring they are easily accessible. Consider placing them near where the ice cream pints will eventually sit.
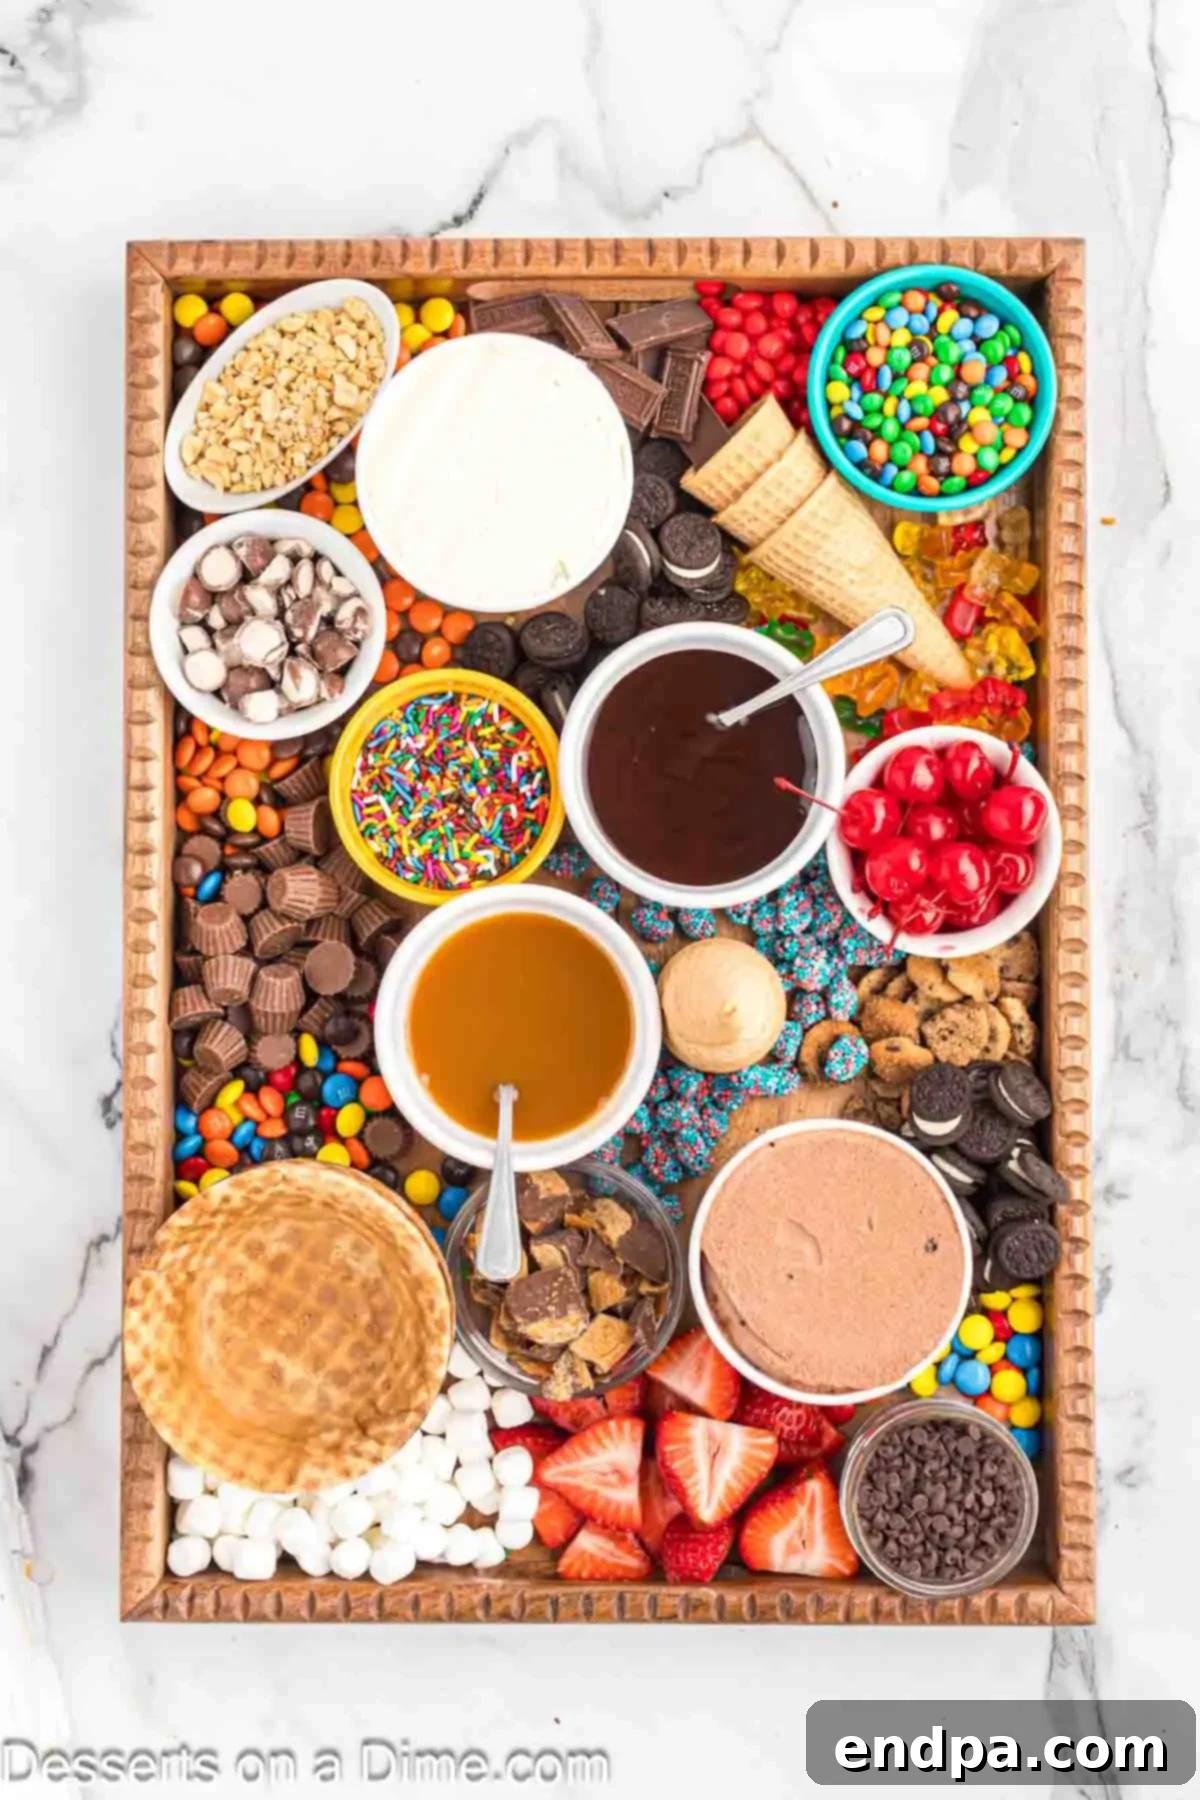
Step 4: Fill with Toppings. Begin filling the board with your toppings, starting with the largest items first. Place items like yogurt pretzels and clusters of fruit in distinct sections. Next, add medium-sized items such as cookies or larger candies. Finally, fill any remaining gaps and empty bowls with the smallest items like sprinkles, mini marshmallows, and your various sauces. Aim for a balanced and visually appealing arrangement, distributing colors and textures evenly.
Creative Serving Suggestions
While the ice cream charcuterie board itself is a showstopper, enhancing the serving experience can make it even more special. Here are some creative ways to enjoy your sweet spread:
- Elegant Sundae Glasses: For a touch of classic elegance, offer sundae glasses. These reusable glass dishes instantly elevate the dessert, making guests feel like they’re at a gourmet ice cream parlor. They’re perfect for parties and can be used for many other desserts.
- Convenient Disposable Party Cups: Sometimes, convenience is key, especially for larger gatherings or outdoor events. Opt for adorable disposable ice cream cups. You can find a wide variety of cute and themed designs at party supply stores, Amazon, or even dollar stores, adding a festive touch without the cleanup hassle.
- Rustic Mason Jars: For a charming, rustic, or even eco-friendly vibe, use mason jars. These versatile jars are not only practical for serving ice cream but also incredibly reusable for countless other purposes, from drinks to storage. They add a unique and stylish flair to your dessert table.
And, of course, don’t forget the classic ice cream cones and waffle bowls already arranged directly on your charcuterie board. These are always a huge hit, especially with kids, offering a fun and familiar way to enjoy their personalized ice cream creations.
Tips for the Ultimate Ice Cream Charcuterie Board Experience
To truly master the art of the ice cream charcuterie board, consider these extra tips that will ensure both stunning presentation and optimal enjoyment:
- Keep it Cool: The biggest challenge with an ice cream board is preventing premature melting. Keep the ice cream pints in the freezer until just before serving. If you’re serving outdoors or for an extended period, consider placing the entire charcuterie board on a larger tray filled with ice. Alternatively, use insulated containers for the ice cream pints within the board setup.
- Themed Boards: Take your board to the next level by choosing a theme! For example, a “Tropical Paradise” board could feature coconut ice cream, pineapple chunks, mango, and shredded coconut. A “Chocolate Lover’s Dream” could include chocolate ice cream, chocolate syrup, brownie bites, and various chocolate candies.
- Dietary Considerations: Be mindful of guests with dietary restrictions. Offer a dairy-free ice cream option, gluten-free cookies, and clearly label items that contain common allergens like nuts. This thoughtful gesture ensures everyone can enjoy the fun.
- Prep Ahead: Most of the toppings can be prepped and arranged hours in advance. Chop fruits, open candy packages, and pour sauces into their respective bowls. Cover the board loosely with plastic wrap and refrigerate (for non-ice cream items) until about 15-20 minutes before serving.
- Accessorize: Don’t forget small spoons, scoops, and plenty of napkins! Small tongs can be helpful for guests to pick up candies and cookies without direct contact.
- Visual Appeal is Key: Aim for a balance of colors and textures. Spread out vibrant fruits and colorful candies to make the board pop. Vary the height of your items using different-sized bowls or small pedestals to add depth.
Discover More Easy Ice Cream Recipes
If your newfound love for ice cream boards has you craving more frozen delights, here are some other fantastic and easy ice cream recipes to try at home:
- Whimsical Homemade Cotton Candy Ice Cream Recipe
- Classic Homemade Chipwich Ice Cream Sandwich Recipe
- Simply Delicious Easy Homemade Vanilla Ice Cream Recipe
- Indulgent Reese’s Peanut Butter Ice Cream Recipe
- Refreshing No Churn Peach Ice Cream
We hope this guide inspires you to create your very own incredible ice cream charcuterie board. It’s a fun, memorable, and surprisingly simple way to bring joy to any occasion. We’d love to hear about your creations! Please leave a comment and a star rating below to share your experience and any unique toppings you decided to use.
Pin
Ice Cream Charcuterie Board
20 minutes
20 minutes
8
American
Dessert
424
Carrie Barnard
Ingredients
- Ice Cream pints work best on a board
- Frozen Yogurt
- Waffle Bowls
- Ice Cream Cones
- Strawberry Topping
- Hot Fudge Topping
- Caramel Topping
- Strawberries
- Blackberries
- Red Raspberries
- Blueberries
- Yogurt Pretzels
- Mini Marshmallows
- Cookies we used: circus animal cookies and mini chocolate sandwich cookies
- Candy we used: thin peanut butter cups, gummy worms, taffy, gummy rings and slices, Mike & Ikes, swedish fish, Skittles, M&M’s, gummy rainbow drops and licorice
Instructions
- To create board:
- Start with a large board, preferably one with edges for easier containment.
- Place empty cans or placeholders where the ice cream pints and frozen yogurt will go. These will be added last.
- Arrange small bowls for toppings, along with ice cream cones and waffle bowls, around the designated ice cream spots.
- Begin filling the board with the largest items first, such as yogurt pretzels and fresh fruit clusters.
- Add a section of medium-sized items like cookies or larger candies.
- Fill any remaining open spaces with the smallest items, including sprinkles, mini marshmallows, and sauces in their bowls.
- Just before serving, place the ice cream pints and frozen yogurt into their reserved spots. Serve immediately and enjoy!
Nutrition Facts
Calories
424
kcal
,
Carbohydrates
73
g
,
Protein
6
g
,
Fat
13
g
,
Saturated Fat
8
g
,
Trans Fat
1
g
,
Cholesterol
34
mg
,
Sodium
168
mg
,
Potassium
292
mg
,
Fiber
3
g
,
Sugar
50
g
,
Vitamin A
452
IU
,
Vitamin C
18
mg
,
Calcium
165
mg
,
Iron
1
mg
Pin This Now to Remember It Later
Pin Recipe
