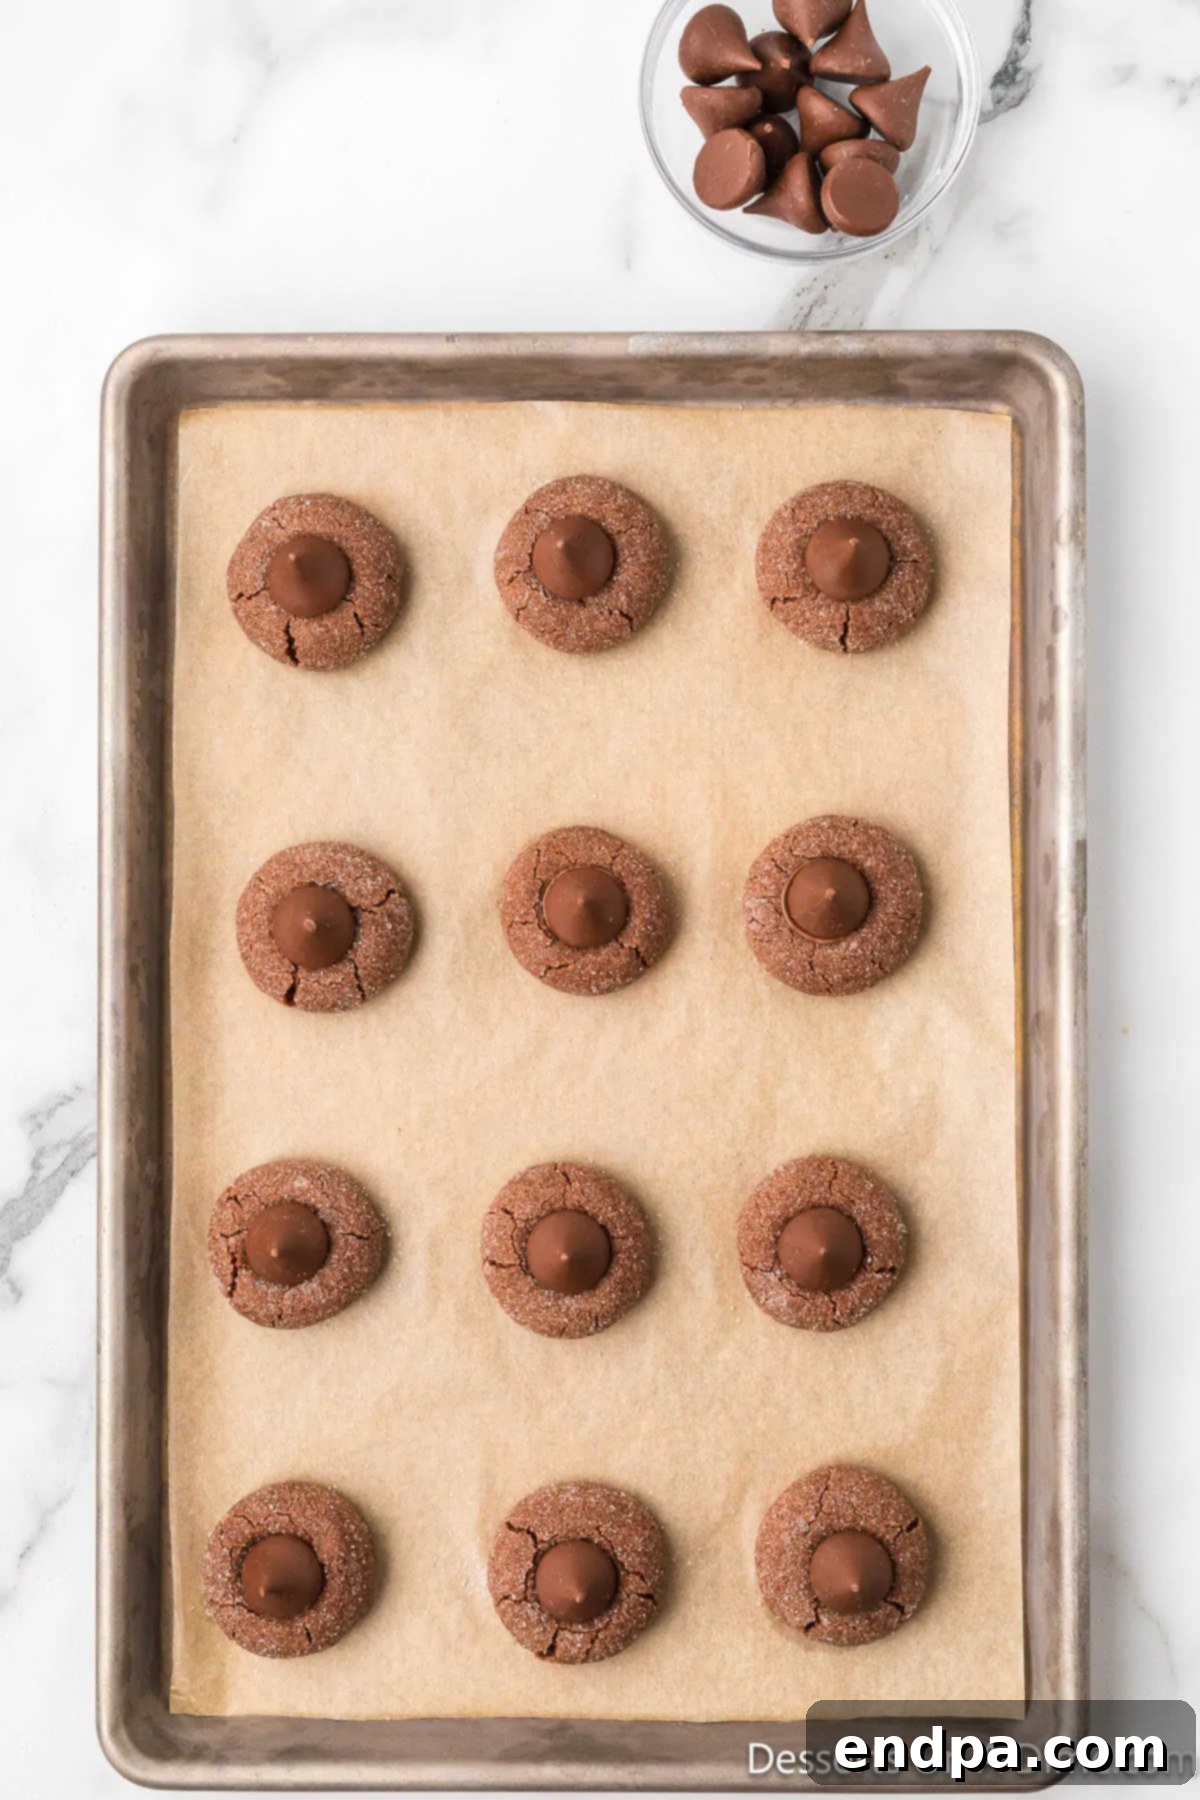
Decadent Chocolate Kiss Cookies: A Timeless Classic Recipe
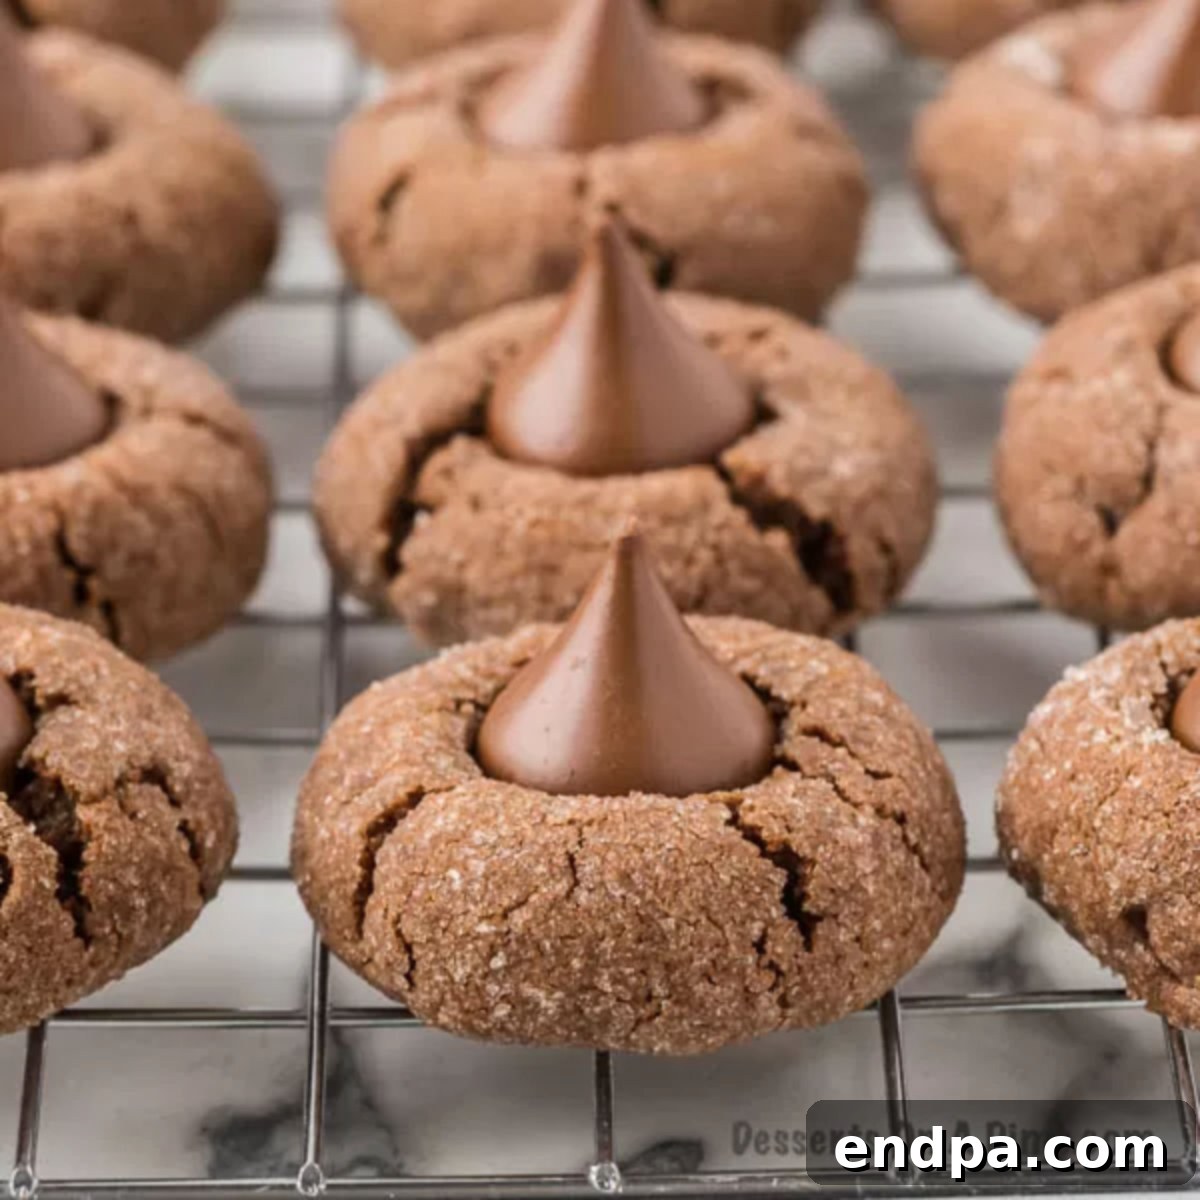
Indulge in the nostalgic charm of Chocolate Kiss Cookies, a beloved treat that combines a rich, chewy chocolate cookie base with the iconic creamy melt of a Hershey’s Kiss. This recipe offers a delightful blend of textures and intense chocolate flavor, making it an irresistible choice for any occasion. Whether you’re baking for the holidays, a special celebration, or simply to satisfy a chocolate craving, these cookies are guaranteed to bring smiles and warm memories.
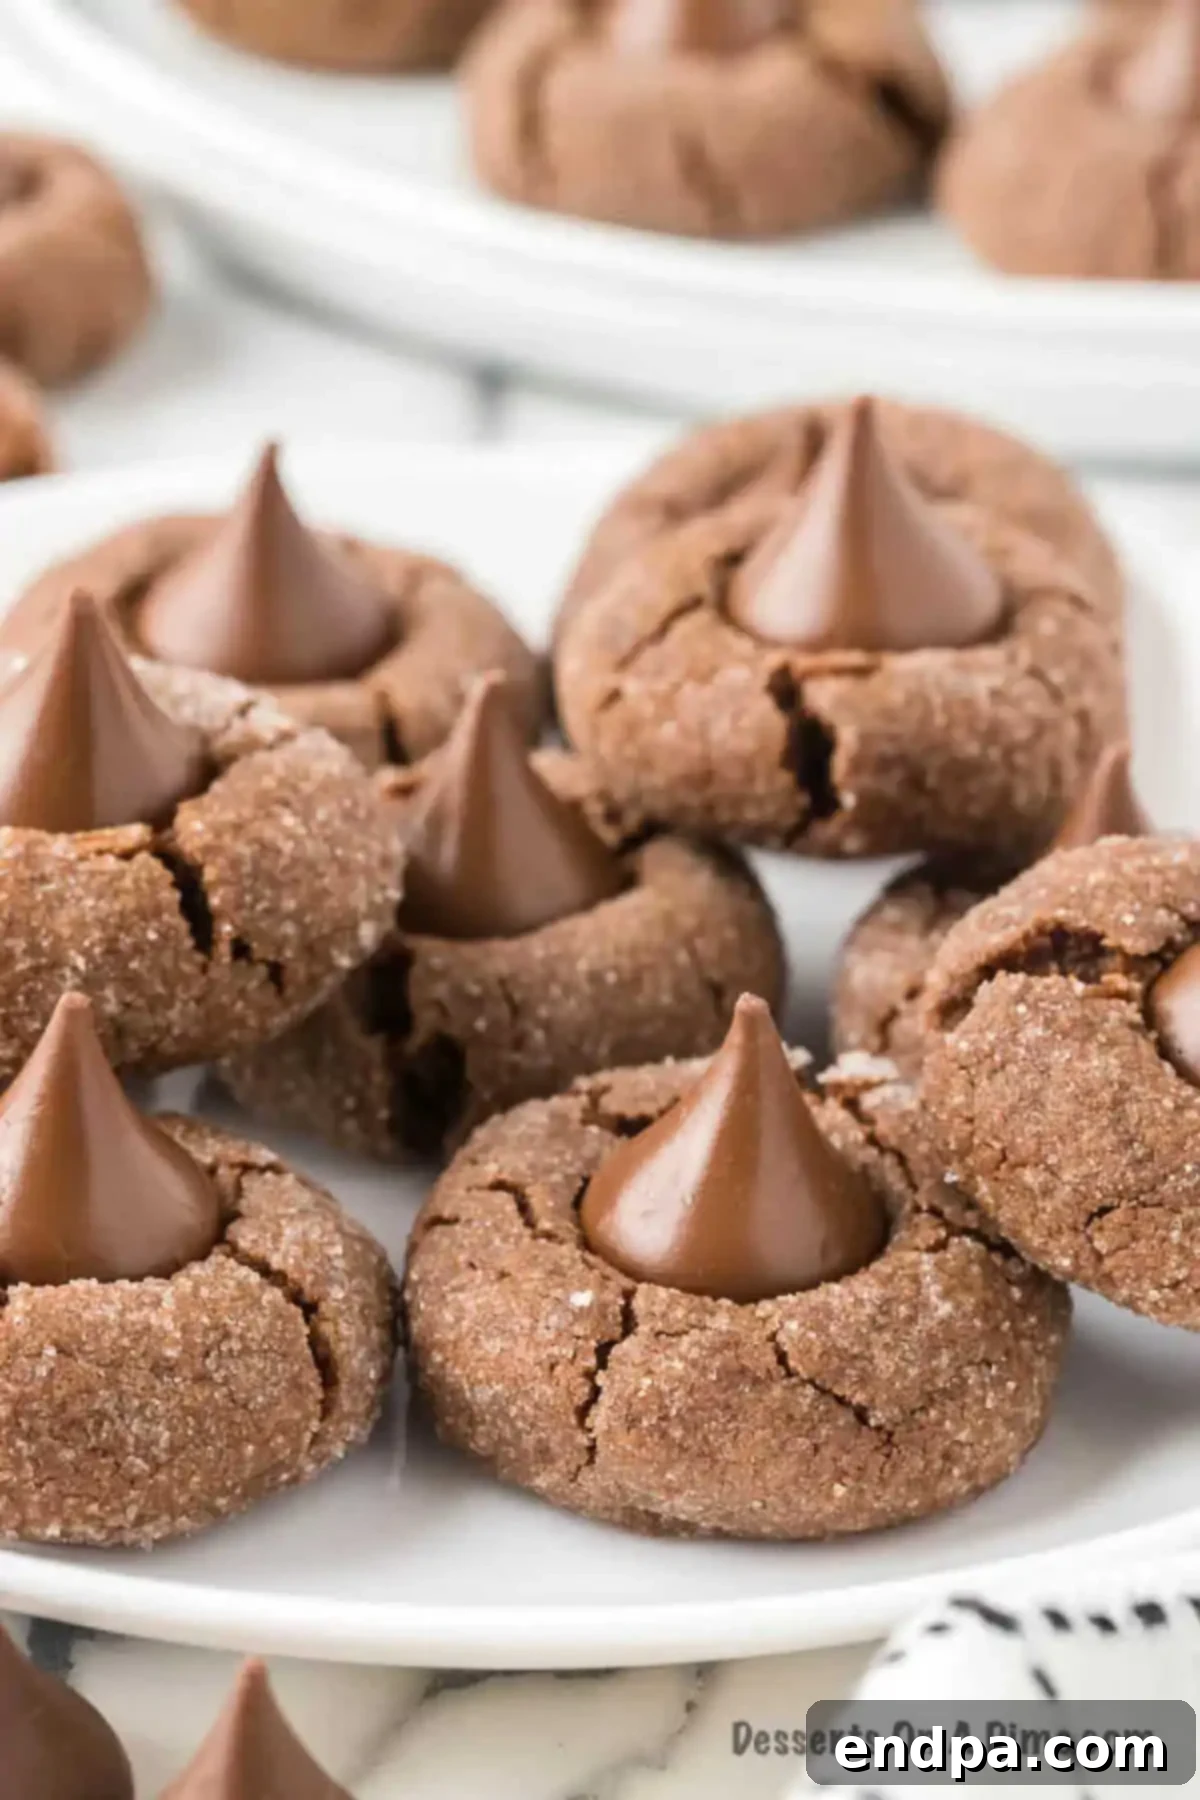
For chocolate aficionados, this chocolate cookie recipe stands out as one of the best chocolate desserts you can whip up at home. Each bite delivers an explosion of cocoa goodness, from the deep, fudgy flavor of the cookie itself to the luscious, melting chocolate topping. Having been a staple in kitchens for generations, including my own for over a decade, it’s a testament to its enduring appeal and simple perfection. The combination of easy preparation and decadent results makes these cookies an absolute crowd-pleaser that you’ll want to bake again and again.
If you’re a fan of rich chocolate treats and looking for more inspiration, you might also enjoy our Chocolate Crinkle Cookie Recipe for another classic delight that’s perfect for any festive table.
Table of Contents
- Why We Adore This Recipe
- Essential Ingredients for Perfect Chocolate Kiss Cookies
- Creative Substitutions and Additions
- How to Make Chocolate Kiss Cookies: A Step-by-Step Guide
- Storage Tips for Freshness
- Can You Freeze Chocolate Kiss Cookies?
- Expert Baking Tips for Ultimate Success
- More Kiss Cookie Variations to Explore
- More Festive Holiday Cookie Recipes
Why We Adore This Recipe
One of the most appealing aspects of these Chocolate Kiss Cookies is their incredible simplicity. Don’t let the thought of baking from scratch intimidate you; this recipe is remarkably straightforward and yields professional-tasting results without needing advanced baking skills. Even if you don’t consider yourself an experienced baker, you’ll find this process incredibly easy, rewarding, and truly fun. The satisfaction of creating such a delicious treat from simple ingredients is unmatched.
These cookies are perfect for a multitude of occasions, showcasing their versatility and universal appeal. They are an absolute showstopper for a holiday cookie exchange, a delightful and festive addition to any party dessert table, or simply a comforting after-school snack for the kids. Their charming appearance and delightful taste make them suitable for bake sales, potlucks, or even just a cozy evening in. If you’ve ever enjoyed the classic Peanut Butter Hershey Kiss Cookies (often called peanut butter blossoms) and loved that unique texture and flavor combination, then you’re in for an equally delightful treat with their chocolate counterpart. This recipe delivers that same beloved “kiss” experience, but with a deeply satisfying chocolate twist that will surely be a hit with everyone, especially serious chocolate lovers.
Beyond their ease and versatility, these cookies offer a unique textural contrast that makes them truly special. The soft, rich, fudgy chocolate cookie base perfectly complements the creamy, melt-in-your-mouth Hershey’s Kiss, which is gently pressed into its center while still warm. This combination creates a memorable treat that’s both comforting and elegant, embodying everything you love about homemade baked goods with a sophisticated touch. It’s a classic for a reason – timeless, delicious, and always appreciated.
Essential Ingredients for Perfect Chocolate Kiss Cookies
Crafting the perfect Chocolate Kiss Cookie starts with high-quality ingredients. Here’s a detailed look at what you’ll need and why each component is crucial for achieving that irresistible taste and texture:
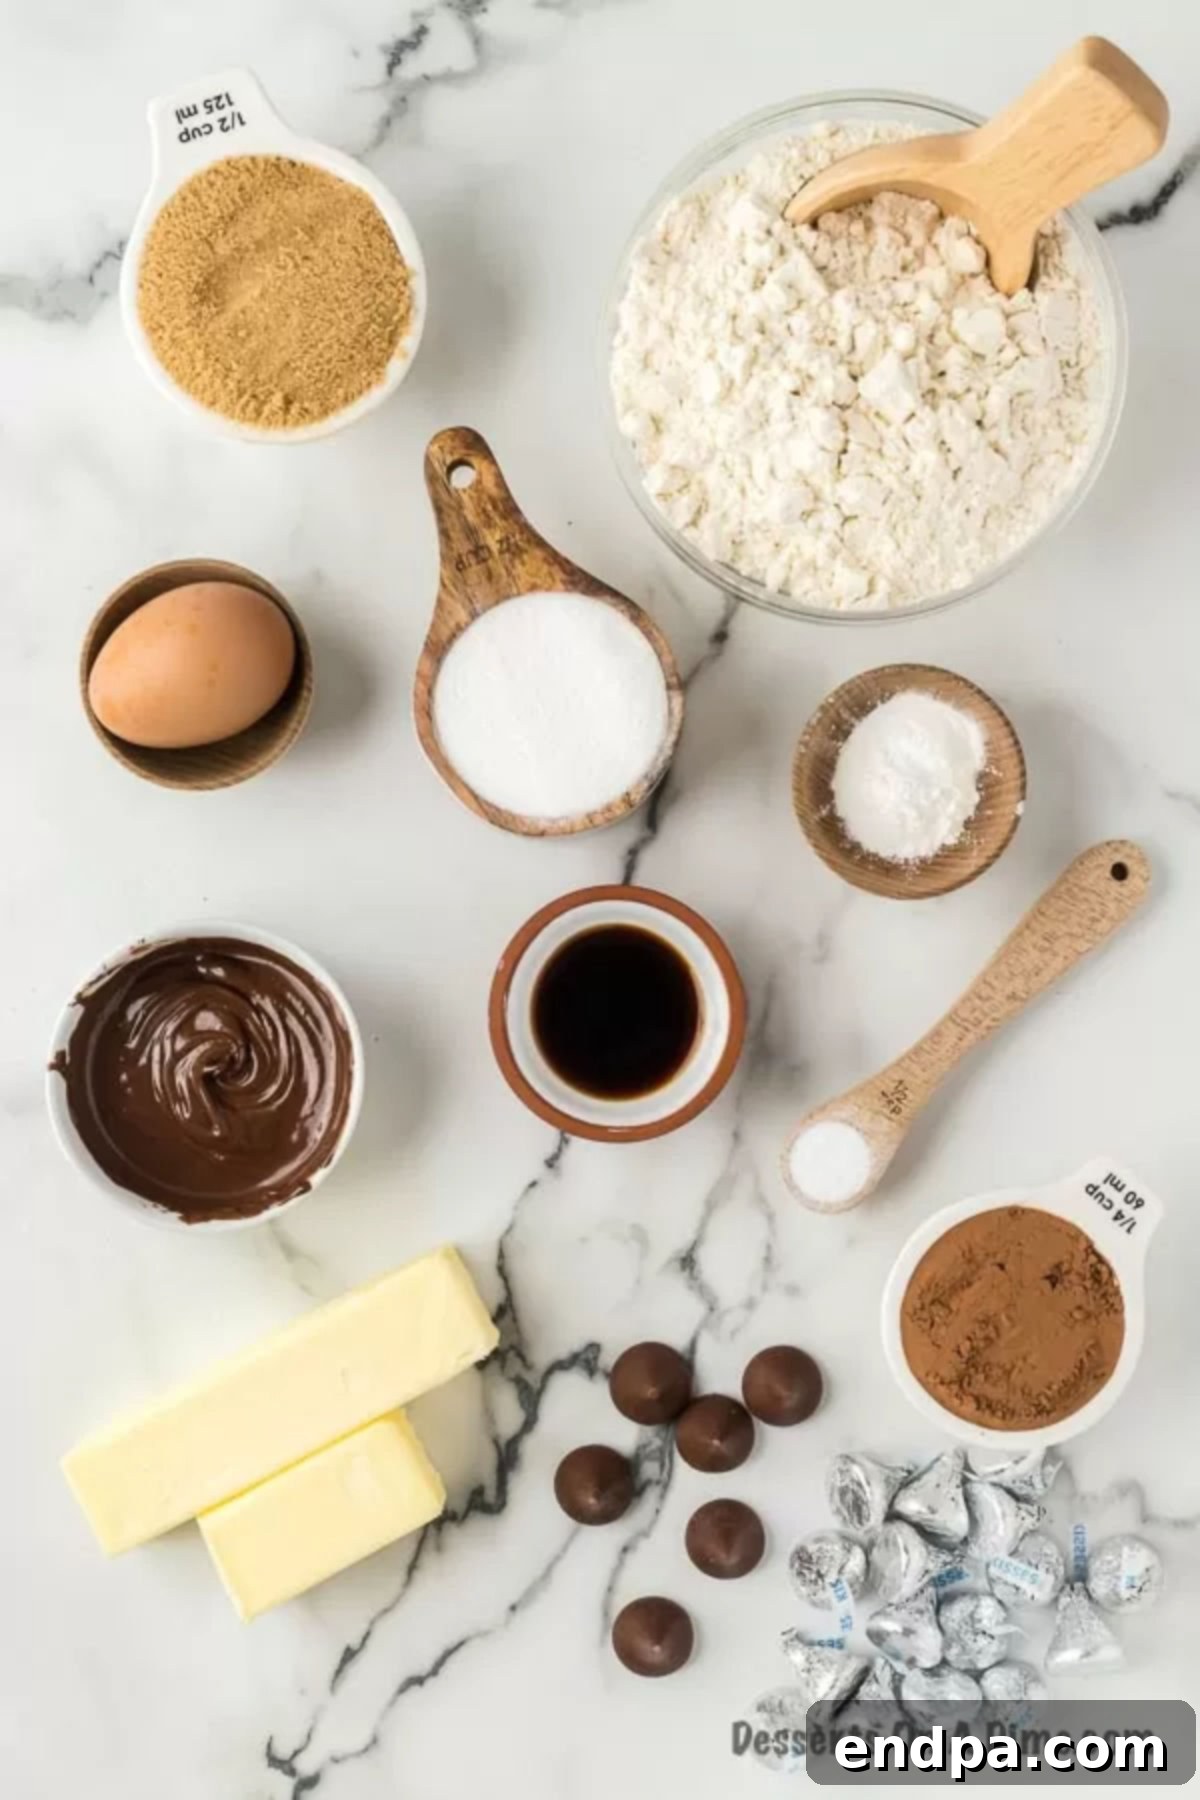
- Unsalted Butter: It is crucial that your butter is softened to room temperature. This is vital for creaming properly with the sugars, which incorporates air into the mixture and creates a light and airy base for your cookies. Cold butter won’t incorporate well, leading to a dense cookie, while melted butter can make the dough oily and cause flat, greasy cookies.
- Granulated Sugar: This provides essential sweetness to the dough and contributes to the cookie’s structure. You’ll also need a little extra for rolling the cookie balls before baking. This sugar coating on the outside provides a delightful sparkle and a slightly crisp, sweet edge to the finished cookie, adding another layer of texture.
- Brown Sugar: The addition of brown sugar is key for moisture, depth of flavor, and achieving that wonderfully chewy and fudgy texture. The molasses content in brown sugar gives these cookies their distinctive richness and helps keep them soft. For an extra special touch, you might consider making your own with our Homemade Brown Sugar Recipe.
- Pure Vanilla Extract: A crucial flavor enhancer, vanilla extract elevates the overall taste profile of the cookies. Always opt for pure vanilla extract over imitation for the best, most authentic flavor. It works synergistically with the chocolate to bring out its best qualities.
- Large Egg: Like the butter, ensure your egg is at room temperature. Eggs act as a binder, adding structure, richness, and moisture to the dough. A room-temperature egg emulsifies better with the other ingredients, resulting in a smoother, more cohesive batter.
- All-Purpose Flour: Proper measurement of flour is absolutely critical for cookie success! Spoon the flour gently into your measuring cup and then level it off with a straight edge (like the back of a knife). Scooping directly from the bag can pack significantly too much flour into the cup, leading to dry, dense, and crumbly cookies that lack the desired chewiness.
- Unsweetened Cocoa Powder: This is where the deep, intense chocolate flavor comes from for the cookie base. Using unsweetened cocoa powder allows you to control the sweetness of the cookies precisely, ensuring they are perfectly balanced.
- Semi-Sweet Baking Chocolate: Melted into the dough, this ingredient adds an extra layer of rich chocolate flavor and helps achieve that desirable fudgy interior. Using a good quality baking chocolate (such as a baking bar or high-quality chips) will significantly enhance the overall taste and texture of your cookies.
- Baking Powder: Our leavening agent, baking powder, is essential for ensuring the cookies rise beautifully in the oven and develop a soft, tender crumb. It creates the perfect lift without making them cake-like.
- Salt: Often underestimated, salt is a crucial ingredient! It’s essential for balancing the sweetness of the sugars and enhancing all the complex chocolate flavors, making them pop. Don’t skip it, as it prevents the cookies from tasting one-dimensional.
- Milk Chocolate Hershey’s Kisses: The signature topping that defines this cookie! You’ll need about 24 unwrapped Kisses. Be sure to unwrap them while the cookies are baking so they’re ready to be placed immediately after the cookies come out of the oven, allowing them to gently melt and adhere.
You can find the precise measurements and quantities for each ingredient in the full recipe card located towards the bottom of the page, ensuring you have everything you need for baking success.
Creative Substitutions and Additions to Elevate Your Chocolate Kiss Cookies
While the classic Chocolate Kiss Cookie is perfect as is, there are many exciting ways to customize this recipe and make it uniquely your own. Experiment with different Hershey’s Kiss varieties or incorporate other chocolate elements to create unique flavor profiles that will impress everyone:
- Hershey’s Hugs: For a delightful swirl of white chocolate, consider substituting some or all of the Milk Chocolate Kisses with Hershey’s Hugs. The beautiful combination of the rich dark chocolate cookie and the creamy white chocolate of the Hugs is simply divine, offering a visually appealing contrast as well.
- Peppermint Kisses: During the festive holiday season, peppermint-flavored Kisses are an absolute must-try. They infuse the cookies with a refreshing, cool, and minty kick that perfectly complements the rich chocolate cookie base, creating a truly seasonal treat.
- Caramel Kisses: If you adore the classic combination of chocolate and gooey caramel, then these Kisses are an absolute game-changer. Their soft, flowing caramel center melts beautifully into the warm cookie, creating a luxurious and indulgent experience.
- Seasonal Hershey’s Kisses: Keep an eye out for the various seasonal and limited-edition Hershey’s Kiss flavors available throughout the year. From pumpkin spice to cherry cordial, or even special holiday-themed Kisses, these can add a fun, timely twist and exciting new flavors to your cookies, making them perfect for any celebration.
- Dark Chocolate: For an even more intense and sophisticated chocolate experience, consider using dark chocolate baking chocolate in the dough, and then topping the cookies with Dark Chocolate Kisses. This variation is particularly loved by those who prefer less sweetness and a deeper, more robust cocoa note.
- Peanut Butter Cups: While technically not a Hershey’s Kiss, miniature peanut butter cups can be pressed into the warm cookies for a fantastic and irresistible chocolate and peanut butter combination. Just ensure they are unwrapped before placing them on the hot cookies.
- Chocolate Chips: If you happen to be out of Hershey’s Kisses or simply prefer a different texture, you can sprinkle a few chocolate chips (milk, semi-sweet, or dark) on top of each cookie immediately after baking. They’ll melt slightly and create a lovely visual effect and added chocolate bursts.
- Chopped Nuts: For an added layer of crunch and nutty flavor, consider folding 1/2 cup of finely chopped walnuts or pecans into the cookie dough. This introduces another delightful texture and a complementary earthy note to the rich chocolate.
- Espresso Powder: A teaspoon of instant espresso powder (or instant coffee granules) added to the dry ingredients won’t make your cookies taste like coffee, but it will significantly deepen and enhance the chocolate flavor, making it taste even more profound and complex.
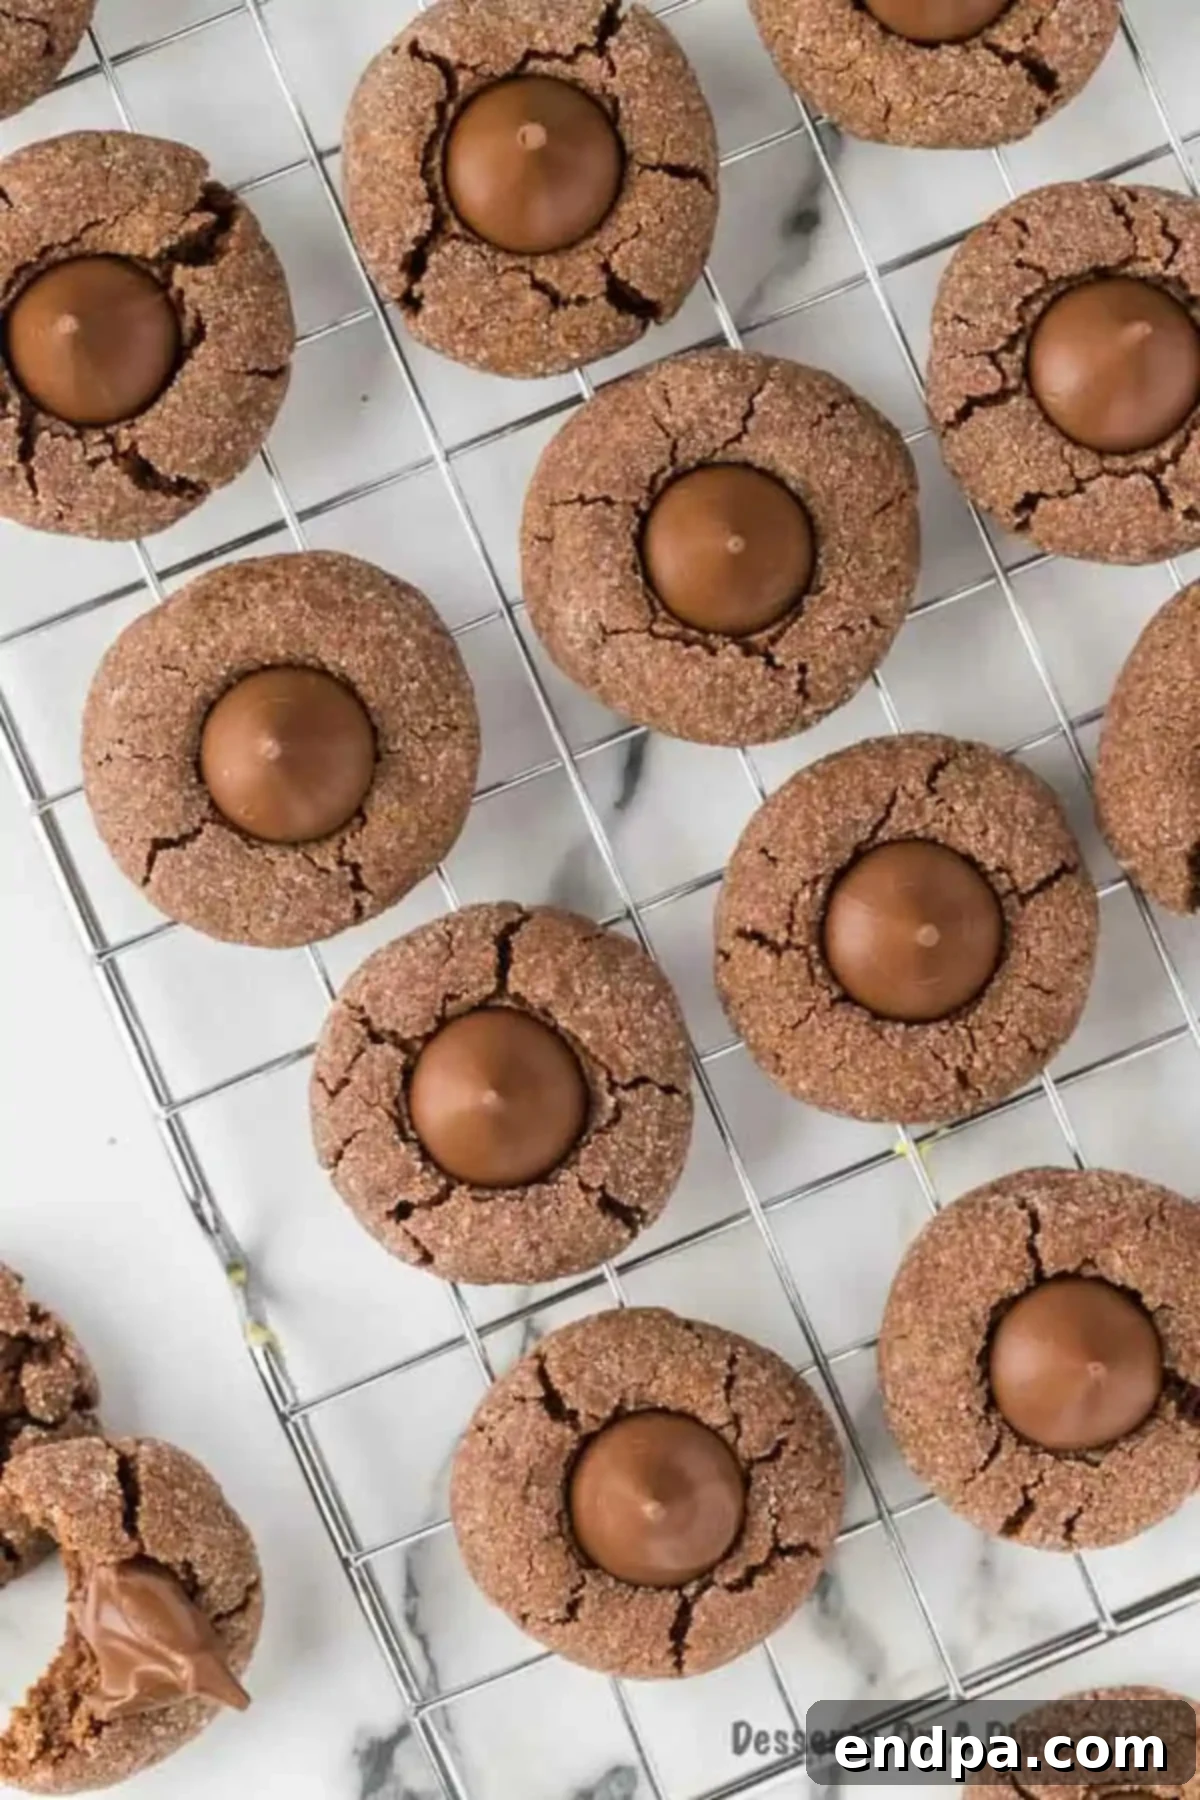
How to Make Chocolate Kiss Cookies: A Step-by-Step Guide
Follow these detailed instructions to create perfectly chewy, rich, and delicious Chocolate Kiss Cookies that will impress everyone:
Step 1: Prepare Your Workspace and Oven
Begin by preheating your oven to 350°F (175°C). Line several baking sheets with parchment paper. This crucial step prevents the cookies from sticking to the pan and ensures more even baking, making cleanup significantly easier. You can also use silicone baking mats if preferred.
Step 2: Melt the Semi-Sweet Chocolate

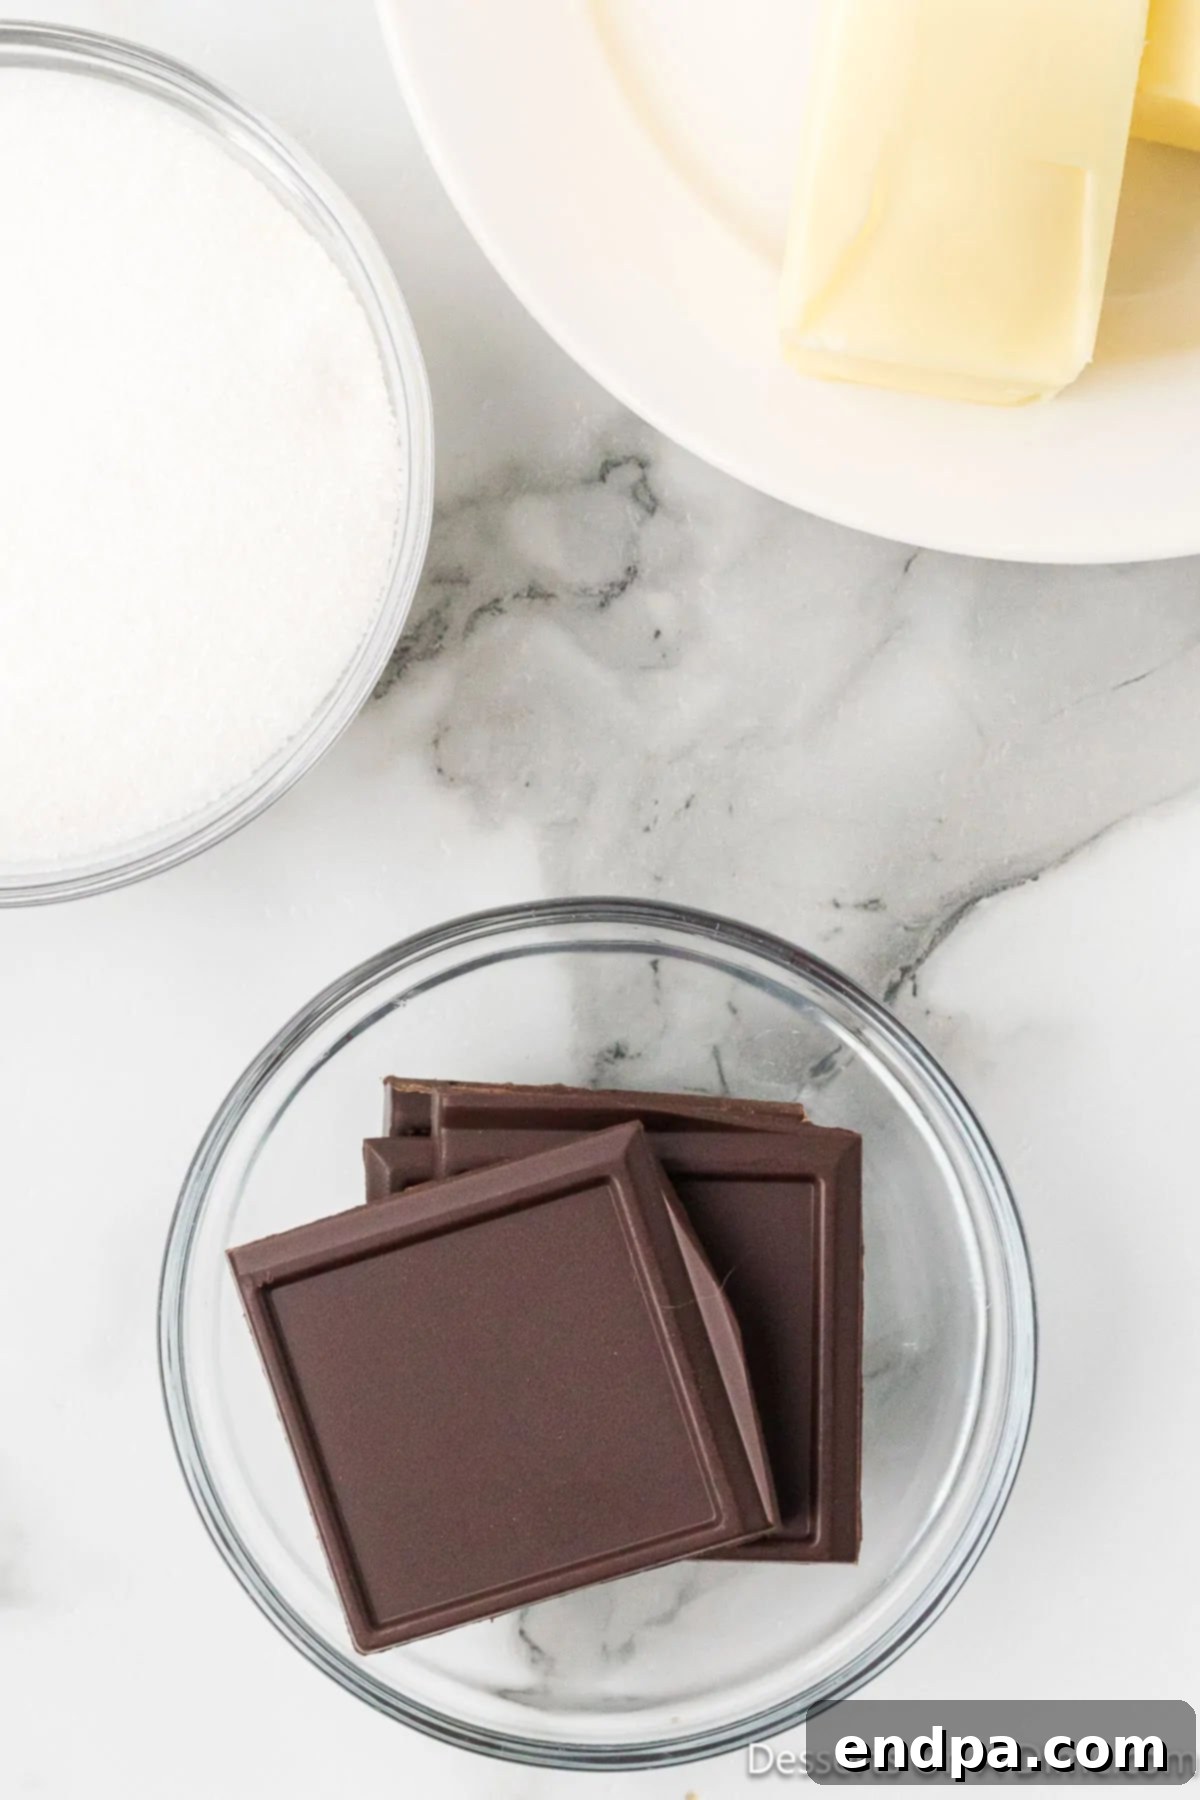
Semi-sweet chocolate squares prepared for melting. Place the 1/4 cup of semi-sweet baking chocolate in a microwave-safe bowl. Heat the chocolate in short 20-second intervals, stirring thoroughly after each interval, until the chocolate is fully melted and completely smooth. Be careful not to overheat it, as chocolate can seize and become unusable. Once melted, set the chocolate aside to cool slightly to avoid scrambling the egg in a later mixing step.
Step 3: Cream Butter and Sugars

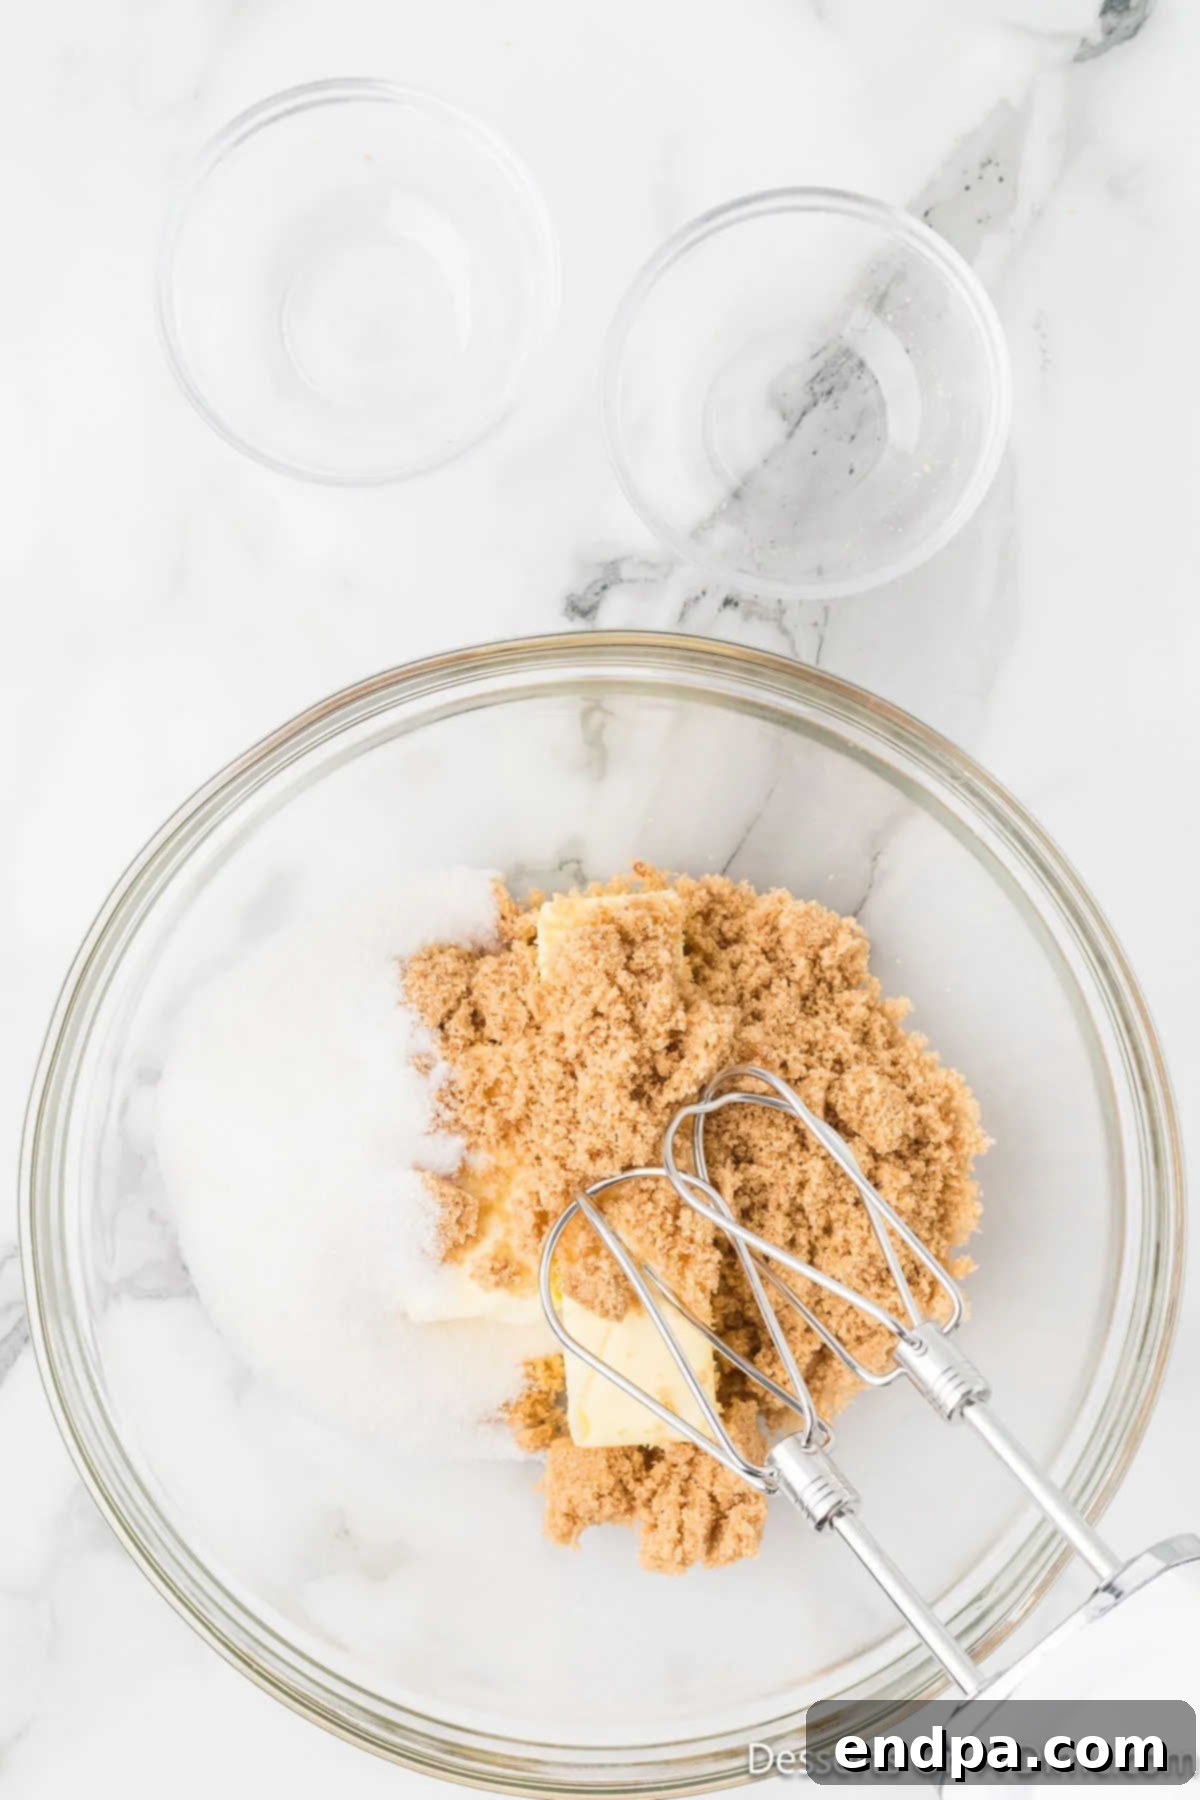
The butter and sugars are creamed until light and fluffy. In a large mixing bowl, using a stand mixer fitted with the paddle attachment or a hand mixer, cream together the softened unsalted butter, granulated sugar, and brown sugar. Beat on medium speed until the mixture is light, fluffy, and well combined, which typically takes about 2-3 minutes. This essential step incorporates air into the mixture, resulting in a more tender and lighter cookie texture.
Step 4: Incorporate Wet Ingredients

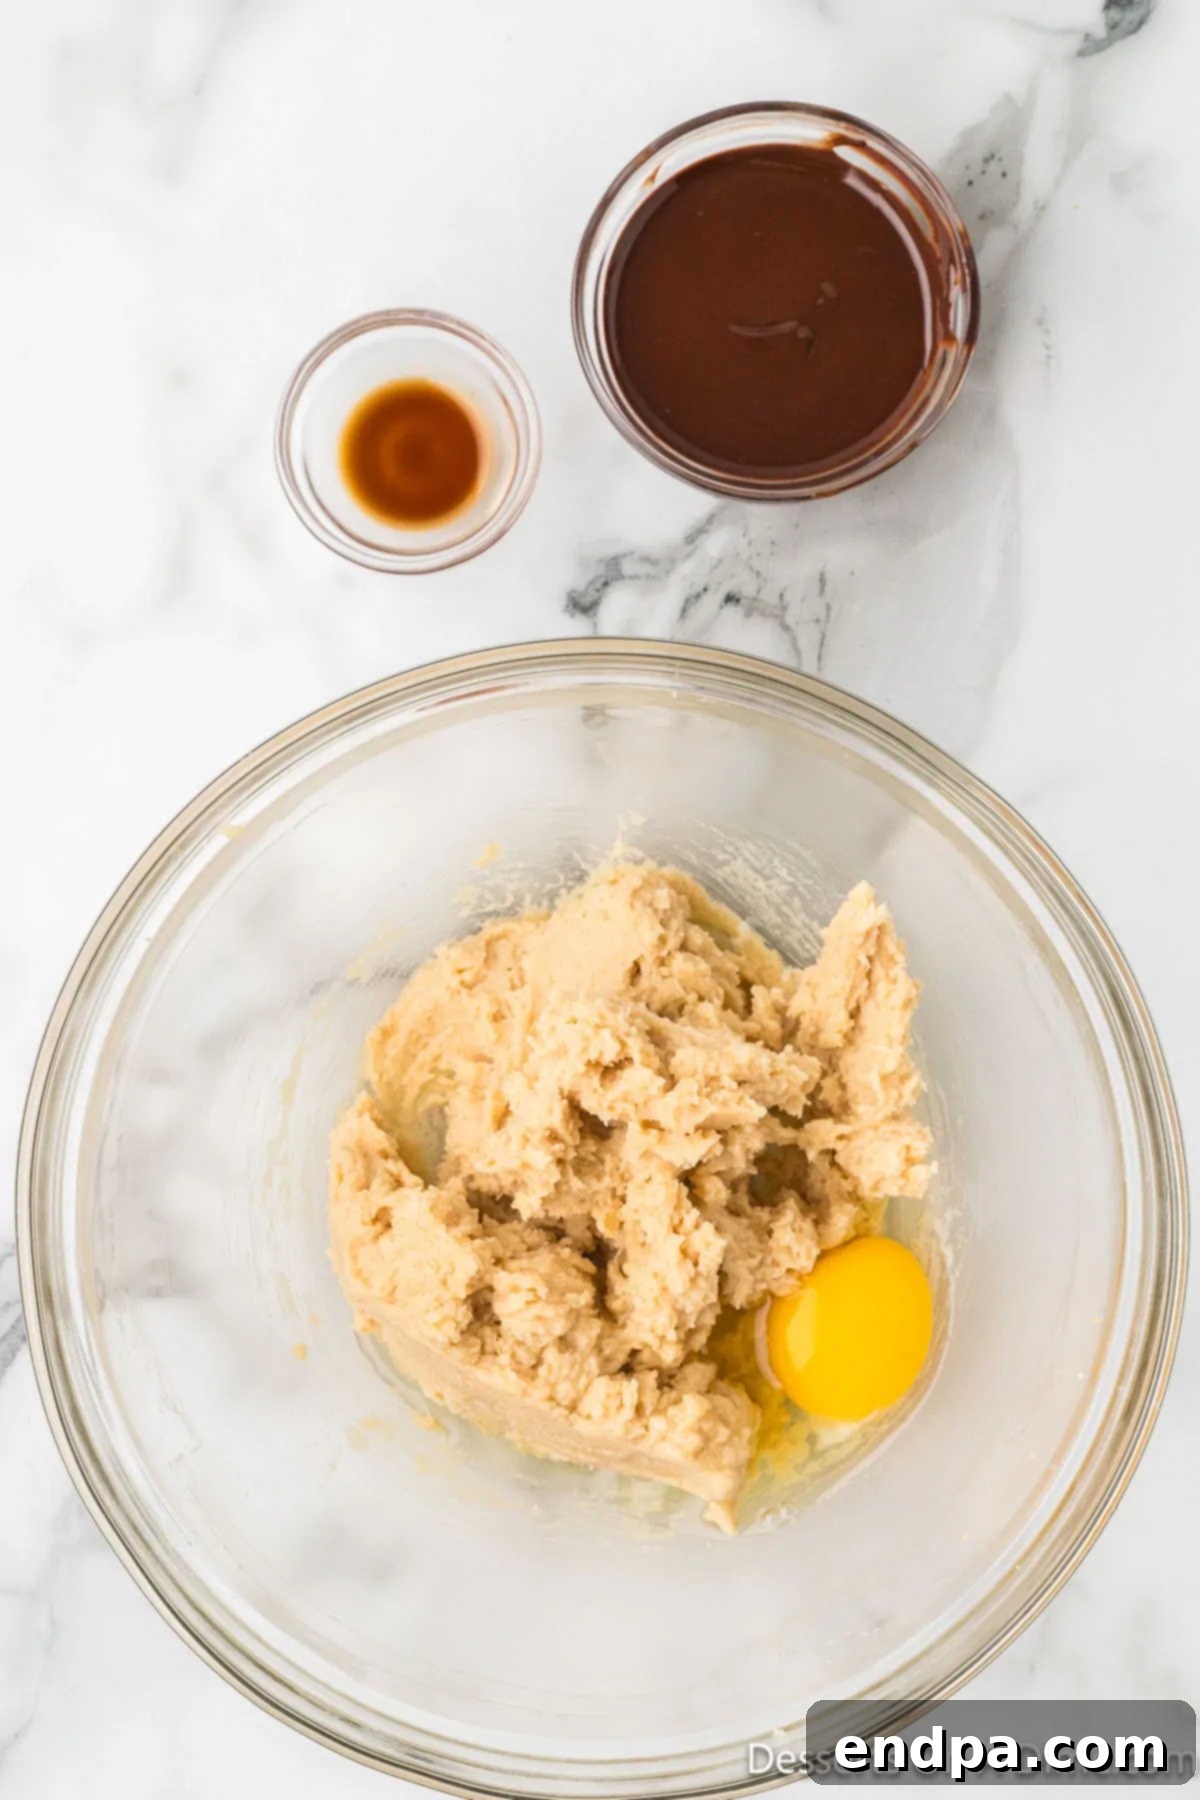
Egg, vanilla, and cooled melted chocolate added to the creamed mixture. Next, add the room-temperature egg, pure vanilla extract, and the slightly cooled melted chocolate to the creamed butter and sugar mixture. Beat these ingredients together until they are just combined and smooth. It is crucial to ensure the melted chocolate is not hot when added, as hot chocolate will cook the egg, creating an undesirable texture in your dough.
Step 5: Beat the Mixture

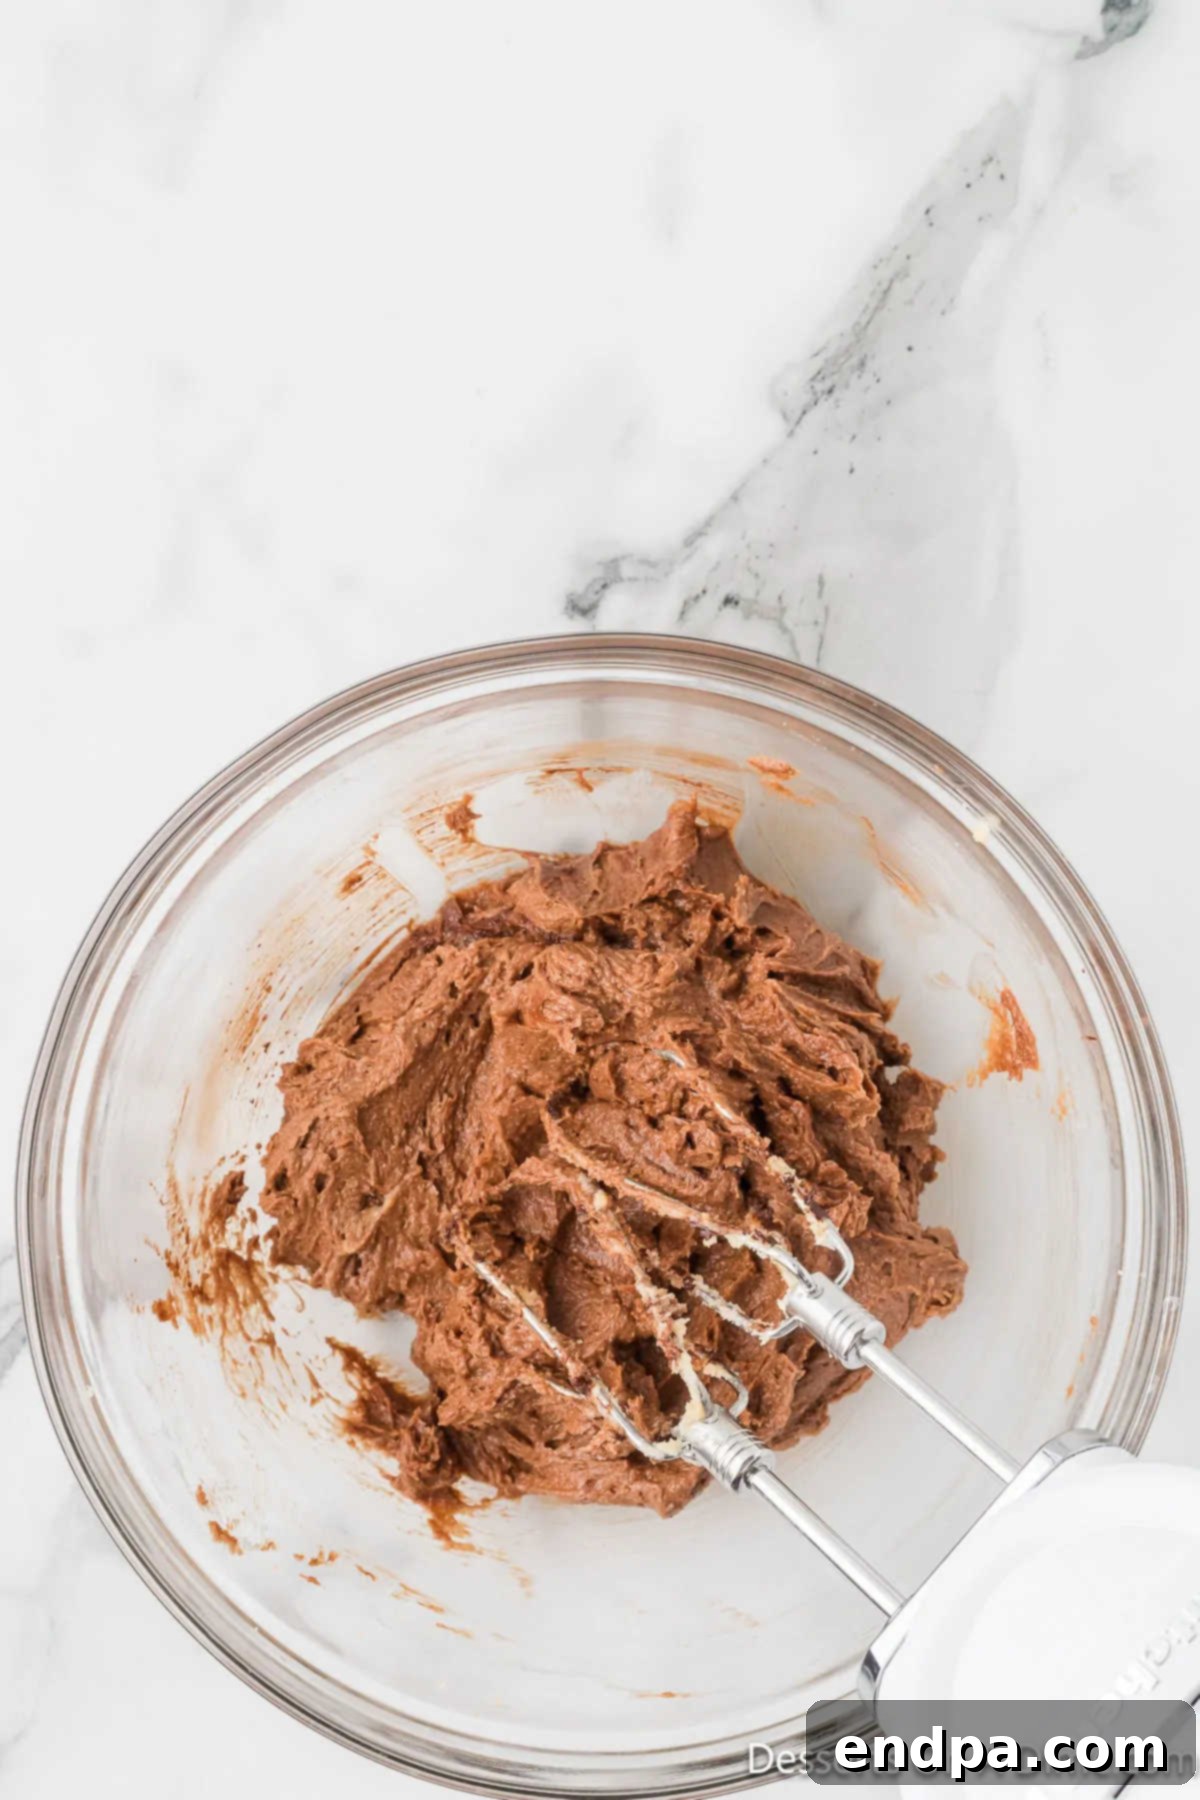
All wet ingredients, including cocoa, are mixed thoroughly. Continue beating the mixture until all the wet ingredients are thoroughly incorporated. Ensure there are no streaks of unmixed egg or chocolate. As a reminder, the chocolate must be cooled to avoid cooking the egg, which can negatively impact the cookie’s texture.
Step 6: Combine Dry Ingredients Separately

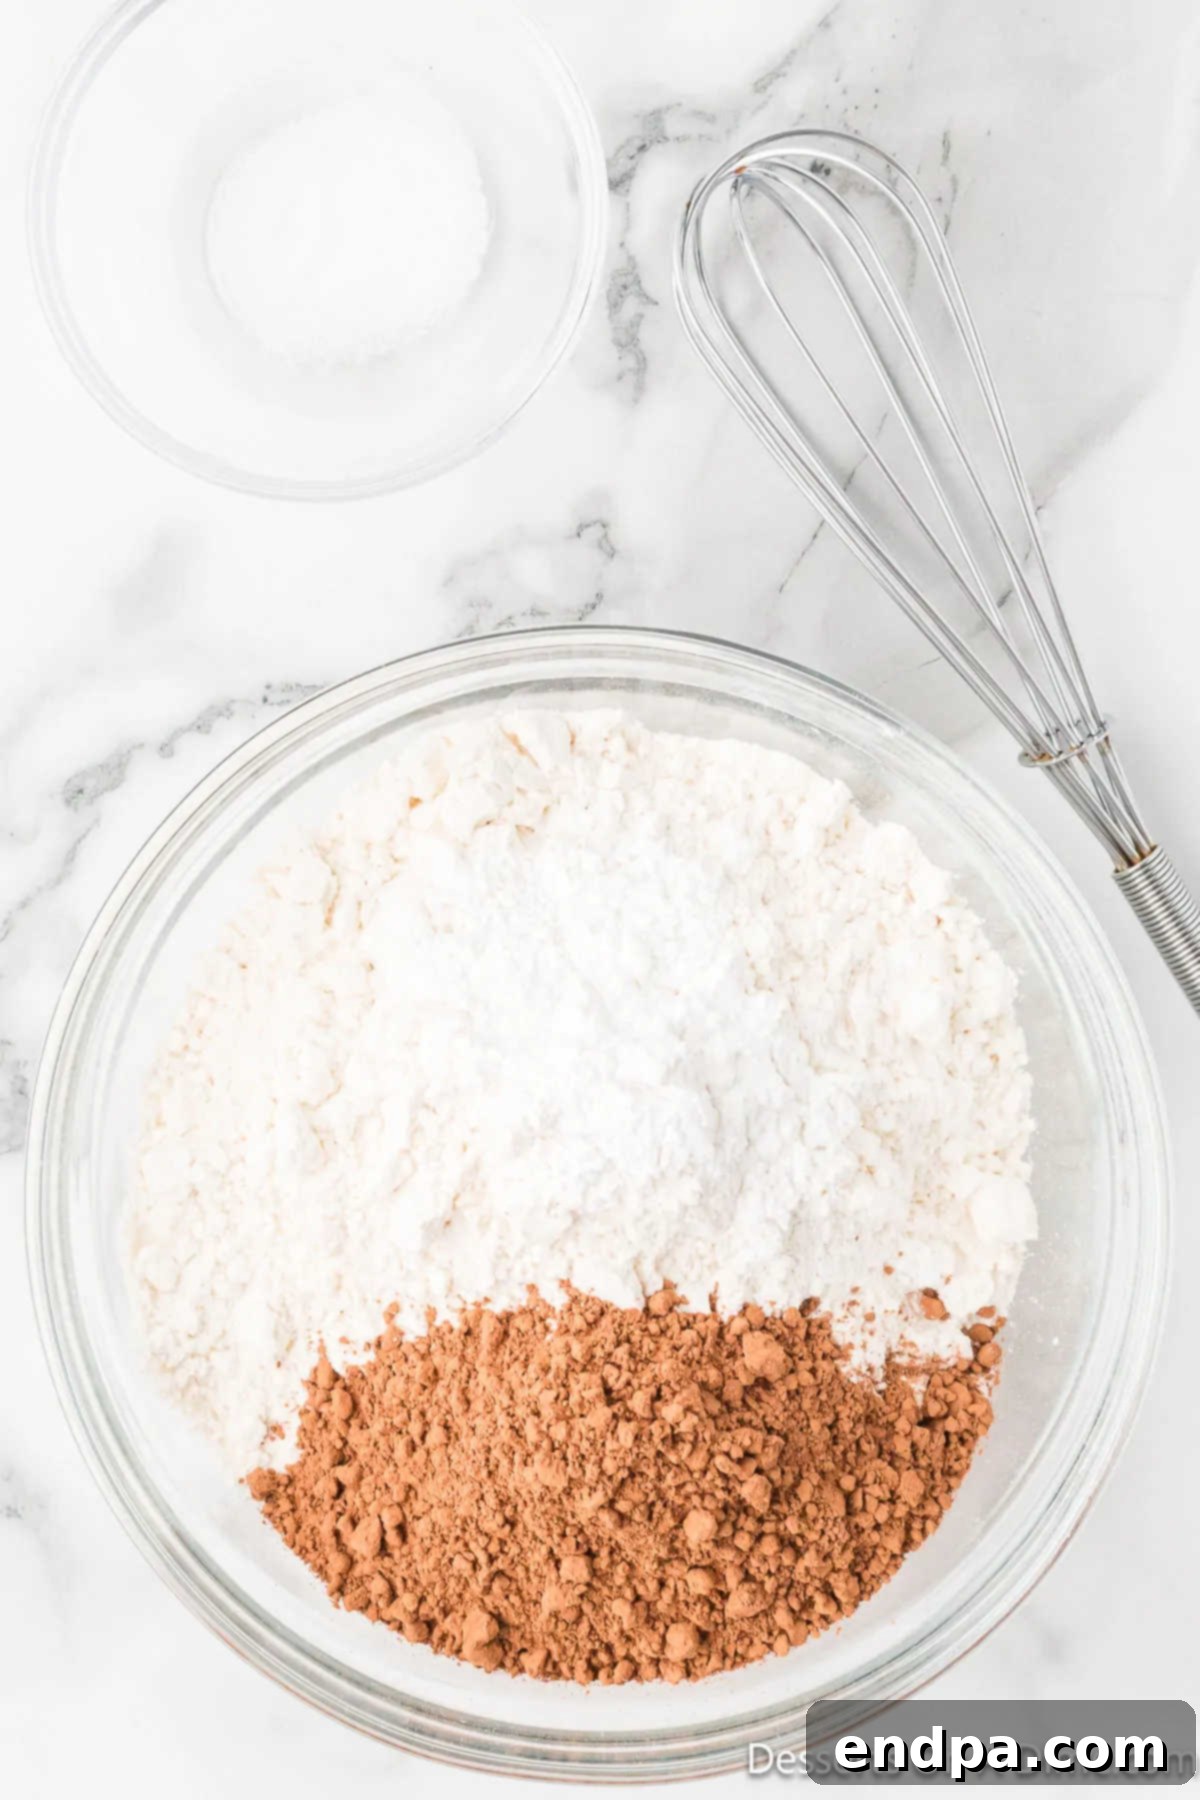
Dry ingredients are whisked together in a separate bowl. In a separate medium bowl, whisk together the all-purpose flour, unsweetened cocoa powder, baking powder, and salt. Whisking ensures these dry ingredients are evenly distributed throughout the mixture, preventing pockets of leavening agent or salt in your finished cookies.
Step 7: Combine Wet and Dry Ingredients

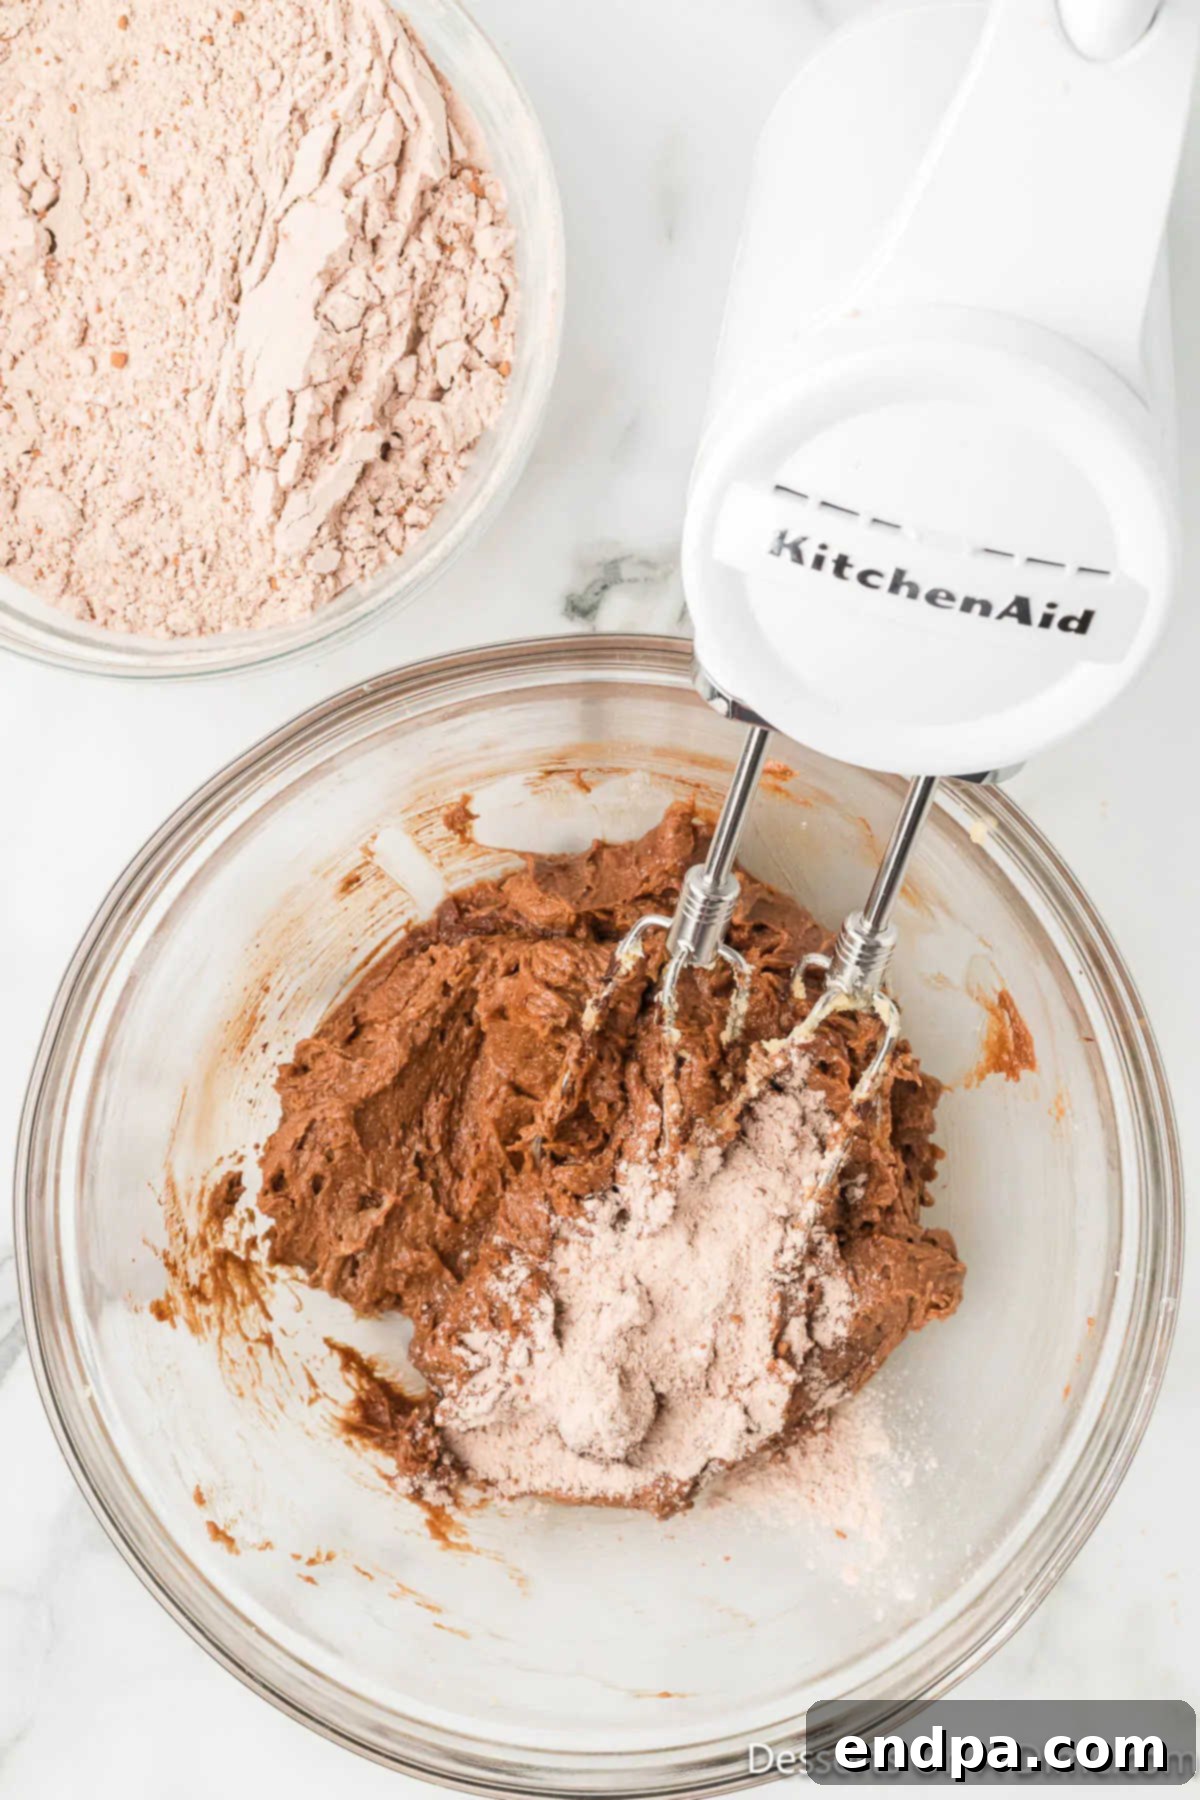
Wet and dry ingredients are slowly combined. Gradually add the dry ingredient mixture to the wet ingredients in the large mixing bowl. Begin mixing on low speed, just until the ingredients are incorporated. This gradual addition helps prevent a floury mess and ensures proper blending.
Step 8: Mix Until Just Combined

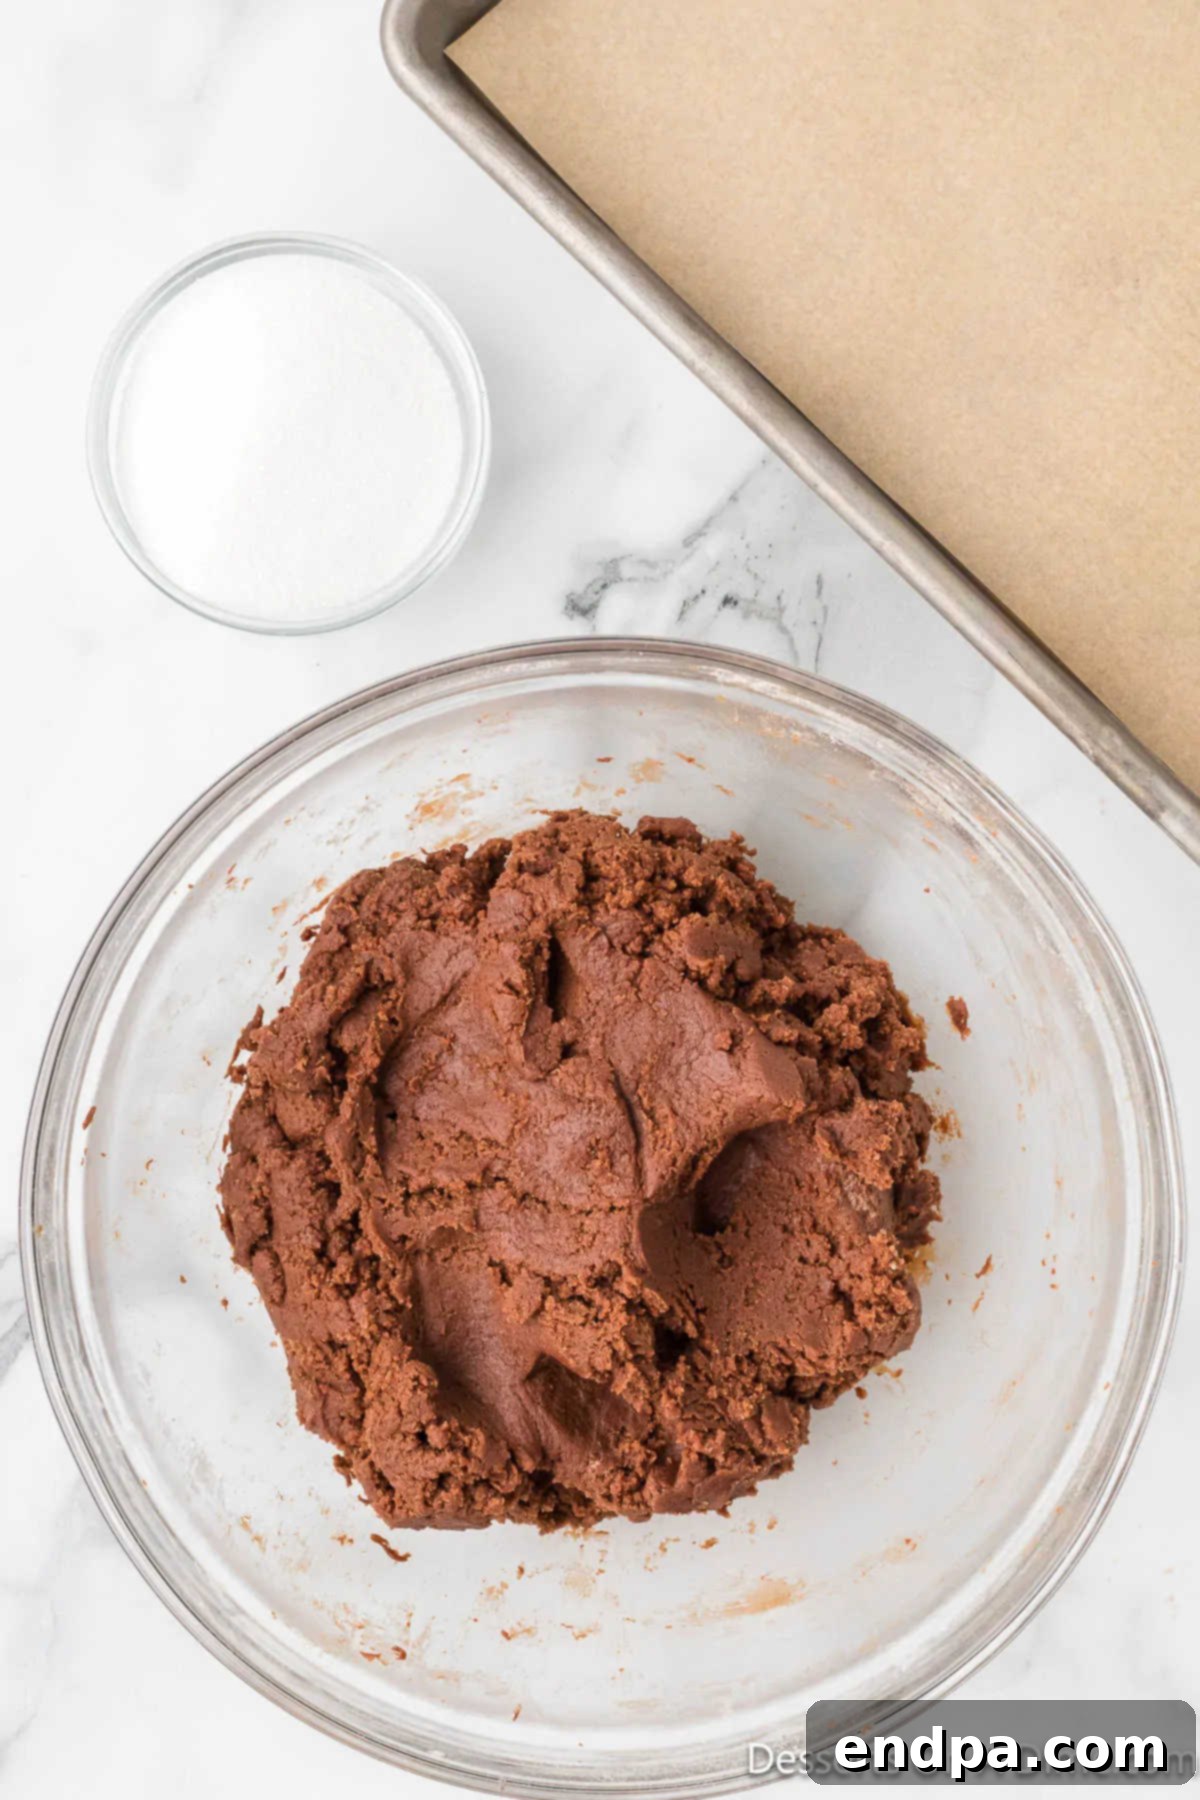
The cookie batter is mixed until just combined. Continue mixing the dough until it is just combined and no dry streaks of flour remain. Be very careful not to overmix the dough. Overmixing can develop the gluten in the flour, leading to tough, dense, and less tender cookies. Stop as soon as the ingredients are uniform.
Step 9: Form Cookie Dough Balls

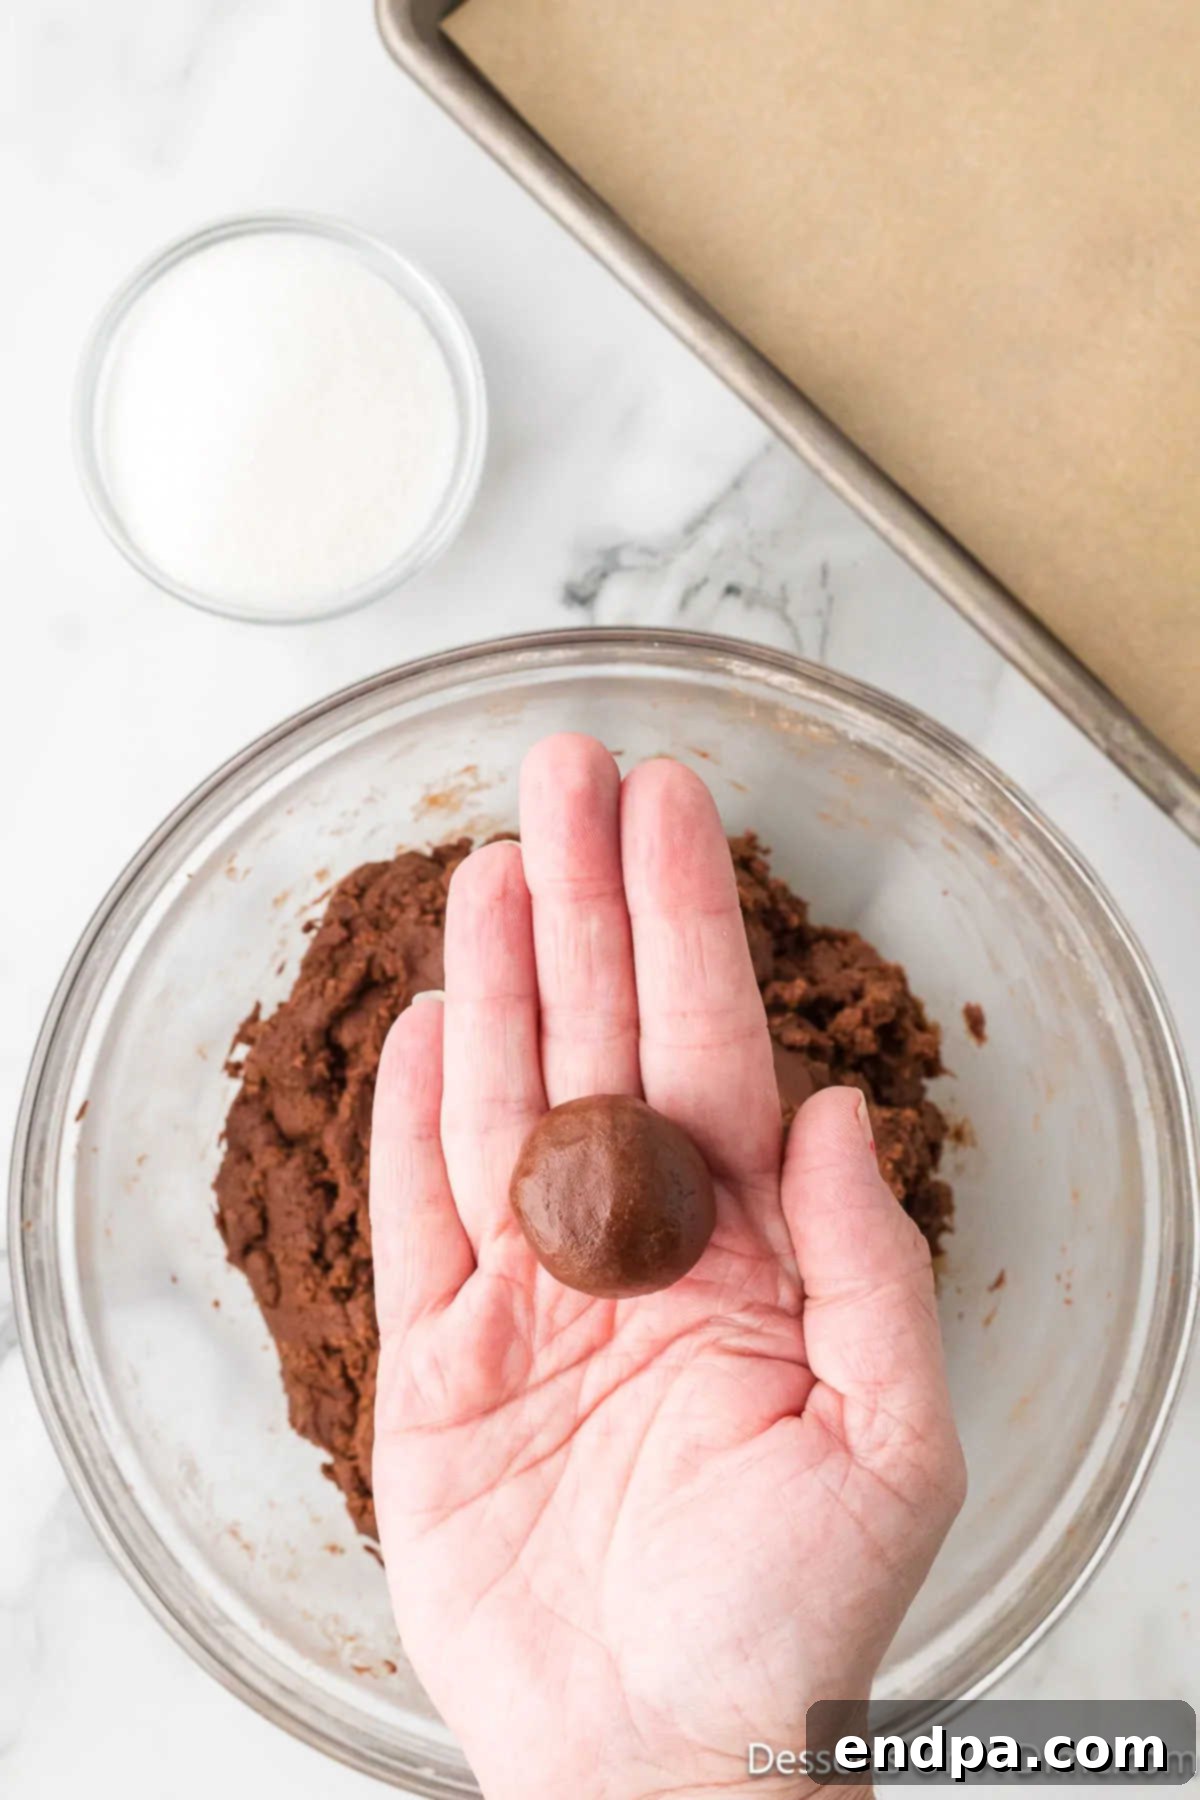
Cookie dough is formed into uniform balls. Using a cookie scoop (approximately 1-inch in diameter) or your hands, roll the dough into 24 evenly sized balls. A cookie scoop is highly recommended as it ensures uniform cookies that will bake evenly, resulting in a consistent texture and appearance for every treat.
Step 10: Roll in Granulated Sugar

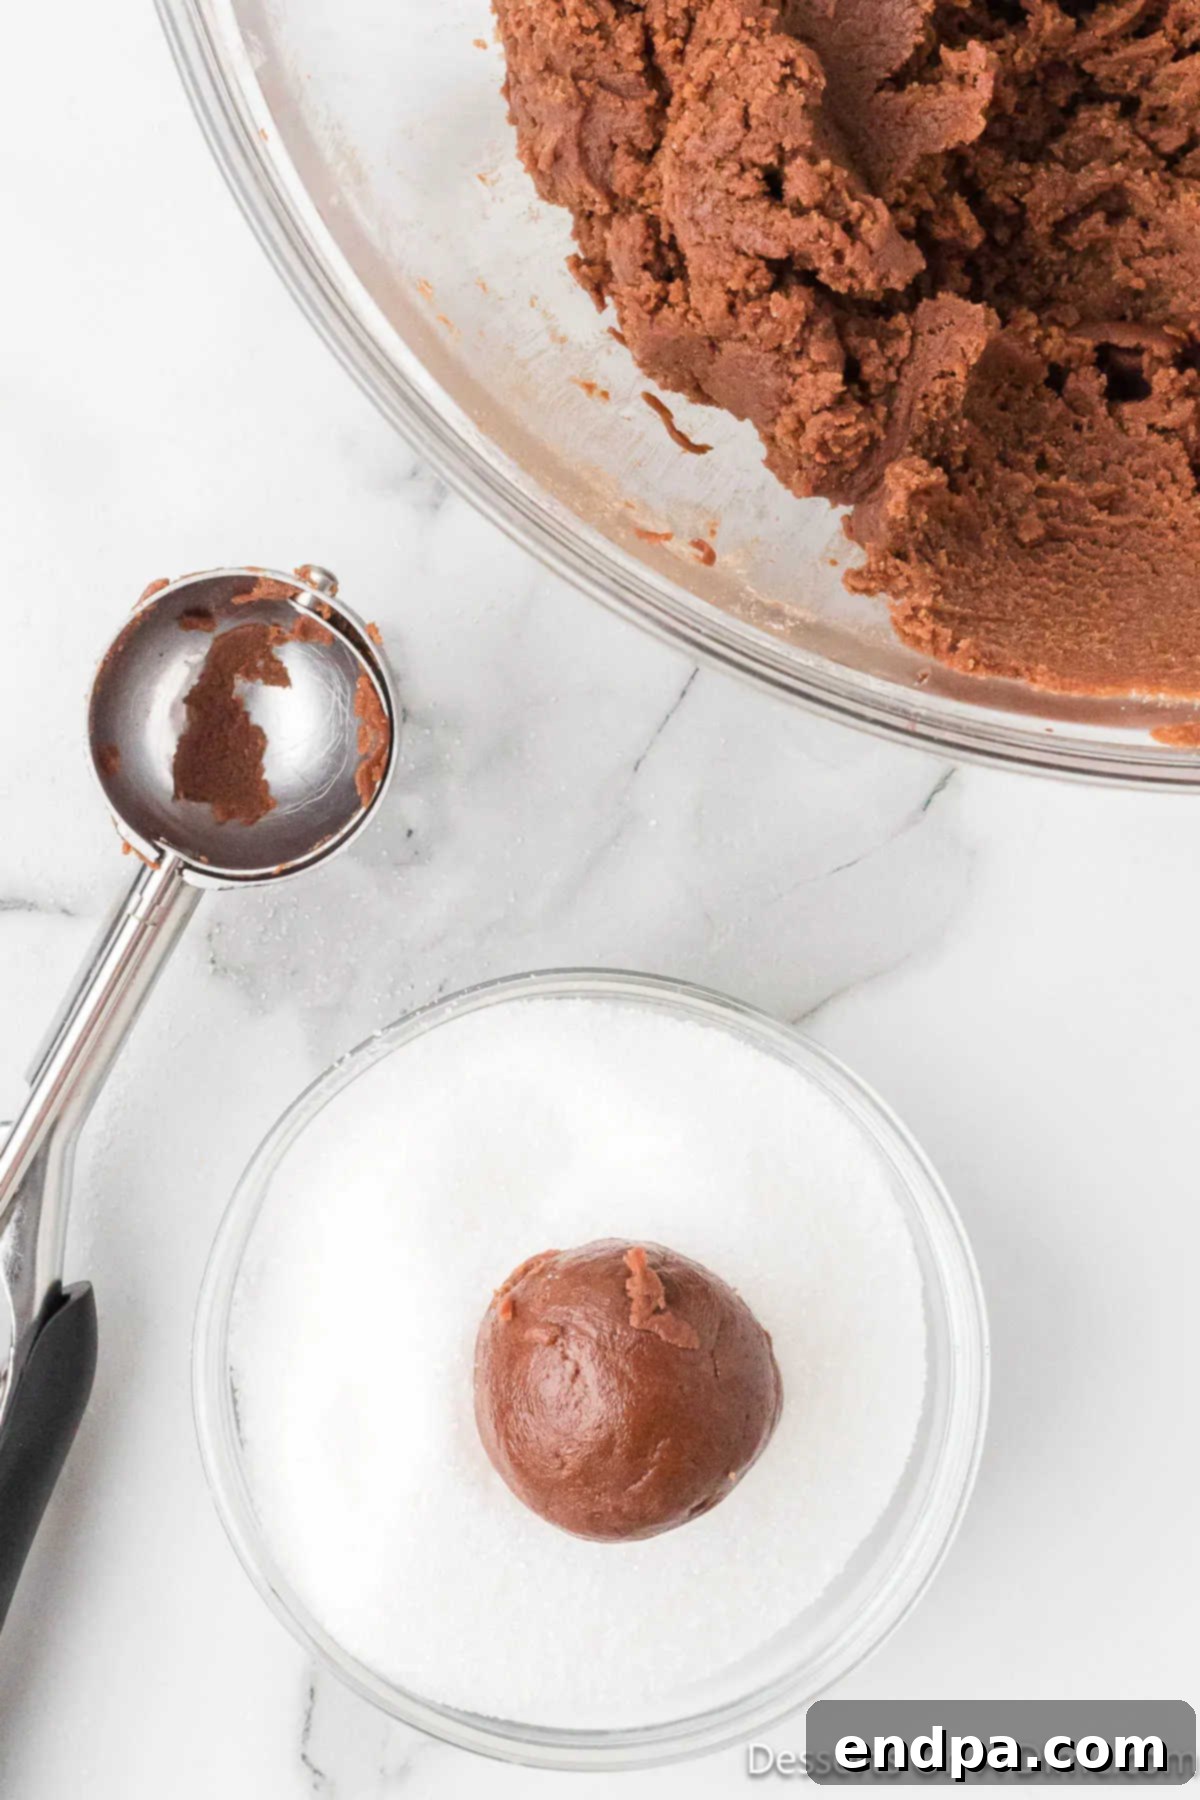
Each cookie dough ball is rolled in granulated sugar. Place a small amount of granulated sugar in a shallow bowl. Roll each cookie dough ball thoroughly in the sugar, coating it completely. This sugar coating adds a beautiful sparkle to the finished cookies and provides a delightful, slightly crisp textural contrast to the soft interior.
Step 11: Arrange on Baking Sheets

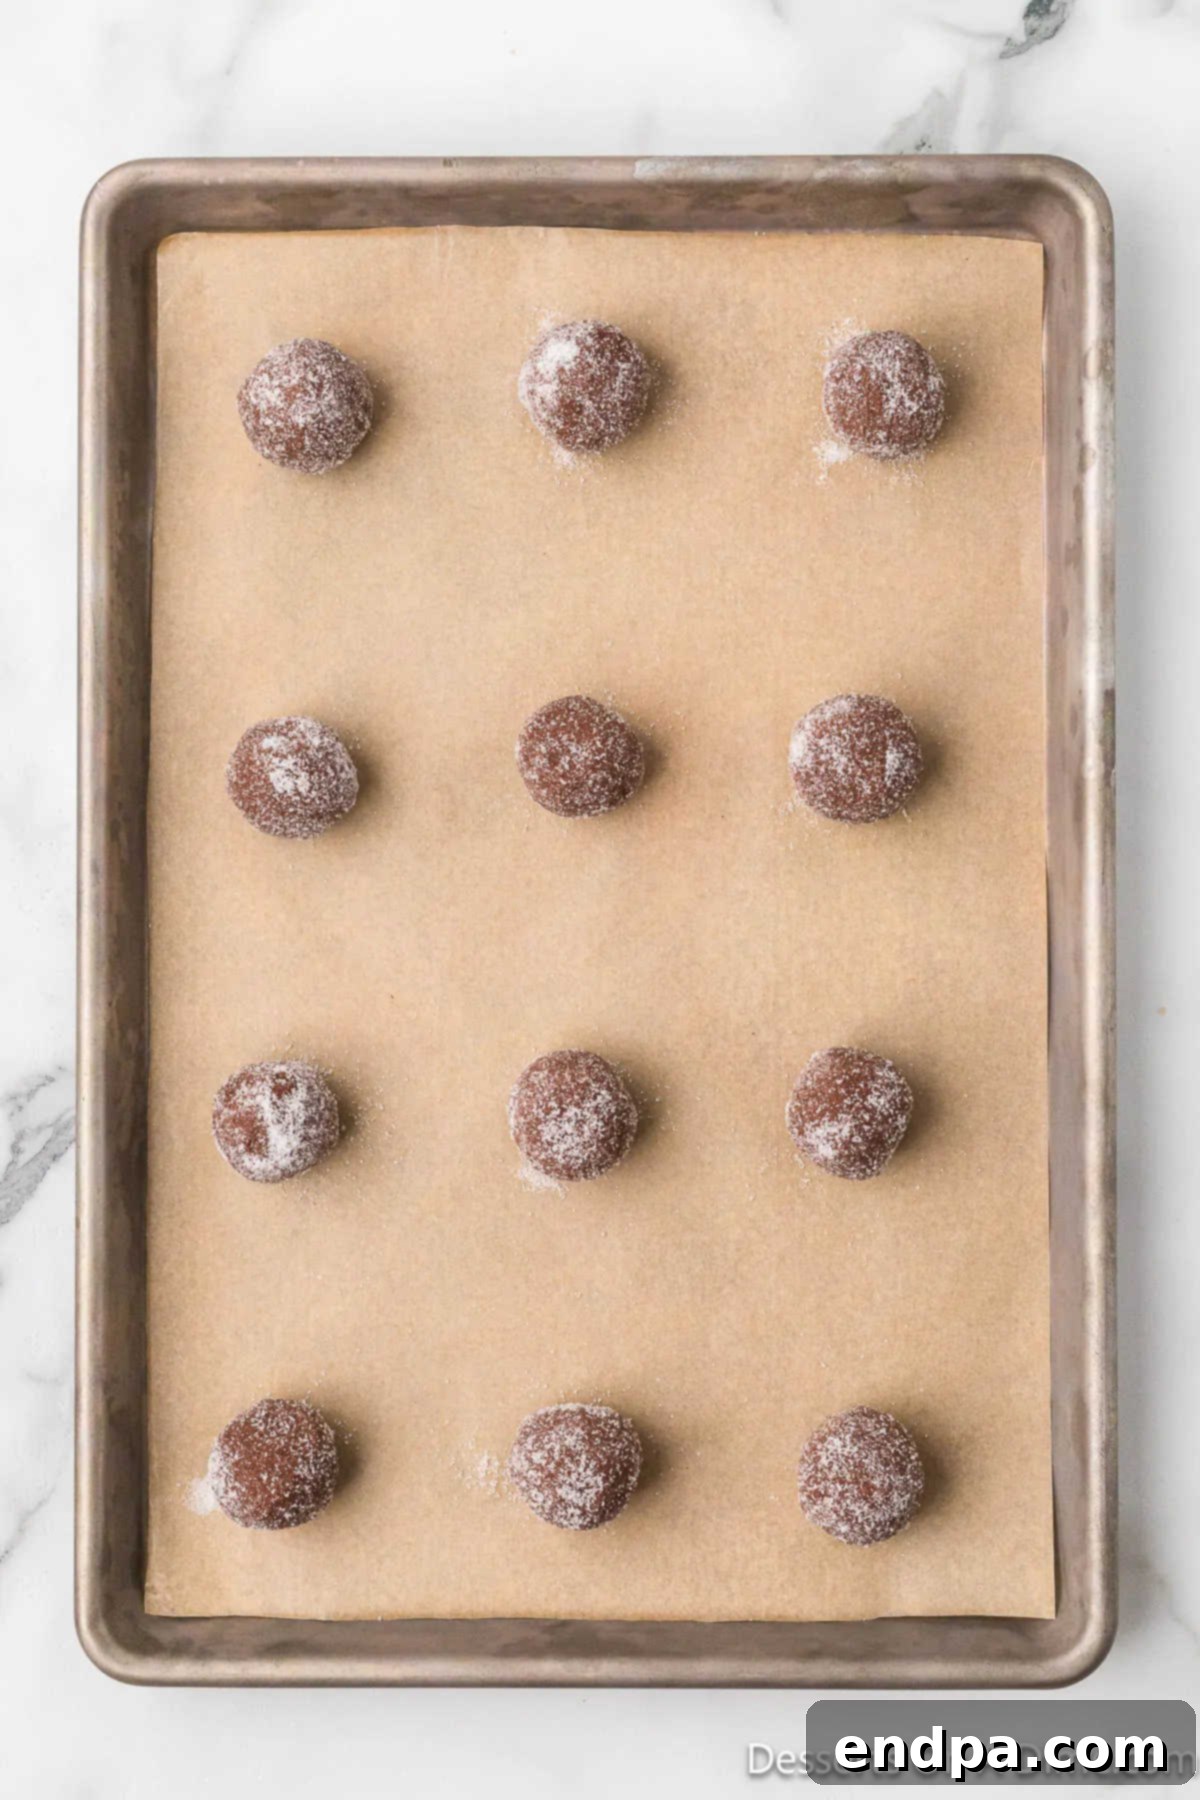
Sugared cookie balls are placed on a prepared baking sheet. Place the sugar-coated cookie dough balls onto your prepared baking sheets, ensuring they are spaced several inches apart. This spacing is important to allow for proper spreading during baking, preventing the cookies from merging into one another.
Step 12: Bake to Perfection and Prepare Kisses

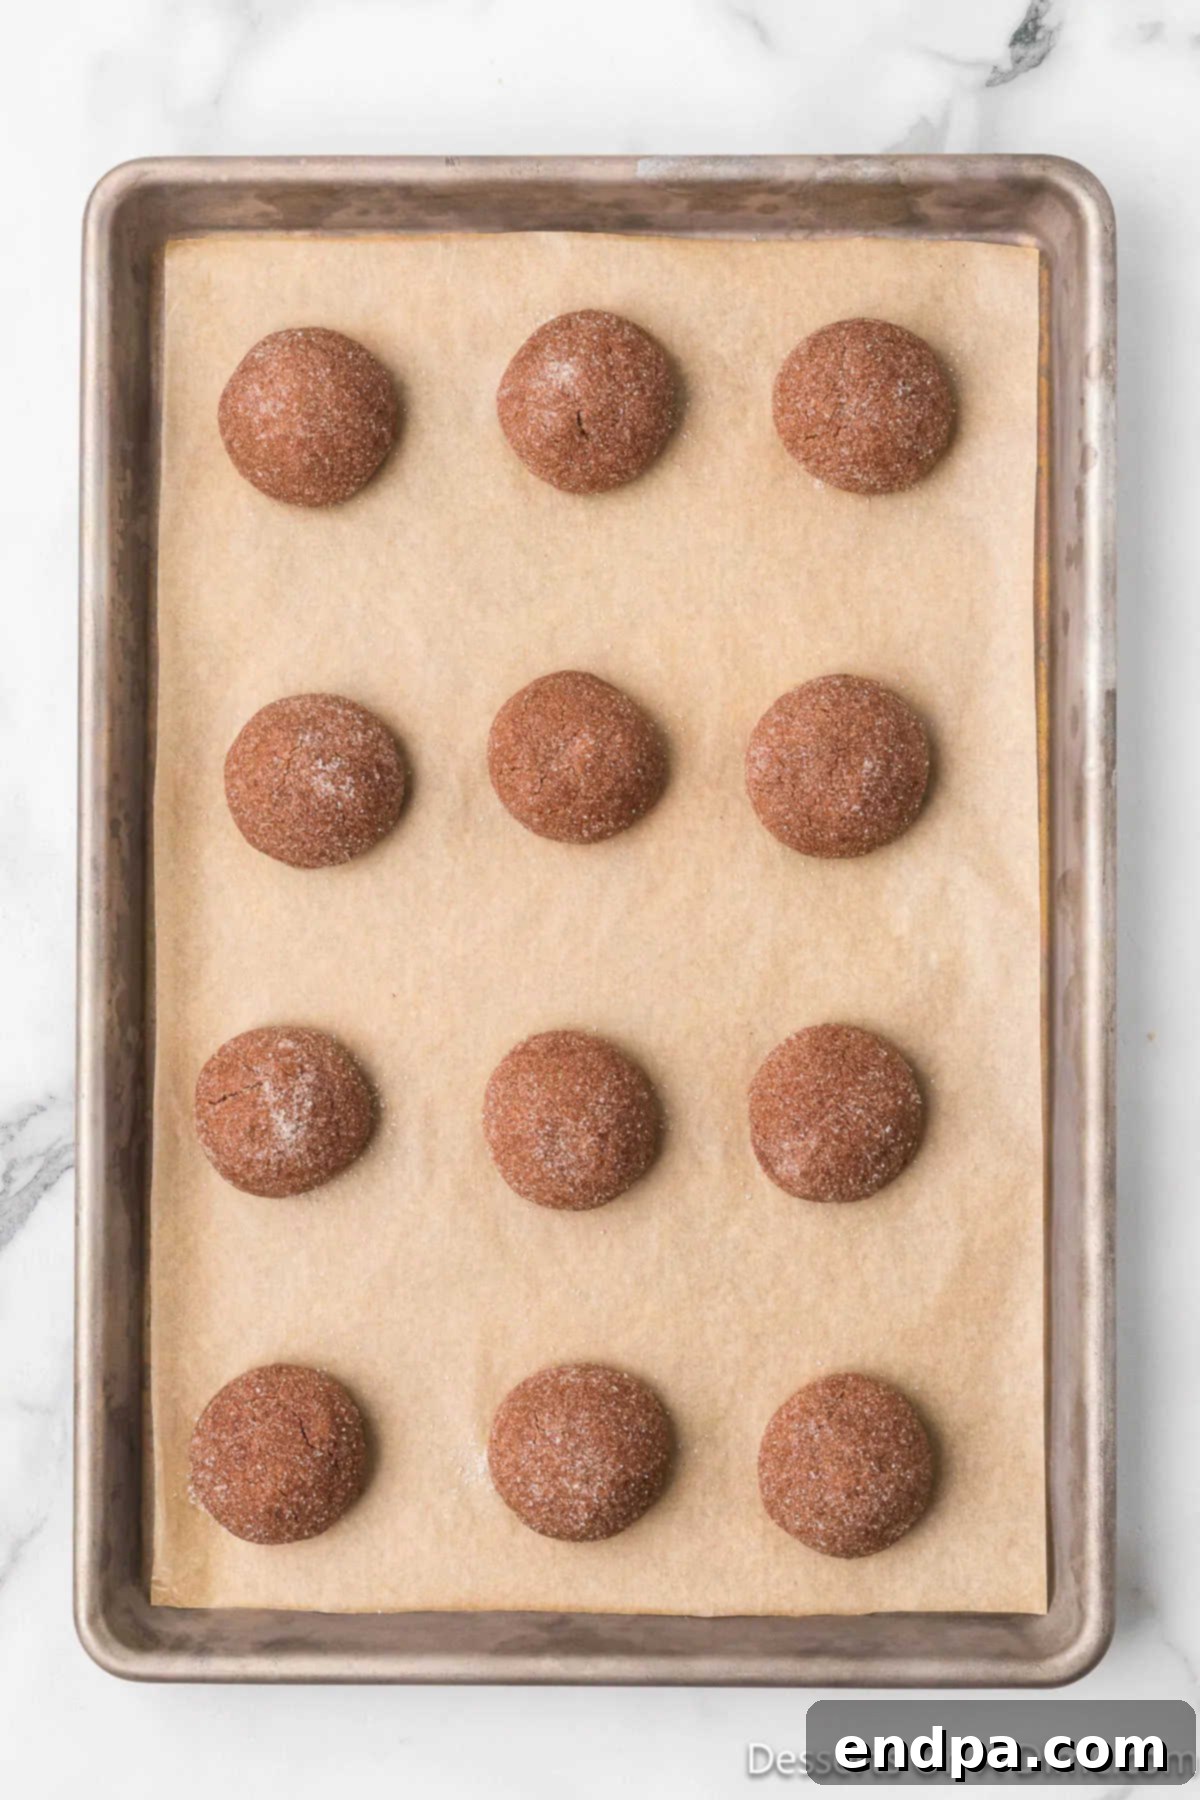
Baked cookies, hot out of the oven, ready for their Hershey Kisses. Bake the cookies for 10-12 minutes, or until the edges are set and the centers still look slightly soft. The cookies will continue to set as they cool. While the cookies are baking, unwrap all 24 Hershey’s Kisses so they are ready to be placed immediately after the cookies come out of the oven. This timing is crucial for the Kisses to melt perfectly without completely dissolving.
Step 13: Add Hershey’s Kisses and Cool

Hershey Kisses are gently pressed into the warm cookies. As soon as you remove the baking sheets from the oven, gently but firmly press one unwrapped Hershey’s Kiss into the center of each warm cookie. The residual heat from the cookie will slightly melt the chocolate, allowing it to adhere beautifully and become wonderfully soft and gooey. Allow the cookies to cool on the baking sheets for a few minutes to set slightly before carefully transferring them to a wire rack to cool completely. Cooling on a rack prevents the bottoms from getting soggy and helps the chocolate Kisses set properly.
Storage Tips for Maintaining Freshness
To keep your Chocolate Kiss Cookies fresh, delicious, and at their best for as long as possible, proper storage methods are essential. These steps will help maintain their soft, chewy texture and rich flavor:
- Airtight Container: Once the cookies have completely cooled to room temperature (this is very important!), store them in an airtight container. This prevents them from drying out and helps maintain their soft, chewy texture and prevents the Hershey’s Kisses from becoming sticky or losing their shape.
- Layer with Parchment Paper: If you need to stack multiple layers of cookies within your airtight container, place a sheet of parchment paper or wax paper between each layer. This simple trick prevents the cookies from sticking together and, more importantly, protects the delicate Hershey’s Kisses from breaking or smudging.
- Optimal Shelf Life: Stored correctly at room temperature, these delightful cookies will remain fresh and enjoyable for up to 5-7 days. Beyond this period, while still edible, their quality might start to diminish.
- Reviving Stale Cookies: If you find your cookies have started to lose a bit of their initial softness or seem slightly firm, you can often revive them. Place them in the microwave for a very short burst, about 5-10 seconds. This gentle warming can help restore their tender texture and bring back some of that freshly baked feel.
Can You Freeze Chocolate Kiss Cookies?
Yes, these Chocolate Kiss Cookies freeze exceptionally well, making them a fantastic make-ahead treat for busy periods, a convenient option for last-minute guests, or simply a way to enjoy fresh cookies anytime you like without baking a full batch. Both baked cookies and cookie dough can be frozen:
- Freezing Baked Cookies: Ensure your cookies are completely cool before freezing. Arrange them in a single layer on a baking sheet and flash freeze for about 30 minutes, or until they are firm. This crucial step prevents them from sticking together when transferred. Once firm, transfer the cookies to an airtight freezer-safe container or a heavy-duty freezer bag. Always place a sheet of wax paper or parchment paper between layers of cookies to protect the delicate Hershey’s Kisses from breaking or getting squashed.
- Gentle Handling: Be mindful and gentle when stacking and arranging frozen cookies, as the Hershey’s Kisses on top can be fragile and prone to breaking.
- Freezing Cookie Dough: For ultimate convenience, you can also freeze the cookie dough! Roll the dough into balls as instructed, coat them in granulated sugar, and then place them on a parchment-lined baking sheet. Flash freeze these dough balls until solid, then transfer them to a freezer bag or airtight container. You can bake them directly from frozen (adding a few extra minutes to the baking time), or thaw them in the refrigerator first. Learn more about the general process of How to Freeze Cookie Dough.
- Freezer Shelf Life: Both frozen baked cookies and frozen cookie dough can be stored in the freezer for up to 3-4 months without significant loss of quality.
- Thawing Instructions: To enjoy frozen baked cookies, simply allow them to thaw at room temperature for a few hours. If you’re in a hurry and can’t wait, you can gently warm them in the microwave for about 15-30 seconds. Exercise caution and avoid overheating, as this can cause the Hershey’s Kisses to fully melt and lose their distinct shape and texture, potentially creating a mess.
Expert Baking Tips for Ultimate Cookie Success
Achieving bakery-quality Chocolate Kiss Cookies at home is simple with a few insider tips and tricks. These professional insights will help you bake a perfect batch every time:
- The Magic of a Cookie Scoop: A cookie scoop is truly your best friend for making perfectly sized, uniform cookie dough balls. This not only makes the process incredibly quicker and less messy but also ensures that all your cookies bake evenly, preventing some from being undercooked while others are overbaked. Consistent size equals consistent results.
- Trust the Dough Consistency: It’s common for the cookie dough to seem a bit soft when you’re forming the balls, but resist the urge to add more flour. This specific soft consistency is precisely what contributes to the incredibly soft, chewy, and slightly fudgy texture of the finished cookies. Too much flour will result in dry, crumbly, or cake-like cookies that lack the desired chewiness.
- Crucial Cooling Time: It is absolutely paramount to allow the cookies to cool completely to room temperature before storing them. Storing warm cookies in an airtight container will trap moisture, causing them to become soggy and potentially melt the Hershey’s Kisses, leading to a messy and less appealing result. Patience during cooling pays off!
- Room Temperature Butter is Non-Negotiable: For optimal creaming and a smooth, well-emulsified dough, your unsalted butter must be at true room temperature. It should be soft enough to easily indent with a finger but not greasy or melted. Cold butter won’t cream properly with the sugars, and warm or melted butter will yield a flatter, greasier cookie with a different texture.
- Accurate Flour Measurement: Always spoon your all-purpose flour gently into the measuring cup, then level it off precisely with a straight knife or flat edge. Never scoop the flour directly with your measuring cup into the bag, as this compacts the flour, adding significantly more than the recipe calls for. An excess of flour can drastically alter the cookie’s texture, making it dry and heavy.
- Personalize with Sprinkles: These cookies are wonderfully versatile for various holidays and special occasions. For an extra festive touch, before baking, gently press the cookie dough balls into a shallow bowl of colorful sprinkles. Imagine vibrant red and green sprinkles for Christmas, delicate pastels for Easter, or school colors for a graduation party. It’s an easy and fun way to customize and add a cheerful pop of color!
- Unwrap Kisses Ahead of Time: This might seem like a small detail, but it’s a critical one for smooth execution. Unwrap all 24 Hershey’s Kisses while your cookies are baking. Once the cookies come out of the oven, you’ll need to work very quickly to press the Kisses into the warm centers. The longer the cookies sit, the less residual heat they’ll have, and the less likely the Kisses will adhere perfectly and melt just right, risking them simply sitting on top rather than settling into the cookie.
- Don’t Overbake: For the chewiest, most decadent chocolate cookies, avoid overbaking. The edges should be set, but the centers should still look slightly soft and gooey. Remember, the cookies will continue to set and firm up as they cool on the baking sheet, so pulling them out a little early is key to a perfectly soft interior.
More Kiss Cookie Variations to Explore
If you’ve fallen in love with the charm and deliciousness of these “kiss” cookies, there are many other delightful variations that follow a similar concept, allowing you to explore new flavors and textures:
- Candy Cane Kiss Cookies: A festive and refreshing treat perfect for the winter holidays, featuring a hint of peppermint in the cookie base and topped with a delightful candy cane-flavored Hershey’s Kiss.
- Gingerbread Kiss Cookies Recipe: Spice up your holiday baking with these warm, aromatic gingerbread cookies. They are rich with classic gingerbread flavors and crowned with a sweet, creamy Hershey’s Kiss, offering a wonderful contrast.
More Festive Holiday Cookie Recipes
Looking for more inspiration to fill your holiday cookie tray or to bake for special occasions throughout the year? Explore these other fantastic and easy-to-make cookie recipes that are sure to be a hit:
- Christmas Cake Mix Cookies Recipe: Incredibly easy and versatile cookies that start with a simple box of cake mix, making them perfect for quick holiday baking.
- Brownie Cookies Recipe: Get the best of both worlds with these intensely rich, fudgy cookies that taste just like a decadent brownie, complete with chewy edges and a soft center.
- Easy Christmas Wreath Cookies: A simple yet visually stunning cookie that’s perfect for holiday gatherings, often made with minimal ingredients for a quick and cheerful treat.
- Christmas Pinwheel Cookies Recipe: Beautifully spiraled cookies that add a touch of elegance and whimsy to any festive spread, showcasing contrasting colors and flavors.
Chocolate Kiss Cookies Recipe
Chocolate Kiss Cookies are a decadent chocolate cookie topped with a classic Hershey’s Kiss. This fun-filled cookie is loaded with rich chocolate flavor in every bite, making it perfect for any chocolate lover and a delightful addition to any occasion.
Recipe Information
- Prep Time: 15 mins
- Cook Time: 10 mins
- Total Time: 25 mins
- Servings: 24 cookies
- Cuisine: American
- Course: Dessert
- Calories: 161 kcal (per cookie)
- Author: Carrie Barnard
Ingredients
- 3/4 cup (170g) Unsalted Butter, softened at room temperature
- 1/2 cup (100g) Granulated Sugar, plus extra for rolling
- 1/2 cup (110g) Brown Sugar, packed
- 1 tsp Pure Vanilla Extract
- 1 large Egg, room temperature
- 2 cups (240g) All-Purpose Flour, spooned and leveled
- 1/4 cup (22g) Unsweetened Cocoa Powder
- 1/4 cup (43g) Semi-Sweet Baking Chocolate, melted and cooled
- 1 1/2 tsp Baking Powder
- 1/2 tsp Salt
- 24 Milk Chocolate Hershey’s Kisses, unwrapped
Instructions
- Preheat oven to 350°F (175°C). Line baking sheets with parchment paper.
- Place semi-sweet chocolate in a microwave-safe bowl. Heat in 20-second intervals, stirring after each, until fully melted and smooth. Set aside to cool.
- In a large bowl, cream softened butter, granulated sugar, and brown sugar until light and fluffy.
- Add egg, vanilla extract, and cooled melted chocolate to the creamed mixture. Beat until well combined. Ensure chocolate is not hot to prevent cooking the egg.
- In a separate medium bowl, whisk together flour, cocoa powder, baking powder, and salt.
- Gradually add the dry ingredients to the wet ingredients, mixing on low speed until just combined. Do not overmix.
- Roll dough into 24 one-inch balls. Roll each ball in granulated sugar to coat.
- Place sugared cookie dough balls on prepared baking sheets, several inches apart.
- Bake for 10-12 minutes, or until edges are set and centers are still slightly soft. While baking, unwrap Hershey’s Kisses.
- Immediately after removing cookies from the oven, gently press one unwrapped Hershey’s Kiss into the center of each warm cookie.
- Allow cookies to cool on the baking sheet for a few minutes, then transfer to a wire rack to cool completely.
Recipe Notes
Store cooled cookies in an airtight container at room temperature for up to 5-7 days. For detailed freezing instructions for both baked cookies and cookie dough, please refer to the “Can You Freeze Chocolate Kiss Cookies?” section above in the article.
Nutrition Facts (Per Cookie)
Calories: 161 kcal, Carbohydrates: 21g, Protein: 2g, Fat: 8g, Saturated Fat: 5g, Polyunsaturated Fat: 1g, Monounsaturated Fat: 2g, Trans Fat: 1g, Cholesterol: 23mg, Sodium: 84mg, Potassium: 46mg, Fiber: 1g, Sugar: 12g, Vitamin A: 188 IU, Calcium: 34mg, Iron: 1mg
Embark on a delightful baking adventure and bring these incredibly rich and easy Chocolate Kiss Cookies to your home. They are the perfect addition to any holiday cookie tray, a thoughtful homemade gift, or simply a sweet reward after a long day. The deep chocolate flavor combined with the signature melting Hershey’s Kiss creates a truly unforgettable experience that friends and family will adore. Don’t hesitate – make this classic recipe today and taste the joy and comfort of homemade goodness!
