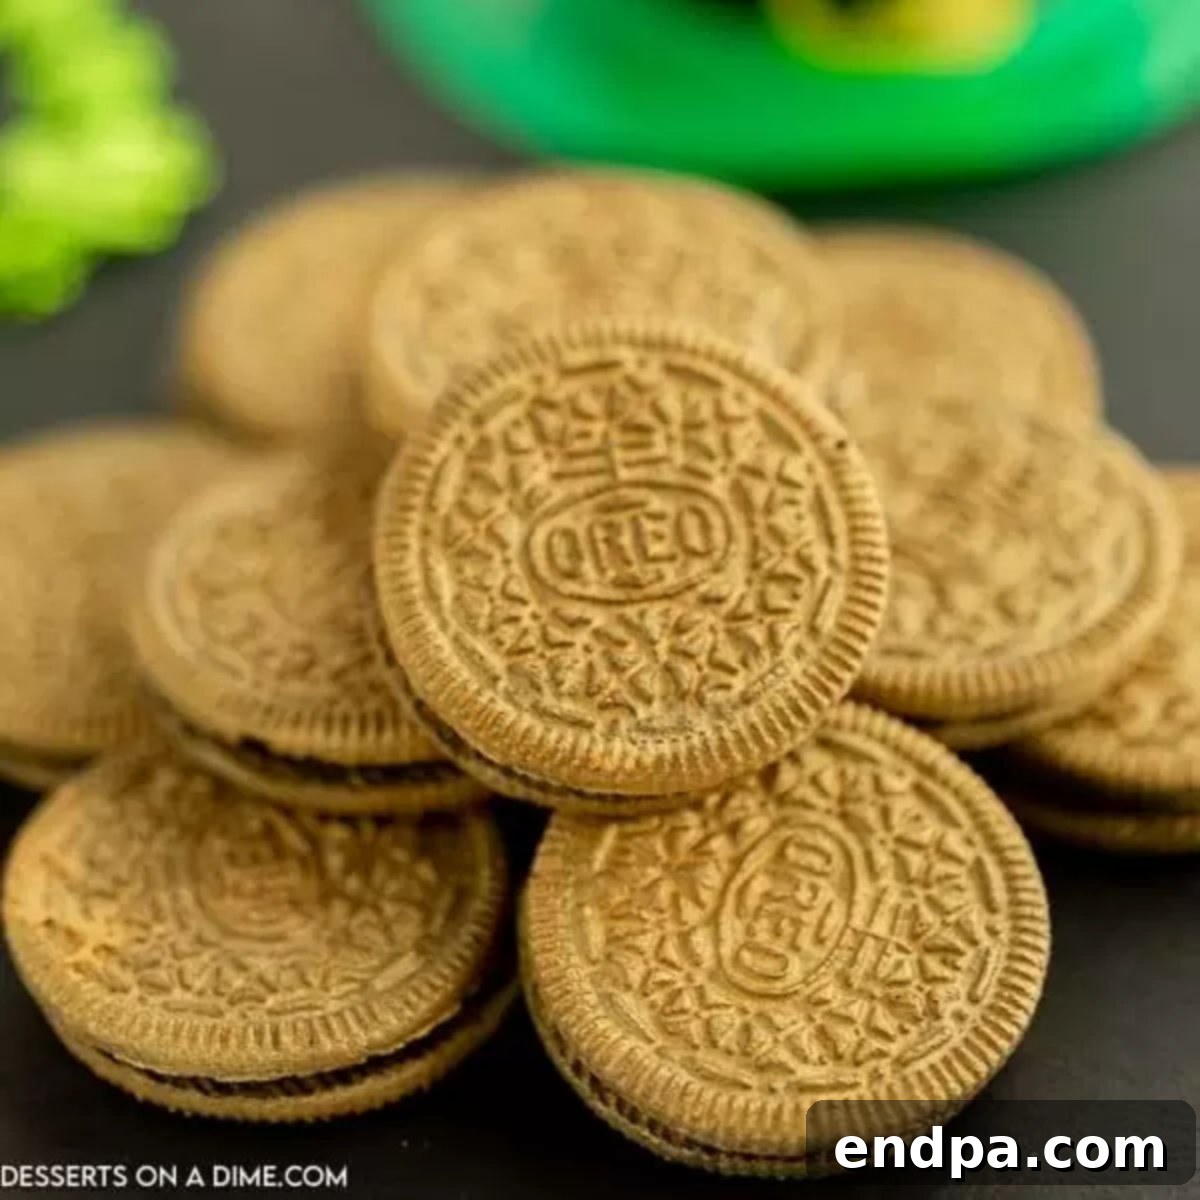
Get ready to add a burst of golden cheer to your St. Patrick’s Day celebrations with these incredibly fun and effortlessly easy St. Patrick’s Day Gold Oreos! Perfect for surprising the kids or delighting guests at any festive gathering, these Leprechaun Gold Oreos require just two simple ingredients and minimal effort. Transform ordinary sandwich cookies into dazzling, edible gold coins that look like they’ve come straight from the end of a rainbow. Forget complicated baking – this no-bake recipe is all about quick prep and maximum impact, making it ideal for busy parents and dessert enthusiasts alike.
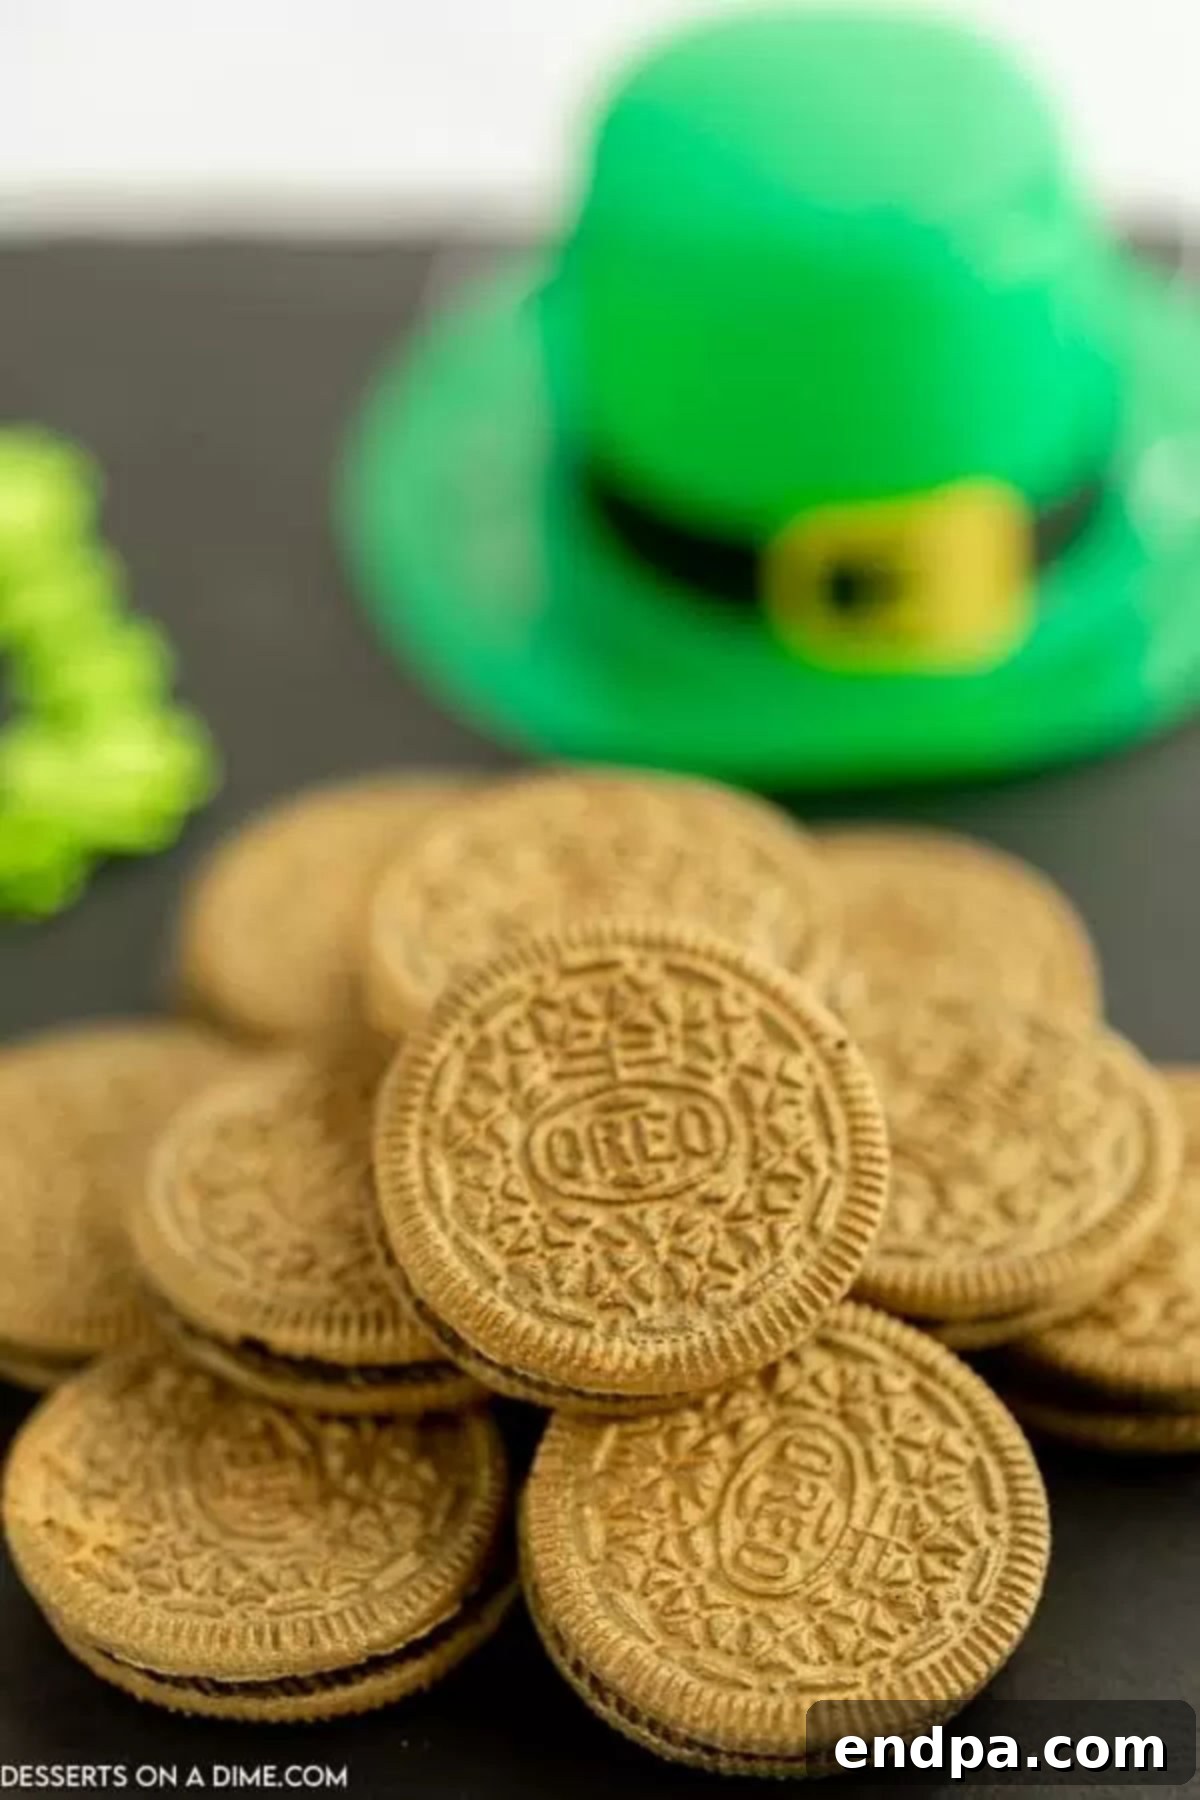
Crafting these edible gold coins truly couldn’t be simpler. If you’re on the hunt for a festive and unique St. Patrick’s Day dessert that stands out, these easy edible gold Oreos are an absolute must-try. Over the years, I’ve enjoyed creating countless fun treats for my family, and these golden delights always receive rave reviews. The kids particularly adore them, just as they love other holiday favorites like St. Patrick’s Day Chocolate Covered Pretzels, our delightful St. Patrick’s Day Cupcakes Recipe, and classic St. Patrick’s Day Chocolate Covered Oreos. These gold-sprayed Oreos add a magical touch, making every bite feel like a discovery of treasure!
Table of Contents
- Why You’ll Adore These Gold Oreos
- Essential Ingredients for Golden Treats
- Creative Variations for Your Gold Oreos
- Step-by-Step Guide: How to Make Edible Gold Oreo Coins
- Frequently Asked Questions About Gold Oreos
- Expert Tips for Perfect Gold Oreos
- More Festive St. Patrick’s Day Desserts
Why You’ll Adore These Gold Oreos
There are countless reasons to fall in love with this incredibly simple yet stunning recipe for edible gold coins. First and foremost, anyone, regardless of their baking experience, can create these impressive treats with just two basic ingredients. You won’t need an arsenal of specialty baking supplies or a long list of obscure ingredients, making this recipe wonderfully accessible and budget-friendly. It truly is the easiest and most effective way to conjure up a fun and memorable treat for St. Patrick’s Day, bringing a touch of magic to your holiday spread.
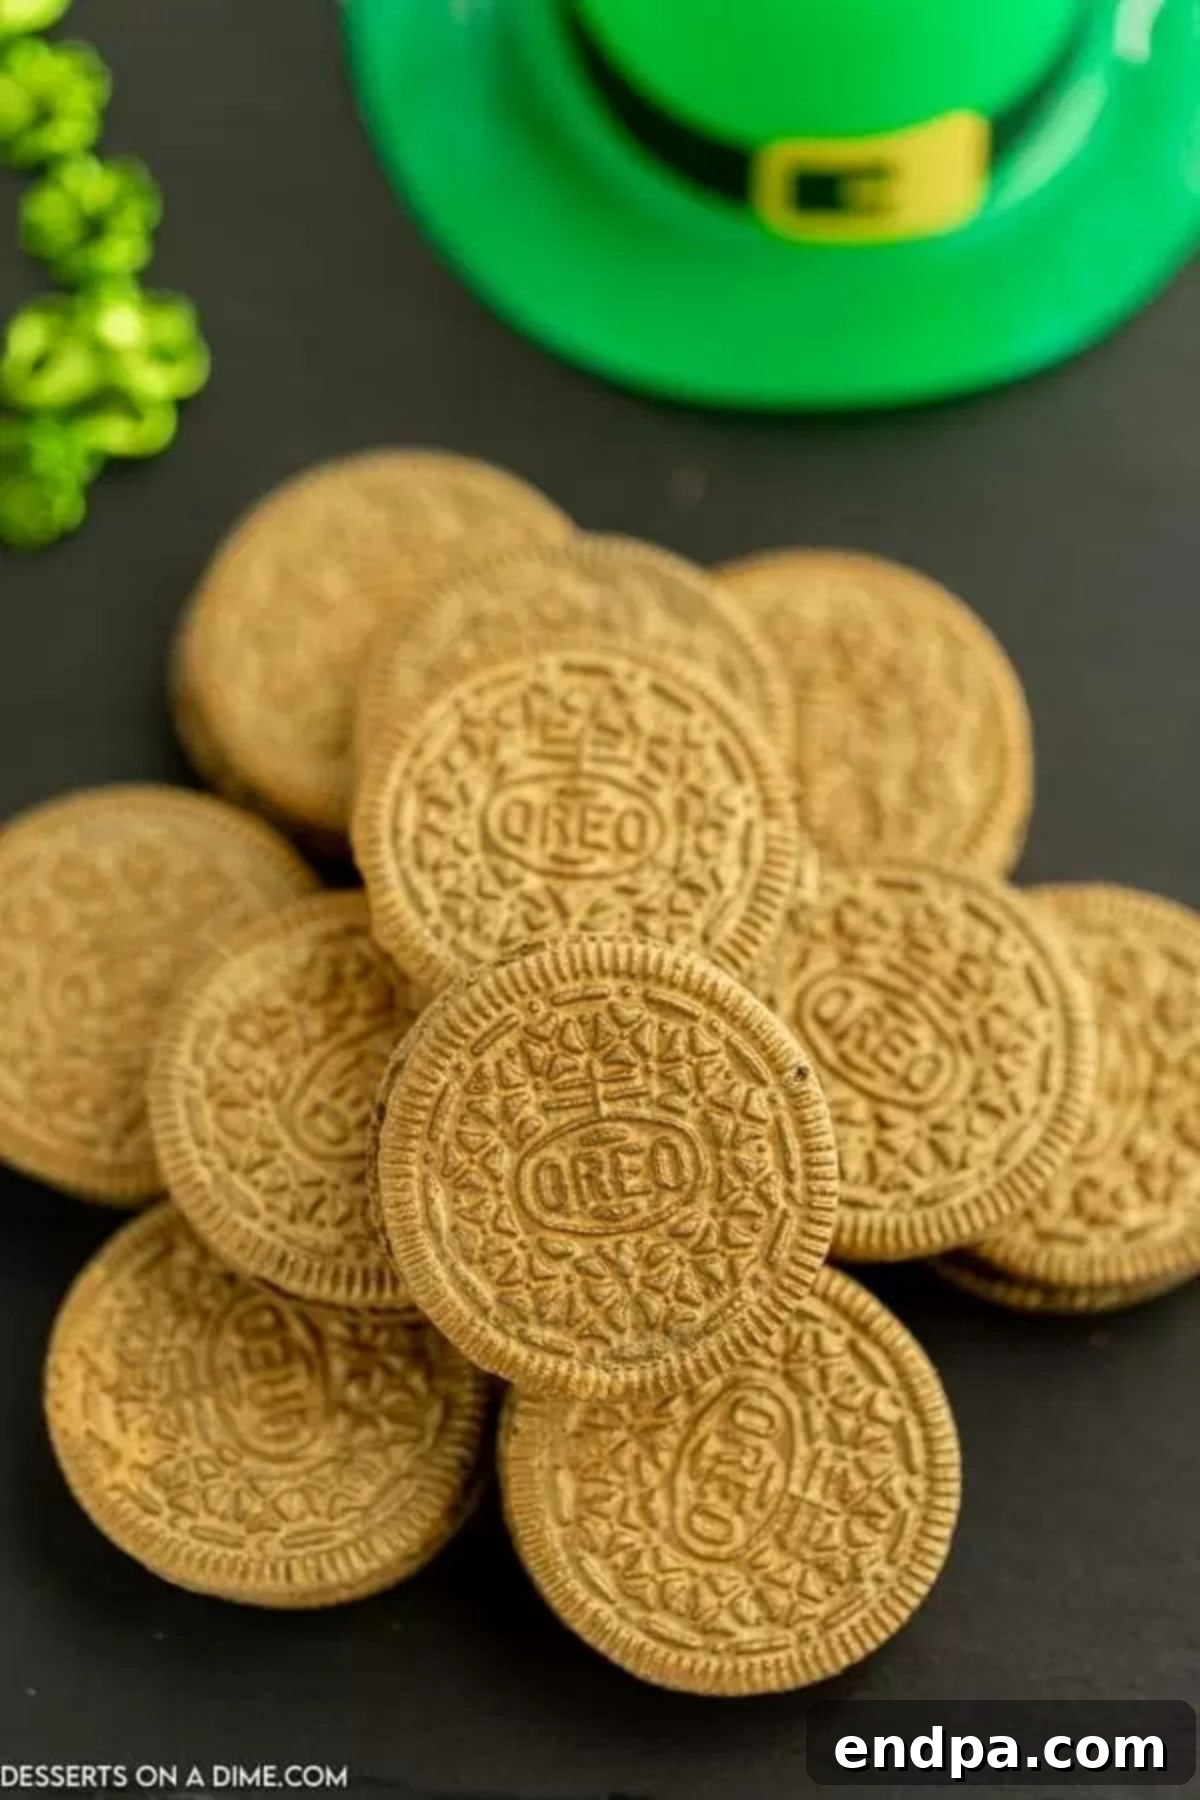
This no-bake dessert recipe is so straightforward, it barely qualifies as a recipe at all! Its simplicity is its charm, allowing you to achieve spectacular results without any stress or fuss. I have no doubt that you’ll be delighted by how quickly and beautifully these come together, and the kiddos in your life will be absolutely enchanted by their gleaming appearance. They are perfectly suited for any festive celebration, particularly St. Patty’s Day, where they effortlessly mimic the appearance of real gold-foiled coins, waiting to be discovered at the end of a rainbow. The shimmering finish makes them look far more intricate than they actually are, ensuring that they become a talking point at any party. They offer an instant visual upgrade to a classic cookie, turning a simple snack into a truly special occasion dessert. Beyond St. Patrick’s Day, these golden beauties could also be a fantastic addition to pirate-themed parties or even elegant New Year’s Eve celebrations, adding a touch of golden glamour wherever they appear.
If you’re looking for more enchanting St. Patrick’s Day delights, you might also enjoy our recipe for Leprechaun Bait, a snack mix that’s as fun to make as it is to eat, and our adorable Leprechaun Cookies, which are always a hit with the little ones.
Essential Ingredients for Golden Treats
Creating these dazzling edible gold Oreos is incredibly simple, requiring just two key ingredients. This minimalist approach ensures a quick and easy process, perfect for when you want a show-stopping treat without a trip to a specialty store.
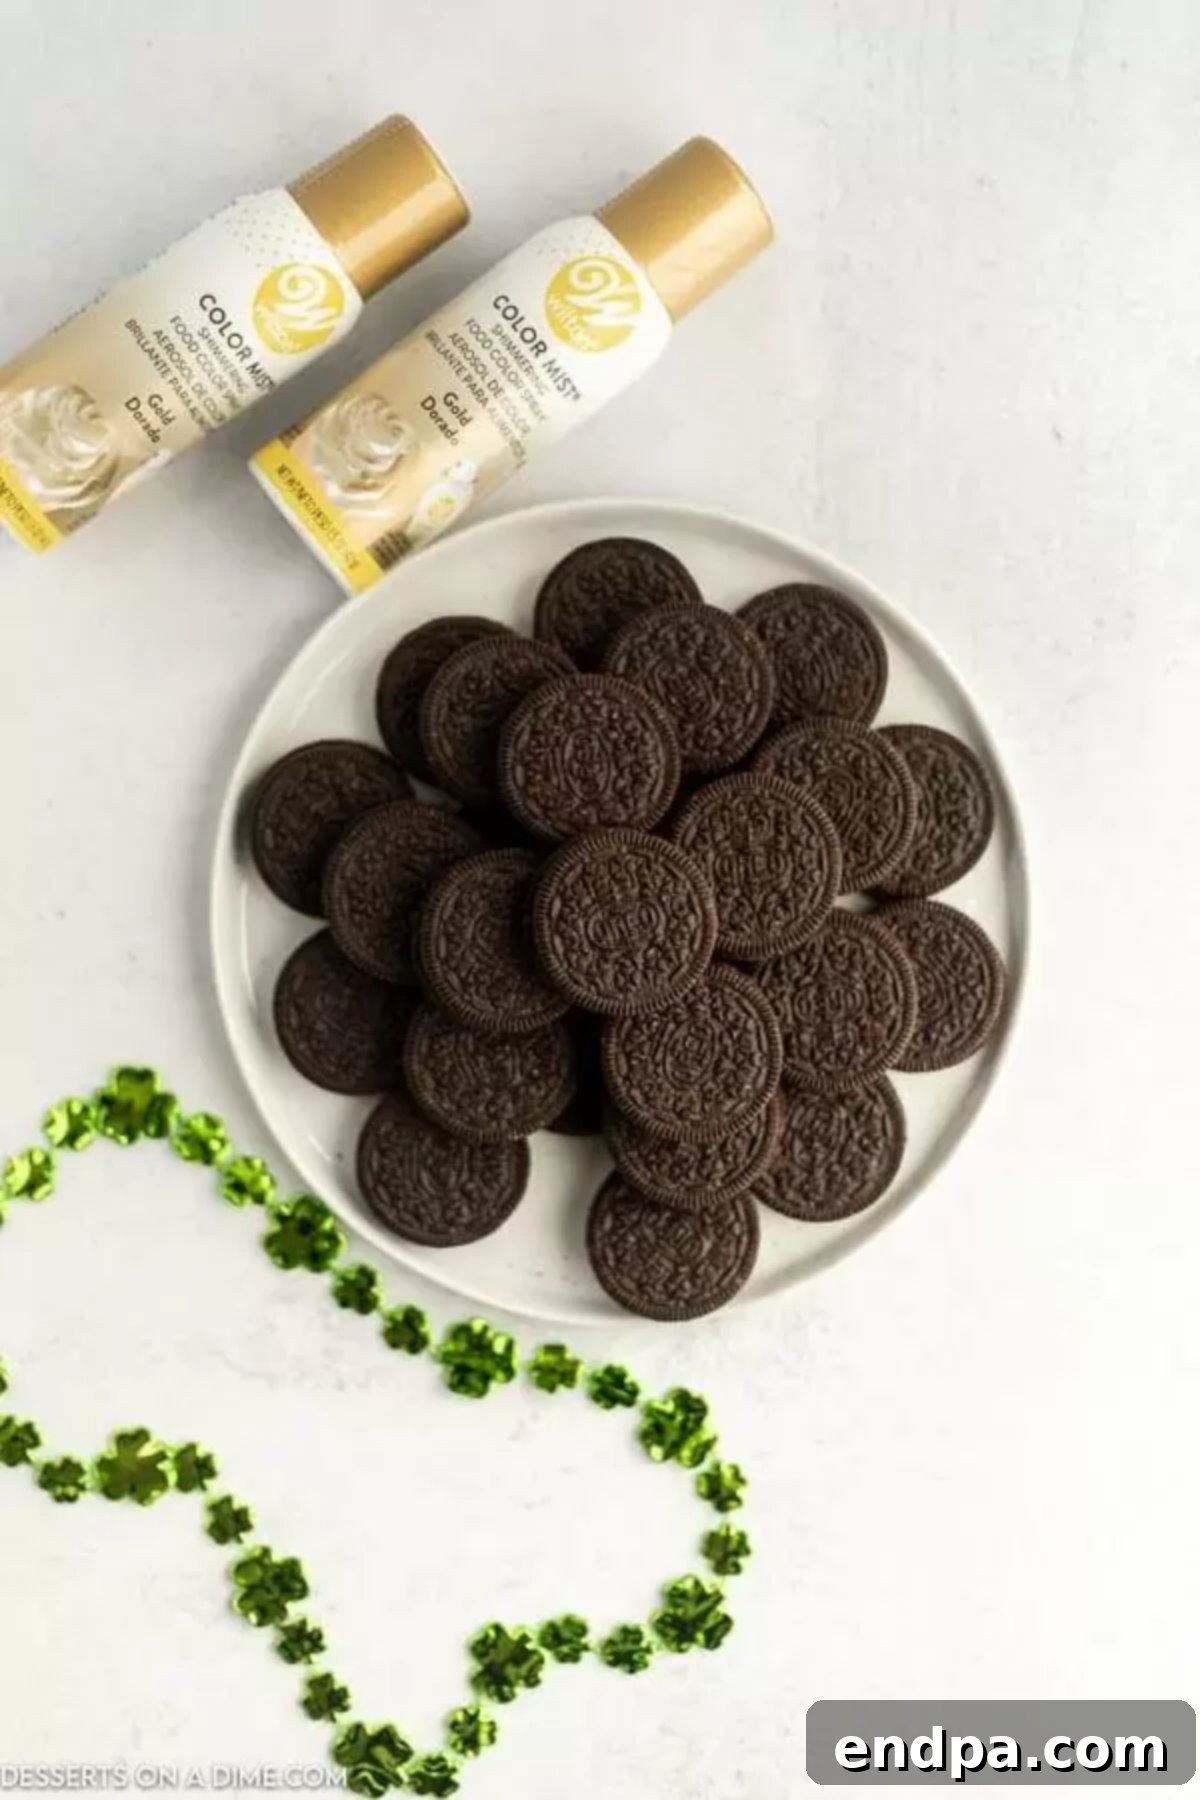
- One Package of Oreo Cookies: The classic chocolate sandwich cookie provides the perfect dark canvas for the shimmering gold. Its familiar taste and satisfying crunch make it an ideal base for this festive transformation. A standard 14 oz package works perfectly for a party-sized batch.
- Wilton Color Mist, Edible Gold Spray Paint: This is the magic ingredient that transforms your Oreos into sparkling treasures. Wilton Color Mist is specifically designed for food use, ensuring it’s safe to consume and delivers a vibrant, even gold finish. You can typically find it in the baking aisle of most craft stores, large supermarkets, or online retailers. Look for the “Gold” or “Metallic Gold” variety to achieve that authentic golden coin look.
While the recipe itself is wonderfully brief, these two components are all you truly need to achieve spectacular results. The contrast between the dark Oreo and the bright edible gold spray creates a visually stunning effect that’s hard to resist. The specific measurements and complete ingredient details can be found in the detailed recipe card at the bottom of this page, ensuring you have everything you need for success.
Creative Variations for Your Gold Oreos
While the classic St. Patrick’s Day Gold Oreos are undeniably delightful, there are many ways to customize and enhance this simple recipe to suit different tastes, themes, or occasions. Don’t be afraid to experiment and get creative with your edible gold creations!
- Oreo Flavor Exploration: We opted for traditional Oreo cookies in our recipe, which provide a rich, dark background that really makes the gold spray pop. However, you’re free to use any Oreo flavor you prefer! Imagine mint-flavored Oreos for an even more thematic St. Patrick’s Day treat, or peanut butter Oreos for a unique twist. Just keep in mind that the darker the base cookie, the more striking and deep the gold tone will appear after being sprayed. Lighter-colored Oreos, such as Golden Oreos, might not offer enough contrast once sprayed, resulting in a more subtle, less pronounced golden effect. If you use a lighter cookie, you might consider a second coat of spray for better saturation.
- Themed Celebrations Beyond St. Patrick’s Day: While these gold-dusted Oreos are an absolute hit for St. Patrick’s Day, their versatility extends far beyond. Envision them as shimmering treasure for a pirate-themed birthday party, nestled in a treasure chest alongside chocolate coins. They would also be a luxurious addition to New Year’s Eve celebrations, adding a touch of opulence to your dessert table. For a “Midas Touch” or “Golden Anniversary” party, these cookies would be perfectly on theme. The possibilities are truly endless for incorporating these shiny treats into various festive events.
- Customizing Cookie Thickness: For those who prefer a more delicate treat, consider using Oreo Thins. These slimmer versions of the classic cookie will result in a thinner, more elegant “gold coin,” which can be a lovely touch for more refined gatherings. This variation is entirely optional and depends on your personal preference for texture and presentation. Mini Oreos, on the other hand, are perfect for creating adorable, bite-sized golden nuggets, ideal for little hands or for serving as part of a larger dessert platter where variety is key.
- Adding Extra Sparkle and Luster: To elevate the shimmer even further, after the edible gold spray has dried, lightly dust your cookies with edible gold luster dust using a clean, soft brush. This will add an extra layer of metallic shine and depth. Alternatively, you could gently press tiny gold sprinkles onto the wet edible spray before it dries, creating a beautiful textured, sparkling effect reminiscent of scattered gold dust. These small additions can make a big difference in presentation.
- Creative Presentation Ideas: Once your gold Oreos are complete, consider how you’ll present them. Arrange them in a small cauldron or a bowl lined with green tissue paper for a festive St. Patrick’s Day display. Stack them pyramid-style for a luxurious treasure pile. You could also individually wrap them in clear cellophane bags tied with green or rainbow ribbons for party favors.
These variations offer fantastic ways to personalize your edible gold Oreos, ensuring they’re not only delicious but also perfectly suited to your specific celebration and style.
Step-by-Step Guide: How to Make Edible Gold Oreo Coins
Creating these magical St. Patrick’s Day Gold Oreos is an incredibly straightforward process, perfect for a quick and fun activity. Follow these simple steps to transform your cookies into dazzling edible gold coins.
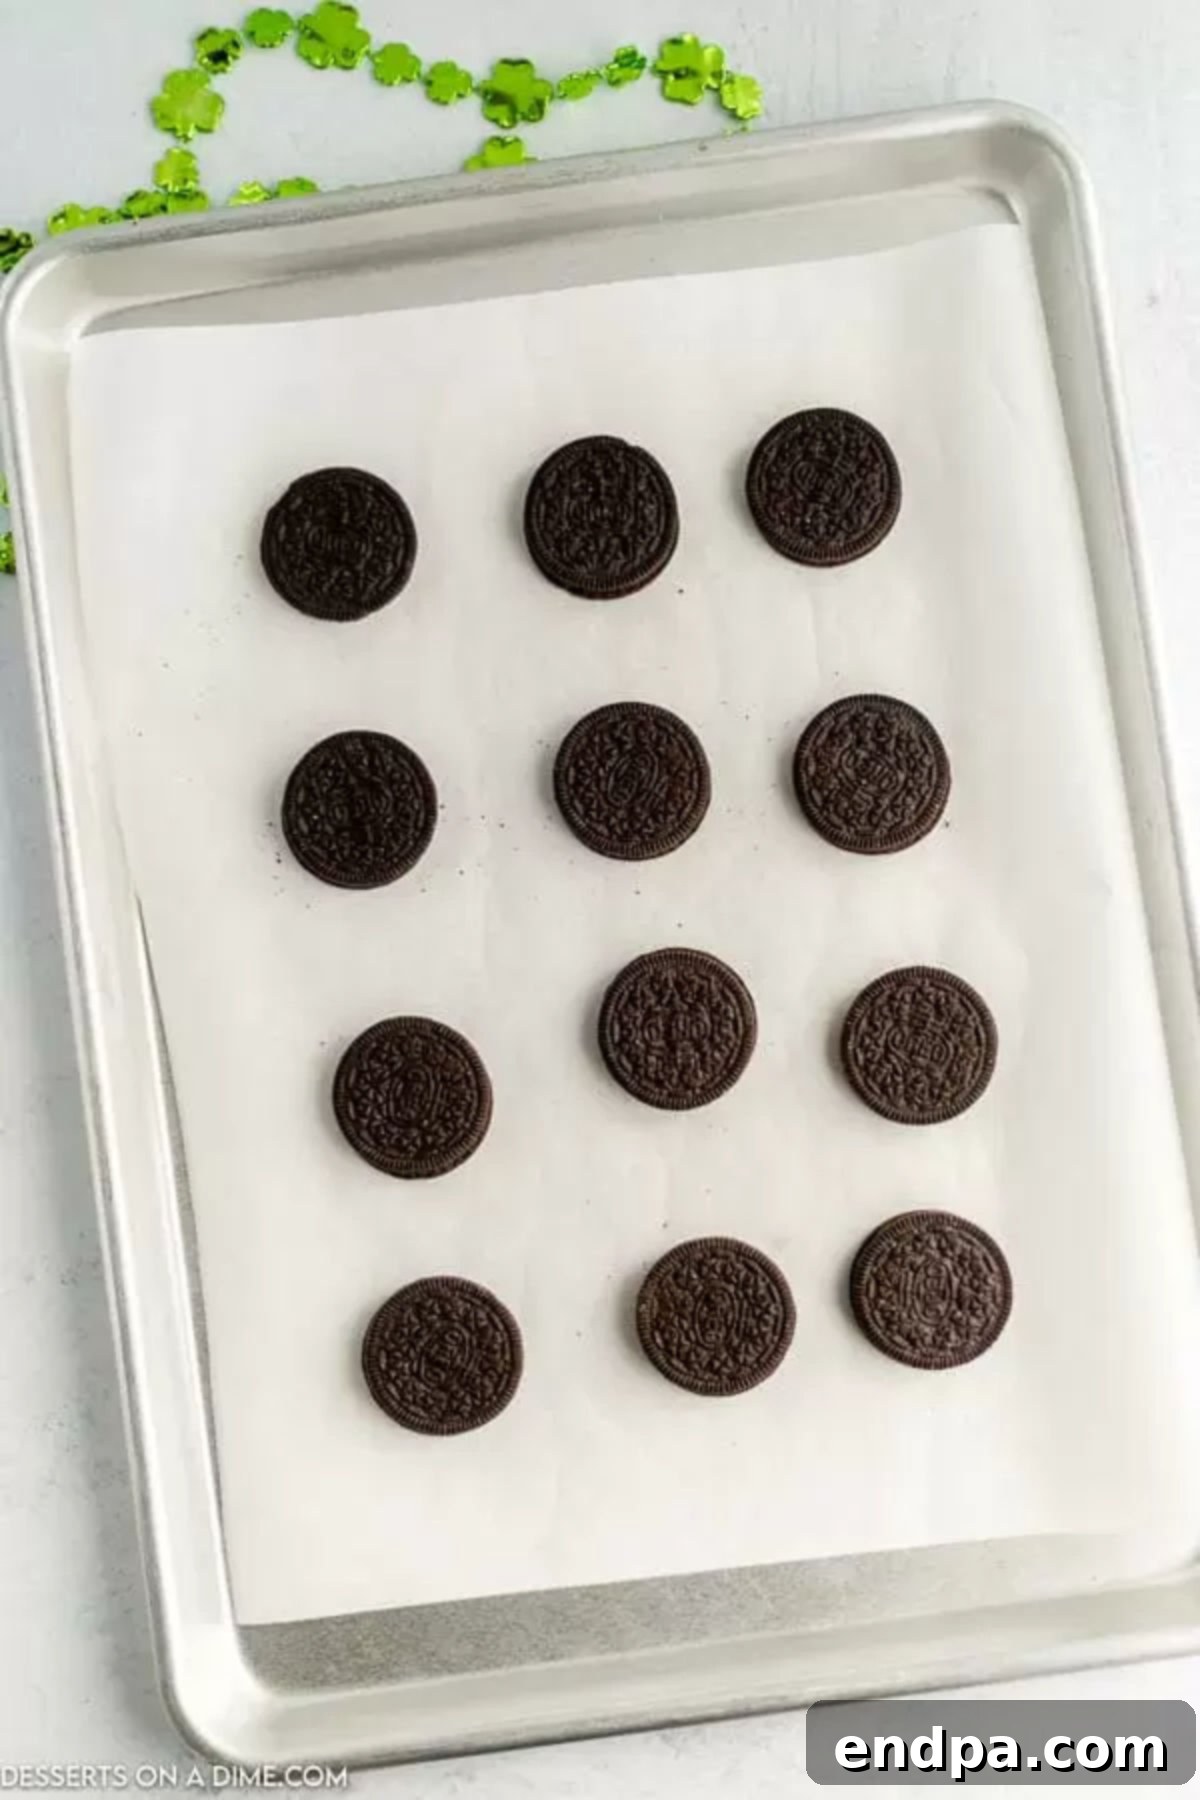
Step 1: Prepare Your Work Surface. Begin by lining a baking sheet with parchment paper or wax paper. This crucial step prevents the Oreos from sticking to the tray as they dry and protects your surface from any stray edible gold spray. Arrange your Oreo cookies in a single layer on the prepared baking sheet, ensuring there’s a little space between each cookie for even spraying.
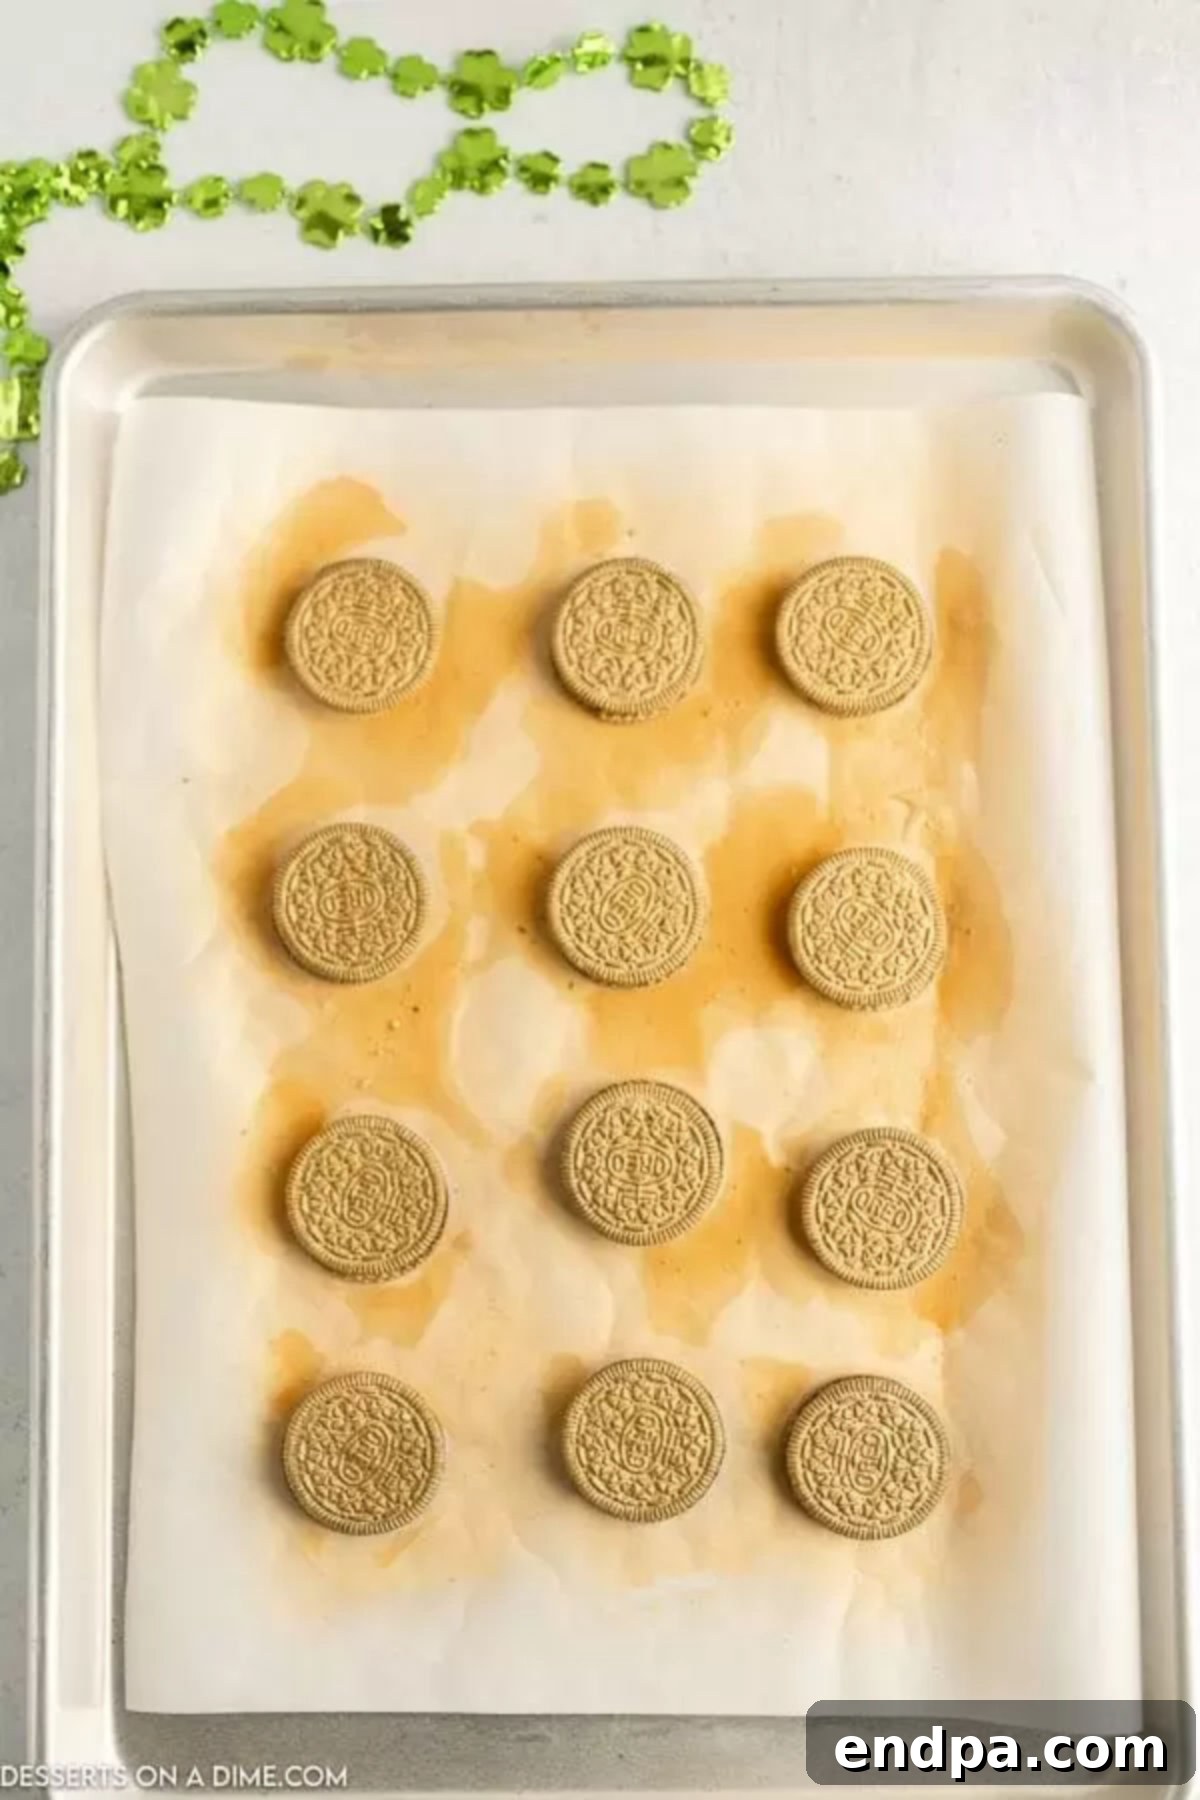
Step 2: Apply the Edible Gold Spray. Before you begin spraying, gently but thoroughly shake the can of metallic gold edible spray. This ensures the pigment is well-mixed for an even, vibrant coat. Hold the can about 6-8 inches away from the cookies and spray the top of the Oreos in thin, even coats. Work in a well-ventilated area. Once the first side is coated, allow the Oreo cookies to dry completely. This usually takes about 5-10 minutes, but can vary based on humidity and coat thickness. Once dry to the touch, carefully flip each Oreo over and spray the other side with the edible shimmer spray. Again, allow them to dry fully. For a deeper, more intense gold, you can apply a second thin coat after the first has dried.
Frequently Asked Questions About Gold Oreos
Once your dazzling gold Oreos are completely dry, store them in an airtight container or a sealed plastic bag. This will protect them from moisture and keep them fresh. You can comfortably keep them at room temperature, ideally in a cool, dry place away from direct sunlight.
The edible gold spray doesn’t impact the shelf life of the cookies. Your gold Oreos will last as long as the expiration date printed on the original package of Oreo cookies. Typically, this means they can stay fresh for several weeks when stored correctly. The gold spray simply adds a beautiful, festive touch without compromising freshness or flavor.
Yes, absolutely! Products like Wilton Color Mist are specifically formulated as food-grade edible sprays. They are made with ingredients that are safe for consumption and designed to add decorative flair to cakes, cookies, and other desserts. Always ensure you’re using a product explicitly labeled as “edible” to guarantee safety.
While Oreos are perfect due to their dark color and smooth surface, you can certainly experiment with other cookies! Any flat, firm cookie with a relatively dark surface will work well to highlight the gold. Think shortbread cookies, graham crackers, or even other sandwich cookie brands. The key is to have a surface that the spray can adhere to and provide a good color contrast. Lighter cookies might require more coats to achieve a strong golden look.
The best way to ensure an even, non-splotchy finish is to apply the spray in very thin, even coats from about 6-8 inches away. Avoid holding the can too close or spraying too much in one spot, as this can lead to drips and an uneven appearance. Shaking the can well before and during use also helps. Allow each thin coat to dry completely before applying another, and especially before flipping the cookie.
Expert Tips for Perfect Gold Oreos
Achieving perfectly shimmering St. Patrick’s Day Gold Oreos is easy, but a few expert tips can elevate your results from good to absolutely spectacular. Keep these pointers in mind for a flawless golden finish every time:
- Shake the Can Thoroughly: Before each use, and even periodically during spraying, gently but thoroughly shake the can of edible gold spray. This ensures that the metallic pigments are evenly dispersed within the propellant, preventing a splotchy finish and ensuring a consistent, vibrant gold color across all your cookies.
- Maintain Optimal Spray Distance and Angle: For the best coverage and to avoid pooling or streaking, aim to hold the spray can approximately 6 to 8 inches away from the cookies. Additionally, holding the can at a 45-degree angle to the cookie surface helps to deliver an even mist, allowing the fine particles to settle beautifully rather than concentrating in one spot.
- Apply Thin, Even Coats: Patience is key here. Resist the urge to drench the cookies in a single, thick layer. Instead, apply several thin, even coats. A thick application can lead to longer drying times, a sticky finish, and an uneven, potentially clumpy texture. Multiple light passes will build up the color gradually, resulting in a smooth, professional-looking gold.
- Allow Ample Drying Time Between Sides: It’s crucial to give the cookies sufficient time to dry completely on the first side before attempting to flip them. Turning them too early, while the spray is still tacky, can cause smudges, fingerprints, or even lead the cookies to stick to your parchment paper, ruining the smooth finish. Touch a corner lightly to ensure it’s dry before proceeding.
- For Deeper Color, Apply Multiple Layers: If you desire a more opaque and intense gold coverage, you can certainly spray each side twice (or even three times, if needed). The trick remains the same: ensure each coat is thin and allowed to dry completely before applying the next. This layering technique will build a rich, lustrous gold without any issues.
- Mind Your Yield: Generally, one standard 1.5 oz can of edible gold spray is sufficient to cover approximately 48 regular-sized Oreo cookies. However, this number can vary depending on how many coats you apply and how generously you spray. If you’re planning a large batch, it’s always wise to have an extra can on hand to avoid running out mid-project.
- Work in a Well-Ventilated Area: Edible sprays, while safe for food, can have a strong odor during application. It’s best to work near an open window, under a range hood, or in another well-ventilated space to avoid inhaling too much of the aerosol.
- Protect Your Surroundings: While the spray is edible, it can leave a metallic residue on surfaces. Consider placing your baking sheet inside a large cardboard box or laying down extra newspaper to protect your countertops and work area from overspray.
More Festive St. Patrick’s Day Desserts
If you’re planning a St. Patrick’s Day celebration and want to expand your dessert table beyond these enchanting Gold Oreos, we have plenty more delicious and festive recipes that are sure to bring luck and joy to your gathering:
- McDonald’s Shamrock Shake Recipe: Recreate the iconic seasonal favorite right in your own kitchen! This creamy, minty shake is a true taste of St. Patrick’s Day.
- St. Patrick’s Day Cake Mix Cookies: For another incredibly easy and customizable treat, these cake mix cookies are a fantastic option. They’re soft, chewy, and can be colored green or decorated with festive sprinkles.
- Easy St. Patrick’s Day Cupcakes: These simple cupcakes are perfect for showcasing your holiday spirit. Decorate them with green frosting, shamrock sprinkles, or even a mini gold Oreo for an extra special touch.
- Shamrock Cookies: Classic sugar cookies cut into shamrock shapes and adorned with green icing are a timeless favorite that everyone will love.
- Shamrock Pretzels: Sweet and salty perfection! These pretzels are dipped in green chocolate and decorated to look like lucky shamrocks, making them a delightful snack or party favor.
- St. Patrick’s Day Puppy Chow: A wonderfully addictive snack mix, this festive puppy chow (also known as muddy buddies) is coated in green goodness and is perfect for sharing.
These recipes ensure your St. Patrick’s Day spread is full of flavor, color, and festive cheer!
So go ahead, embark on this delightful culinary adventure and start making your own edible gold-covered Oreos today. We’re confident they’ll be a huge hit! Once you’ve created these glittering treats, please come back and leave a comment below. We’d love to hear how much you and your family enjoyed them!
Pin
Edible Gold Oreos
Ingredients
- 1 package of Oreo cookies 14 oz
- 1 can Wilton Color Mist Gold (1.5 oz)
Instructions
- Place the Oreos on a baking sheet lined with parchment paper, ensuring they are in a single layer with a little space between each.
- Gently but thoroughly shake the can of Wilton Color Mist and spray the top of the Oreos with a thin, even coat, holding the can about 6-8 inches away.
- Allow the first side of the Oreos to dry completely (about 5-10 minutes). Once dry to the touch, carefully flip them over and spray the other side of the Oreos.
- Then allow the second side to dry completely before handling and enjoying your golden treats!
Recipe Notes
Nutrition Facts
Pin This Now to Remember It Later
Pin Recipe
