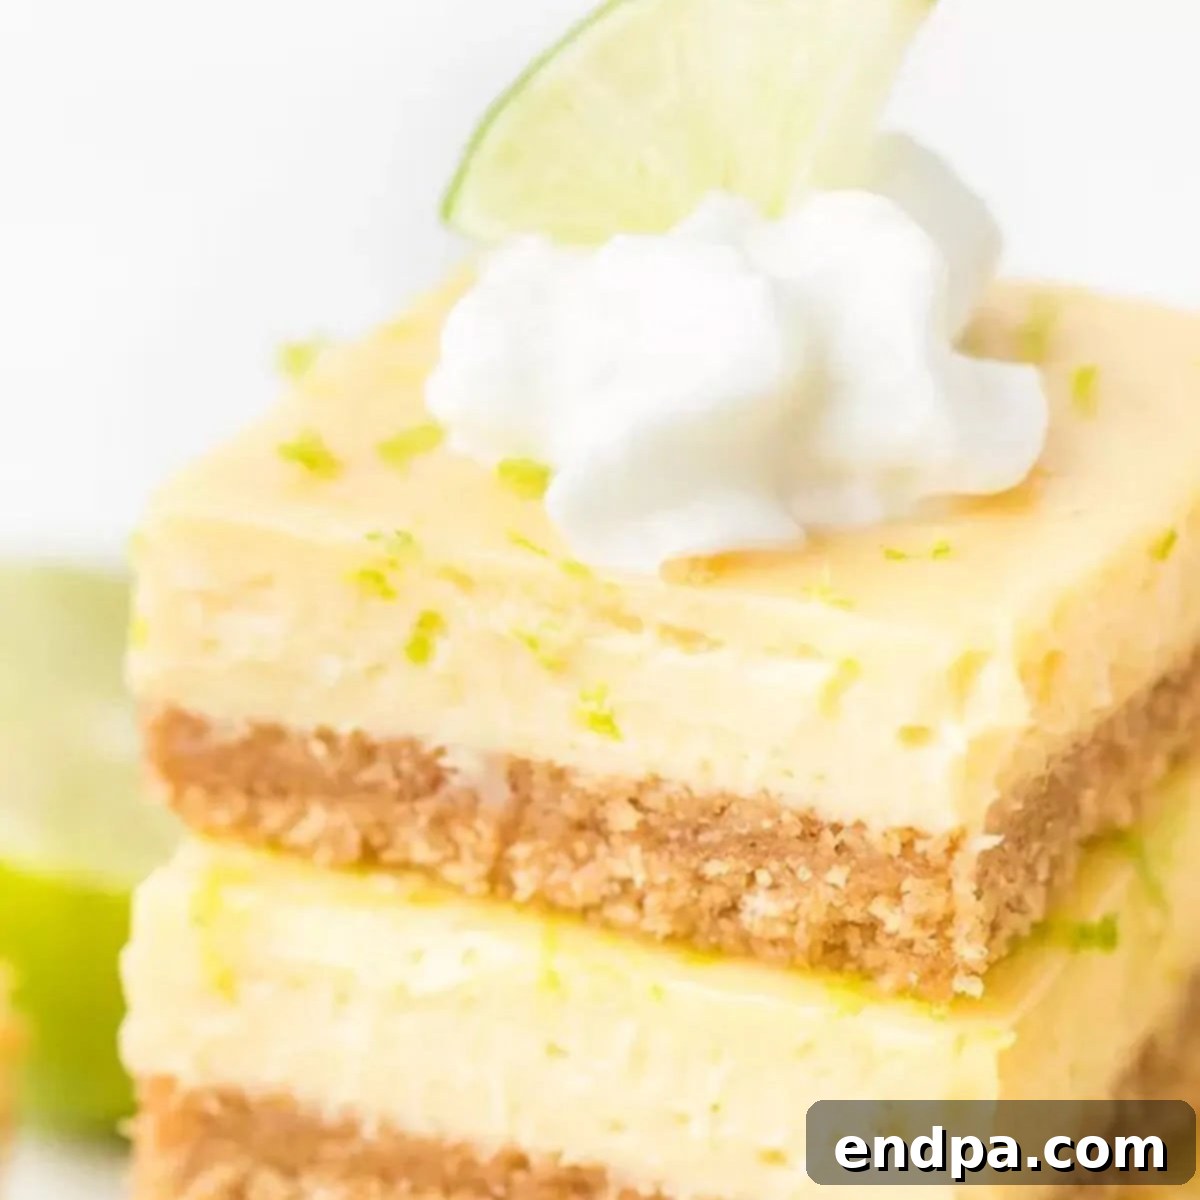
Indulge in the vibrant zest of the tropics with these exquisite Key Lime Bars! Perfectly portioned for any gathering, from casual backyard barbecues to elegant bridal showers, these bars deliver a delightful burst of tangy lime flavor paired with a luxuriously creamy texture. Each bite offers a harmonious balance of sweet and tart, all resting atop a wonderfully crisp graham cracker crust. Forget the fuss of a traditional pie; these bars bring all the beloved essence of Key Lime Pie into an easy-to-serve, convenient square that’s sure to impress.
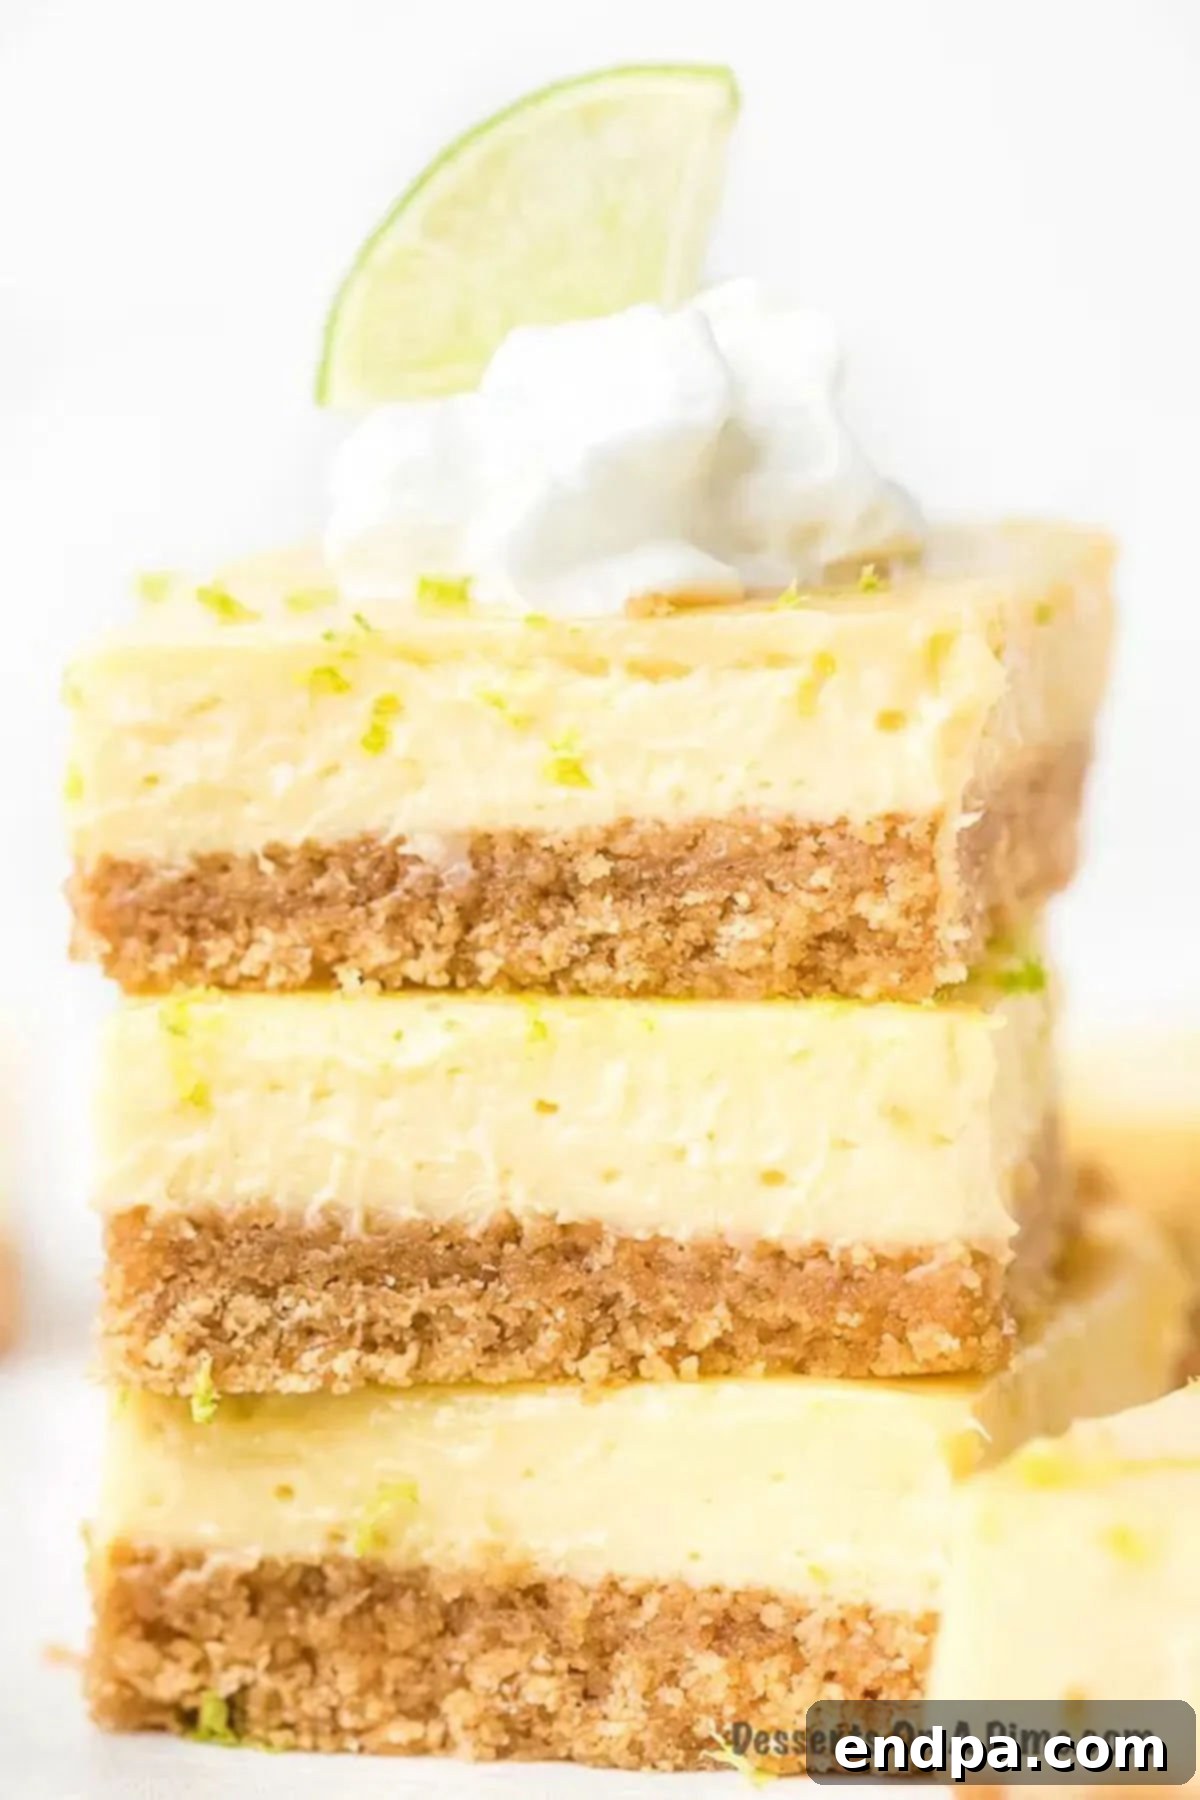
The enchanting flavor of Key Lime Pie has always captivated dessert lovers, and for good reason. Its distinctive tangy profile and smooth, creamy consistency make it a truly unforgettable treat. This recipe takes that classic delight and transforms it into a more accessible and equally irresistible bar form. Every square of these Key Lime Bars is a testament to the perfect marriage of tart key lime and rich sweetness, creating a dessert that’s both refreshing and utterly satisfying. They are incredibly simple to prepare, making them an ideal choice for bakers of all skill levels.
Bar recipes are a fantastic option for entertaining, holidays, or simply a sweet everyday indulgence. Their grab-and-go nature and neat presentation make them superior to many traditional desserts. If you enjoy the simplicity and deliciousness of bar desserts, you might also love our Pumpkin Bars Recipe or our classic Blondie Recipe. Each offers a unique flavor profile but shares the convenience and crowd-pleasing appeal of this format.
For those who simply can’t get enough of that wonderful lime flavor, we have a variety of other recipes that highlight this citrus superstar. Explore delightful options like Key Lime Cupcakes, a rich and creamy Key Lime Cheesecake, or browse through our extensive collection of 67 Easy Lime Desserts for more inspiration. There’s a lime-infused treat for every occasion and palate.
Table of Contents
- Why We Adore This Key Lime Bar Recipe
- Essential Ingredients for Perfect Key Lime Bars
- Step-by-Step: Crafting Your Key Lime Bars
- Expert Tips for Flawless Key Lime Bars
- Storing Your Key Lime Bars
- Can You Freeze Key Lime Bars?
- Key Limes vs. Regular Limes: What’s the Difference?
- More Zesty Lime Desserts to Try
- Full Key Lime Bars Recipe
Why We Adore This Key Lime Bar Recipe
There’s an undeniable charm to these Key Lime Bars that makes them a consistent favorite. From the buttery, crumbly graham cracker crust, which provides the perfect textural contrast, to the unbelievably smooth and tangy lime filling, every component sings. This dessert isn’t just delicious; it’s incredibly versatile. We’ve proudly served it at everything from elegant bridal showers and sophisticated tea parties to casual family movie nights and bustling holiday gatherings. Its sophisticated flavor profile belies its simple preparation, making it a dream for hosts and bakers alike.
What truly sets these bars apart is their ability to capture the essence of a classic Key Lime Pie in a more convenient, easy-to-handle form. You get all the bright, refreshing tartness and creamy indulgence without the need for plates and forks. It’s the ideal portable dessert that promises a burst of sunshine with every bite, bringing a taste of the Florida Keys right to your table.
Essential Ingredients for Perfect Key Lime Bars
Crafting the perfect Key Lime Bars begins with selecting high-quality ingredients. Each element plays a crucial role in achieving that signature sweet and tangy flavor, coupled with the irresistible creamy texture. Pay attention to the details, and your bars will turn out magnificently.
For the Crispy Graham Cracker Crust
- Graham Crackers, crushed into crumbs: The foundation of our bars. Ensure they are finely crushed for a uniform, sturdy crust. Using a food processor makes this quick and easy.
- Brown Sugar: Adds a hint of caramel sweetness and helps bind the crust, contributing to its golden-brown finish.
- Unsalted Butter, melted: The binding agent for the crust. Using unsalted butter allows you to control the overall saltiness of the dessert. Make sure it’s fully melted for even distribution.
- Salt: A pinch of salt enhances the flavor of the graham crackers and balances the sweetness, making the crust even more addictive.
For the Light and Creamy Key Lime Filling
- Cream Cheese, softened: The secret to the filling’s incredibly creamy and slightly rich texture. Ensure it’s at room temperature for smooth mixing, preventing lumps.
- Sweetened Condensed Milk: Provides the perfect level of sweetness and contributes significantly to the filling’s luxurious, dense consistency. It’s a non-negotiable ingredient for authentic key lime flavor.
- Large Egg Yolks: These yolks add richness, color, and act as a natural emulsifier, helping the filling set beautifully while baking.
- Lime Zest: Don’t skip the zest! It’s where much of the intense lime aroma and bright flavor resides. Use fresh key limes for the best results.
- Key Lime Juice: The star of the show. Freshly squeezed key lime juice is always preferred for its superior tartness and distinct floral notes compared to regular lime juice.
You can find the precise measurements for each of these ingredients in the detailed recipe card at the end of this post.
How to Make Key Lime Bars: A Simple Guide
Creating these delightful Key Lime Bars is surprisingly straightforward, involving just a few key steps. Follow this guide for a perfectly tangy and creamy dessert every time.
- Step 1: Prepare Your Workspace. Begin by preheating your oven to 350°F (175°C). This ensures your oven is at the correct temperature when your bars are ready to bake, leading to consistent results.
- Step 2: Ready Your Baking Pan. For easy removal and cleanup, line an 8×8-inch baking pan with parchment paper or aluminum foil, leaving an overhang on the sides. This creates “handles” that will allow you to lift the cooled bars out of the pan effortlessly.
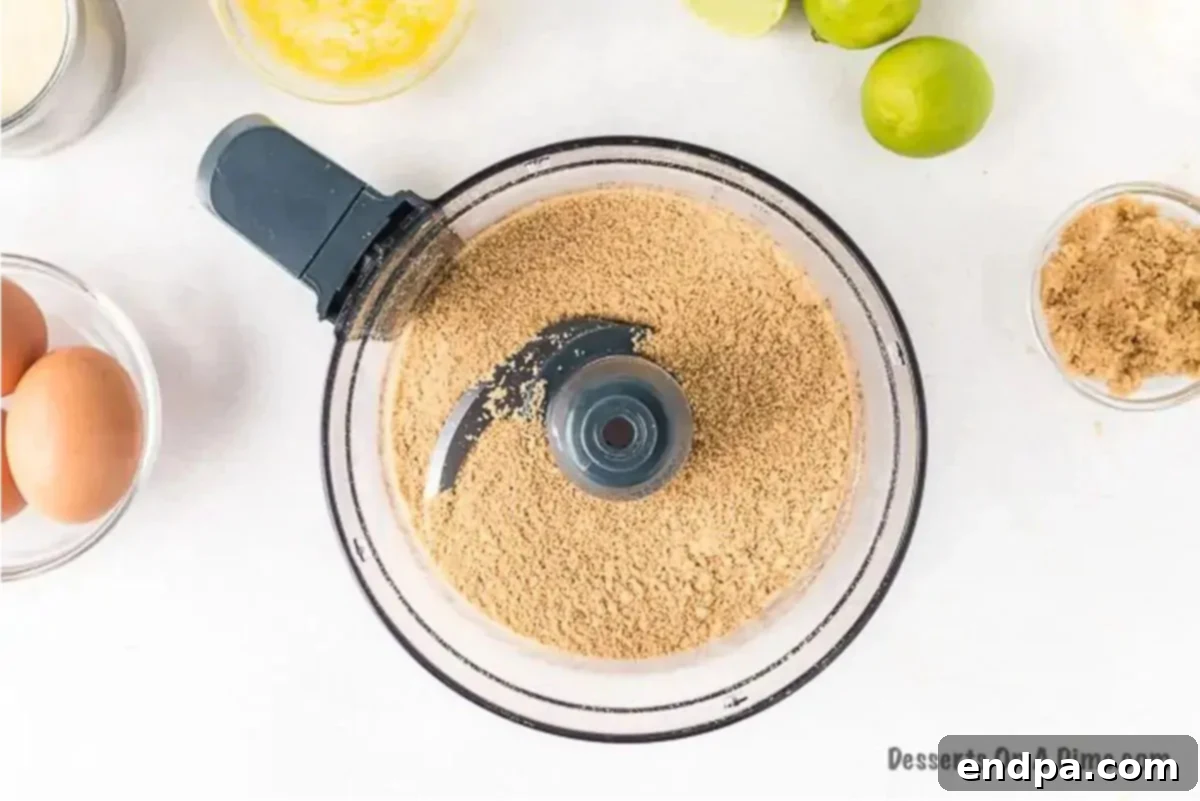
Step 3: Create the Graham Cracker Crumbs. Crush the graham crackers into fine crumbs. A food processor is the quickest way to achieve a uniform, fine texture. Alternatively, you can place the graham cracker sheets in a large zip-top bag and crush them with a rolling pin until they resemble sand.
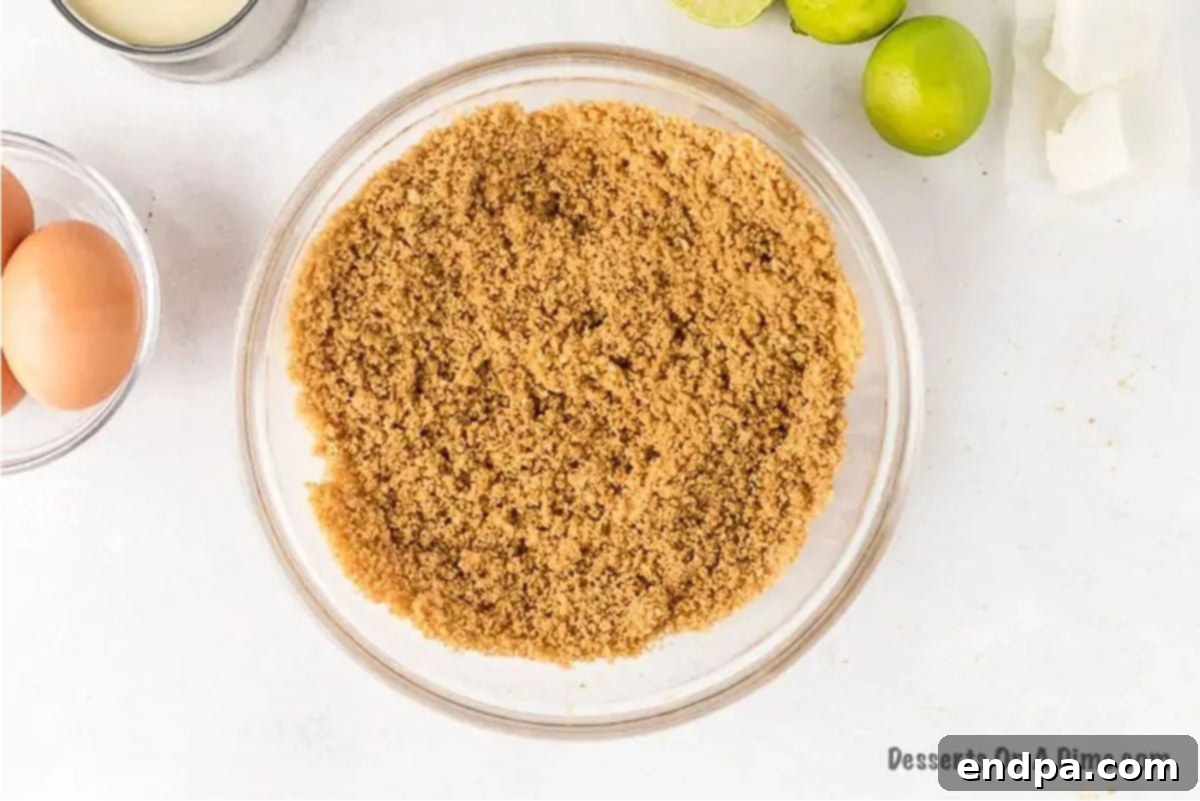
Step 4: Mix the Crust Ingredients. In a medium mixing bowl, combine the finely crushed graham cracker crumbs with the brown sugar, melted unsalted butter, and a pinch of salt. Mix thoroughly until all the crumbs are moistened and resemble wet sand. This ensures a cohesive crust.
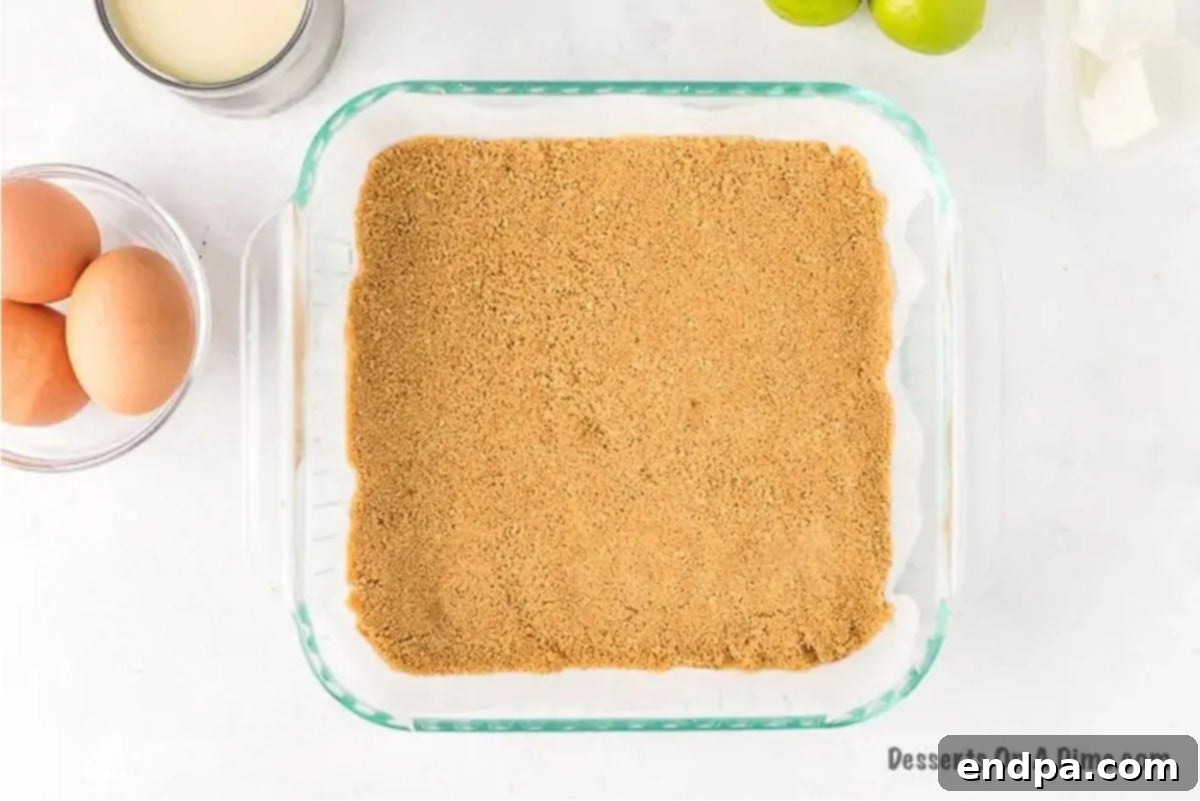
Step 5: Press the Crust. Transfer the graham cracker mixture into your prepared baking pan. Using the bottom of a glass or your fingertips, firmly and evenly press the mixture across the bottom of the pan to form a compact crust. A well-pressed crust will hold its shape beautifully after baking.
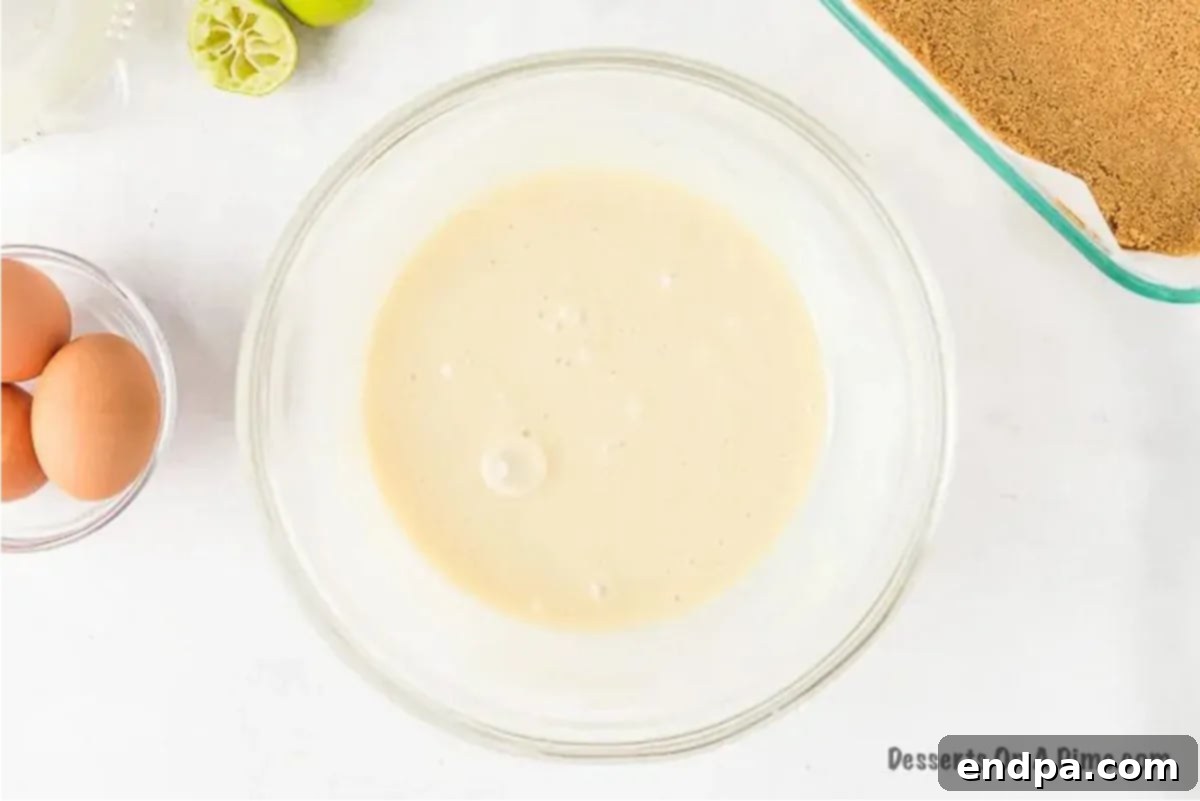
Step 6: Prepare the Creamy Filling Base. In a large mixing bowl, using an electric mixer, beat the softened cream cheese until it’s light and fluffy. This step is crucial for a smooth filling. Gradually add the sweetened condensed milk, continuing to beat until the mixture is fully combined and smooth.
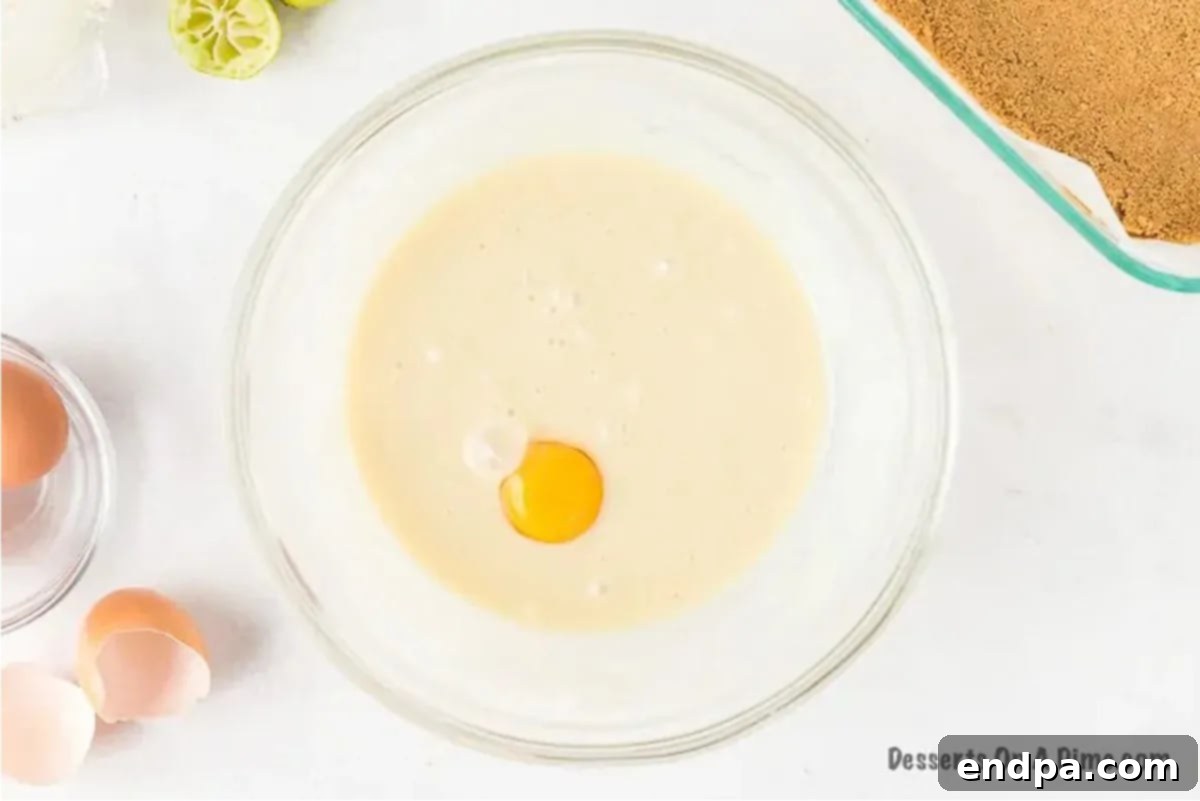
Step 7: Incorporate the Egg Yolks. Add the large egg yolks one at a time to the cream cheese mixture, beating well after each addition until just combined. Be careful not to overmix, as this can incorporate too much air, which might lead to cracks in the filling.
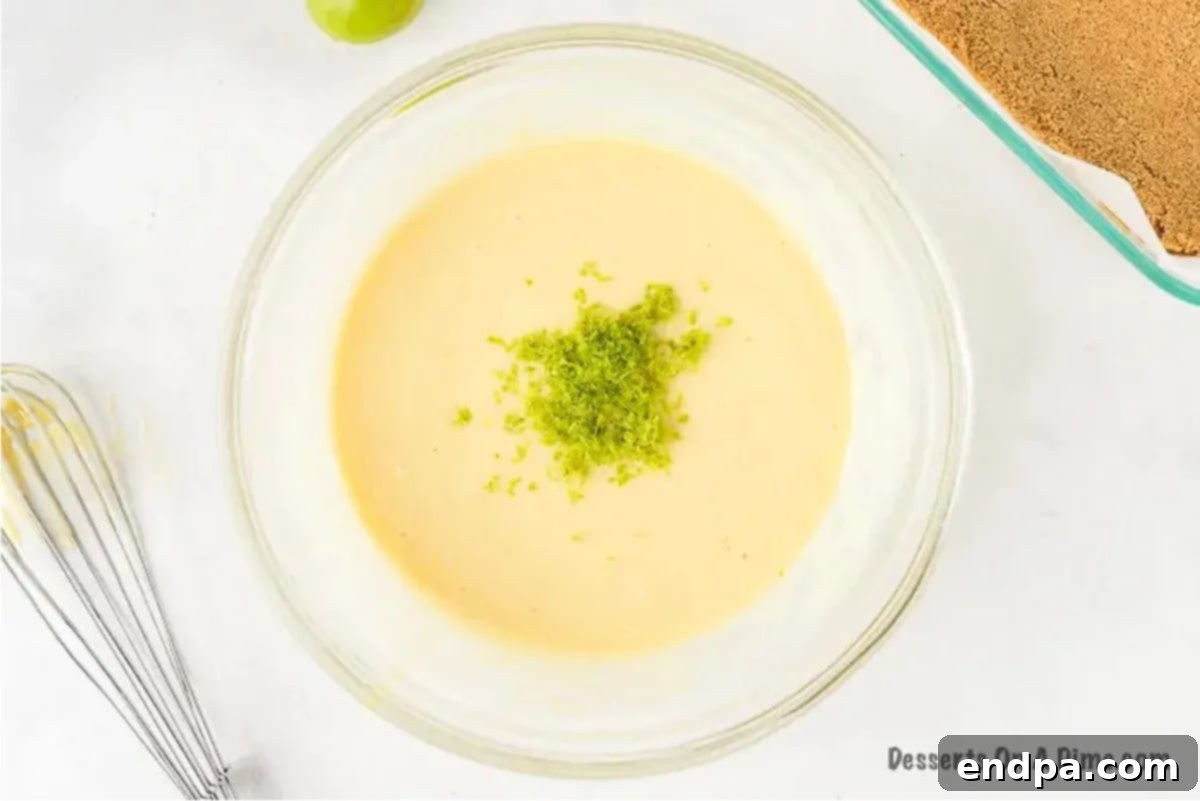
Step 8: Infuse with Lime Flavor. Gently fold in the fresh lime zest and key lime juice by hand using a spatula. Mixing by hand at this stage prevents overmixing and ensures the delicate lime flavor isn’t lost. The mixture should be smooth and fragrant.
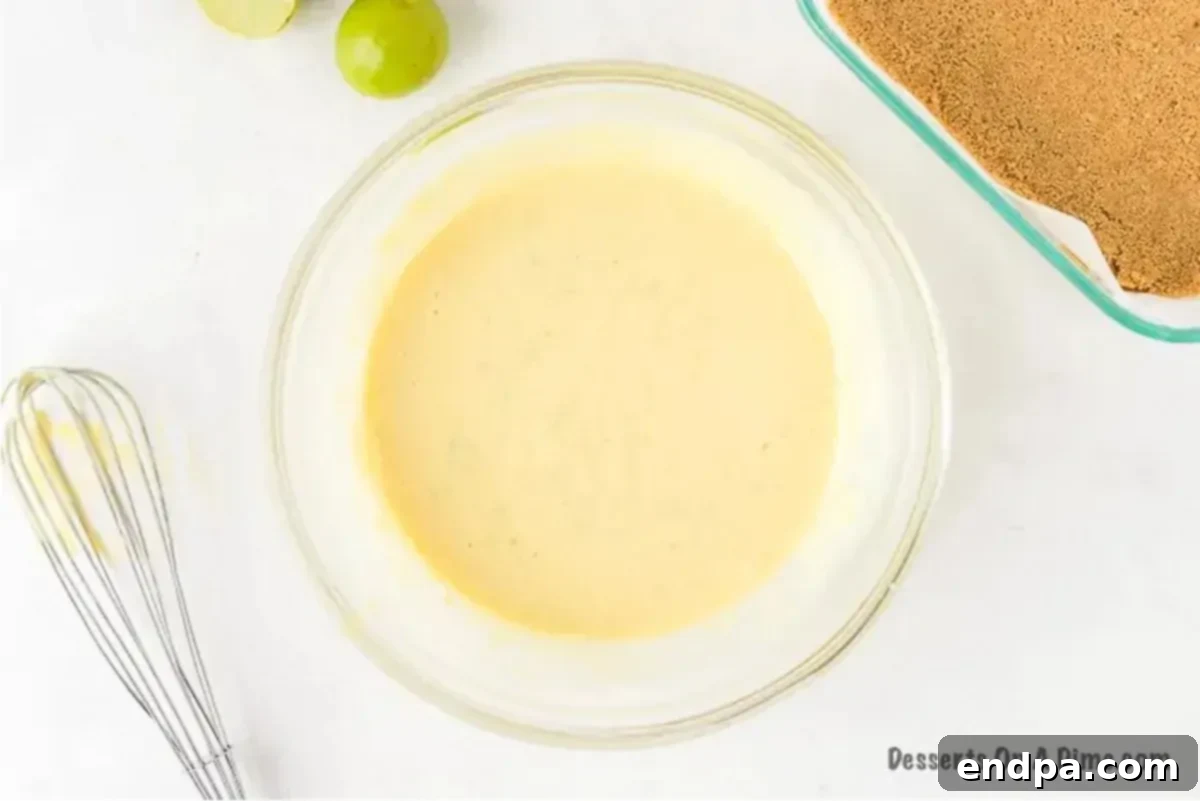
Step 9: Final Gentle Mix. Ensure all ingredients are thoroughly combined, yet avoid aggressive mixing. The goal is a unified, smooth filling that retains its creamy texture.
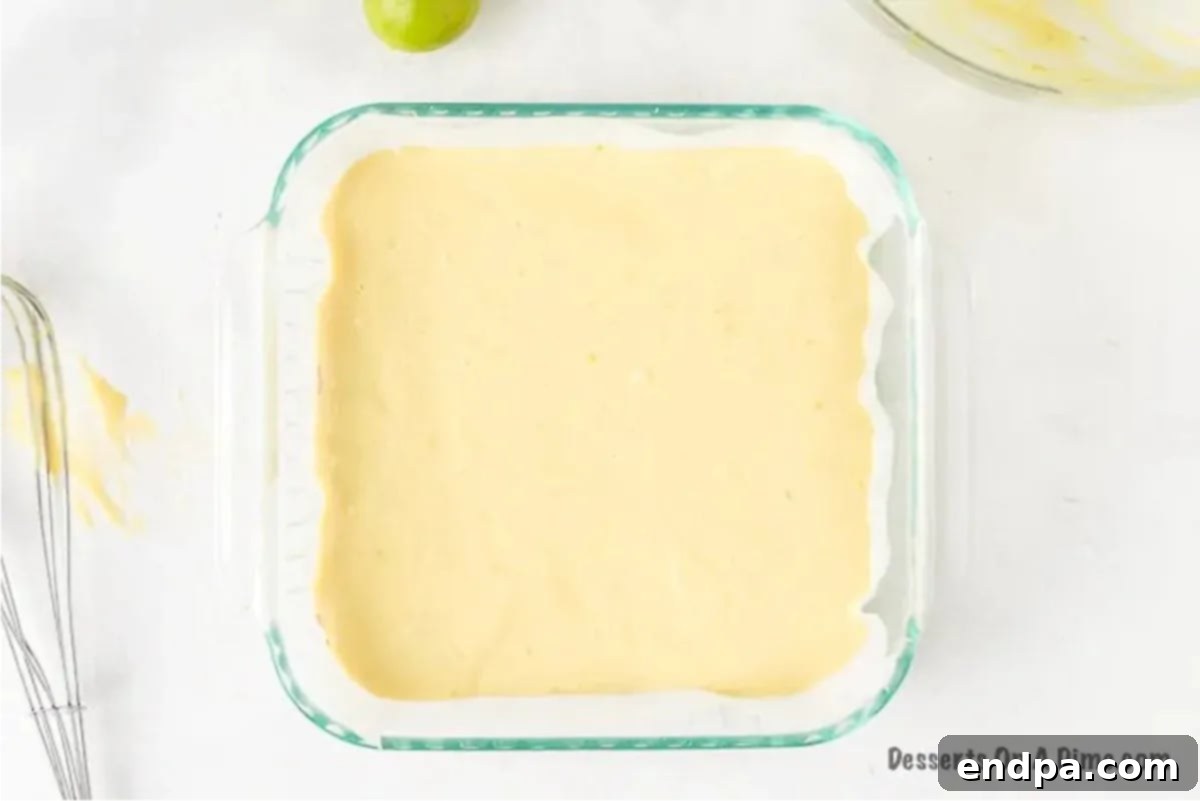
Step 10: Bake to Perfection. Carefully pour the lime filling over the prepared graham cracker crust in an even layer. Transfer the pan to the preheated oven and bake for approximately 30-35 minutes. Baking times can vary, so watch for the filling to be slightly firm around the edges with a slight jiggle in the center. Overbaking can lead to a rubbery texture or cracks, so remove it promptly once set.
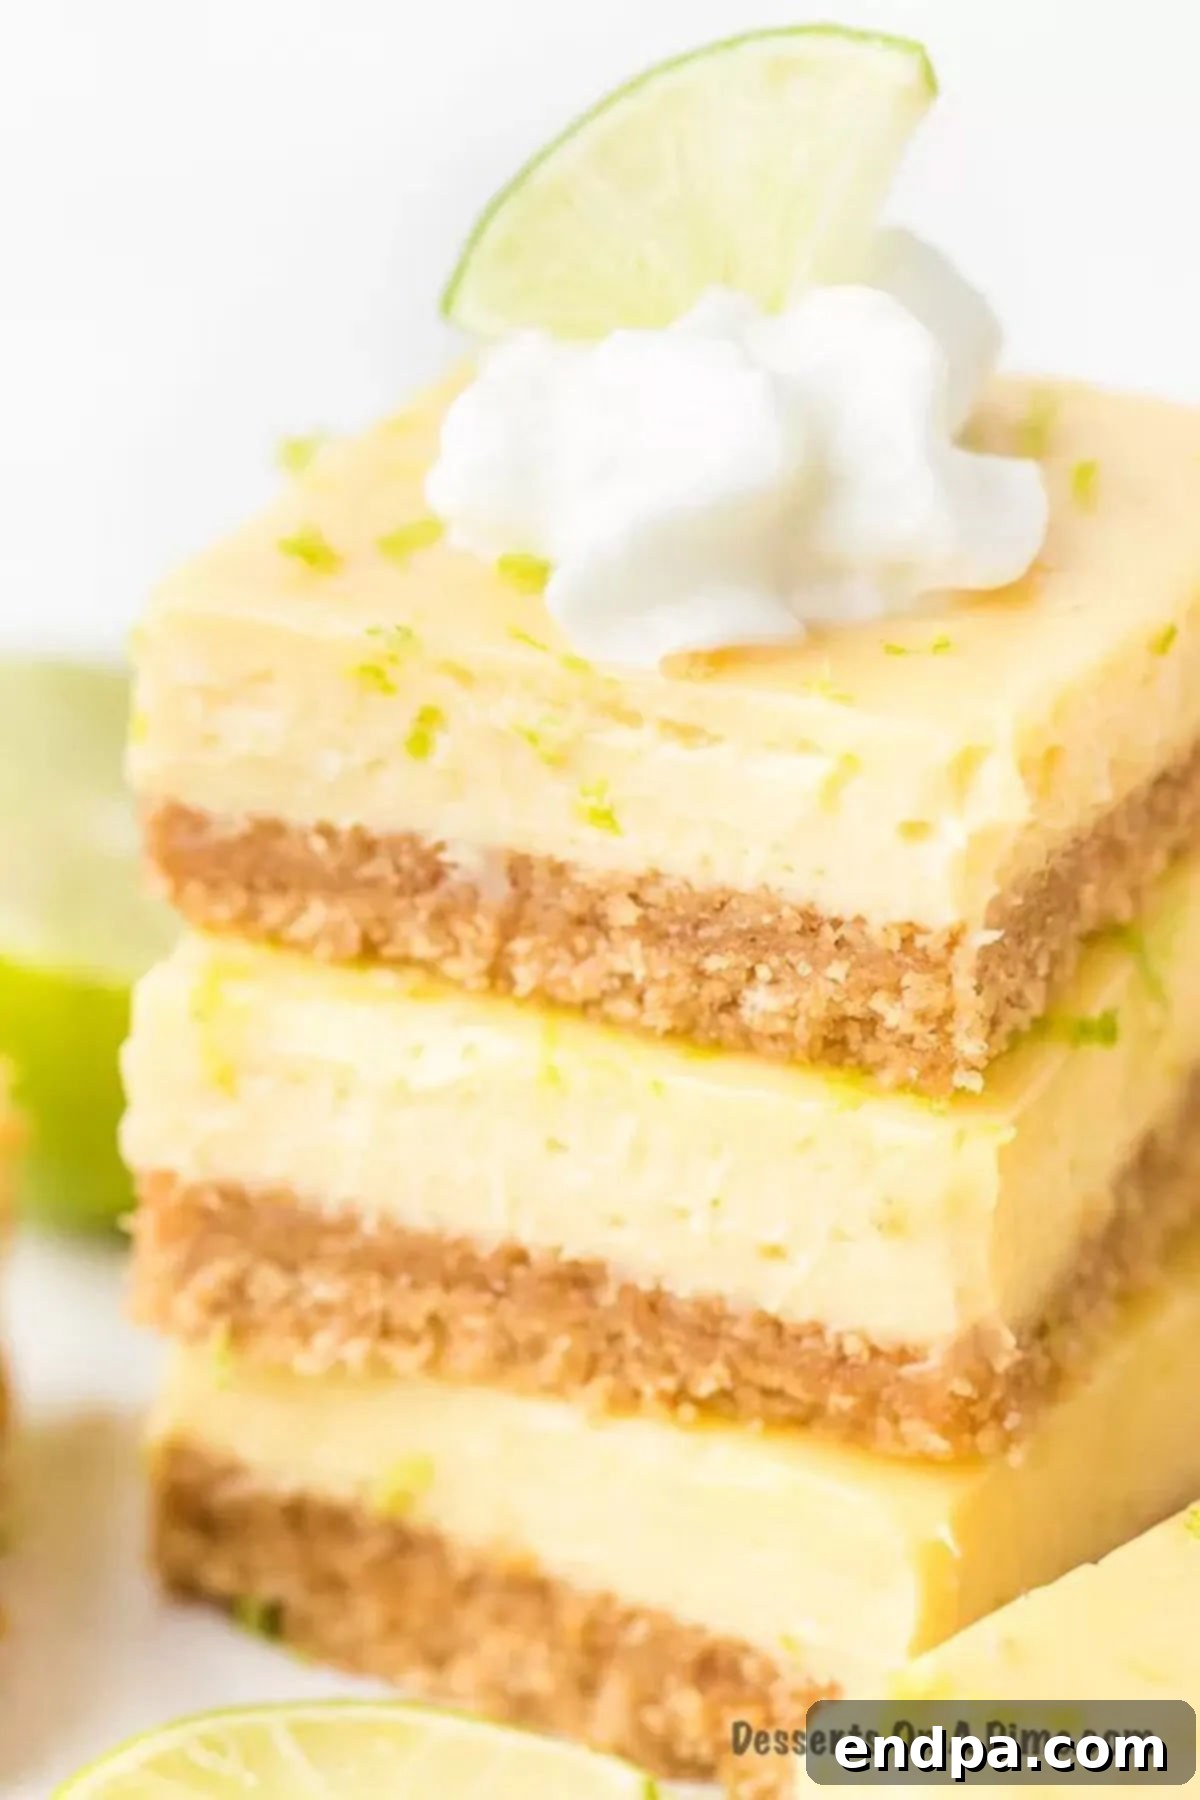
- Step 11: Cool and Chill. Once baked, remove the bars from the oven and allow them to cool completely at room temperature. This gradual cooling helps the filling set properly. For the cleanest, most beautiful slices, it’s essential to chill the bars in the refrigerator for a minimum of 4 hours, though overnight is truly ideal. A well-chilled bar will slice effortlessly with a sharp knife, delivering perfect portions every time.
Expert Tips for Flawless Key Lime Bars
Achieving the perfect Key Lime Bars is simple when you know a few tricks. These professional tips will ensure your bars are consistently delicious and beautifully presented.
- Portion Control for Rich Flavor: Given the rich and decadent flavor of these Key Lime Bars, we highly recommend cutting them into smaller portions. This allows everyone to enjoy the indulgent taste without feeling overwhelmed, making them perfect for tasting platters or when serving a variety of desserts.
- Mindful Mixing of Filling Ingredients: When combining the ingredients for the creamy filling, add the egg yolks one at a time. This ensures each yolk is fully incorporated, leading to a smooth, uniform texture. Most importantly, avoid over-mixing the filling once all ingredients are added. Over-mixing can incorporate too much air, which may cause the bars to puff up excessively during baking and then crack as they cool. Mix until just combined.
- Perfect Graham Cracker Crumbs: For a consistently delicious crust, ensure your graham crackers are crushed into very fine, uniform crumbs. A food processor is your best tool for this, creating a texture similar to fine sand. If you don’t have a food processor, a zip-top bag and a rolling pin work well – just make sure there are no large chunks remaining.
- The Right Mixer for the Job: A stand mixer or a hand mixer can be used for combining the cream cheese and sweetened condensed milk. Ensure you scrape down the sides and bottom of the bowl frequently to incorporate all ingredients evenly. This prevents unmixed pockets and guarantees a silky-smooth filling.
- Room Temperature is Key: Always start with room temperature cream cheese for your filling. Cold cream cheese will result in a lumpy mixture, no matter how much you beat it. Taking your cream cheese out of the fridge at least an hour before you plan to bake will make a significant difference in the final texture of your bars.
- Lining the Pan for Easy Release: Lining your baking pan with parchment paper or foil, leaving an overhang on two sides, is a game-changer. Once the bars have cooled and chilled, you can simply lift them out of the pan using these “handles.” This prevents sticking and allows for perfectly clean, neat cuts.
- Elevate with Garnishes: While delicious on their own, Key Lime Bars are even better with a simple garnish. A dollop of light and fluffy Homemade Whipped Cream or a dusting of powdered sugar adds a beautiful finishing touch and a subtle layer of sweetness that complements the tart lime. Fresh lime slices or zest can also add a pop of color and extra aroma.
Storing Your Key Lime Bars
To maintain their optimal freshness, flavor, and creamy texture, Key Lime Bars must be stored in the refrigerator. Once they have completely cooled to room temperature, transfer them to an airtight container. This protective barrier will prevent them from absorbing odors from other foods in the fridge and keep them from drying out. When stored properly, these delicious bars will remain fresh and delightful for up to 5 days, making them an excellent make-ahead dessert option for busy schedules.
Can You Freeze Key Lime Bars?
Absolutely! Key Lime Bars are surprisingly freezer-friendly, allowing you to prepare them in advance for future events or simply enjoy a sweet treat whenever a craving strikes. When properly frozen, these bars can maintain their quality for up to 3 months. Here are the easy steps to ensure your Key Lime Cheesecake Bars freeze perfectly:
- Wrap Tightly for Protection: The most crucial step is to protect the bars from freezer burn and moisture.
- First Layer: Wax Paper: Begin by wrapping individual bars, or small sections, tightly in wax paper. This first layer provides a gentle barrier against moisture.
- Second Layer: Aluminum Foil or Plastic Wrap: For an extra layer of protection, wrap the wax-paper-wrapped bars again in aluminum foil or heavy-duty plastic wrap. This double-layer method is vital for keeping out any air, which is the primary cause of freezer burn and changes in texture.
- Strategic Freezer Placement: Once wrapped, place the bars in an airtight freezer-safe container or a large freezer bag. Store them in the back of your freezer, where the temperature is most consistent. Frequent opening of the freezer door can cause temperature fluctuations near the front, which isn’t ideal for long-term storage.
- Serving After Freezing: When you’re ready to enjoy your frozen Key Lime Bars, remove them from the freezer and unwrap them. Let them thaw at room temperature for about 1 to 2 hours, or for a slightly firmer texture, thaw them in the refrigerator overnight. You can serve them chilled or at room temperature, depending on your preference.
Key Limes vs. Regular Limes: What’s the Difference?
While both key limes and regular limes (often referred to as Persian limes) are members of the citrus family, they possess distinct characteristics that can impact the flavor of your dessert. Understanding these differences is crucial when making Key Lime Bars.
Key Limes, also known as Mexican limes or West Indian limes, are smaller, typically about the size of a golf ball, with a thinner, often yellowish-green rind when fully ripe. Their flavor is intensely aromatic, distinctly tart, and possesses a unique floral essence that is central to the authentic taste of Key Lime Pie and bars. The juice is more acidic and has a more complex flavor profile compared to regular limes. They are also notoriously more difficult to juice due to their small size and numerous seeds.
Regular Limes (Persian limes) are larger, seedless, and have a thicker, dark green rind. Their juice is still tart, but it lacks the intense, slightly bitter, and floral notes that define key limes. While readily available and easier to juice, substituting regular lime juice will result in a good dessert, but it won’t have the truly authentic, signature Key Lime flavor. The tartness will be present, but the depth and specific aroma will be milder.
Can you substitute? Yes, you can certainly use regular limes in place of key limes if key limes are unavailable. However, be aware that the resulting bars will have a slightly different flavor profile – still delicious, but not as intensely tart or complex as those made with true key limes. If you can find bottled key lime juice, it’s a good compromise and often available in the baking aisle of most grocery stores, offering a closer flavor profile than fresh Persian lime juice.
More Zesty Lime Desserts to Try
If you’re a fan of the bright, refreshing taste of lime, you’ll love exploring these other fantastic dessert options that celebrate this versatile citrus fruit:
- Lime Jell-O Poke Cake Recipe: A moist and flavorful cake infused with the sweet tang of lime Jell-O, perfect for a vibrant and fun dessert.
- Homemade Lime Popsicles Recipe: A cool and refreshing treat, these popsicles are bursting with natural lime flavor and are perfect for hot summer days.
- Cherry Limeade Cupcakes: A playful combination of sweet cherry and tart lime in a fluffy cupcake, offering a delightful twist on a classic beverage.
- Lemon Lime Popsicles: Experience a double dose of citrus goodness with these invigorating popsicles that combine the best of both lemon and lime.
Now that you have all the tips and tricks, it’s your turn to whip up these incredibly delicious Key Lime Bars with their creamy, dreamy filling and perfect graham cracker crust. Don’t forget to come back and share your experience and leave a star rating!
Key Lime Bars Recipe
These decadent key lime bars are the perfect size for parties and more. The filling is light and creamy with the best lime flavor.
Prep Time: 15 mins
Cook Time: 30 mins
Total Time: 45 mins
Servings: 9
Cuisine: American
Course: Dessert
Calories: 165 kcal
Author: Carrie Barnard
Ingredients
For the Crust:
- 8 full Graham Crackers, crushed into crumbs
- ¼ cup Brown Sugar
- 4 Tbsp Butter, melted
- ⅛ tsp Salt
For the Key Lime Filling:
- 2 oz cream cheese, softened at room temperature
- 1 can Sweetened Condensed Milk
- 3 Large Egg Yolks
- 1 Tbsp Lime Zest (approximately 3 limes)
- ½ cup Key Lime Juice
Instructions
- Preheat the oven to 350 degrees F and line an 8×8 baking pan with parchment paper or foil.
- Crush the graham crackers in a food processor to make fine graham cracker crumbs.
- Mix together the crust ingredients in a medium-sized mixing bowl. Then, press this mixture firmly into the bottom of the prepared 8×8 baking pan.
- In a large mixing bowl, beat the cream cheese until soft and smooth, then gradually add in the sweetened condensed milk. Continue mixing until smooth.
- Add in the egg yolks one at a time, mixing until just well combined after each addition.
- Gently stir in the lime zest and key lime juice by hand.
- Spread this mixture evenly over the crust in the 8×8 baking pan.
- Bake uncovered for 30-35 minutes until the filling is set and slightly firm around the edges, with a slight jiggle in the center.
- Allow the bars to cool completely at room temperature, then chill them thoroughly in the refrigerator before cutting and serving. Chill the bars for a minimum of 4 hours, but overnight is ideal for them to fully set and achieve the best texture.
- Enjoy your perfectly tangy Key Lime Bars!
Nutrition Facts
Calories: 165 kcal, Carbohydrates: 17g, Protein: 2g, Fat: 10g, Saturated Fat: 5g, Trans Fat: 1g, Cholesterol: 85mg, Sodium: 184mg, Potassium: 64mg, Fiber: 1g, Sugar: 9g, Vitamin A: 334IU, Vitamin C: 4mg, Calcium: 33mg, Iron: 1mg
