Easter Dirt Cake is a delightful and effortlessly crafted no-bake dessert that brings a touch of whimsical charm to your Easter celebrations. Imagine the classic, beloved dirt cake, but elevated with vibrant, seasonal decorations like fluffy Peeps, colorful candy eggs, and playful sprinkles. This festive treat is not only incredibly easy to assemble but also promises to be a showstopper that will have everyone reaching for a second serving. Its rich, creamy layers and crunchy cookie “dirt” create an irresistible texture and flavor combination, making it the ultimate sweet finale for your holiday feast. Prepare to impress your guests with this fun, vibrant, and utterly delicious Easter creation!

There’s a universal love for Oreo cookies, and this Easter Dirt Cake leverages that adoration to create one of the simplest yet most satisfying Easter desserts imaginable. It features all the luscious, creamy layers that make traditional Oreo Dirt Cake such a smash hit. From the crumbly cookie base to the velvety smooth pudding and cream cheese mixture, every spoonful is pure indulgence. This particular version takes the timeless recipe and infuses it with an extra dose of holiday cheer, making it exceptionally special for Easter gatherings.
Beyond this delightful dirt cake, our family cherishes other Easter traditions. Each year, we also whip up Chocolate Easter Bark, decorate a batch of Easter Egg Sugar Cookies, and prepare whimsical Easter Egg Rice Krispie Treats. These easy-to-make desserts are always a huge hit with the kids and simplify life for busy parents during the bustling holiday season. If you’re a fan of those fluffy marshmallow Peeps, you might also enjoy our Peeps Rice Krispie Treats Recipe for another fun, colorful option.
This Easter Dirt Cake recipe stands out as a holiday favorite not just for its incredible taste, but also for its sheer simplicity. It allows you to create a beautiful, delicious dessert without the stress of baking, leaving you more time to enjoy with family and friends. The ability to customize the toppings with various Easter candies makes it a versatile treat that can be tailored to any preference, ensuring a personalized touch for your celebration. The delightful contrast between the crunchy Oreo crumbs and the smooth, rich cream filling is simply divine, guaranteeing an enjoyable experience for all ages.
Table of Contents
- Why This Recipe Works
- Ingredients
- Variations and Substitutions
- How to Make Easter Dirt Cake
- Pro Tips for a Perfect Easter Dirt Cake
- FAQs About Easter Dirt Cake
- More Easter Desserts
- Try These Other Easy Recipes With Oreos
Why This Recipe Works
Creating this festive Easter Dirt Cake in a simple baking dish is the epitome of an easy Easter dessert. Its effortless preparation is a major draw, especially when you’re juggling many other holiday tasks. The magic truly lies in its creamy, dreamy layers combined with a vibrant, celebratory topping that transforms it into an instant showstopper for any Easter festivity. It’s an ideal choice for busy households because it requires absolutely no baking, saving you precious oven space and time.
This recipe consistently delivers amazing taste with minimal effort. The blend of crushed Oreos, a rich cream cheese filling, and light whipped topping creates a harmonious balance of textures and flavors that appeals to virtually everyone. Furthermore, its versatility allows for endless customization with your favorite Easter candies, making each creation unique and personal. The joy of seeing the colorful decorations atop the “dirt” cake instantly brings smiles and a festive atmosphere to your holiday table. It’s truly a recipe that tastes incredible and couldn’t be easier to execute. With this simple recipe, you’ll even have extra time to whip up other adorable treats like our popular Bunny Bait Recipe!
Ingredients You’ll Need for Easter Dirt Cake
Gathering the right ingredients is the first step to creating this delectable no-bake dessert. Each component plays a crucial role in achieving the perfect balance of flavor and texture:

- Oreos: For the best “dirt” texture, we recommend using regular Oreo cookies, not double-stuffed. The classic chocolatey flavor provides the perfect contrast to the creamy filling. You can also experiment with different Oreo flavors like Golden Oreos or mint Oreos for a unique twist.
- Cream Cheese: Ensure your cream cheese is softened at room temperature. This is crucial for achieving a smooth, lump-free mixture when combining it with other ingredients. Full-fat cream cheese offers the richest flavor and creamiest consistency.
- Butter: Just like cream cheese, make sure your butter is softened to room temperature. This will help it blend seamlessly into the cream cheese mixture, ensuring a velvety texture.
- Powdered Sugar: Also known as confectioners’ sugar, this fine sugar dissolves easily into the mixture, contributing to the dessert’s smooth consistency. If your powdered sugar is lumpy, sifting it before use is a good idea to prevent any textural inconsistencies in your filling.
- Cool Whip: For the most luxurious flavor and stable texture, we highly suggest using full-fat Cool Whip. While lighter versions can be used, full-fat provides a richer mouthfeel and helps the dessert hold its shape better. Homemade whipped cream can also be a delightful substitute if you prefer.
- Instant Vanilla Pudding: This is a key ingredient for thickening the creamy layers and adding a delightful vanilla essence. Absolutely make sure you choose instant pudding mix and not the type that requires cooking on the stovetop. Cook-and-serve pudding will not set properly in this no-bake recipe.
- Milk: For the creamiest and most decadent filling, whole milk is recommended. Reduced-fat milk may result in a slightly thinner consistency, so stick with whole milk for optimal results.
- Easter Candy: This is where the fun begins and you can truly personalize your dirt cake! We used classic Peeps, colorful Robin candy eggs, and a generous sprinkle of festive sprinkles. However, feel free to get creative with your favorite Easter treats. Gummy worms, pastel M&M’s, mini Cadbury eggs, jelly beans, or even edible glitter would all make charming additions to your festive topping.
The comprehensive ingredient list, including precise measurements, is readily available in the recipe card located further down the page. Don’t forget to check it for all the details before you start!
Variations and Substitutions to Customize Your Dirt Cake
While the classic Easter Dirt Cake is undeniably delicious, don’t hesitate to get creative with these variations and substitutions to make the recipe uniquely your own or to suit different preferences:
- Pudding Flavor Swap: Instead of instant vanilla pudding mix, easily swap in instant chocolate pudding mixes for a deeper, richer chocolate flavor that complements the Oreos beautifully. Other instant pudding flavors like cheesecake, banana, or coconut can also offer exciting new taste profiles.
- Vibrant Green “Grass” Layer: To mimic the look of spring grass for a truly festive Easter garden, add a few drops of green food coloring to your pudding mixture. This will create a delightful pastel green layer that contrasts wonderfully with the dark “dirt” crumbs and provides a perfect backdrop for your Easter candy decorations.
- Alternative Cookie Crumbs: If Oreos aren’t your preference, consider using other crushed cookies like Graham crackers, Nilla wafers, or even chocolate chip cookies for the “dirt” layers. Each will lend a slightly different flavor and texture to the dessert.
- Adding Extracts: Enhance the flavor profile by adding a teaspoon of almond extract, coconut extract, or even a touch of peppermint extract (if you’re using mint Oreos!) to the cream cheese or pudding mixture.
- Fruity Additions: For a refreshing touch, layer sliced bananas or your favorite berries (strawberries, raspberries, blueberries) within the creamy filling. Add them just before the final chill for best results.
- Individual Dirt Cups: Instead of a large 9×13 pan, prepare this recipe in individual clear cups or small mason jars. This makes for charming single-serving desserts, perfect for parties and easy portion control. Layer the crushed cookies and cream mixture in alternating layers for a visually appealing presentation.
- Gluten-Free Option: To make this dessert gluten-free, simply use gluten-free sandwich cookies instead of regular Oreos. Ensure all other ingredients (like pudding mix) are certified gluten-free.
- Dairy-Free Option: For a dairy-free version, use dairy-free cream cheese, dairy-free butter alternatives, dairy-free whipped topping (like coconut whipped cream), and dairy-free milk. Be sure to check that your instant pudding mix is also dairy-free.
These simple adjustments allow you to tailor the Easter Dirt Cake to your taste, dietary needs, or simply to add a new dimension of flavor and fun to your holiday dessert spread.
How to Make Easter Dirt Cake: A Step-by-Step Guide
Creating this delightful Easter Dirt Cake is a straightforward process that yields impressive results. Follow these simple steps for a perfect no-bake dessert:
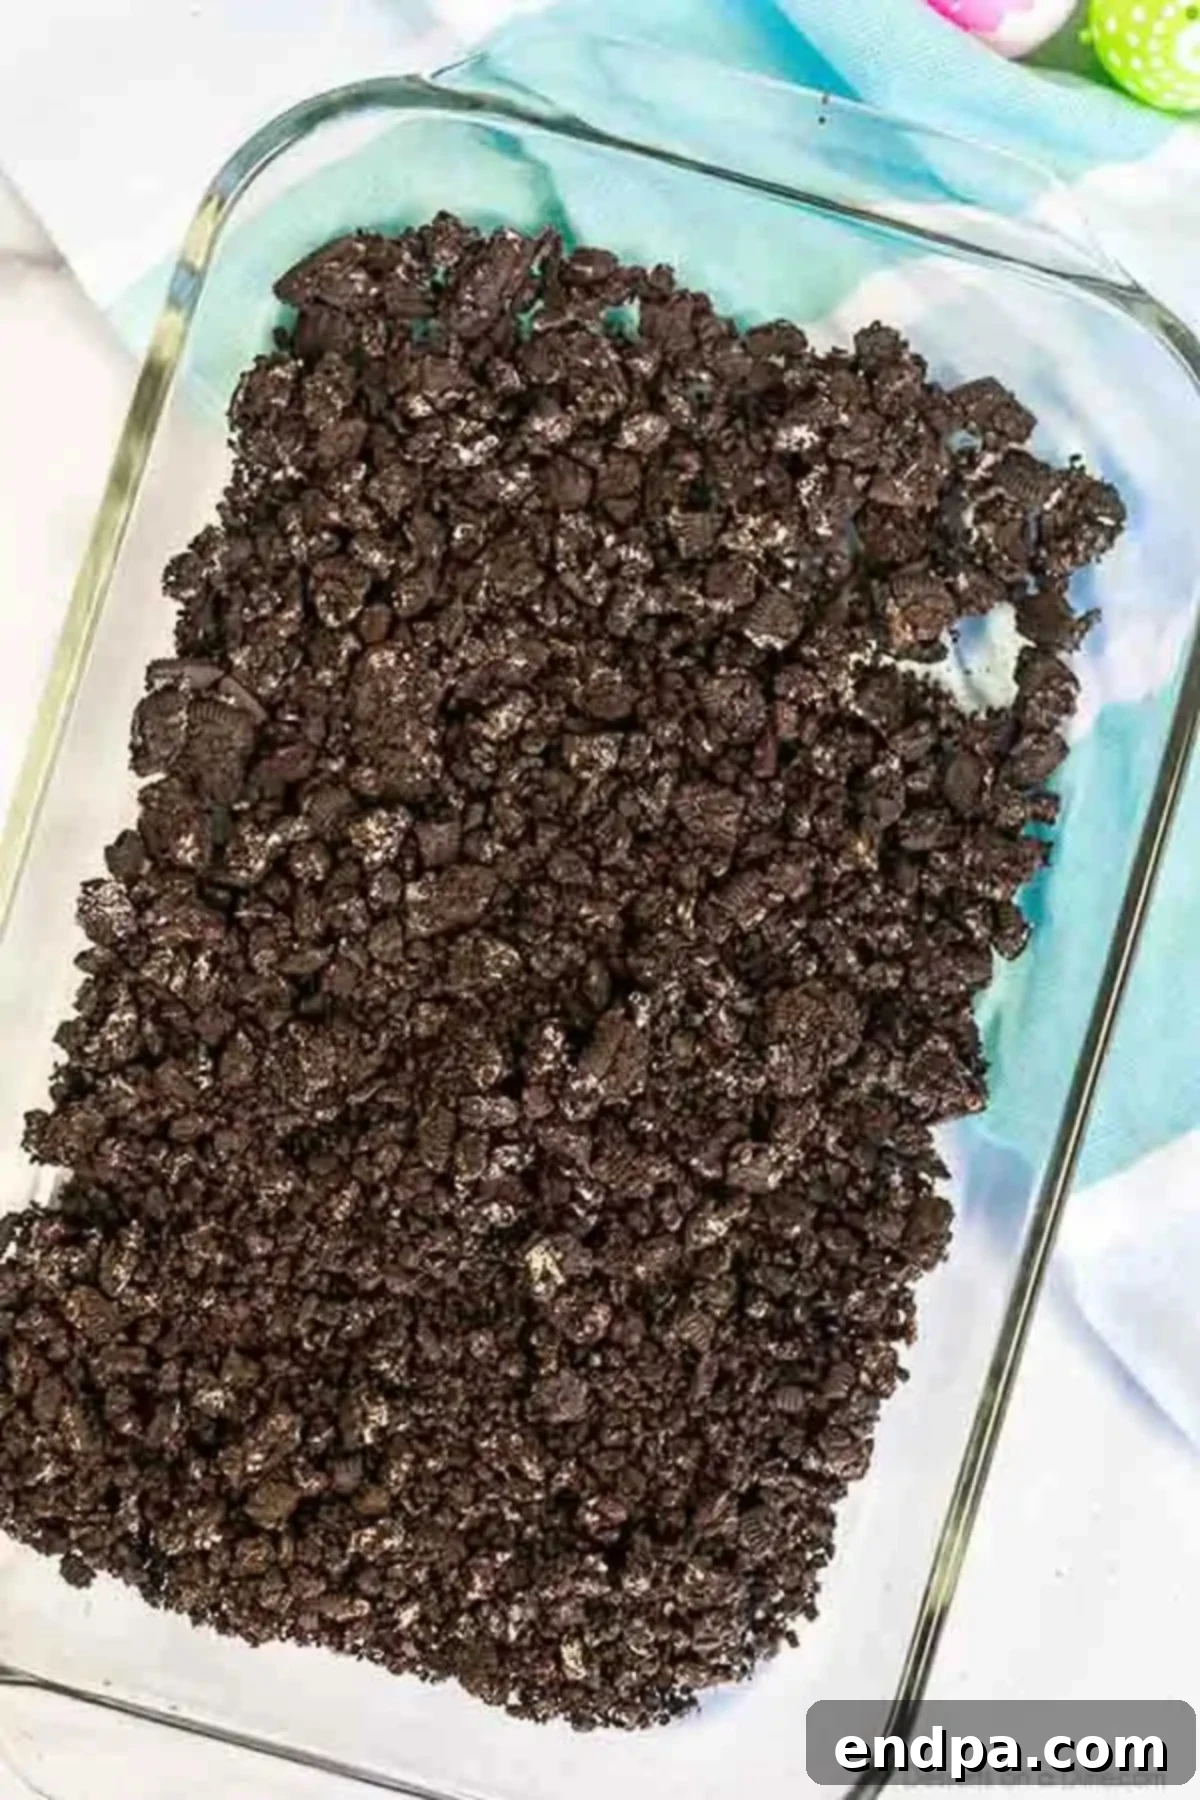
Step 1: Prepare the Oreo Base. Begin by crushing approximately two-thirds of a package of sandwich cookies. You can do this easily in a food processor for fine crumbs, or place them in a Ziploc bag and crush them with a rolling pin for a slightly chunkier texture. Once crushed, evenly spread these cookie crumbs into the bottom of a 9×13 inch baking pan. This will form your initial “dirt” layer. Set the pan aside.
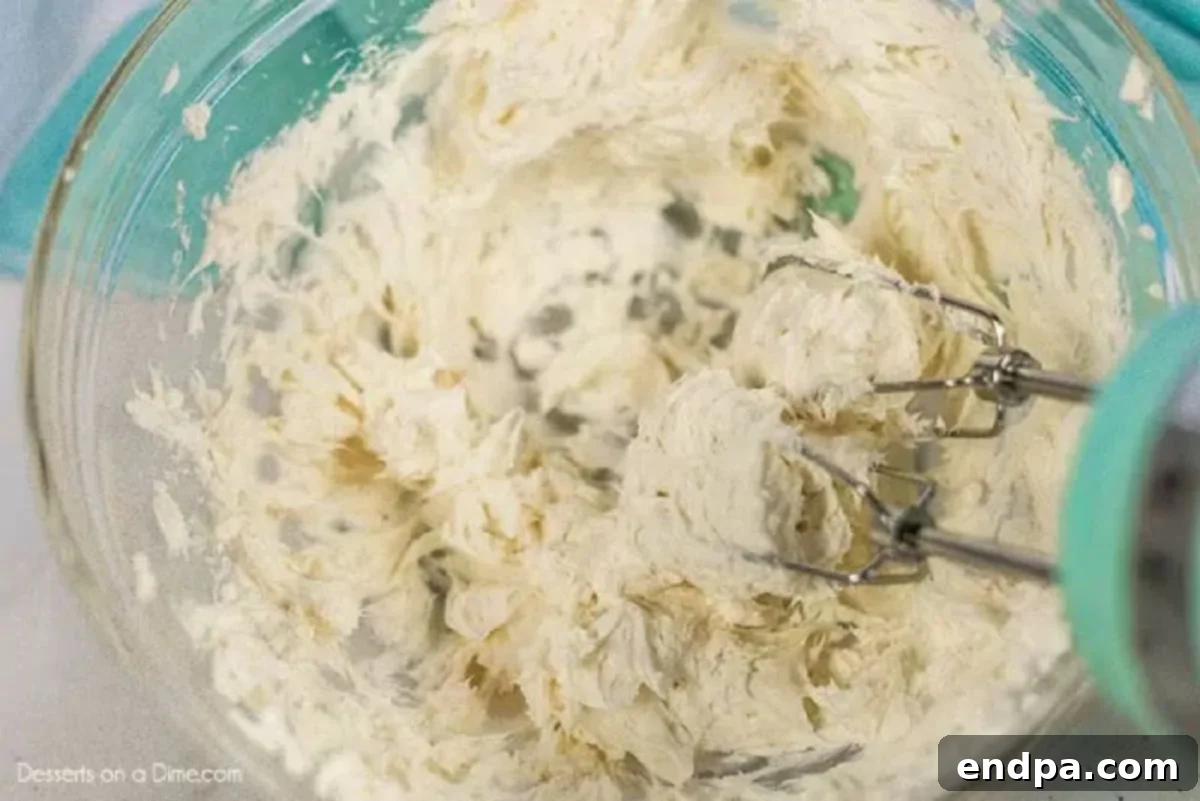
Step 2: Create the Cream Cheese Layer. In a large mixing bowl, combine the softened cream cheese and butter. Using a handheld mixer (or stand mixer), beat them together until the mixture is light, fluffy, and completely smooth. Gradually mix in the powdered sugar until fully incorporated and no lumps remain. Finally, gently fold in the whipped topping until just combined, being careful not to overmix. Set this creamy mixture aside for a moment.
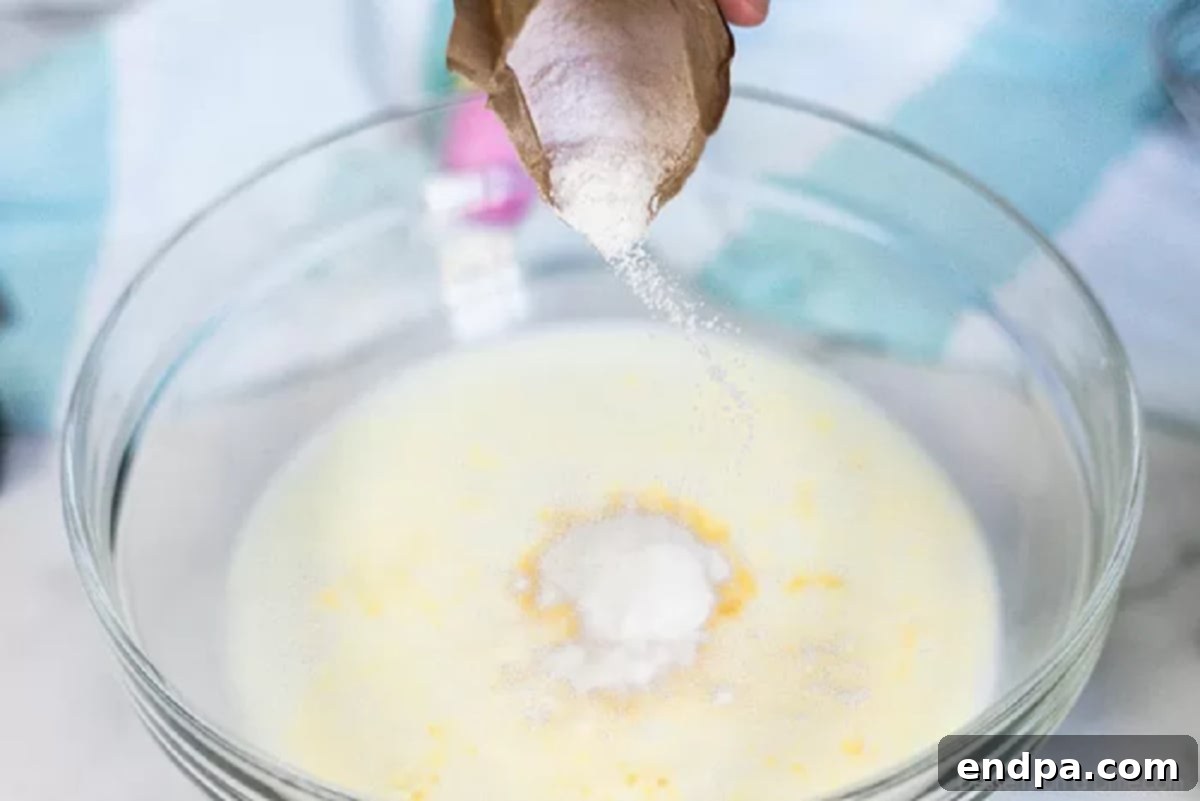
Step 3: Prepare the Pudding Mixture. In a separate, medium-sized bowl, whisk together the cold milk and the instant vanilla pudding mixes. Continue whisking for about 2-3 minutes, or until the pudding starts to thicken significantly. It should be noticeably thicker than when you first started, but still pourable. This quick-setting pudding is essential for the structure of your dirt cake.
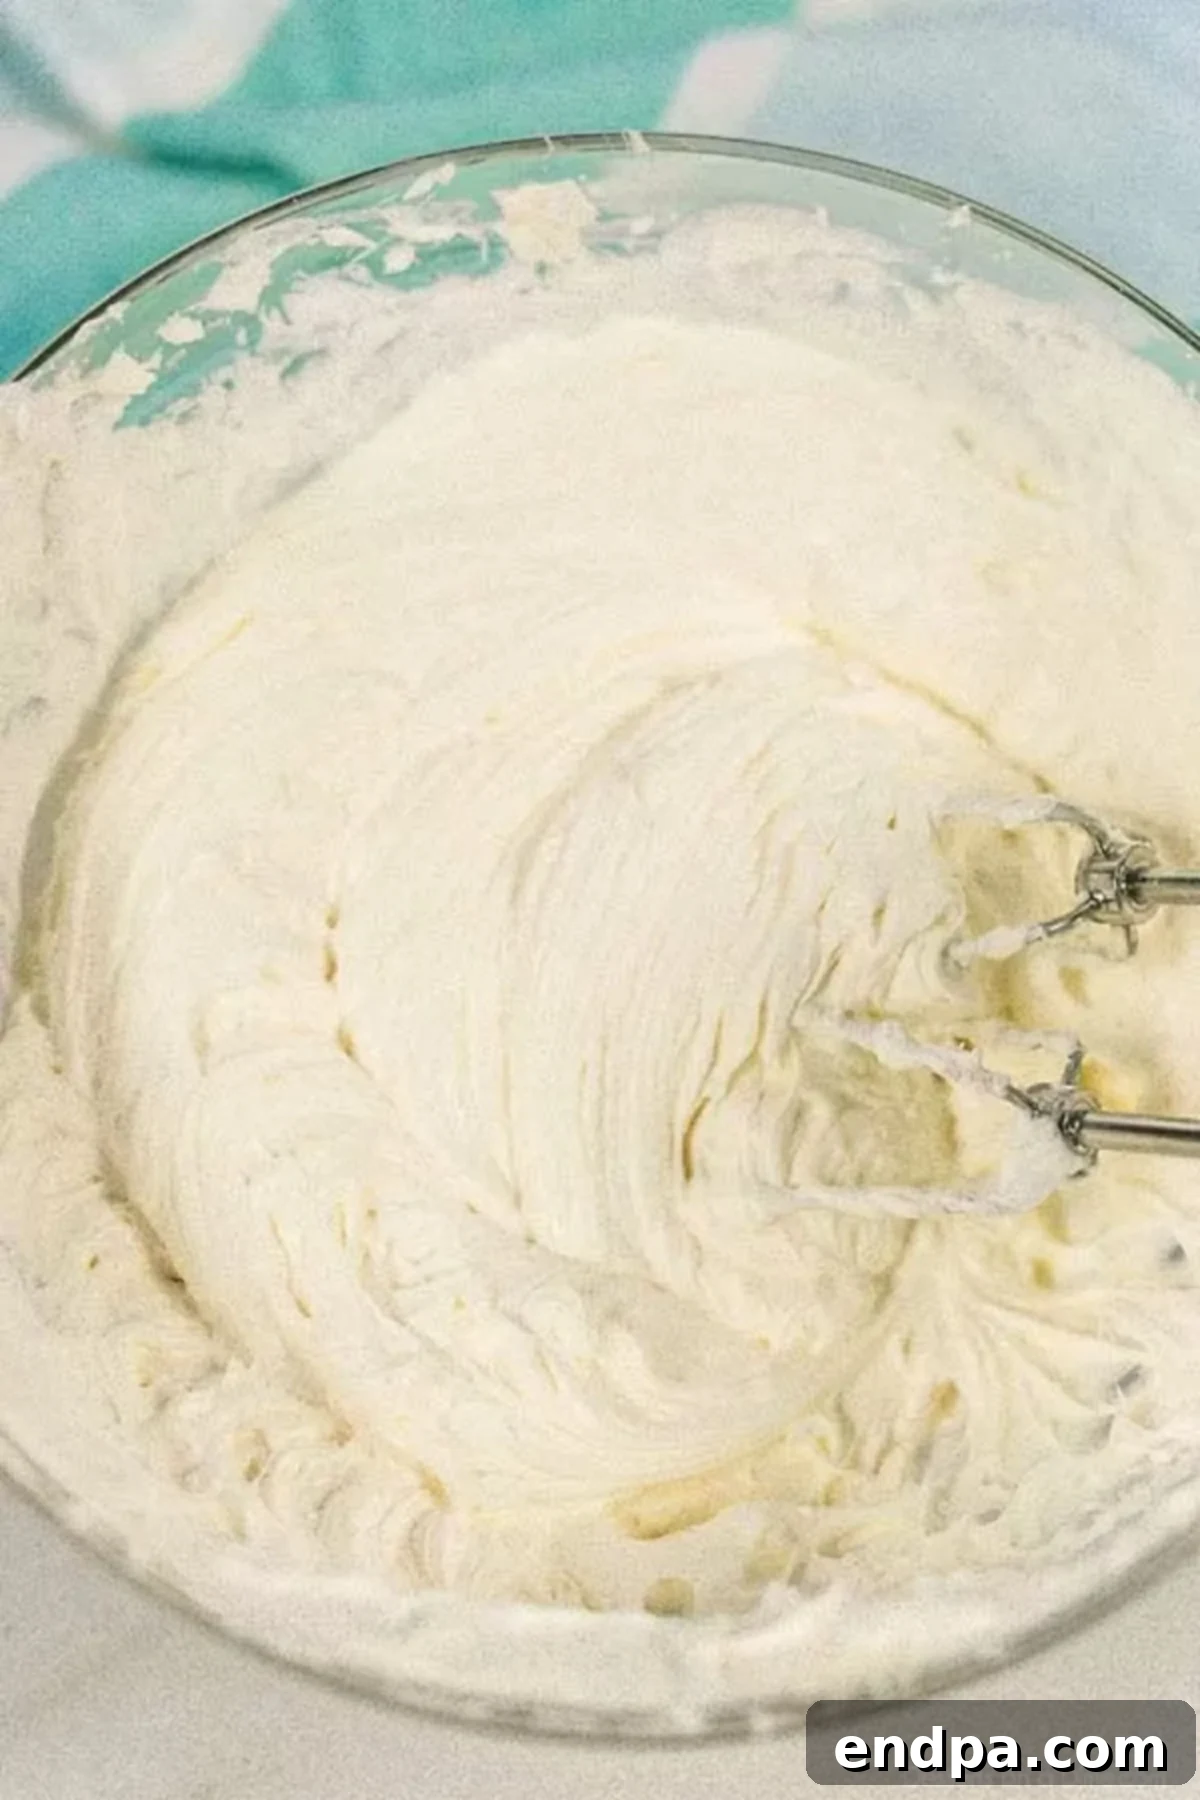
Step 4: Combine the Fillings. Gently fold the prepared pudding mixture into the cream cheese and whipped topping blend. Use a spatula to carefully combine them until smooth and evenly incorporated. Avoid vigorous mixing, as this can deflate the whipped topping and alter the texture of your creamy layers. The resulting mixture should be thick, smooth, and irresistibly rich.
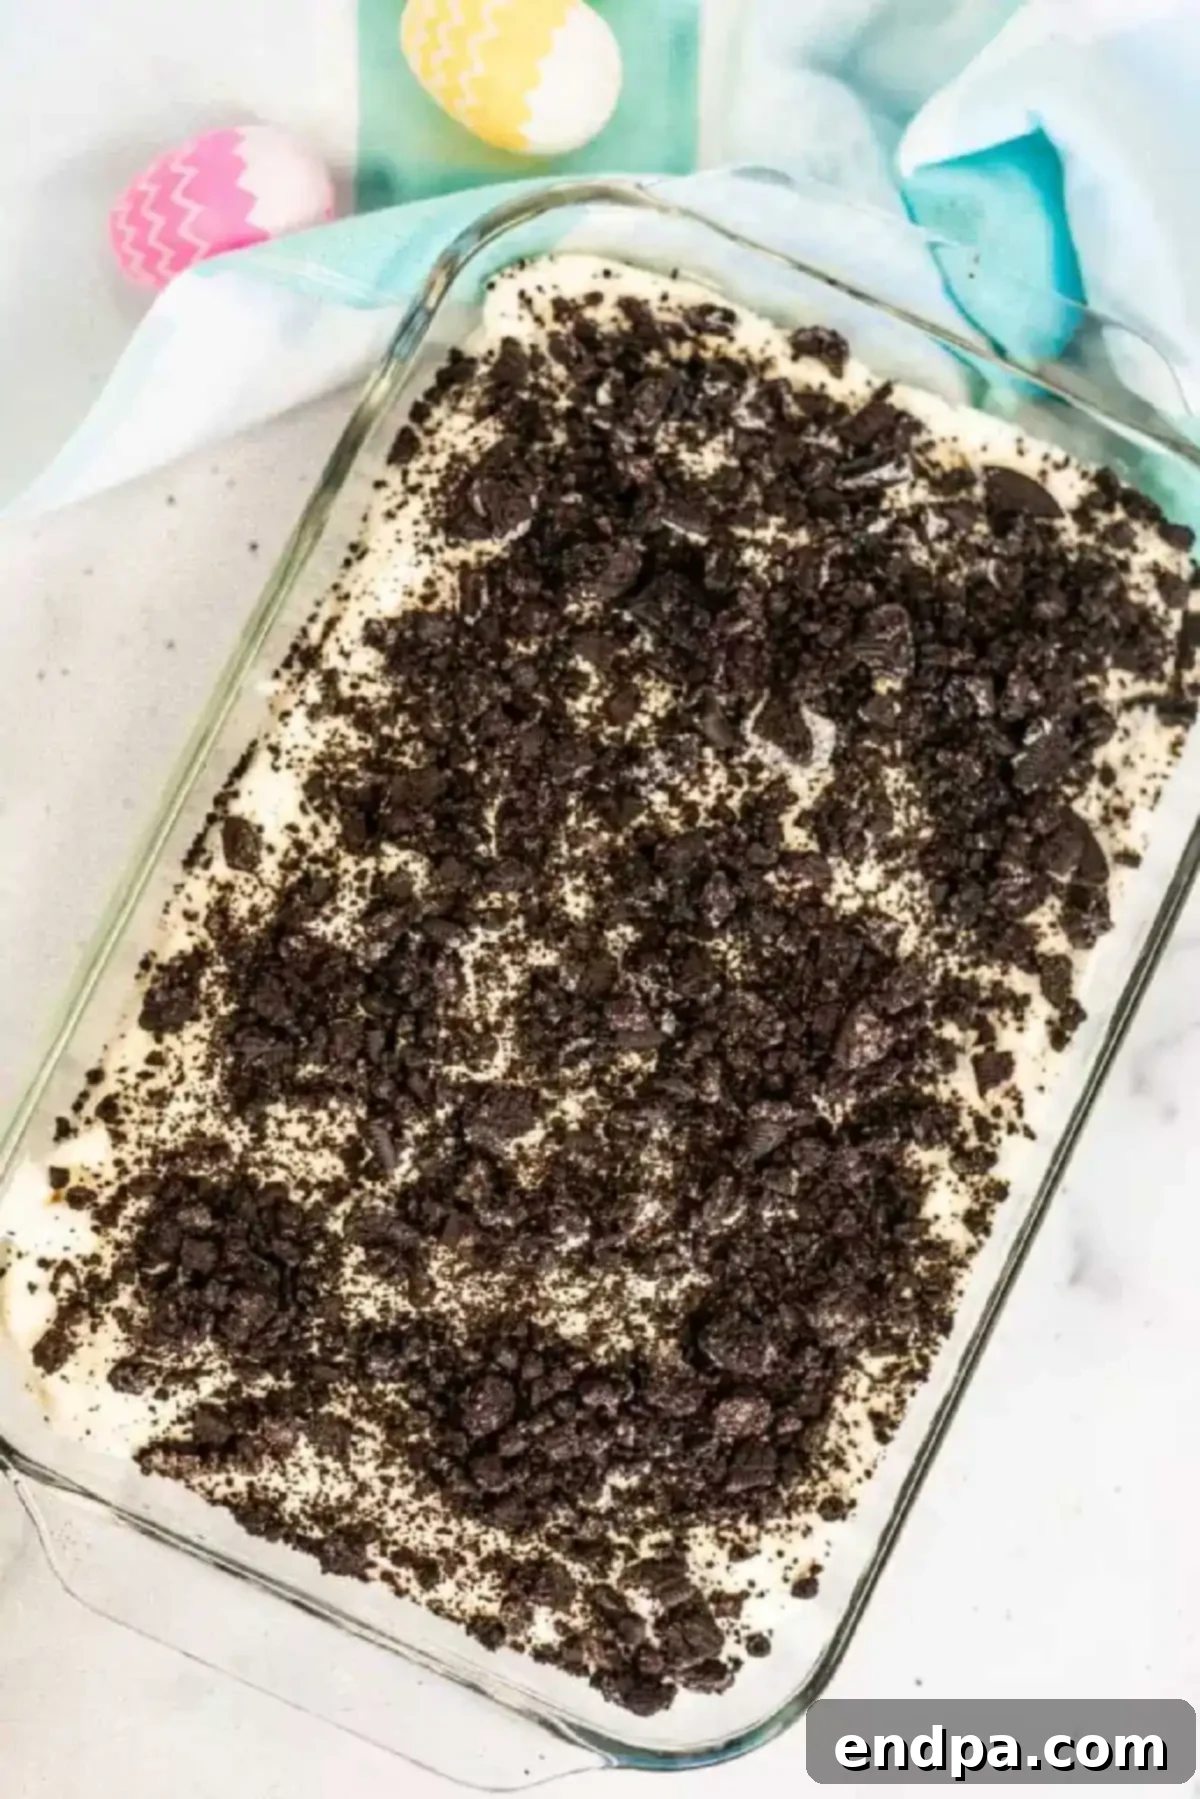
Step 5: Assemble the Layers. Once your creamy filling is perfectly combined, carefully pour it over the crushed Oreo crumbs in your 9×13 inch pan. Use a spatula to gently spread the mixture evenly across the base, creating a smooth, consistent layer. Then, take the remaining crushed chocolate sandwich cookies and generously sprinkle them over the top of the creamy layer. This forms the signature “dirt” topping.

Step 6: Chill and Decorate. Cover the baking dish tightly with plastic wrap and refrigerate it for at least a few hours, or ideally, overnight. This chilling time is essential for the dessert to set properly and for the flavors to meld beautifully. Right before you’re ready to serve, remove the dirt cake from the refrigerator and unleash your creativity by decorating it with your chosen Easter candy. Arrange Peeps, candy eggs, sprinkles, and any other festive treats to create an inviting and playful Easter scene on top of your delicious dirt cake!

Pro Tips for a Perfect Easter Dirt Cake
Achieving a truly outstanding Easter Dirt Cake is easy when you follow a few expert recommendations. These tips will help ensure your dessert is not only delicious but also visually appealing and holds up beautifully:
- Achieve the Perfect Oreo Crumble: For your “dirt” layers, you want a texture that’s finely crushed but still has a bit of bite. Using a food processor will give you uniform fine crumbs, while placing cookies in a Ziploc bag and crushing with a rolling pin allows for more control over the chunkiness. Aim for a mix of textures for an authentic “dirt” feel.
- Ensure Room Temperature Ingredients: Always allow your cream cheese and butter to soften completely at room temperature before mixing. This is critical for achieving a smooth, lump-free, and airy cream cheese mixture. Cold ingredients will result in a clumpy filling that won’t blend as well.
- Use Instant Pudding Only: This cannot be stressed enough – only use instant pudding mix. Cook-and-serve pudding varieties require heat to set and will not firm up correctly in this no-bake recipe, leaving you with a runny dessert. Check the package carefully!
- Opt for Whole Milk for Creaminess: While you can use reduced-fat milk, whole milk will yield a significantly richer, creamier, and more luxurious filling. The higher fat content contributes to a better texture and flavor that truly elevates the dessert.
- Consider Homemade Whipped Cream: If you prefer to avoid Cool Whip, you can easily substitute it with homemade whipped cream. Just be sure to whip heavy cream with a touch of powdered sugar and vanilla until stiff peaks form, then gently fold it into your cream cheese mixture.
- Master the Chilling Time: Adequate refrigeration is key for this no-bake dessert. Chill the dirt cake for at least 3-4 hours, or preferably overnight. This allows the pudding mixture to fully set, the layers to meld, and the flavors to deepen, ensuring a stable and delightful dessert.
- Add Coconut “Grass” for a Whimsical Touch: For an extra festive touch that truly evokes an Easter garden, dye shredded coconut green. Simply place shredded coconut in a bowl, add a few drops of green food coloring, and toss until evenly coated. Sprinkle this vibrant “grass” over the top of your dirt cake before arranging the candy decorations.
- Serving and Storage Advice: This dessert is best served chilled. To scoop, use a large spoon or a small serving spatula. Store any leftovers tightly covered with plastic wrap in the refrigerator for up to 3 days. If possible, remove delicate candies like Peeps before storing, as they can become soggy over time.
- Layering for Visual Appeal: When assembling, take care to create distinct layers. A clear baking dish can enhance the visual effect, allowing guests to admire the contrasting “dirt” and creamy layers. Smooth out the creamy filling evenly to ensure a beautiful presentation.
- Customize Your Candy Topping: Don’t limit yourself to just Peeps and Robin eggs. Think about creating a “nest” with chocolate candies, arranging pastel-colored jelly beans, or sprinkling mini chocolate chips for added texture. The more variety, the more playful your Easter Dirt Cake will look!

FAQs About Easter Dirt Cake
You have a couple of easy options for crushing Oreo cookies. The quickest way is to use a food processor, pulsing until you achieve fine, even crumbs. If you don’t have a food processor, simply place the Oreos in a large, heavy-duty Ziploc bag, seal it tightly, and then use a rolling pin or the bottom of a heavy glass to crush them. You can crush them as finely or as coarsely as you prefer, depending on the “dirt” texture you’re aiming for.
To keep your Easter Dirt Cake fresh, cover the baking dish tightly with plastic wrap and refrigerate it. It will maintain its best quality for up to 3 days in the fridge. Keep in mind that some candies, especially marshmallows like Peeps, might become a bit soggy or sticky over time. If you’re planning to store leftovers for more than a day, you can always remove the Peeps and other delicate candies before covering and storing, then re-decorate individual servings as needed.
While it’s technically possible to freeze dirt cake, the texture of the creamy layers and cookies does tend to change once thawed. The cream cheese mixture can separate slightly, and the cookies might become overly soft or even mushy. Due to these changes in texture, we generally do not recommend freezing dirt cake for optimal enjoyment. It’s best enjoyed fresh after chilling.
Absolutely! This is one of the best features of this no-bake dessert. You can assemble the entire cake (without the final candy decorations) up to 24-48 hours in advance. Keep it tightly covered in the refrigerator. Add all the festive Easter candies and decorations right before serving to ensure they look their best and maintain their texture.
A standard 9×13 inch baking dish is perfect for this recipe. It allows for generous servings and creates beautiful layers. If you want to make individual portions, you can divide the ingredients among small clear cups or mason jars.
Yes, you certainly can! If you prefer real whipped cream, whip 2 cups of heavy cream with 1/4 cup powdered sugar and 1 teaspoon vanilla extract until stiff peaks form. Gently fold this into the cream cheese mixture as instructed. Keep in mind that homemade whipped cream might make the dessert slightly less stable than Cool Whip, so ensure it gets ample chilling time.
More Festive Easter Desserts to Try
If you’re looking to expand your Easter dessert spread beyond this delightful dirt cake, here are some other fantastic and easy recipes that are sure to be a hit:
- Easter Puppy Chow: A sweet, crunchy, and colorful snack mix perfect for sharing.
- Easter Dirt Cups Recipe: Individual servings of dirt cake, ideal for parties and easy portioning.
- Easter Cookie Cake Recipe: A giant, soft cookie decorated with festive Easter toppings.
- Easter Chocolate Covered Pretzel Rods: Salty and sweet, these are fun to make and customize.
- Easter Bunny Cupcakes: Adorable cupcakes topped with bunny ears, perfect for kids.
- Easter Candy Charcuterie Board: A visually stunning and fun way to display a variety of Easter sweets.
Try These Other Easy Recipes With Oreos
If you’re an Oreo enthusiast, you’ll love exploring these other simple and delicious recipes that feature everyone’s favorite sandwich cookie:
- Oreo Dirt Cake Recipe: The classic version that inspired our Easter twist, a timeless favorite.
- Dirt Cake Recipe without Cream Cheese: A lighter version of dirt cake for those who prefer it without the tang of cream cheese.
- Easy Caramel Cheesecake Recipe with Oreo Crust: A decadent cheesecake featuring a crunchy Oreo crust and rich caramel.
- Oreo Magic Bars: Chewy, sweet, and packed with Oreo goodness, these bars are truly magical.
- Easter Chocolate Covered Oreos: Simple yet elegant, these chocolate-dipped Oreos are easily customized for any holiday.
Go ahead and make this Easter Dirt Cake recipe for your holiday celebration. Its ease and deliciousness are sure to make it a new family tradition. We would love to hear from you!

Easter Dirt Cake
Easter Dirt Cake is an easy and delicious no-bake dessert perfect for dessert on Easter. It is just like traditional dirt cake but decorated with Easter peeps, candy and more for a festive dessert everyone will go crazy over.
15 mins
3 hrs
3 hrs 15 mins
12
American
Dessert
483
Carrie Barnard
Ingredients
- 1 package Oreos (regular, not double stuffed)
- 8 oz Cream Cheese, softened
- 1/2 cup butter, softened
- 1 cup powdered sugar
- 16 oz Cool Whip (full-fat recommended)
- 2 boxes INSTANT vanilla pudding (3.3 oz box size)
- 3 cups milk (whole milk recommended)
- Easter Candy (Peeps, Robin eggs, sprinkles, or your favorites)
Instructions
- Crush ⅔ package of Oreos and evenly spread in the bottom of a 9×13 inch pan. Set aside.
- In a large bowl, mix softened cream cheese and butter with a handheld mixer until smooth. Stir in the powdered sugar, then gently fold in the Cool Whip. Set this mixture aside.
- In a separate bowl, whisk together the milk and instant vanilla pudding mixes for about 2-3 minutes until thickened.
- Gently fold the pudding mixture into the cream cheese and Cool Whip mixture until well combined.
- Pour this creamy filling over the Oreo crumb base in the pan. Evenly spread the mixture.
- Sprinkle the remaining crushed Oreos over the top of the creamy layer.
- Cover the dish with plastic wrap and refrigerate for at least a few hours (preferably 3-4 hours or overnight) to allow it to set.
- Just before serving, remove from the refrigerator and decorate generously with your favorite Easter candy.
Recipe Video
Recipe Notes
I usually make this cake with traditional Oreos, but you can definitely use your favorite type of Oreos to change up the flavor based on your preference. For example, Golden Oreos for a vanilla base, or mint Oreos for a refreshing twist. The key is to crush them to a good “dirt” consistency.
Nutrition Facts
Calories: 483kcal, Carbohydrates: 62g, Protein: 6g, Fat: 25g, Saturated Fat: 13g, Cholesterol: 53mg, Sodium: 439mg, Potassium: 222mg, Fiber: 1g, Sugar: 46g, Vitamin A: 655IU, Calcium: 138mg, Iron: 3mg
