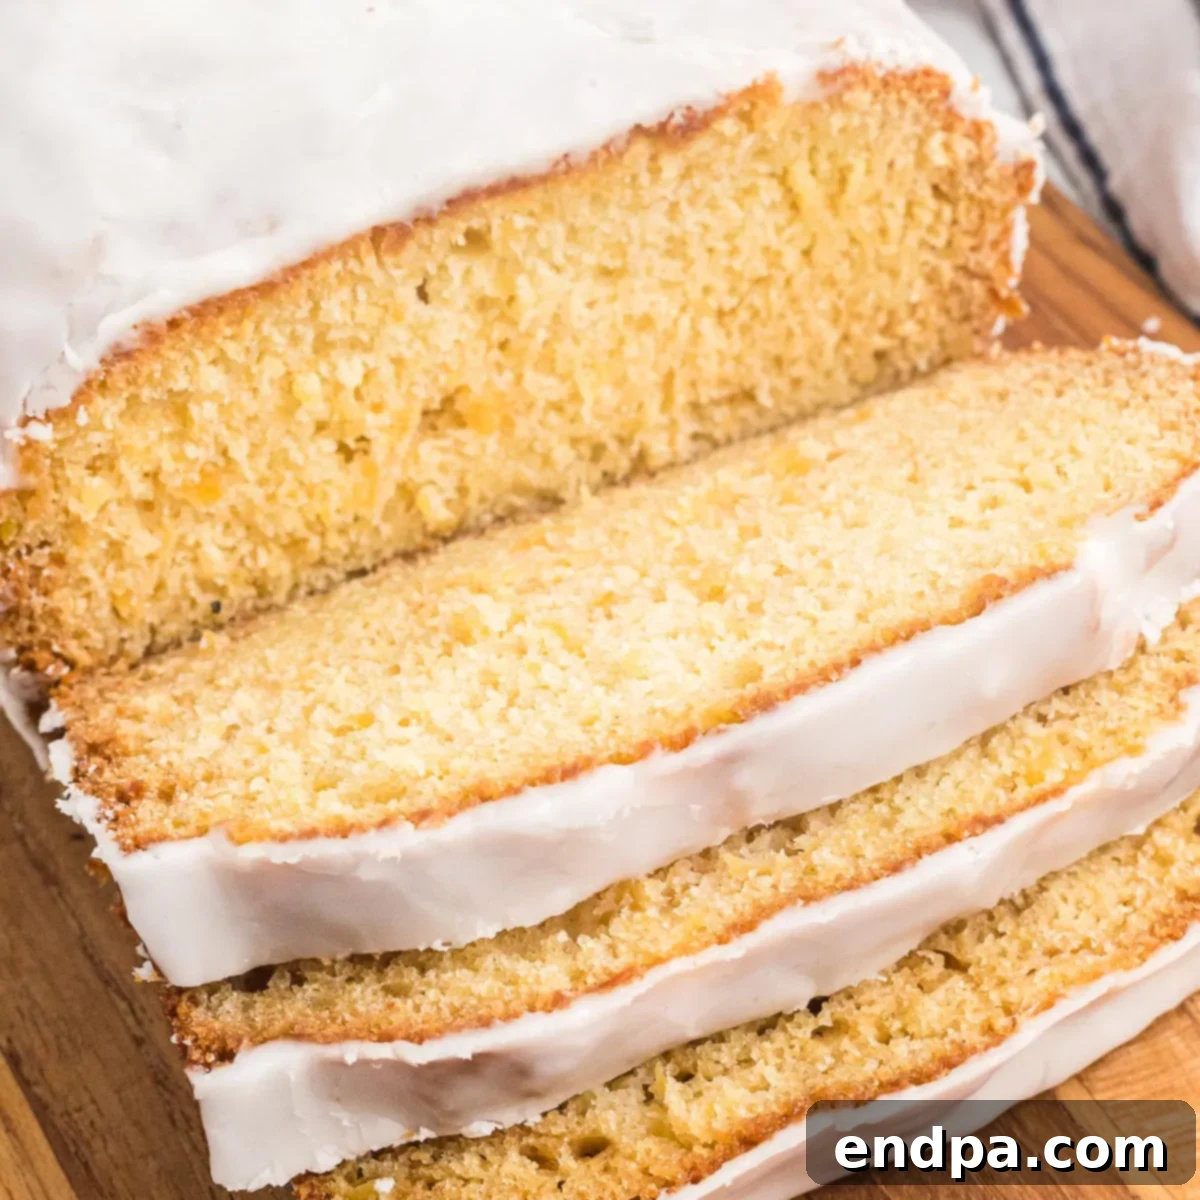
Prepare to be enchanted by the irresistible charm of this Pineapple Bread. From the very first bite, its delightful tropical flavor, generously packed with crushed pineapple and elegantly crowned with a luscious pineapple glaze, will undoubtedly captivate your senses. This sweet quick bread is not merely a treat; it’s an experience, a perfect symphony of moist texture and vibrant taste that transforms any moment into a special occasion.
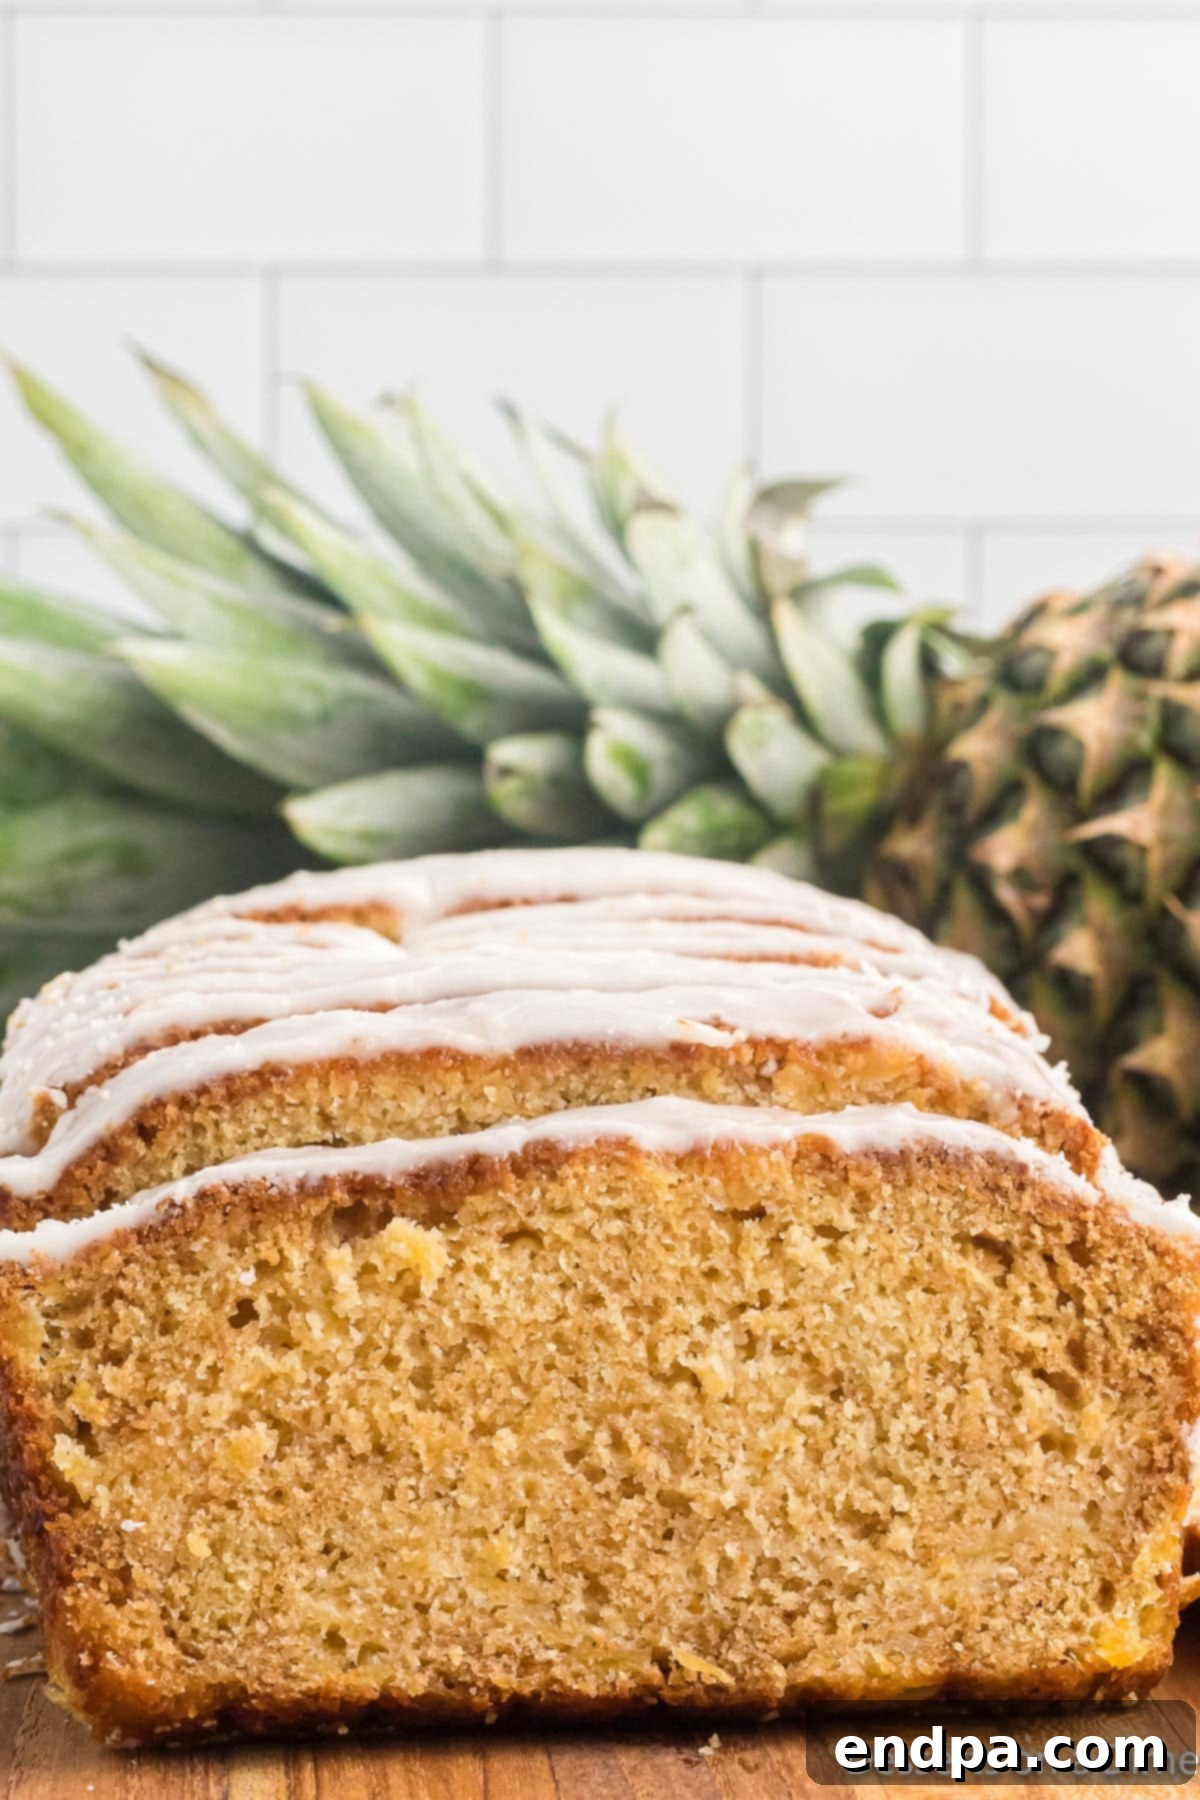
Why Pineapple Bread is a Must-Try Quick Bread
Quick breads, by their very nature, promise ease and immediate gratification. This pineapple bread recipe exemplifies that promise, offering a straightforward baking process without compromising on flavor or texture. It stands proudly among our most cherished easy pineapple dessert recipes, beloved by family and friends alike. Its moist crumb, infused with the natural sweetness and tang of pineapple, creates a truly unforgettable taste. The simple yet potent pineapple glaze takes it to another level, providing an extra layer of sweetness and a beautiful finish.
The beauty of this recipe lies in its simplicity and the powerful impact of its star ingredient. Crushed pineapple not only delivers an explosion of tropical flavor but also acts as a natural moistening agent, ensuring every slice is wonderfully tender. If you’re a fan of pineapple desserts, you’ll find this bread just as delightful as other favorites like Easy Upside Down Pineapple Cupcakes, Pineapple Dream Dessert, or even a classic Easy Pineapple Poke Cake. For those who can’t get enough, exploring recipes like Pineapple Bread Pudding, Pineapple Cookies, or Pineapple Dump Cake can further satisfy your cravings for this delightful fruit.
Table of Contents
- The Essence of Pineapple in Baking
- Essential Ingredients for Your Pineapple Bread
- Creative Variations and Substitutions
- Step-by-Step Guide to Baking Pineapple Bread
- Storage and Serving Suggestions
- Pro Tips for a Perfect Loaf
- Frequently Asked Questions About Pineapple Bread
- Discover More Quick Bread Recipes
- Printable Pineapple Bread Recipe Card
The Essence of Pineapple in Baking
What makes pineapple such a fantastic ingredient for baking, especially in quick breads? It’s a combination of its natural attributes. First, pineapple is naturally sweet, reducing the need for excessive added sugar. Second, its inherent acidity interacts with baking soda, contributing to a light and fluffy texture. Most importantly, the high water content of crushed pineapple ensures an incredibly moist crumb, a characteristic often sought after in quick breads. This natural moisture prevents the bread from drying out, even days after baking, making it a reliable and delightful choice for any baker. The bright, tangy notes of pineapple also cut through the richness of the butter and sugar, creating a balanced flavor profile that is both comforting and exciting.
Essential Ingredients for Your Pineapple Bread
Crafting this flavorful pineapple bread requires a few simple, readily available ingredients. Each component plays a vital role in achieving the perfect balance of texture, sweetness, and tropical zest.
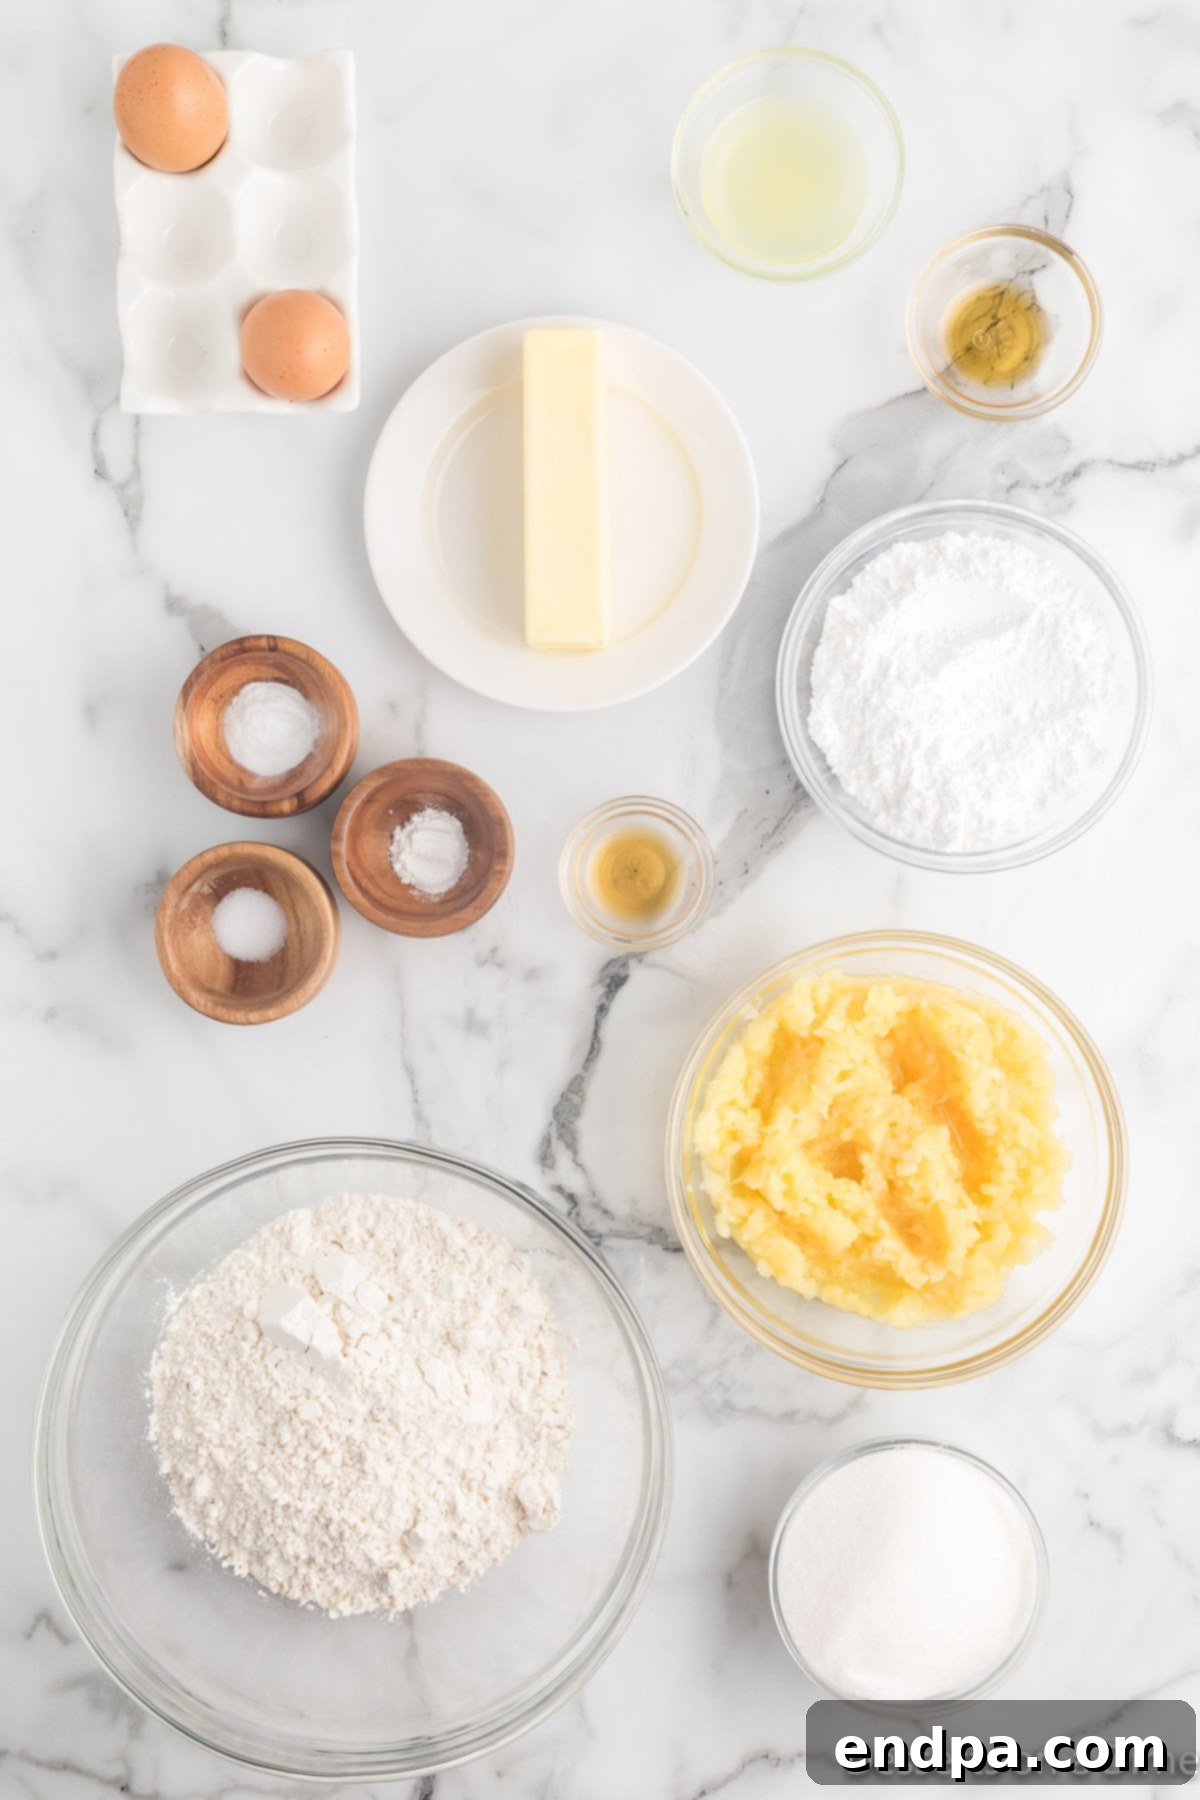
For the Bread:
- All-Purpose Flour: The foundational dry ingredient, providing the structure for your loaf.
- Granulated Sugar: Sweetens the bread and contributes to its tender crumb and golden-brown crust.
- Unsalted Butter: Softened at room temperature, it adds richness and moisture to the batter, ensuring a tender texture.
- Large Eggs: Act as a binder, provide structure, and add to the overall richness of the bread.
- Vanilla Extract: A classic flavor enhancer that complements the pineapple beautifully.
- Crushed Pineapple with Juice: The star of the show! It provides intense pineapple flavor and essential moisture. Remember to drain the pineapple thoroughly and *reserve the juice* for the glaze.
- Baking Soda and Baking Powder: These leavening agents work in harmony to give the bread its rise and a light, airy texture.
- Salt: A small amount of salt balances the sweetness and enhances all the flavors in the bread.
For the Glaze:
- Powdered Sugar: The base for a smooth, pourable glaze. Its fine texture dissolves easily.
- Vanilla Extract: Adds a touch of warmth and depth to the sweet glaze.
- Pineapple Juice: The reserved juice from your crushed pineapple can provides an extra burst of pure pineapple flavor, making the glaze truly exceptional.
The complete, detailed ingredient list with precise measurements can be found in the recipe card at the bottom of this article.
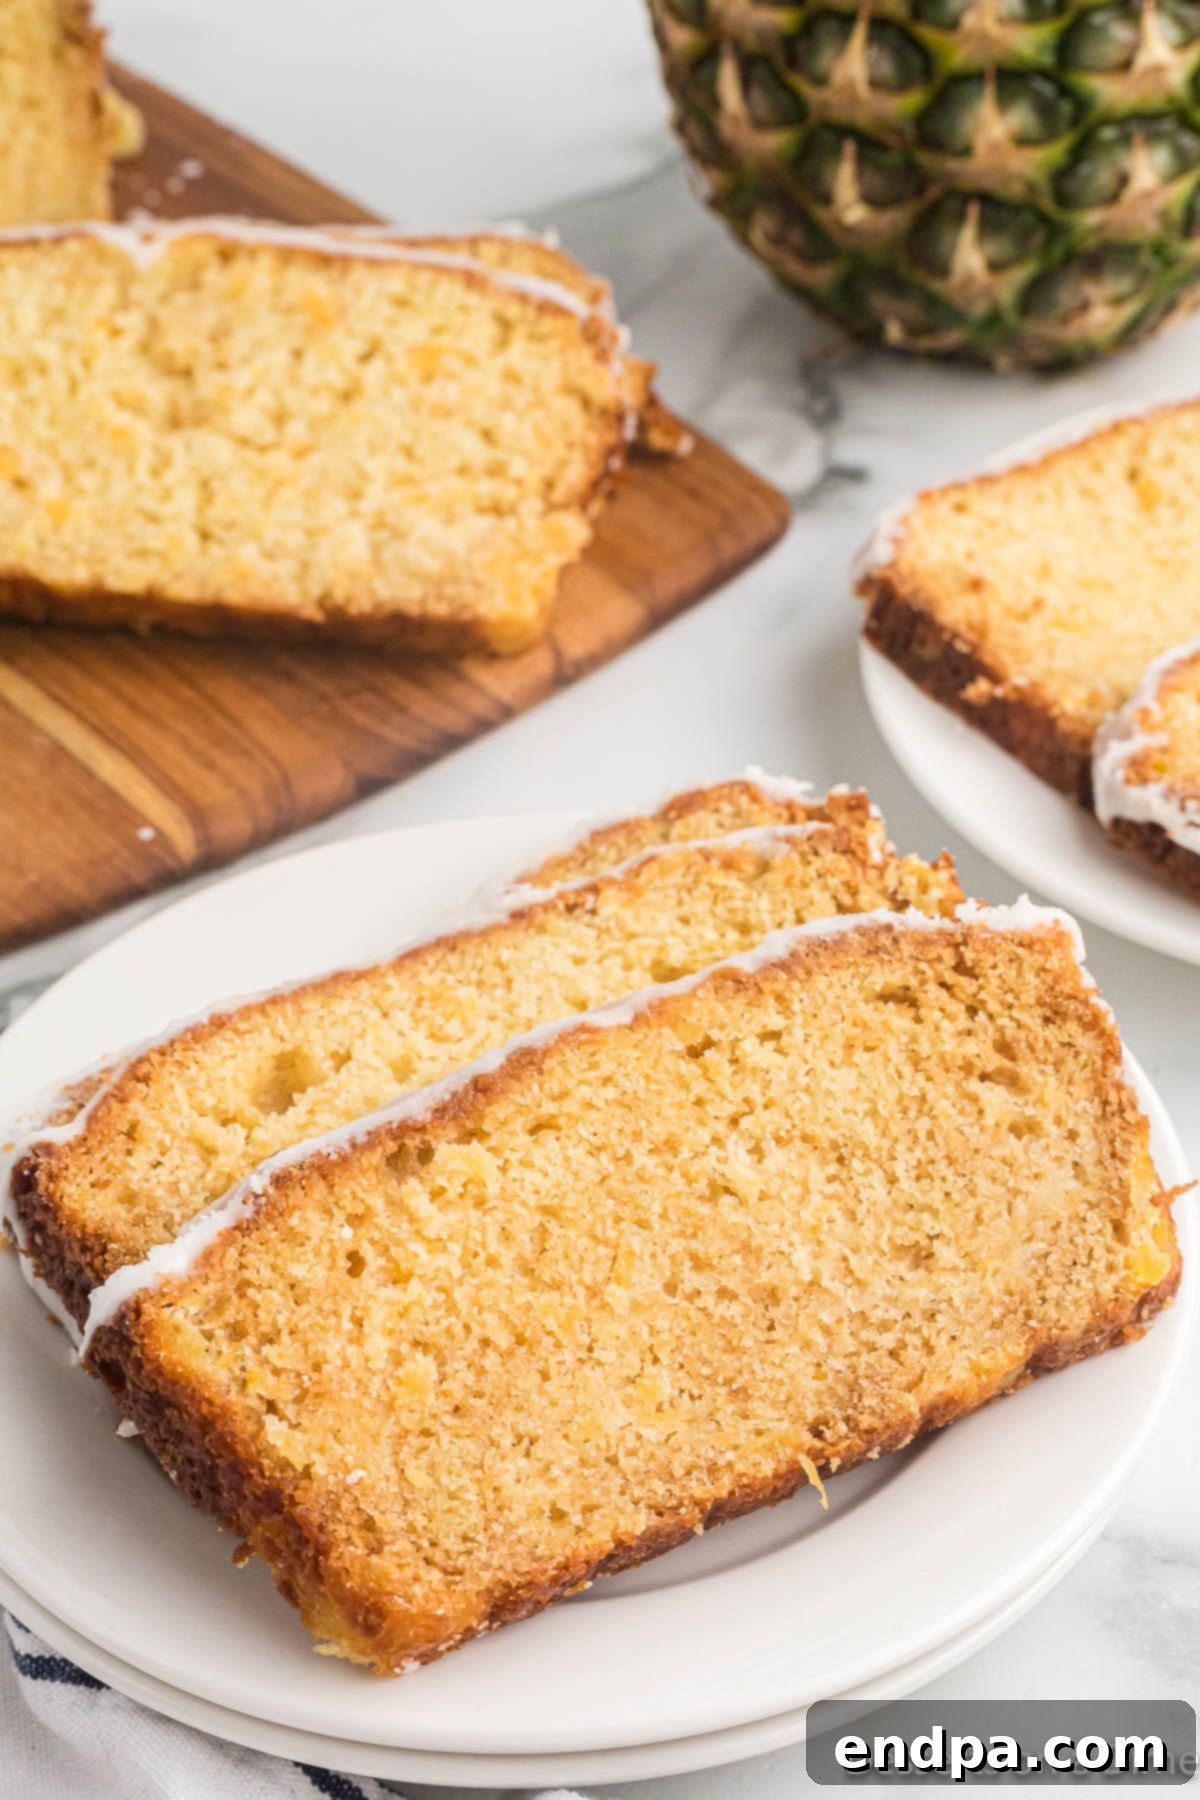
Creative Variations and Substitutions
While this pineapple bread recipe is perfect as is, it also serves as an excellent canvas for customization. Feel free to experiment with these delicious additions to make it uniquely yours:
- Tropical Coconut Infusion: For an extra layer of tropical delight, substitute half of the crushed pineapple with shredded coconut. The coconut adds a lovely texture and a complementary flavor that pairs wonderfully with the pineapple.
- Crunchy Nut Additions: Introduce a delightful crunch by folding in about ½ cup of chopped nuts into the batter. Pecans, macadamia nuts, or walnuts are all excellent choices that provide a satisfying textural contrast to the soft bread.
- Spice it Up: A pinch of cinnamon, nutmeg, or a dash of allspice can add warmth and complexity to the tropical flavors. Start with ¼ to ½ teaspoon and adjust to your preference.
- Dried Fruit Medley: Enhance the fruitiness by adding ½ cup of finely chopped dried cranberries, raisins, or even candied ginger. These additions bring bursts of flavor and chewiness.
- Citrus Zest: A teaspoon of fresh orange or lemon zest folded into the batter can brighten the overall flavor profile, adding a subtle tangy lift.
- Cream Cheese Glaze: If you prefer a richer, tangier topping, consider a simple cream cheese glaze made with softened cream cheese, powdered sugar, milk, and a touch of vanilla extract.
Remember, baking is an art, and these variations allow you to tailor the bread to your personal taste. Don’t be afraid to get creative!
Step-by-Step Guide to Baking Pineapple Bread
Follow these detailed instructions to create a perfectly moist and flavorful pineapple bread:
- Prepare Your Workspace: Begin by preheating your oven to 350°F (175°C). While the oven heats, lightly grease and flour a 9×5-inch loaf pan, or spray it thoroughly with a non-stick cooking spray. This crucial step ensures your beautiful loaf will release easily after baking.
- Combine Dry Ingredients: In a large mixing bowl, whisk together the all-purpose flour, baking soda, baking powder, and salt. Sifting these ingredients together can help ensure a more uniform mixture and prevent lumps, contributing to a smoother batter. Set this aside.
- Cream Wet Ingredients: In a separate, medium-sized bowl, use an electric mixer (either a handheld or stand mixer) to beat the granulated sugar and softened unsalted butter together. Continue mixing until the mixture is light, fluffy, and pale in color, usually about 2-3 minutes. This process incorporates air, which is vital for a tender bread.
- Incorporate Eggs and Vanilla: To the creamed butter and sugar, add the large eggs one at a time, beating well after each addition. Then, stir in the vanilla extract. Mix until all ingredients are just combined, being careful not to overmix at this stage.
- Alternate Wet and Dry: Gradually add the dry flour mixture into the butter mixture, alternating with small amounts of any remaining liquid (if using, though for this recipe, the pineapple provides the moisture). Mix on low speed, just until the dry and wet ingredients are combined. Overmixing the batter can develop the gluten in the flour too much, resulting in a dense, tough bread instead of a light, fluffy one.
- Fold in Pineapple: Gently fold in the drained crushed pineapple by hand using a wooden spoon or a spatula. Continue to fold until the pineapple is evenly distributed throughout the batter. The goal is to incorporate the fruit without overworking the batter.
- Fill and Prepare for Baking: Pour the prepared batter into your greased and floured loaf pan. To ensure an even bake and remove any trapped air bubbles, gently tap the pan on your countertop a few times. This helps settle the batter uniformly.
- Bake to Perfection: Place the loaf pan in the preheated oven and bake for 55-60 minutes. The bread is done when a wooden skewer or toothpick inserted into the center comes out clean. If you notice the top of the bread browning too quickly during baking, loosely tent it with aluminum foil to prevent burning while allowing the interior to cook through.
- Cooling Process: Once baked, remove the bread from the oven and let it cool in the loaf pan for 10-15 minutes. This allows the bread to set and prevents it from breaking when removed. After this initial cooling, carefully invert the bread onto a wire rack to cool completely. Cooling on a wire rack allows air to circulate around the entire loaf, preventing condensation and a soggy bottom.
- Prepare the Glaze: While the bread cools, combine the powdered sugar, vanilla extract, and the reserved pineapple juice in a small bowl. Whisk until you achieve a smooth, pourable glaze. If the glaze is too thick, add a tiny bit more pineapple juice; if it’s too thin, add a little more powdered sugar.
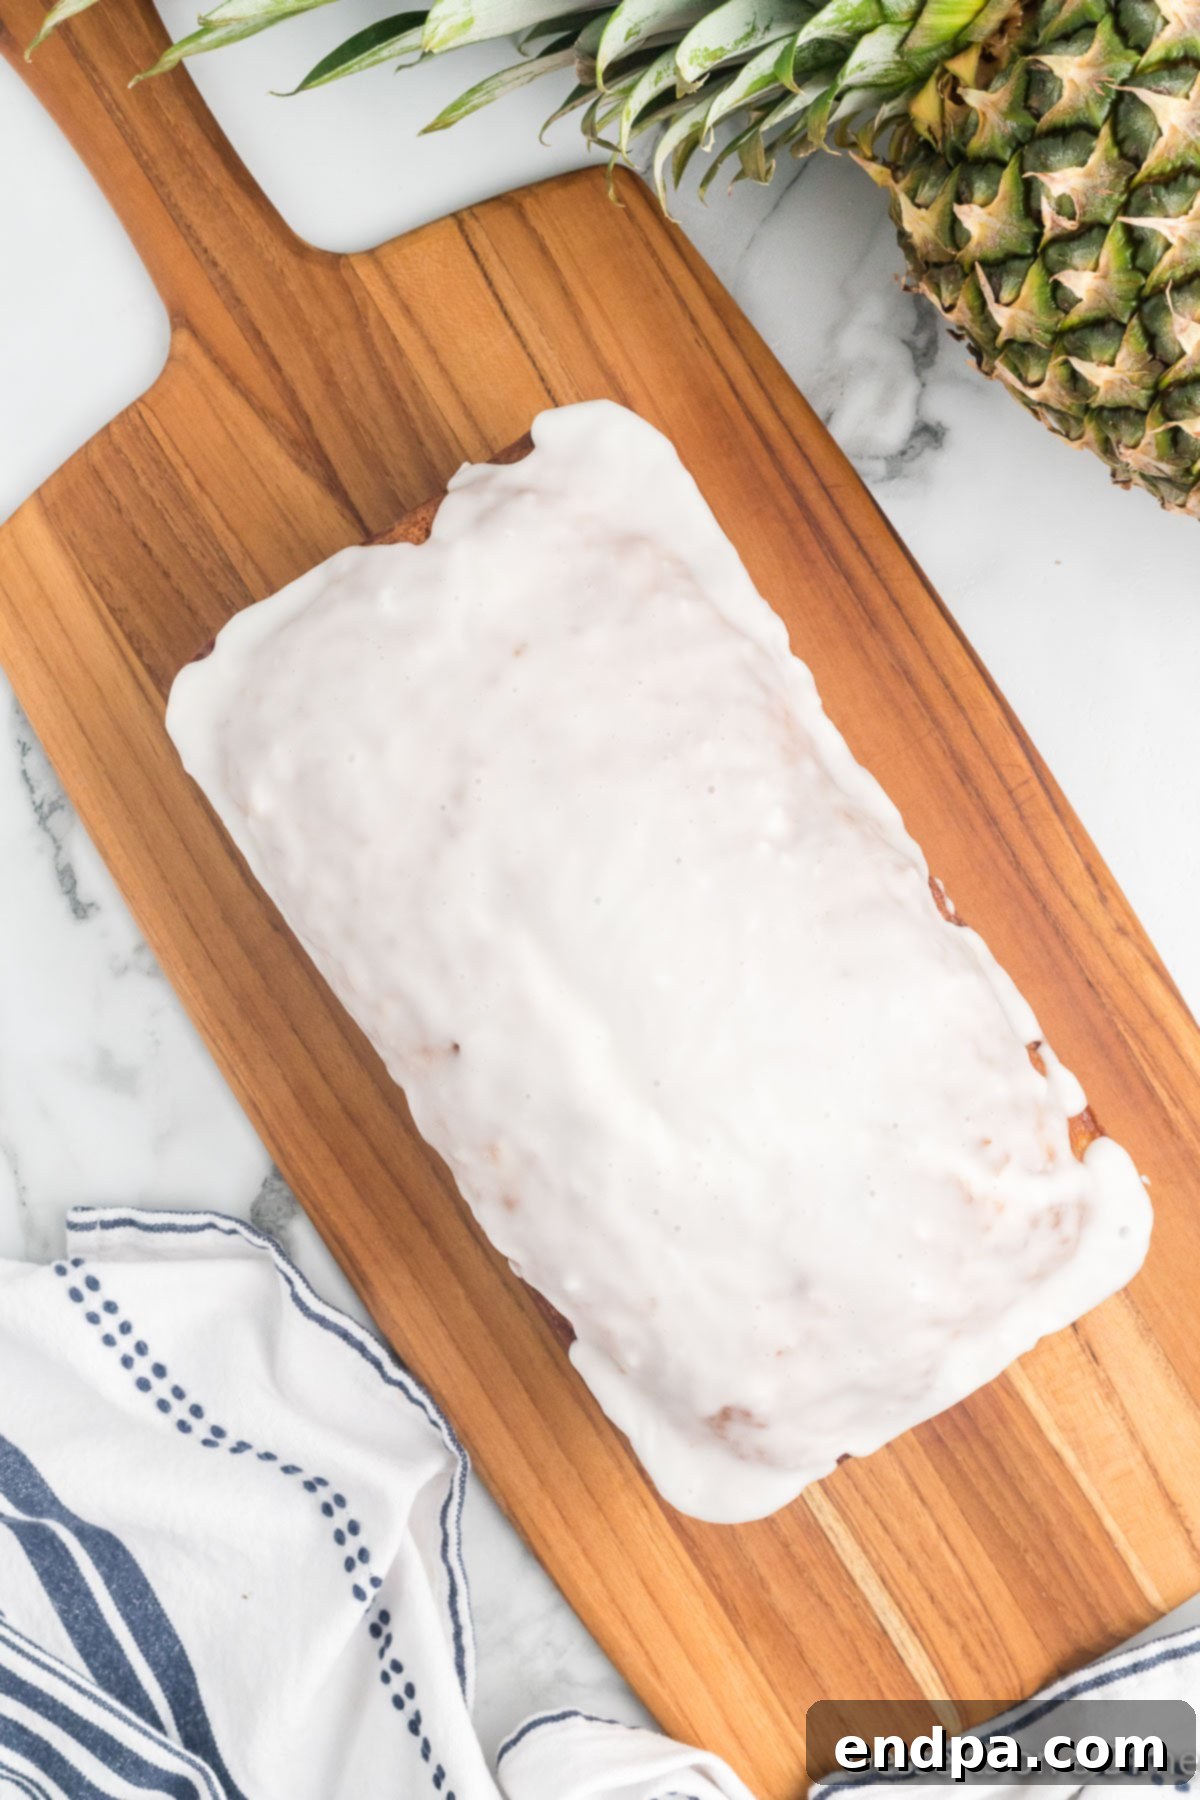
- Glaze and Serve: Once the pineapple bread has cooled completely, generously pour the prepared glaze over the top, allowing it to drizzle down the sides. Let the glaze set for a few minutes before slicing and serving. This allows the glaze to firm up slightly.
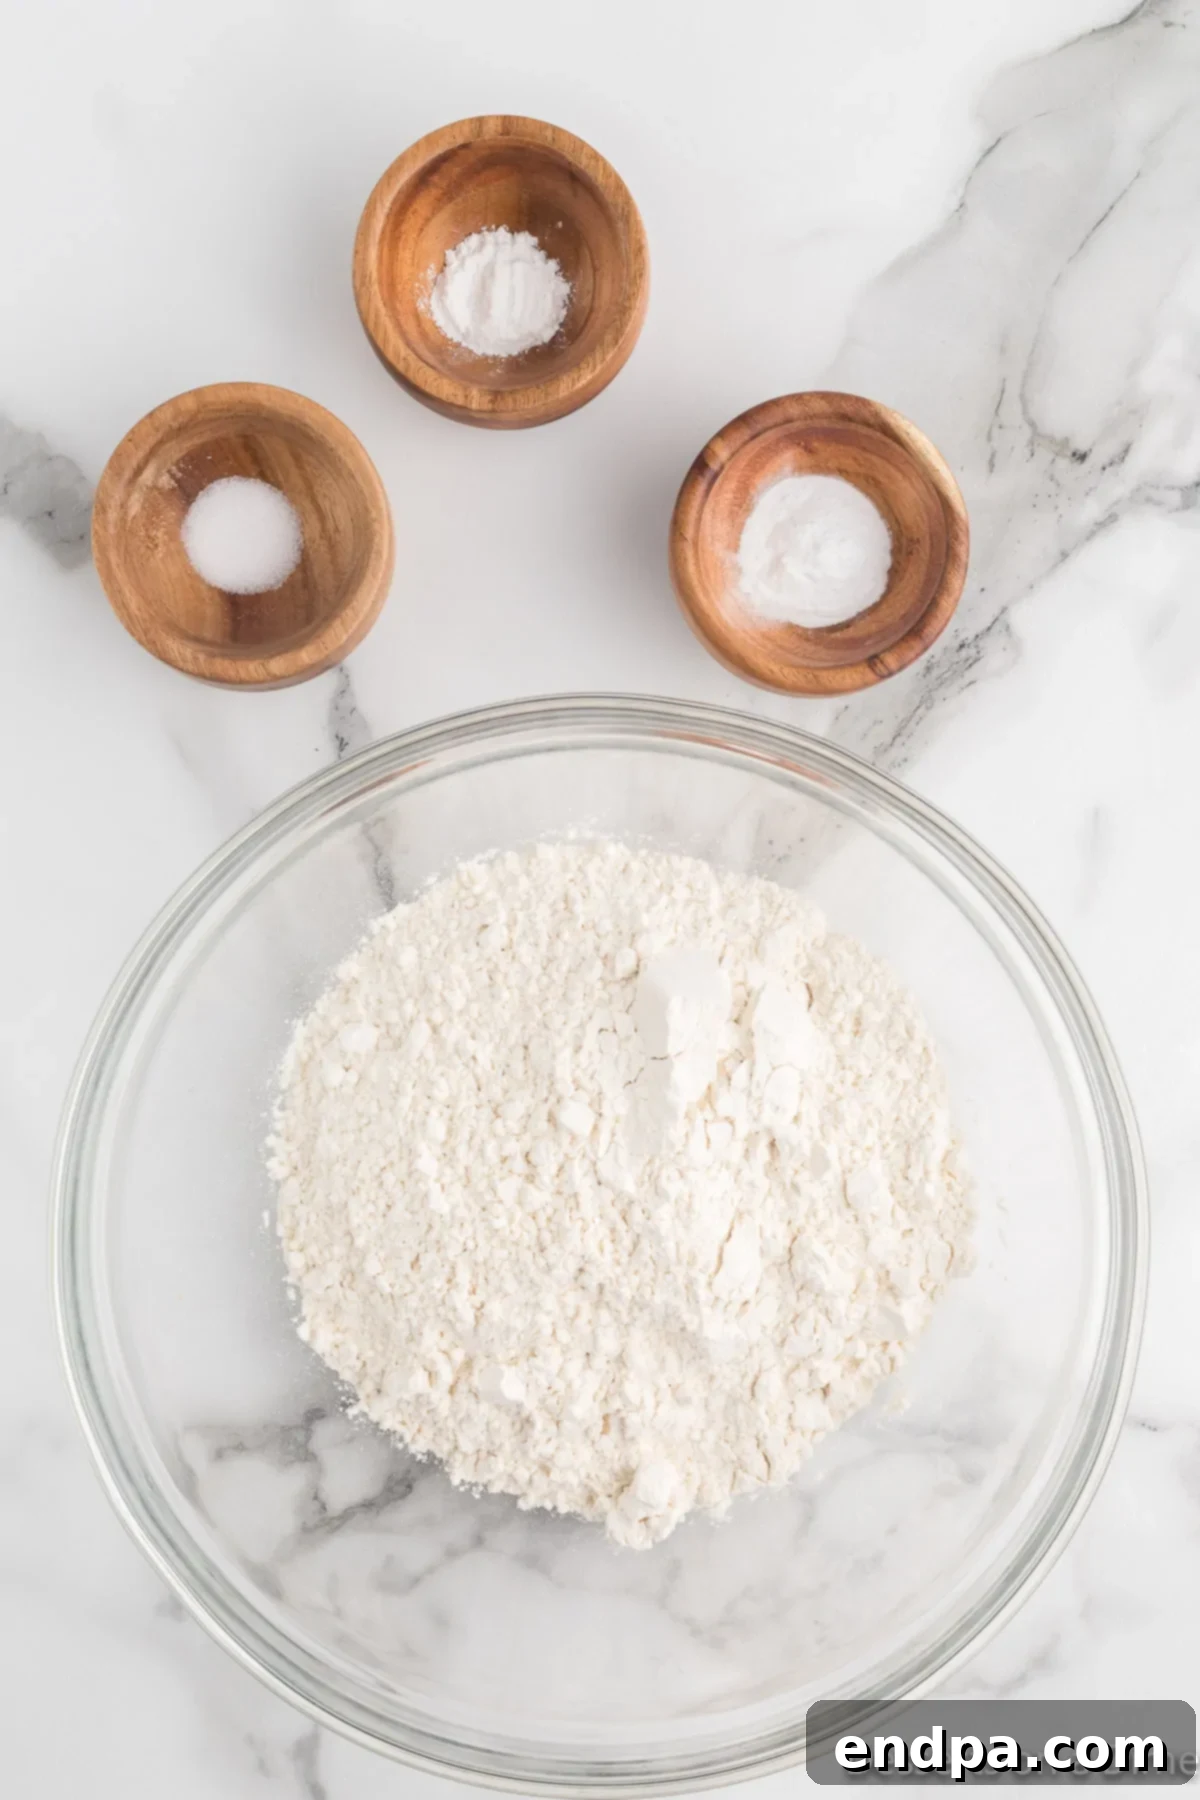
Step 2. Use a large mixing bowl and stir together the flour, baking soda, baking powder and salt.
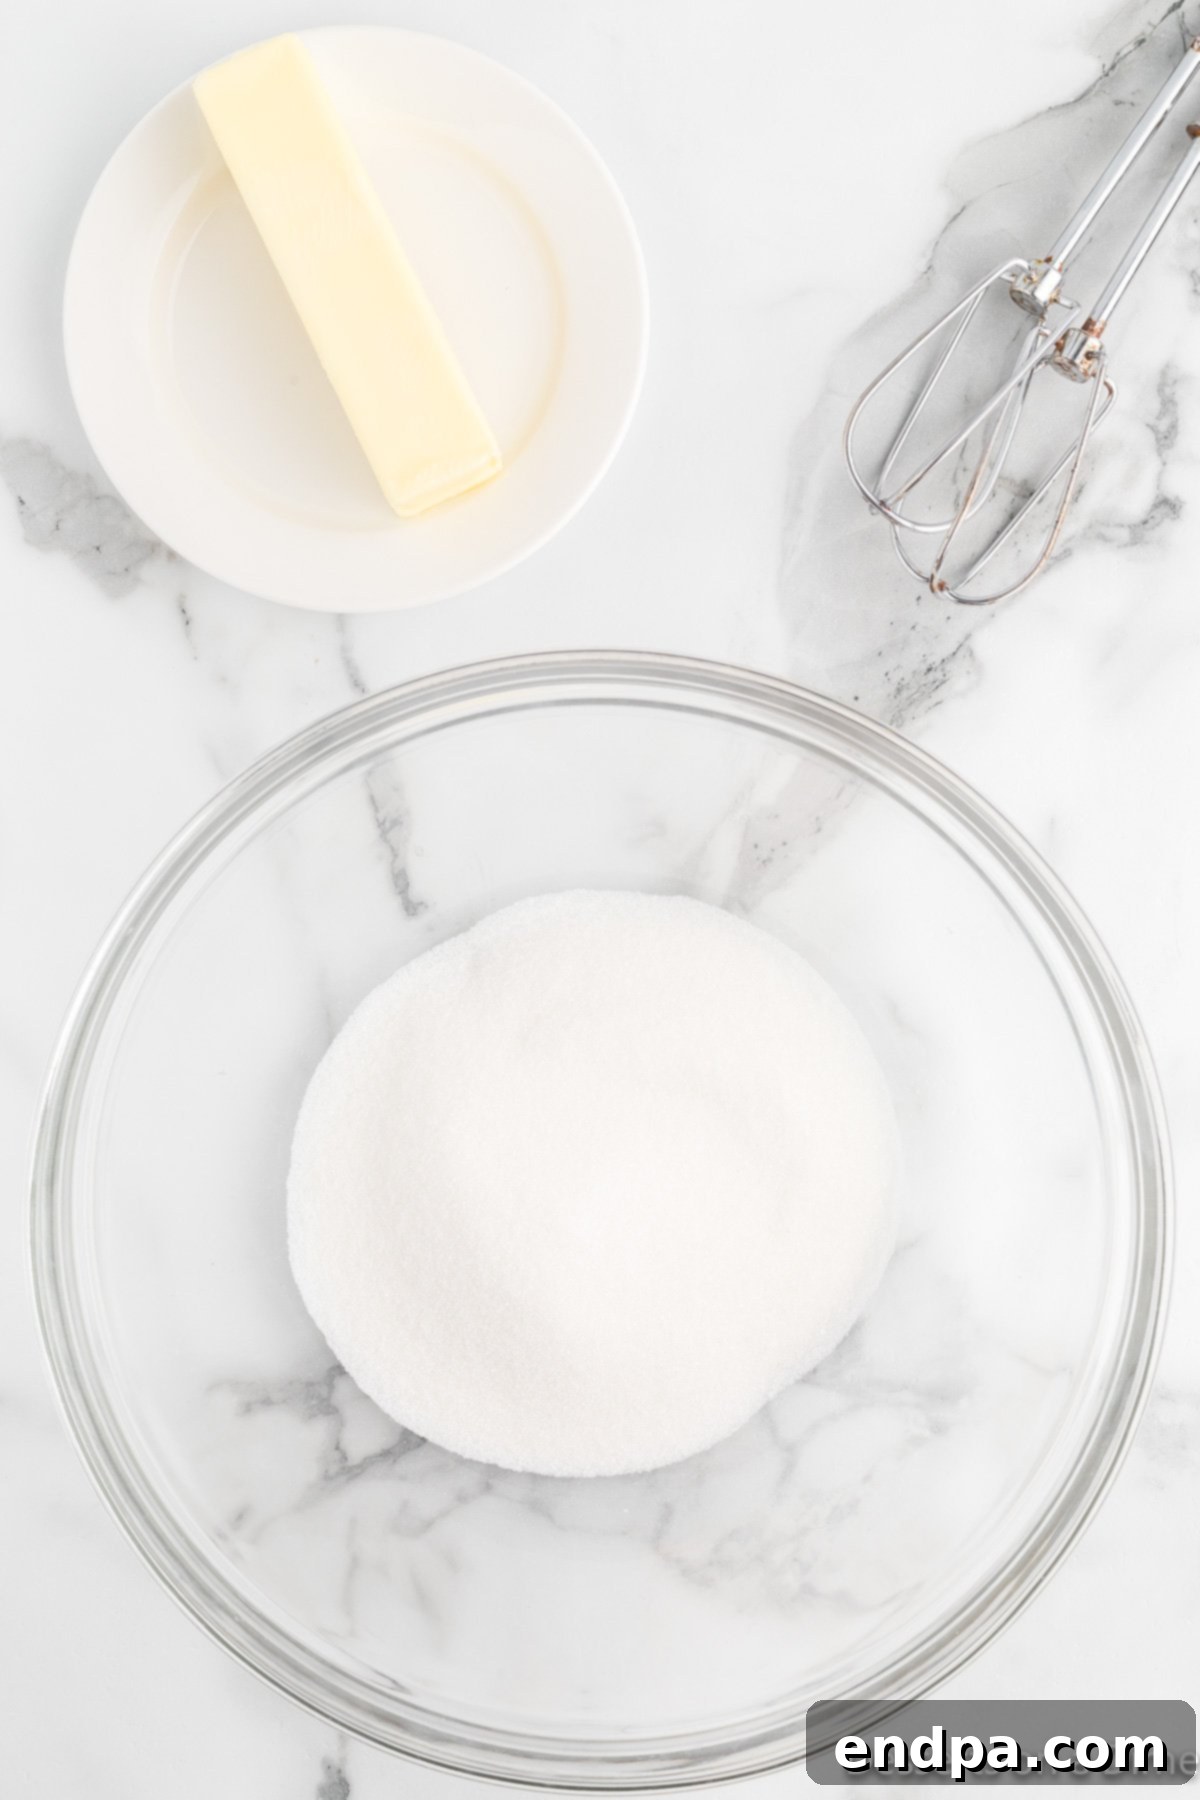
Step 3. You will need another bowl to beat together the sugar with the butter with an electric mixer (handheld or stand mixer) until the mixer is light and fluffy.
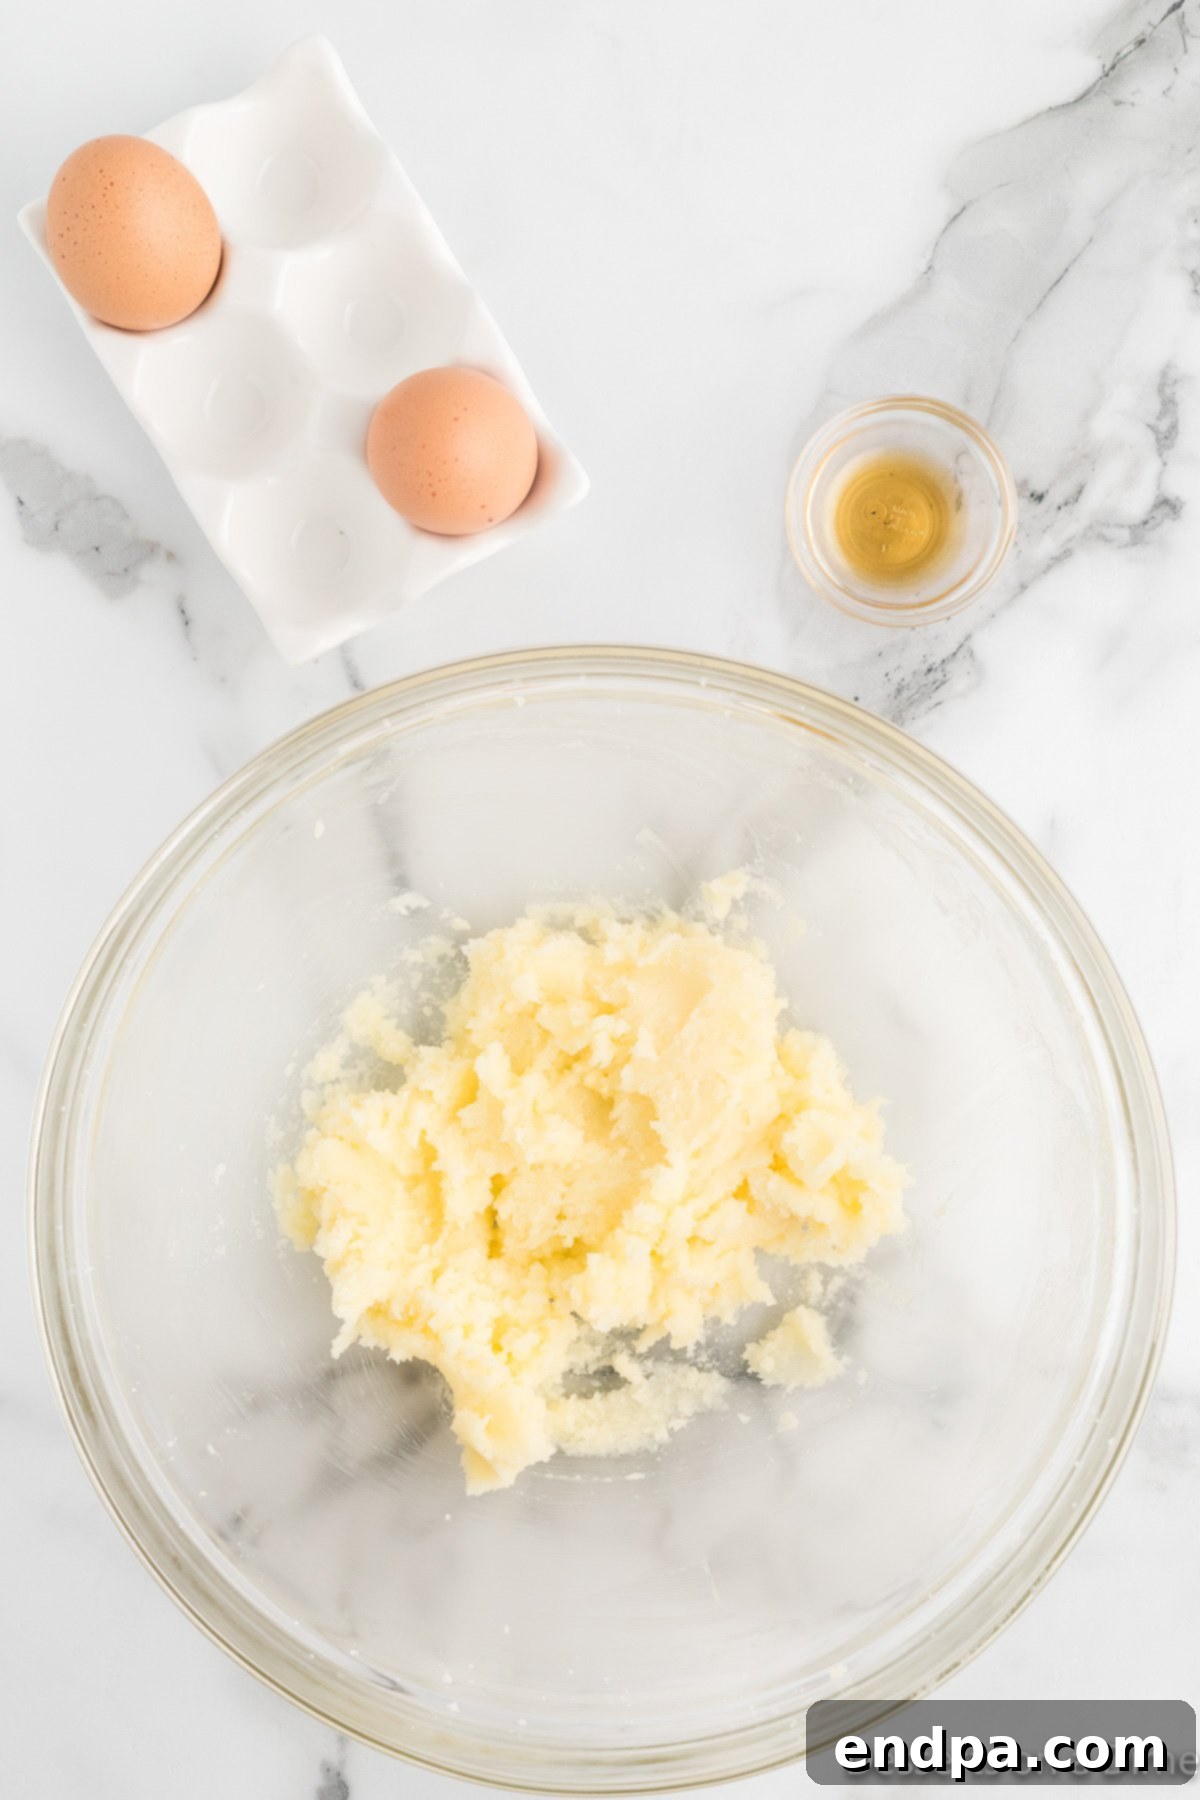
Step 4. Next, add the eggs and vanilla extract. Mix until combined.
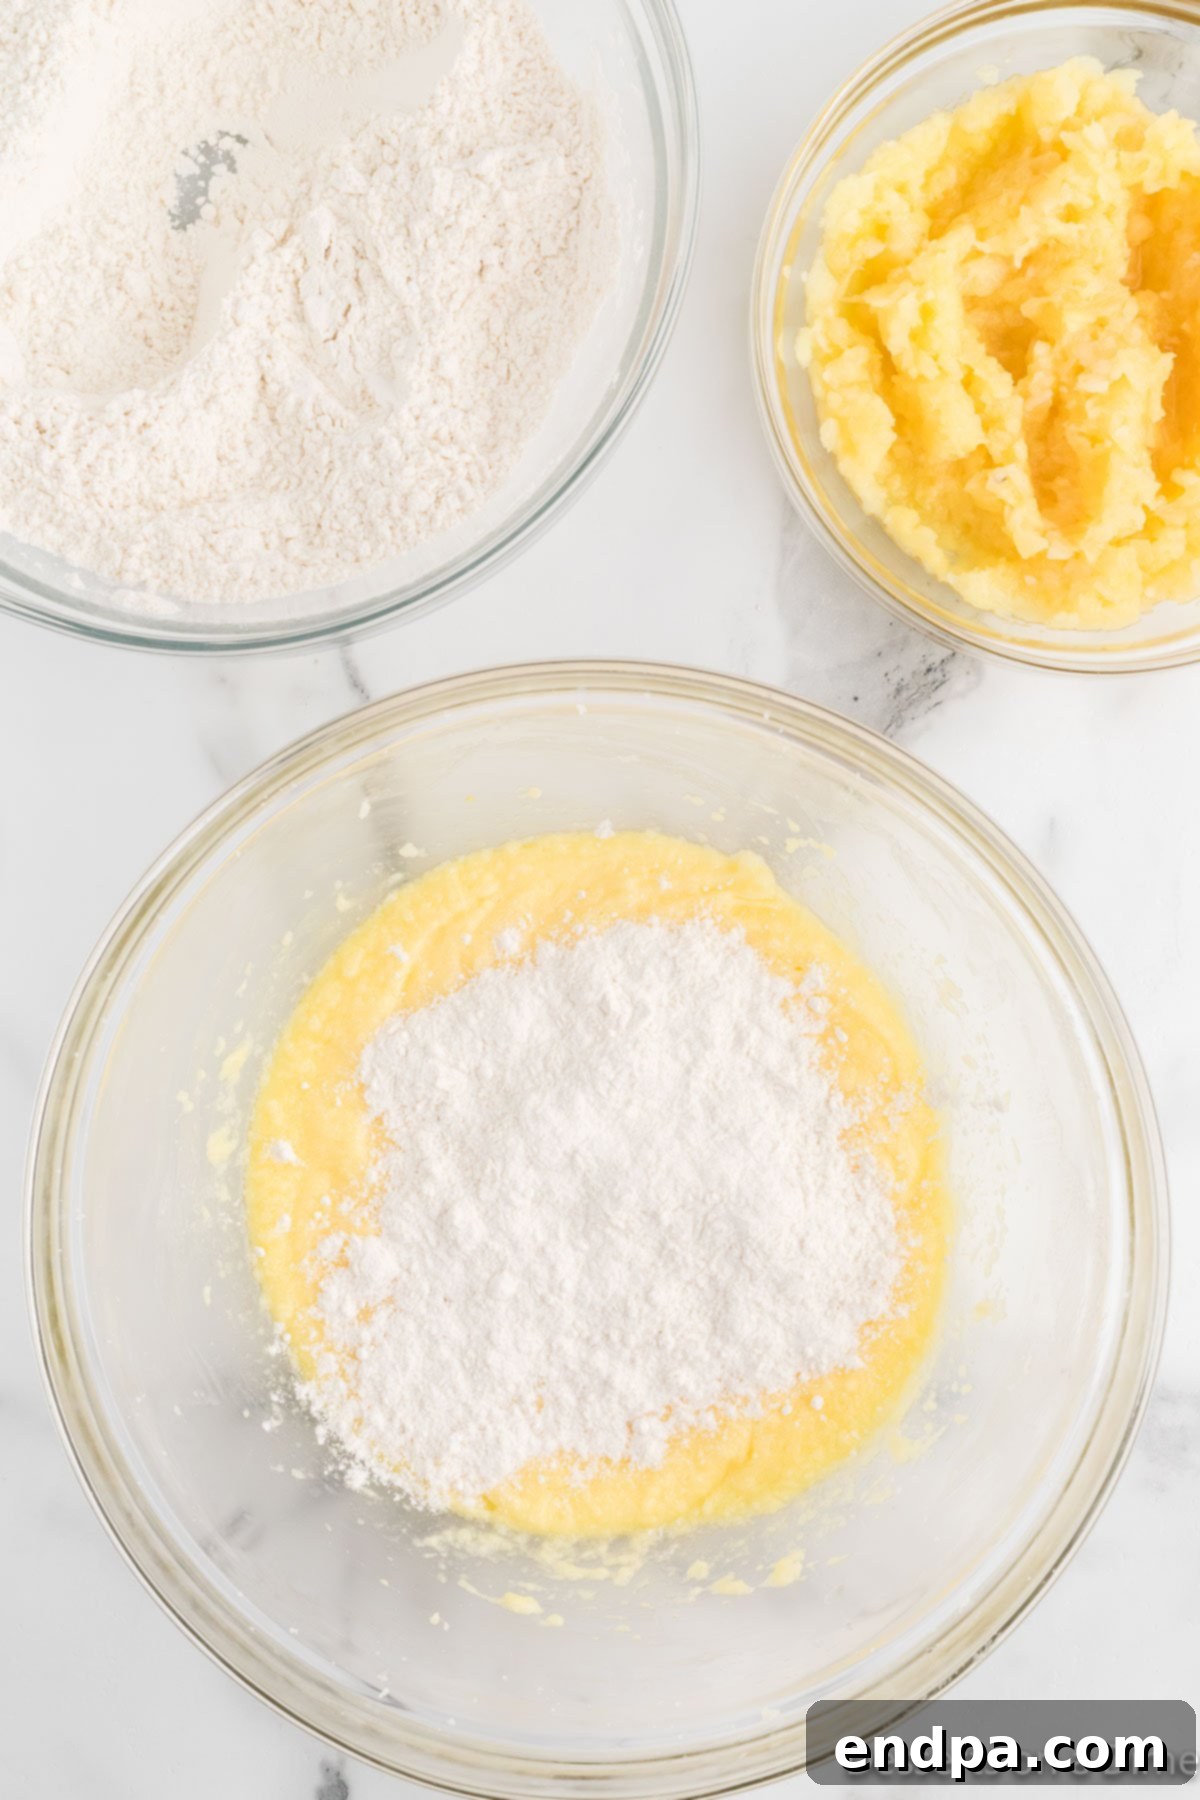
Step 5. Gradually add the flour mixture into the butter mixture. Stir together on low speed. Mix until the dry ingredients and wet ingredients are just combined.
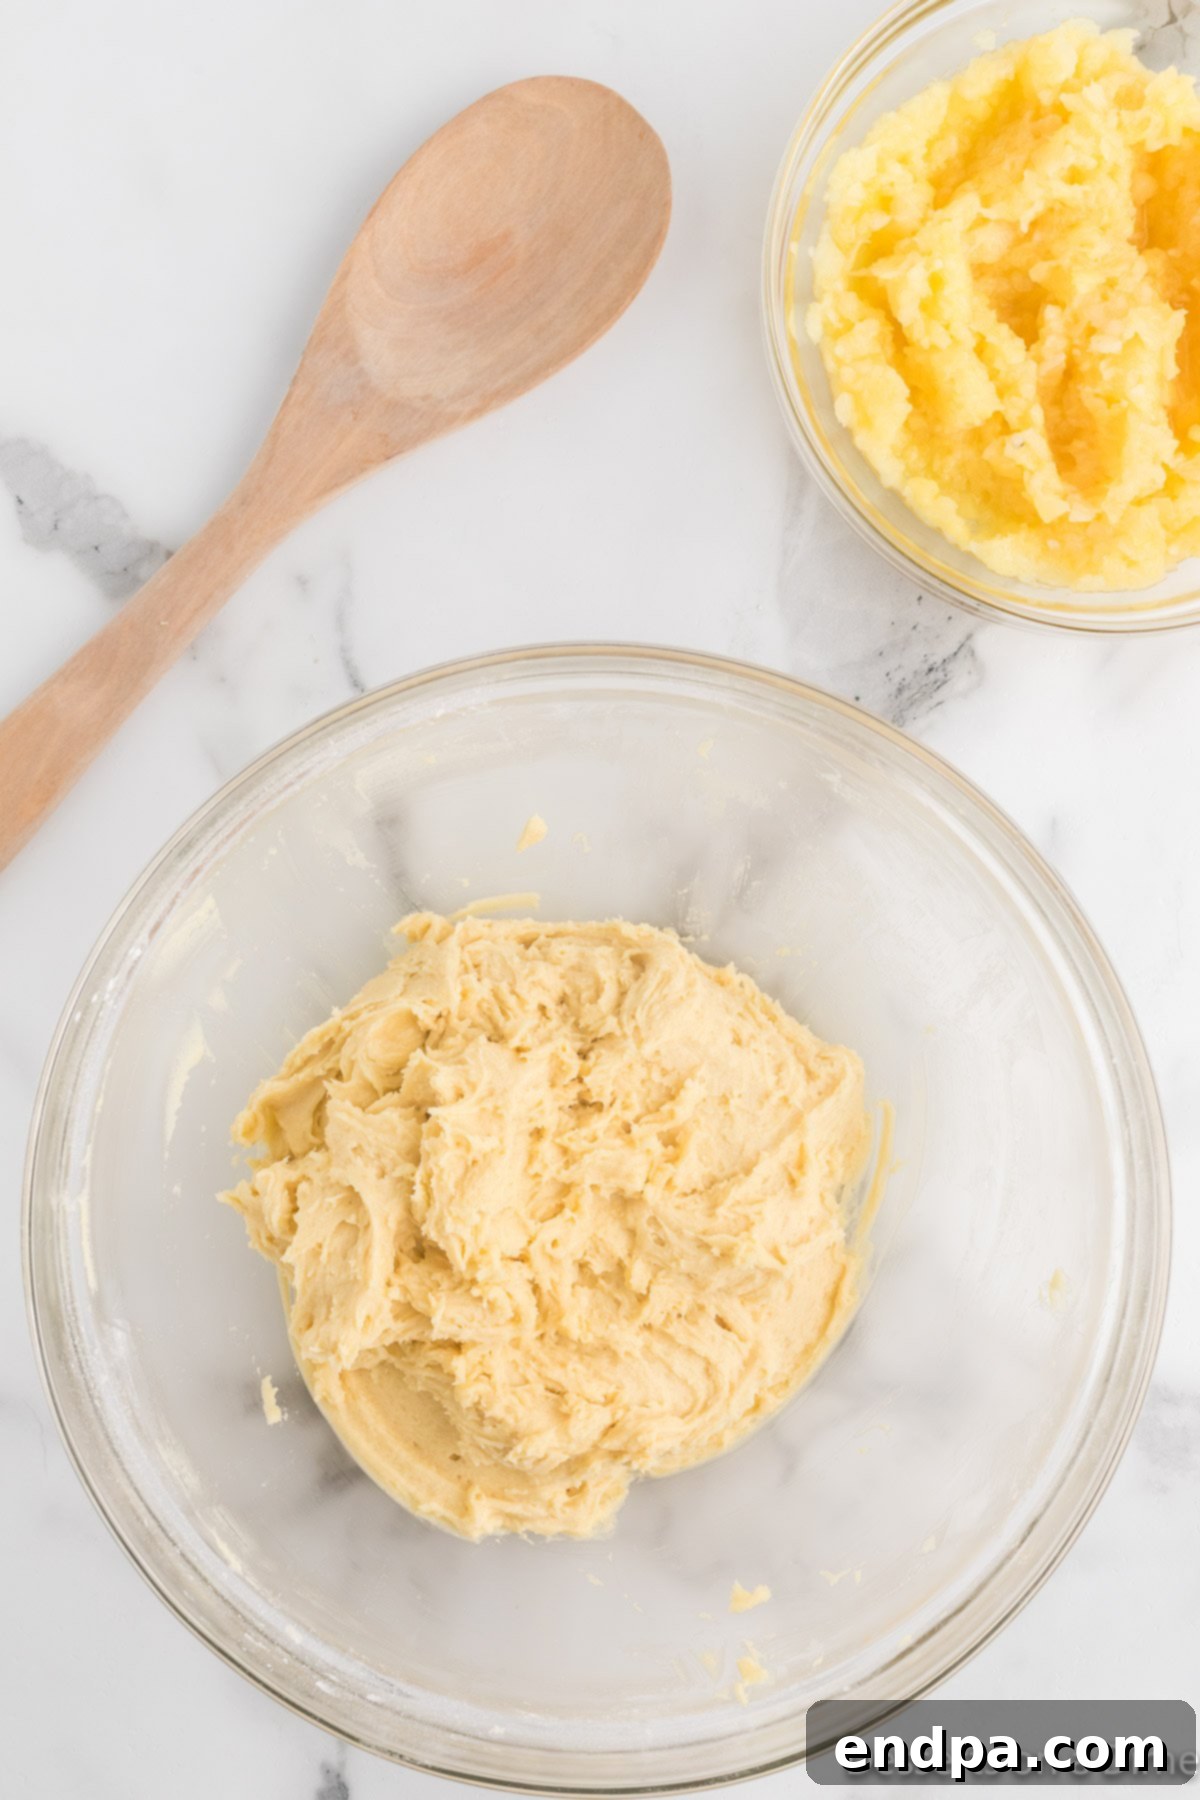
Step 6. Add the drained crushed pineapple. Fold in the crushed pineapple by hand with a wooden spoon or spatula until the pineapple is mixed into the batter.
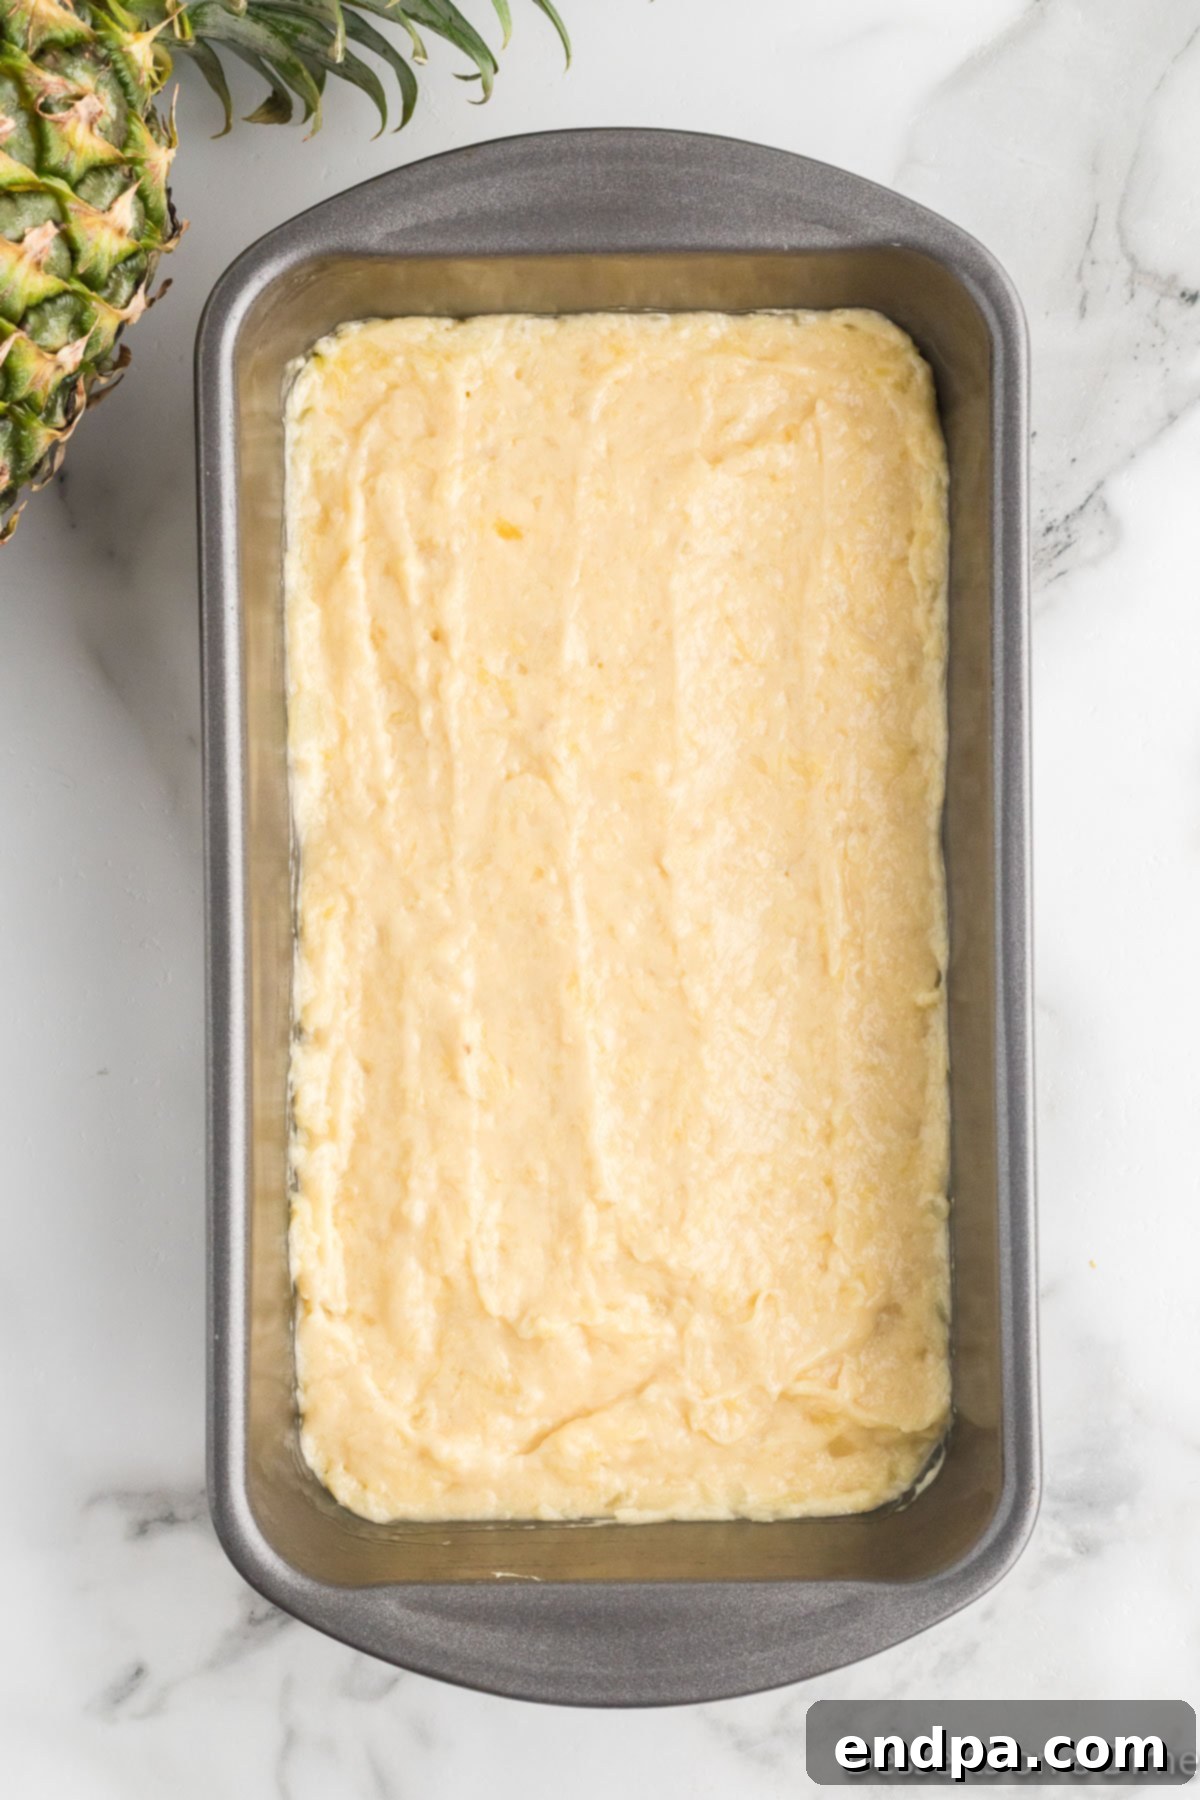
Step 7. Pour the batter into the prepared loaf pan. I like to gently tap the pan on the countertop to even out the batter. This also helps to remove any air bubble from the batter.
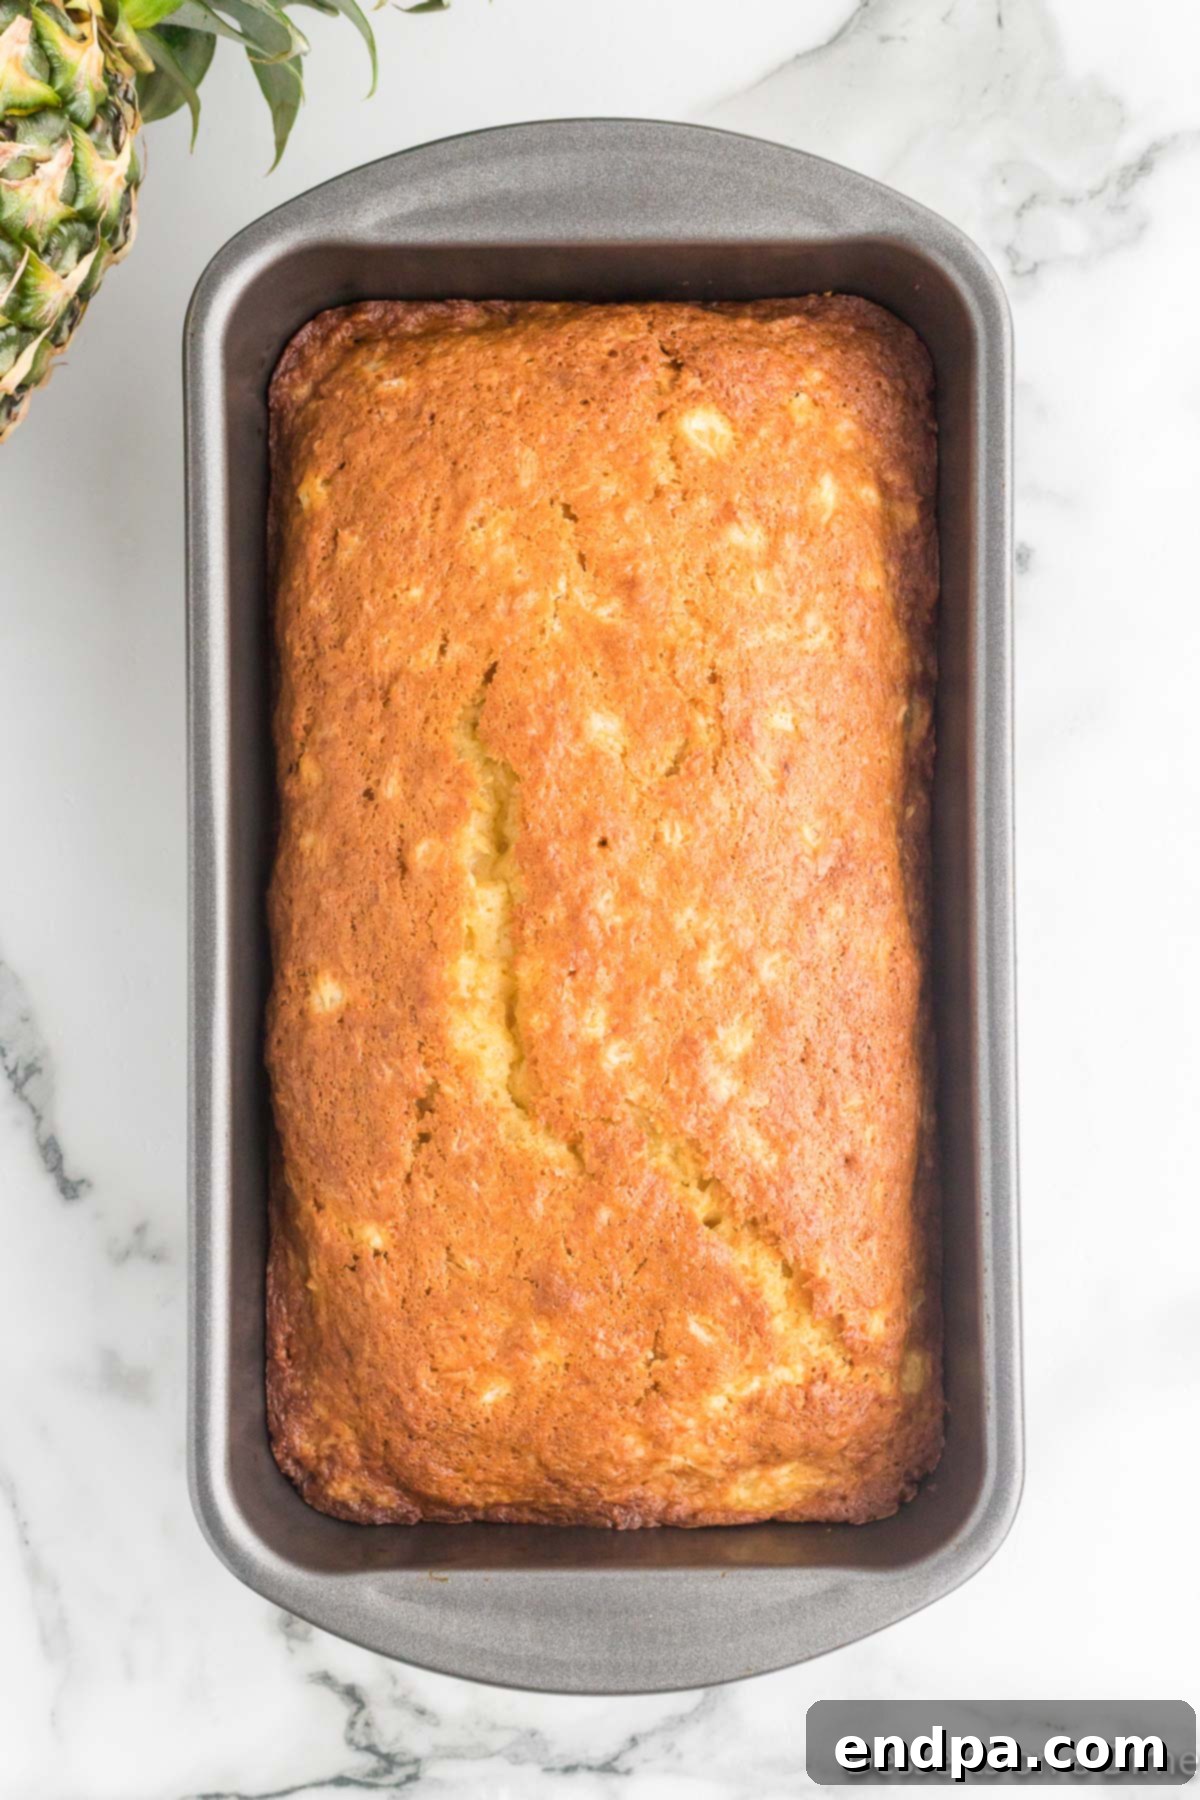
Step 8. Finally, bake the bread for 55-60 minutes until a toothpick inserted into the center of the bread comes out clean.
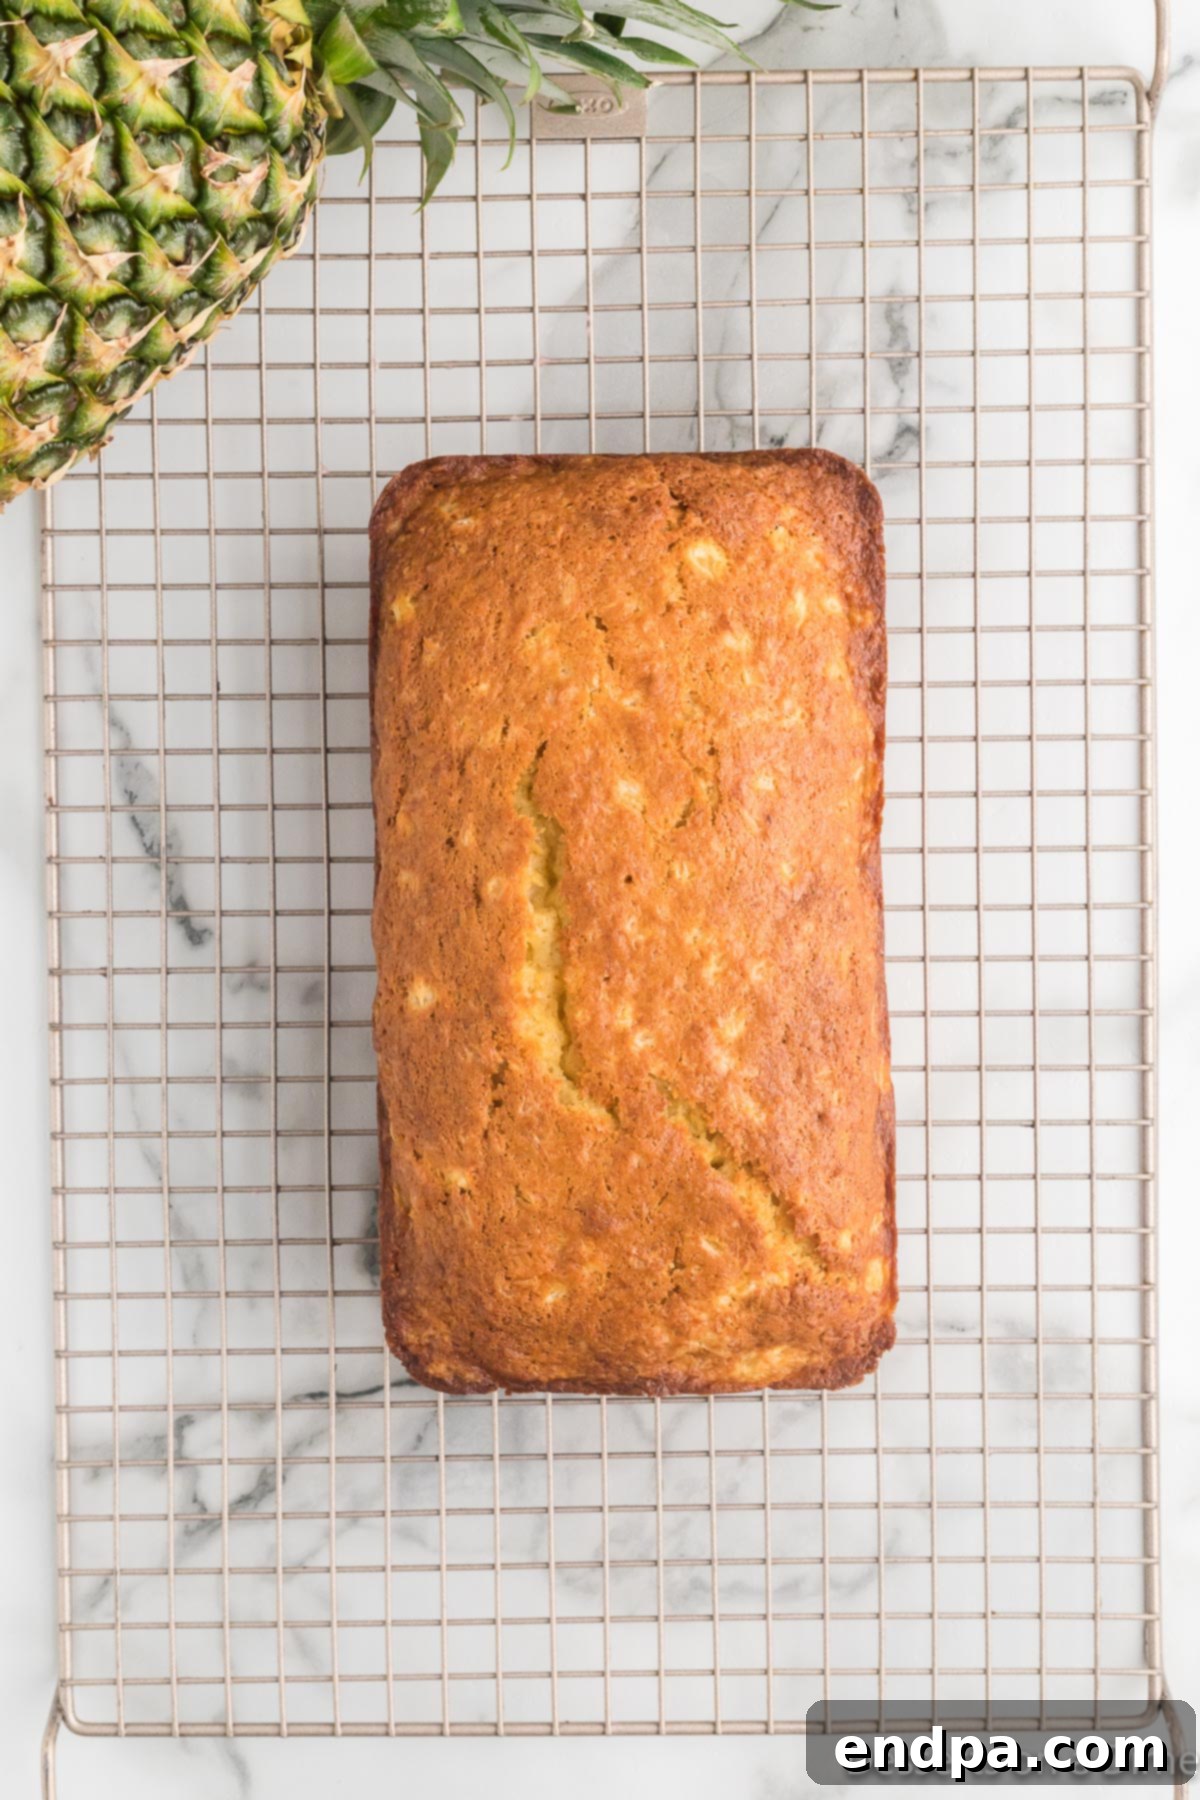
Step 9. Allow the pan to cool in the pan for 10-15 minutes. Then carefully remove the bread from the pan and place on a wire rack to cool completely.
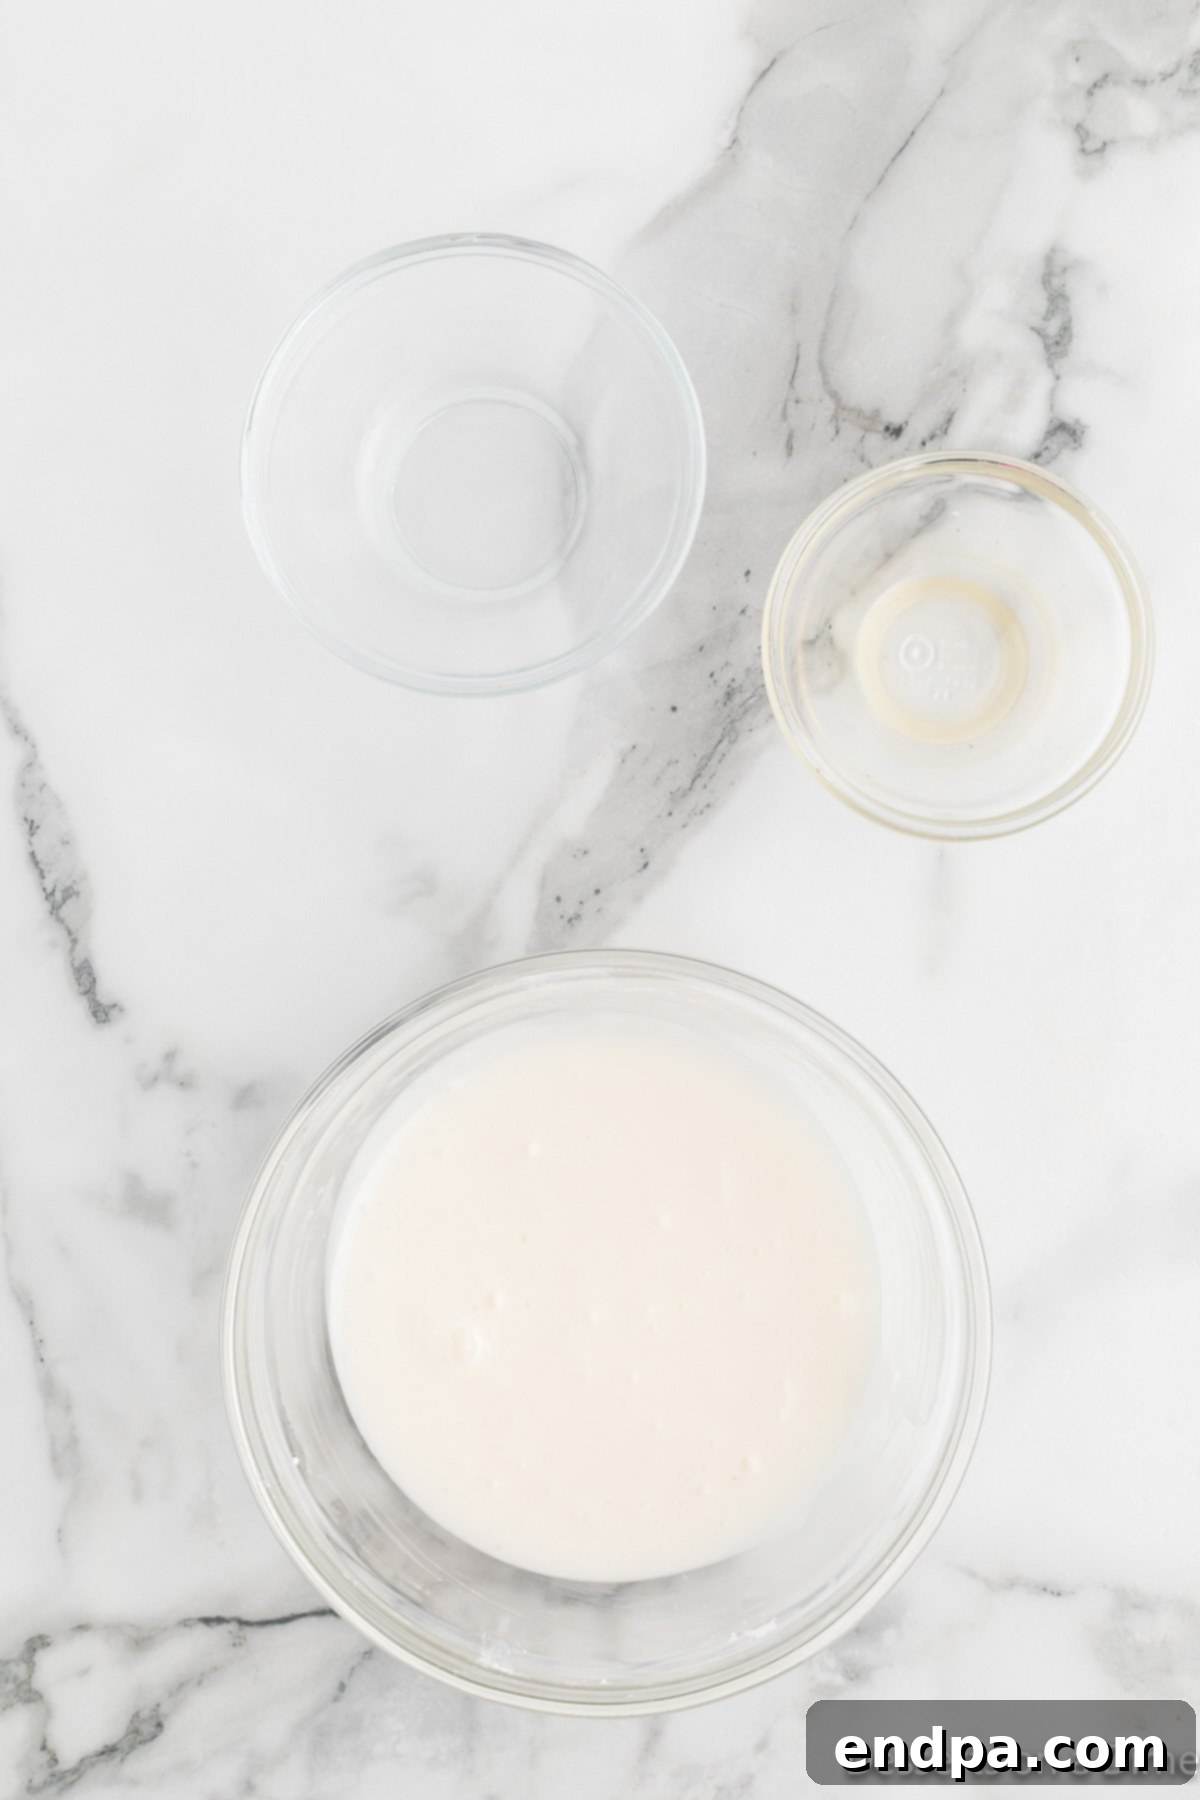
Step 10. While the bread is cooling, mix together the glaze ingredients in a small bowl.
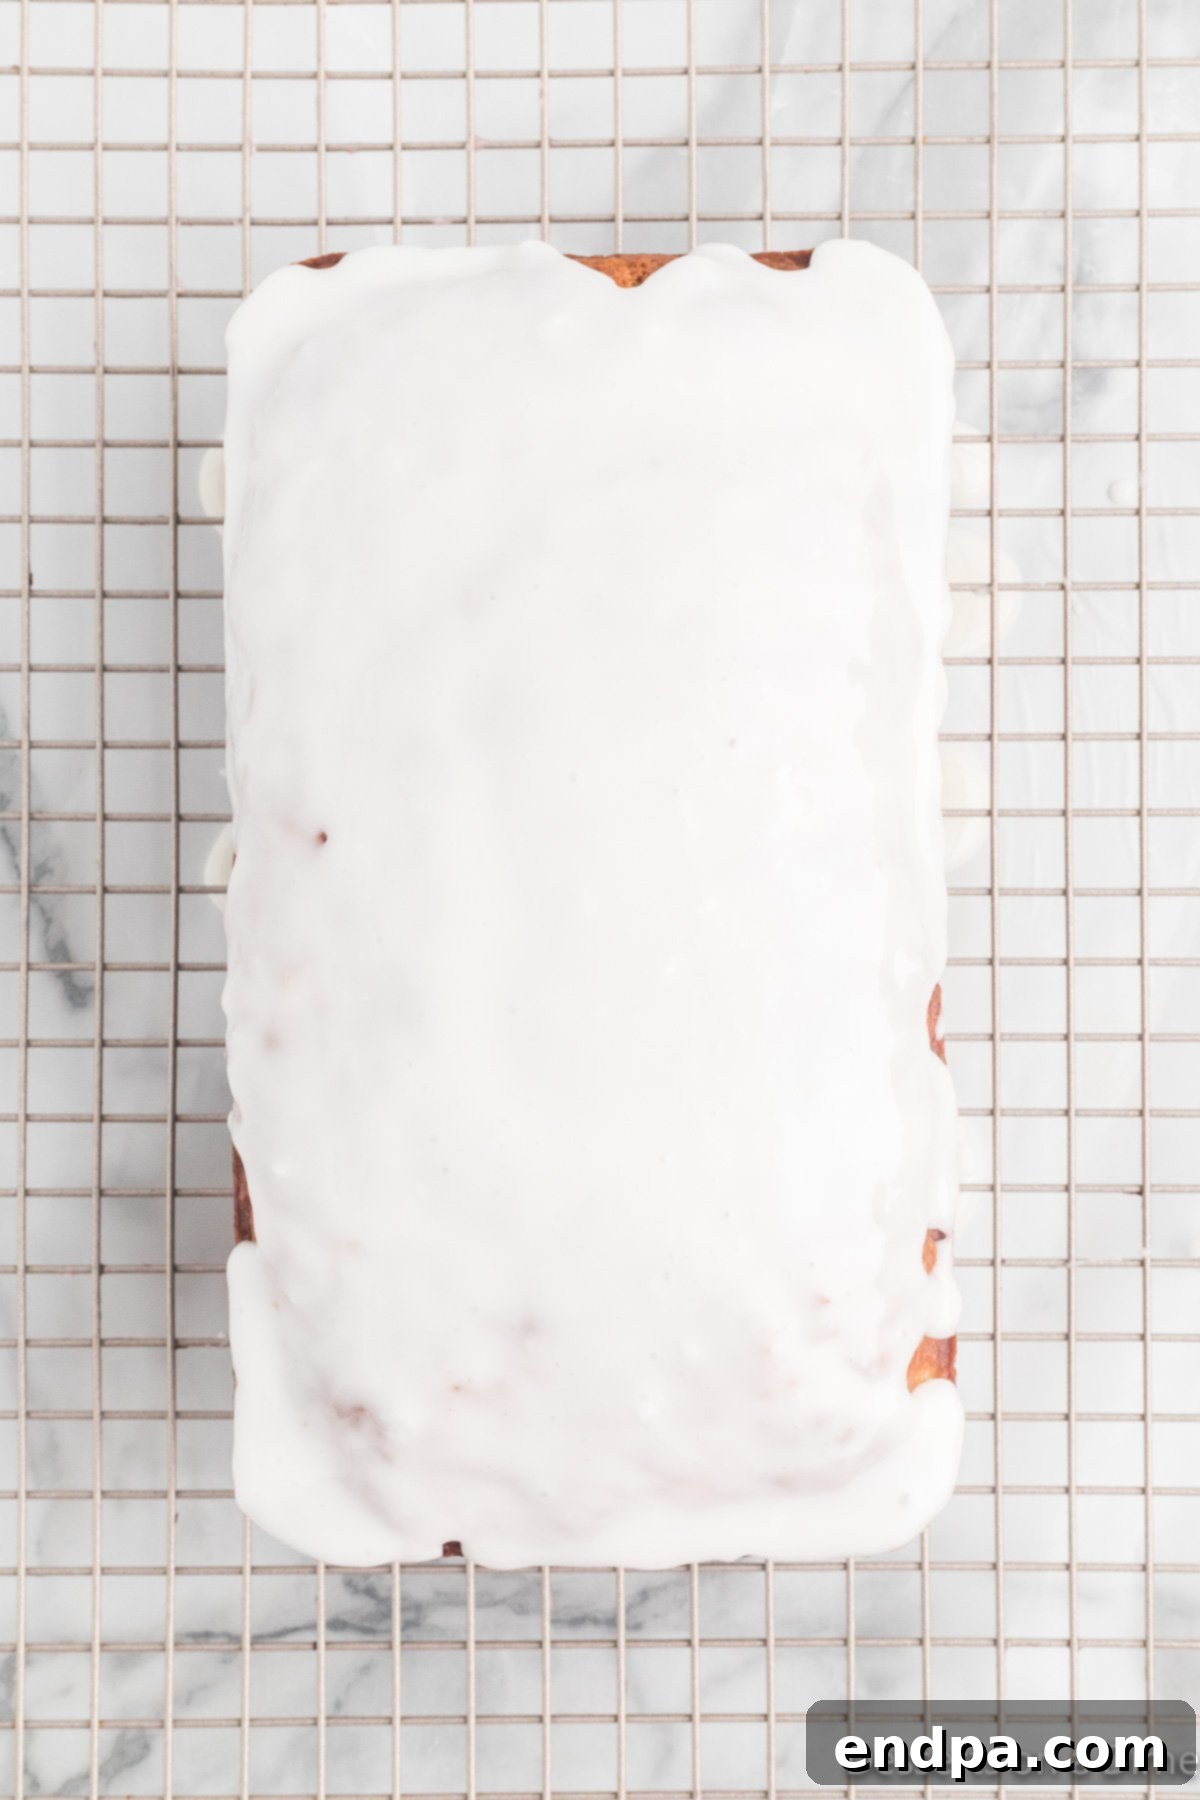
Step 11. Once the bread has cooled, pour the glaze on top and let the glaze set.
Storage and Serving Suggestions
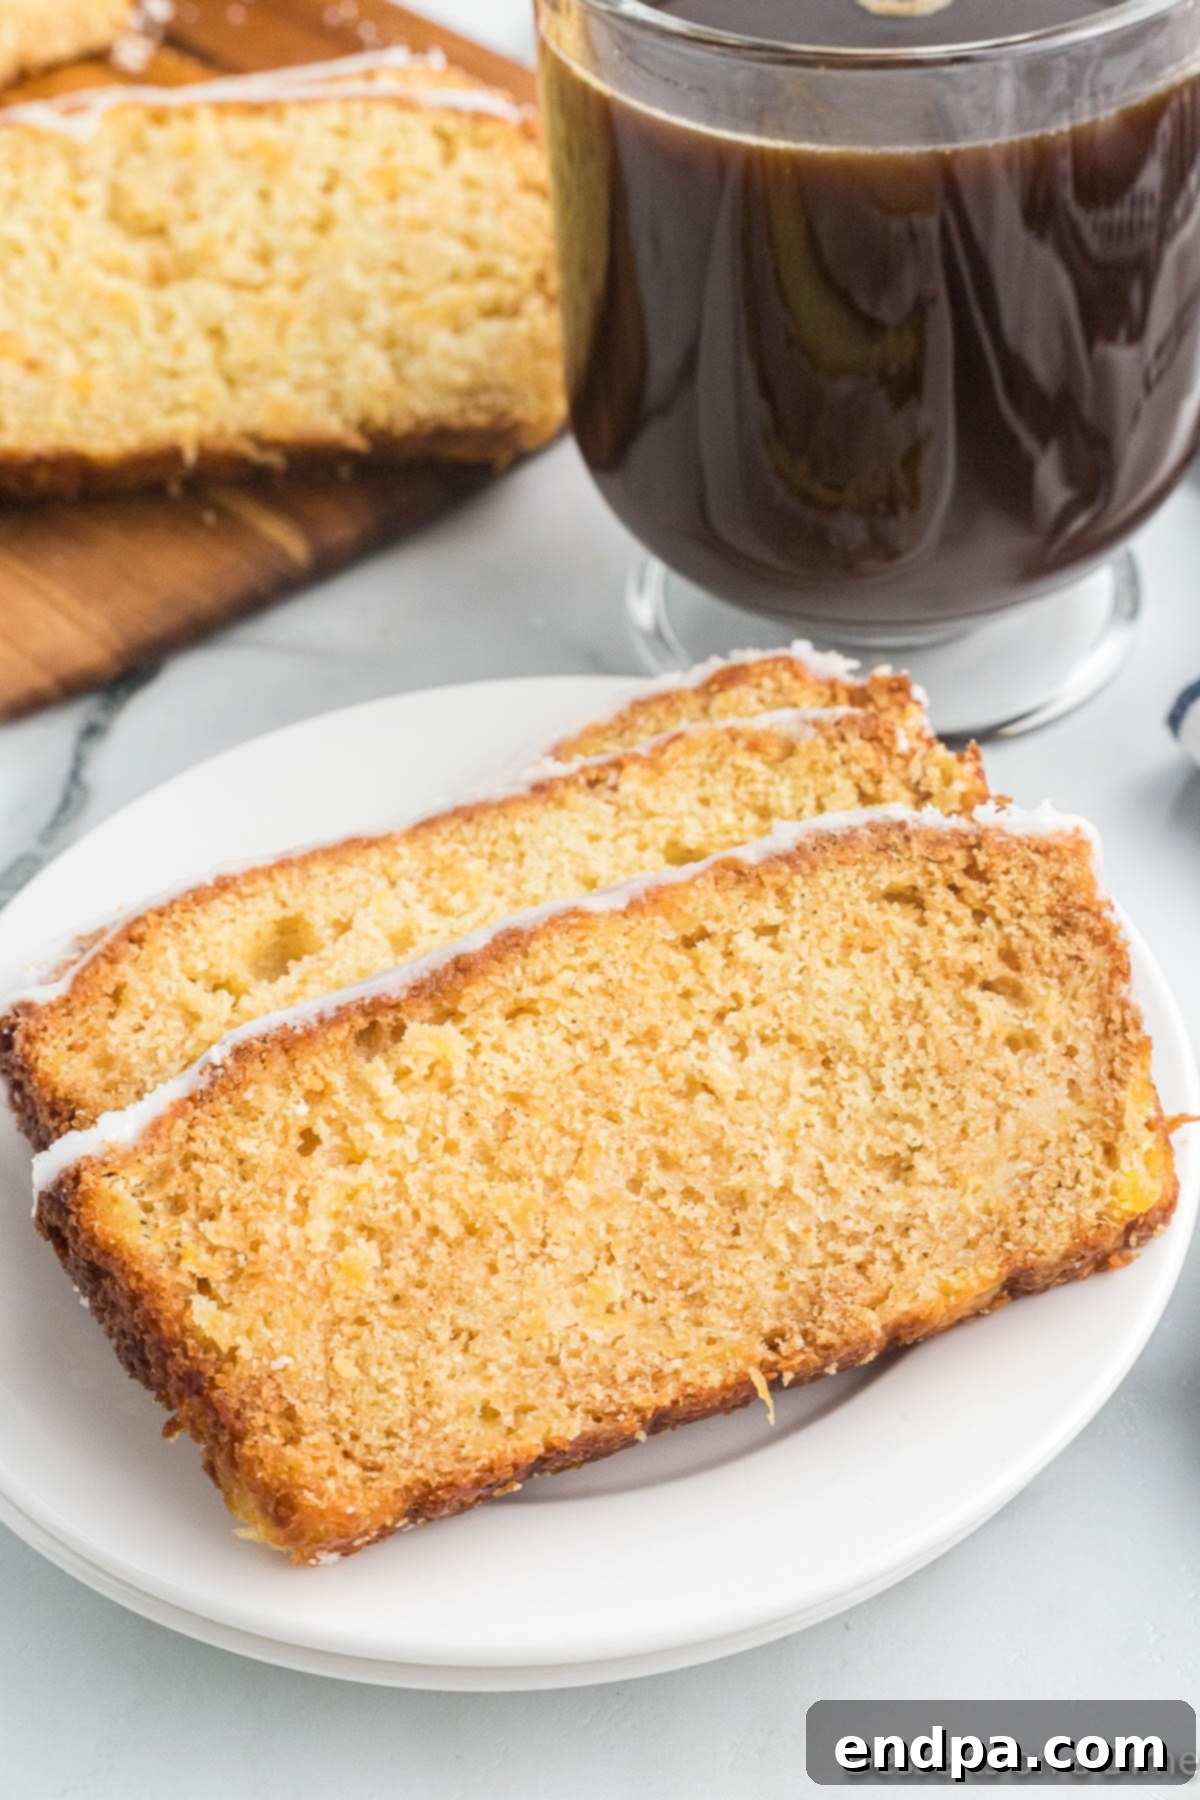
Once your delectable pineapple bread has cooled and the glaze has set, it’s ready to be enjoyed! This versatile treat can be served for breakfast alongside your morning coffee, as a delightful dessert after a meal, or as a sweet snack any time of day. Its vibrant flavor makes it particularly refreshing during warmer months, but it’s equally comforting during cooler seasons.
For storing any leftover bread, ensure it is kept in an airtight container at room temperature. It will remain fresh and moist for up to 5 days. To prevent slices from sticking together, especially with the glaze, you can separate them with small squares of parchment paper. If you’re planning to keep it longer, this bread freezes beautifully. Wrap the entire loaf or individual slices tightly in plastic wrap, then place them in a freezer-safe bag or container. It can be stored in the freezer for up to 3 months. Thaw in the refrigerator overnight or at room temperature for a few hours before enjoying. You can even warm individual slices slightly in the microwave for a just-baked taste.
Pro Tips for a Perfect Loaf
Achieving quick bread perfection is simple with a few expert tips:
- Prevent Over-Browning: While baking, keep an eye on the bread’s crust. If it begins to brown too quickly on top before the interior is fully cooked, loosely tent the loaf with aluminum foil. This protects the top from further browning while allowing the rest of the bread to bake through evenly.
- Avoid Overmixing: This is perhaps the most critical rule for tender quick breads. Once you add the dry ingredients to the wet, mix only until they are just combined. A few small lumps are perfectly fine. Overmixing develops the gluten in the flour, resulting in a dense, tough texture rather than the light and fluffy crumb you desire.
- Room Temperature Ingredients: Ensure your butter and eggs are at room temperature before you begin. Room temperature ingredients emulsify more effectively, creating a smoother, more uniform batter and a finer texture in the finished bread.
- Accurate Measuring: Baking is a science, so precise measurements are key. Use proper measuring cups and spoons, and for flour, use the spoon-and-level method: spoon flour into your measuring cup and then level off the top with a straight edge, rather than scooping directly from the bag.
- Don’t Skimp on Draining: Make sure the crushed pineapple is thoroughly drained. Excess liquid can throw off the batter’s consistency and result in a soggy bread. Reserving the juice for the glaze, however, is a brilliant way to maximize flavor!
- Cool Completely Before Glazing: It’s tempting to glaze the bread while it’s still warm, but resist the urge! Applying glaze to a hot loaf will cause it to melt and run off, resulting in a less attractive and less effective coating. Allow the bread to cool completely on a wire rack for the best results.
Frequently Asked Questions About Pineapple Bread
No problem at all! If you don’t have crushed pineapple, you can easily create your own. Simply place pineapple slices or chunks (fresh or canned) into a blender or food processor. Pulse a few times until they reach a consistency similar to crushed pineapple. Remember to drain any excess juice before adding it to the batter, and save that flavorful juice for your glaze!
Absolutely! Pineapple quick bread freezes beautifully, making it perfect for meal prep or enjoying later. You can freeze the entire loaf or individual slices. First, ensure the bread is completely cool and the glaze has fully set. Then, wrap it tightly in plastic wrap, followed by a layer of aluminum foil, or place it in an airtight freezer bag or container. It will keep well in the freezer for up to 3 months. When you’re ready to enjoy, simply thaw it in the refrigerator overnight or on the countertop for a few hours. For a warm treat, individual slices can be gently reheated in the microwave.
A standard 9×5-inch metal loaf pan is ideal for this recipe. Metal pans conduct heat efficiently, ensuring an even bake and a nicely browned crust. Glass pans can also be used, but you might need to reduce the oven temperature by 25°F (around 15°C) and increase baking time slightly, as glass heats differently.
Softened butter should be pliable but not melted. When you press a finger gently into it, it should leave an indentation without your finger sinking all the way through. If it’s too soft or melted, your batter might become greasy, and the bread’s texture could be compromised. If it’s too hard, it won’t cream properly with the sugar.
Discover More Quick Bread Recipes
If you love the simplicity and deliciousness of quick breads, you’re in for a treat! Quick breads are incredibly versatile and perfect for any occasion, from breakfast to dessert. Here are some other fantastic quick bread recipes to add to your baking repertoire:
- Cranberry Bread Recipe
- Pumpkin Bread Recipe
- Snickerdoodle Bread
- Libby’s Pumpkin Bread Recipe
- Hummingbird Bread
- Unicorn Bread
Each of these recipes offers a unique flavor profile and the same ease of preparation that makes quick breads a perennial favorite. We encourage you to try them all!
We hope you thoroughly enjoy baking and savoring this delightful pineapple bread recipe. Your feedback is invaluable to us, so please consider leaving a comment and a star rating once you’ve tried it. We love hearing about your baking adventures!
Printable Pineapple Bread Recipe Card
Pineapple Bread
One bite of Pineapple Bread and you will be hooked with its flavor. It’s loaded with crushed pineapple and topped with pineapple glaze. This sweet bread is absolutely delicious.
Prep Time: 10 mins
Cook Time: 1 hr
Cool Time: 10 mins
Total Time: 1 hr 20 mins
Servings: 10
Cuisine: American
Course: Dessert
Calories: 336 kcal
Author: Carrie Barnard
Ingredients
For the Bread:
- 2 cups All Purpose Flour
- 1 teaspoon Baking Soda
- 1/2 teaspoon Baking Powder
- 1/4 teaspoon Salt
- 1 cup Granulated Sugar
- 1/2 cup Unsalted Butter, softened
- 2 large Eggs
- 1 teaspoon Vanilla Extract
- 1 can Crushed Pineapple with Juice, drained (reserve the juice)
For the Glaze:
- 1 cup Powdered Sugar
- 1 teaspoon Vanilla Extract
- 2 Tablespoons Pineapple Juice (from the can of crushed pineapple)
Instructions
- Preheat the oven to 350 degrees Fahrenheit and spray a 9X5 loaf pan with a non-stick cooking spray.
- In a mixing bowl, stir together the flour, baking soda, baking powder and salt.
- In a separate bowl, beat together the sugar with the butter with an electric mixer until the mixture is light and fluffy.
- Add in the eggs and vanilla extract. Mix until combined.
- Then slowly add the flour mixture into the butter mixture and stir together on low speed. Mix until the batter is just combined.
- Then hand stir in the drained crushed pineapple with a wooden spoon or spatula until the pineapple is mixed into the batter.
- Pour the batter into the prepared loaf pan. Gently tap the pan on the countertop to even out the batter and remove any air bubbles.
- Bake for 55-60 minutes until a toothpick inserted into the center of the bread comes out clean. If the bread starts to brown too much on top, loosely cover it with foil for the remaining cooking time.
- Let the bread cool in the pan for 10-15 minutes. Then carefully remove the bread from the pan and place on a wire rack to cool completely.
- While the bread is cooling, mix together the glaze ingredients in a medium bowl.
- Once the bread has cooled, pour the glaze on top and let the glaze set.
- Then the bread is ready to slice, serve and enjoy!
Recipe Notes
Store any leftover bread in an airtight container for up to 5 days at room temperature.
Nutrition Facts
Calories: 336kcal, Carbohydrates: 58g, Protein: 4g, Fat: 10g, Saturated Fat: 6g, Polyunsaturated Fat: 1g, Monounsaturated Fat: 3g, Trans Fat: 0.4g, Cholesterol: 57mg, Sodium: 204mg, Potassium: 97mg, Fiber: 1g, Sugar: 38g, Vitamin A: 352IU, Vitamin C: 4mg, Calcium: 30mg, Iron: 1mg
