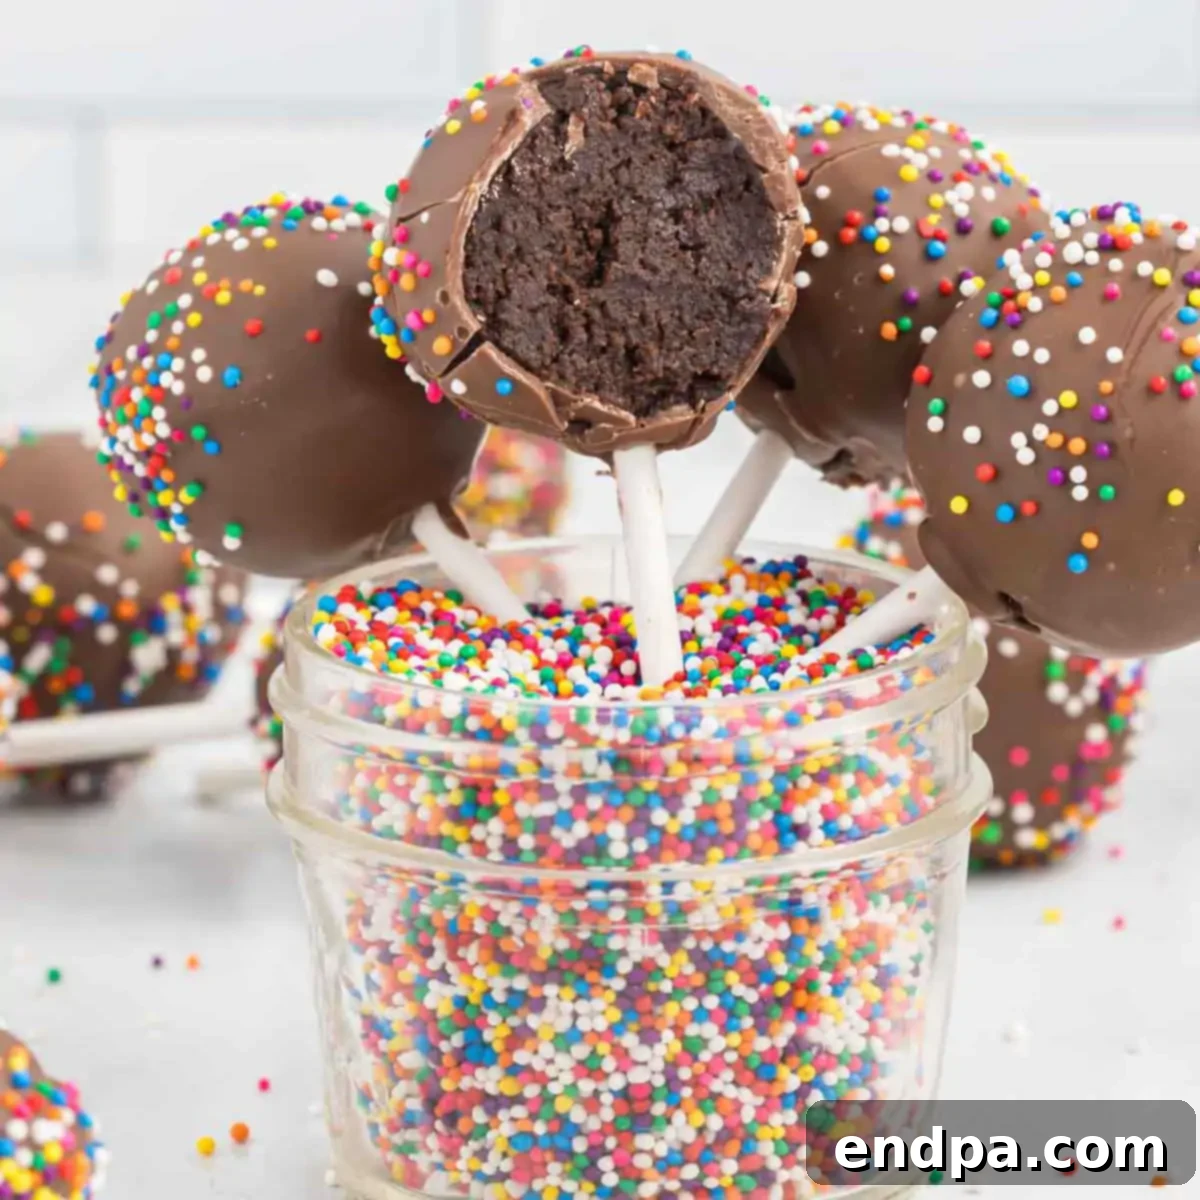
Homemade Chocolate Cake Pops: An Irresistible Recipe for Every Celebration
Embark on a delightful culinary journey to create the most enchanting Chocolate Cake Pops right in your own kitchen. This recipe guides you through making luscious cake and rich frosting entirely from scratch, ensuring each bite-sized treat is bursting with decadent flavor. Imagine the joy of serving these perfectly portioned, incredibly moist, and wonderfully chocolatey morsels at your next gathering, knowing they were made with love and the finest ingredients.
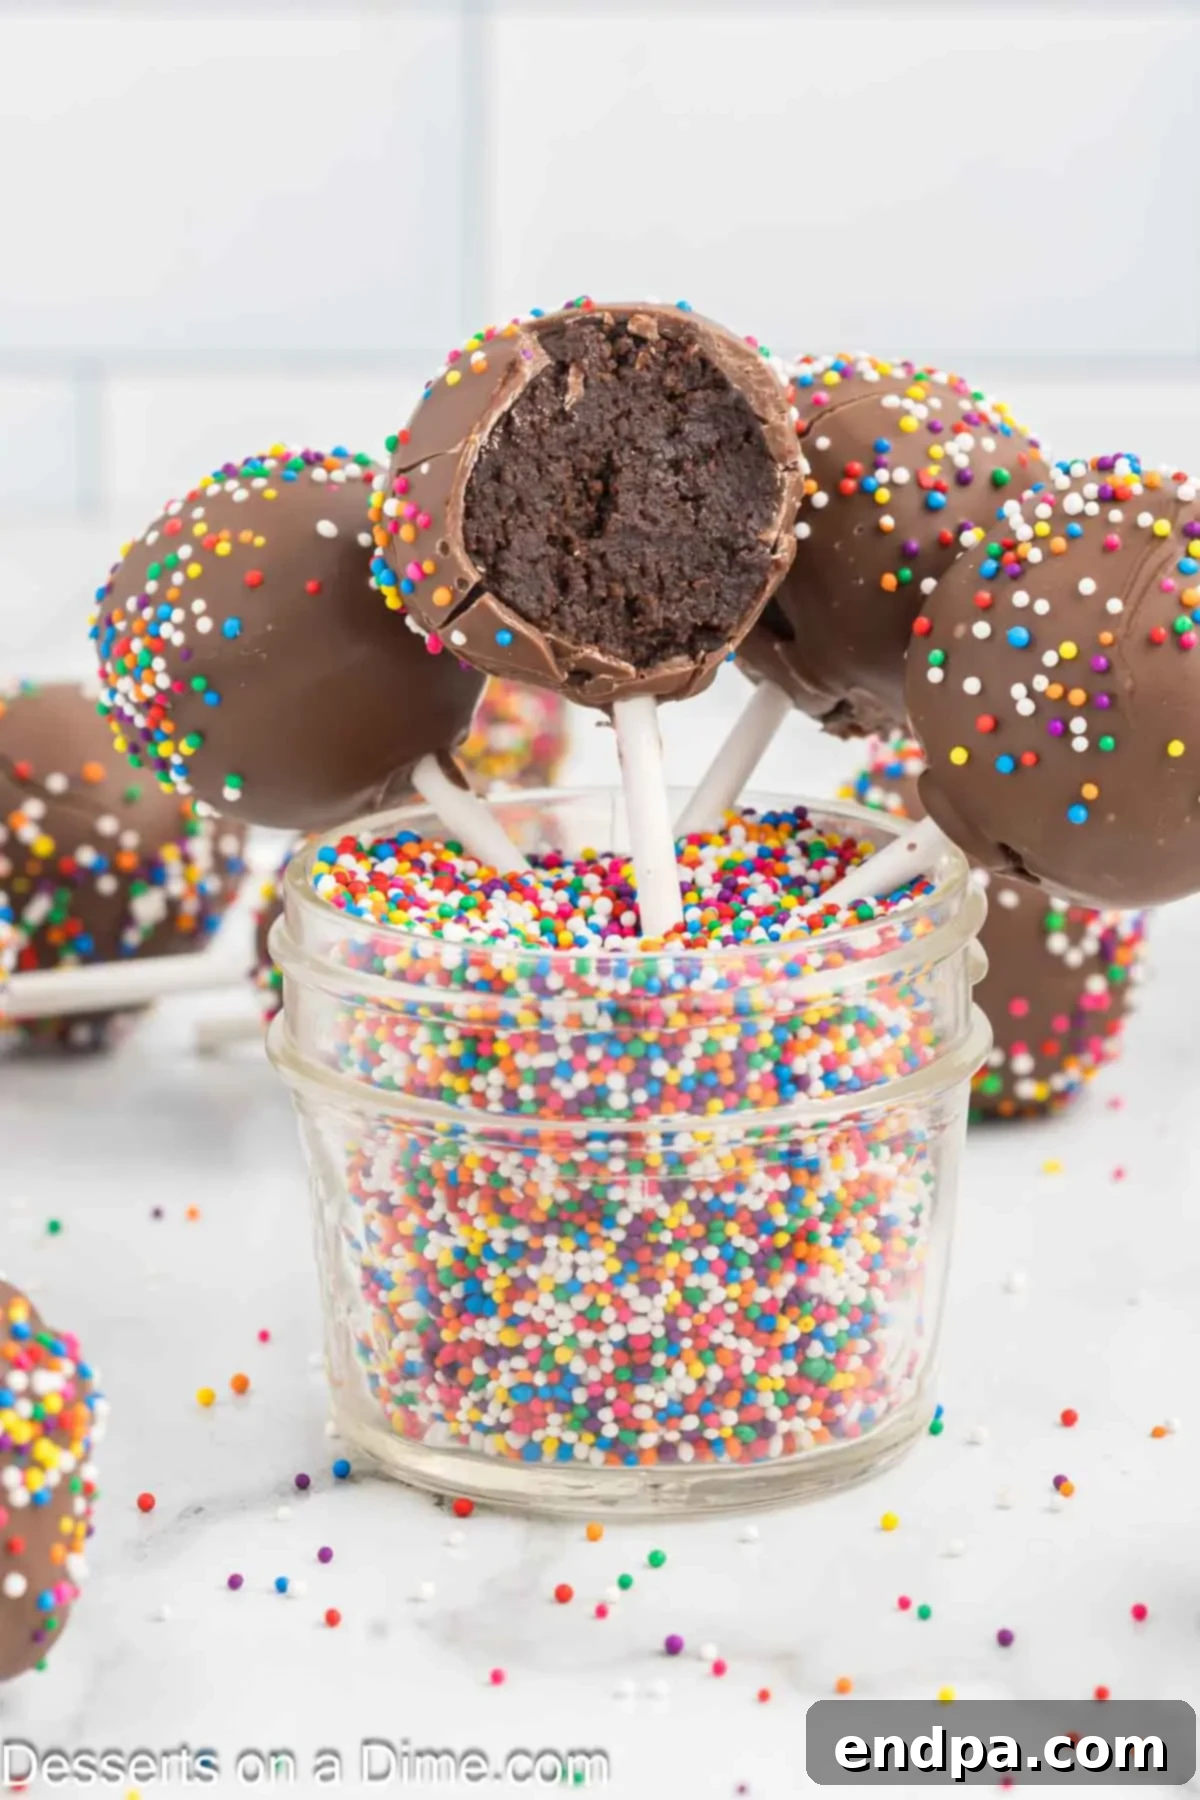
Making homemade Chocolate Cake Pops is an incredibly rewarding experience, surprisingly simple with our detailed step-by-step instructions. Forget the box mixes; our recipe elevates this classic treat, yielding an unparalleled taste and texture that store-bought versions simply can’t match. These delightful confections are not just delicious; they are a charming addition to any event, from casual get-togethers to elegant celebrations. Having perfected this recipe over many years, I can confidently say that the homemade difference is truly transformative.
While this recipe focuses on our beloved chocolate version, the world of cake pops is vast and exciting. If you adore sprinkles but prefer a lighter flavor, our Birthday Cake Pops offer a delightful vanilla alternative. For those who crave an even more intense chocolate experience, the rich and fudgy Brownie Cake Pops are an absolute must-try. These variations provide endless opportunities to customize your treats for any occasion or preference.
Table of contents
- Why These Chocolate Cake Pops Are a Must-Try
- Essential Ingredients for Perfect Cake Pops
- For the Decadent Chocolate Cake
- For the Creamy Chocolate Frosting
- For Assembling Your Irresistible Cake Pops
- Customization and Variations for Your Cake Pops
- Step-by-Step Guide to Making Chocolate Cake Pops
- Storage and Freshness Tips for Cake Pops
- Can You Freeze Chocolate Cake Pops for Later?
- Expert Tips for Cake Pop Perfection
Why These Chocolate Cake Pops Are a Must-Try
These homemade Chocolate Cake Pops offer more than just a sweet treat; they bring a blend of convenience, customization, and unparalleled flavor to any occasion. Here’s why this recipe deserves a permanent spot in your dessert repertoire:
- The Ultimate Bite-Sized Indulgence: Each cake pop is perfectly portioned, making it an ideal treat for birthday parties, holiday gatherings, potlucks, or simply a delightful snack. Their small size makes them easy to eat, mess-free, and ensures everyone can enjoy a taste without feeling overwhelmed. They’re also wonderfully portable, perfect for lunchboxes or on-the-go snacking.
- Effortless Elegance for Any Occasion: Despite their gourmet appearance, this recipe is surprisingly straightforward, allowing you to create impressive desserts any time of year. Whether it’s a festive holiday celebration, a casual summer BBQ, or an elegant dinner party, these cake pops fit right in. Their versatility in decoration means you can tailor them to match any theme, making them truly special.
- Unbeatable Rich Chocolate Flavor: The depth of flavor from using homemade chocolate cake and frosting is simply unmatched. You’ll taste the difference that quality ingredients and a from-scratch approach make – a moist crumb, a rich cocoa essence, and a silky-smooth coating that melts in your mouth. This isn’t just a chocolate treat; it’s a true chocolate experience.
- A Rewarding & Fun Baking Project: Beyond the delicious outcome, the process of making cake pops is incredibly fun and therapeutic. From crumbling the freshly baked cake to dipping and decorating, it’s a creative activity that can be enjoyed solo or with family and friends. It’s a fantastic way to engage kids in the kitchen and create lasting memories.
- Versatile for Gifting and Dessert Tables: Cake pops make fantastic homemade gifts for loved ones, teachers, or hosts. Wrapped individually or presented in a decorative box, they show thought and effort. On a dessert table, they add a pop of color and texture, standing out as a unique and charming offering that guests will adore.
Essential Ingredients for Perfect Cake Pops
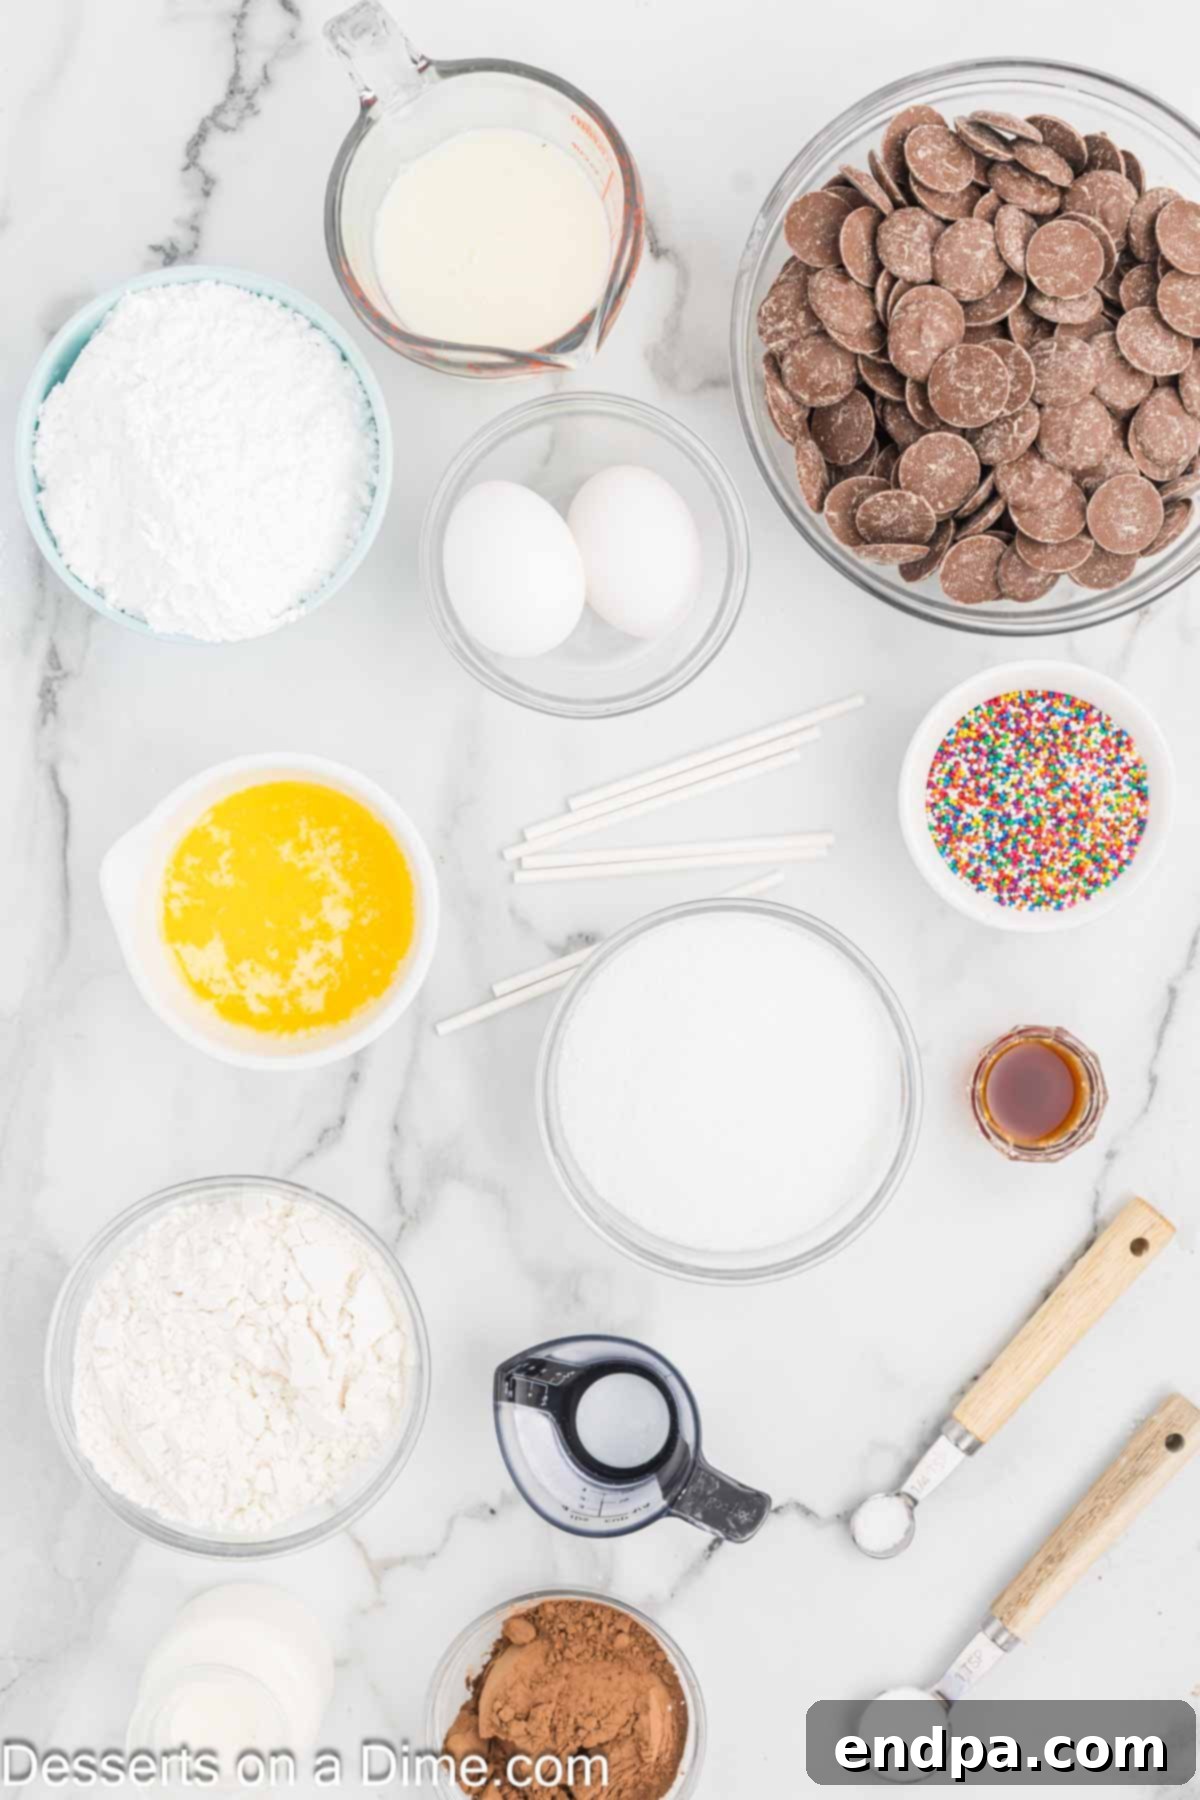
Crafting perfect Chocolate Cake Pops begins with a selection of high-quality ingredients for both the cake and the frosting, culminating in the final decorative touches. Each component plays a crucial role in achieving that irresistible taste and texture.
For the Decadent Chocolate Cake
- All-Purpose Flour: The foundational building block for our cake’s structure. For accurate measurement, remember to spoon the flour into your measuring cup and level it off, rather than scooping directly from the bag. This prevents over-packing and ensures a tender crumb.
- Granulated Sugar: Provides essential sweetness and contributes to the cake’s moist texture. Standard white granulated sugar is perfect for this recipe.
- Unsweetened Cocoa Powder: This is where the rich chocolate flavor comes from. I highly recommend a good quality unsweetened cocoa powder, like Hershey’s, but feel free to use your preferred brand for a deep, authentic chocolate taste.
- Baking Soda: Acts as a leavening agent, creating a light and airy cake structure. It reacts with the buttermilk to provide the perfect lift. (Learn about baking soda substitutes if needed).
- Salt: A small but mighty ingredient that balances the sweetness and enhances all the chocolate flavors in the cake.
- Butter (Melted and Cooled): Using melted butter ensures a moist cake and adds a rich, buttery flavor. It’s crucial to let it cool slightly after melting to avoid scrambling the eggs when combined. Butter is always my preference over vegetable oil for its superior flavor.
- Large Eggs (Room Temperature): Bringing eggs to room temperature helps them incorporate more smoothly into the batter, creating a more uniform emulsion and a better overall cake texture.
- Vanilla Extract: Pure vanilla extract is key to enhancing the chocolate flavor, adding a layer of aromatic warmth and complexity. Don’t skip this!
- Buttermilk: This acidic ingredient reacts with the baking soda to tenderize the cake and create a wonderfully moist crumb. (Discover more about buttermilk and its uses).
- Very Hot Water: Adding hot water at the end helps to “bloom” the cocoa powder, intensifying its flavor and creating a smoother, thinner batter that bakes beautifully.
For the Creamy Chocolate Frosting
- Unsalted Butter (Softened, Room Temperature): Unsalted butter allows you to control the salt content in your frosting. Ensure it’s fully softened at room temperature for a smooth, lump-free consistency when beaten.
- Confectioners’ Sugar: Also known as powdered sugar, this fine sugar dissolves easily, yielding a silky-smooth frosting. Sifting it is recommended to remove any lumps and ensure a perfectly smooth finish.
- Unsweetened Cocoa Powder: Provides the rich, deep chocolate flavor for the frosting, complementing the cake beautifully.
- Vanilla Extract: Just like in the cake, vanilla extract elevates the chocolate notes in the frosting, adding a touch of gourmet flavor.
- Salt: A pinch of salt balances the sweetness of the frosting.
- Heavy Whipping Cream: This is my secret to a truly rich and flavorful homemade frosting. It adds luxurious creaminess and body, making the frosting irresistible. You’ll add it gradually to achieve the desired consistency.
For Assembling Your Irresistible Cake Pops
- Chocolate Candy Melts: These are specifically designed for melting and coating, providing a smooth, glossy finish that hardens quickly without cracking. They are far easier to work with than tempered chocolate.
- Sprinkles (Optional): Sprinkles add a festive touch and a satisfying crunch. Choose colors and shapes to match your theme or simply add a burst of fun!
- Lollipop Sticks: Essential for holding your cake pops. You can find these readily available at craft stores, baking aisles, or online.
The complete, precise list of ingredients and their exact measurements can be found within the recipe card below.
Customization and Variations for Your Cake Pops
One of the most exciting aspects of making Chocolate Cake Pops is the endless potential for customization. While the classic chocolate version is always a hit, don’t hesitate to get creative and adapt them to your taste or event theme.
-
Diverse Toppings: Go beyond traditional sprinkles!
- Chopped Nuts: Finely chopped pecans, walnuts, almonds, or peanuts add a wonderful texture and nutty flavor.
- Shredded Coconut: Toasted or untoasted, coconut flakes offer a tropical twist.
- Crushed Cookies: Oreos, graham crackers, or shortbread cookies, finely crushed, make a fantastic topping.
- Mini Chocolate Chips: A sprinkle of mini semi-sweet, milk, or white chocolate chips adds extra chocolatey goodness.
- Edible Glitter or Pearls: For a touch of elegance and sparkle, especially for weddings or upscale parties.
- Contrasting Chocolate Drizzle: After the main chocolate coating has set, drizzle melted white chocolate or a different colored candy melt over the pops for a beautiful striped effect.
- Crushed Candies: Peppermint pieces during the holidays, or crushed hard candies for vibrant color.
-
Sprinkle Spectacle: The simplest way to transform your cake pops for any occasion is by changing the color and style of your sprinkles.
- Holiday Themes: Red and green for Christmas, pastels for Easter, orange and black for Halloween.
- Birthday Parties: Use confetti sprinkles or sprinkles in the birthday person’s favorite colors.
- Team Colors: Decorate with sprinkles that match your favorite sports team.
- Special Events: Gold or silver sprinkles for anniversaries or formal celebrations.
-
Flavorful Extracts: Introduce new dimensions to your cake or frosting by adding different extracts.
- Peppermint Extract: Perfect for a festive holiday twist.
- Almond Extract: Adds a delicate, nutty aroma.
- Orange Zest: A hint of fresh orange zest complements chocolate beautifully.
- Espresso Powder: Intensifies the chocolate flavor without adding a coffee taste.
-
Cake Base Explorations: While our recipe features a classic chocolate cake, you can experiment with other cake bases once you’ve mastered the technique.
- Vanilla or Yellow Cake
- Red Velvet Cake
- Strawberry Cake (try our Strawberry Cake Pops recipe!)
-
Coating Creativity: The candy melt coating offers another canvas for your creativity.
- White Chocolate Melts: A classic alternative that provides a beautiful contrast to the dark chocolate cake inside.
- Colored Candy Melts: Available in a rainbow of colors, these are fantastic for matching specific party themes or making vibrant, fun cake pops.
Don’t be afraid to experiment and find your favorite combinations. The beauty of homemade cake pops lies in their adaptability!
Step-by-Step Guide to Making Chocolate Cake Pops
Follow these detailed instructions to create perfect Chocolate Cake Pops from scratch. Precision and patience are key to achieving the best results.
- Step 1: Prepare Your Baking Environment. Begin by preheating your oven to 350 degrees Fahrenheit (175°C). Lightly spray a 9-inch round or square baking pan with a non-stick cooking spray to prevent the cake from sticking.
- Step 2: Combine Dry Ingredients. In a large mixing bowl, whisk together the all-purpose flour, granulated sugar, unsweetened cocoa powder, baking soda, and ¼ teaspoon of salt until they are thoroughly combined. Ensure there are no lumps in the dry mixture.
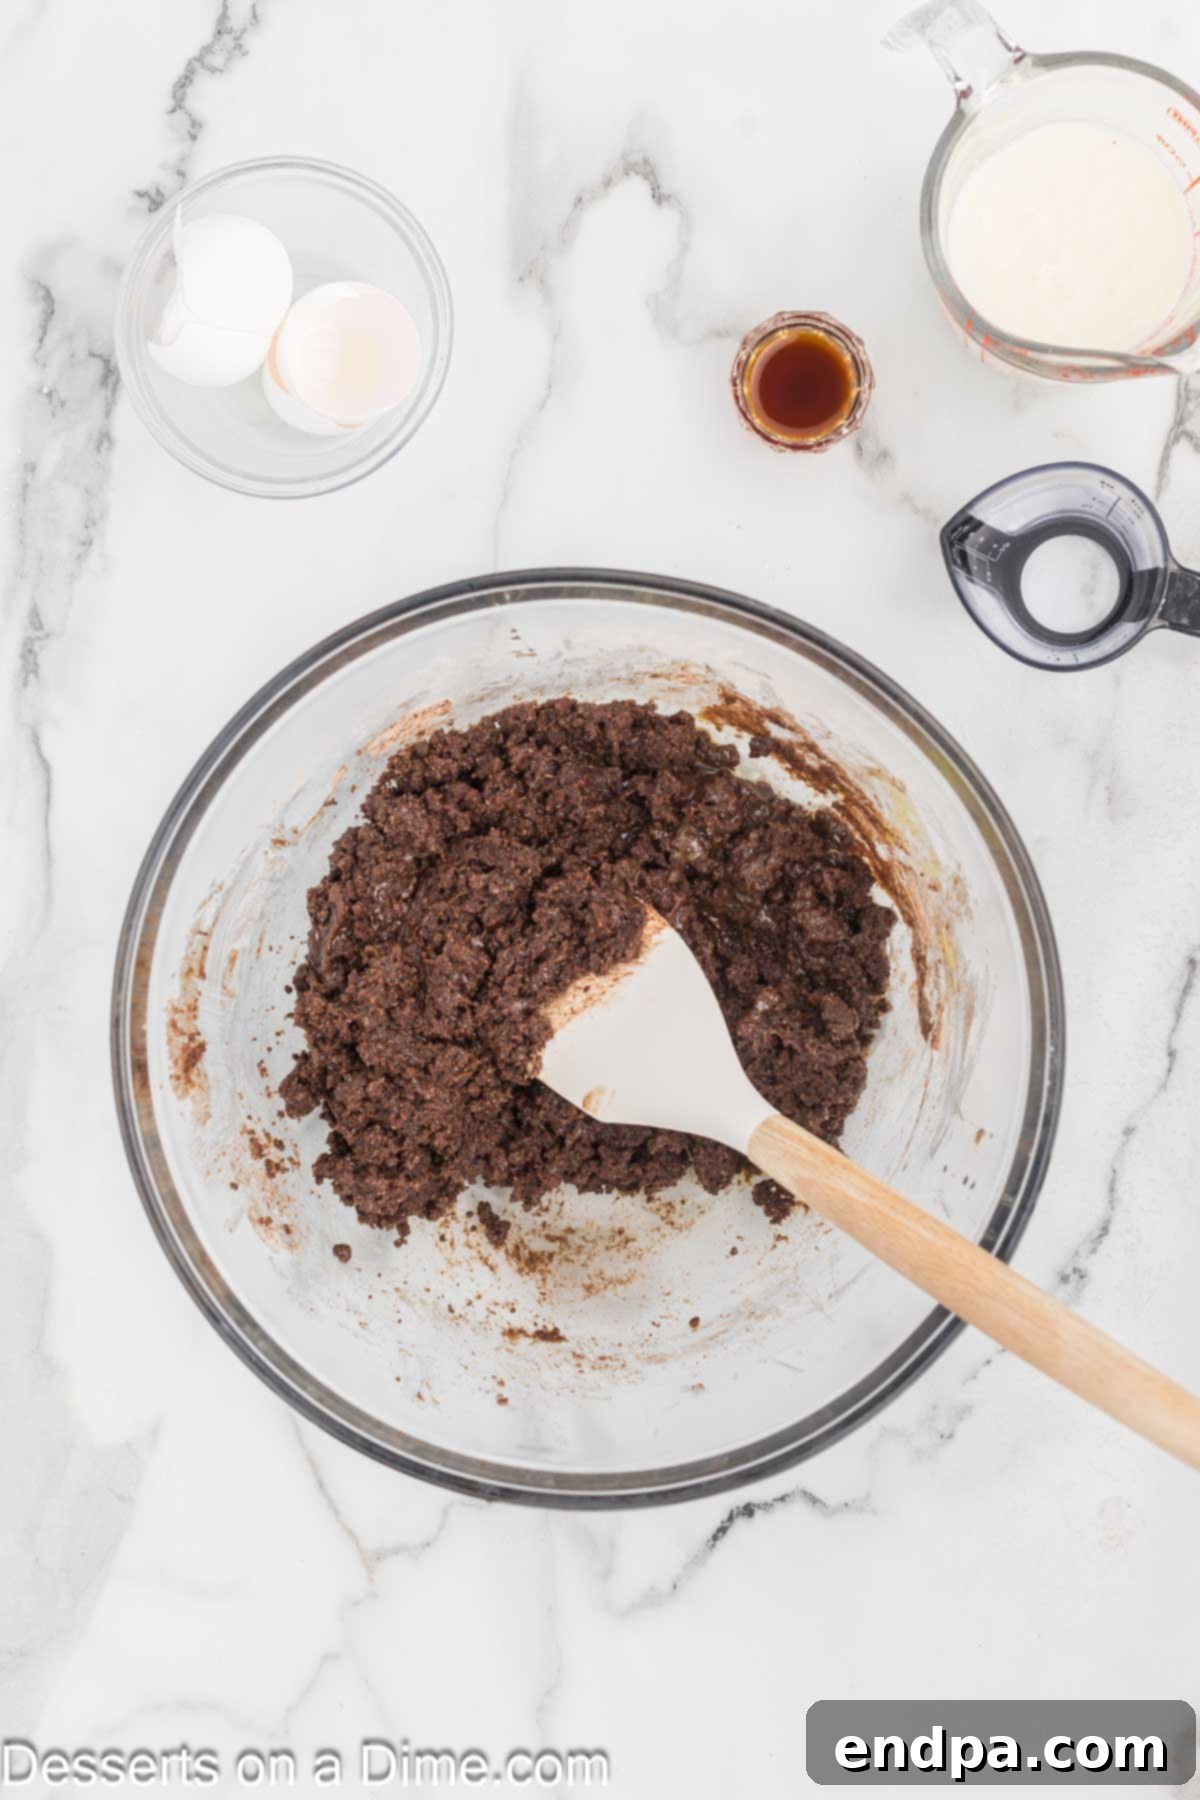
Step 3: Incorporate Wet Ingredients (Part 1). Gently melt the butter and allow it to cool slightly. Add the cooled melted butter to the dry ingredients mixture. Then, crack the large eggs and add them one at a time, mixing well after each addition until fully combined. Finally, stir in the teaspoon of vanilla extract until it’s evenly distributed throughout the batter.
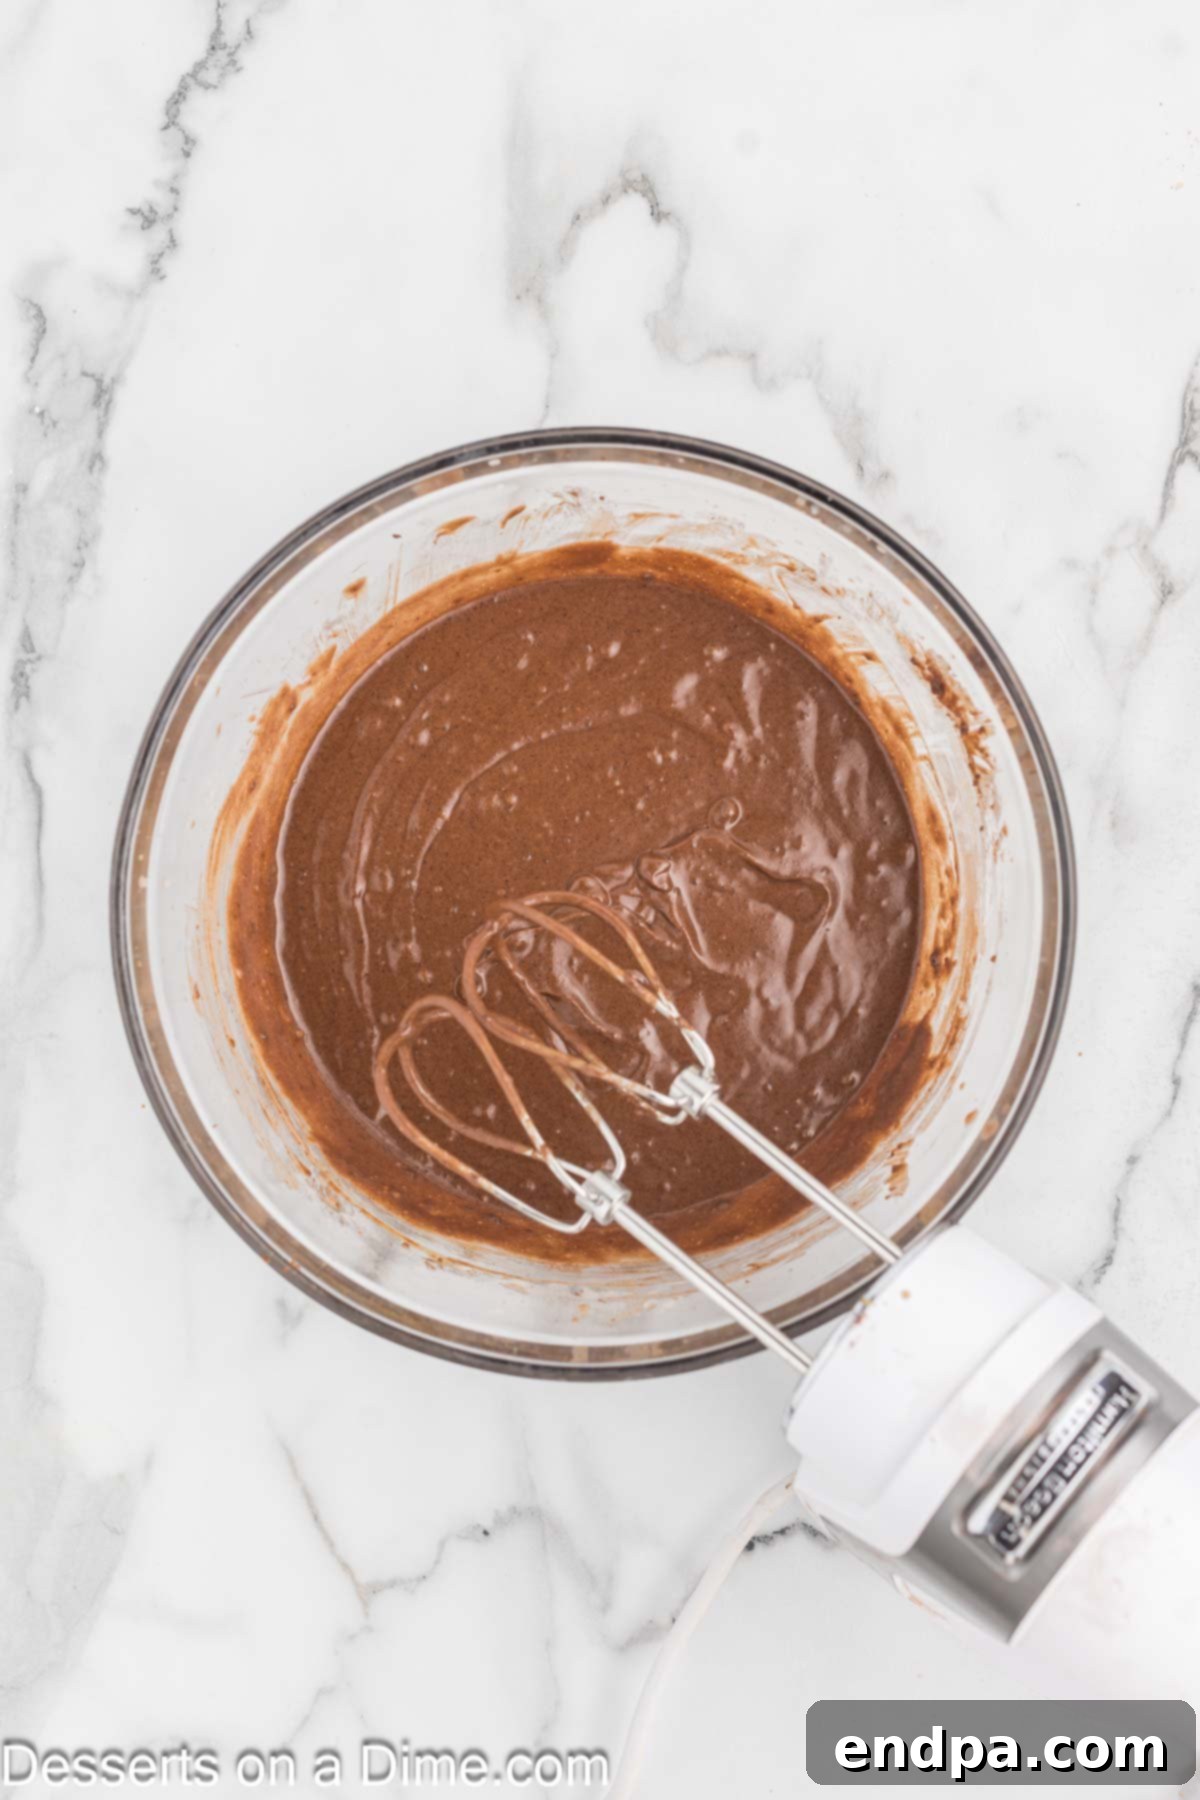
Step 4: Incorporate Wet Ingredients (Part 2). Once the initial wet ingredients are combined, reduce your mixer speed to low. Gradually pour in the buttermilk and the very hot water to the wet ingredients, mixing just until the batter is smooth and no dry streaks remain. Be careful not to overmix.
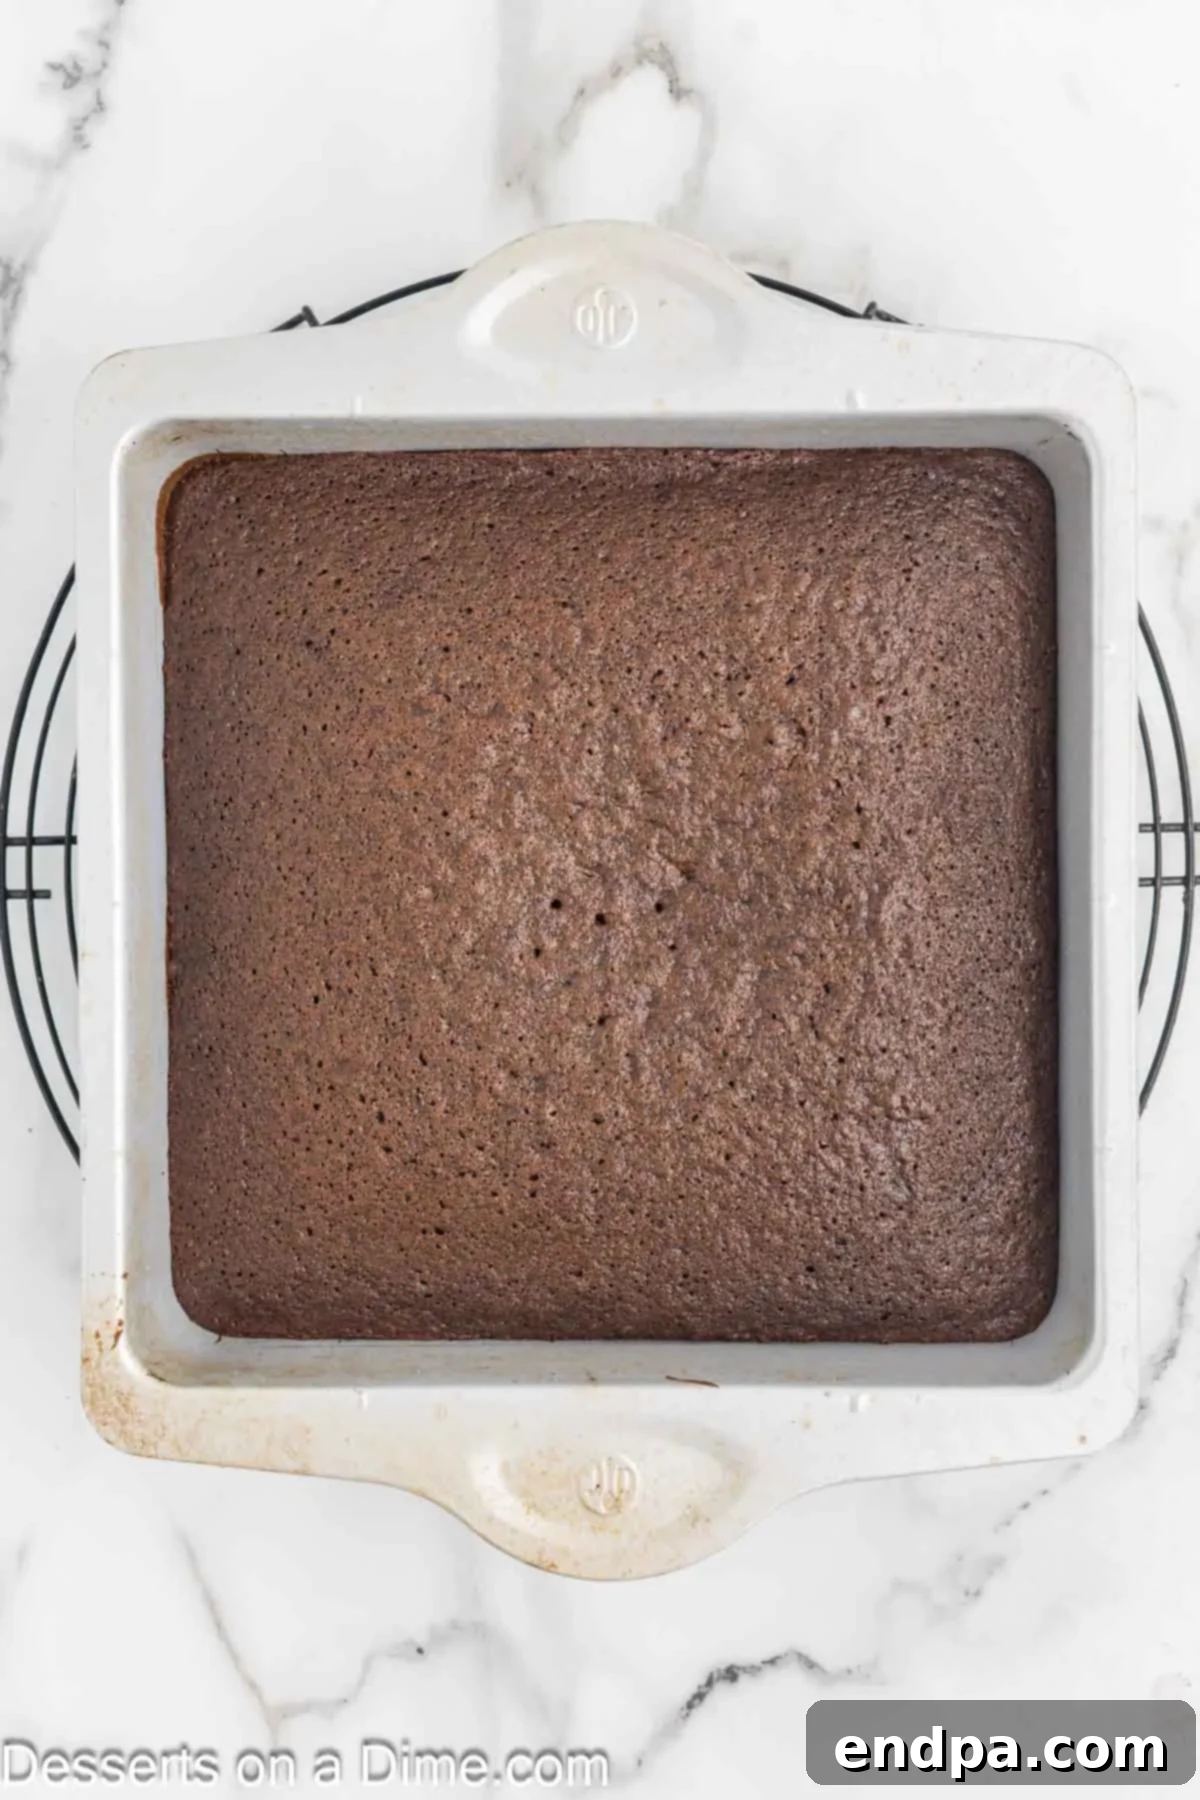
Step 5: Bake and Cool the Cake. Pour the prepared cake batter evenly into the greased baking pan. Bake for approximately 25-27 minutes, or until a toothpick inserted into the center of the cake comes out clean, with no wet batter attached. Once baked, remove the cake from the oven and allow it to cool completely at room temperature on a wire rack before proceeding. This step is crucial for the cake pop mixture.
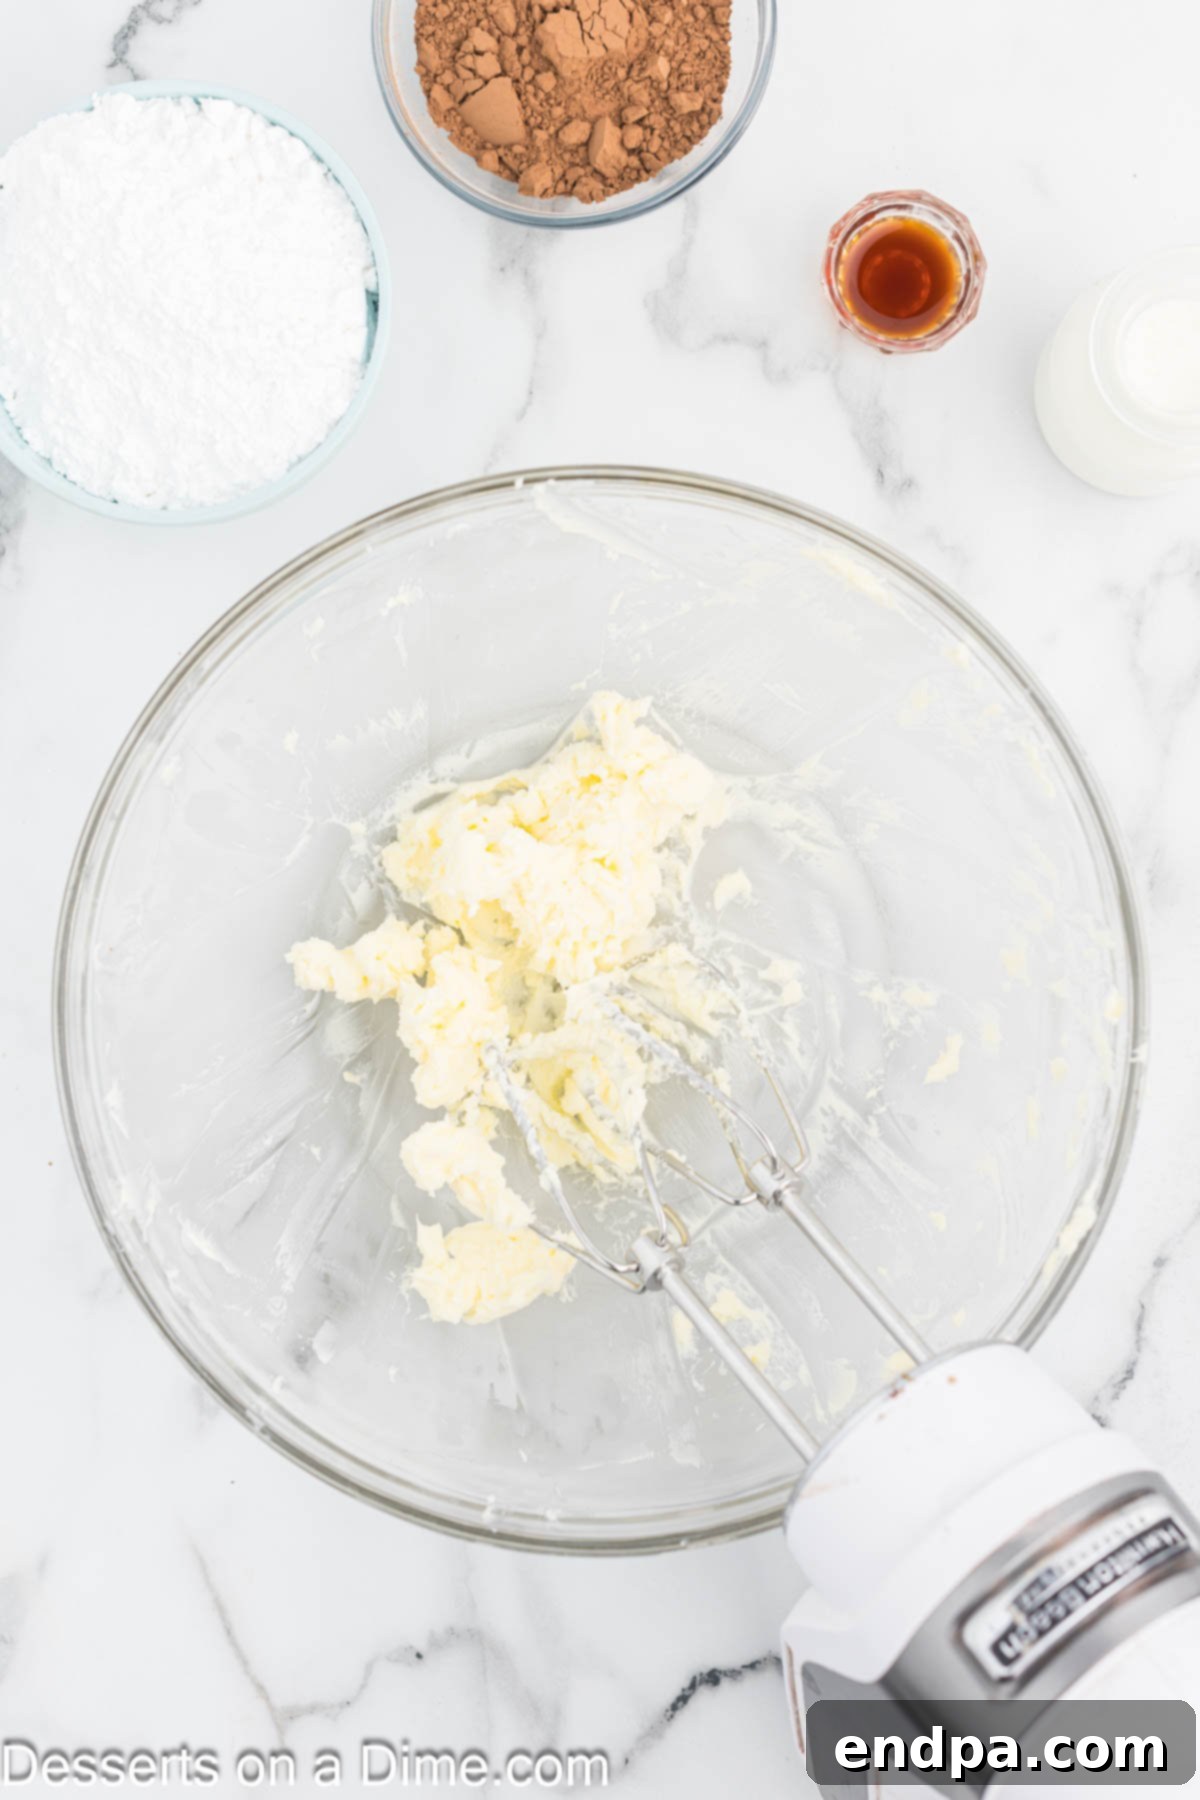
Step 6: Prepare the Frosting Base. While your cake is cooling, begin making the chocolate frosting. Place the softened unsalted butter into a clean mixing bowl. Using a stand mixer with a paddle attachment or a handheld mixer, beat the butter on medium-high speed for 2-3 minutes until it becomes light, fluffy, and noticeably paler in color. This aerates the butter, creating a superior frosting texture.
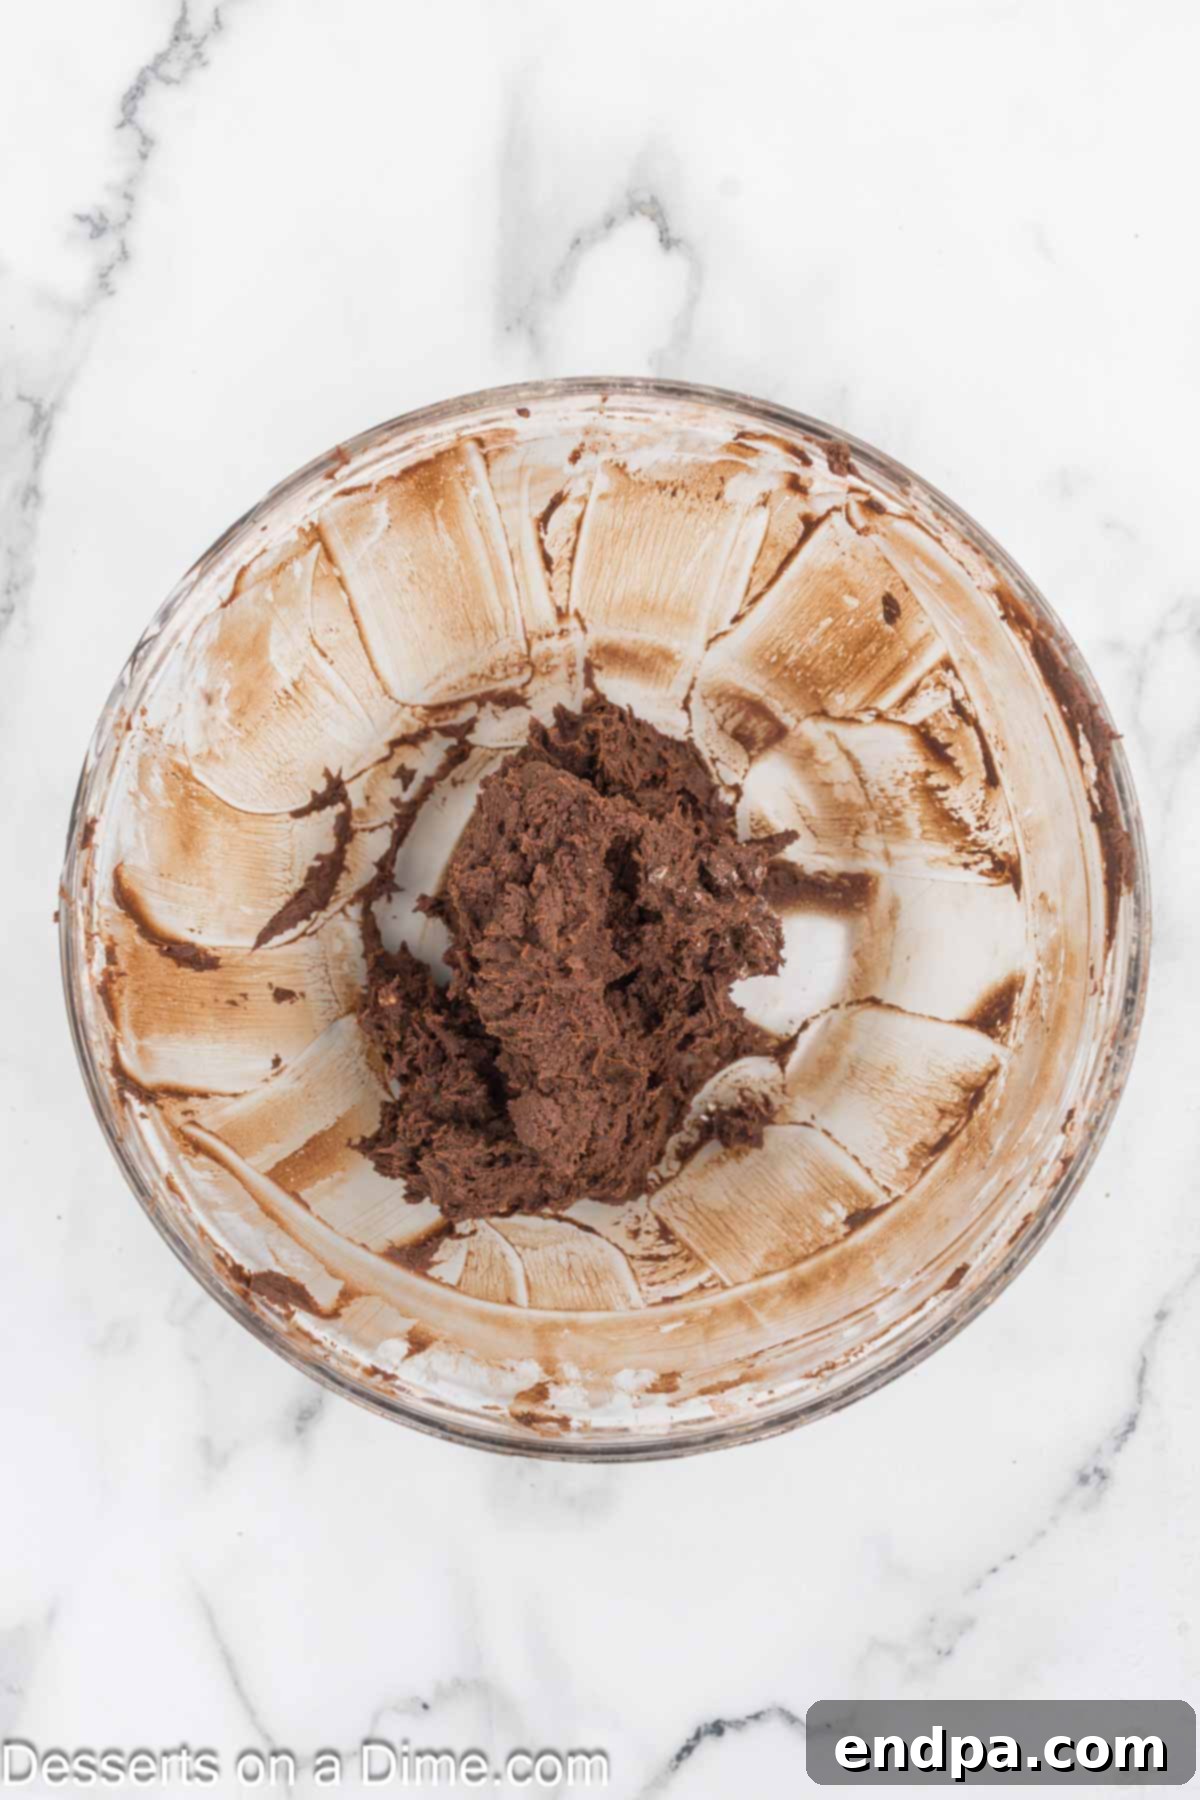
Step 7: Finish the Frosting. Reduce the mixer speed to low. Gradually add the confectioners’ sugar, unsweetened cocoa powder, vanilla extract, and salt to the beaten butter. Mix until all ingredients are just combined, then increase speed to medium. Begin adding the heavy whipping cream, one tablespoon at a time, mixing well after each addition, until the frosting reaches your desired smooth and creamy consistency. You may not need to use all of the heavy cream. Once the ingredients are well incorporated, beat for another 3-4 minutes on medium speed to ensure a wonderfully light and airy, creamy frosting.
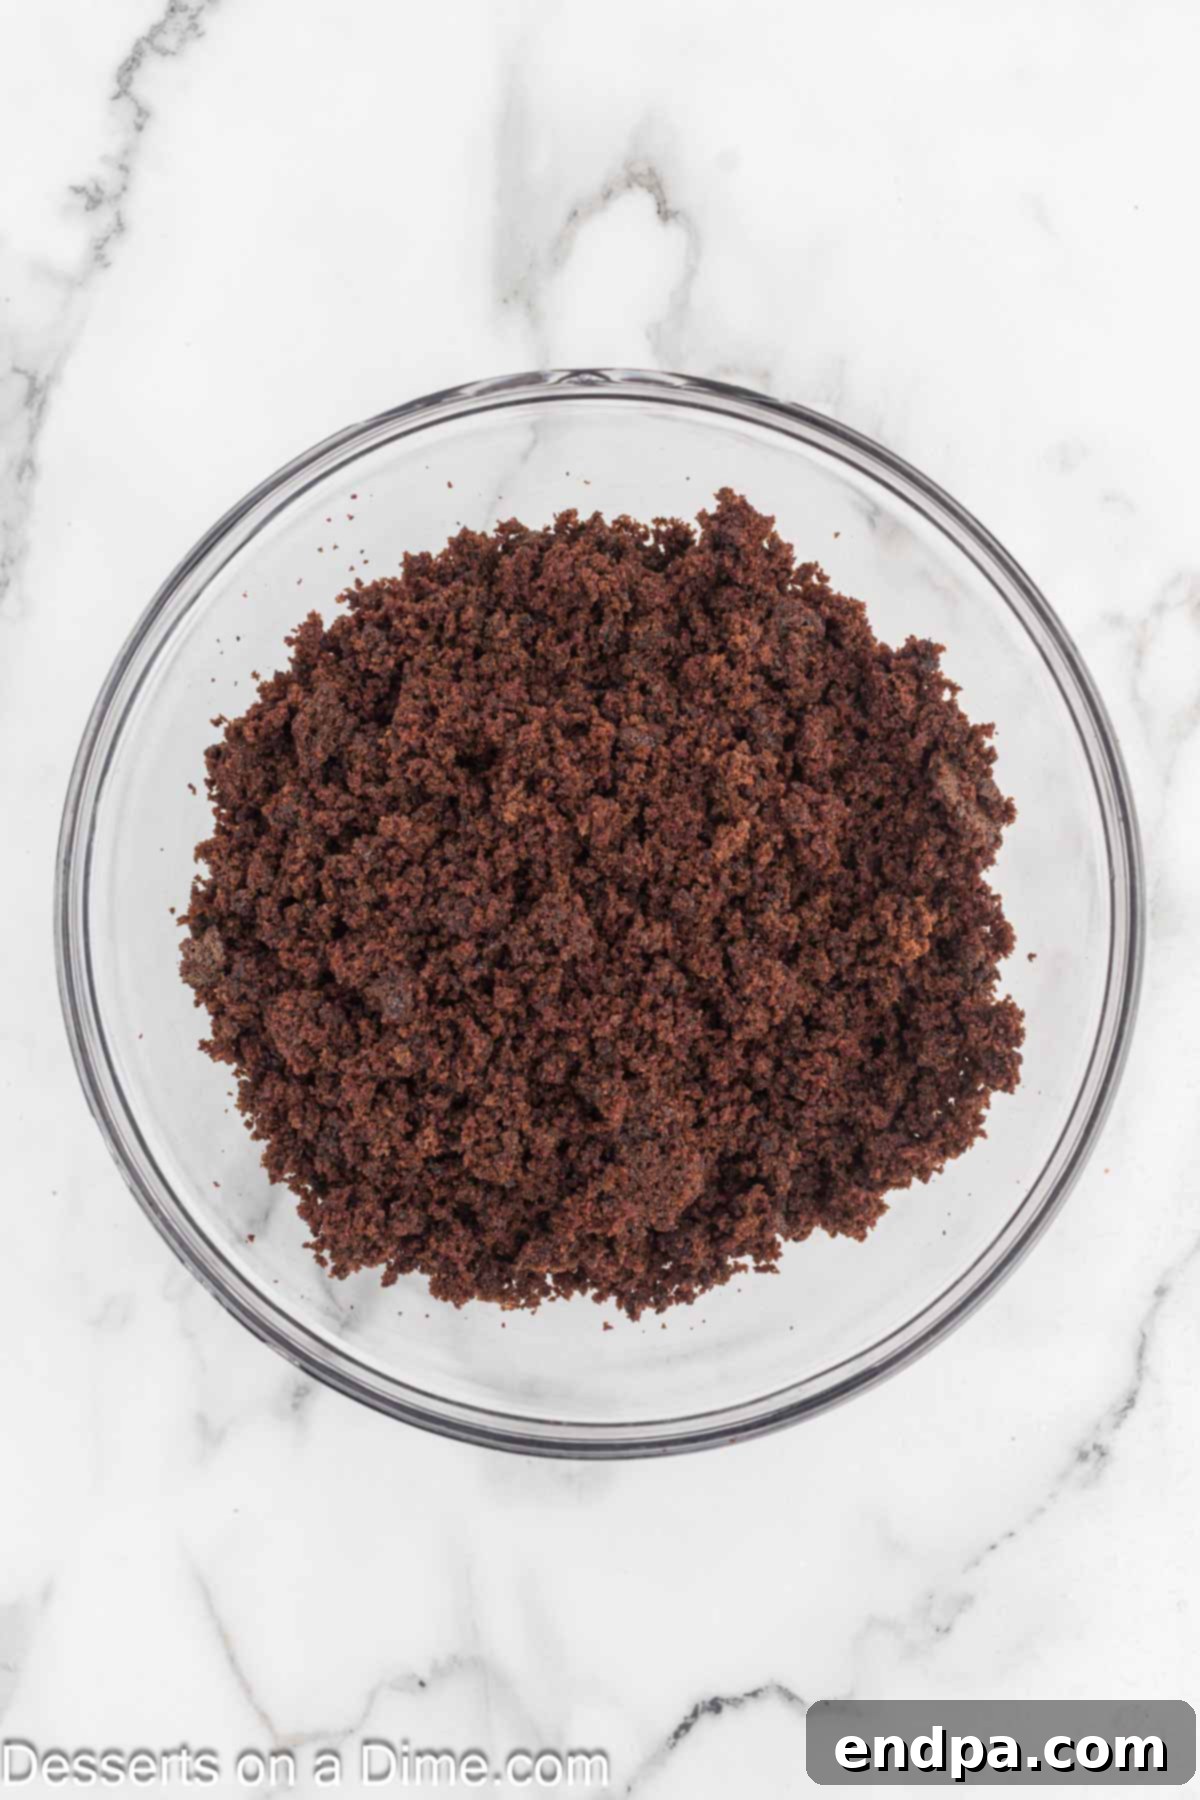
Step 8: Combine Cake and Frosting. Once the cake is completely cool, carefully remove it from the baking pan. Gently remove and discard the slightly crusty outside layer of the cake. Crumble the remaining, moist cake into very fine crumbs directly into a large mixing bowl. Add the prepared chocolate frosting to your crumbled cake mixture. Stir everything together thoroughly with a sturdy spatula or your hands until well combined and a dough-like consistency is achieved. It should be moist enough to hold its shape when pressed.
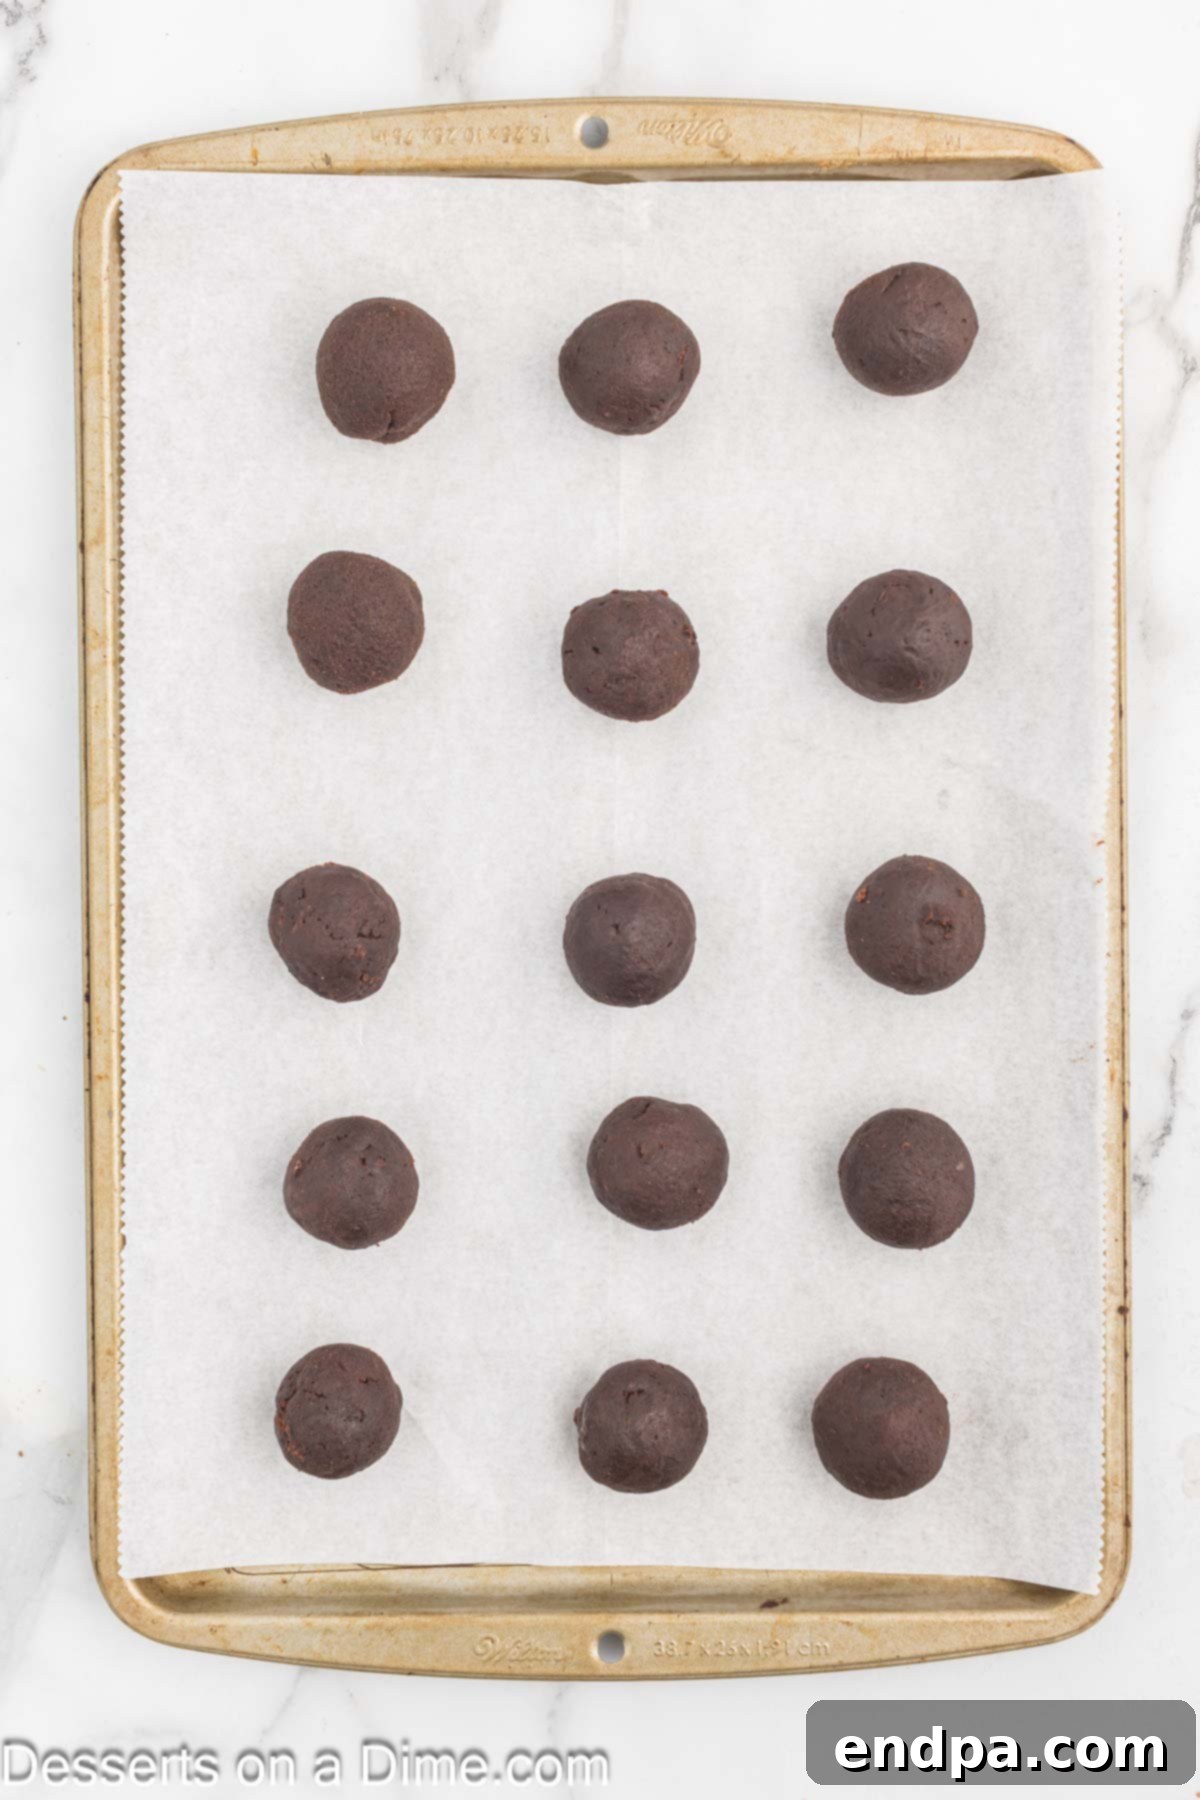
Step 9: Form and Chill Cake Balls. Line a baking sheet with parchment paper or a silicone baking mat. Using a cookie scoop (approximately 1.5-2 tablespoons) helps to ensure that each cake ball is roughly the same size, which is important for even coating and presentation. Roll the cake mixture into smooth, firm balls. This recipe typically yields between 24-36 cake balls, depending on their size. Place the formed cake balls onto the lined baking sheet.
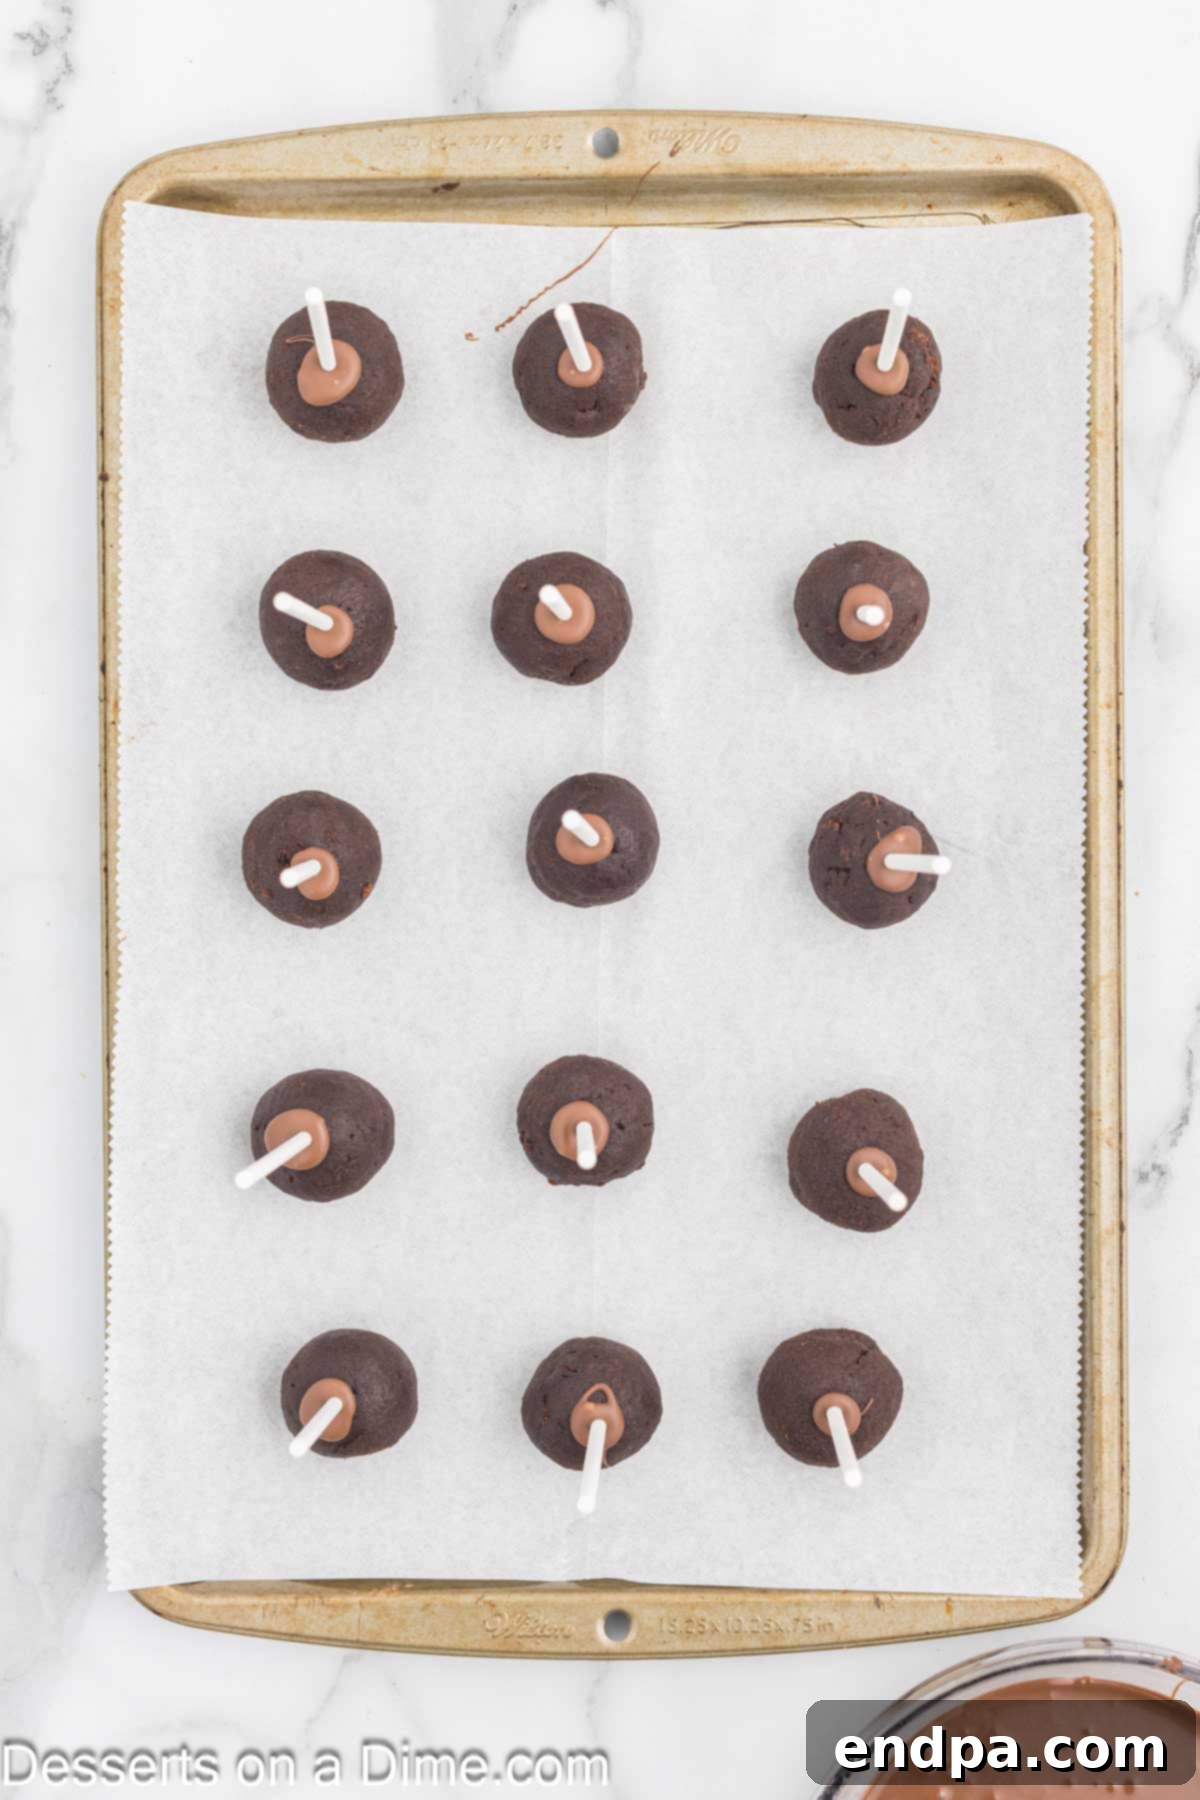
Step 10: Prepare for Dipping. Place the chocolate candy melts in a small, microwave-safe bowl. Microwave for 30-second intervals, stirring thoroughly after each interval, until the candy melts are fully melted and have a smooth, creamy consistency. Take a lollipop stick, dip the tip into the melted candy, and then insert it about halfway into a cake ball. This candy acts as a “glue” to secure the stick. Repeat for all cake balls, then place the baking sheet with the stick-inserted cake balls into the freezer for 10-15 minutes to firm them up. Do not freeze longer than 15 minutes, as they can become too hard and crack during coating.
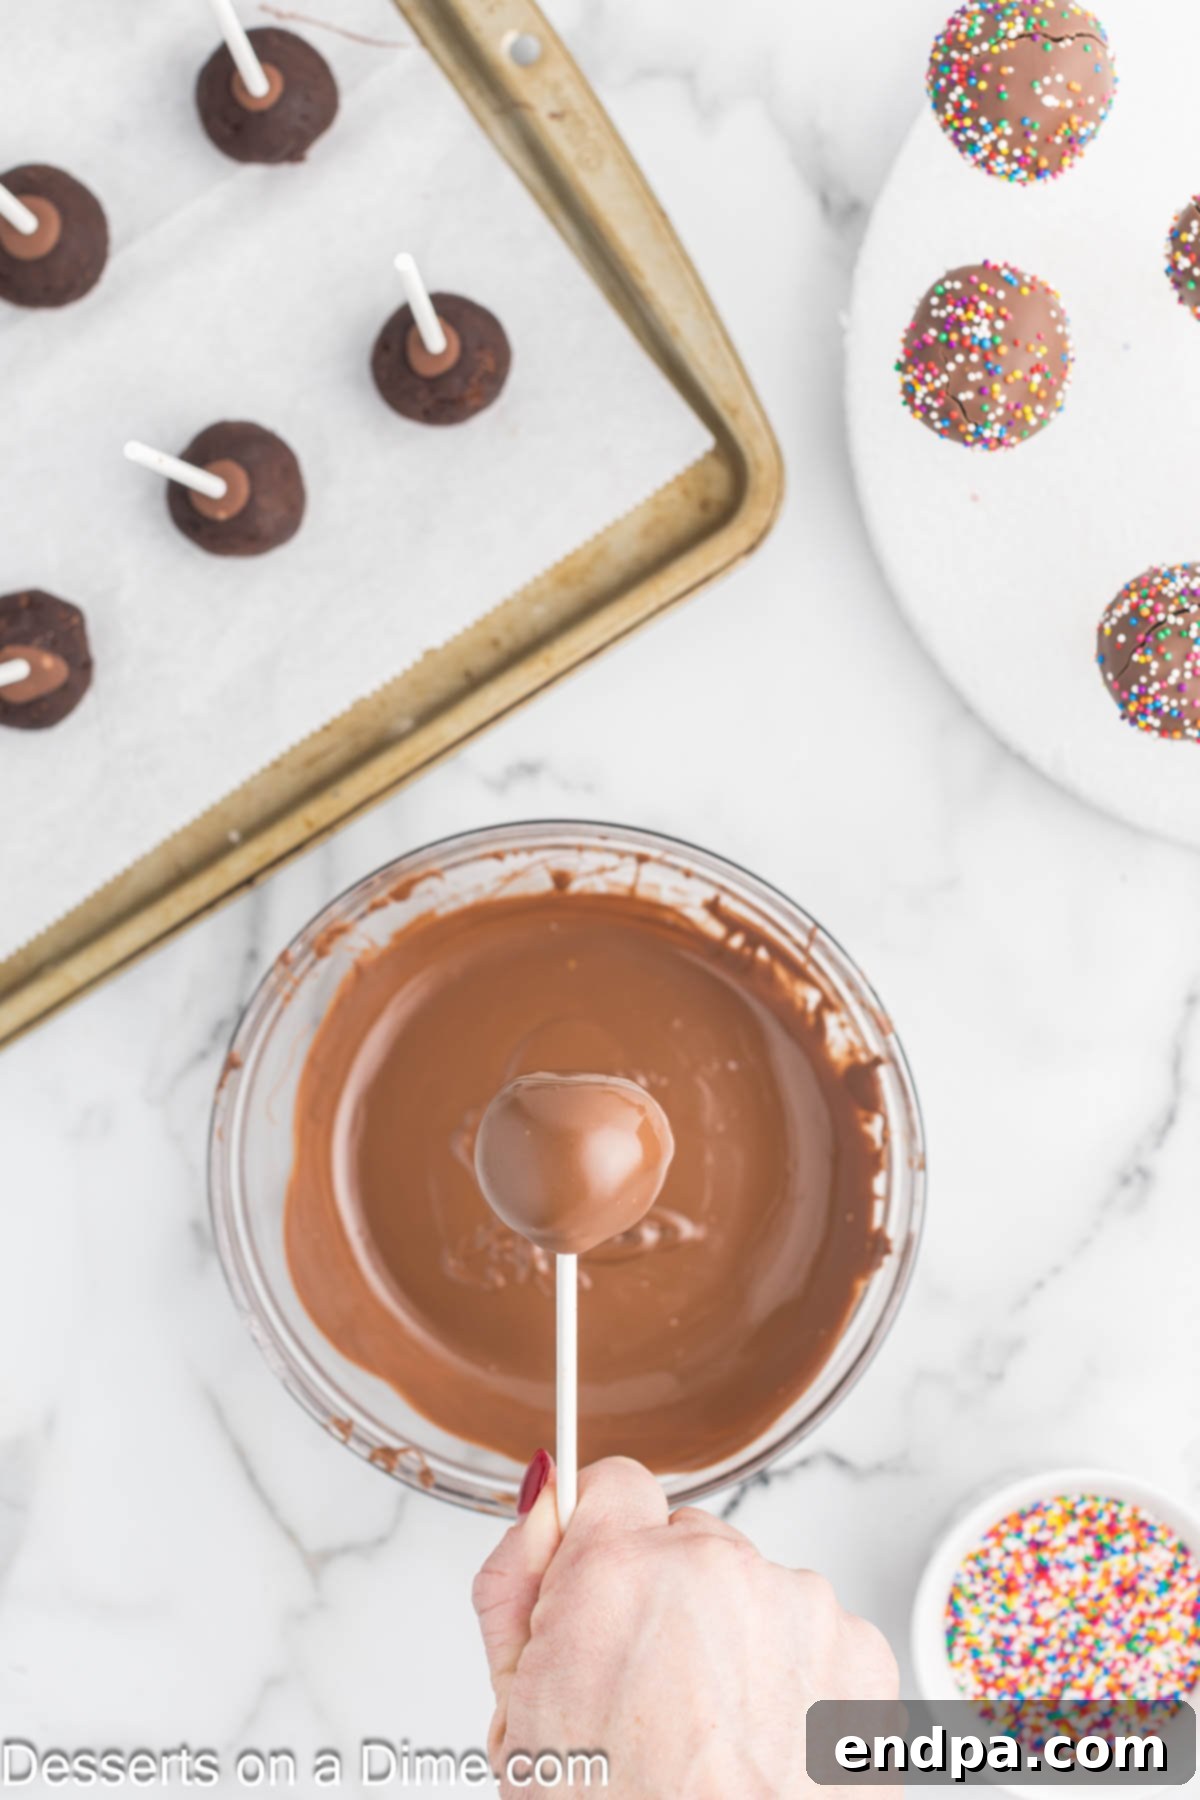
Step 11: Coat the Cake Pops. After the cake balls have chilled sufficiently in the freezer, retrieve them. If your candy melts have started to solidify, re-microwave them in short bursts, stirring until smooth again. Dip each cake pop into the melted candy melts, ensuring it’s completely covered. Gently tap the stick against the edge of the bowl to allow any excess chocolate to drip back into the bowl, creating a smooth, even coating.
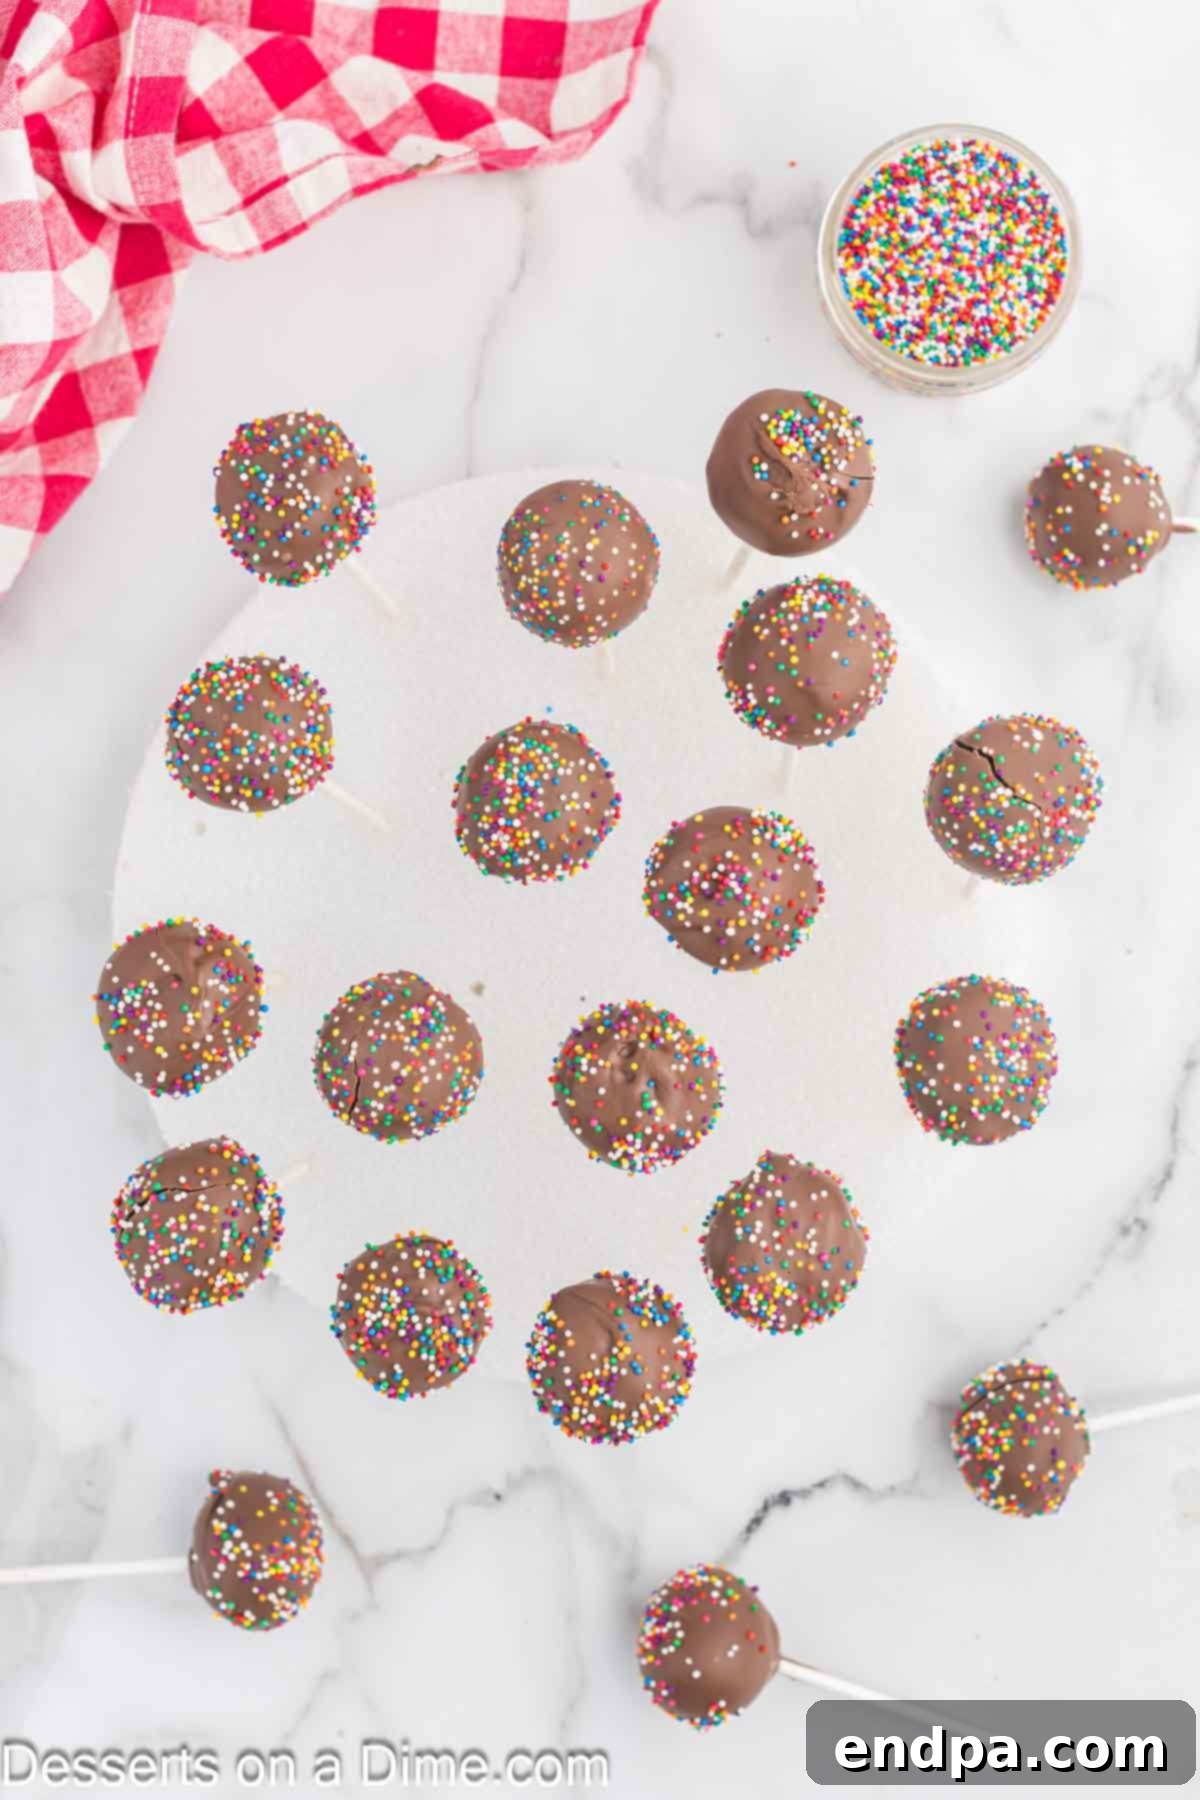
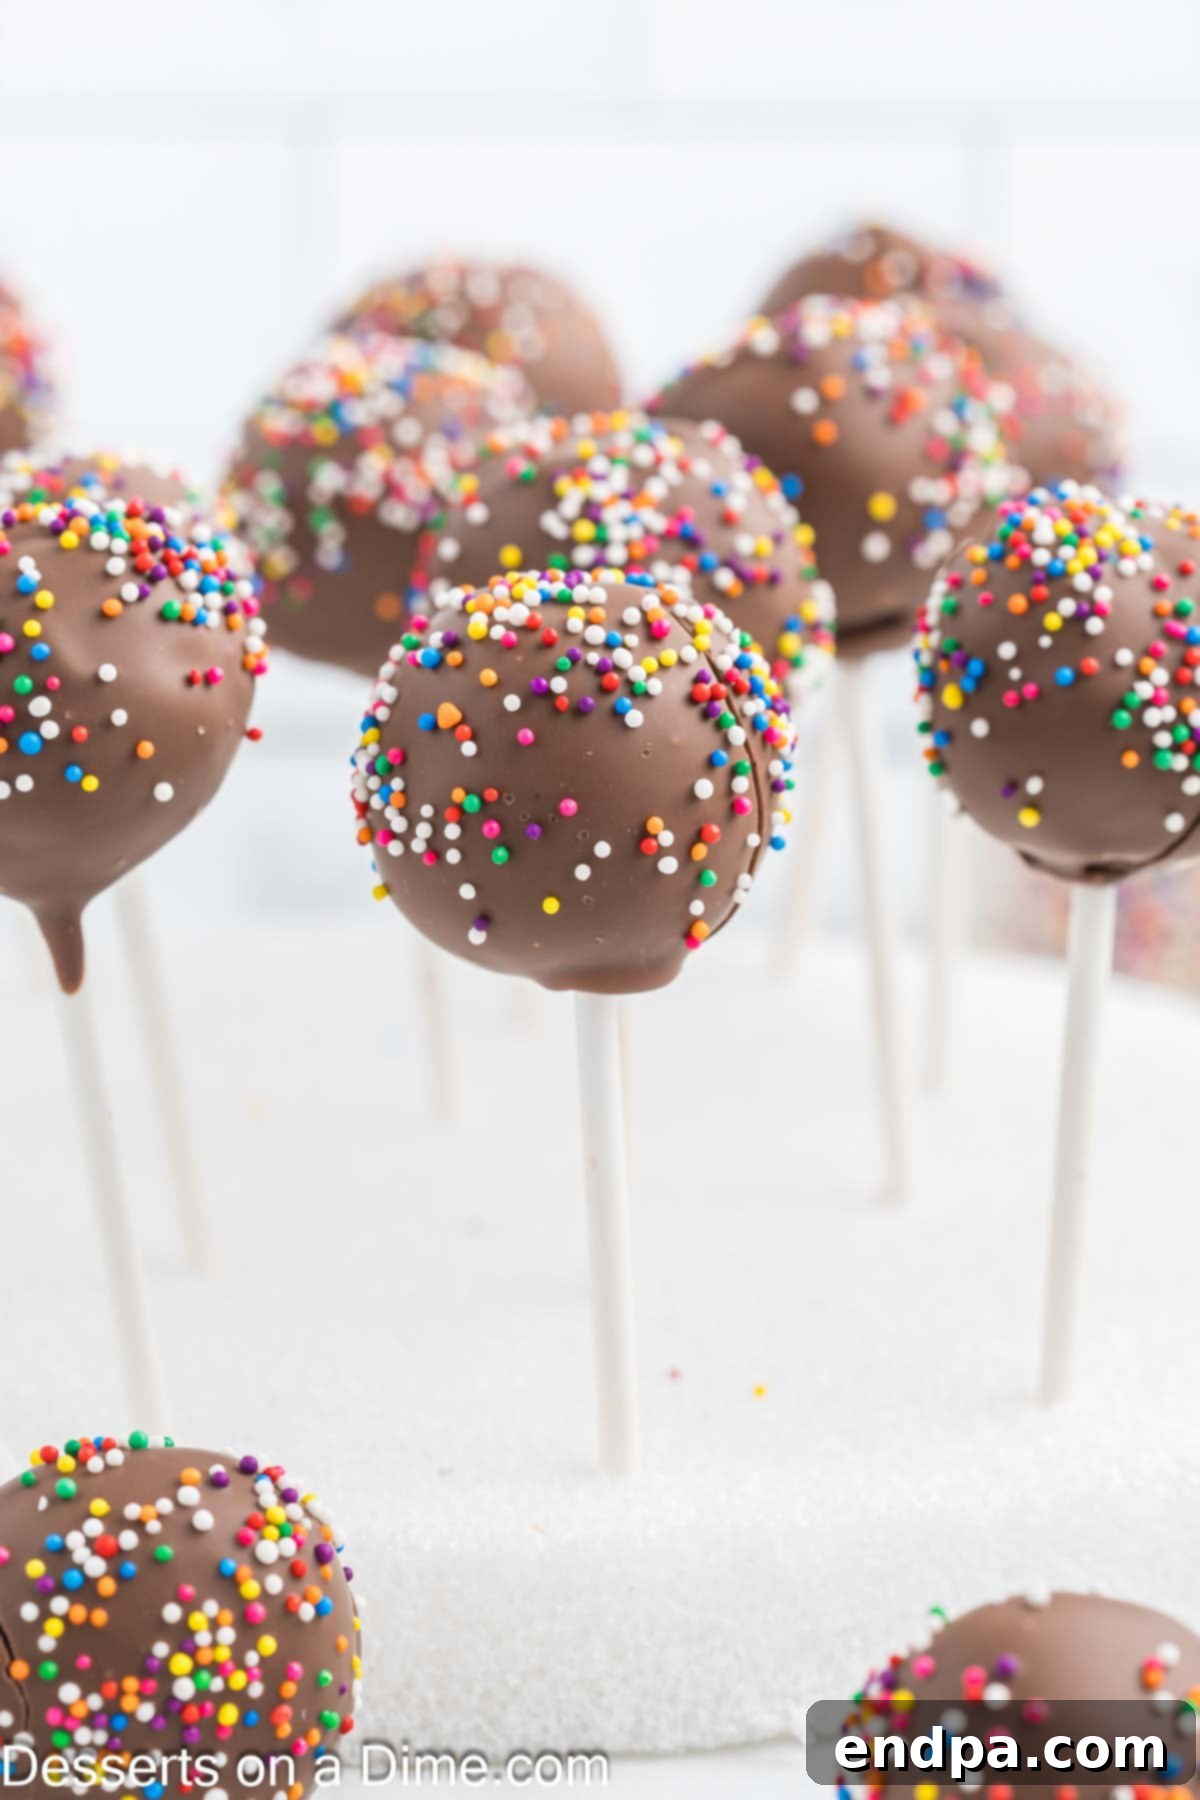
Step 12: Decorate and Dry. Immediately after dipping each cake pop (before the candy coating sets), add your desired sprinkles. Press them gently onto the wet chocolate. Then, insert the stick of the cake pop into a block of Styrofoam or a specialized cake pop holder. This allows the candy coating to dry and solidify evenly without developing flat spots or indentations.
- Step 13: Final Setting and Serving. Continue the dipping and decorating process until all your cake pops have been coated and adorned. Allow them to dry completely at room temperature, which typically takes about 15-30 minutes, or place them in the refrigerator for faster setting. Once the candy coating is firm to the touch, your beautiful and delicious Chocolate Cake Pops are ready to be served and enjoyed!
Storage and Freshness Tips for Cake Pops
To maintain the delightful flavor and texture of your homemade Chocolate Cake Pops, proper storage is essential. Store any leftover cake pops in an airtight container at room temperature for up to 1 week. If you’ve decorated them with delicate elements or if your home is particularly warm, refrigerating them might be a better option, but bring them to room temperature for optimal taste before serving.
Can You Freeze Chocolate Cake Pops for Later?
Absolutely! Cake pops are excellent for making ahead and freezing. You can freeze cake pops for up to 3 months. To do so, place them in a single layer on a baking sheet to freeze them solid first. Once firm, transfer them to an airtight freezer-safe container or a heavy-duty freezer bag, ensuring they are well-protected from freezer burn. When you’re ready to enjoy them, simply allow them to thaw overnight in the refrigerator, then bring them to room temperature for the best eating experience.
Expert Tips for Cake Pop Perfection
Achieving bakery-quality cake pops at home is easy with a few insider tricks. These pro tips will help ensure your Chocolate Cake Pops are not only delicious but also beautifully presented and sturdy.
- Achieving the Right Candy Melt Consistency: If your melted candy coating appears too thick for dipping, you can thin it out. Add a very small amount (half a teaspoon at a time) of vegetable oil or refined coconut oil to the melted chocolate. Stir slowly and thoroughly until you reach a smooth, dippable consistency. Be cautious not to add too much, or your coating might not set properly.
- Plan Ahead: Baking in Advance: For the best results, I highly recommend baking the cake a day before you plan to assemble your cake pops. This allows the cake to cool completely, making it easier to crumble and ensuring the cake pop mixture has the perfect consistency. A warm or even slightly warm cake will result in a mushy mixture.
- Mind the Size of Your Cake Balls: Resist the urge to make your cake balls too large. If they are too big, they become heavy and are more prone to falling off the lollipop sticks once dipped. Aim for a size that’s a generous bite, typically around 1.5 to 2 tablespoons per ball. Using a cookie scoop helps maintain uniform size.
- The Importance of Chilling: Do not skip the chilling step! Allowing the cake balls to firm up in the freezer for 10-15 minutes (no longer!) before coating them in melted chocolate is critical. This makes them sturdy and prevents them from crumbling or falling apart when dipped, ensuring a smooth, professional finish.
- Secure the Stick with Candy Melts: This is a simple but vital step. Dipping the tip of the lollipop stick into the melted candy coating before inserting it into the cake ball creates a strong bond. This “glue” prevents the cake ball from spinning or detaching from the stick during dipping and handling.
- Proper Drying for a Flawless Finish: To avoid unsightly indentations or flat sides, always dry your coated cake pops upright. A block of Styrofoam or a specialized cake pop stand is perfect for this. Simply insert the stick into the foam, and allow the candy coating to set completely without touching any surfaces.
- Timing is Everything for Sprinkles: If you plan to use sprinkles, add them immediately after dipping each cake pop, while the candy coating is still wet. If you wait for the coating to dry even slightly, the sprinkles won’t adhere properly and will just fall off.
- Room Temperature Ingredients for Cake: Ensure your eggs and buttermilk are at room temperature when making the cake batter. This helps them emulsify better with the other ingredients, leading to a smoother batter and a more tender, even-textured cake.
- Don’t Overmix the Cake Batter: After combining wet and dry ingredients, mix just until the flour streaks disappear. Overmixing develops gluten, which can result in a tough, dense cake – the opposite of what we want for moist cake pops.
- Fine Crumbs are Key: When crumbling the cooled cake, aim for very fine, consistent crumbs. Large chunks will make it difficult to form smooth cake balls and can lead to an uneven texture in the final product.
- Perfect Frosting-to-Cake Ratio: Add just enough frosting to bind the cake crumbs together, making them pliable and able to hold a spherical shape. The mixture should feel like play-dough – moist but not sticky or greasy. Too much frosting will make the mixture too soft and prone to falling off the sticks.
Explore More Delicious & Easy Cake Pop Recipes
Cakes
Strawberry Cake Pops
Cakes
Cookie Dough Cake Pops
Cakes
Red Velvet Cake Pops
We invite you to try this amazing Chocolate Cake Pop recipe and share your experience! Your comments and star ratings are invaluable to us.
Pin
Chocolate Cake Pops
20 minutes
25 minutes
15 minutes
1 hour
24
American
Dessert
209
Carrie Barnard
Ingredients
For the Chocolate Cake:
- 1 cup All Purpose Flour
- 1 cup Granulated Sugar
- 1/3 cup Unsweetened Cocoa Powder
- 1 teaspoon baking soda
- 1/4 teaspoon Salt
- 1/2 cup Butter melted and cooled
- 2 Large Eggs room temperature
- 1 teaspoon Vanilla Extract
- 1/2 cup Buttermilk
- 1/4 cup Very Hot Water
For the Chocolate Frosting:
- 1/2 cup Unsalted Butter softened
- 1 1/2 cups Confectioners Sugar
- 1/3 cup Unsweetened Cocoa Powder
- 1 teaspoon Vanilla Extract
- 1/4 teaspoon Salt
- 2-3 Tablespoons Heavy Whipping Cream
For the Cake Pops:
- 16 oz. Chocolate Candy Melts
- Sprinkles optional
- Lollipop Sticks
Instructions
For the Cake:
- Preheat the oven to 350 degrees F and spray a 9-inch round or square baking pan with non-stick cooking spray.
- In a large mixing bowl, whisk together the flour, sugar, cocoa powder, baking soda and salt until combined.
- Stir in the melted butter and eggs, one at a time, until combined. Then mix in the vanilla extract until combined.
- Reduce the mixer speed to low and add in the buttermilk and hot water.
- Pour the batter into the prepared pan and bake for 25-27 minutes until a toothpick inserted into the center of the cake comes out clean.
- Allow the cake to cool completely at room temperature.
For the Frosting:
- Place the butter in a mixing bowl and beat on medium-high speed for 2-3 minutes until light and fluffy.
- Reduce the speed of the mixture to low and add in the confectioner’s sugar, cocoa powder, vanilla extract and salt. Mix until well combined.
- Add in the heavy cream, 1 tablespoon, at a time, until the frosting is a good consistency. You may or may not use all the heavy cream. Once all the ingredients are well combined, beat for 3-4 minutes until creamy.
For the Cake Pops:
- Remove the cake from the pan. Remove the outside layer from the cake and discard it. Crumble up the remaining cake into a large bowl.
- Add the frosting to your crumbled cake and stir everything together until well combined.
- Shape mixture into about 24-36 cake balls (depending on their size) and place on a lined cookie sheet. I used a cookie scoop to ensure that each one is approximately the same size.
- Put the chocolate candy melts in a small microwave-safe bowl and microwave for 30 seconds, then stir. Then continue to heat in 30-second intervals, stirring between each one until the candy melts are fully melted and creamy.
- Dip each cake pop stick into the melted candy and then place them into the cake balls about halfway into the balls. Then place in the freezer for 10-15 minutes (do not freeze for longer than 15 minutes).
- After the cake pops have been chilled, dip each cake pop into the melted candy melts (you may need to re-melt it if it has solidified some). Make sure that the candy covers the cake pop completely. Allow the excess melted candy to drip off back into the bowl.
- Then place the stick of cake pops in a block of Styrofoam while the candy dries and solidifies. Add the sprinkles immediately before the candy dries.
- Continue until all the cake pops have been covered. Once all the cake pops are dry, they are ready to serve and enjoy!
Recipe Notes
If the melted candy melt is too thick, thin it out with a small amount of vegetable oil or coconut oil. Add it slowly to the melted chocolate.
Generally, I make the cake the day before preparing the cake pops to make sure that the cake has cooled completely before crumbling it to make the cake pop mixture.
Nutrition Facts
Carbohydrates 27g,
Protein 2g,
Fat 11g,
Saturated Fat 8g,
Polyunsaturated Fat 0.4g,
Monounsaturated Fat 2g,
Trans Fat 0.3g,
Cholesterol 36mg,
Sodium 145mg,
Potassium 58mg,
Fiber 1g,
Sugar 21g,
Vitamin A 283IU,
Vitamin C 0.01mg,
Calcium 15mg,
Iron 1mg
Pin This Now to Remember It Later
Pin Recipe
